Well it’s time to show some pictures of this “modernized” battle taxi.
I have started it as my entry in a GB about APCs on a French forum. I intend to build it strictly out of the box and managed to stick to the rule so far.
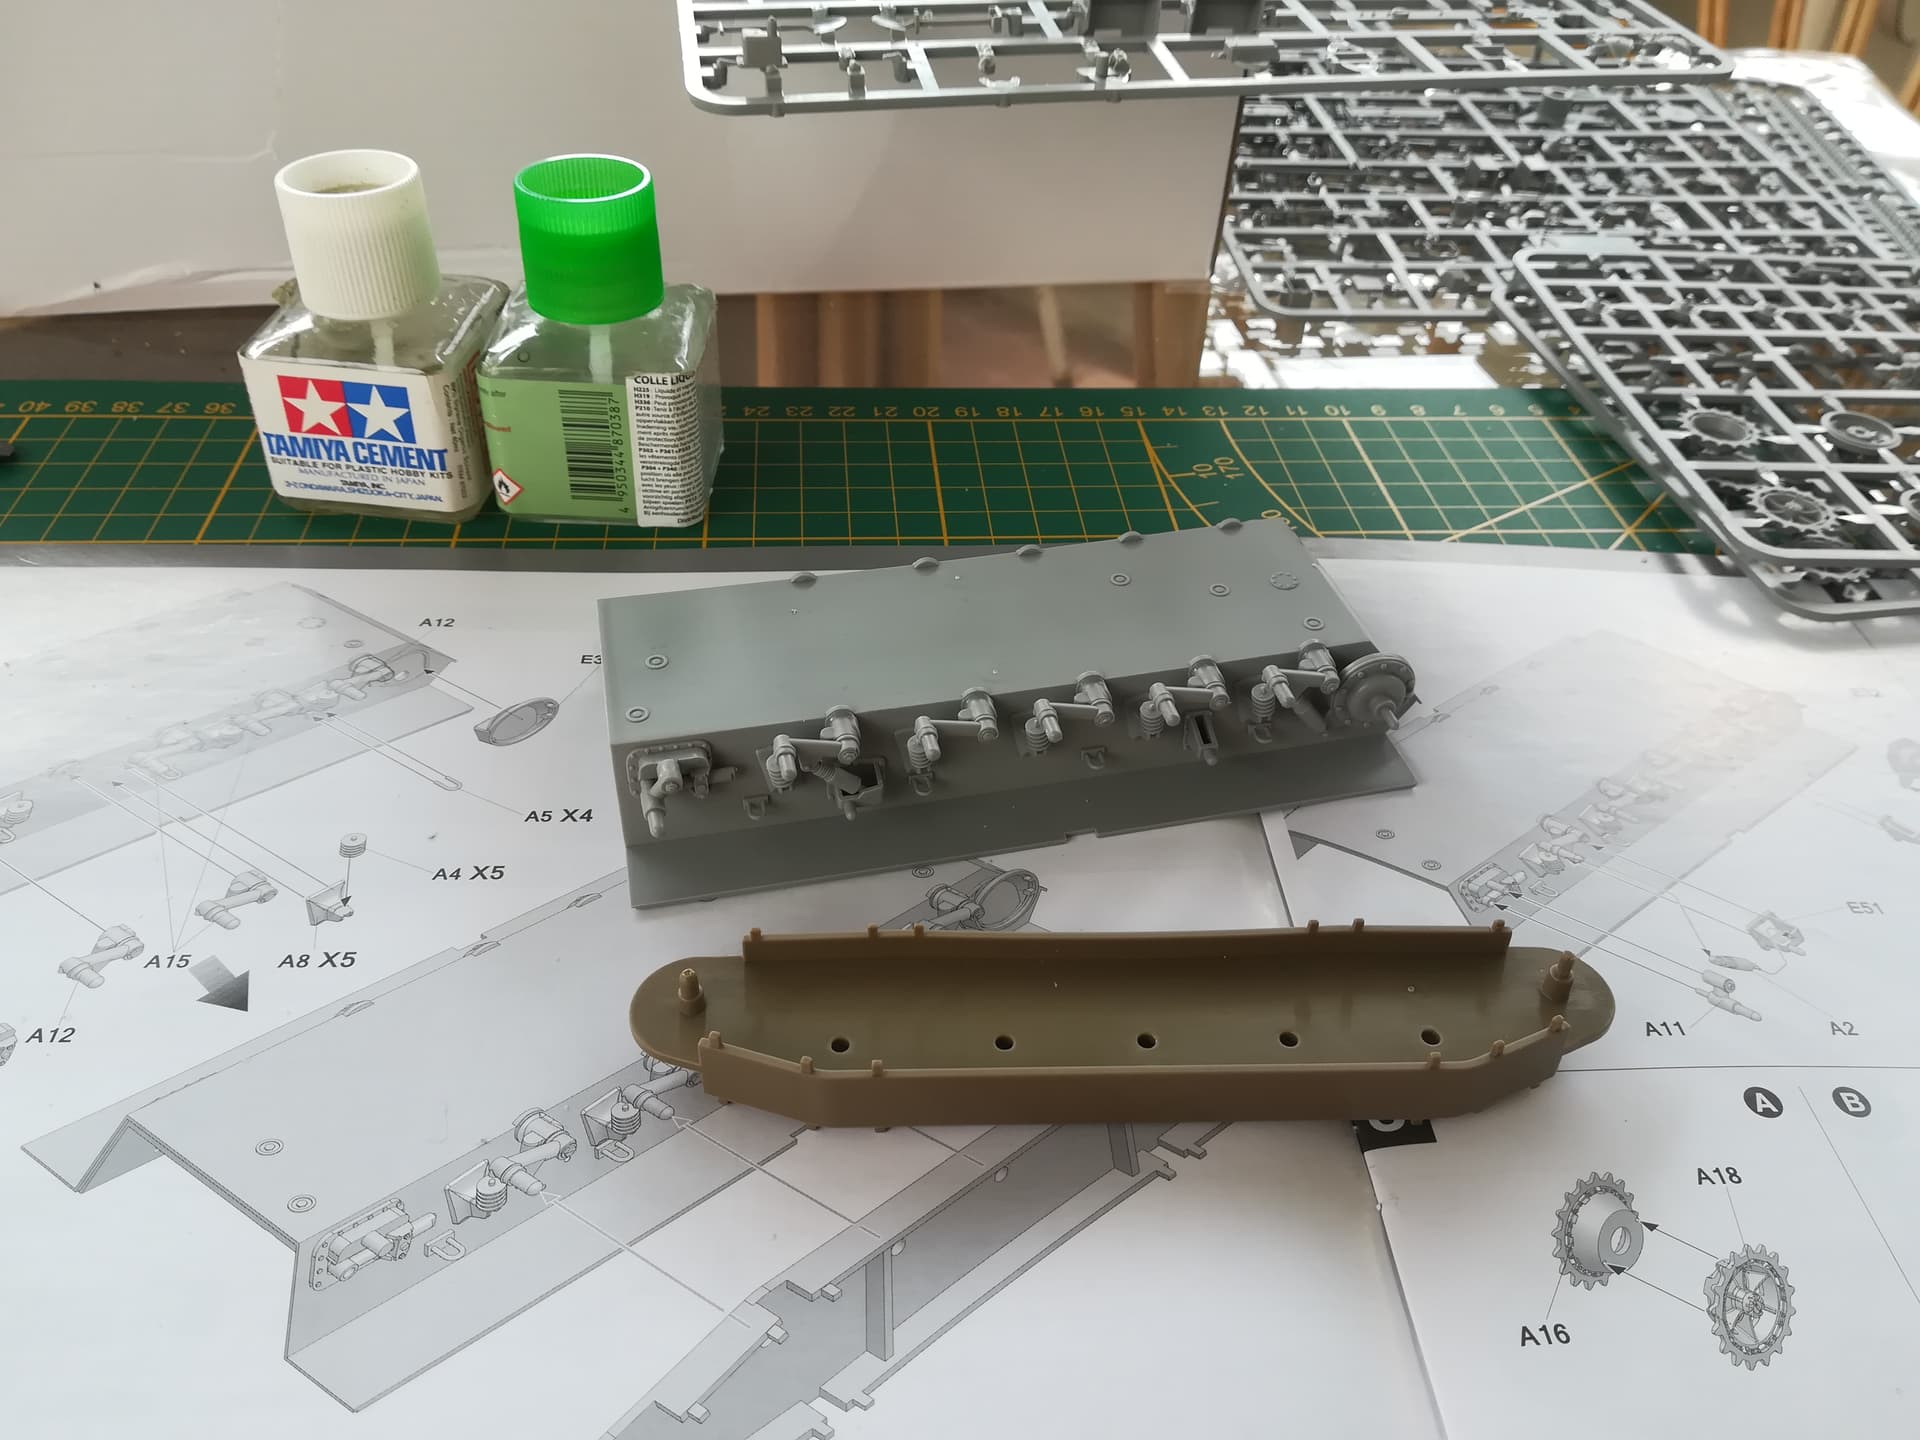
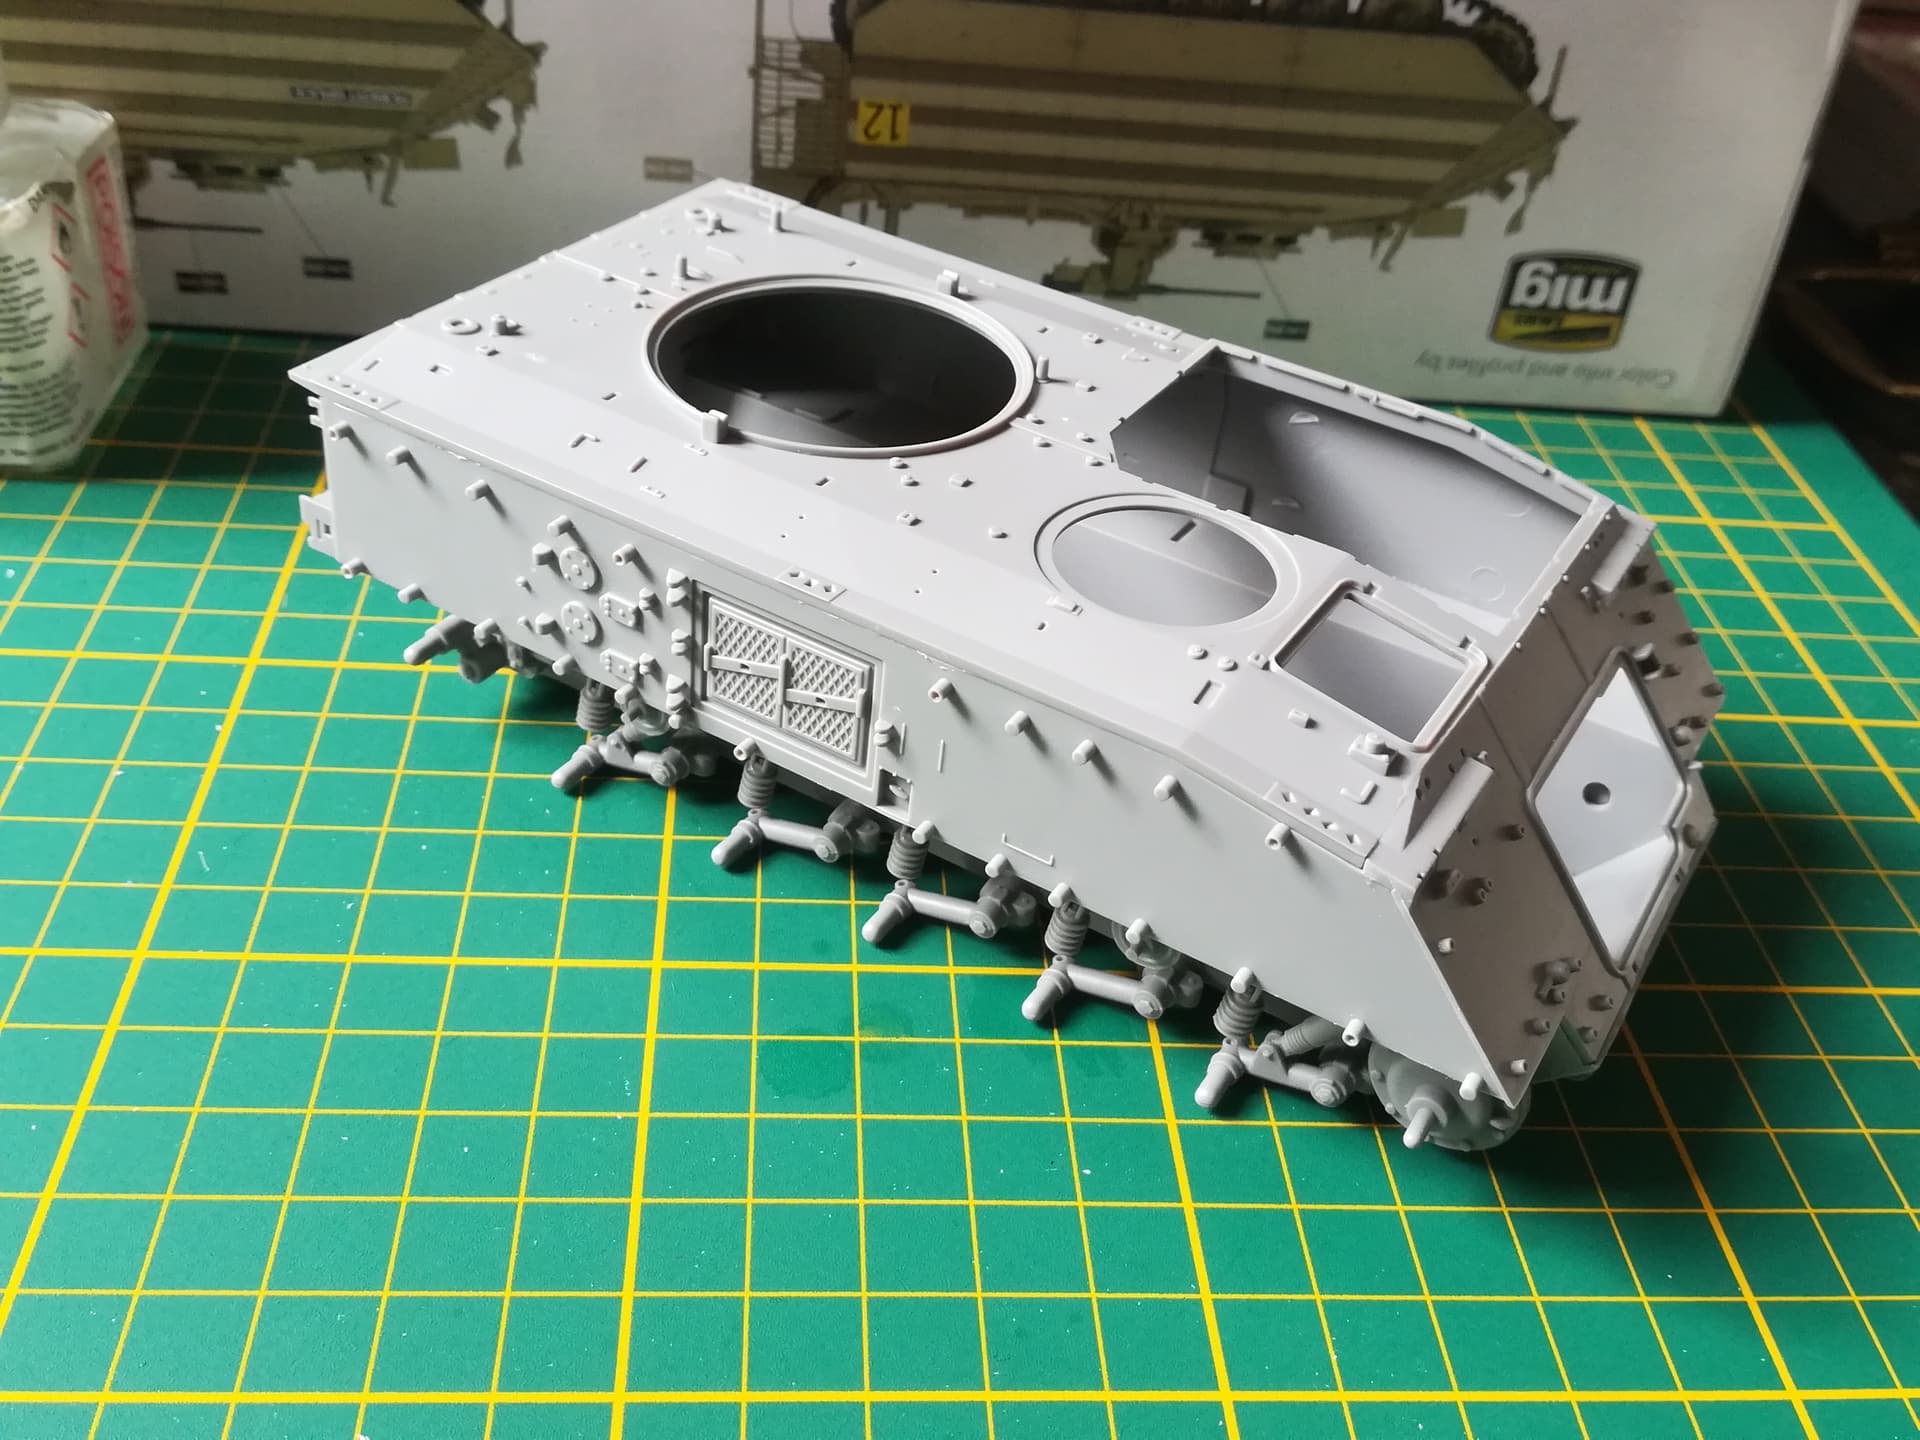
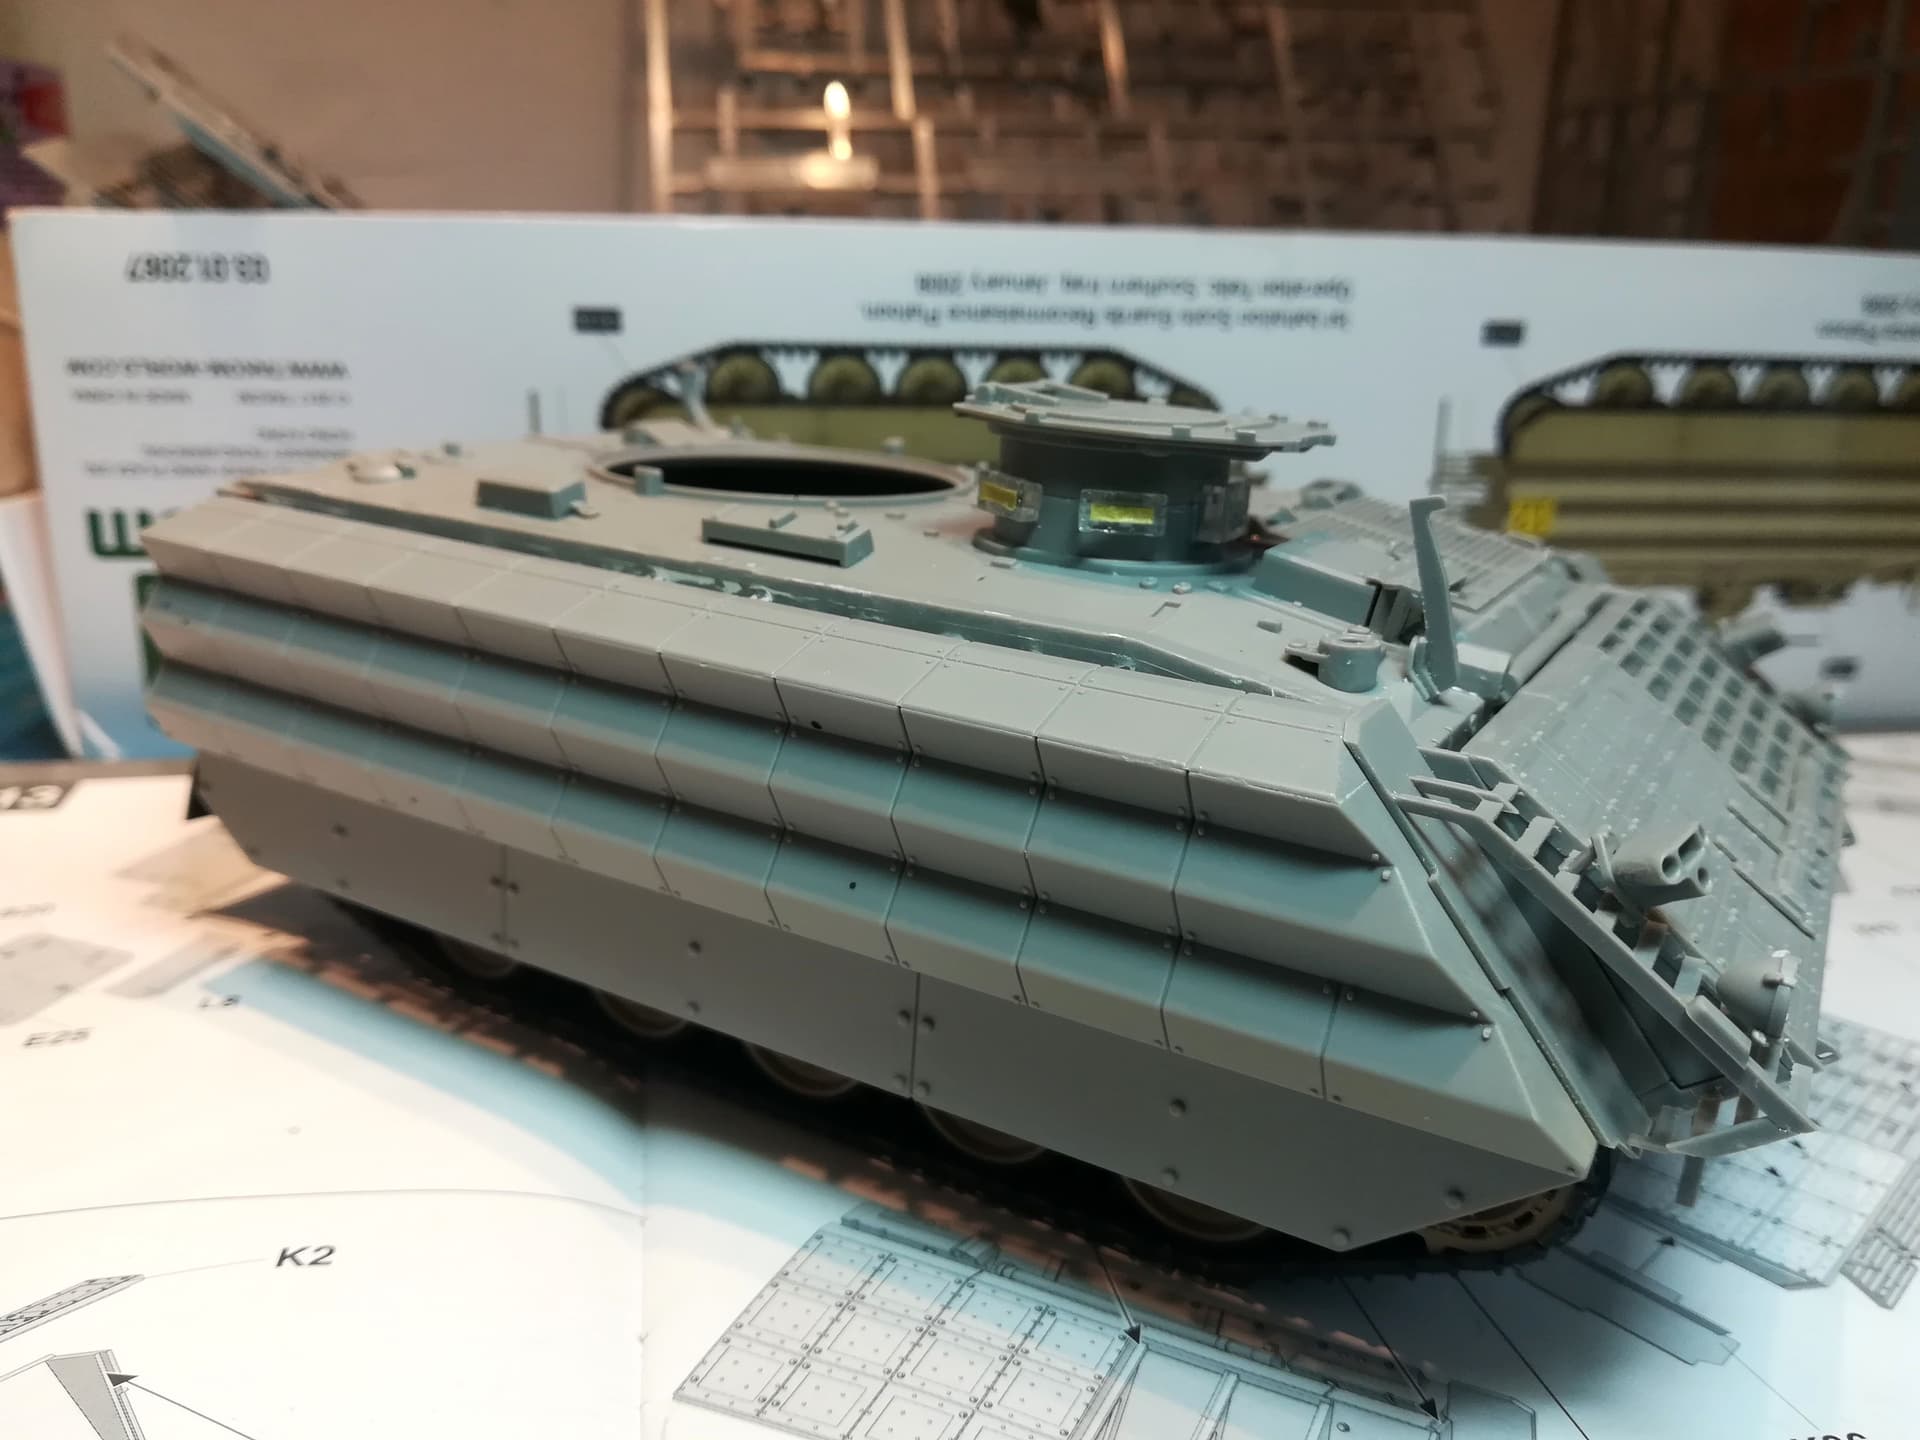
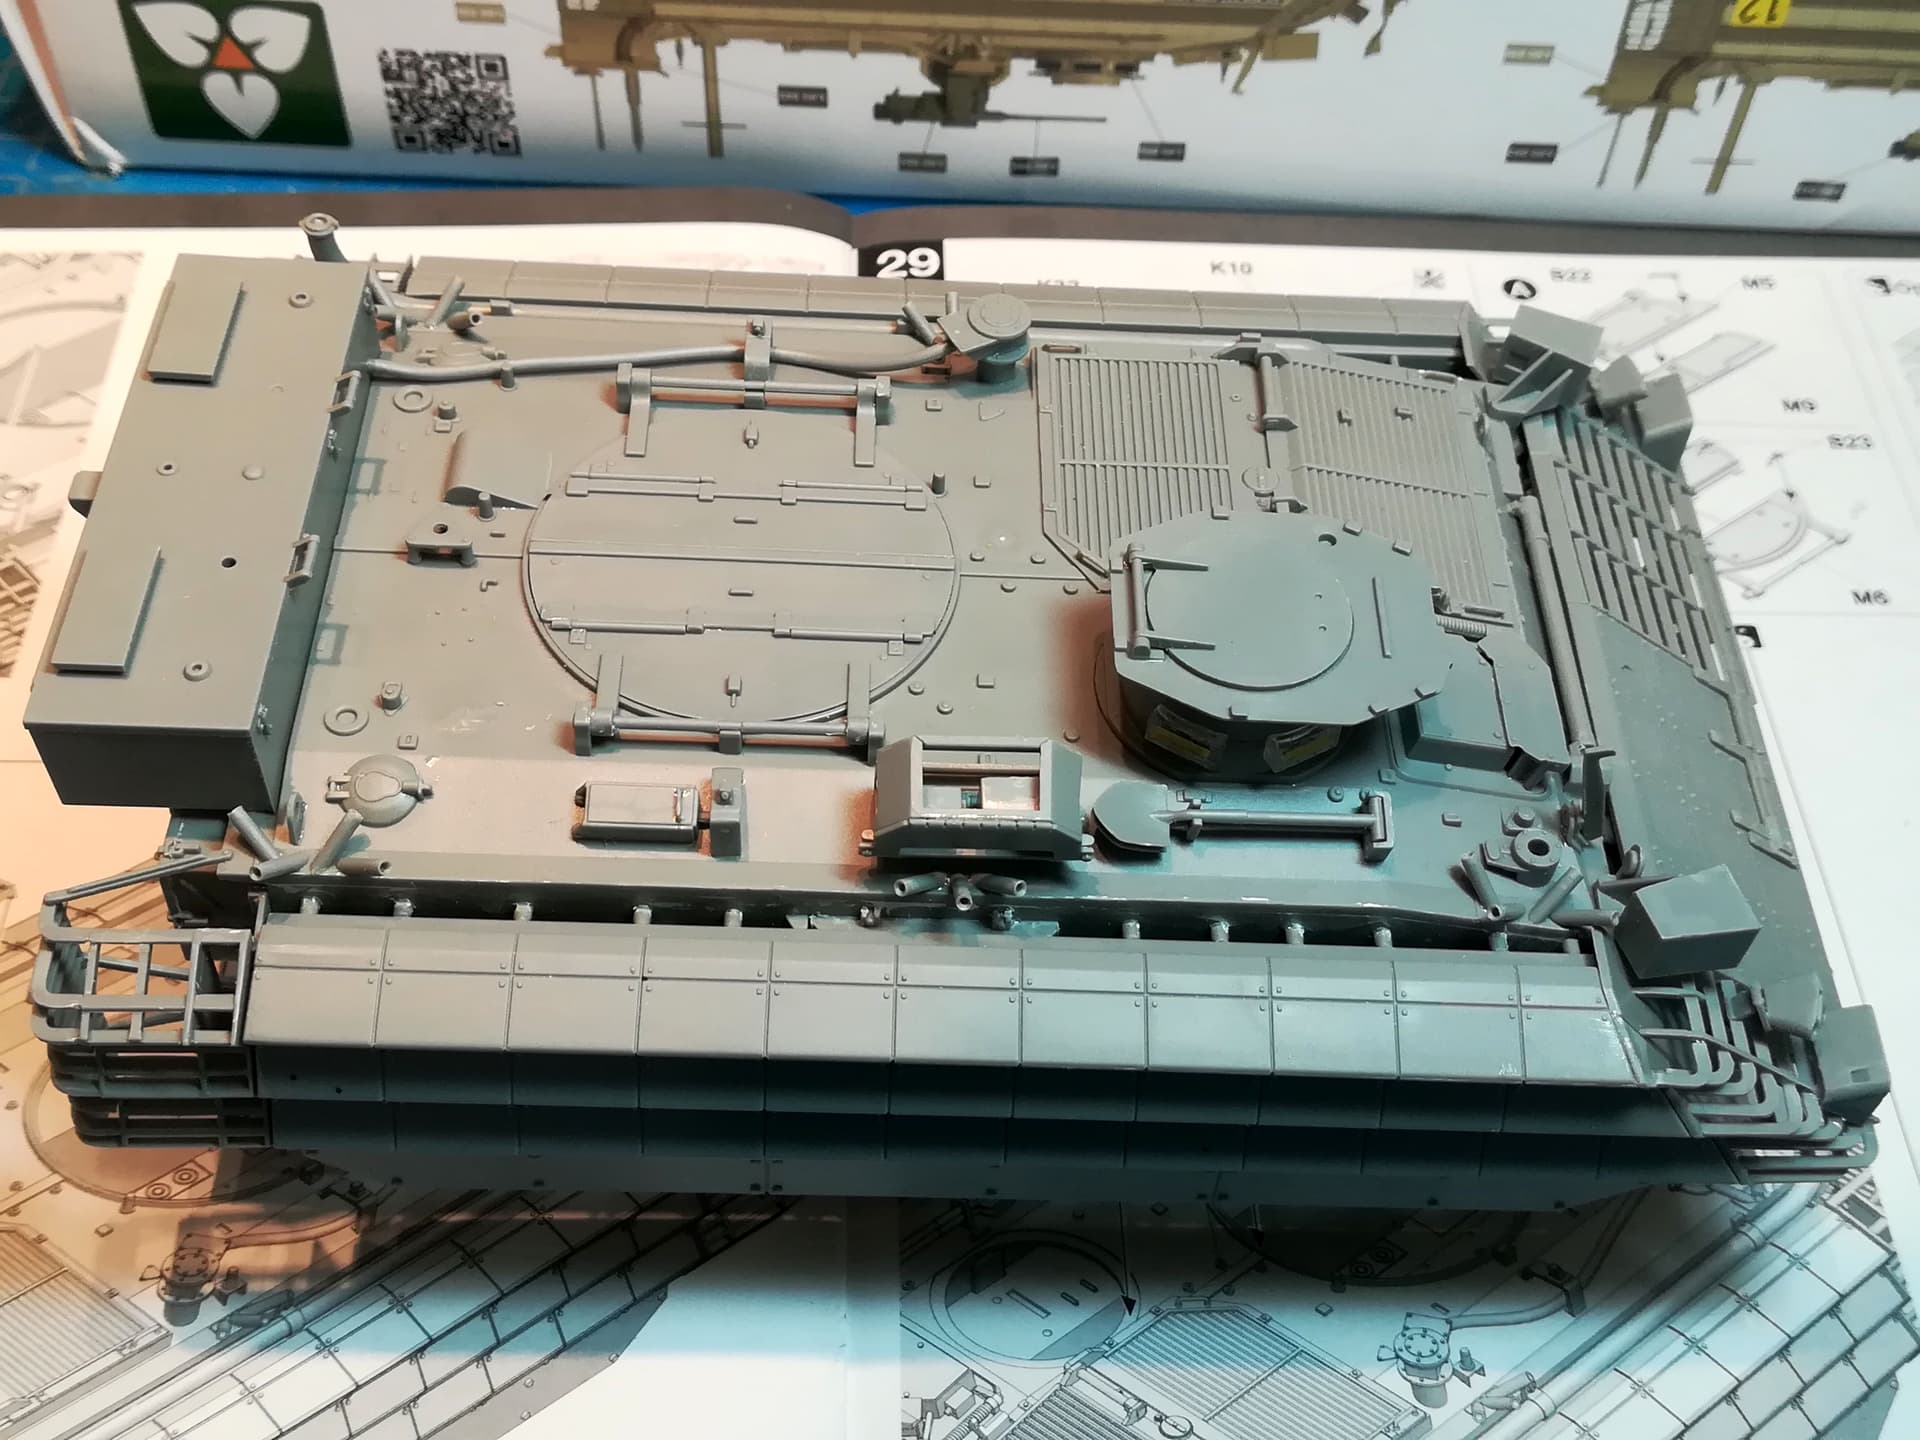
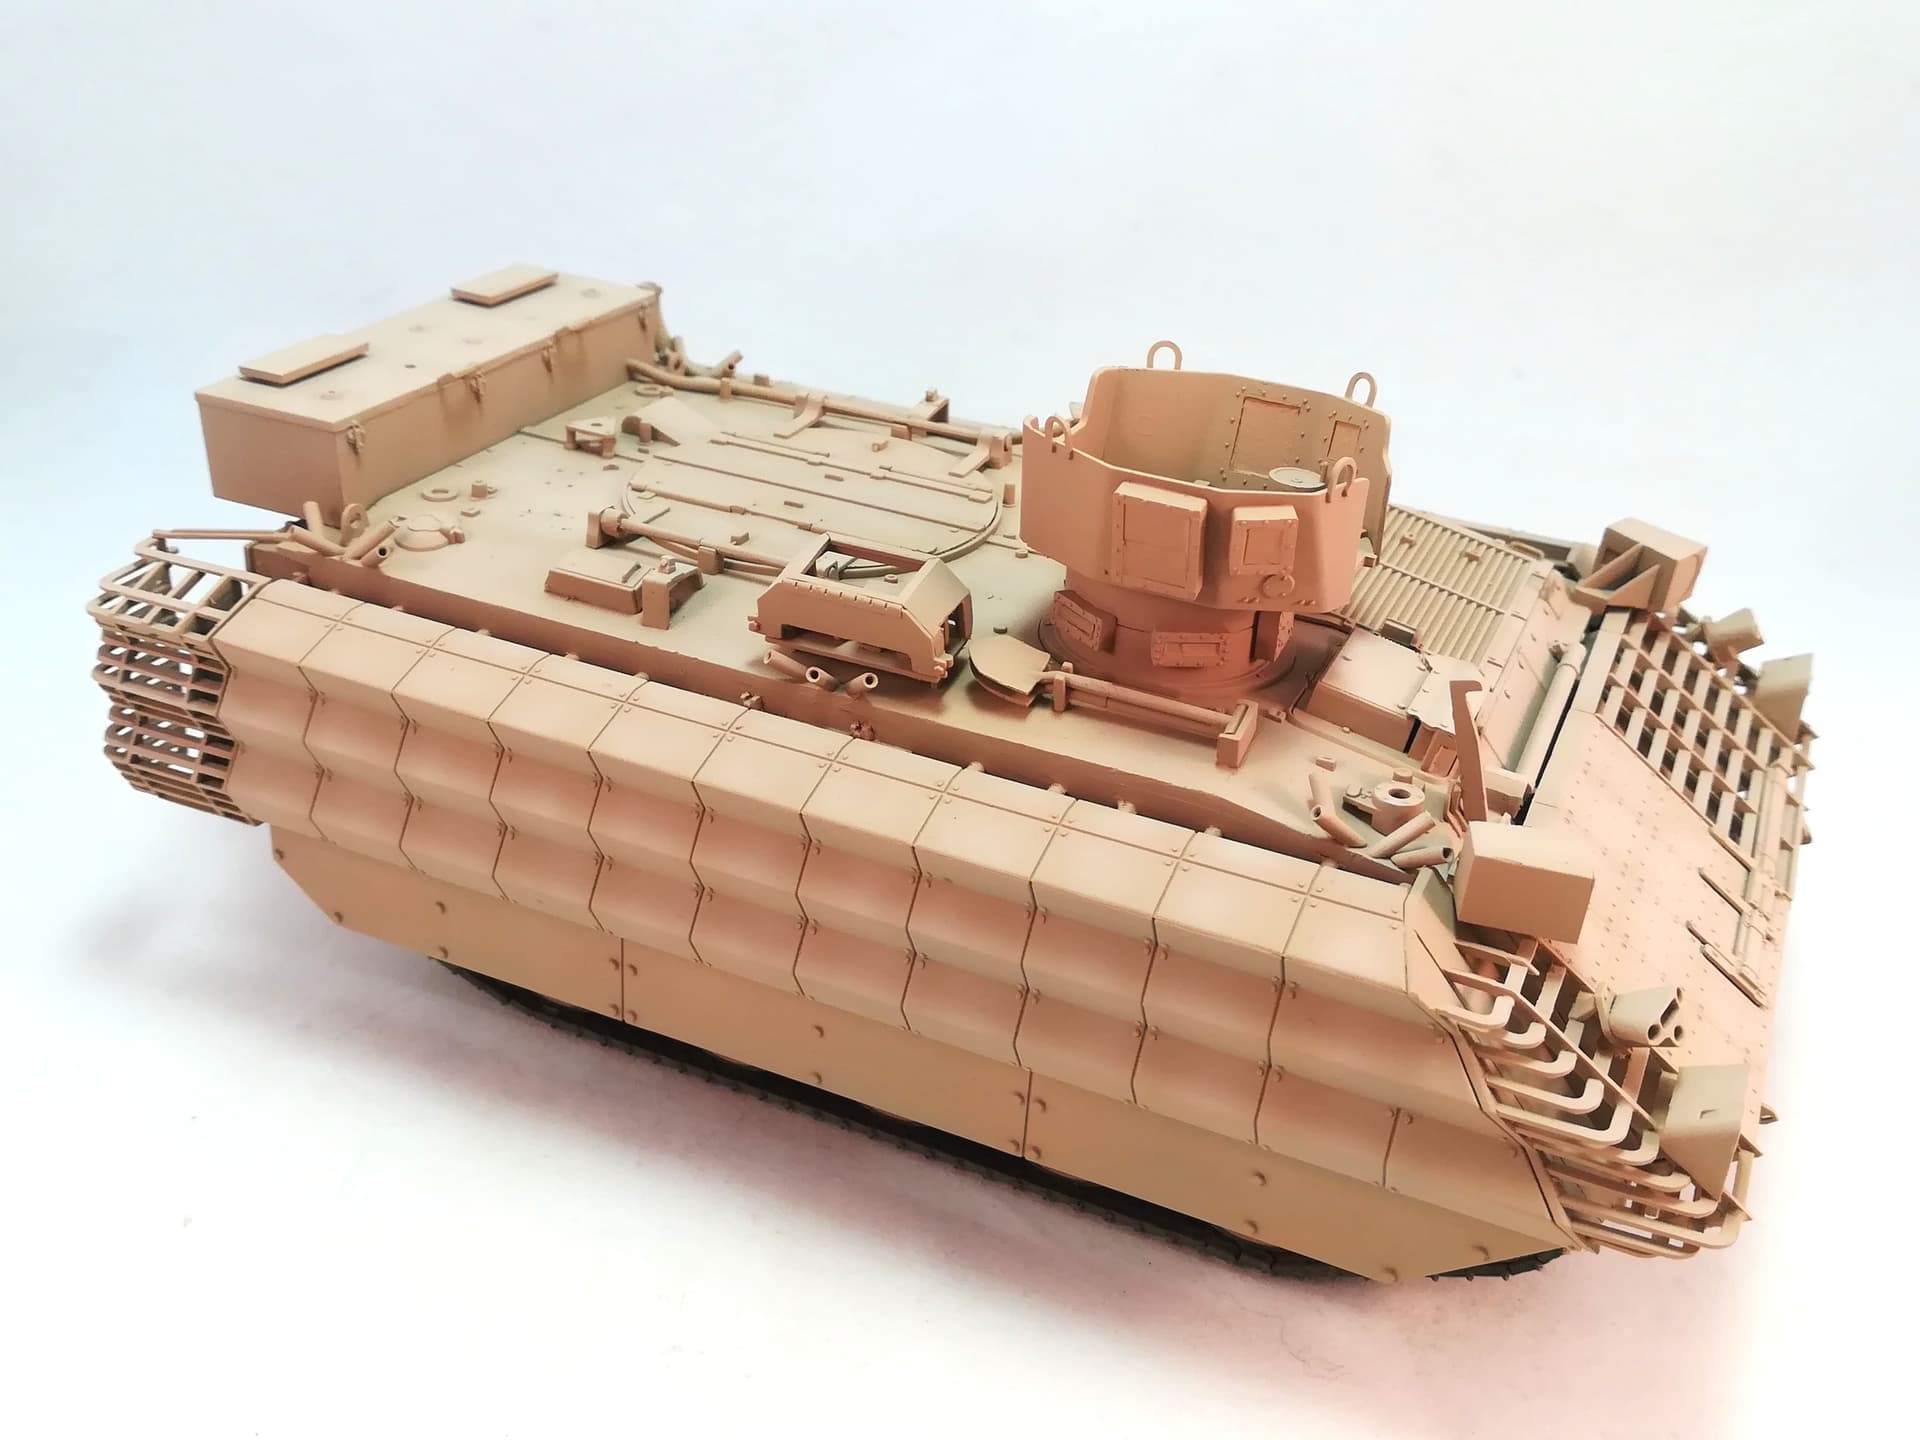
The kit is nicely detailed and comes with the original FV 432 sprues plus the necessary additional ones to make the mk3.
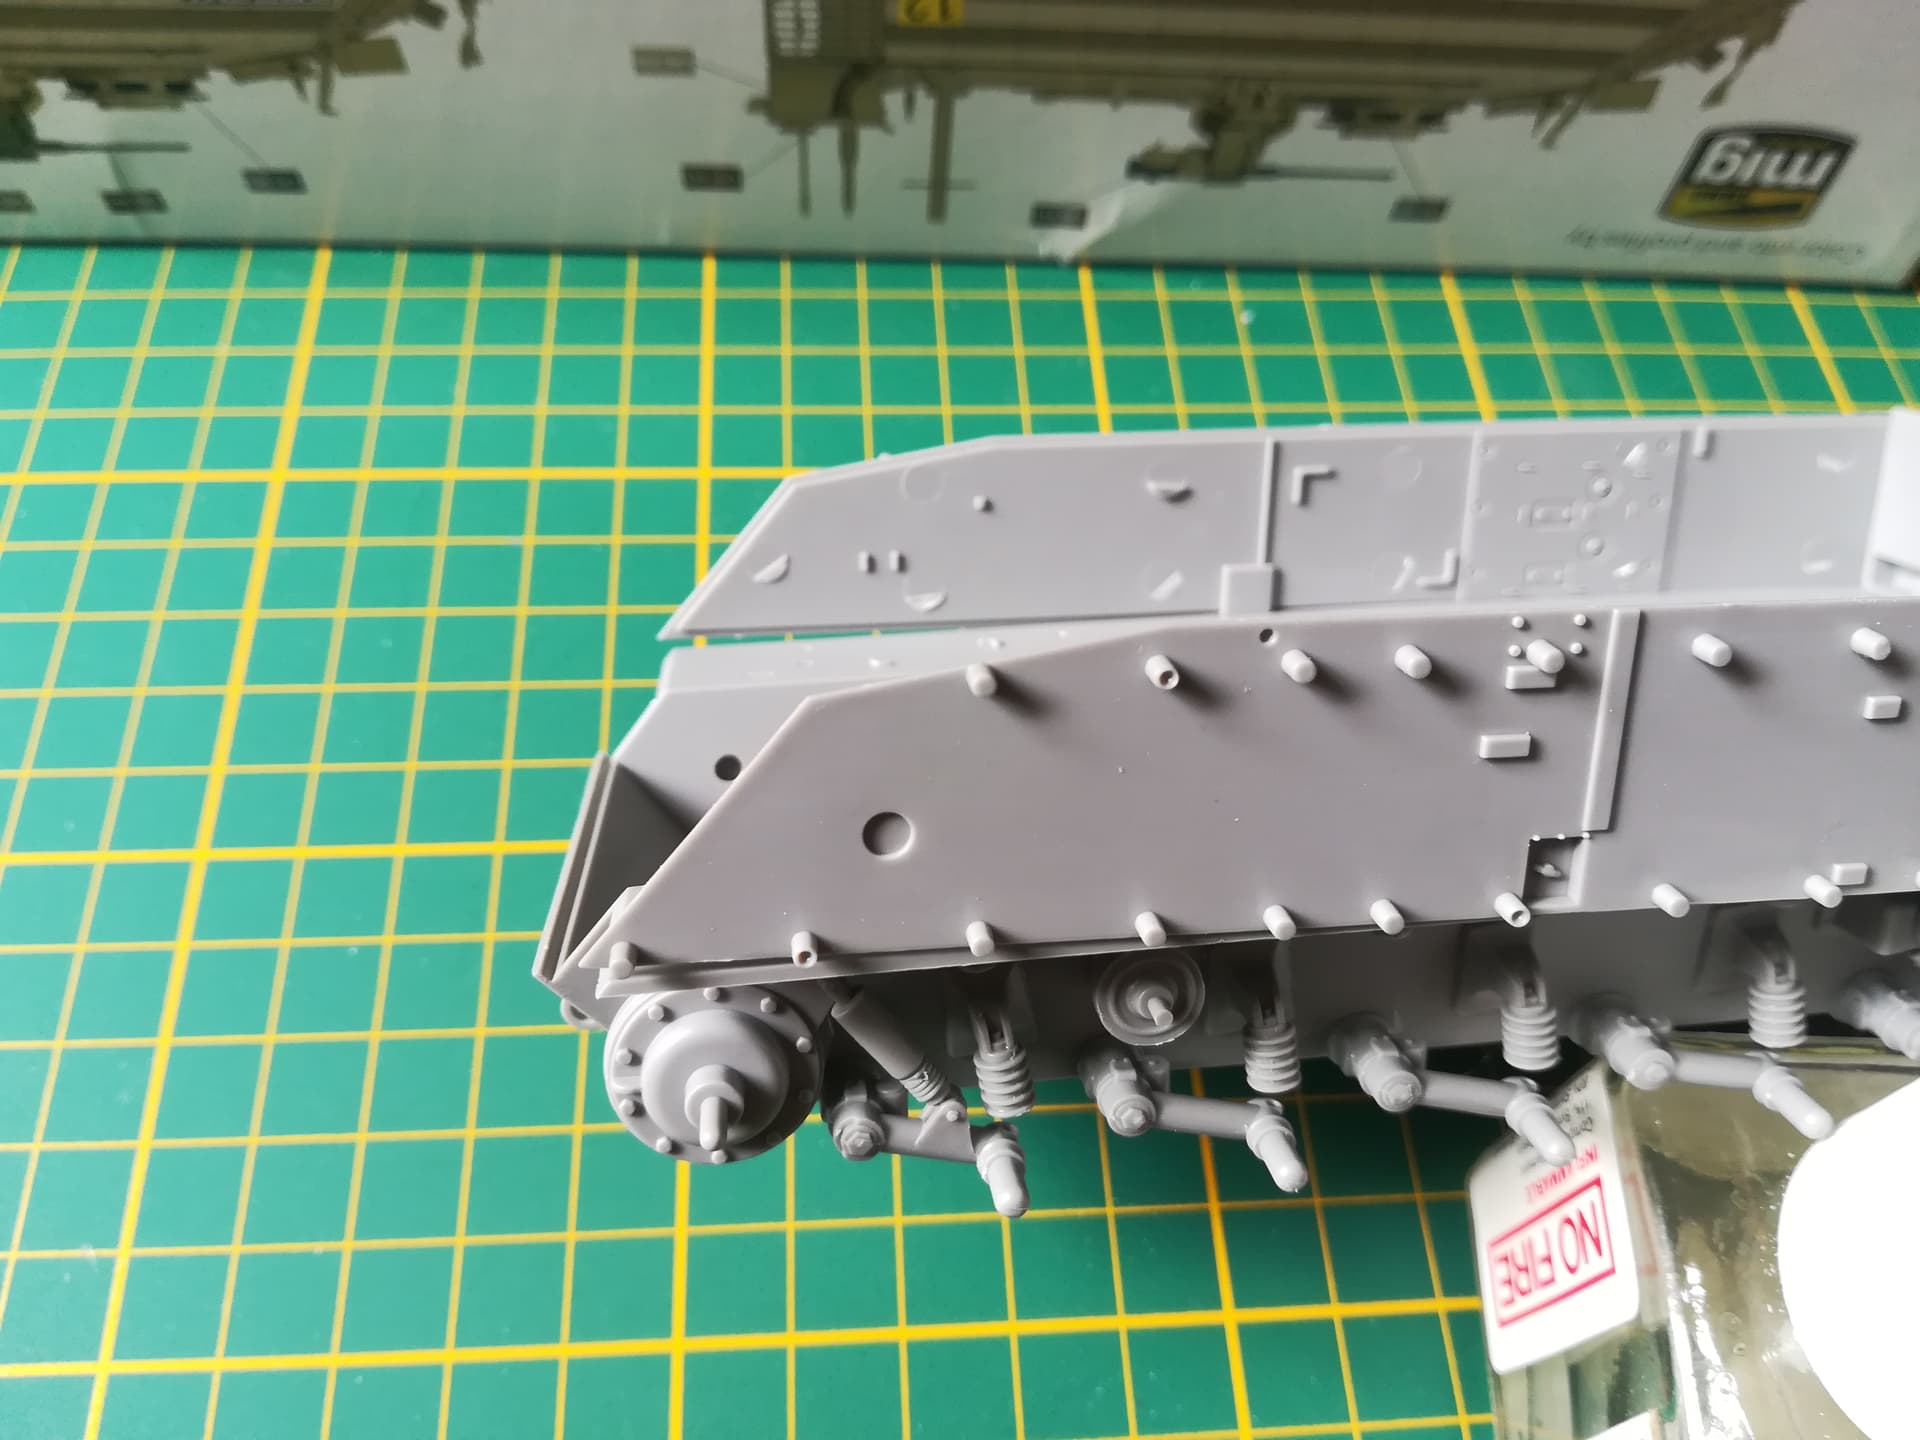
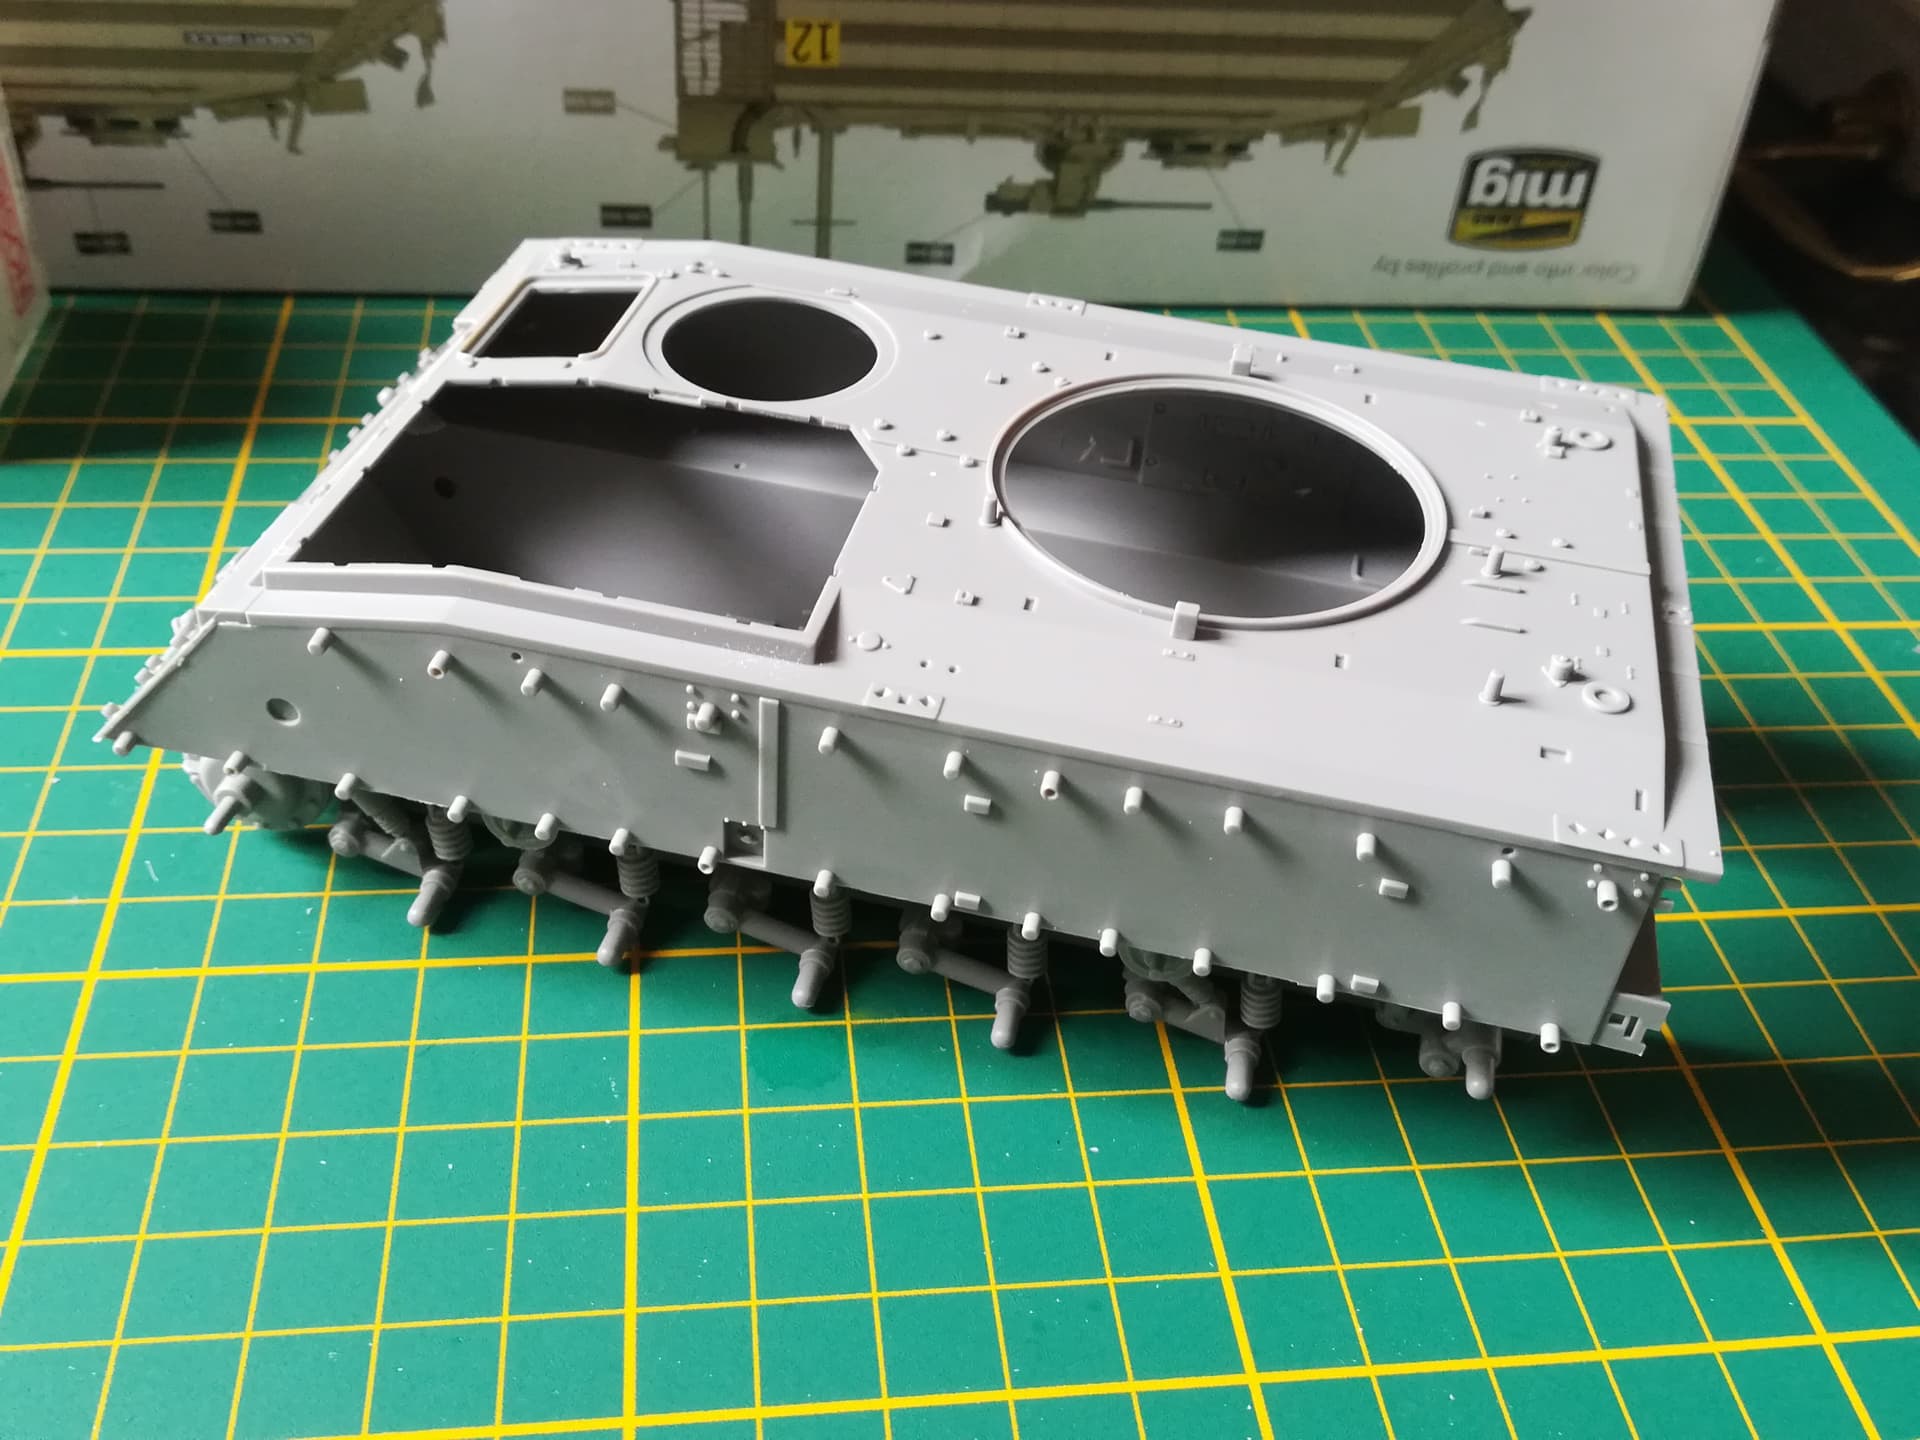
The main issue was that the hull tub was slightly bent from the rear to the front resulting in the sides not fully sitting. I glued the rear of the sides and when the glue was cured I move forward till the entire side was glued.
Takom gives you a jig to assemble the tracks which are the length and individual links type. The jig is really useful. However I found that if you glue the number of individual links required by the instructions one is missing in the end. This is not a big deal.
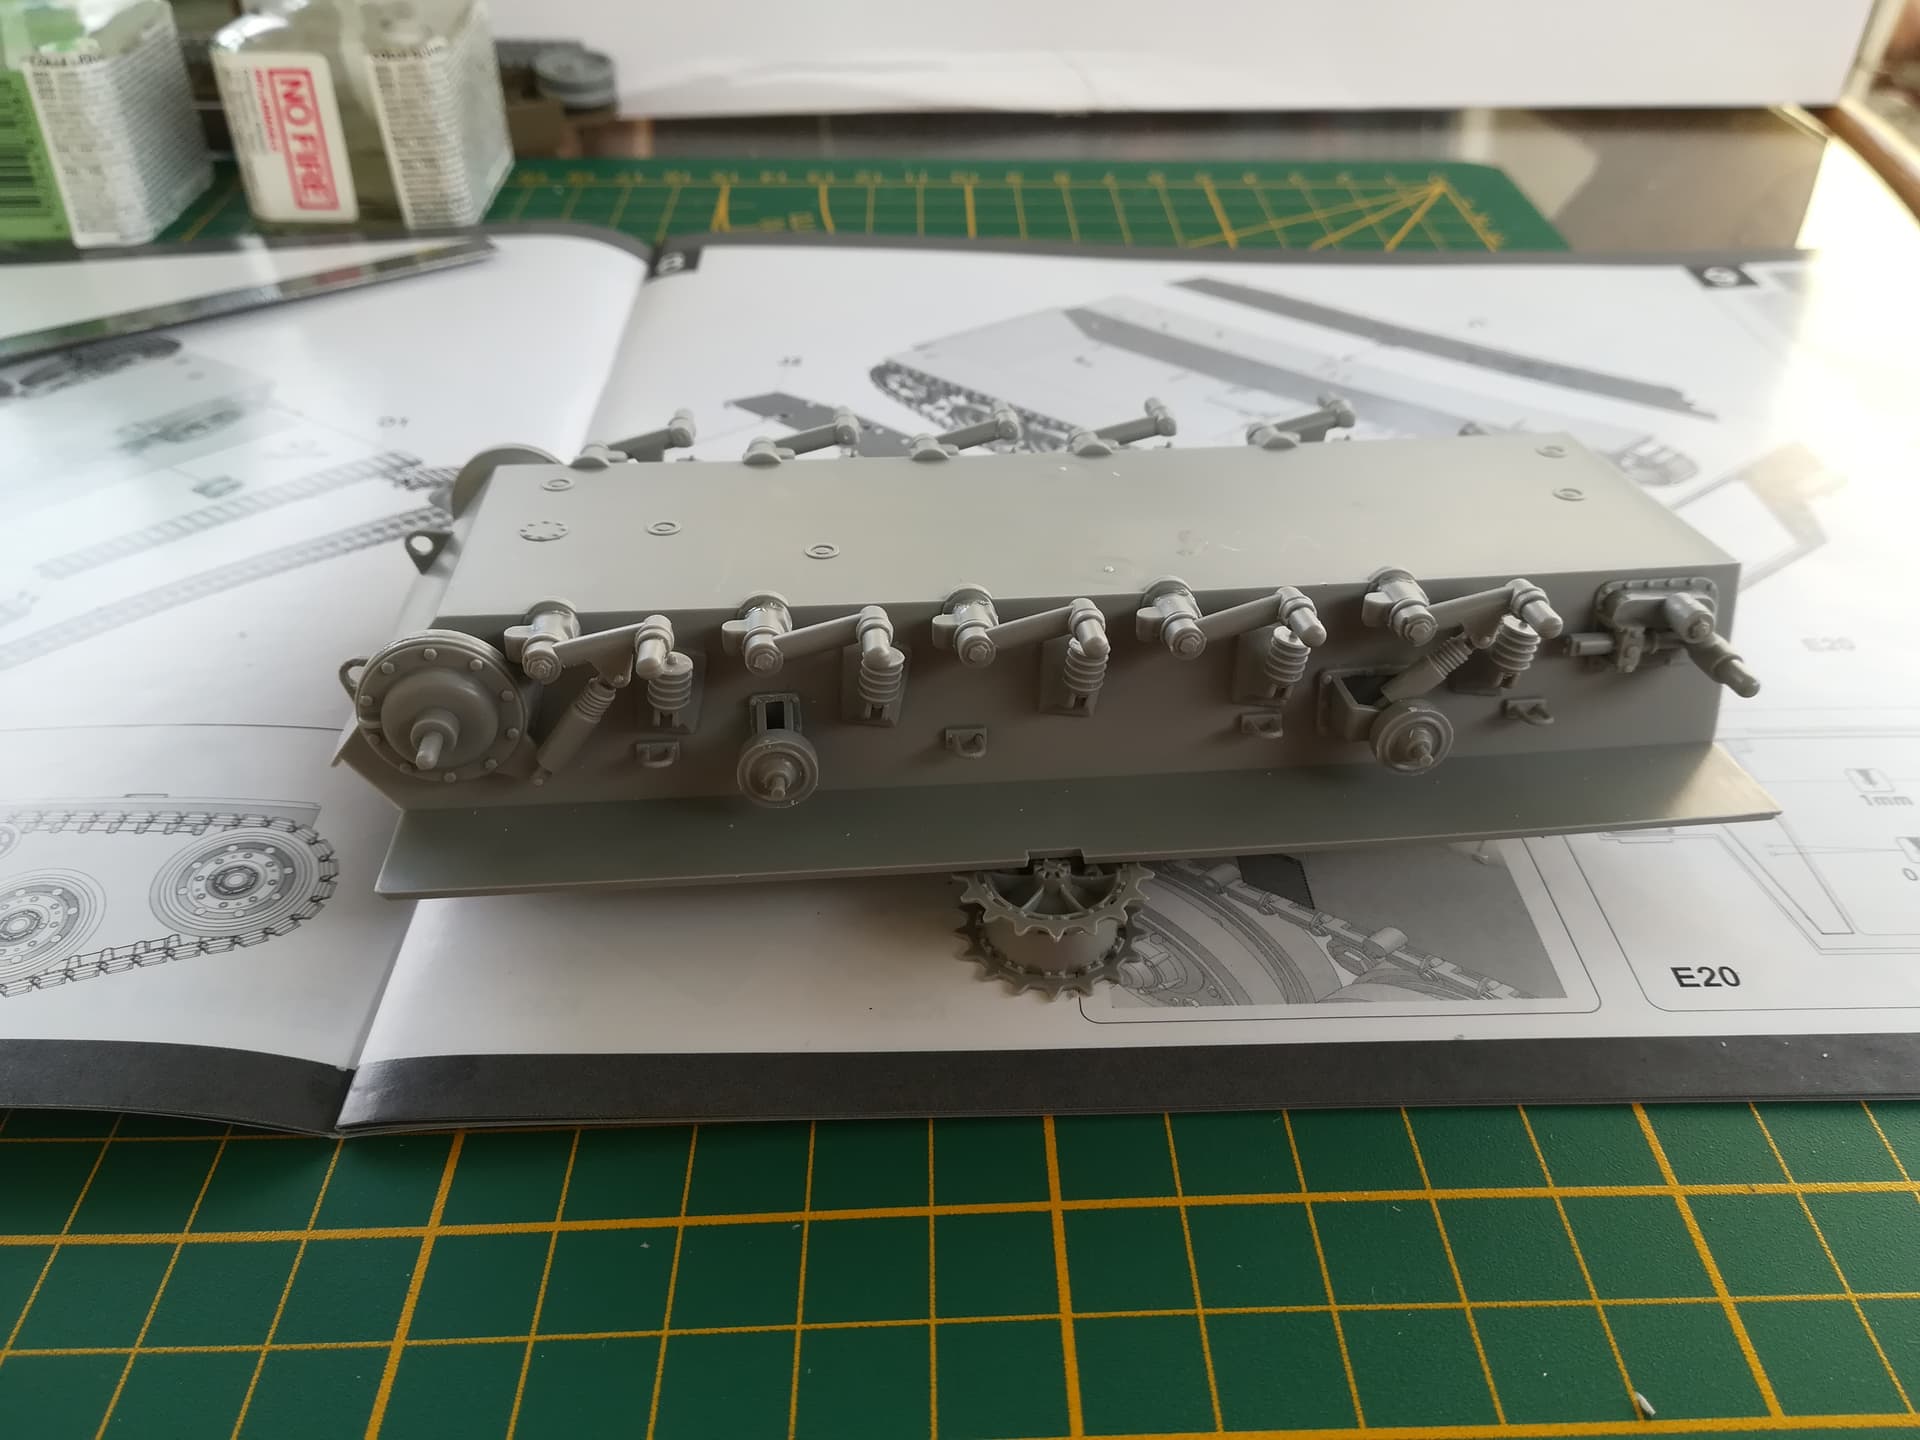
The other issue with the running gear is that the left side roadwheels axes are too large. So I had to enlarge the hole in the inner face of the roadwheels and the idler.
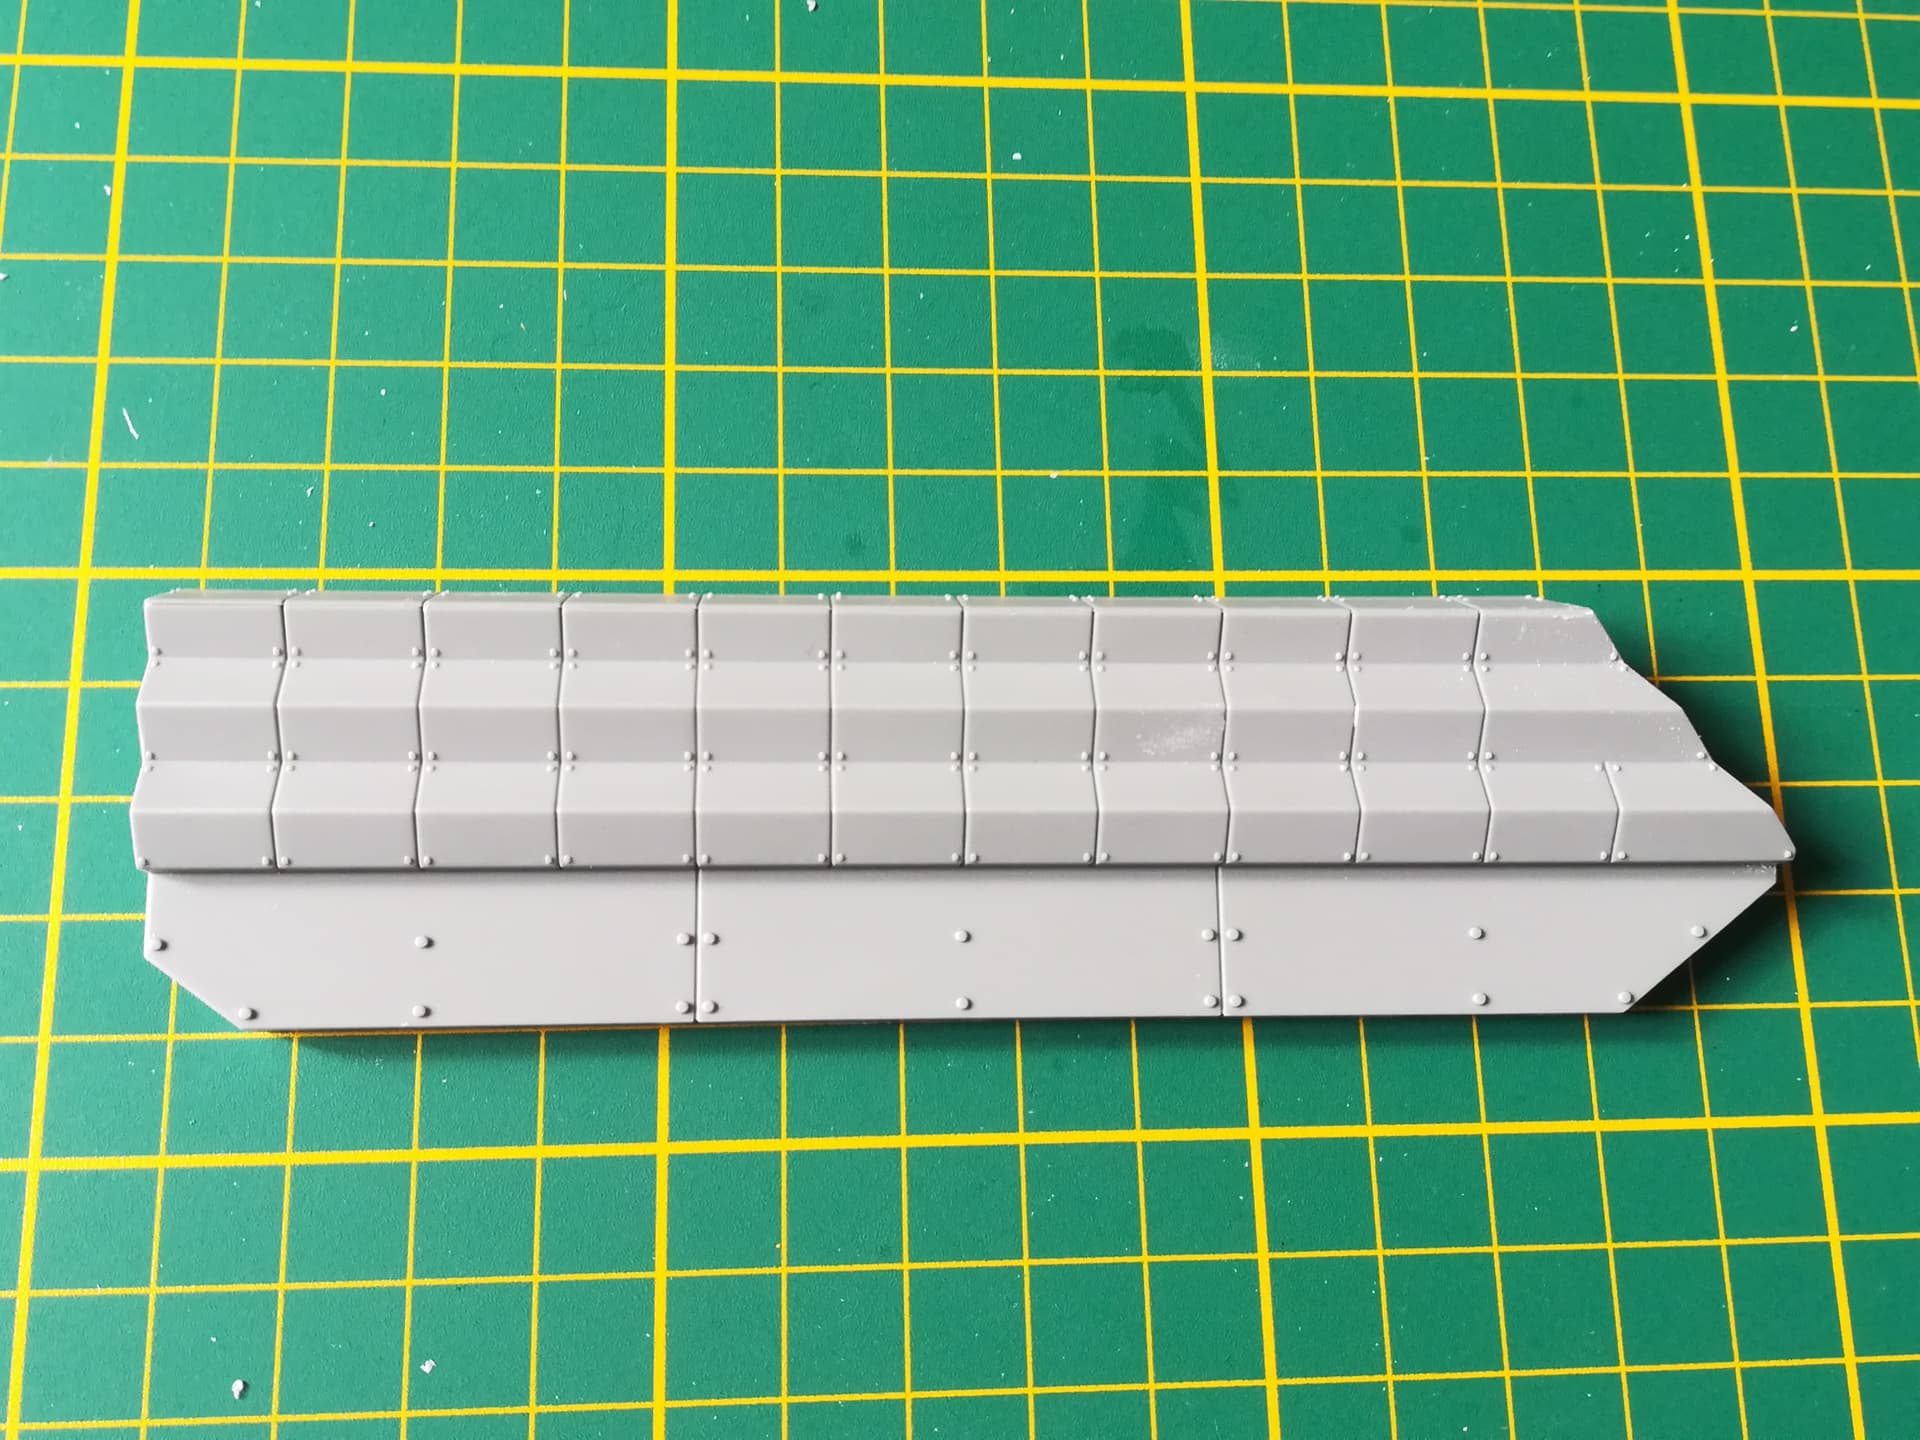
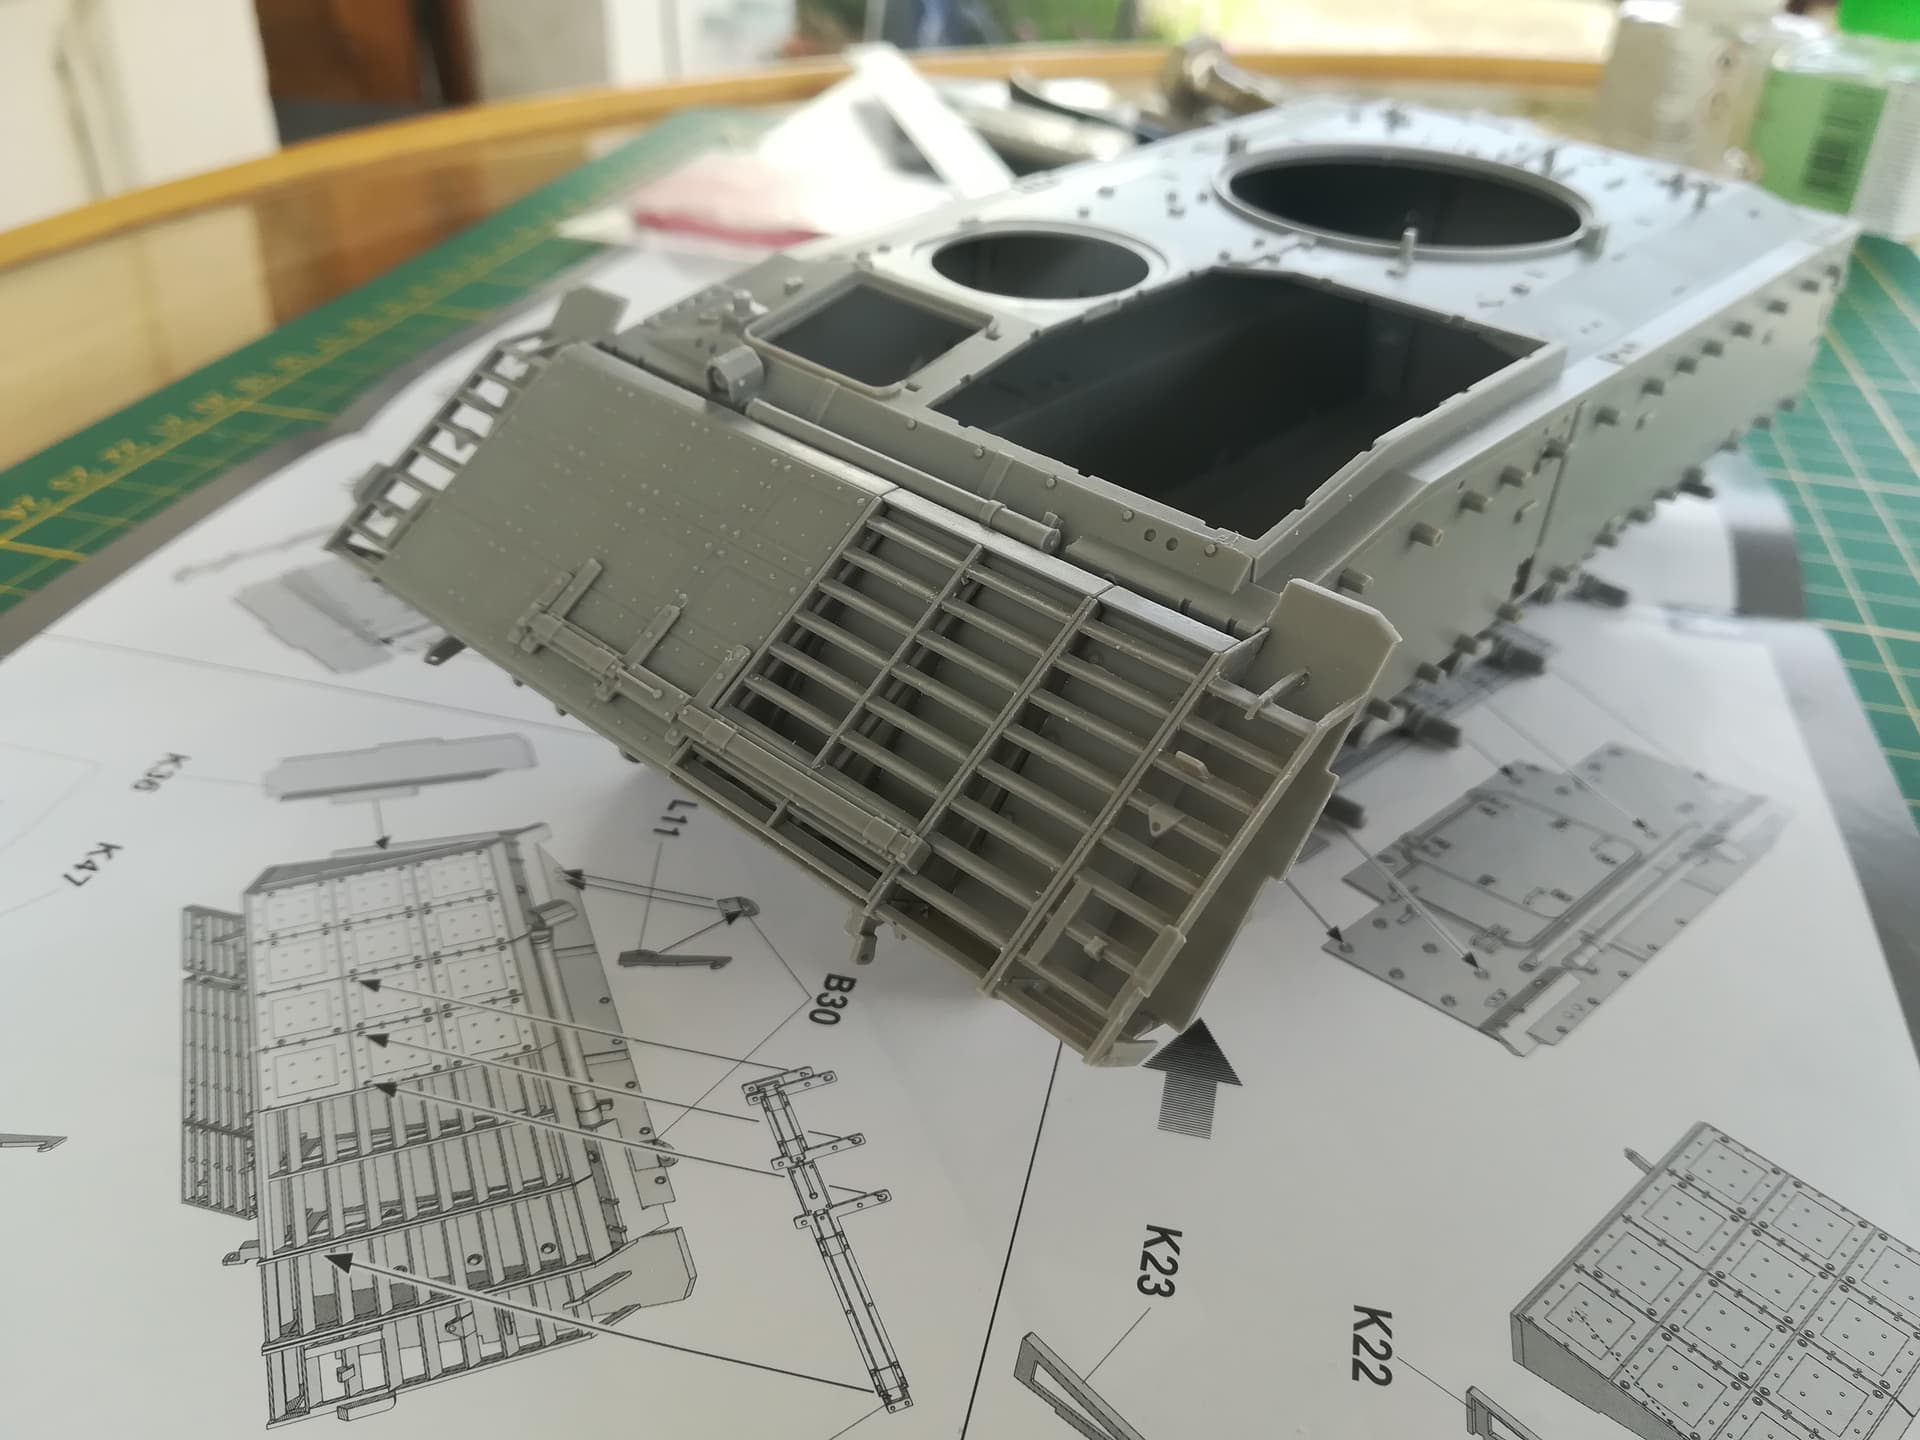
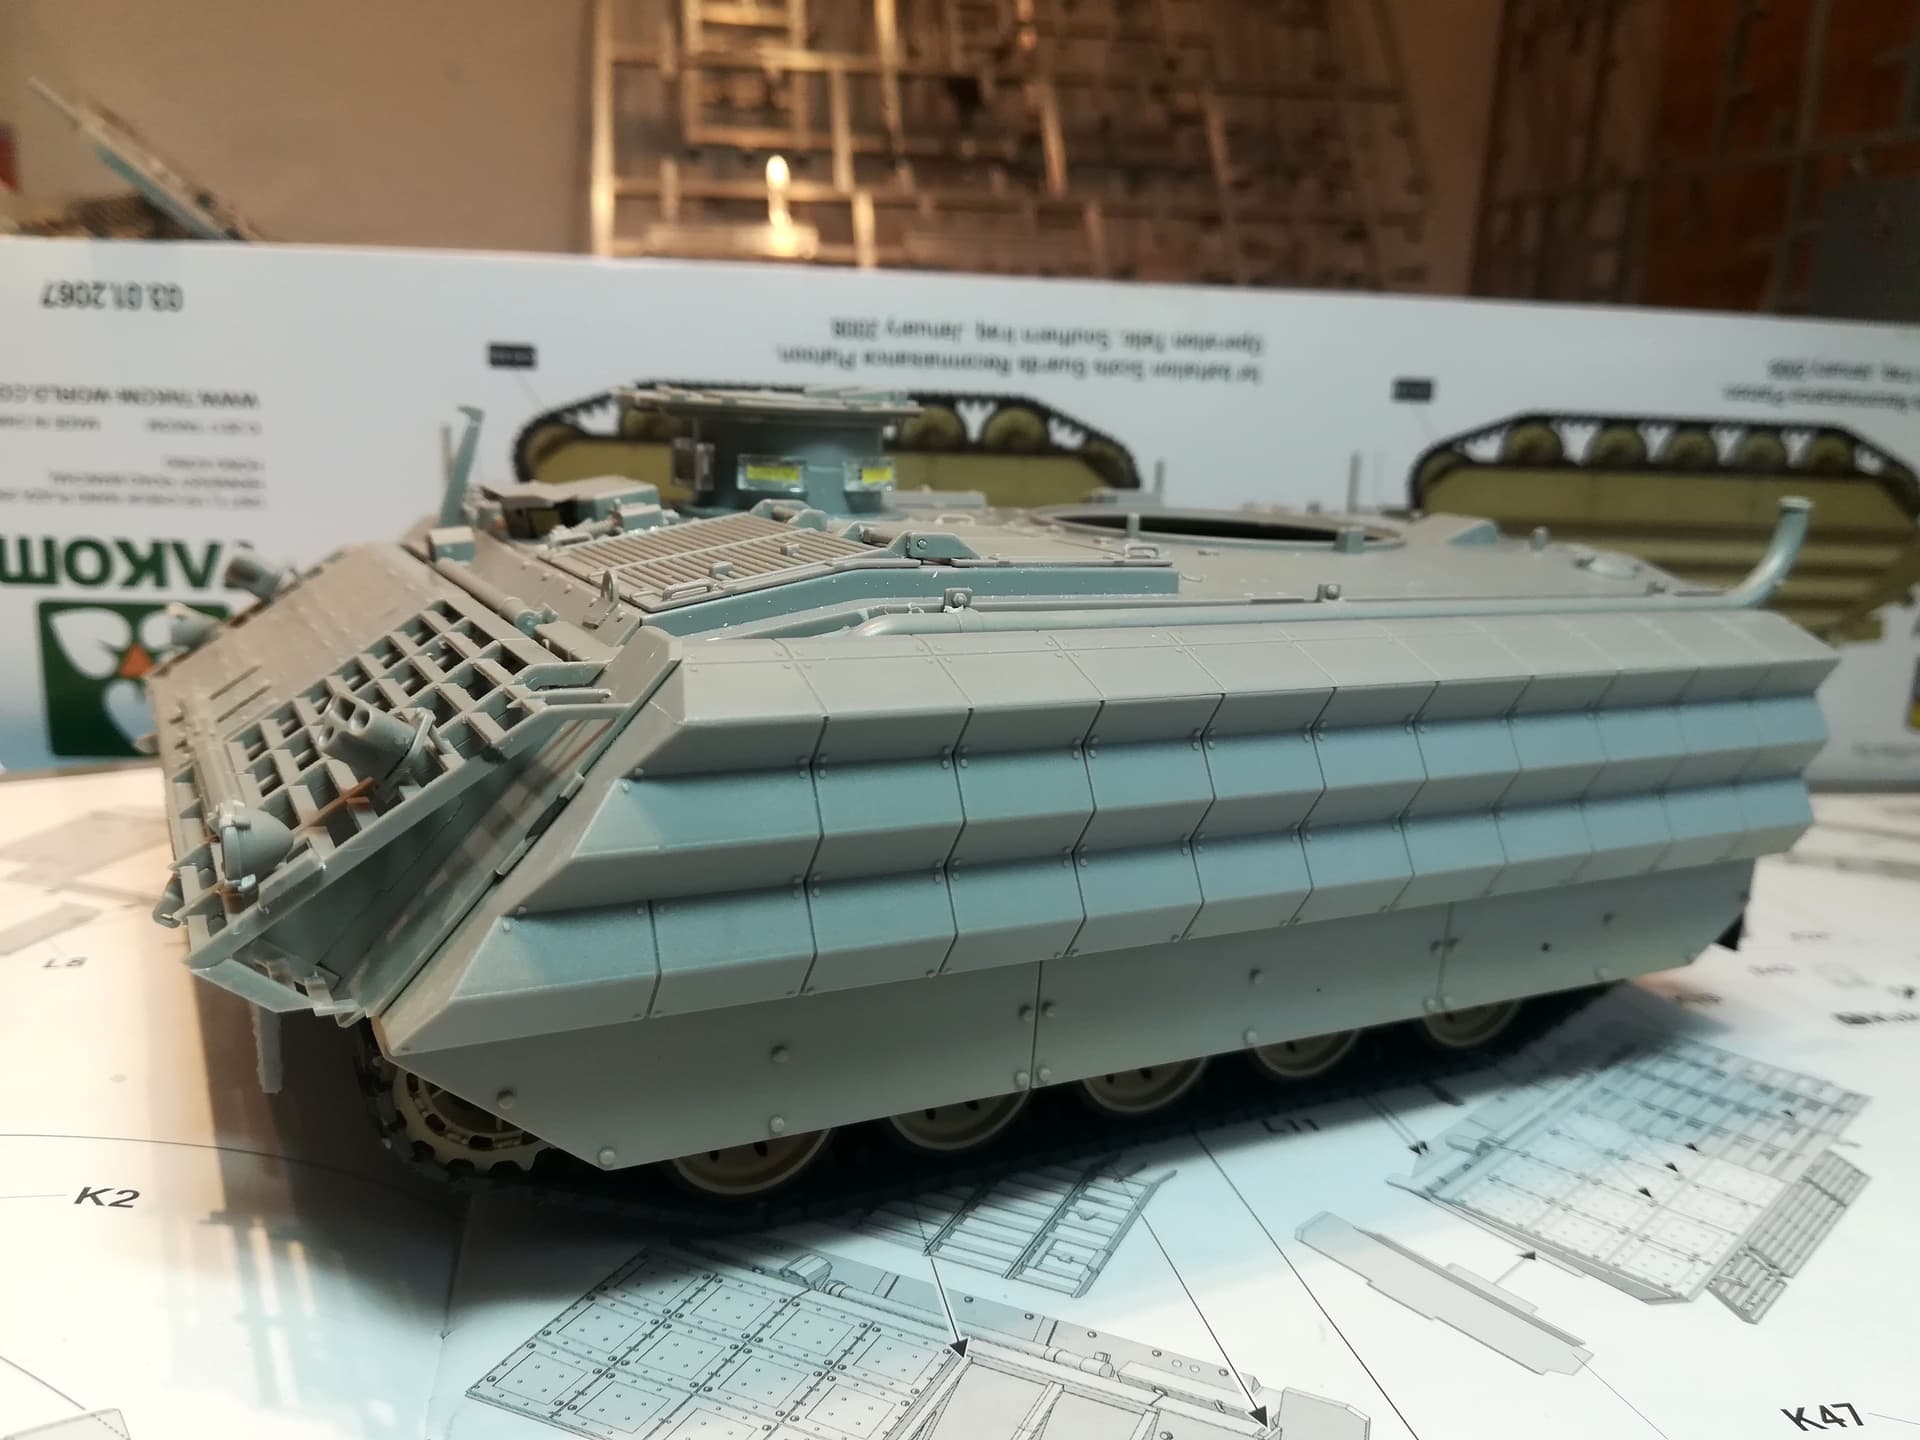
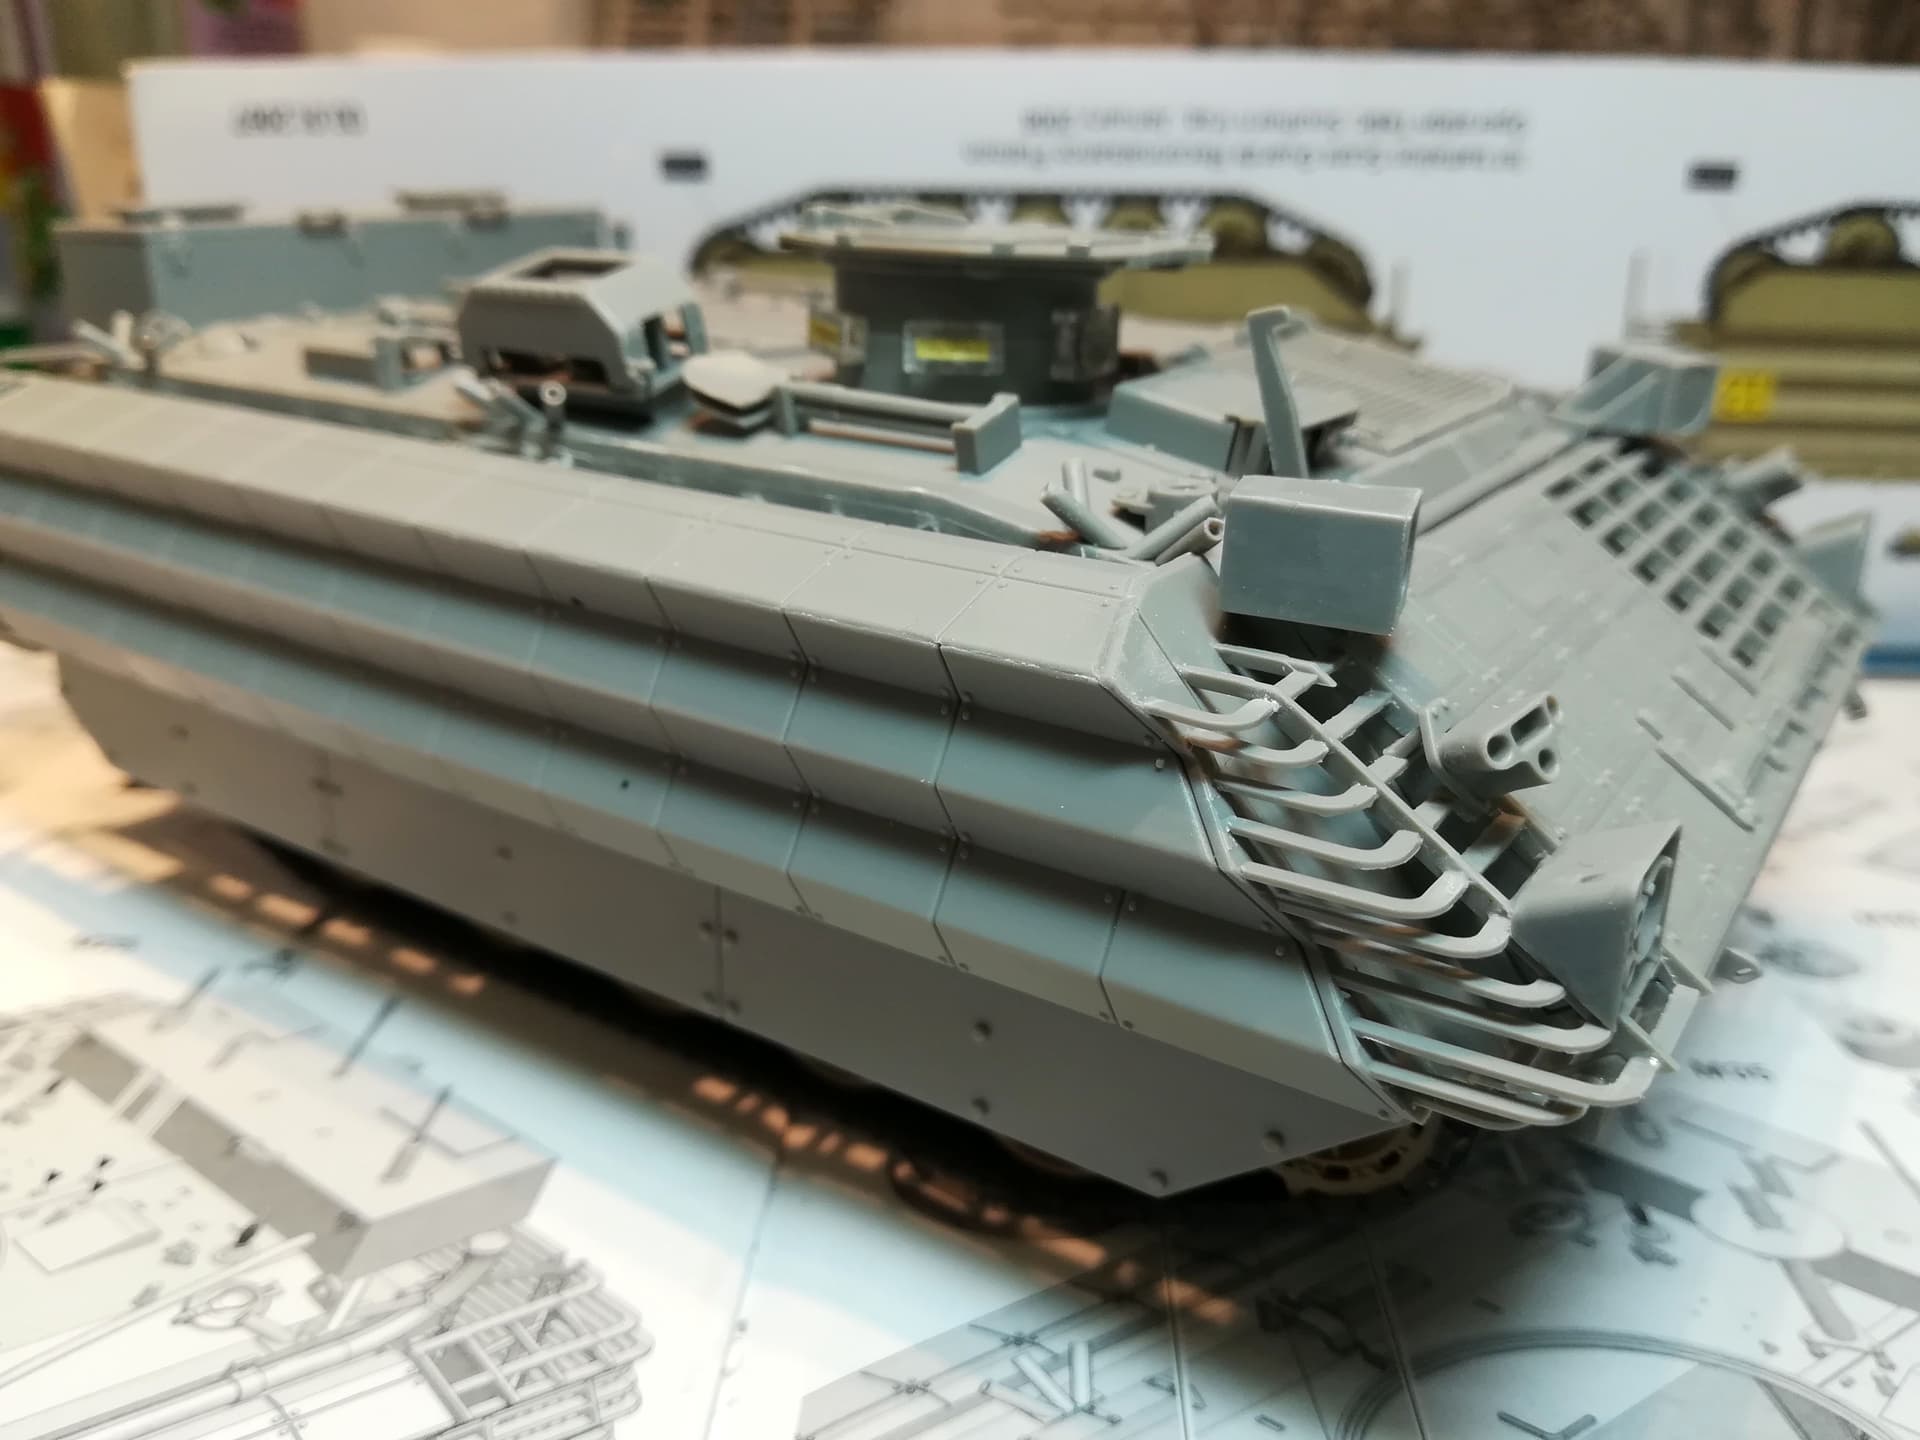
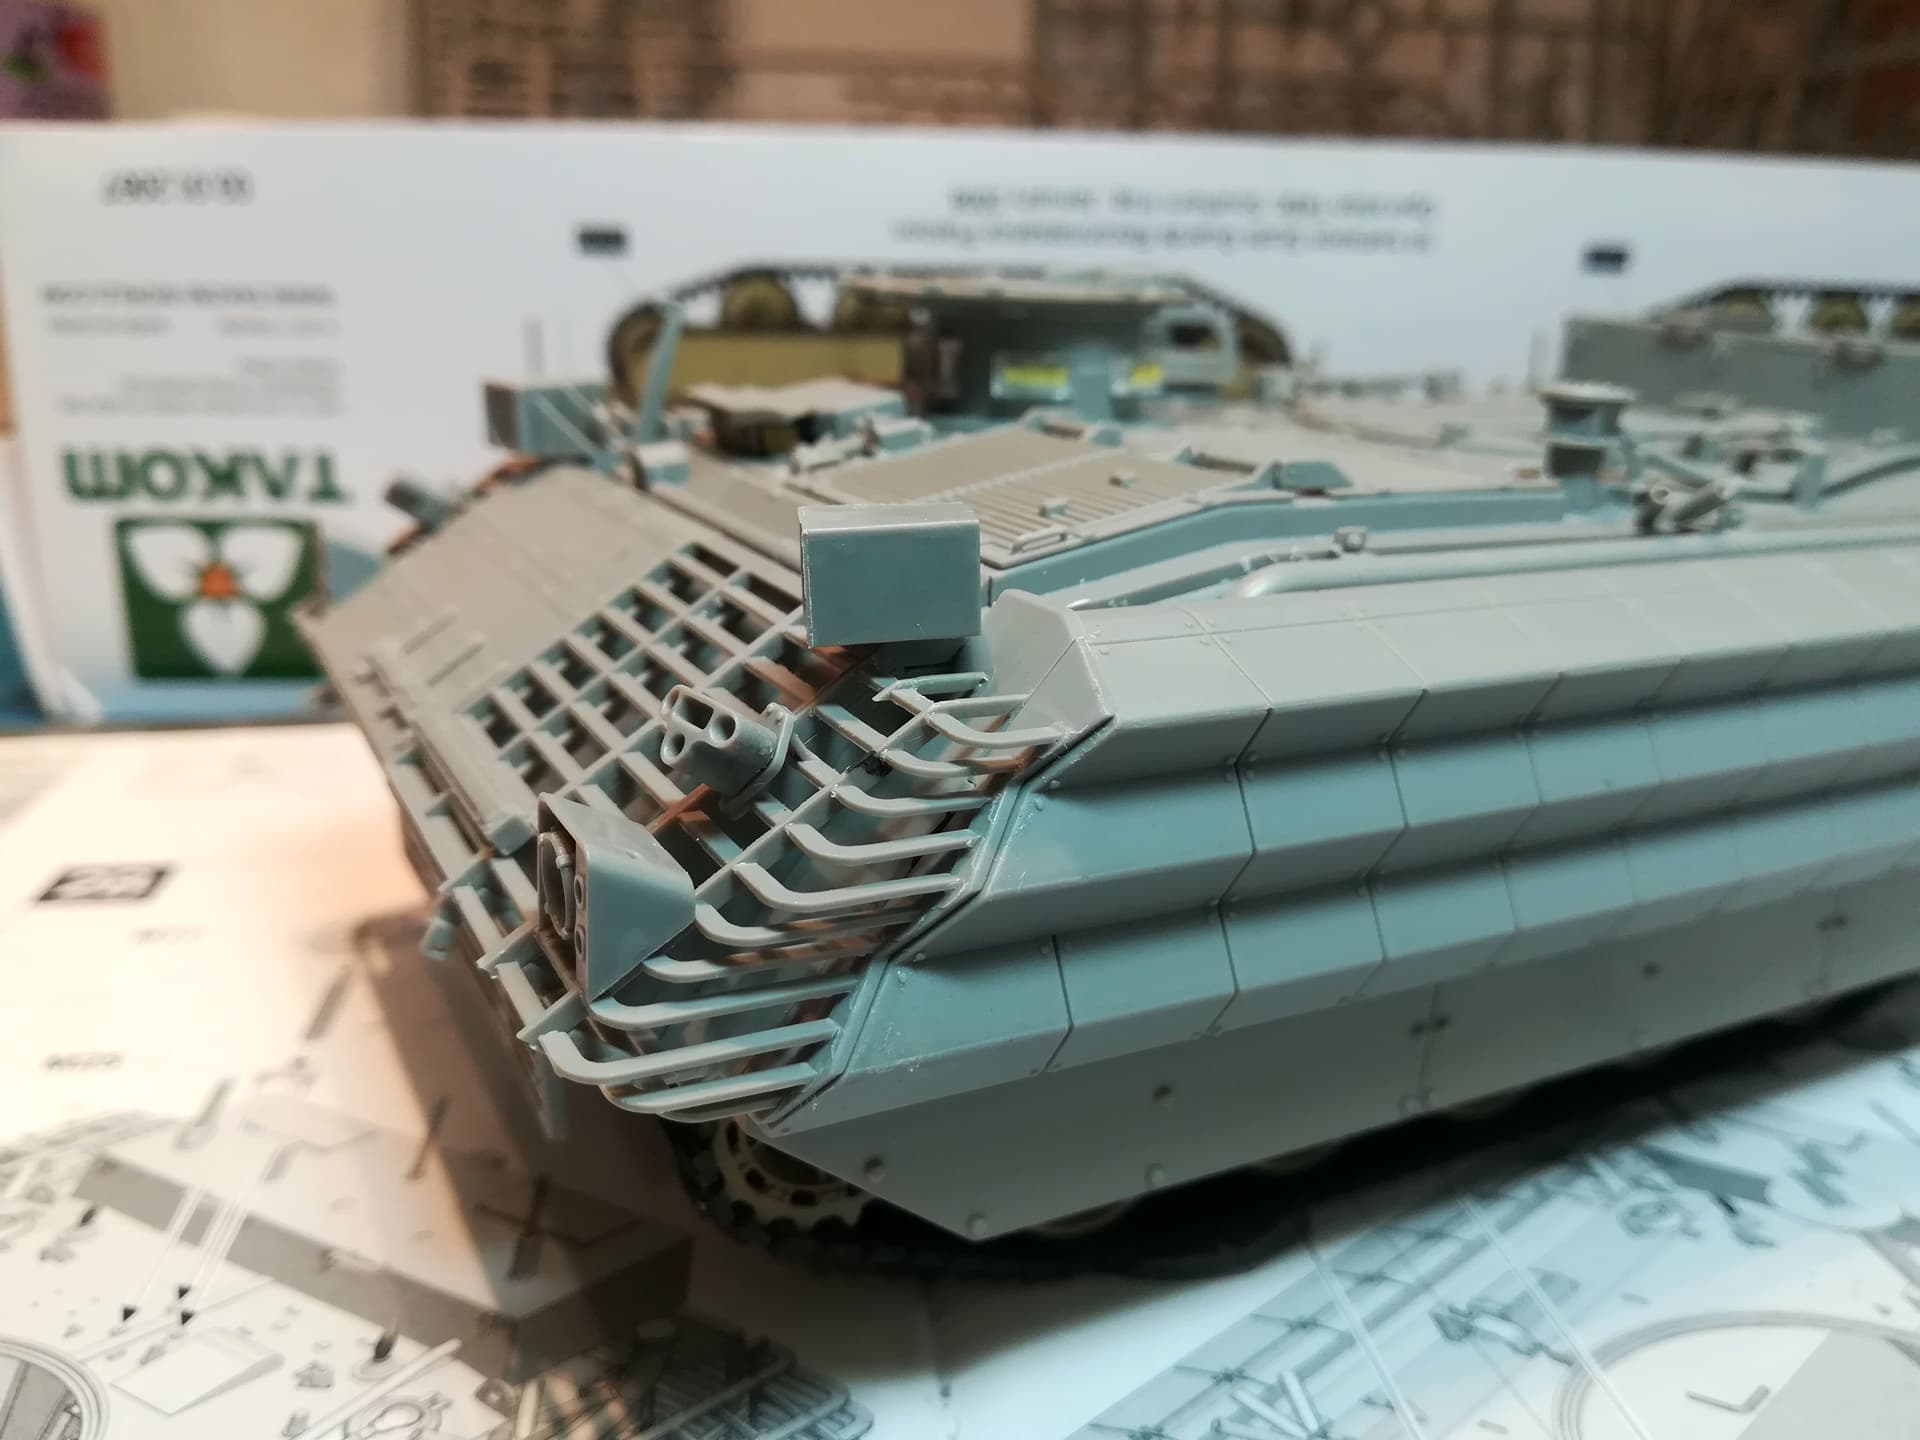
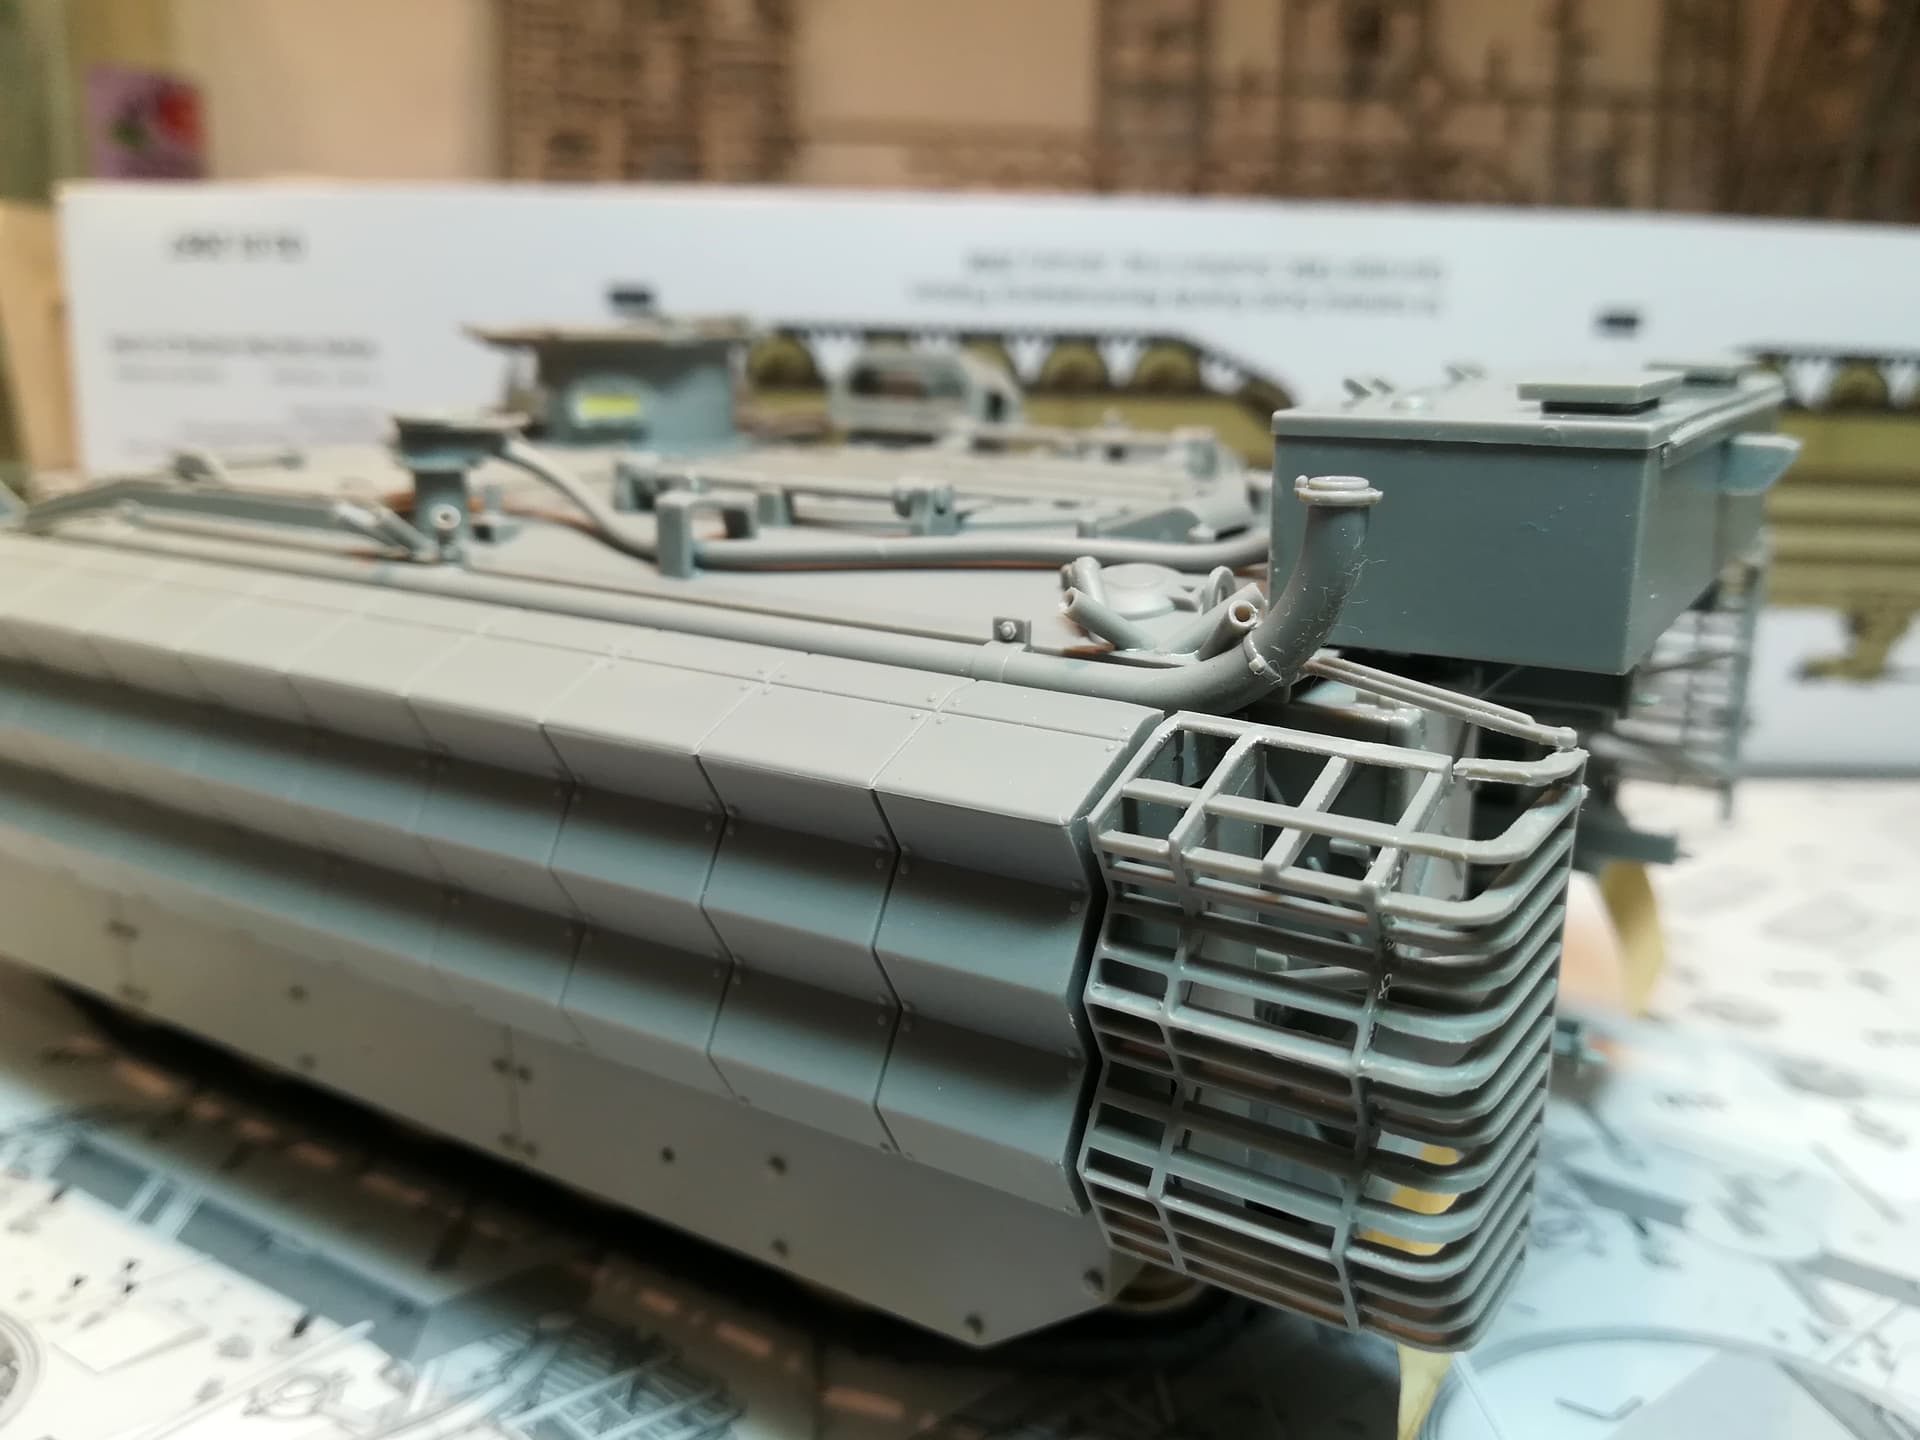
The rest of the build is quite smooth once you have cleaned the mold lines on some parts to have a perfect fit. Even the slats are trouble free so far. All the hatches are mobile but there is no interior to show.
Looks great so far Olivier, the running gear seems nicely detailed… Shame so much is hidden from view once the armour is on… And go with the modern Bowman (American type) antenna bases
Thank you Johnny.
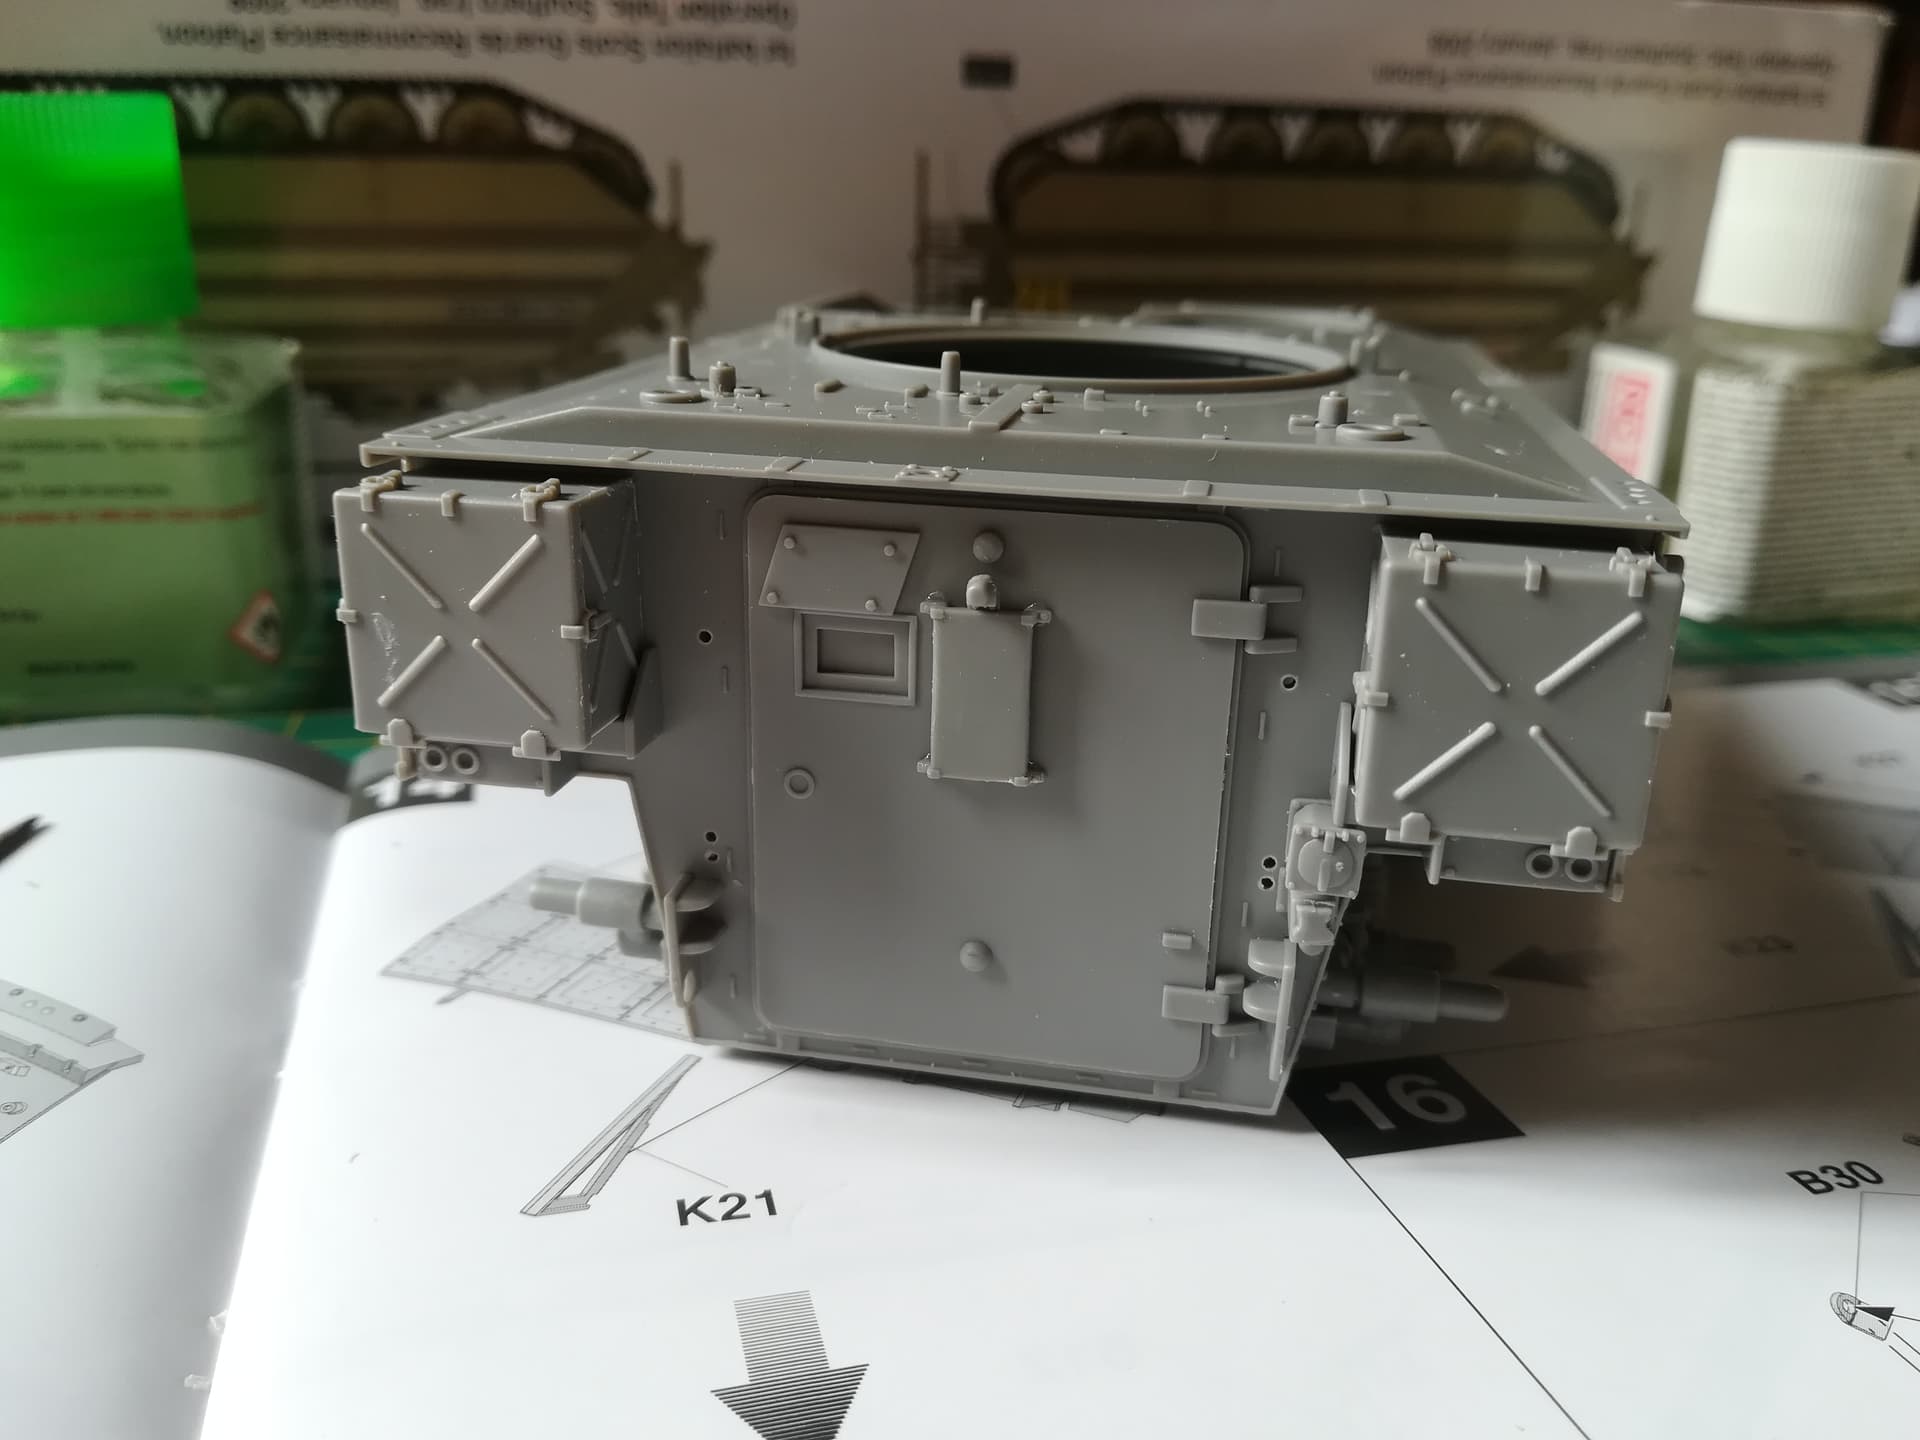
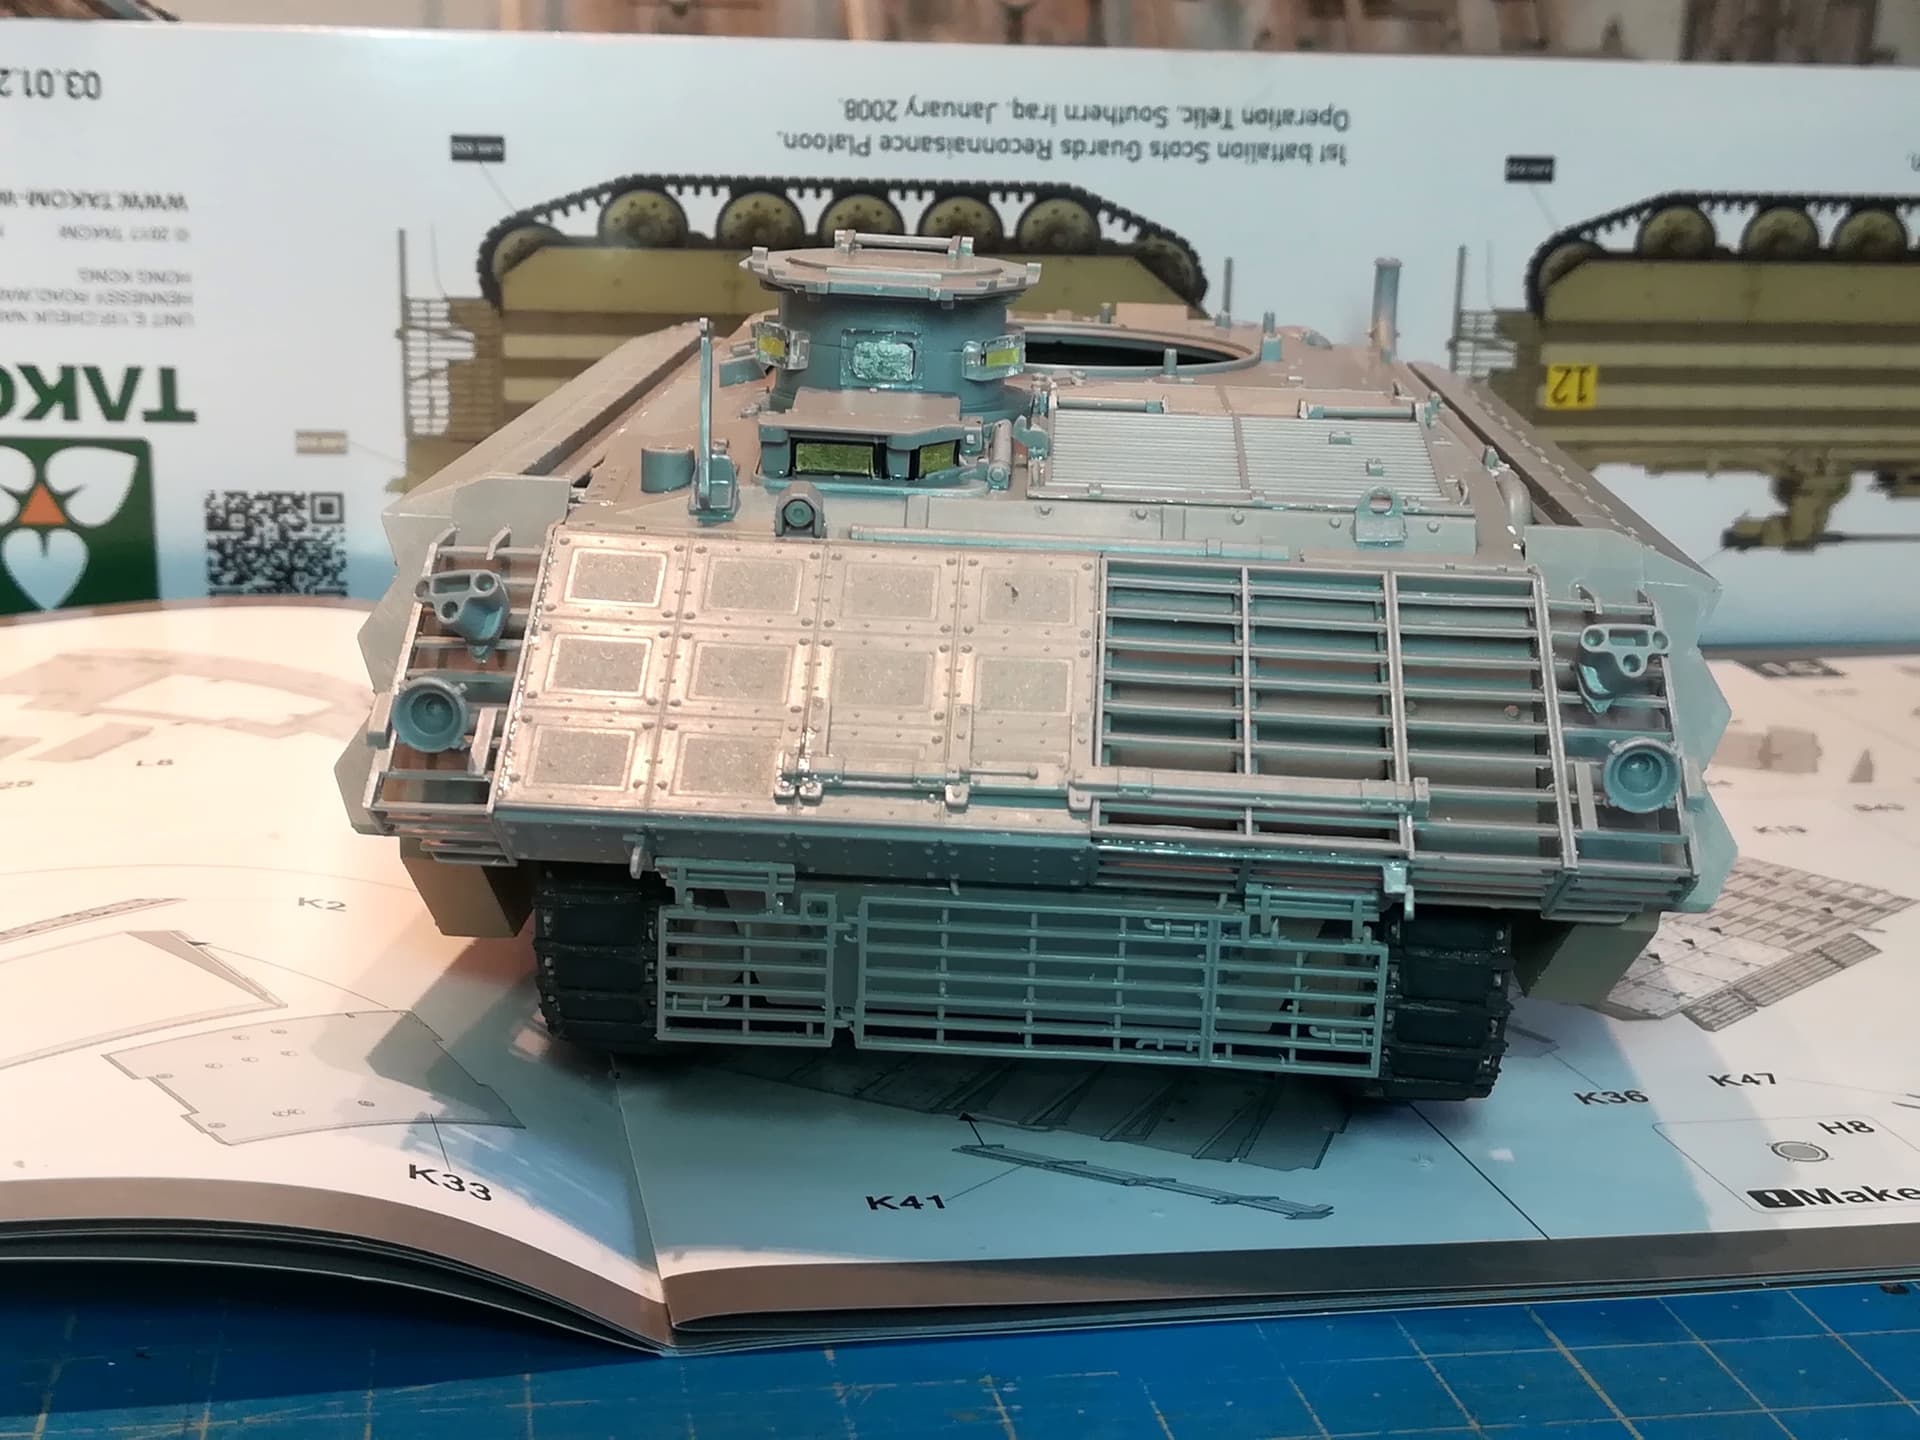
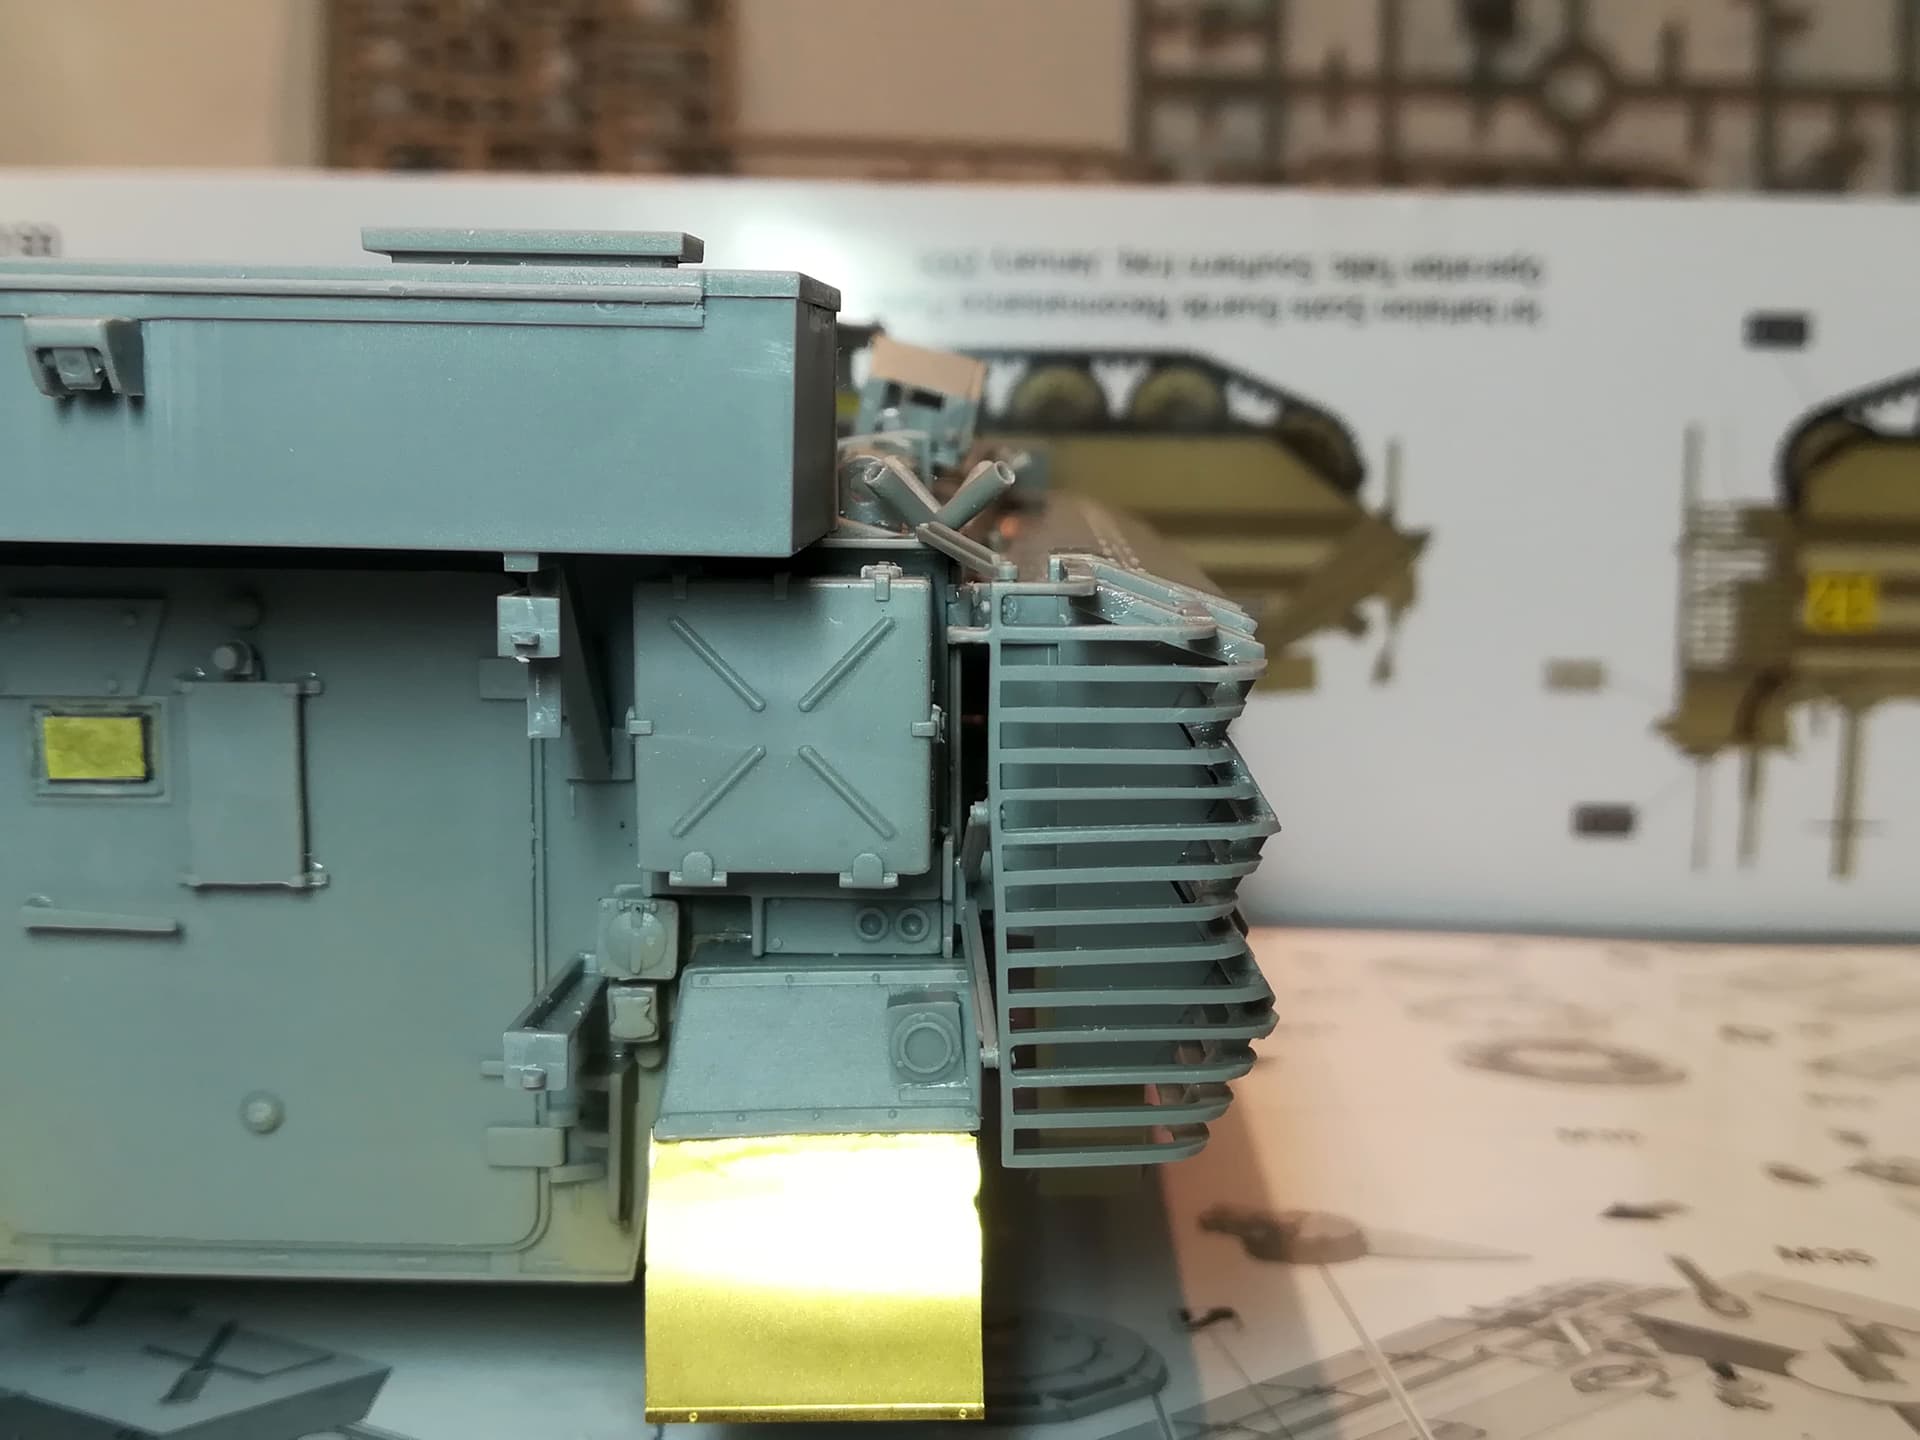
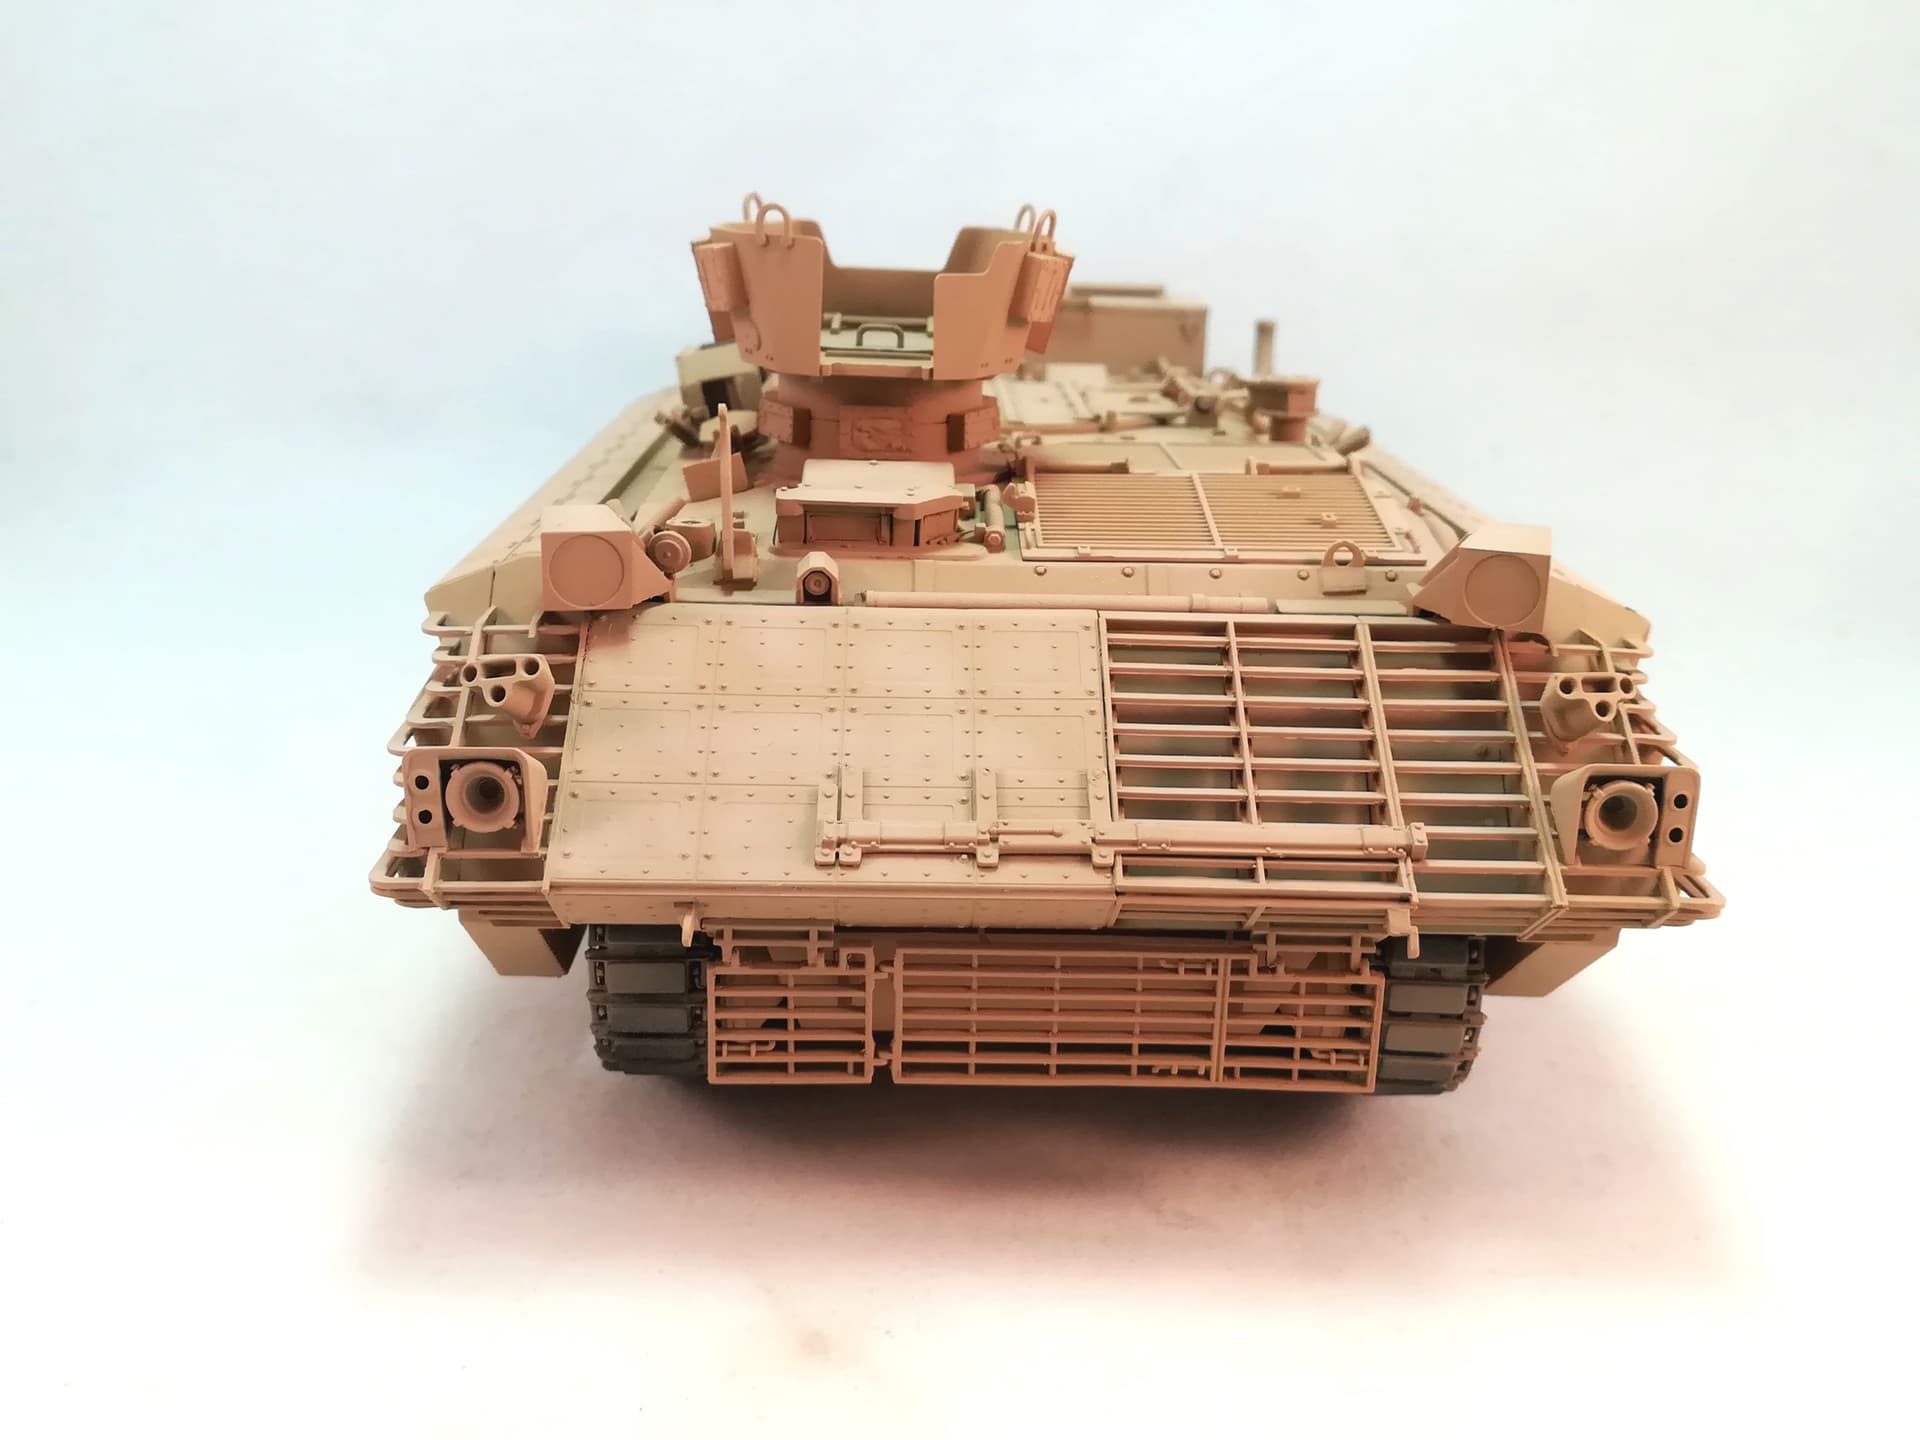
I tackled the slats on each corner of the vehicle today. This was not a piece of cake. On the front, many slats do not make contact with the side section. Some have been forced with CA glue but most of them needed to be cut from their support and move slightly.
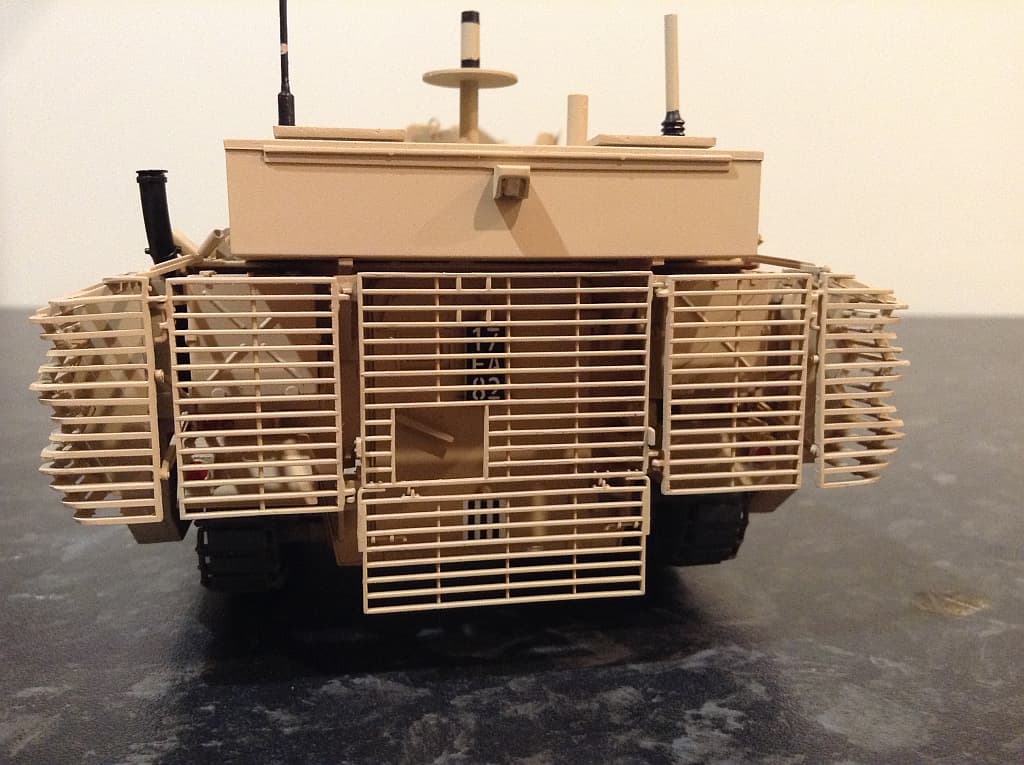
On the rear it is easier to glue the slats to the sides. However the vertical supports are not perfectly vertical especially on the right side. So I expect some harsh times trying to fit the 3 rear slat panels.
Stick with it Olivier, it’s these silly little things that take the time on builds but knowing your attention to detail you will easily get in sorted out
I had the same issues at the front when I built mine Olivier. One reason it is still on the ‘Shelf of Shame’ awaiting proper detail painting and weathering.
its looking good so far, the bar armour was just as to build and fit as the kit. lol .
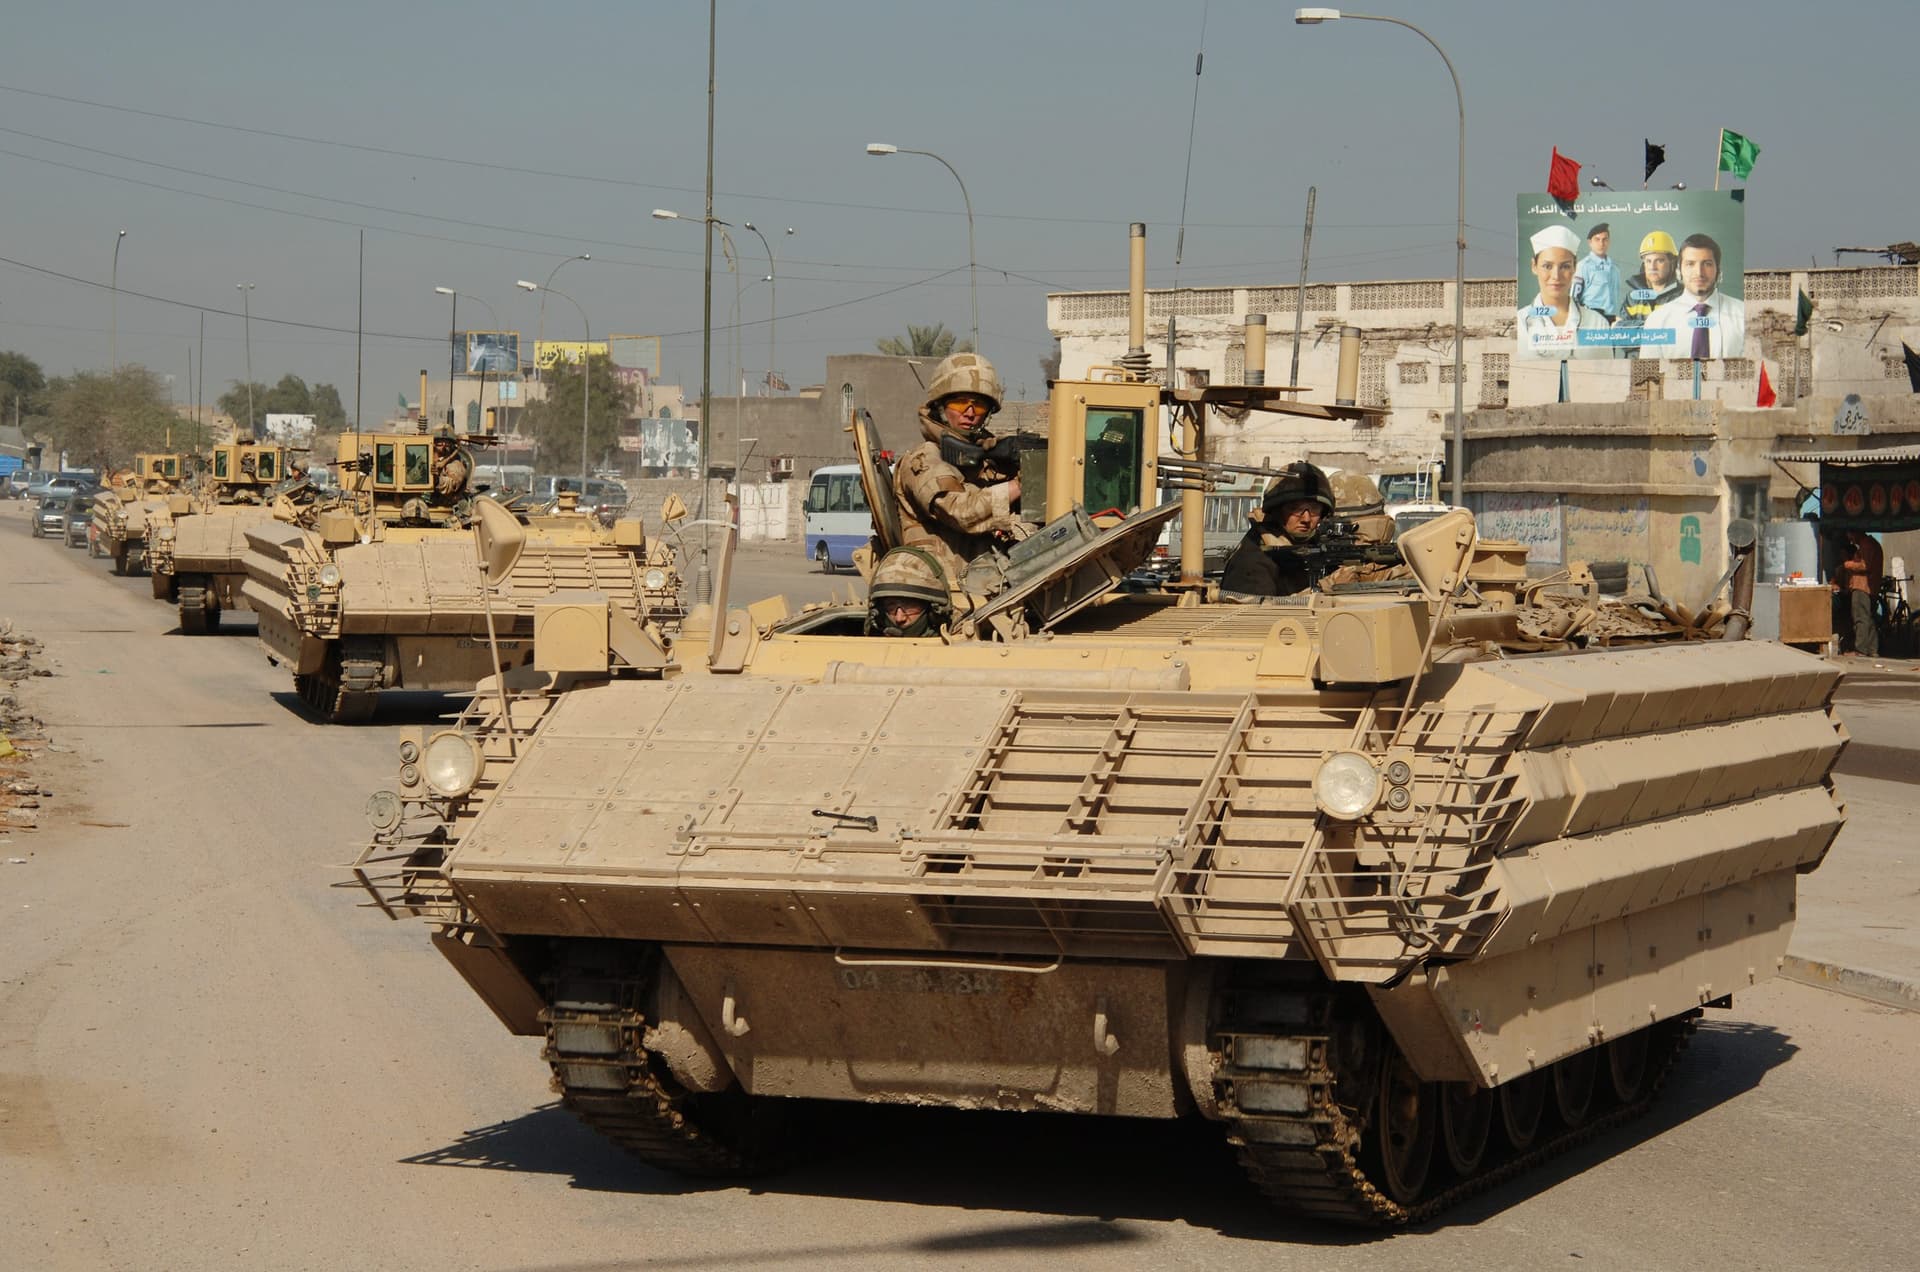
one thing omitted from the kit with is a shame is the camouflage matting which was over most of the top including the big box above the rear door.
Bowman aerials each vehicle was built for specific roles so please note the amount of aerials on these two pictures. when they came back to us to sort out teh paint colour was more magnolia where the sand had bleached it.
Well done so far
Ossie
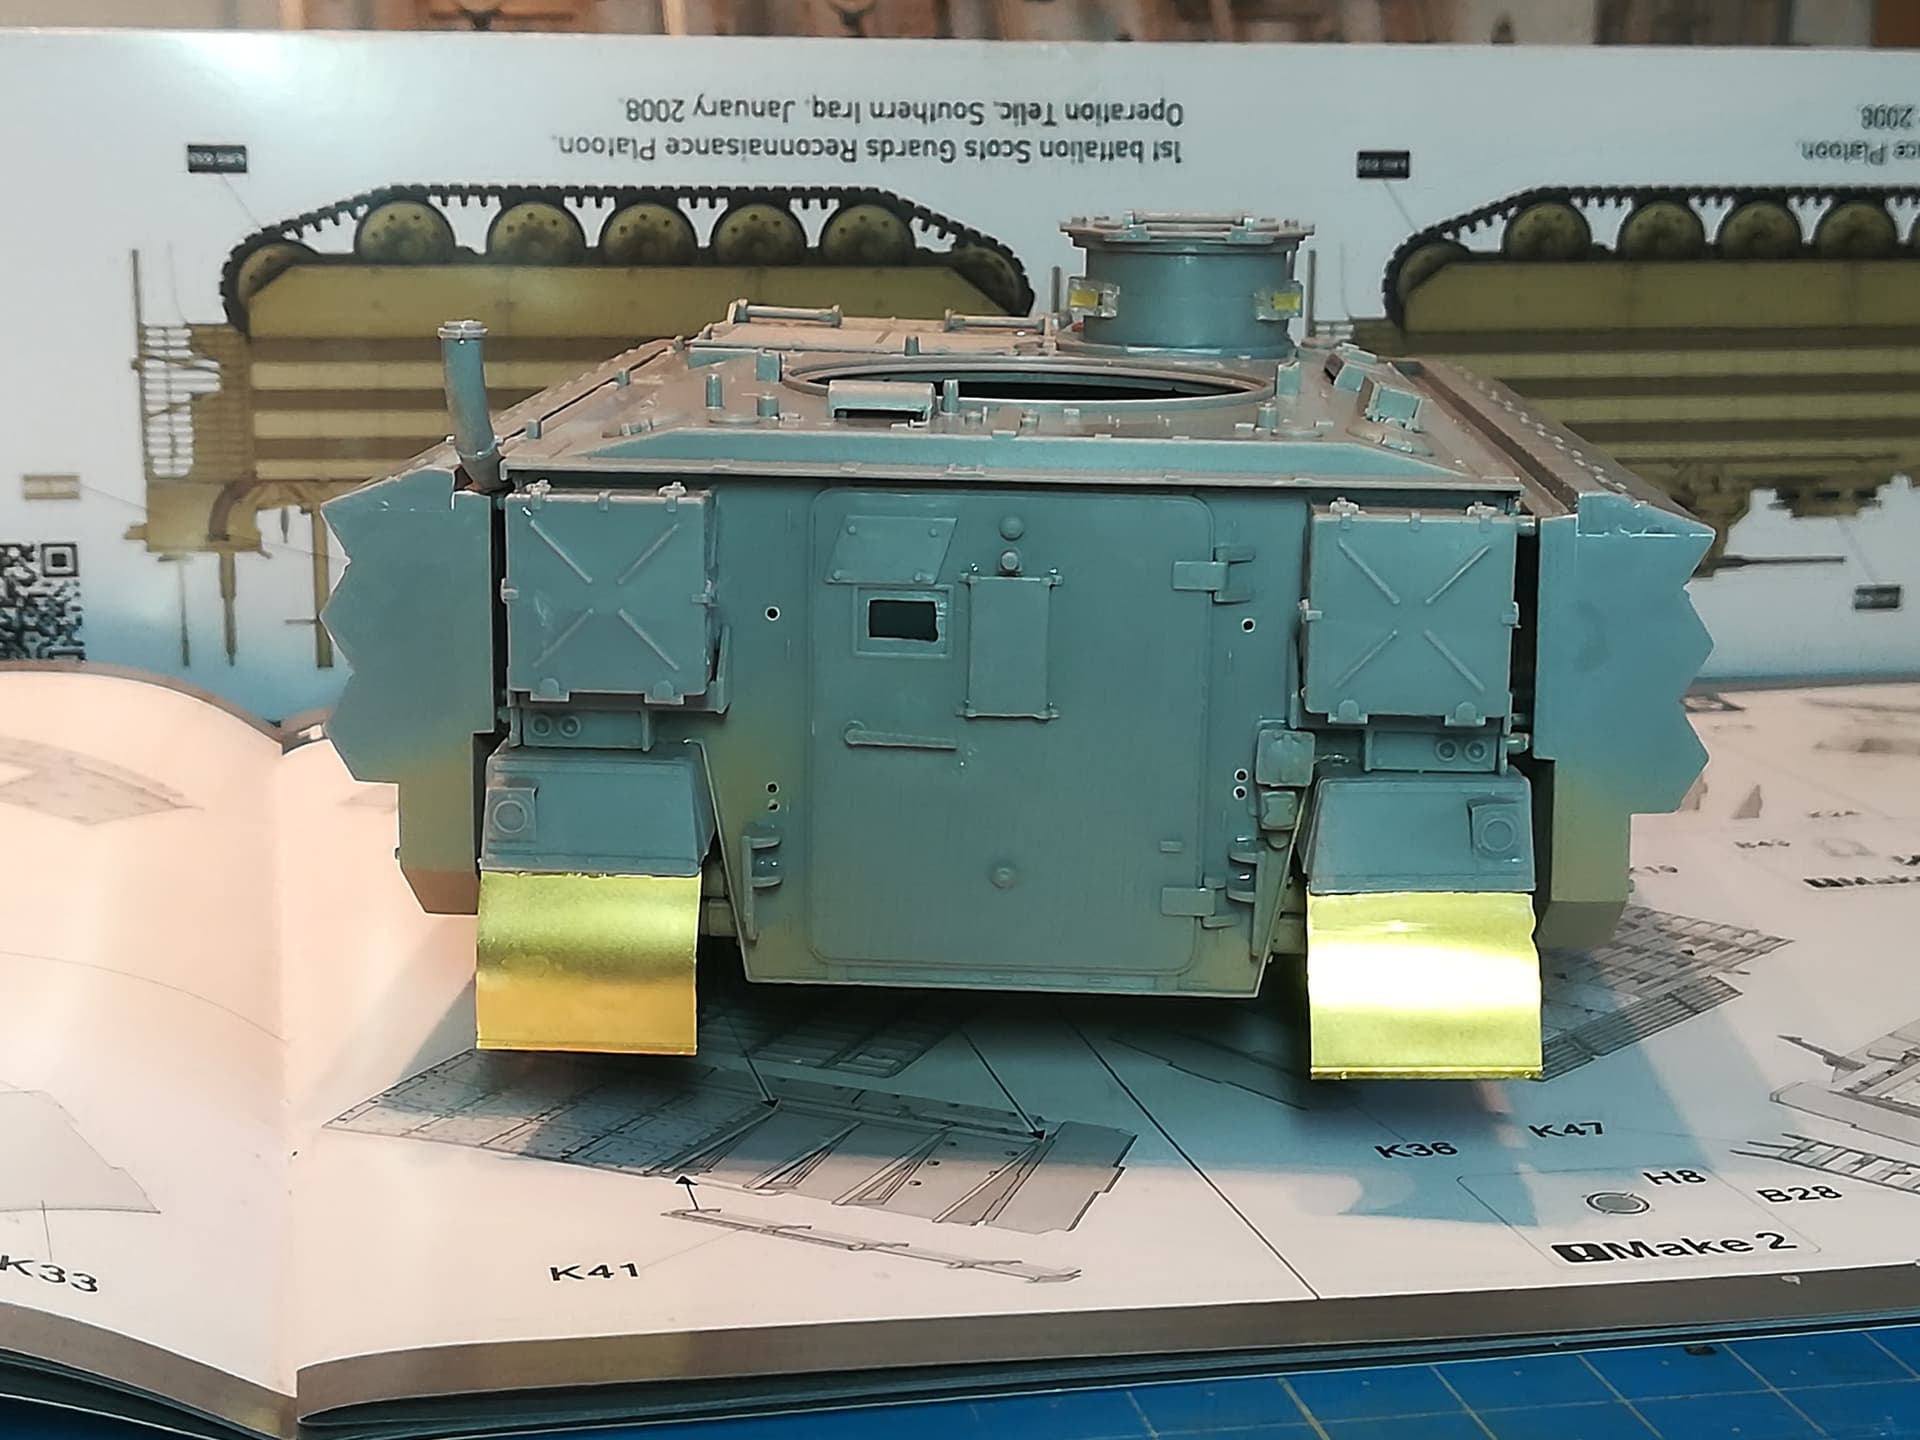
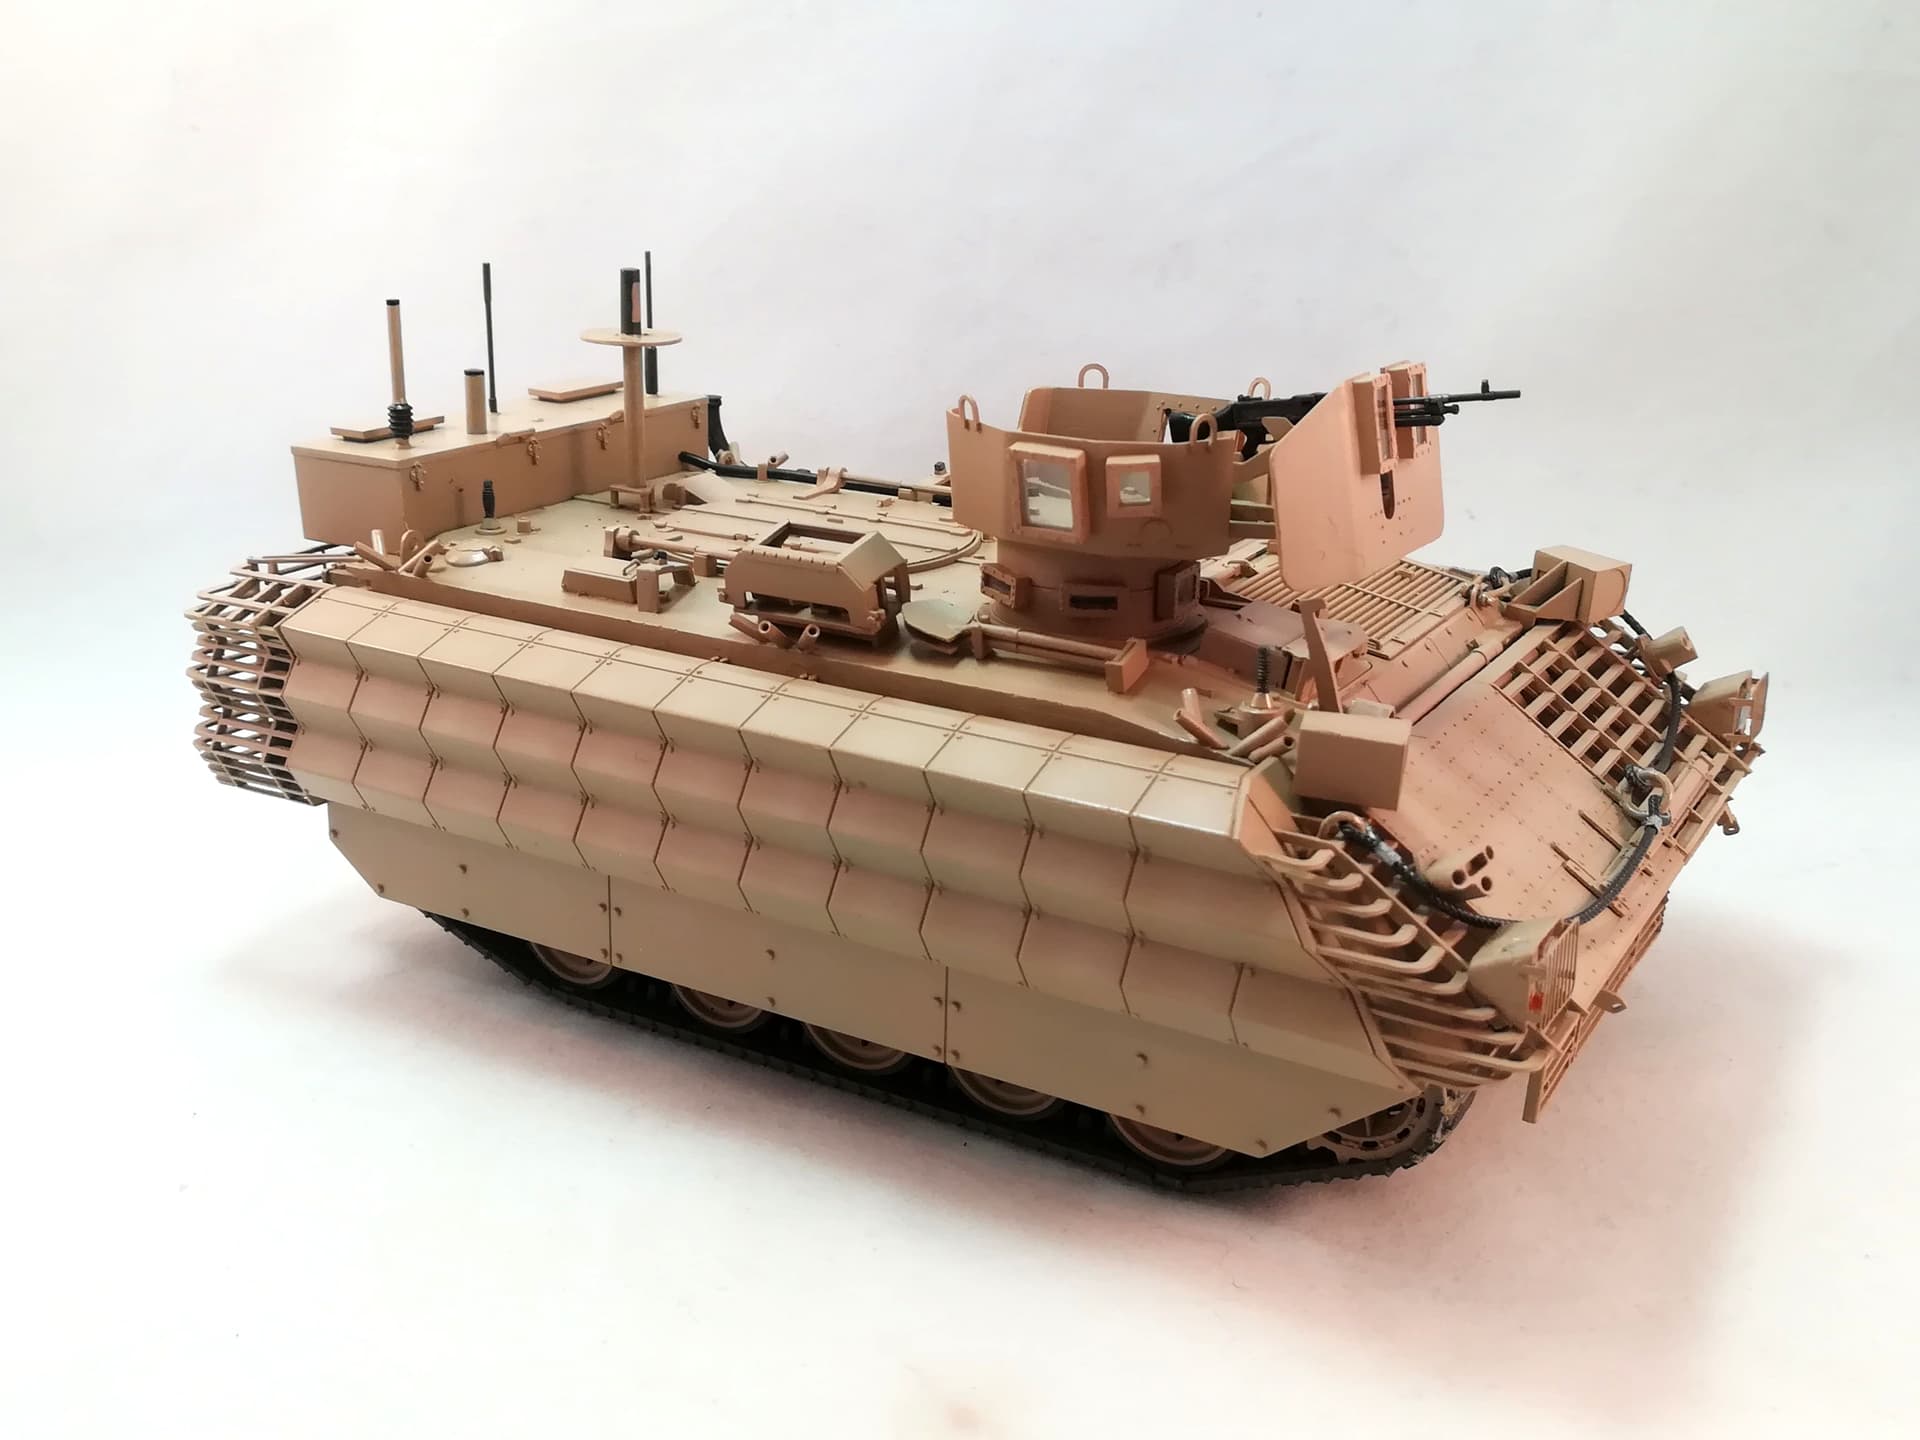
Takom instructions call for 3 aerials. I think it’s too much for, let’s say, a squad vehicle. I’ll probably add the two on the right hull side and scratch a plate over the last one on the rear left.
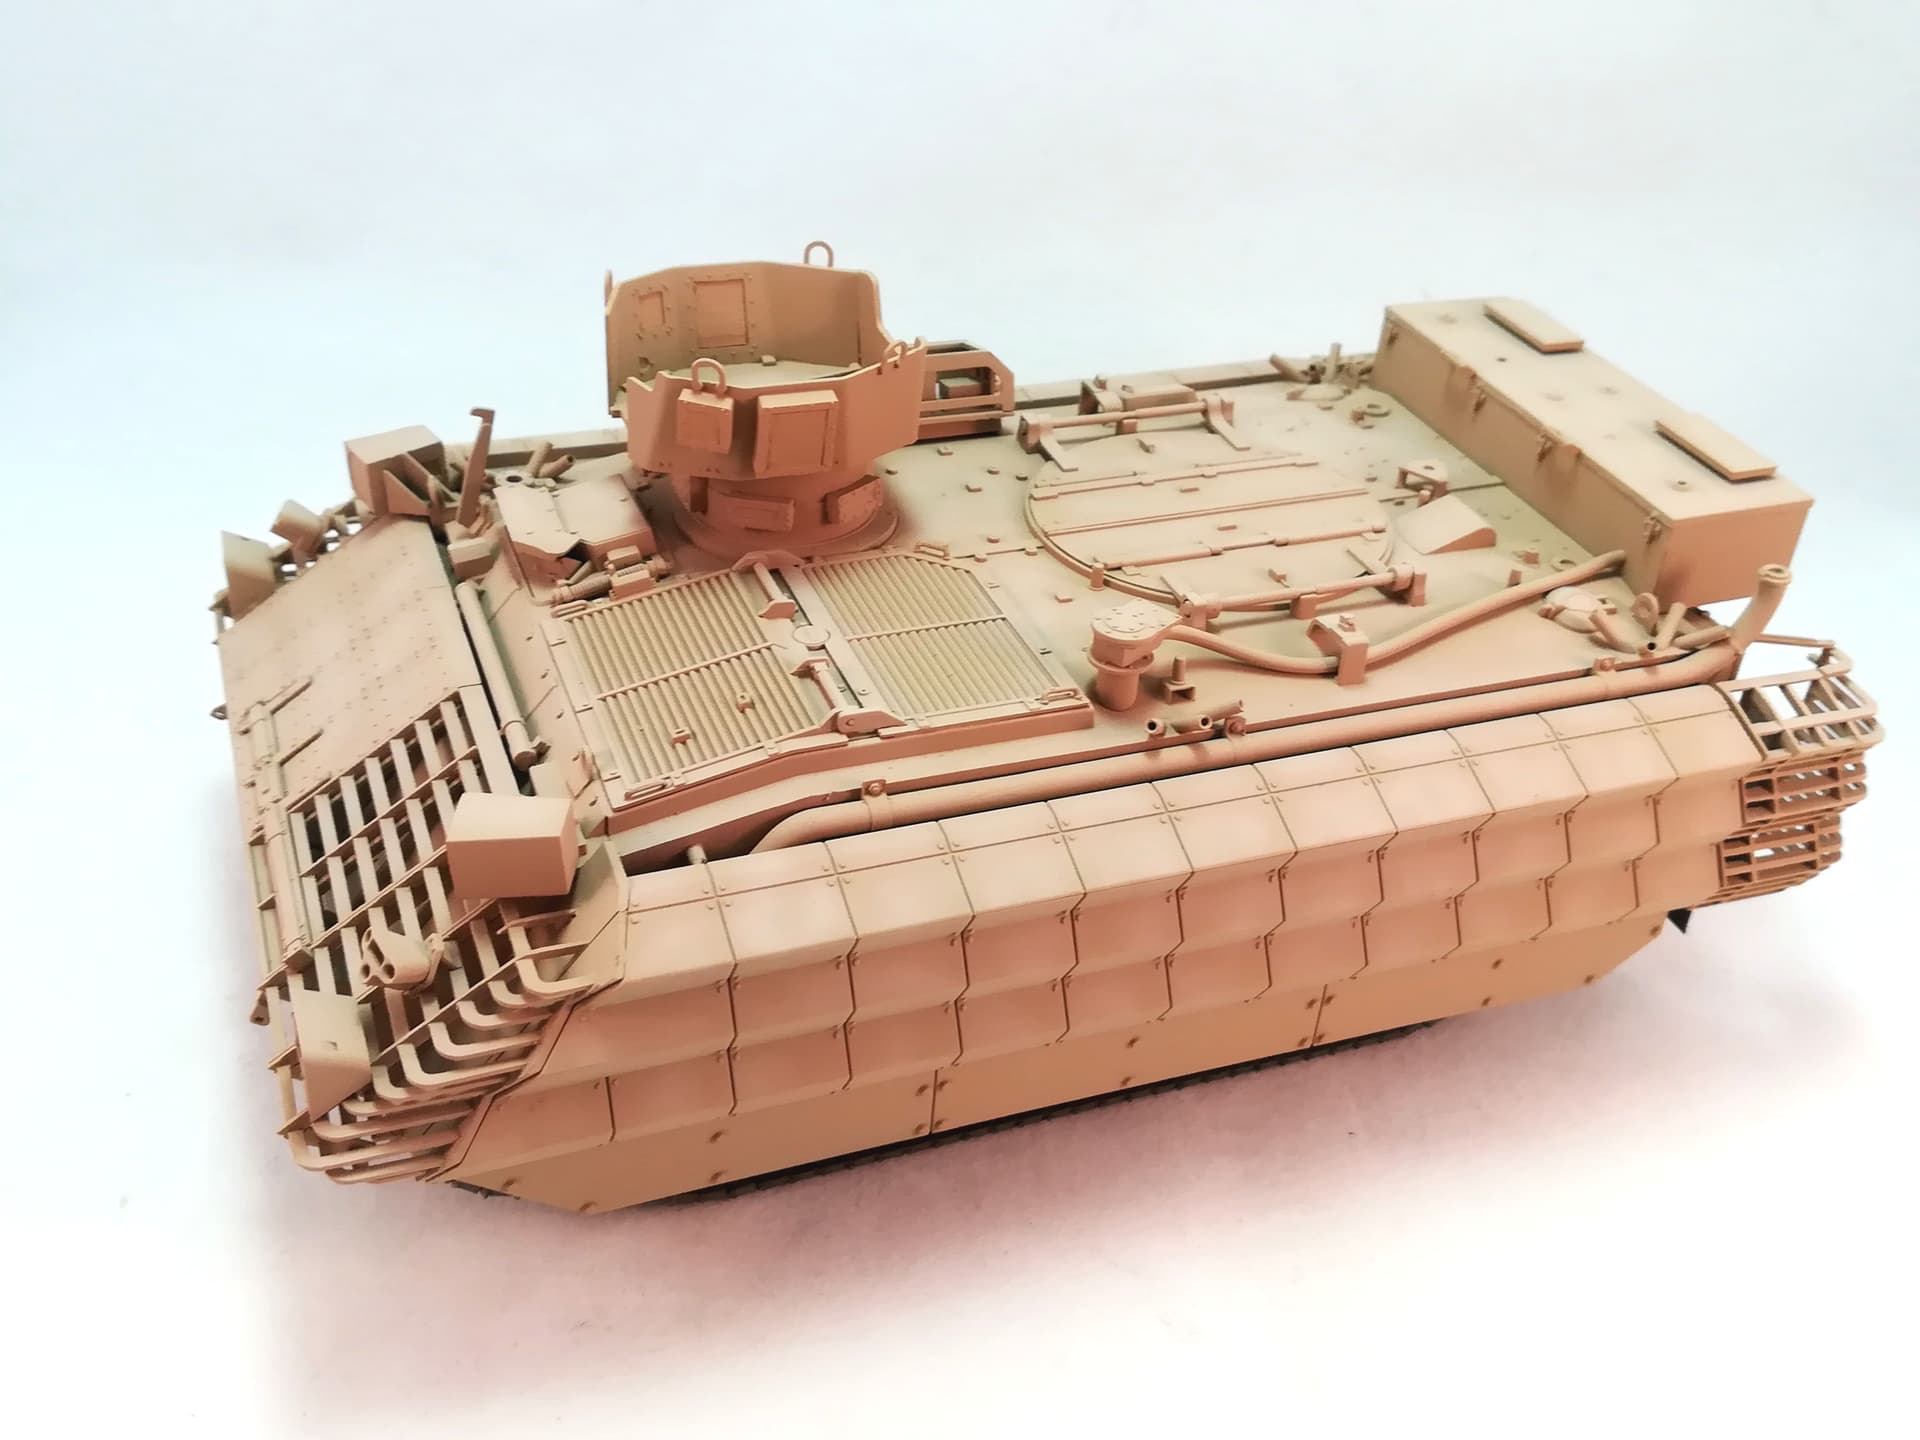
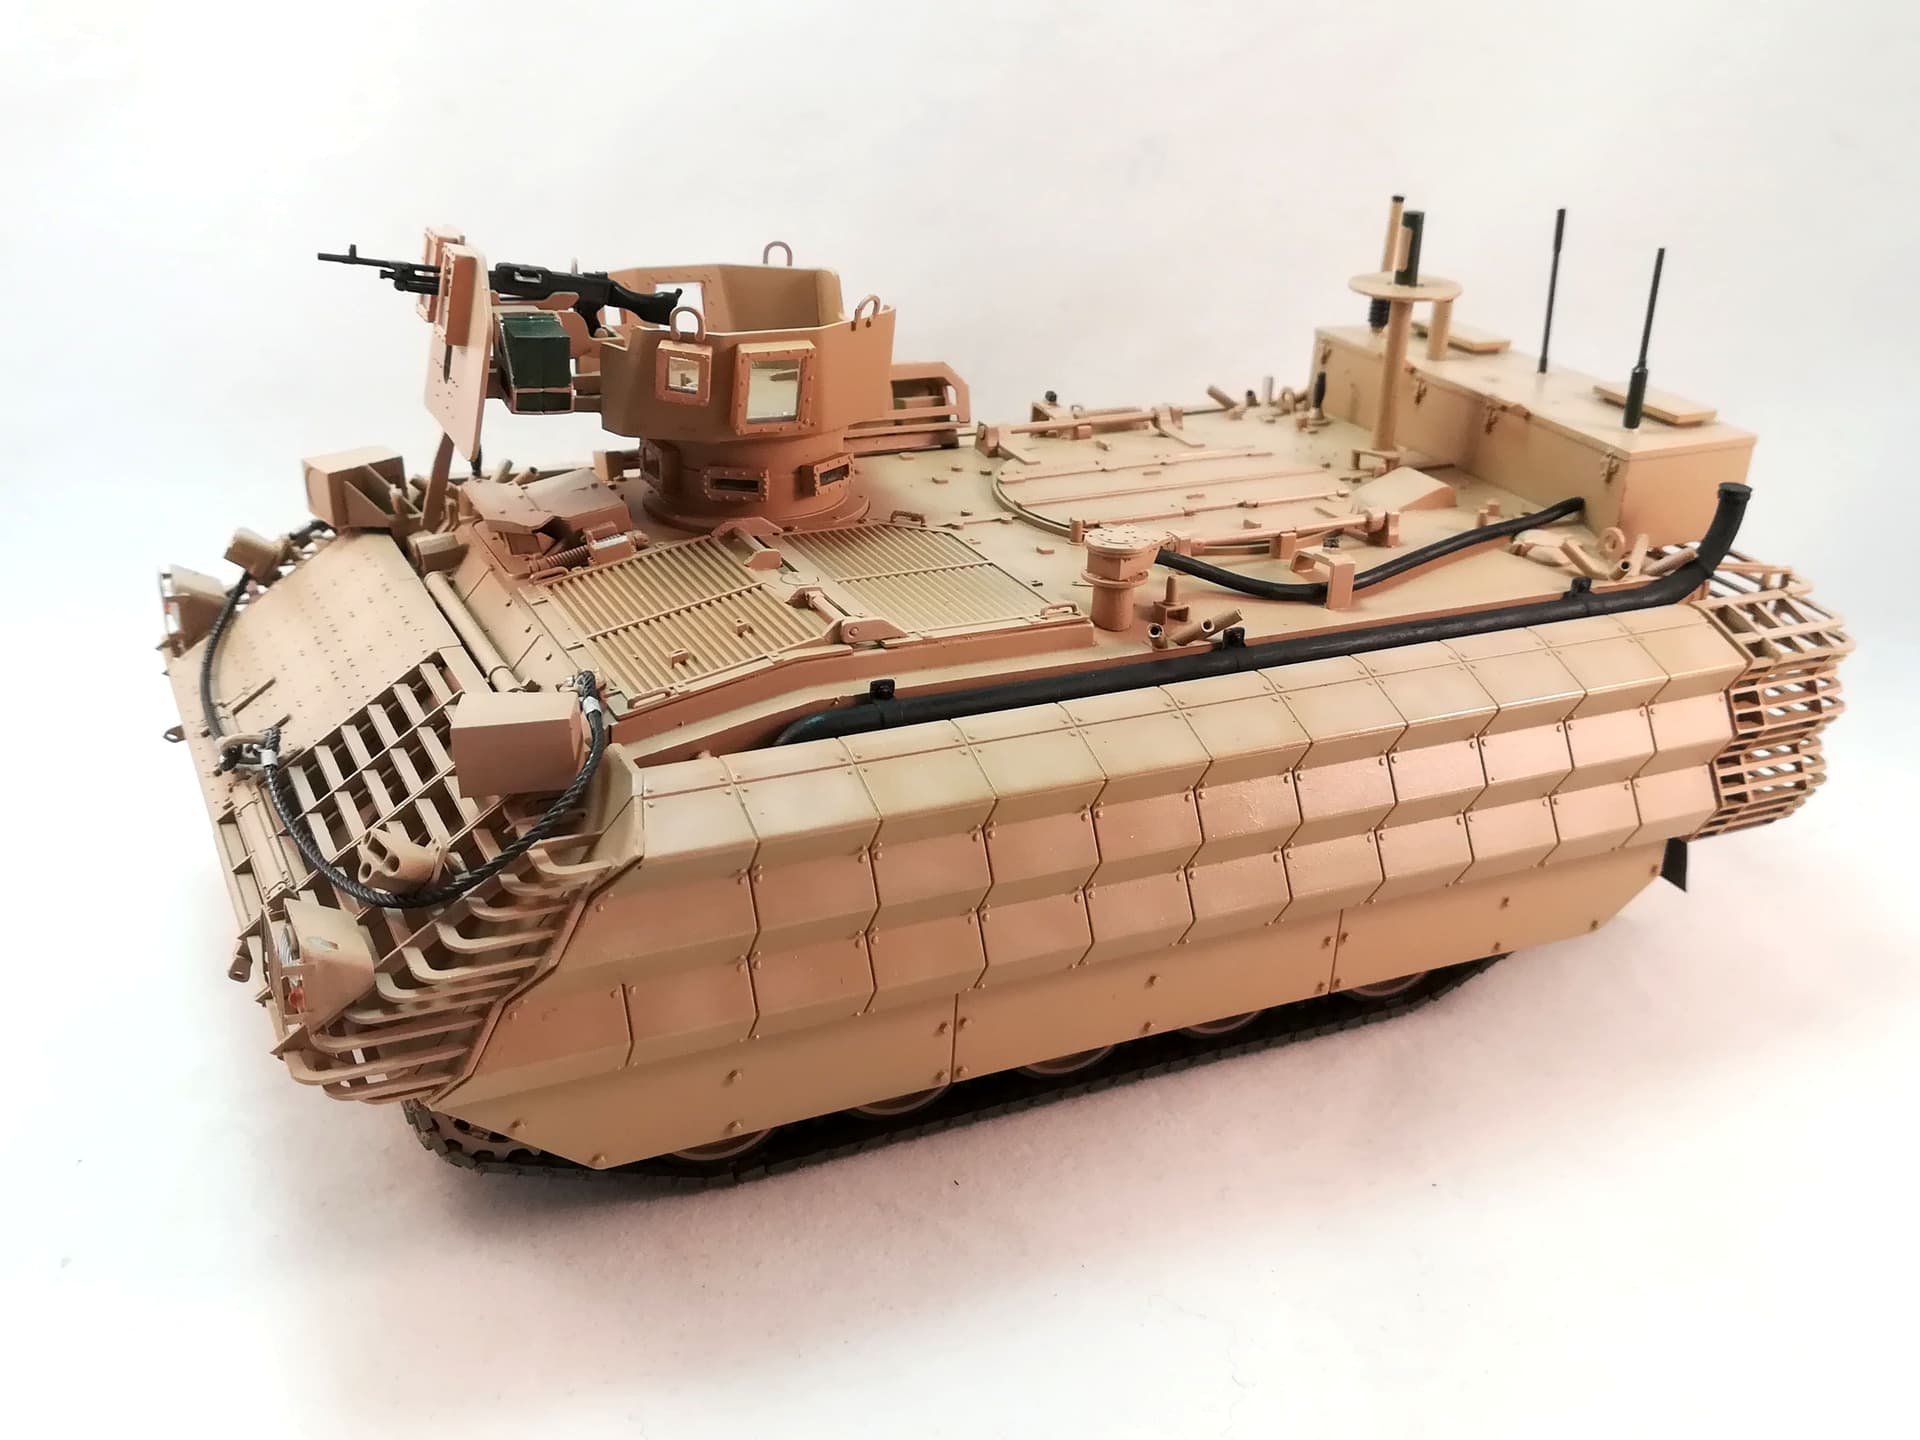
I’ve just sprayed the base color on the vehicle. I used Tamiya XF-78 Wooden Deck Tan and then enlightened it with some white. Next step is satin varnish and decals before starting the weathering.
Very clever idea with the Wooden deck paint. Would never of even considered that Olivier… It looks great … And to me it looks a very naturally faded light/deserty sandy colour. Very nice
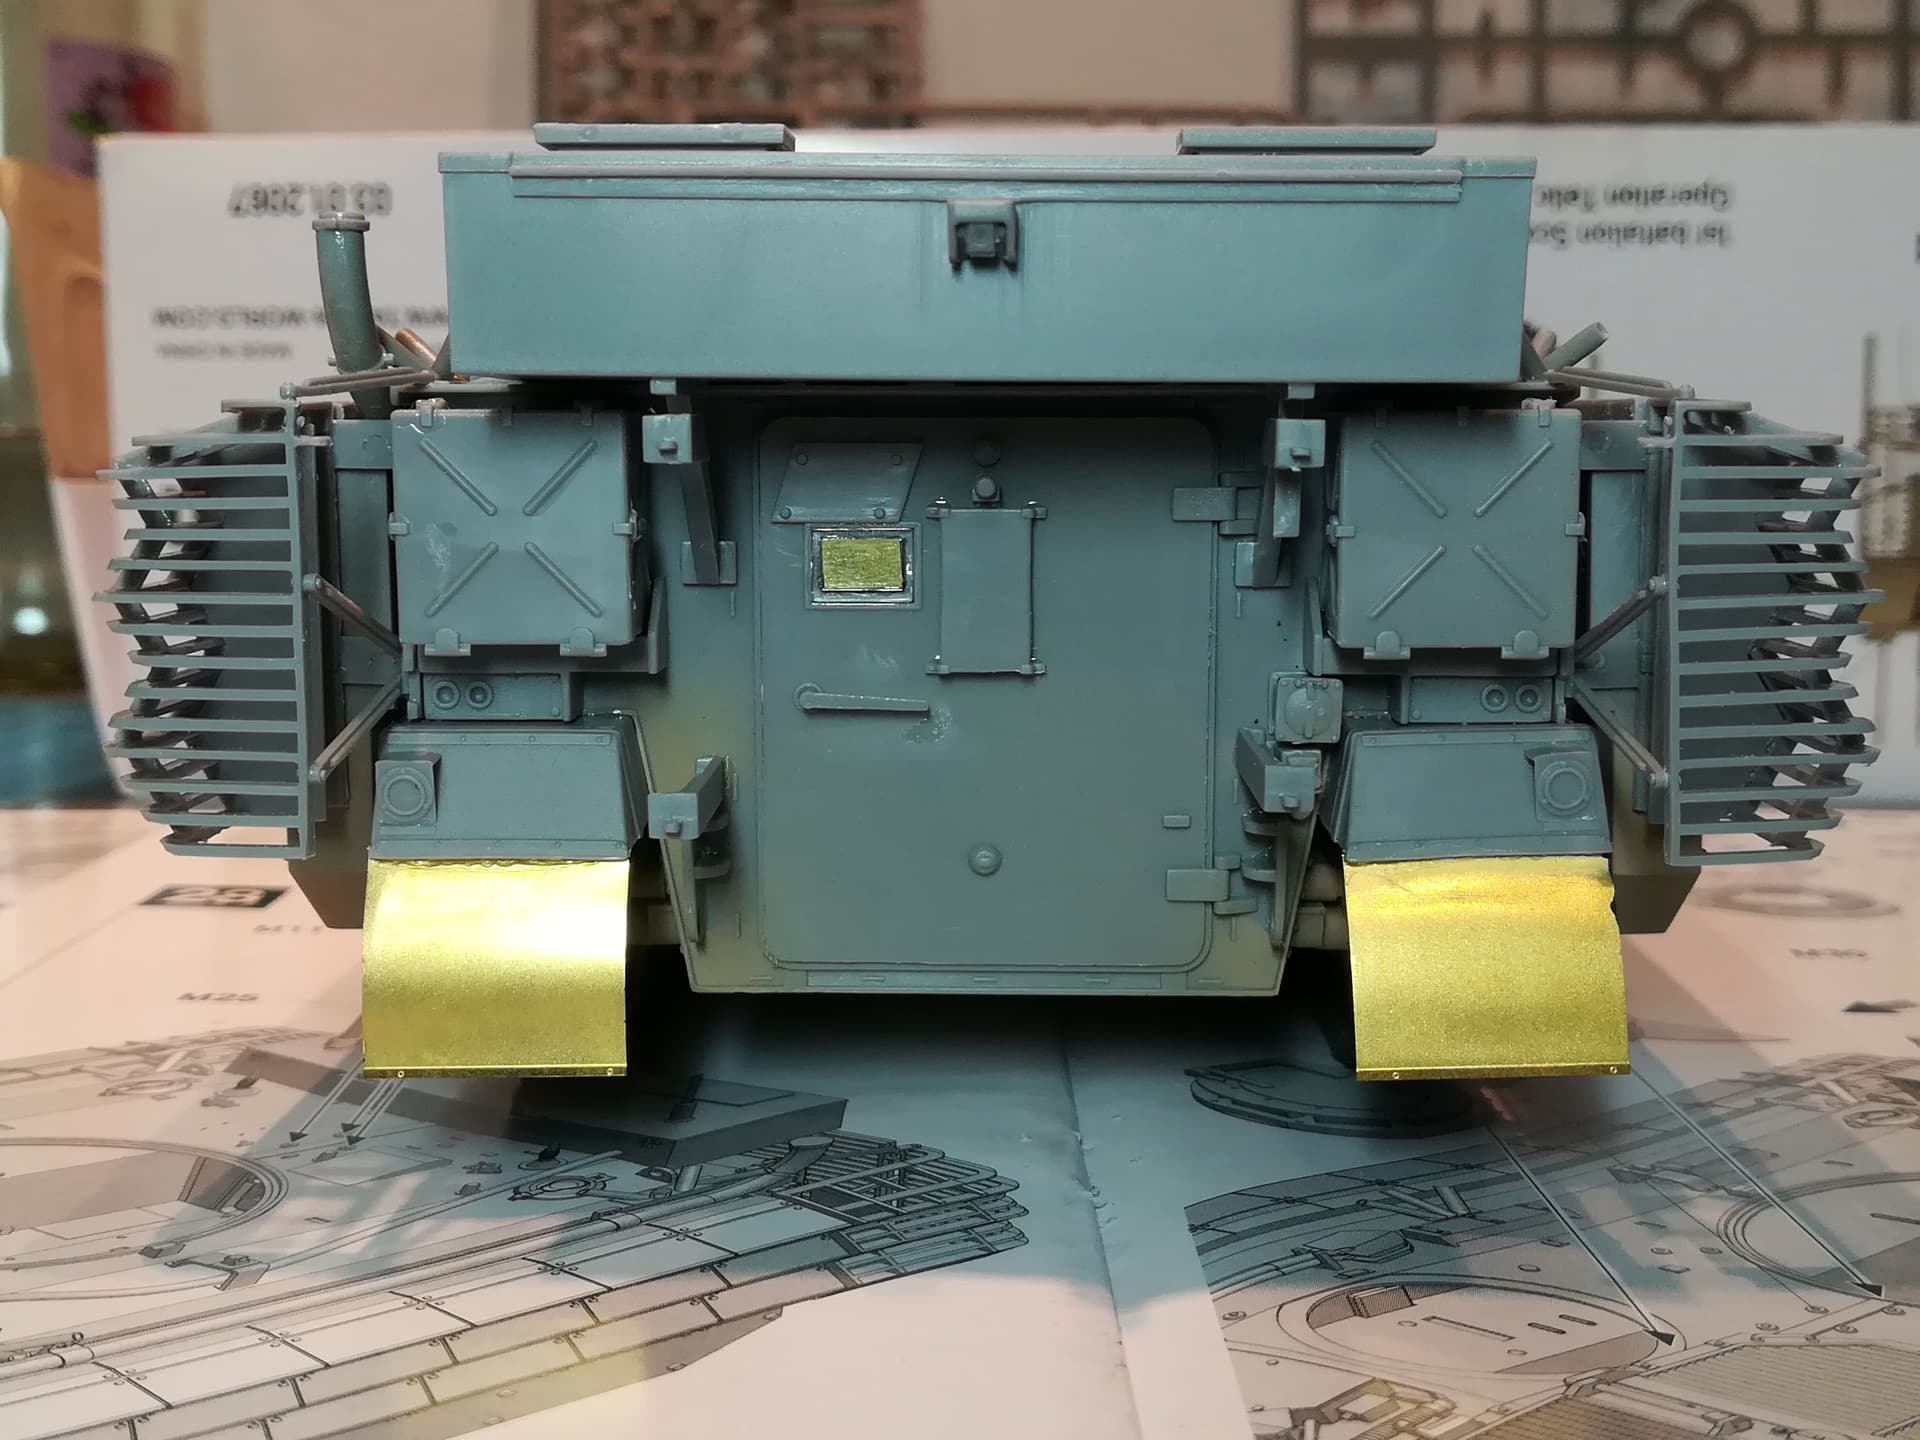
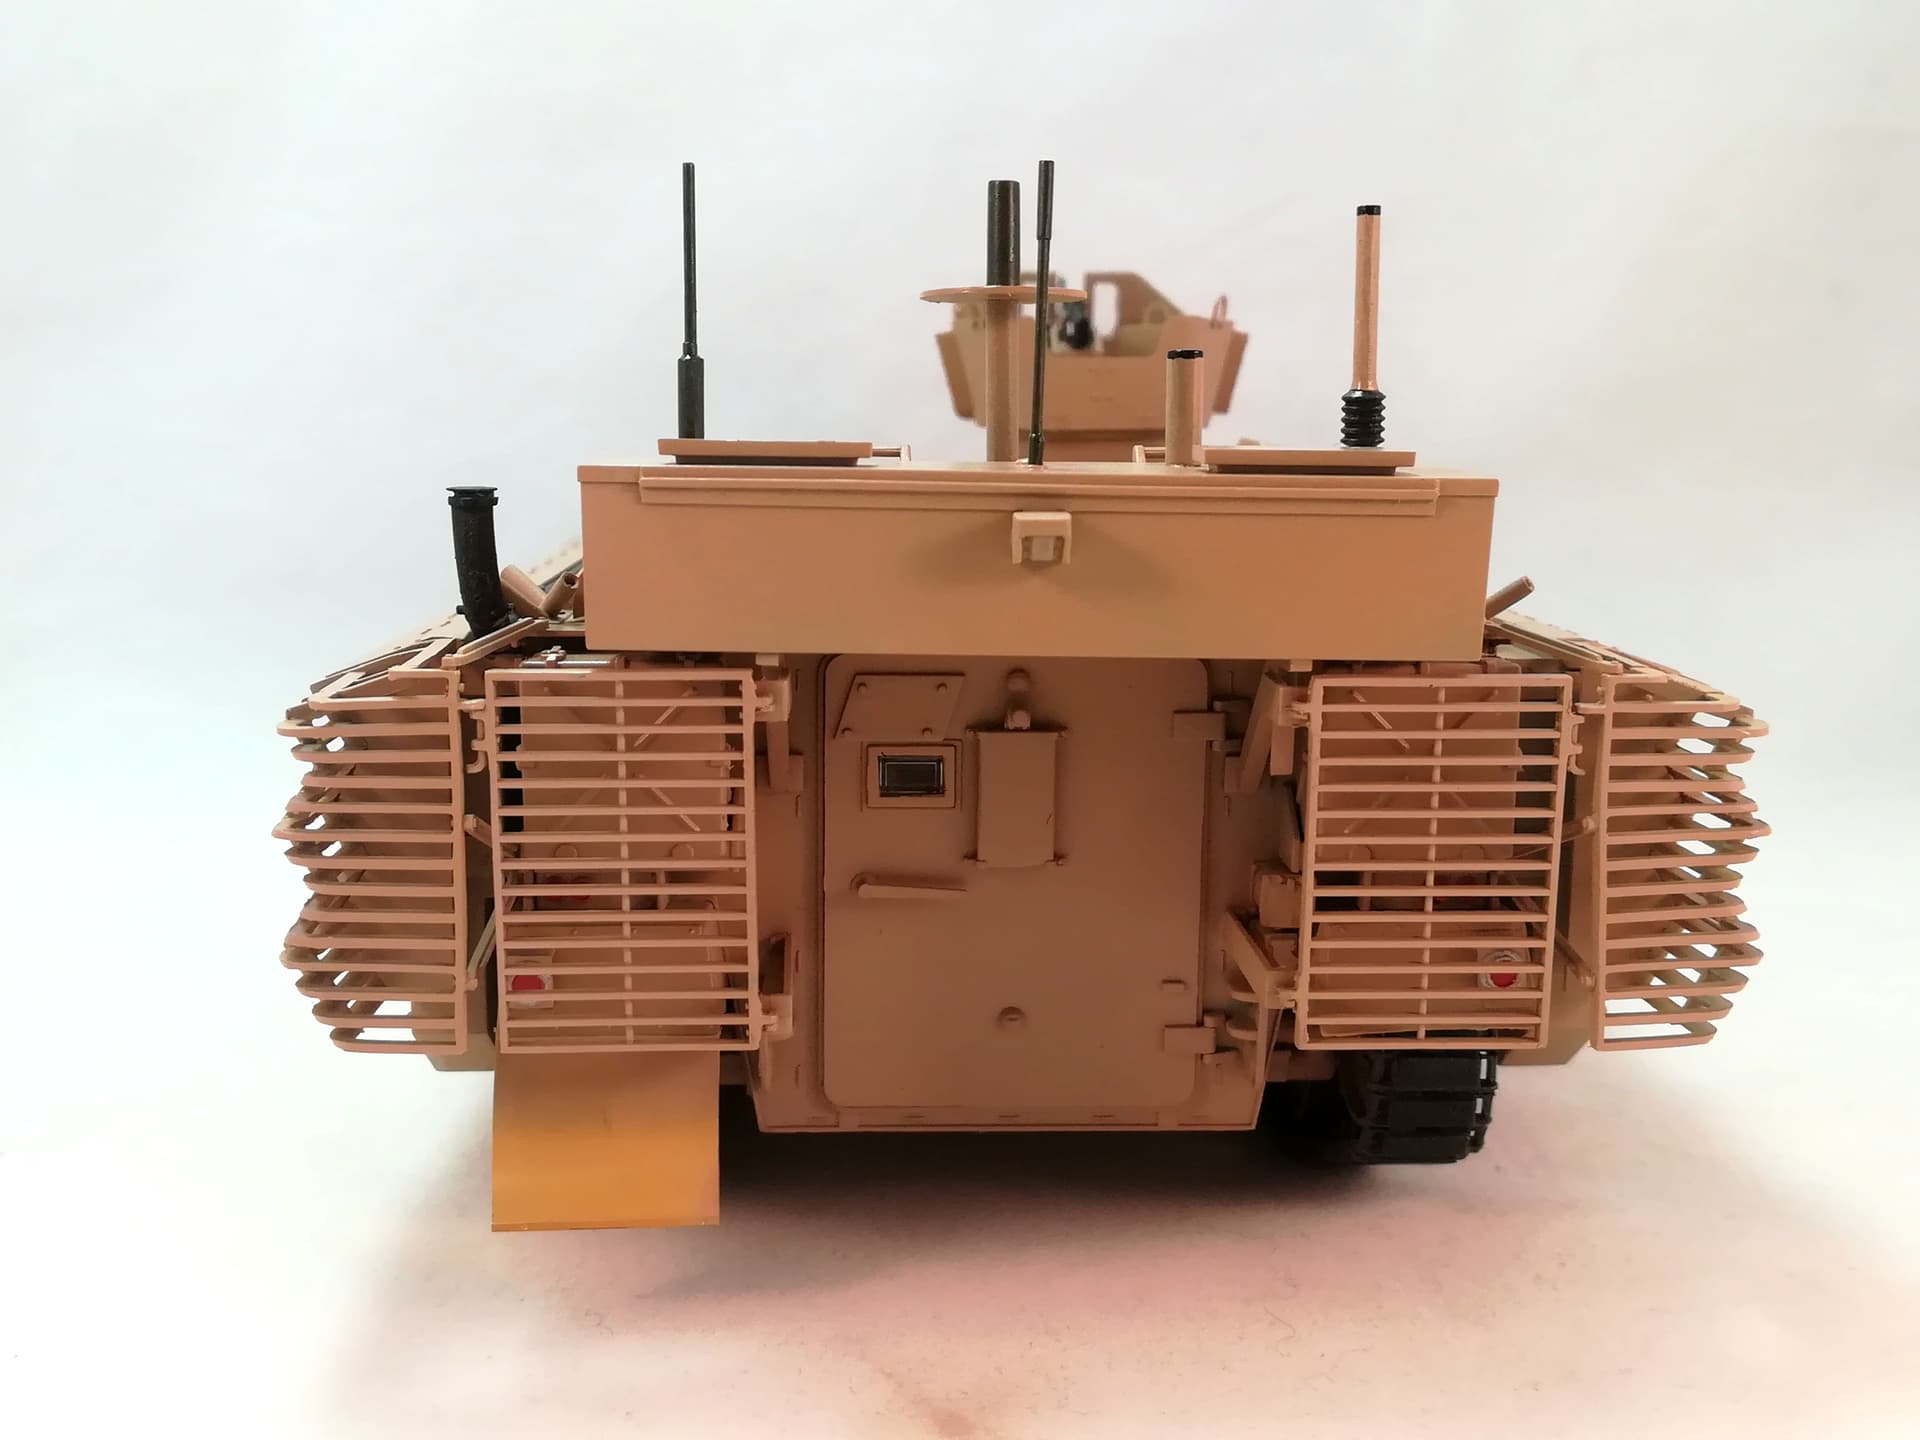
The vehicle is ready for the decals and the forthcoming weathering. Adding the cables according to Takom instructions was a real pain. I guess the best would be to cut the shackles axes and replace them with styrene rods and drill their location so the shackles would “work” like the real ones.
As you can see the rear right slat section will not fit to the panel to its left. I think to creat some battle damage there with an soldering iron.
I have a few questions about some details.
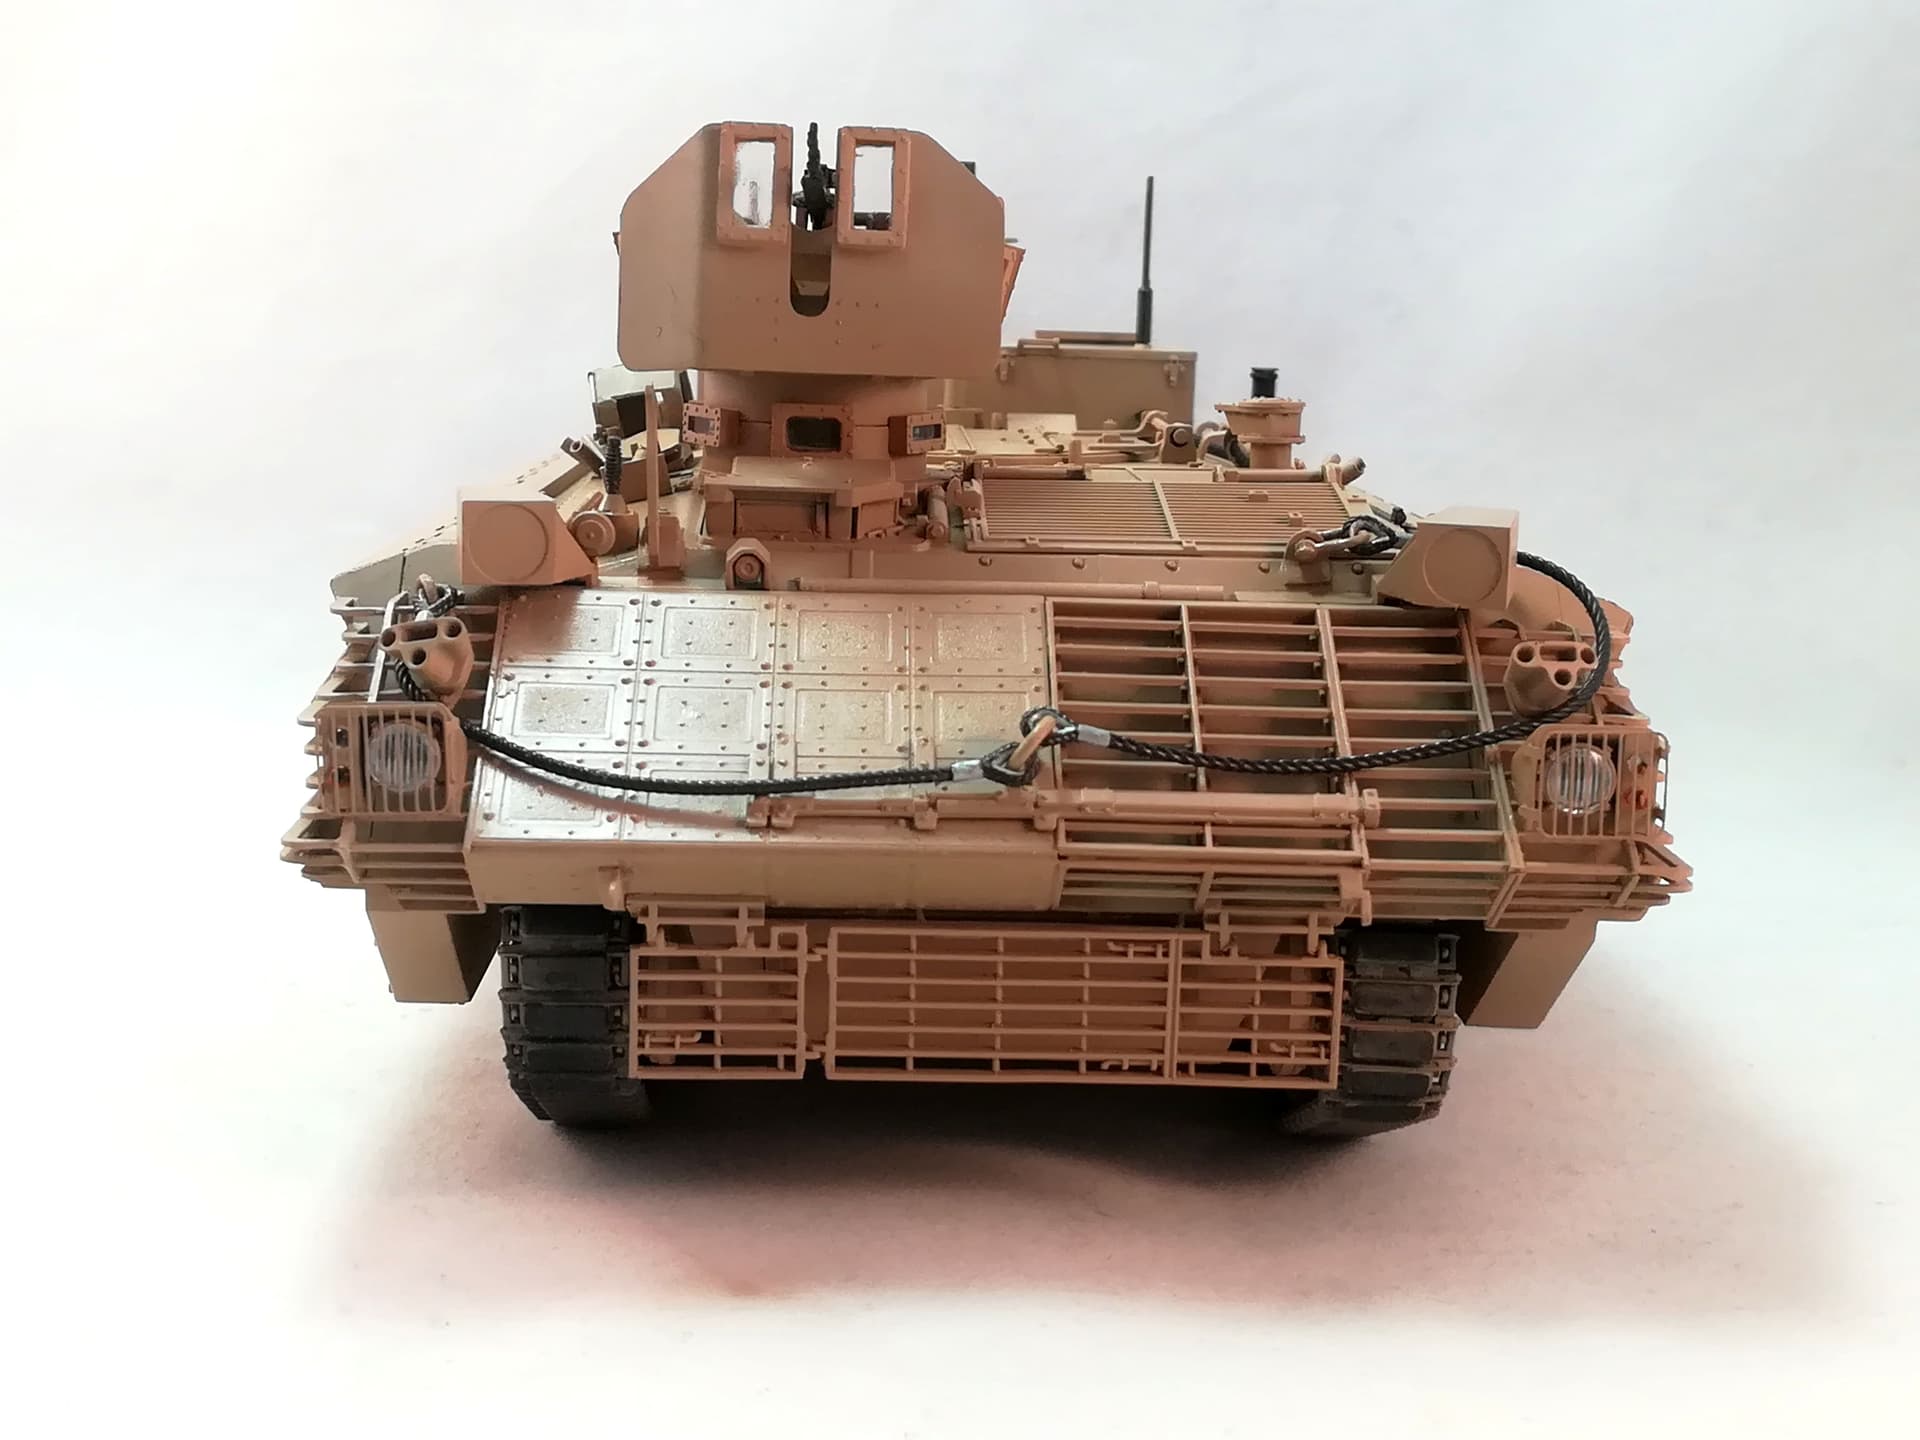
From the reference pictures I’ve seen, the armored glasses on the gunner shield look a bit greenish. Is this correct?
Which color should I apply to the metal parts of the spades? I intend to paint the handles wood or sand.
Now its all together Olivier, its fair to say you have really done a cracking job with it. Some great details and its build up to a top looking vehicle, well done you !!
Ref the spades, I have seen the whole thing painted sand, some green, some sand with a non shiny metal blade and some with green handles and a non shiny blade, some wooden finish with sand or metal finish … If you go down the metal finish on the blade just make sure its not overly shiny, as they dull very quickly. You wont be wrong with any choice you do it in.
Ref the glass finish, I have seen a few with what appear to a clear glass but also some with a definite green tint, which is probably just an anti glare feature to assist the MG gunner
Glad to help Olivier. Not totally sure about the Bowman antennas, I only used Clansman but judging by the guy stood behind the MG i would say at least 2.5m to 3m … maybe a good idea asking @Maximus8425 as I’m sure he said he used them.
It’s been a very long time but 2.4m comes to mind for a vehicle mounted antenna. The lower section is slightly shorter than the upper at about 110 cm and the upper is around 130 cm long give or take a couple of cm either way.