Gecko FV18001 Land Rover Series 1

Etch hinges and hasp and clasp put on for the under seat stowage, typically where the jack and tool roll is on Land Rovers and for access to the top of the fuel tank which is where the sender unit for the fuel gauge is located.. I made a basic template for the seat backs as they are the wrong shape for early production Series 1’s. They should be what are called spade backs, so I filed each one down, cut the attachment points off on the bottom and then fitted them where I think they should be.

Kit original shape

and filed

6 Likes

That’s a really good job on those seat backs, and a nice uniform finish on them.

2 Likes

It took quite a while mate, I was very wary of removing too much material. It’s why I went down the paper template route and try and get some uniformity.

3 Likes

Had a quick look at Barny’s build and noticed that he had changed the handbrake opening. Rather than scratch a new part I fitted the kit part from the back/underneath. I few swipes with glue to seal the holes and a plug in the bottom which needs to be cut down and it works. The transmission tunnel side panel was also fitted from the back and it fits perfectly. This may be the correct way of doing it, if it is the instructions do not make this clear. Also completed the rear leaf springs and axle and fitted the dampers in their correct position.

and with the various levers back in place.

7 Likes

Sterling work mate love this ..

1 Like

Cheers Barny. Got to the wheels which are lovely to look at but in my mind a bit of a muck on. 4 parts to each wheel, an outer wheel, an inner wall, the hub and then a styrene “poly” cap. The hub is meant to locate to the inner tyre wall by two small pins, however you have to drill the locating holes out or it just slides about. Then once glued add the “poly” cap inside and then glue and press the inner wall into the outer wheel. The fit is superb and the tyre details are really nice, an easily readable Firestone logo in the pics and to the naked eye if you have eyes like a s**thouse rat!

5 Likes

Just a couple of pics showing the wheels on the chassis. I did it mainly to make sure the vehicle would sit level, which it does. I’ve put an undercoat on the chassis and I’m in two minds whether to add brake lines as very little will be seen. I usually do but I’ll have to think about it. Thinking ahead in regard to paint I’m thinking Humbrol 75 Bronze Green which I have already as it’s my go to for BCF extinguishers.

2 Likes

I’d somehow missed that Humbrol still made a Bronze Green; I’ve been using Revell enamel 65 for years now, though of course it needs a gloss varnish (sorry, teaching you to suck eggs here I’m sure!)

Anyway, a very useful and informative build.

2 Likes

I’d be very interested in seeing what Revell Bronze Green looks like on something other than a colour palette online. Do you have a pic of anything unweathered you could throw on here so I can see please.

1 Like

Sure; I have these 2 models - unweathered, as for some inexplicable reason, I stalled on the whole project, when I wasn’t that far off finishing it:

4 Likes

Thanks for posting those, that looks about on par with Humbrol 75. I think though I might use a satin varnish on it to see what that looks like. I like that Austin Champ, which manufacturer is that?

On a totally unrelated topic, it looks like the MoD are taking some lessons from Ukraine onboard and looking at cheap(er) short range air defense systems.

5 Likes

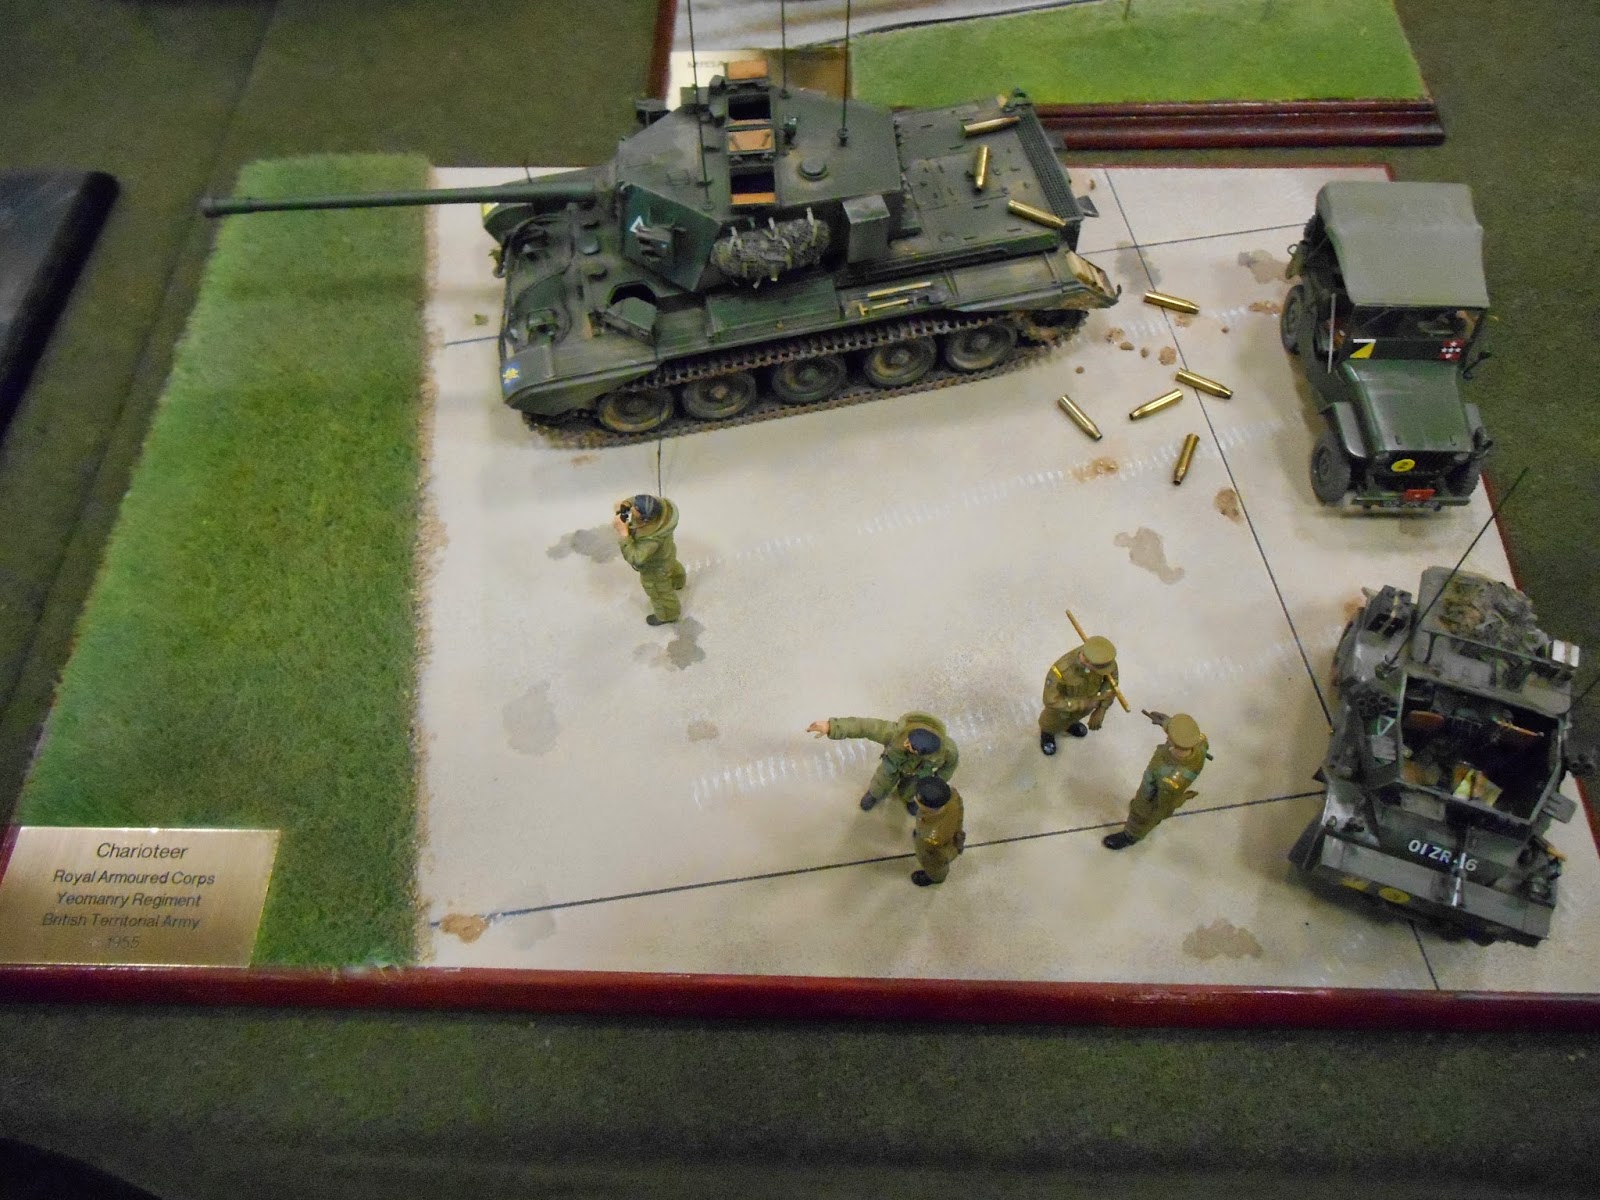
Just to say that the real thing was indeed, a very high gloss (although units would let it get dirty and dull in the field), and of course mud and the usual predations of terrain, dust etc would inevitably prevail.

I found that even after a gloss varnish, the results were never that shiny, yet with a bit of weathering the gloss effect could still get the right sort of finish as it were; see for instance, my Charioteer:

Arguably(!) What I’m suggesting is that a satin varnish might not do the trick.

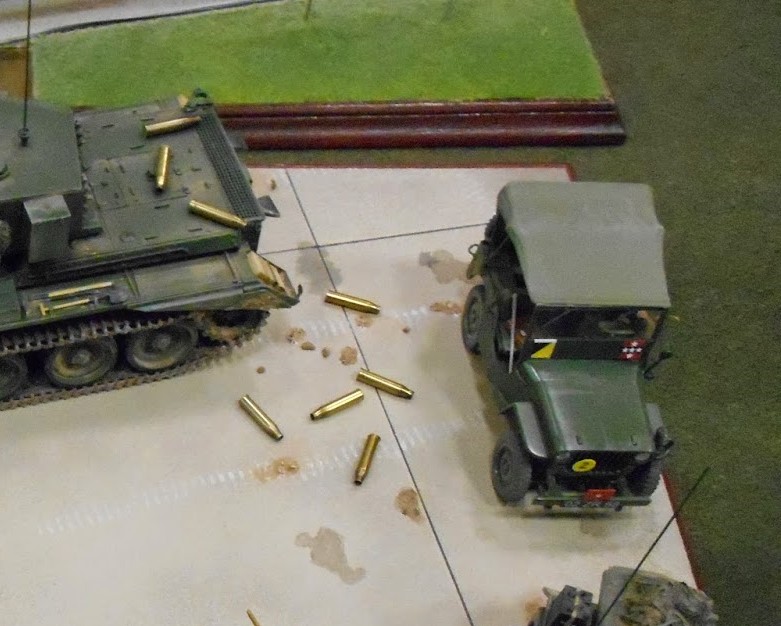
The Champ is from Accurate Armour.

Just as a reference you might like to view this clip showing a Saladin:

Armoured Cars (1959)

not that I’m implying you’re not aware of the gloss finish I assure you(!)

As it happens, I have a Centurion model finished in the treal thing - Deep Bronze Green; I snaffled a 5 litre tin of the stuff when I left the Regulars; it went on like a dream, brush painted as back then I had no airbrush, and reflects (no pun intended) a slightly different almost bluer shade, but still high gloss. I’m not too sure where it is at the moment but I will try and locate it. Not much more authentic than that, but of course, I knew nothing about scale colour back then.

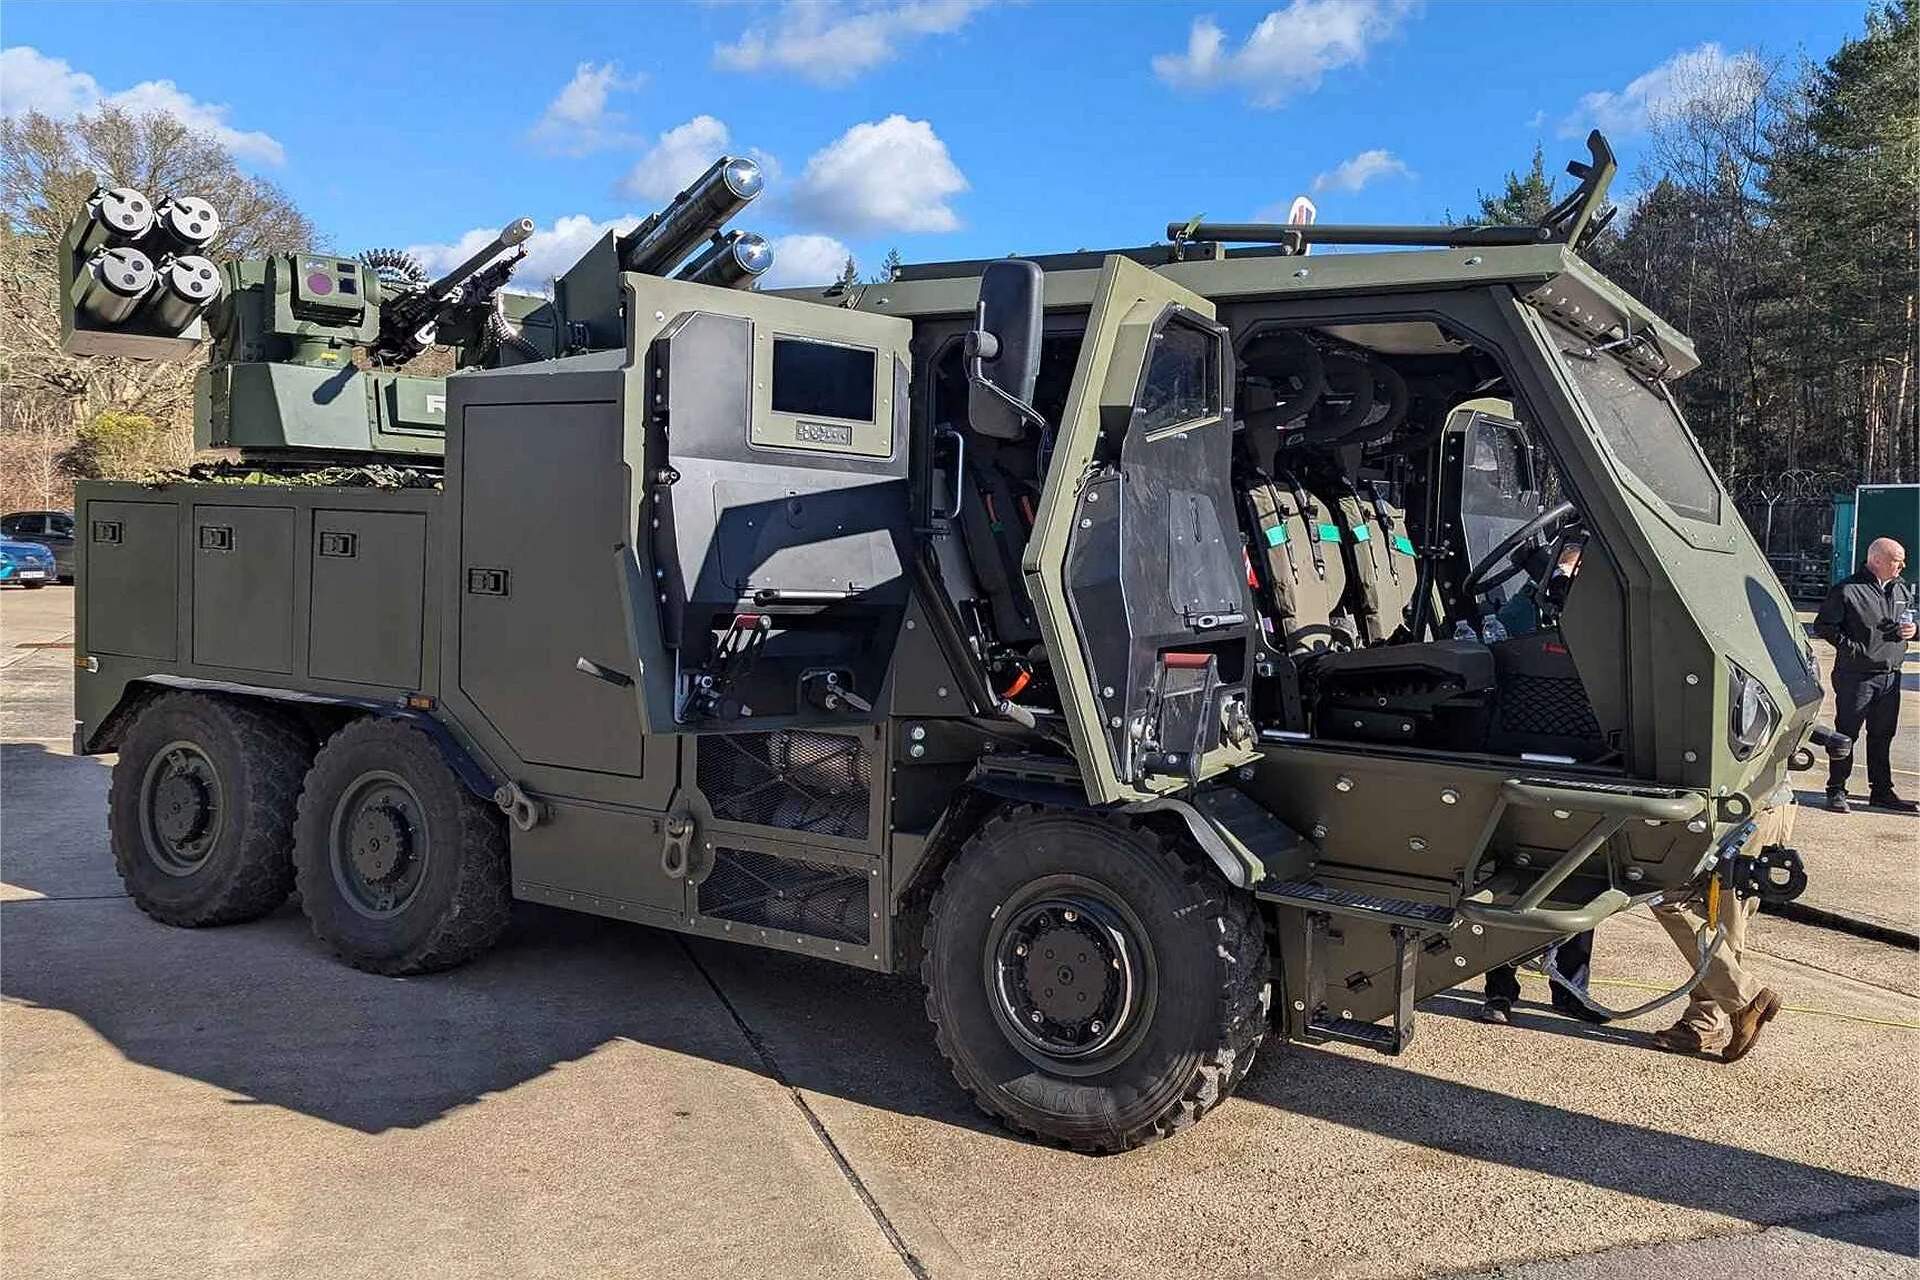
Regarding SP Air Defence, the UK never seems to get the mix quite right; tracked Rapier was a dream to operate or so my Gunner friends tell me, but of course, there were no guns to add balance to our AD assets. Back in the 60s/70s we had a gun/missile mix with the L40/70 (but not SP), and the Thunderbird - a large AD missile but a static piece of kit. Then we seemed to dick a round a bit with first, 20mm on FV 432, then 30mm on a Chieftain chassis - neither of which went into service. Of course, the air threat has changed considerably since then.

These latest iterations seem to be all things to all men - perhaps they will prove their worth if, if they enter service.

3 Likes

Oh, those are some spiffy looking trucks. I hope Gecko sees your pictures and kits them in 1/35 styrene!

1 Like

Haha yes we can only hope. I’d be giddy with a standard Foxhound in styrene, but one of these would be nice also.

2 Likes

I used Real Colour Bronze Green for mine. it was actually pretty glossy.

4 Likes

Now that is a very green vehicle. It’s almost a blue/green to my eyes, however that may be my monitor.

1 Like

I thought that too - almost Brunswick Green - that’s not to criticise for the sake of it, more a comment on Real Colour’s efforts perhaps.

1 Like

Ya, in real life it’s a bit more green. photo came out a little bluish (probably caused by the background)

1 Like

Still a smart looking little wagon mind; I really must dust off some of my other LR projects.

2 Likes

Indeed you should :winking_face_with_tongue:

2 Likes