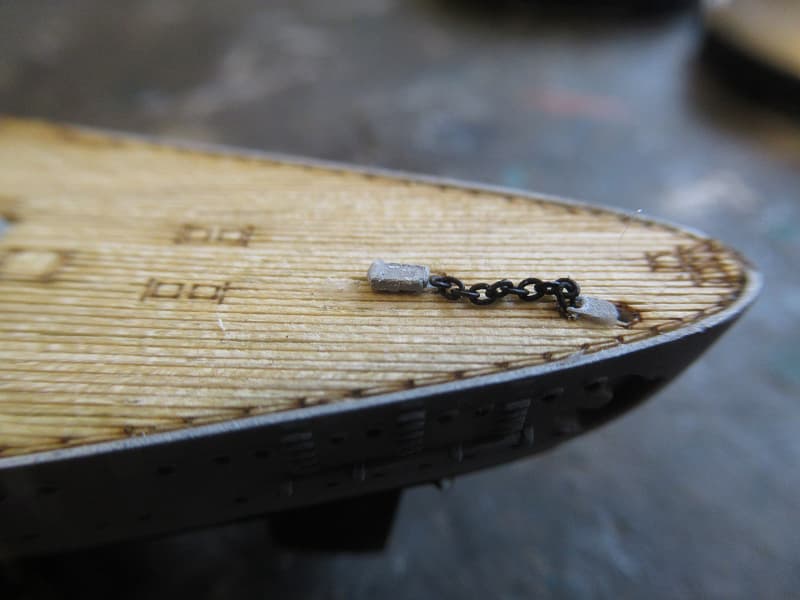
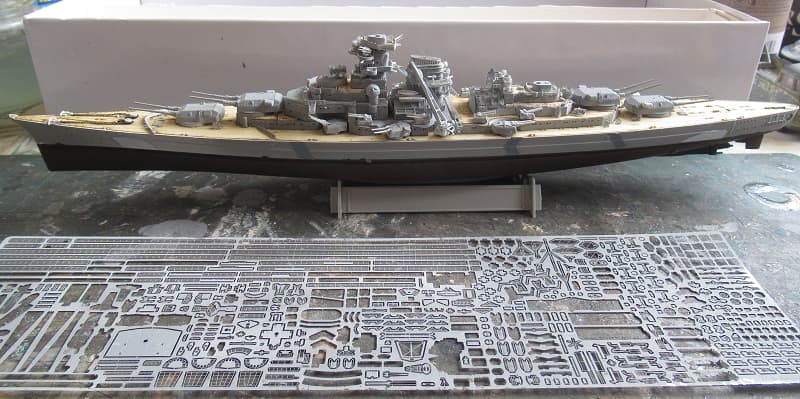
Cheers Johnny. This may be taking a while to build, and there is a ton of PE still to go, and just a handfull of kit parts. mainly boats and masts still to go. Here’s the stern anchor chain on.
10 Likes
As Johnny says - that PE in 1/700 really is challenge! Keep up the good work, she’s coming along nicely!
Cheers
Jan
2 Likes
He’s coming along nicely. Those wood decks and real chain really elevate the build. Keep up the good work my friend!
1 Like
The deck hatches are made up from three PE parts, the combing frame, hatch and weather cover frame.
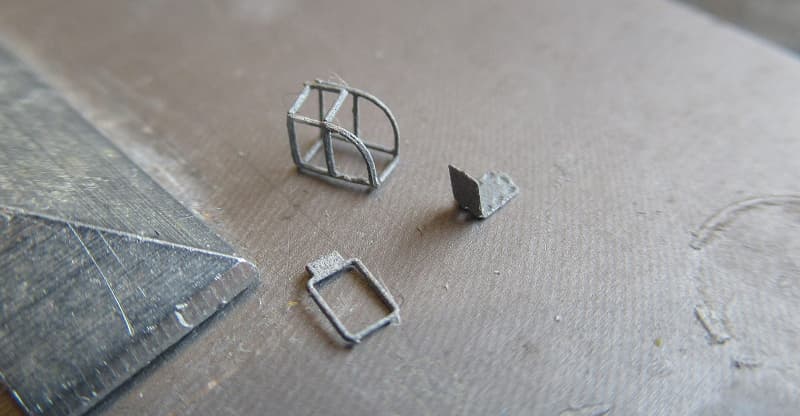
bending the frame up into a box shape

be a shame to cover the frame with a tissue rain cover, lets say it was a sunny day in Bergen.
6 Likes
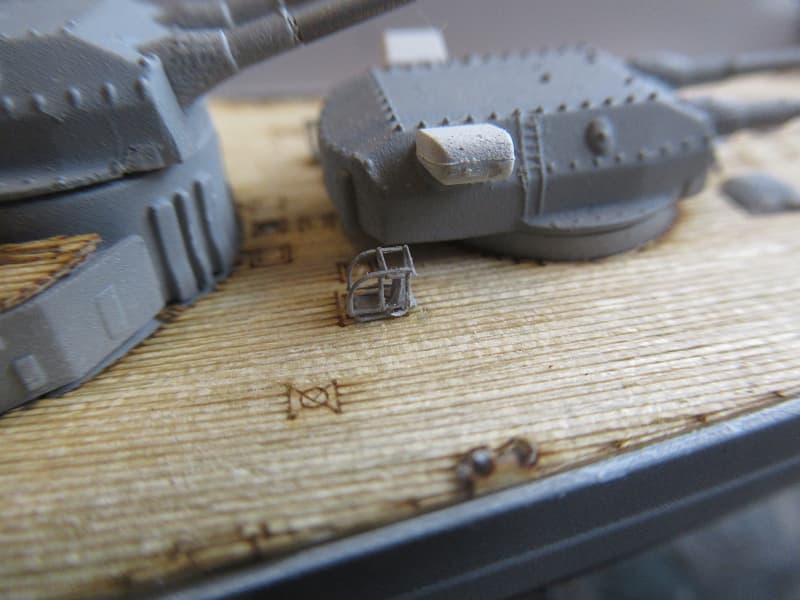
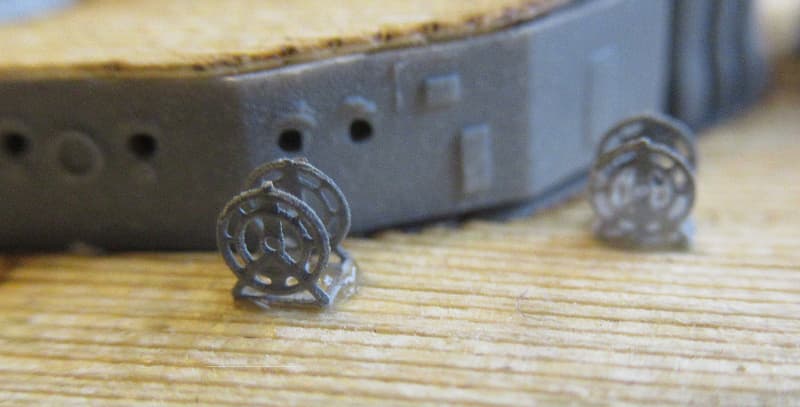
hose reels being bent up into shape.
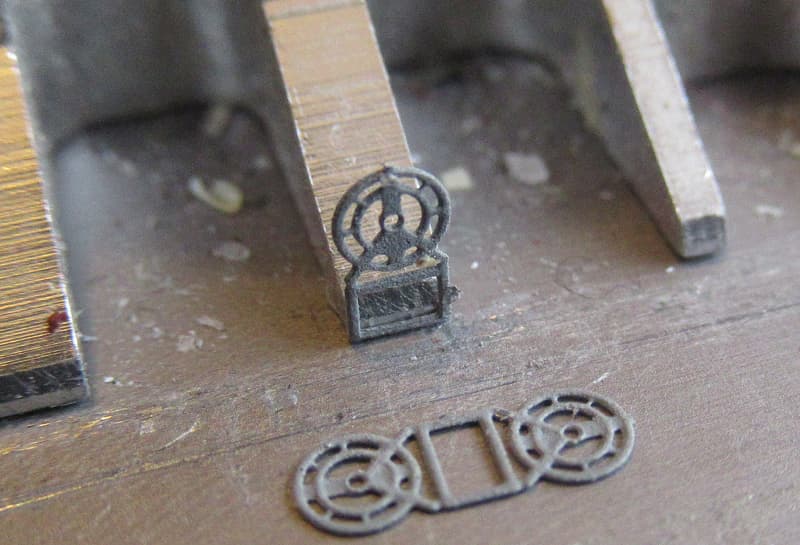
fitted on deck, these macro shots show up all the faults I can’t see with the naked eye, those snibs need cutting back where they’ve been cut off the frame.
6 Likes
I had considered putting hoses in the reels, maybe another day…

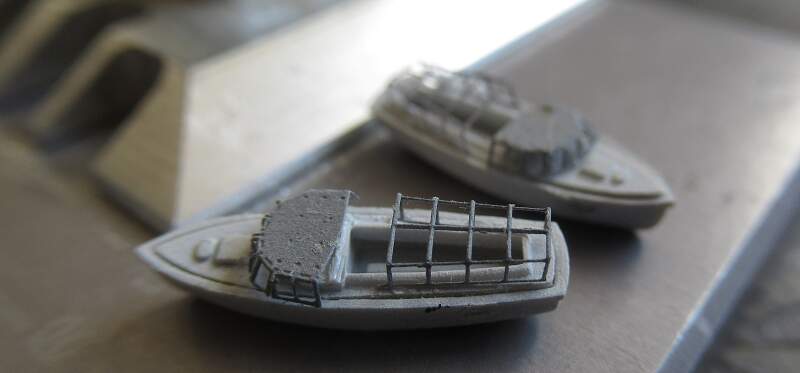
ships boats PE
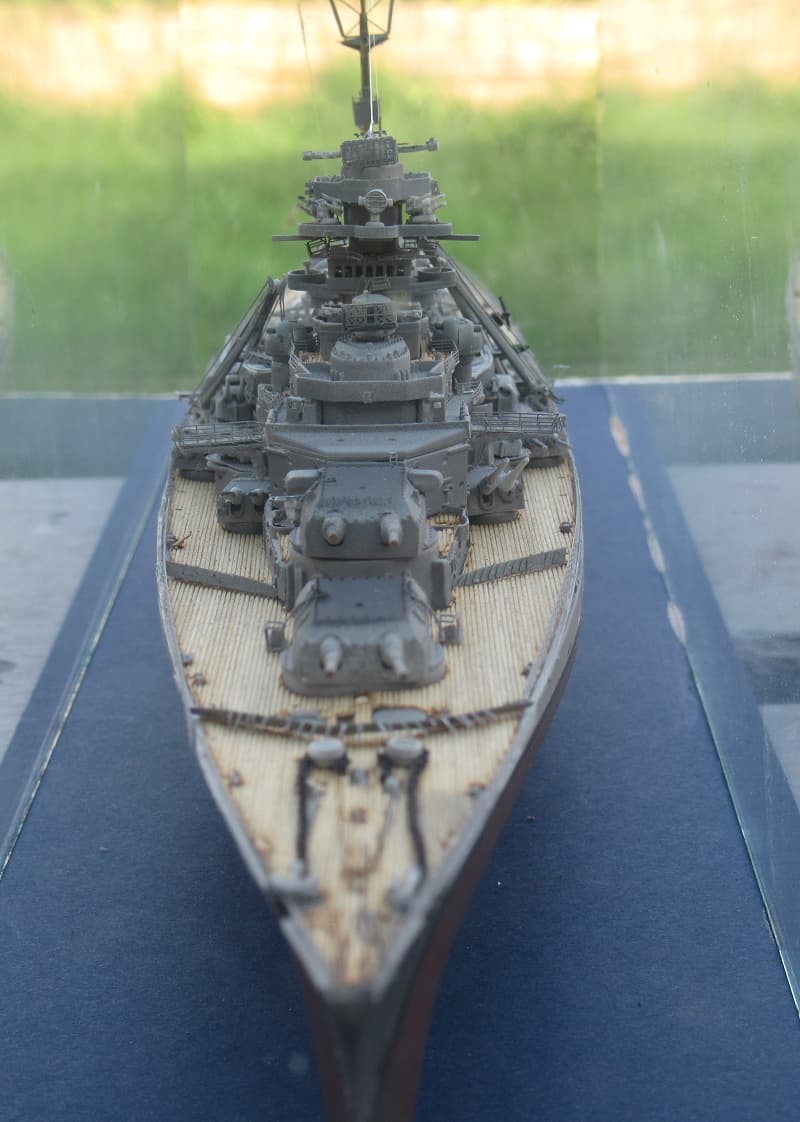
The false waves are in, just a darker grey in front and behind the one’s on the stern, I’m making a dent in the PE as you can see, a lot more to fit.
10 Likes
Hose reels: I’ve used styrene, or wire rod, the diameter of which fit into the hole in the reel, and glued/wrapped thread along several inches of the rod, then cut it into lengths that would fit between the reel wheels.
BTW: Nice job on the launches!
![]()
![]()
2 Likes
That’s really great work on all that tiny PE - most of that is challenging in 1/350, let alone 1/700…
She’s coming along really nicely!
Cheers
Jan
1 Like
Thank you very much, I’m moving along slowly with this, as I have several projects being built at the same time. Still easy to get this back in it’s box for protection between sessions on it, for now the fore and aft dark sea grey either side of the false wave cam scheme, something about putting the enemy range finders off target.
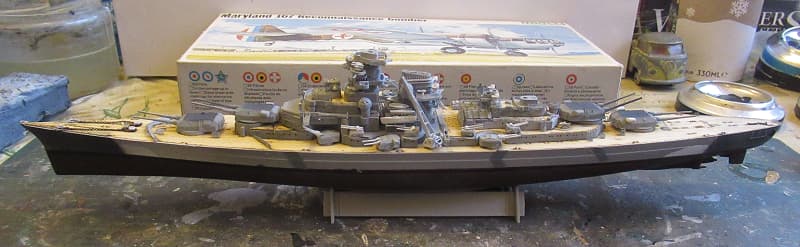
in the background is a Frog kit of the Martin Maryland, a plane with a interesting link to the Bismarck Pursuit story.
6 Likes
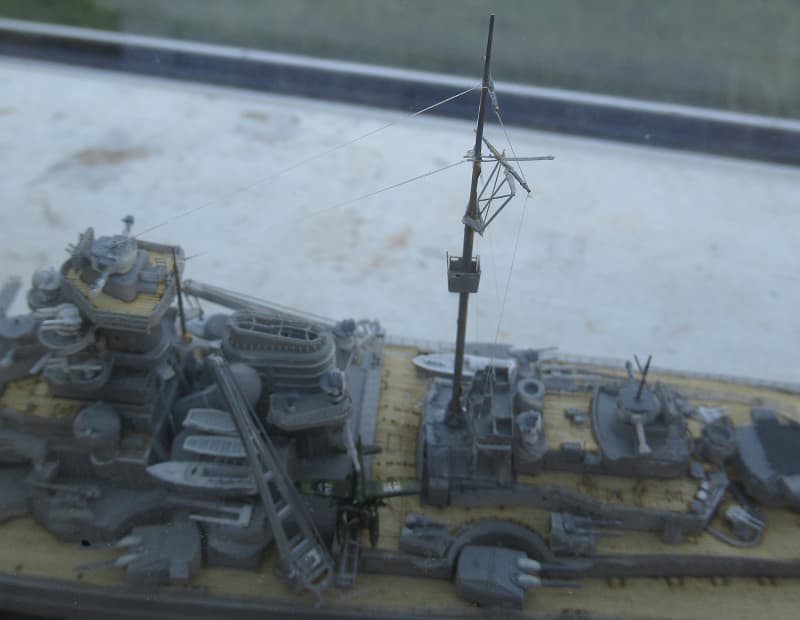
I started building the main mast last night, boy is that fiddley, but I have a commission build for a Korean war Veteran’s Birthday, right back on Bismarck when that is done and delivered.
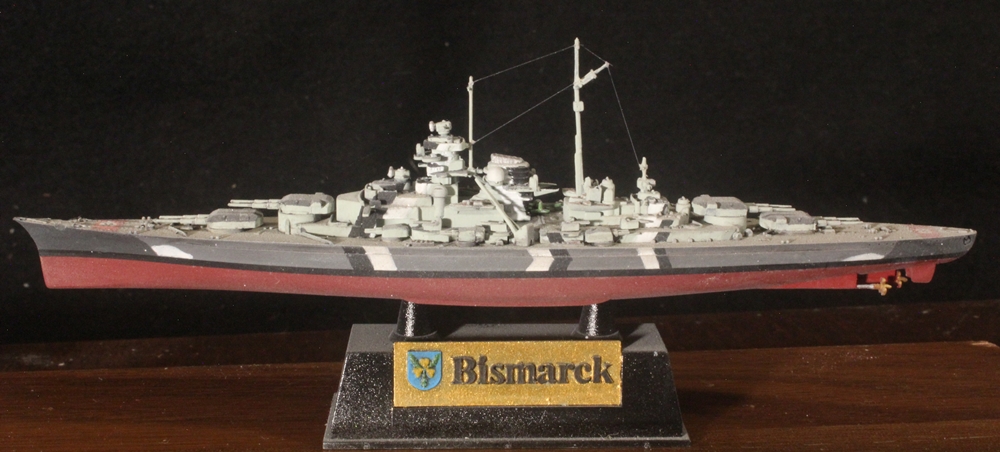
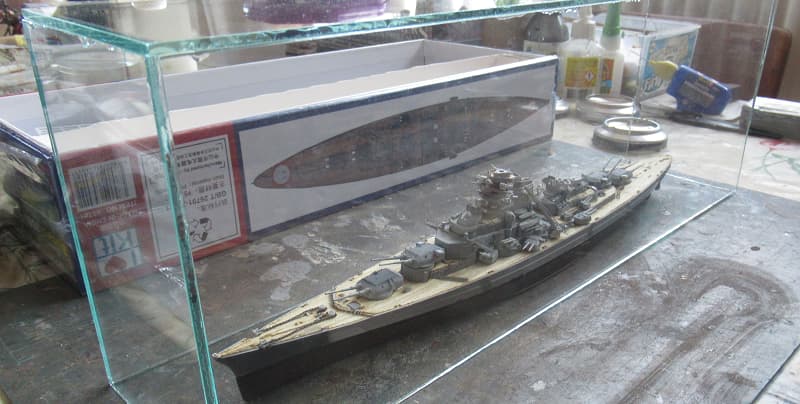
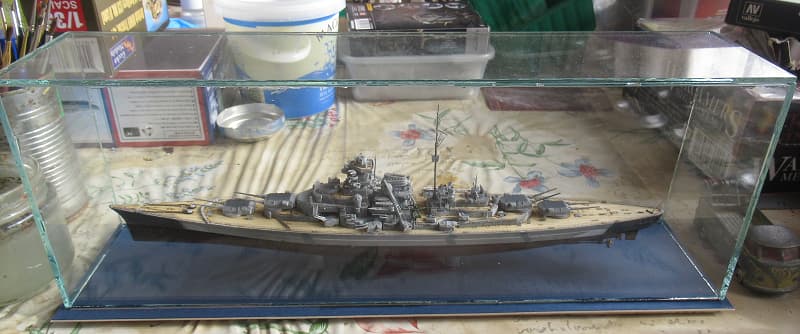
The glass case assembly, I went for tall sides to give an unimpeded view of the model, with shorter cases just a bit higher than the top of the model, the lid can cause reflections and spoil the view, now I can add the fine parts, like the main mast and the tiny jack staff. I can place the glass over the model to protect it during the build.
10 Likes
6 Likes
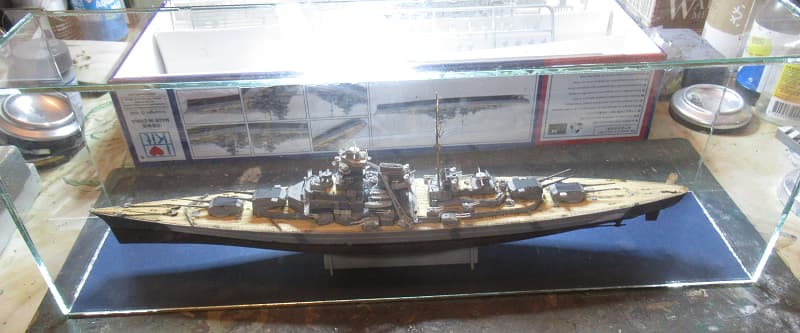
with the rigging made from UHU stringy glue, final parts fitted. The glass case protecting the hair fine details.
7 Likes
I’ve never heard of using UHU glue for making rigging! Can you elaborate on the process and provide close-ups of the result? How does it compare with using stretched sprue, or stuff like fly-tying fine thread? I’m always looking out for alternative rigging methods. I’ve used both the above-mentioned methods, but my eyesight is not what it used to be!
![]()
![]()
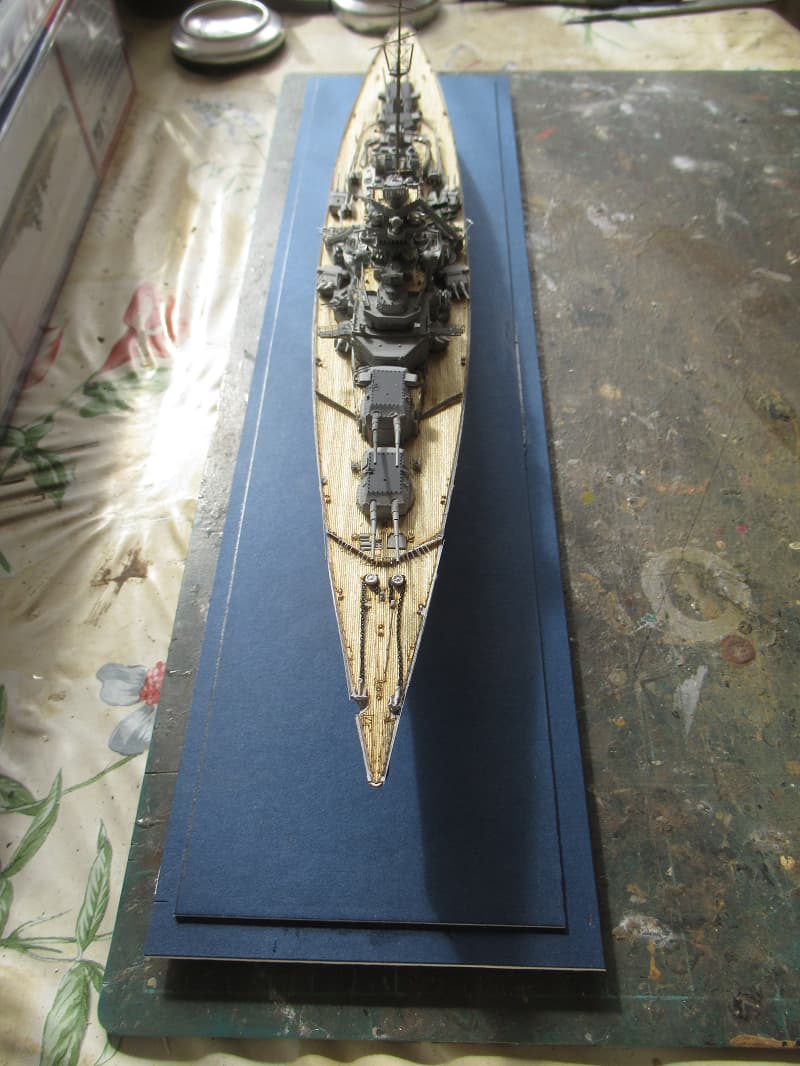
UHU glue has the annoying stringing property that can be used to make rigging wires on aircraft and ship models, it comes out fine as scaleline and dries to form a permanent wire, delicate no doubt, but easy to transfer from a fresh blob on the end of a cocktail stick from point to point.
there’s no way I can describe the process other than to say only a fresh blob works for every line as it quickly oxidises and refuses to string. practice on an old empty sprue frame before applying it to your valuable model. The results dry within ten minutes and you can delicately paint them, with care, best use thinned paint so you can touch on gently, again practice with scrap to get your drills right before you ruin a model.
5 Likes
now we come to the big question would I recommend this kit to the house, No,I wouldn’t want to put you through it. it’s a good kit, and I Love kit have economically gathered together the plastic kit, wood deck, and two PE frets in the same box for £50, whereas buying those parts separately would cost you double. But their instructions on how to bring this complex task to fruition is vastly flawed. The instructions are a wirlwind of facts and images that have no clearly defined order of assembly. Confusing to say the least, and when you consider the complexity of the task it’s not on. However I made a model out of the disorder and I find my self relieved it’s finally over. But I do have a first class Bismarck despite the fact the journey was fraught. It’s a Unicorn of a model, rather than a Monster. Which leaves me with a song to sing you all…
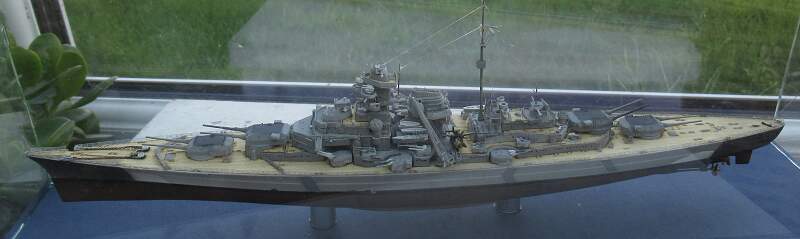
There were Green alligators and long necked Geese, some Humpty back Camels and some Chimpanzees, some cats and rats and Elephants but sure as you were born, this bloody kit was a Unicorn!
9 Likes
Fabulous build Sprocket!
Very happy to follow along and see all of the wonderful work you’ve done with this kit. The results are truely outstanding! ![]()
A+++
Due to time required, small PE and flustrating instructions, my copy will find a new home.
1 Like
Sprocket, I think you may have very well struck upon a new way to rig our ship models! ![]()
Meanwhile, congratulations are in order for your commissioning of a fine model of the Bismarck from what is by all accounts, a beast of a kit! ![]()
![]()
![]()
![]()
![]()
![]()
Looking forward to seeing what you bring us next!
1 Like