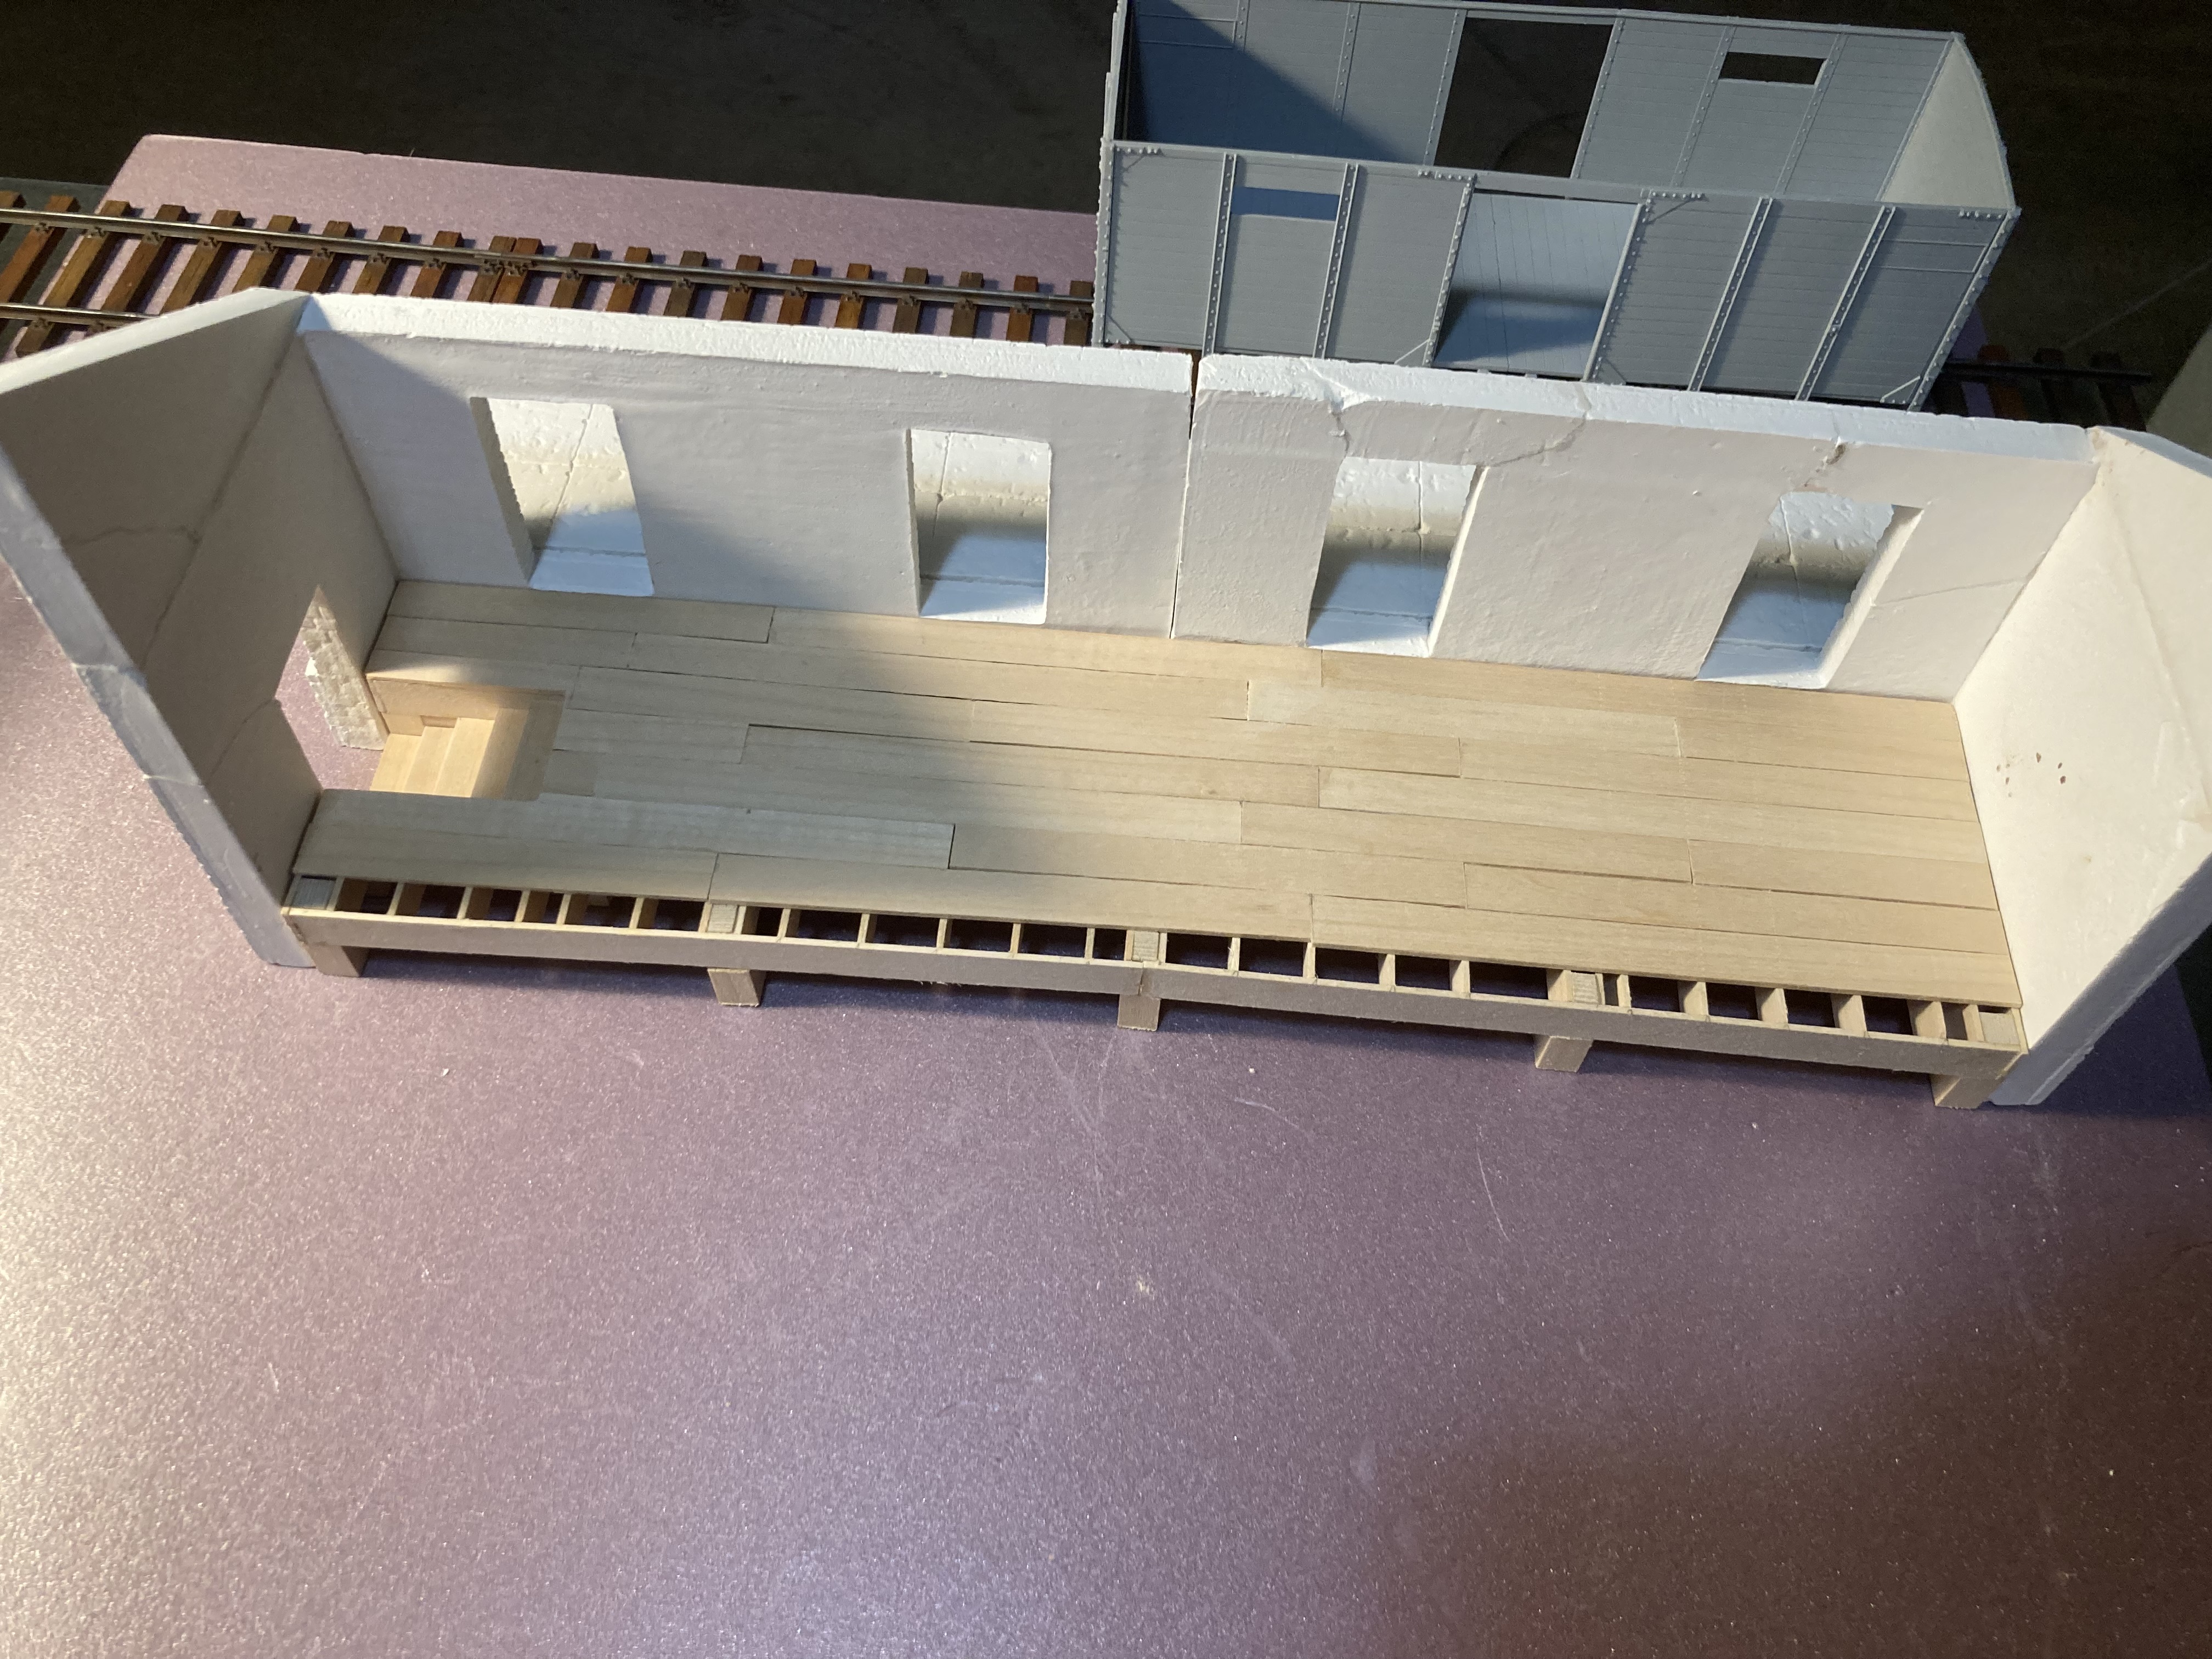
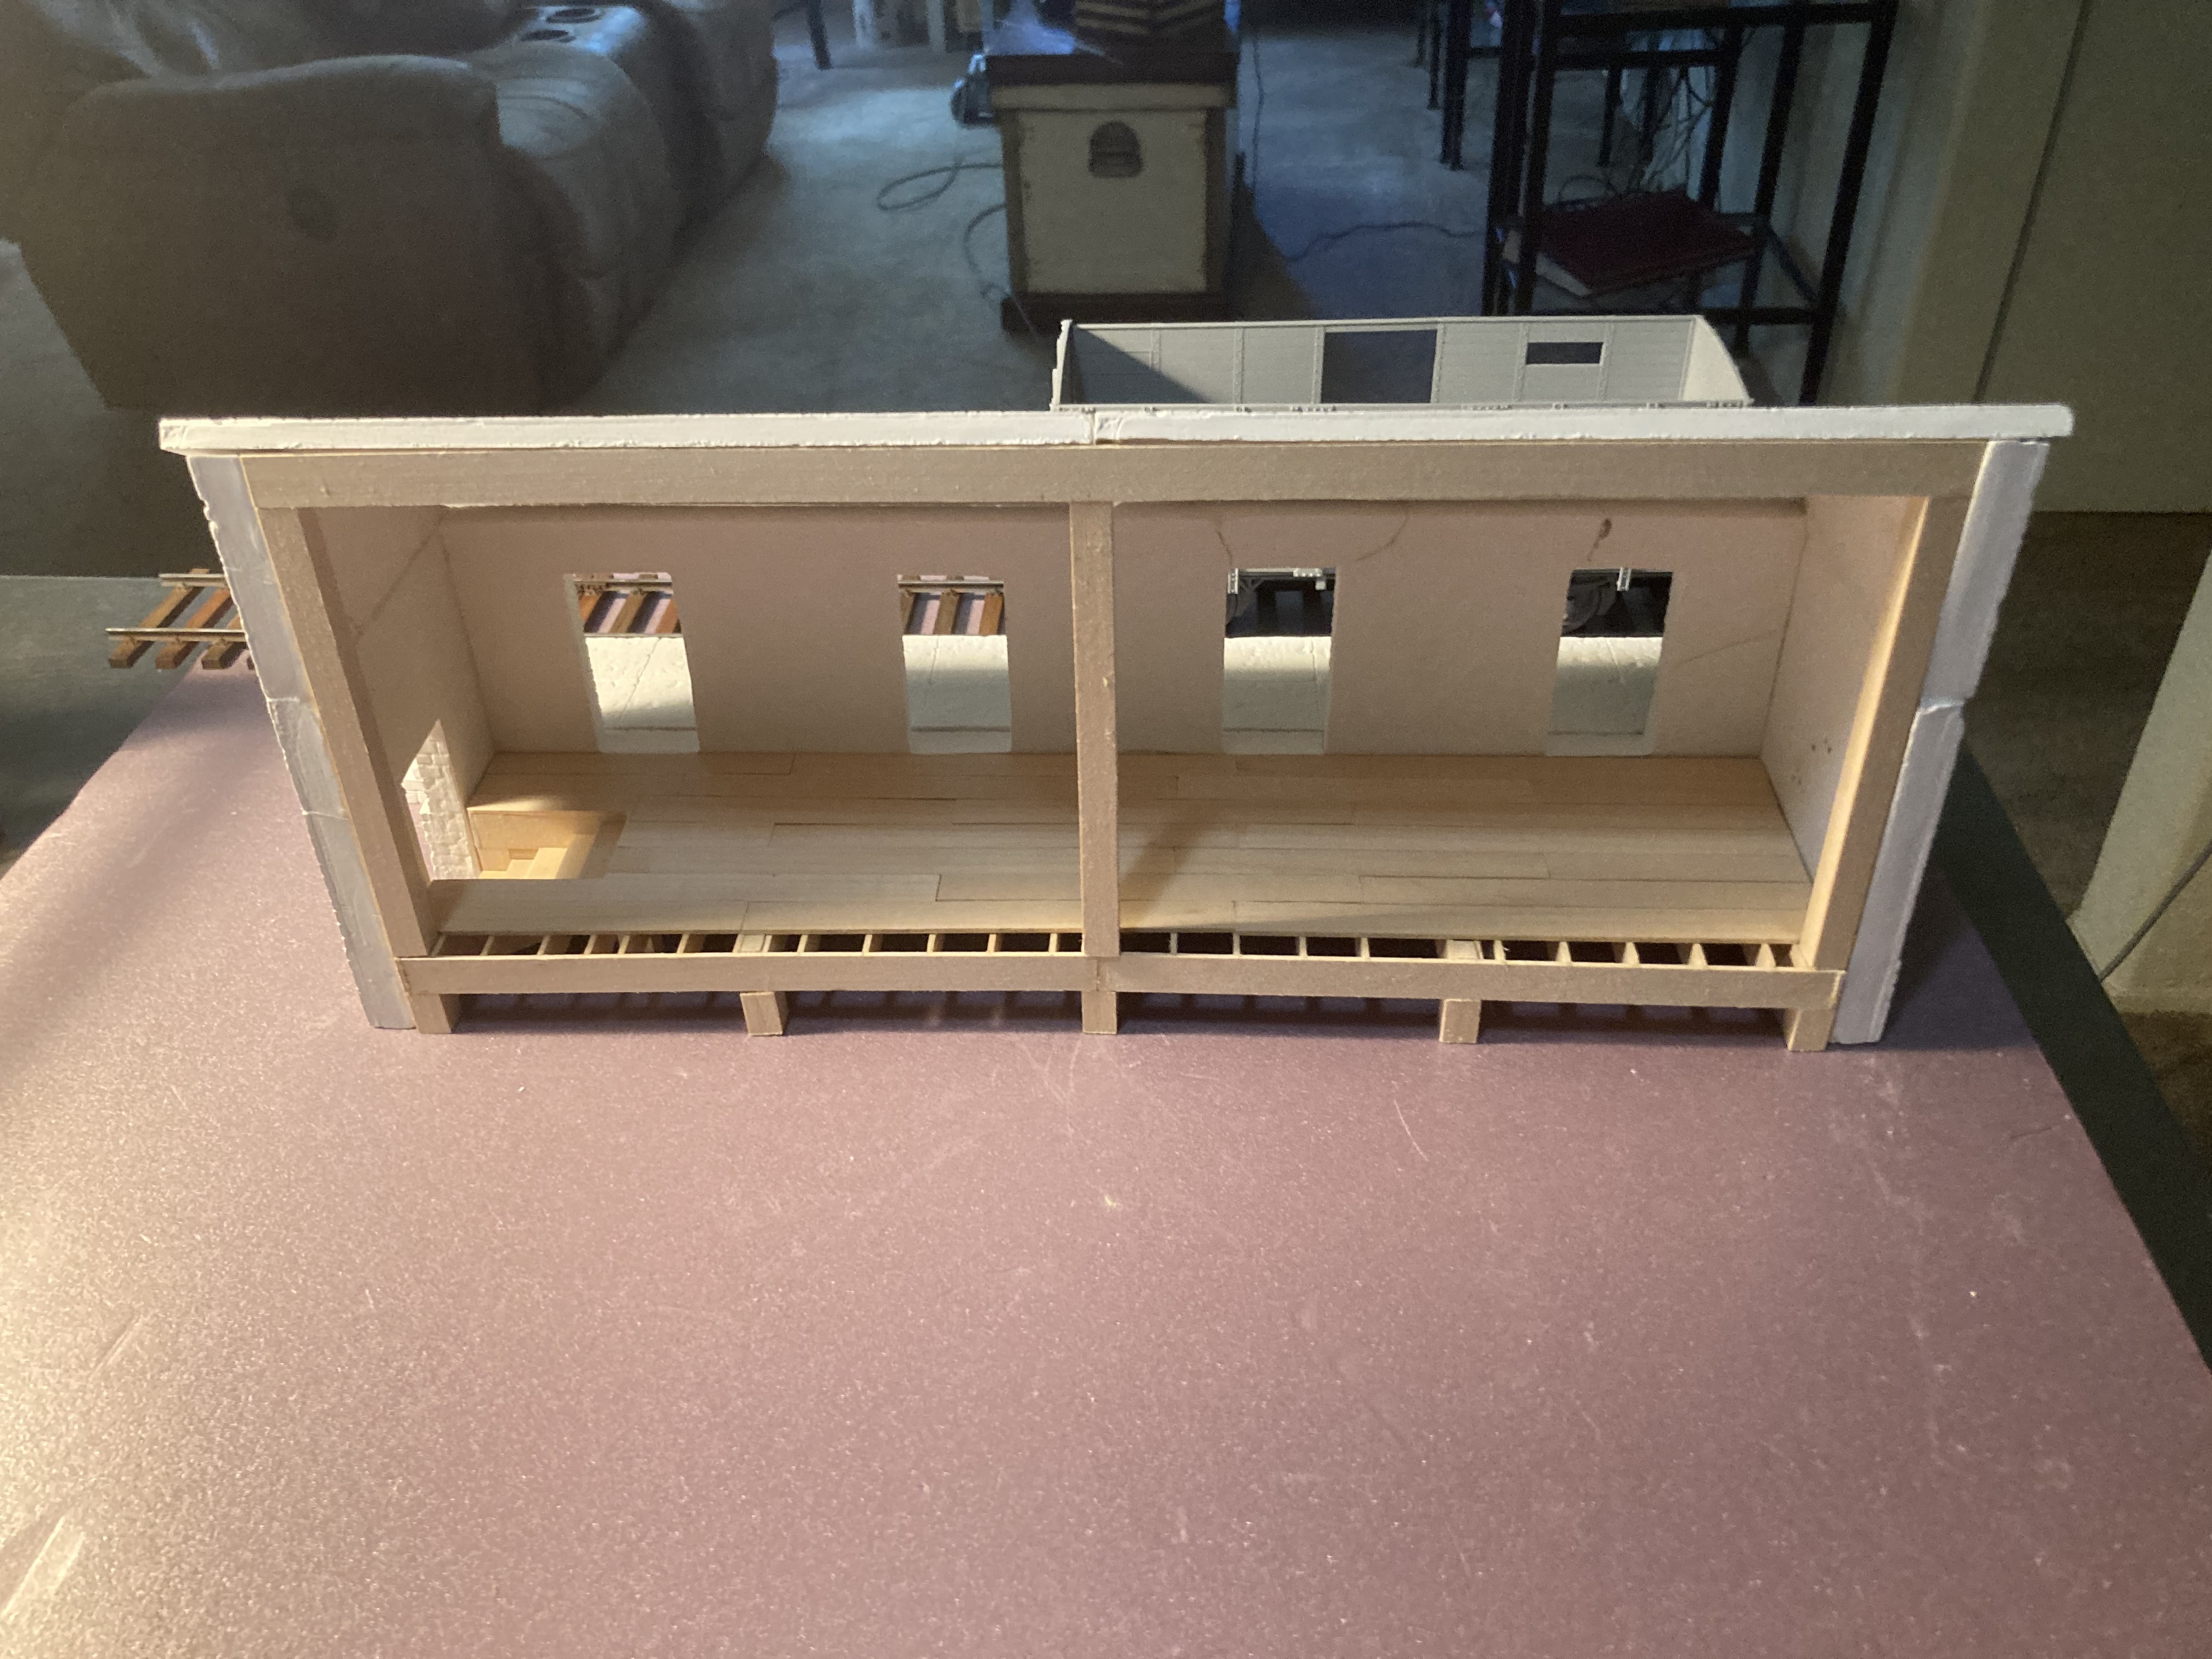
Very nice floor frame you have built up there. Precise, neat and looks like the real deal !!
3 Likes
I hope so…I used to do carpentry ![]()
7 Likes
you can tell just by looking at it ![]()
2 Likes
My older brother taught me a lot but he was very hard to work for…he was a perfectionist…
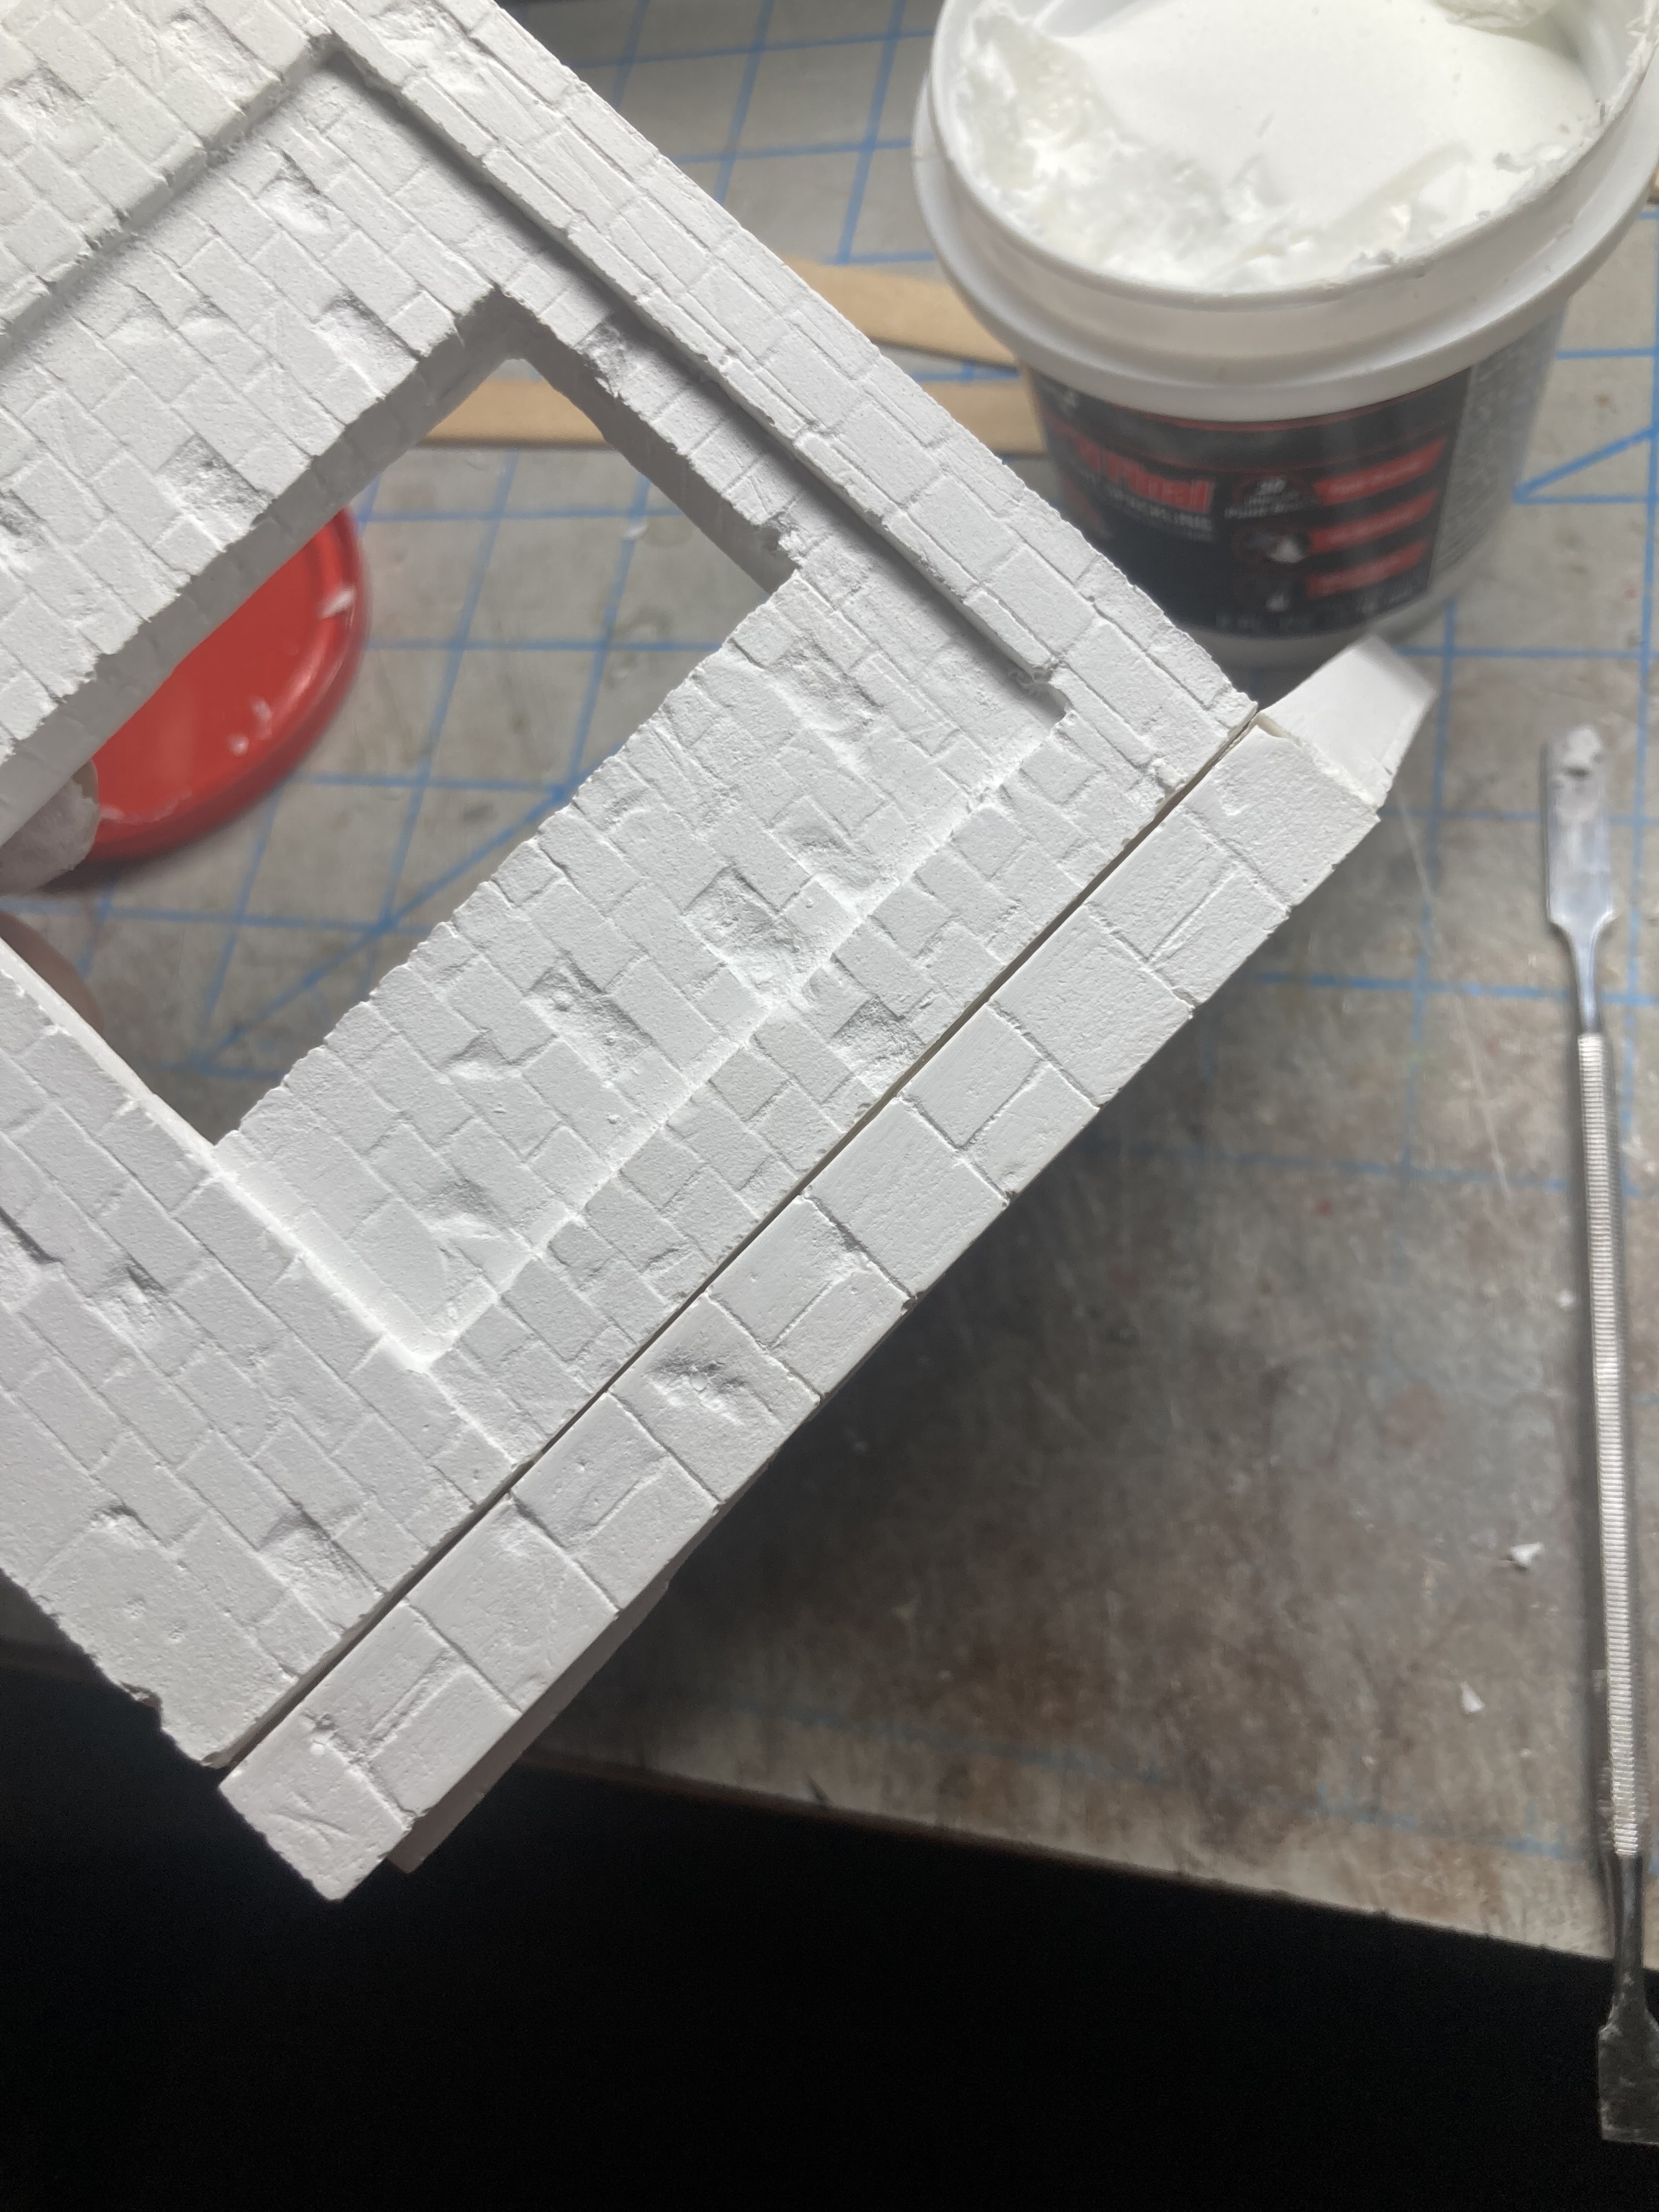
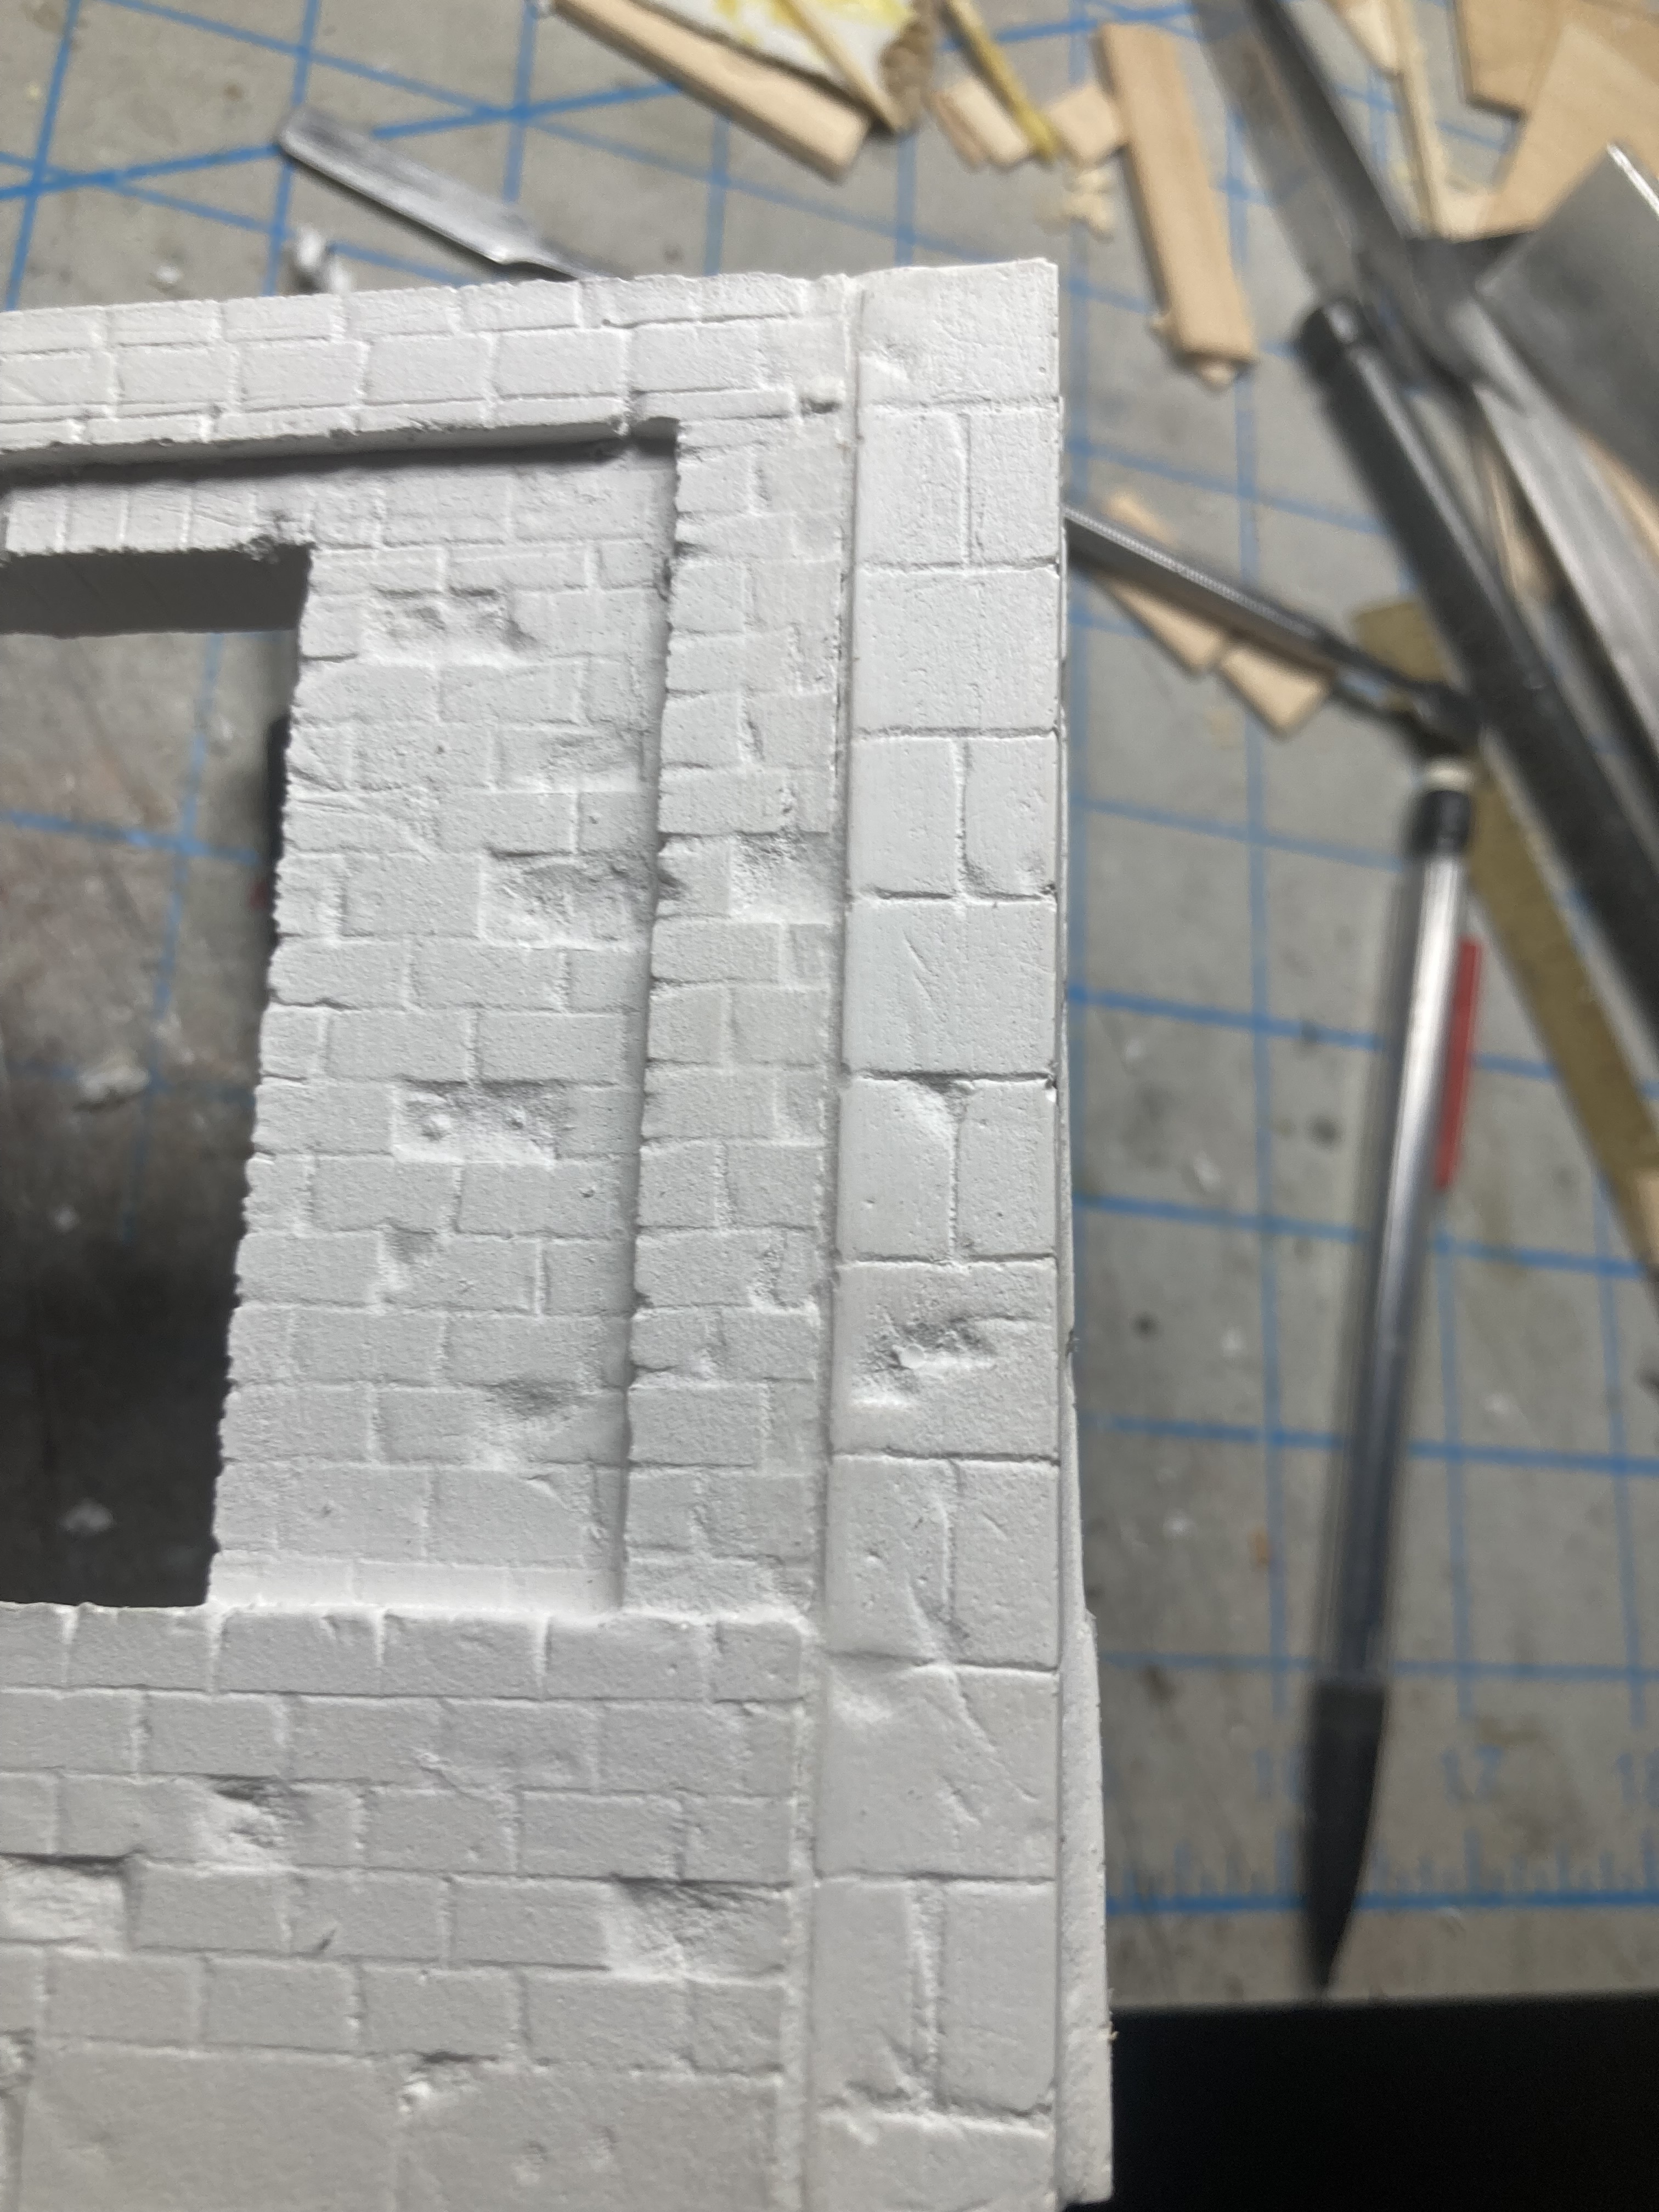
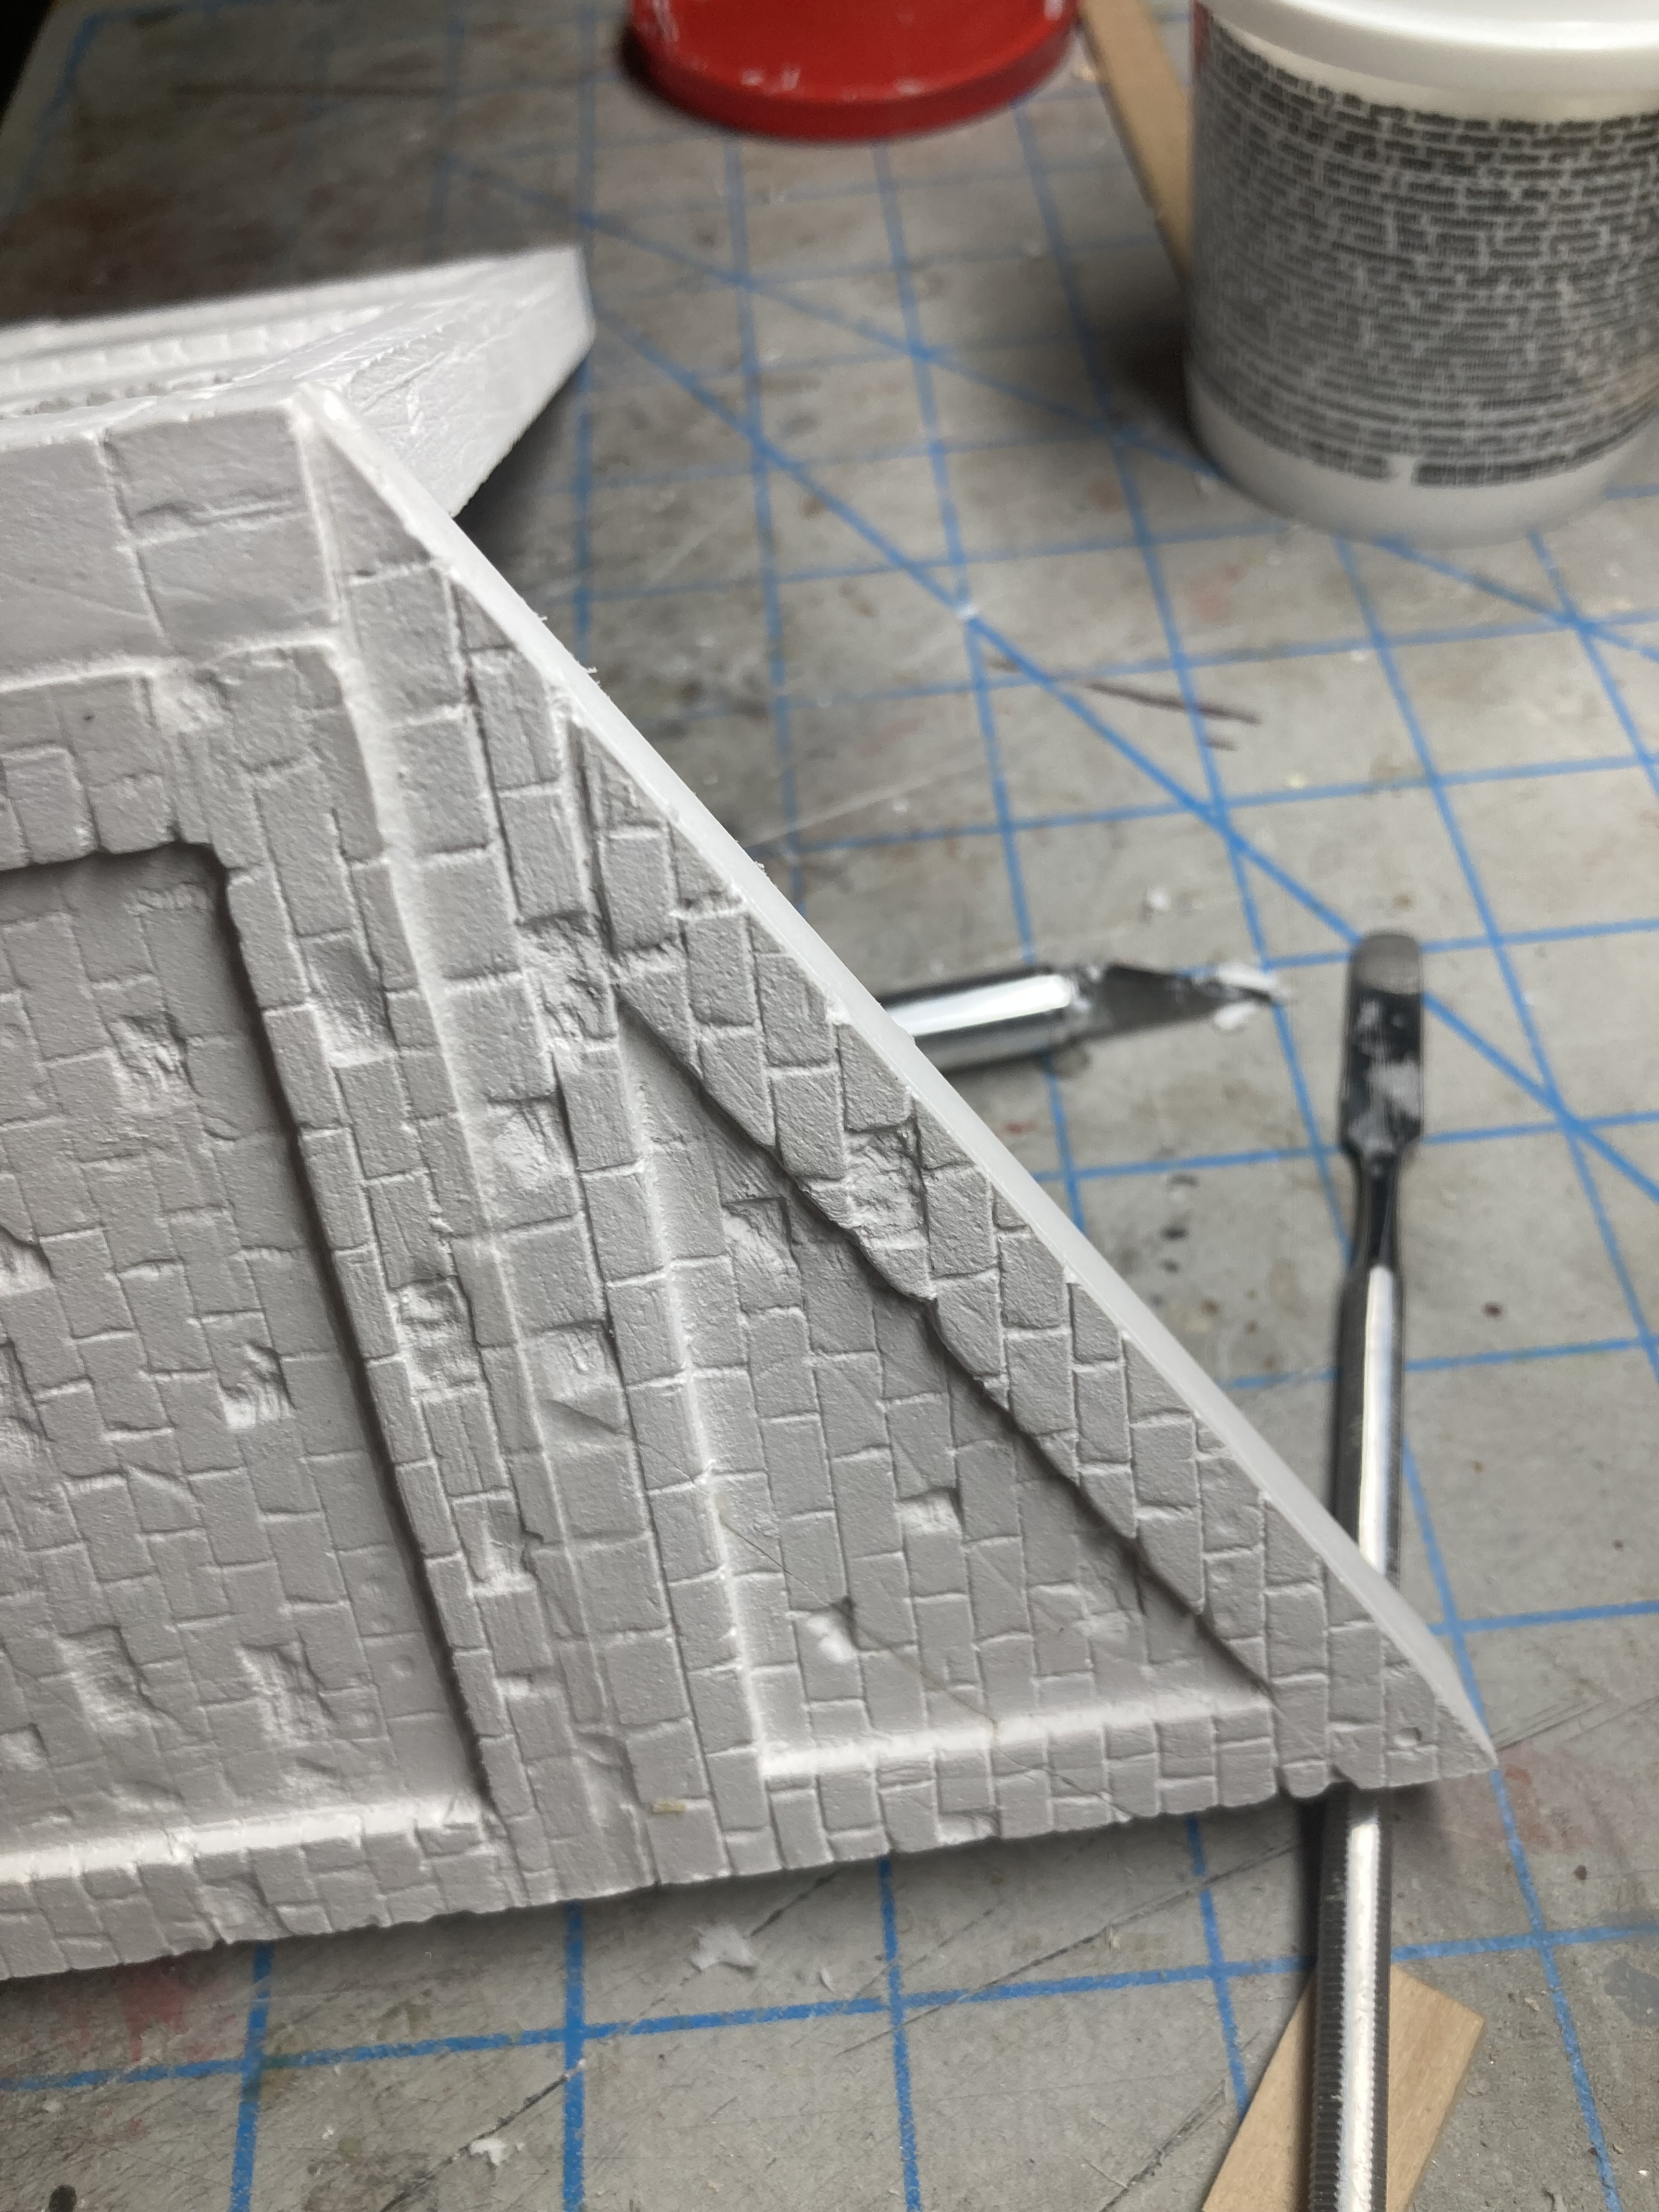
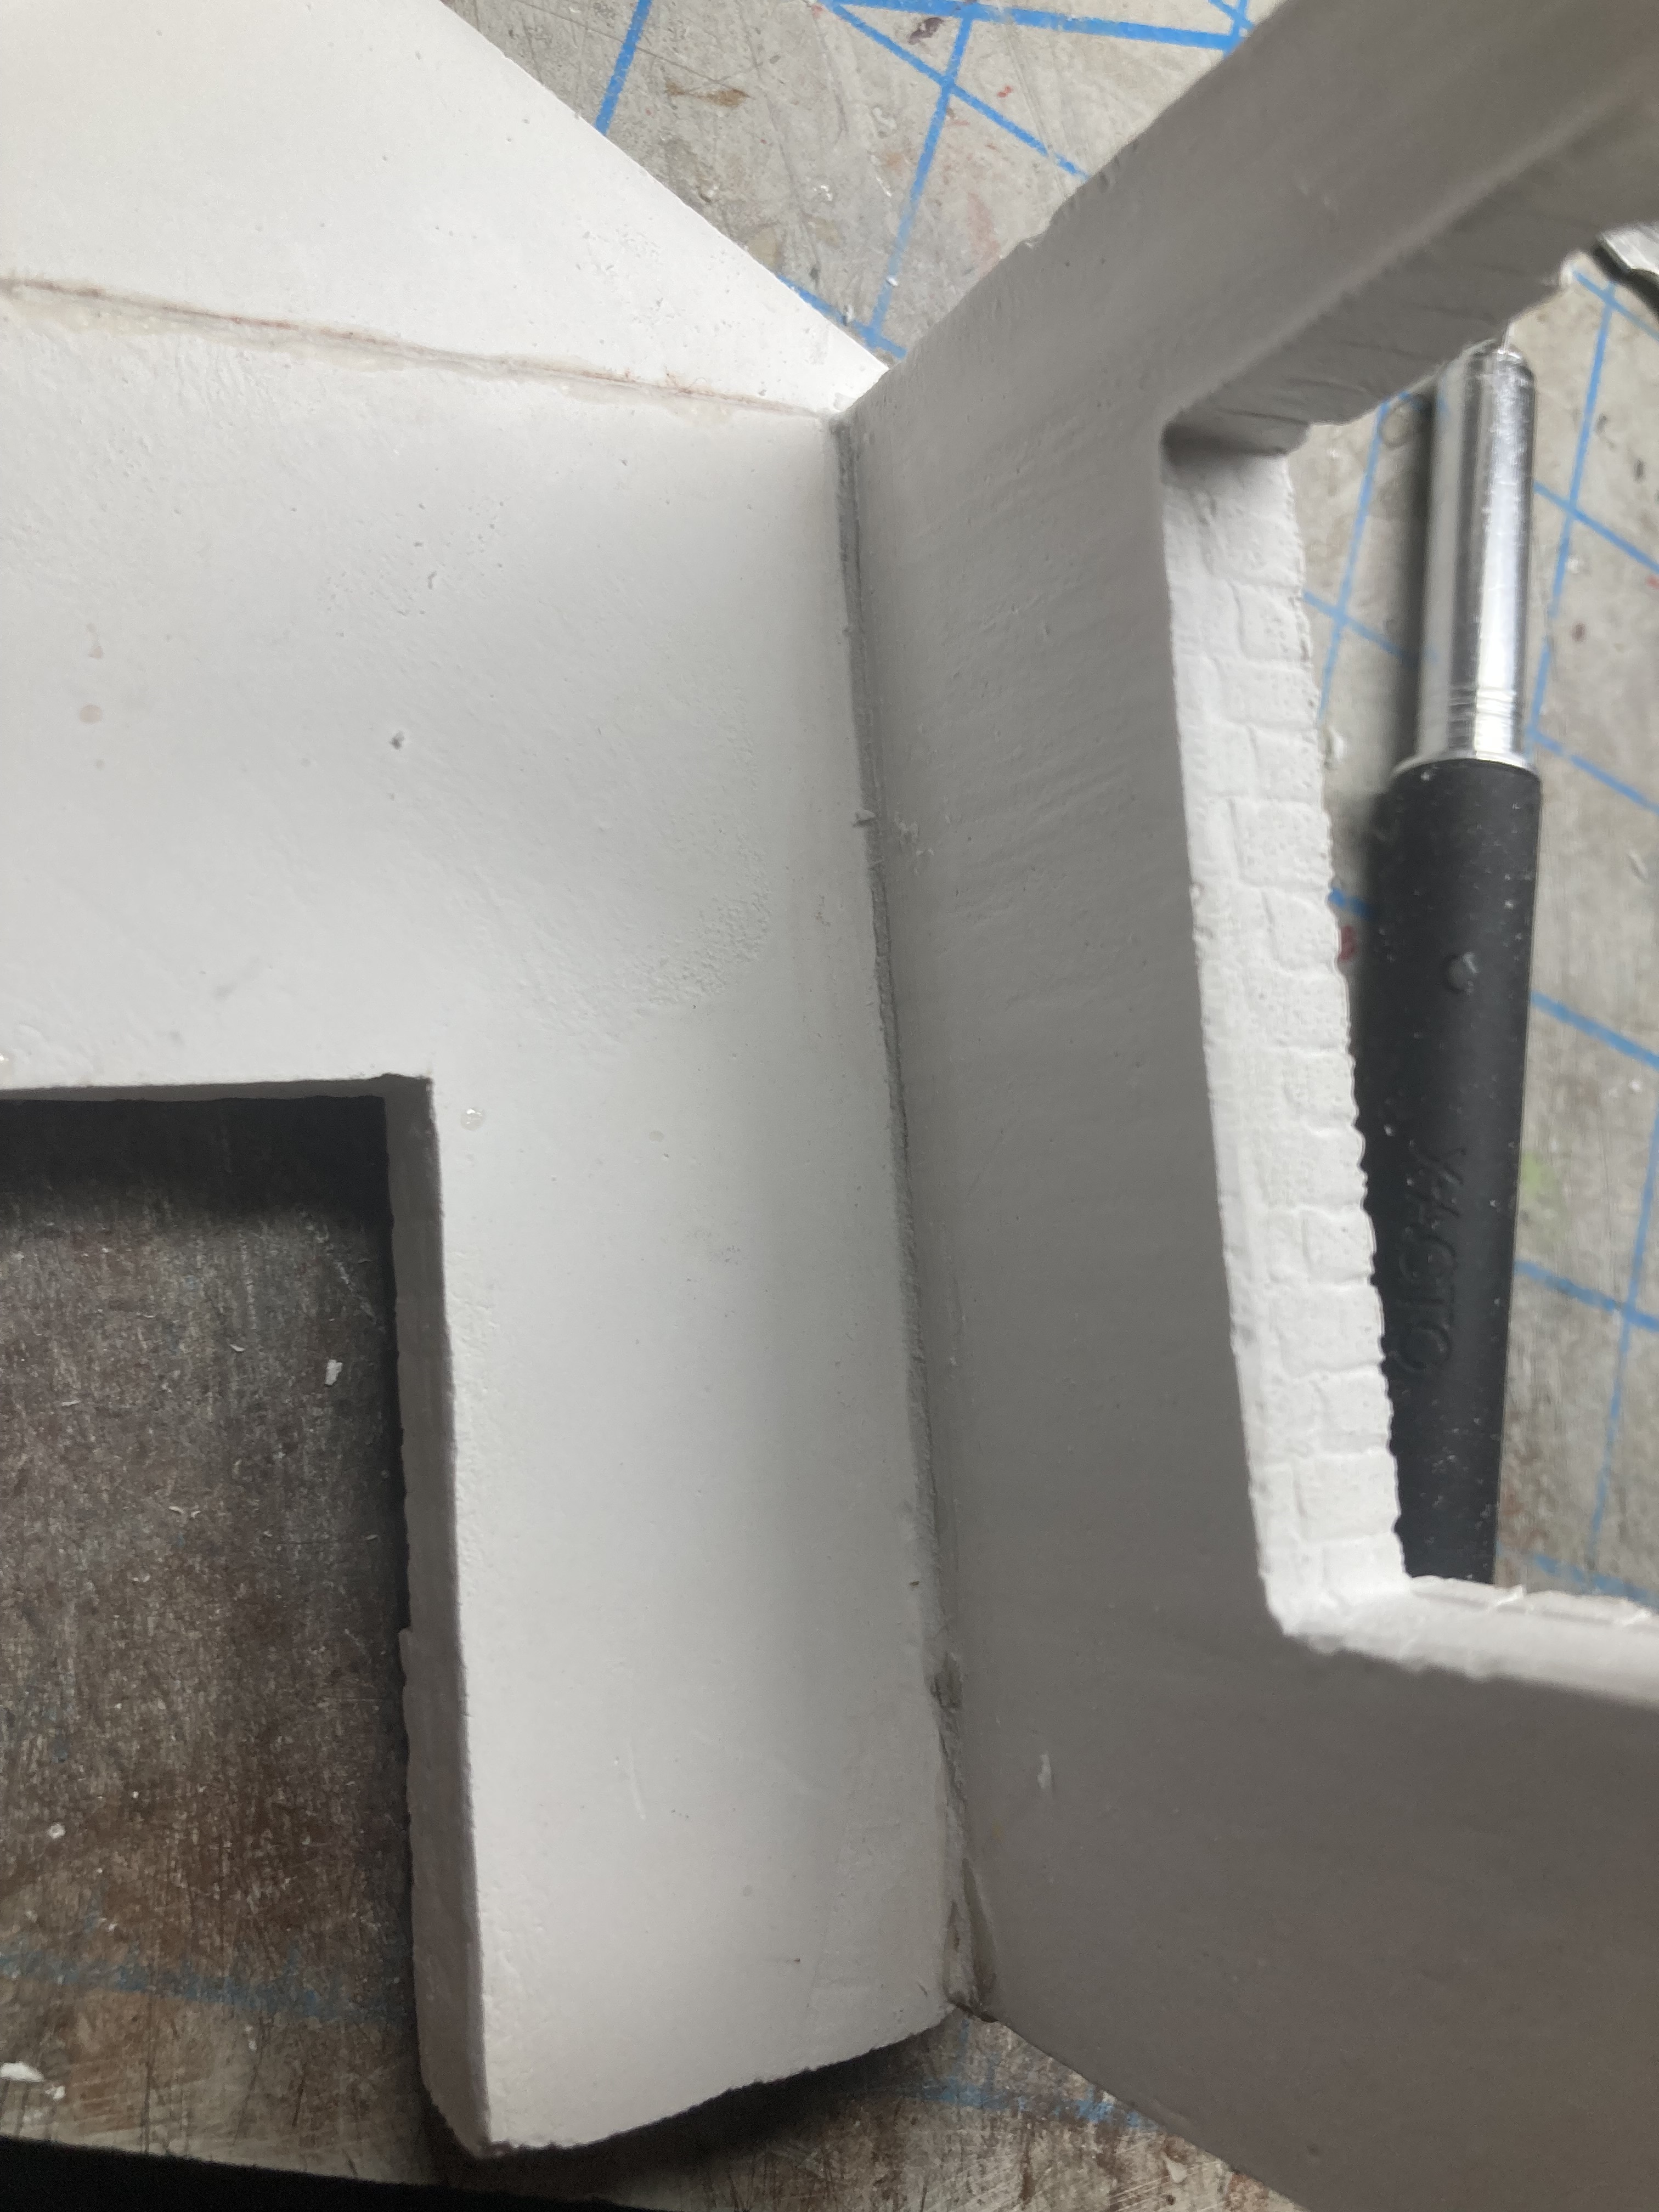
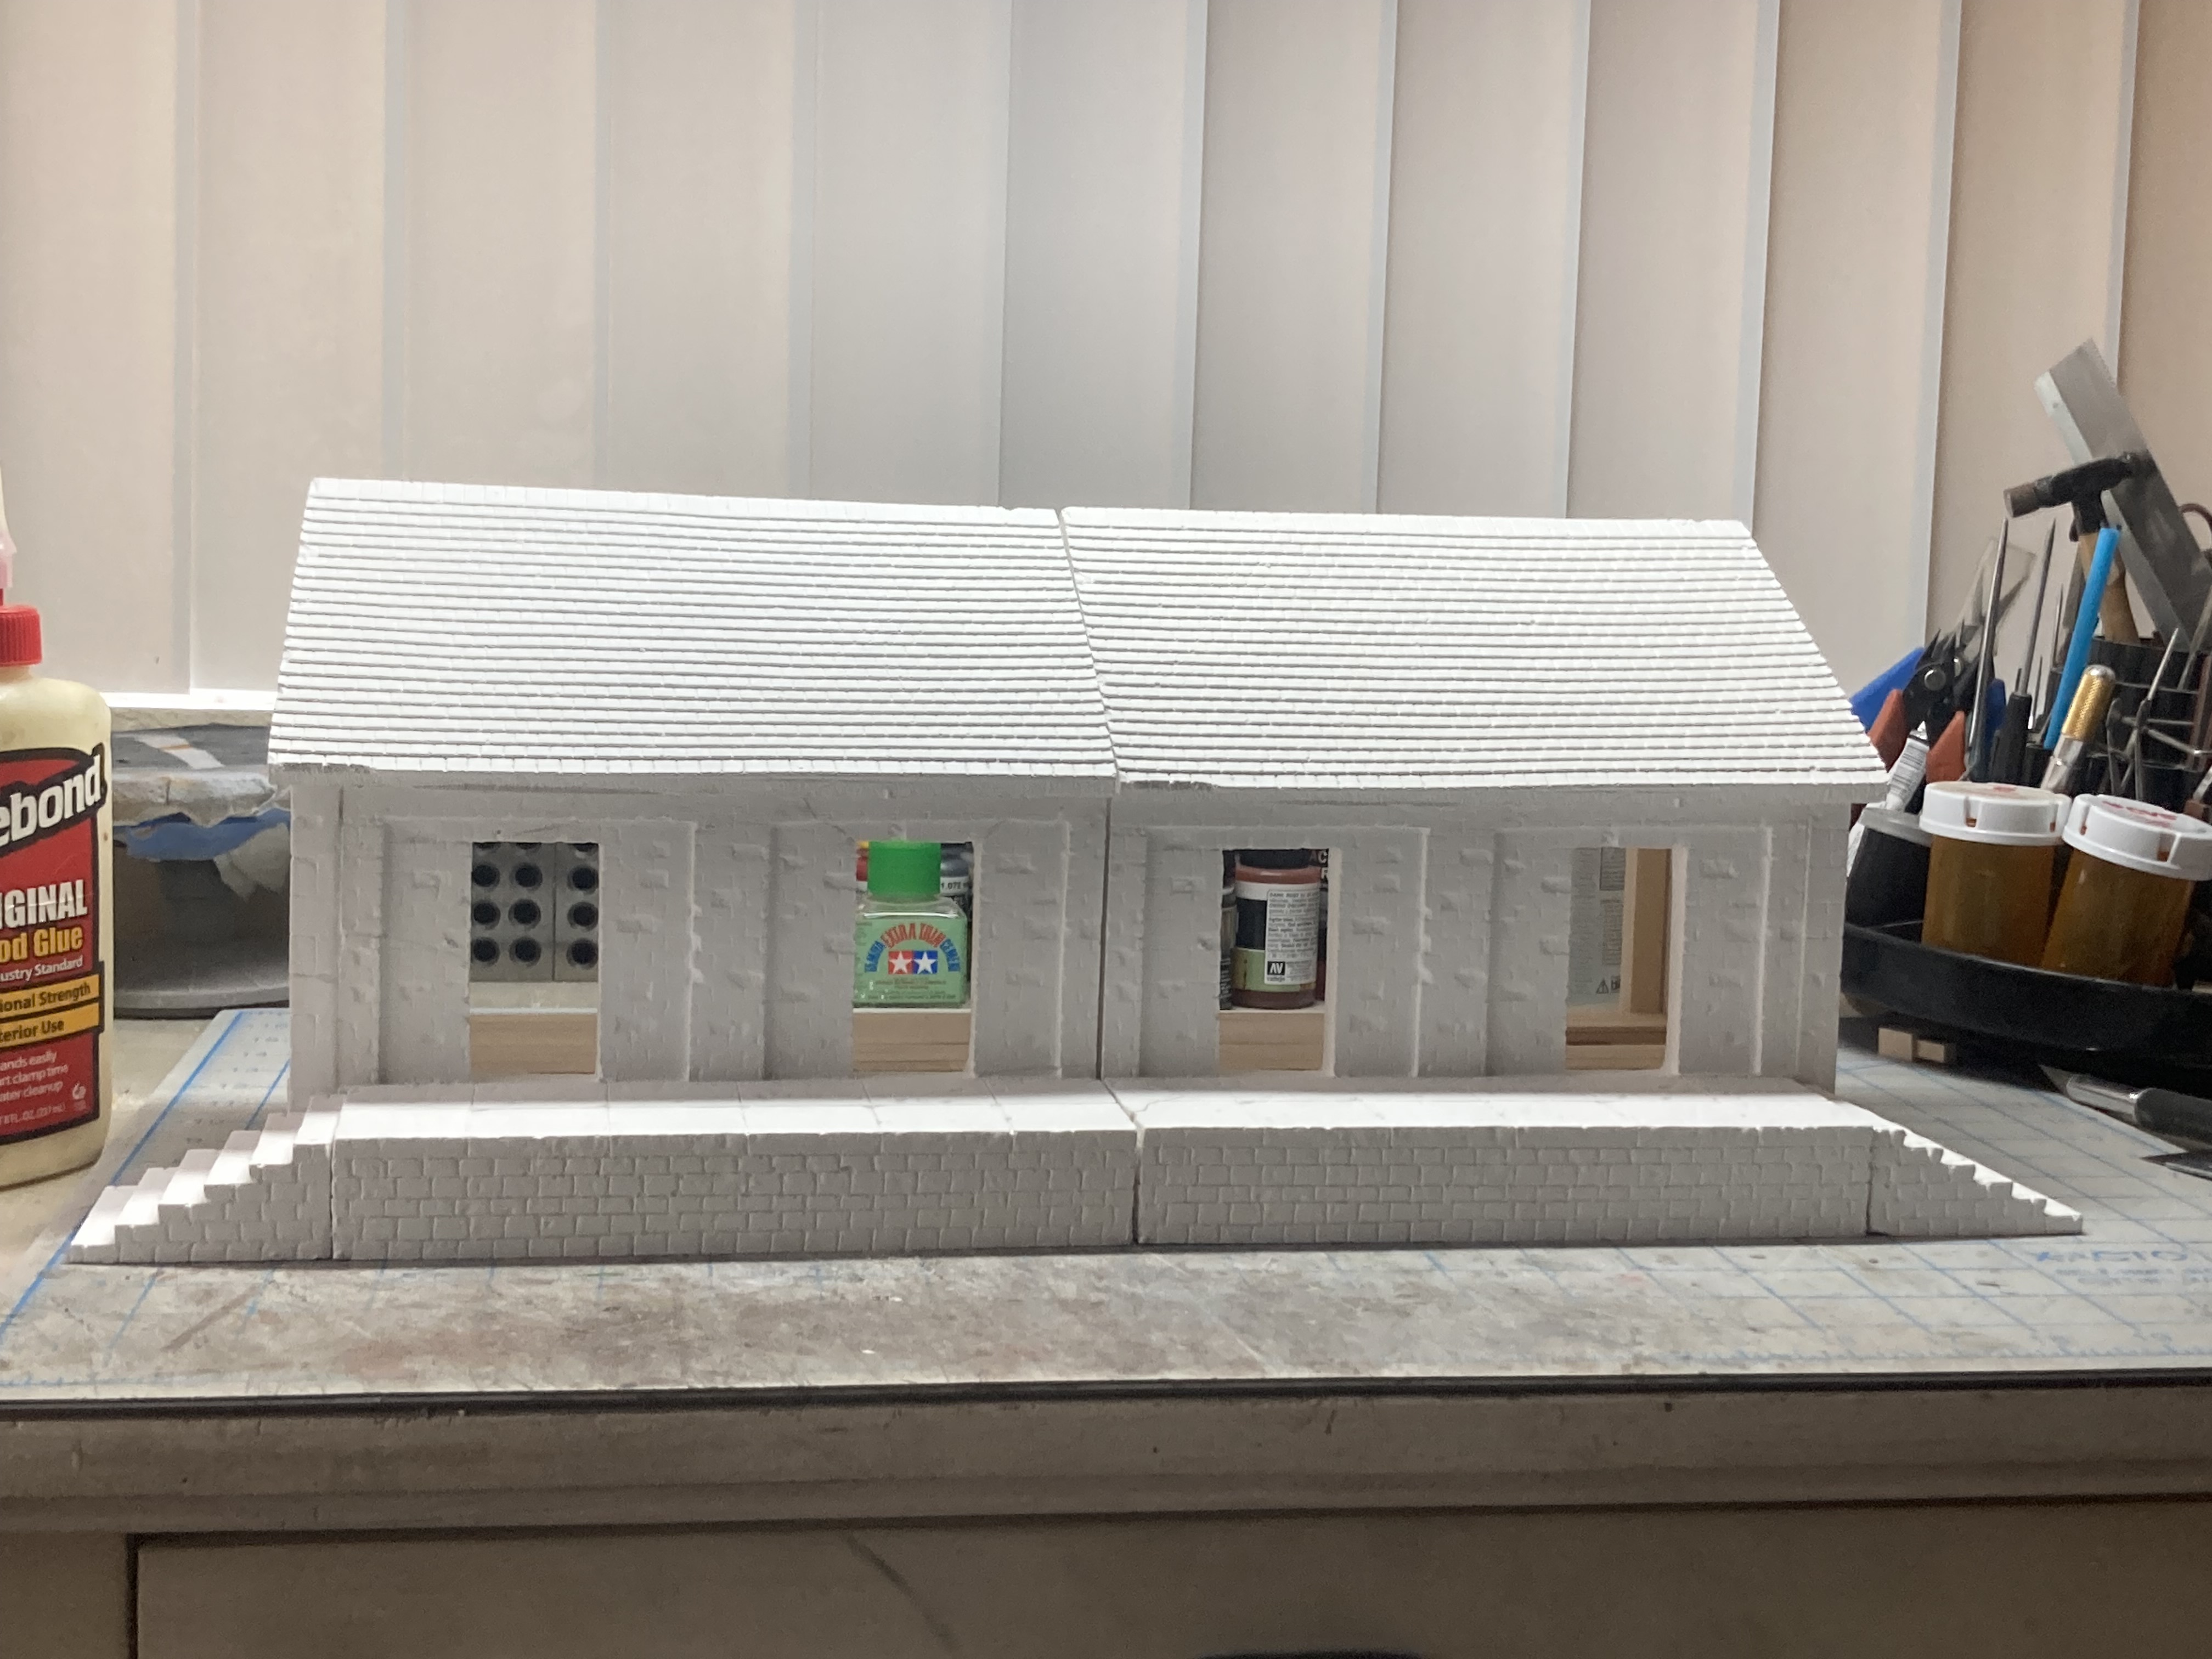
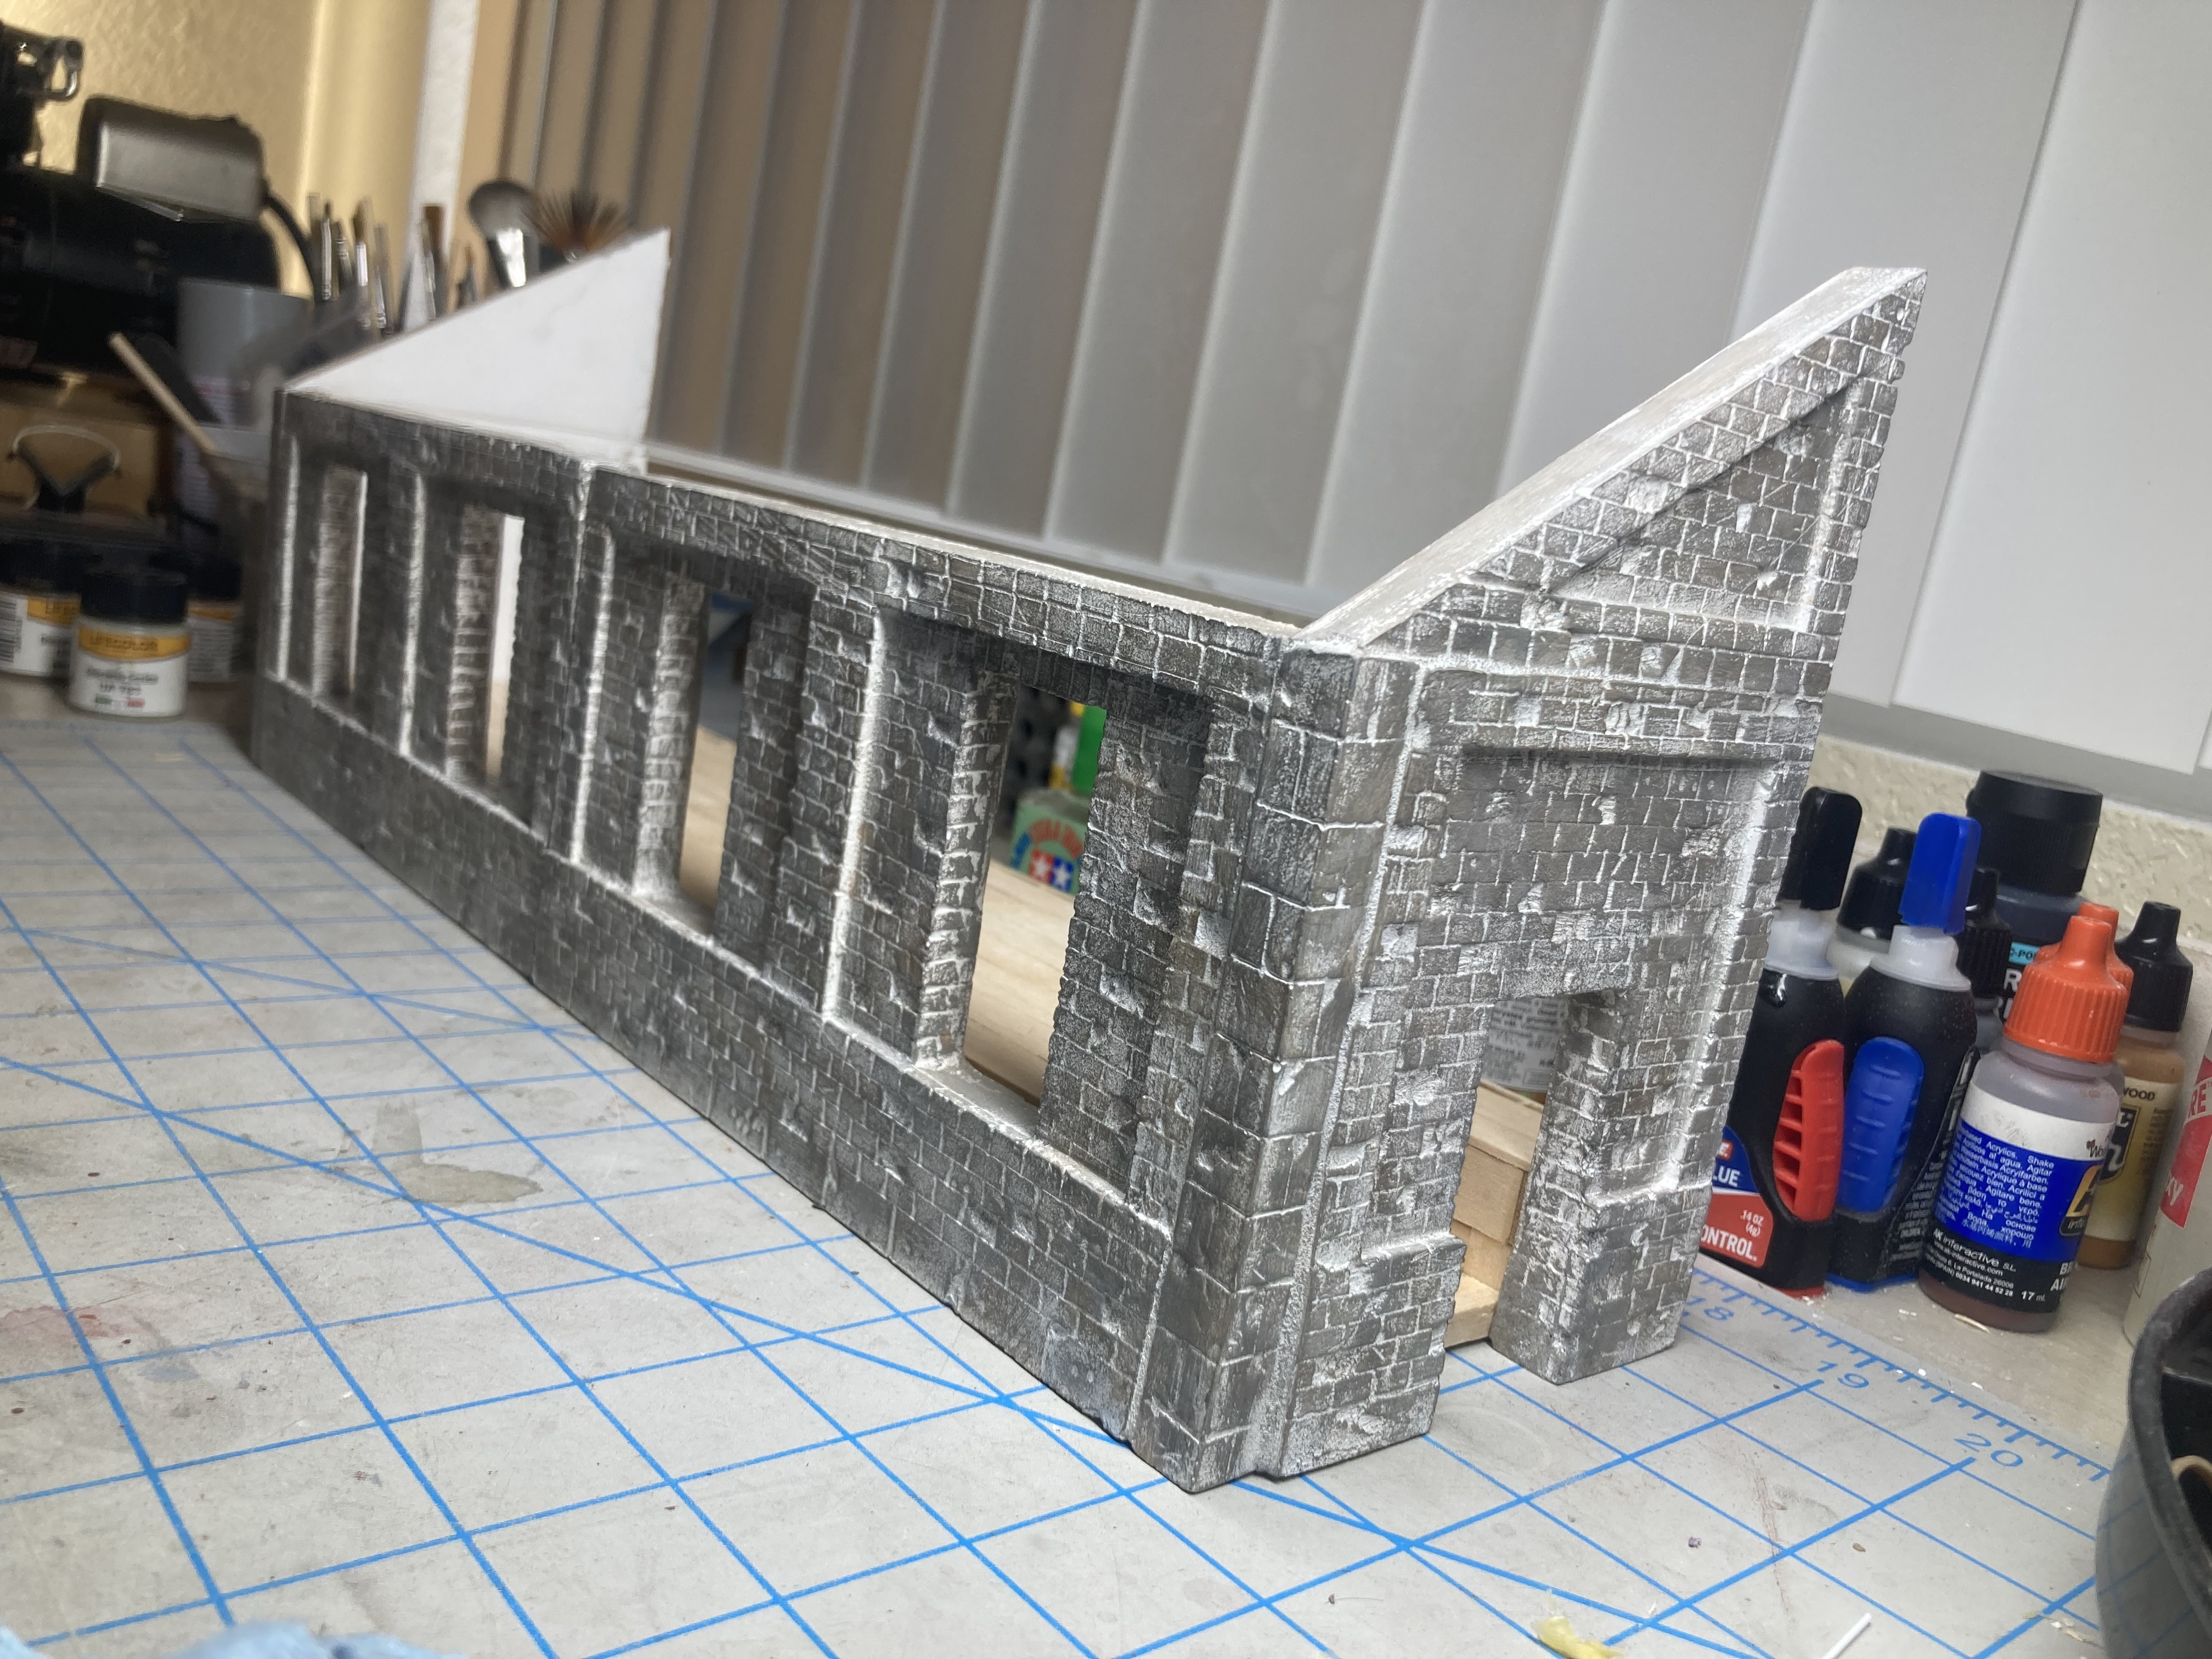
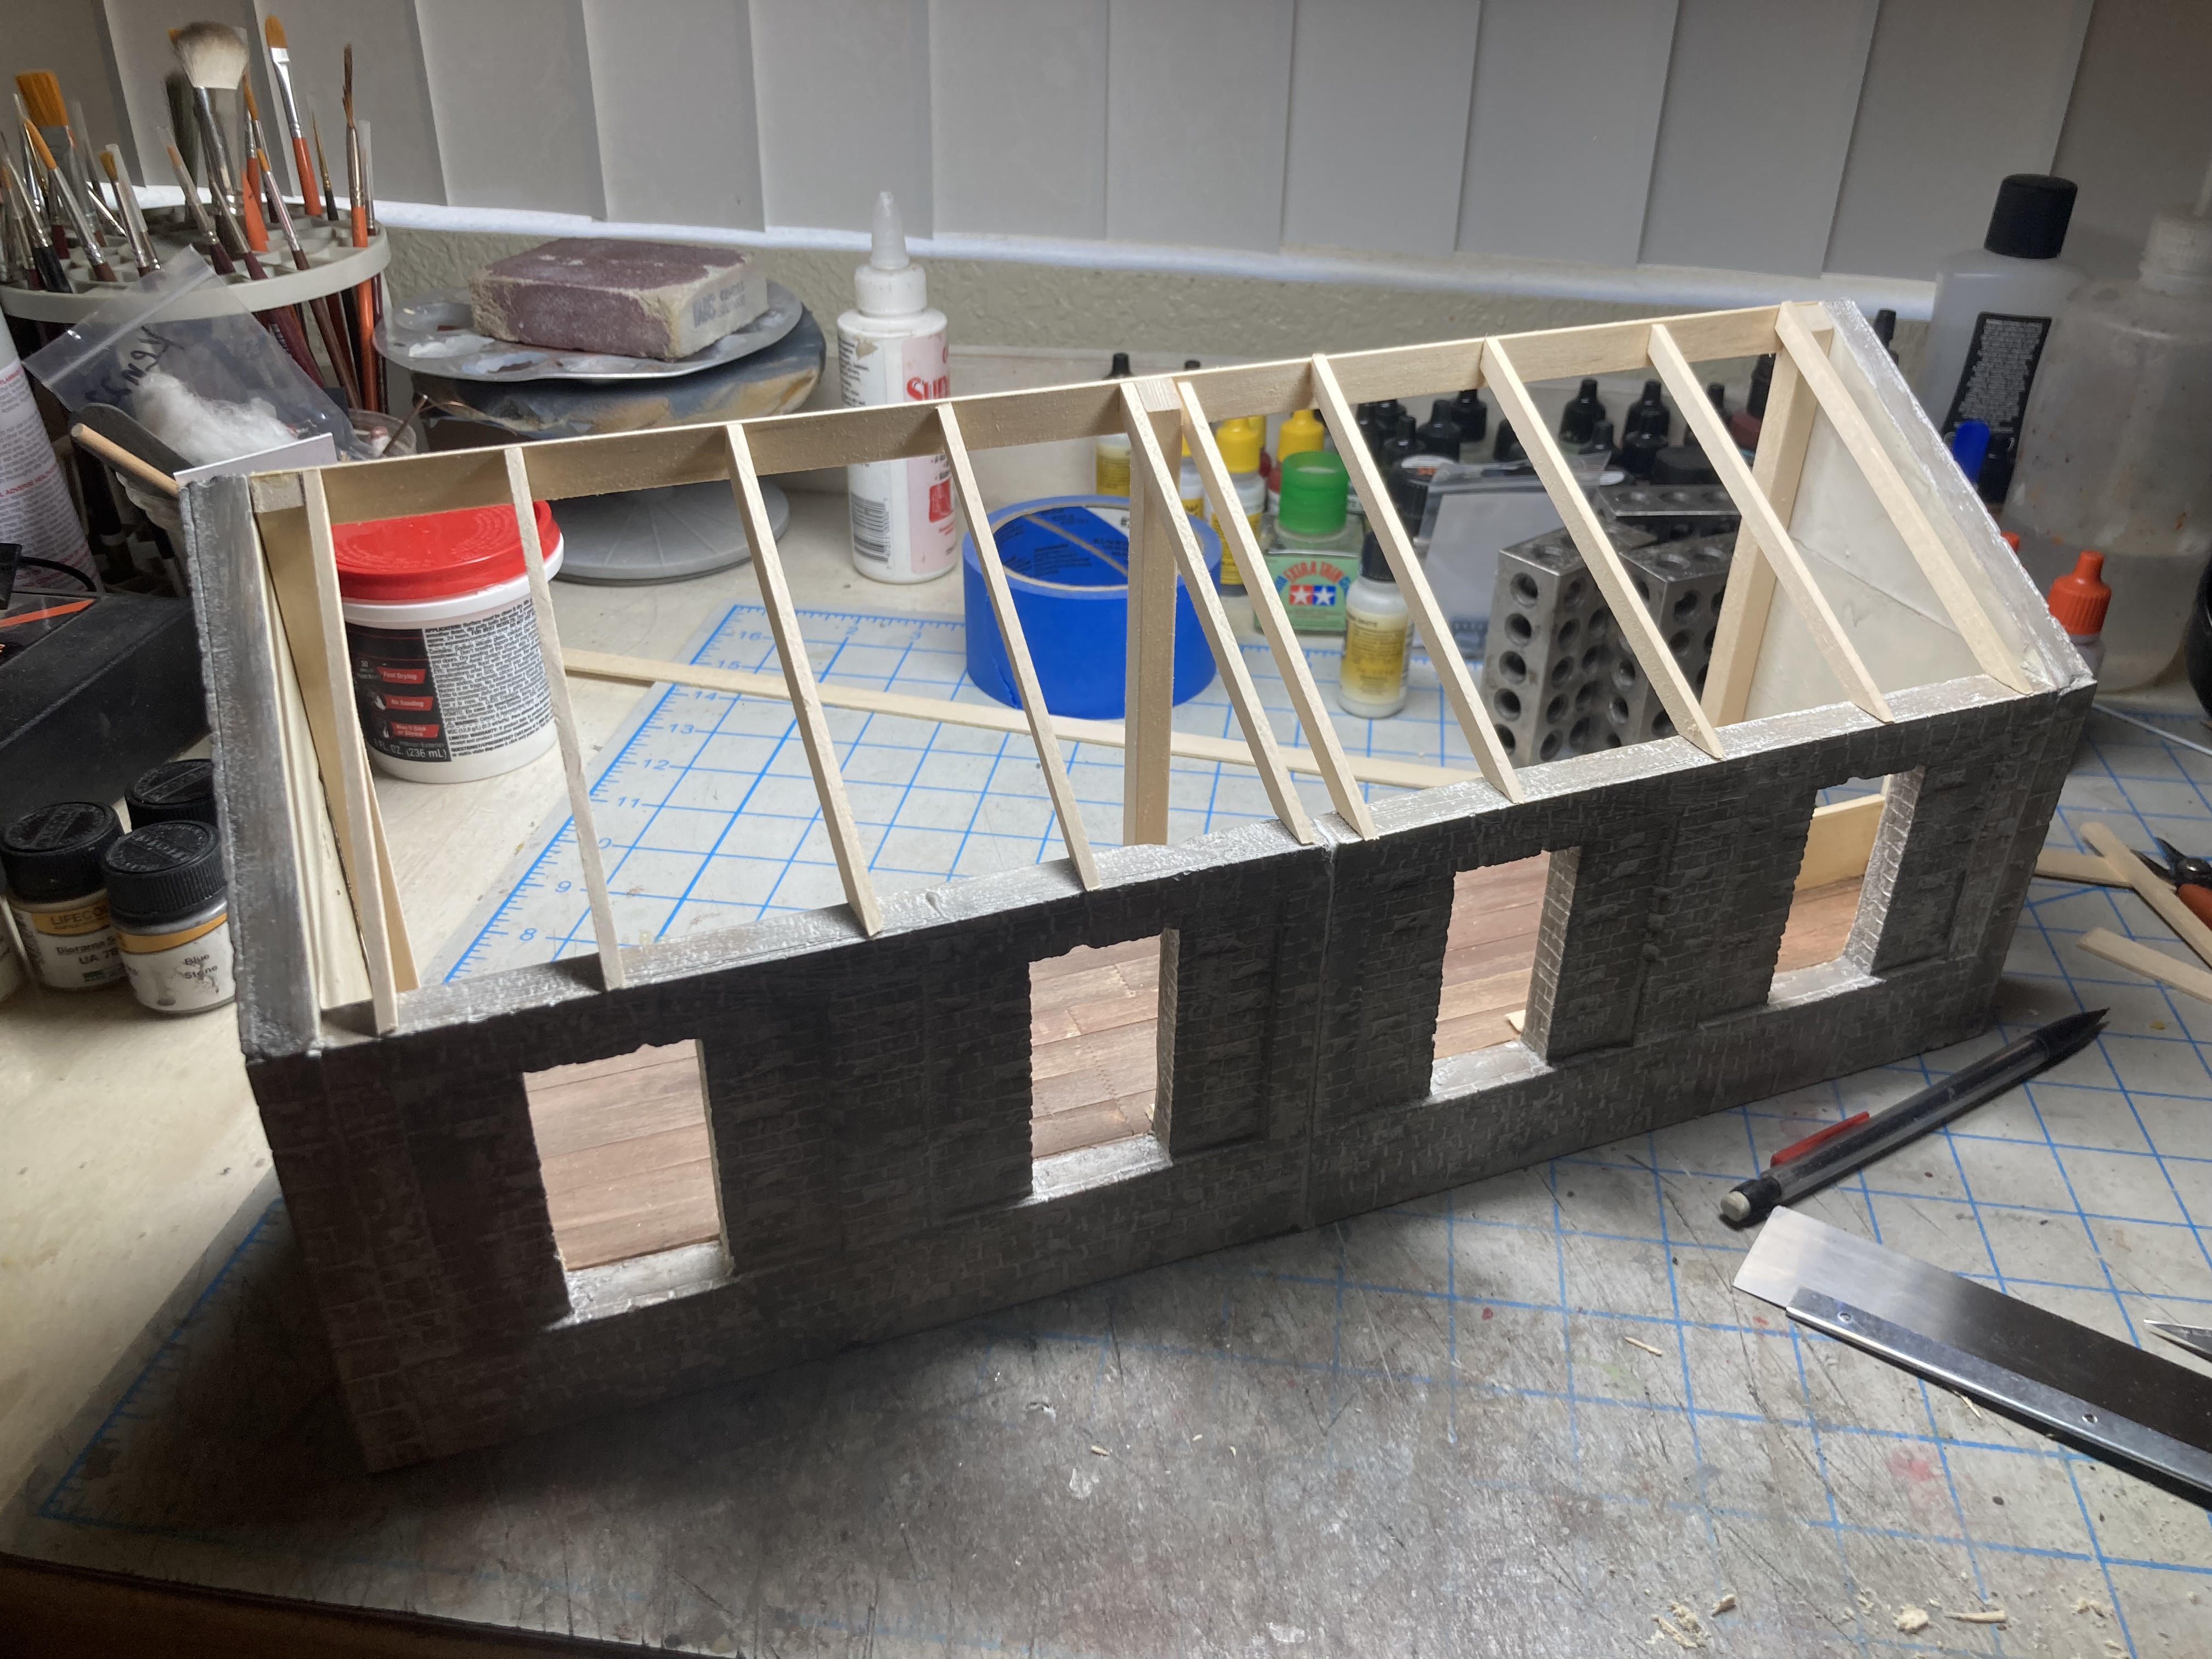
Okay so I use spackle to fill the gaps. Here are a few pics. Now let dry overnight…then I will prime the walls white. I will spray the inside a concrete color.
9 Likes
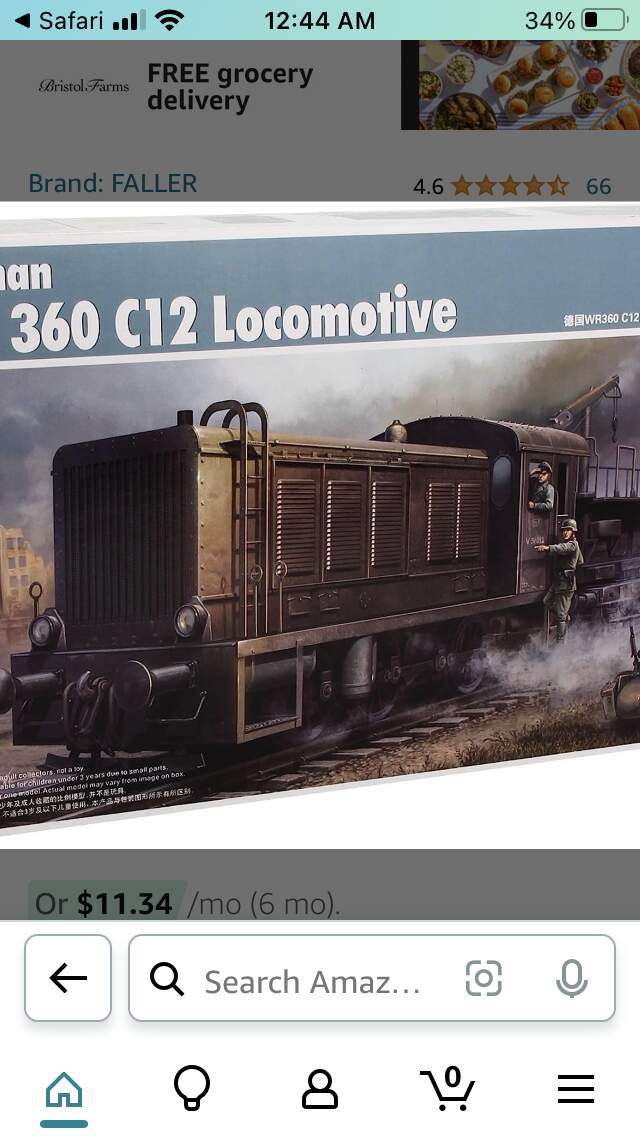
Nice. Will you do the engine in DRG or in Wehrmacht livery?
This is how I did mine…
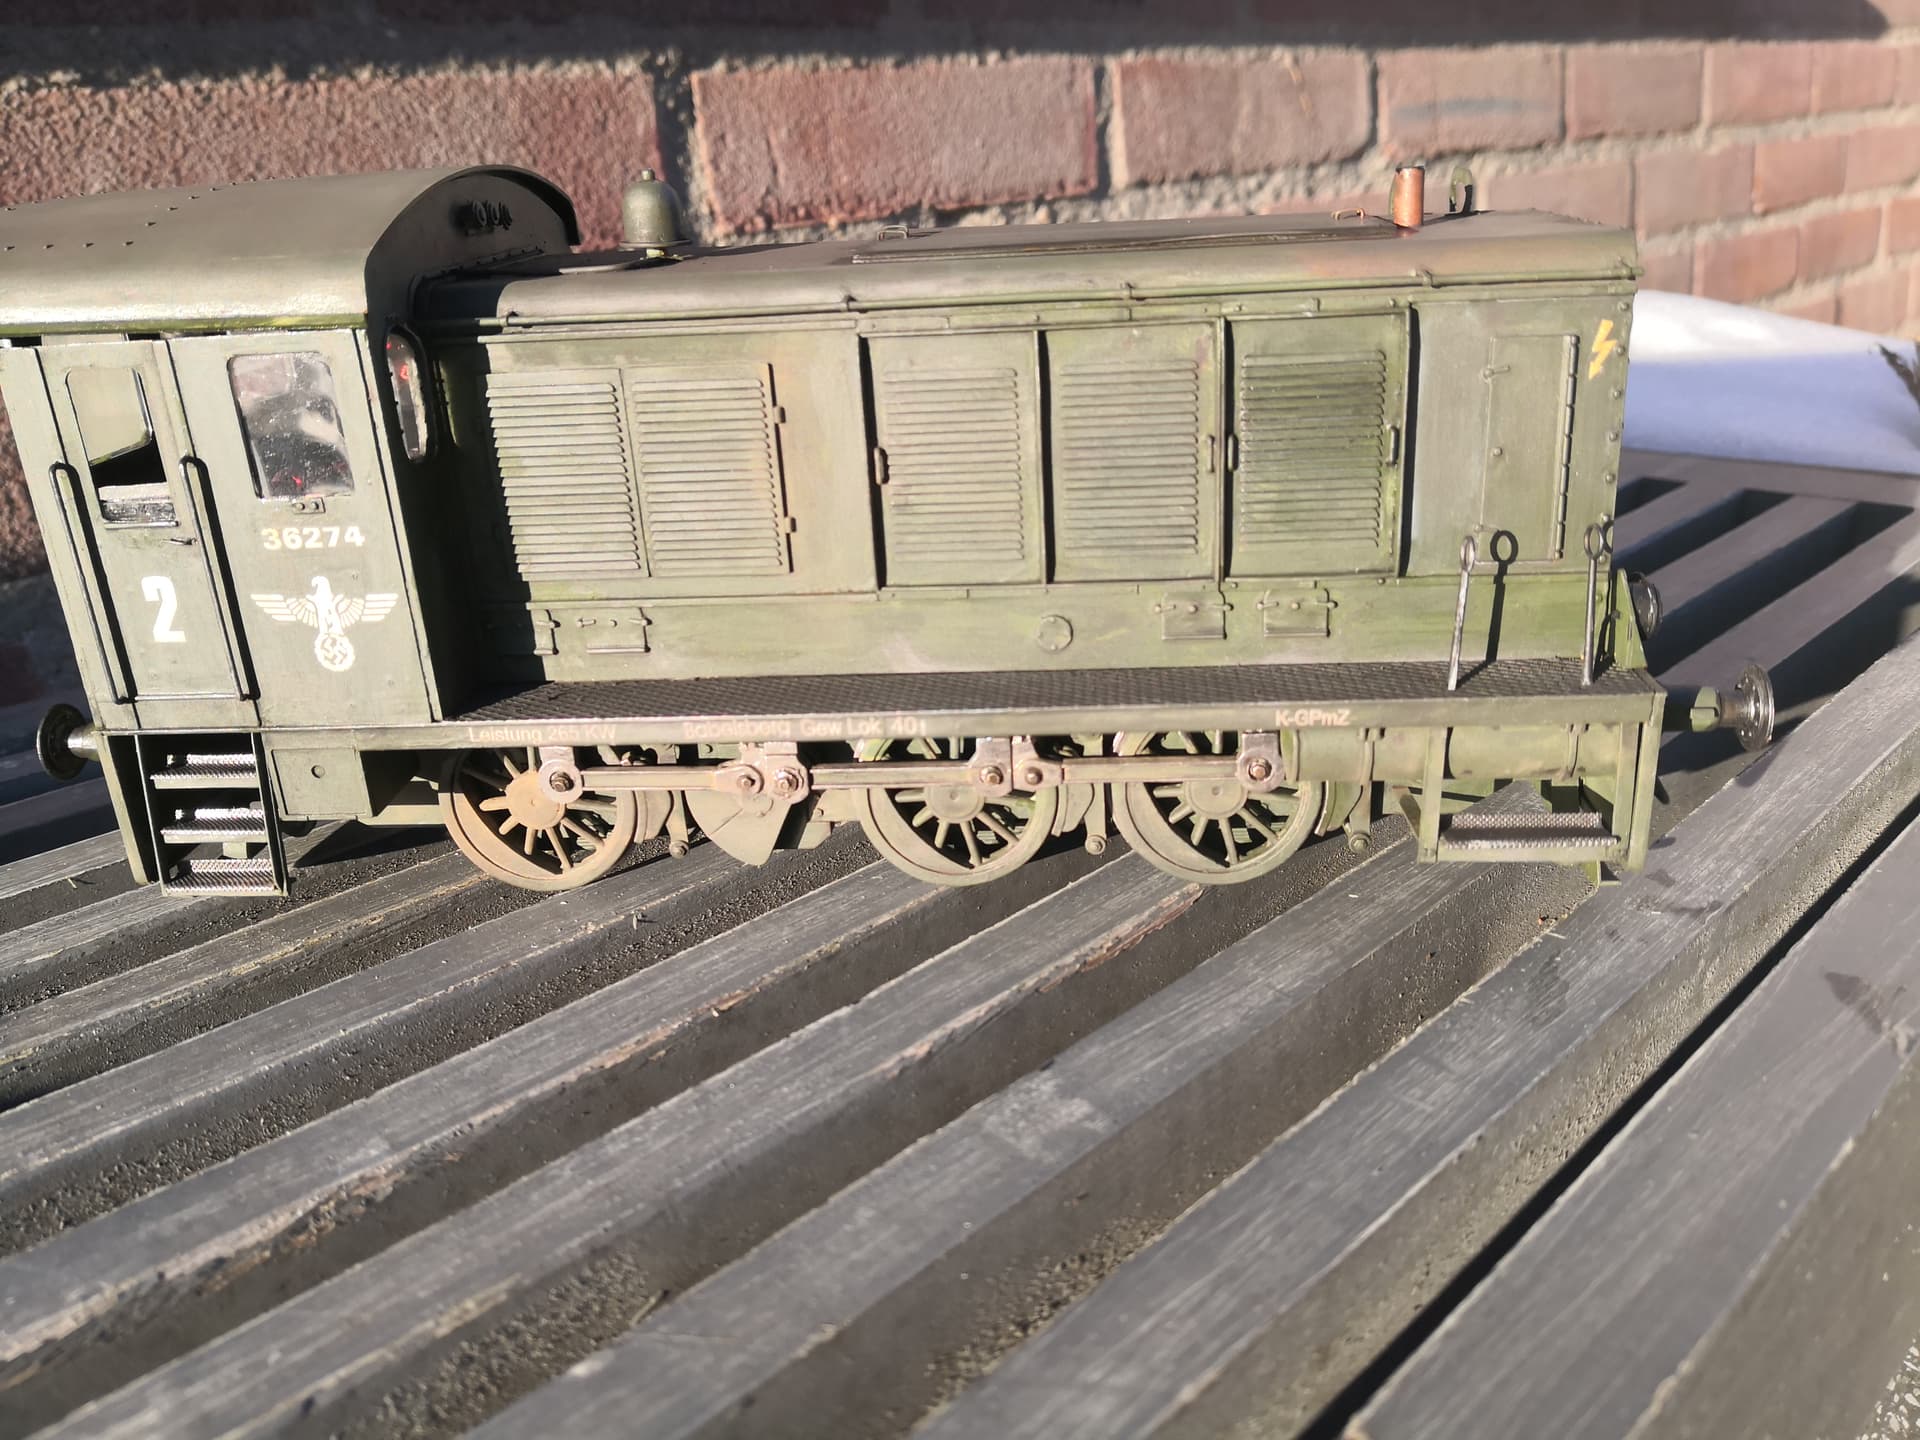
Beware that there are no decals included with the kit.
I managed to get hold of the PDF from Cmk and had them printed on decal paper…
9 Likes

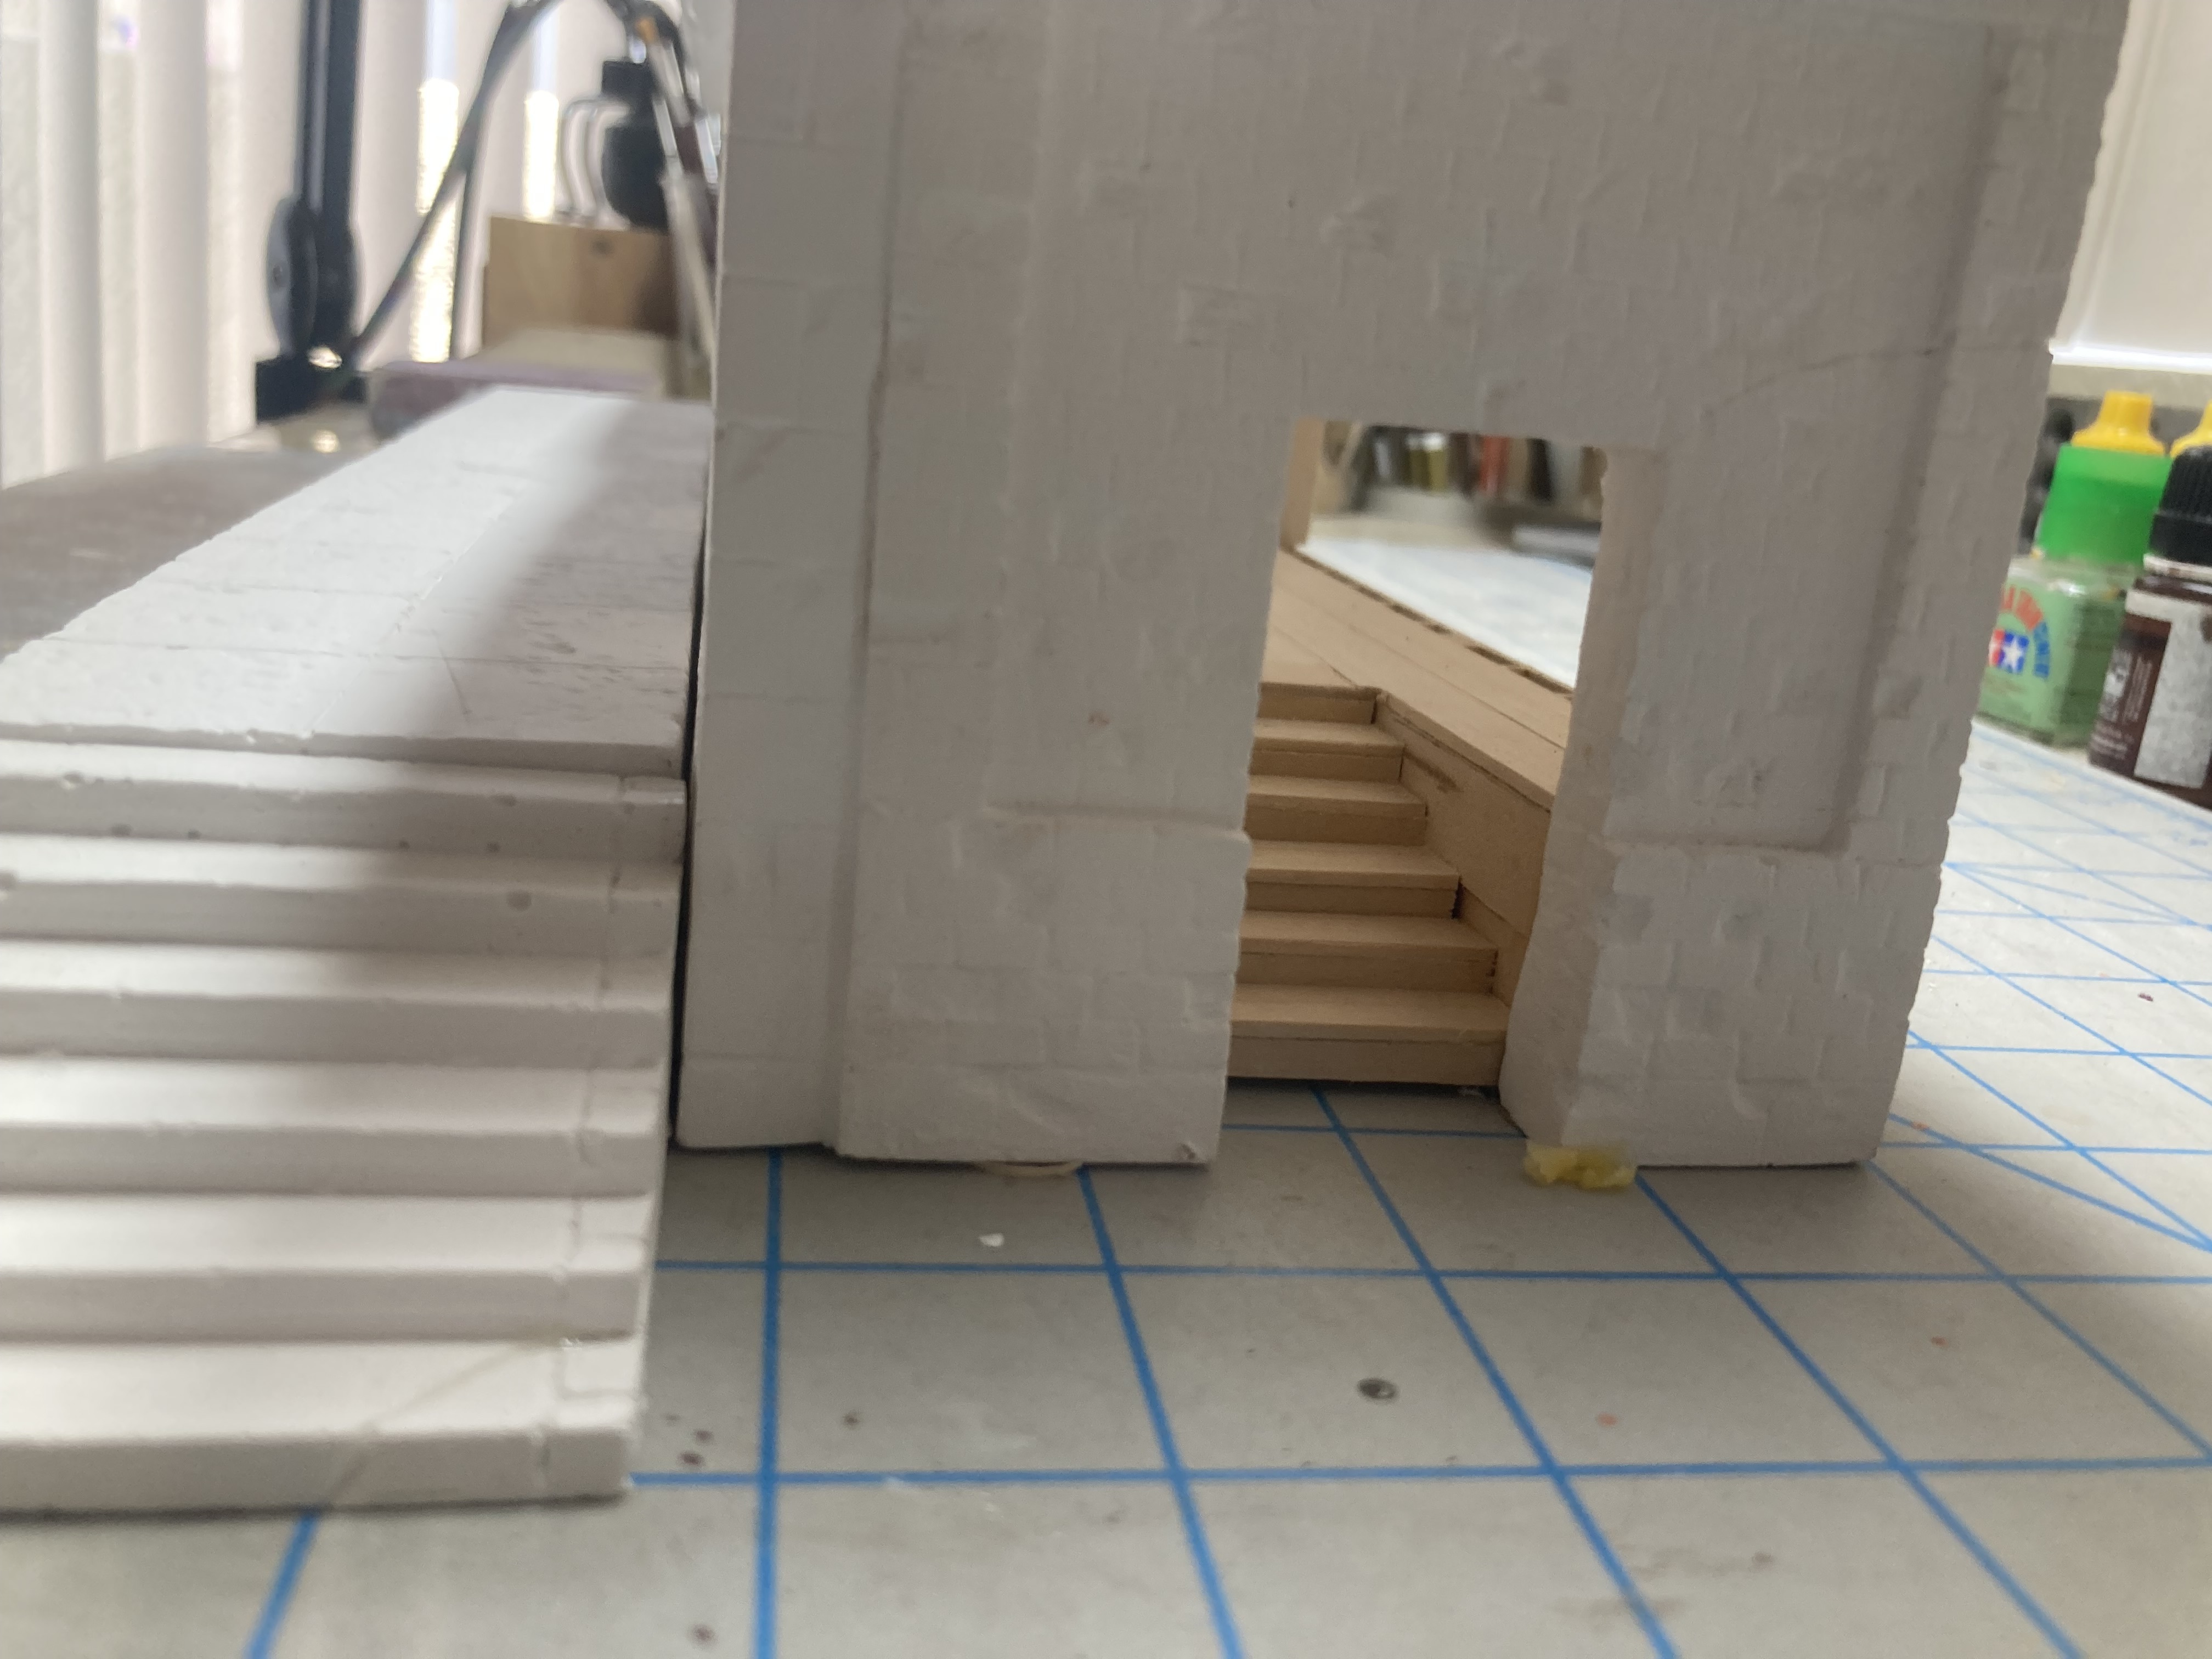

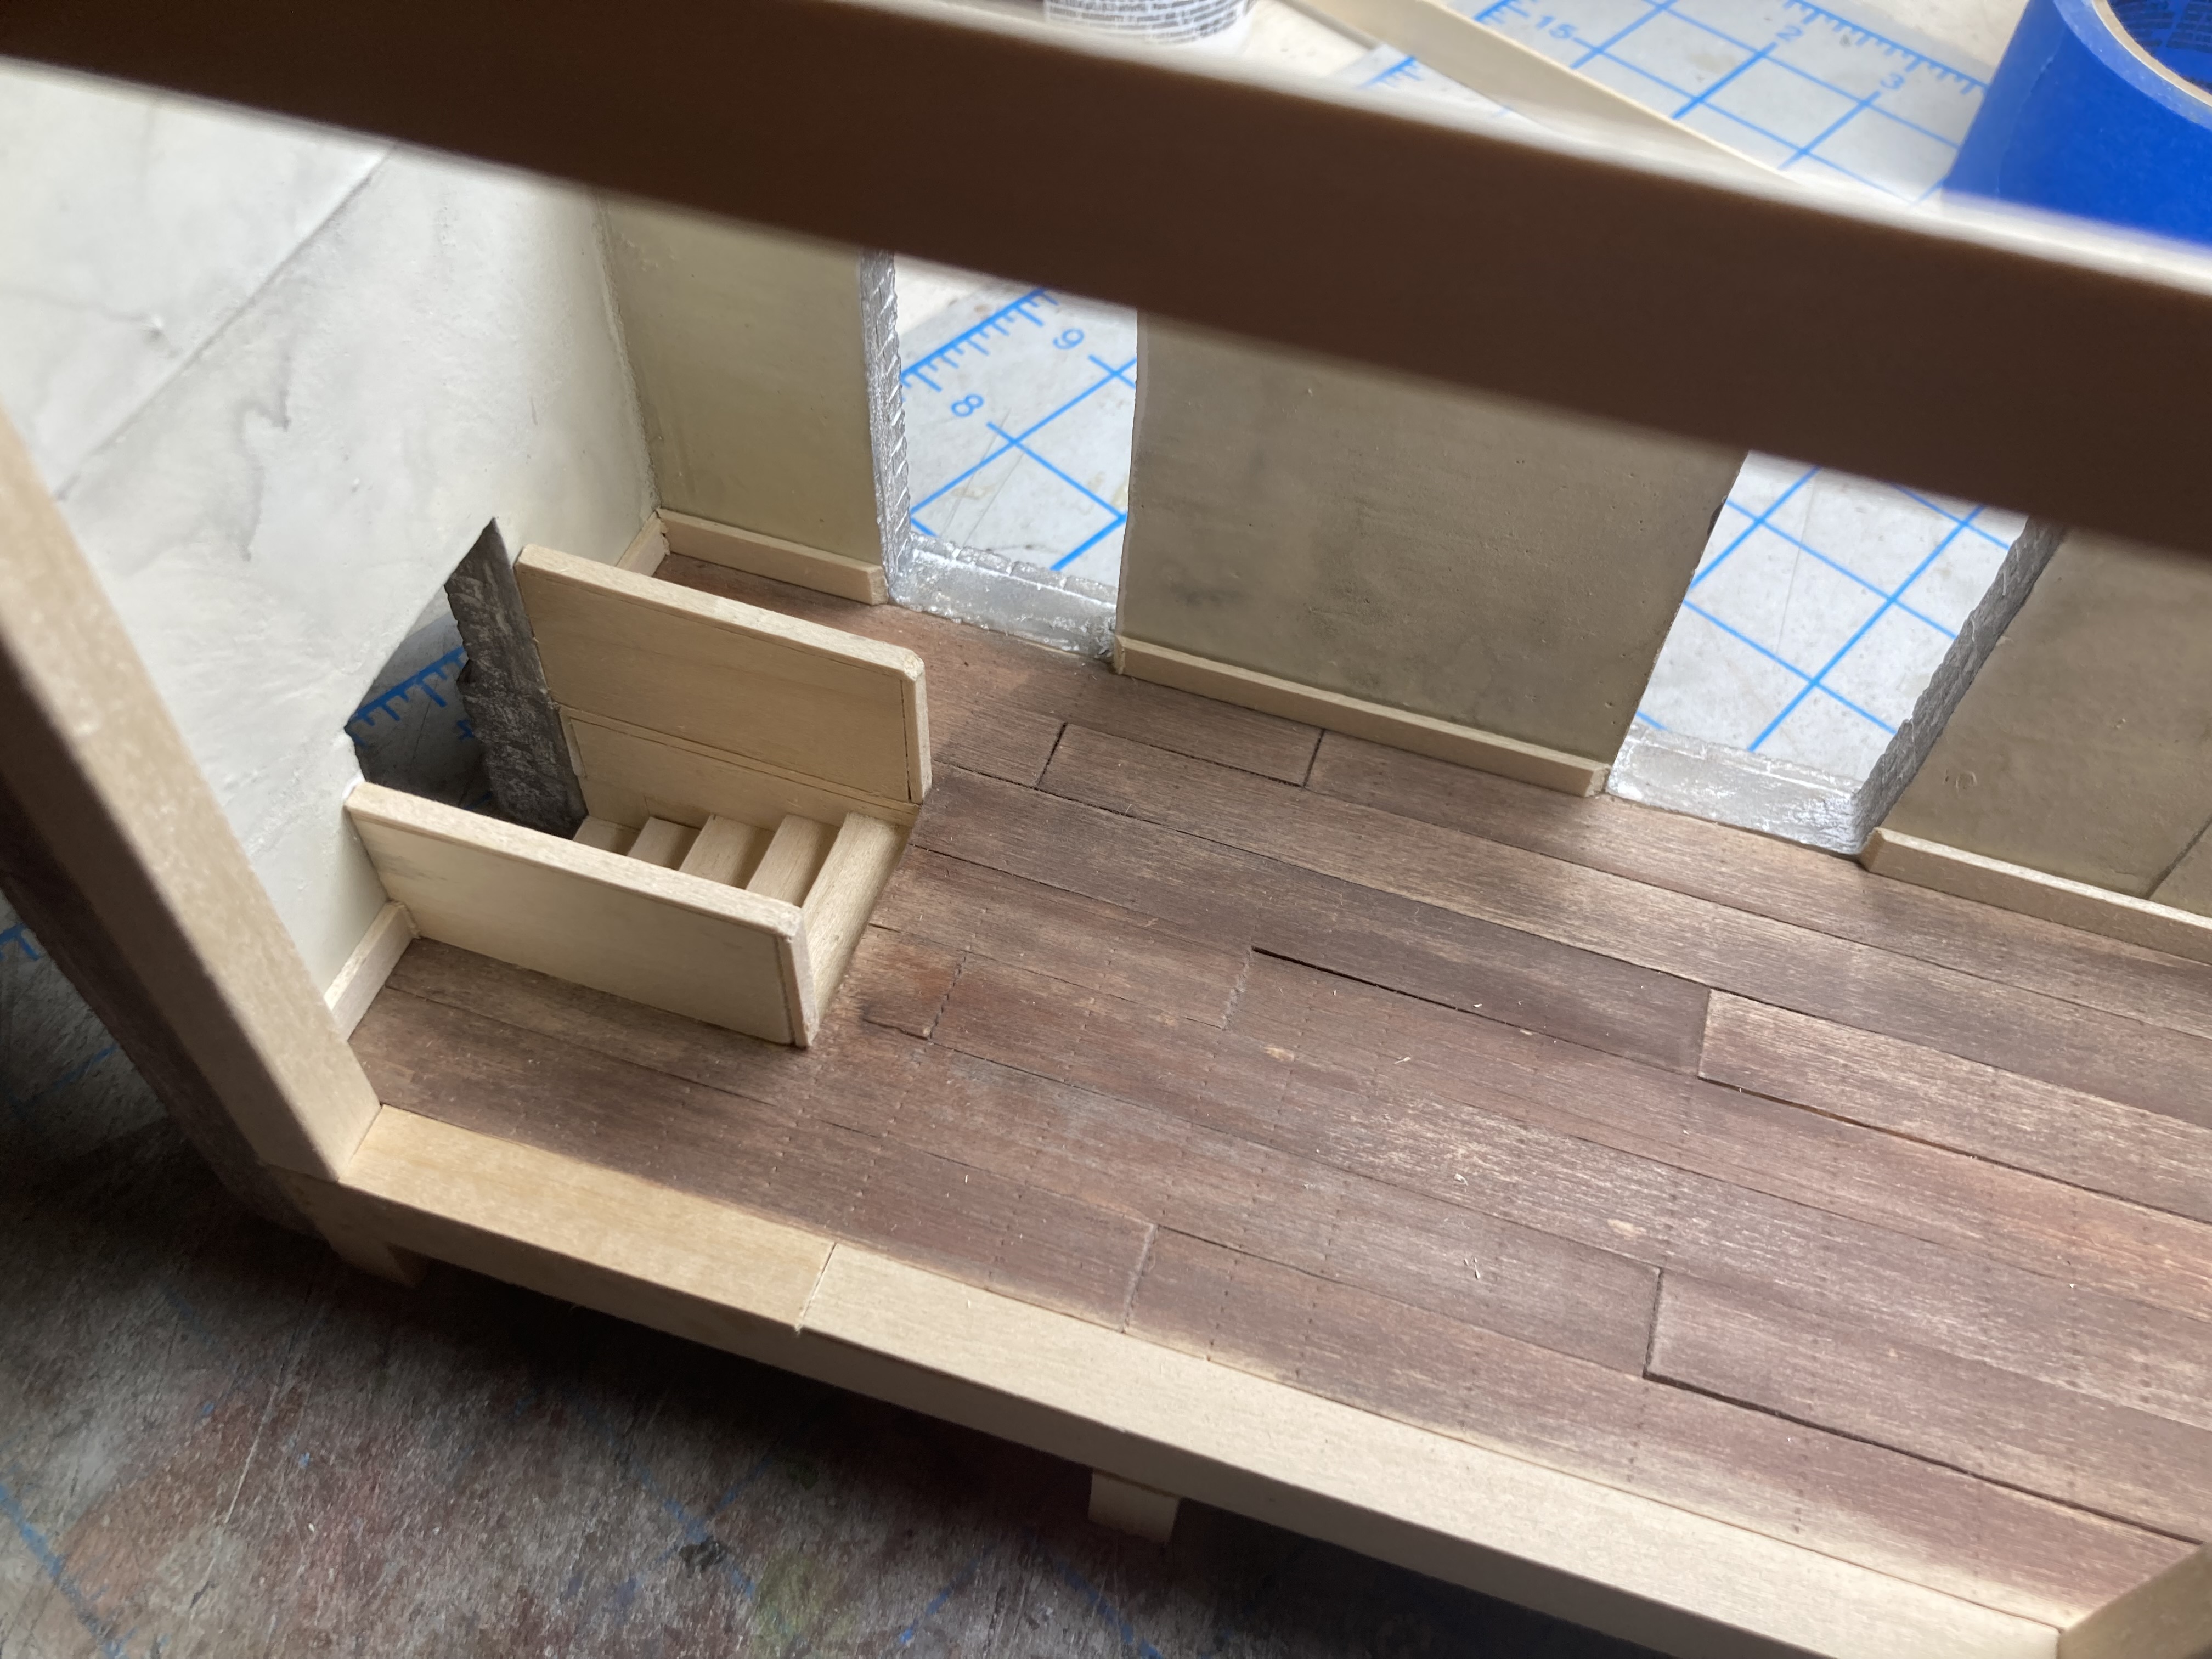
While I really appreciate good carftsmanship, I still find the kit’s design somewhat odd. I imagine some old German pensioner walking backward with a Palettenheber, trying to negotiate the sharp turn before falling into the stairwell.
2 Likes
A small wall would prevent that
1 Like
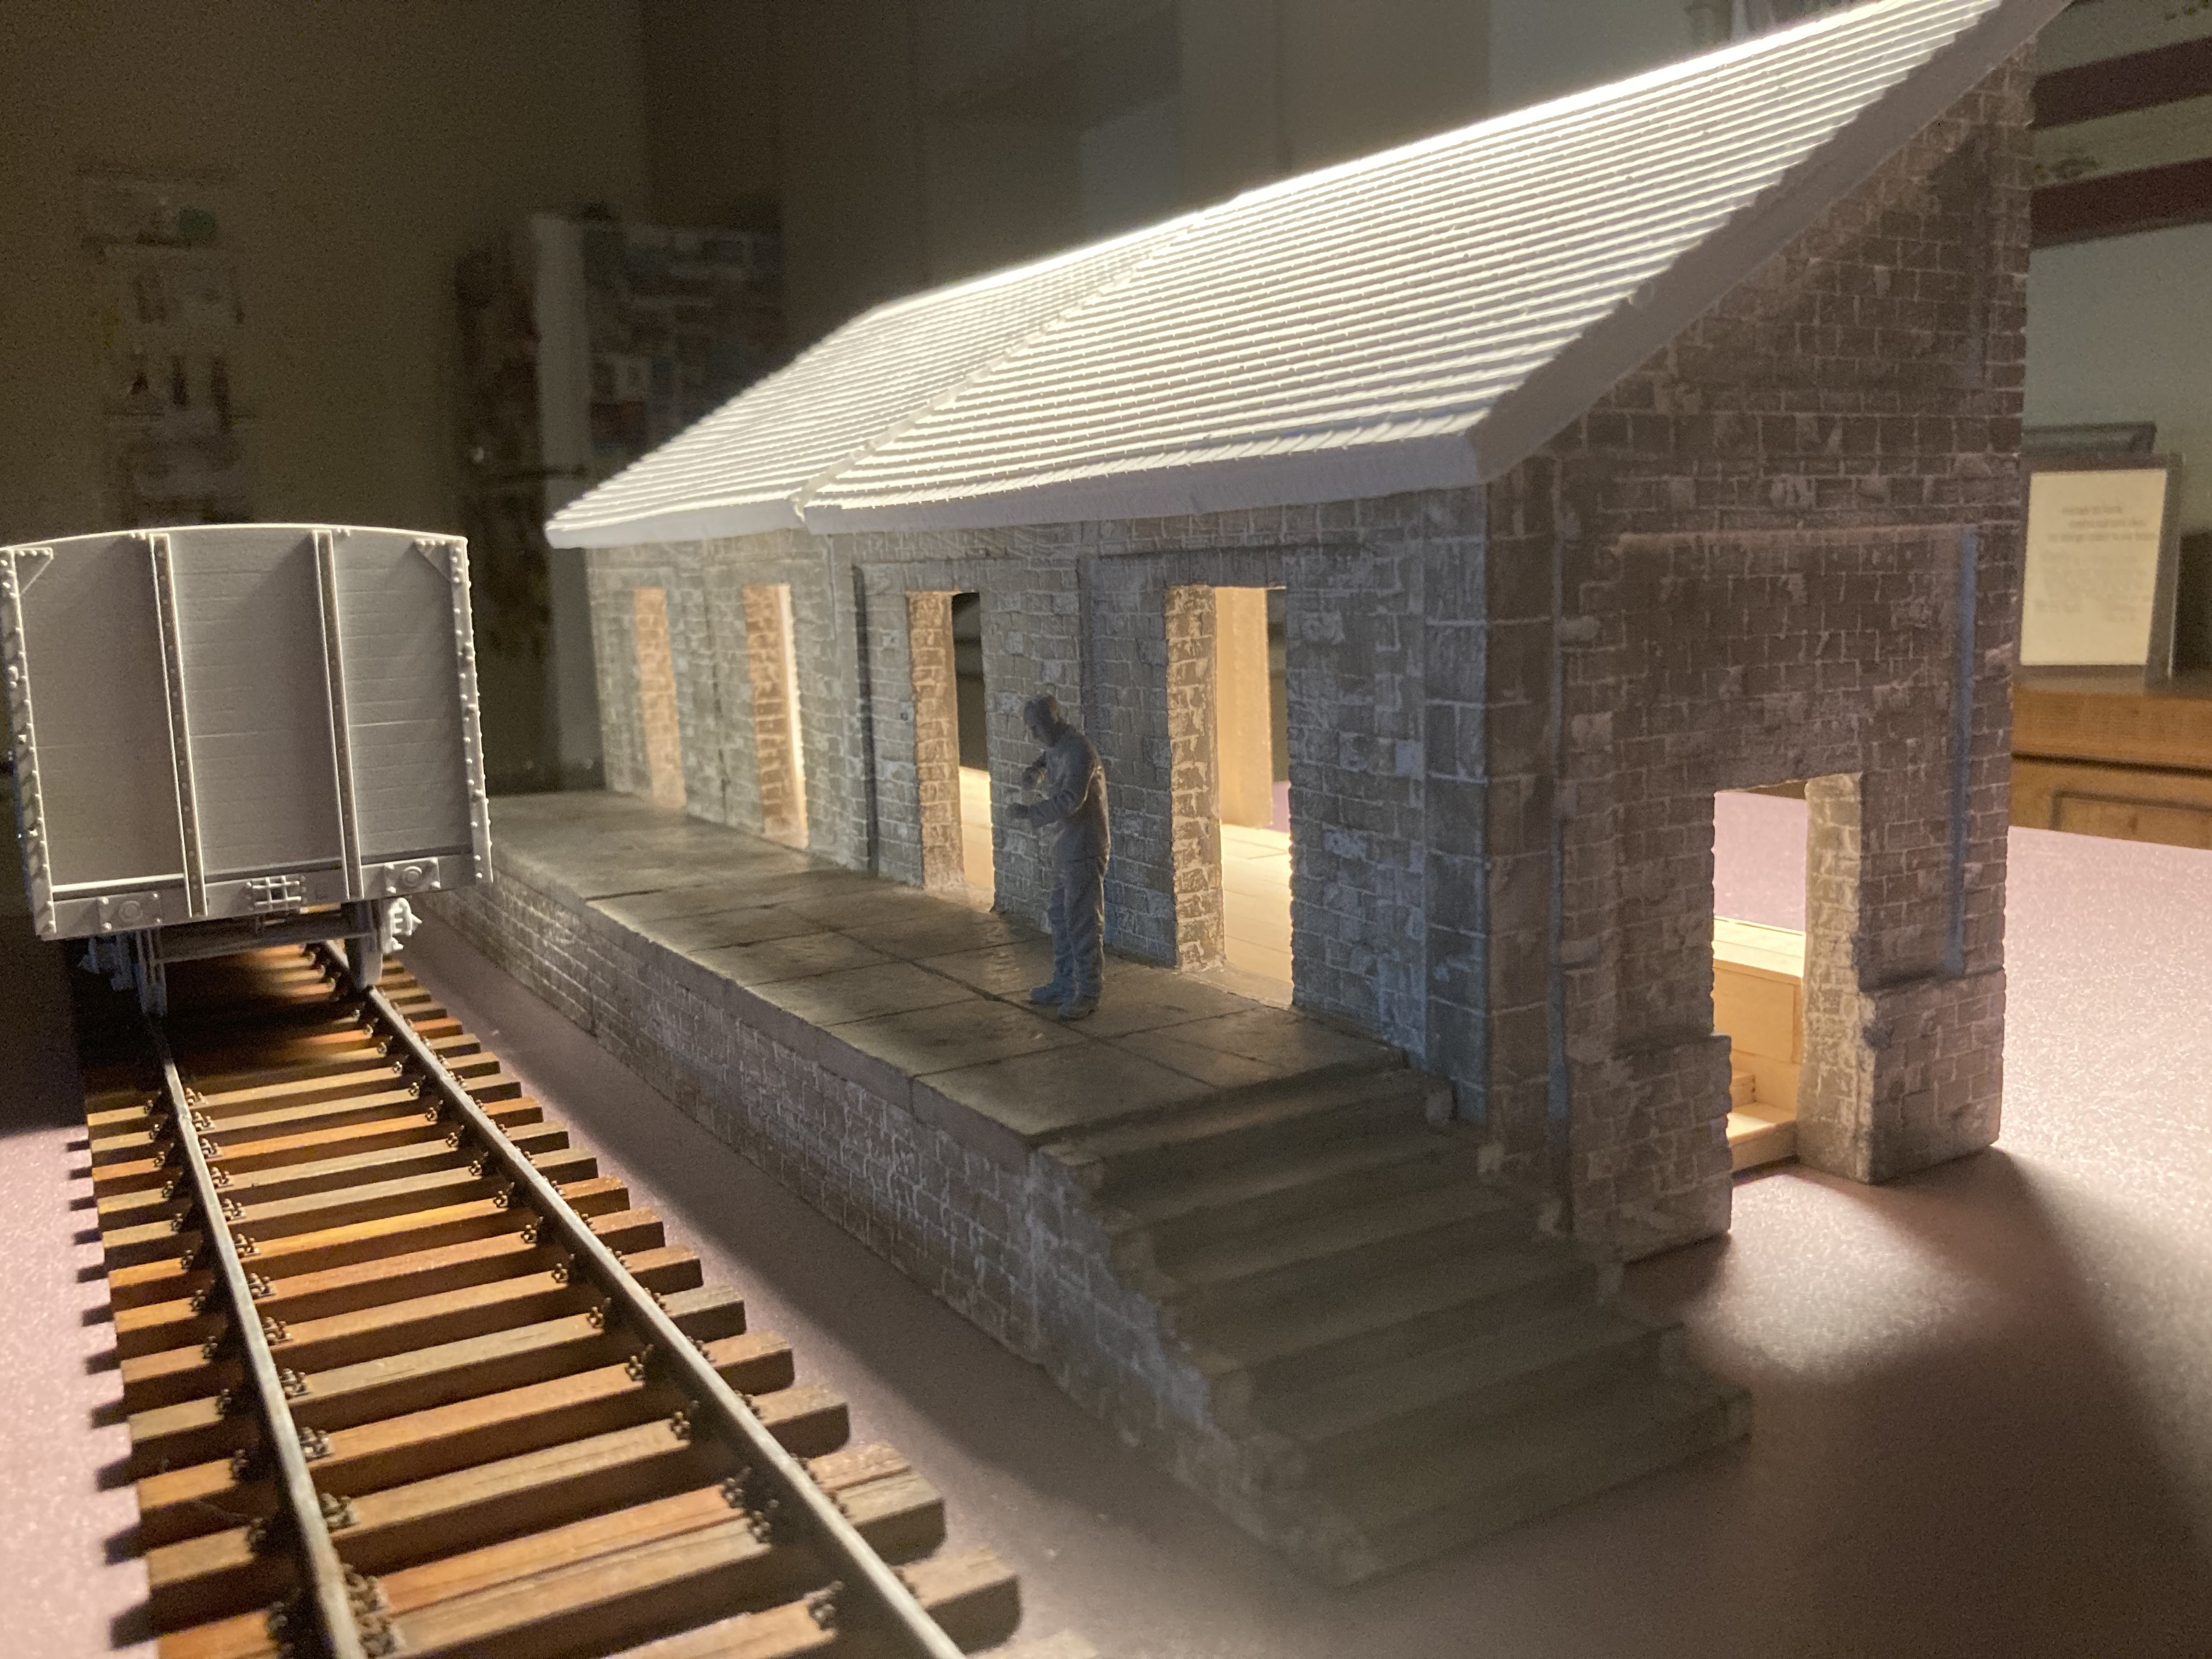
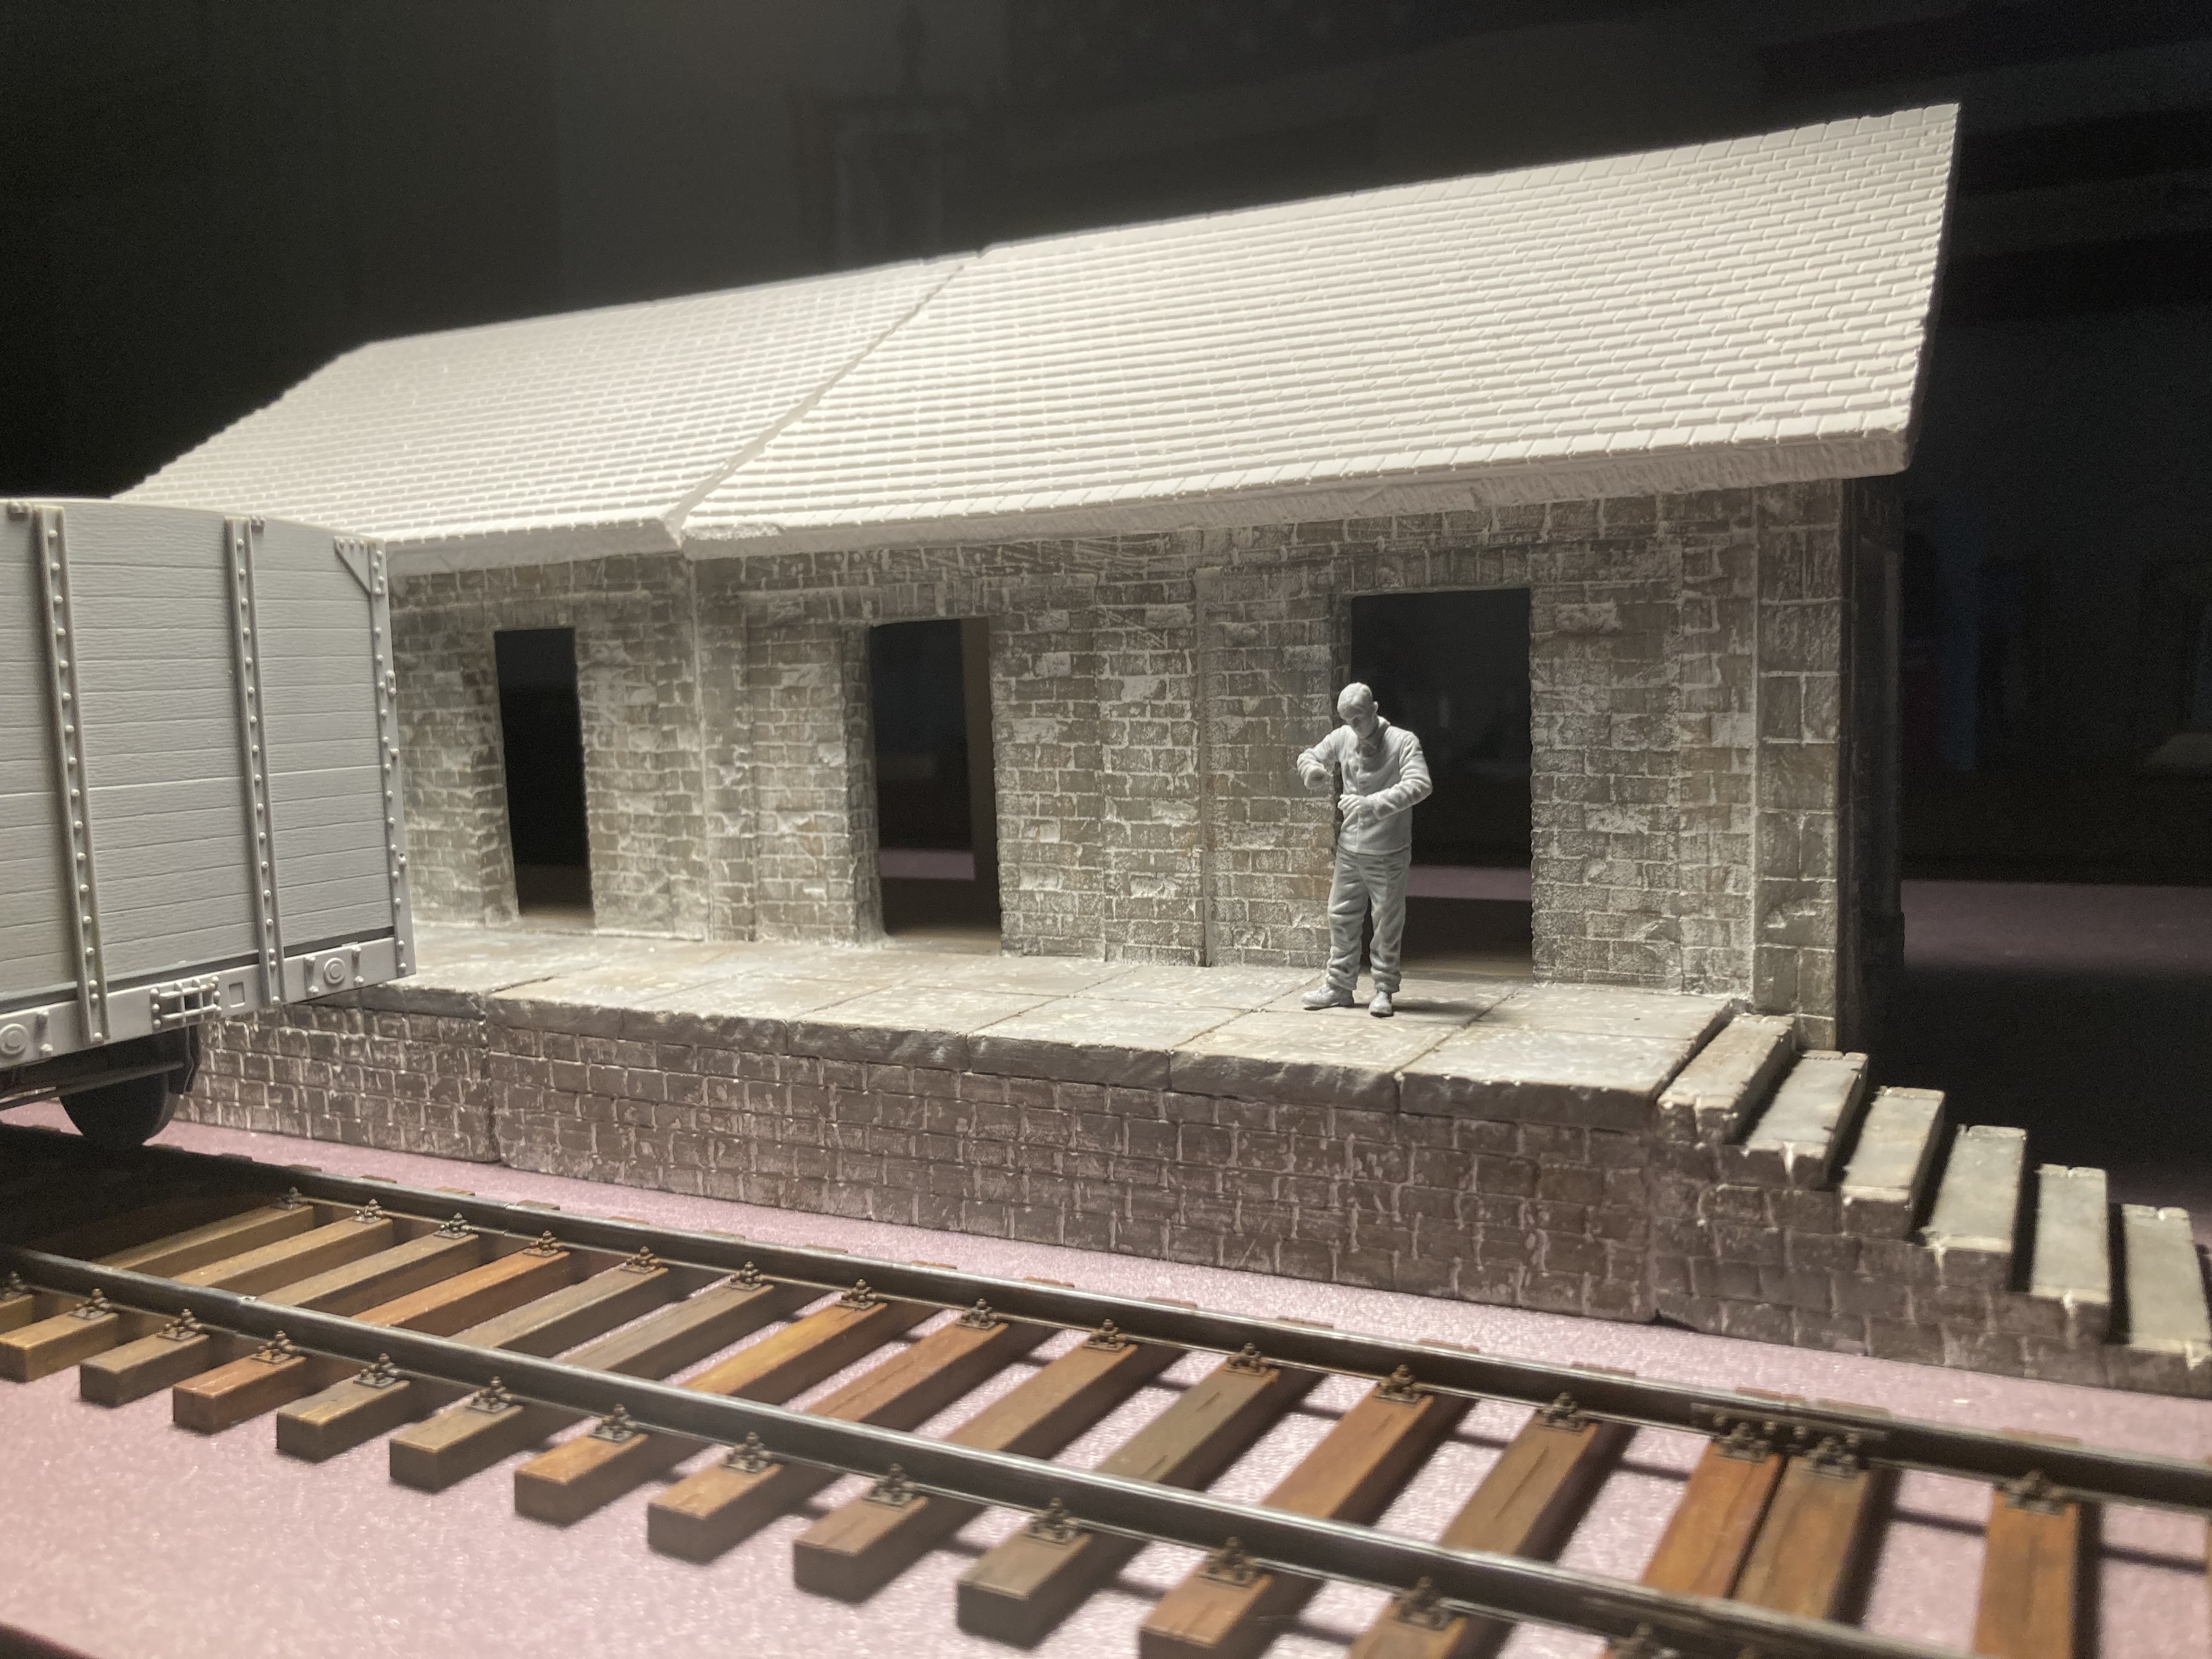
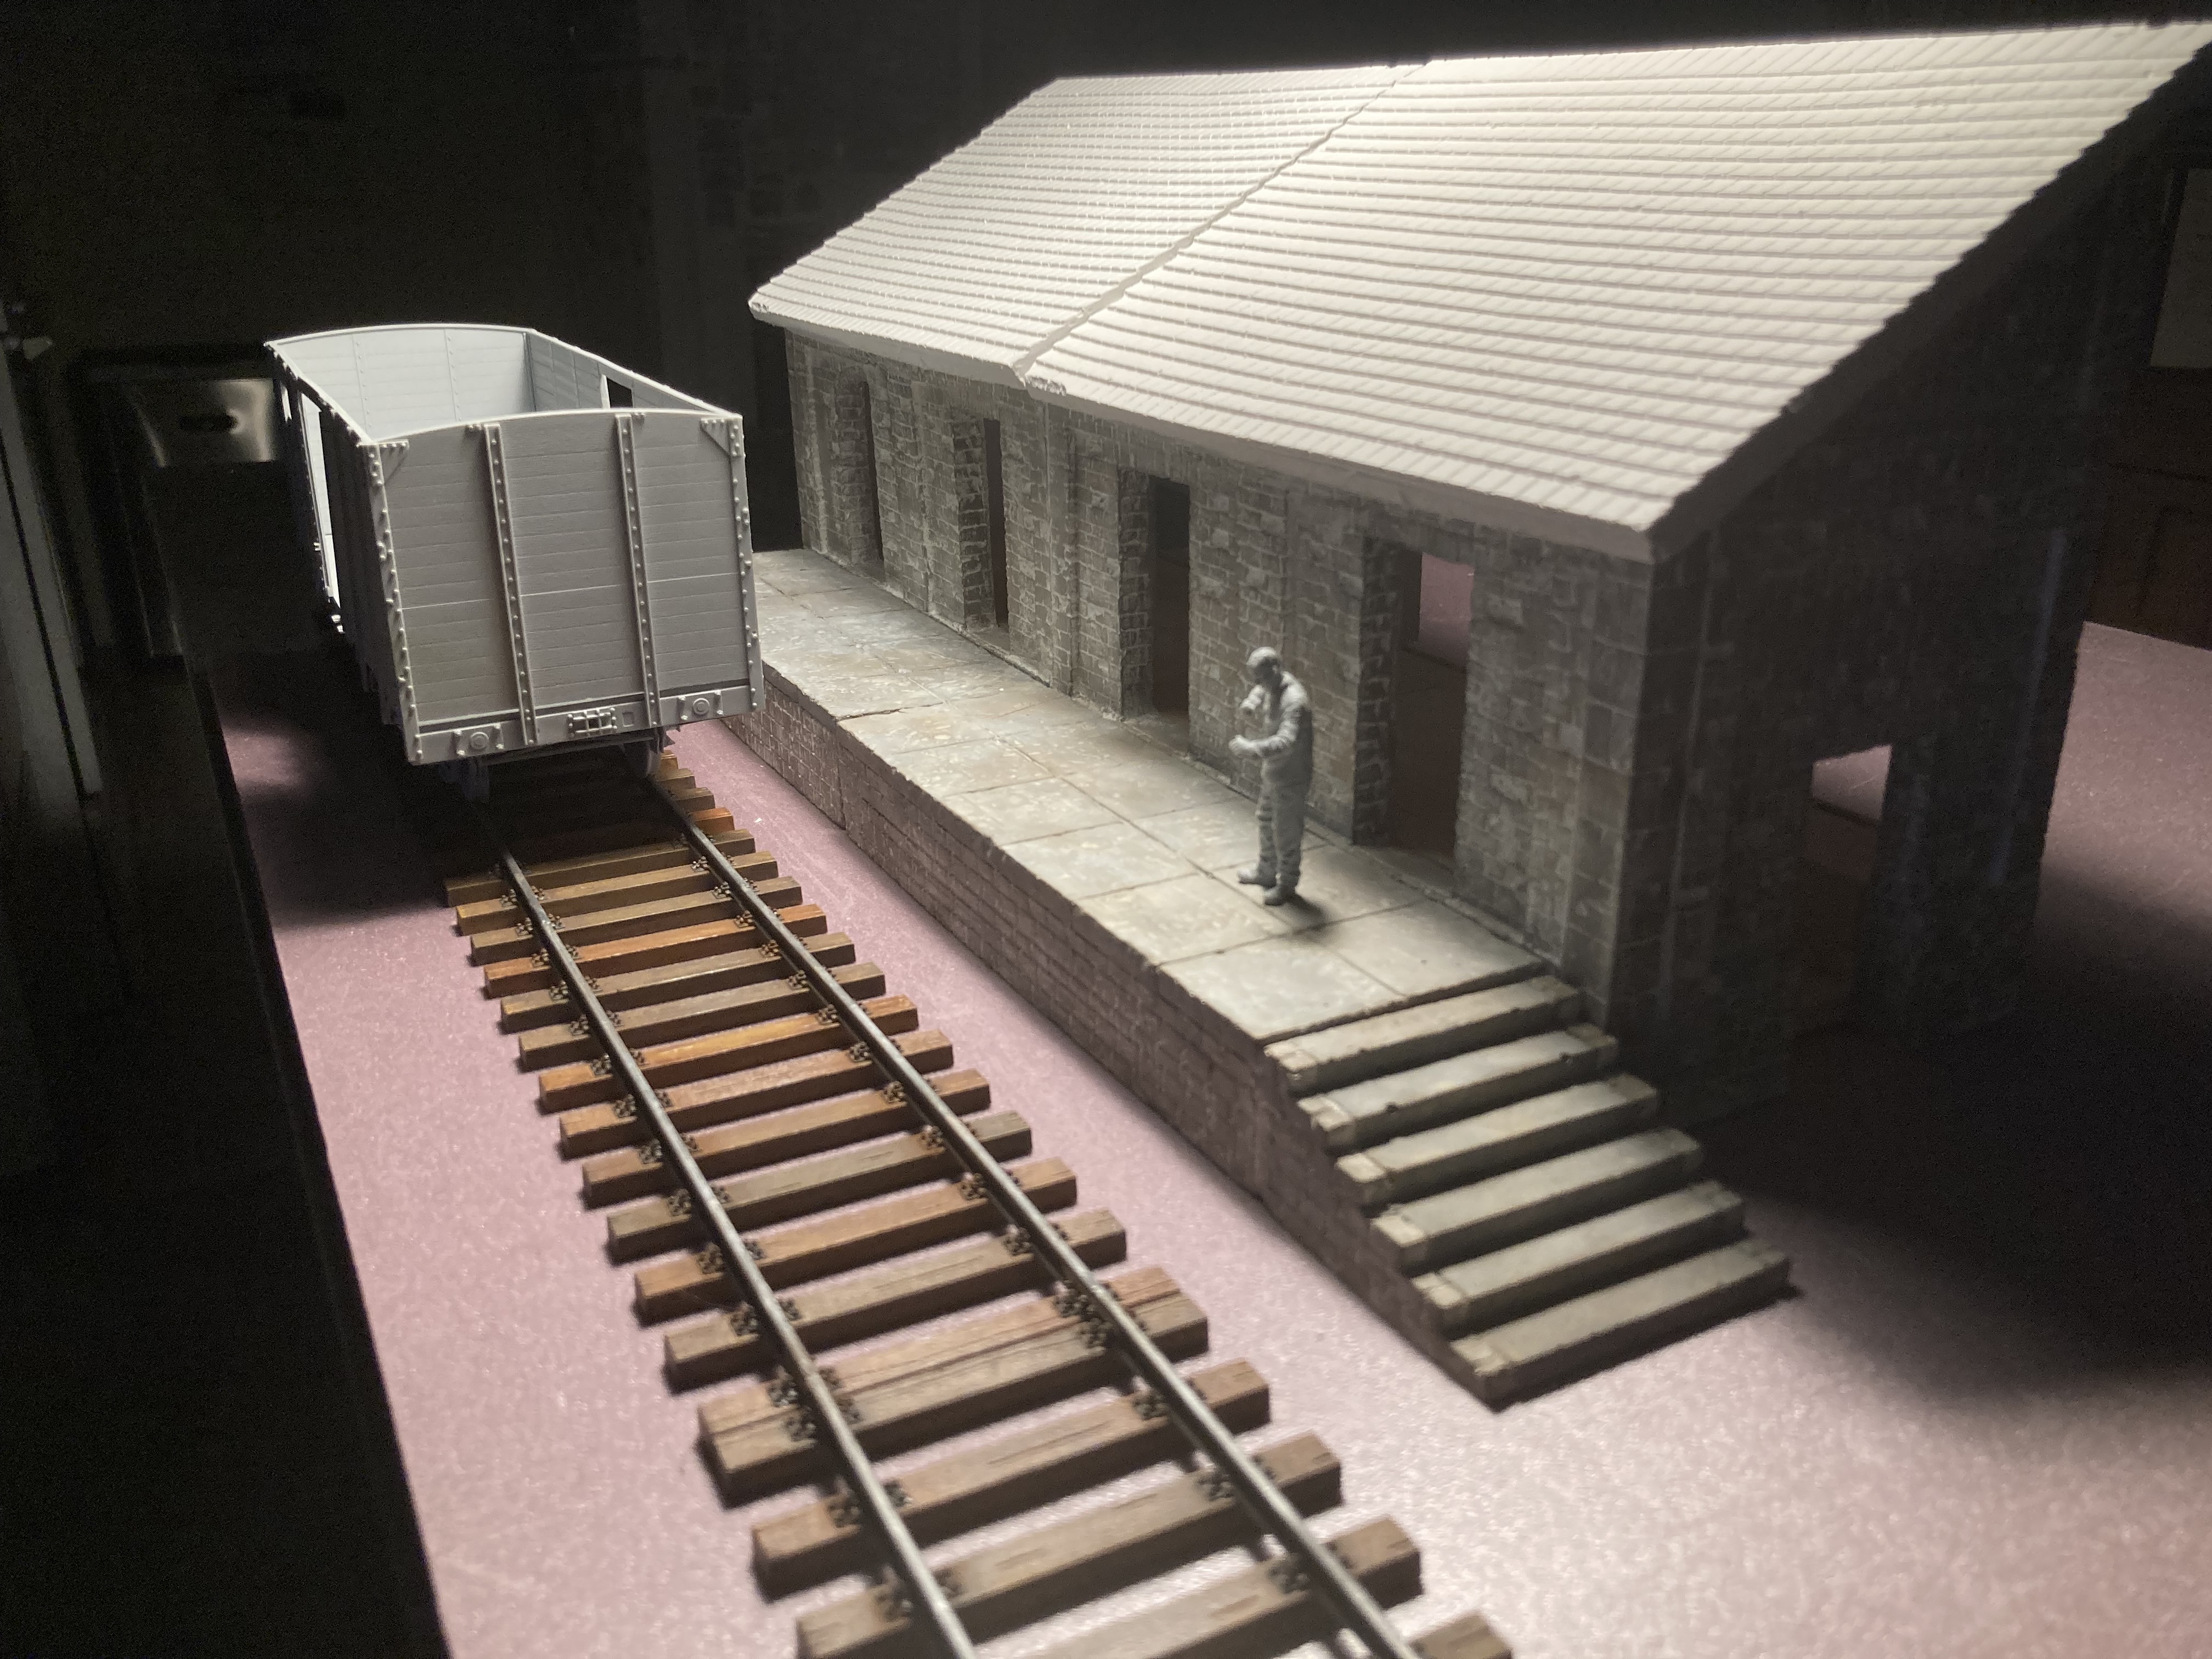
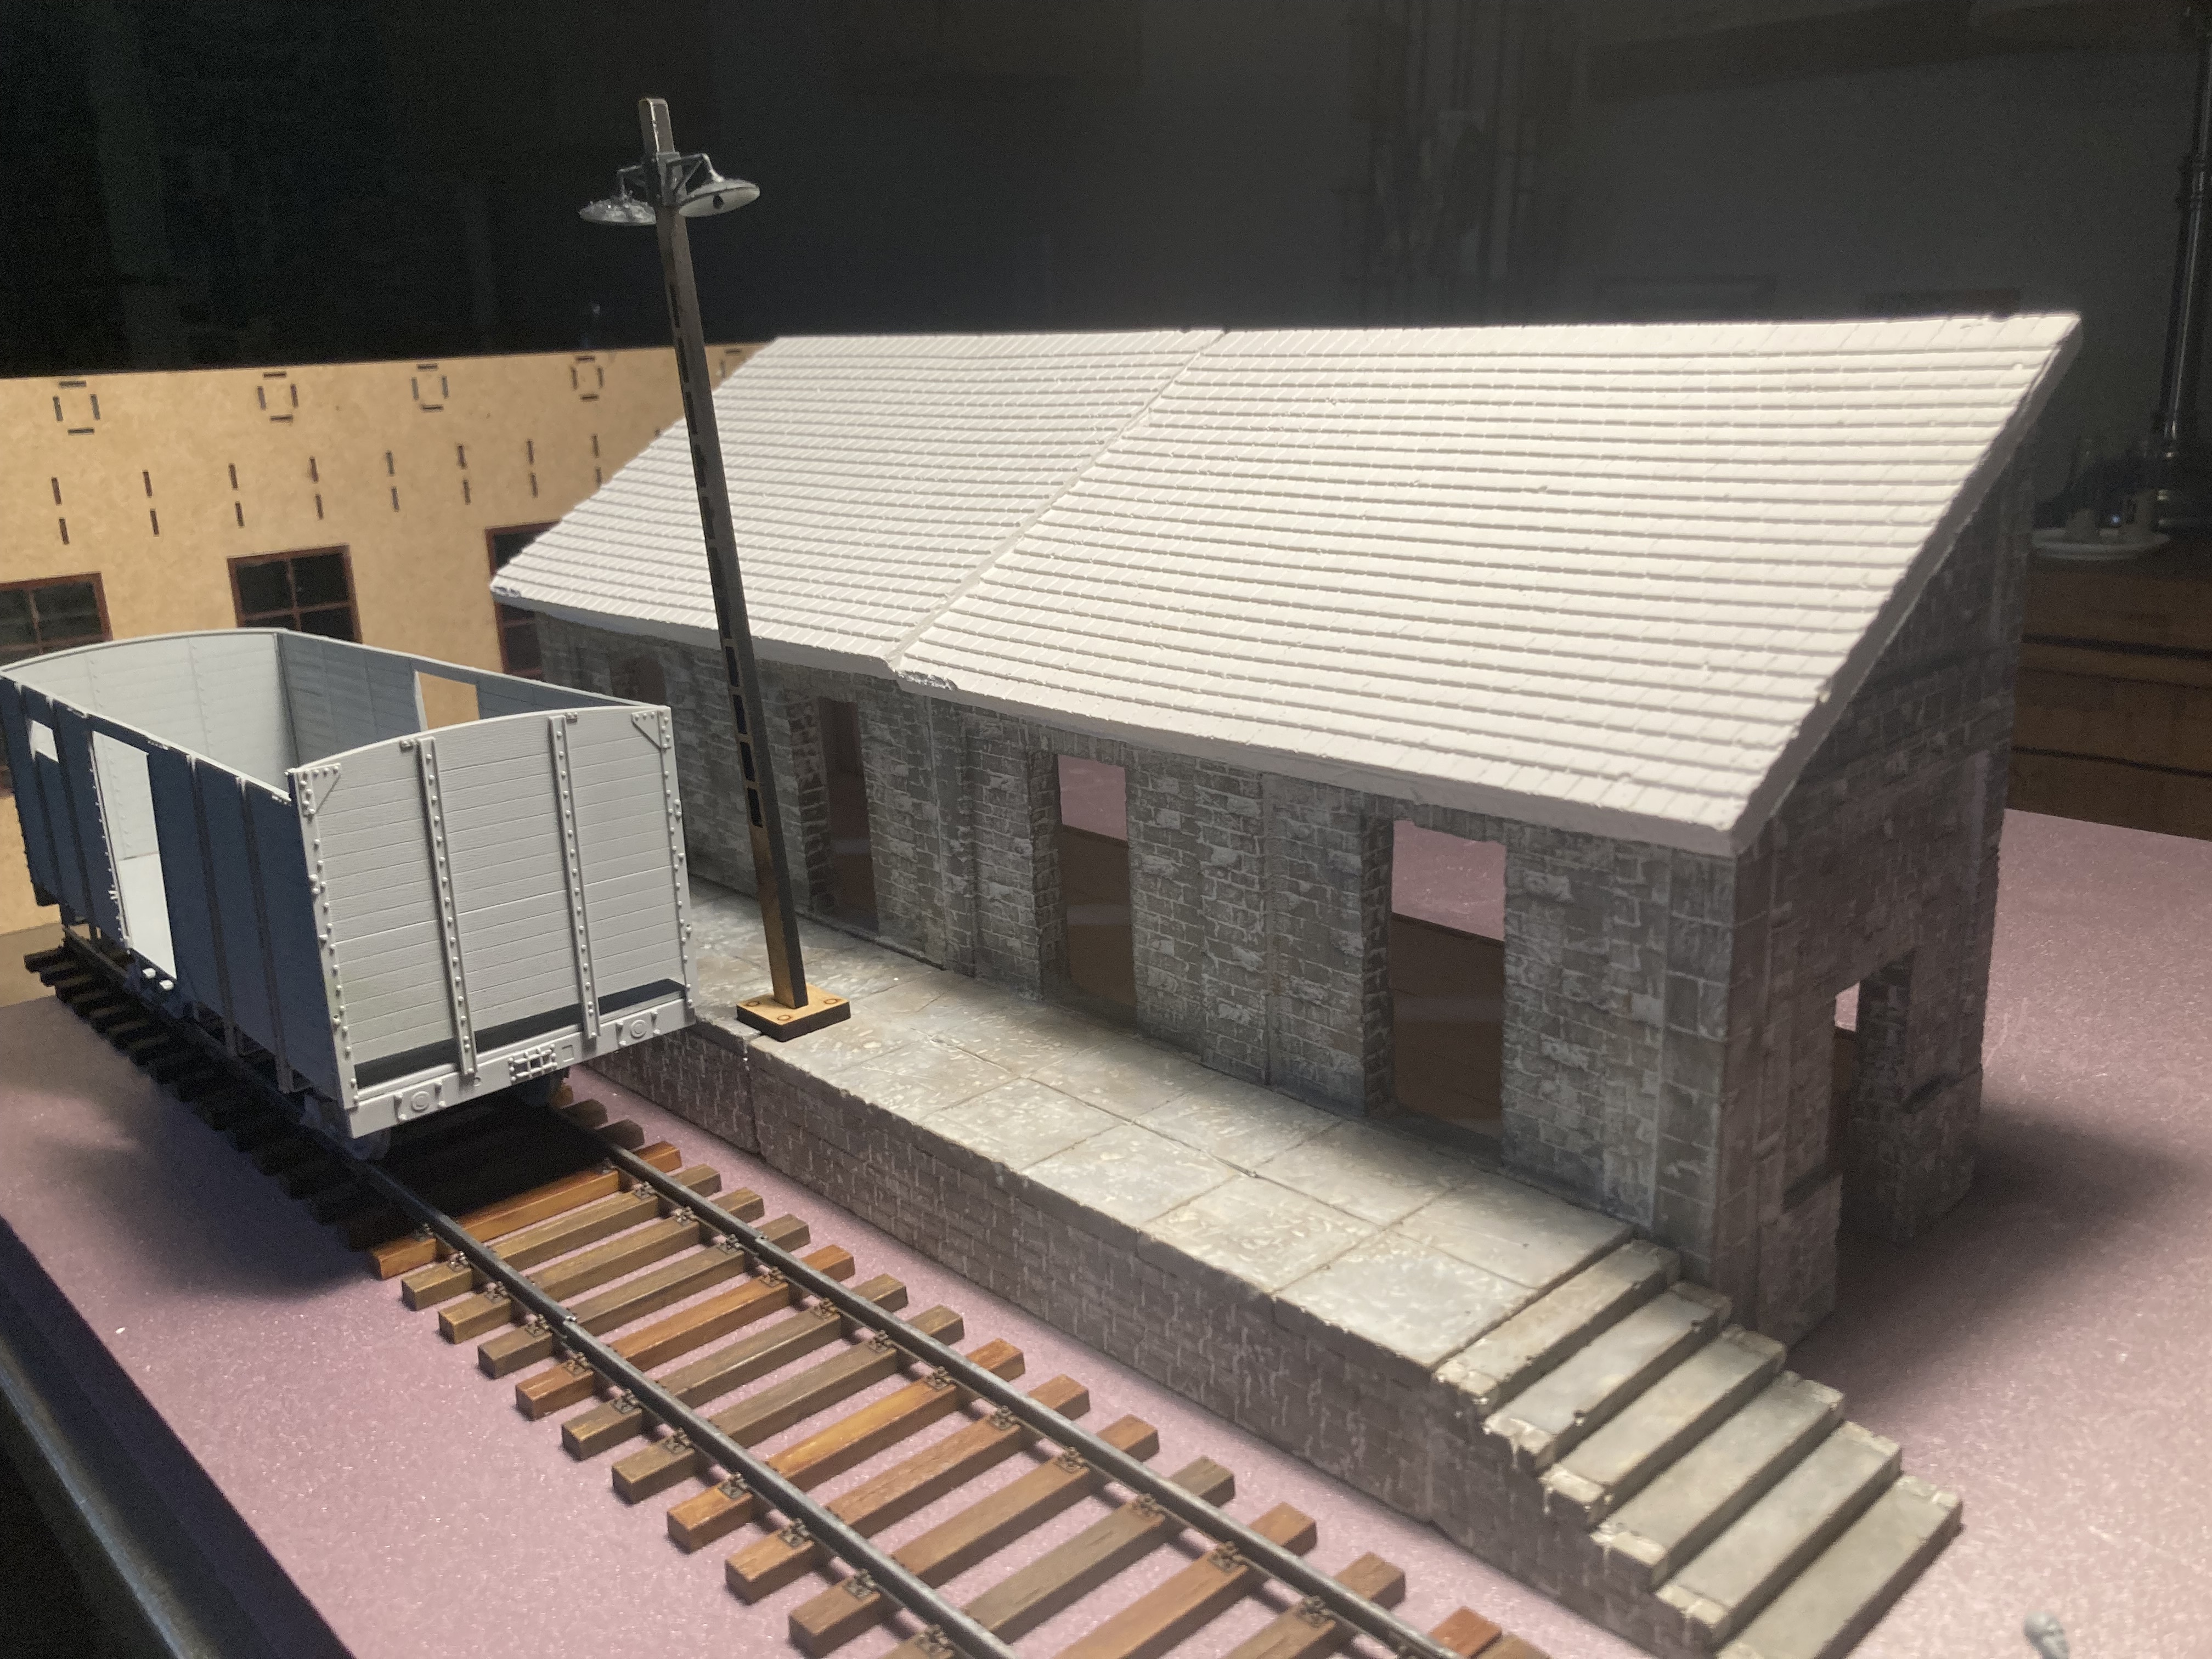
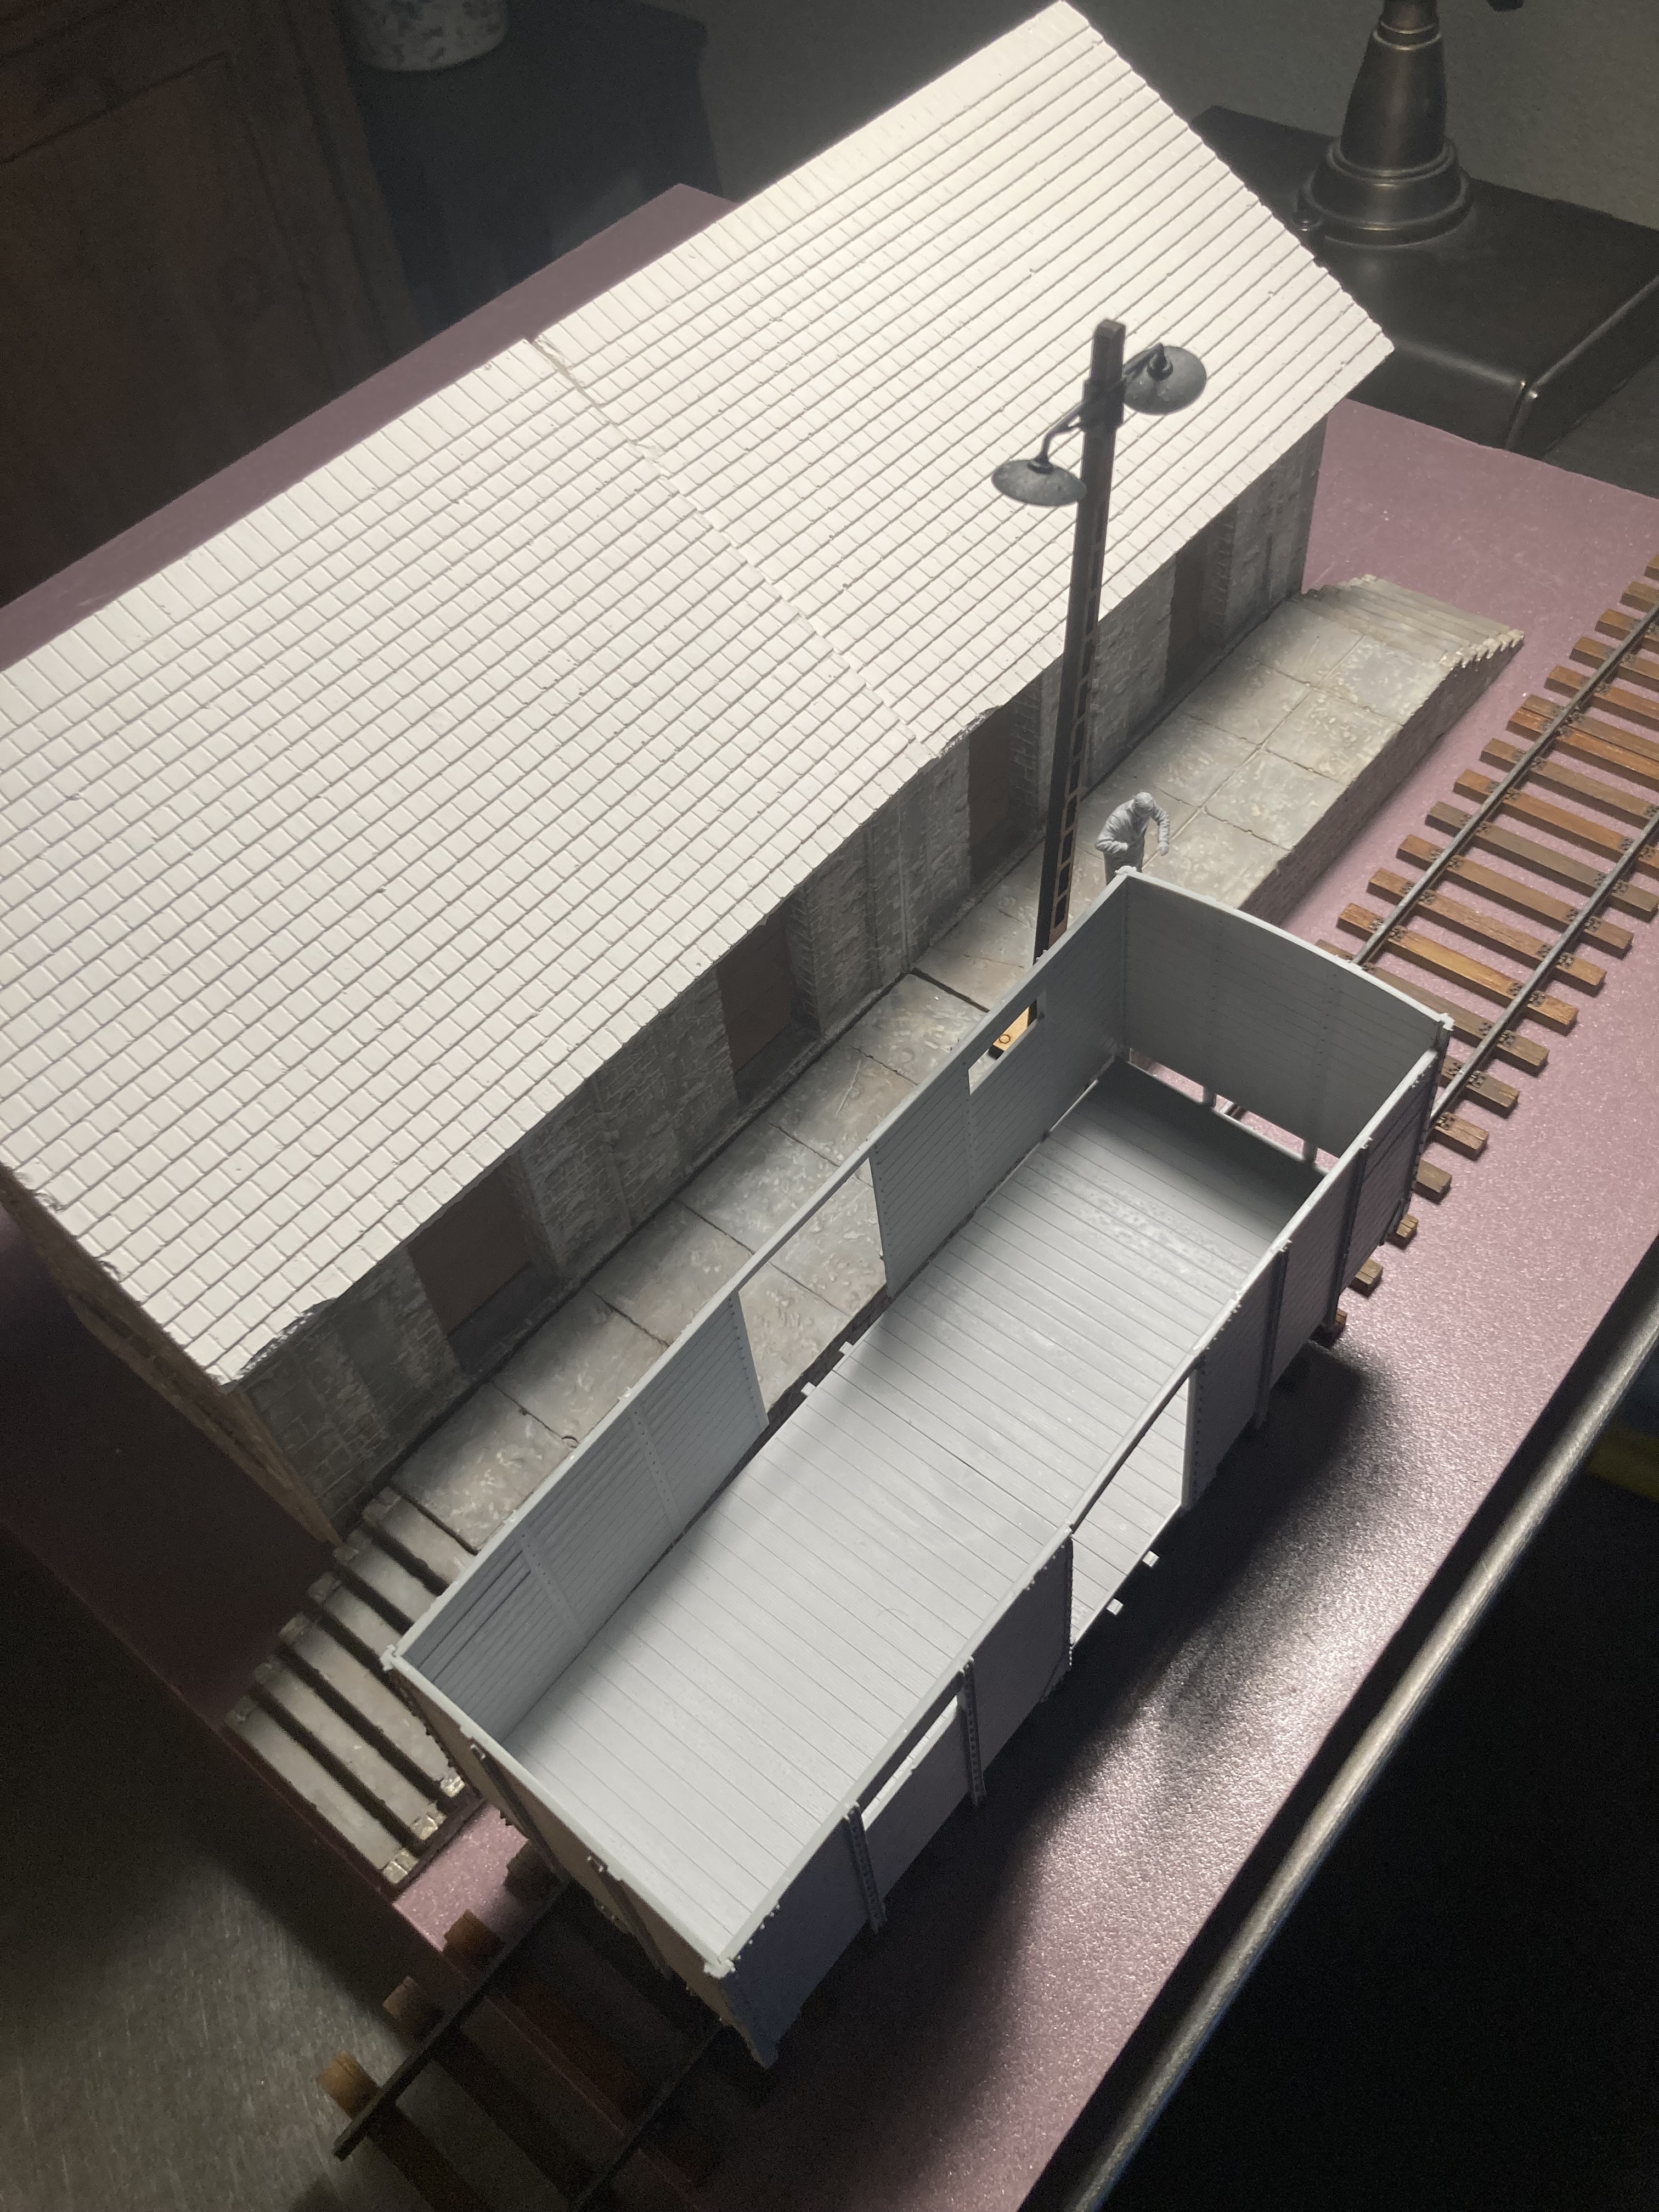

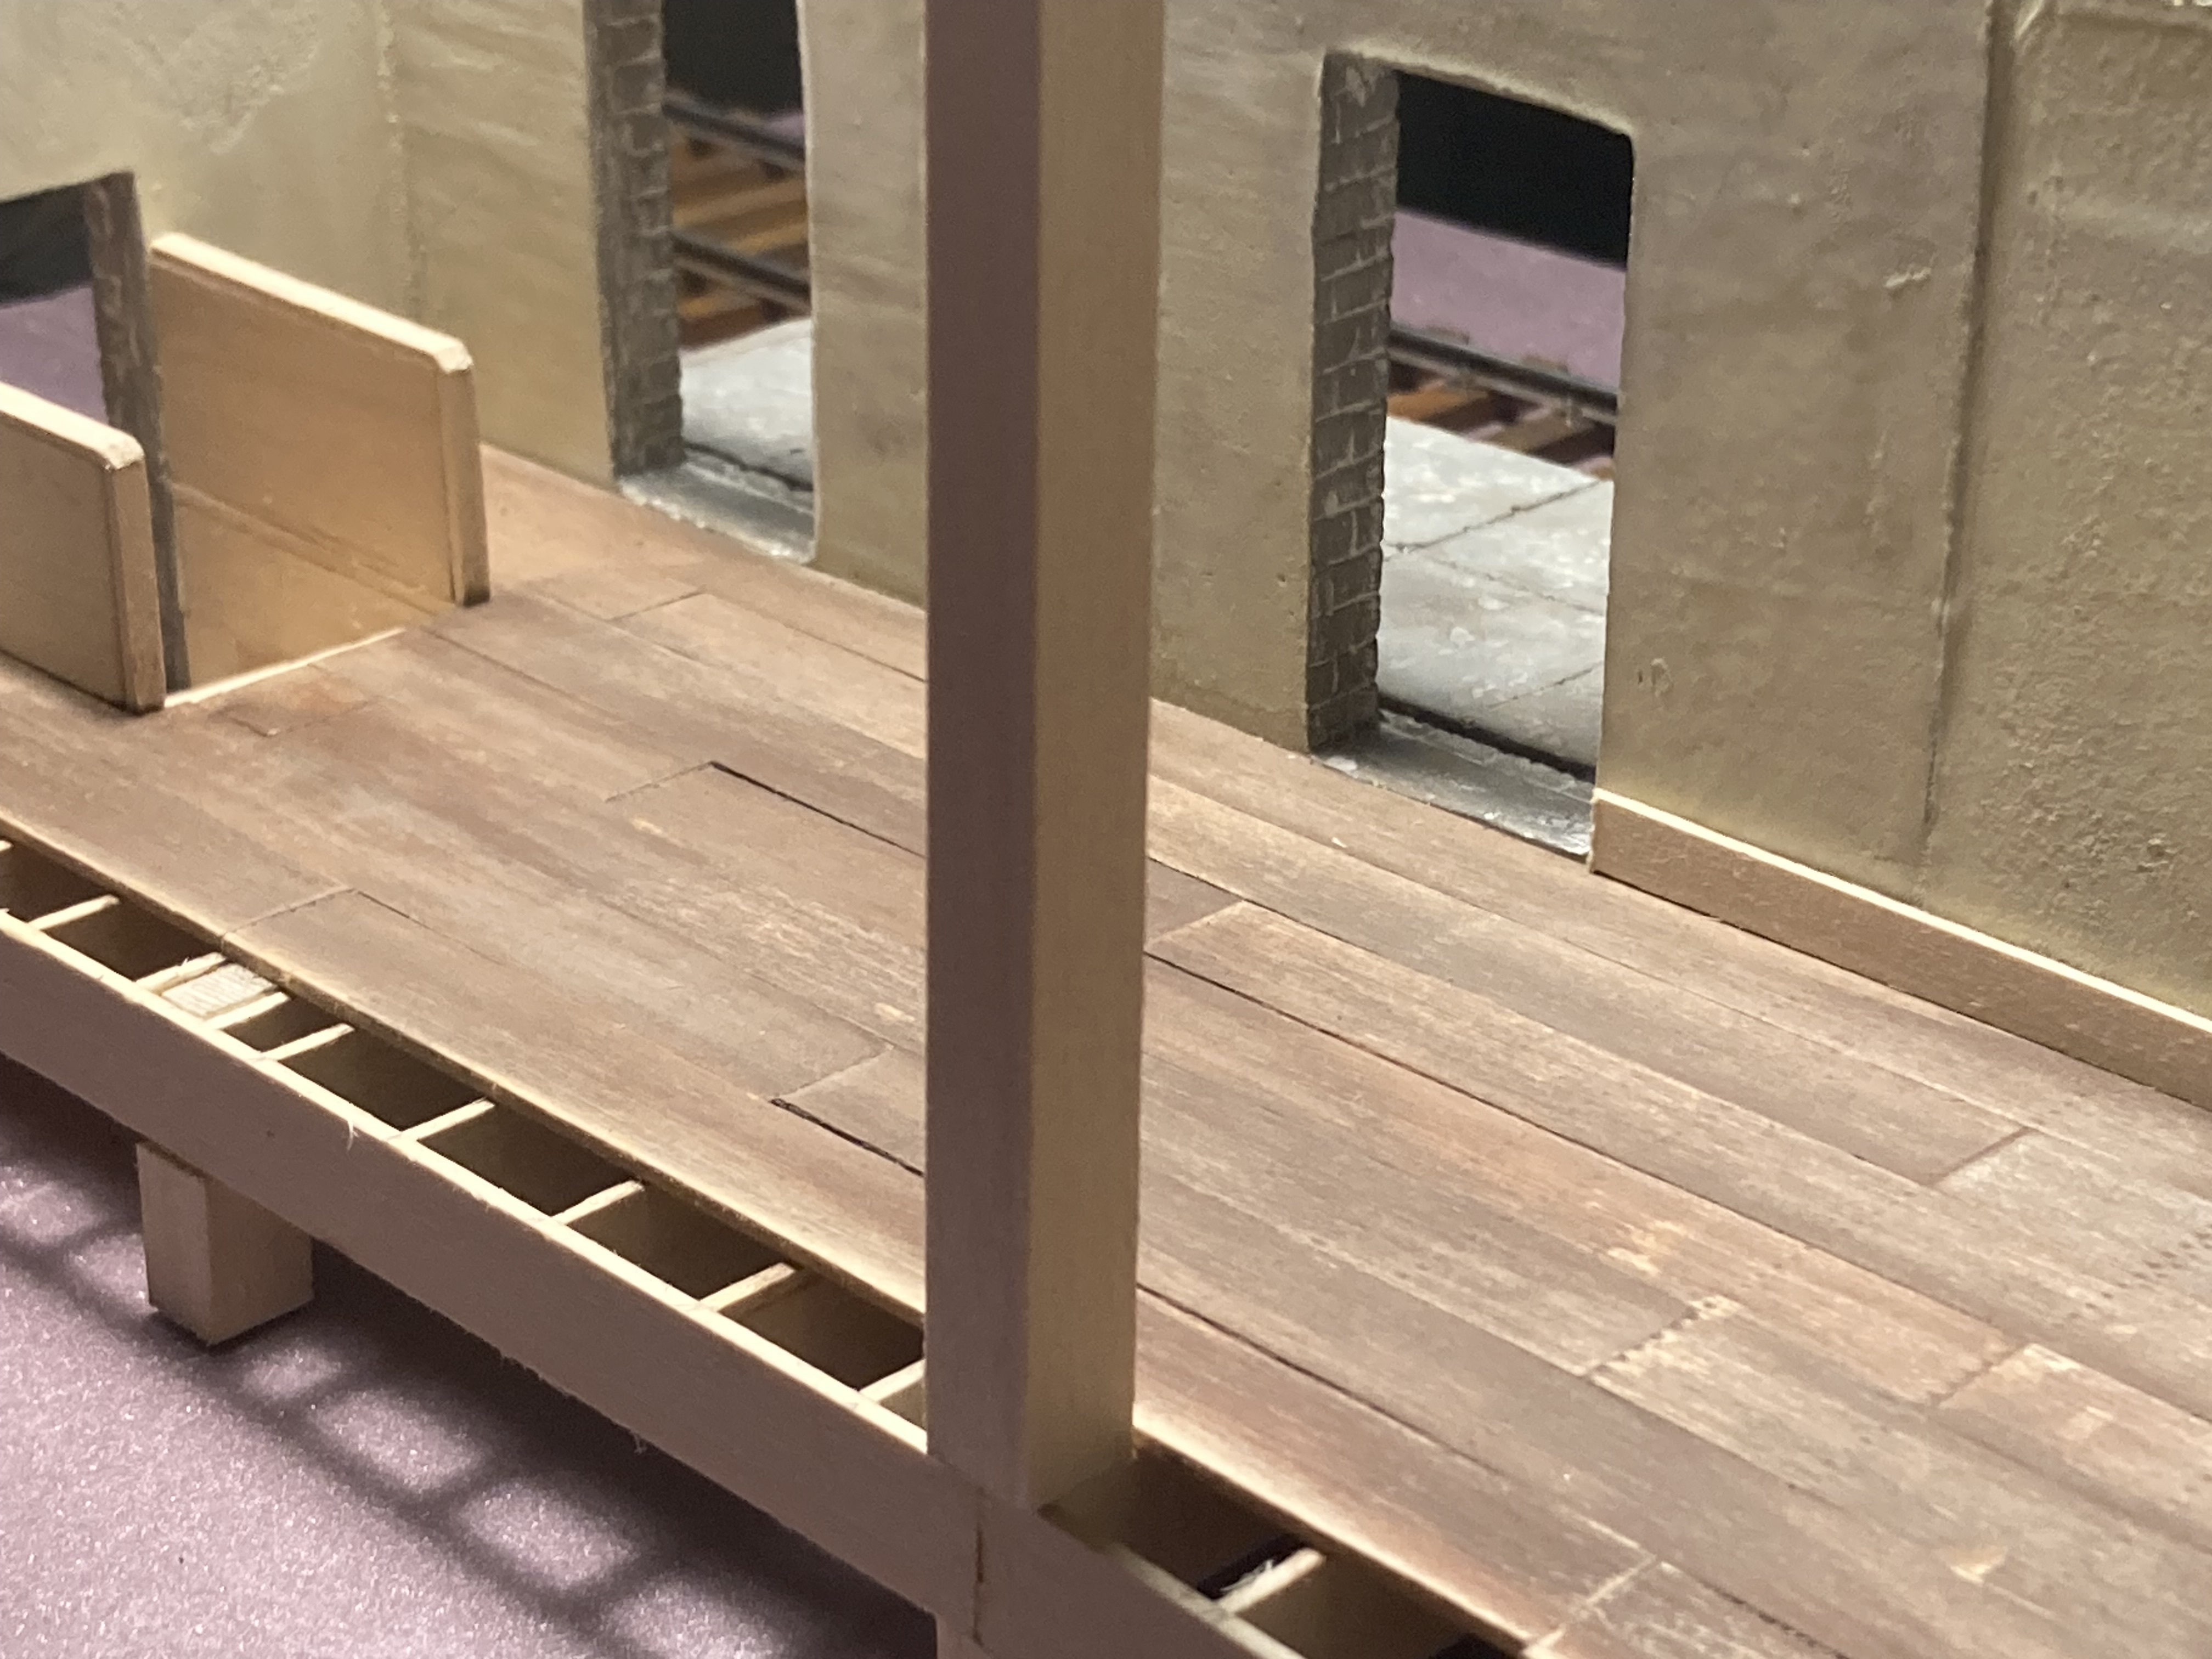
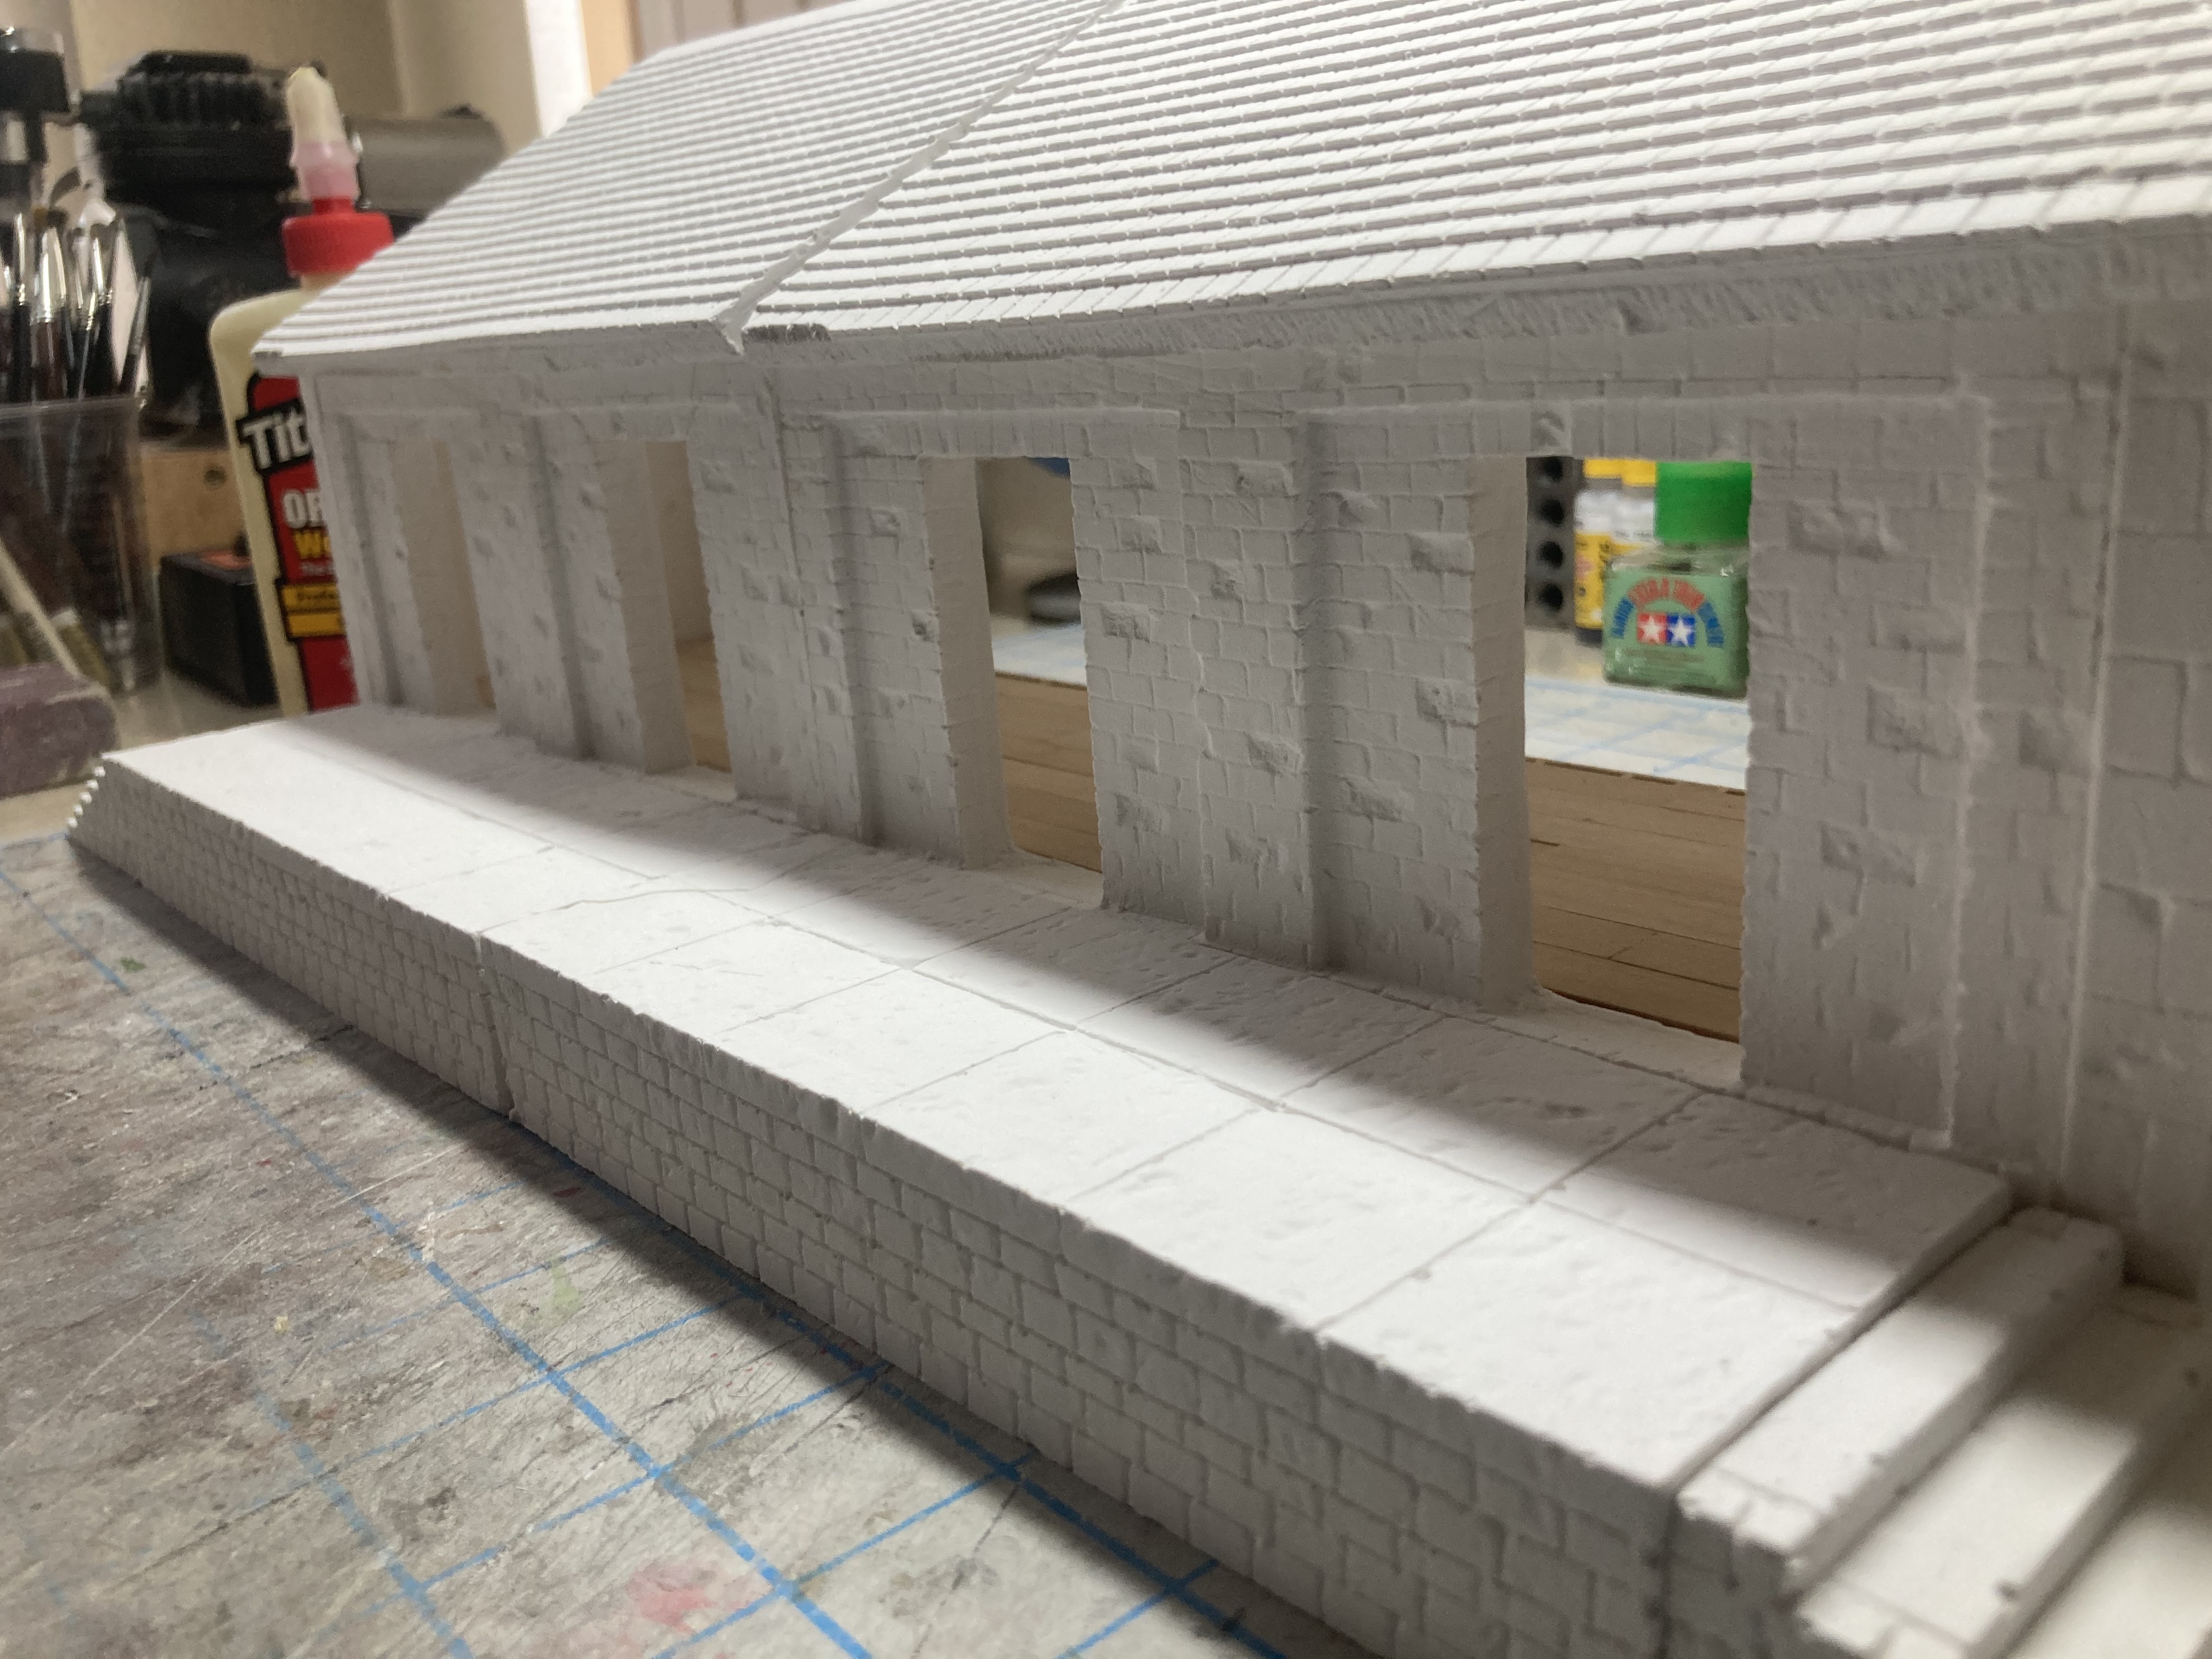
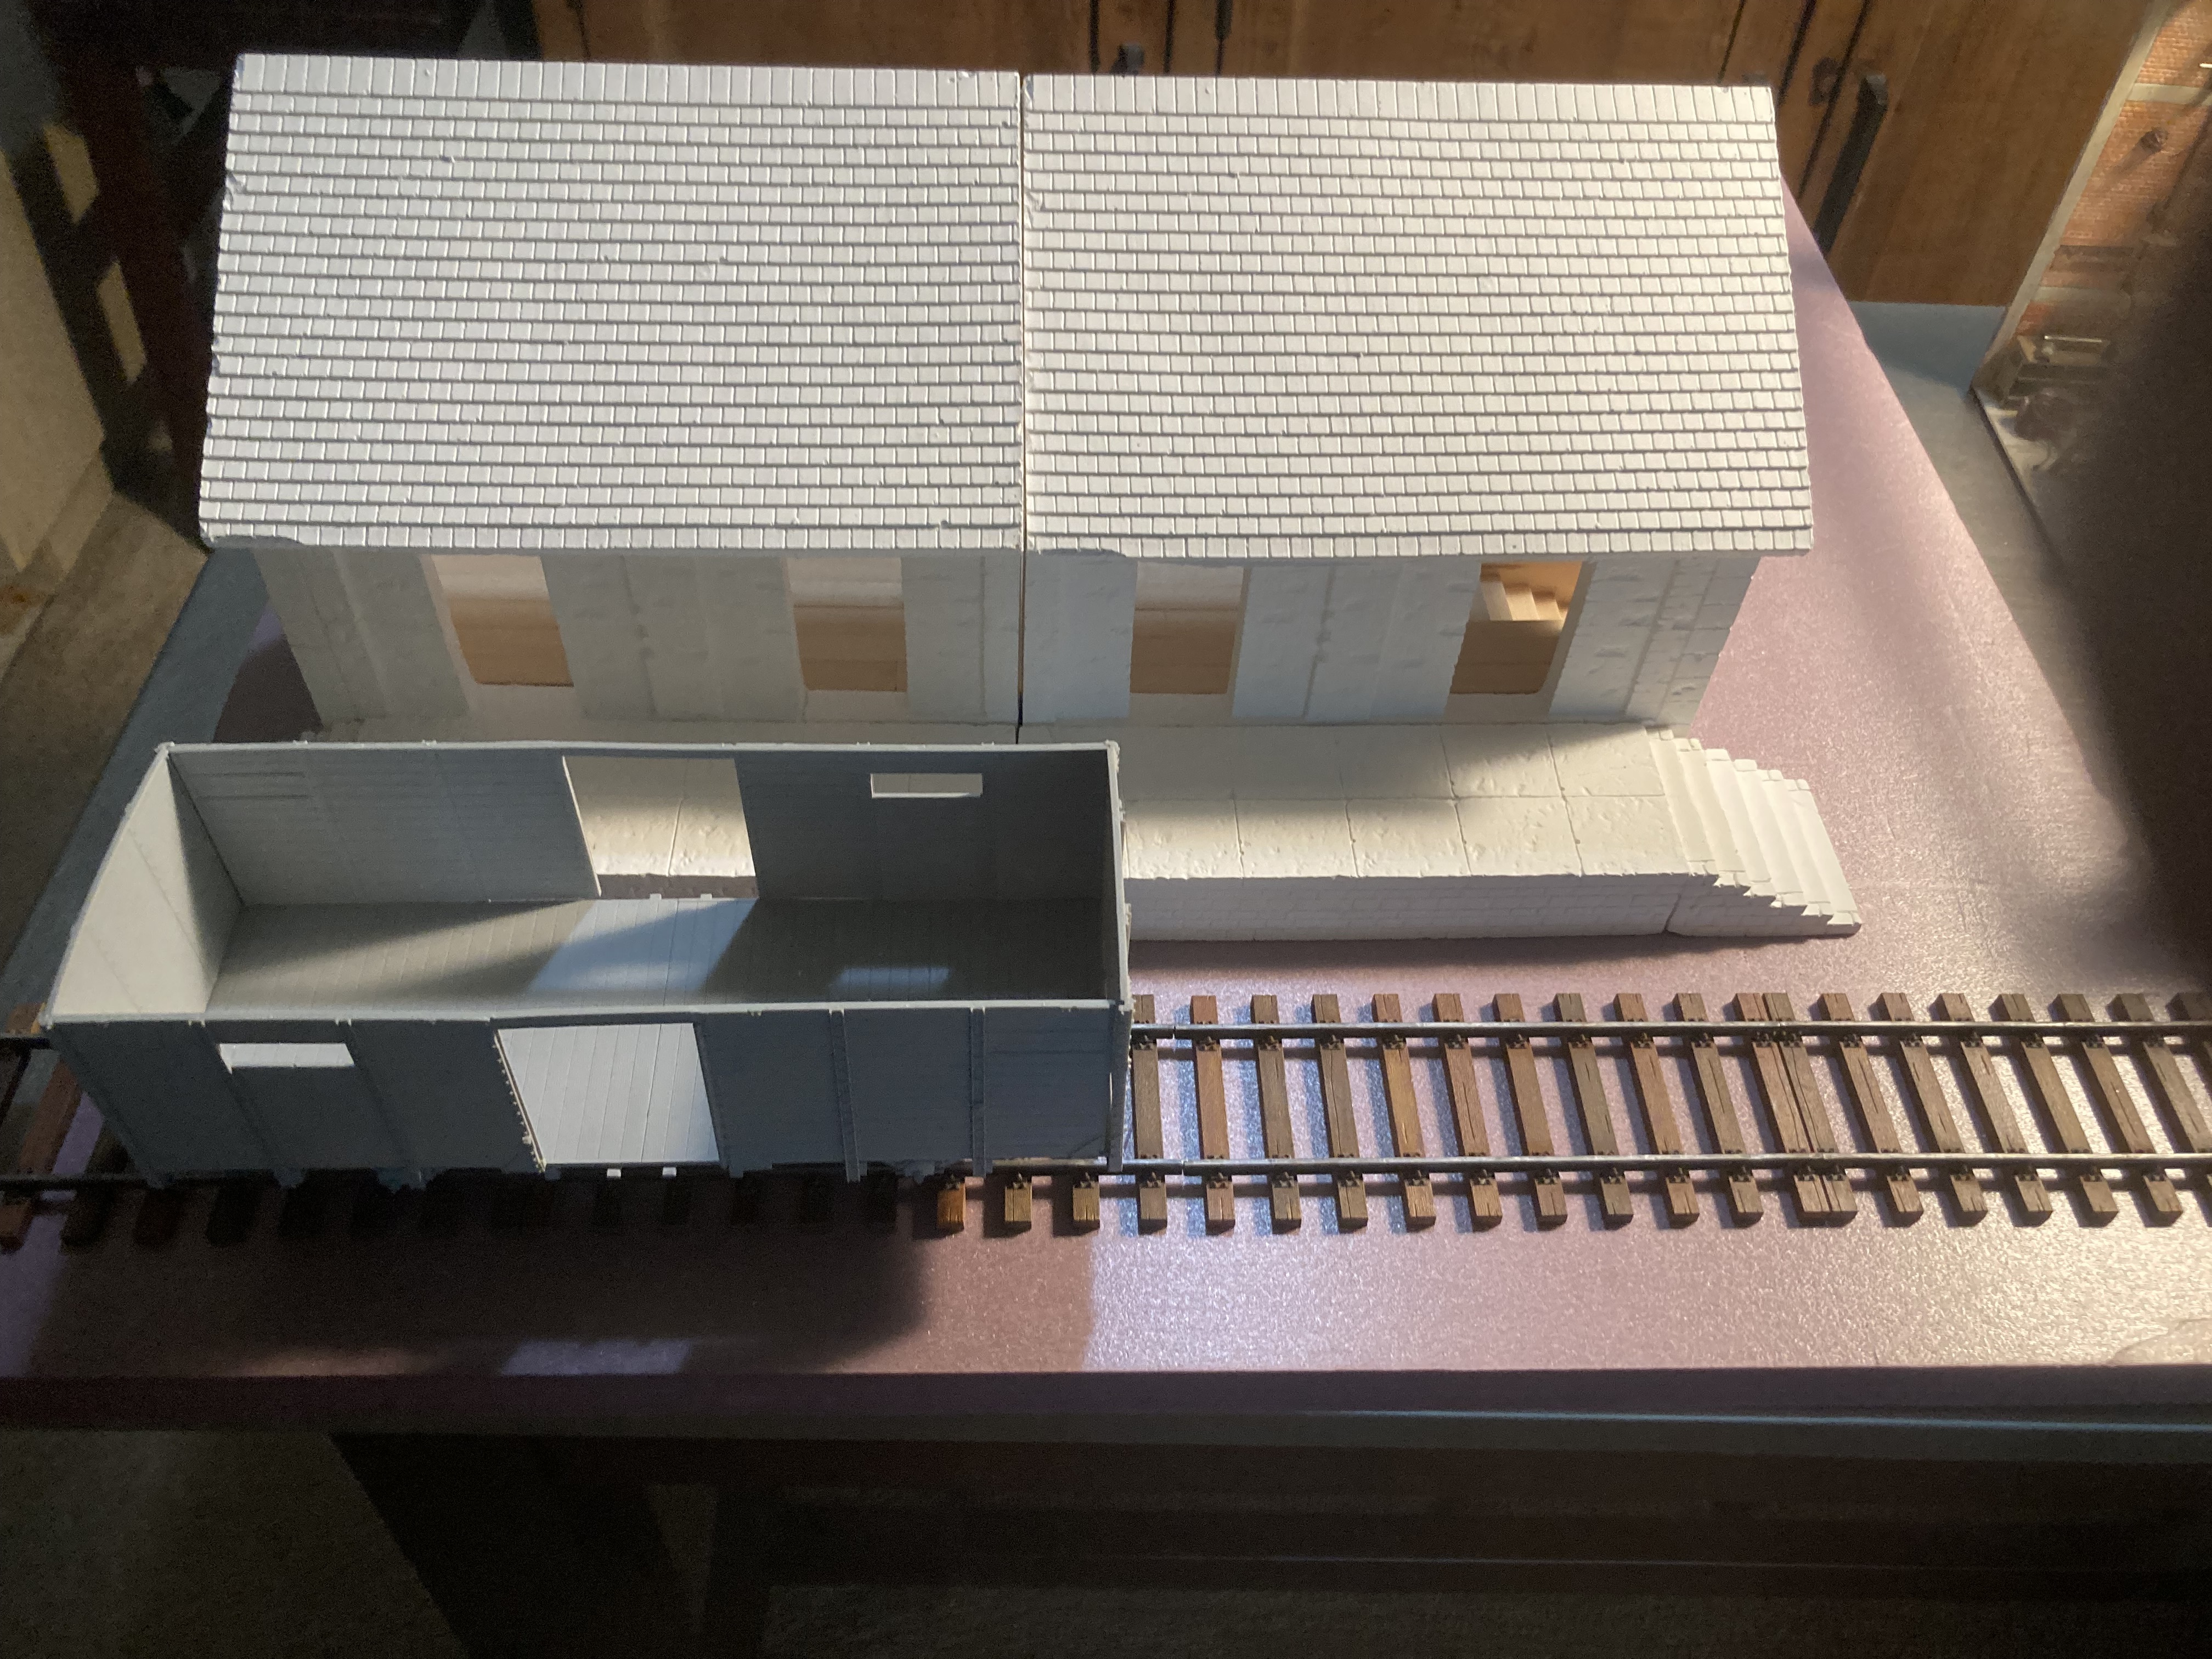
Lovely tones on the flooring and the side walls on the steps down to the side door look perfect.
1 Like
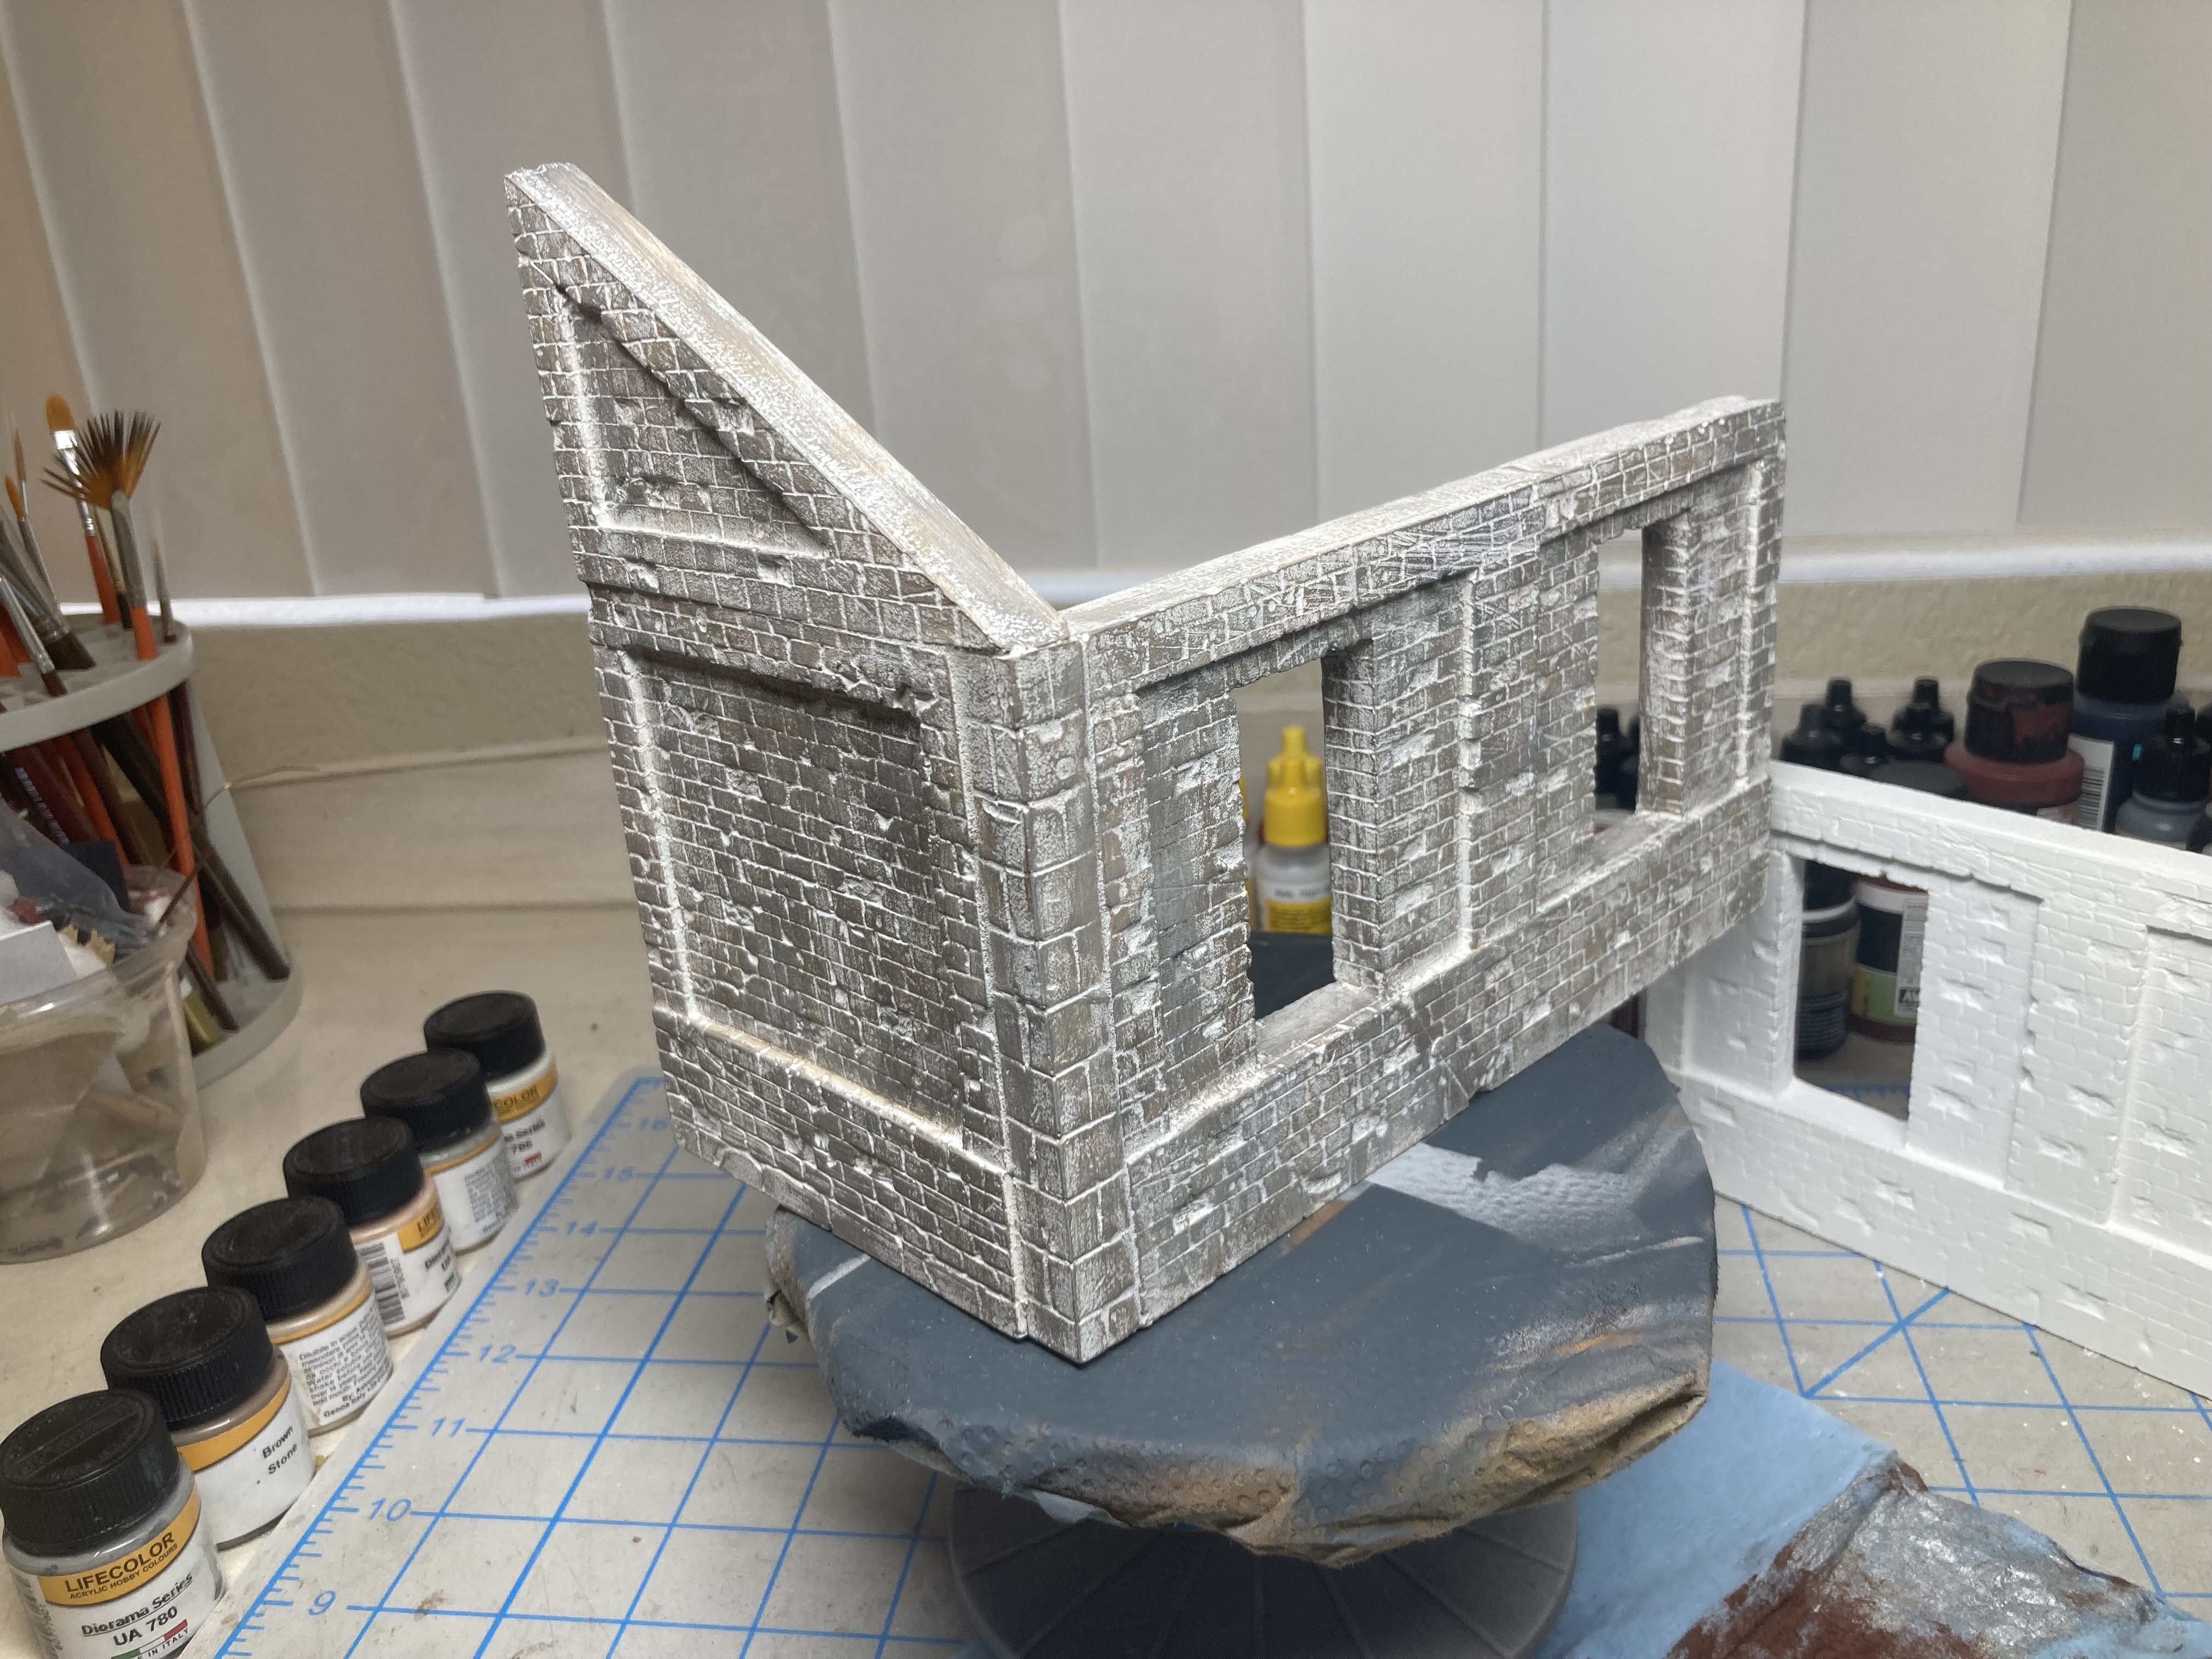
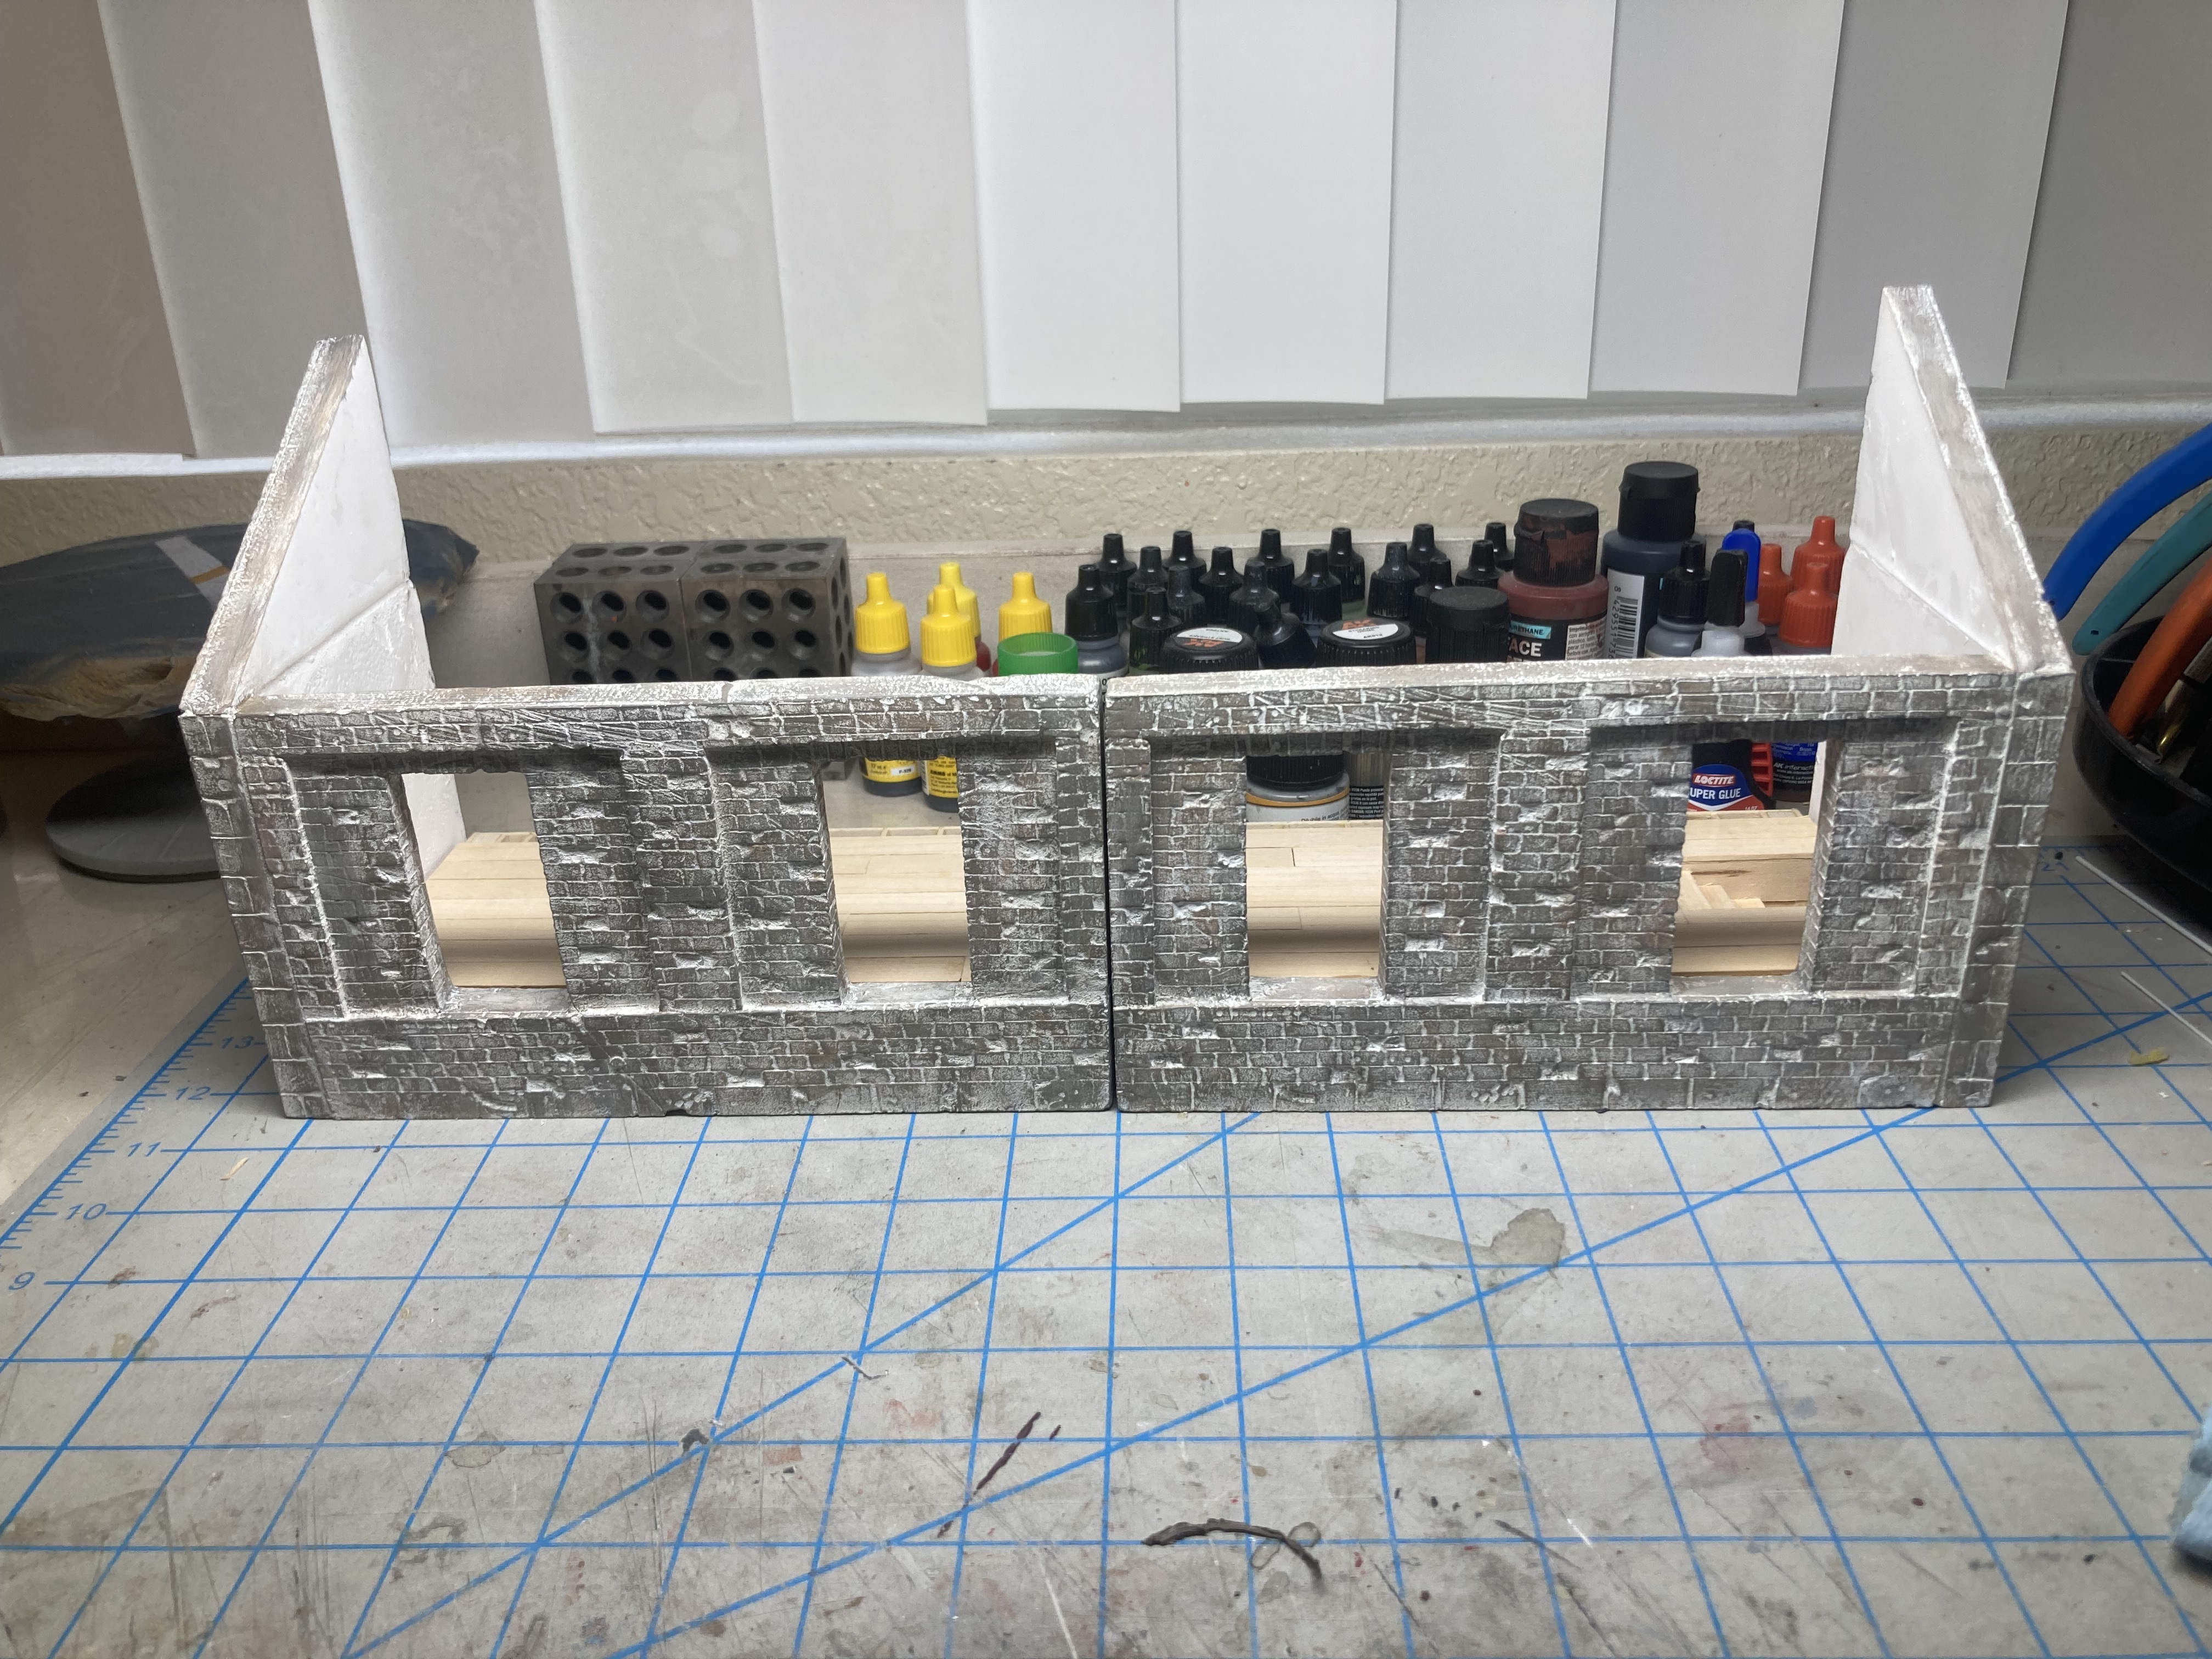
What I find odd is the damage to the walls. It looks like someone said “Make every 3rd or 4th brick damaged”.
Not it tighter, more randomly placed groupings. And the brick that holds up the walkway doesn’t have any damage at all.
(But your work is awesome, RE!!)
1 Like
If you’re rolling large objects out of a freight car and they get away from you a bit, I could see damage to that wall. And no damage underneath because there’s nothing being delivered down there.
But anything large enough to take chunks out of that wall will be hard to get through those doors.
2 Likes
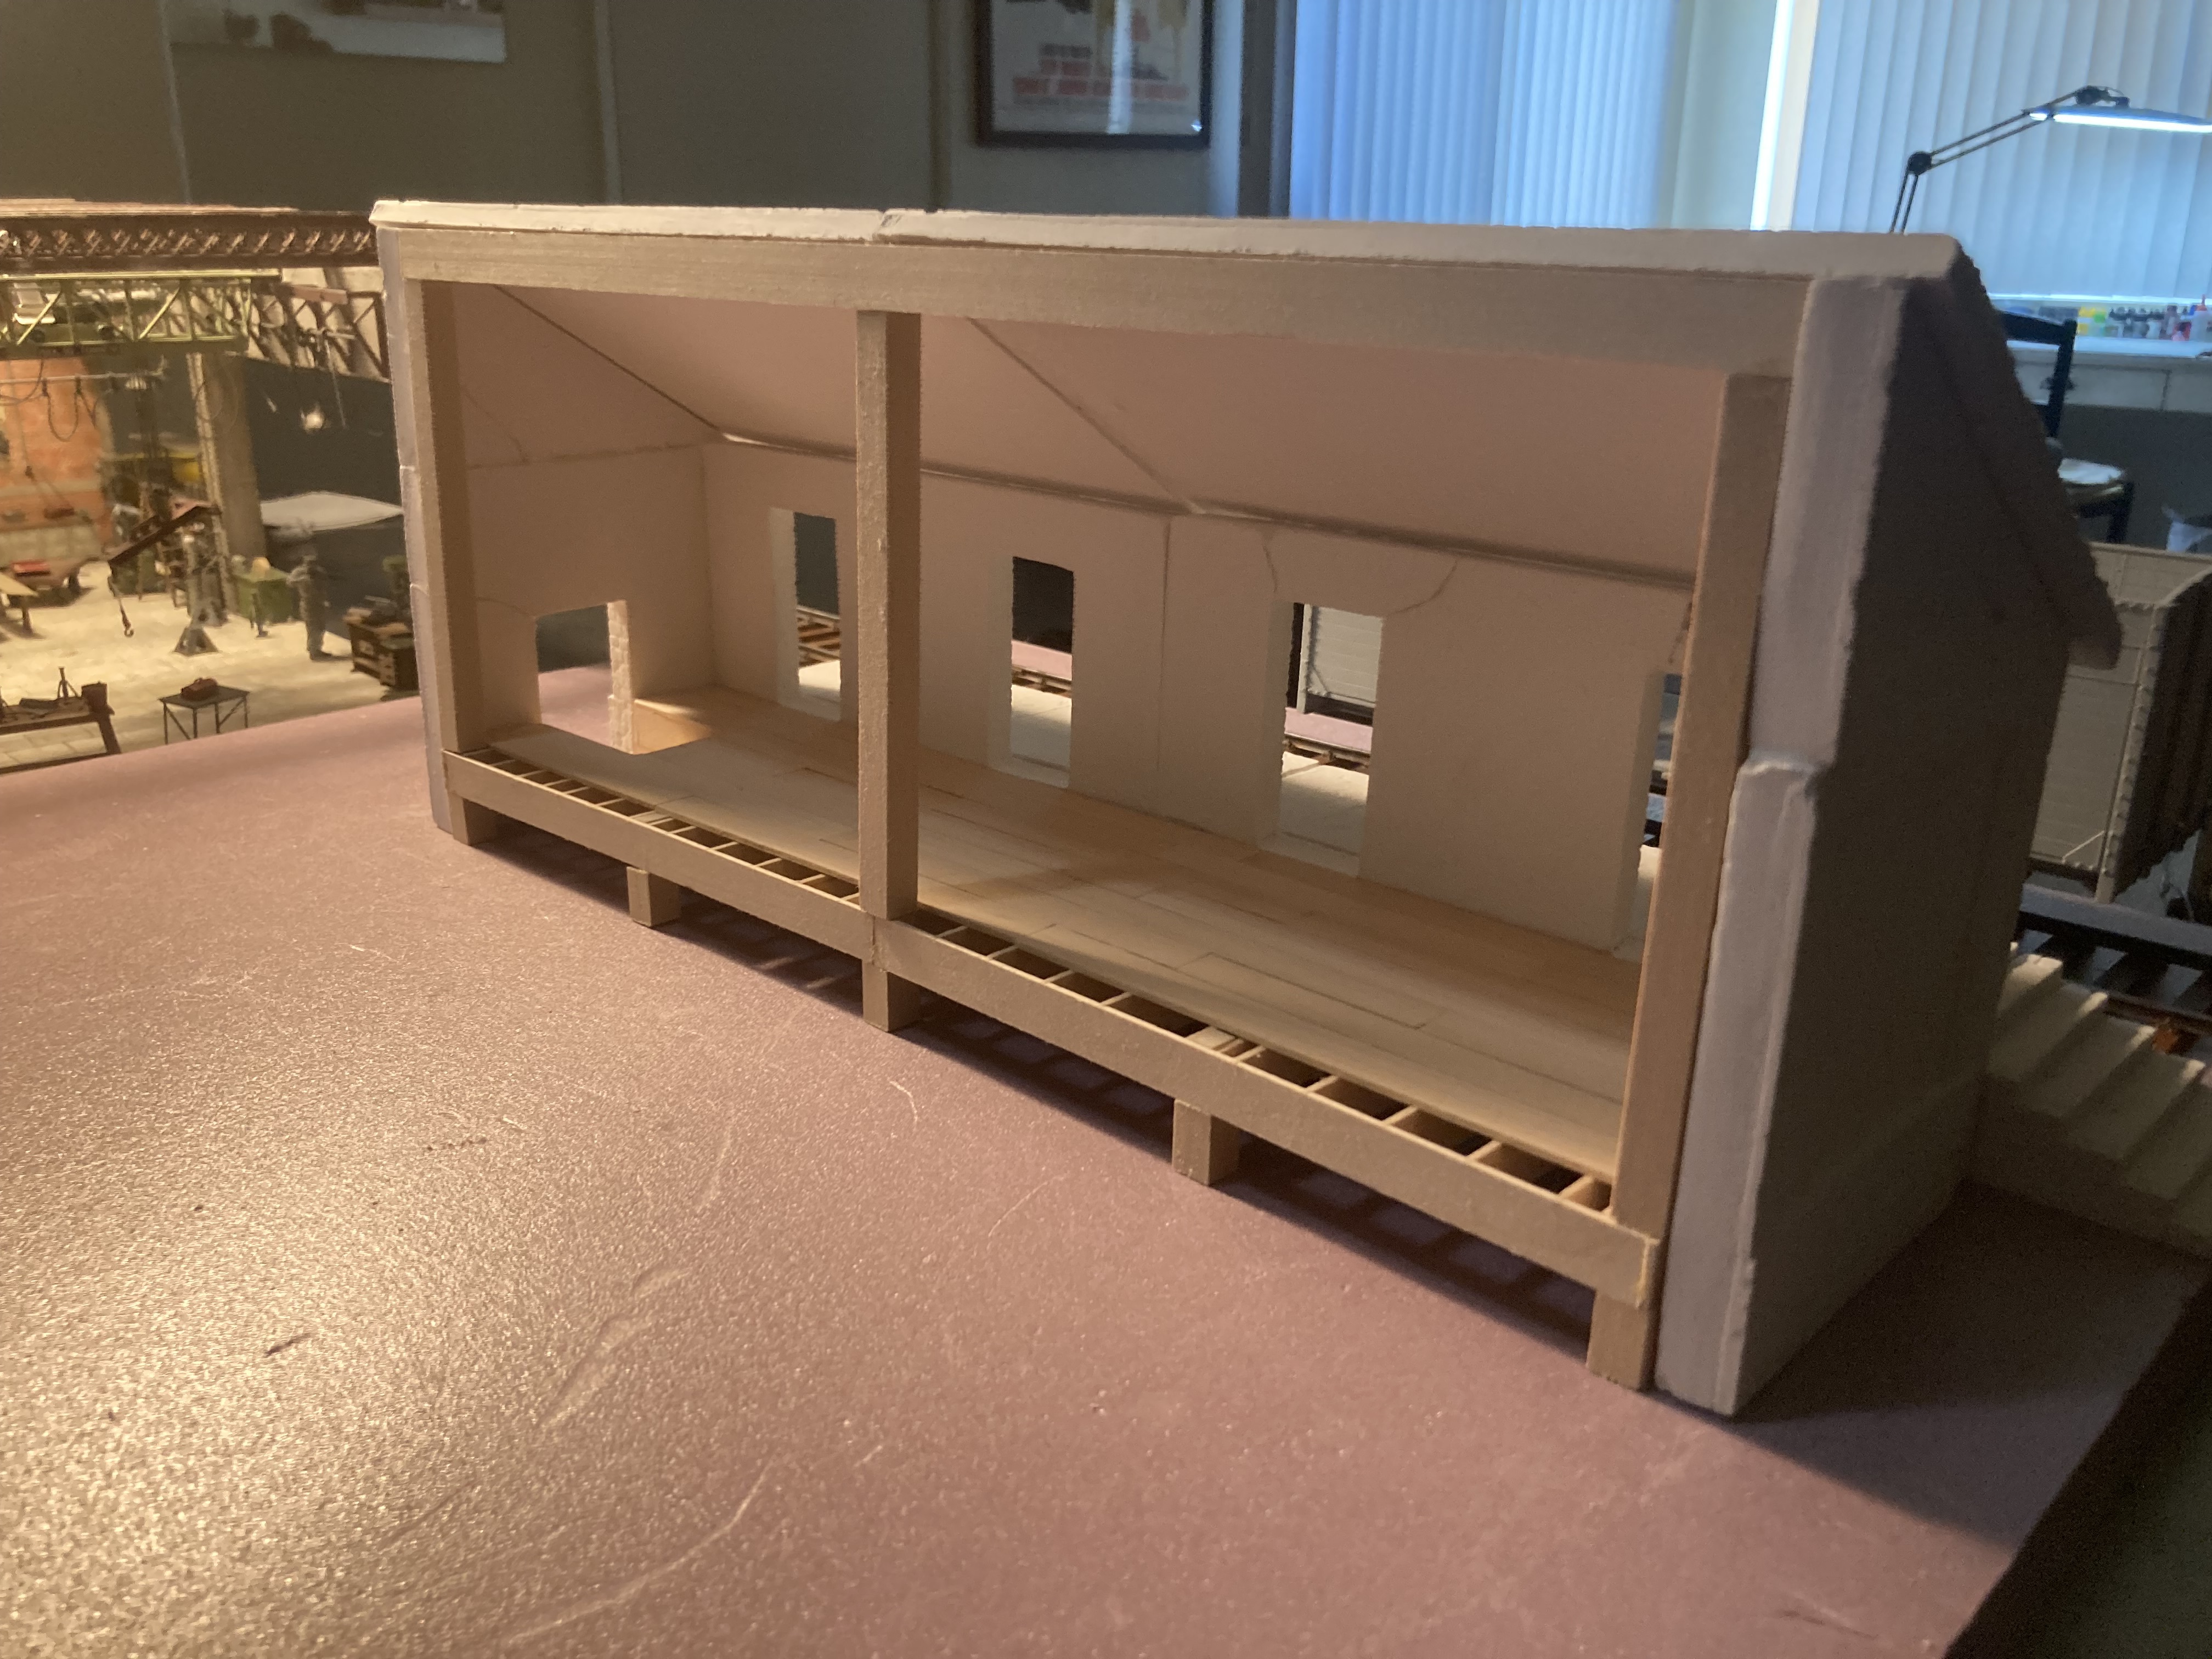
That central vertical roof support beam in the warehouse would be a good candidate for using one of your beautiful steel box webbed beams like you used in the ceiling of your tank factory.
(If you happen to have a spare one lying around.)
Those type webbed vertical beams where often using in heavy industrial construction.
1 Like
I assumed that it was battle damage because it’s on the short sides too?
1 Like