Construction on my M42 shelf queen is drawing to a close, so time to look at my entry here:
6 Likes
I have that one, youll have to let me know what its like for a build
1 Like
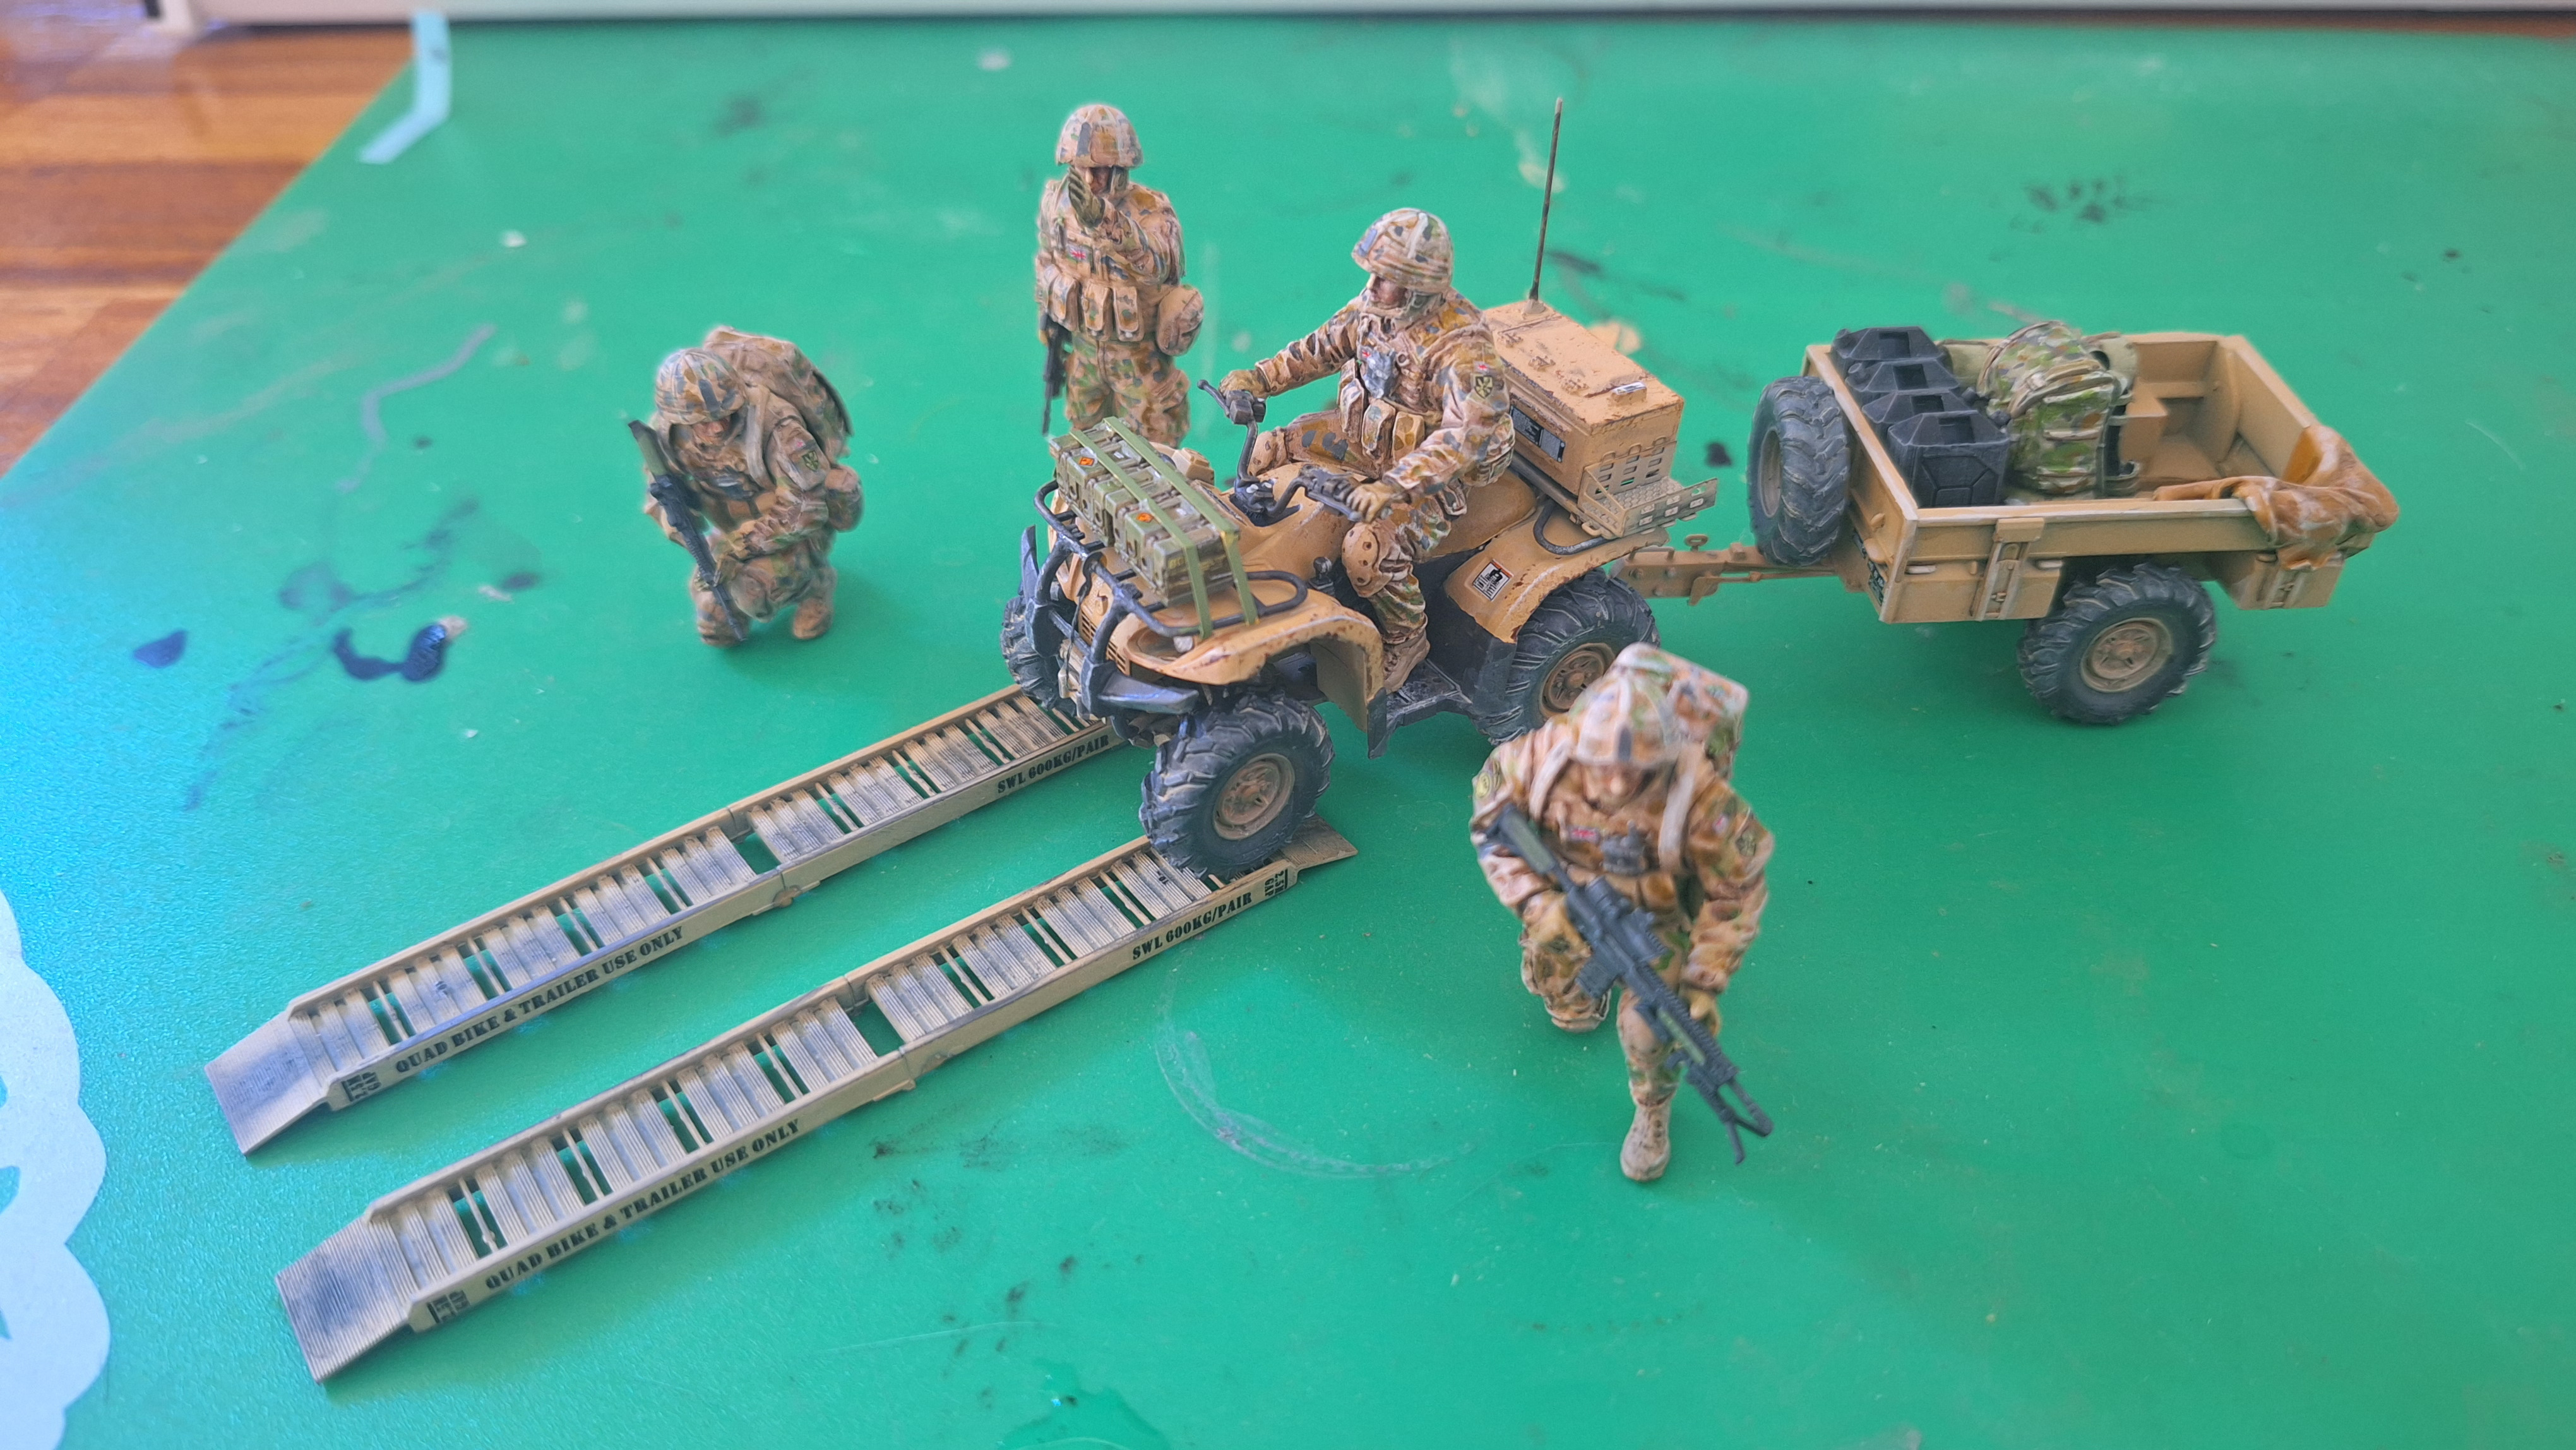
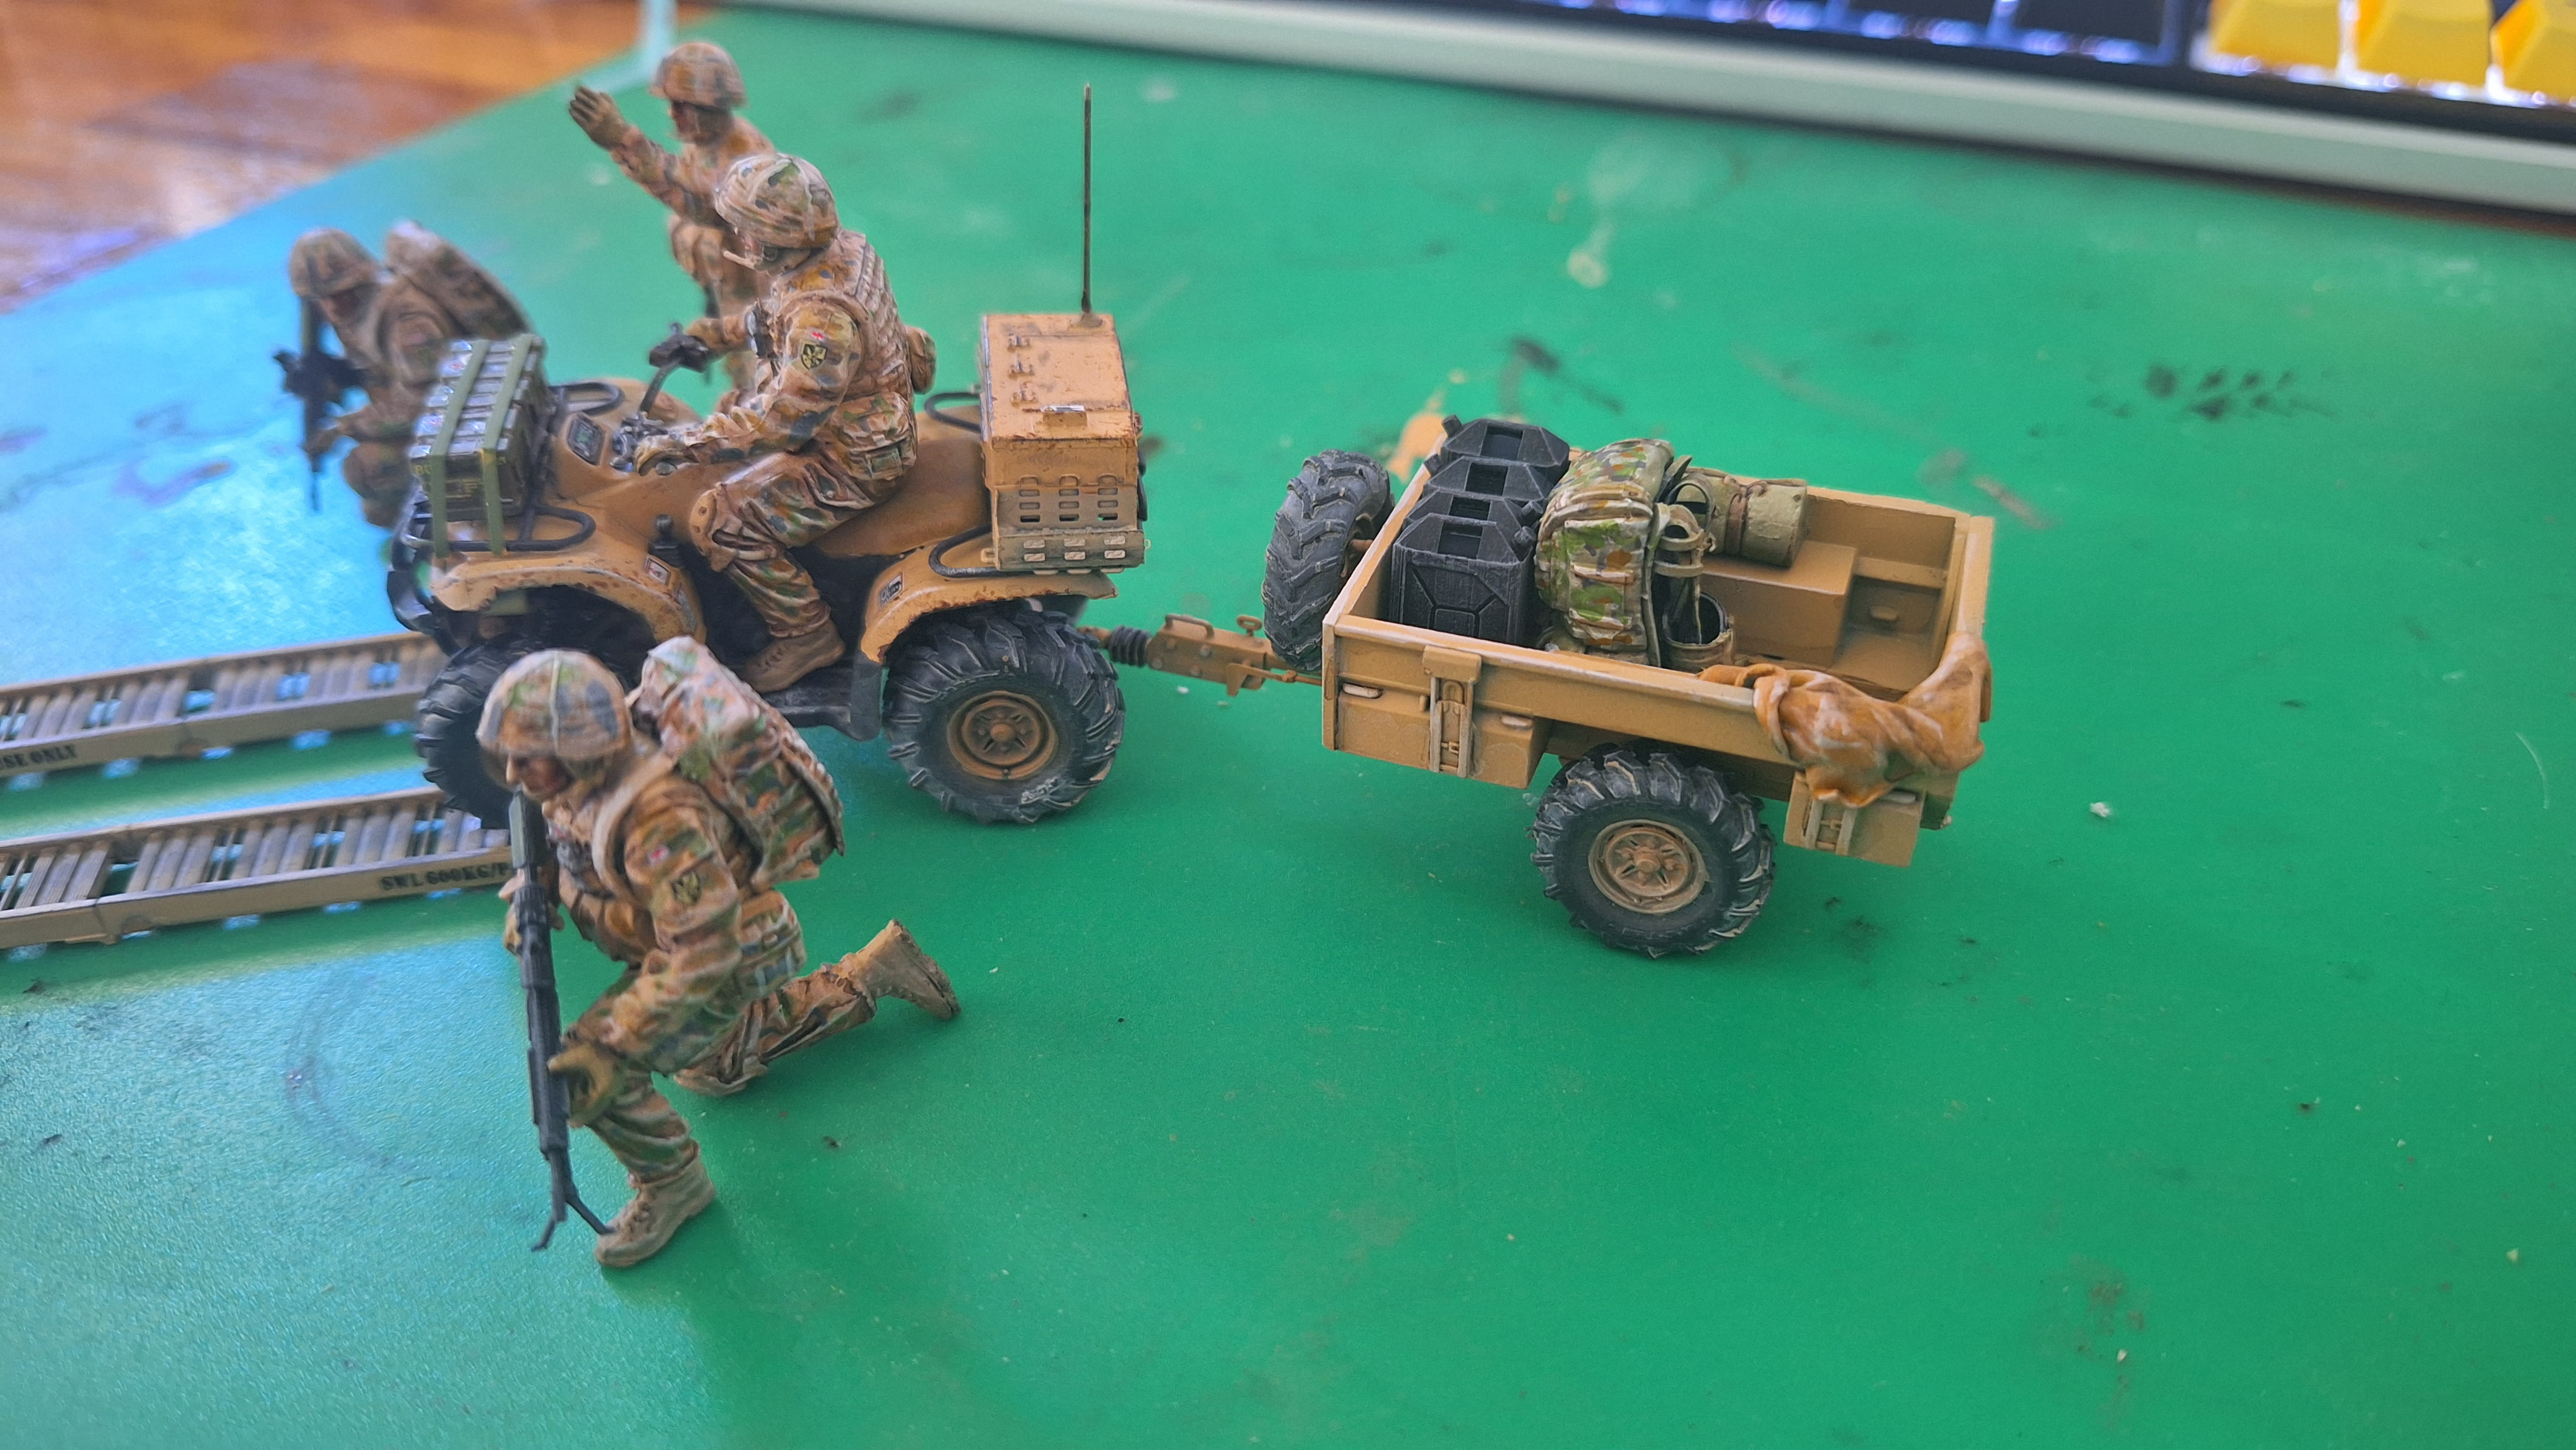
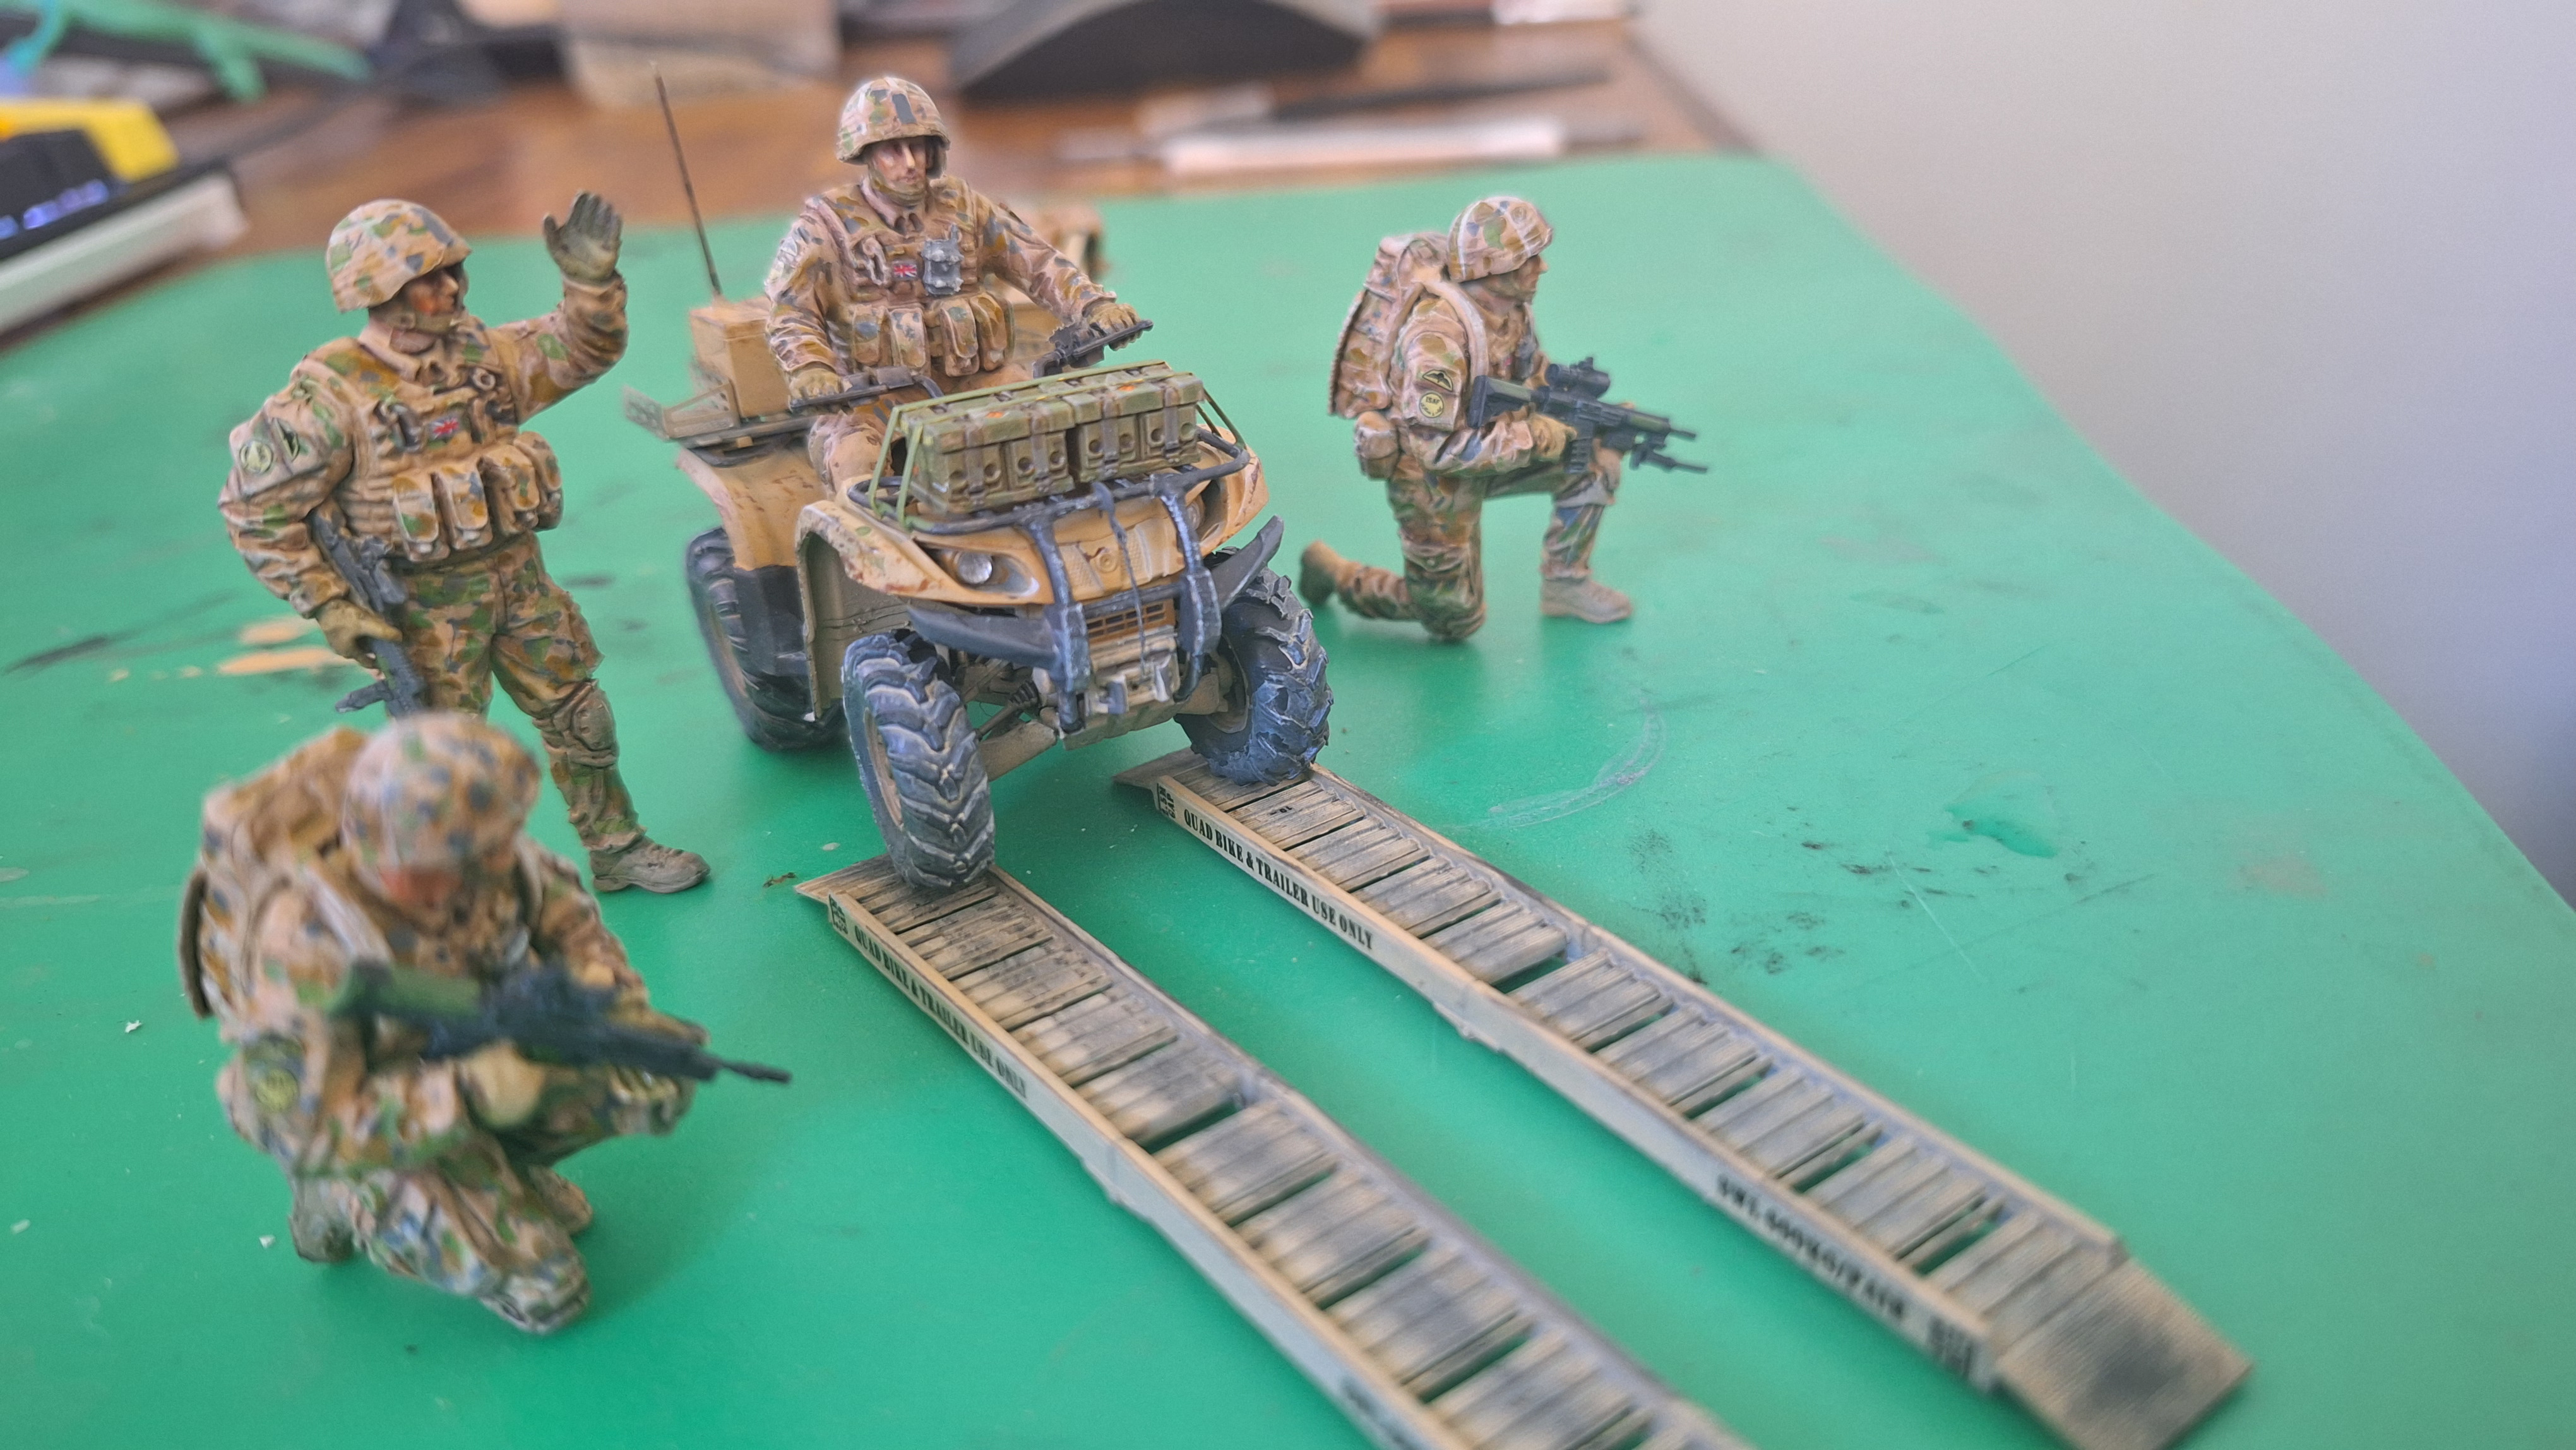
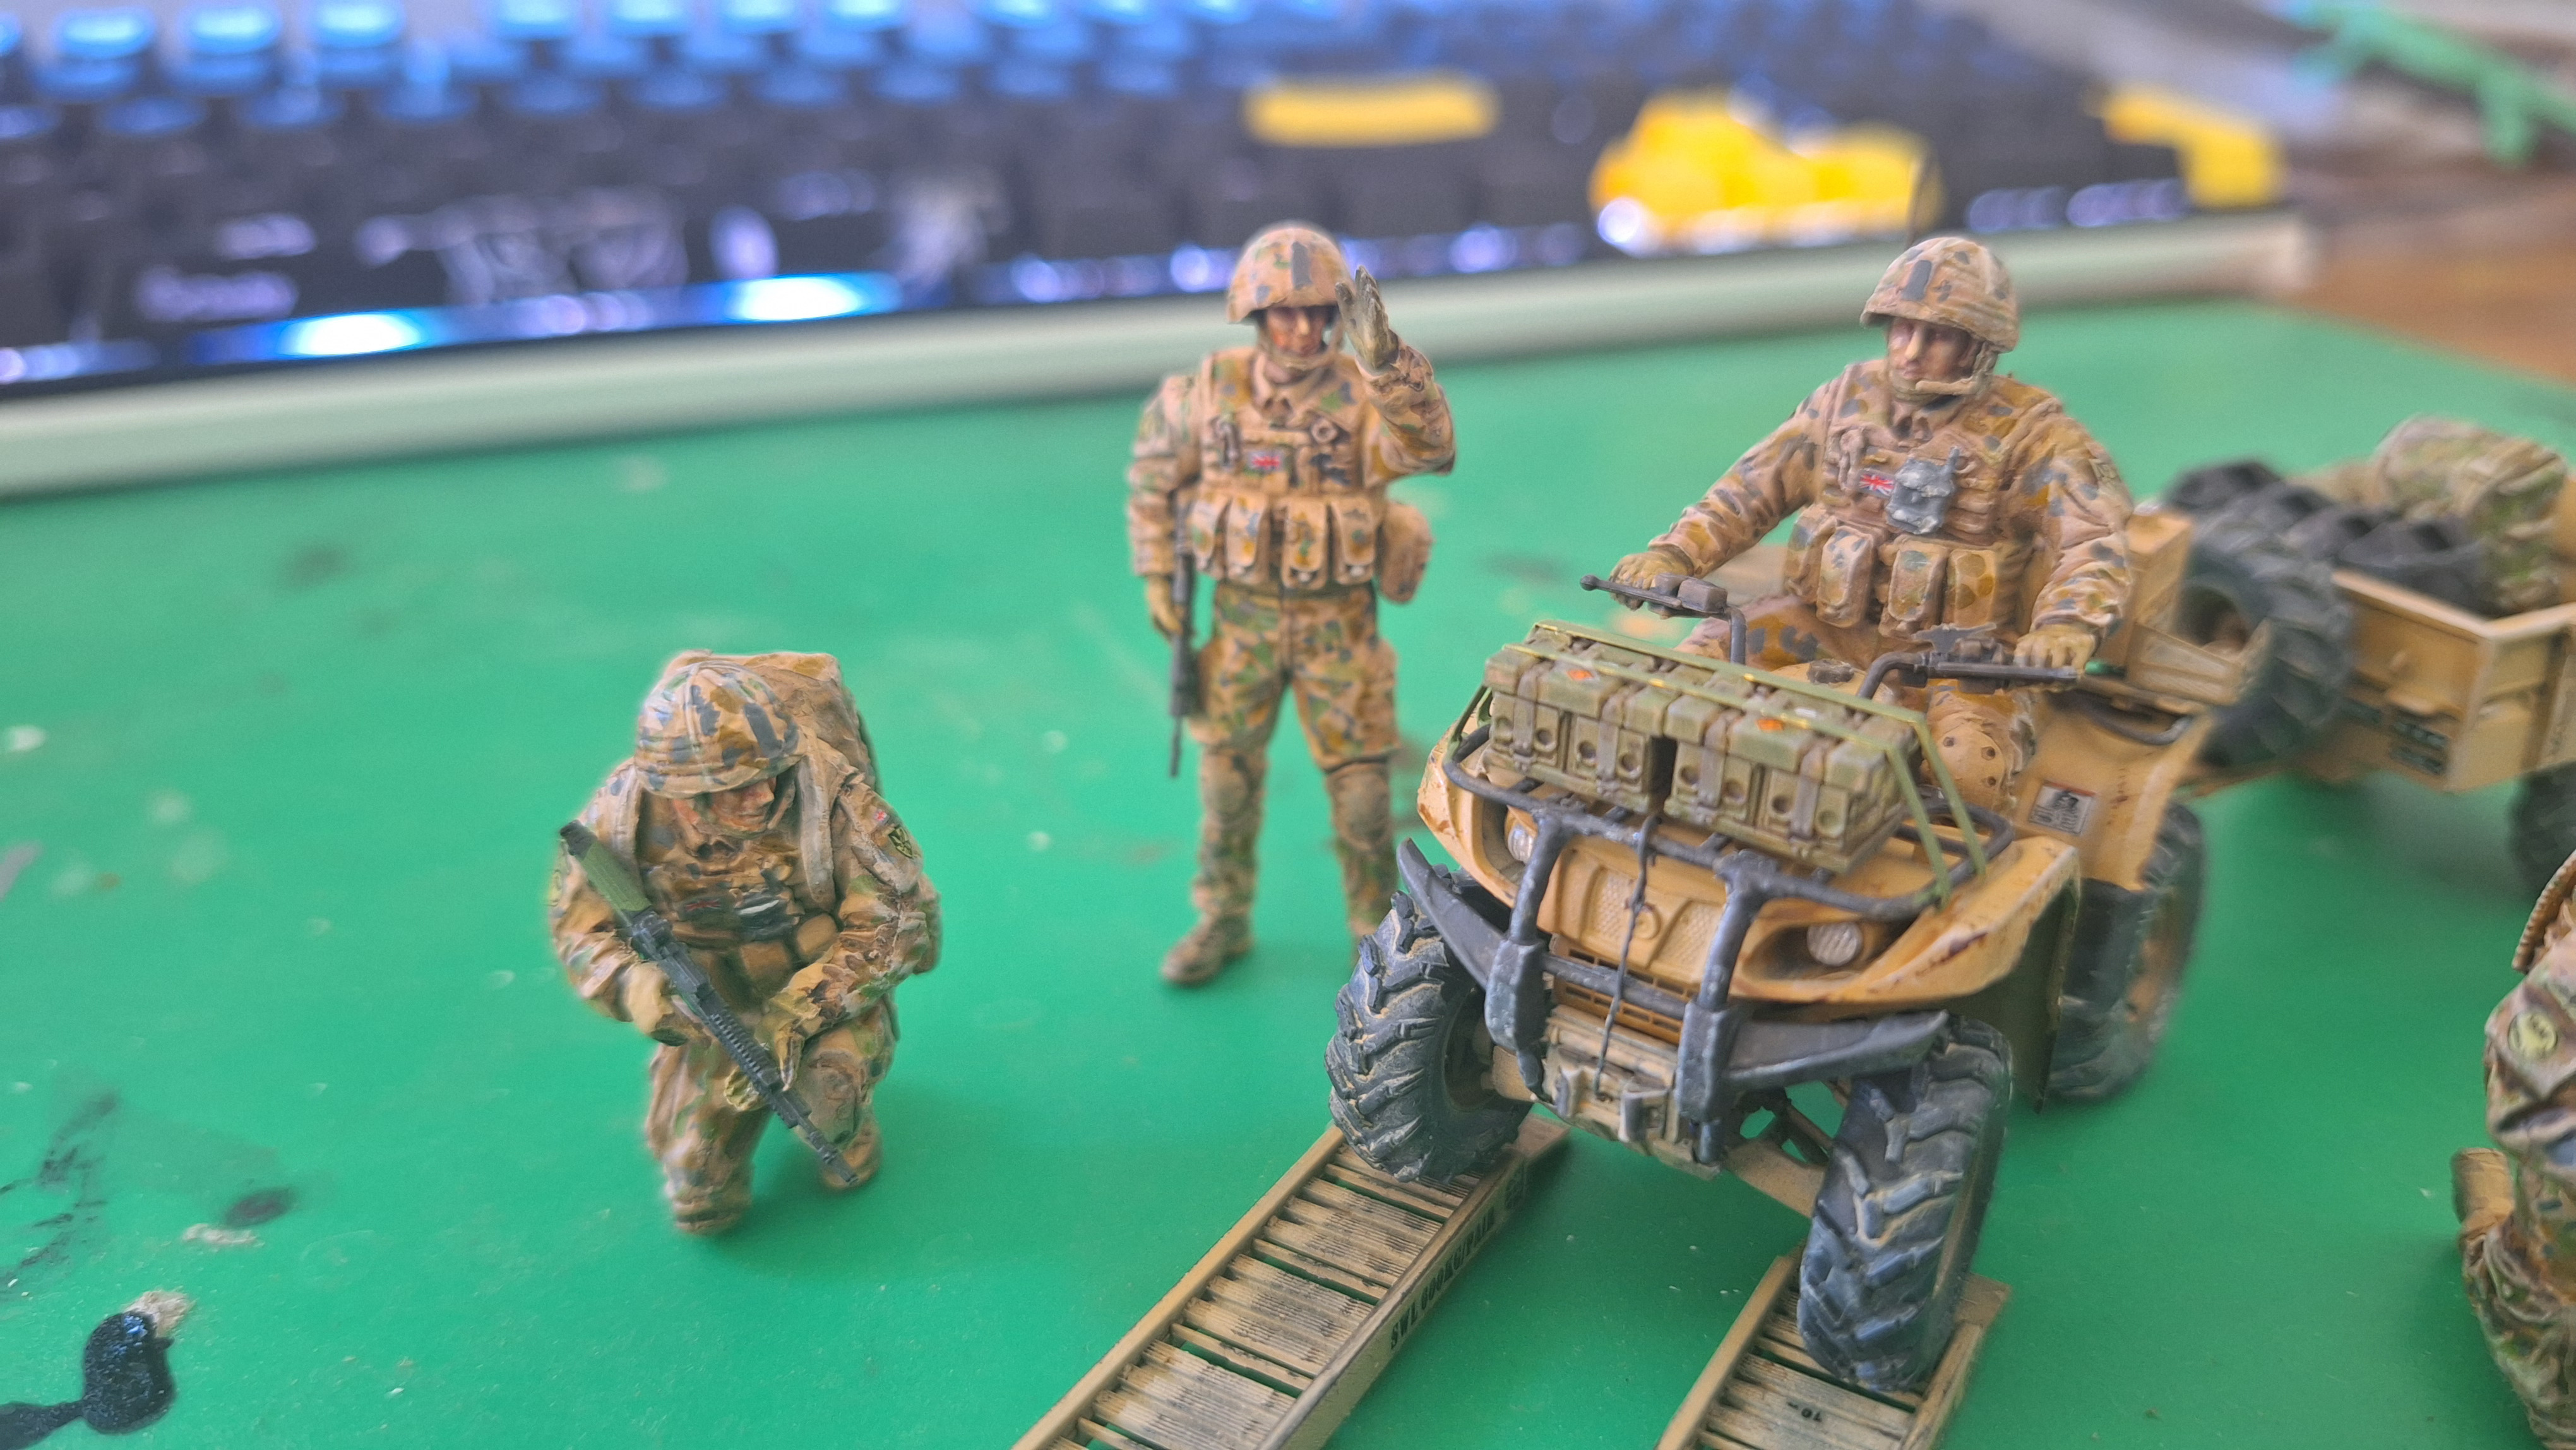
Finished this one. Added a couple of extras in the trailer. Its a lovely little kit but a pig to build. The figures are well detailed. I may build a small diorama for it but calling it done for the Group Build
12 Likes
Looking great, Colin! Nice job on the camo on the figures as well!
Congrats on finishing!
1 Like
Very nice !
Excellent work Colin. That has come out great. The figures look fantastic too. A nice little scene that definitely calls out for a small dio.
1 Like
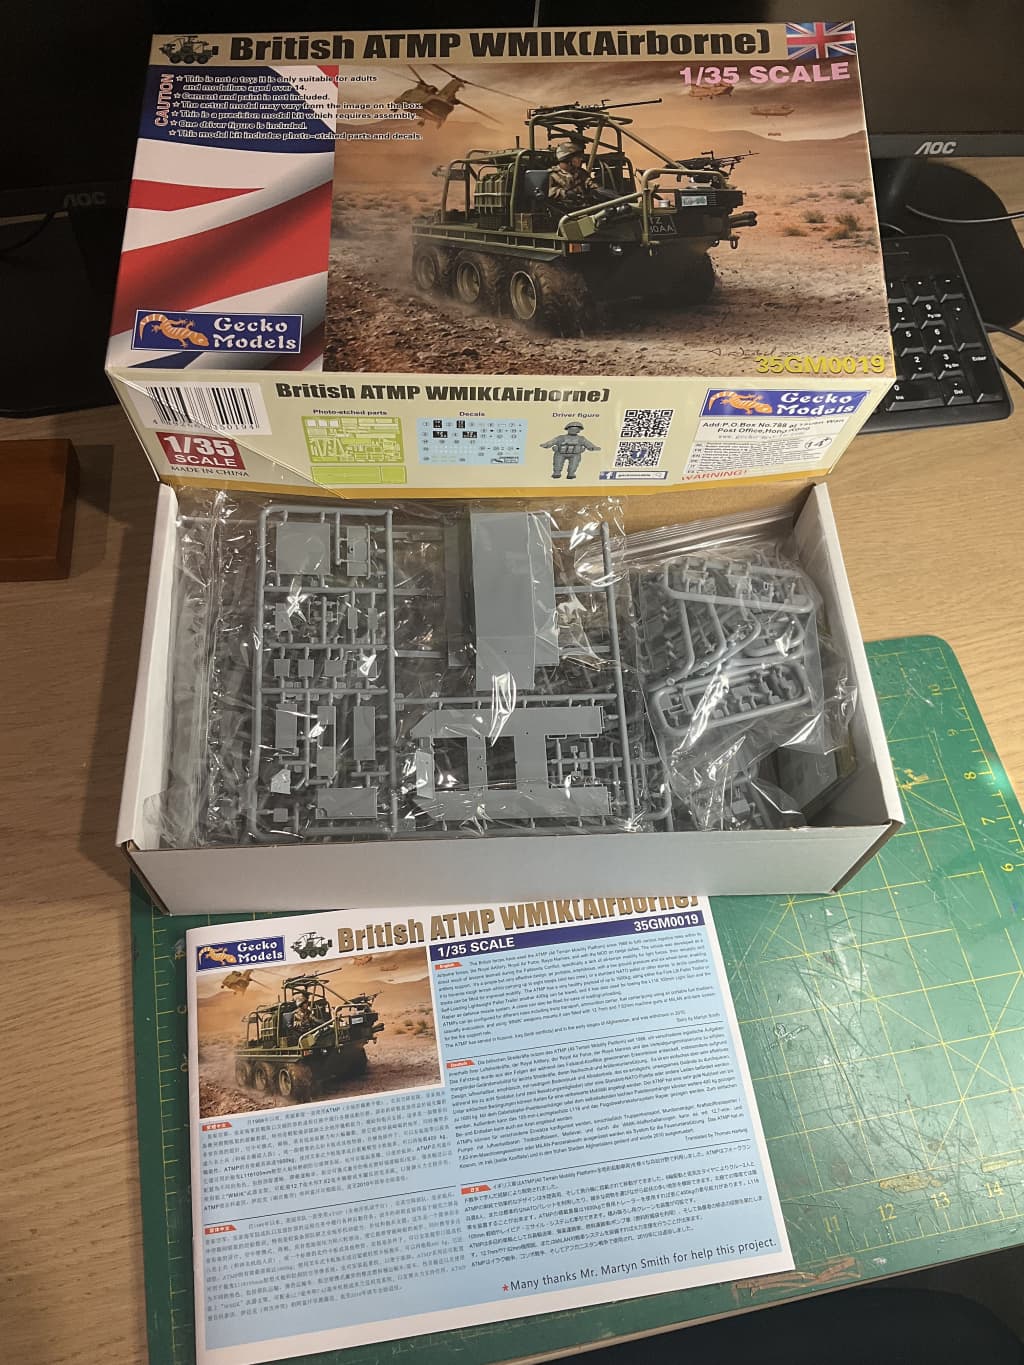
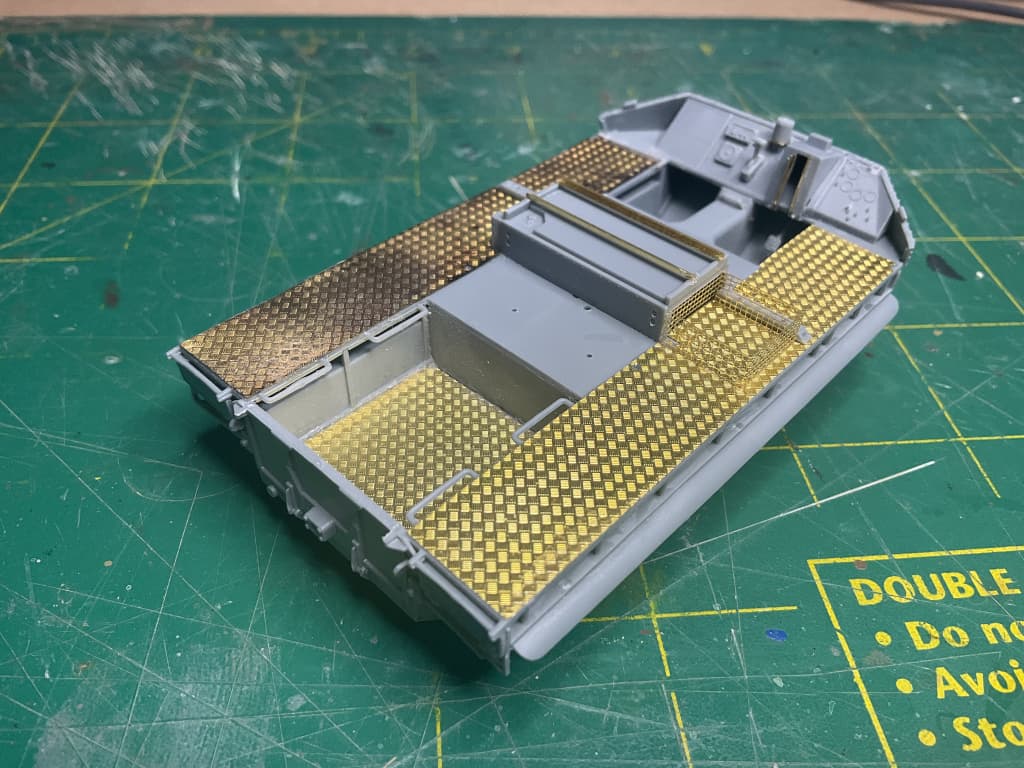
A small start on my ATMP.
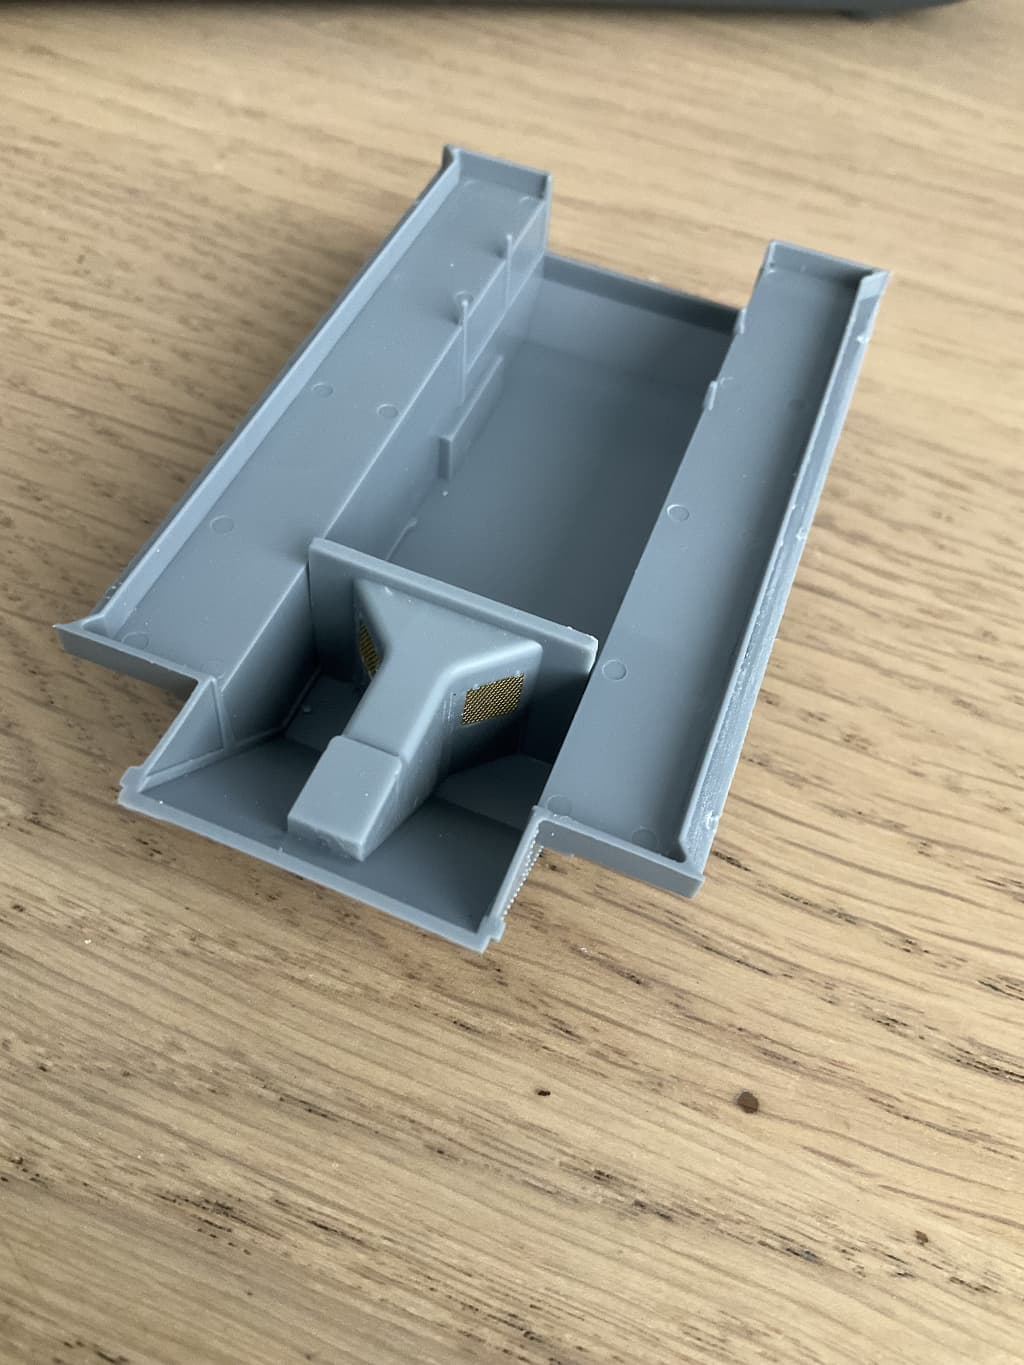
I have spent a bit of time tracking down what PE parts are actually needed in the build, as Gecko instructions are based on their other kits and the etch fret in those, so the numbers for the etch parts called out are for the fret on the other kits, not the fret in this kit - or not called out at all! The only numbers that are correct are the ‘new’ ones that are specific to this kit.
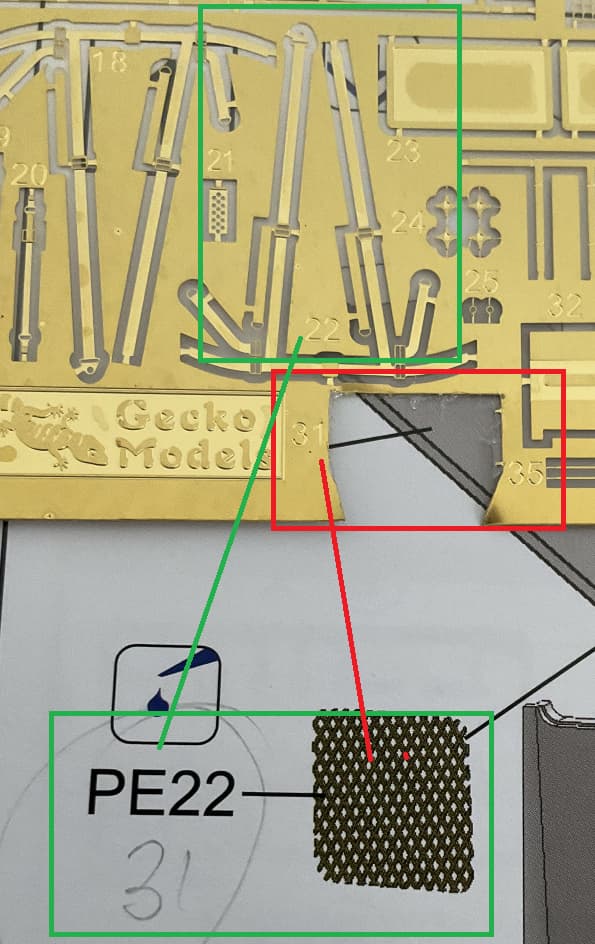
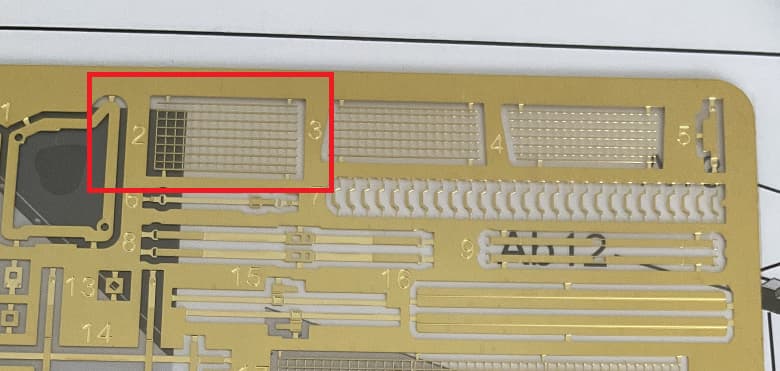
Examples - the square mesh panels for the central ‘hump’. The instructions call out PE22. However, that is the seat belt part. The correct part no. is 31, which I added as per the pic above.
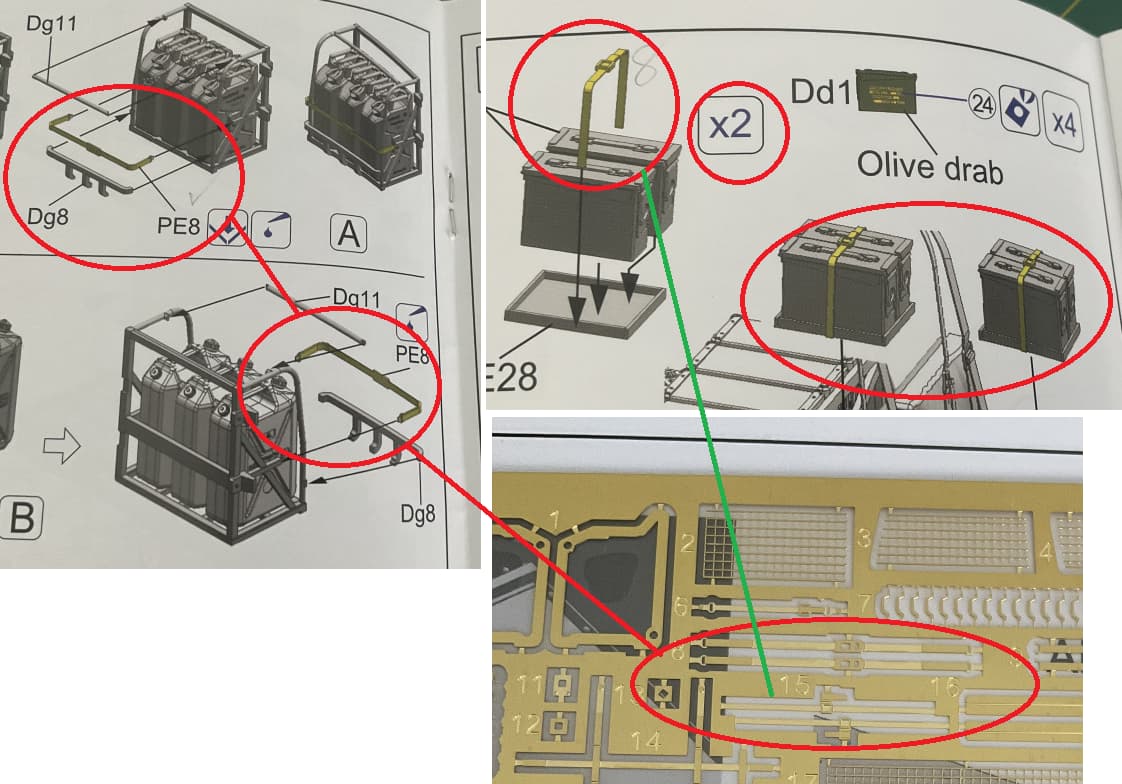
Then there is the tail light mounting plate - PE8 and PE 9 in the instructions, PE 33 and PE 32 respectively on the fret:
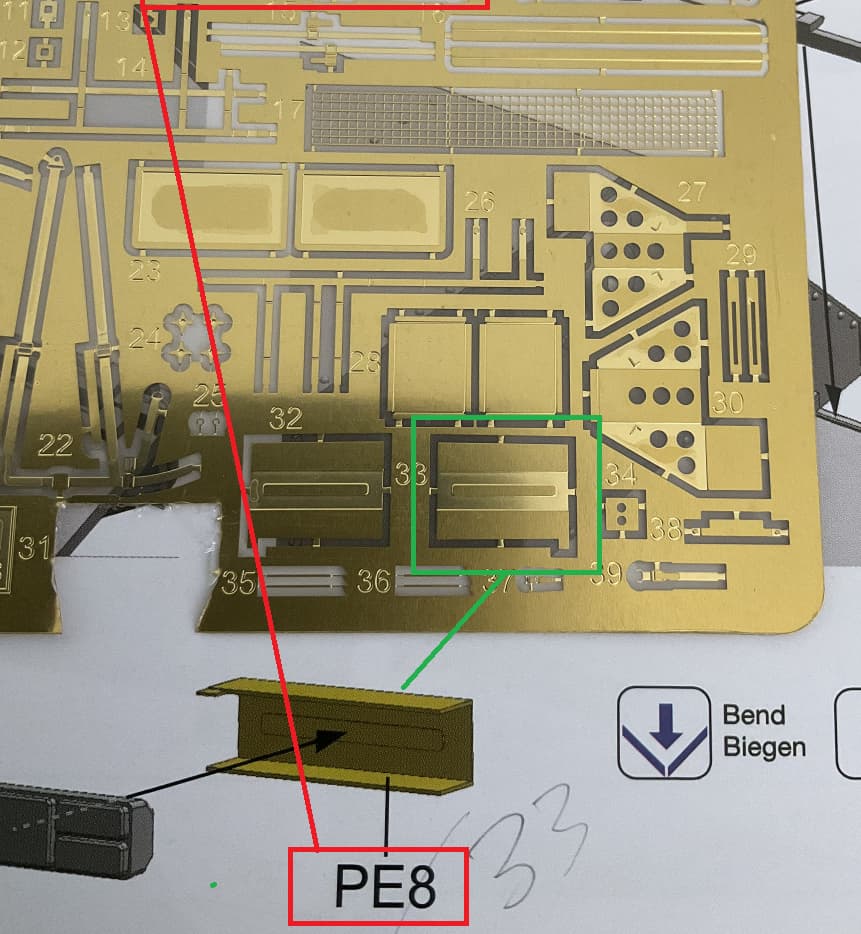
(NOTE: PE8 is also called out in the instructions as the part number for the fuel/water can rack - correctly called out there - see below.)
The clasp for the hump - PE2 in the instructions, PE37, I think, on the fret.
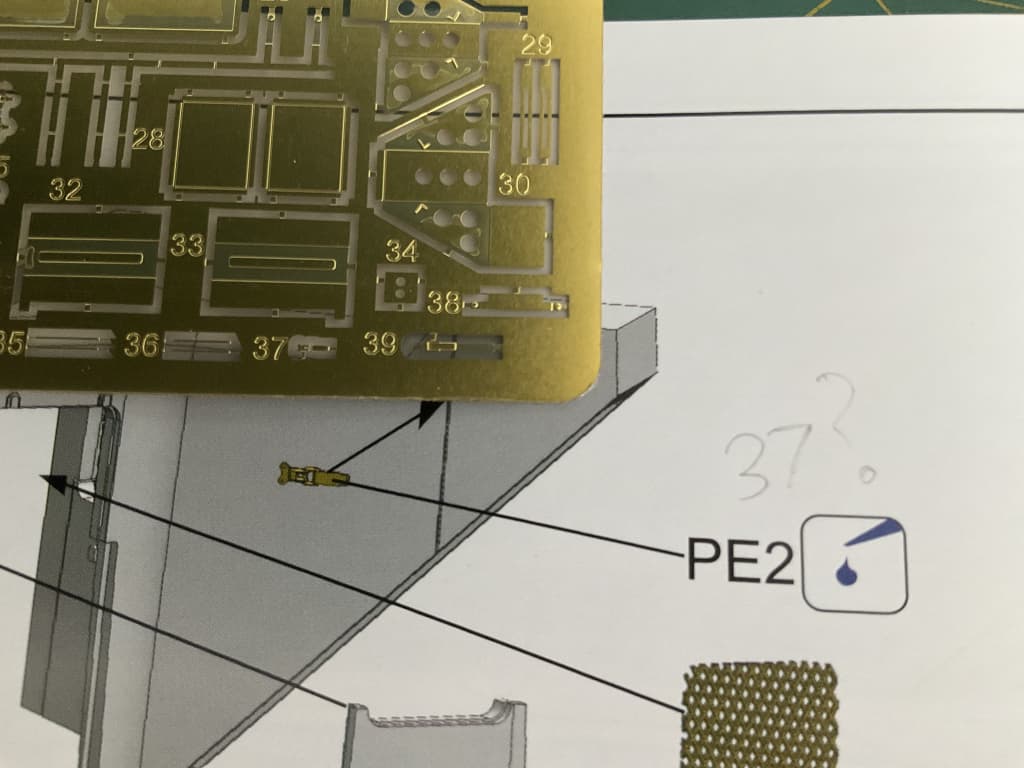
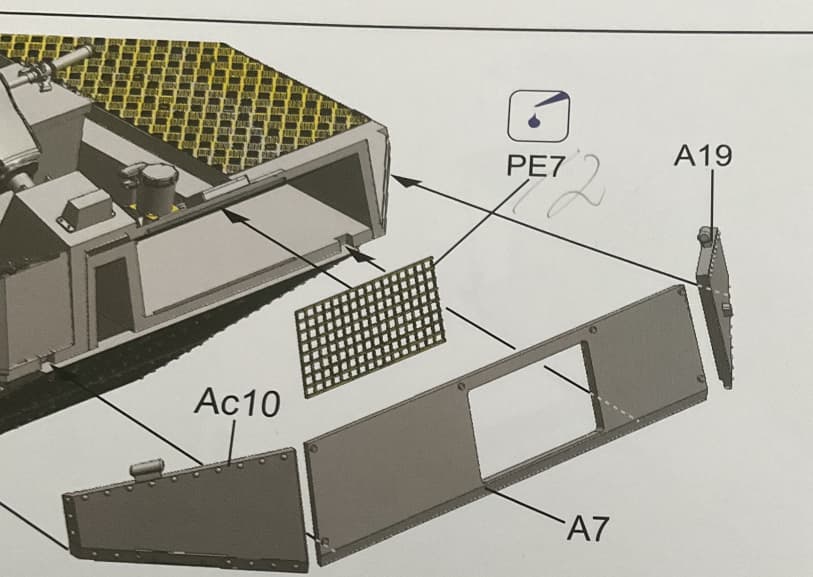
PE 2 is actually the mesh for the front of the hull, which the instructions call PE7:
I am yet to work out if I need part 8 or part 15 for the ammo liners. No number is called out in the instructions, but it looks like part 8 on the fret… however that is called out as a kit specific part for the fuel/water can racks and there are only 2 on the fret. A possibility for the liners is part 15, and that would mean a bend is needed for the ratchet/clasp that the instructions don’t show as needed … process of elimination will tell me if that is needed elsewhere…
3 Likes
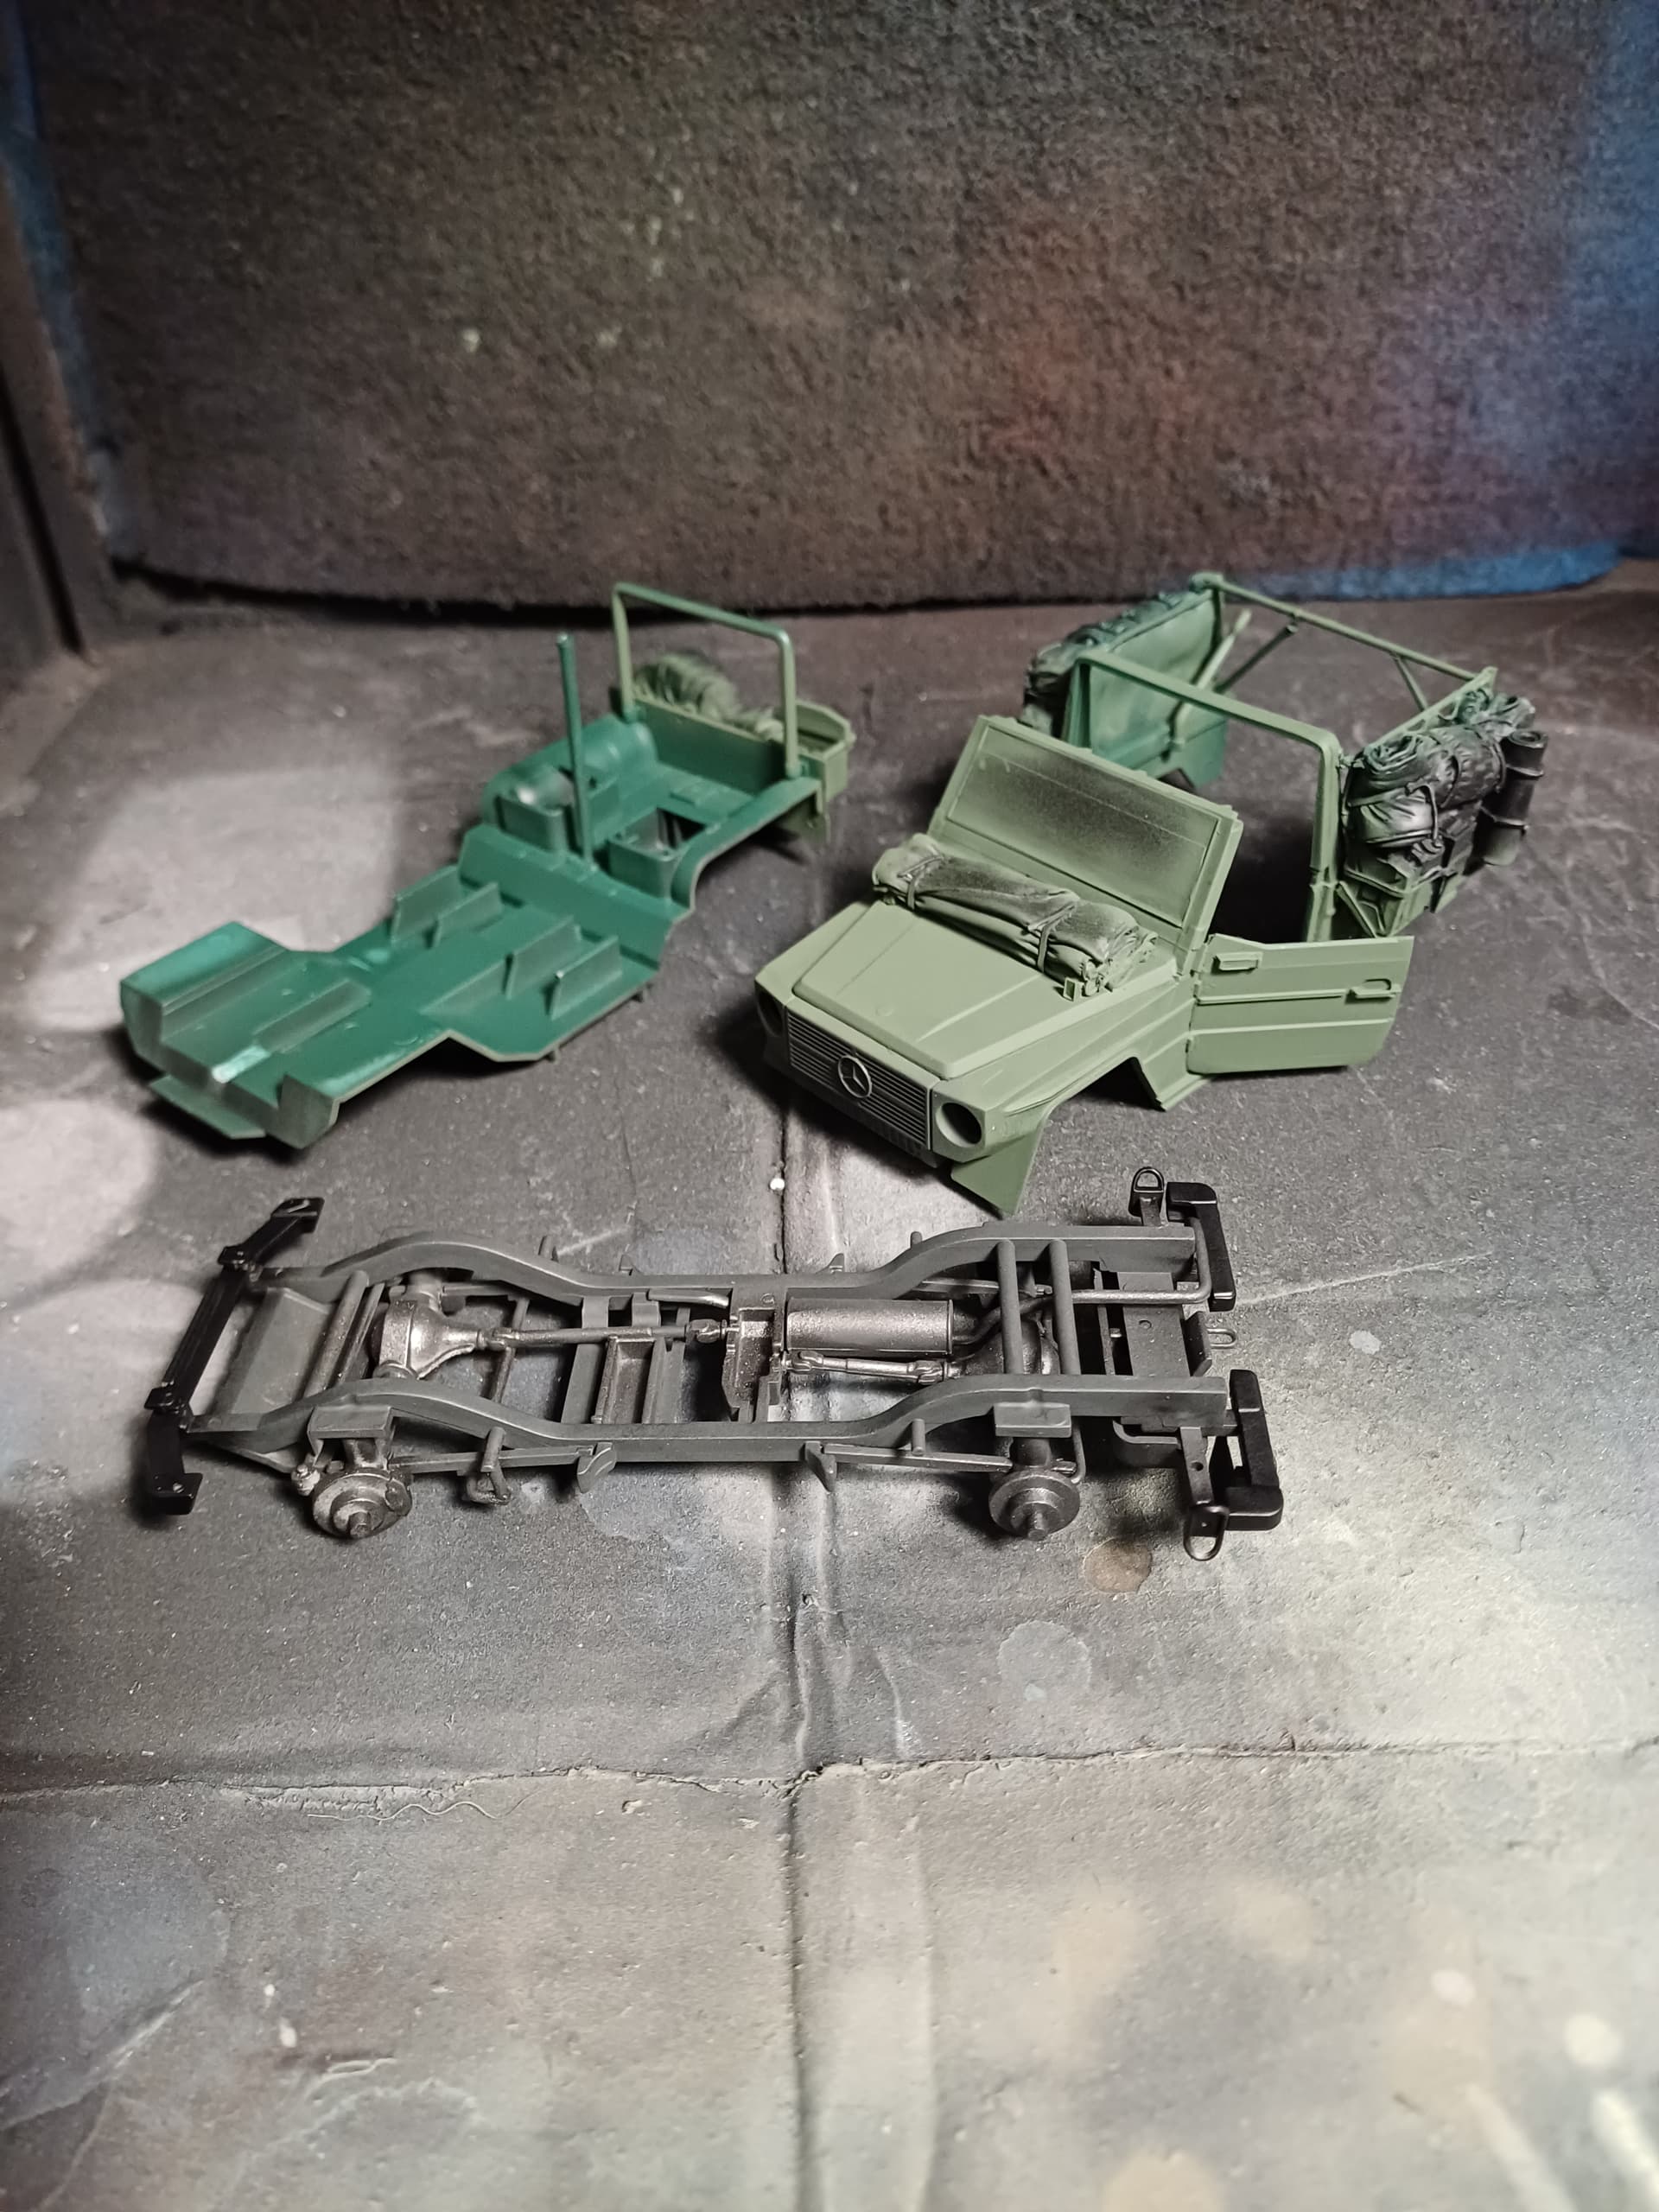
Major modeling slump lately. Might be why I need to seriously touch up the tires/rims. ![]()
Anyhow, almost there.
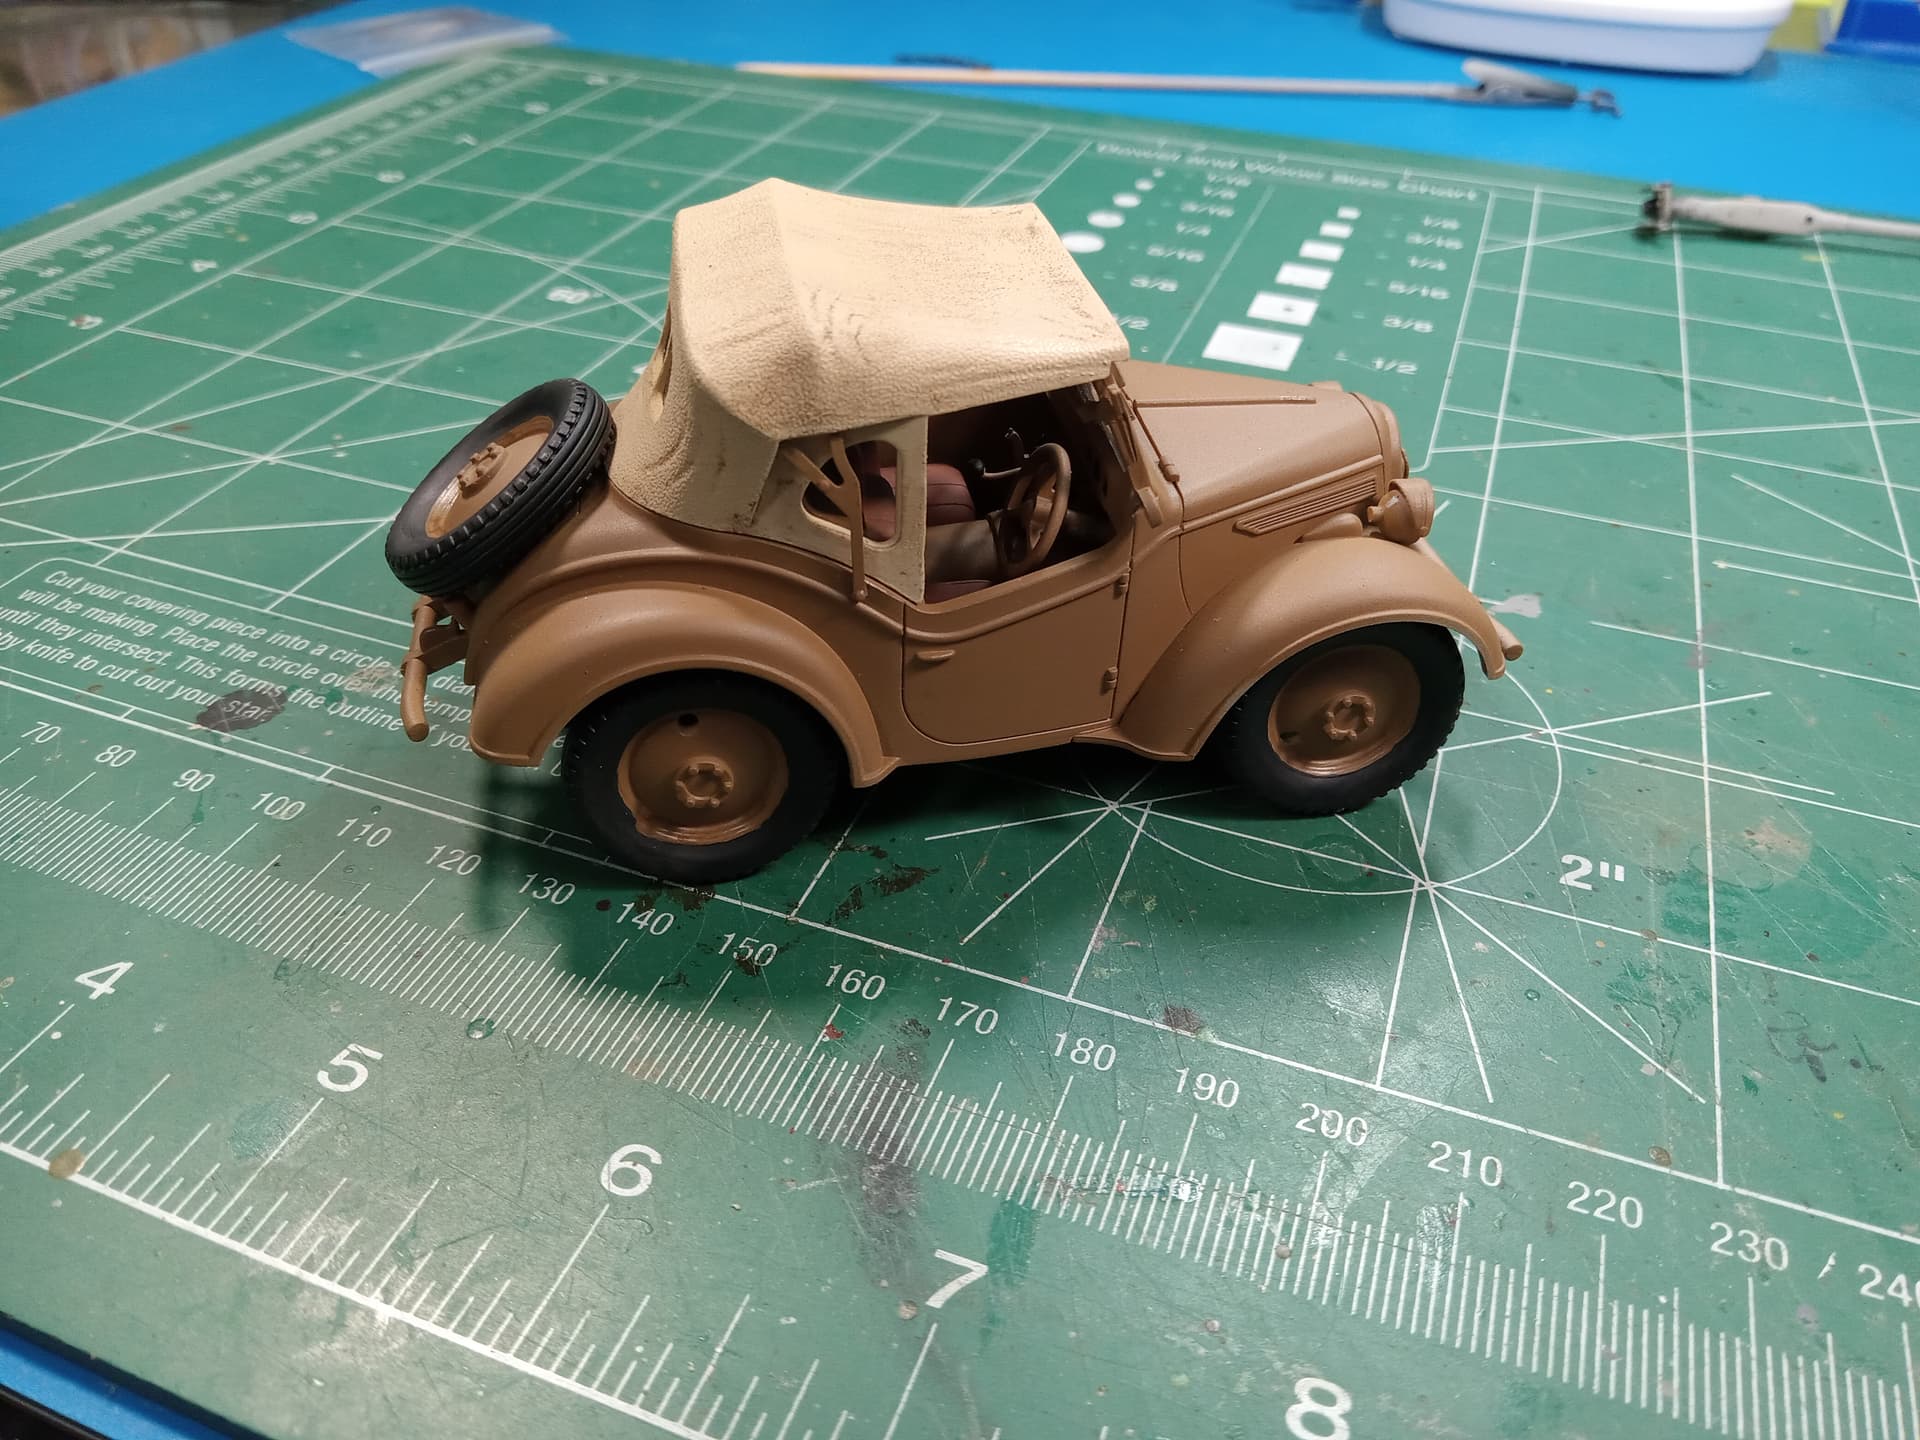
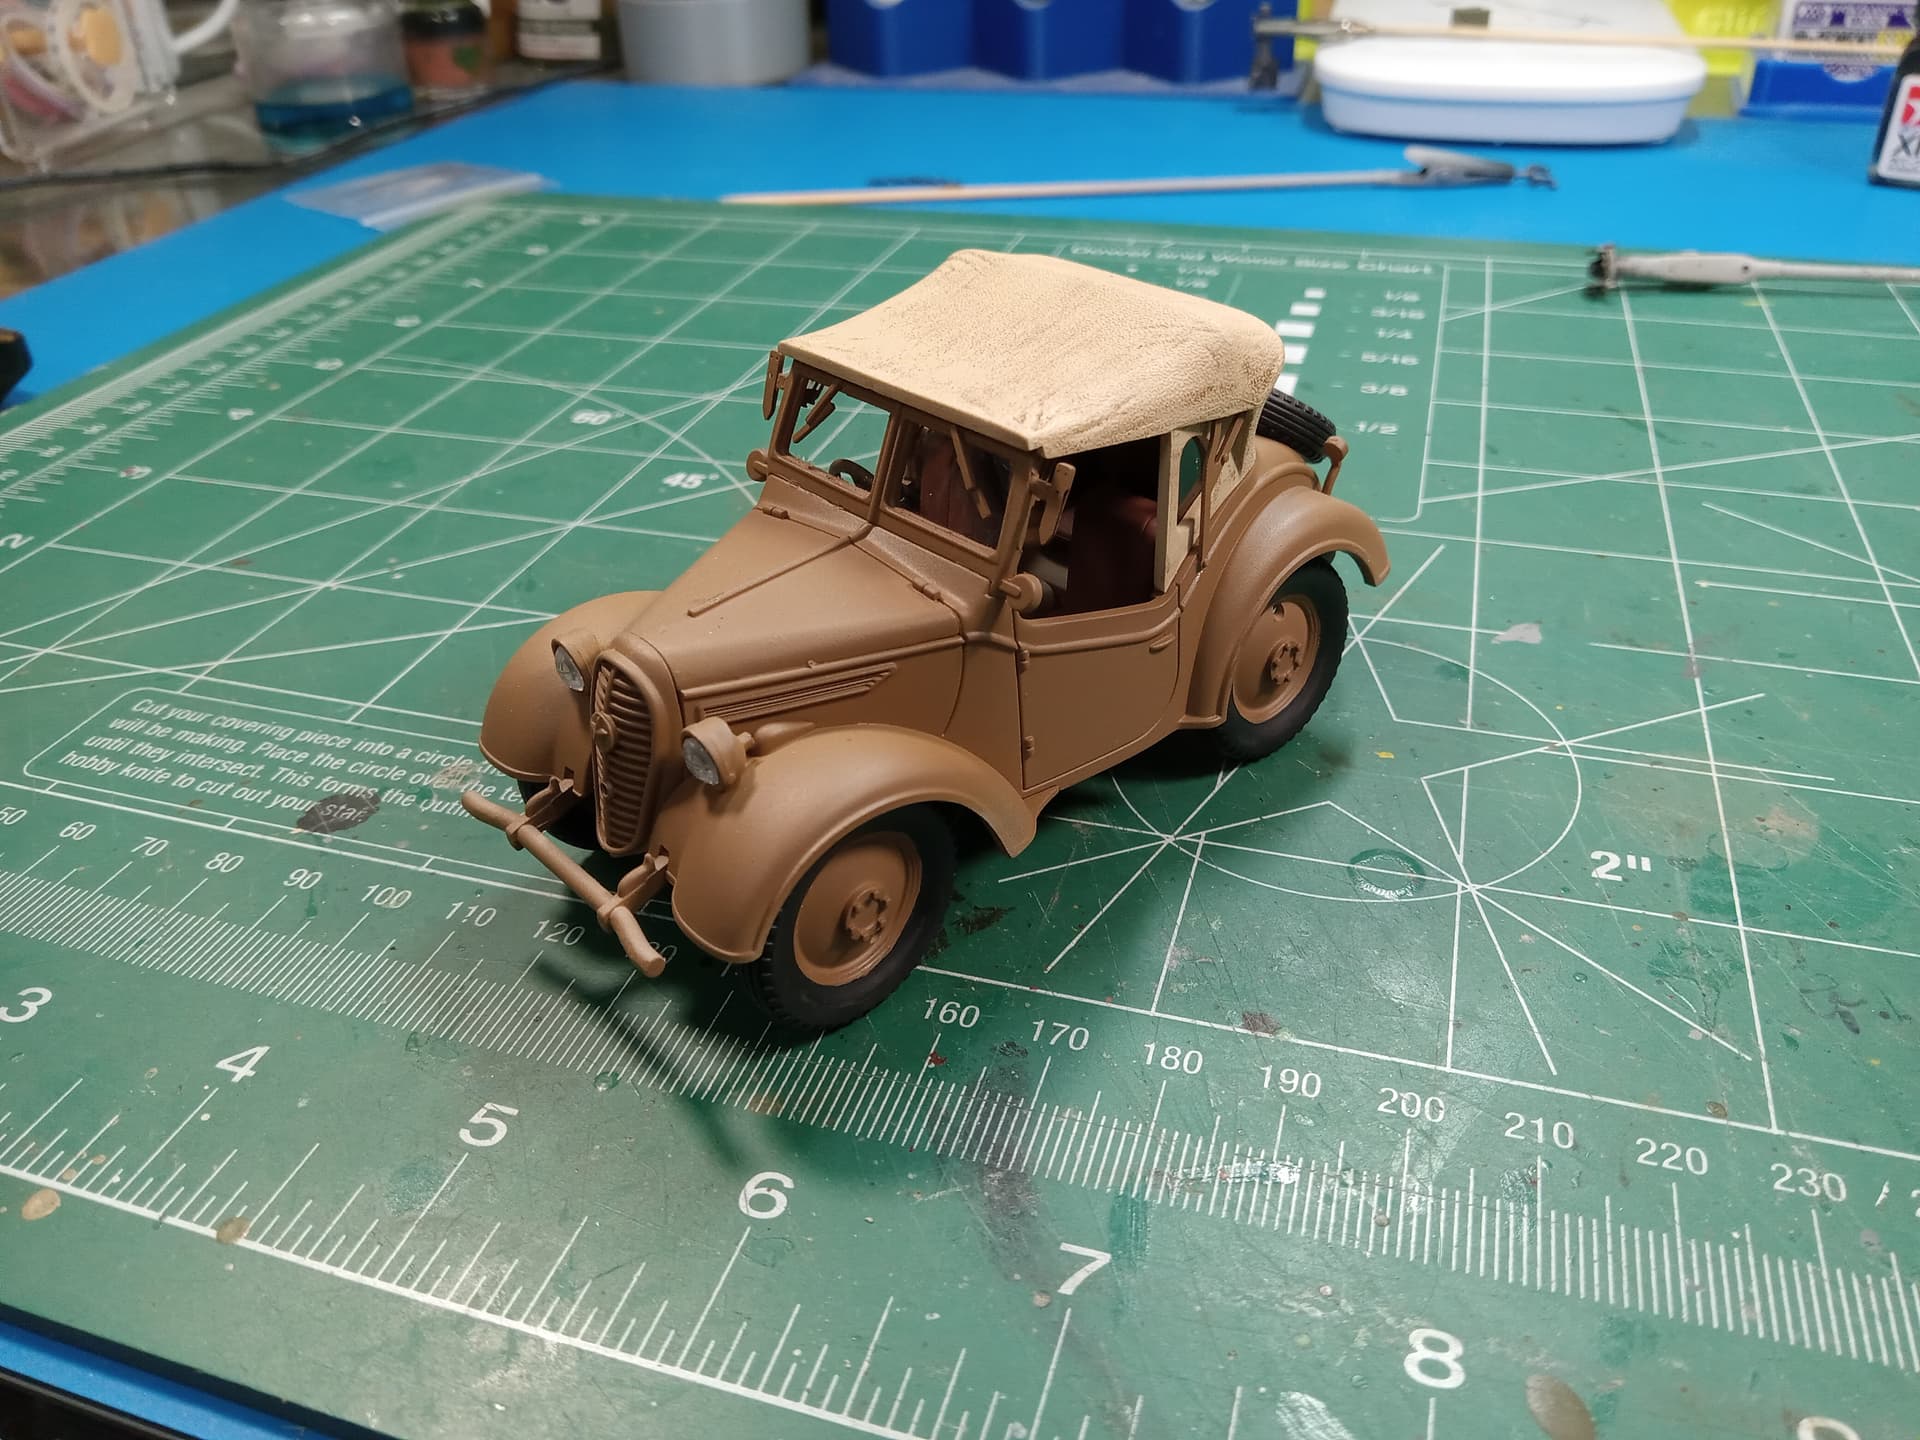
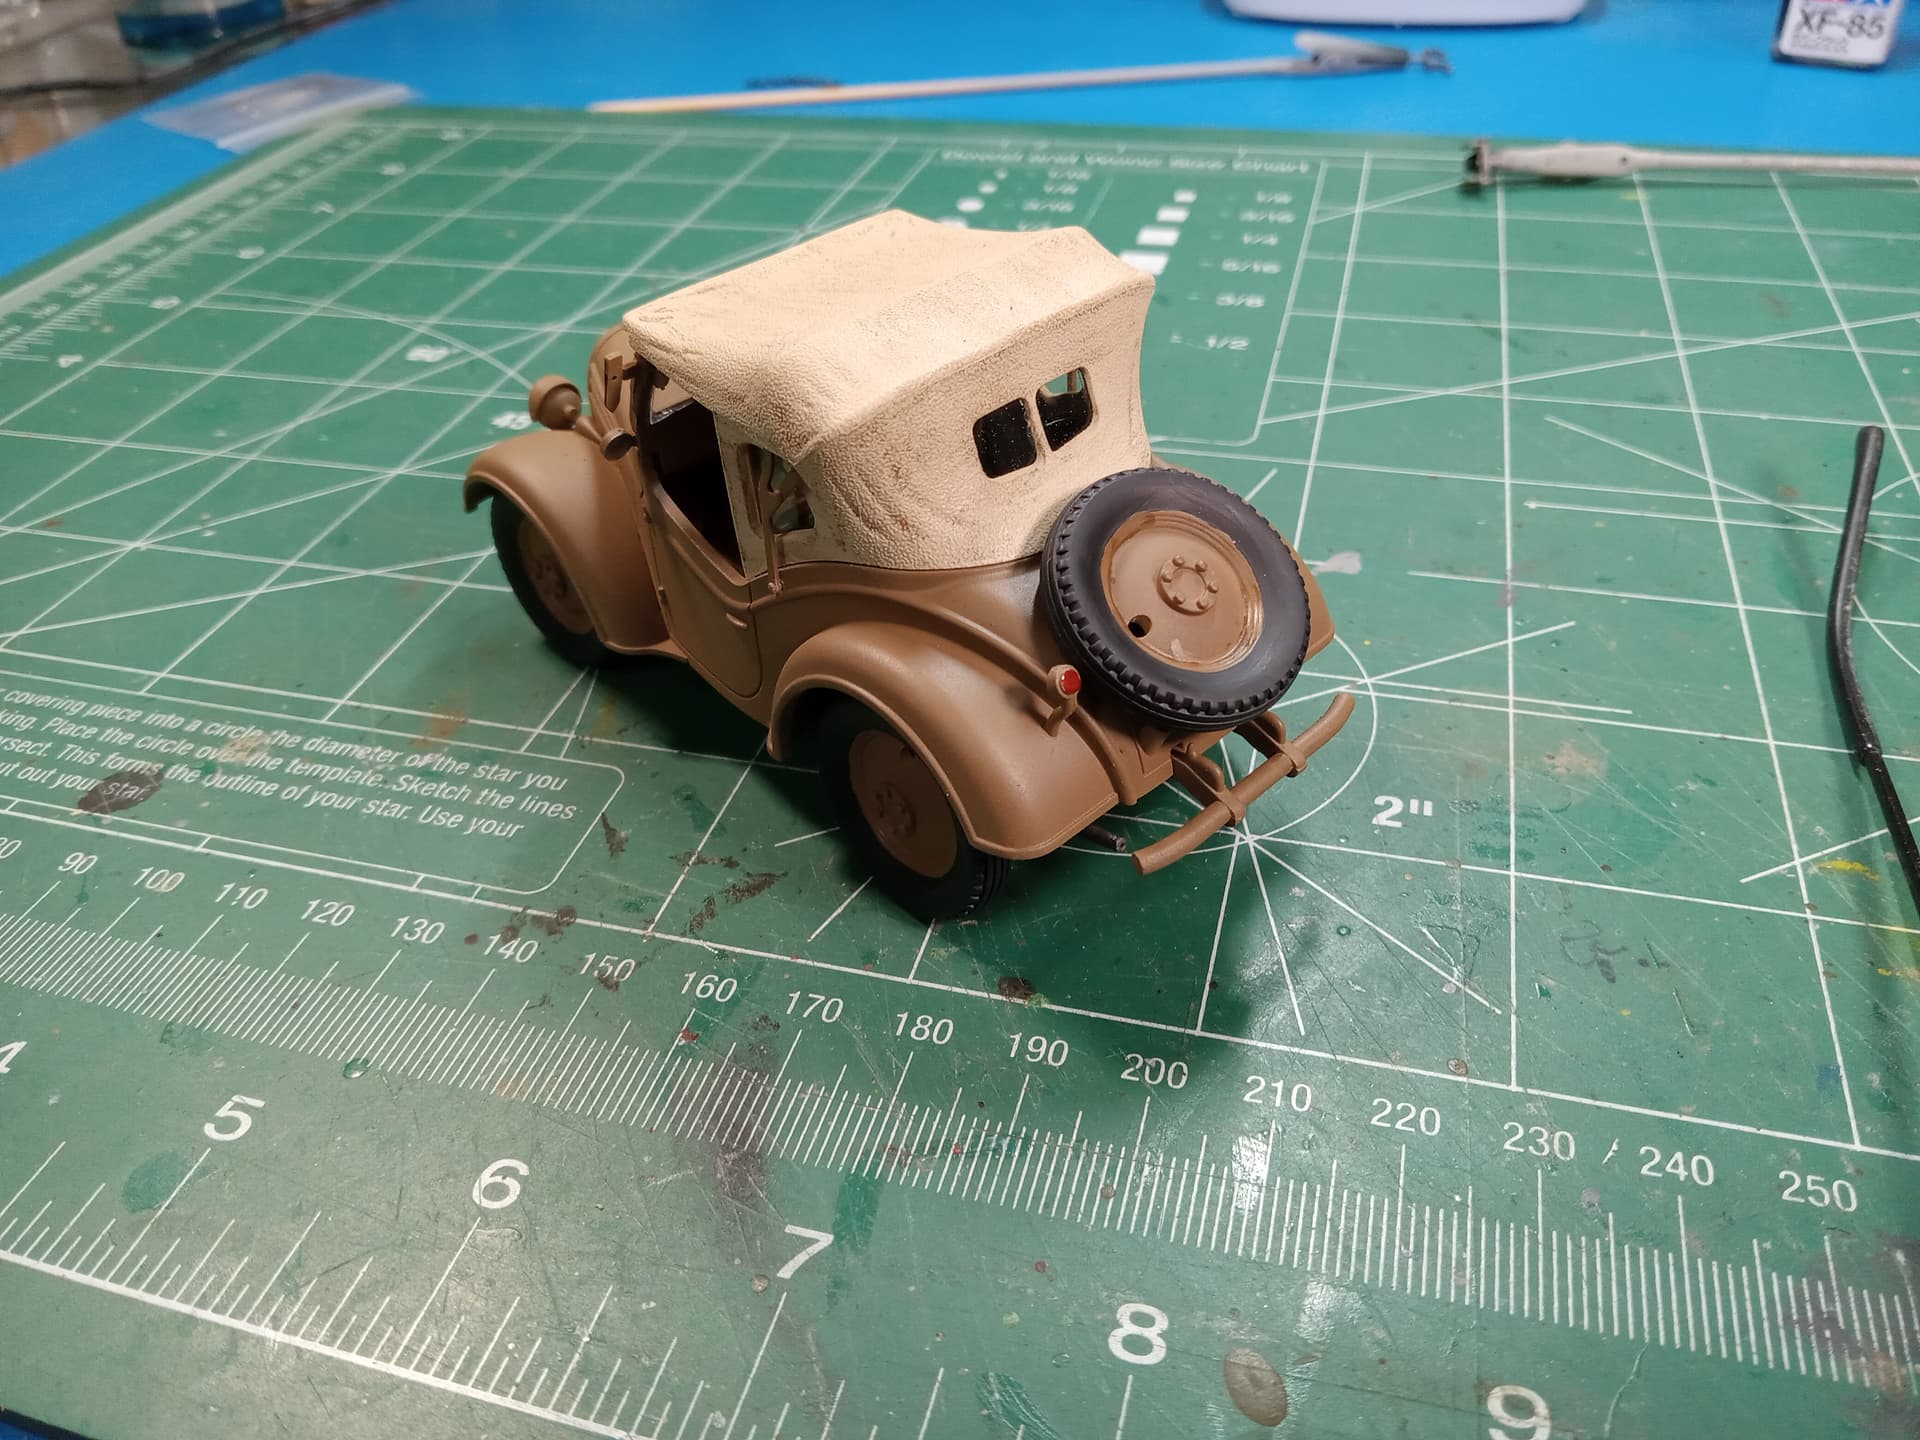
Certainly a “cute” little vehicle - almost looks like one of the “egg” or “chibi” vehicles. Nevertheless, a neat kit for sure. Recommended if you want a vehicle that’s not OD, gray, or panzer yellow.
Mike
11 Likes
You can definitely see why some guys have painted these like Noddy’s Car. Coming along very nicely Mike.
We all have a slump at times, just keep on at it you will find some more mojo along the way…
2 Likes
Great looking set ![]() , really screams “put me in a dio”
, really screams “put me in a dio” ![]()
1 Like
Very nice funny looking car ![]()
1 Like
Wheels went back to the paint booth. I repainted the outside of the wheels and will create a kind of “coned” mask so I can spray the Tire Black. That “should” fix the shoddy hairy brush painting. Normally, it seems, there’s a “lip” between tires and wheels that is somewhat pronounced. That makes hand painting much easier. However, on these there’s no lip on the outside, only a faint definition between wheel and tire. The hub is also rather proud of the tire making regular circle masks useless, hence a coned mask.
Mike
1 Like
Use a circle cutter to cut masking tape discs the size of the wheel rim. Cut out the centre of the disc to fit the tape ‘doughnut’ over the hub, then use tape or Blu-Tac to cover the hub.
2 Likes
Ah, okay. I’ll give that a shot. Dunno why I didn’t think of that other than perhaps I like to overcomplicate things.
Mike
2 Likes
My entry for this build arrived - a 1:35 Iltis! It’s a short-run kit from Ace Model, a Ukrainian outfit, and looks like fun.
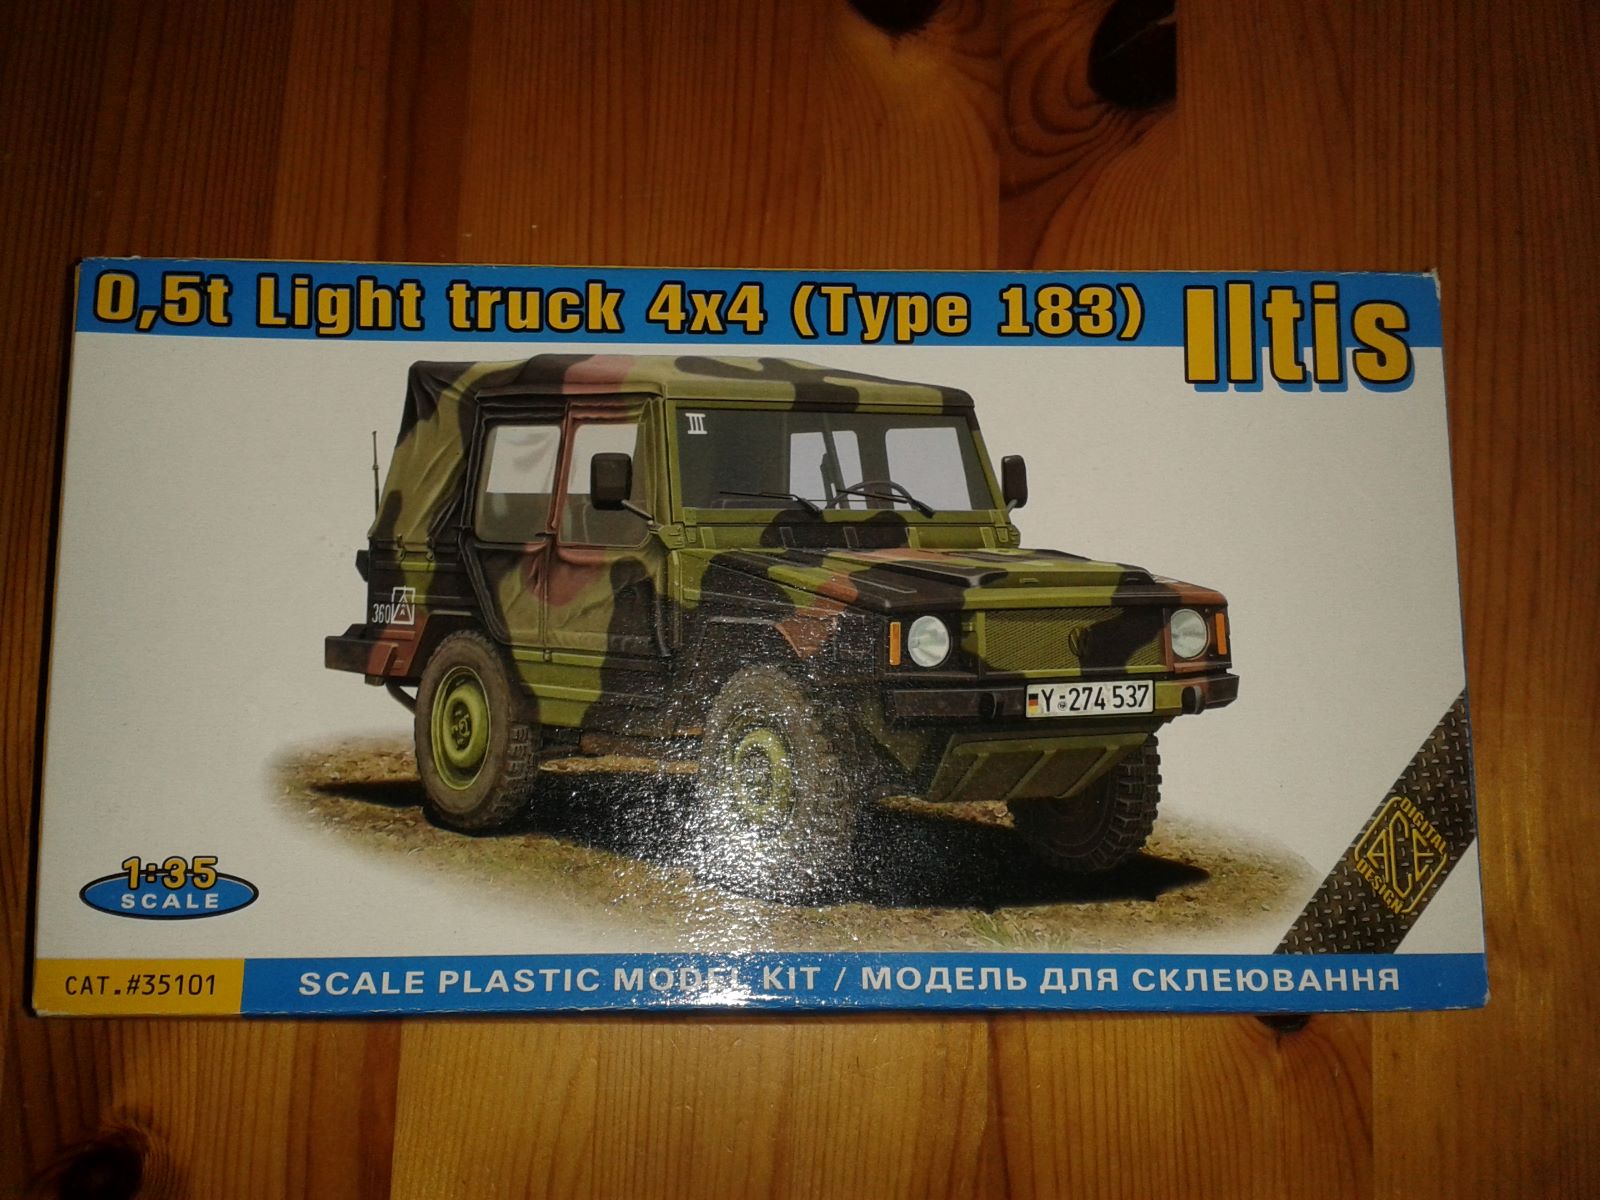
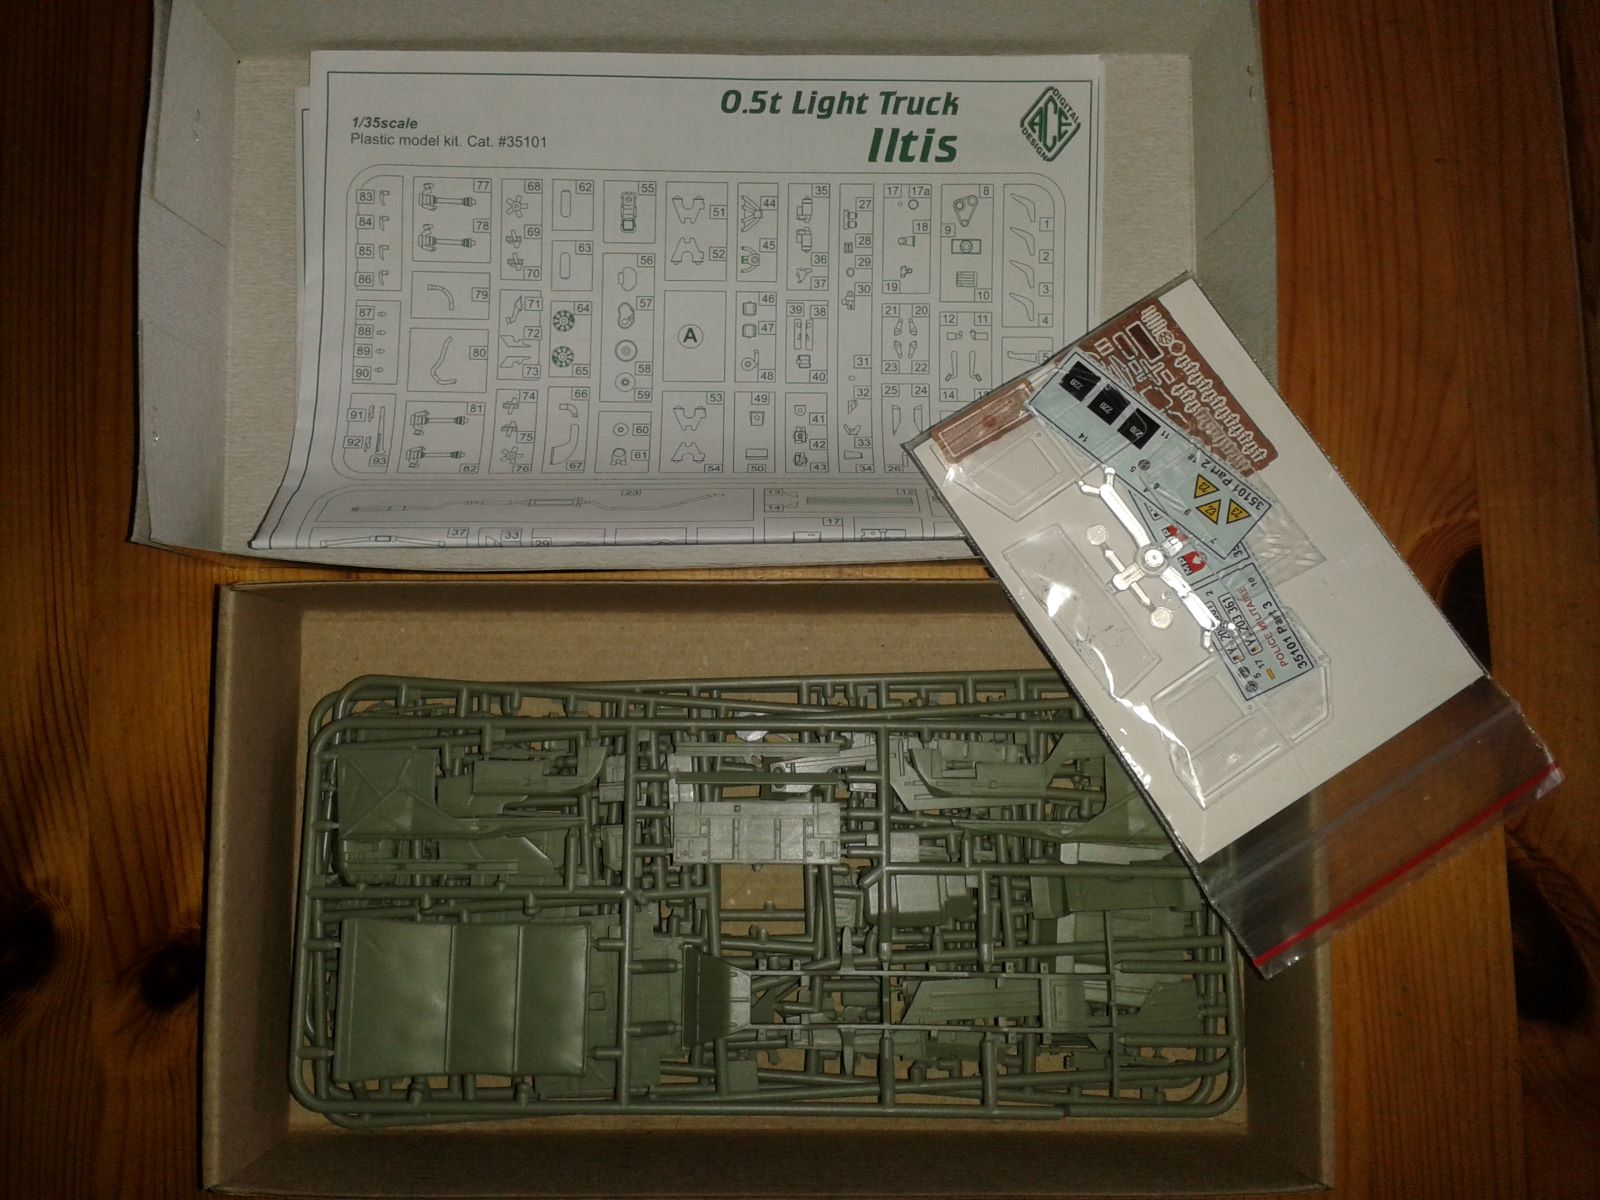
5 Likes
Coming along very nicely Bert. I am an ‘add the stowage after painting’ type person, so it is interesting to see your method.
I did not know ACE had dipped their toe in the 1/35th scale pond Tom. I’ll be very interested to see your thoughts on this one.
1 Like
I plan an in-box review (once I take the necessary pics!) followed by the build. It’s a cool little kubel, reminds me of the VW “Thing” launched in the early 1980s, which clearly had style ancestry with the famous kubelwagen of WW2 fame…
3 Likes
Great. I’ll be looking out for that.
1 Like
Progress on the ATMP. I used epoxy glue for the treadplate etch so I’d have time to get it in the correct position however, upon removing the clamps, I discovered that the clamp had pulled one side out of alignment. With some very careful scalpel work I was able to remove it after some time. I had to put the panel through a flame to burn off the epoxy, hence the discolouration. The real fun was removing the epoxy from the plastic so it would all be flat again!
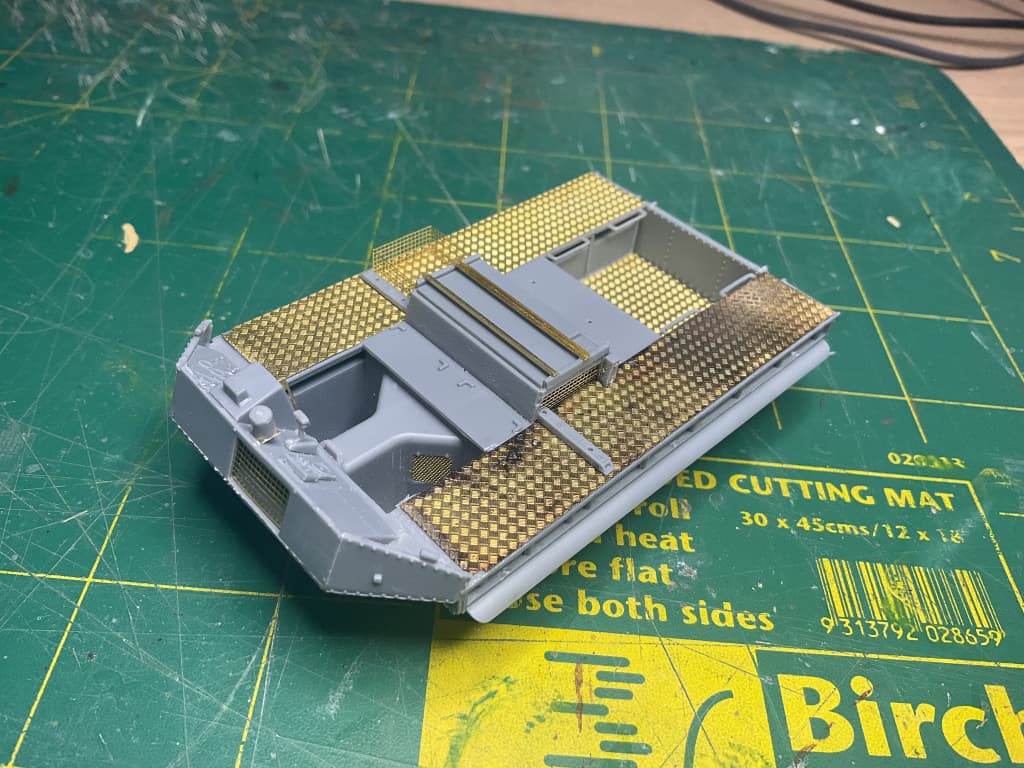
Again some mis-numbered parts came out in the instructions. The front triangular plate labelled AC10 in the instructions is actually part BC10 on the sprue. The PE parts that go on each side of the steering post labelled PE15 are really PE 29.
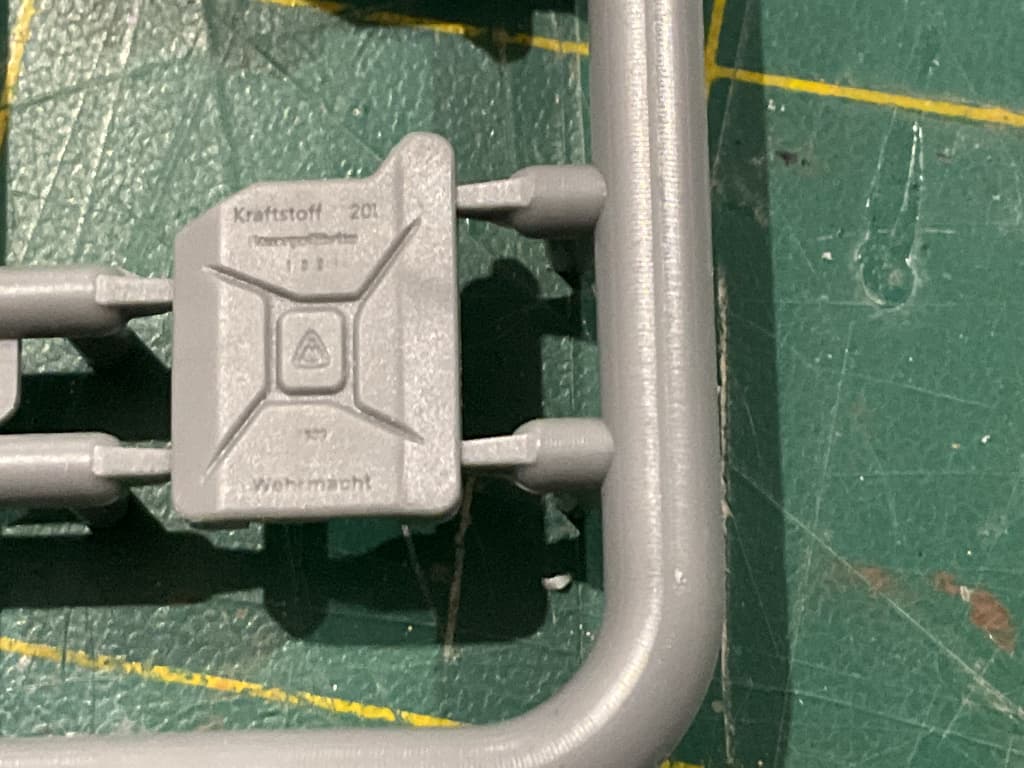
Then we have an interesting oopsy… The kit has both the plastic water type jerrycans and metal type fuel cans. There is something a little off with the metal ones… can you see it?
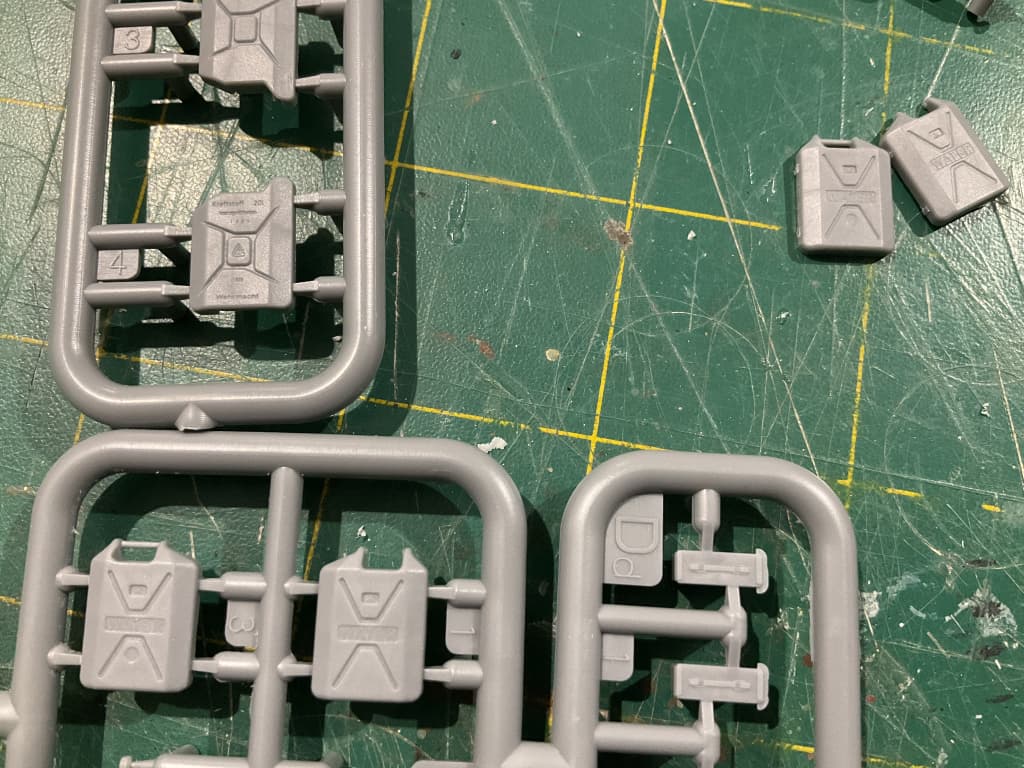
A closer view:
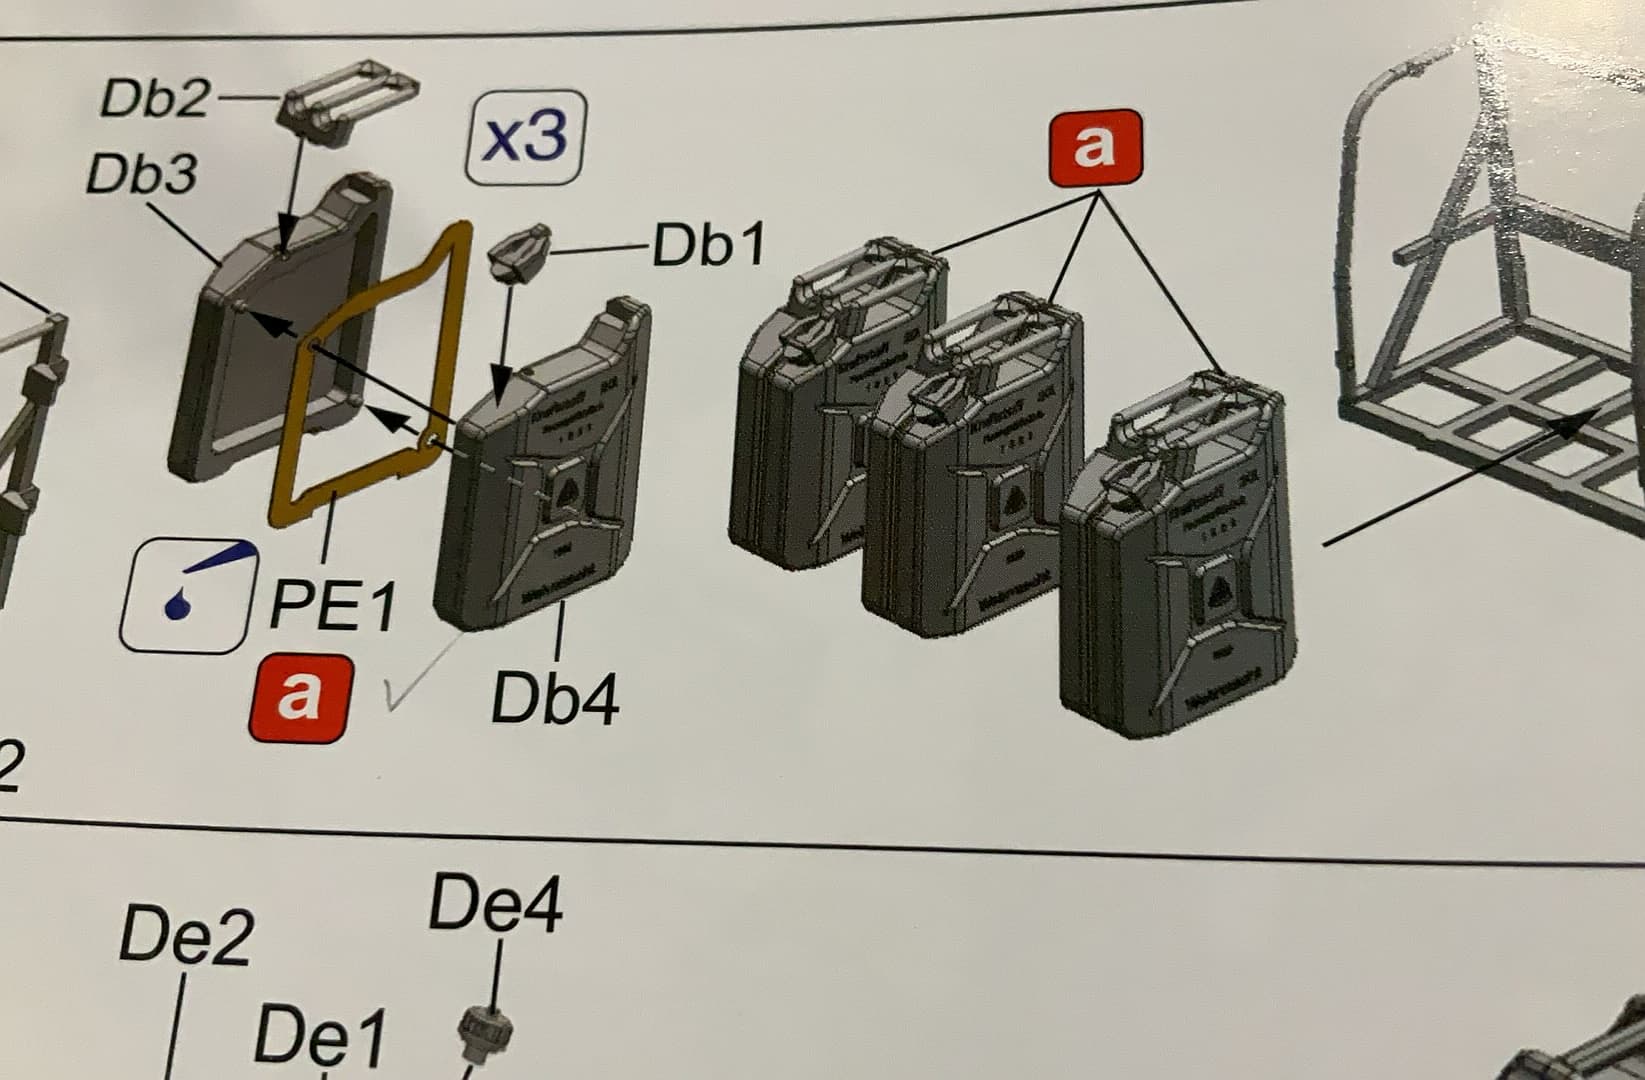
And how they are shown in the instructions:
6 Likes