With my “2023 War on WIP” well under way, this is my only planned “New Start” build for this calendar year. Let’s just see how well that turns out for me 

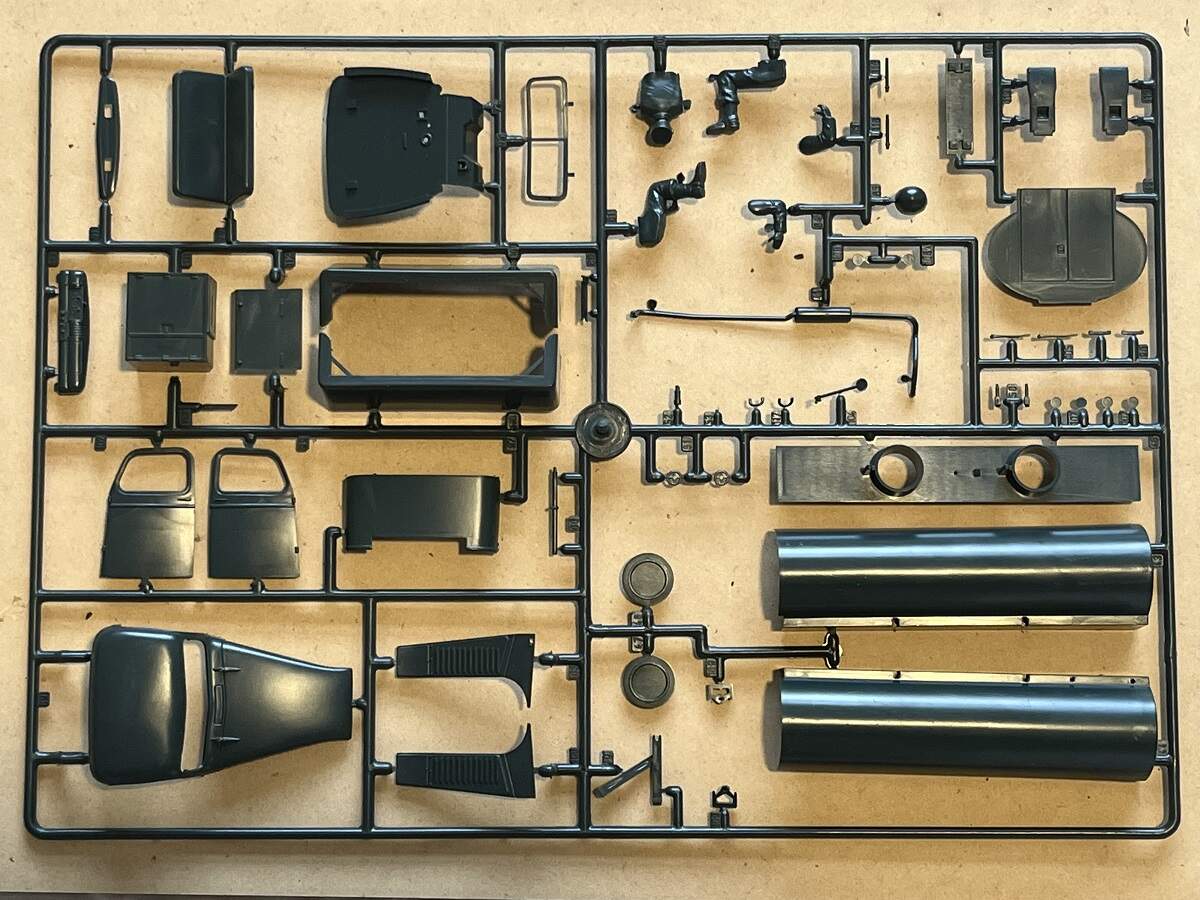
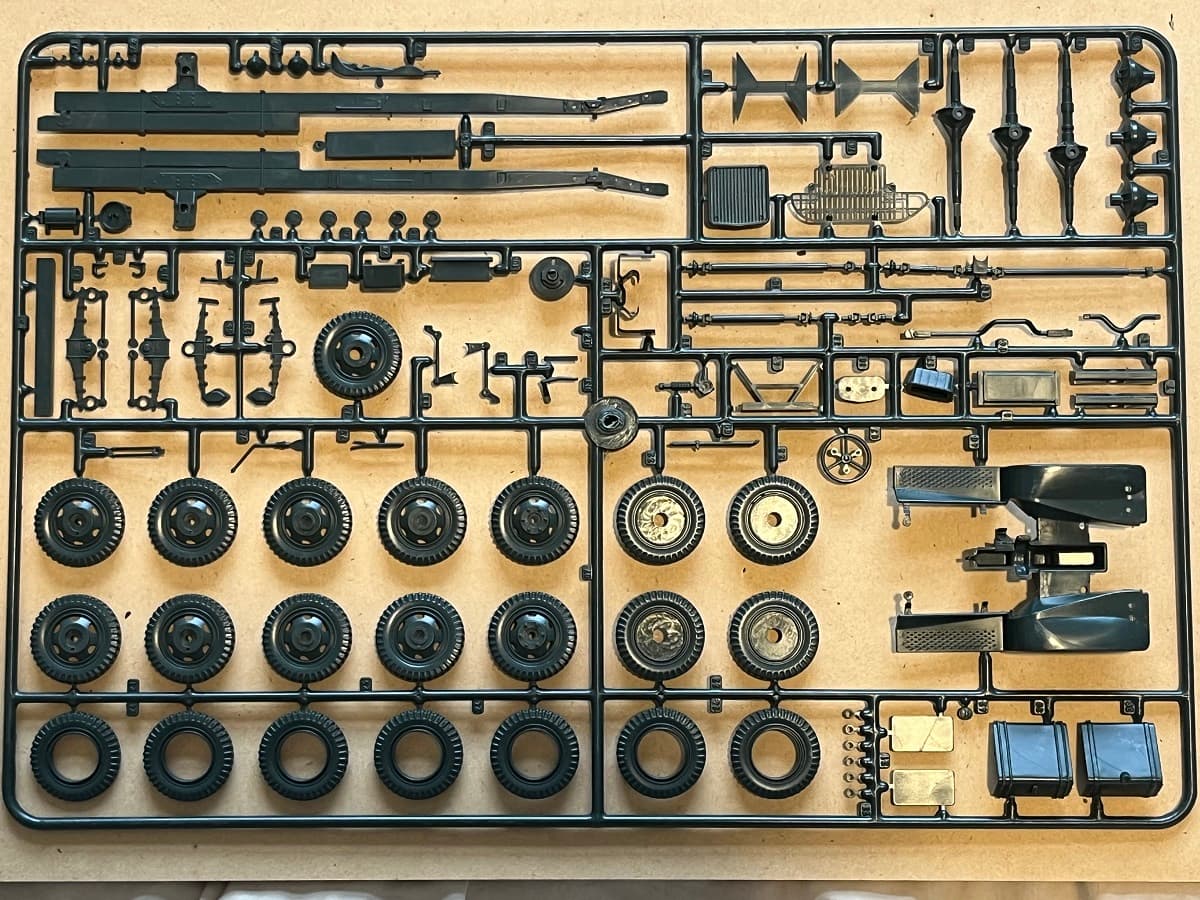
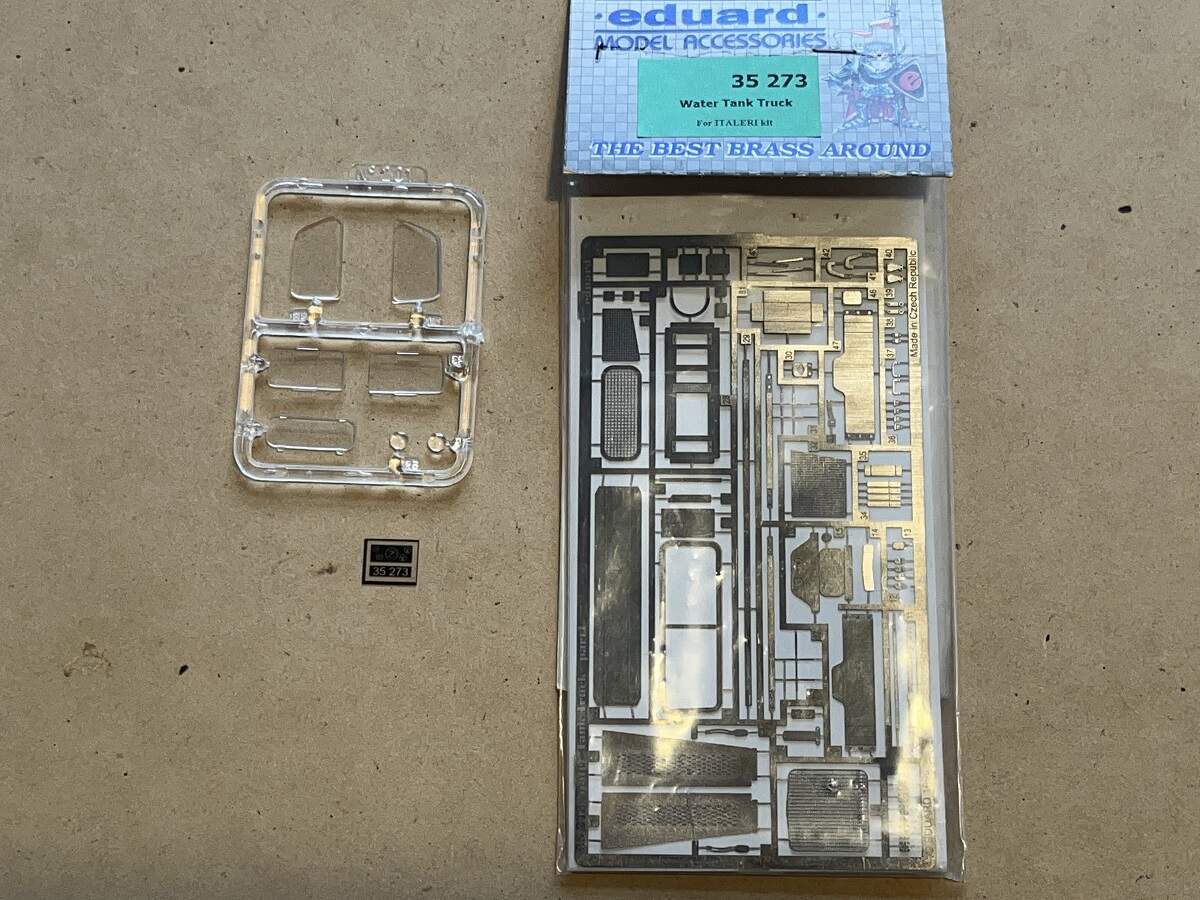
I picked this kit up a couple of years back from a stash clearance, a few parts off the sprues but complete and also included an Eduard PE set for good measure.
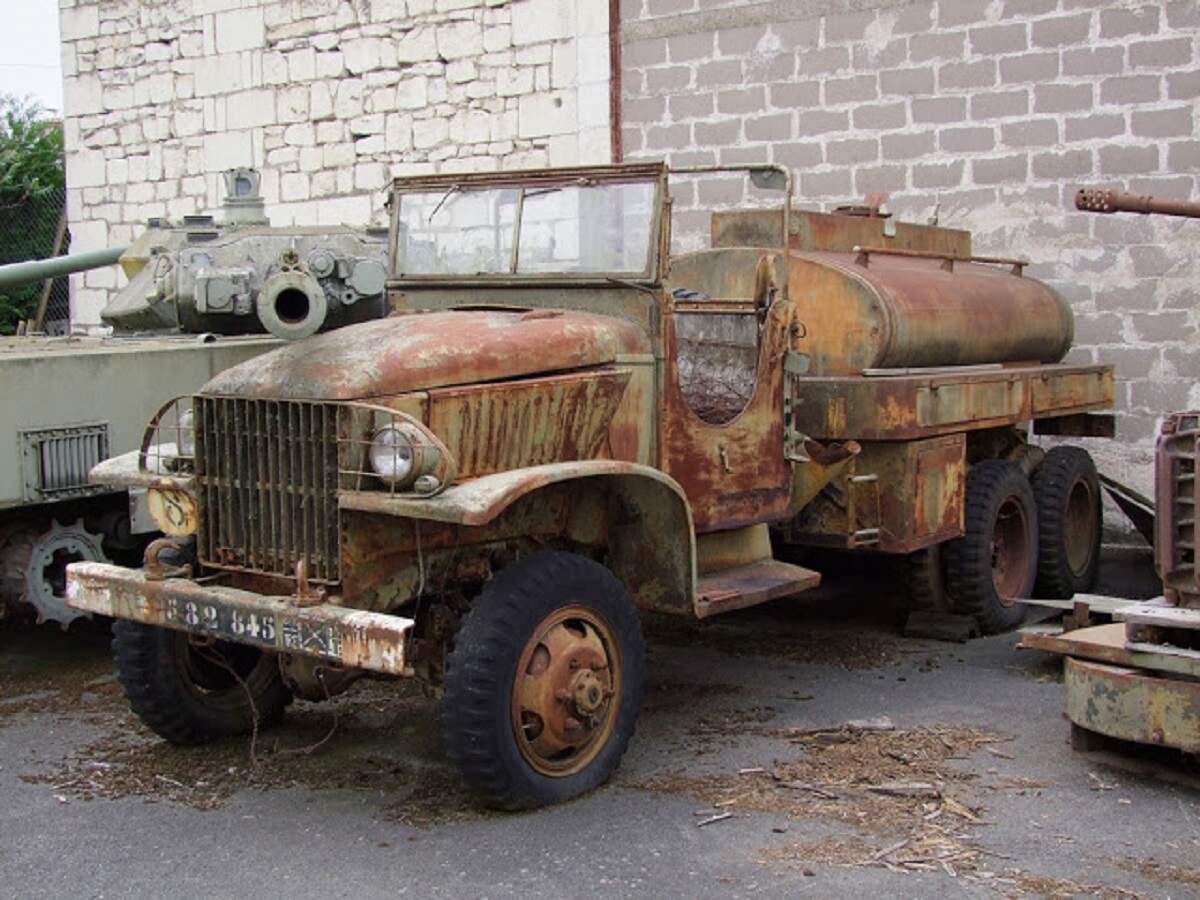
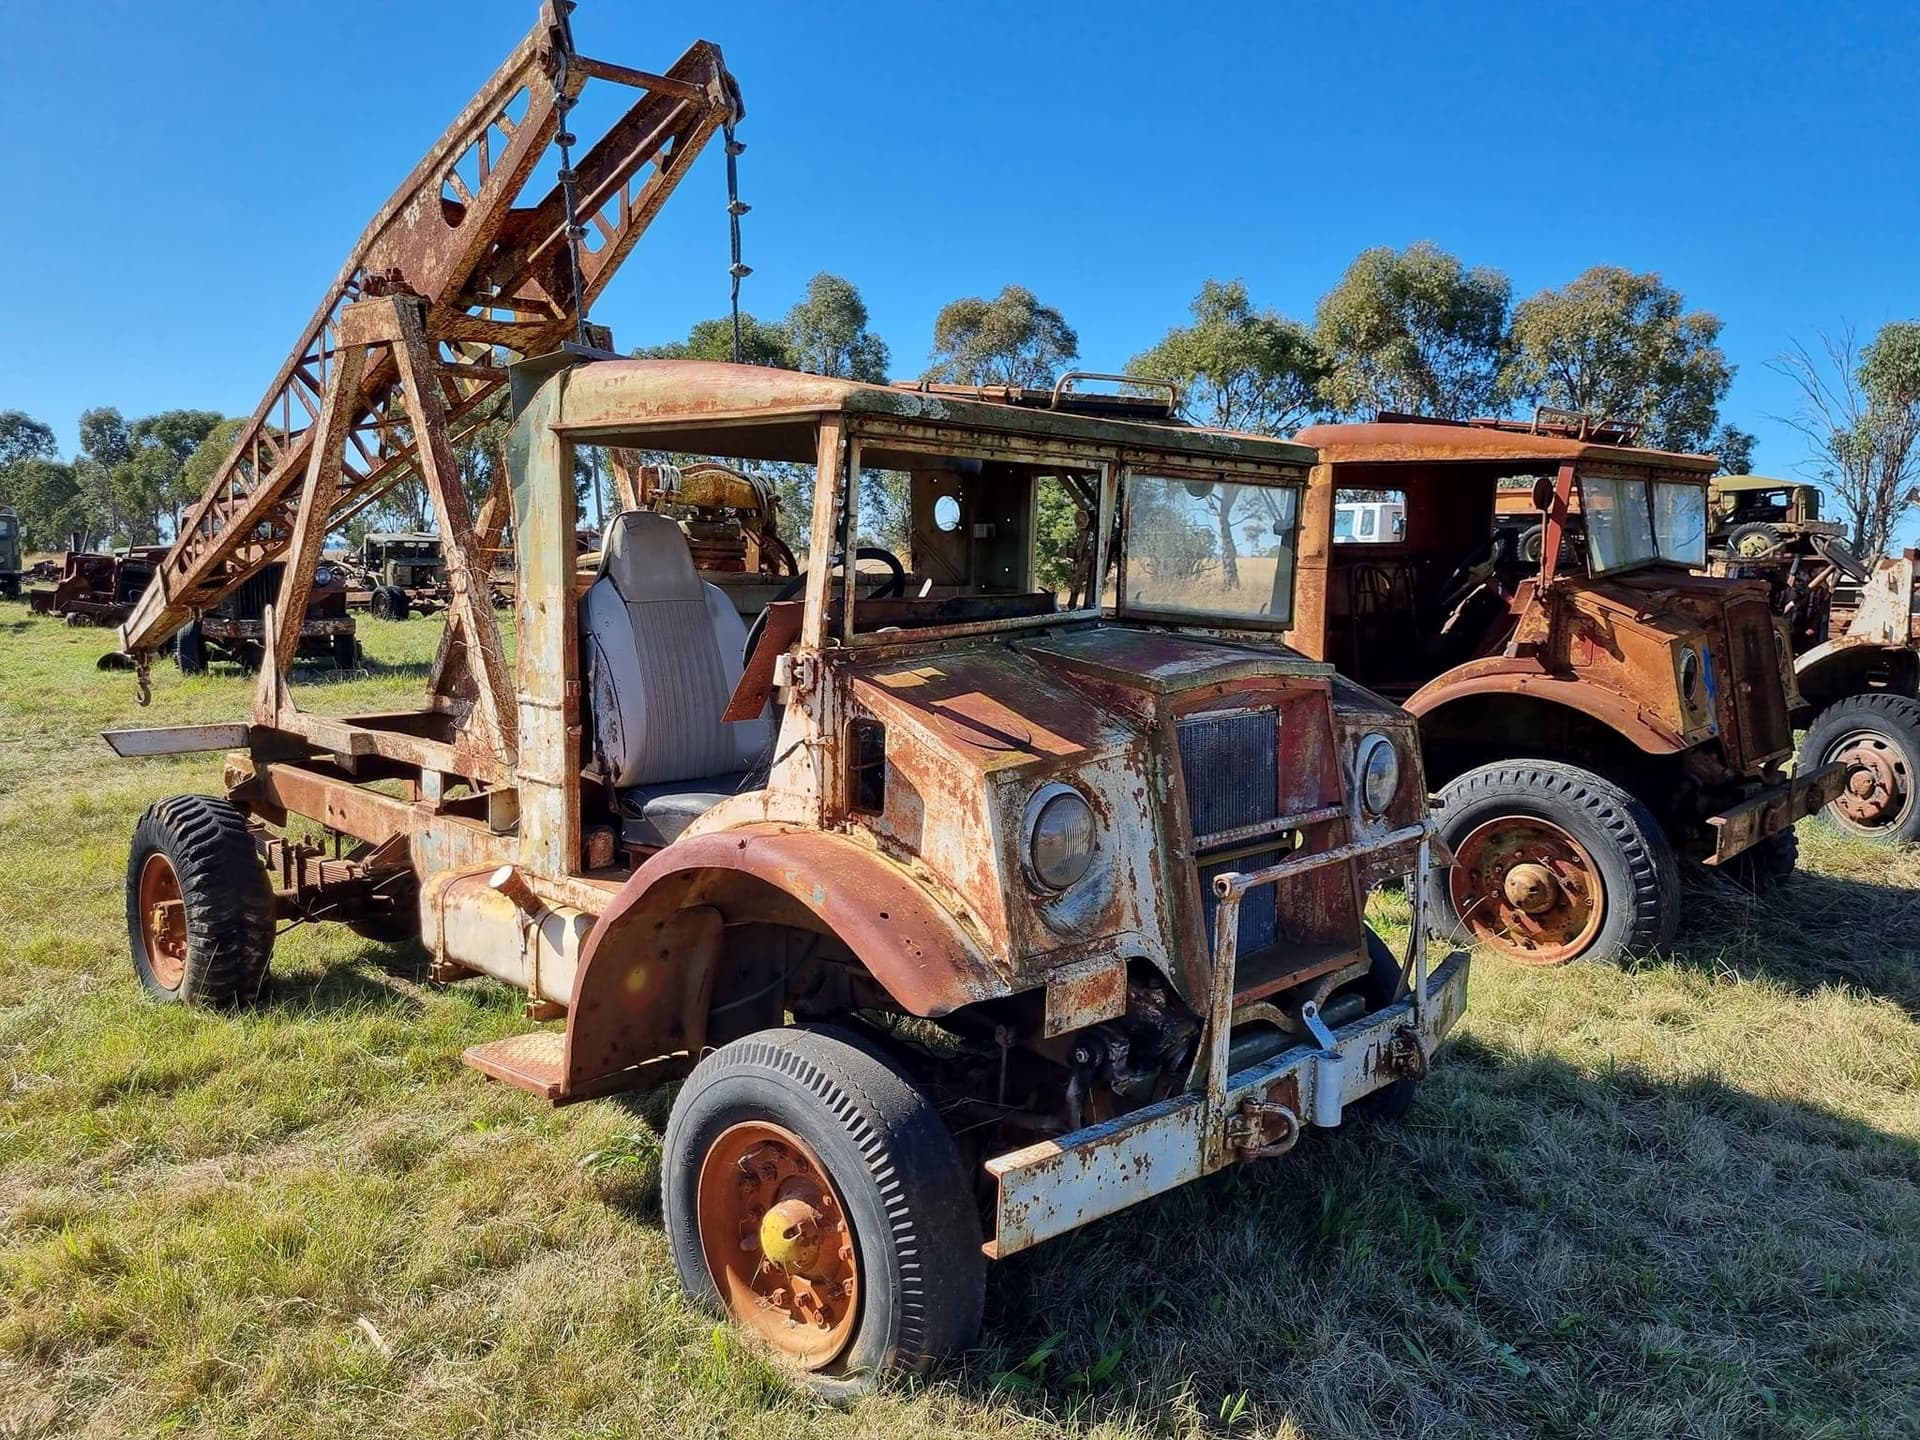
My plan is to build it as a repurposed civilian unit, old and tired but not completely trashed, a bit like this one but still functional.
Eventually I plan to put it in a diorama with a couple of Chevy Blitz trucks (with similar treatment) in a rural farm-type scene.
I’m also building this for the “Convoy!” Group Build so I will post progress in both threads as I go.
Cheers, D
12 Likes
The reg-nr of that tank truck says it was used by the French Army.
2 Likes
Along for the ride. As I recall Mike (165th) sent me the water tank parts to kit bash with the Tamiya open cab kit.
4 Likes
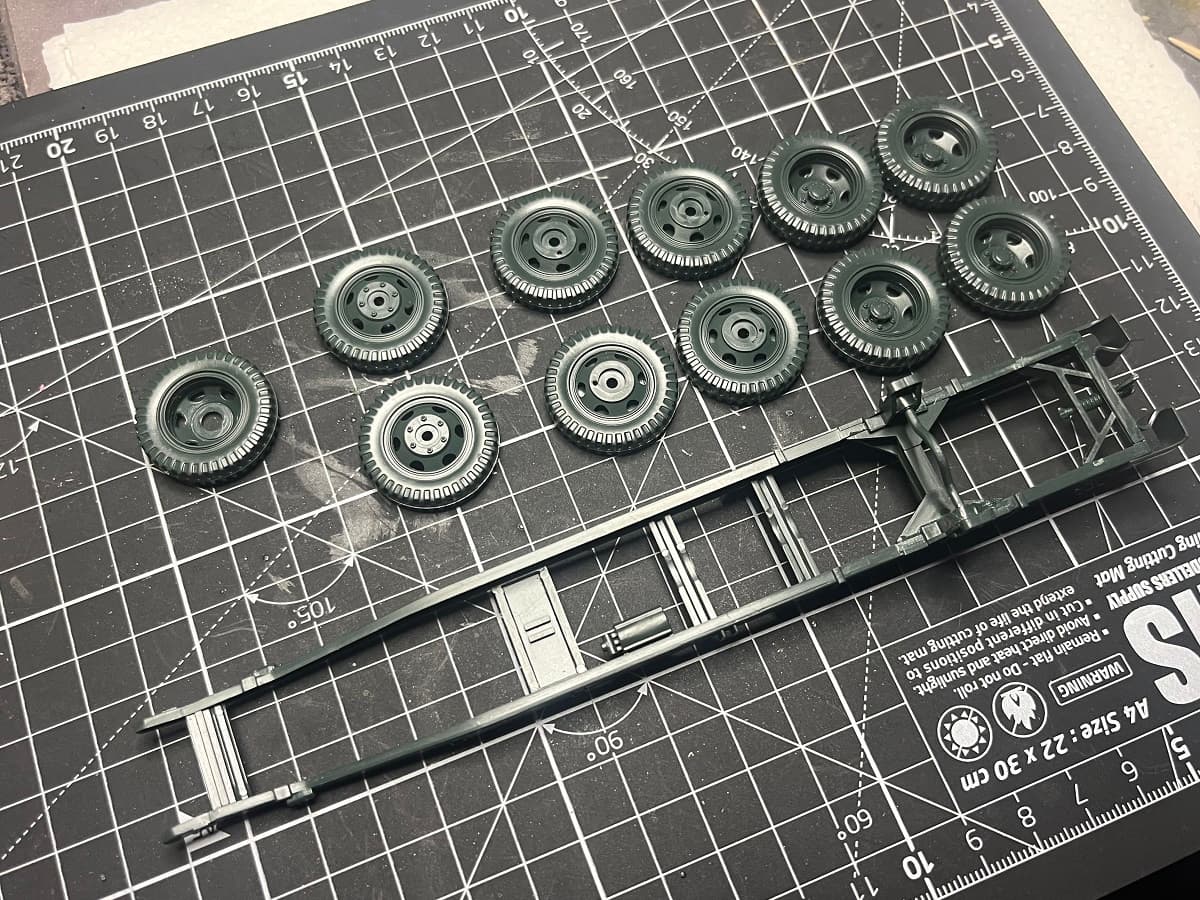
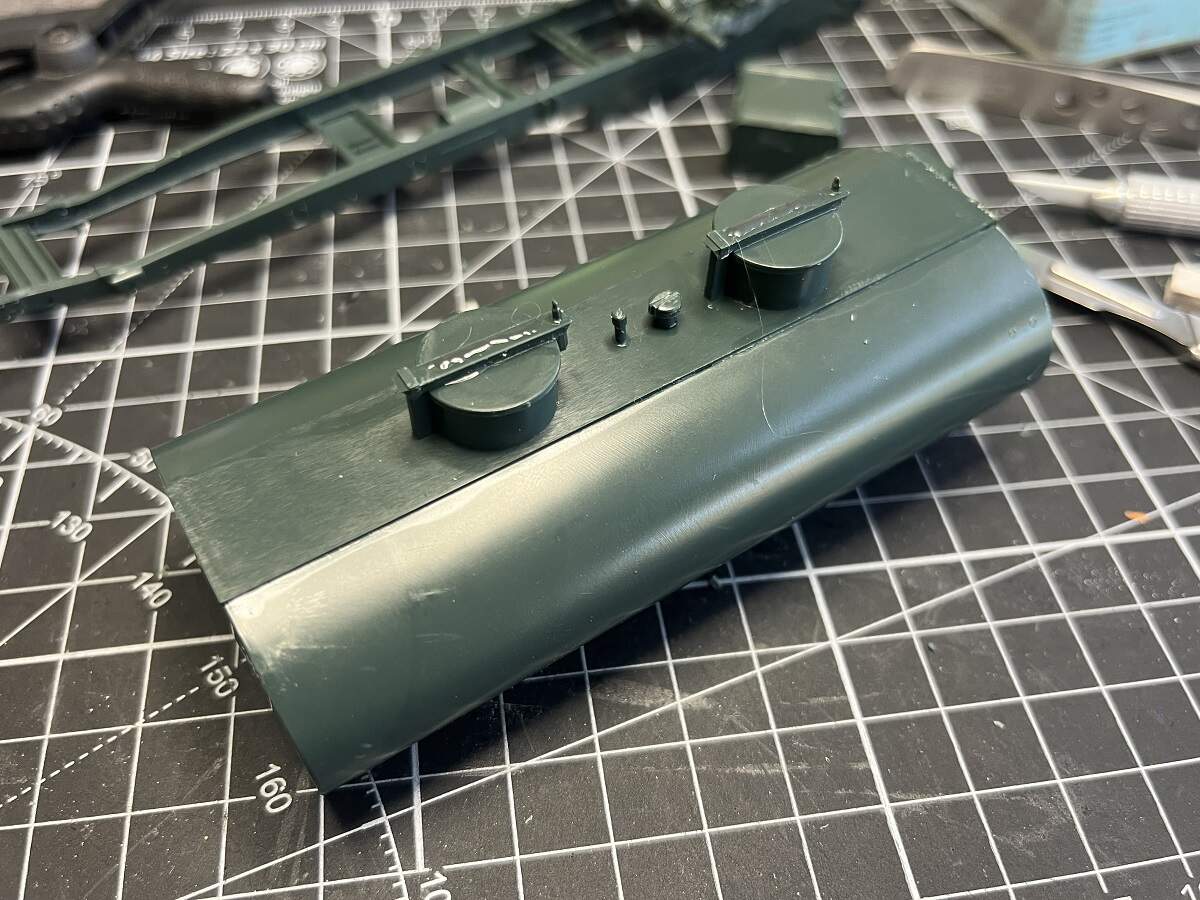
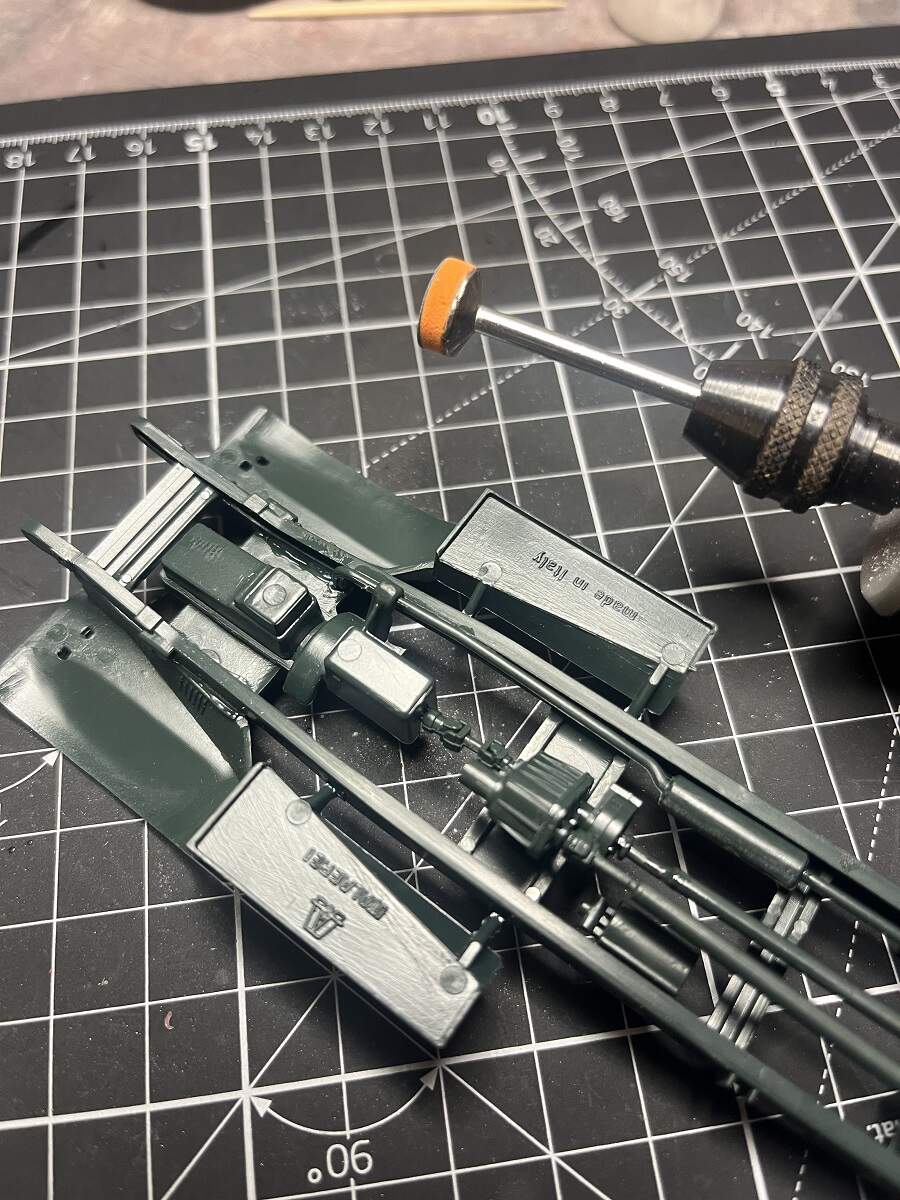
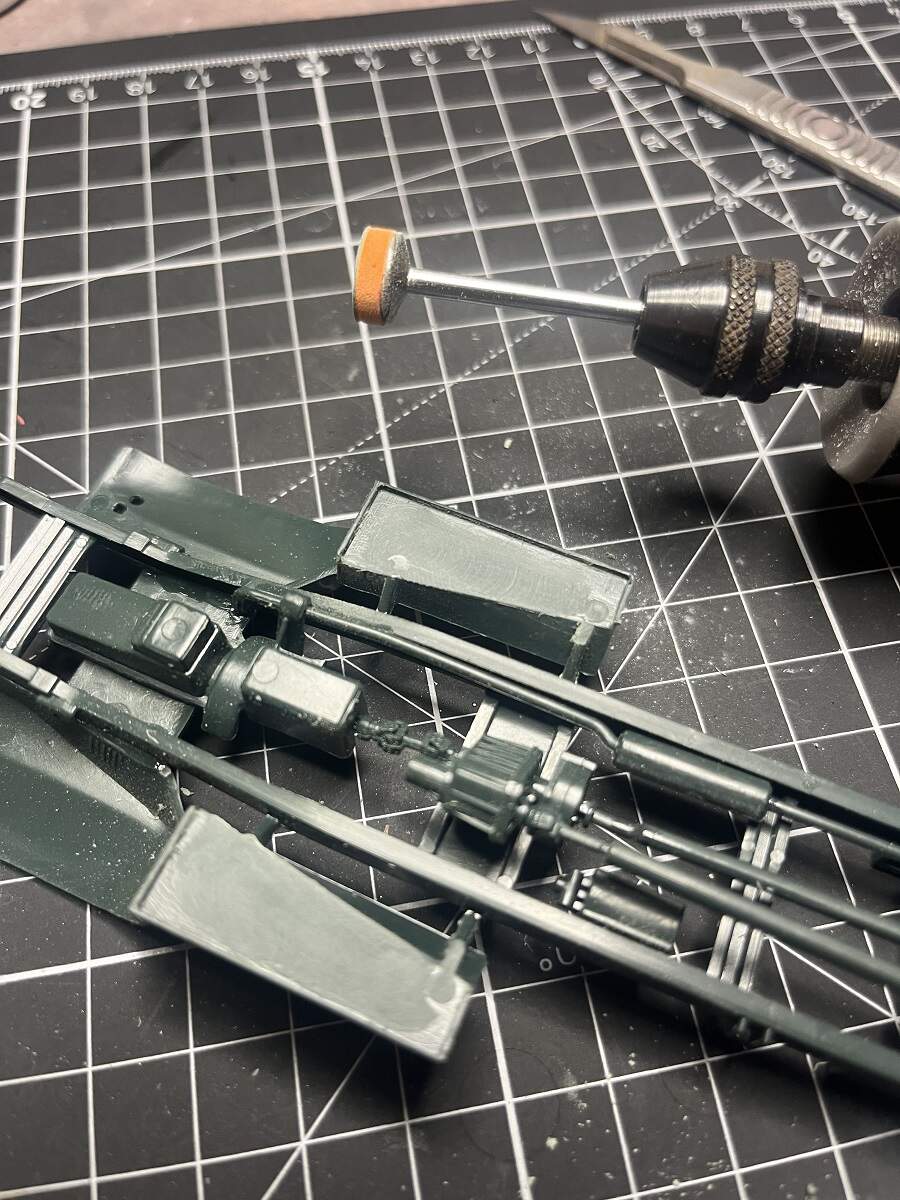
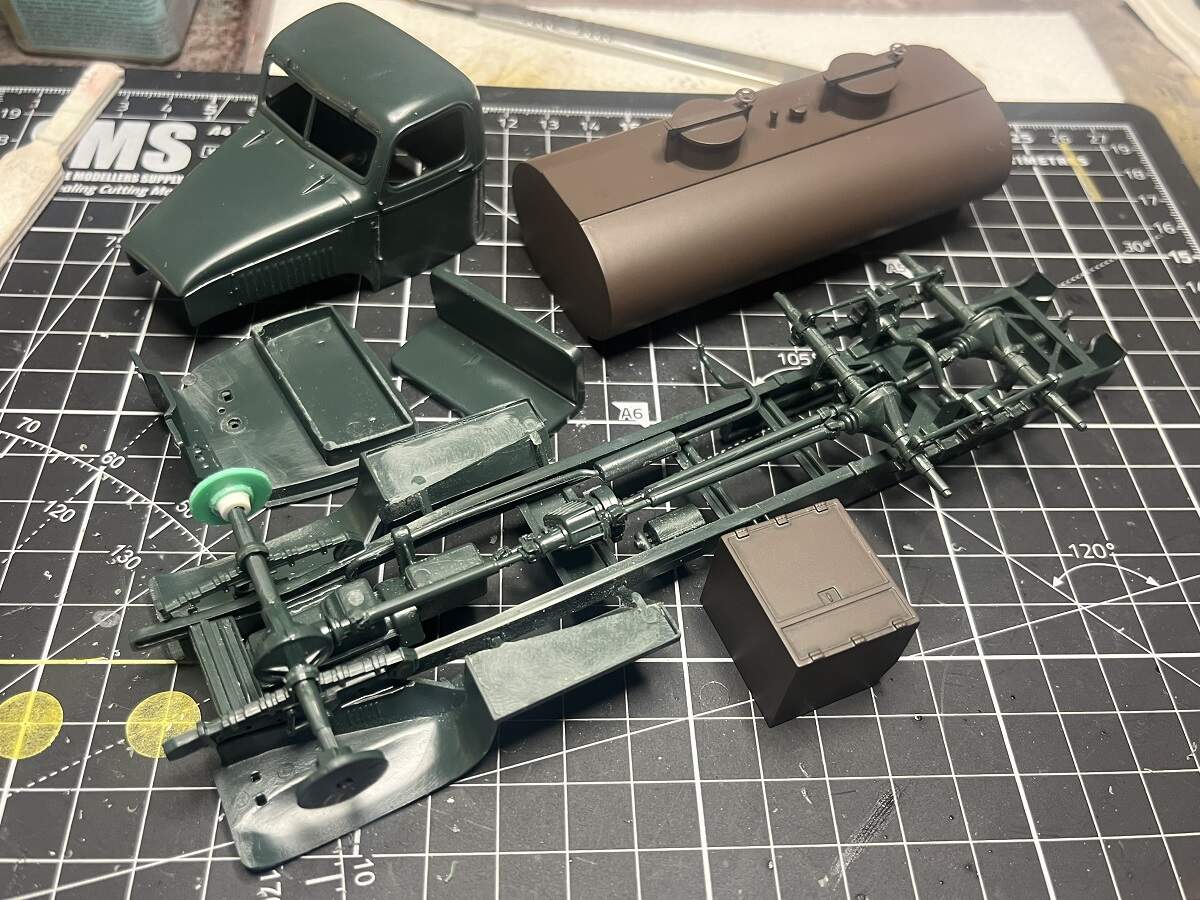
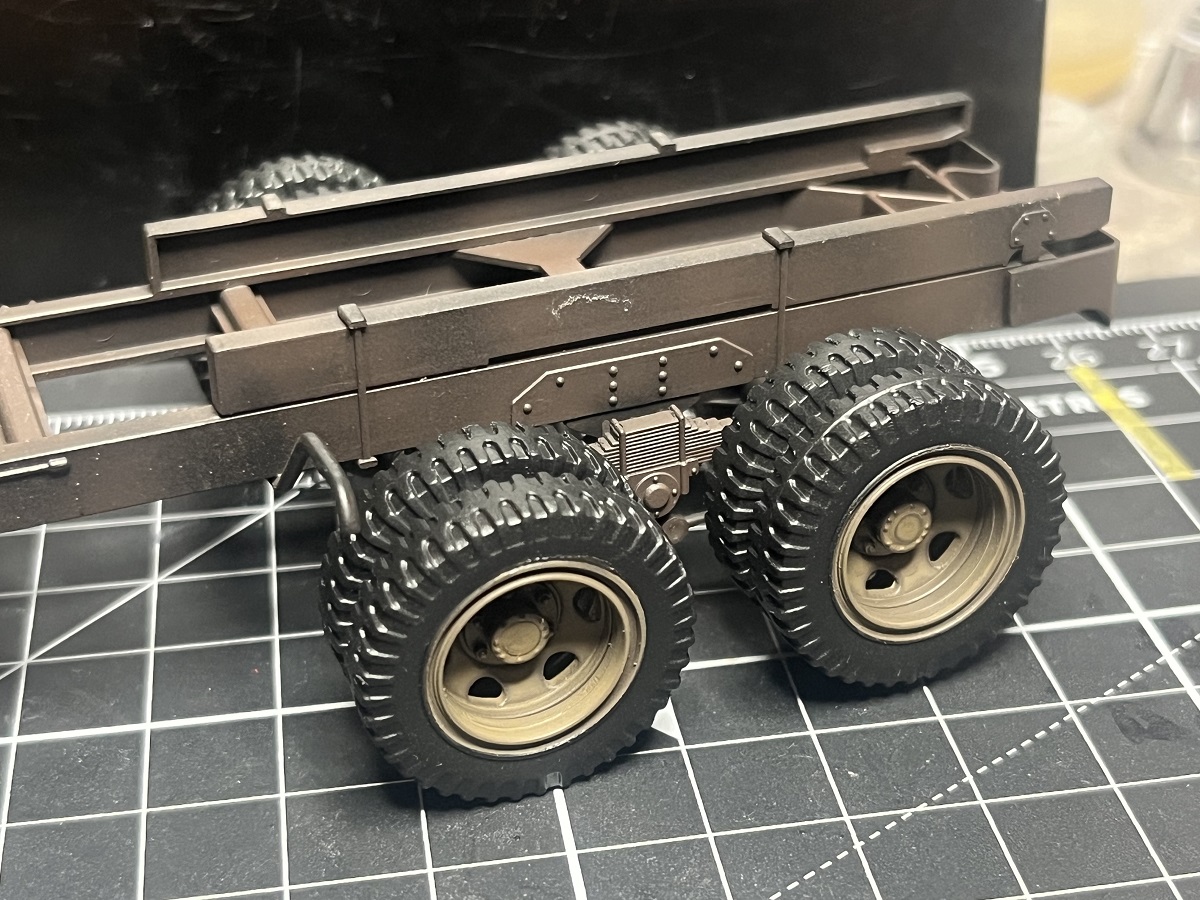
I made a start on the CCKW Water Tank truck, the wheels, chassis and tank are all put together and curing for a day or two before I tidy up the glue lines. There were some sink marks in the hold-downs on top of the thank that I filled with Sprue-Goo, otherwise no issues to speak of so far.
I’ve decided not to use the PE set on this build, I will be doing some rough treatment on the paint and I think I will end up knocking most of it off as I go. I will probably pick up another one of these kits to build as a restored civvy tanker at some stage and use the set there.
Cheers, D
7 Likes
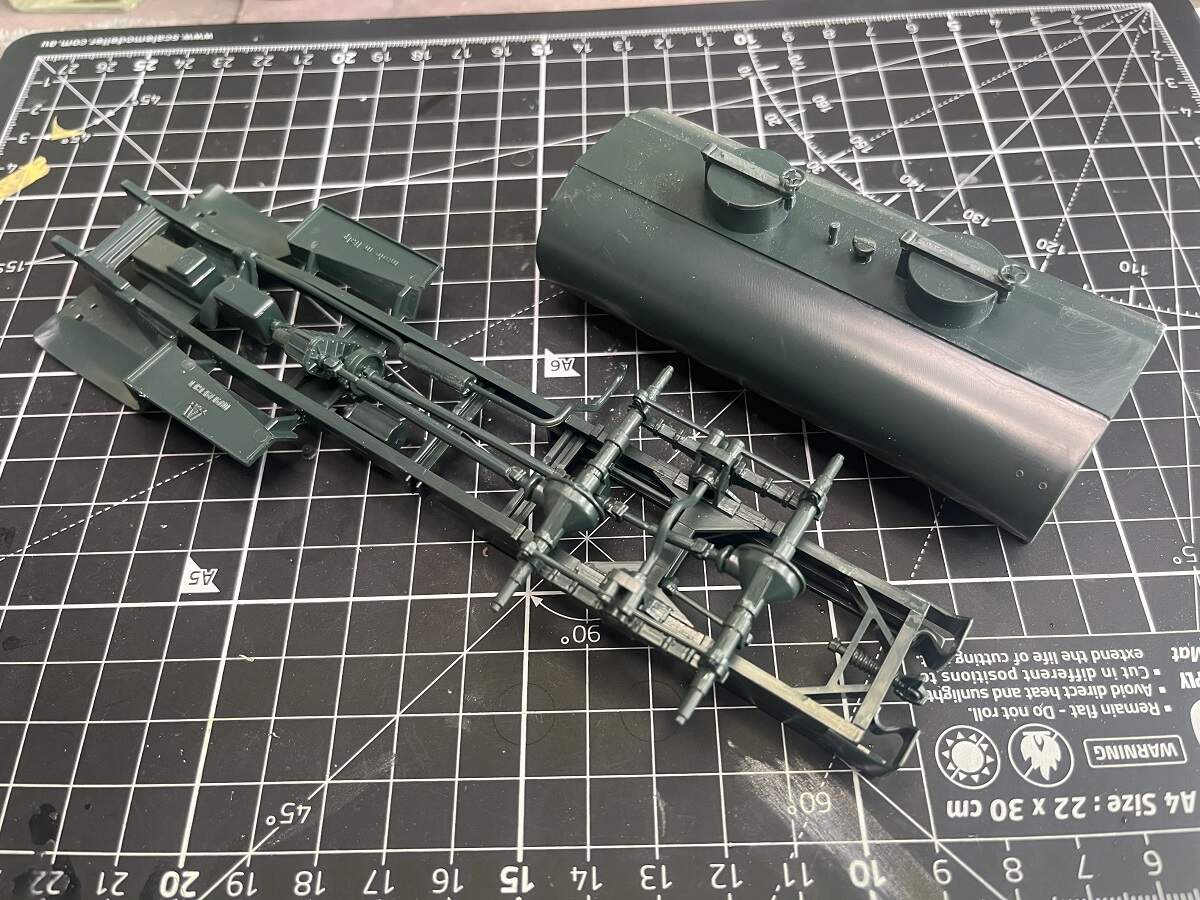
Now that the Italeri Fire Truck is completed and in the display cabinet, back to tinkering with the CCKW Water Truck! Assembly steps 1 to 4 completed.
I gave some new little sanding discs from DSPIAE a run tonight, used the 400 grit in my cordless Dremel set to lowest speed (5000rpm). It took literally 1 minute to get rid of the manufacturers info on both treads.
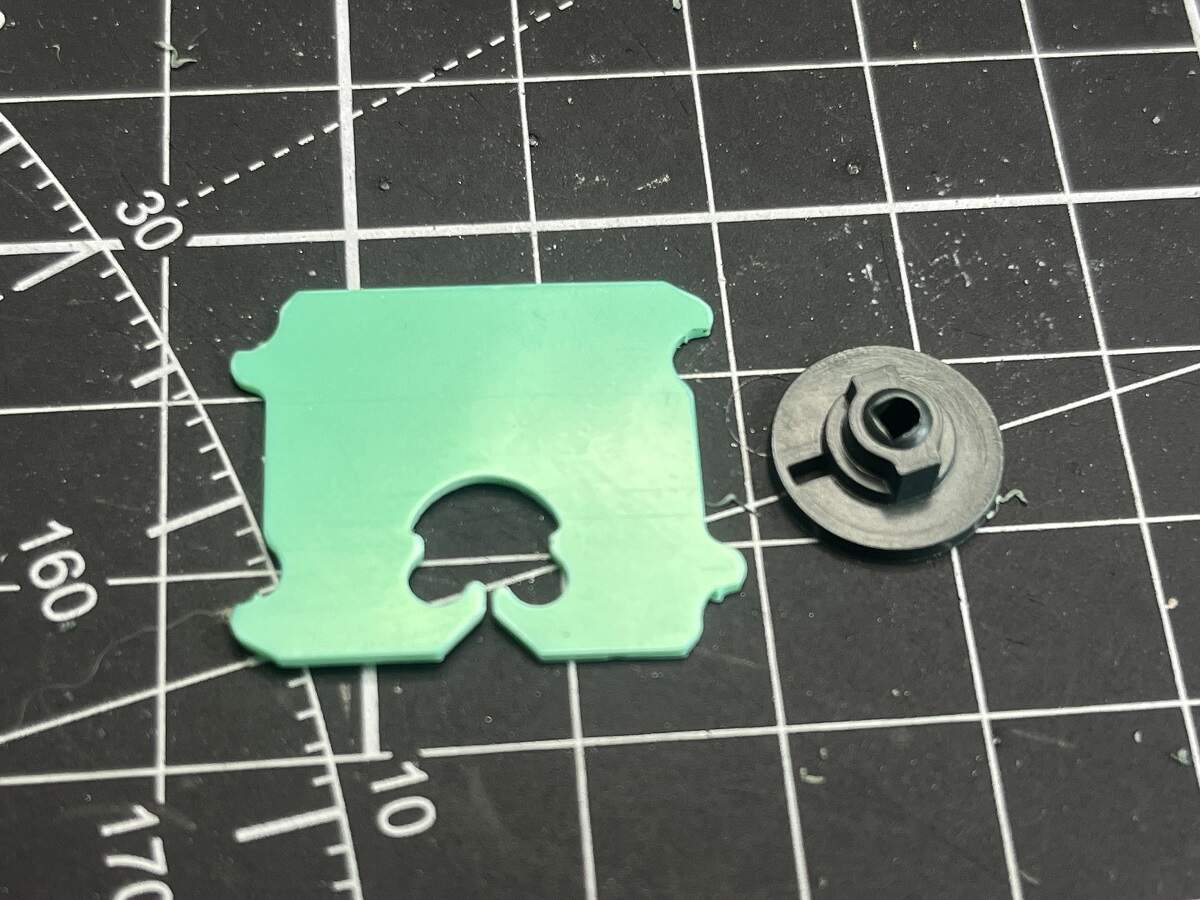
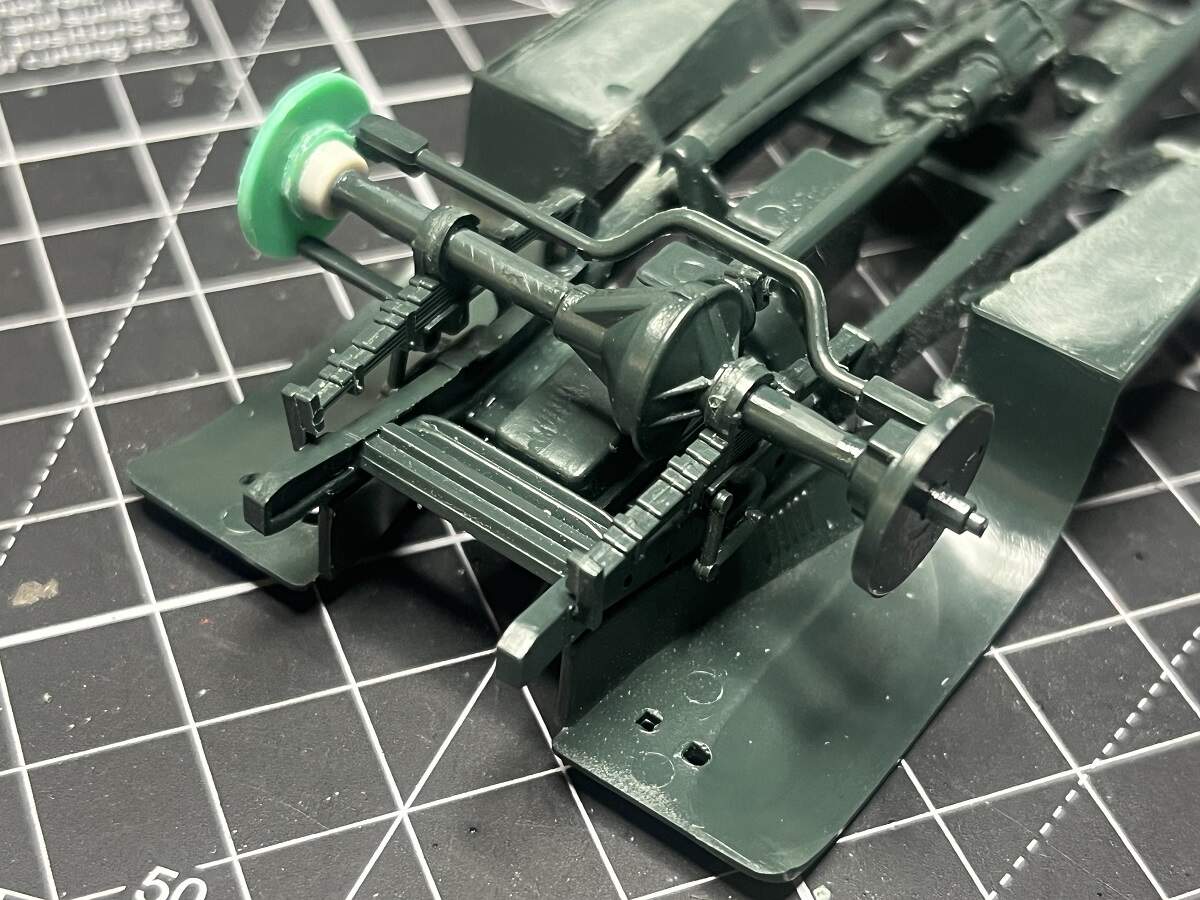
Struck a slight snag, one of the front brake disc parts is missing, looking back at the sprue shots it was never there  Oh the joys of the second hand kit market Never mind, an old bread bag tie looks to be about the right thickness. It will be tucked away inside the wheel out of sight so no need to go overboard on accuracy here.
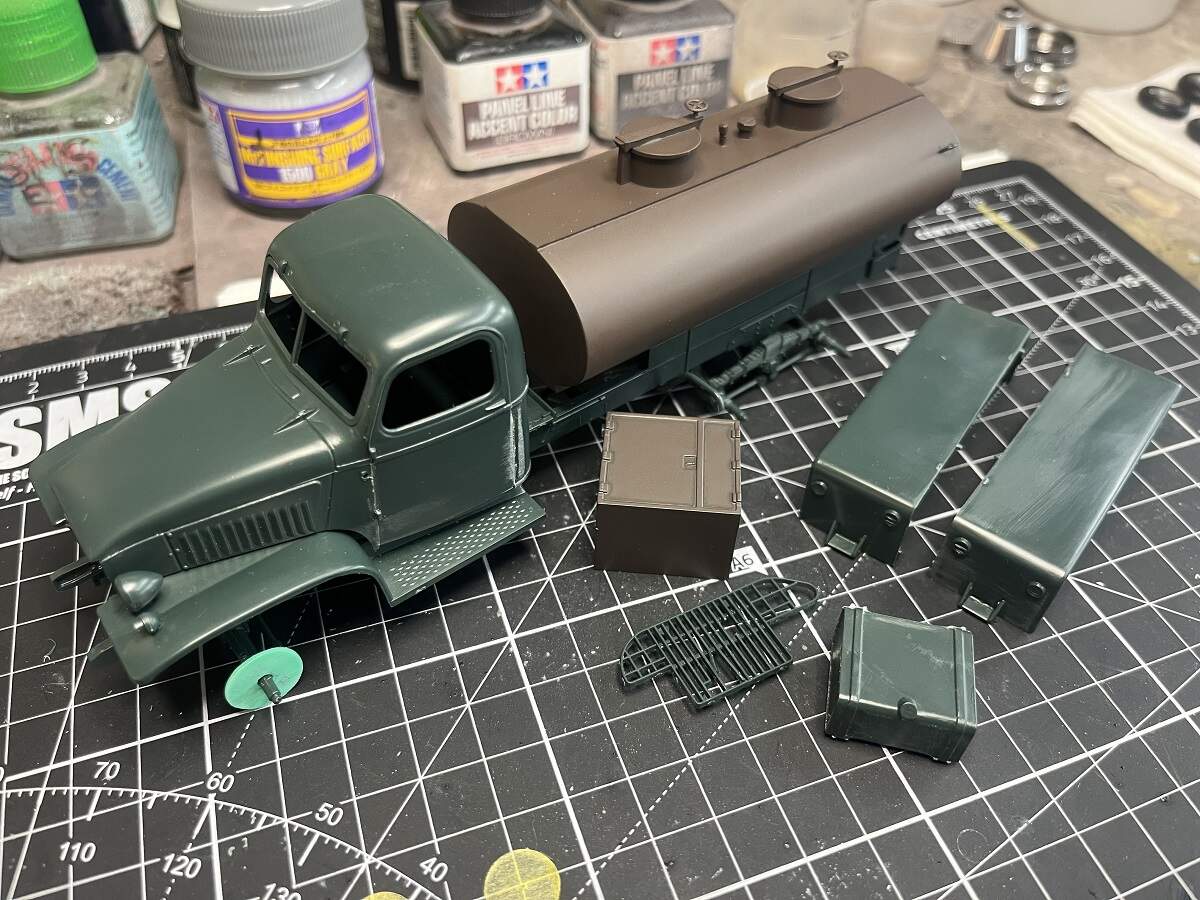
So here’s where it’s at with sub-assemblies and a bit of Mr Surfacer 1500 Mahogany thrown around as well.
Cheers, D
9 Likes
Got some primer down on the chassis and other parts tonight.
Cheers, D
7 Likes
The bread companies around here have stopped using that type of bag clips, sigh.
Now it is the plastic strip with two metal wires, almost totally useless …
Those clips have supplied styrene for many modelling needs, the openings by the
sprocket on Tamiyas M113’s is one example.
5 Likes
Yeah, we are getting the same style of bag clip now, only made from cardboard. Just as well I squirreled a few away!
Cheers, D
3 Likes
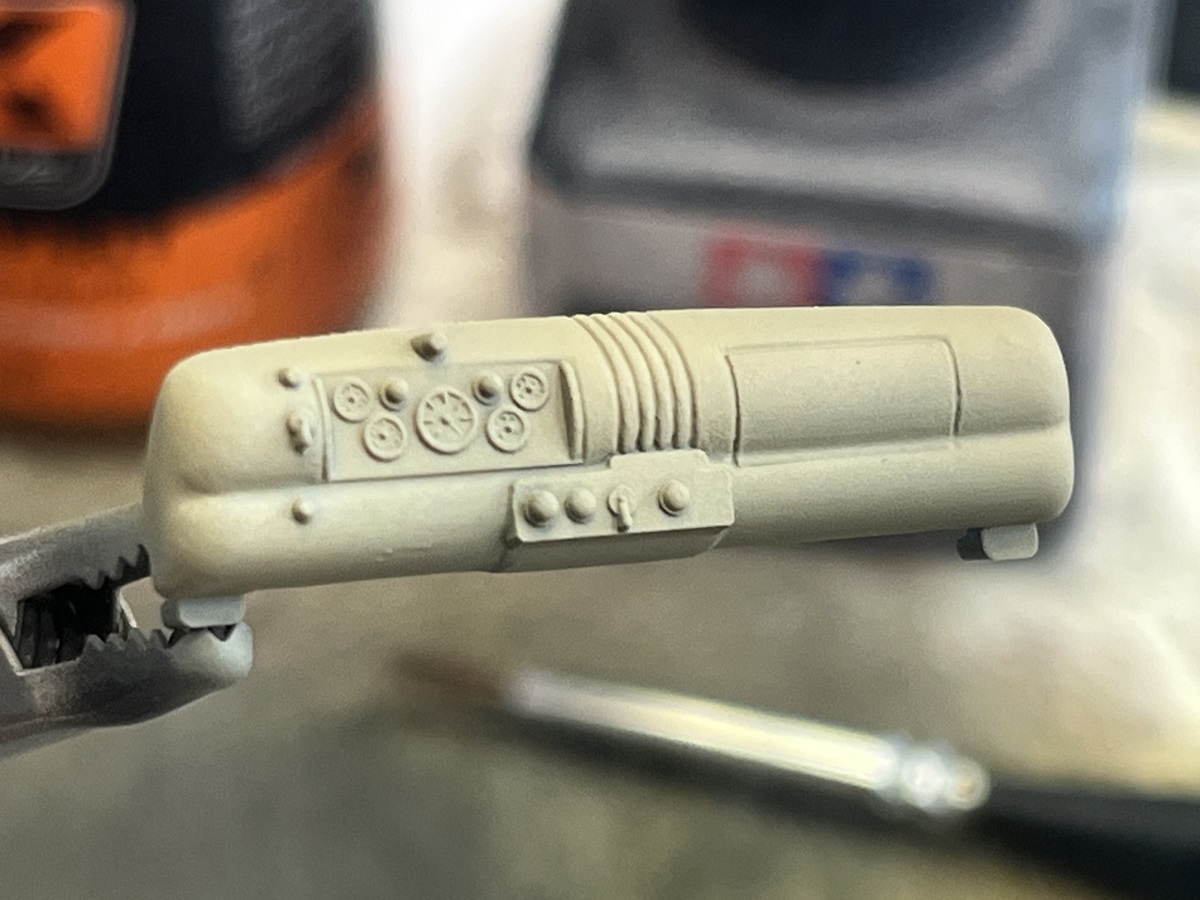
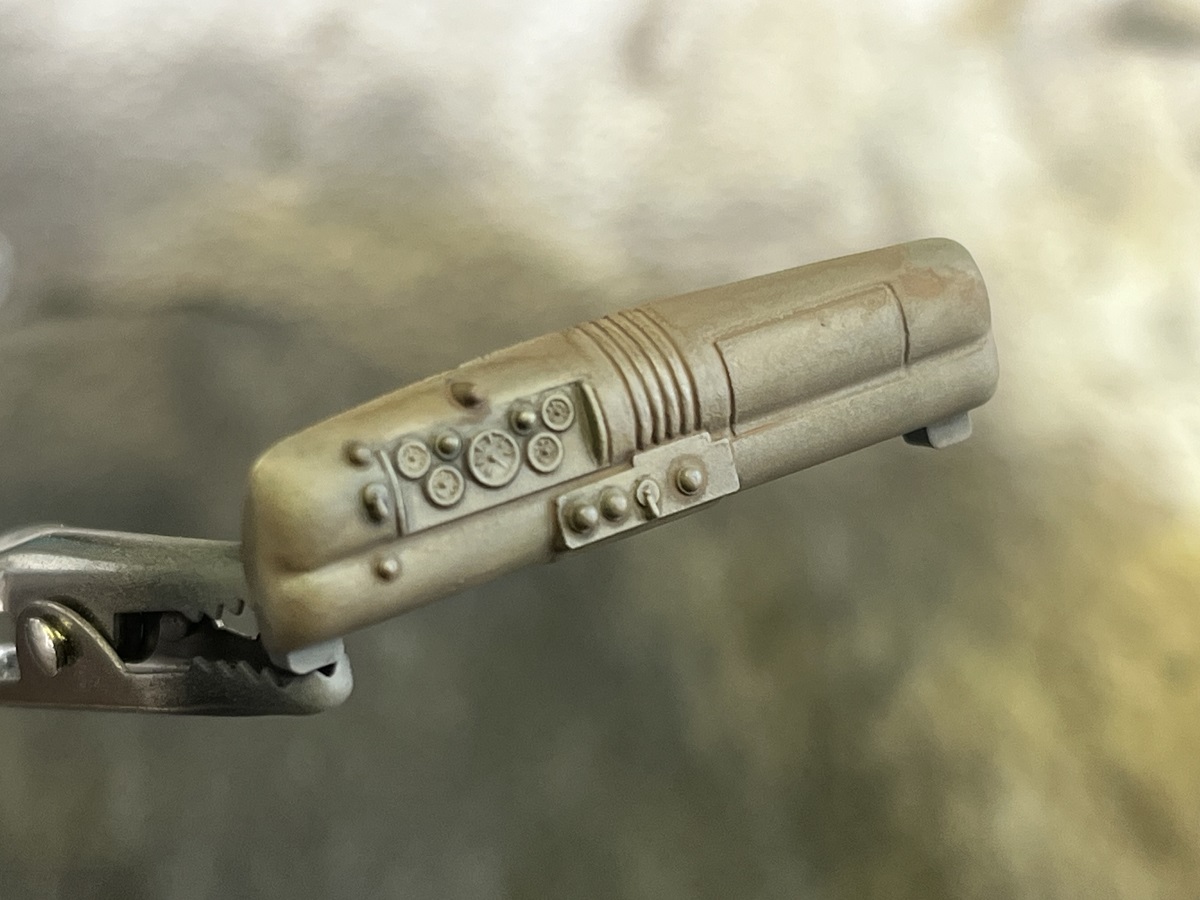
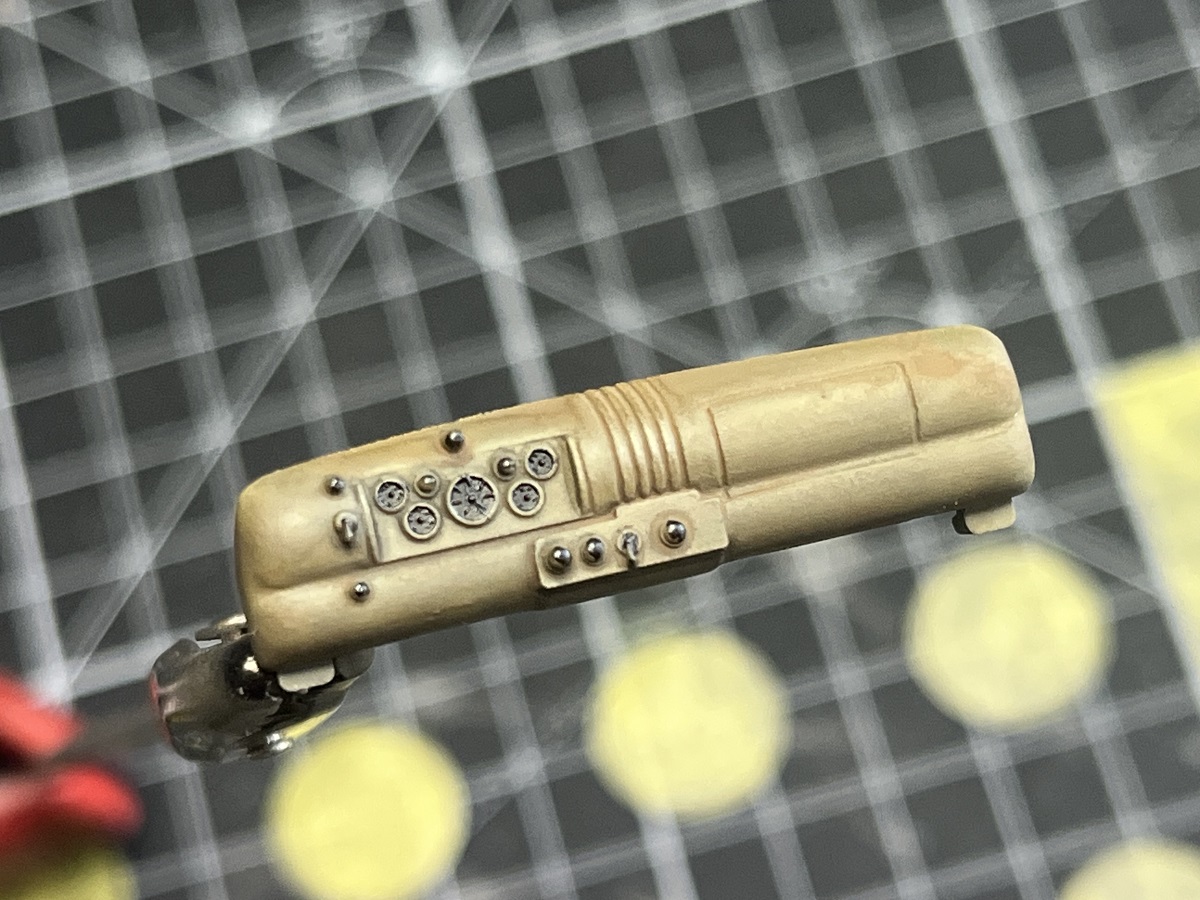
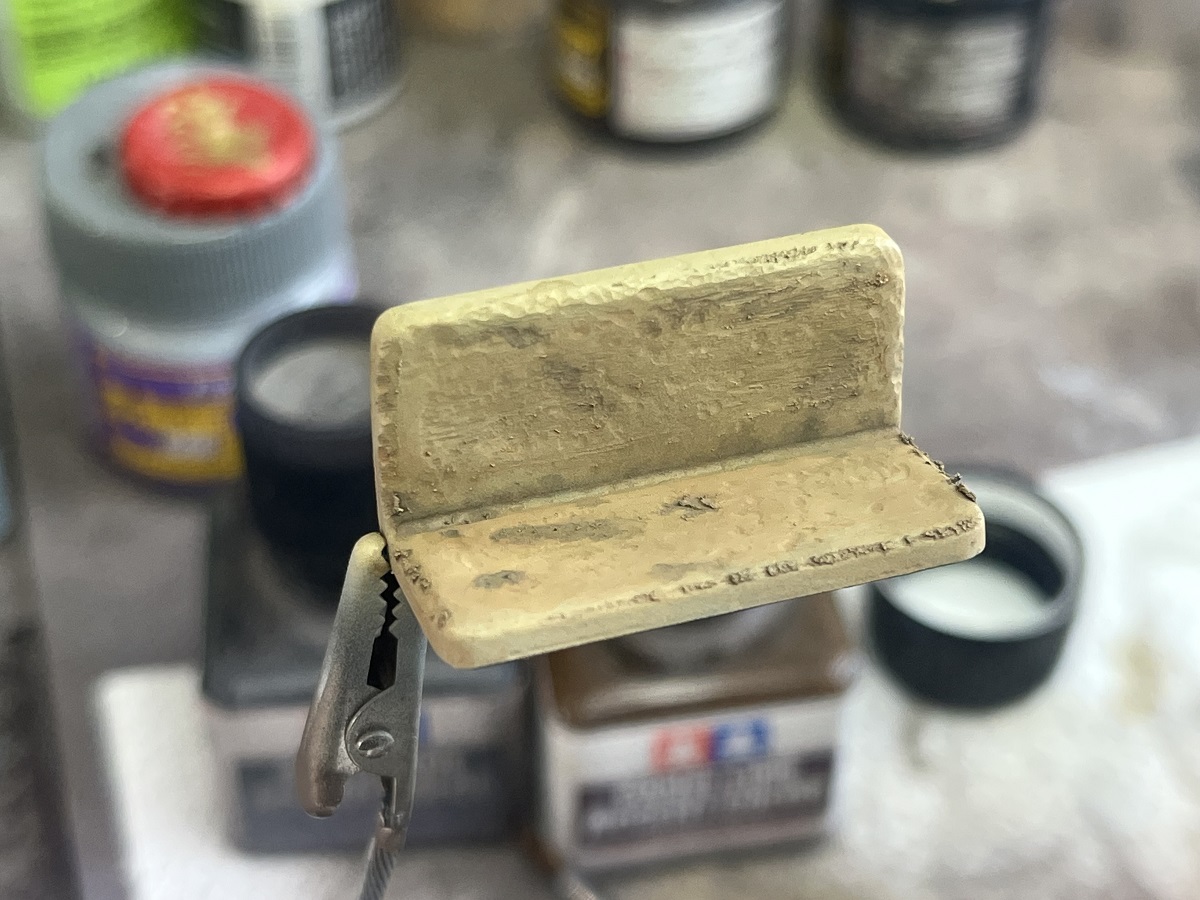
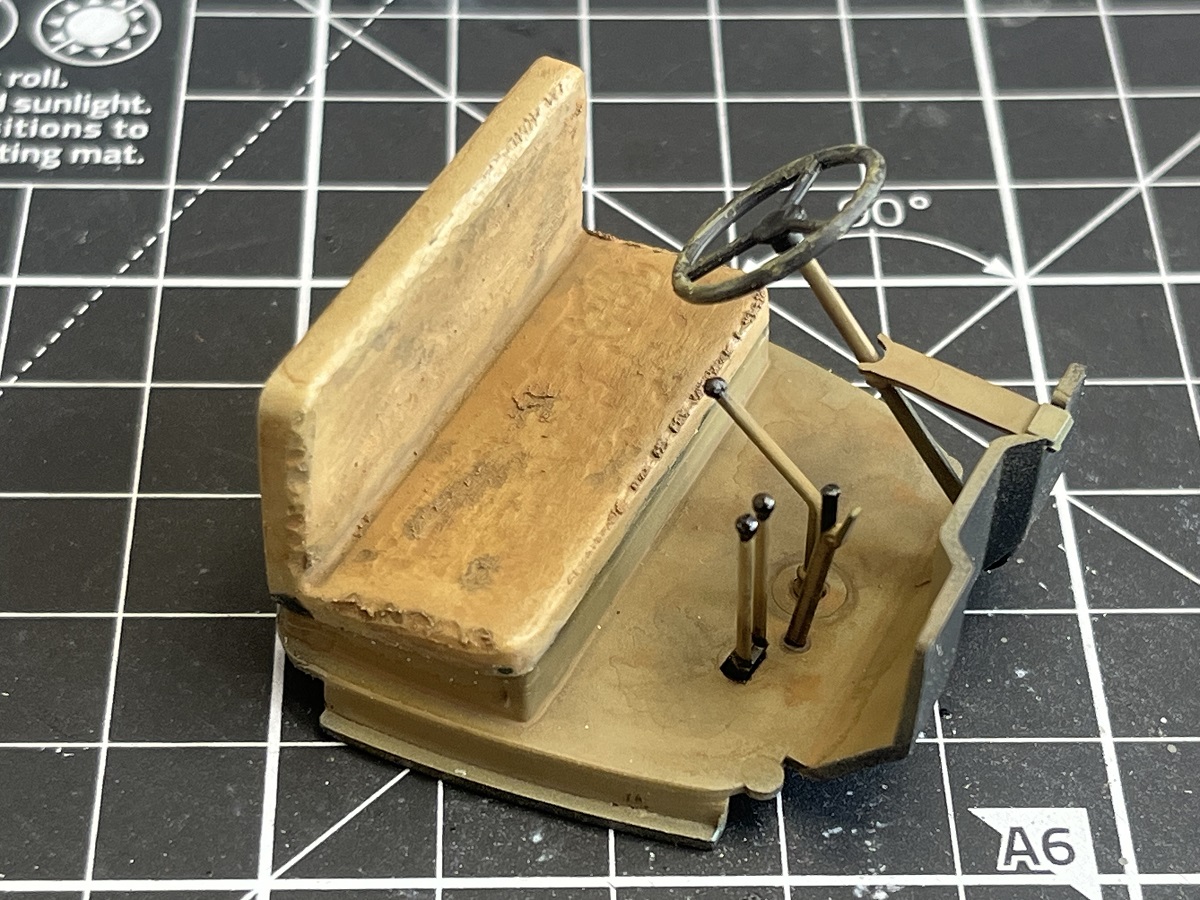
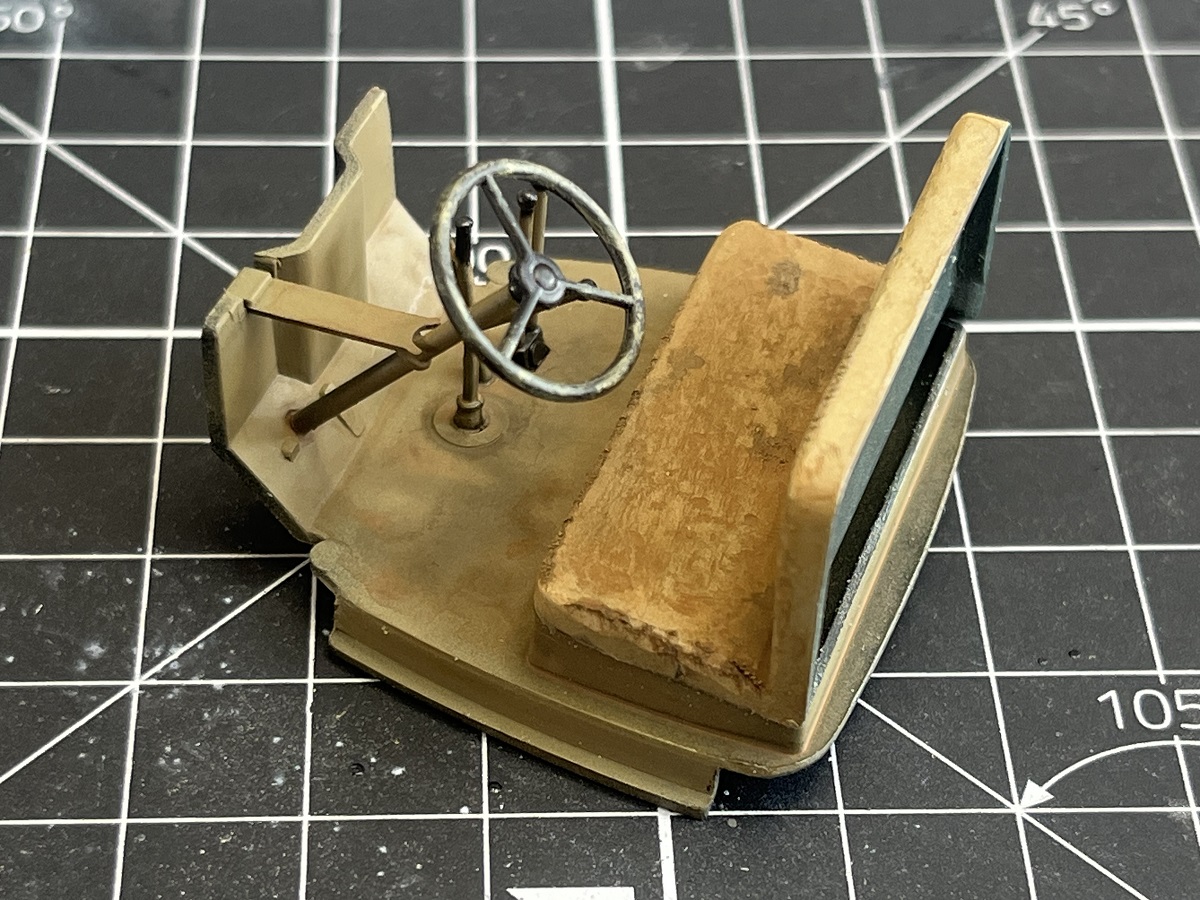
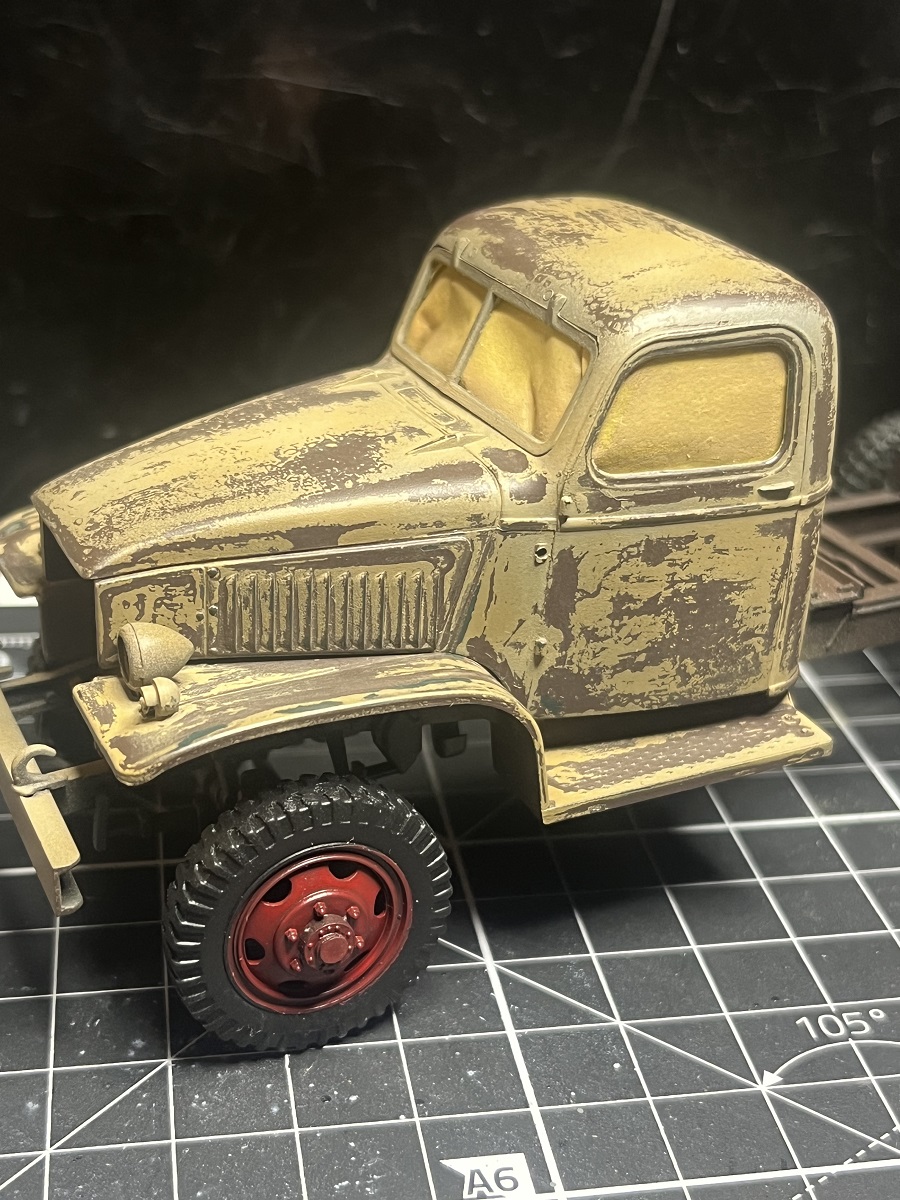
Working on the interior today. The seat was torn up with my Dremel using a drum sander and round burr. Base coated with Tamiya Acrylic Khaki (XF-49) and some Buff (XF-57) thinned with MLT, once cured I wet the surface with AK White Spirits then sloshed on Tamiya enamel PLW in Brown and Black and used a brush dampened with the white spirits to move them around a bit. Details on the dashboard with Tamiya X-1 Black enamel.
This will all be almost invisible inside the cab but it will be there if anybody peeks in hard enough.
Cheers, D
10 Likes
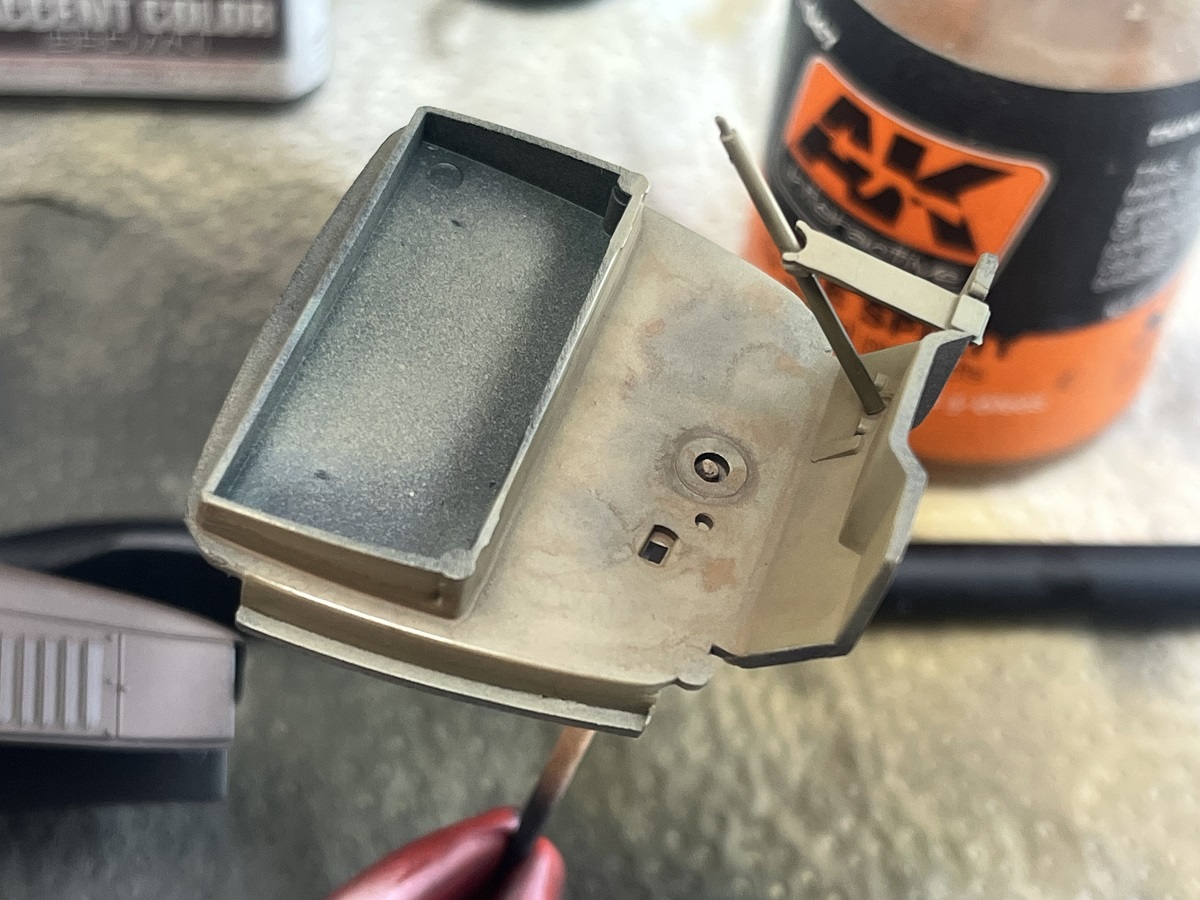
More CCKW Water Truck progress to report. Interior is completed and ready to drop in place in the cab once it is done.
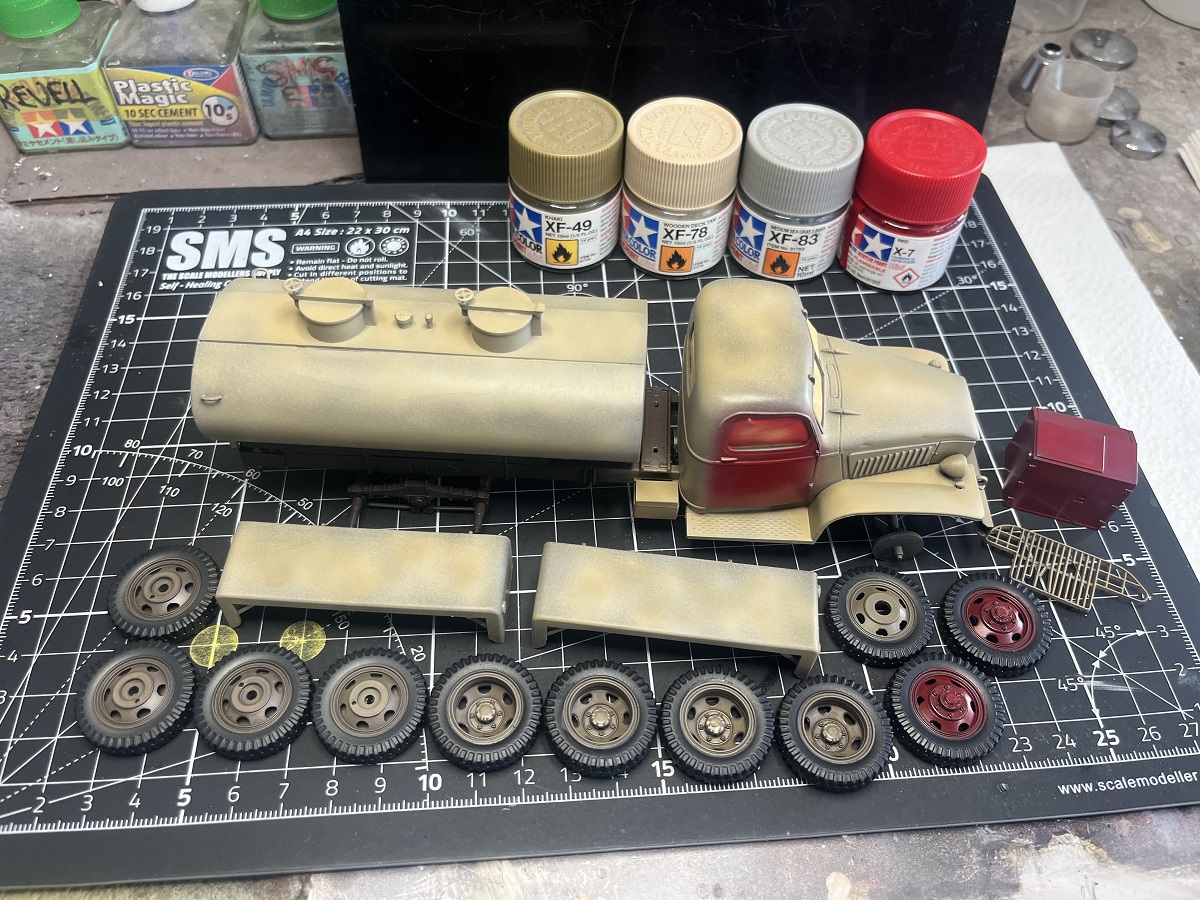
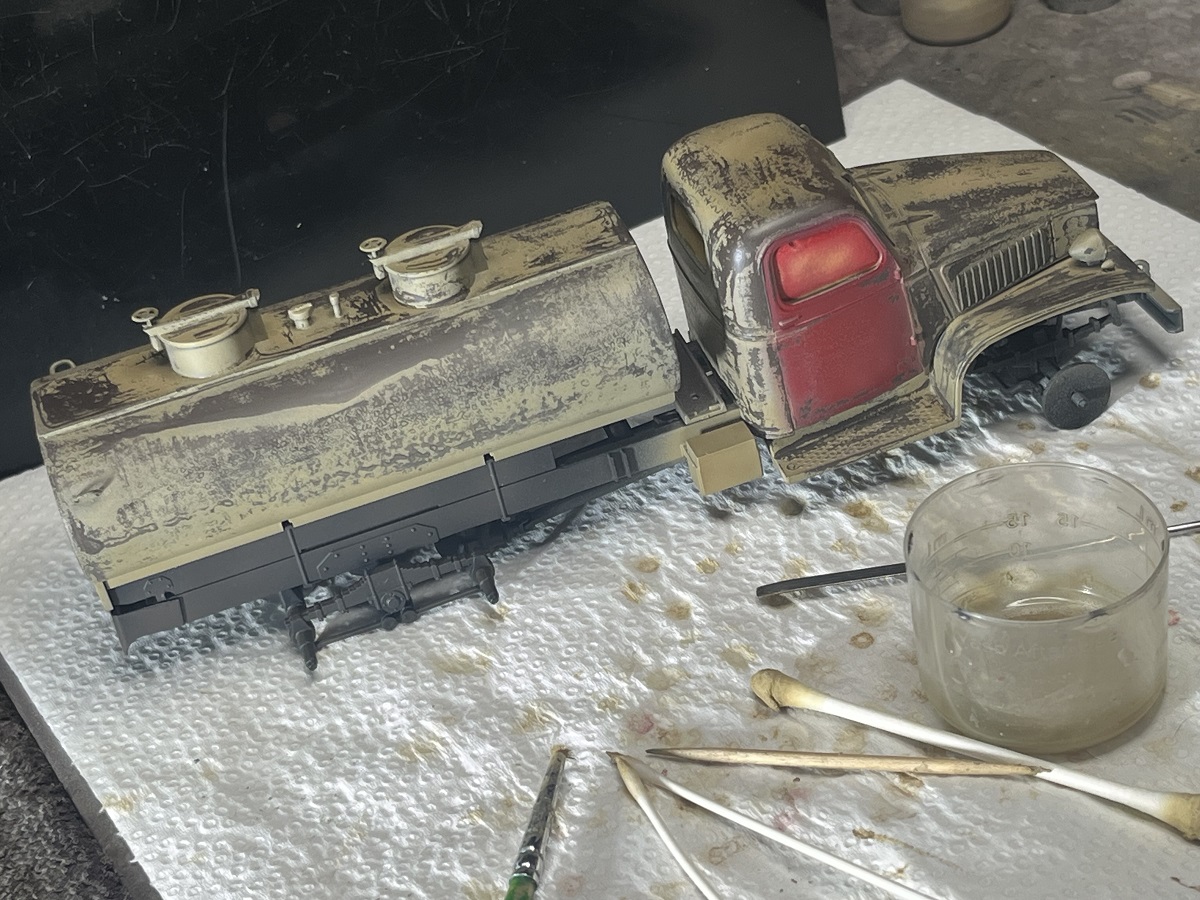
The main sub assemblies got a good coat of hairspray then a rough shot of a few colours plus a few bright red salvaged parts to throw a curve ball in.
Hairspray chipping to begin soon. 
Cheers, D
4 Likes
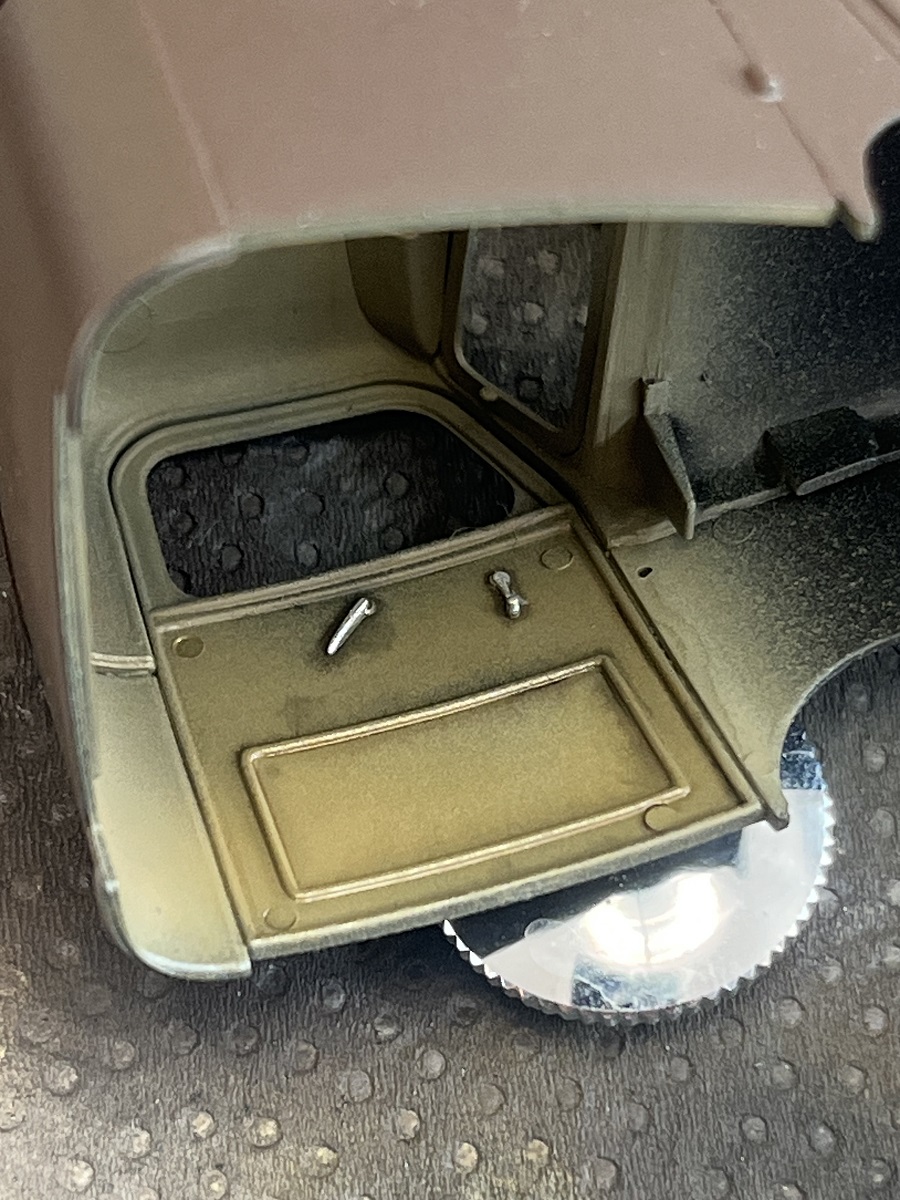
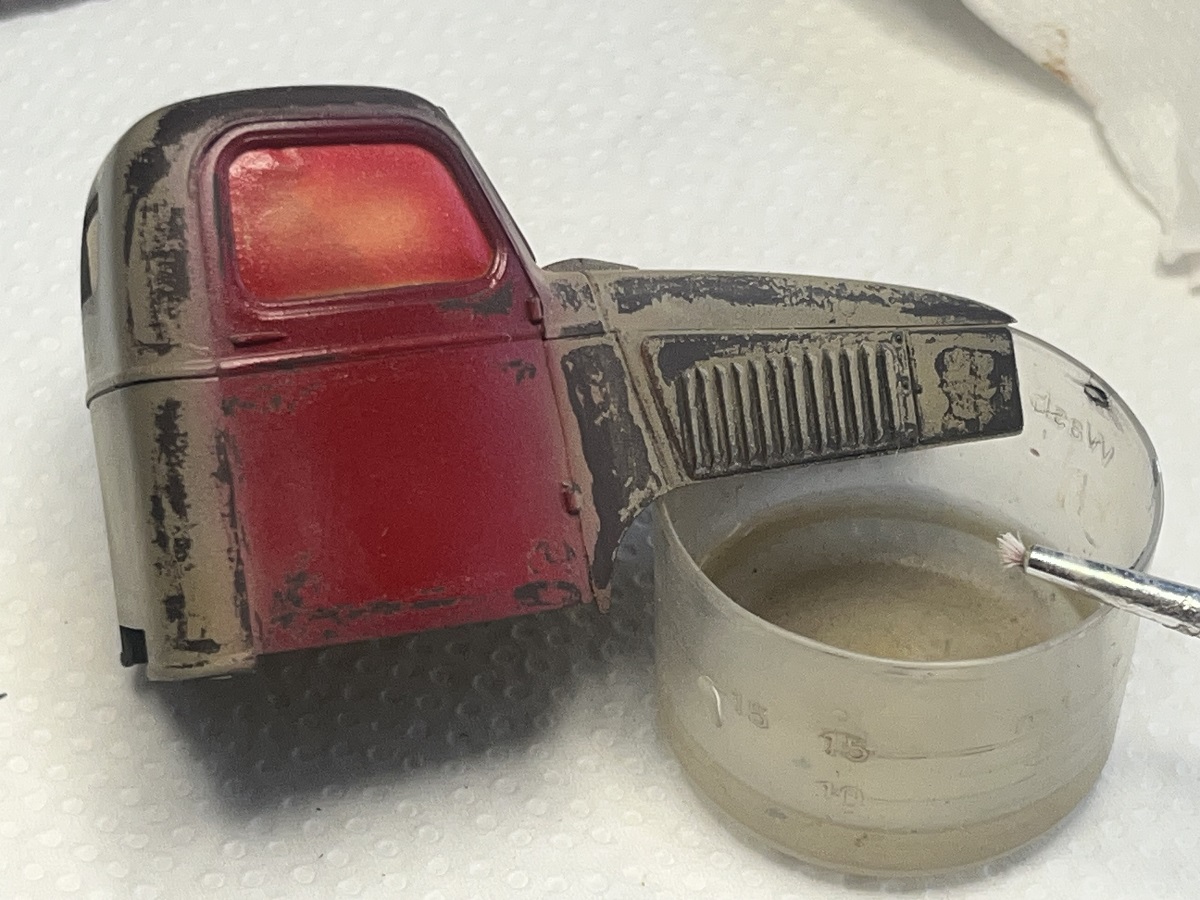
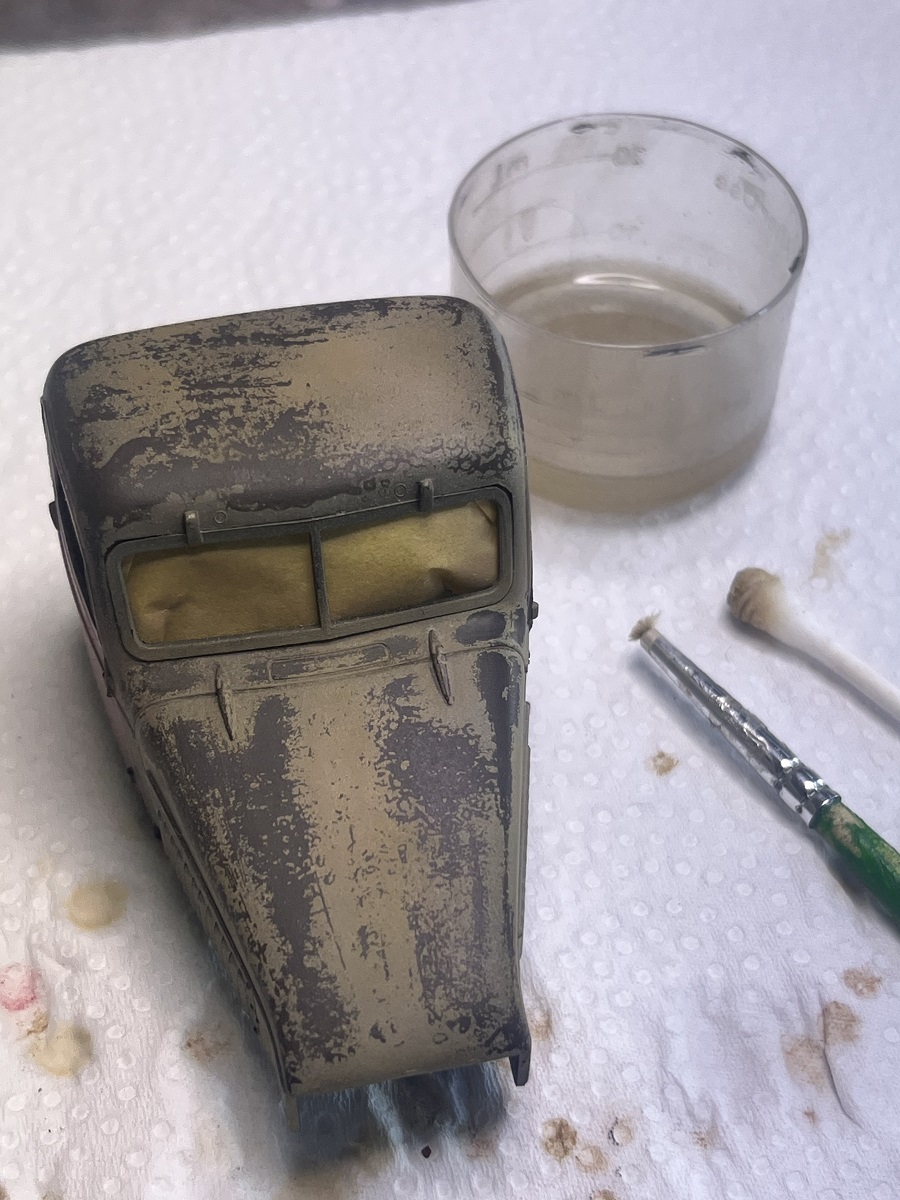
Ok, I just couldn’t help myself. This is literally 10 minutes work with water, cut off brush, Q-Tip and paper towel. This process is just so addictive, watching the panel come to life. Definitely my favourite technique to employ in this hobby.
I still need to go in and refine the panel edges with a toothpick but I will work around the main areas first.
Cheers, D
4 Likes
It’s awesome to be connected with artists who can make some great out of nothing!
3 Likes
Thanks HG, you are too kind! I’m just working with techniques that others have shared and trying to develop my own style. As you said, being able to connect with others of like mind is so good!
Cheers, D
3 Likes
Never forget YOU are the end result of what YOU create. Every single touch, when well focused, is your art. I’m not too kind, if you do a messy job you’re gonna get a written lash up side the head. What I see is someone who says “I want to replicate that picture in a model.” and does it. Continue doing what you’re doing and keep making us all smile. Kindly!
5 Likes
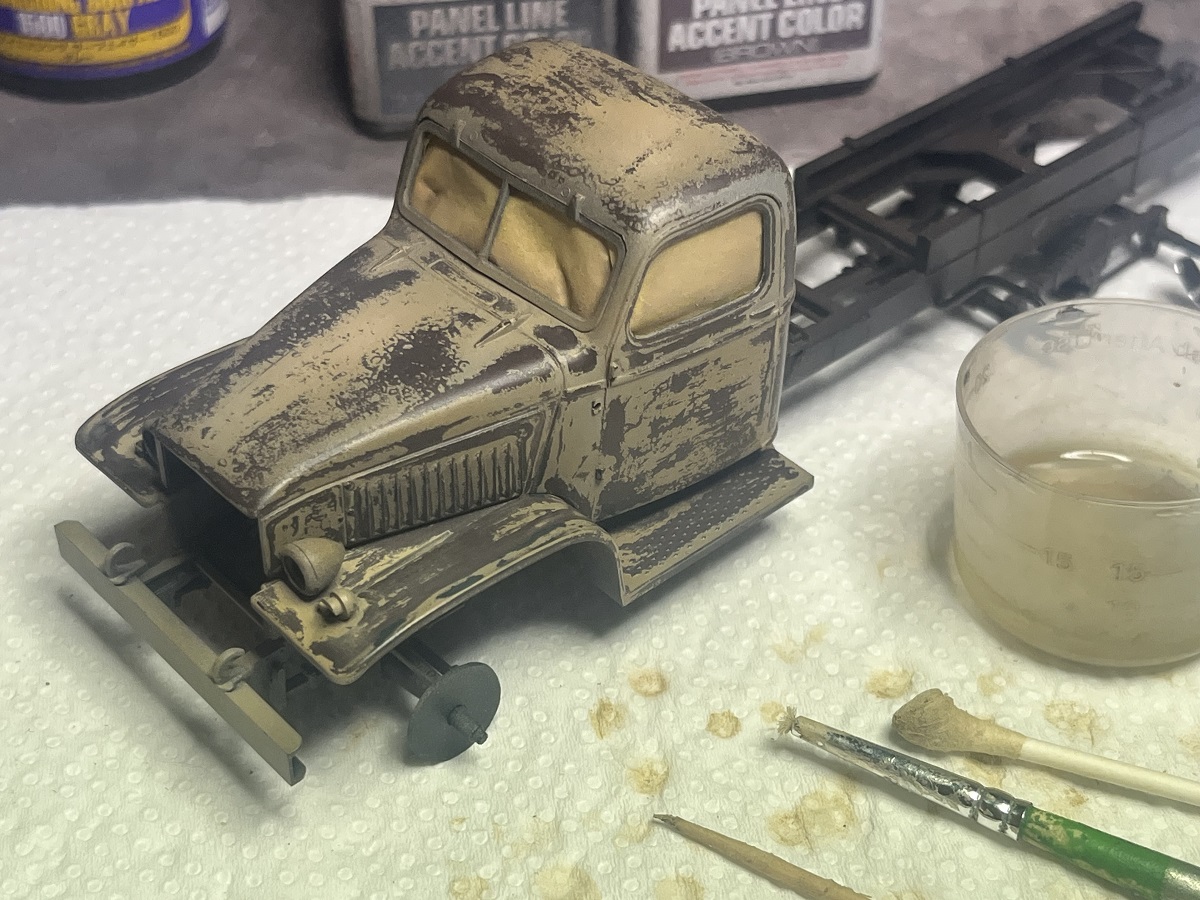
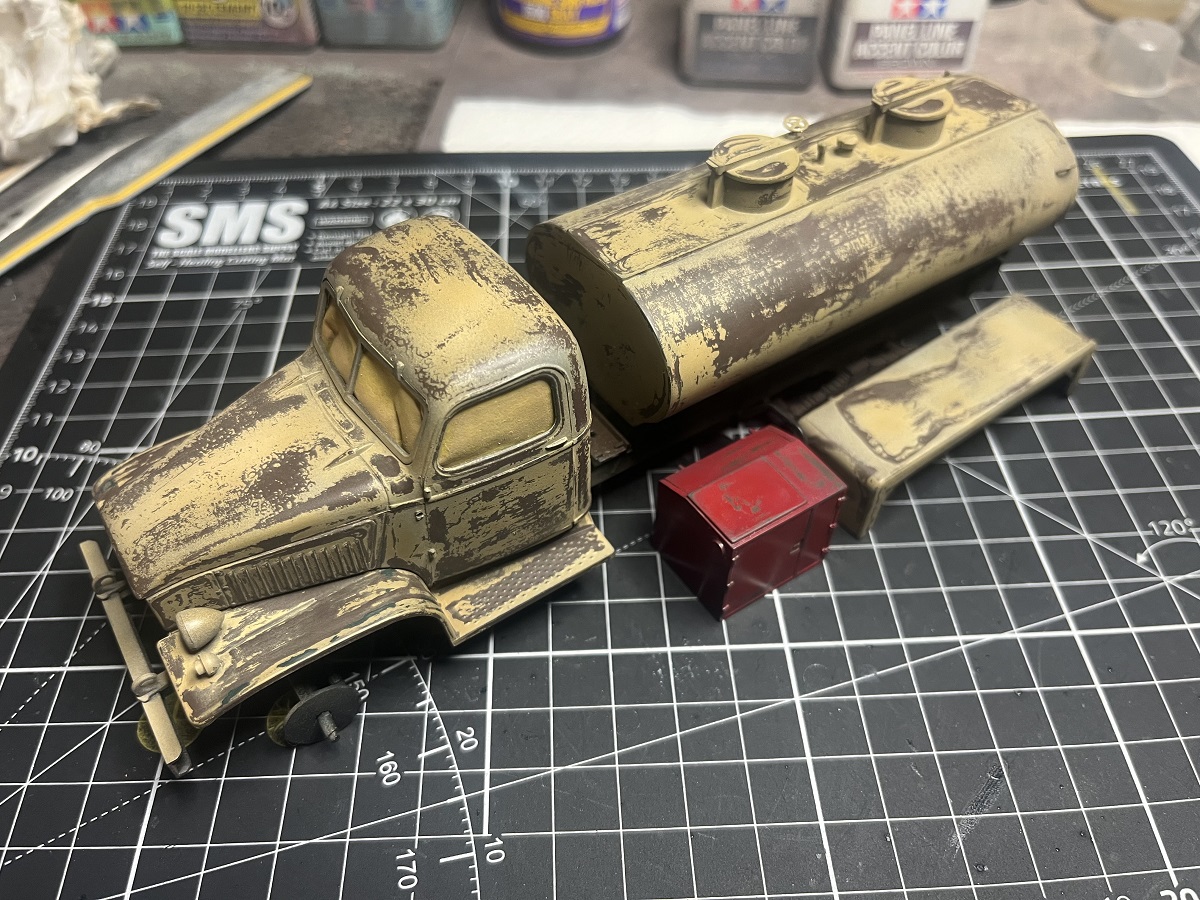
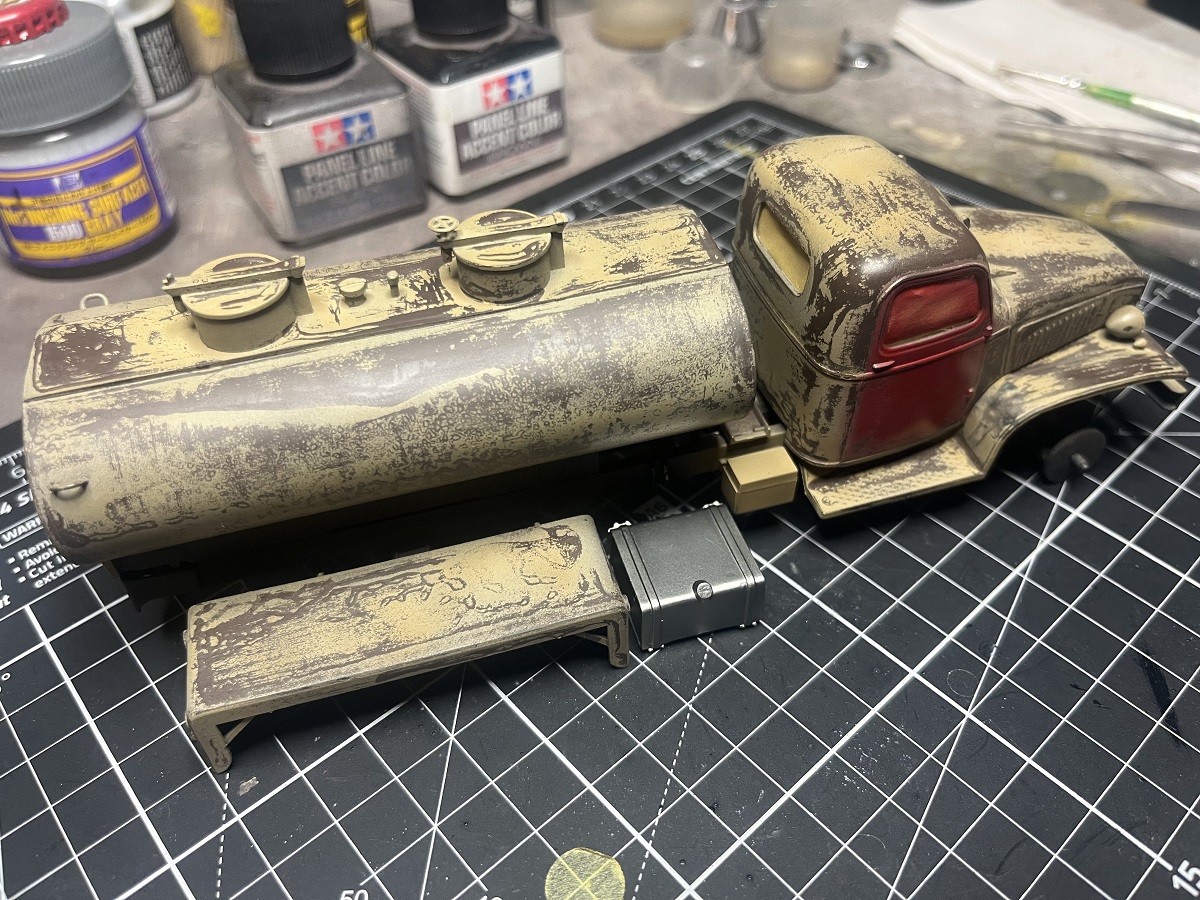
Moving along tonight, front guards and side steps done.
Trying not to dip the Q-Tips in my Shiraz 
Tank 90% there, just needs some refining.
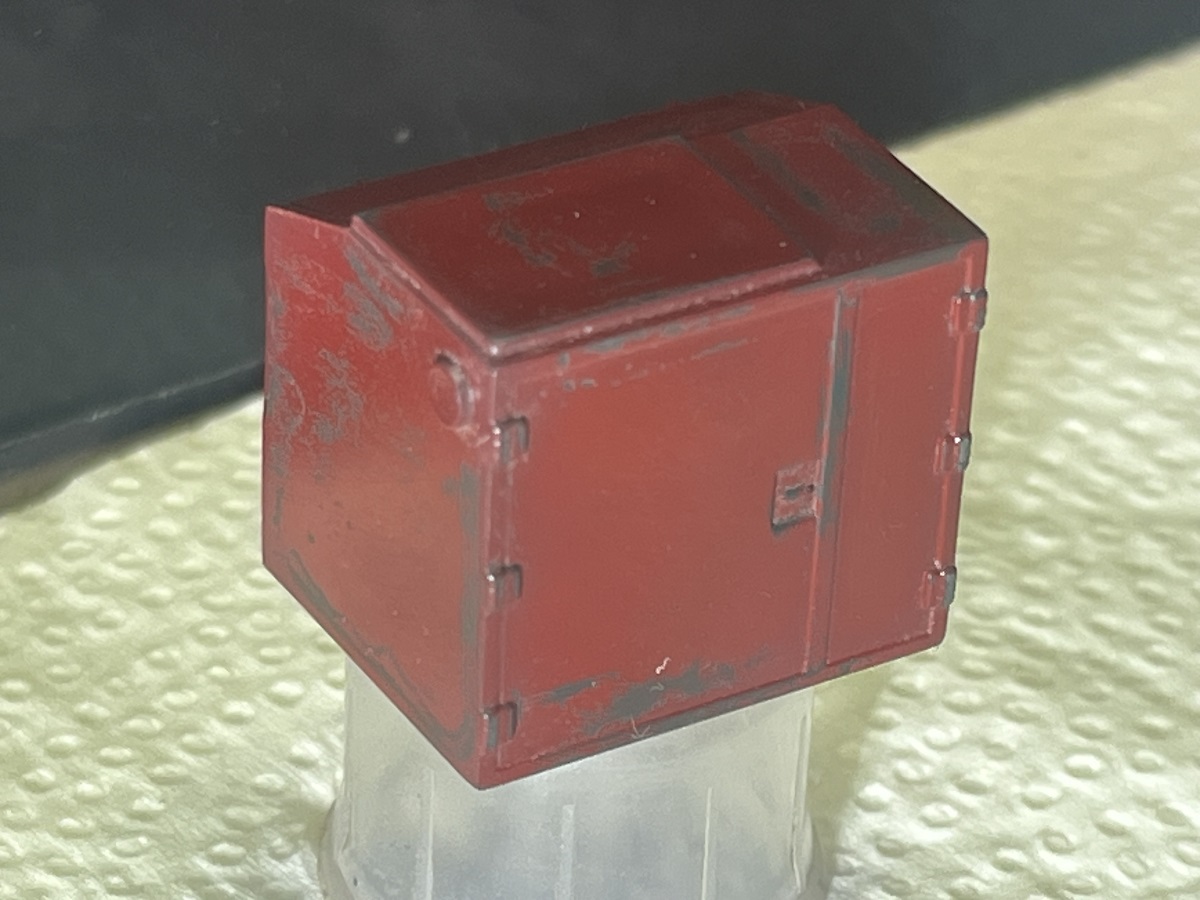
Light chipping on the red toolbox.
Very happy with the way this is progressing. Rear wheel guards next then lock it in with Dullcote ready for the next steps.
Cheers, D
6 Likes
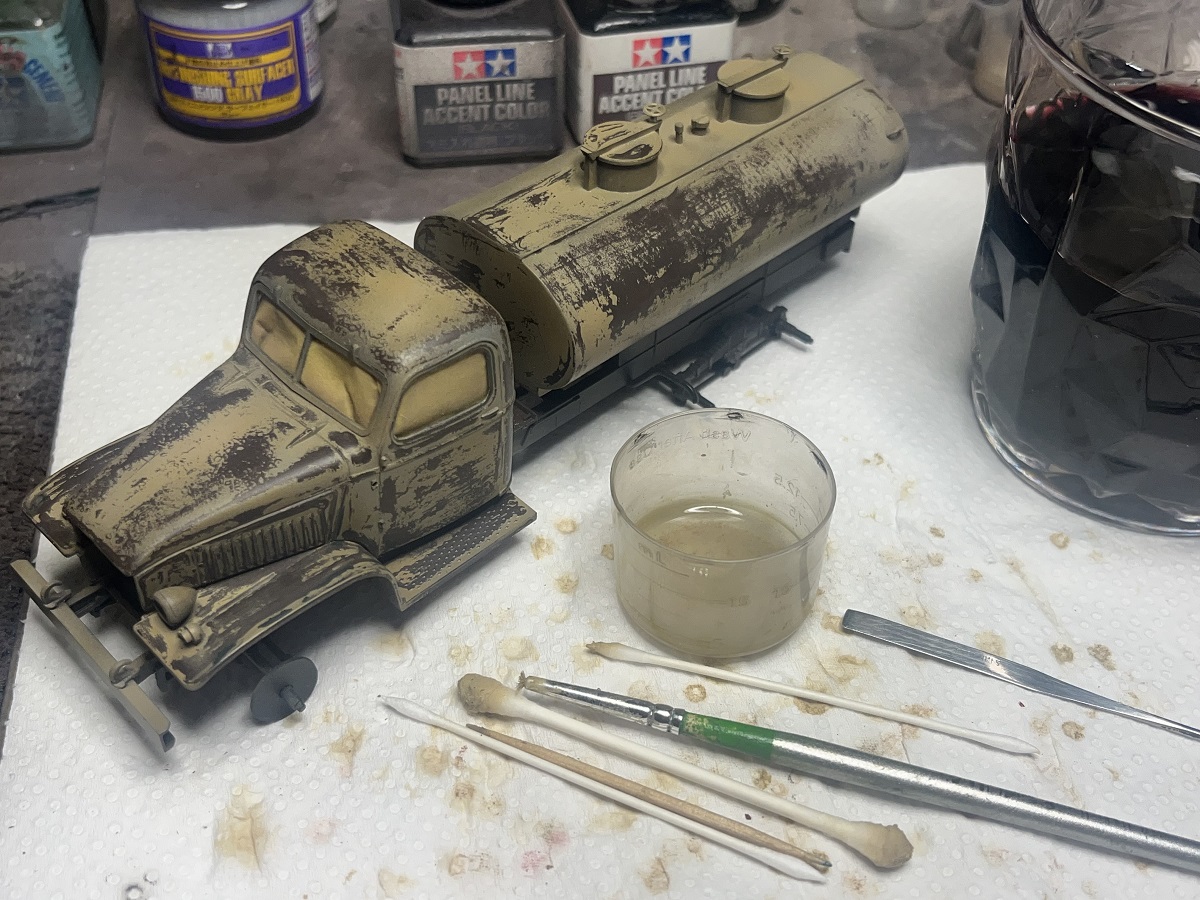
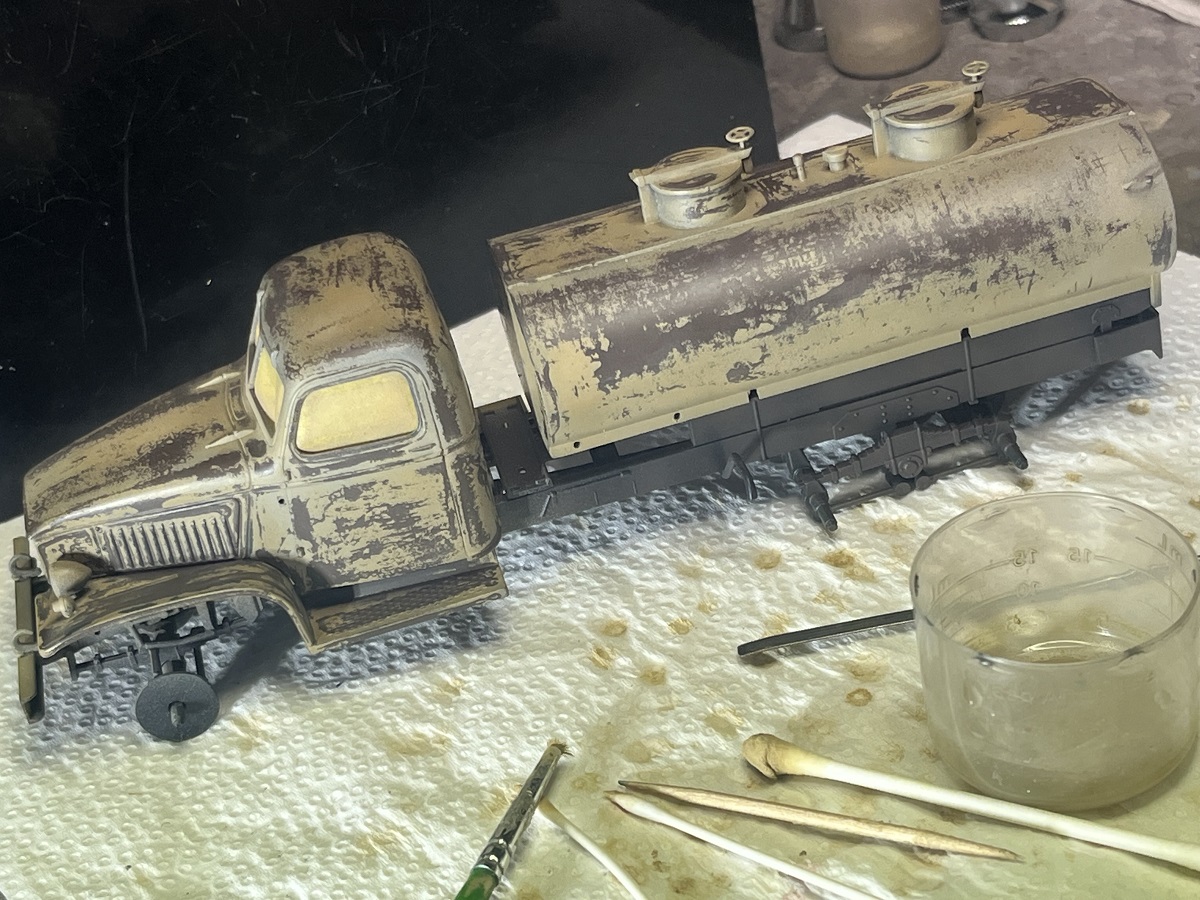
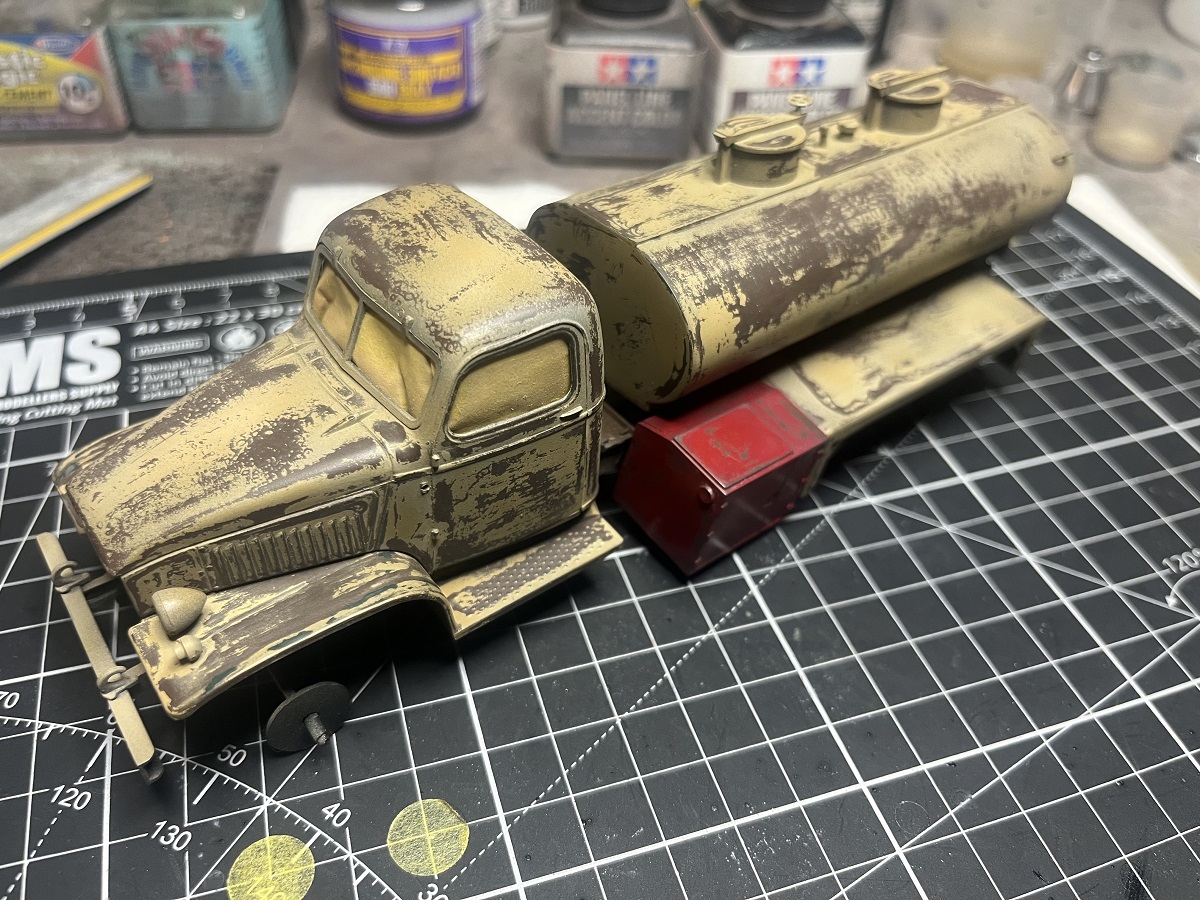
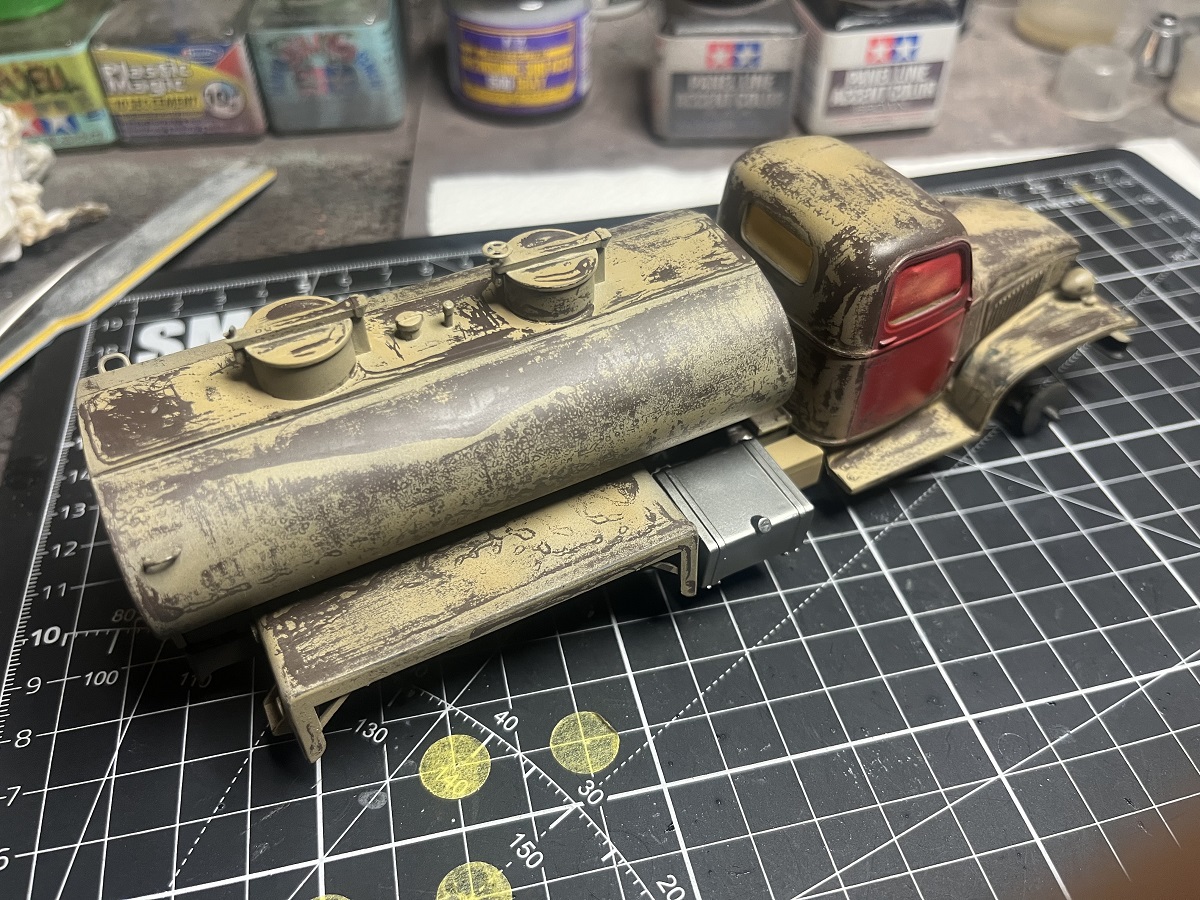
Worked on the rear guards tonight, time to test fit everything and see how the overall picture is shaping up Some BluTac comes in handy to hold things in place for a minute.
Yes, the owner managed to source a shiny new fuel tank so the old girl doesn’t go thirsty 
Next step is getting it up on its feet. A minor miracle, sitting flat on all 6 touch points 

There are a few small areas that need refining, but close to Dullcote time and then I will get to work with oils to grime it up.
Cheers, D
5 Likes
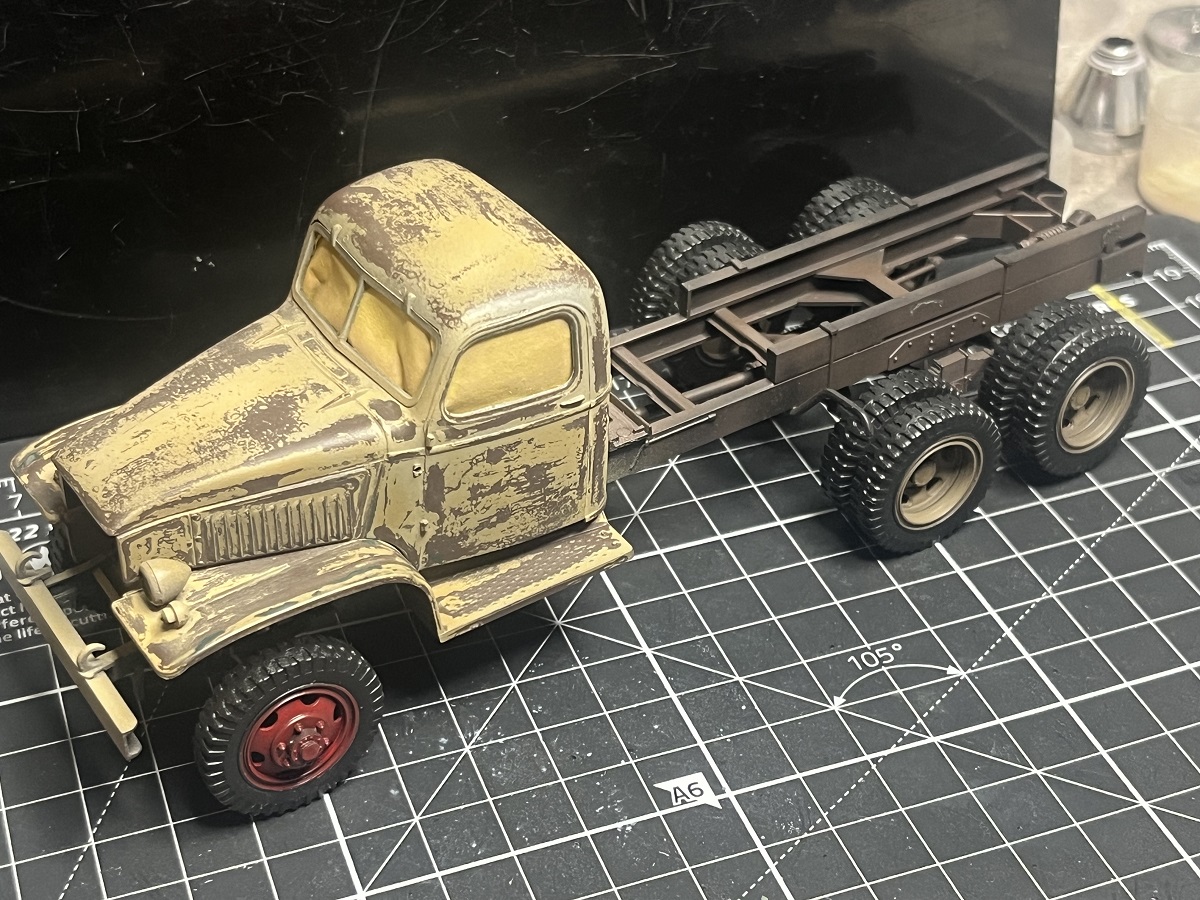
FYI - This maybe just unseen detail but those beams above the frame rails are actually wooden and not steel. I usually fill in the hollows on the backside of those beams with putty and then scribe wood grain into the outer surfaces. Just say’n / share’n.
They act as a bit of a cushion between the frame and the load and also allow the frame to move and twist independently of the load box/water tank/fuel browser tank. That is also why they are attached to the frame rails with those stirrup straps rather than being bolted solidly, directly to the frame.
2 Likes
I always destress my seat cushions to some extent but your work is giving me all new ideas.
Very nice!
2 Likes
I was always buying up the water trucks to use the closed cabs for other CCKW conversions so finally I decided I would do the reverse and use one of the left over Tamiya open cabs for the Italeri water truck.
Mine is supposed to represent an auxiliary water truck in airport fire service, hence the extra plumbing behind the cab.
The cabs swap back and forth (Tamiya to Italeri) and are a near drop-in conversion except around the bottom of the engine where some cutting maybe required.
3 Likes
Very nice build, and great info as always Mike, thanks for checking in!
Cheers, D
1 Like