@TacFireGuru, if you read the above post I did a while ago, it was something I had thought about doing, and my reasoning behind it. It’s just something I felt was right for this build thread… John
Ah, I DIG it!! Sweet idea considering I have the HEMTT, two M923 5-tons, M577, M151A2 Jeep, M998 HMMWV and a Prototype HMMWV to do. 
Mike
1 Like
Then this will be the thread for you Mike 
I’d be down for a continuing thread. I have more personal connection builds in mind or planned than can be built in the length of a GB. Some for my service, some for my son’s, and some for my dad’s time in.
2 Likes
Cool, that’s the reason I’m going to keep the thread active, too many people have interesting and meaningful builds left to do… Welcome aboard Carlos @Stikpusher👍
Simply phenomenal build Angel.
2 Likes
Cool! I have a couple of HMMWVs sidelined from a couple of years ago that fall under this category. I want to finish them up in 2021.
1 Like
Thanks for your comments, gentlemen!
They’re highly appreciated!
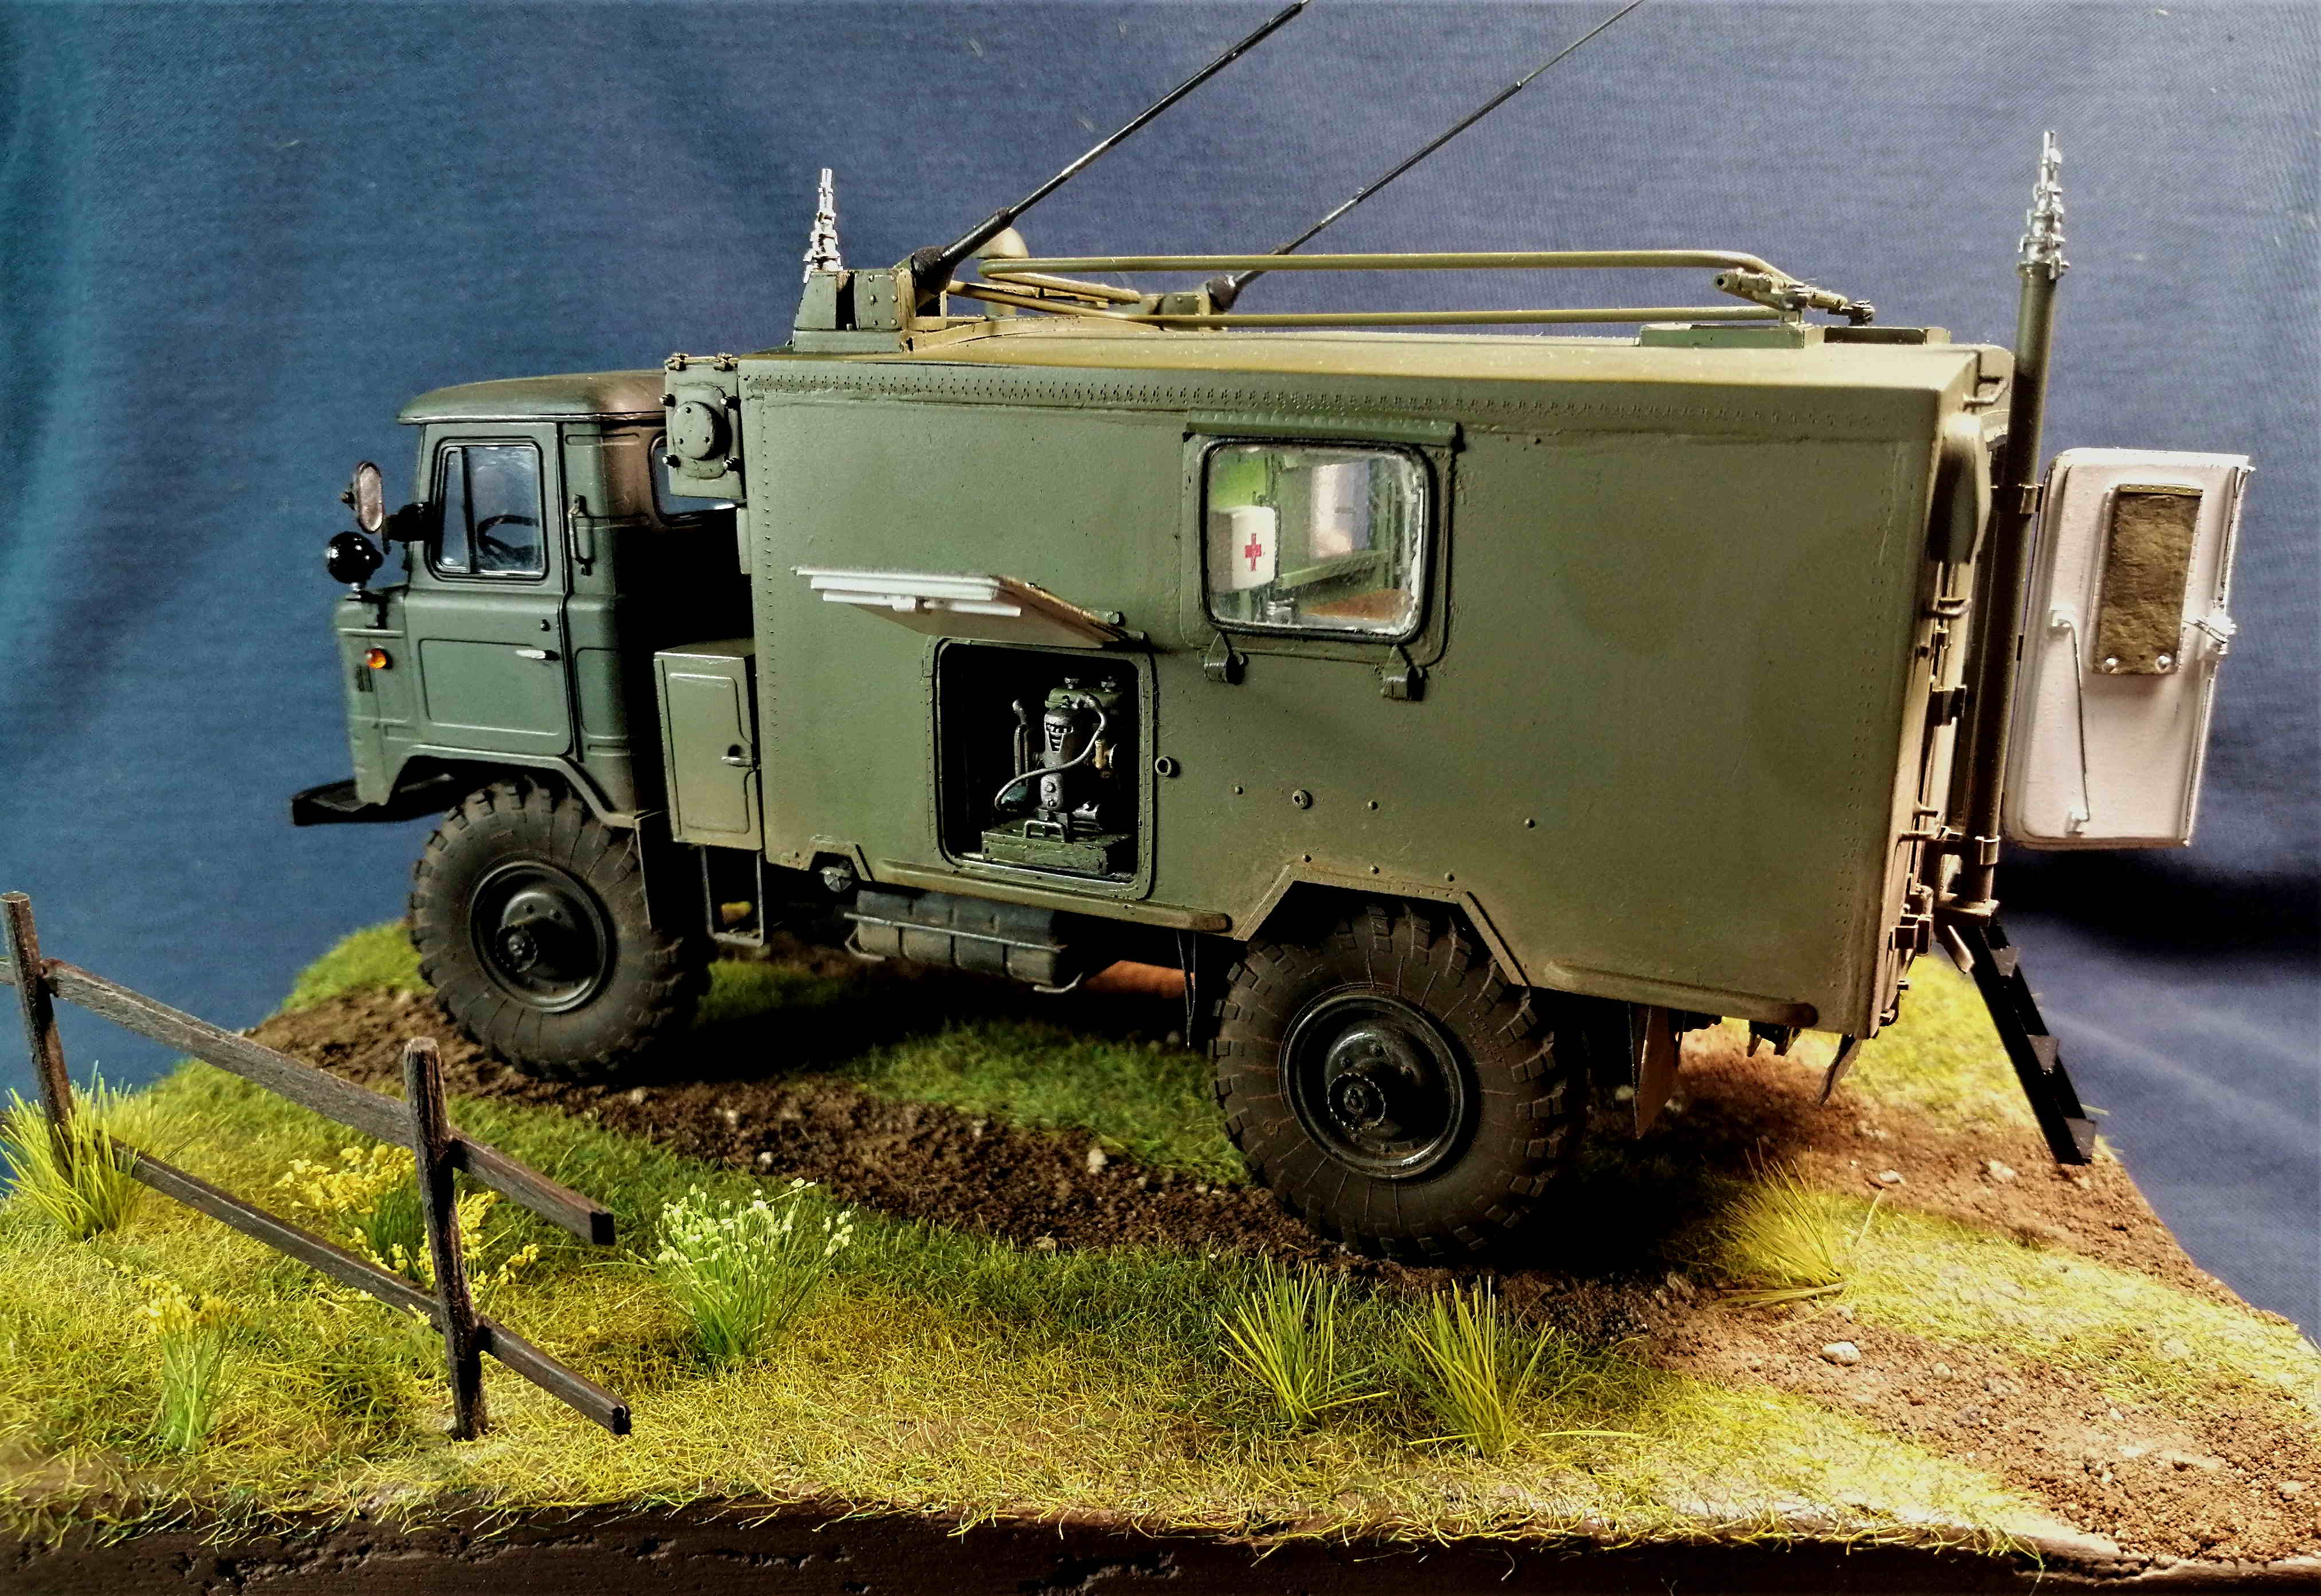
I delved into base building.
My first ever base,so I had a lot of questions asked- and answered by- knowledgeable modelling buddies.
I sculpted some terrain with Knauf Uniflott applied on the foam insulation:

Once the Uniflott dried I sanded the rugged parts.
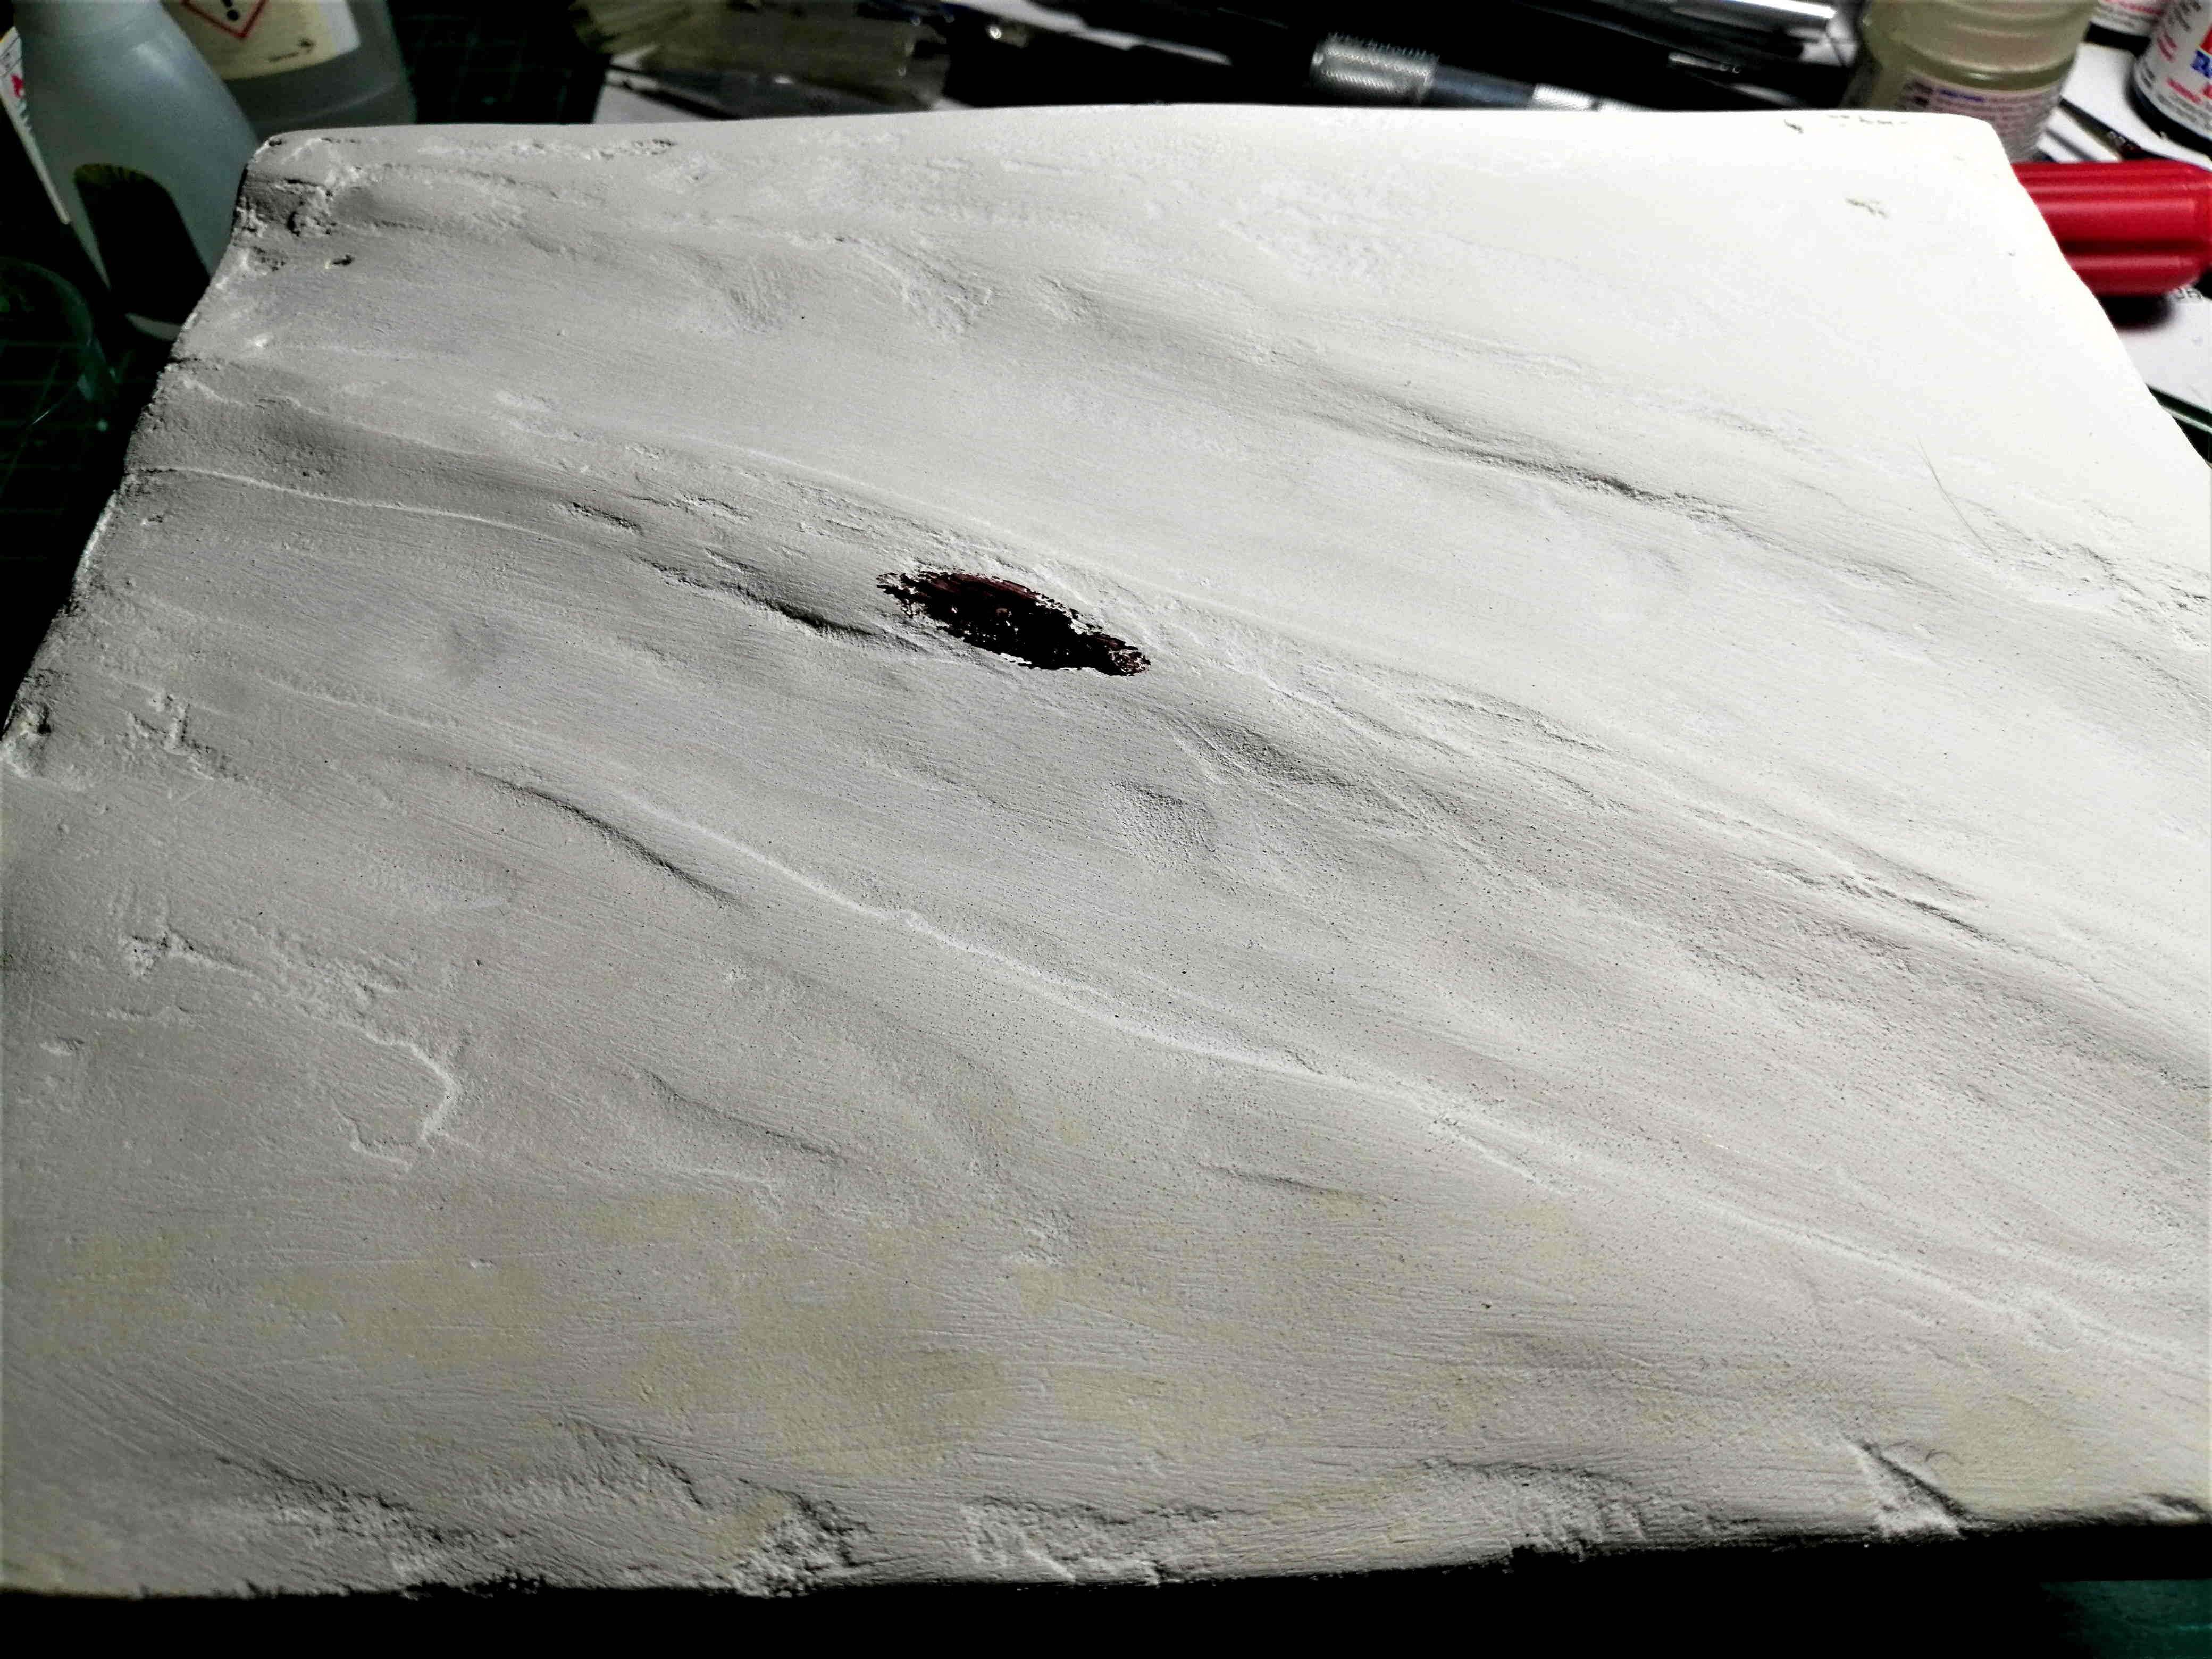
Sprayed some Tamiya Flat Earth and Buff to hide the Uniflott and sealed the colours with a lavishly airbrushed layer of Mr.Hobby Matt Clear.
Then using a DIY Static Grass Applicator, I covered some parts of the base with grass.It was easy and painless- except for the 2 electric shocks, I suffered when carelessly shortcutting the power lines…
I further added some flowering plants and tall grasses and sprinkled the road with small stones.Built and added a weathered wooden fence:


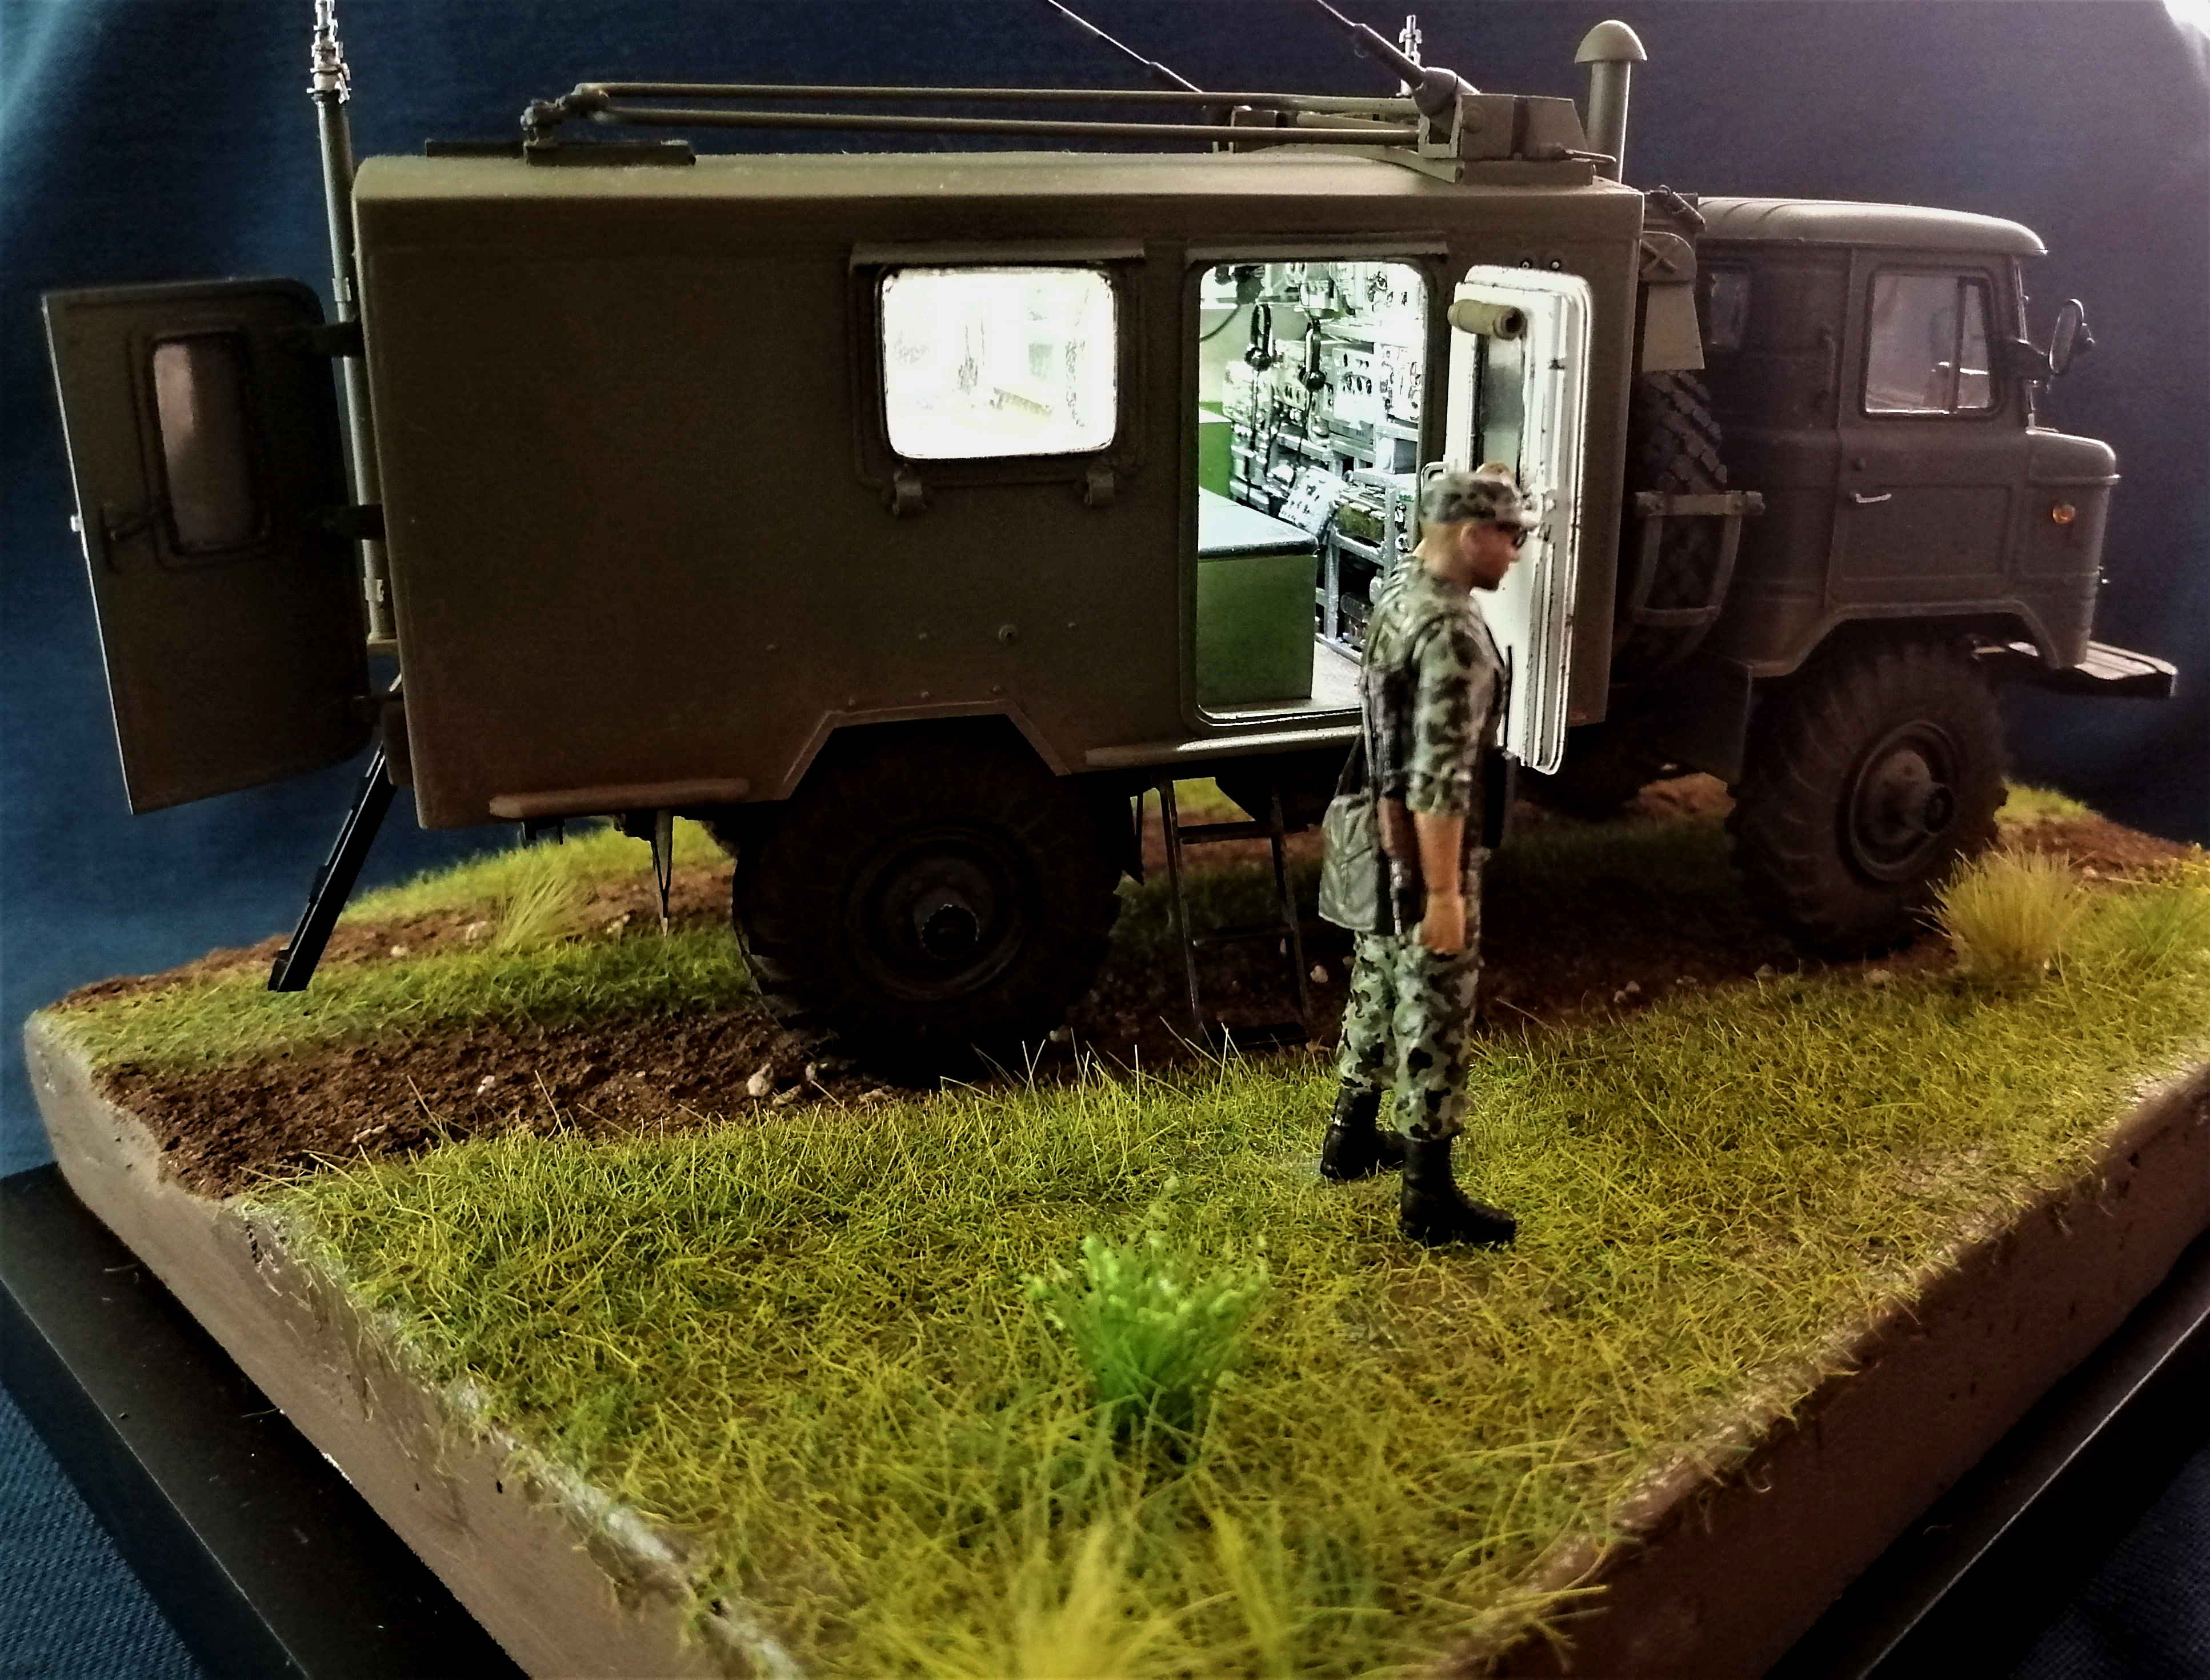
My Border Guard is undergoing painting by Kalin(@k_mero4) and I will receive it tomorrow to finish off its camouflage and equipment painting

Then I’ll only need to apply some oil paint weathering to the truck, construct and mount the baterry casing underneath the picture frame, run the wiring through the base/connect it to the battery pack and glue the base to the picture frame.

9 Likes
Looks great as always.
This will be something new in 2021 I will be trying for the 1/72 diorama campaign. I do have a cheap commercial applicator but I hope not to shock myself to much either.
2 Likes
Well done Angel, the Dio base looks really good. Adds a nice it of realism to it all and the figure will add the scale and a bit of movement in the whole thing
1 Like
An outstanding setting for a just phenomenal build, Angel. I can’t say enough about your incredible scratchbuilding skills or intricate attention to detail. Your talent and skill are truly amazing. I hope you share more builds like this with us in the future.
2 Likes
I second that … It was an absolute pleasure to watch it being crafted.
1 Like
Like others just waiting to see it all come together. Some photos with the lights on when all is finished are anxiously awaited.
2 Likes

Nice work Angel.
A little tip - to smooth out the plaster without having to sand it down later: after applying the plaster, lay some food wrap (the clear film type) over the plaster. Gently rub and press down on the film to shape and smooth the plaster. You can smooth out just the sharp ridges or make the whole thing very smooth this way.
Allow the plaster to start to cure then ease off the film and allow to set fully. Just after removing the film you can sprinkle cat litter (clay type) here and there and gently push them down to bed in the plaster represent stones exposed by wear, rather than dropped on top.
Also, if you place the model on top of the food wrap you can gently push down to leave a slight impression where the wheels/tracks will be. This makes sure you have contact from all wheels or tracks with the ground work. It also means you get no plaster residue on the wheels or tracks like you do if you put the model straight on top of the uncured plaster…
7 Likes
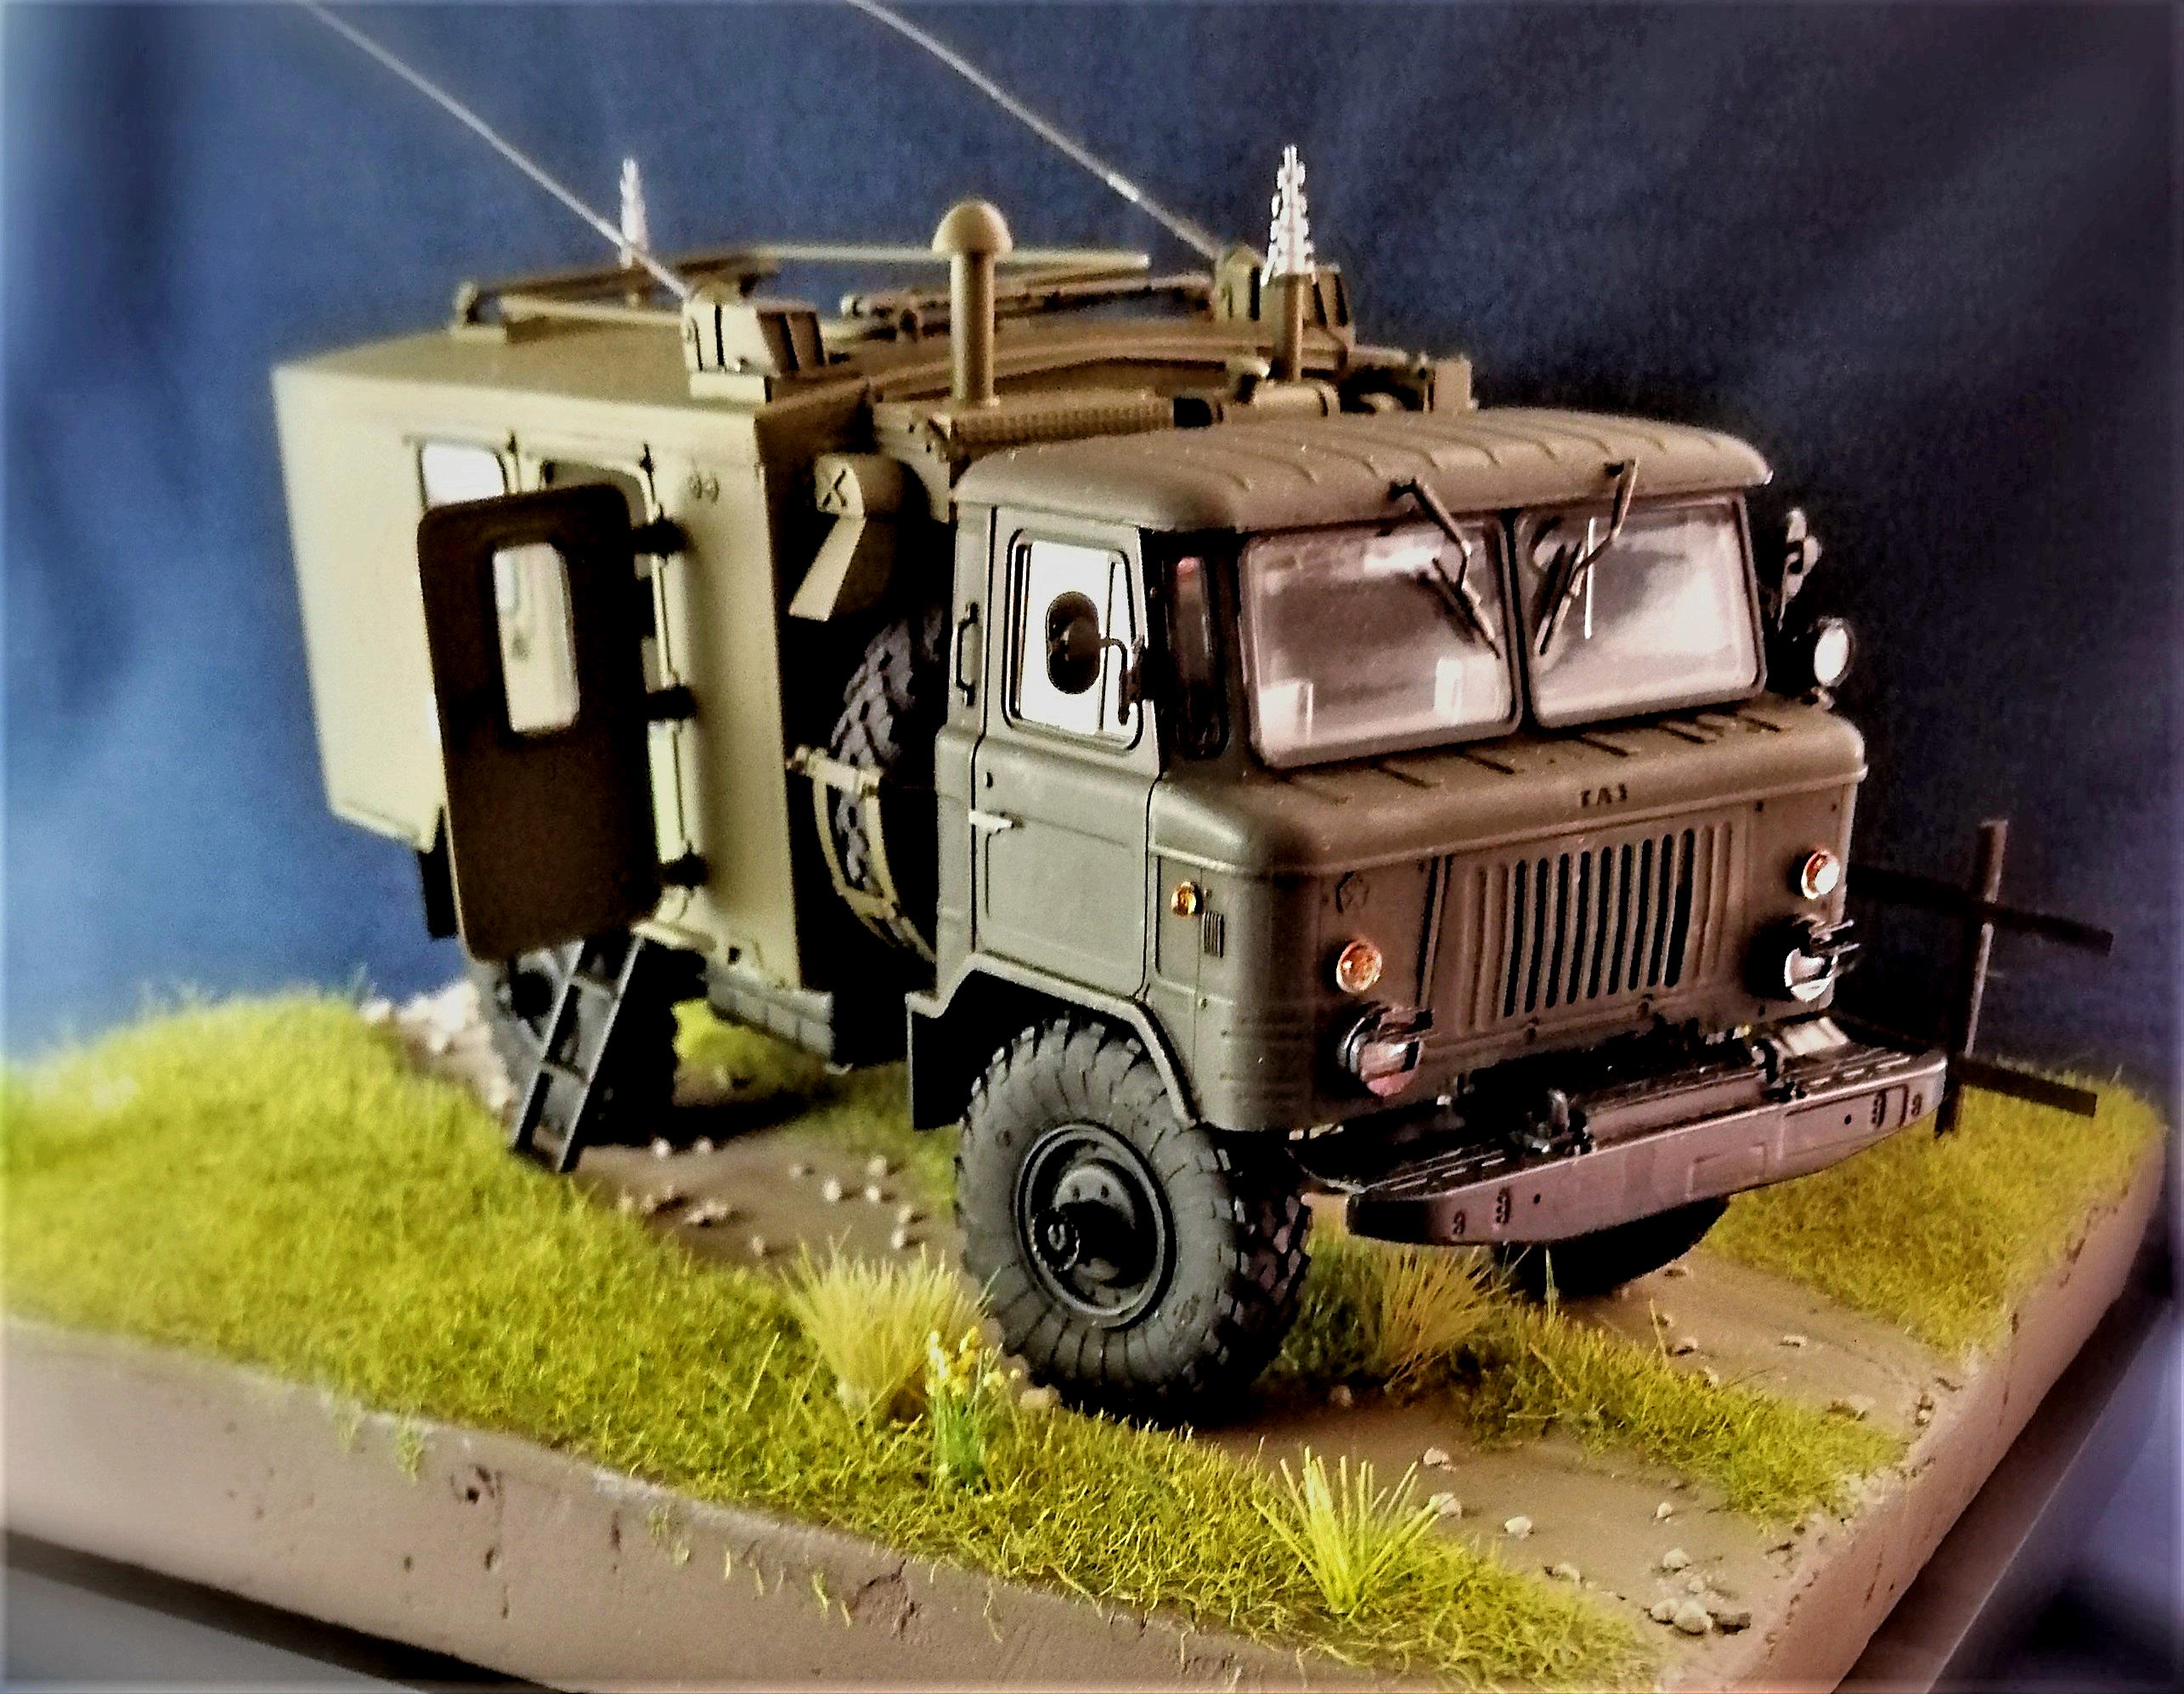
Although I still have to remove some static grass that strayed on the base sides, I call my R-142N Deymos radiotruck finished:
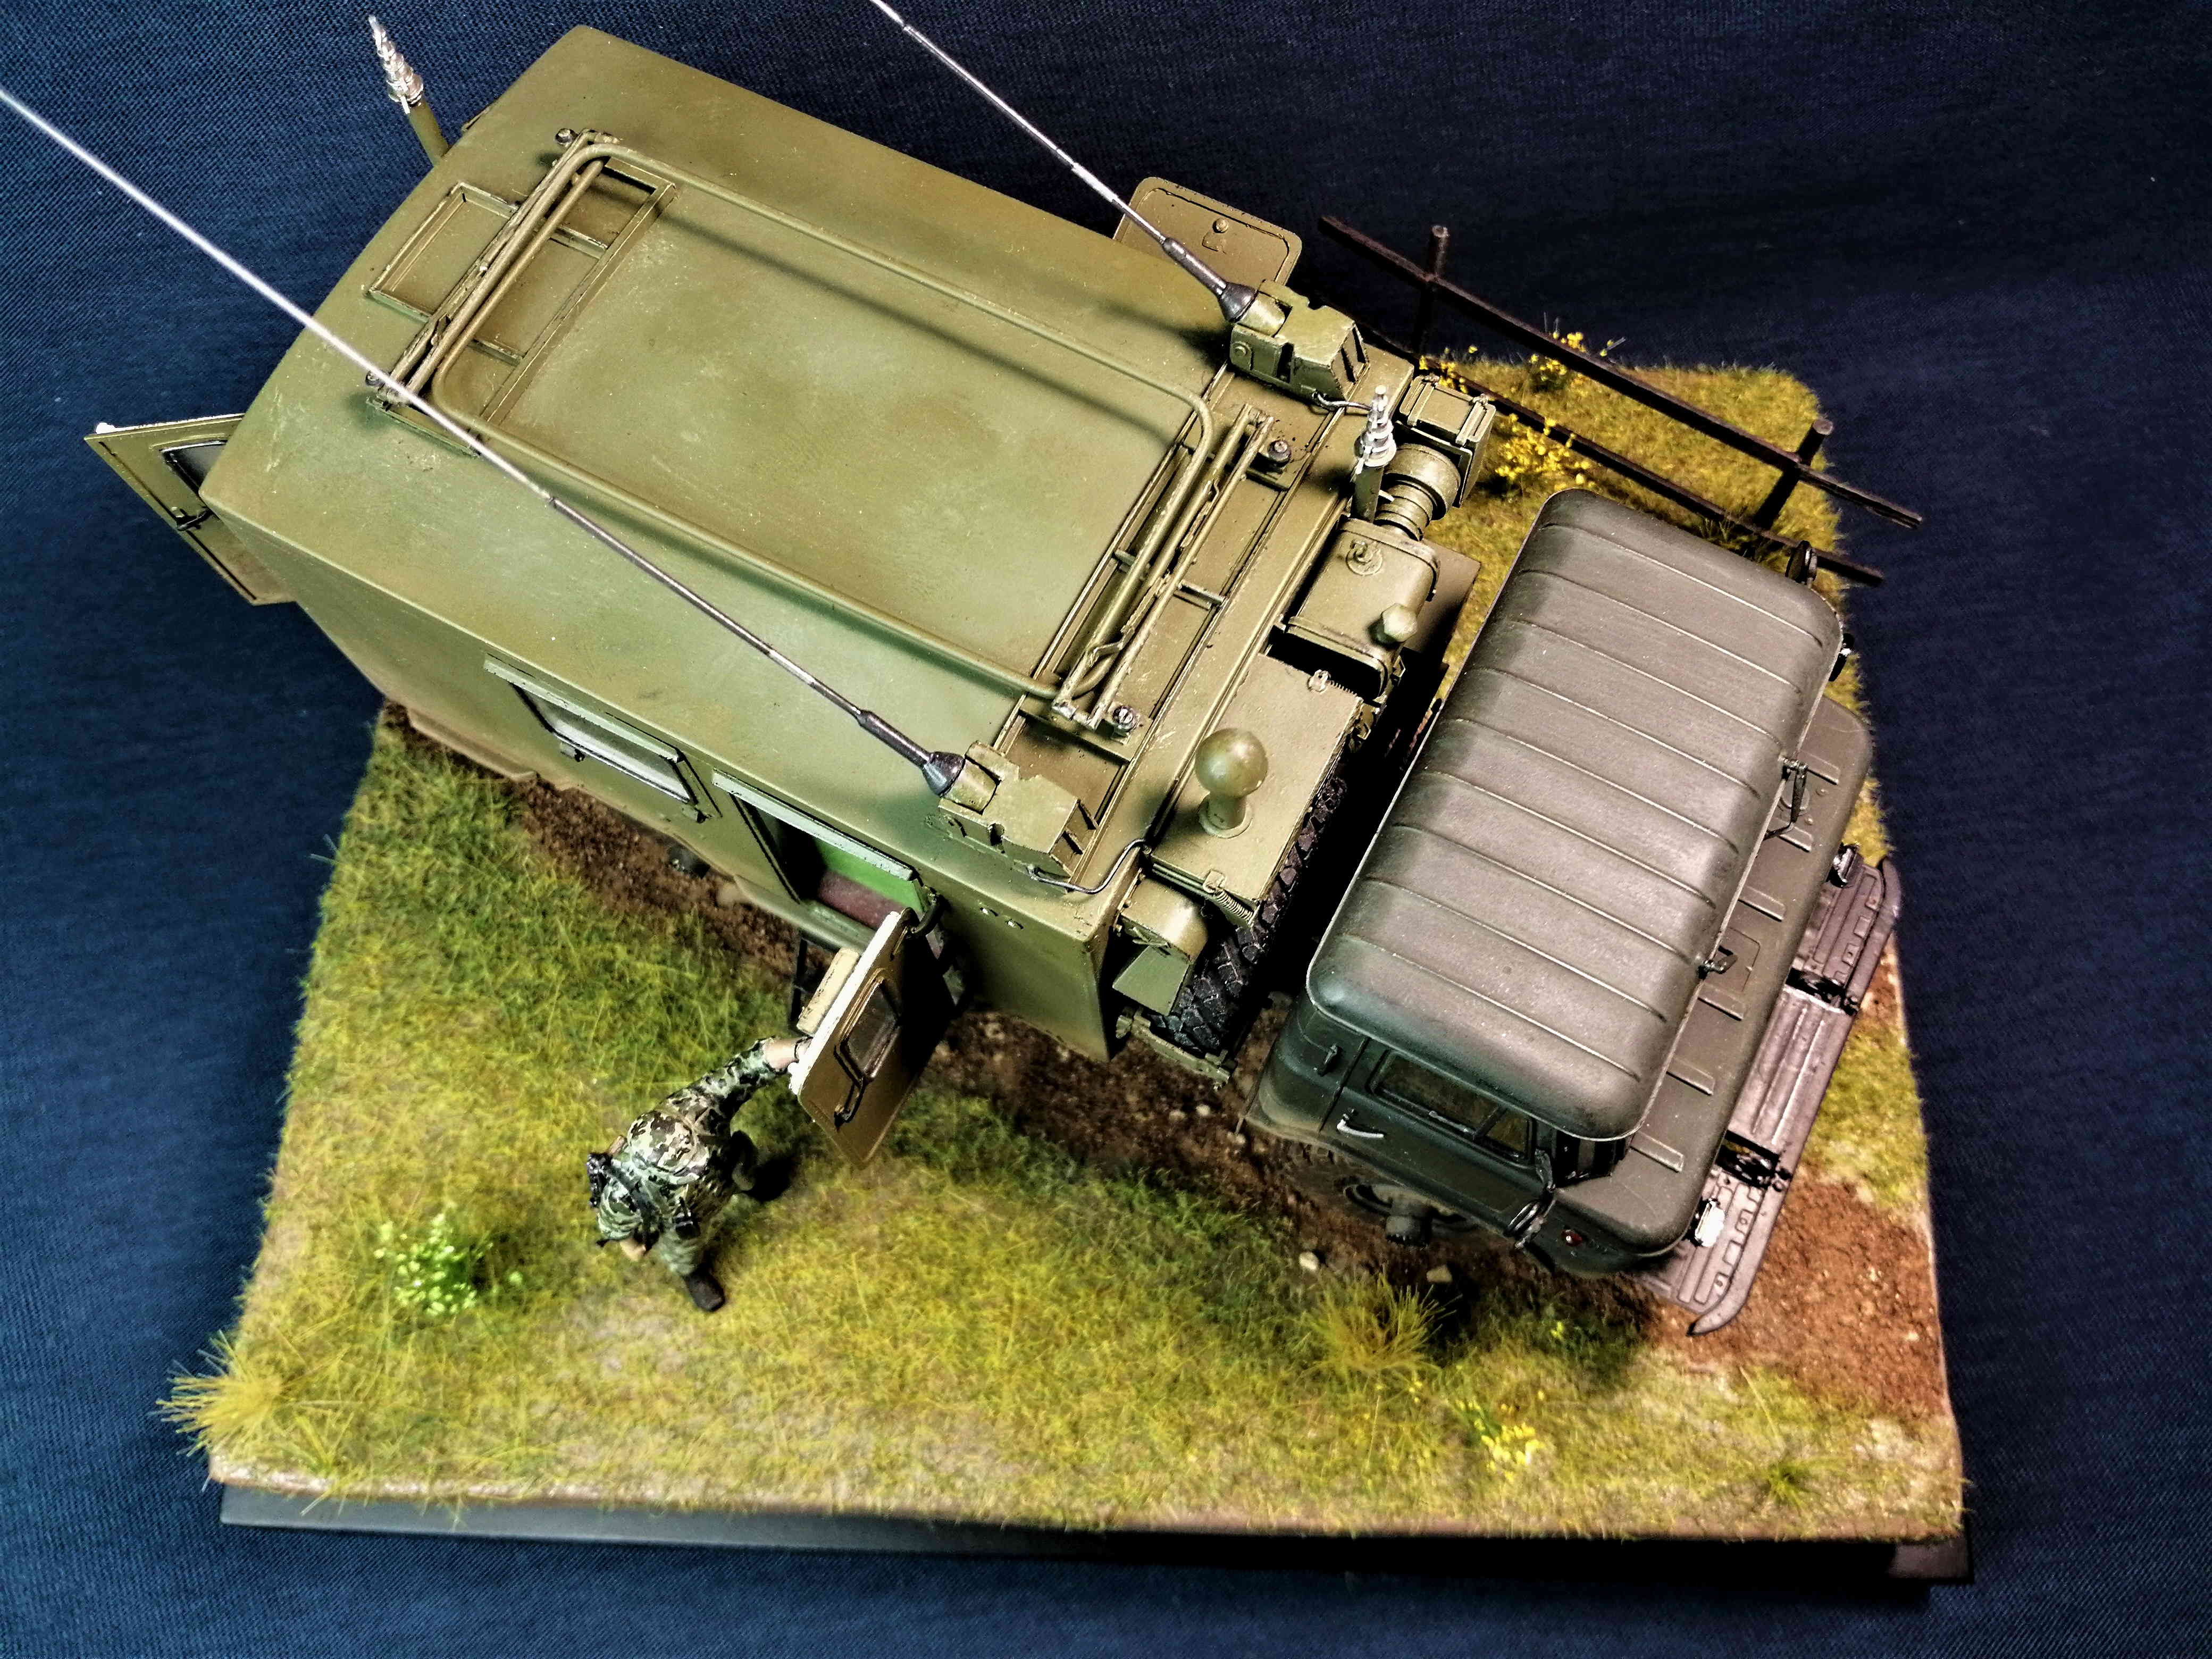


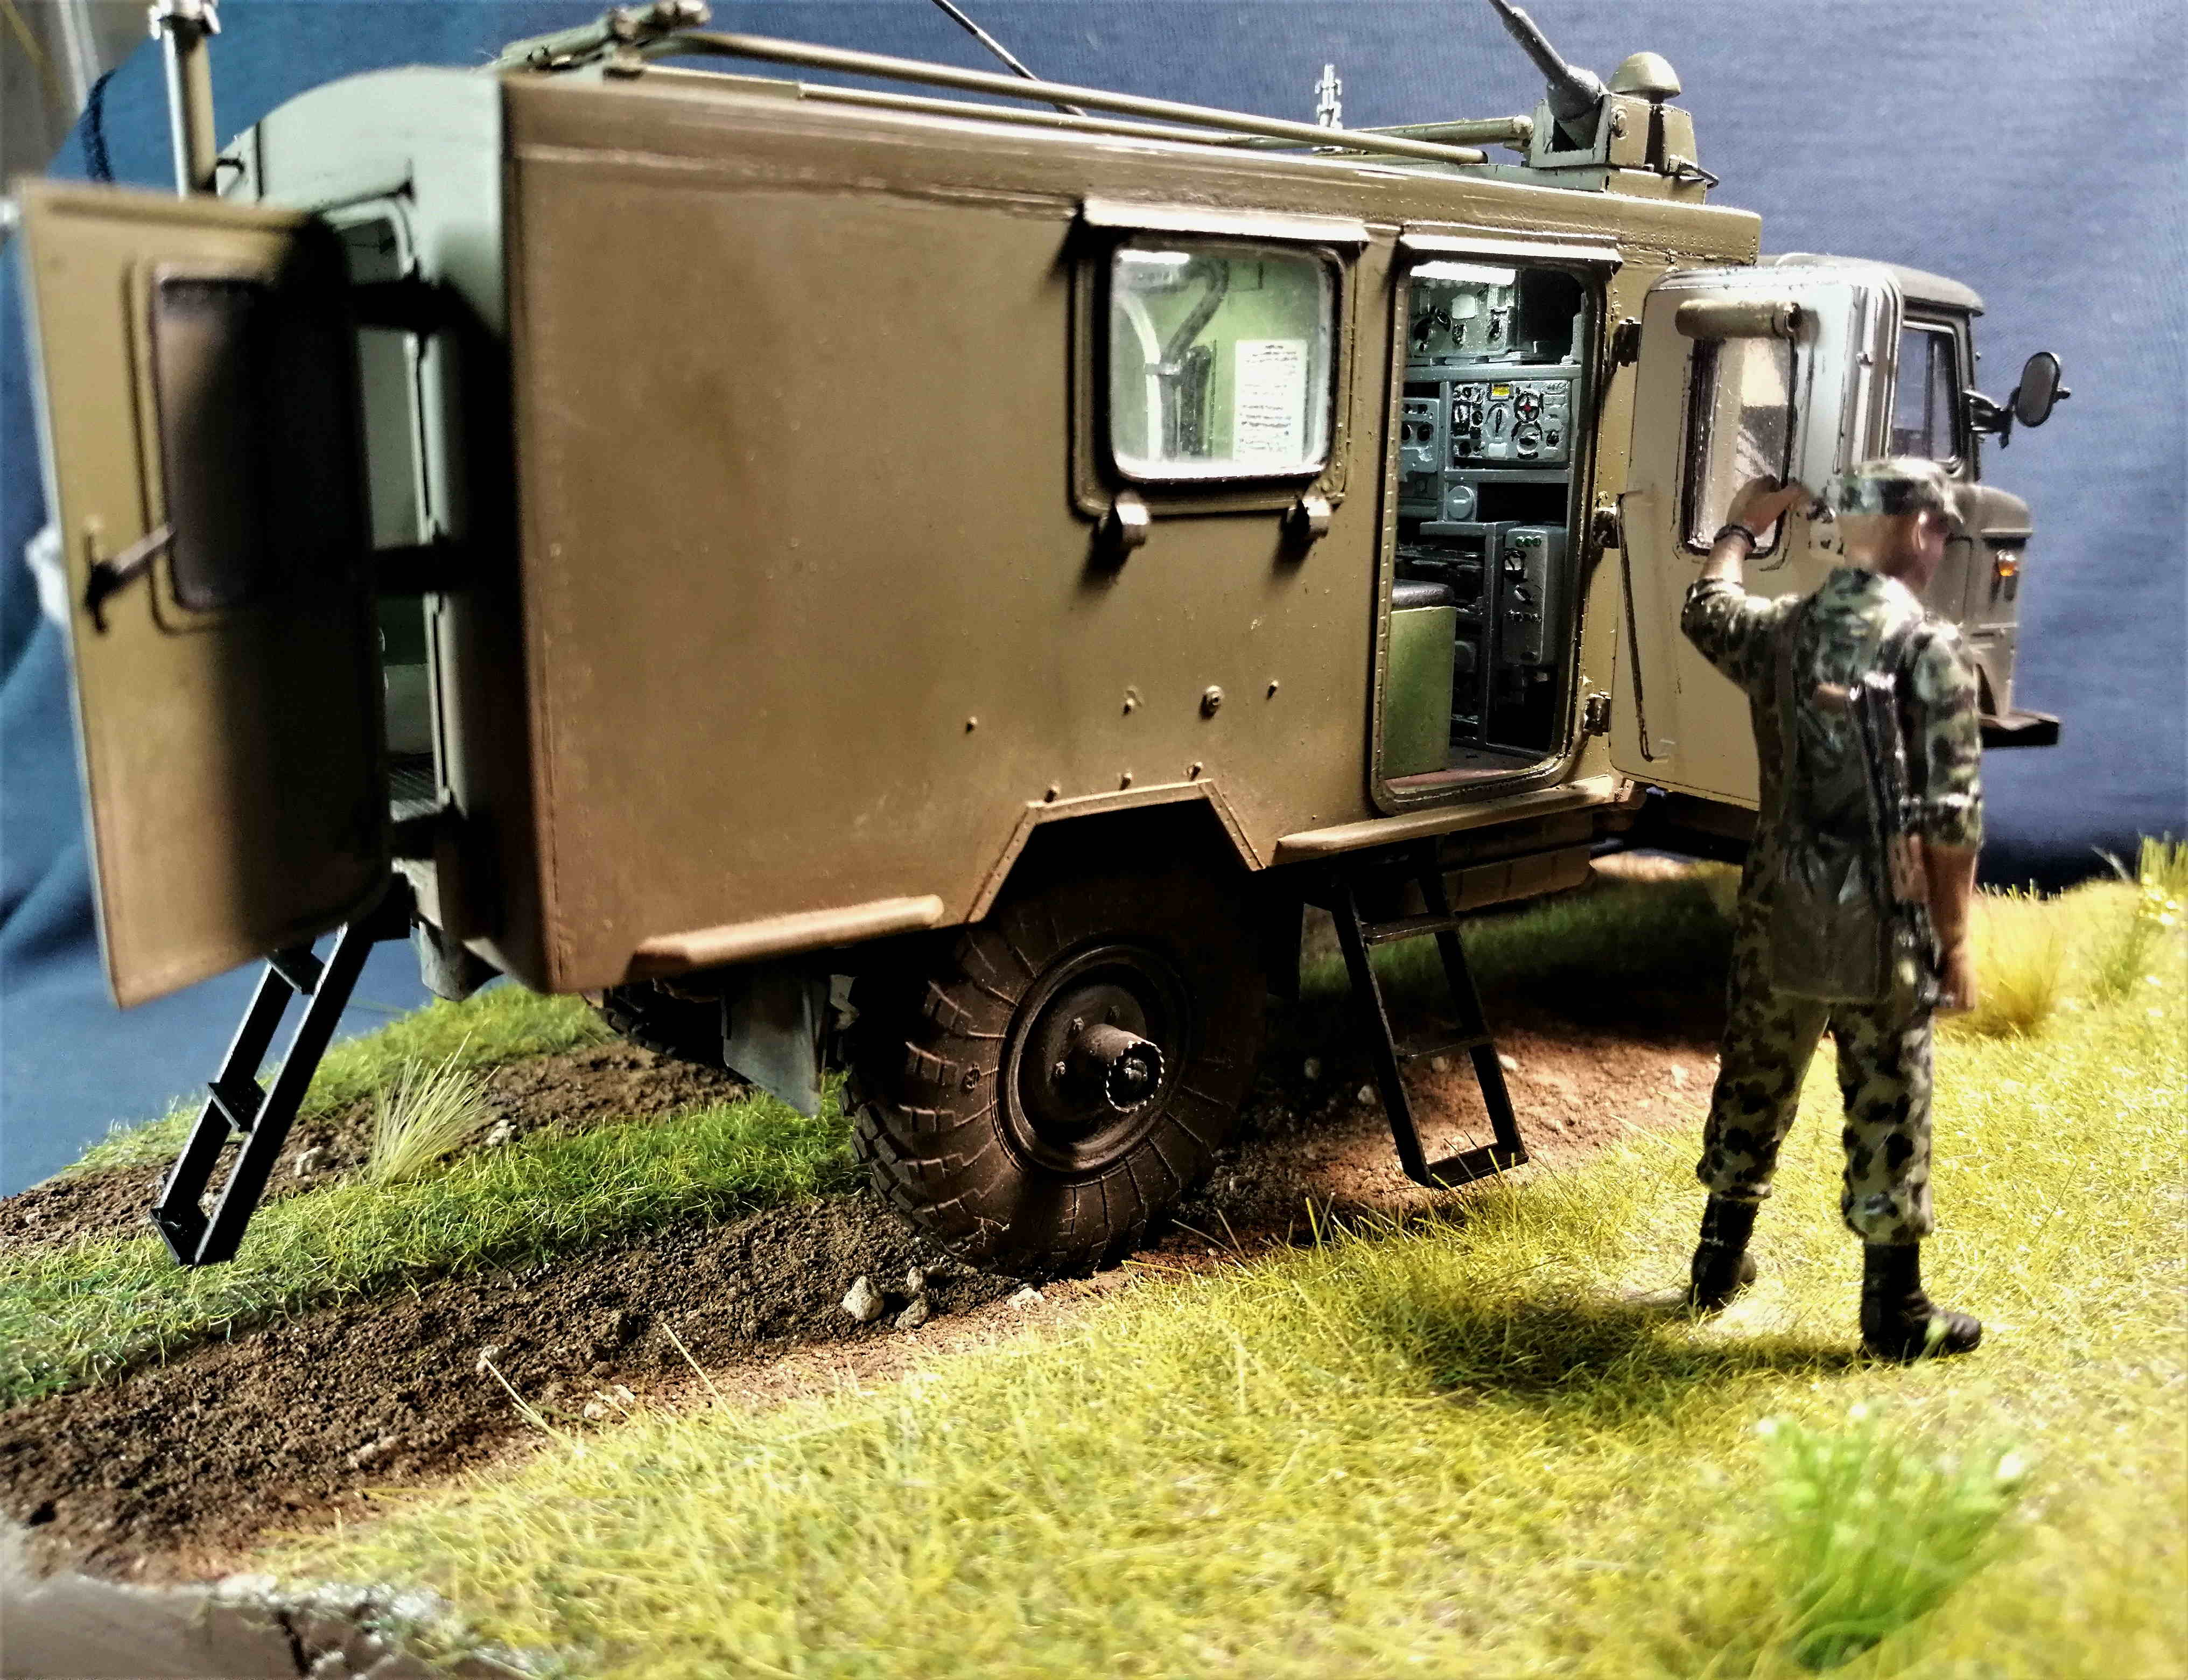


Thanks for having watched and commented my build!
Cheers,
Angel
11 Likes
Outstanding, especially the interior and the lighting!
—mike
2 Likes
Angel @ayovtshev that is simply outstanding. You have put so much effort and devotion to this build it’s been a joy to watch for I think everyone who has looked in.
The simple and uncomplicated base give it the perfect setting to show it it off to its maximum.
Well done on leaving the cab tiltable, it shows off the lovely engine you created and all the detailed chassis areas that would of been hidden.
The nice single figure gives it scale and your plan with the lighting was pure genius…if gives a great impression of how that type of vehicle looks on field conditions, and the lights show us all the painstaking intricate detail that went into not only the beautiful radio stations but the body as a whole…
A gold winner in any event that it would be put into. Superb.
1 Like
Now this is the last kit to be done from the old campaign, I will now try to see if I can;
- Allocate campaign ribbons still on the old site to everyone who completed their builds.
- See if it as simple as changing the thread title and making this an ongoing live thread for others to do their own Golden Memory builds in as alot said they would.
Hopefully one of the admins could assist or advise on that …
Thanks for everyone who took part in the old campaign from the Marder to Angels radio truck… All brilliantly done and it was great reliving those old memories…
Updates on continuing thread to follow
2 Likes
Well worth the time it took to complete this build. I especially like the lighted interior it does help show off all the work you put into the interior. Very well done.
2 Likes
Angel - I’ll add to all my comments thus far and say, absolutely stunning; a masterpiece!
2 Likes