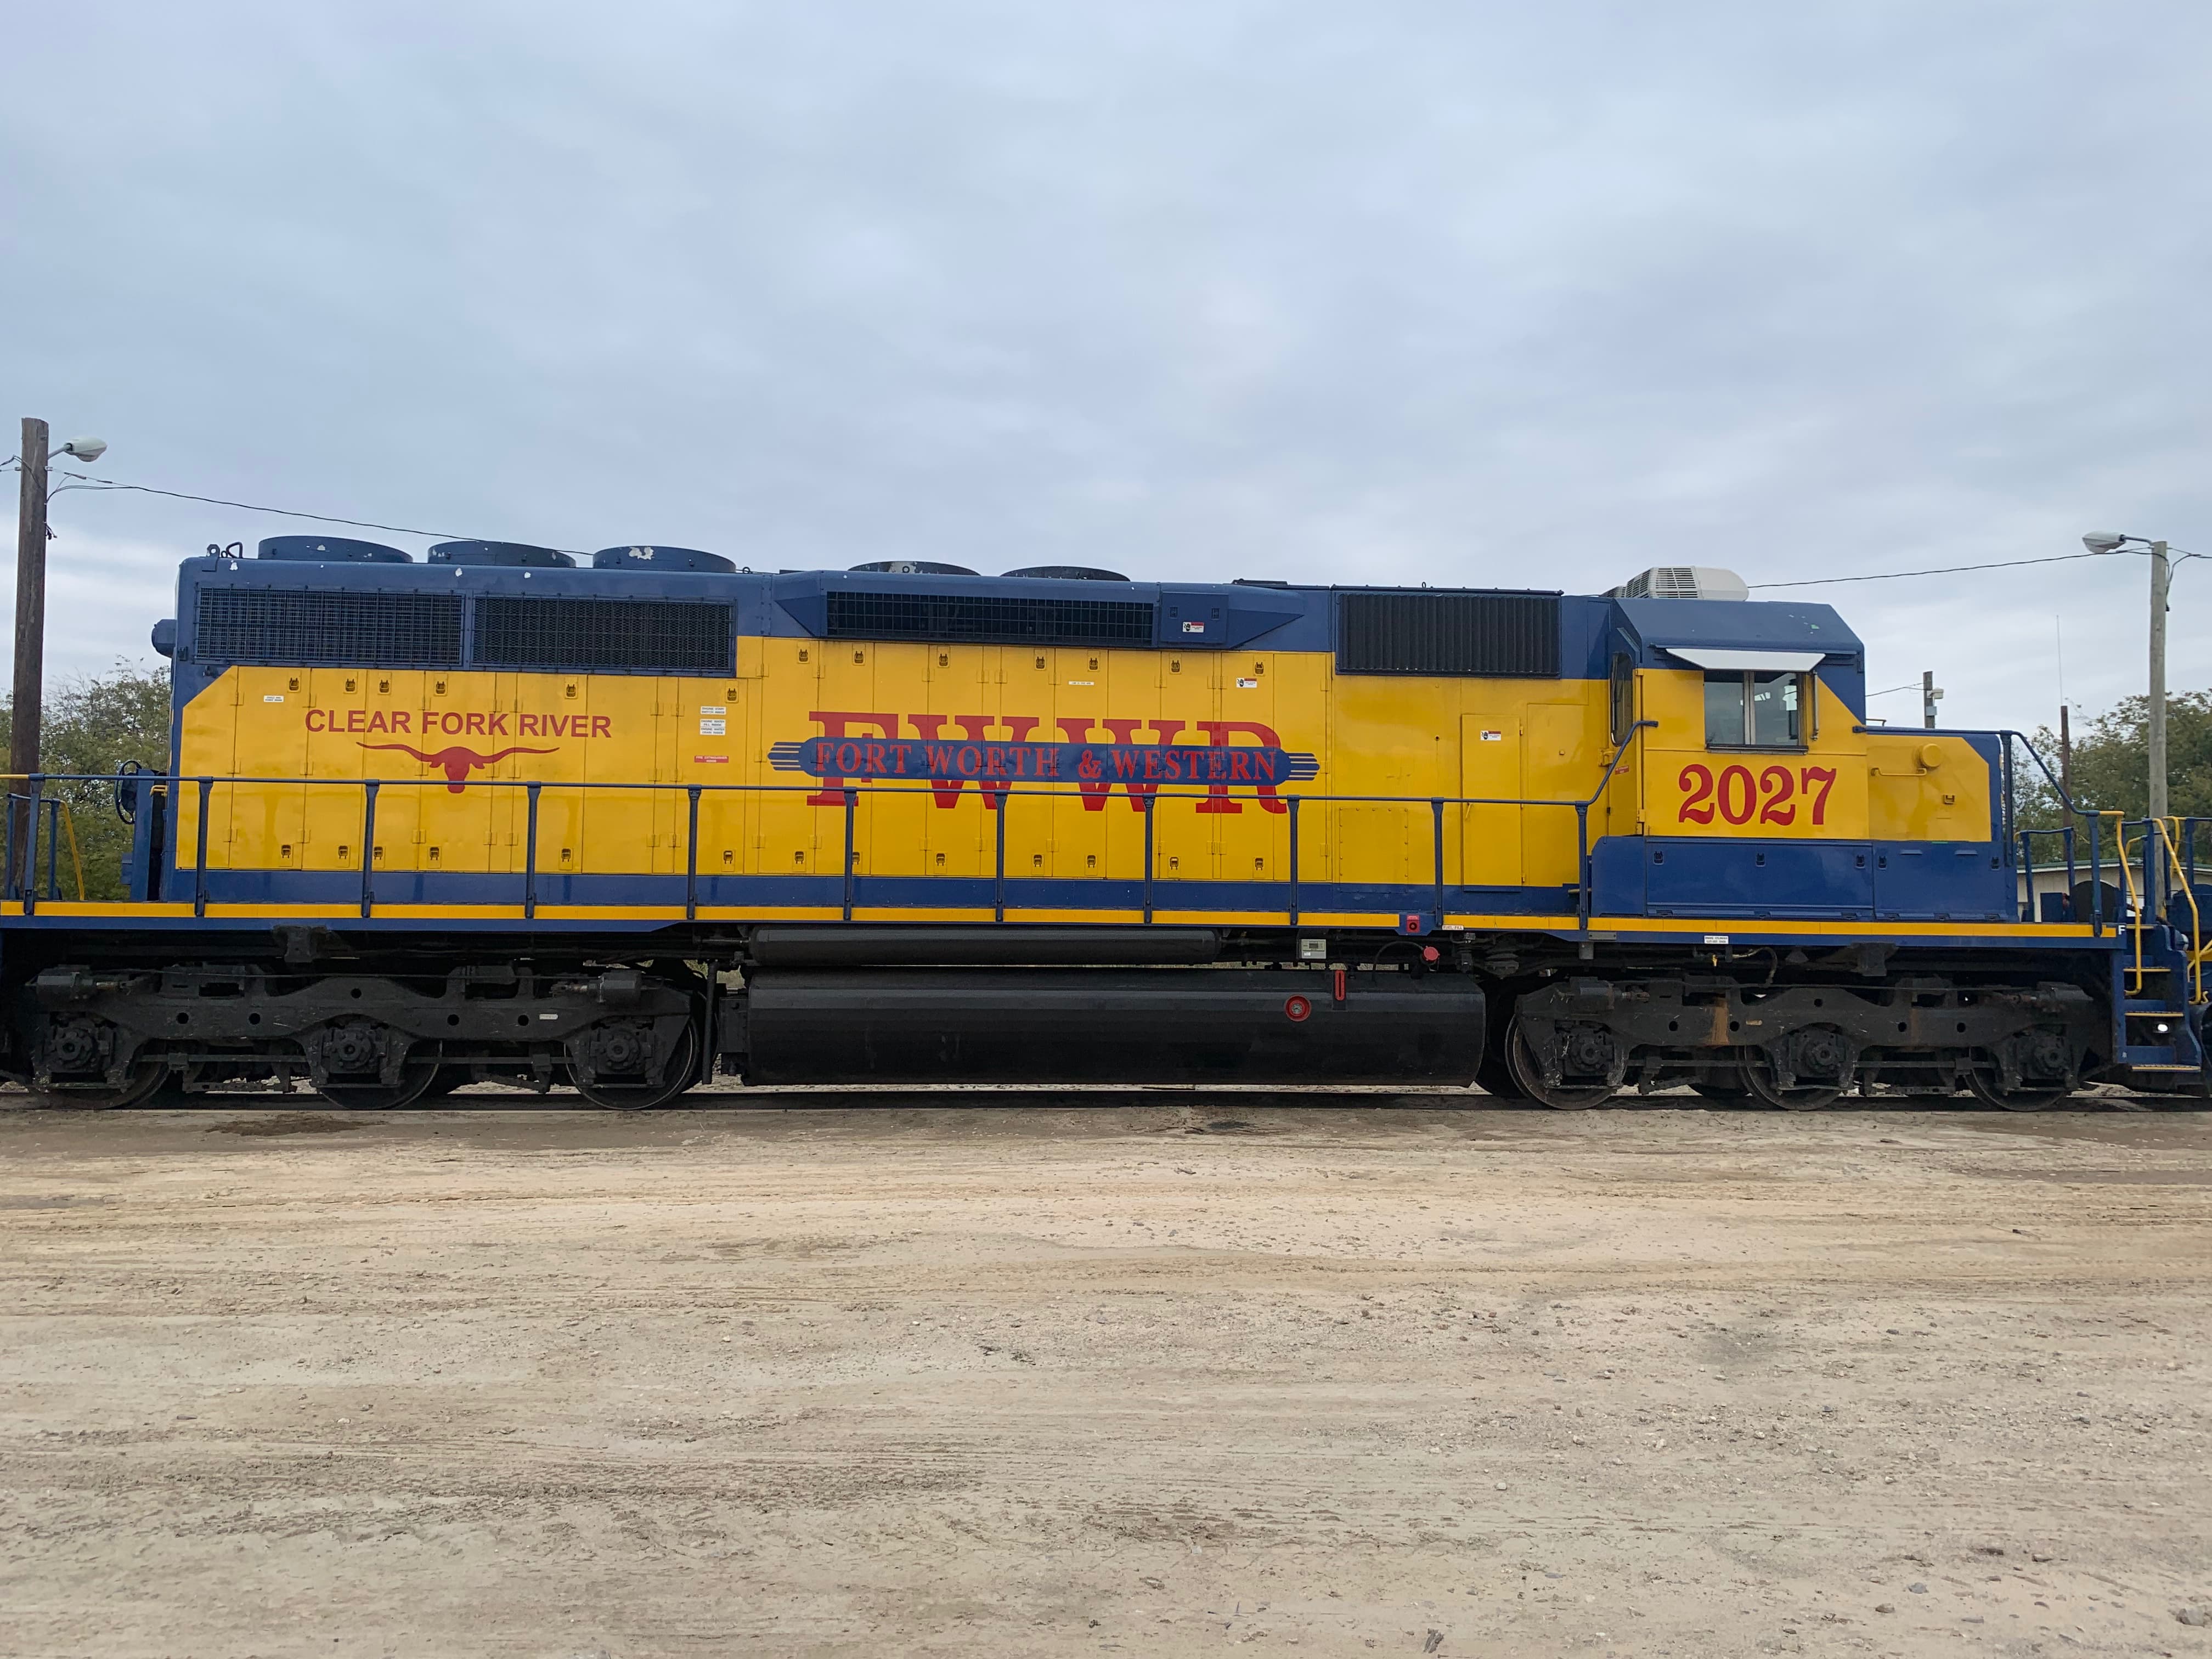
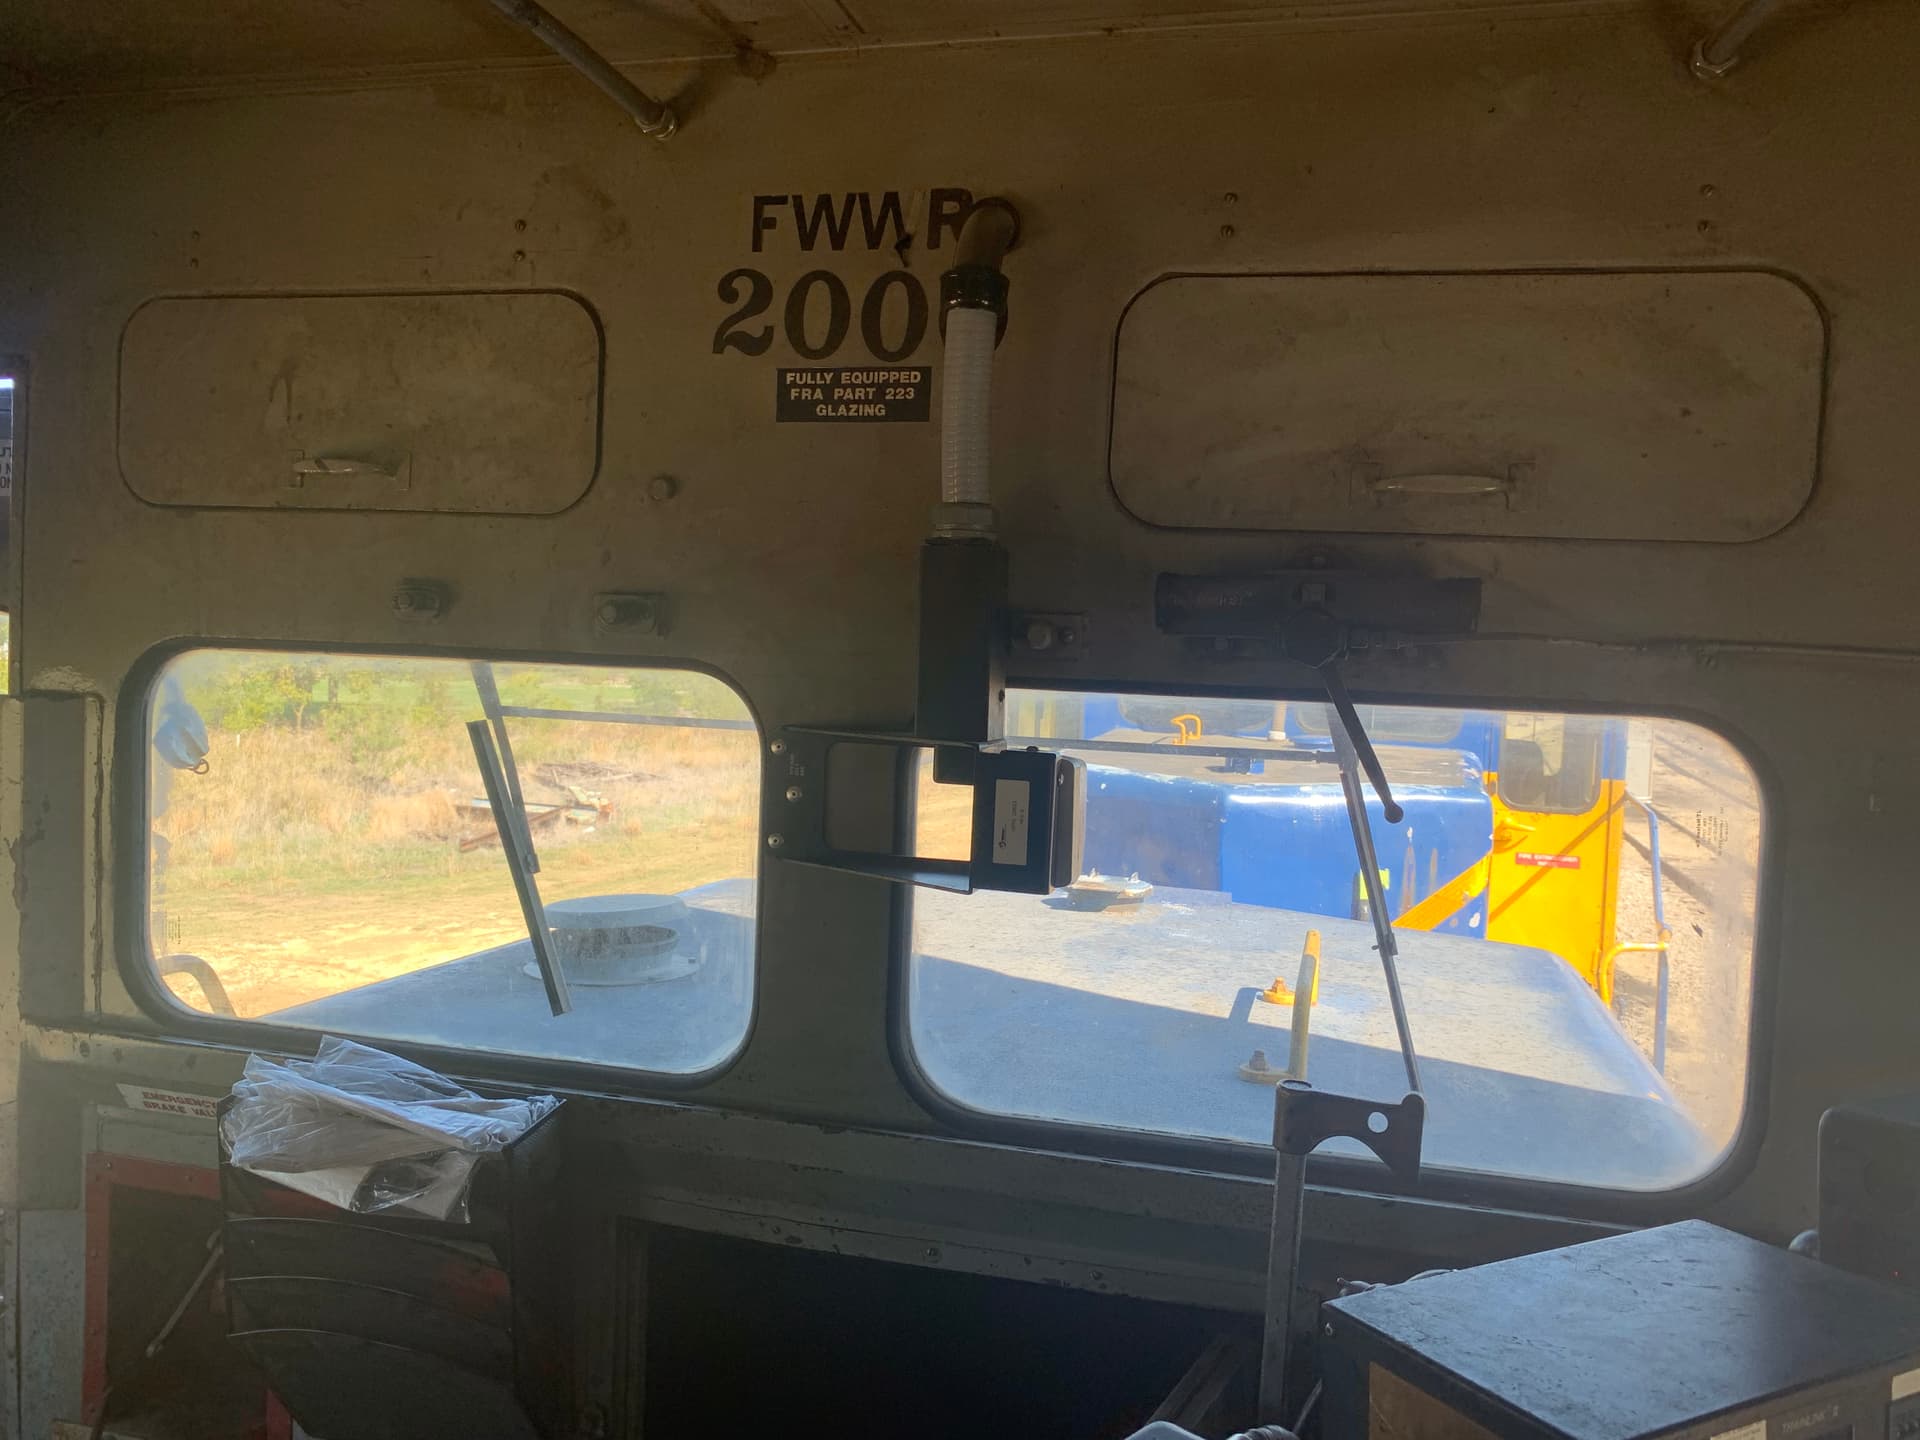
After trips to yards in Fort Worth and Cresson I finally tracked down locomotive # 2000, a GP38-3 named Miss Molly. It’s home base on weekends is in Dublin, TX, a quaint little town we’ve ridden the Scout to a few times to stock up on cream soda. In case you’re not one of the three people who visit this forum, Fort Worth and Western Railroad locomotives are all named after local personalities or locations. Miss Molly owned a brothel in downtown Fort Worth which is now a B&B style hotel, appropriately named Miss Molly’s.
I plan to build four locomotives at first - GP38-3, a GP50, and two GP40-2’s - one of them a former UP unit with the longer snoot nose, because who wants two of the same thing?
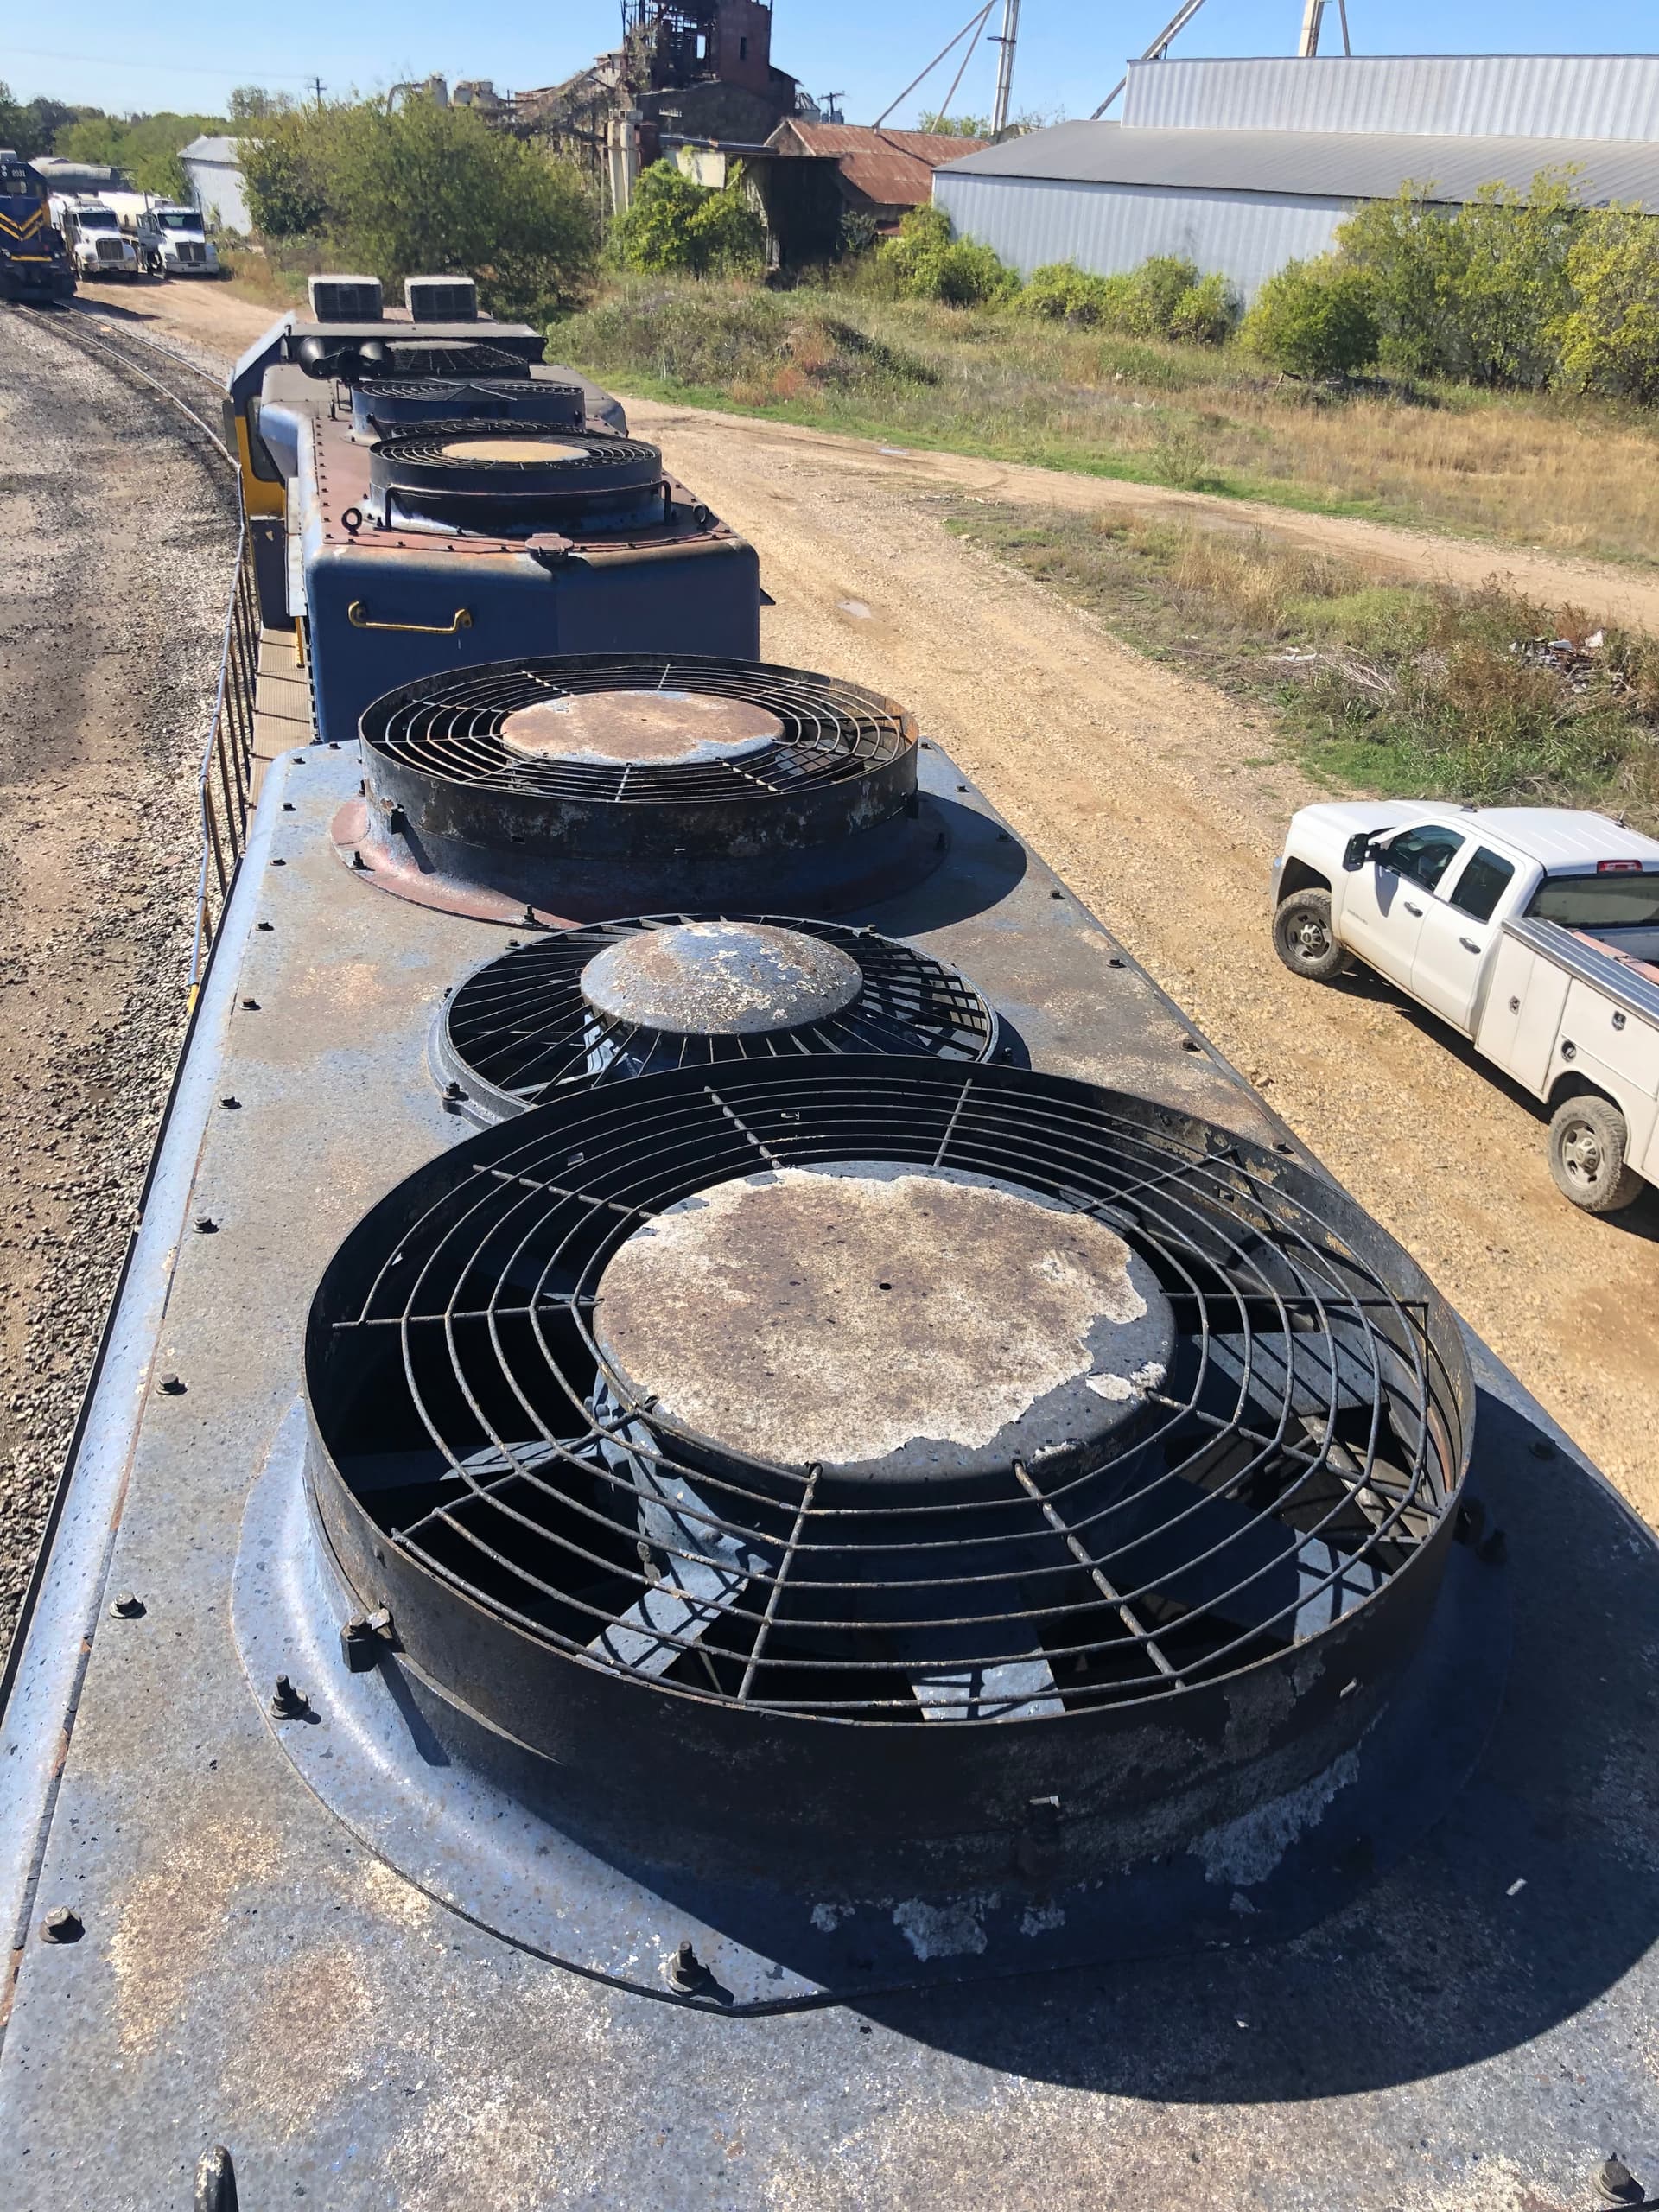
While I’ve done the usual comprehensive walk around, the day’s best photo credit goes to my wife:
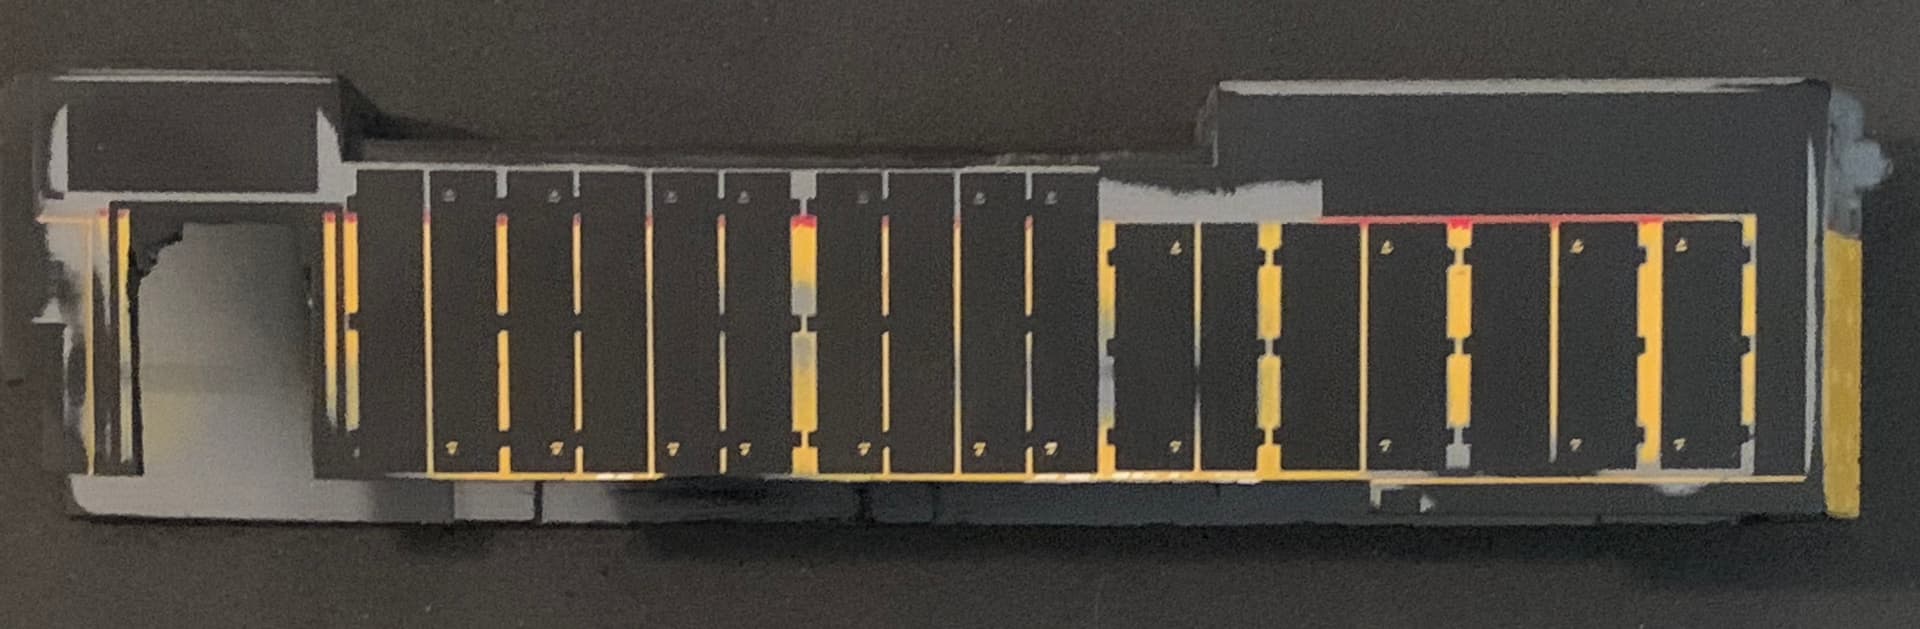
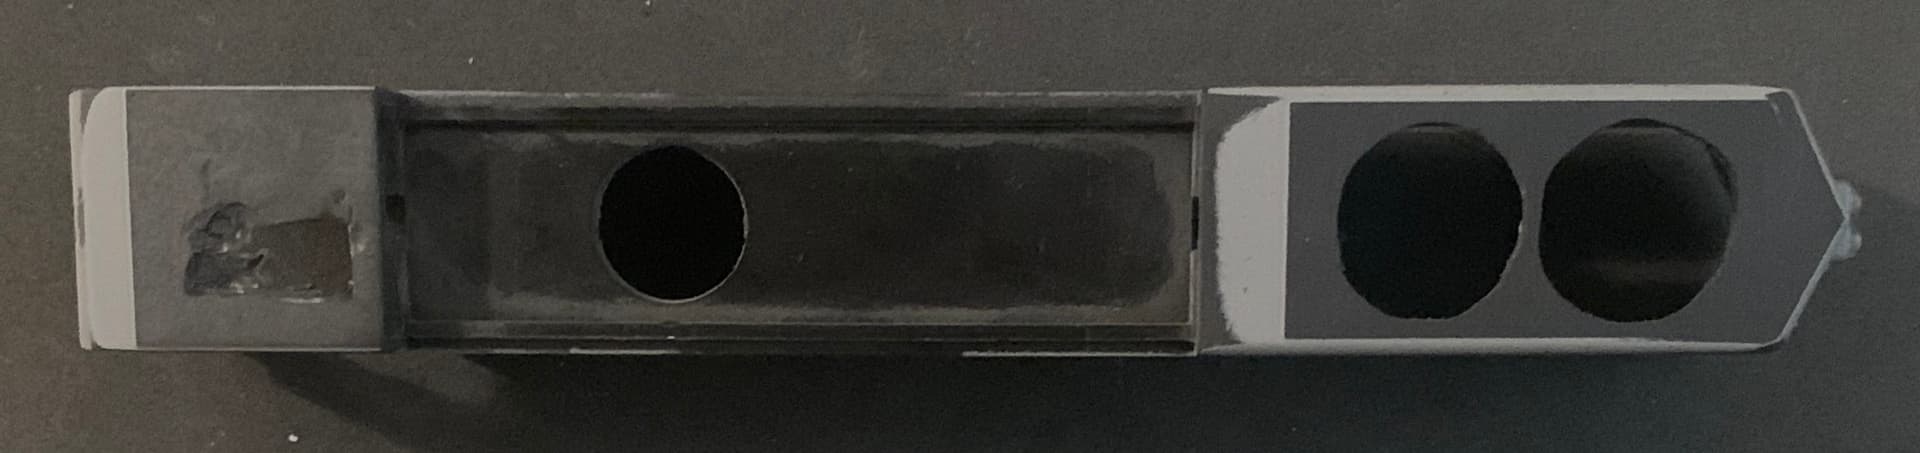
But as usual I managed interior and roof photos. The fan layout differs from unit to unit. Miss Molly is no exception. They even use a “no slip” coating on the roof and short hood.
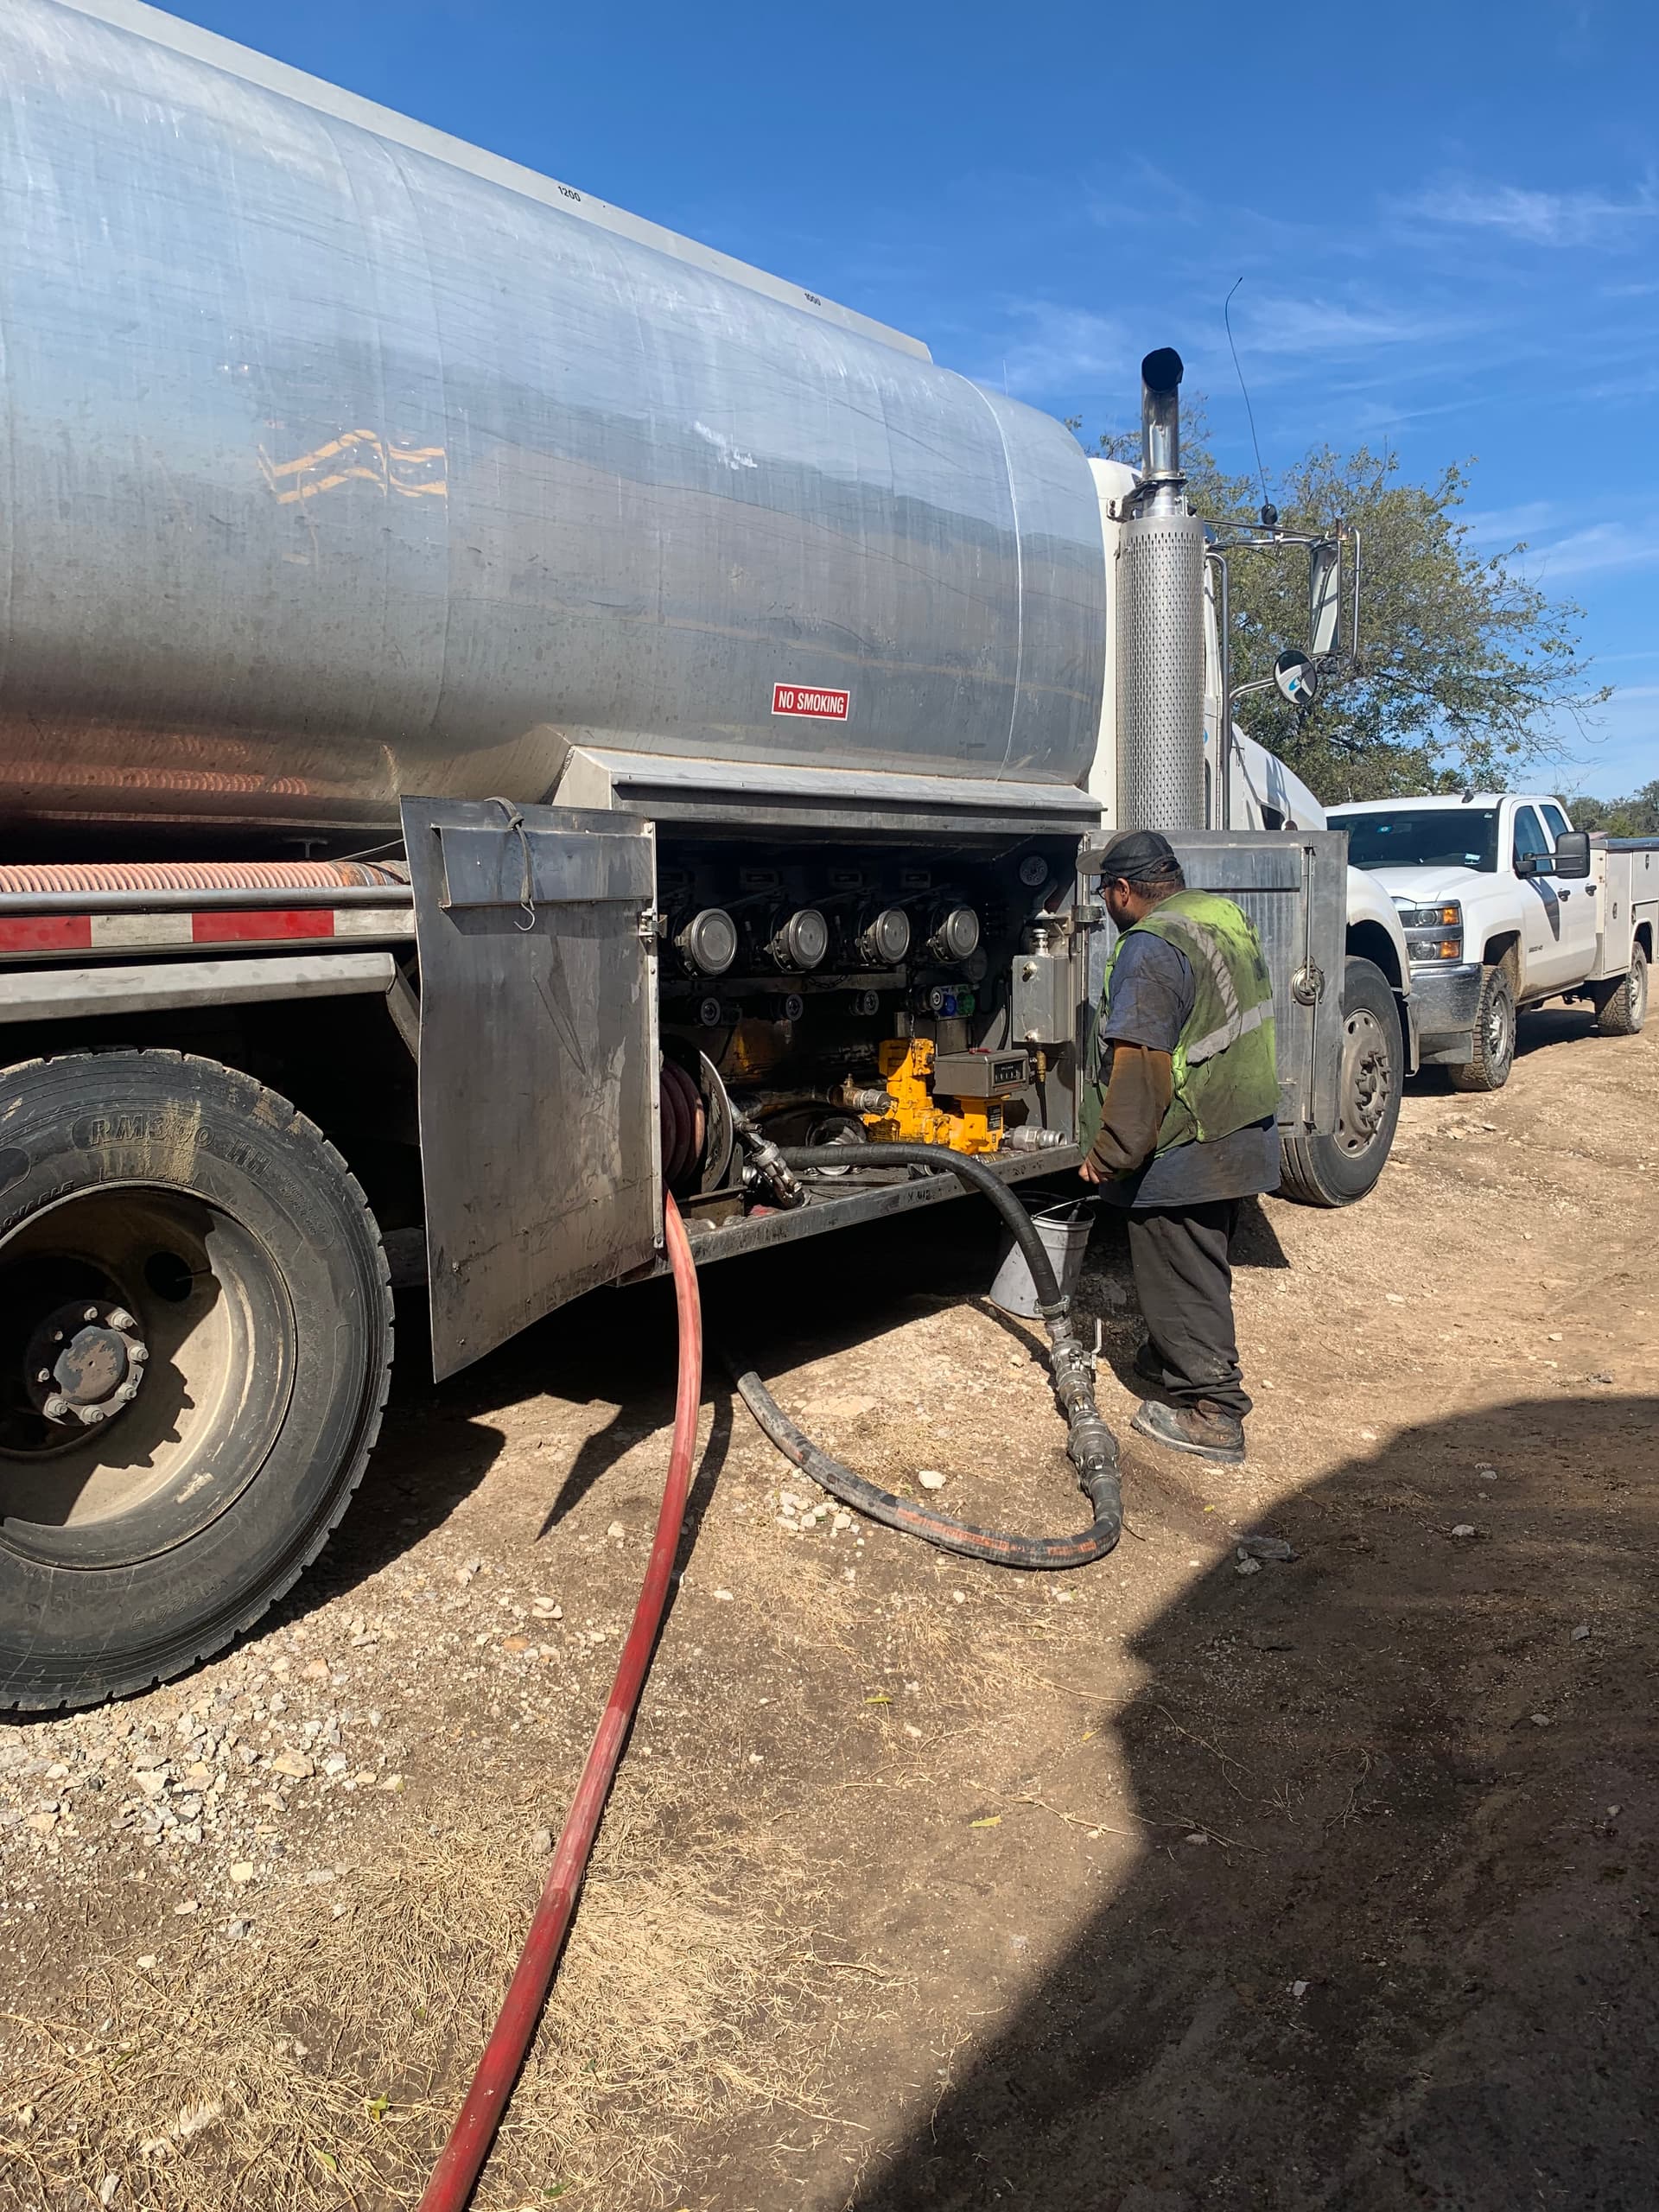
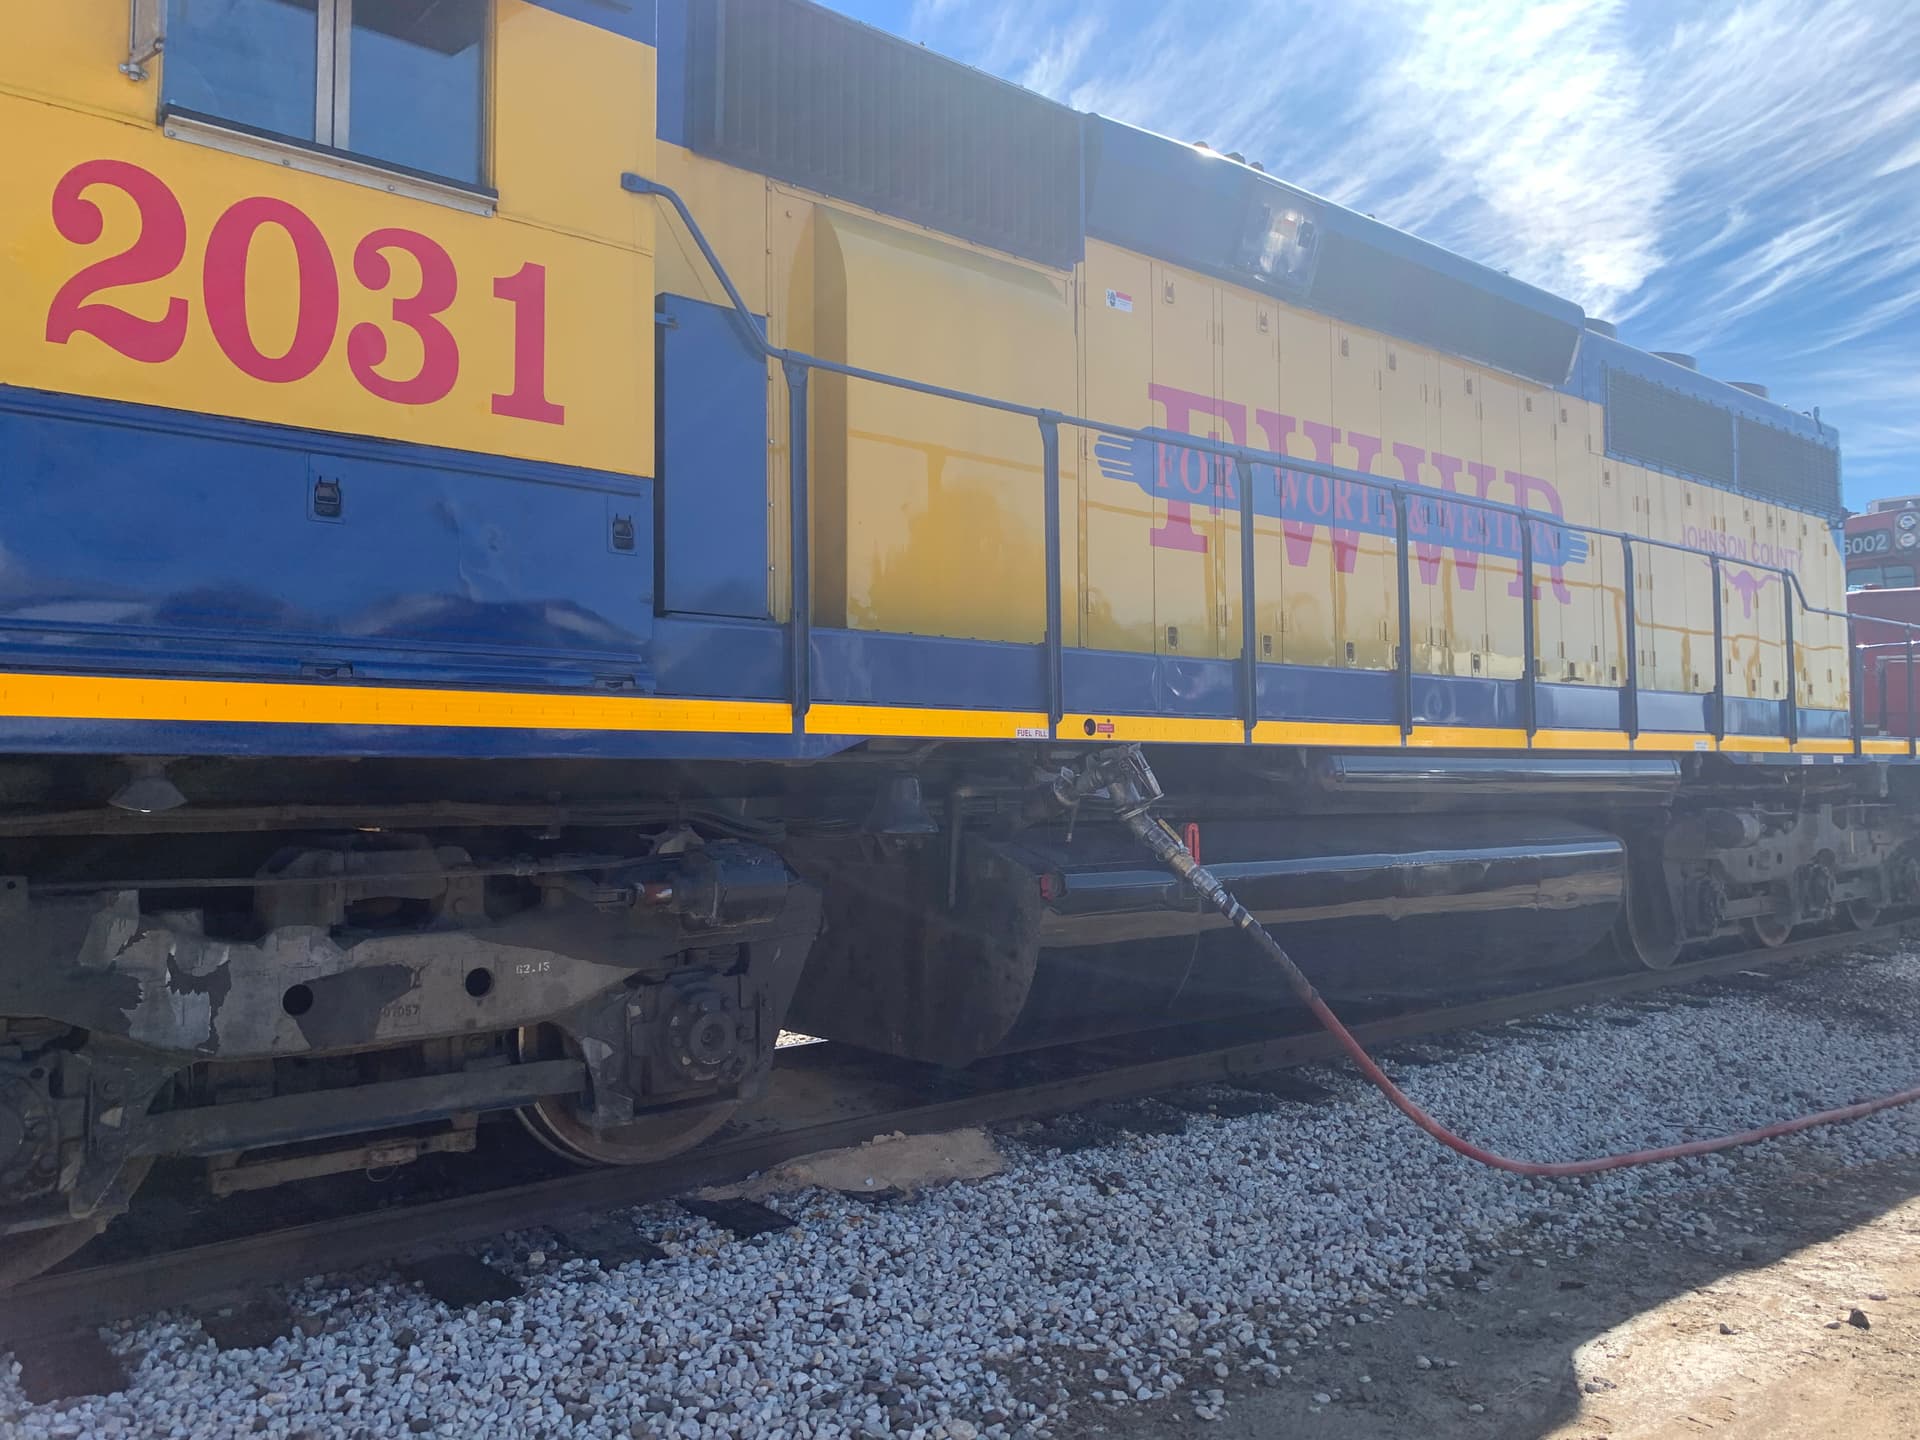
I was lucky enough to catch them refueling one of the locos - a great subject for a non-runner in the future.
My name is Molly and I approve of this post.
7 Likes
Now work on Miss Molly can begin. Miss Molly is a GP38-3 built rom a former DRG&W GP35.
You might think, as I did that a good starting point would be a GP38-2, but that is not necessarily the case. GP38-3’s were built from a number of other models such as the GP35, various generations of GP38, the GP40, and the GP50. As the real Miss Molly was built from a GP35 I purchased an undecorated Athearn Blue Box GP 35 and discovered right away that is was not suitable.
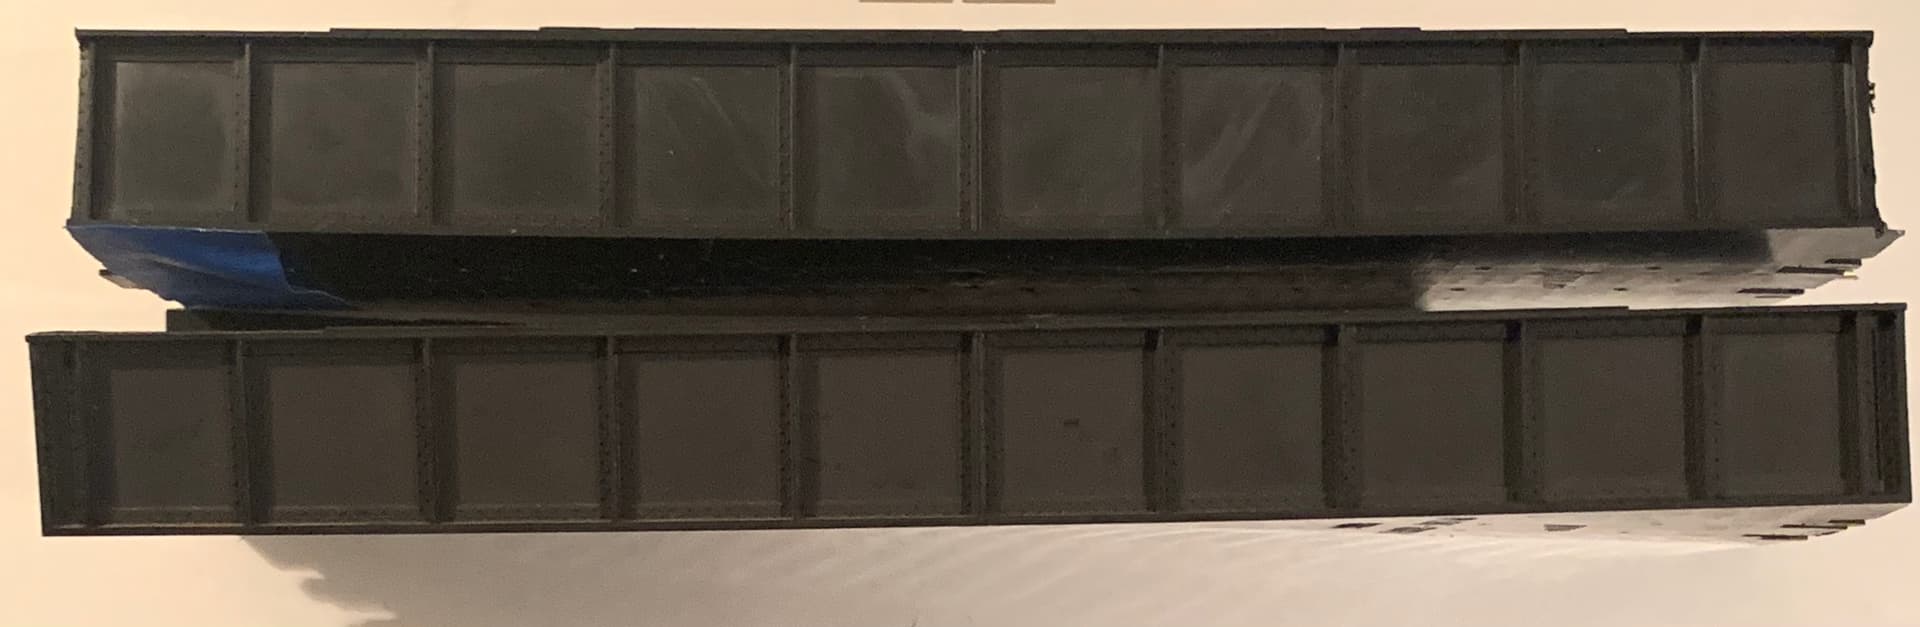
For starters, the hoods are far too wide compared to later Athearn locos. I’m at a loss as to why.
It may be hard to see the difference in widths until you look from the edge of the fans to edge of the hoods:
In addition to having incorrect doors on the engineer’s side under the inertial filters, the doors were simply too rough looking - the latches stand proud of the doors when they should be recessed, while the inertial filters and radiator screens do not stand proud enough.
So I then purchased a Walther’s Proto GP35 - not an inexpensive kit by any means.
It’s a beautiful kit, with many features that years ago you had to add your self - Kadee couplers, sunshades, MU hoses, wind deflectors, even a snow plow. But even so, still not right. The door arrangement was slightly different, and there was no provision for removing and altering the dynamic brake blister as there is on the Athearn models.
If you compare the above GP35 photo with the GP38-2 photo below, you’ll notice to extra doors on the long hood, with a corresponding increase in the hood length as well.
So the solution for me will be to use the GP35 sub frame with a shortened and highly modified GP38-2 long hood, and of course a slew of Cannon and Co. parts.
2 Likes
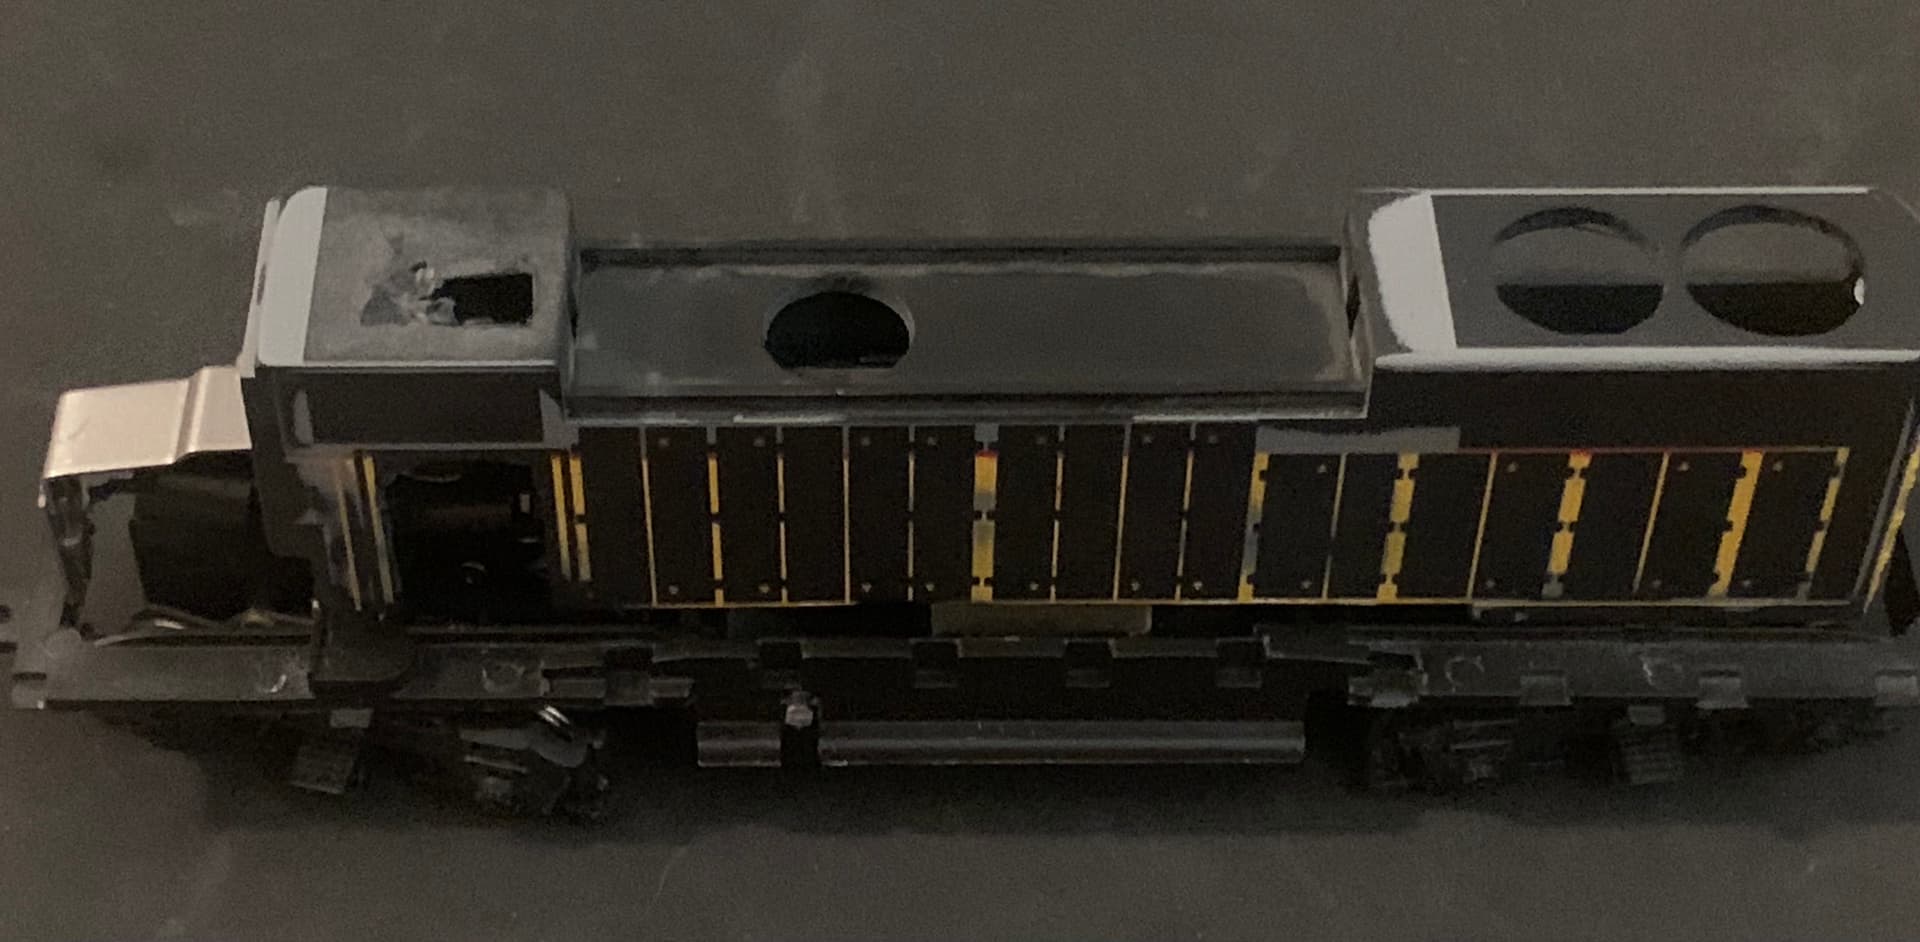
Thankfully I’ve got enough GP38-2’s that I can sacrifice one. The gray UP unit in the above photo has begun its transformation. I cut the long hood from the frame, and removed all of the doors, inertial filters, the blower, and the radiator intakes.
I also removed the radiator fans and their mounting plate, and the inertial filter hatch from the top. The dynamic brake unit was a separate piece. It will need to be cut up and have some work done to it.
This process has come to be known as “Cannonization” in the railroad modeling world.
Before adding new Cannon and Co. details I’ll have to shorten the hood to the GP35 length.
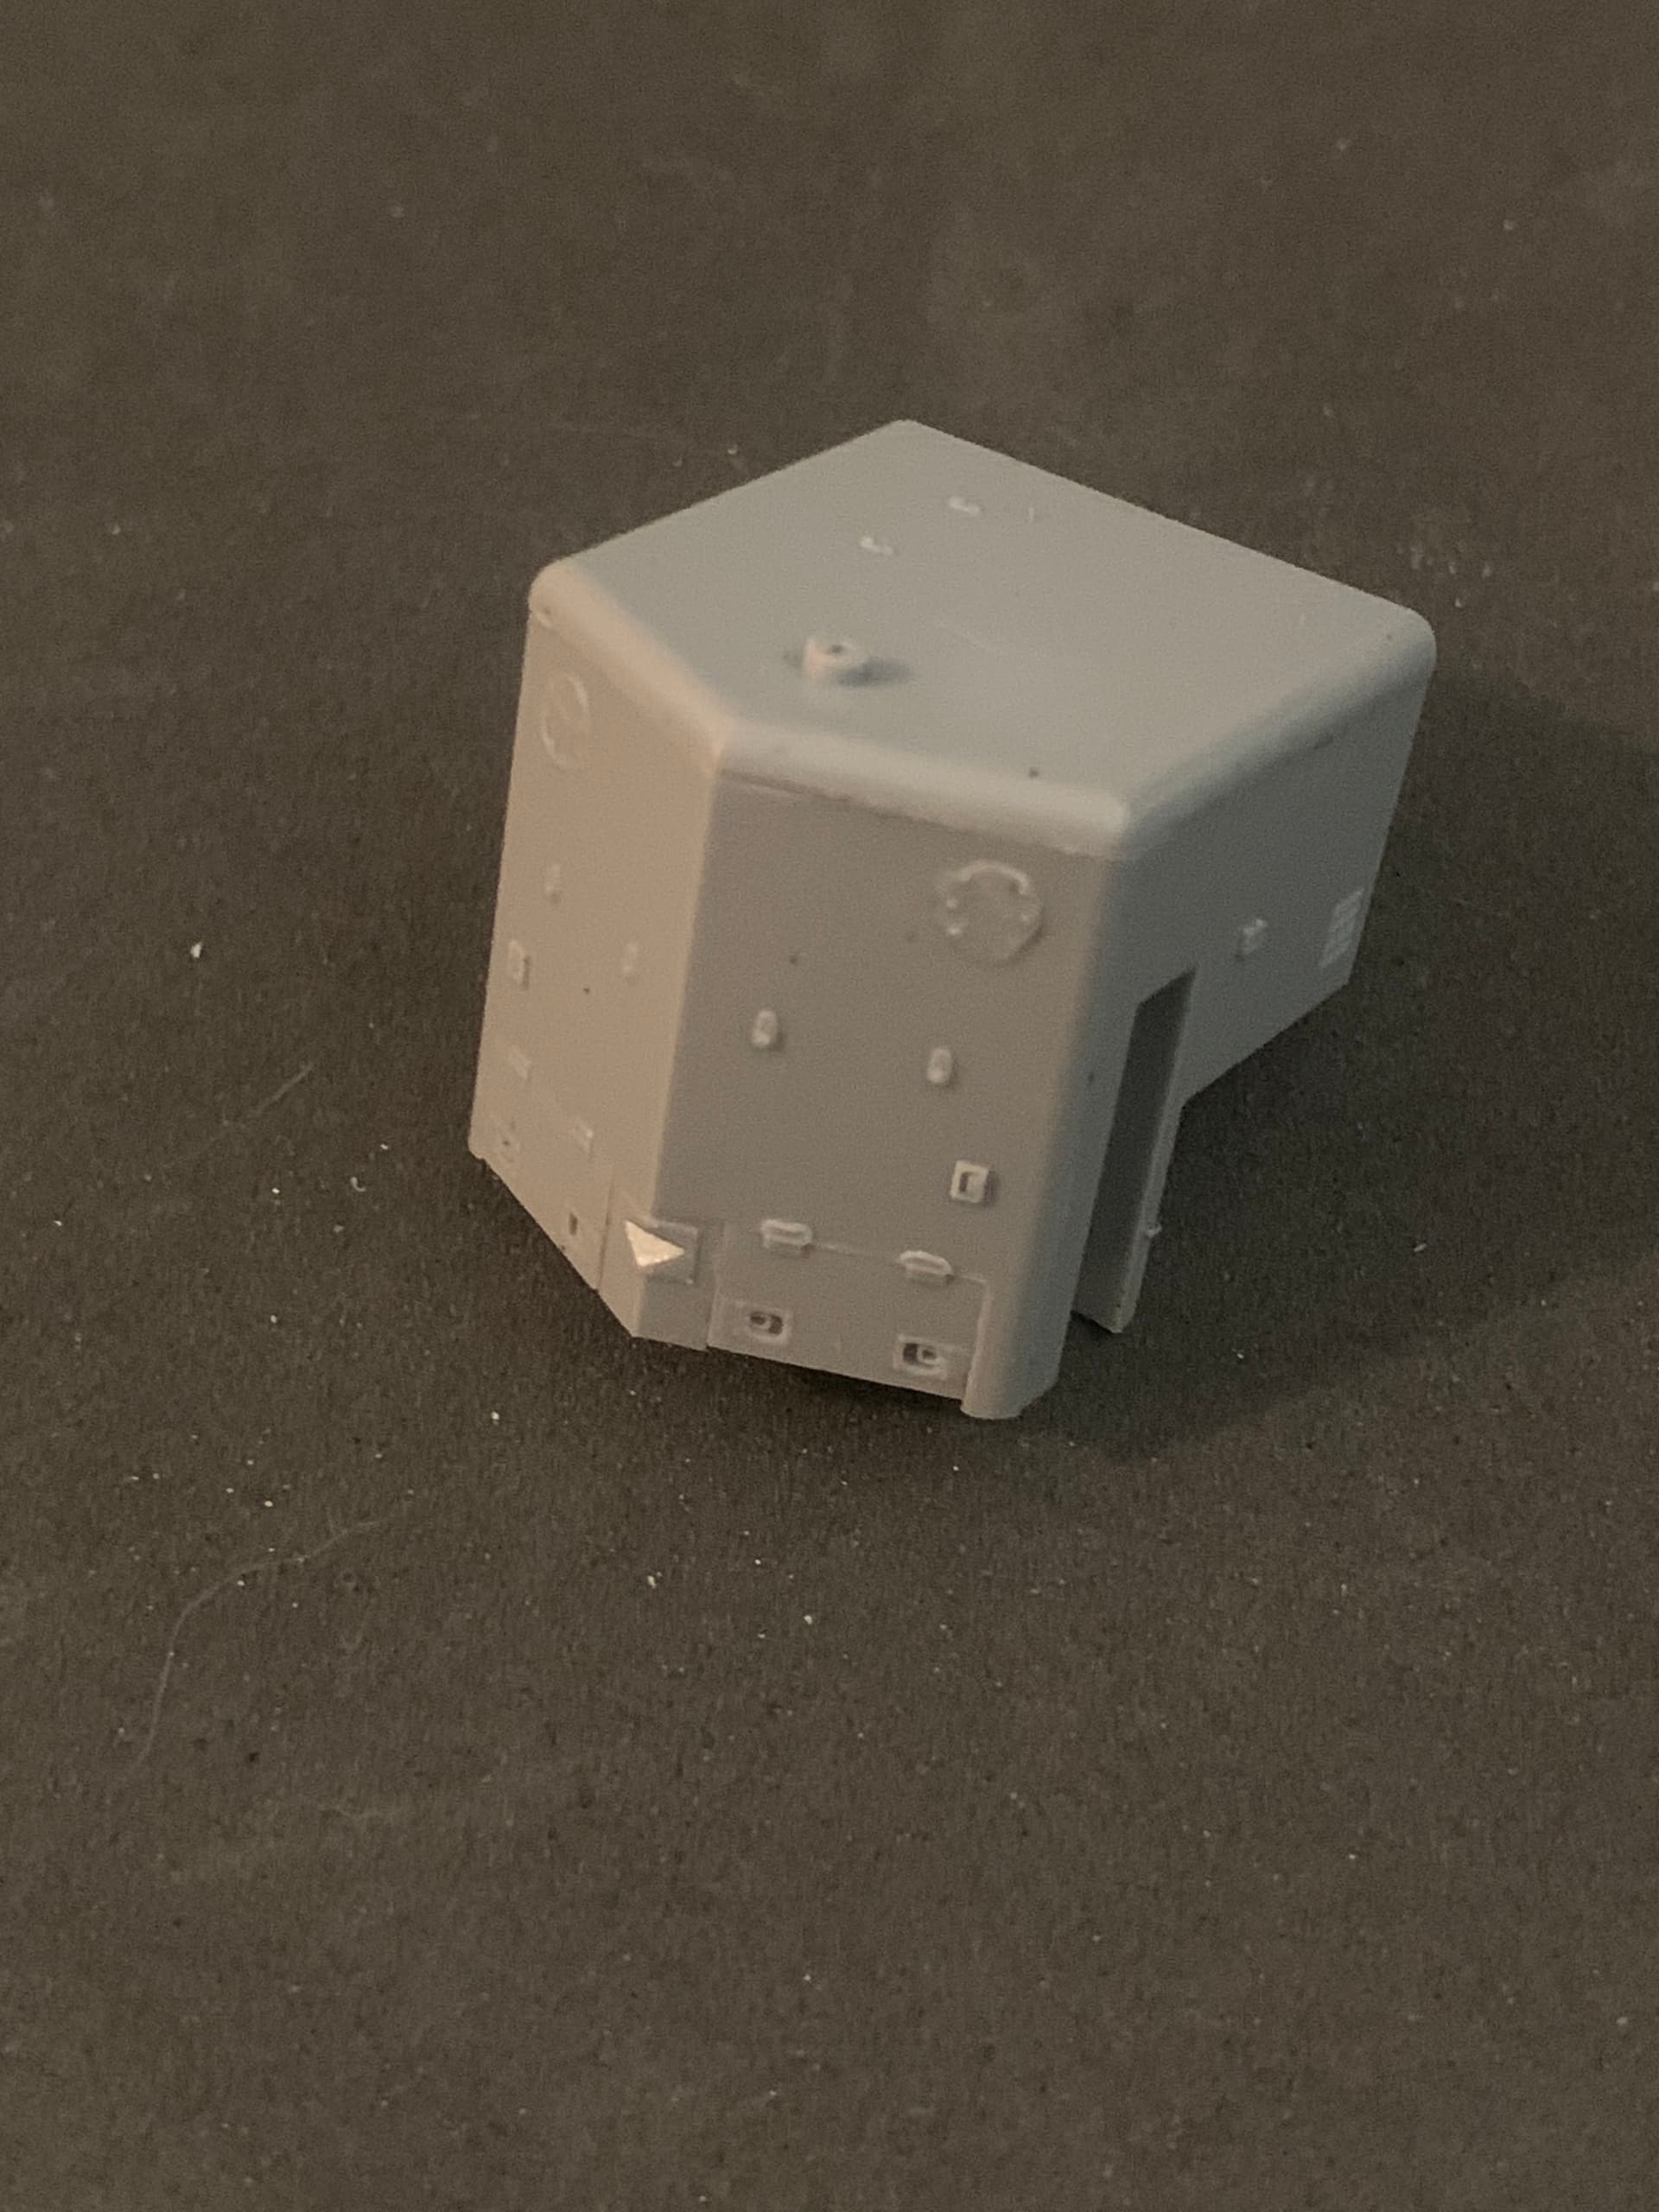
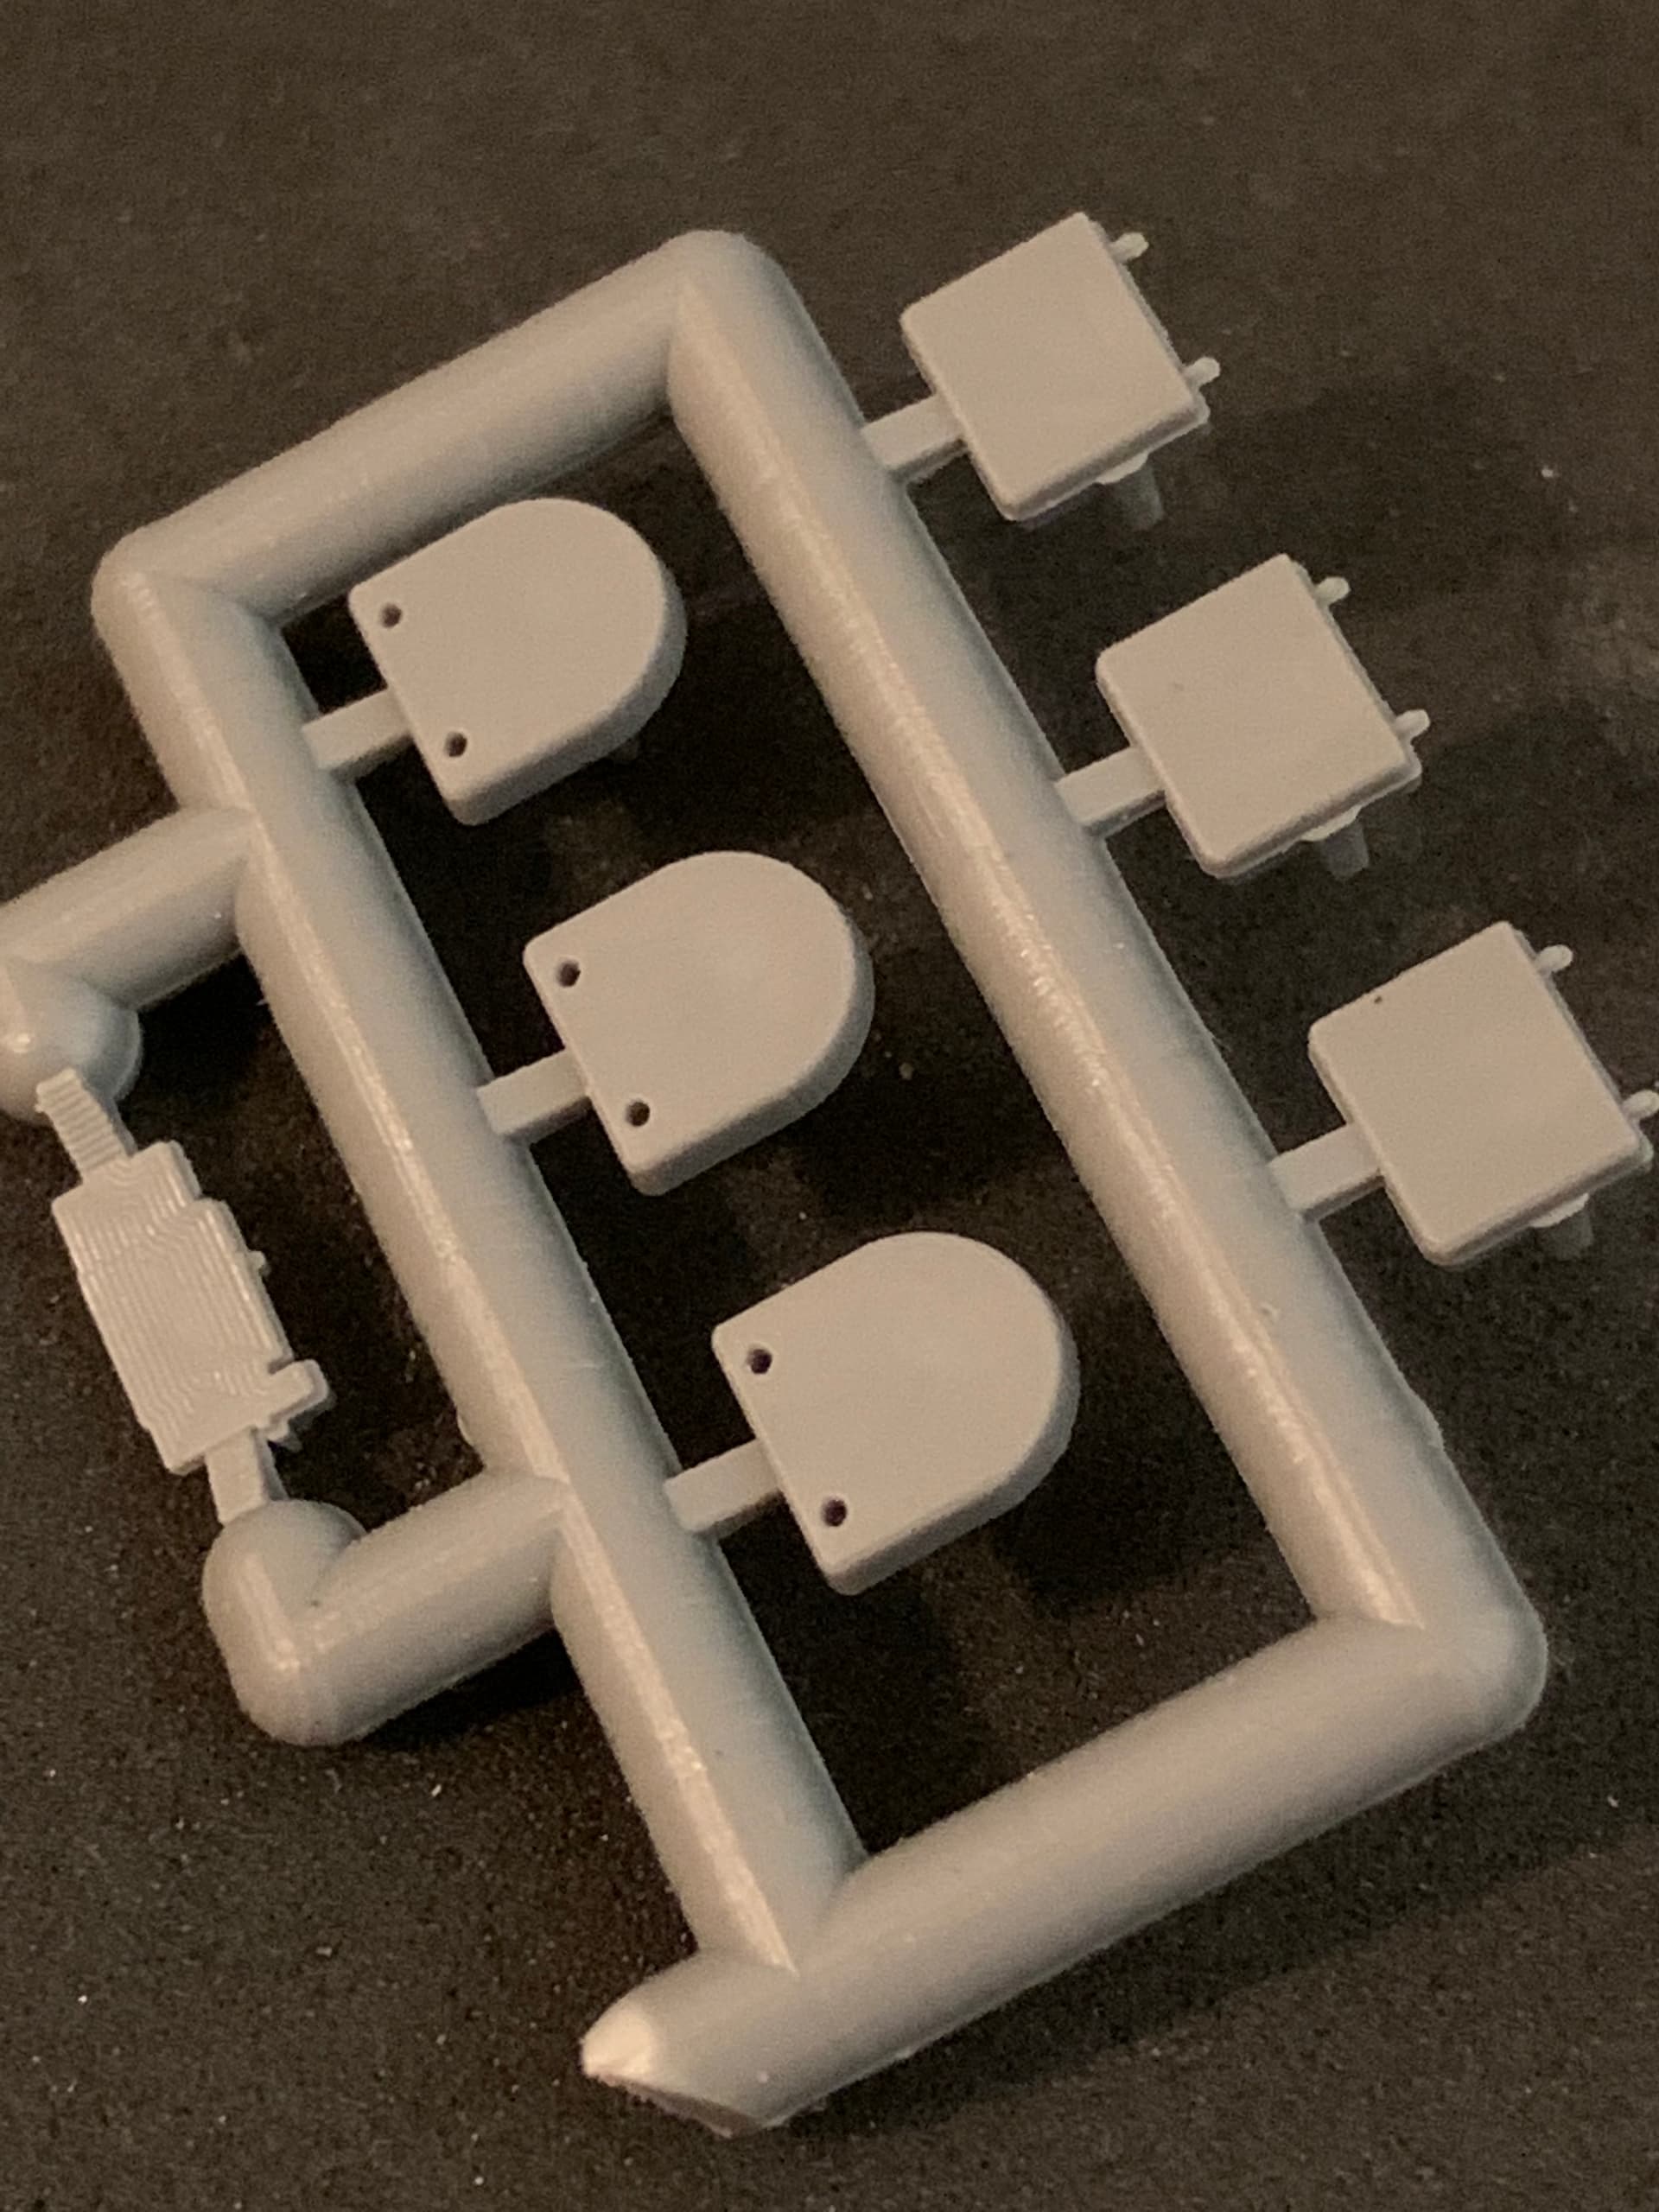
I’ve also begun the assembly of the Cannon and Co. short EMD hood. This represents nine pieces so far and it’s not.even done. Most kit hoods are one piece affairs. The gaps underneath the fron access doors are prototypical.
With the GP35 shells you are looking at a 30 yr technology difference across many areas. The Athearn shell is a product of 50’s - 60’s era die cutting done by hand. Irv Athearn also was not known for being a stickler for prototype accuracy. Looks close, good enough. In many cases they were working from photographs and not actual plans. The hoods were wider to accommodate the motors being used at the time. The Proto unit reflects more 80’s - 90’s technology w/CNC die work from well documented plans and industry sources. Changes in motors brought us 5 pole skew wound motors, core-less can motors, all much smaller in size but just as or more powerful then the motors they replaced thus allowing the scale width hoods we enjoy today.
1 Like
Hi Tim,
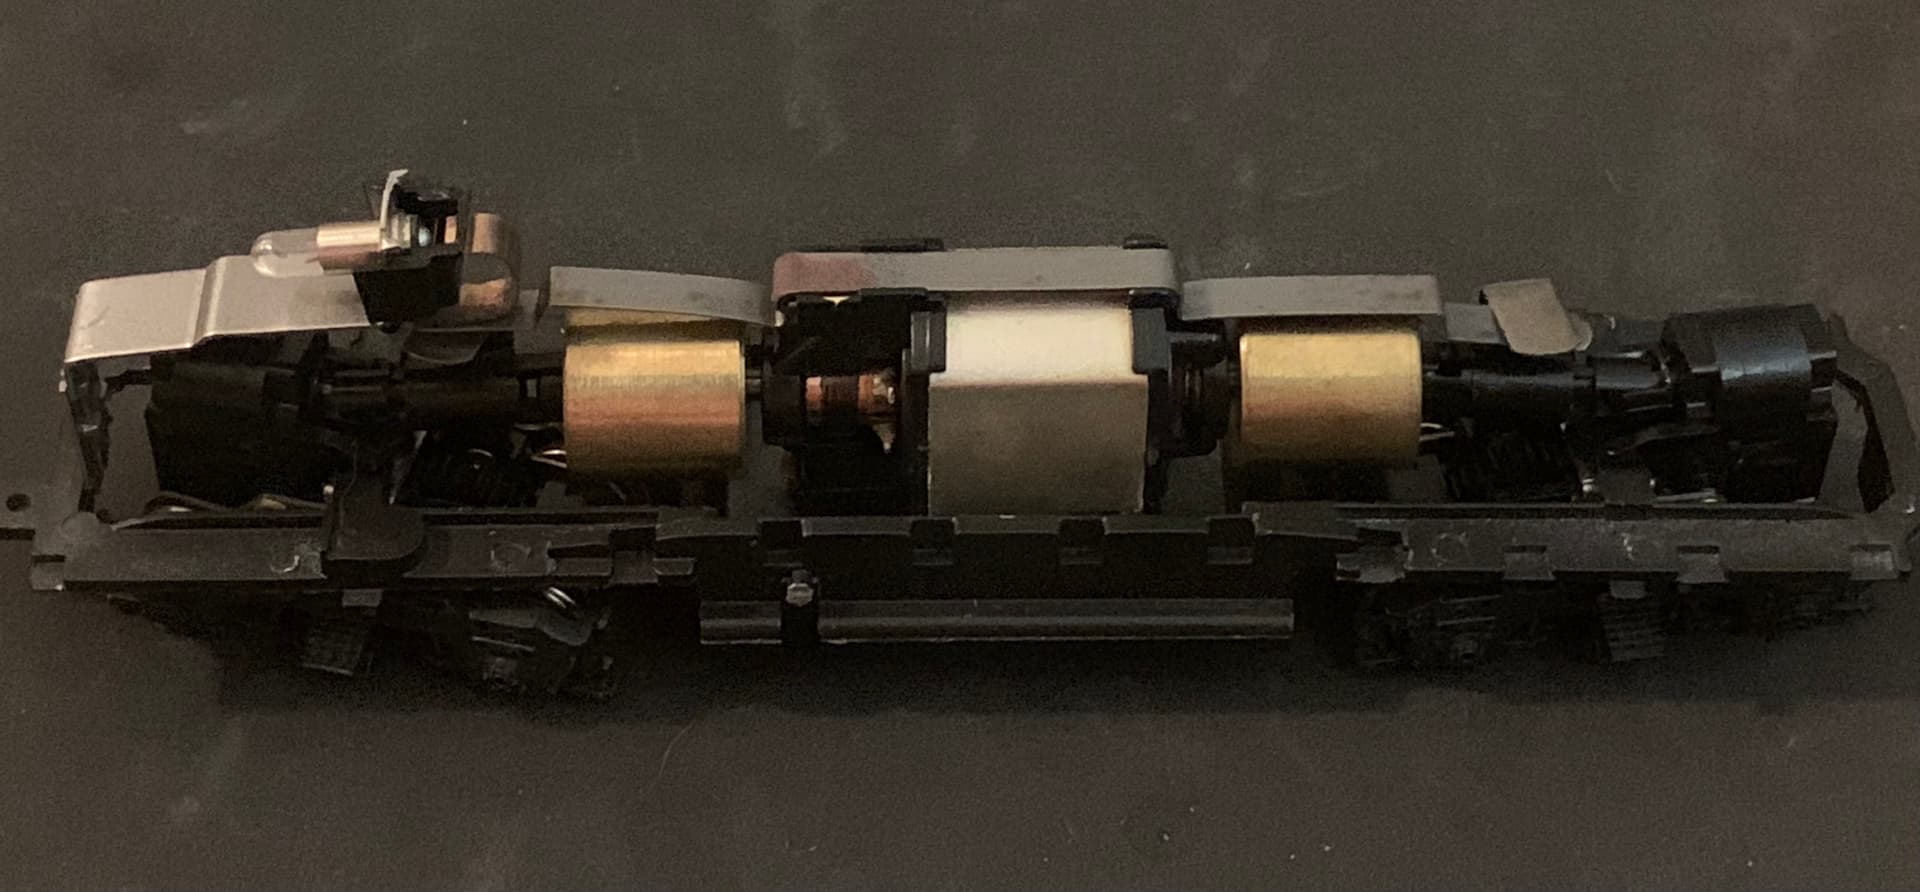
I thought about the motor width issue being the reason the older models were so wide. But I would not even have proceeded if I knew it was going to be an issue. So I tested it first. Although also an old Blue Box offering, the GP38-2 seems more more accurate width-wise which is why I’m going with that hood. You can see it drops onto the GP35 frame and fits perfectly. The flywheels don’t even rub the inside of the shell.
I’ve ground that locating pin down to make disassembly a little easier. I’m guessing that pin’s location explains the reasoning behind the gap in the fuel tank - screwdriver access to pop the shell off. Yet another annoying thing that’ll need fixing. At least the fuel tank is somewhat close in shape. My old Atlas units have horrible misshapen fuel tanks, but they run great.
Speaking of which, thankfully Athearn at least got the hood door measurements right. The C and C doors will fill the old voids perfectly.
The motor you are showing in the photo is a more recent design which was used in the newer models w/narrower hoods. The original was a real clunker.
Cannon products are great. The scratch/kitbashing community was ecstatic when they came on the market. Glad to see a project like this today when so much is just pull it out of the box and plop it on the rails.
Ah, well that makes sense. At some point in the past they must have started upgrading the motor even if they didn’t bother with the shells. I was very tempted to just get another Walthers or Kato GP35 to convert, but where’s the fun in that?
I’m guessing I’ll have to cut that light assembly off at the base to accommodate the spartan interior kit. My understanding is that I can plug LED’s into a decoder if I choose to go that route. Is that correct?
Most folks are using LED’s these days. The majority of the current decoders are set up to use them and have dropping resistors built in to the decoder. This is not true in all cases however. Really need to check the manufacturers literature that came w/ the decoder and what they have published online.
Ah, and this was just going to be a simple chop job…
Dude you have been an active modeler for how long? You know that no chop job is ever simple!!
So true…
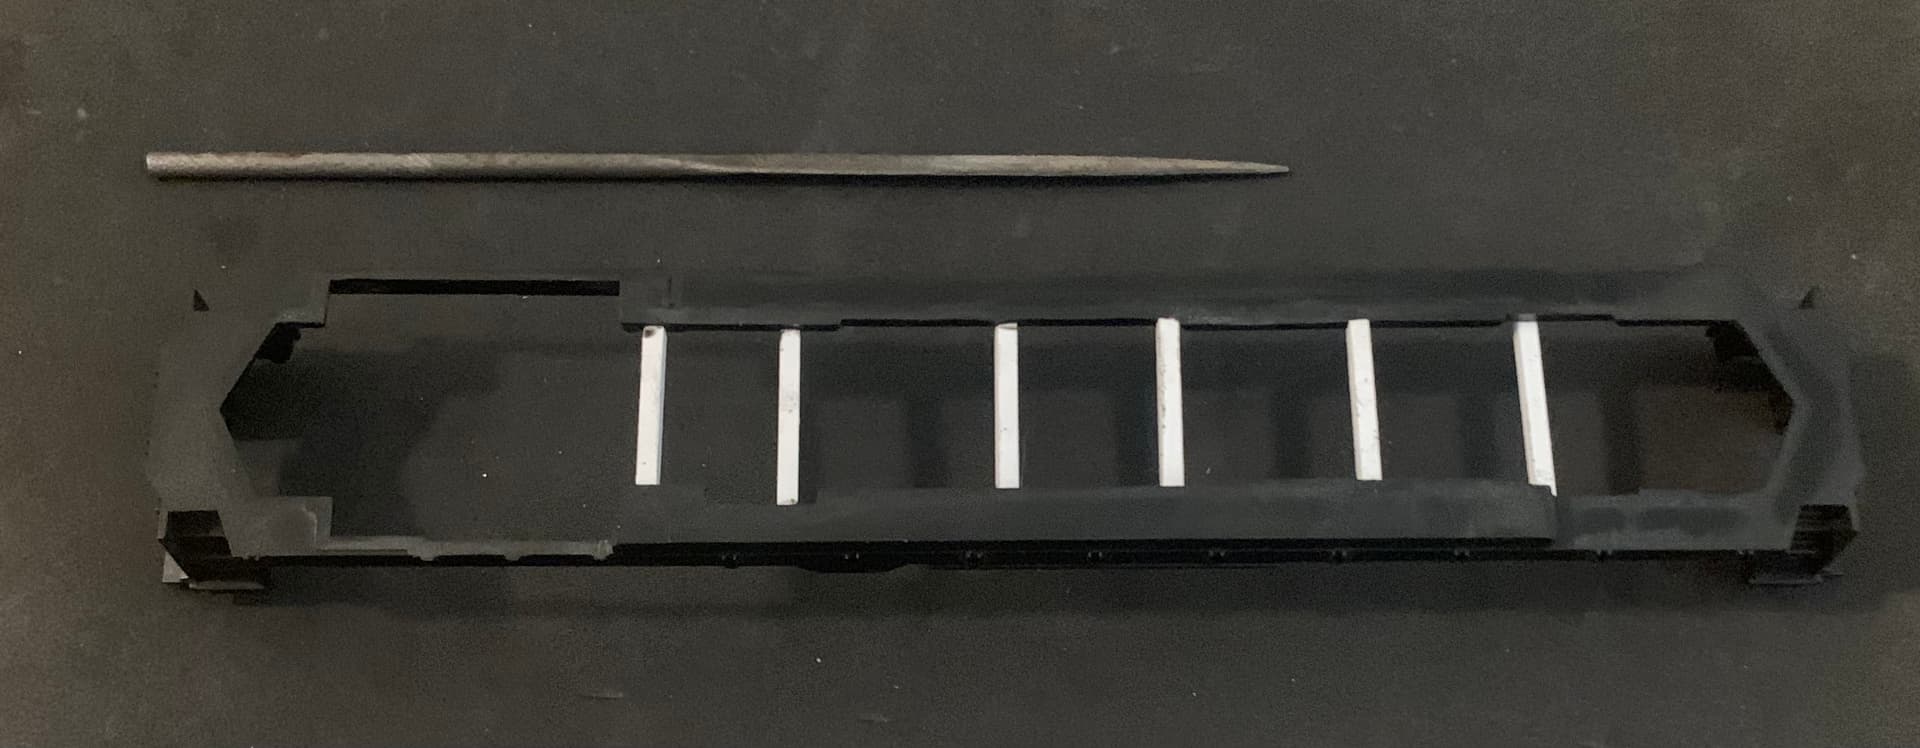
I’ve cut the useless GP35 bits off of the frame. I’ve also added temporary braces to keep things from bowing while I trim and fit.
1 Like
Something you might want to check. If I remember rightly when we narrowed the hoods on the GP35 and used after market motors, the narrower hood we built attached to the inside of the original GP35 walkways. This meant that there was a lip of material that needed to be removed from the metal frame.
Indeed, if it weren’t for the small lip on the higher part of the walkway running from just past the second brace from the left to the last one on the right, the new hood would slip right through. That’s how much of a difference there is in the widths between the old hoods and the new ones. I suppose I’ll have to dig out my old GP9’s from storage. I’ll bet they have the same width issue. Never notices way back on the day.
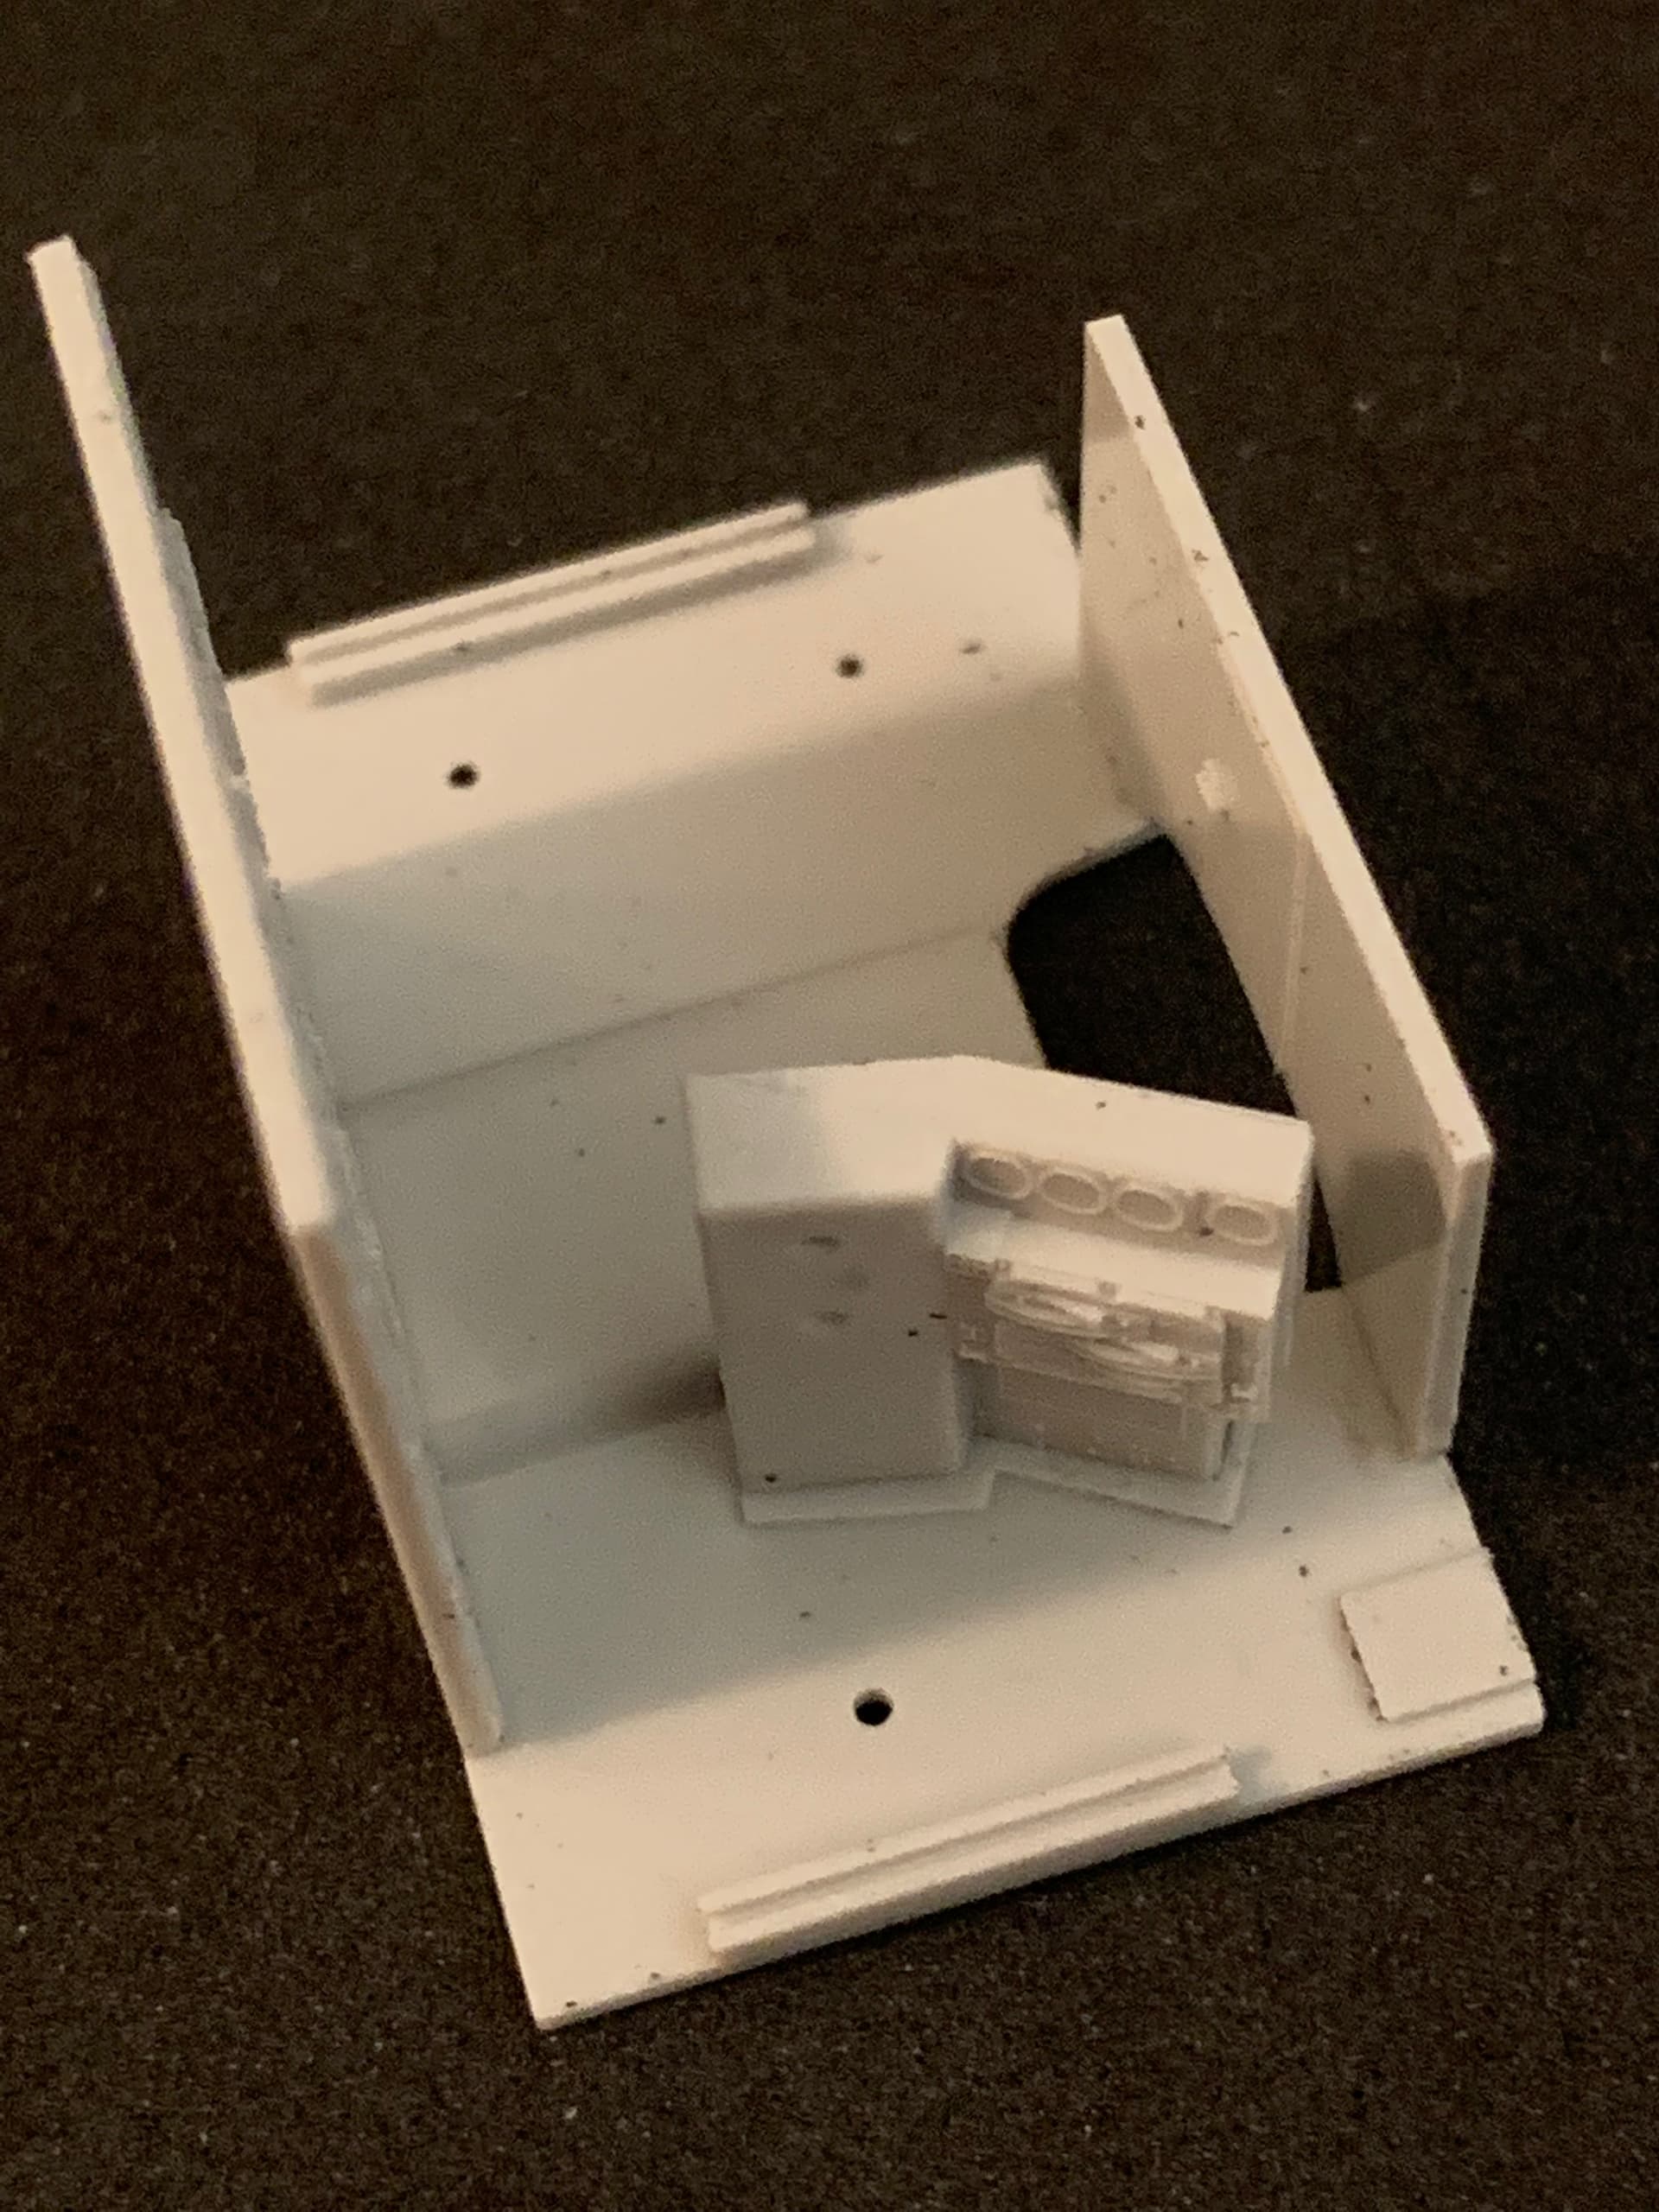
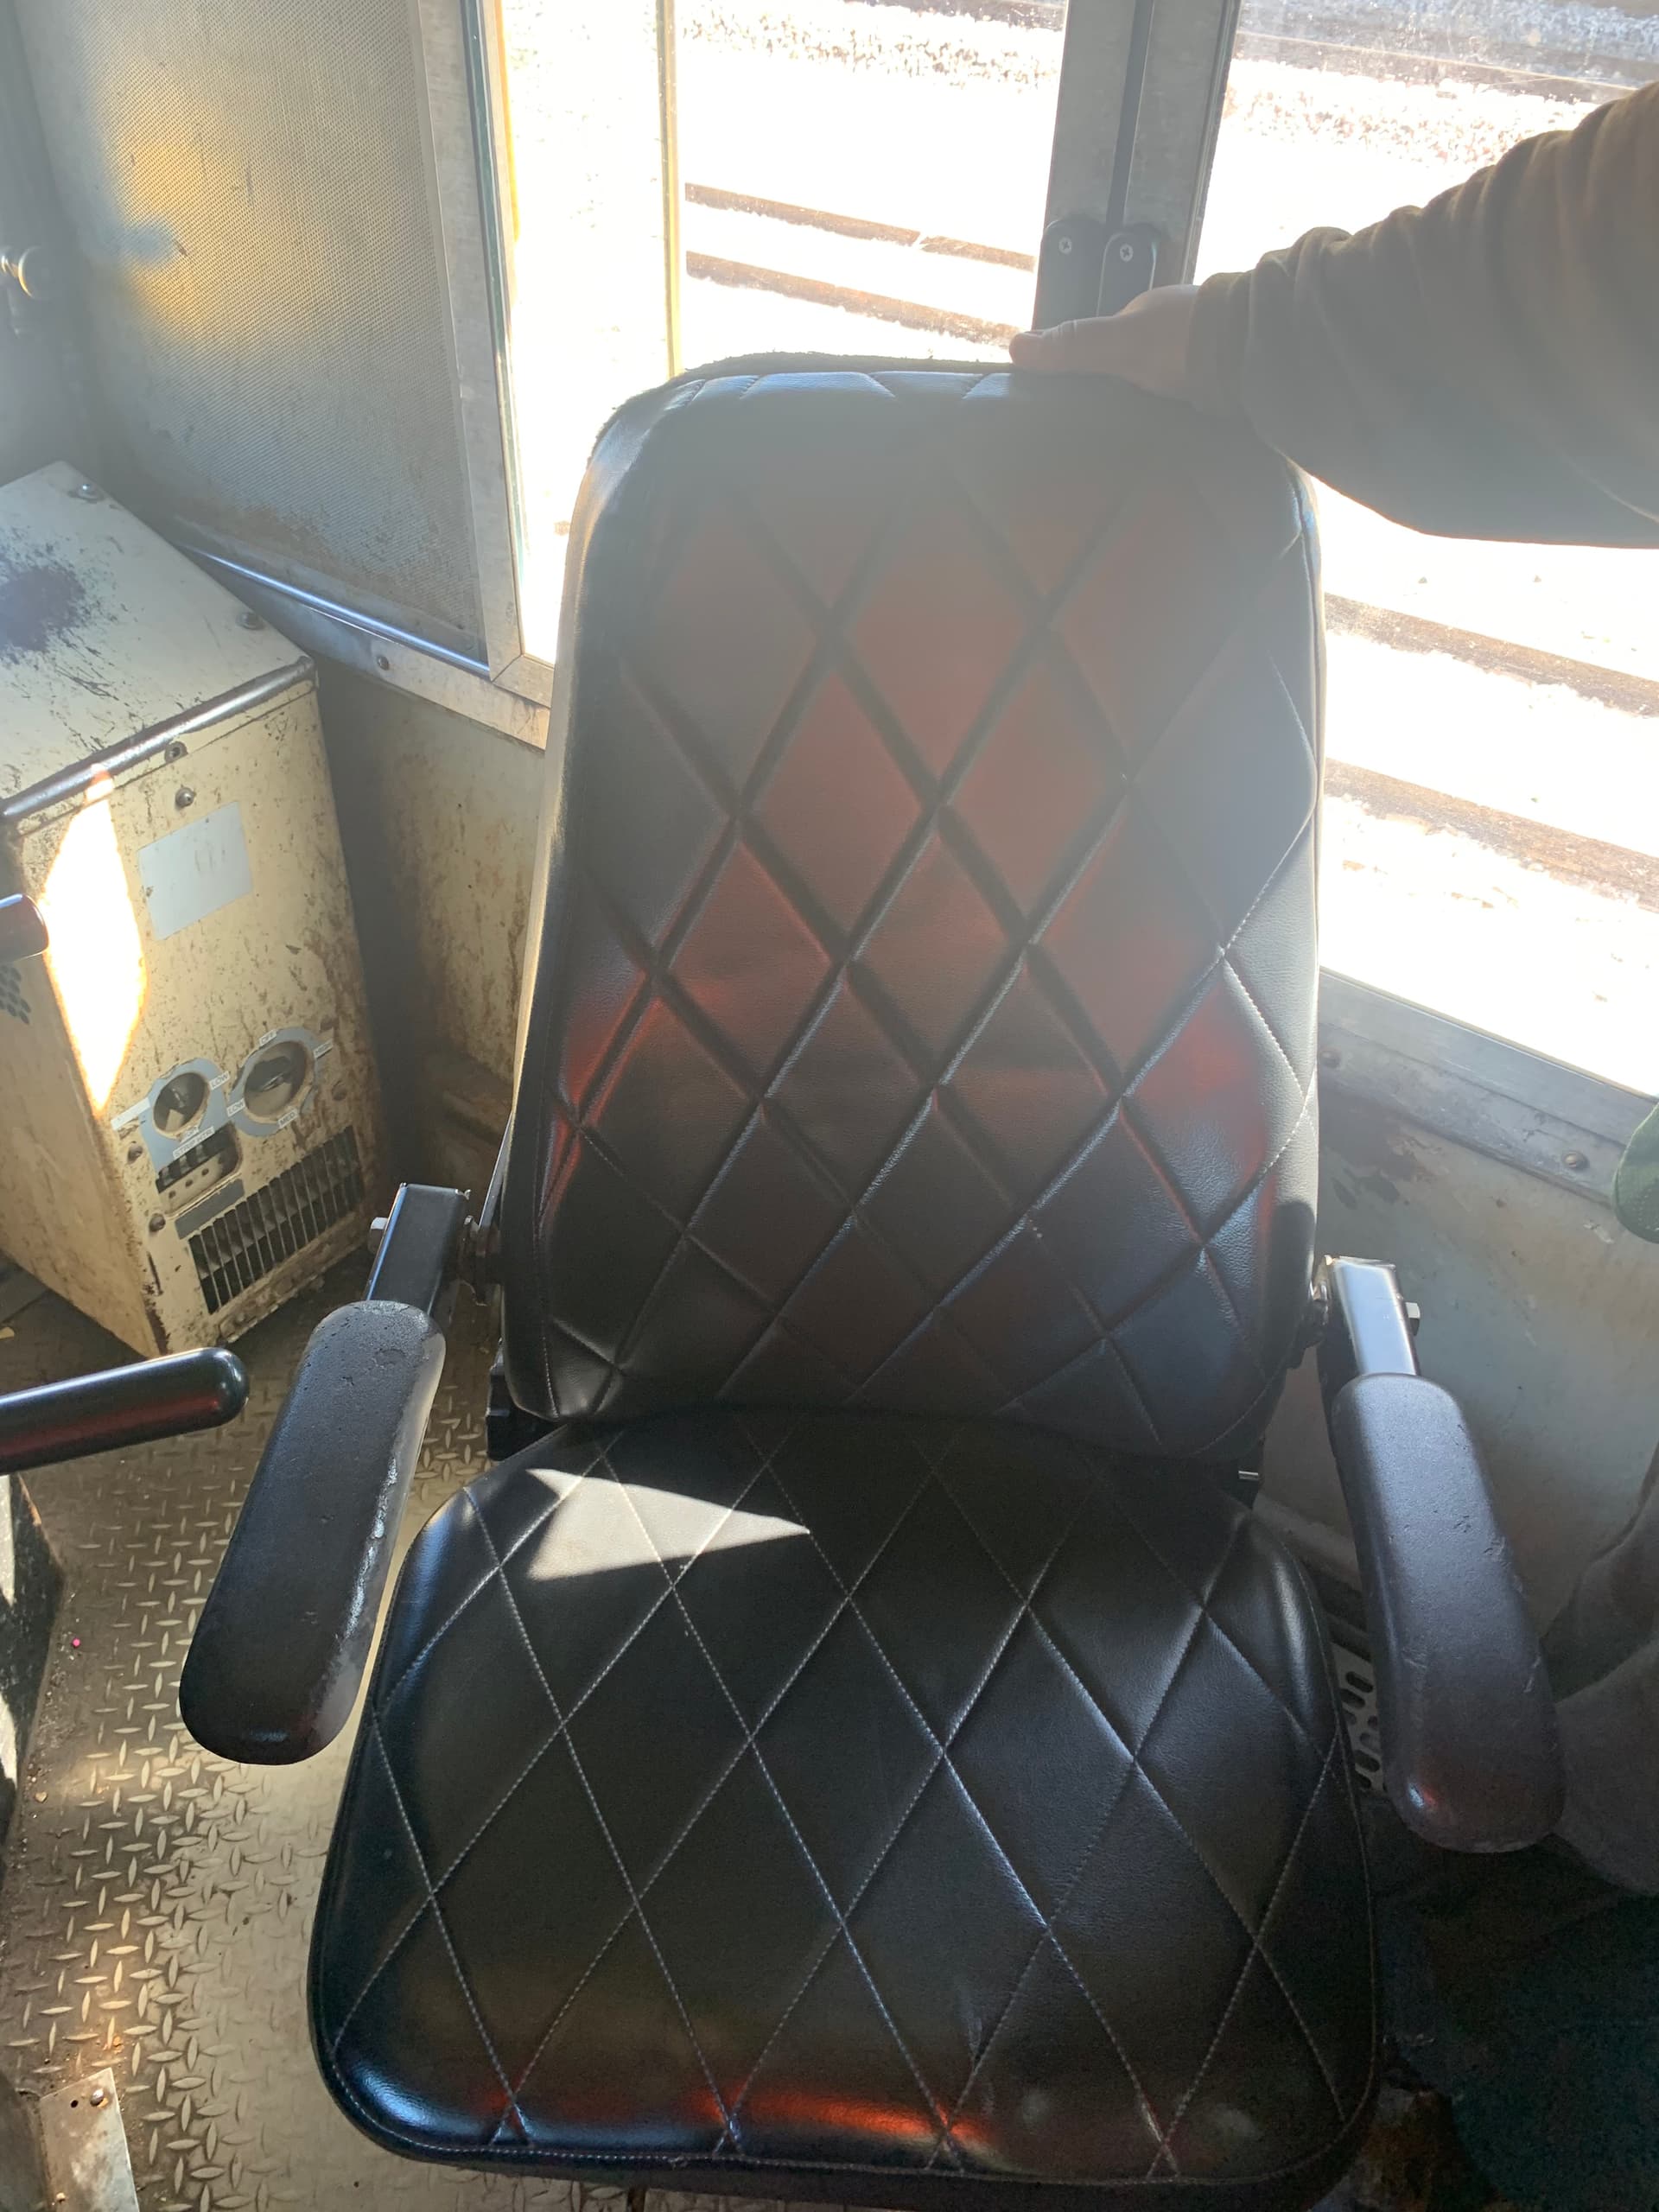
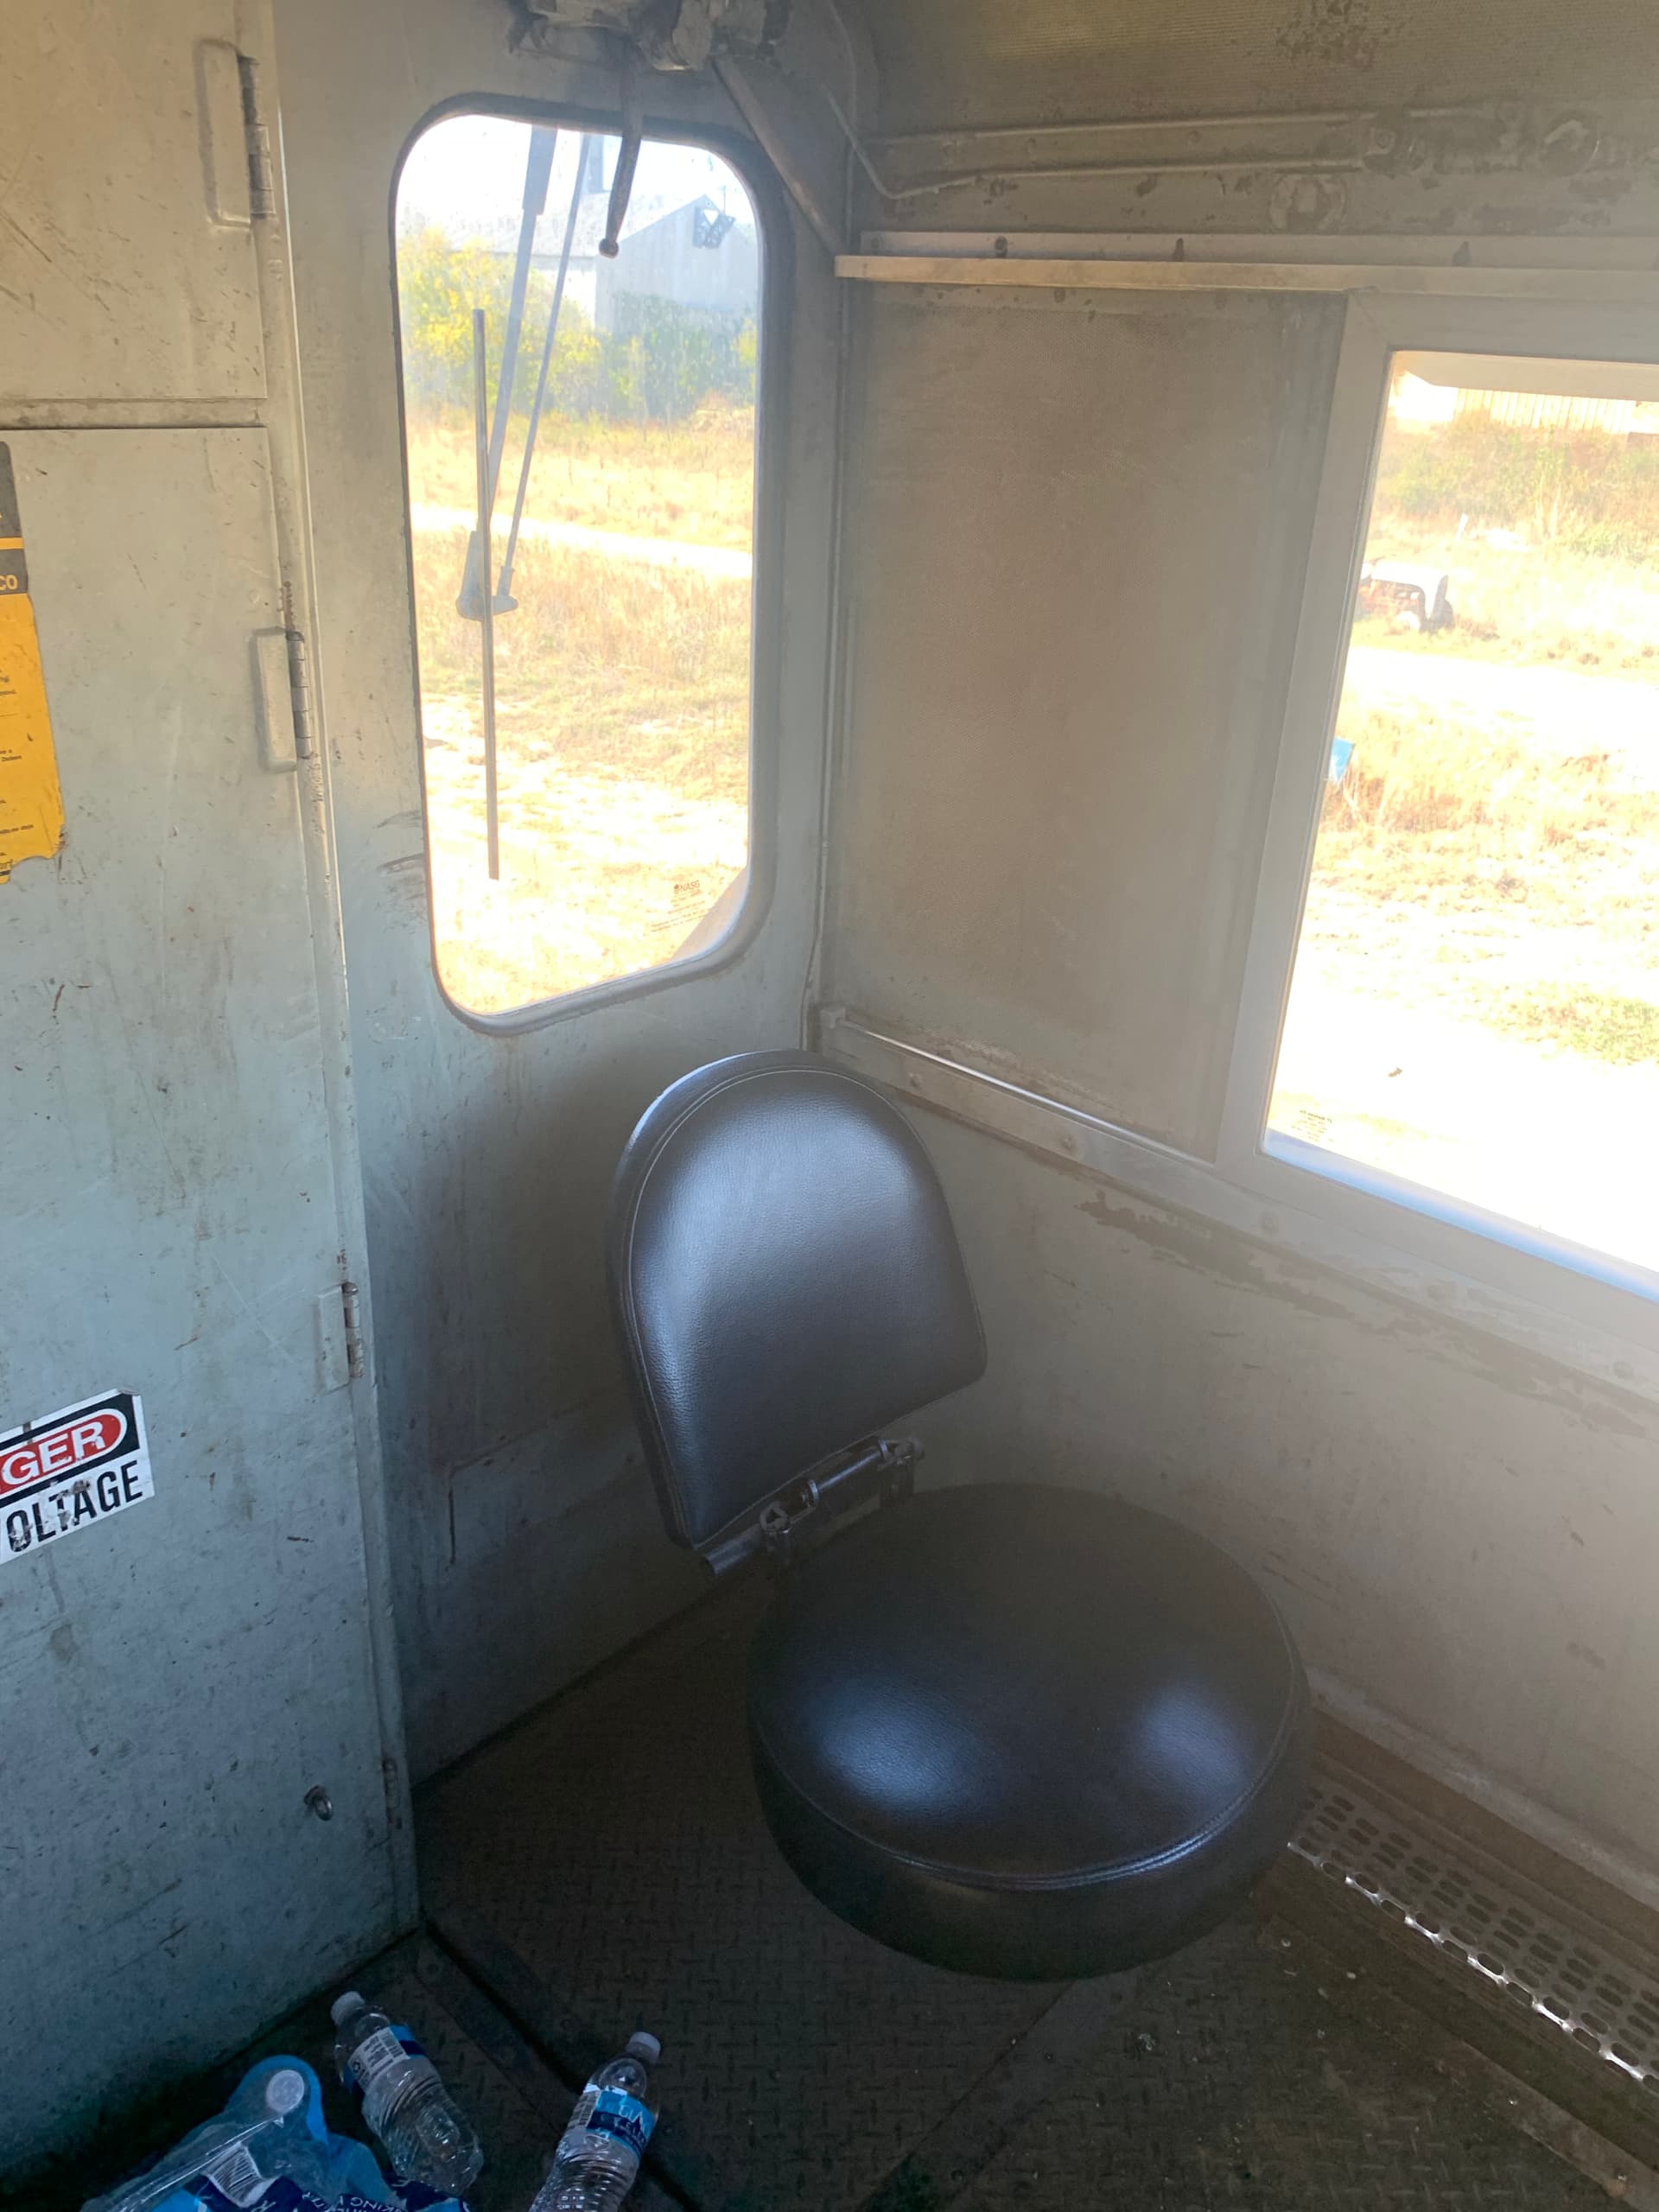
I’ve started the spartan cab interior kit. Miss Molly’s interior really is spartan compared to others I’ve seen.
The seats need to be scratched I think. They look nothing like those in Miss Molly. I may have some small scale helicopter padding lying around somewhere for the engineer’s seat…
2 Likes
A nice project for your “chop-shop.”
(That’s what I call my kit-bashing and scratch building department.)
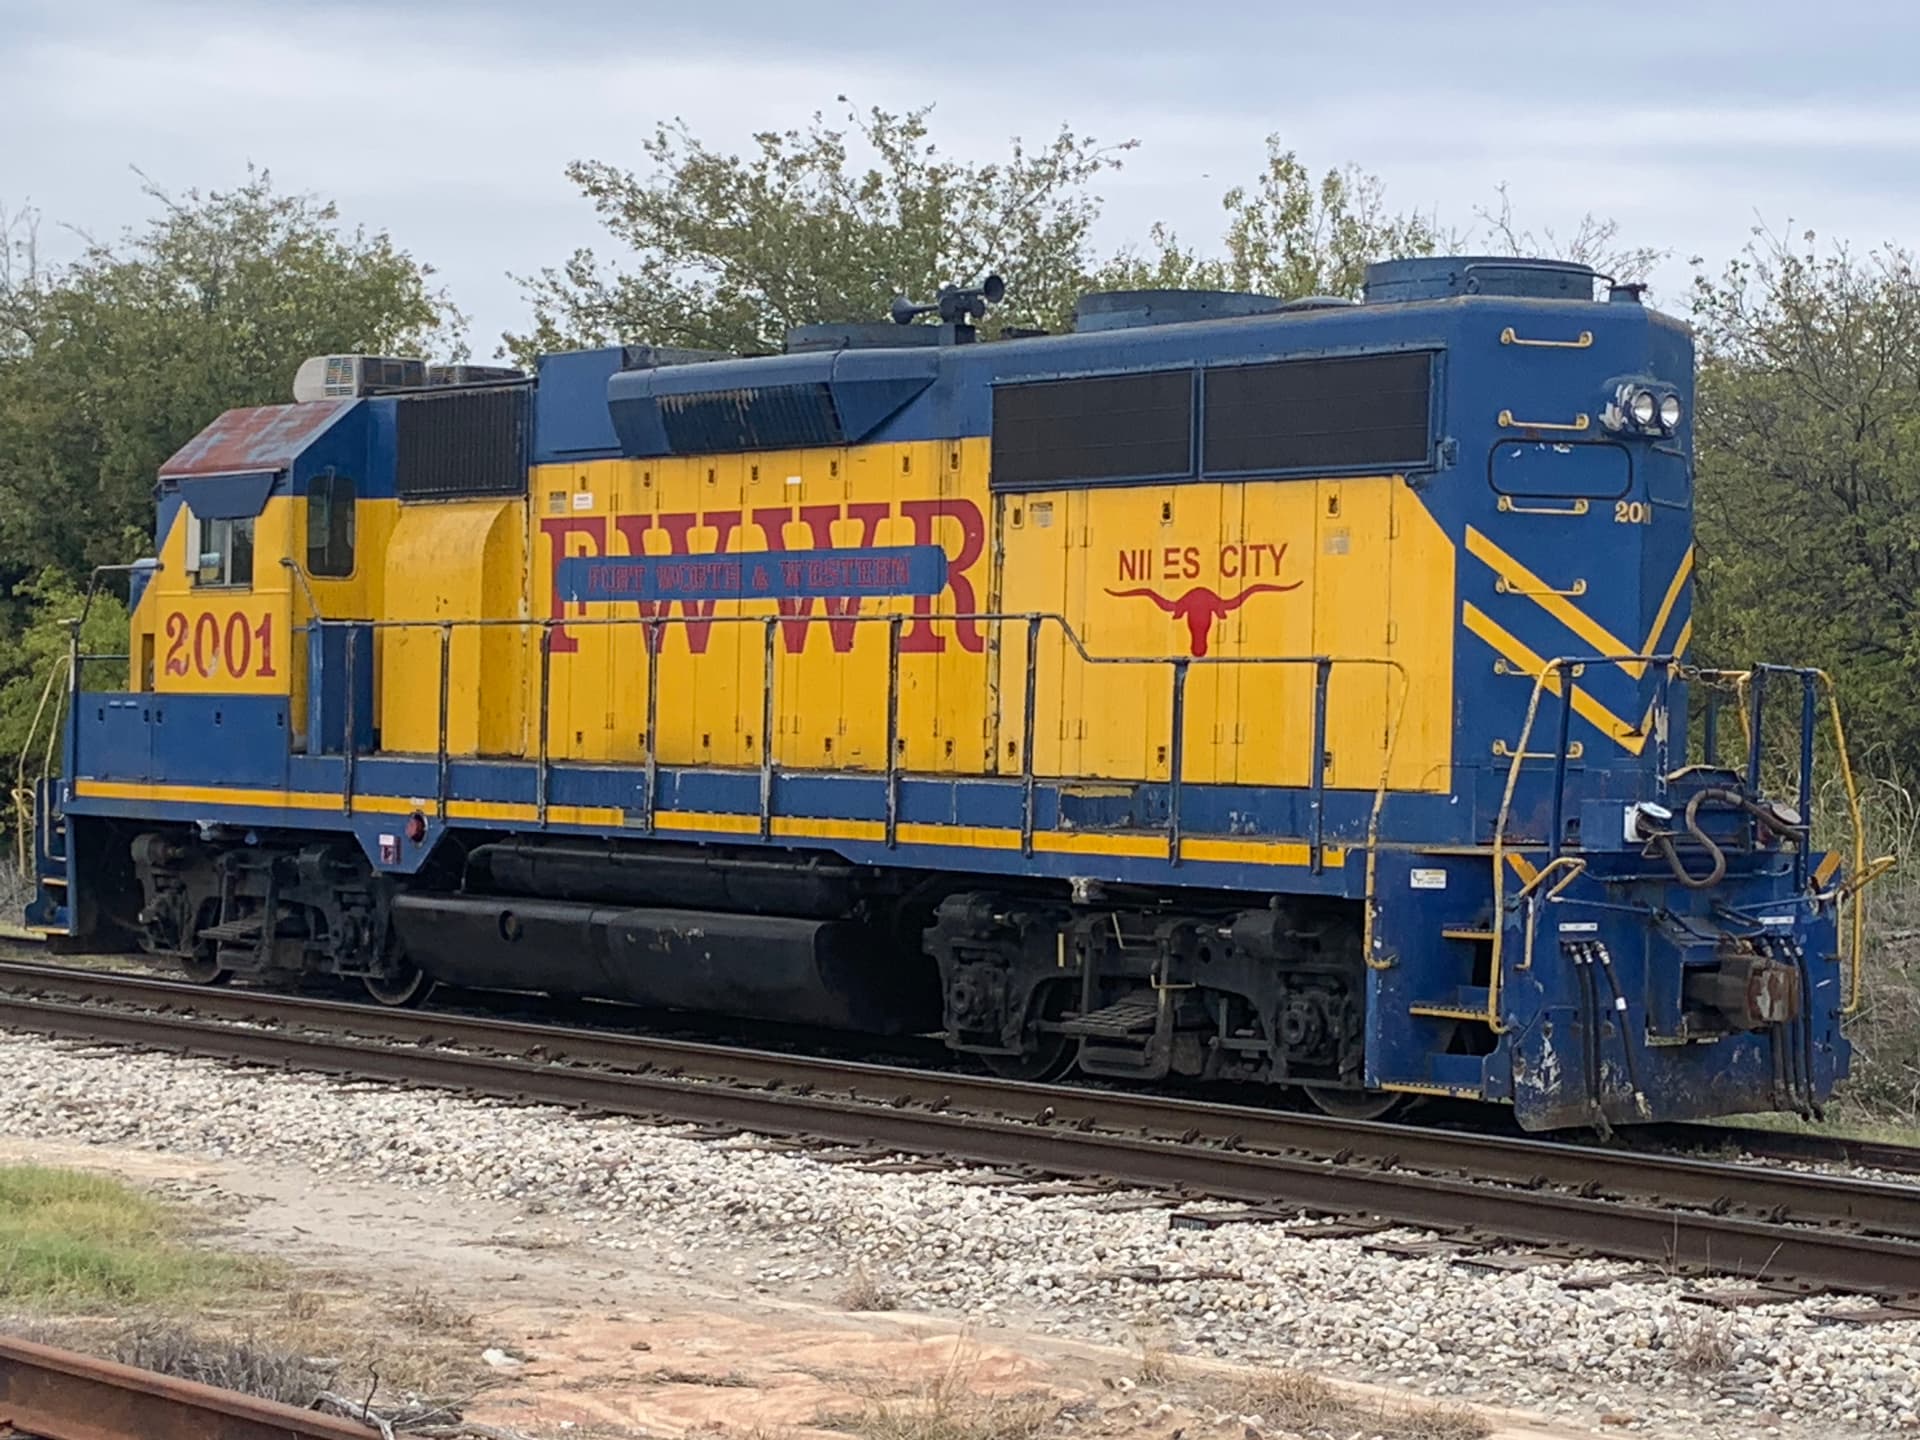
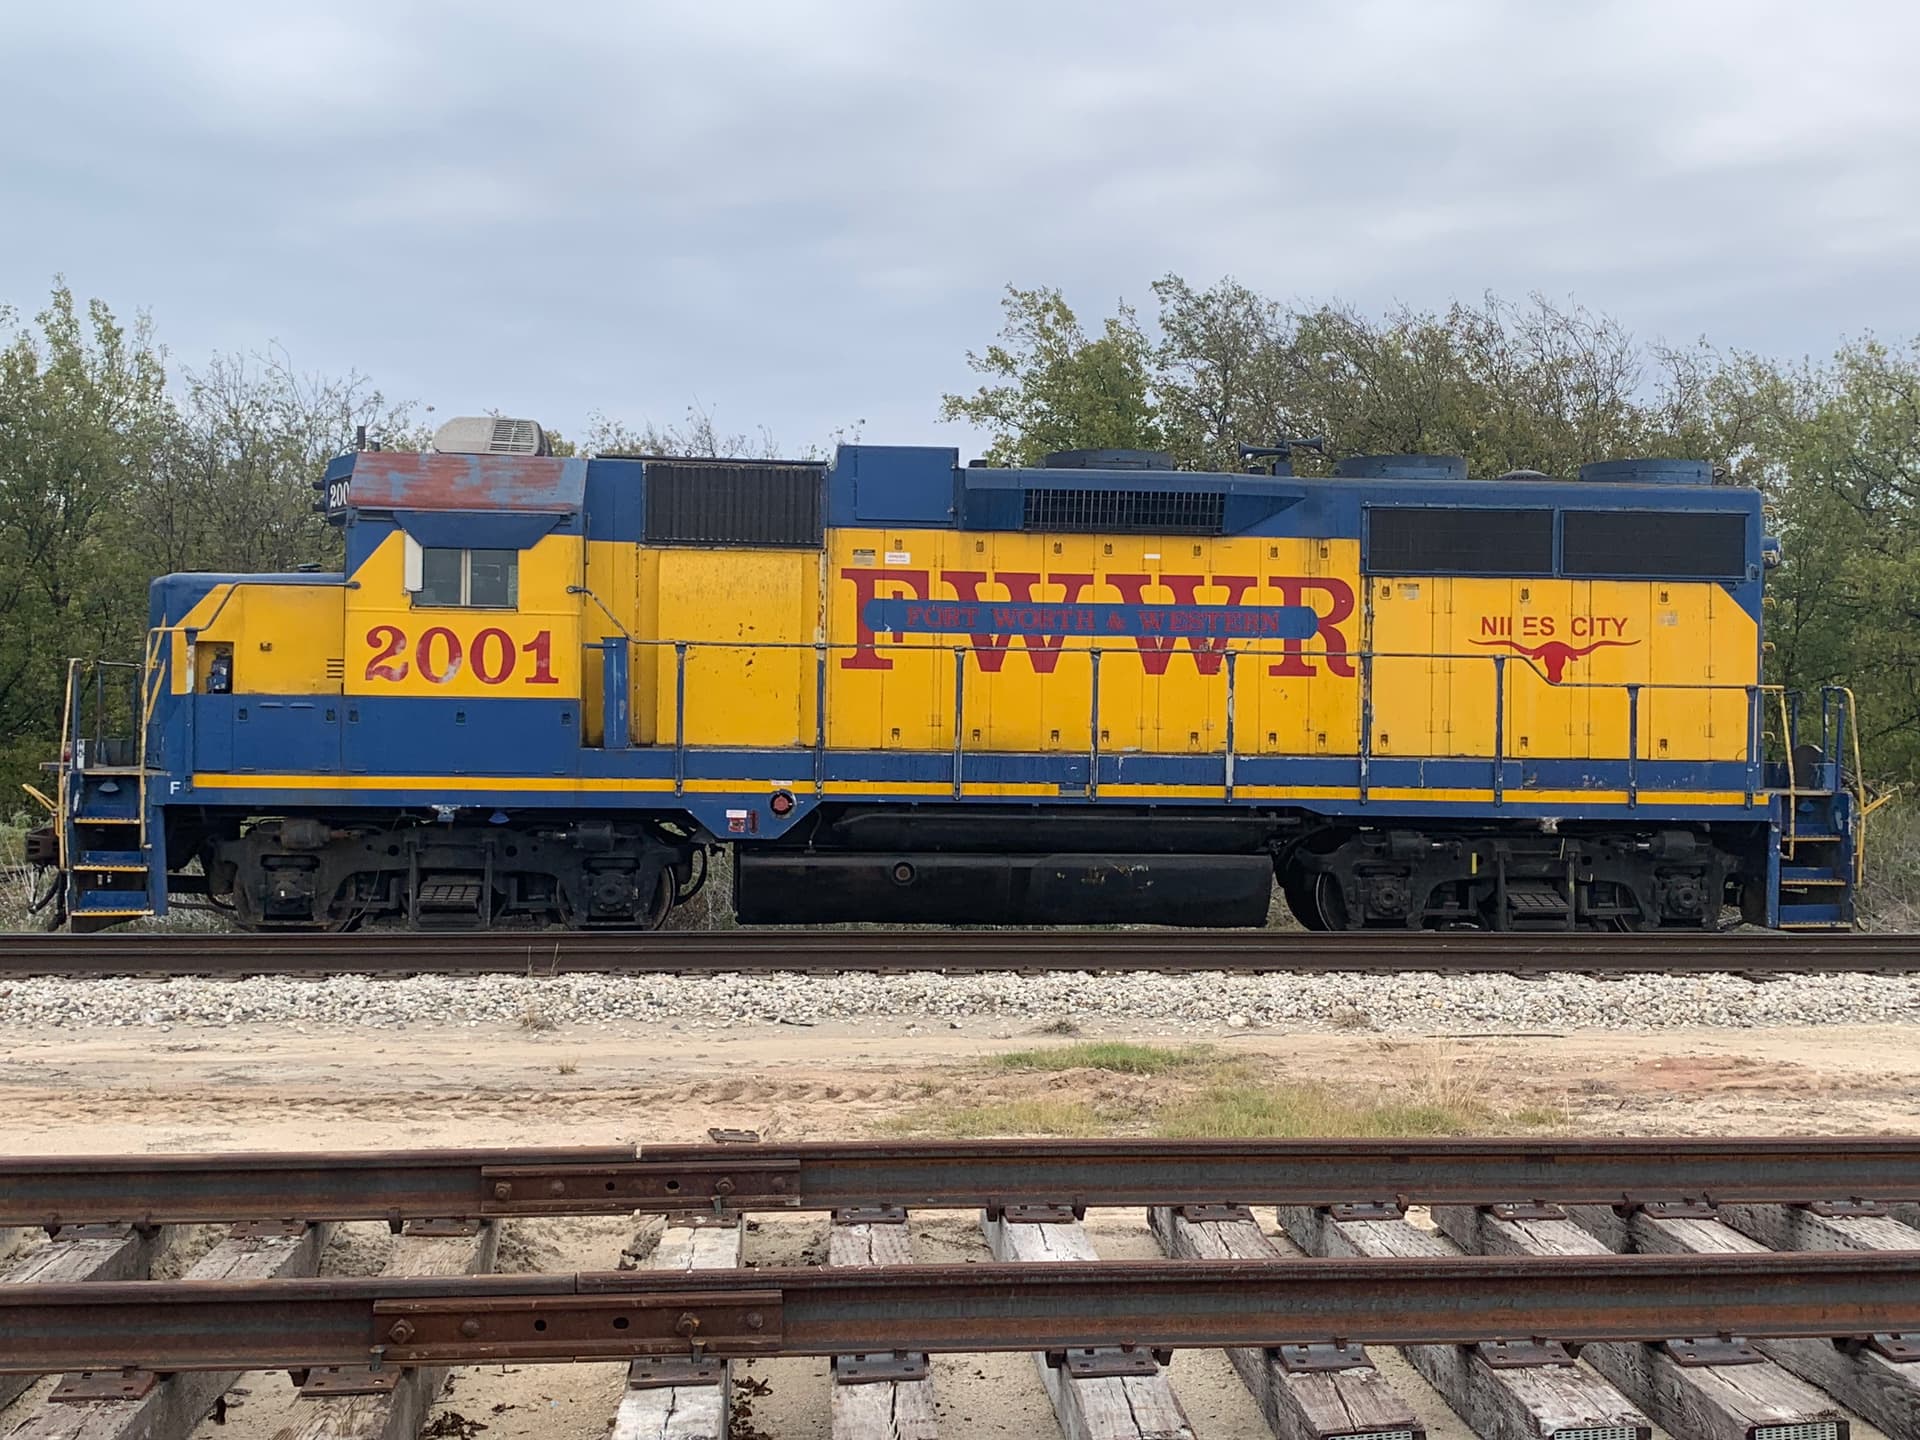
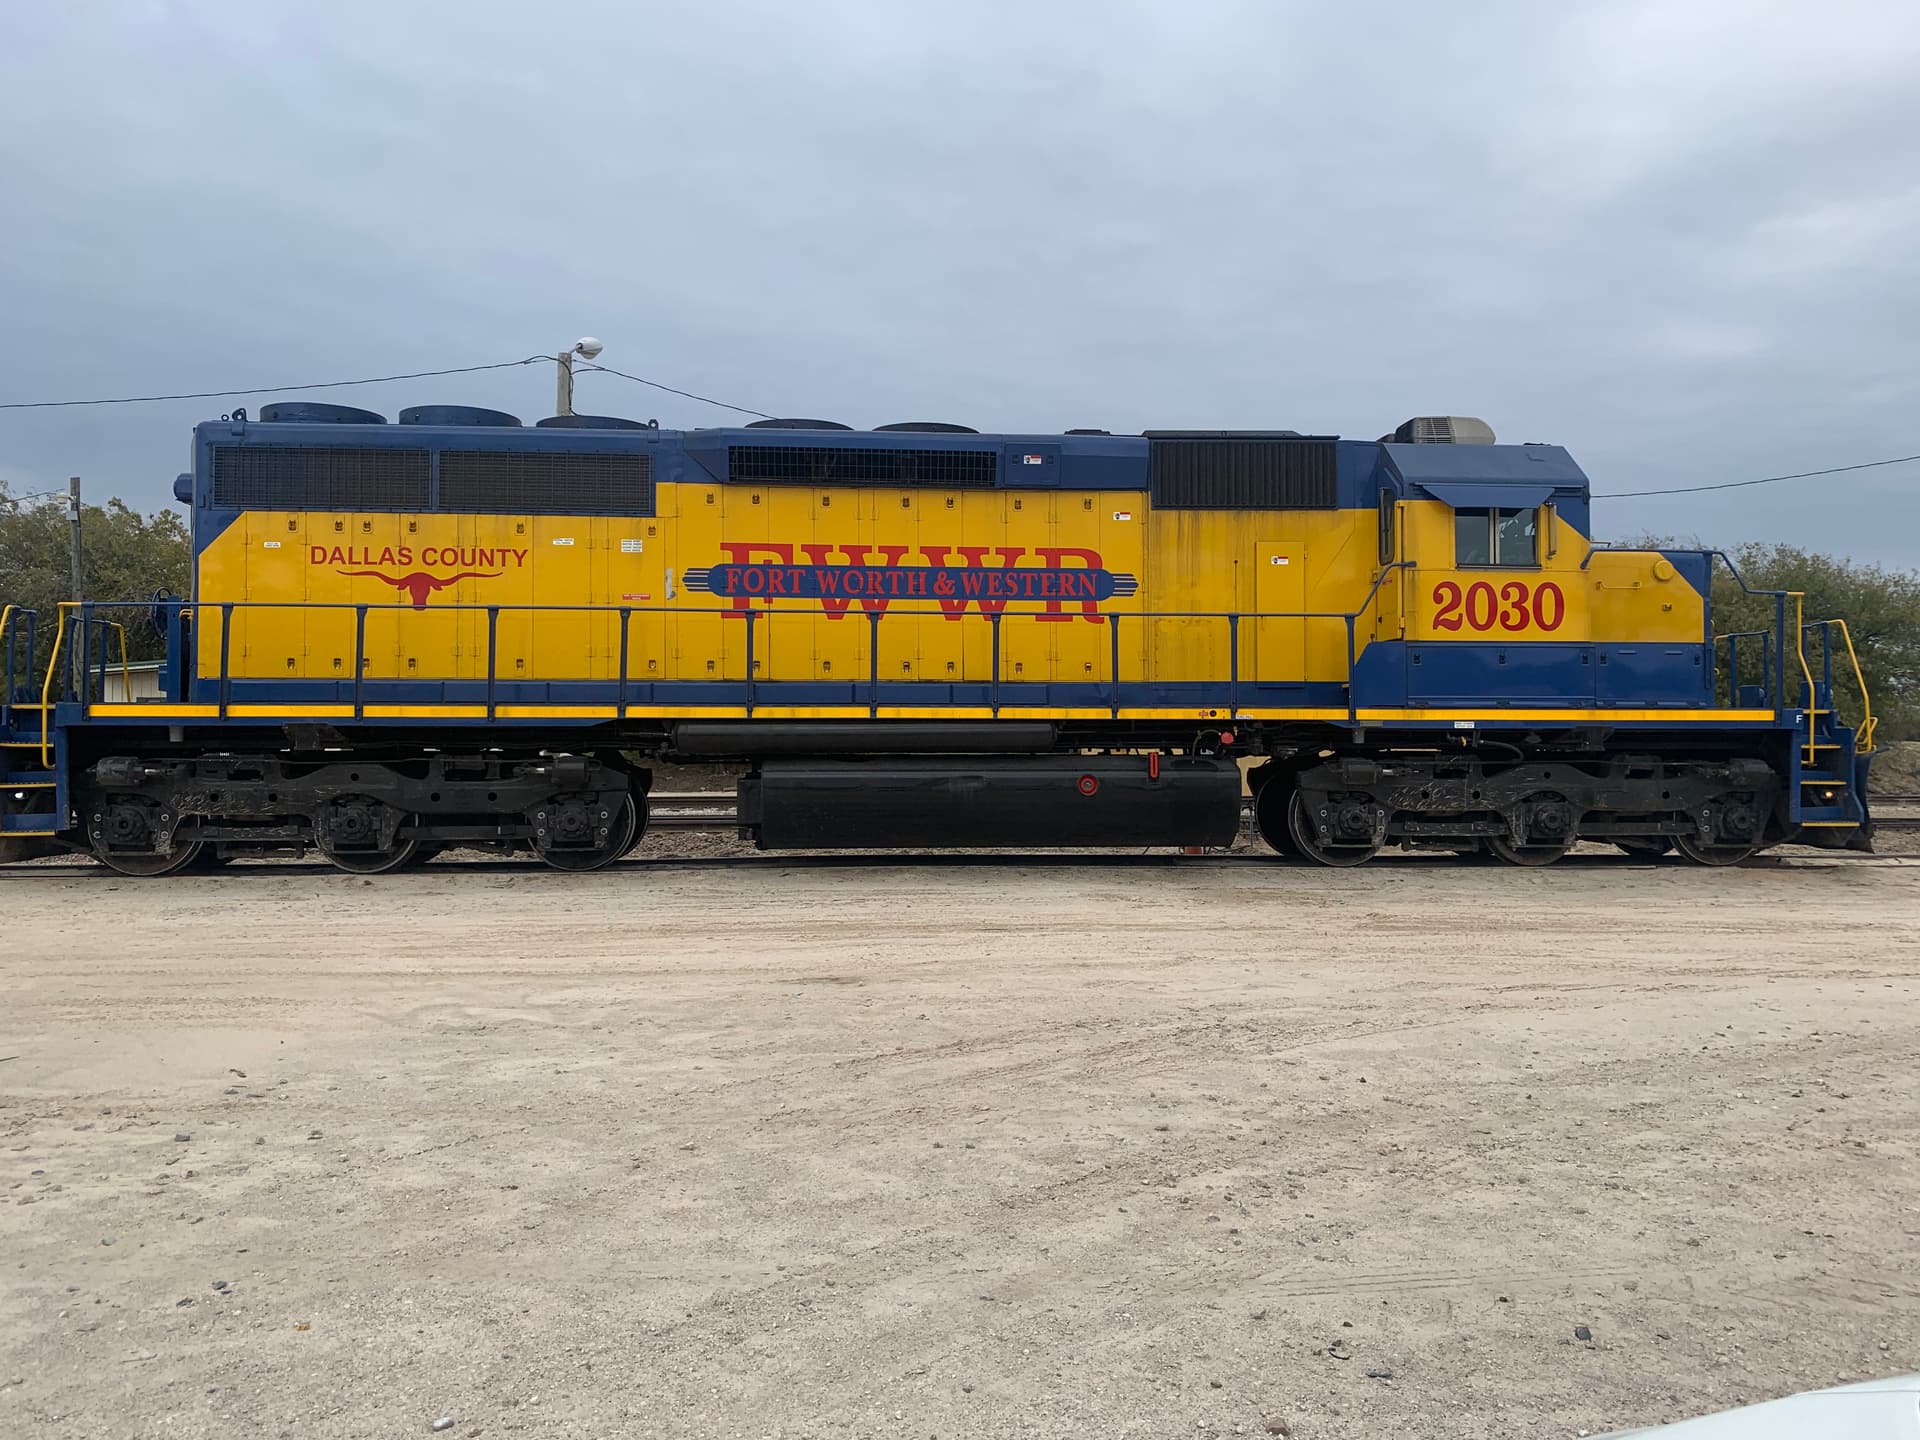
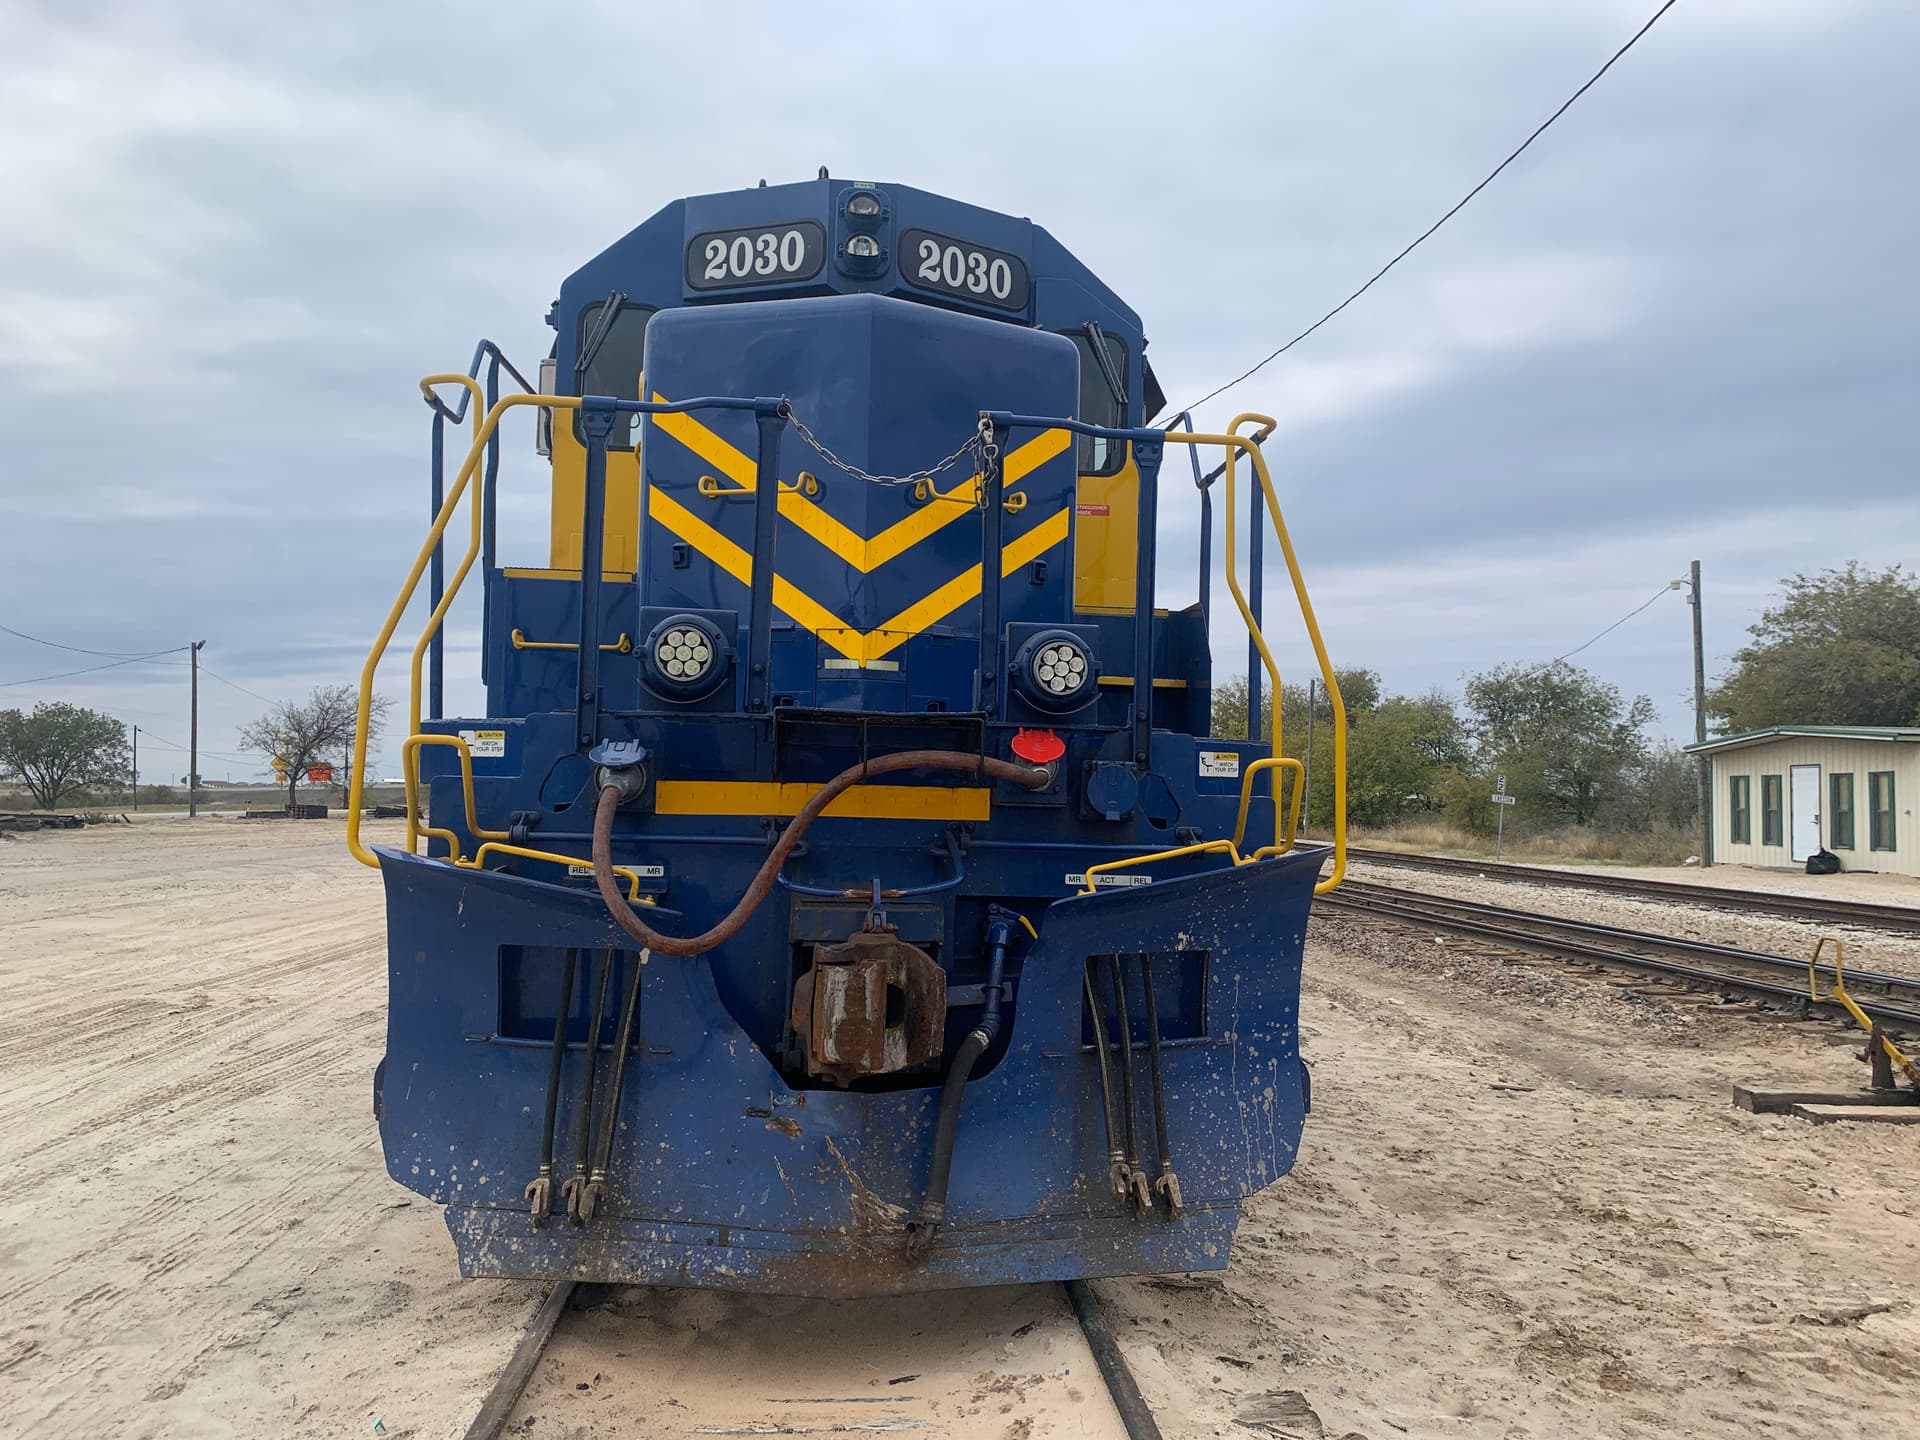
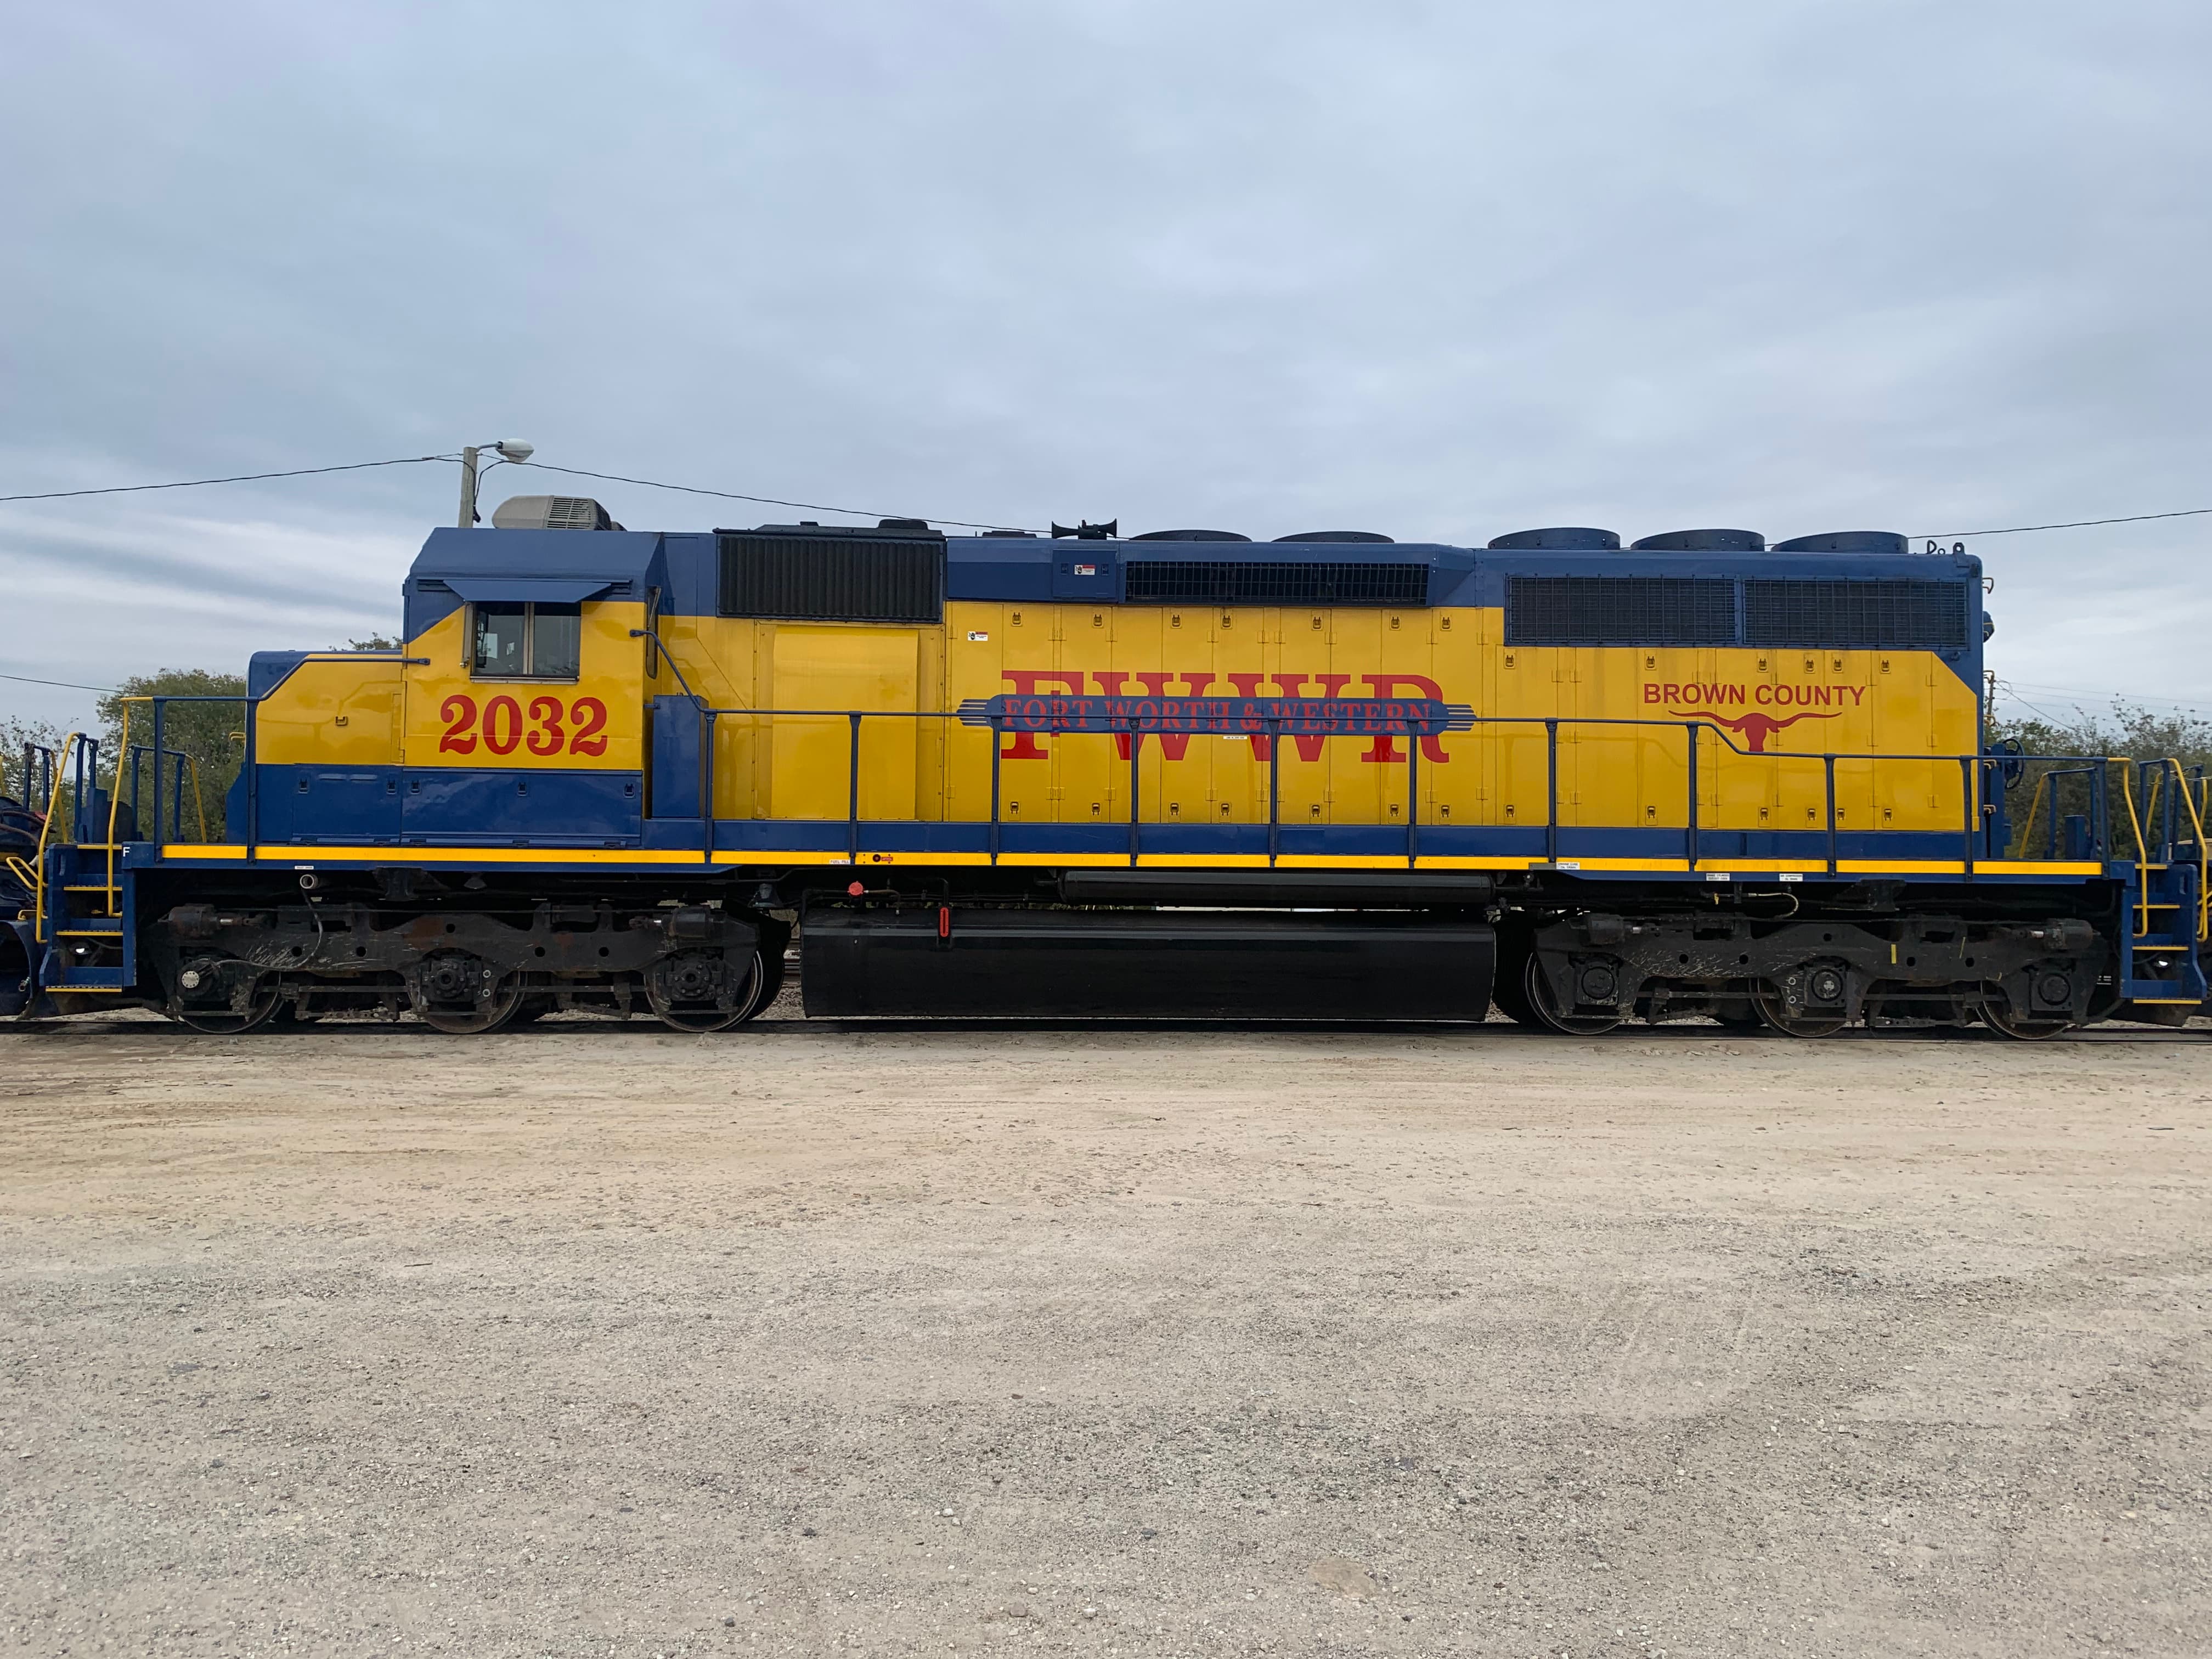
More Trainspotting today. This time back In Cresson, but also to get a few shots of a trestle in Godley.
I was remiss the last time I’m not taking a photo of the tamale stand out in the middle of nowhere, so I remembered this time.
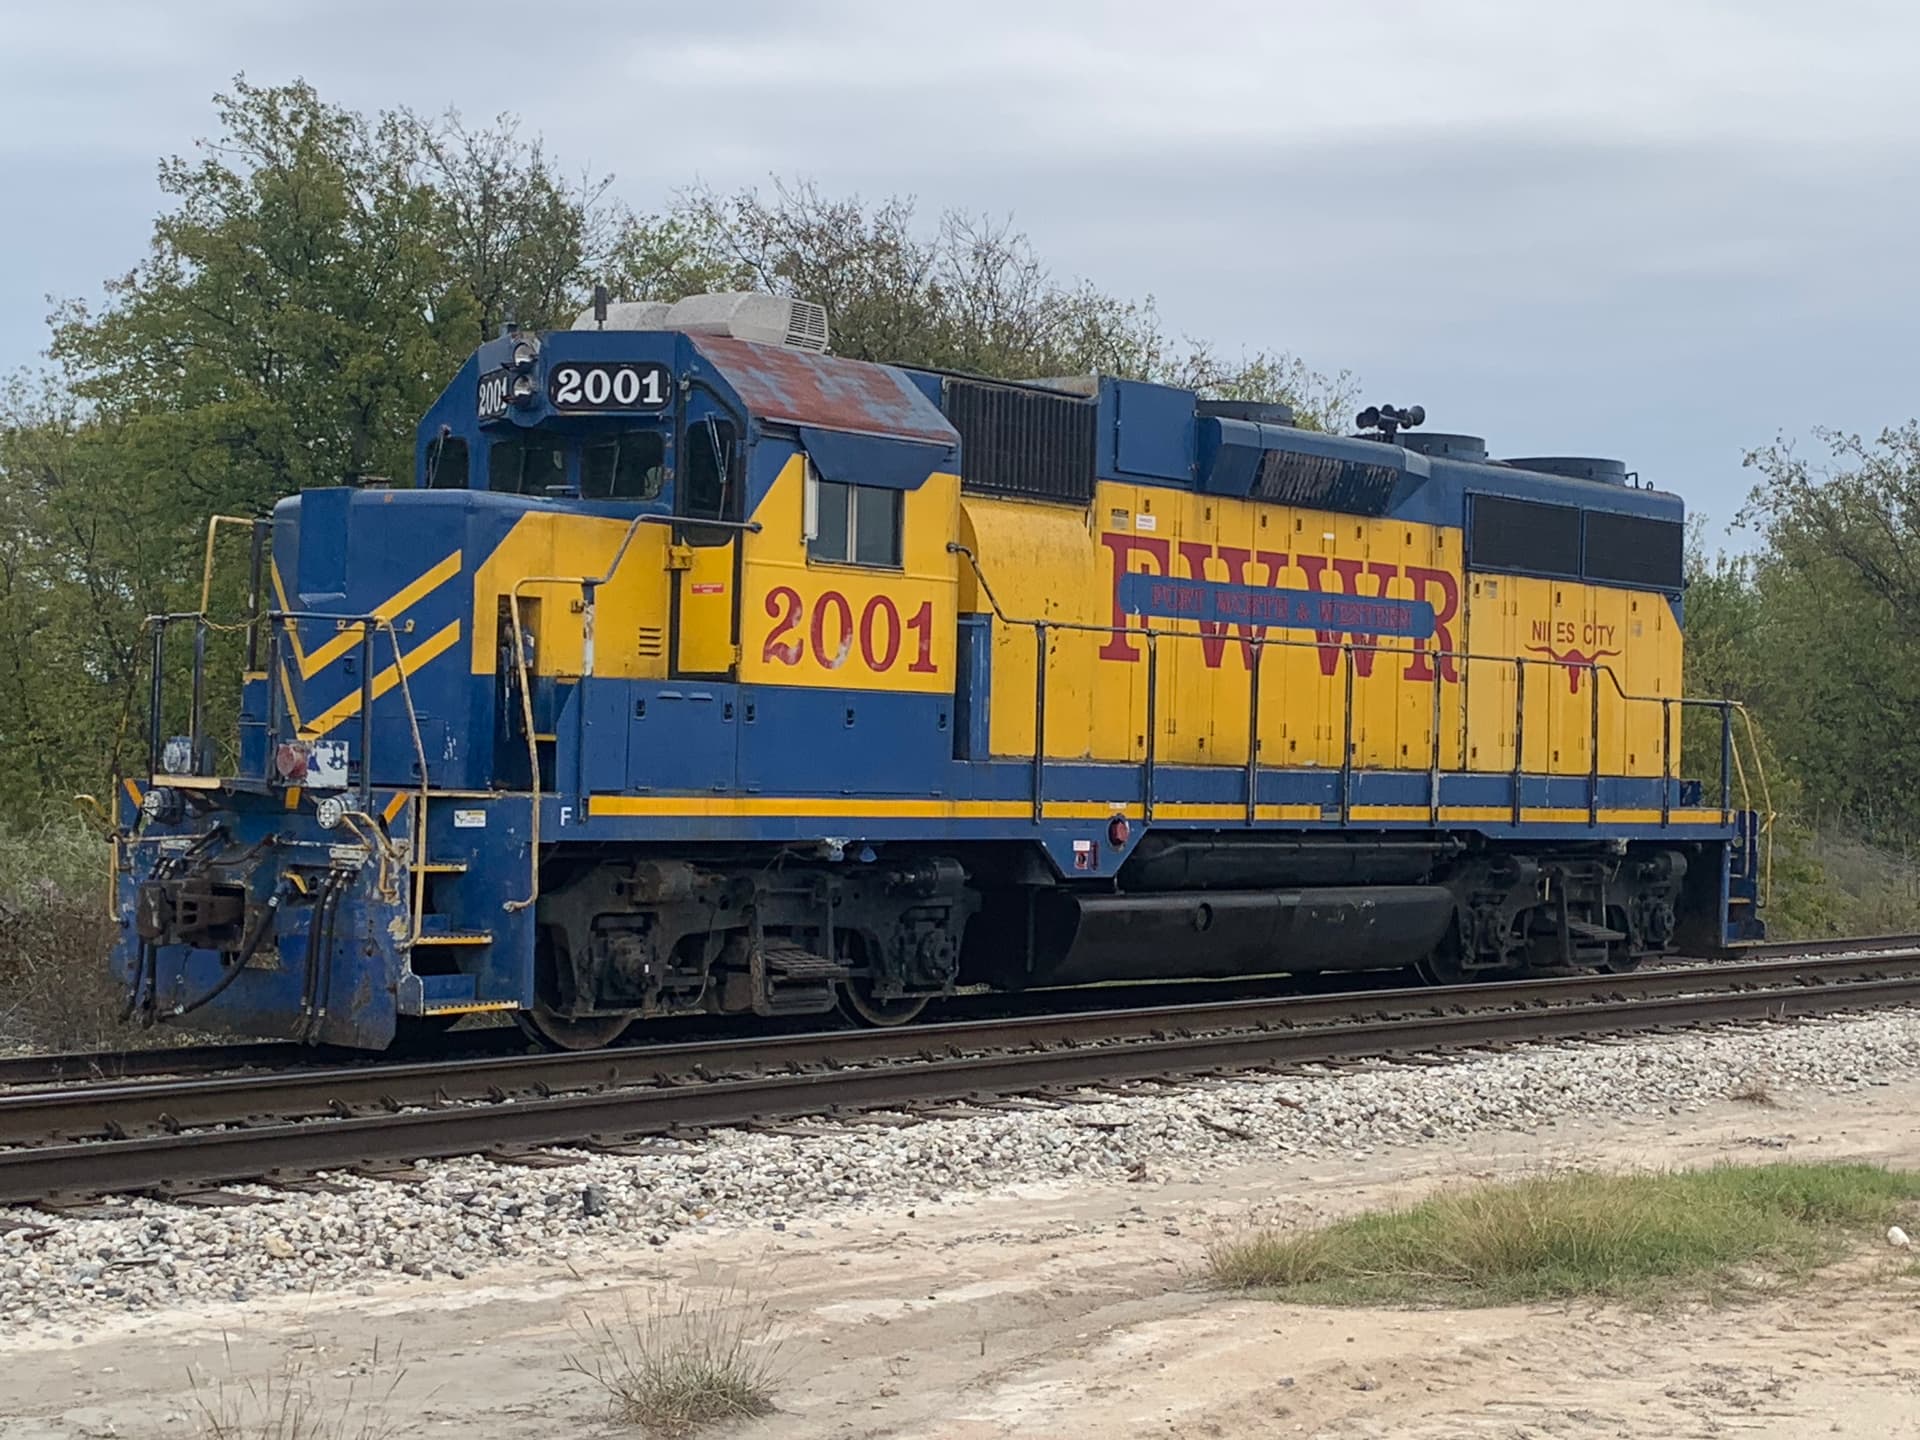
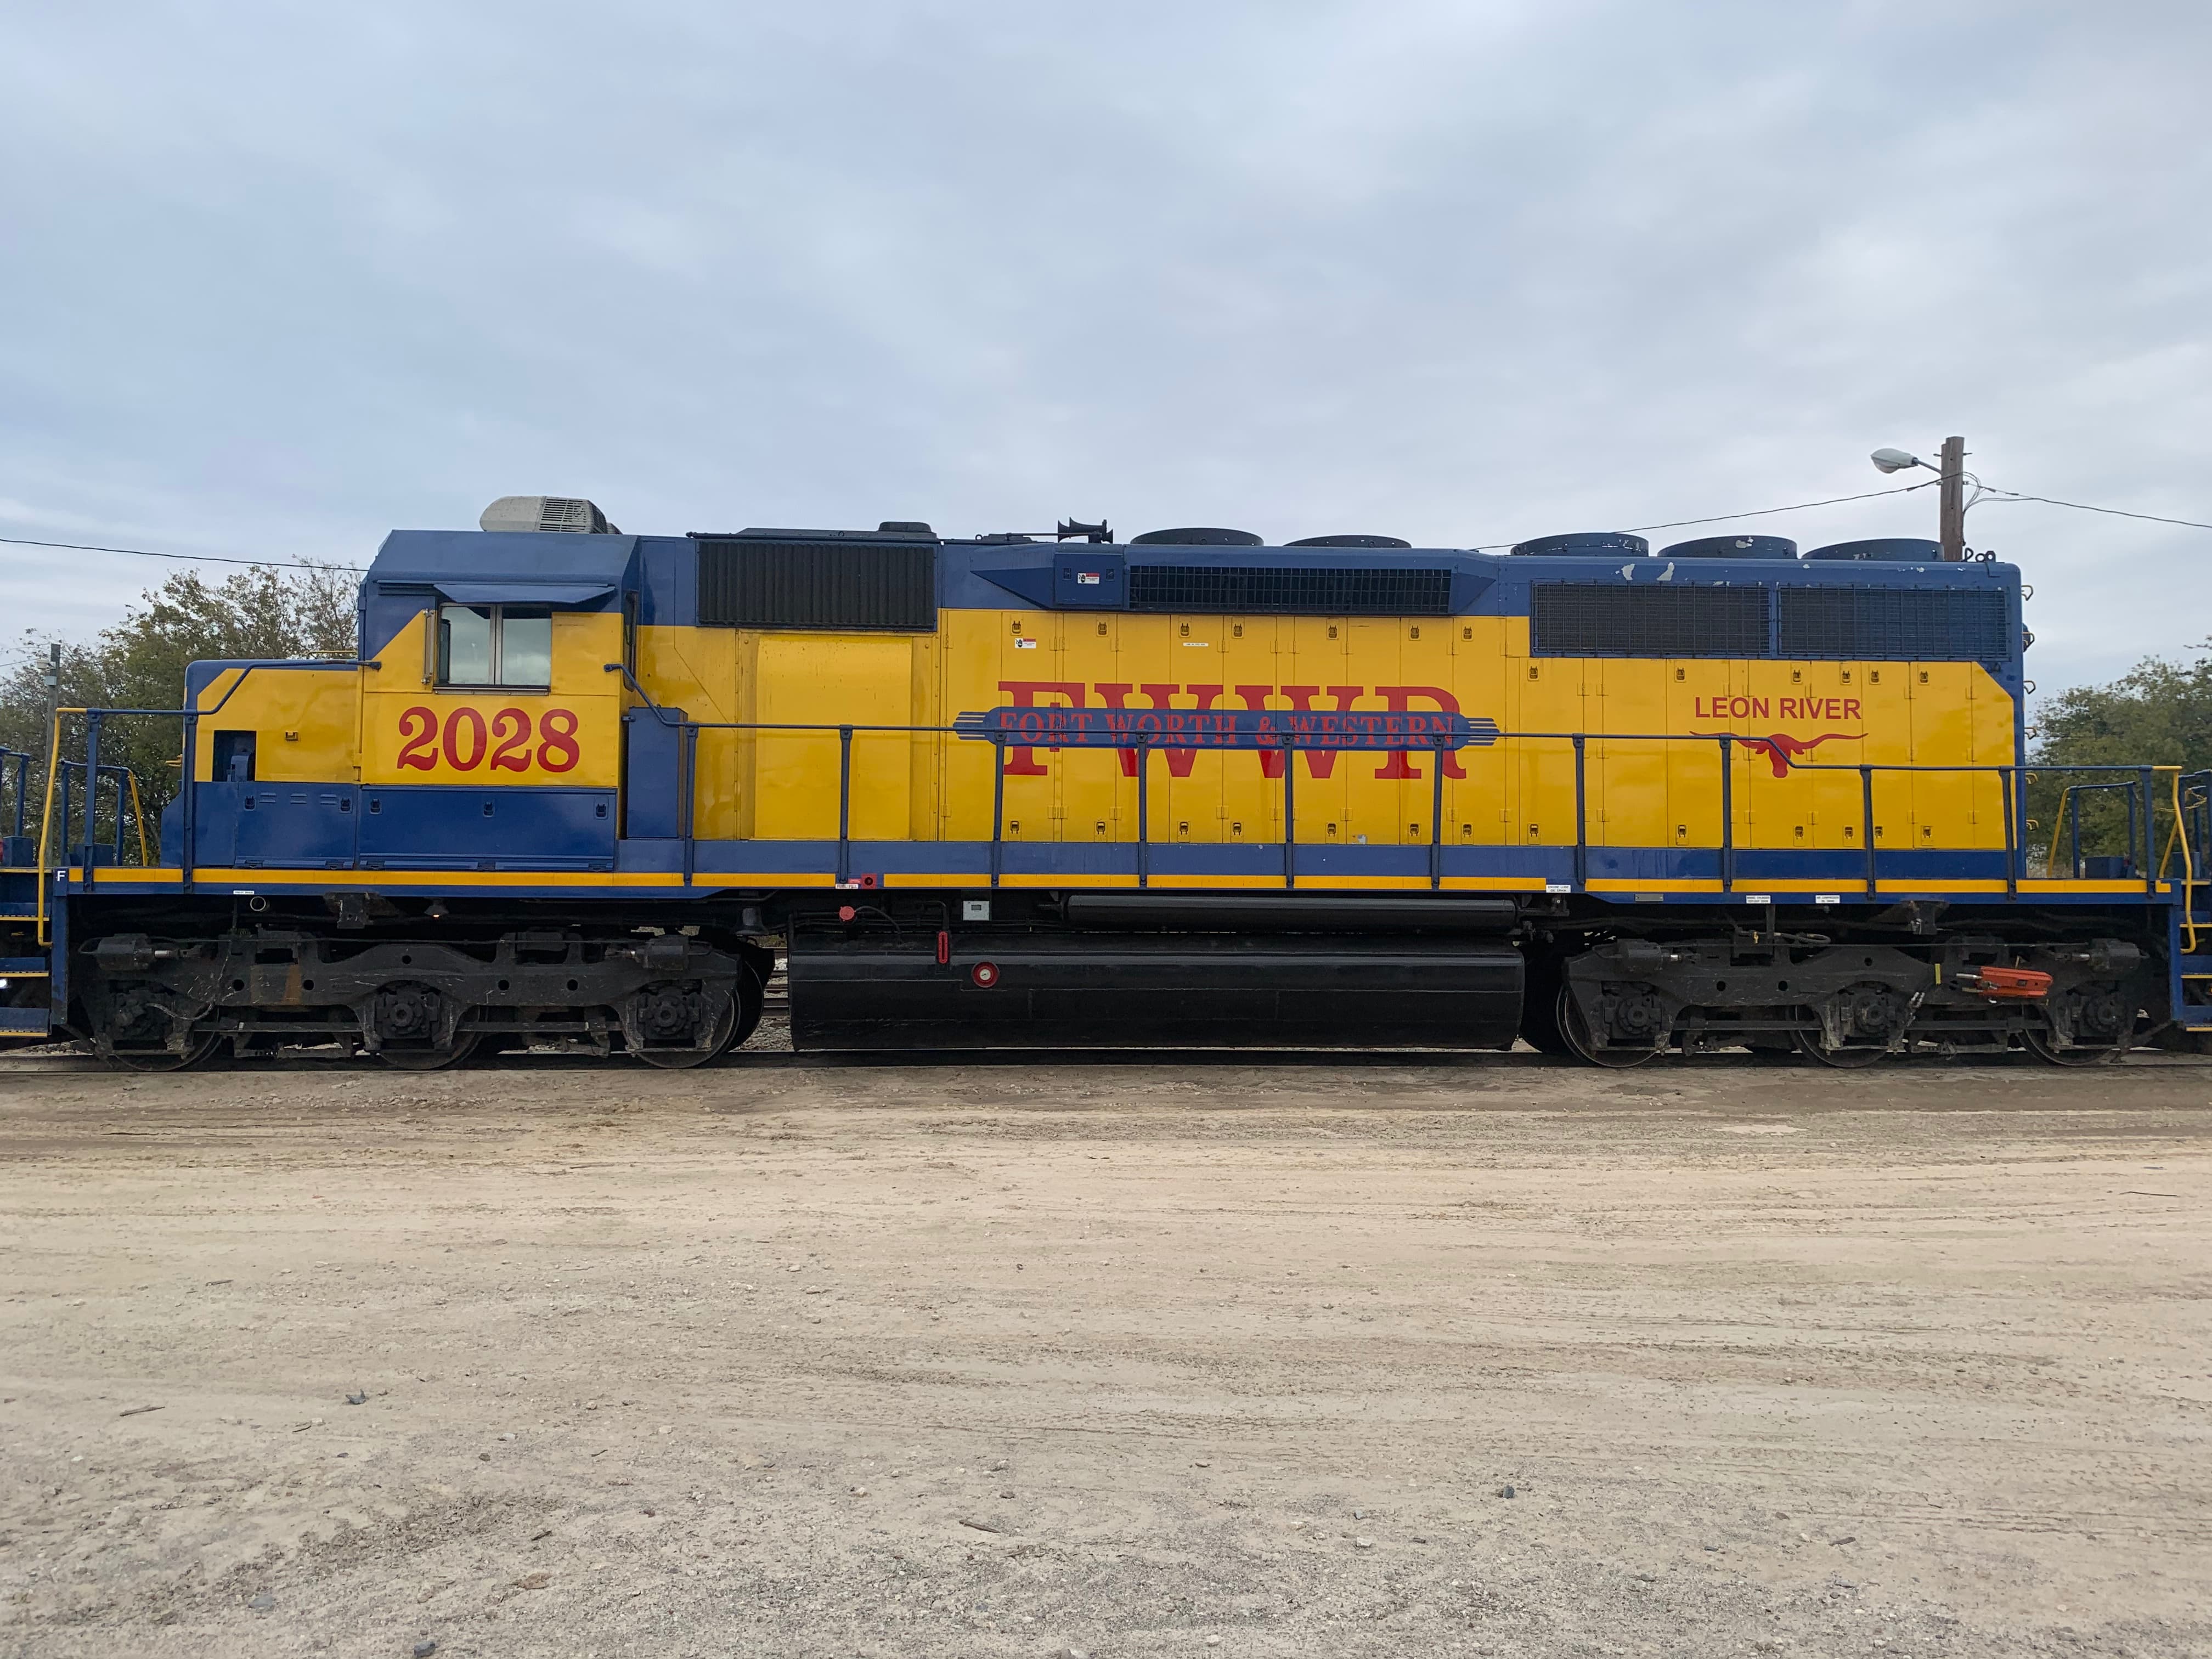
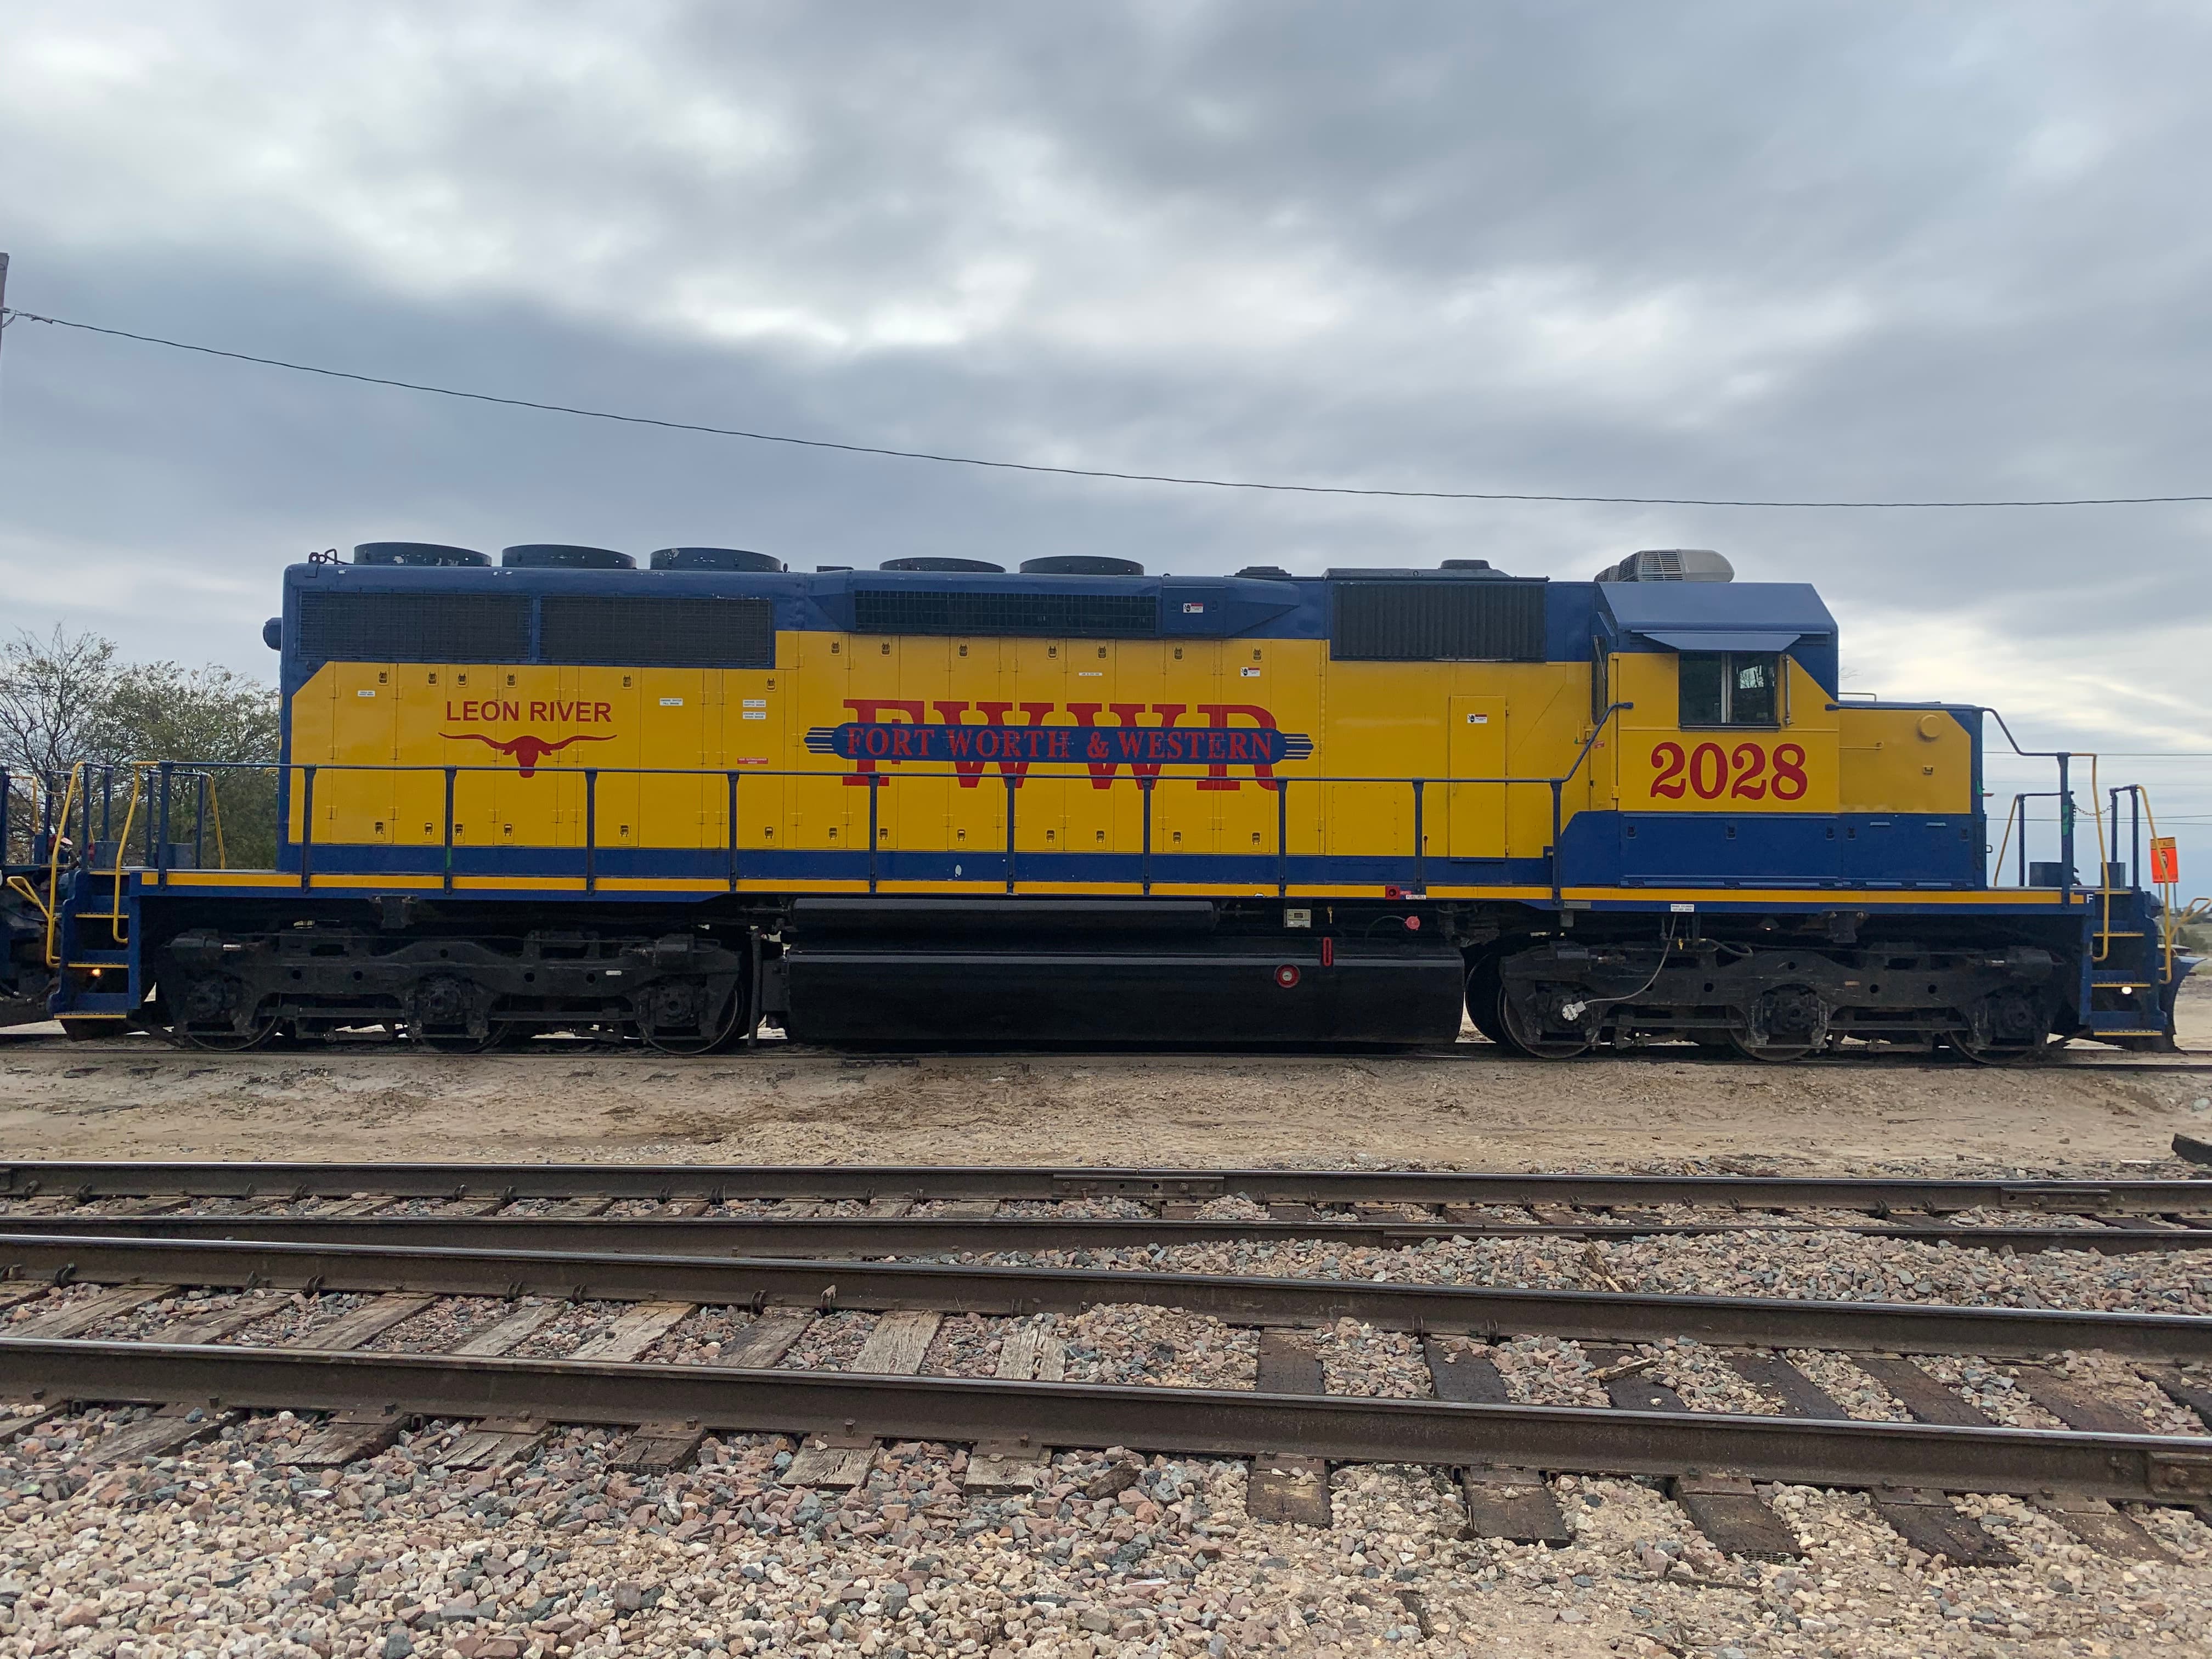
This unit was rebuilt at the same time Miss Molly was. It’s time for a repaint I’d say. Hopefully, along with Miss Molly they’ll upgrade the herald, which as you can see from other units is an older style.
I did proper walkarounds of each of these as well.
Now just waiting for the older style decals to arrive.
2 Likes
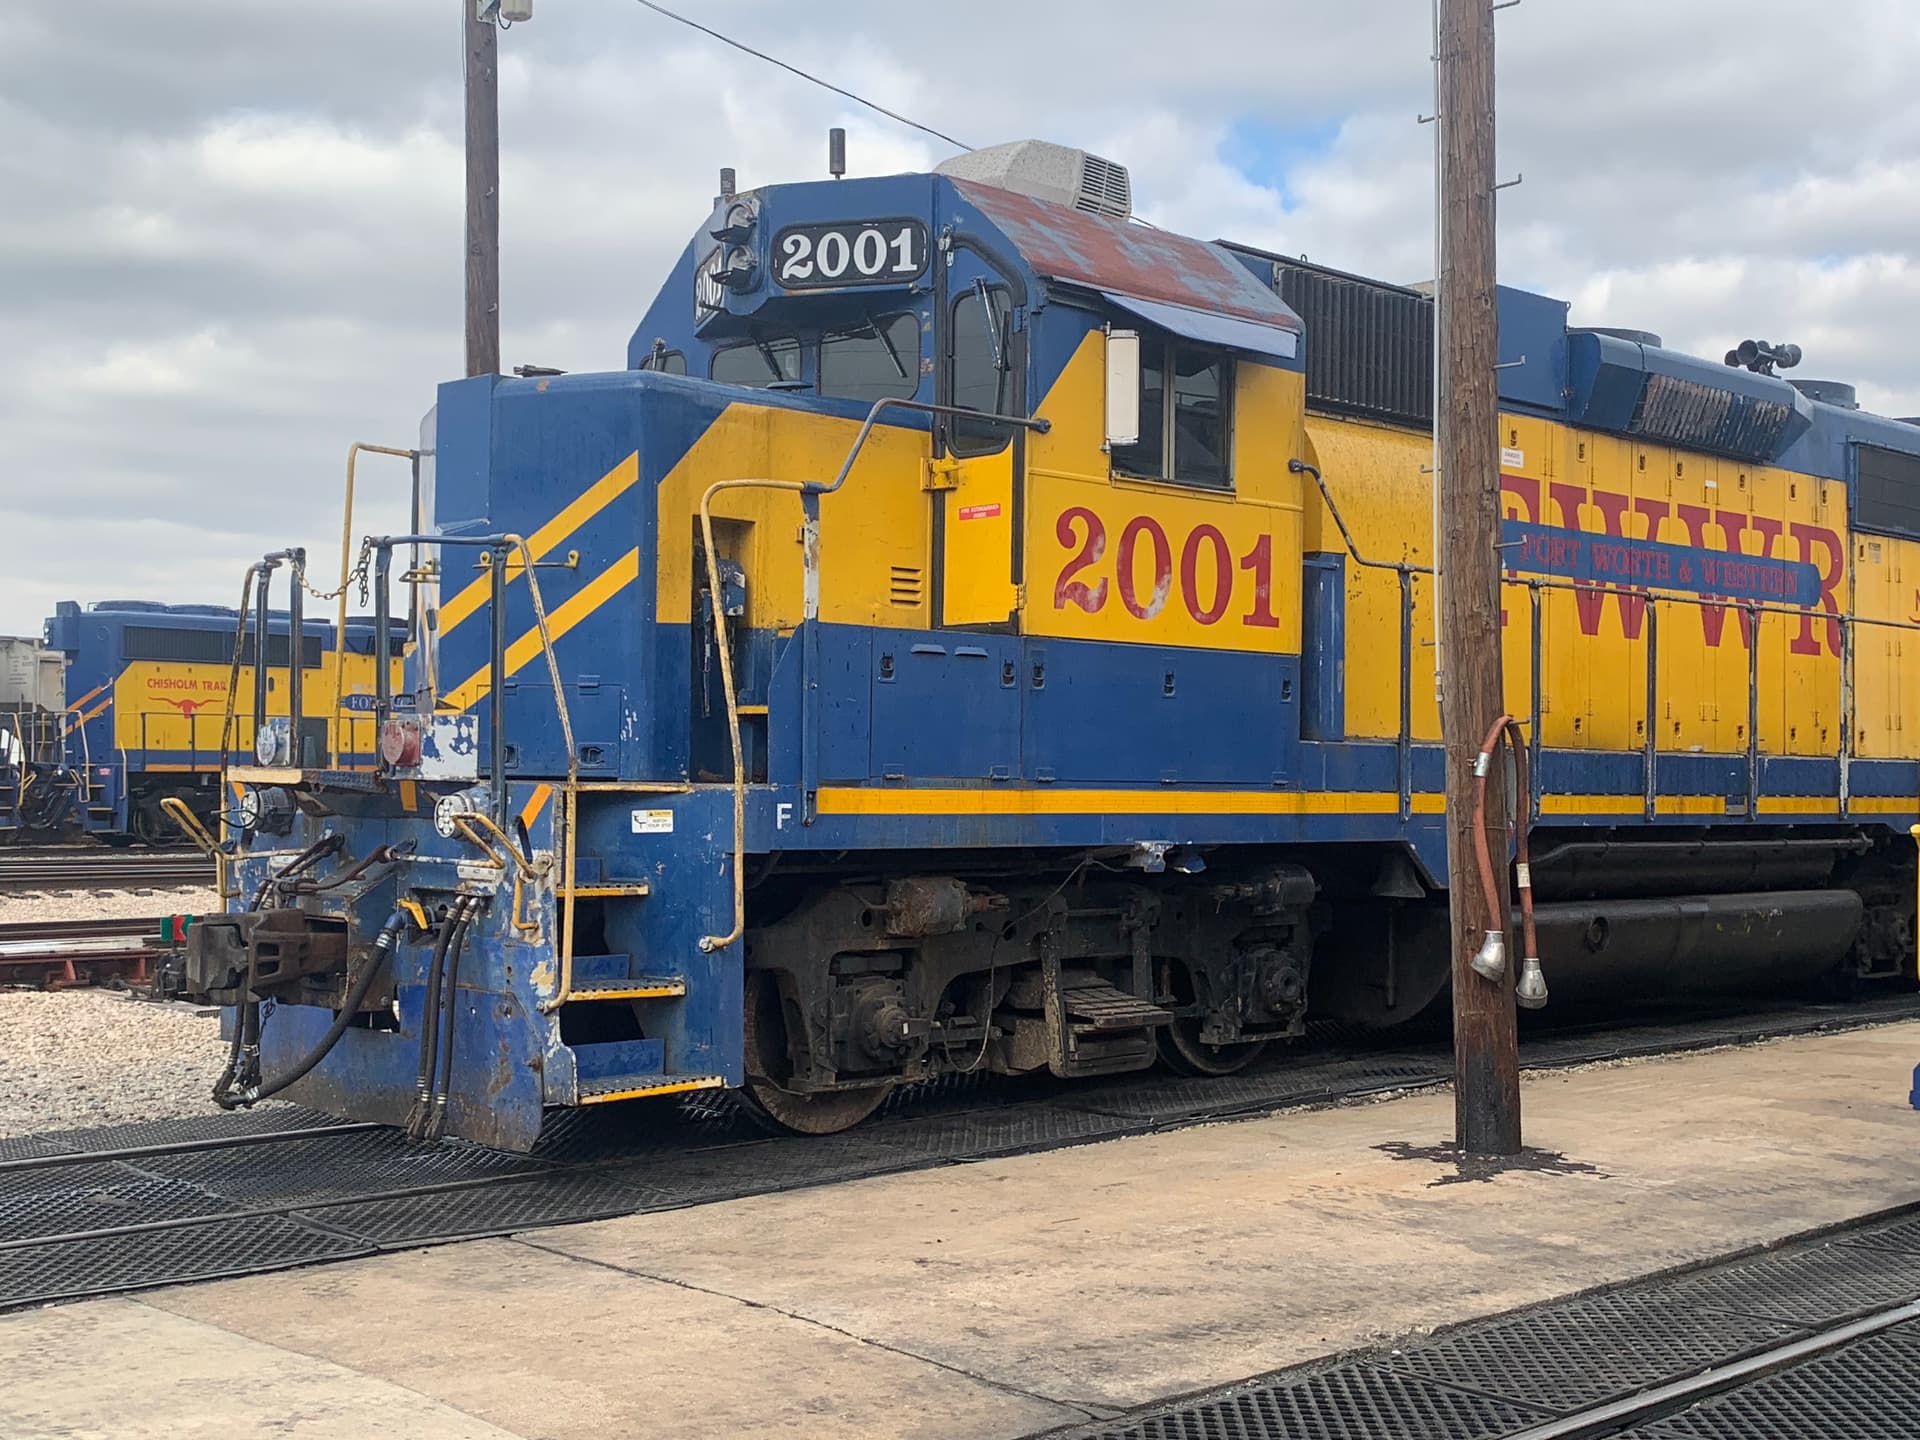
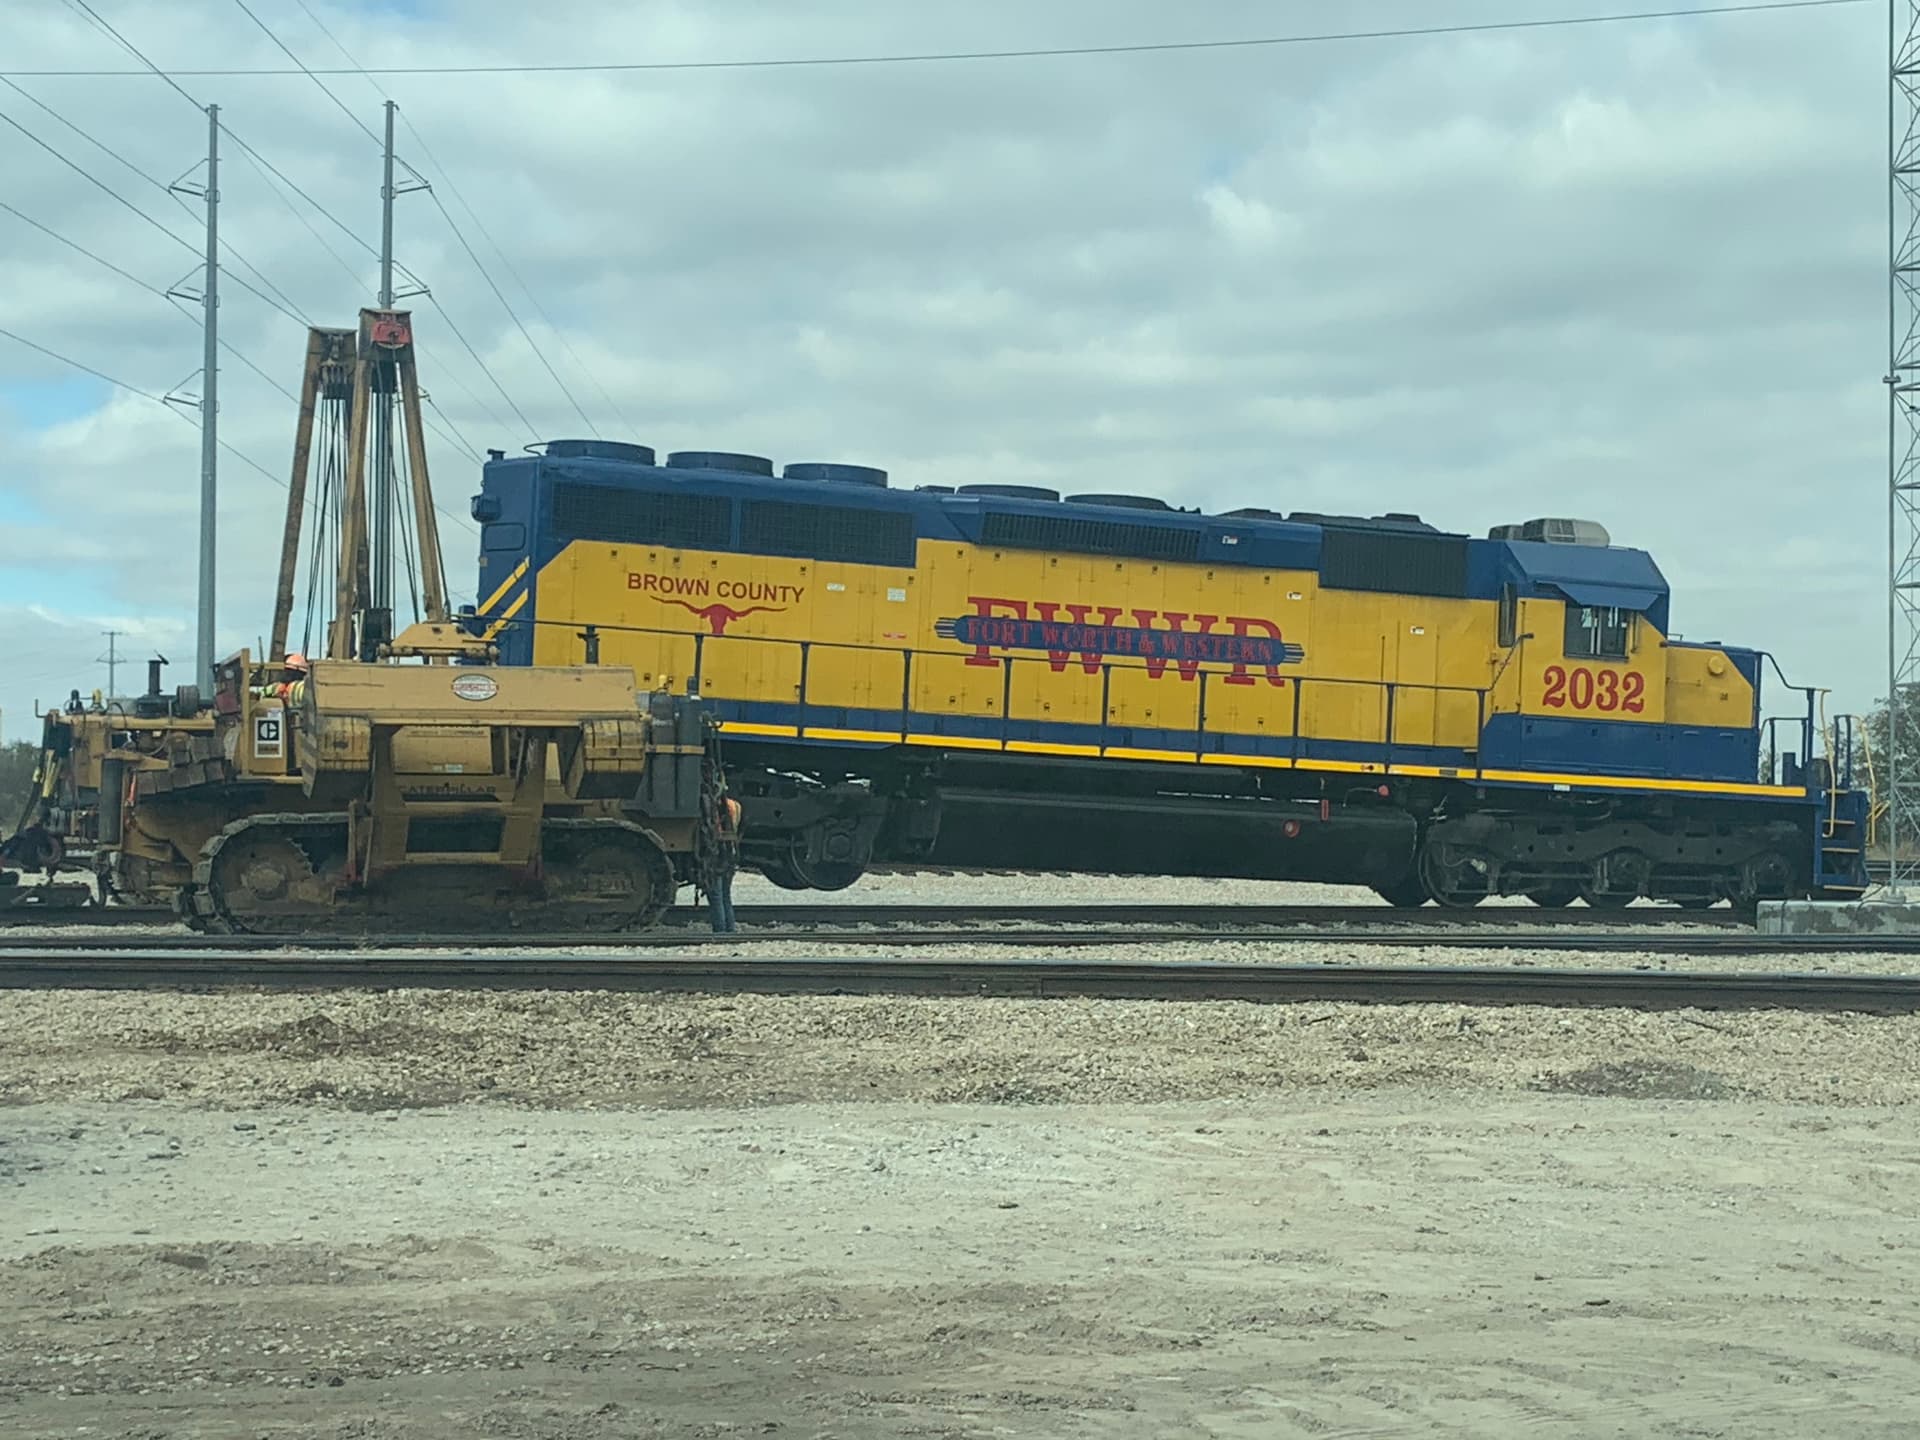
Just when it appeared in the photos from a few days ago in terrible shape, 2001 appears at Hodge Yard in Fort Worth.
Maybe that repaint is coming soon!
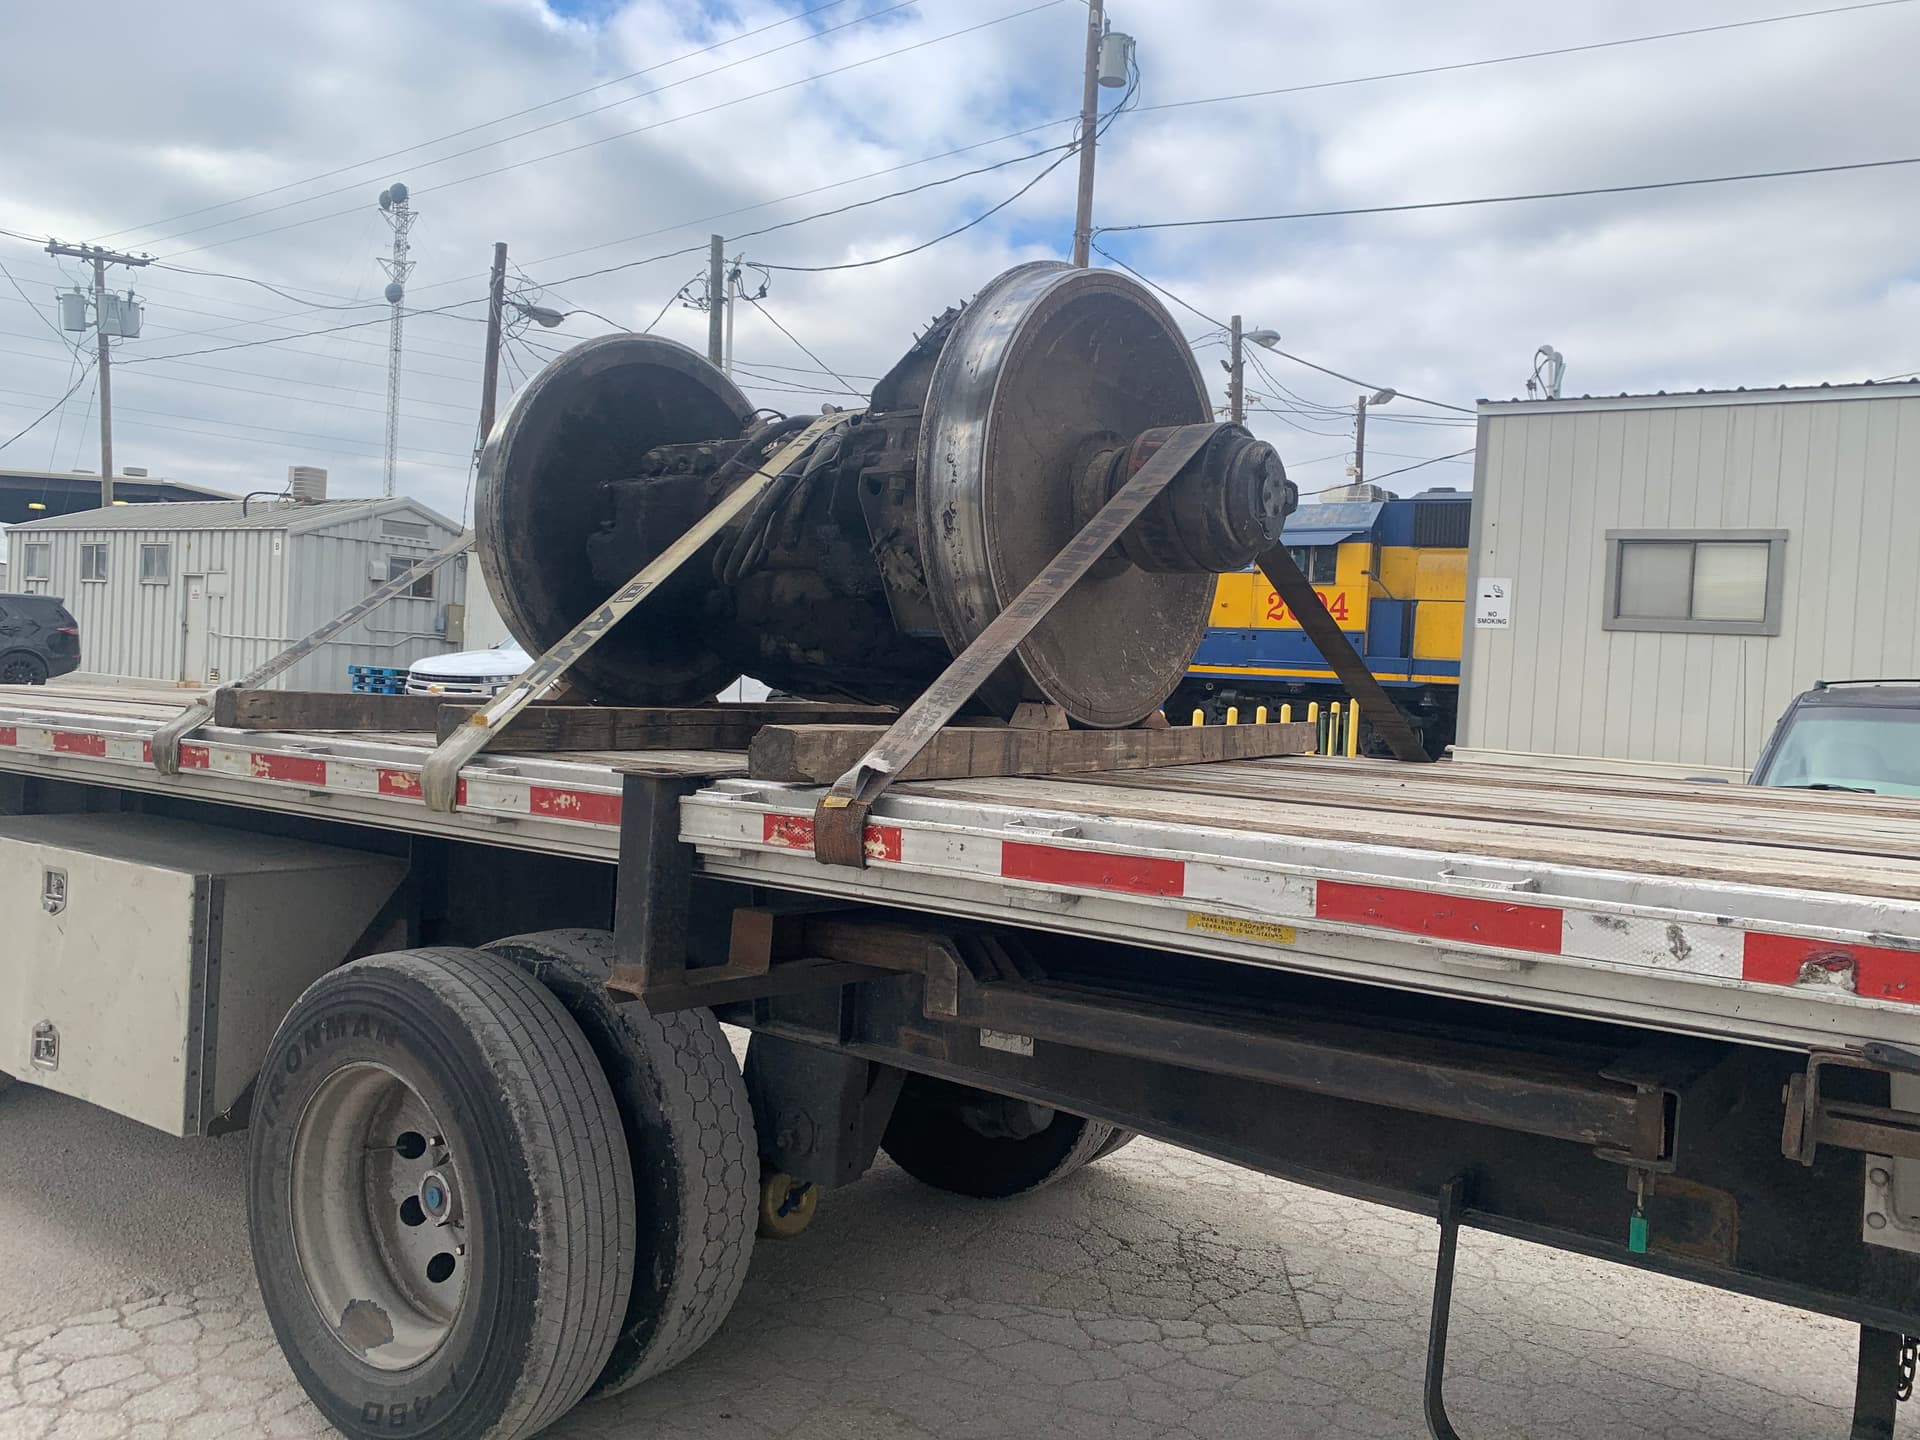
You don’t often see a 368,000 pound locomotive with it’s a s s end sticking up.
It was having two traction motor units replaced.
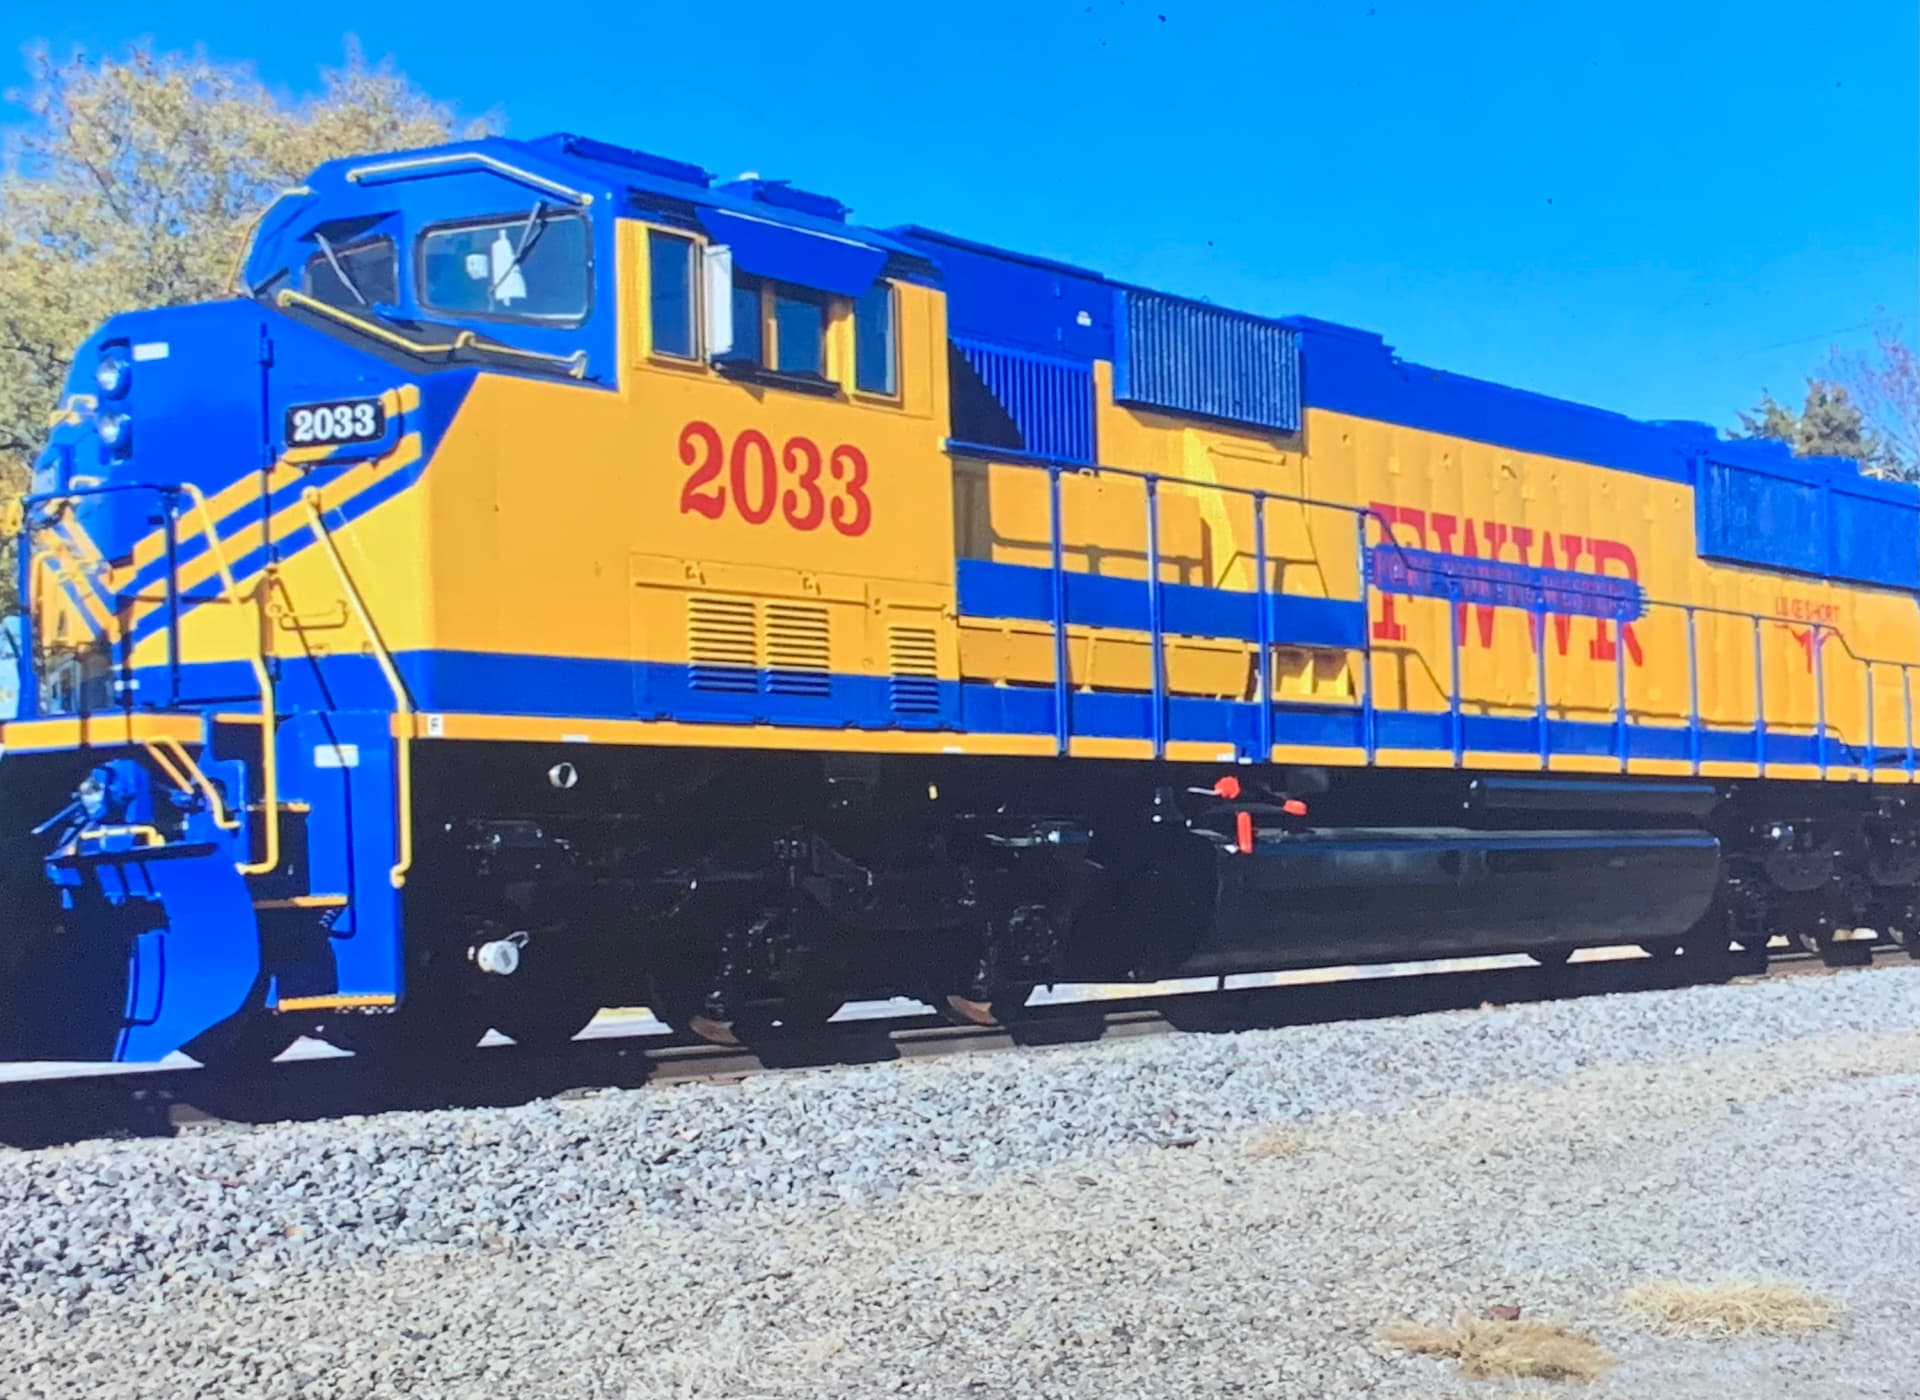
And the latest additions to the roster are a pair of SD 60M’s. This Triclops is fresh out of the paint shop.
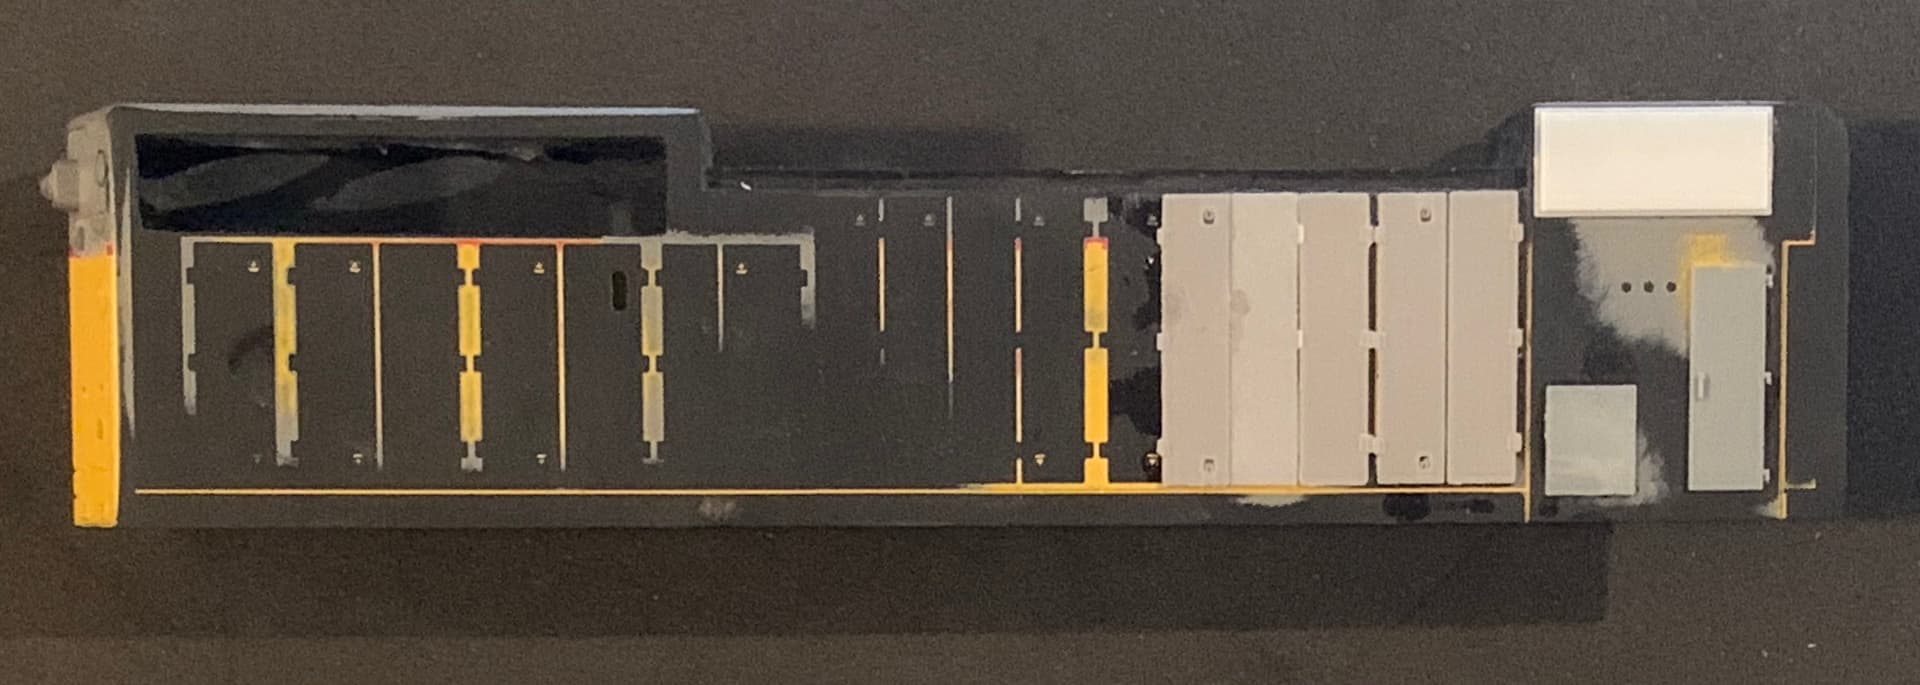
Progress on Miss Molly is slow but steady:
Yes, that gap between those two doors should be there.
1 Like
I have accepted the fact that it’ll be years before I have an actual layout. Even after my daughter moves out we’ll need her room as a guest room.
So I’ve decided upon a modular system - something I can set up and take down when I please.
I want to do several eight inch deep modules I can connect to deeper ones when I want to show some structures. Eight inches is enough for a single or double track and a little bit of scenery in the foreground.
My first module will be this:
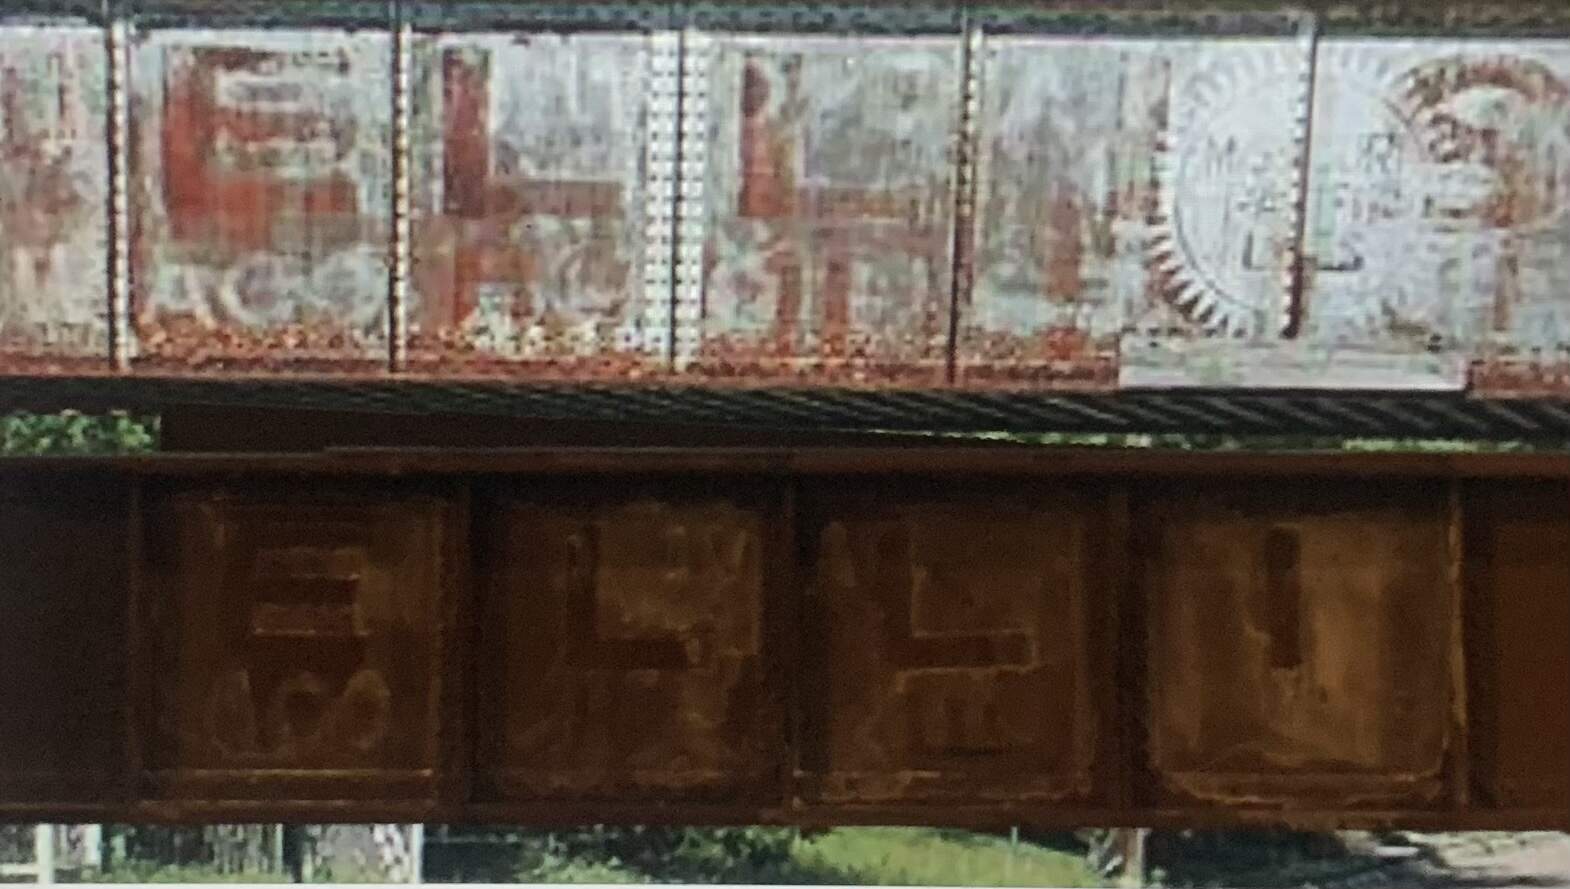
Ellison Furniture and Carpet was a pretty big business in Fort Worth at one time. In 1911 they built three brick, two story warehouses connected by overhead walkways. They’ve been restored and are listed as historical buildings today. I think the bridge ought to be declared a historic landmark as well. Using Google satellite view I was able to locate it fairly quickly. It still looks much the same except where a few panels have been whitewashed to hide graffiti.
At any rate, a through girder bridge like the one pictured does not exist, so I see another “chop job” happening…
My two best options were the Walthers 70’ Plate Girder Bridge, or the old Atlas Plate Girder Bridge. Neither was absolutely correct.
I found two Atlas bridges in the attic along with several other styles of through truss bridges. The Atlas ones were badly warped from being in the attic or 22 years crammed in a box. I would need two so I checked them or suitability. Definitely promising, but not enough panels, and they’re more square than rectangular.
I already chopped a little off the ends of one. You can see how bad the warpage is:
Meanwhile I ordered the Walthers kit:
Perfect length, but too many panels, because the panels are rectangular, but too narrow:
Ultimately I went with the Atlas chop job. Given how warped they were I’m quite pleased with the results. The Walthers kit comes with two types of shoes, one of which is perfect for this project. You can still see a slight warp which will easily go away:
I took the short section left over and tested three different shades of Tamiya acrylic - XF-9, XF-10, and XF-64 to use as the base rust color. The first two were so close you can’t even see the difference with the whitewash.
I still need to finish the ends on the keeper bridge, but I wanted to test and see if I could come close to the weathered effect on the scrap piece. I think I’ll get it with a little practice. Apparently over the years there were several different ads painted on this bridge. You can see remnants from them in the photo and on my test piece:
1 Like


 The Devil is in the Details")