Bugger missed this build of the commander ![]() , need to get back to myone this year.
, need to get back to myone this year.
2 Likes
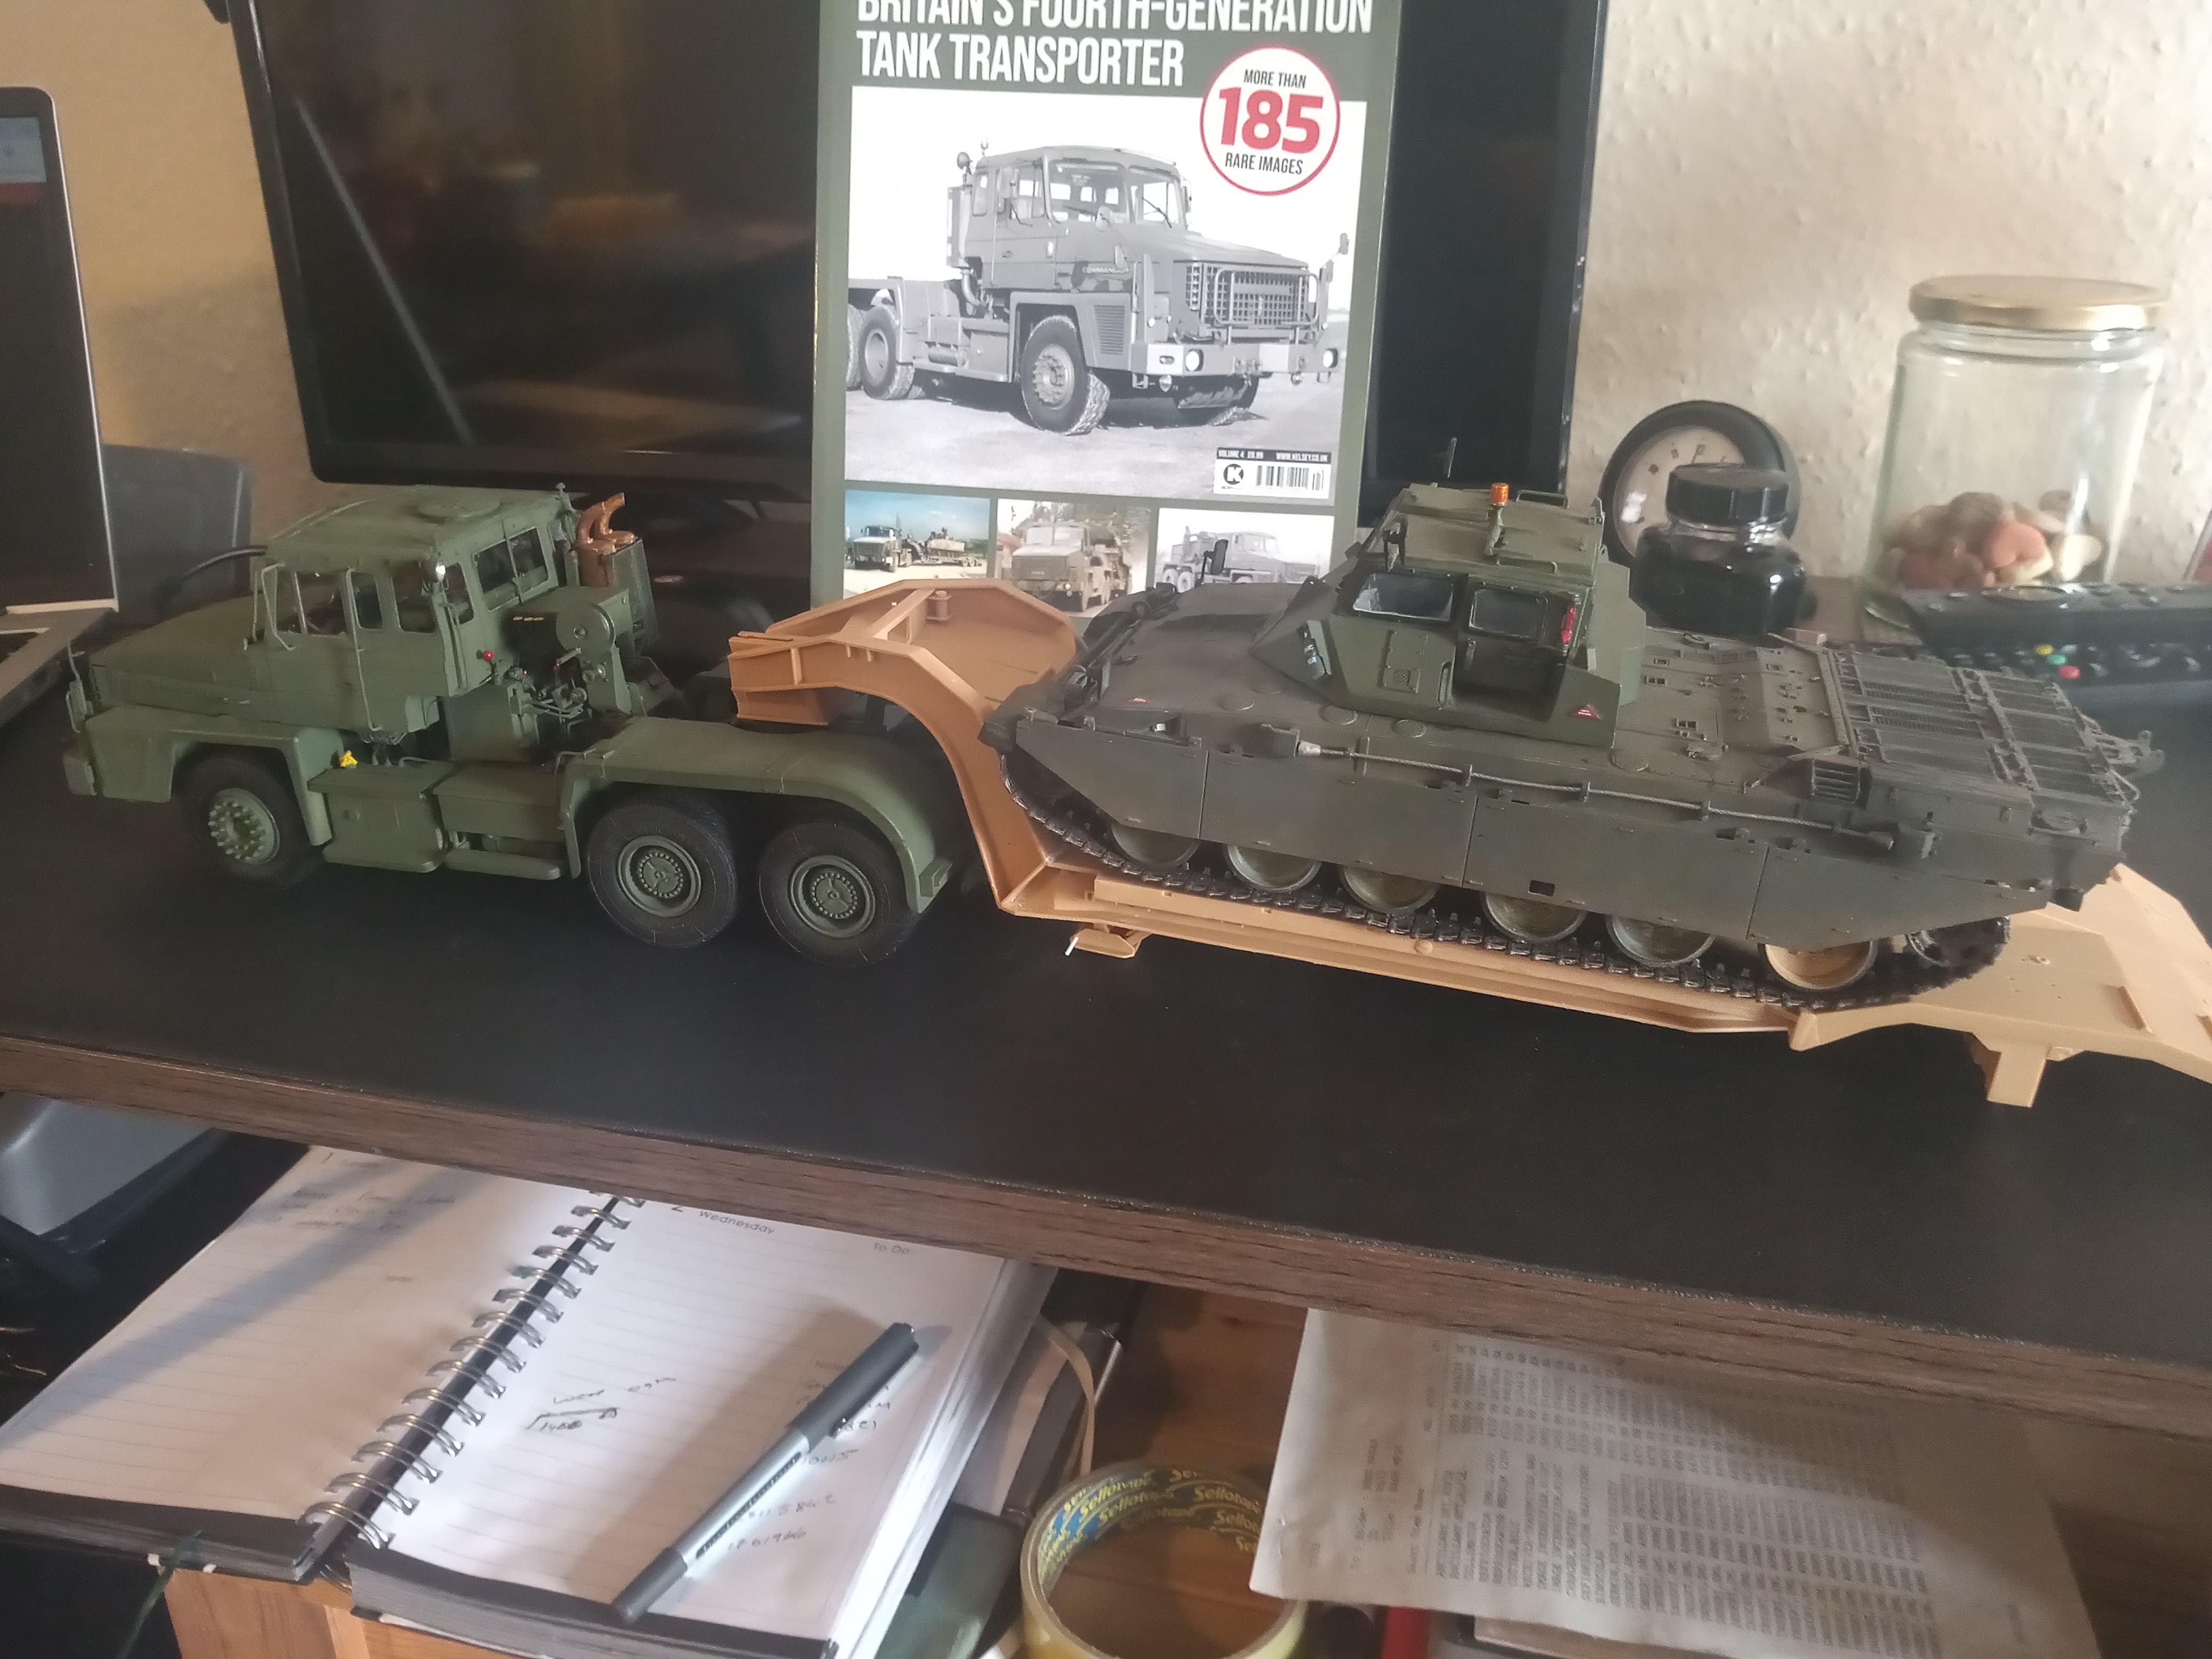
First waypoint reached… The tractor unit is 98% done now … Wheels on and level …result !!
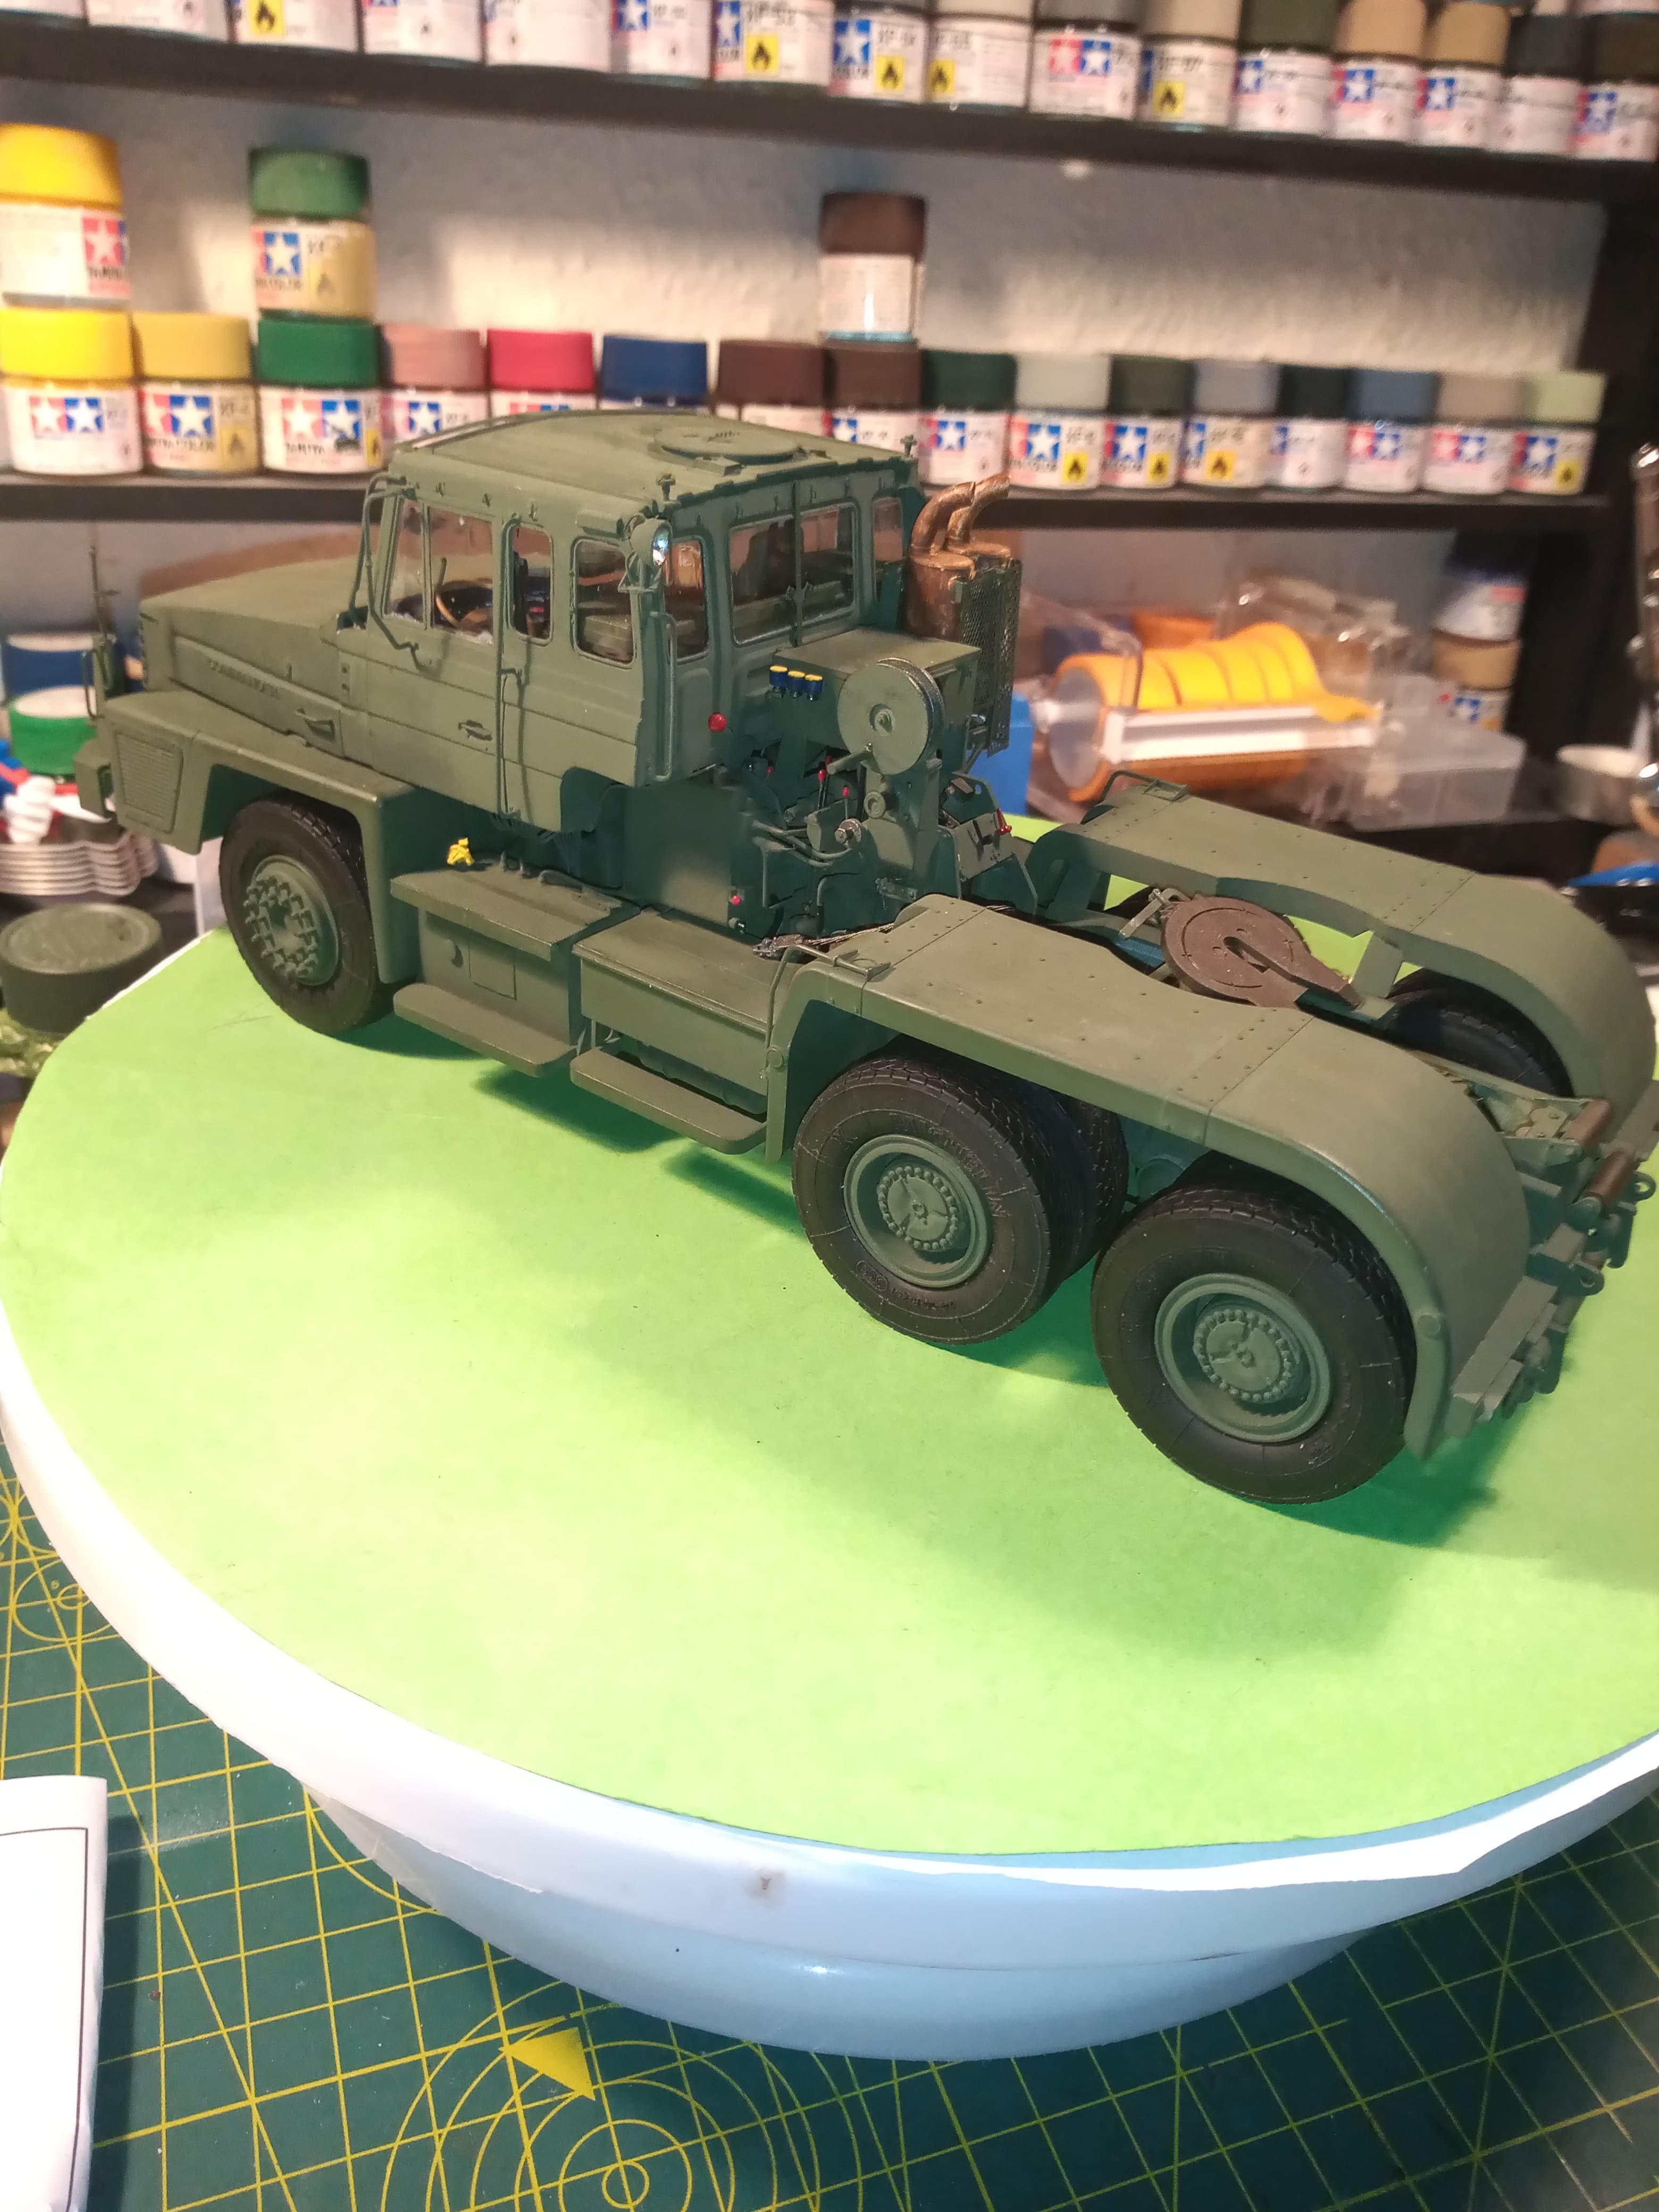
Minor detailing to complete along with fitting the clear parts and a couple of small pieces that I don’t to keep breaking off plus some small areas to detail paint …
Will start trailer tomorrow ![]()
11 Likes
Wow ! This truck is a monster.
You have made a lot of extra work to improve it.
2 Likes
Looks fantastic!!
2 Likes
Thank you Terminator & Bert @bwilt - looking at it now, I think the extra work is worth it.
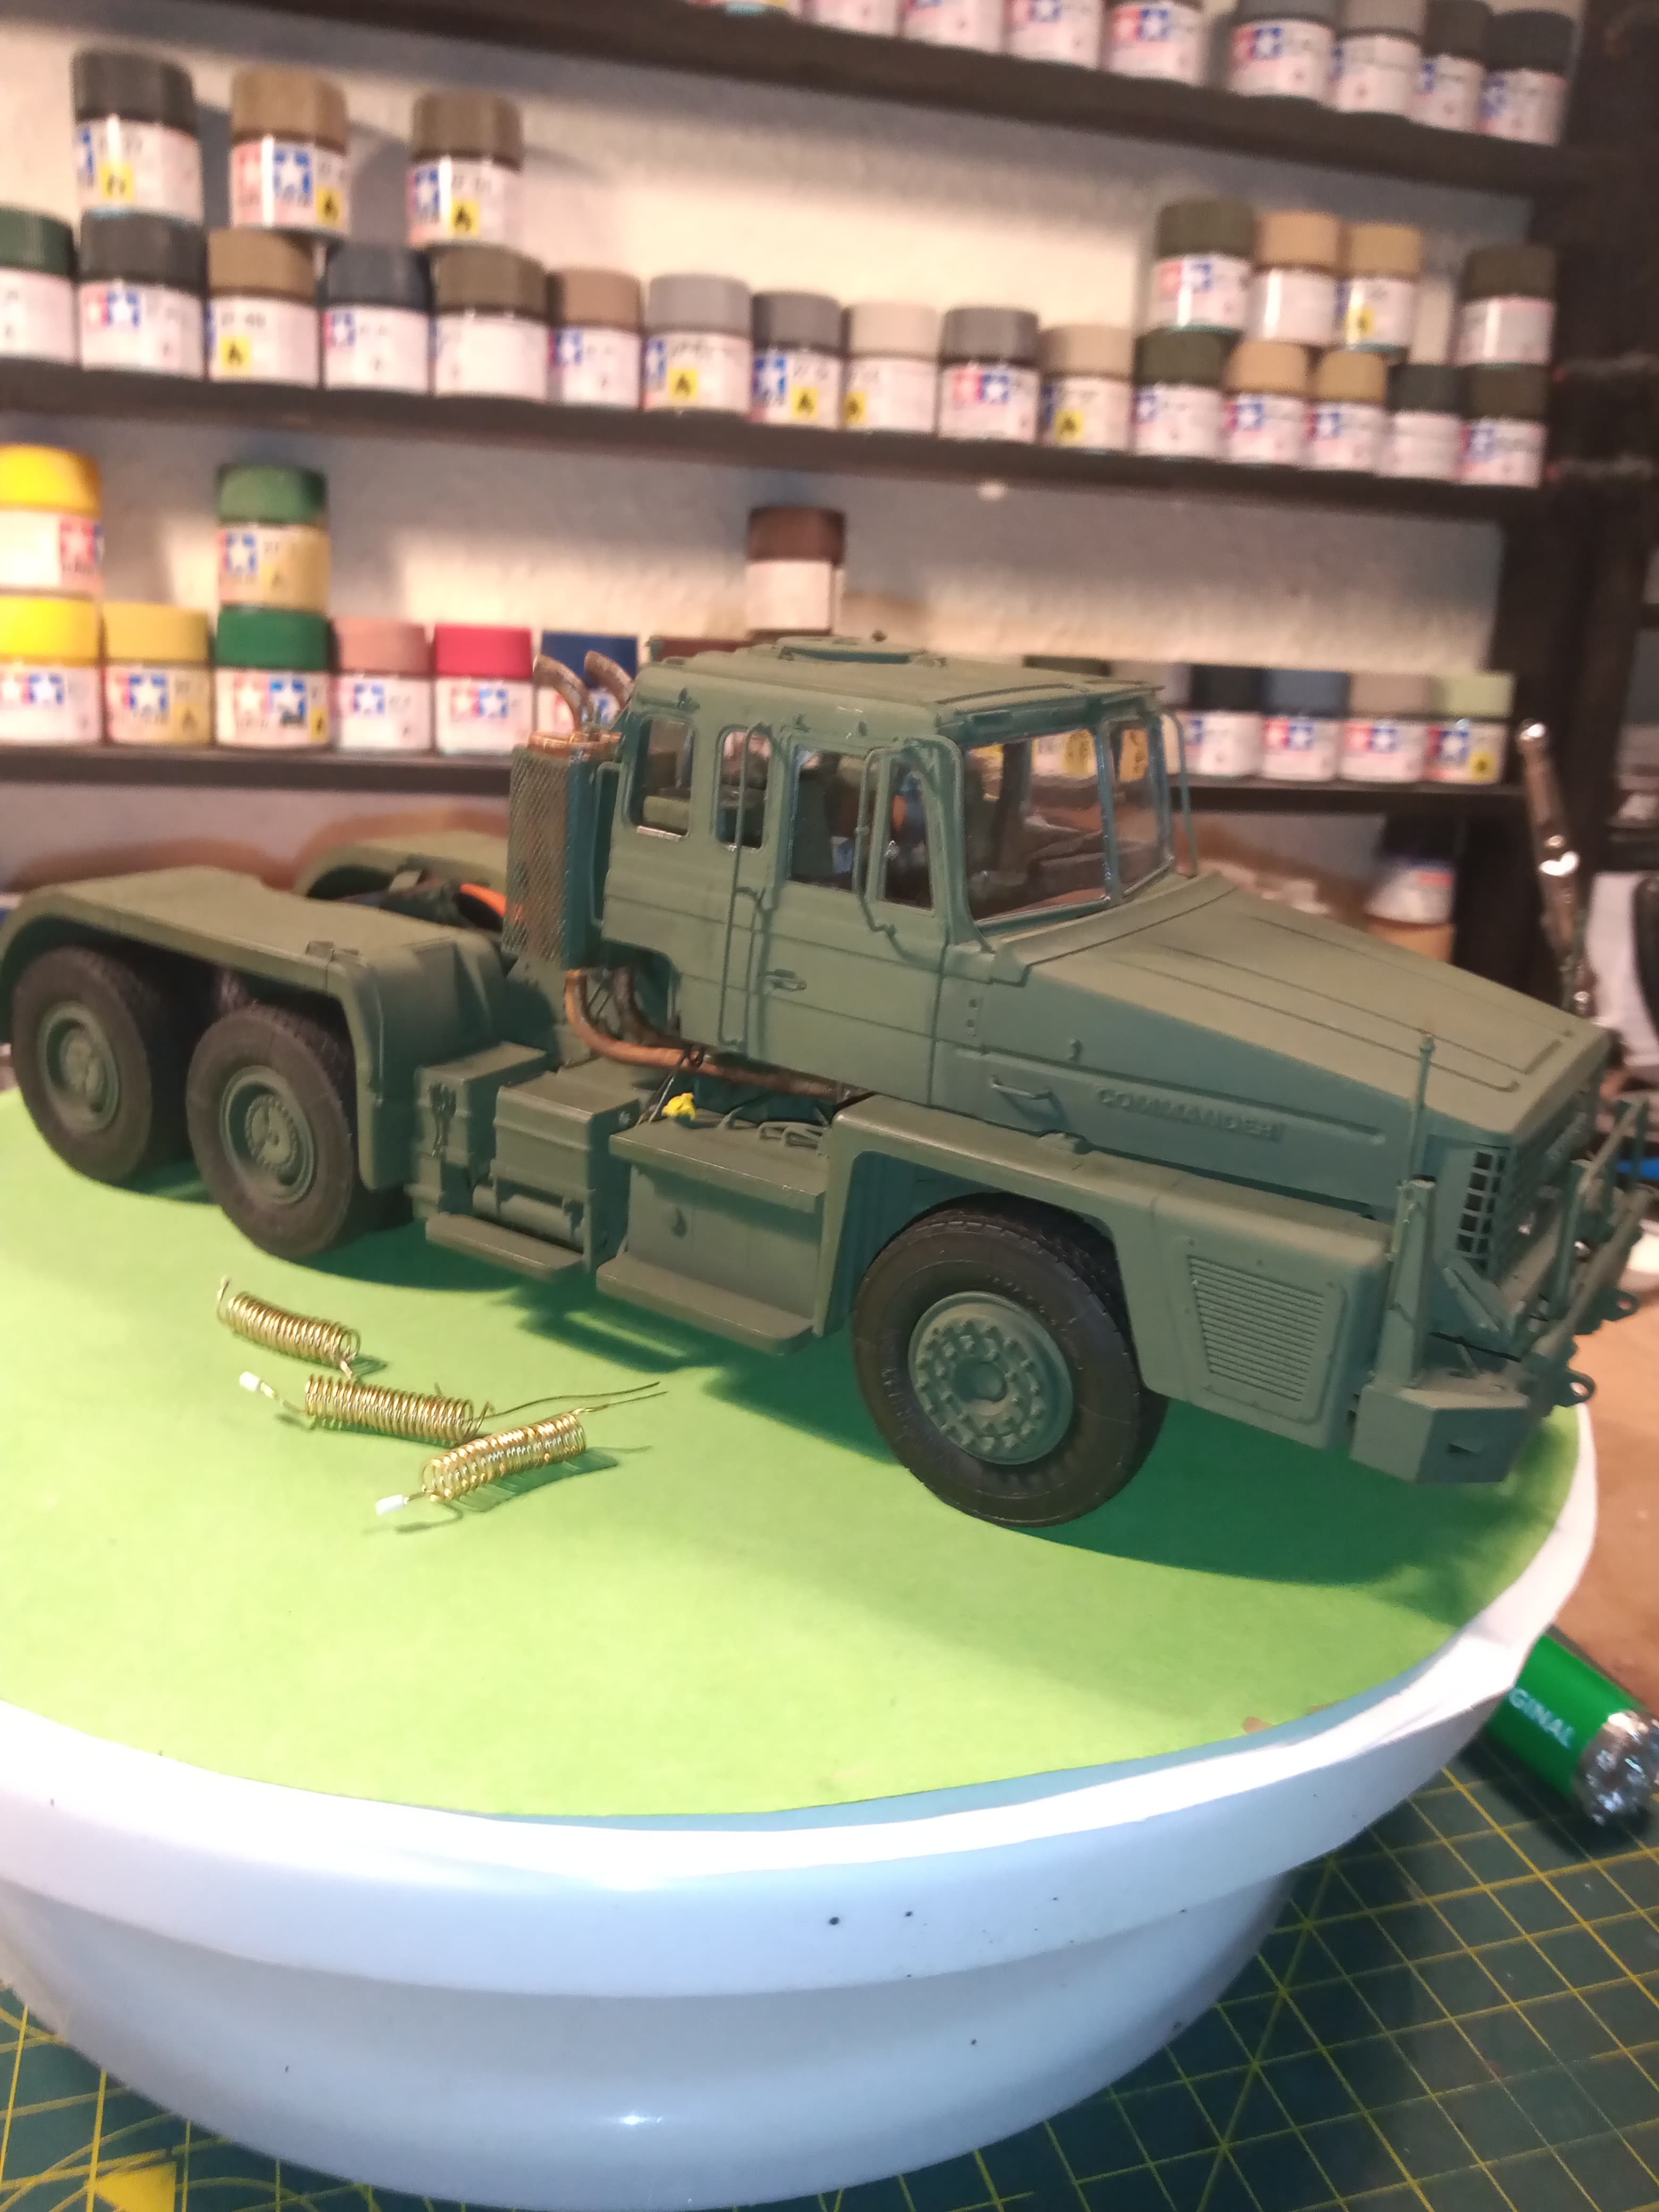
While cutting bits from the sprue just now, so I can begin the trailer, I noticed one part for the tractor unit that the instructions fail to mention and get you to fit. Its D20, which is the ( I think) Heat exchanger guard which is a 5 bar guard that sits under the chassis at the front.
4 Likes
An exquisite build of a brute truck! John, all of your painstaking detail work really shines here and makes this a masterwork. Detail everywhere you look and no blank spaces. Just the size of this thing is impressive, but a closer examination reveals all of your super-detailing and a whole other level of modeling. Exceptional work!
5 Likes
Cheers Matt … it is nice looking at the detailing and then seeing how the real thing looks to compare it …
1 Like
It may be a little late for yours, which turned out looking great, but may help others. I just ran across 2 different SCAMMELL grill badge files for this kit on Cults 3D.
Scammell Commader 1/35 scale front grill badge emblem・ STL File for 3D printing・Cults
3 Likes
Thanks Gino, that was a good find for sure, and will no doubt help out anyone- else building it ![]()
On another note, I was skimming through the instructions and referencing the in depth images I have, and there a few issues with the trailer that will need looking at. Nothing as bad as the areas on the tractor but will highlight those during the build process.
3 Likes
Now that the TV-8 is out of the way I can focus on my HQ Northern Army Group Land Rover. This afternoon the components received a blast of Tamiya XF-51 Khaki Drab, my go-to colour these days for what I call Bundeswehr Brown, or rather Gelboliv. Vehicles for the Joint Transport Company were all in this colour.


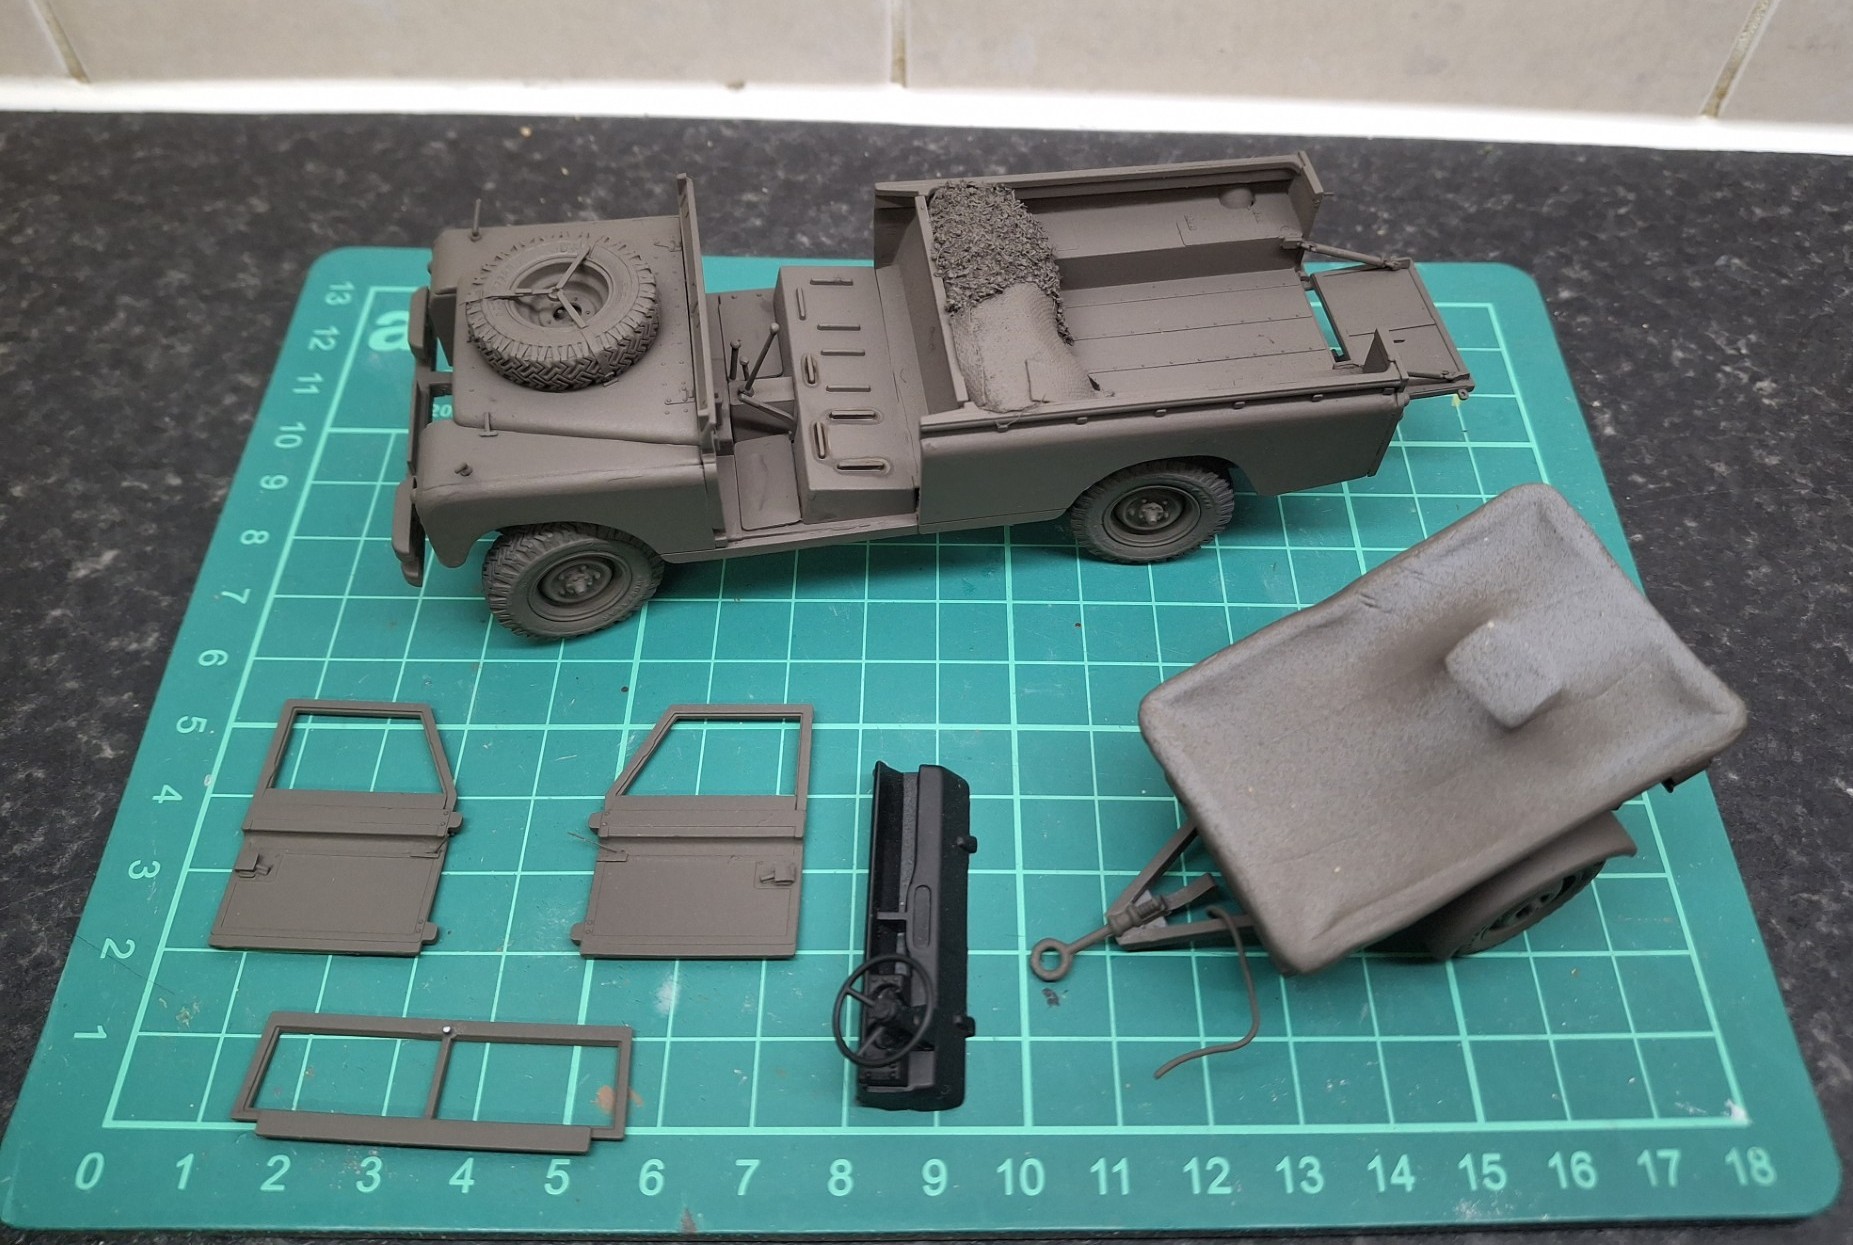
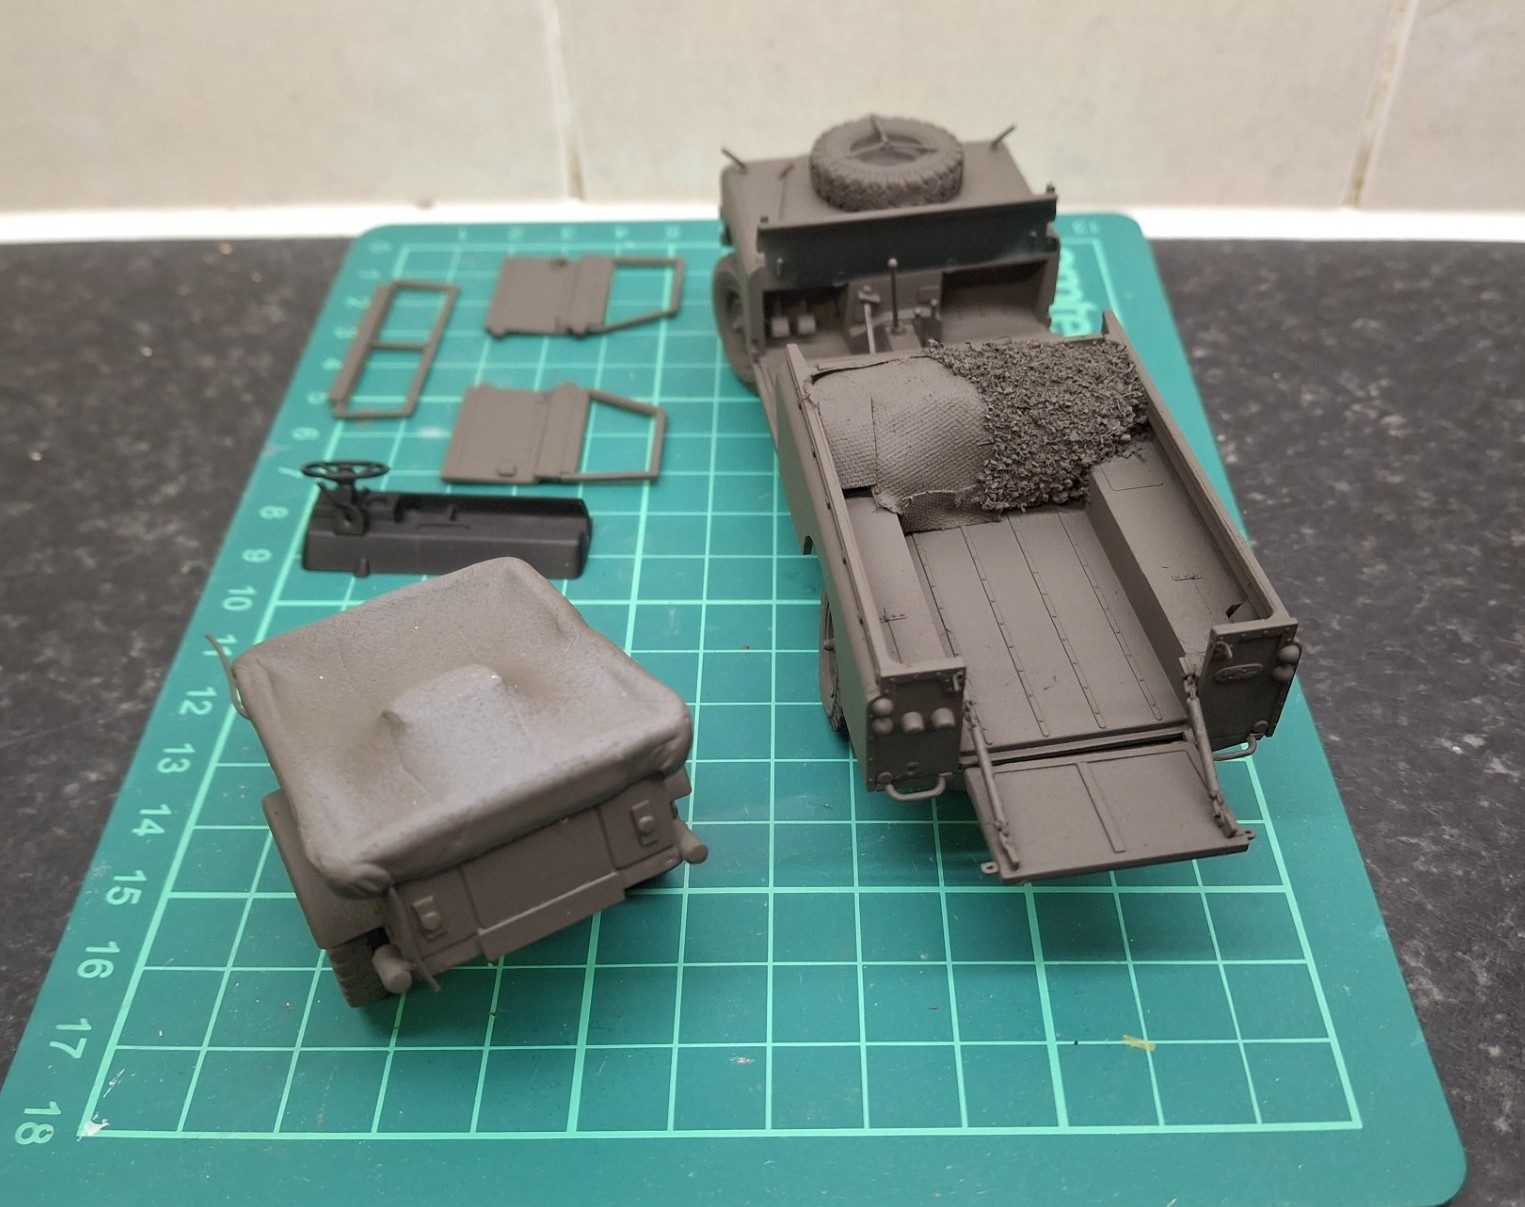
I’ll give it a day or so to settle down then crack on; in the meantime I really need to get to grips with the figures - always a challenge, not just for me, but I suspect for any Cold War modellers.
9 Likes
Coming along nicely Brian. I like the stretch look on the trailer tarp with the box under it …
My trailer is coming along ok, there were a few issues with a bit of minor warping on some of the swan neck parts and the main body had a tiny bend in it, but they should all be ok.
I also drilled out the securing holes for the trailer leg adjusters… I will also adapt the pins that go in them so they can be moved… Not sure why I’m bothering actually but hey ho lol.
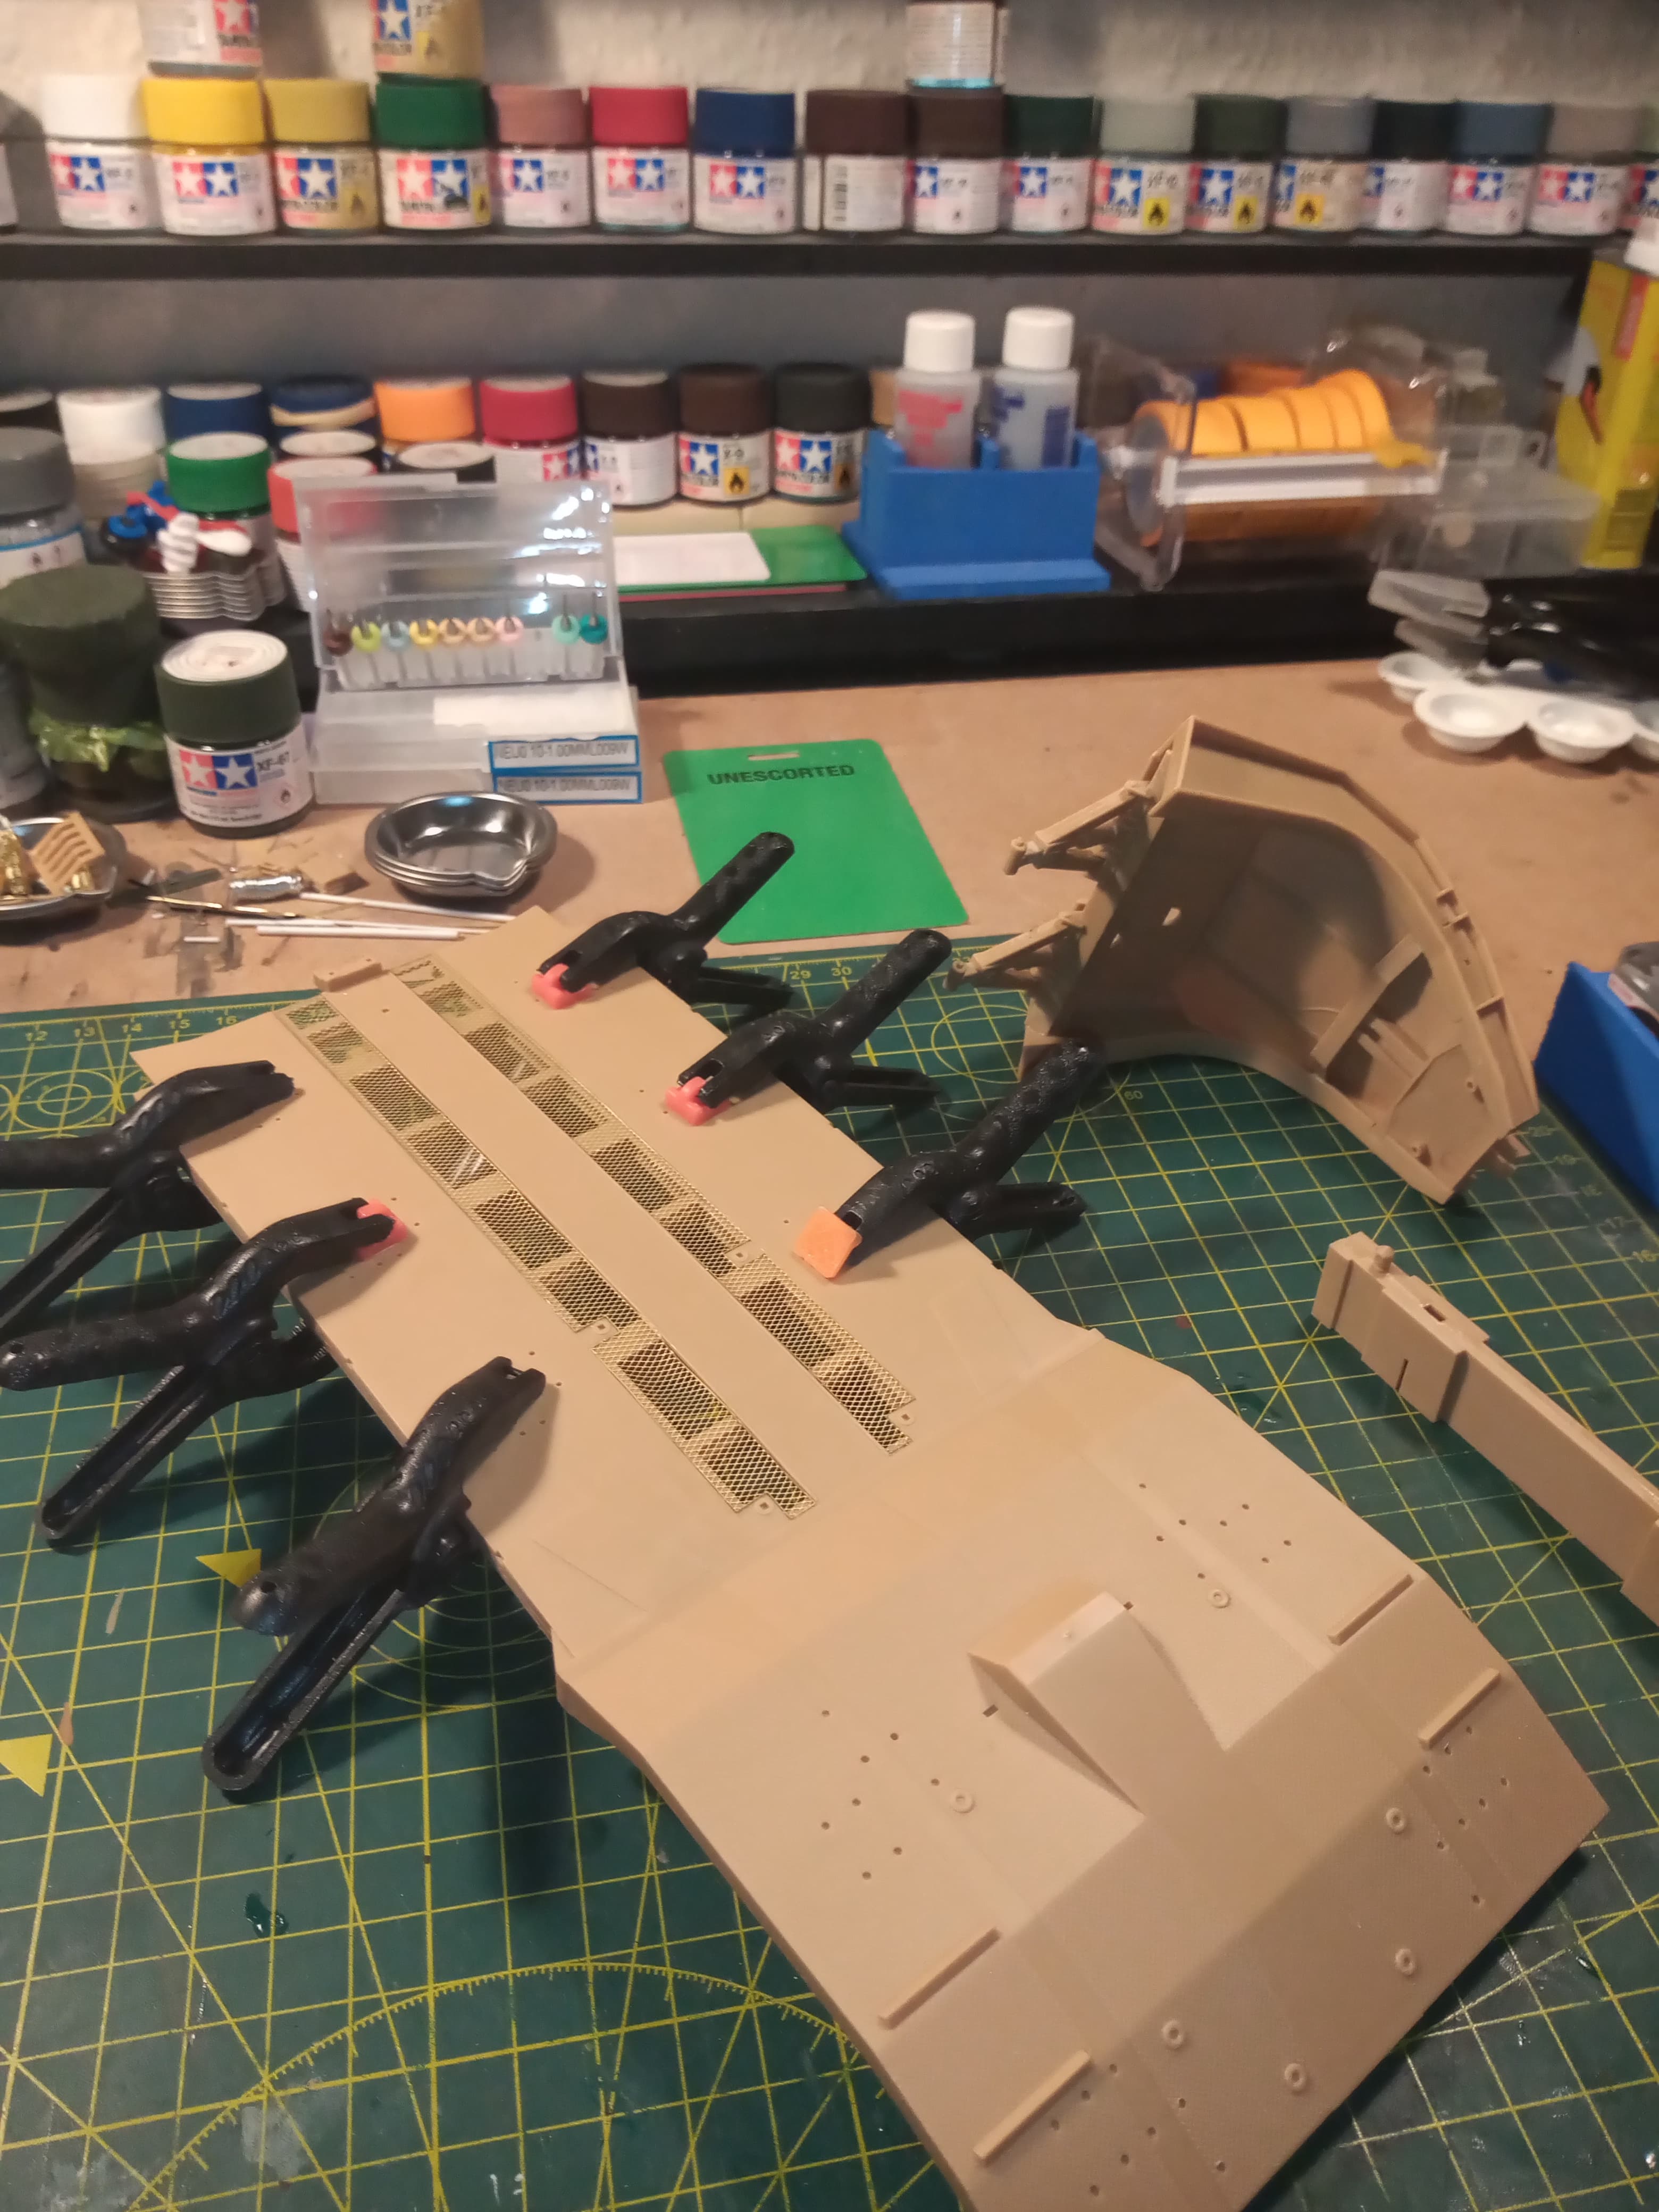
The trailer bed with PE attached and swan neck at the rear.
And the underside… With the frame work clamped while glue sets.

8 Likes
Not very good at the whole picture thing but I’m almost rest to close up the cab and I got my panel liner and decals down now just need to flat coat and push for the finish.

6 Likes
Wait, are you entering this vehicle in this campaign AND 'Convoy! Part 2" or did you post the wrong pic in one of them? You can only enter a kit in one campaign at a time is the rule, I believe.
2 Likes
The trailer is going together really quickly … Not without a few very minor issues which were easily sorted out.
The slight bend in the flatbed part was fixed when the underside framework went it and the glue set. The framework bracing also had a few bends/warps on the beams going across so the the full length brace needed some minor cutting to get it to fit, but straightforward.
The swan neck needed some gentle persuasion to get right, and needed some plastic putty along the upper join.
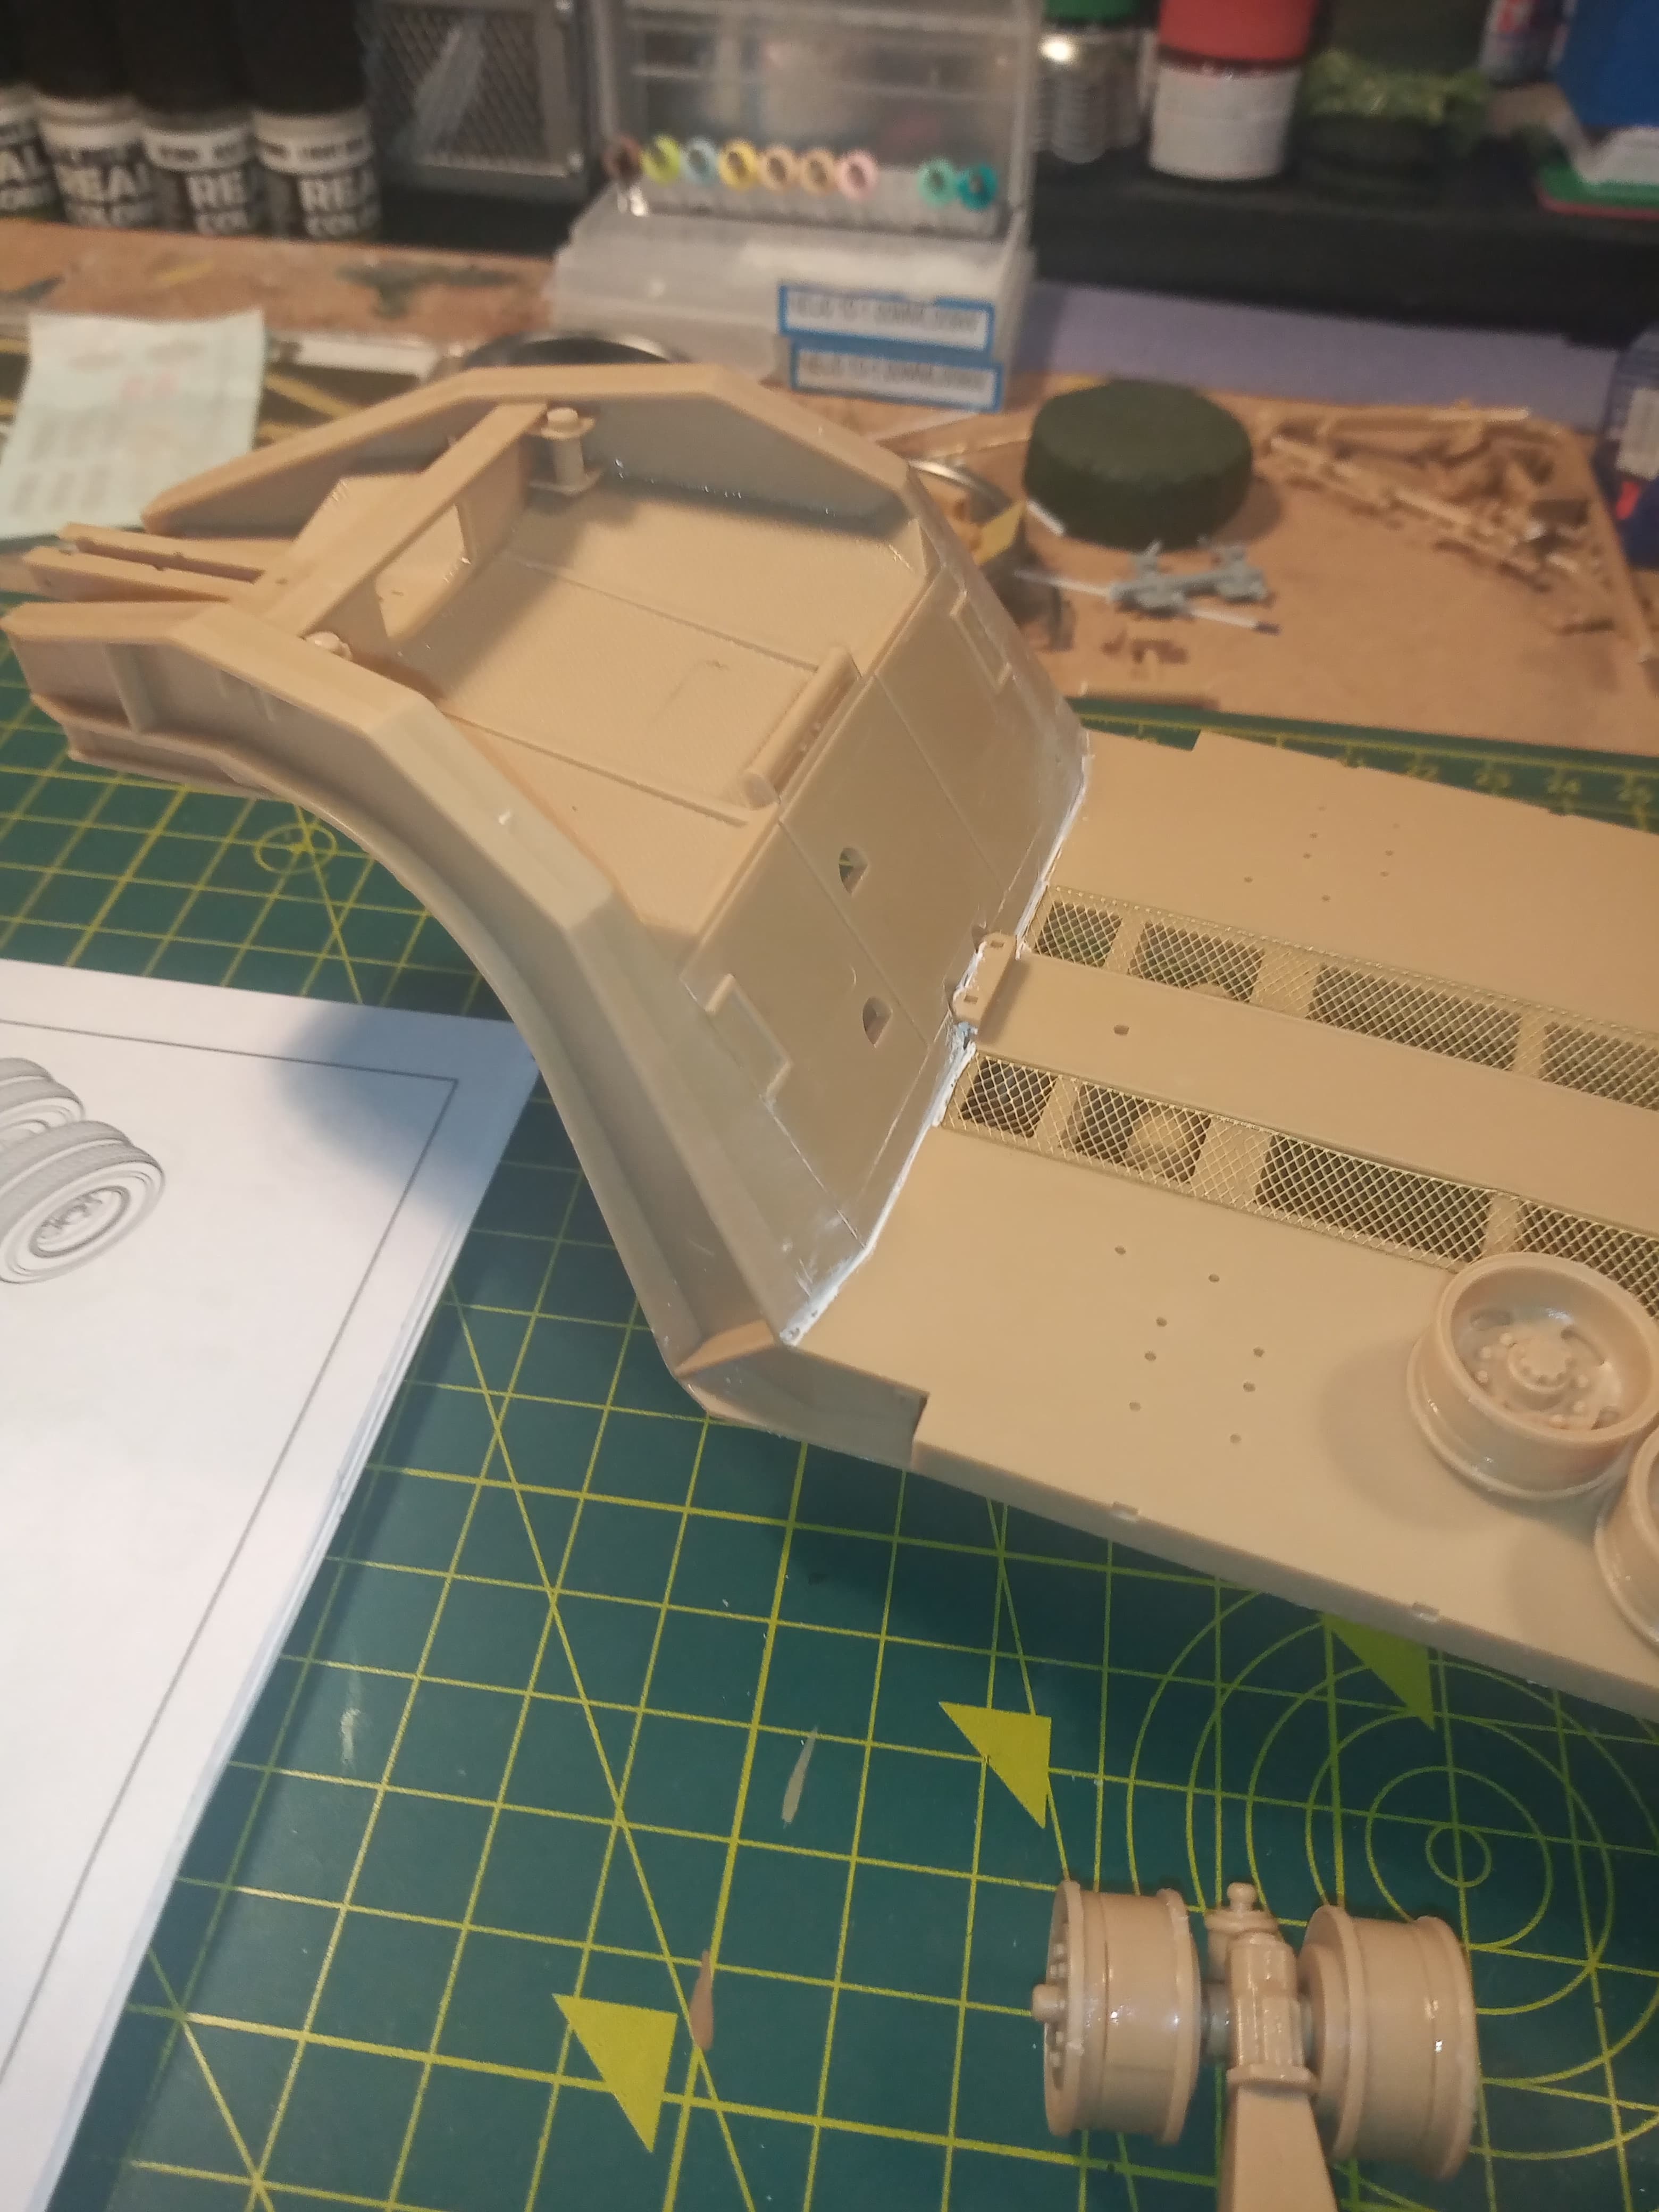
Swan neck fitted and wheel stations and hubs assembled

You can see the join line that needed the plastic putty.
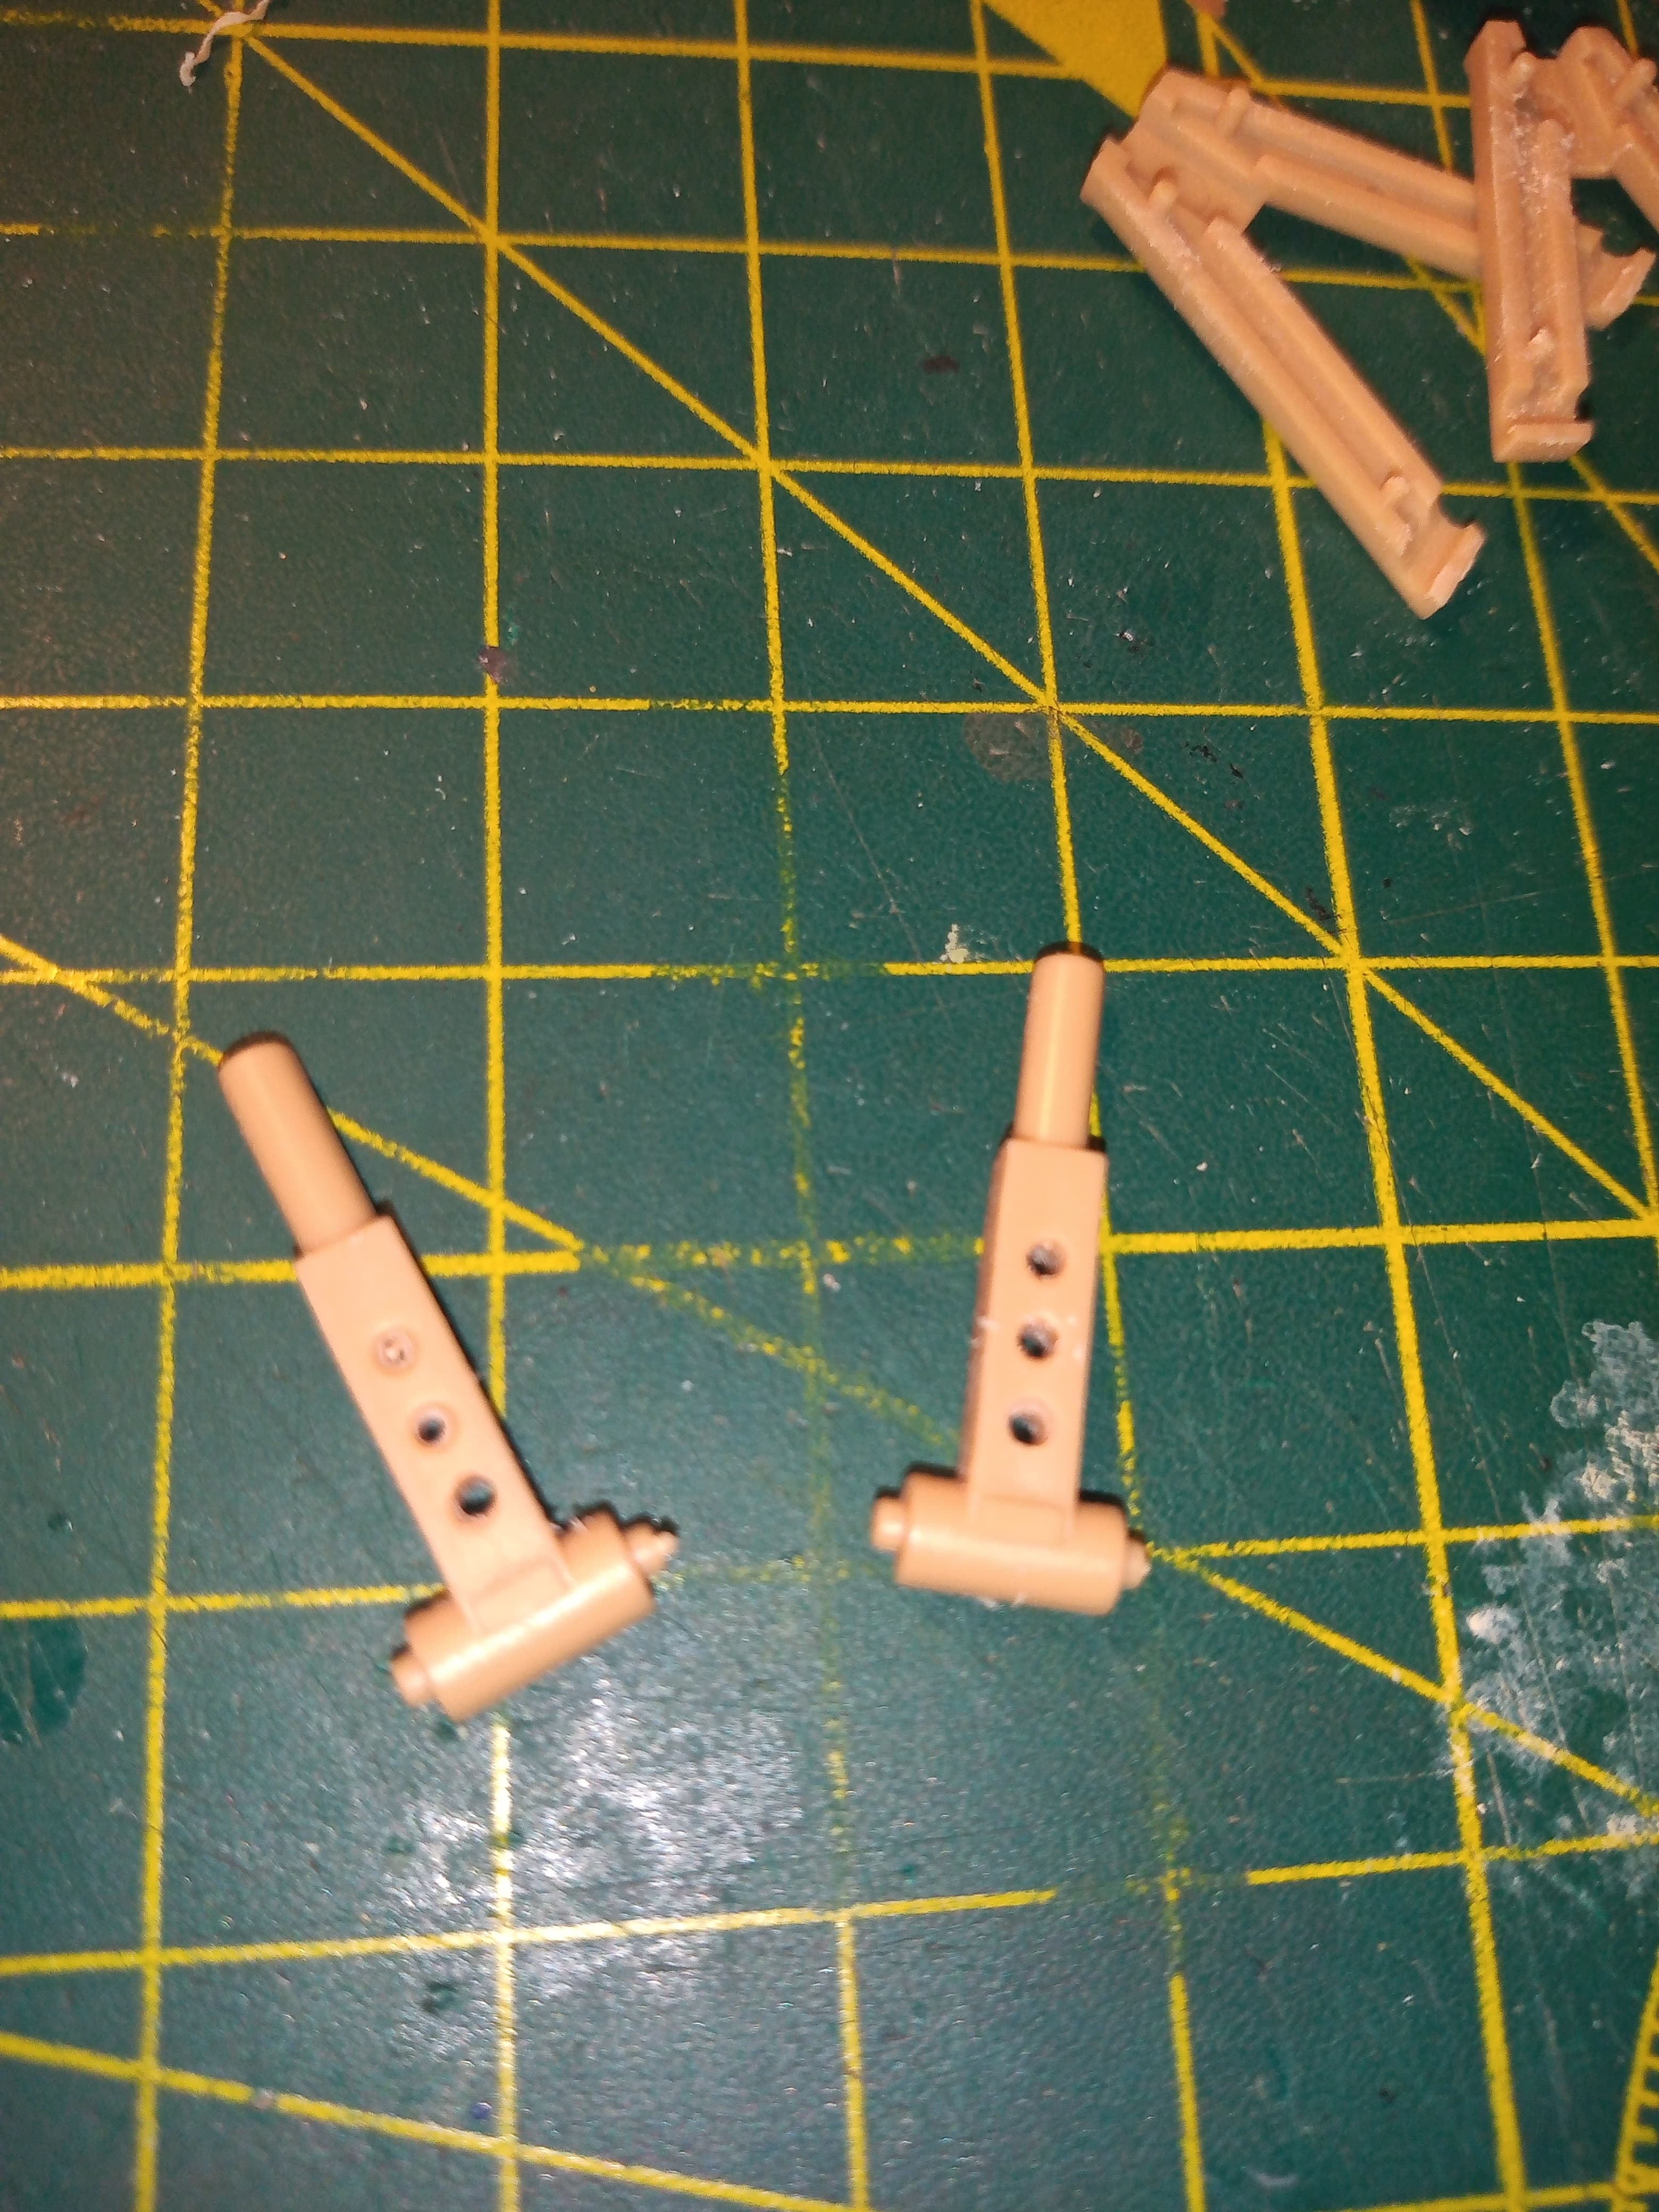
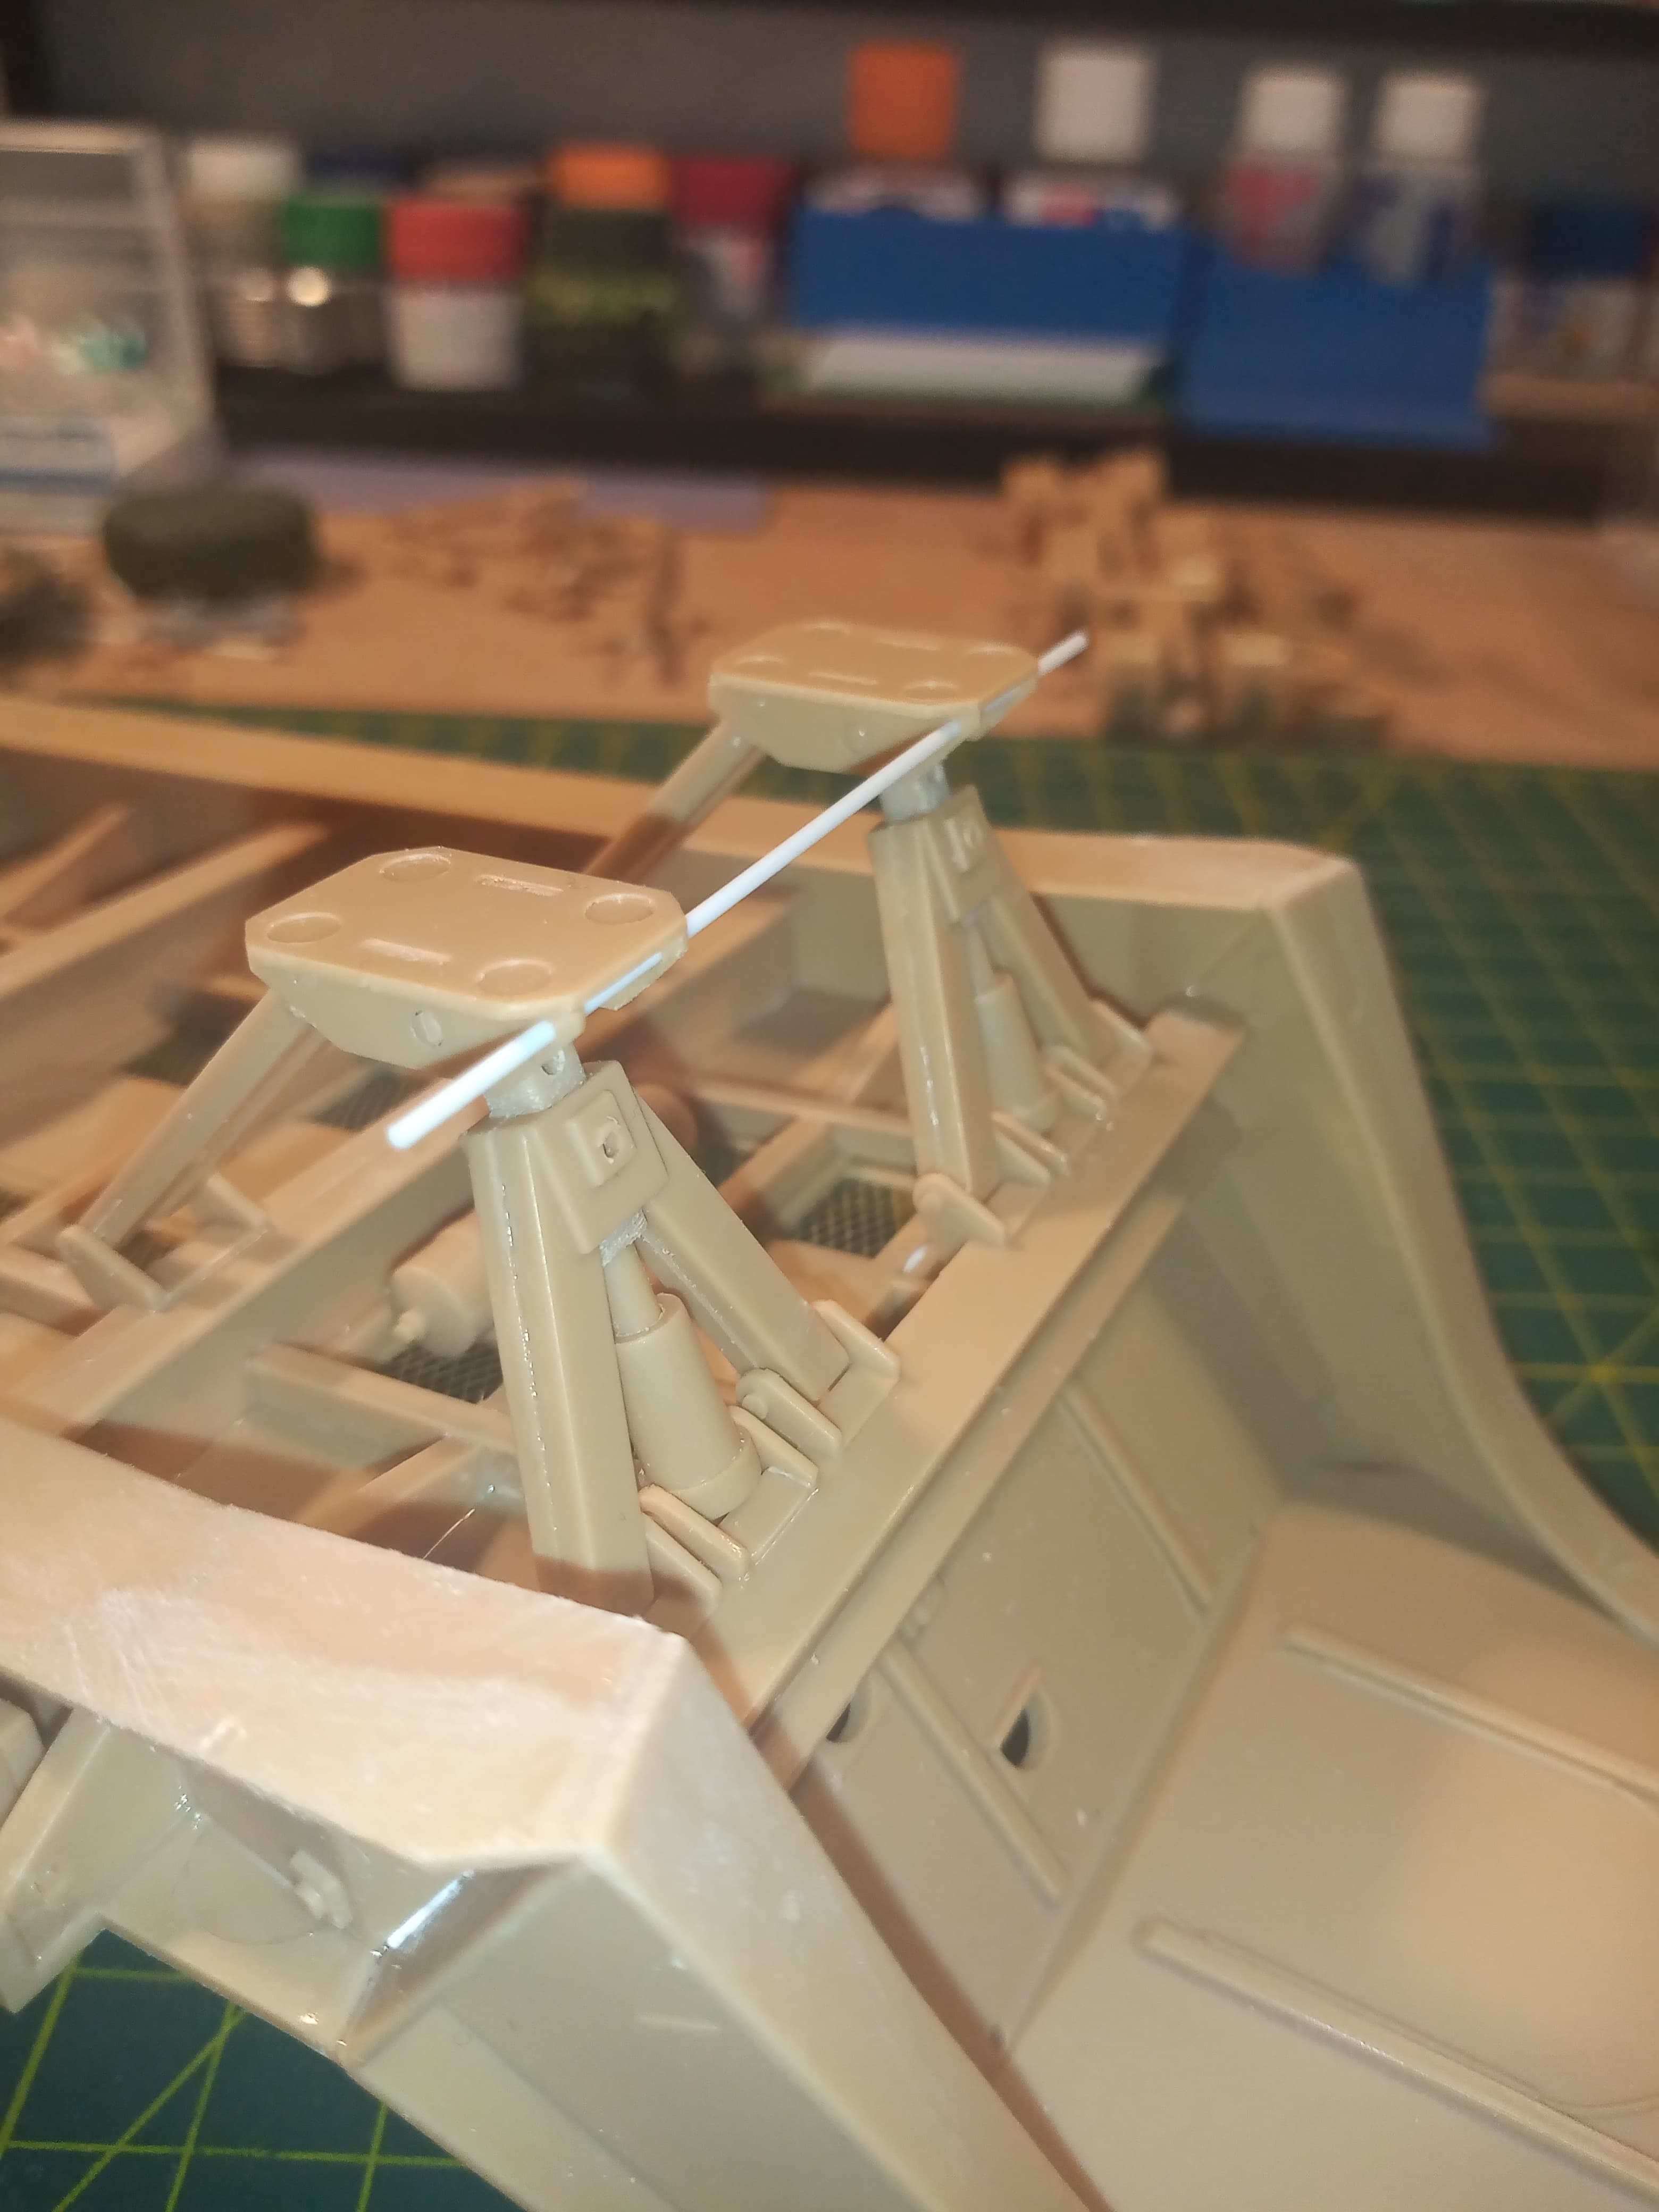
The support legs and foot pads. The footpads will be able to move up and down, just need to make the securing pins. The long white rod will also be getting cut down and used. On my images, this rod actually stickers out either side by probably 6 inches or so and ends are painted red.
And the underside showing the frame work and brace beams…
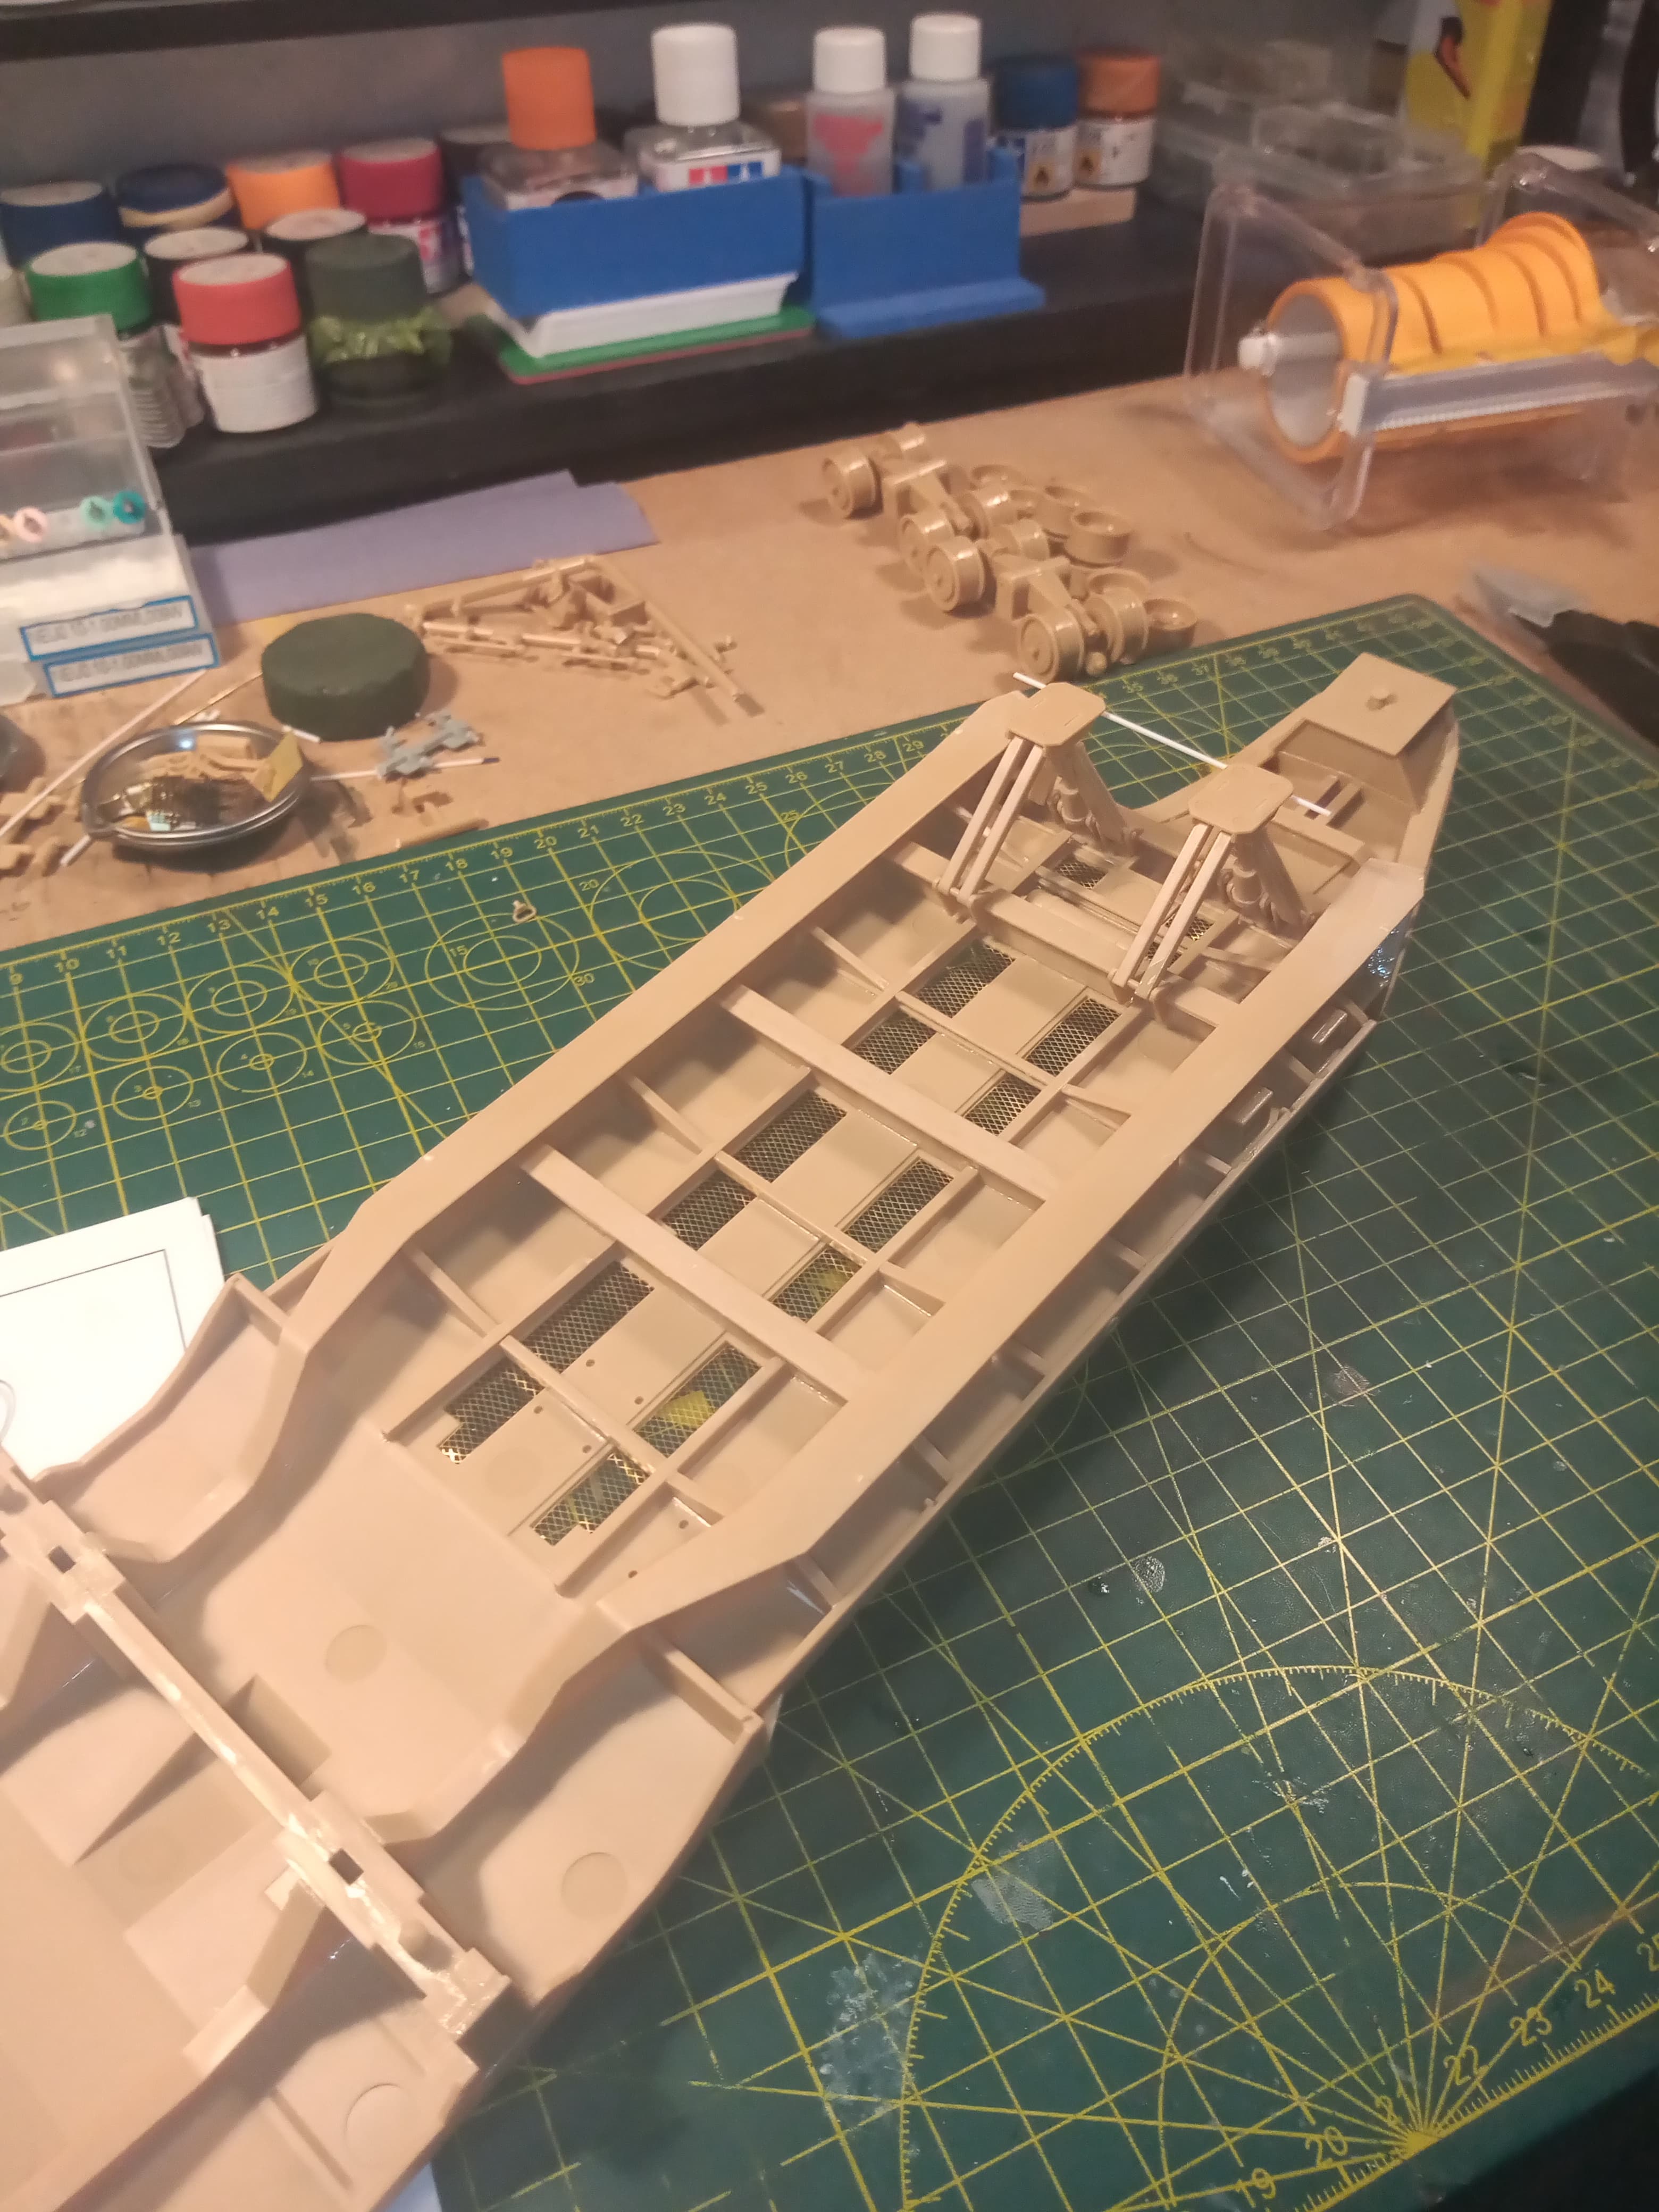
Did a quick measurement and with a few of the other parts yet to be fitted, the length of just the trailer will be around 36cm…
Some of the details on the trailer top are wrong, but I can live with those and the scratch building on this will be minimal, a few levers here and there, small winch cable guides on the left hand side of trailer and some visible cables/pipes…
7 Likes
I do apologize I was unaware of this rule, and I will withdraw from one of the campaigns. Thank you for letting me know.
1 Like
Thanks for understanding Michael. It is something a lot of guys new to the forum’s Group Builds are not aware of. In this case, this aspect is actually covered in the initial post - just lost in the whole rhetoric:
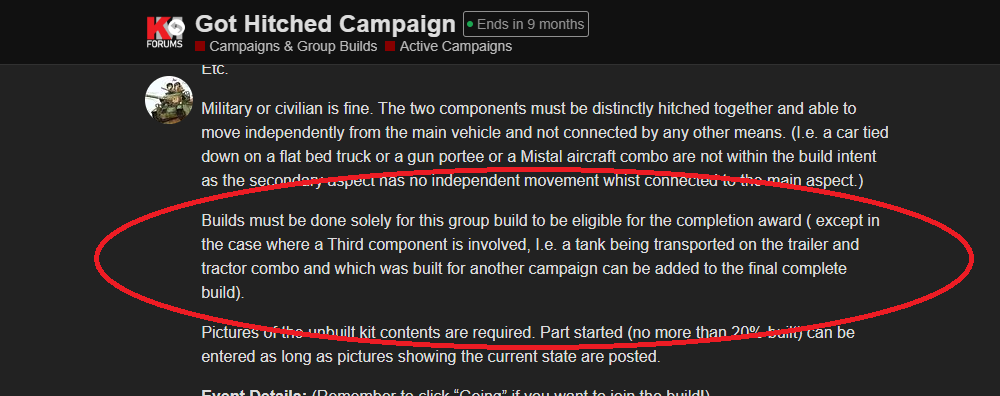
Some guys just forget to post this aspect/reminder when they set up the campaign, and that adds to the confusion.
I hope you choose to continue here, but if you choose to run with the Convoy 2 build for this kit, there is still a lot of time left to join this one with something else.
2 Likes
I pulled out of the Convoy 2 build there is more time here and it’s all good I don’t want to break any rules and I appreciate being informed so I know the right way to do things.
2 Likes
Here is where the Gaz currently sits. About 95% with just a bit of frame work left to add
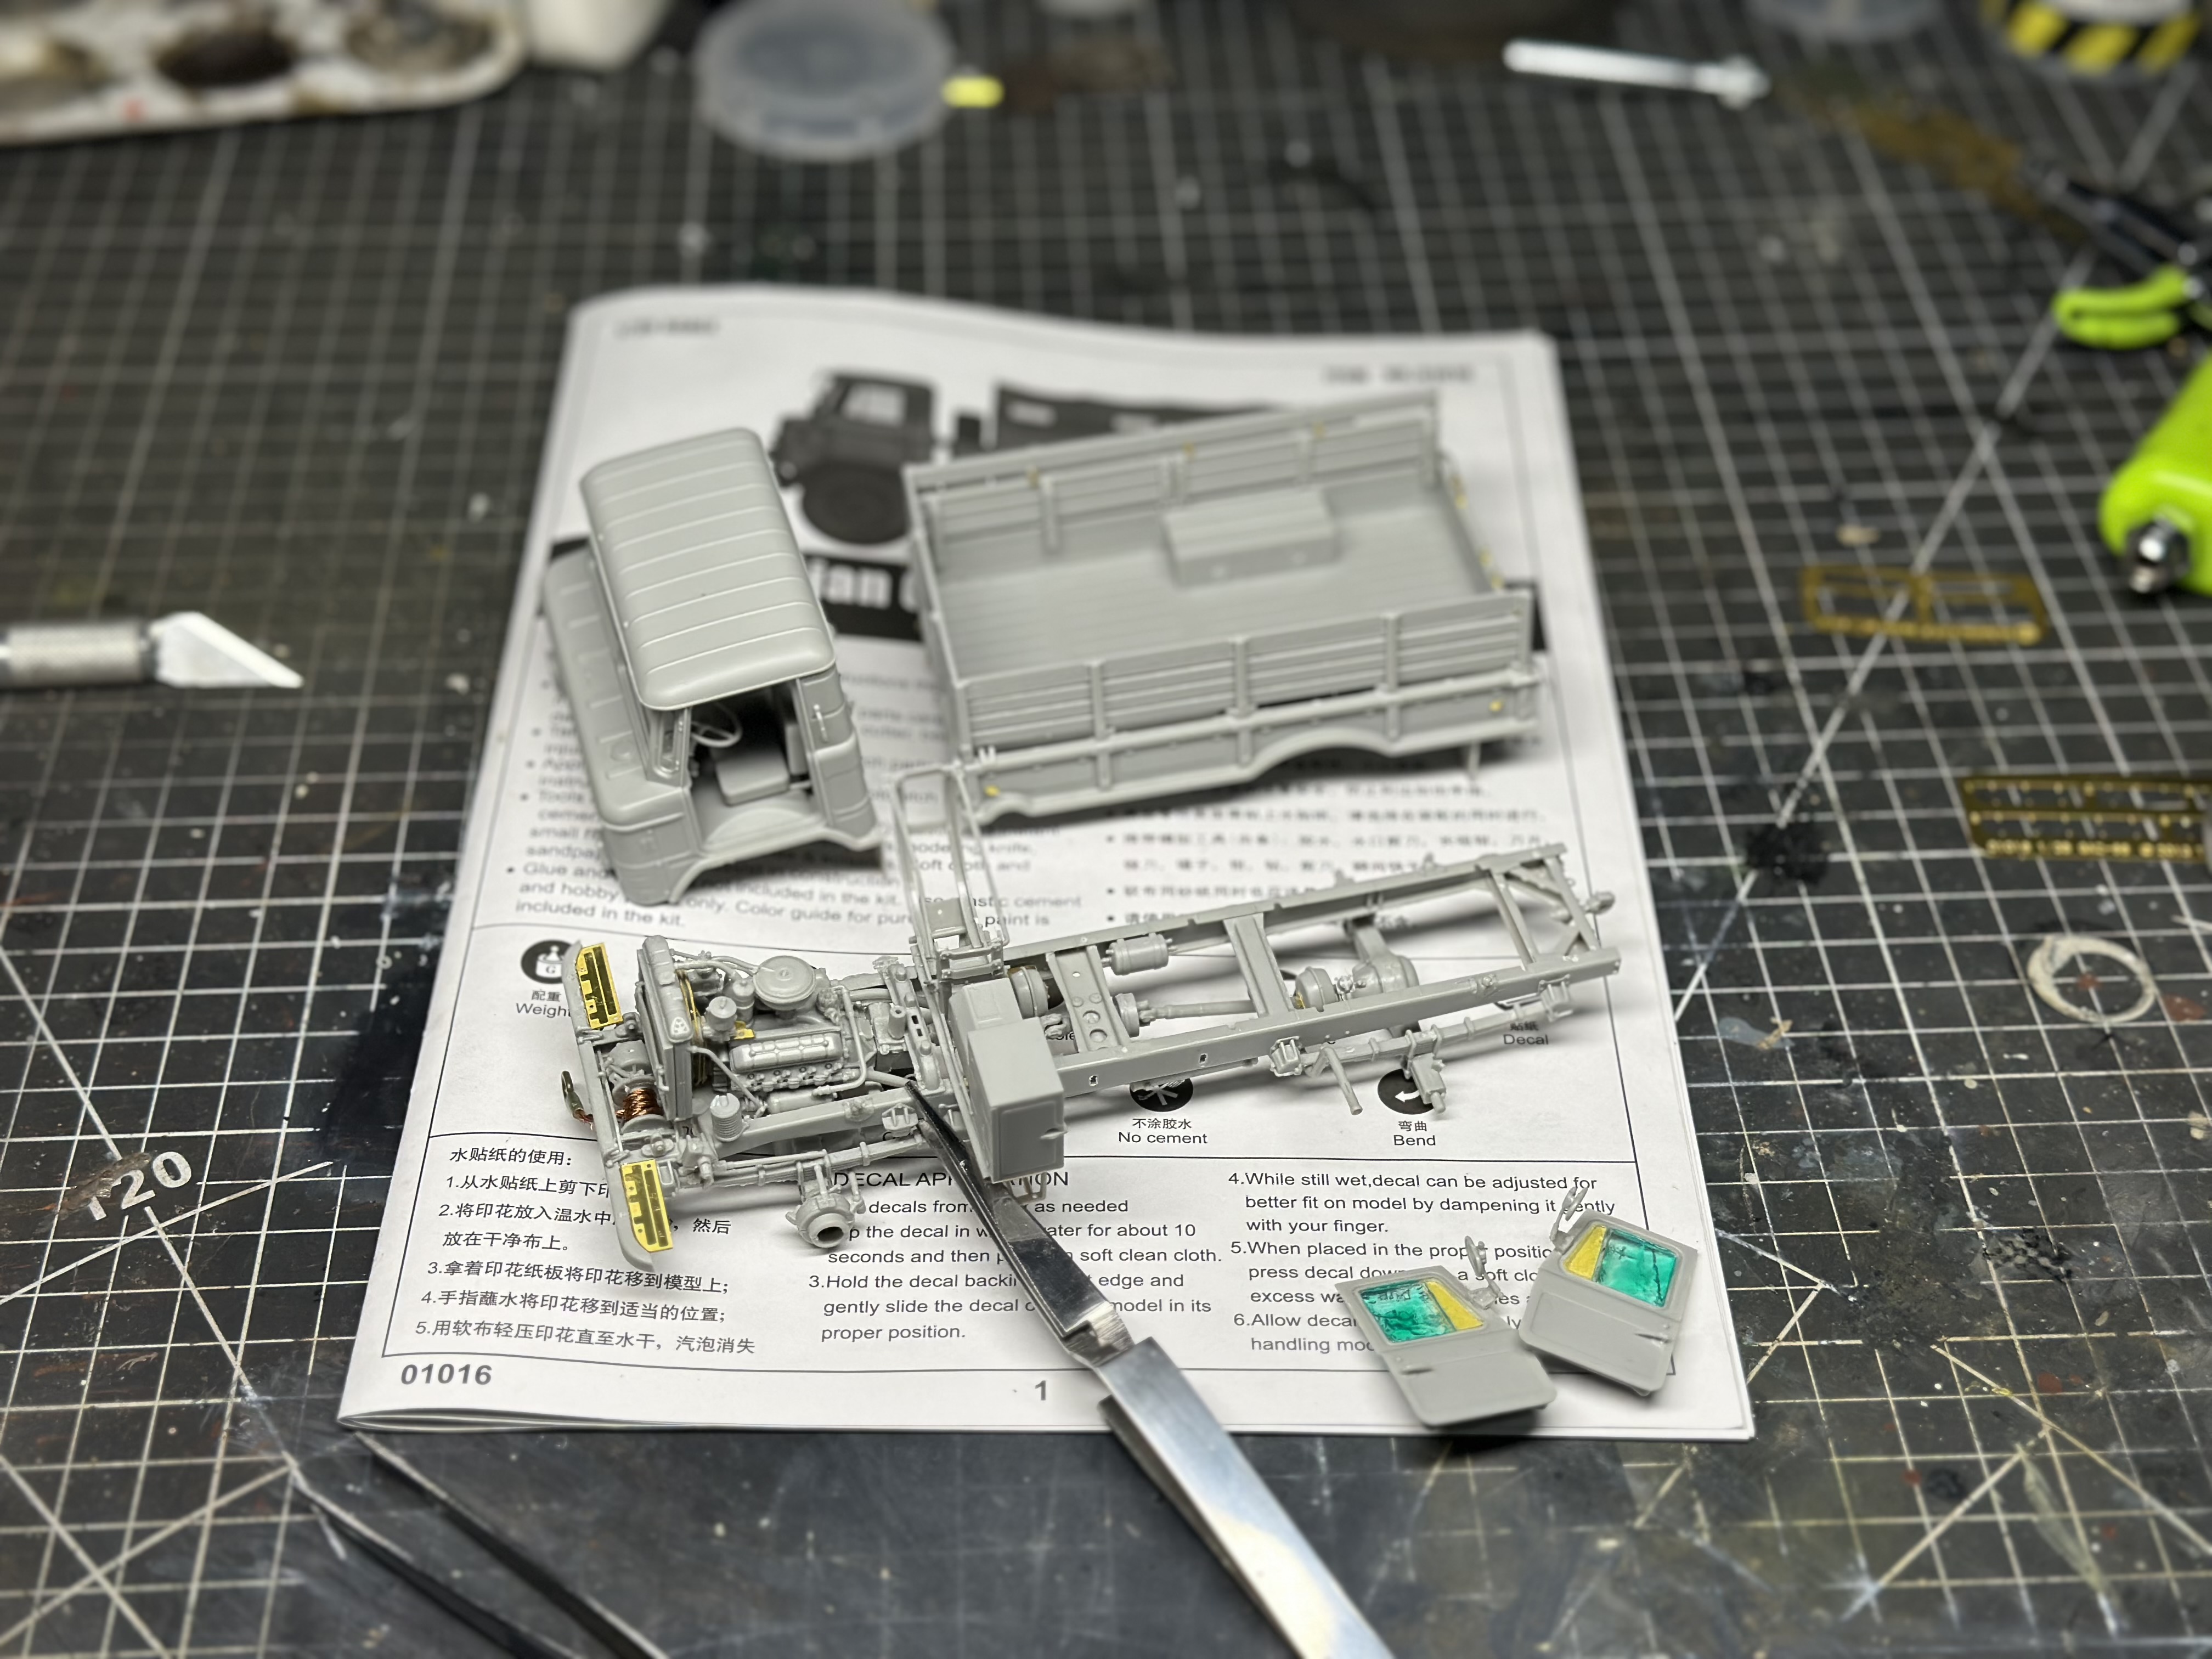
This is the second time I’ve built this kit and it has been unpleasant to say the least. The engine block seems to not be square despite my efforts to square it up which resulted in it being off centre in its mount. The frame has a bend in it that I tried to rectify unsuccessfully and resulted in lots of do overs to try and get everything to line up. Oh well we will power through and hopefully paint and weathering hides the major flaws.
7 Likes
It looks pretty good from here Alex.
1 Like