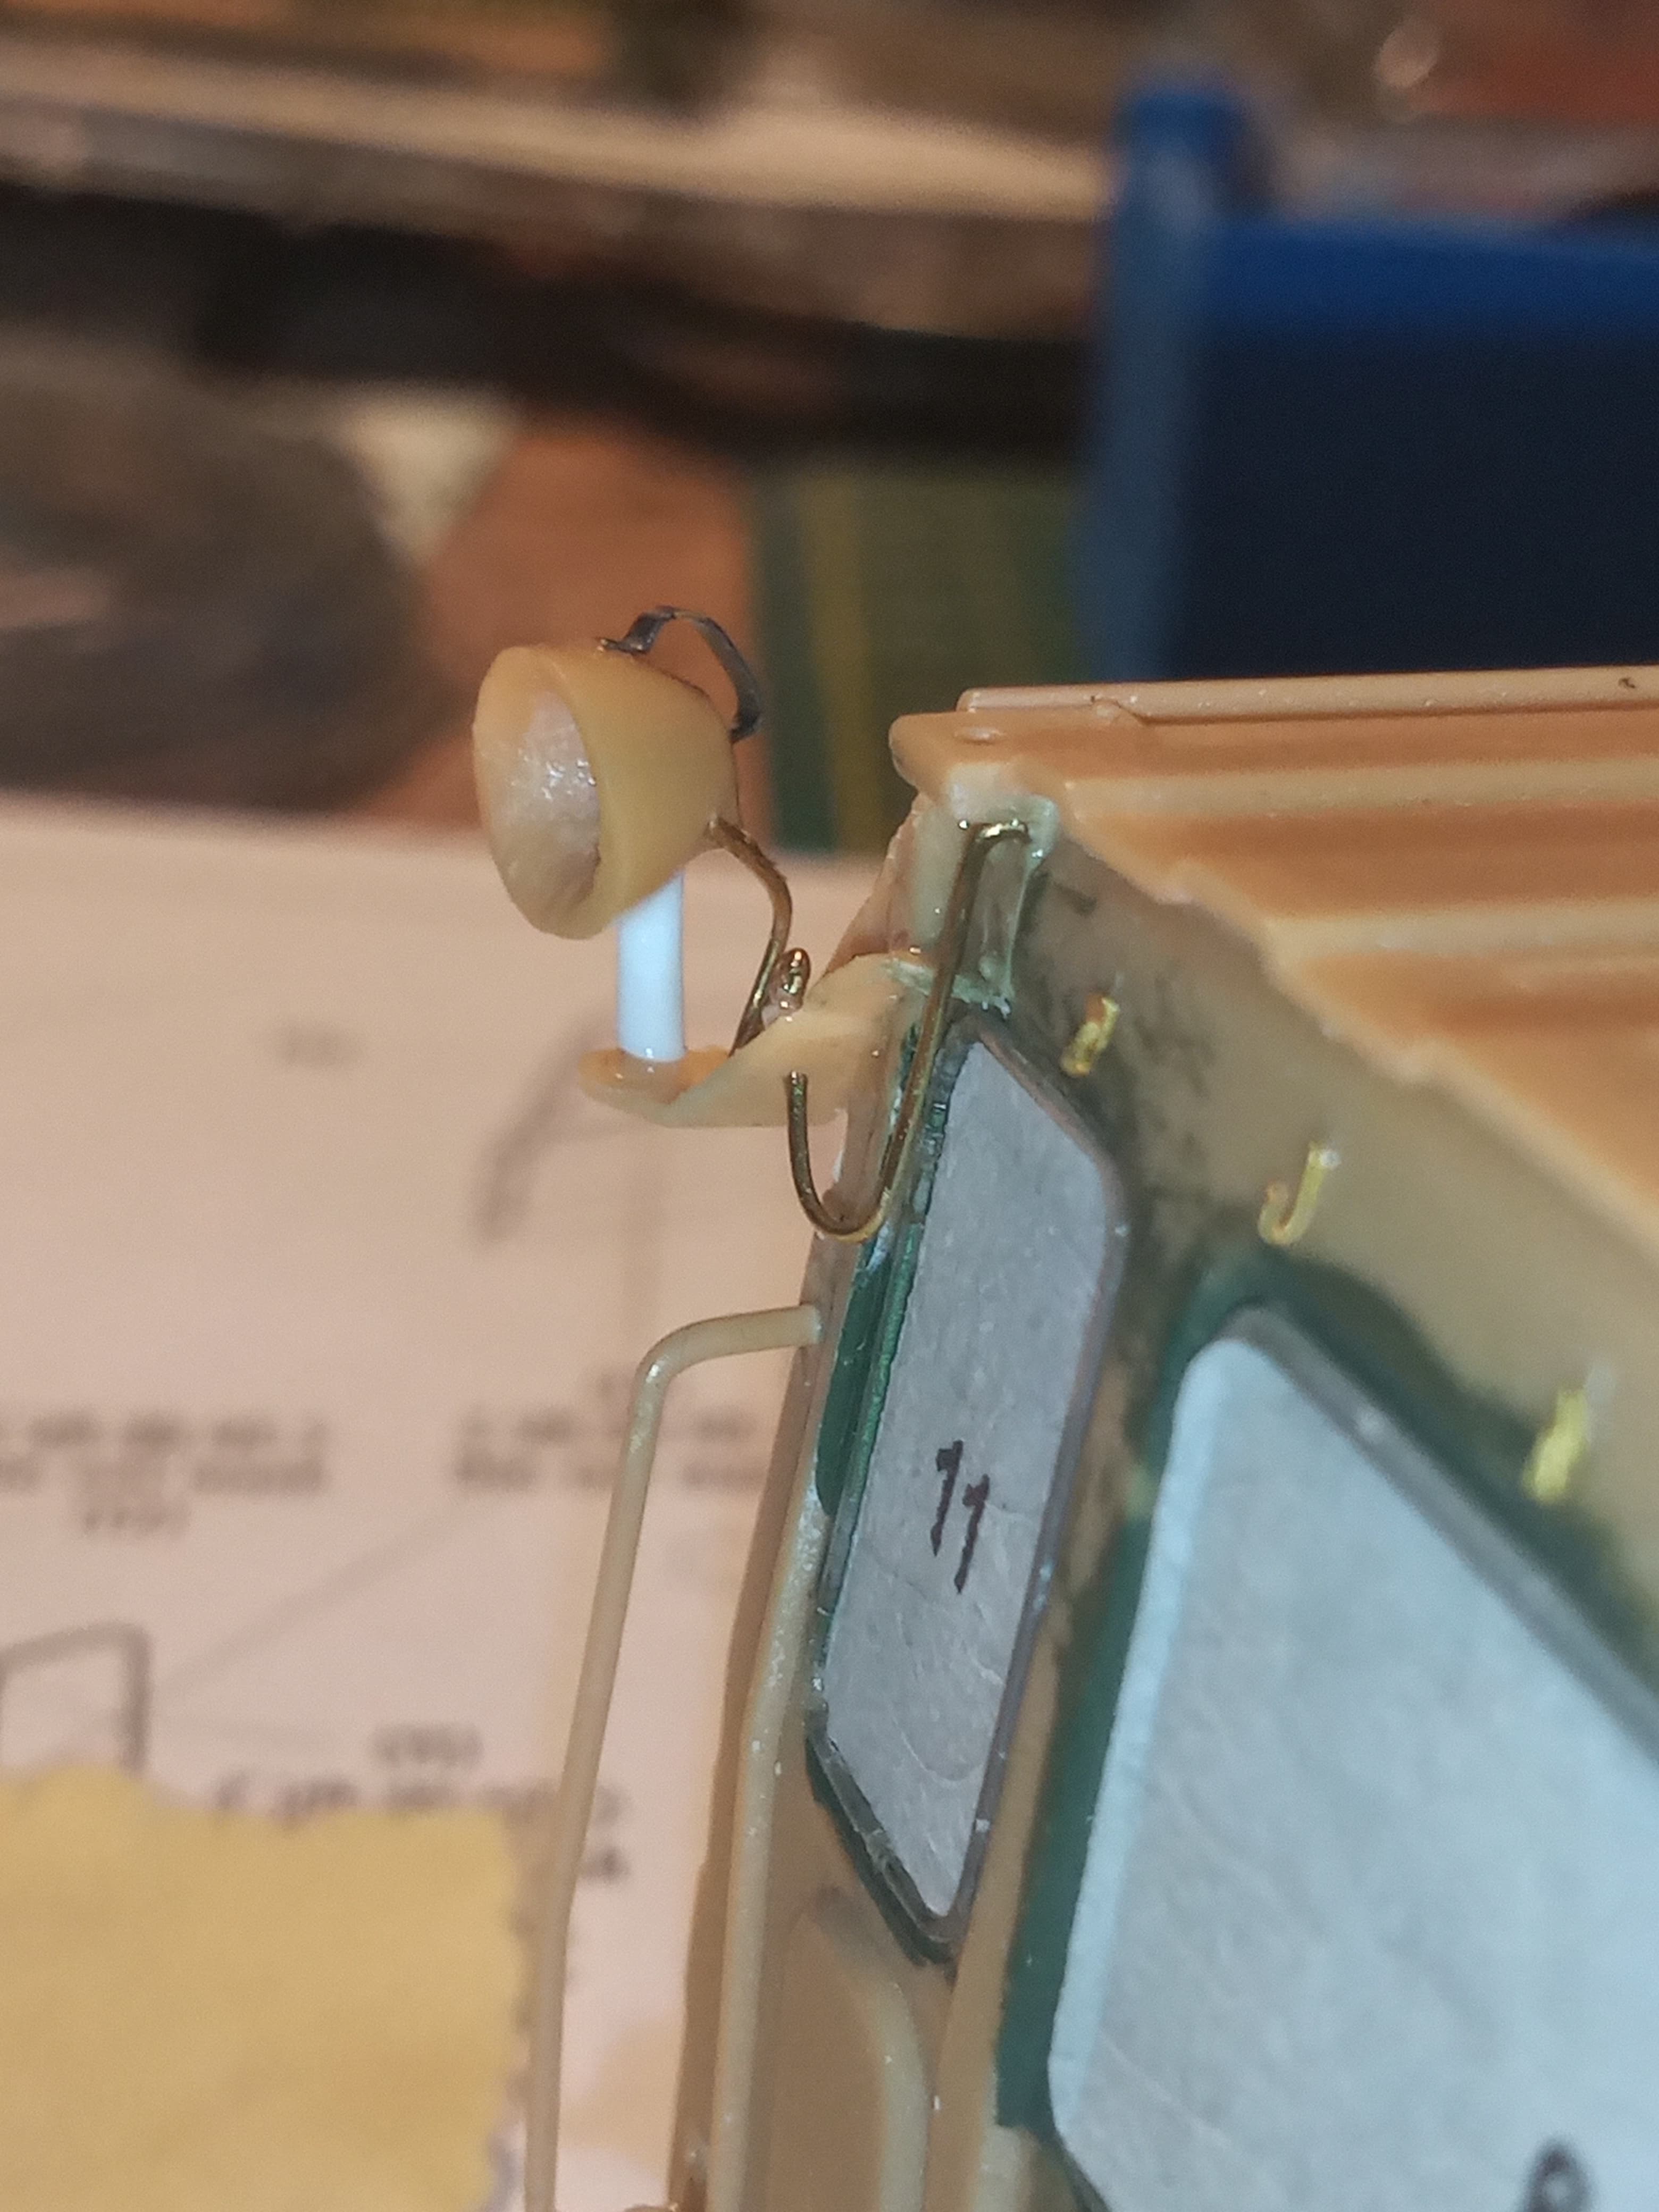
A few more external parts to fit then I can get it primed…I was going to attempt to make the micro strips for the windscreen heater elements , but fitted the screens before I remembered about it
A brief update on my Land Rover project for this campaign; I’ve been adding stowage in the form of a rolled camouflage net. The policy amongst the Joint Transport Company when I was at Army Group HQ appeared to be the same as the Brit methodology of Hessian for draped cam with a layer of netting and scrim on top of that, the whole being rolled up together when in transit, which enabled a speedy concealment when the vehicles were stopped or in harbour.
Long suffering members of Kitmaker will recall my use of tea leaves for obtaining a scrim effect. If not see here in this rather protracted thread covering their use on a Leopard MBT:
For a further explanation on the use of Hessian see another project of mine here:
That’s if you wish for the extended versions and are bored.
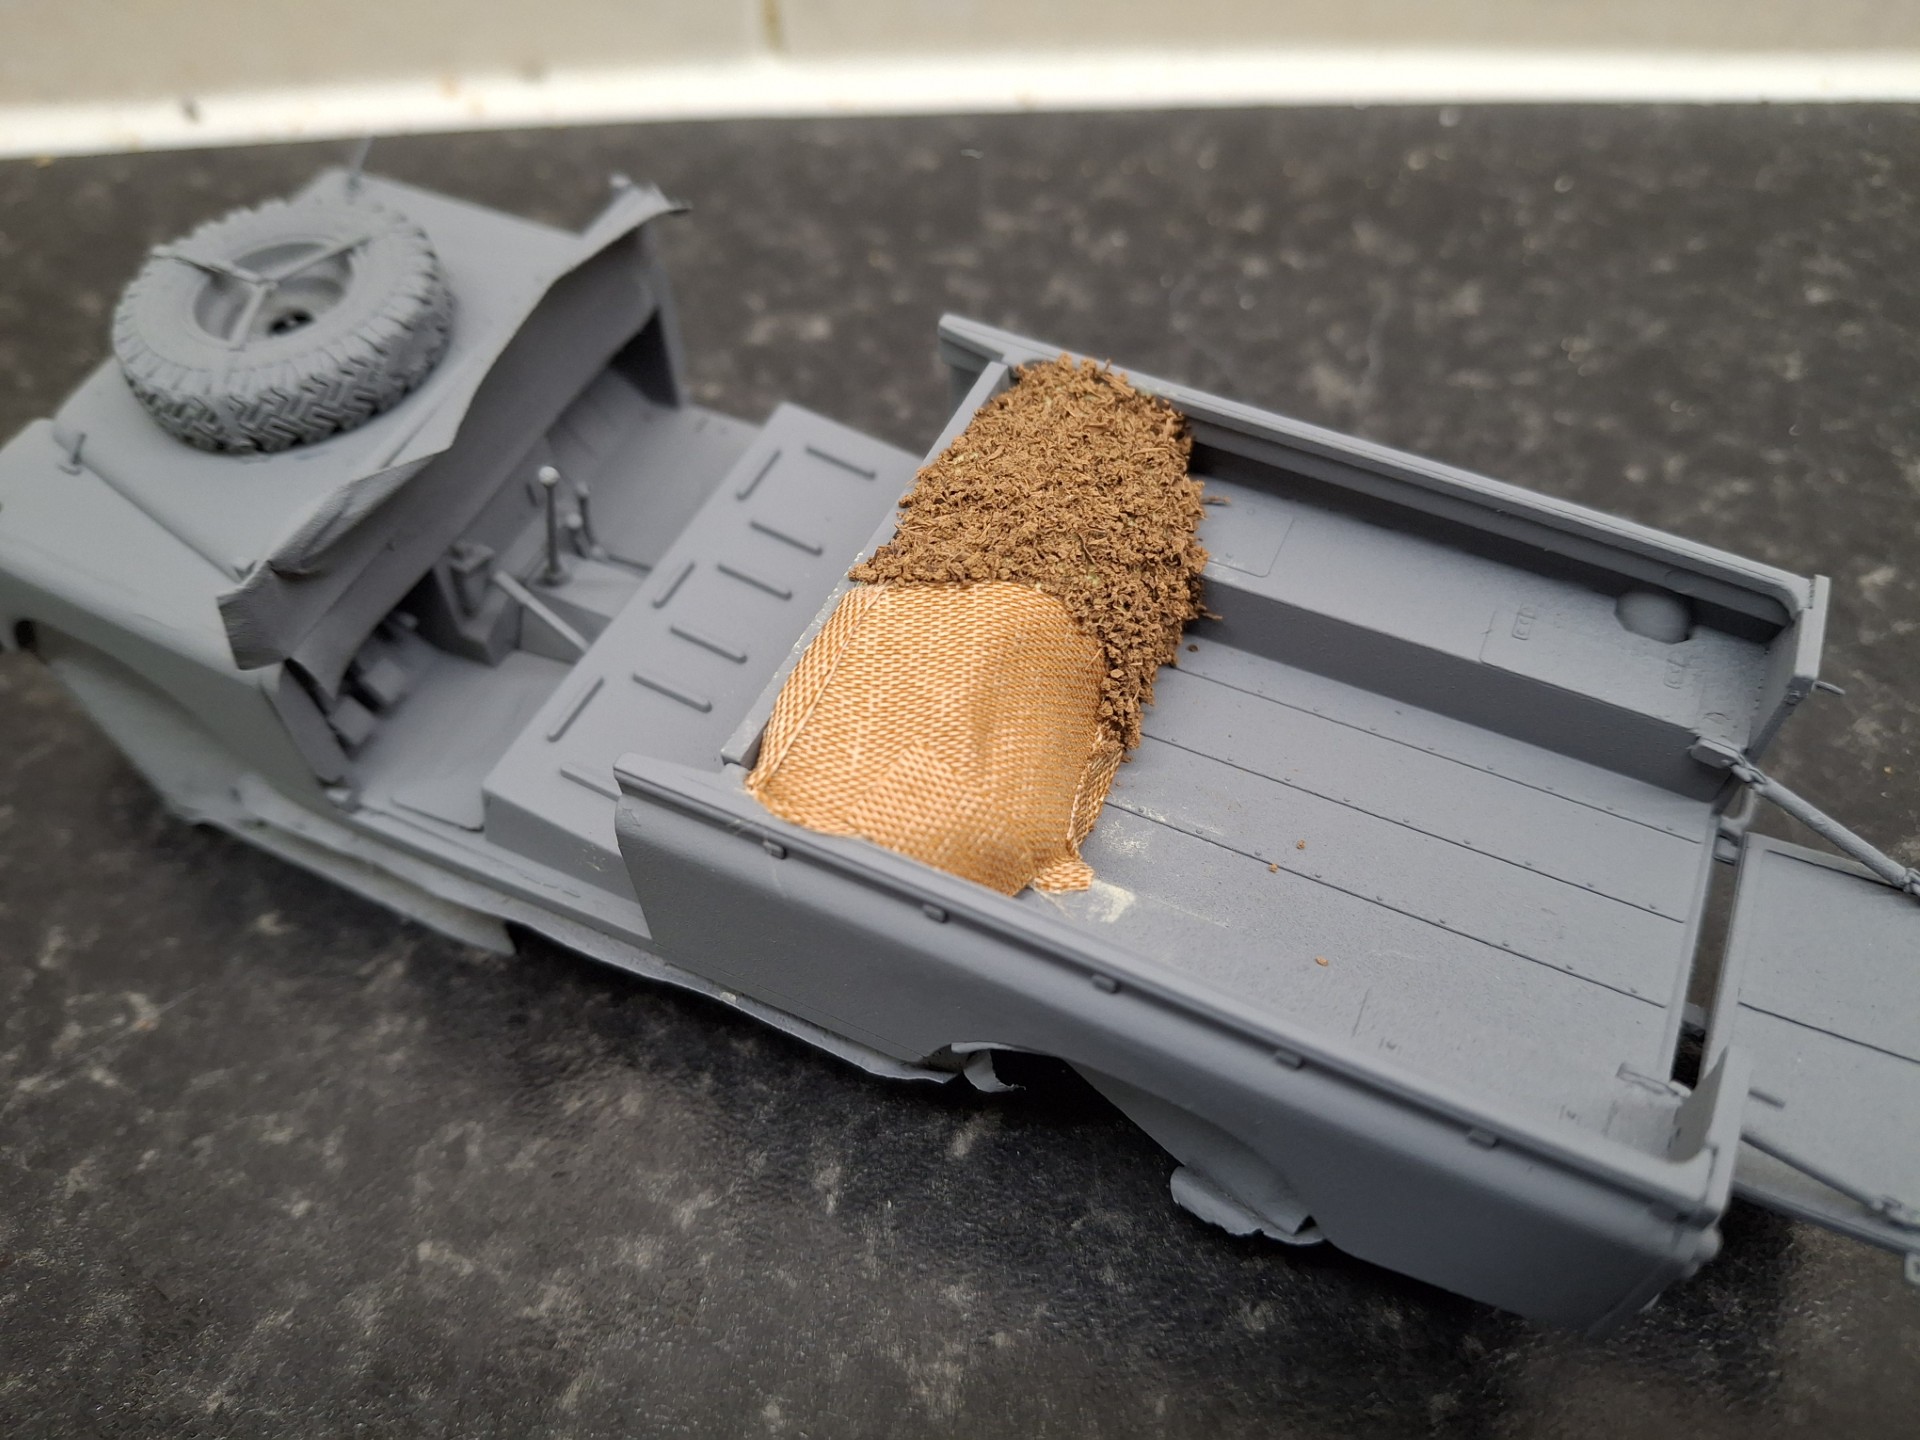
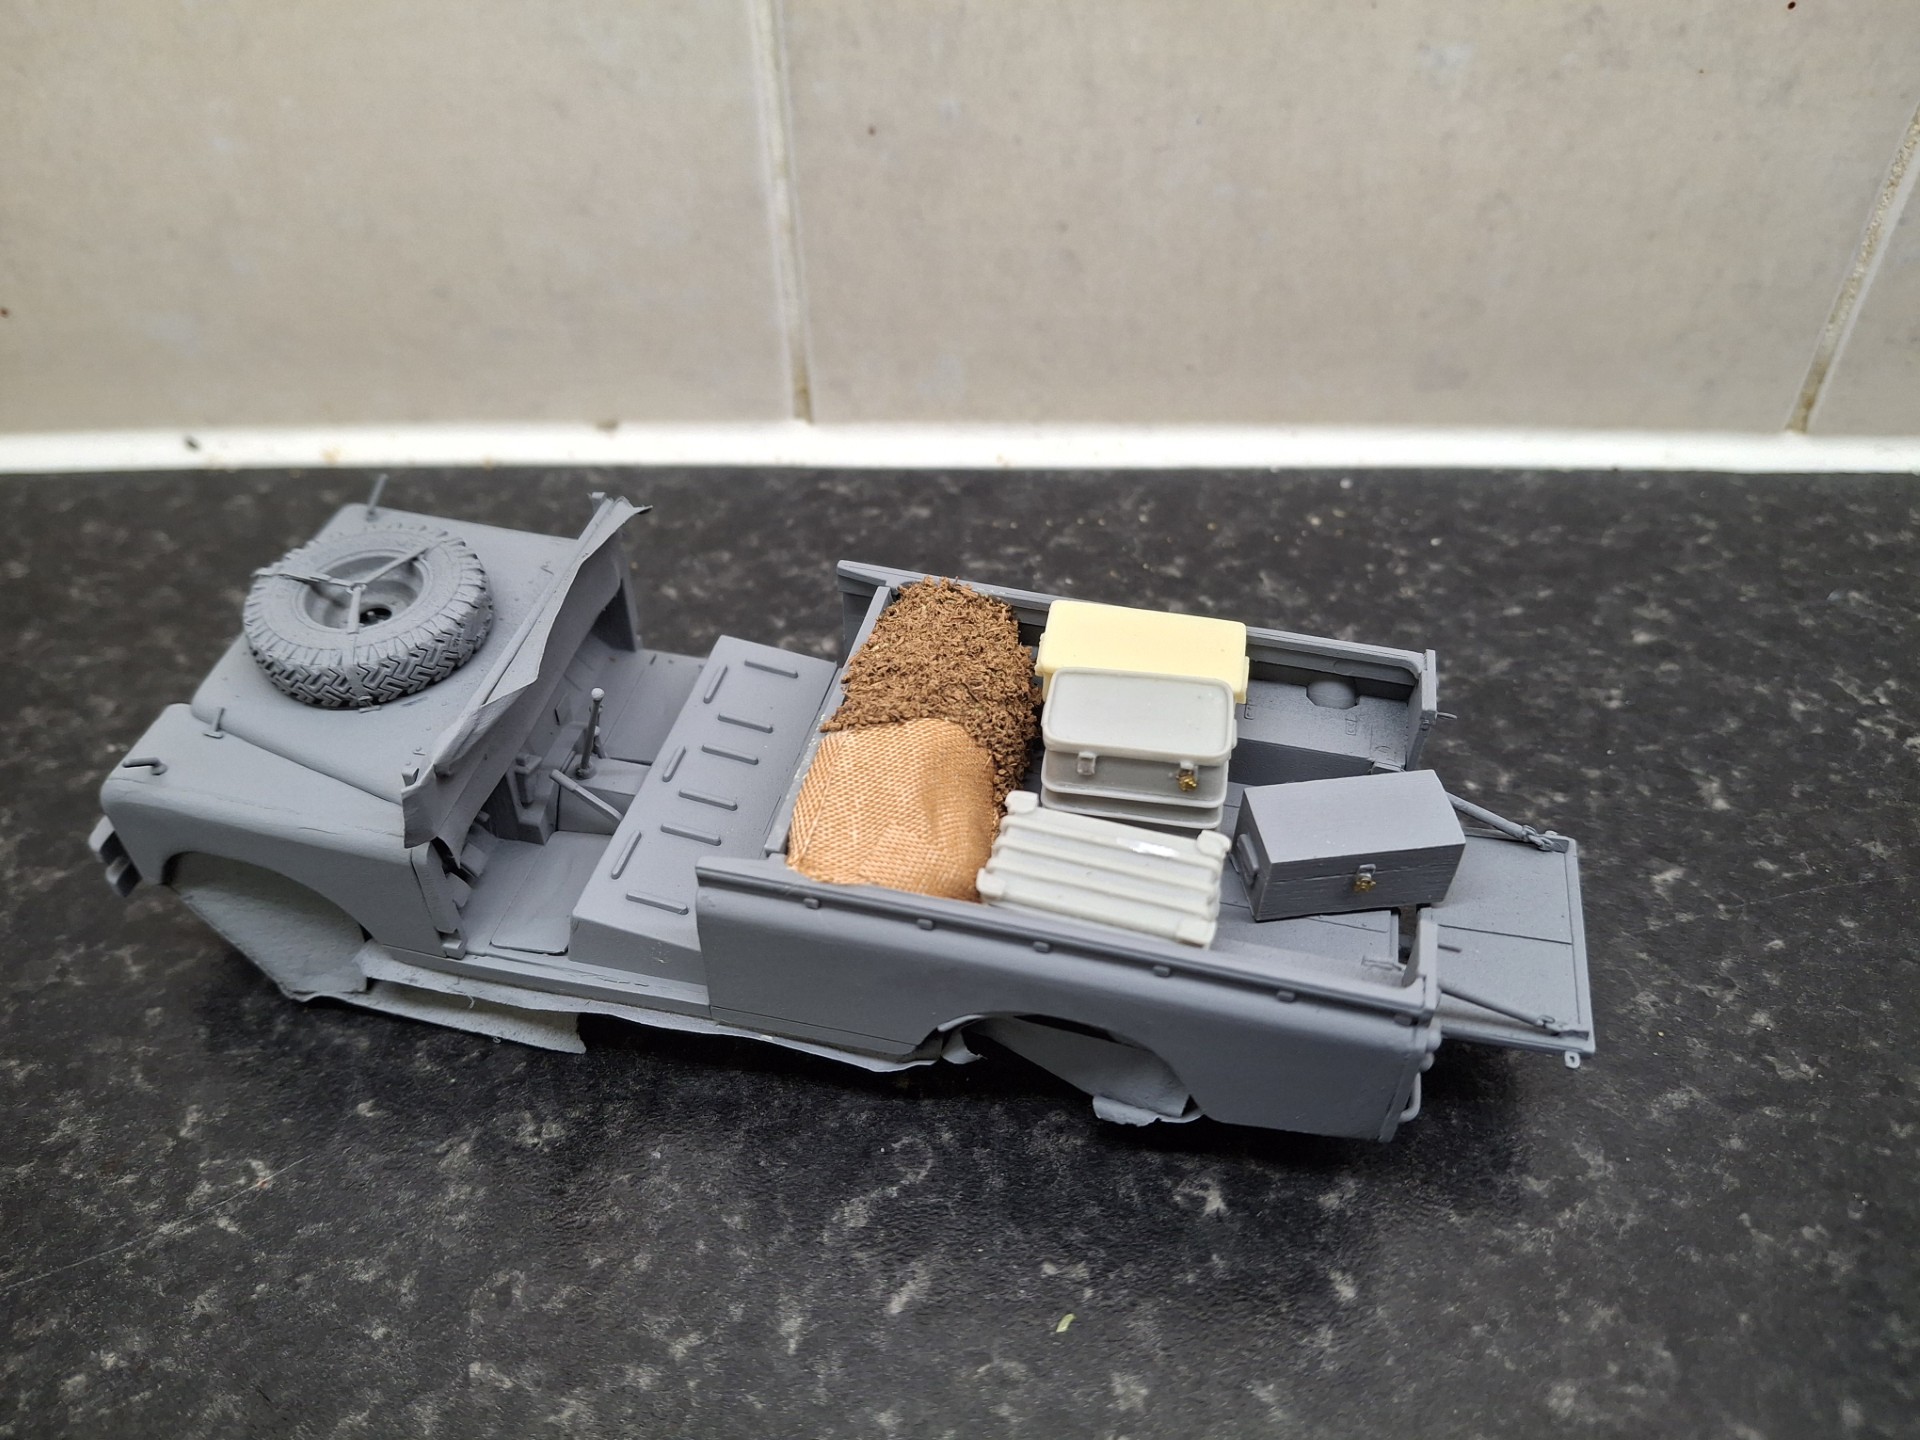
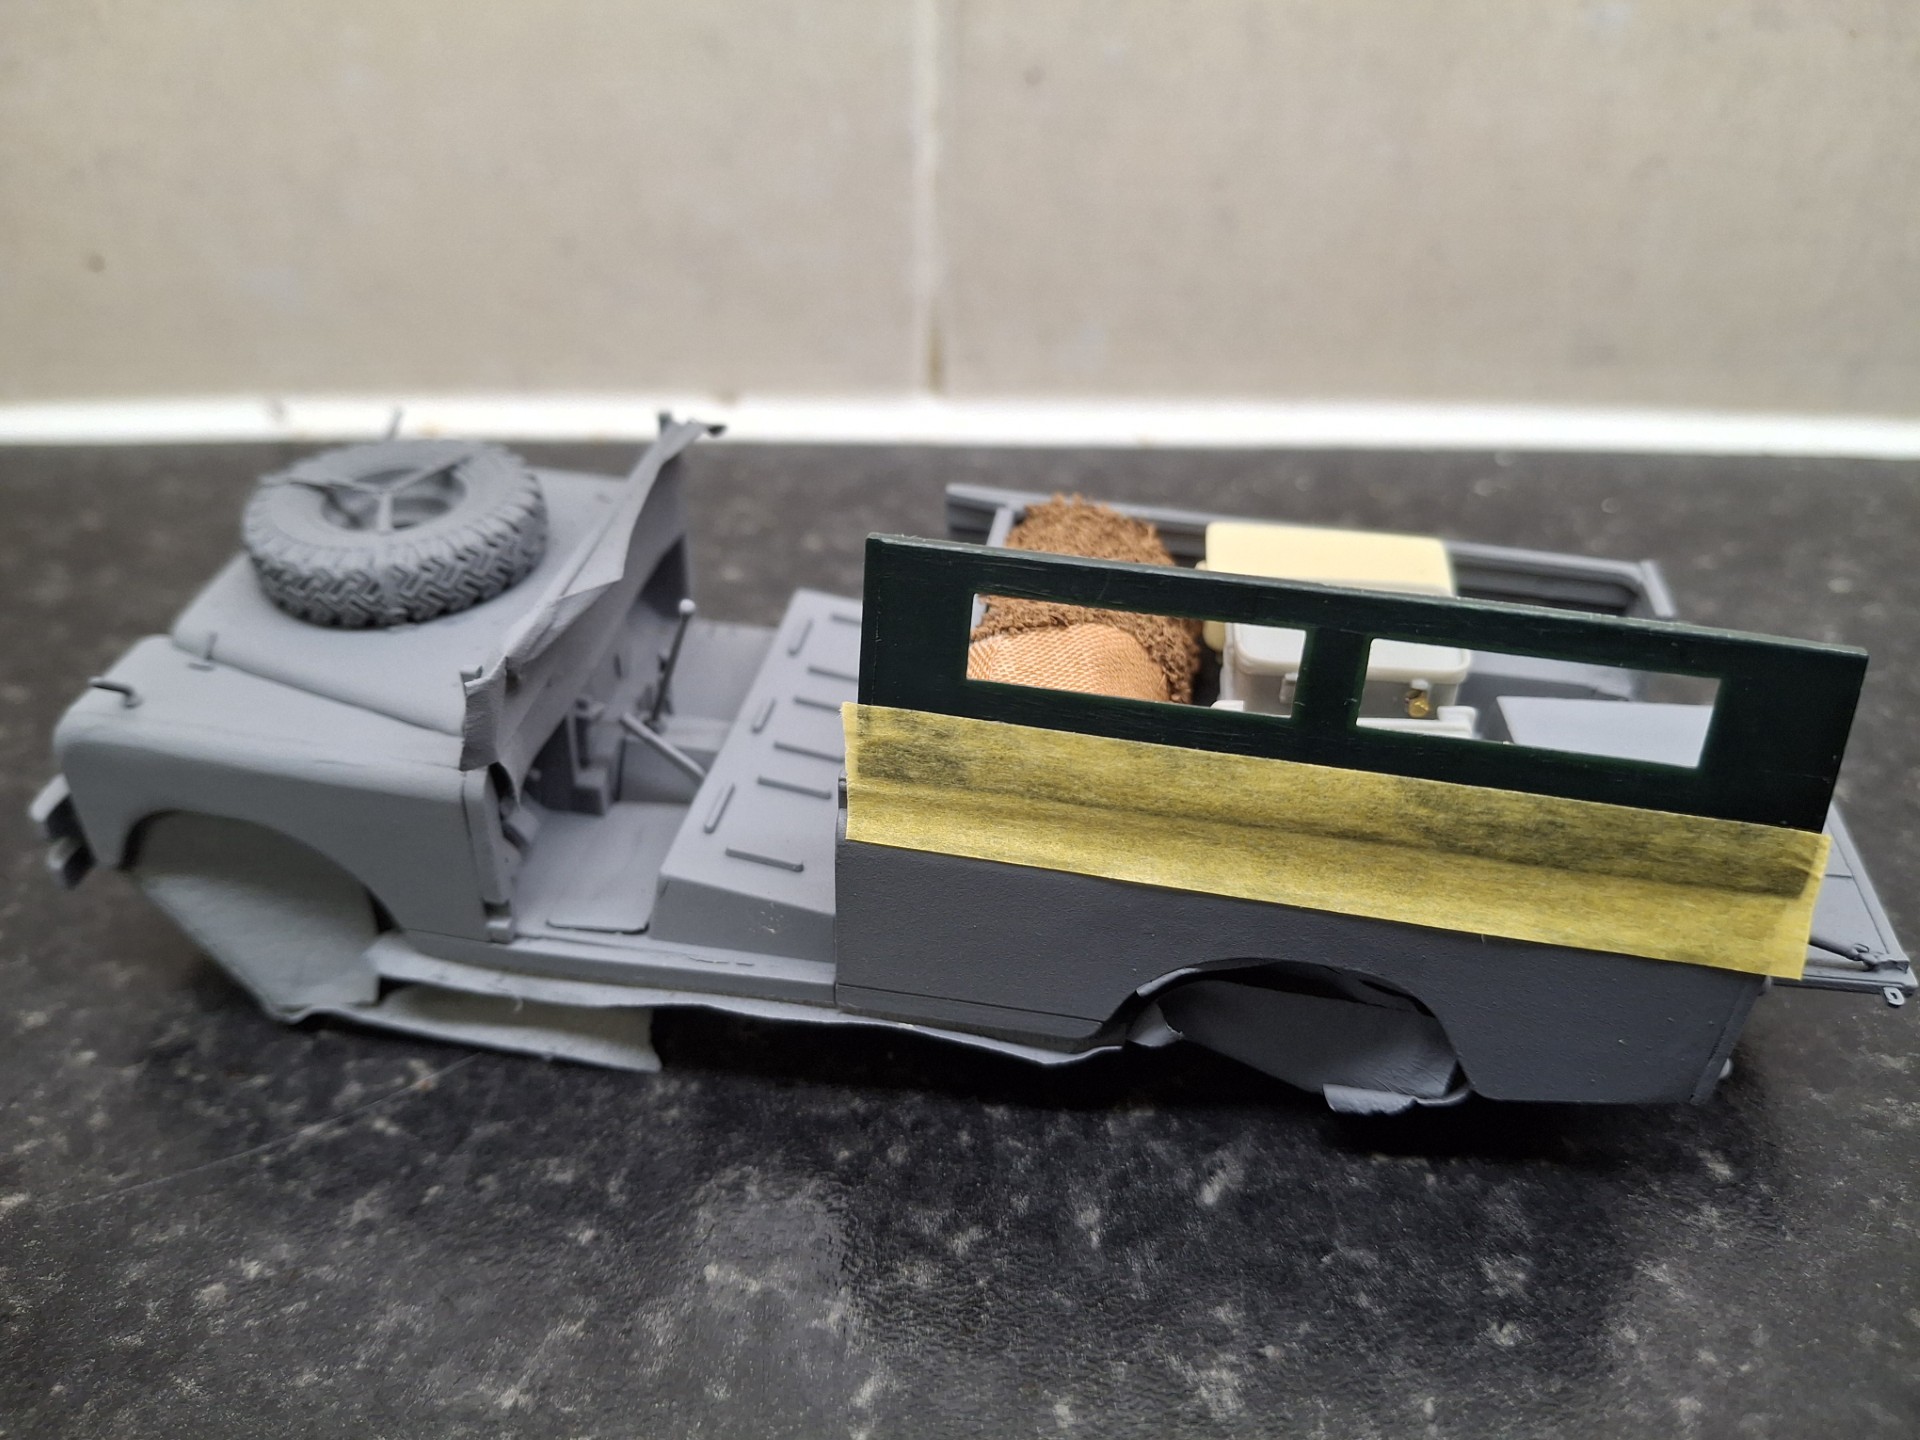
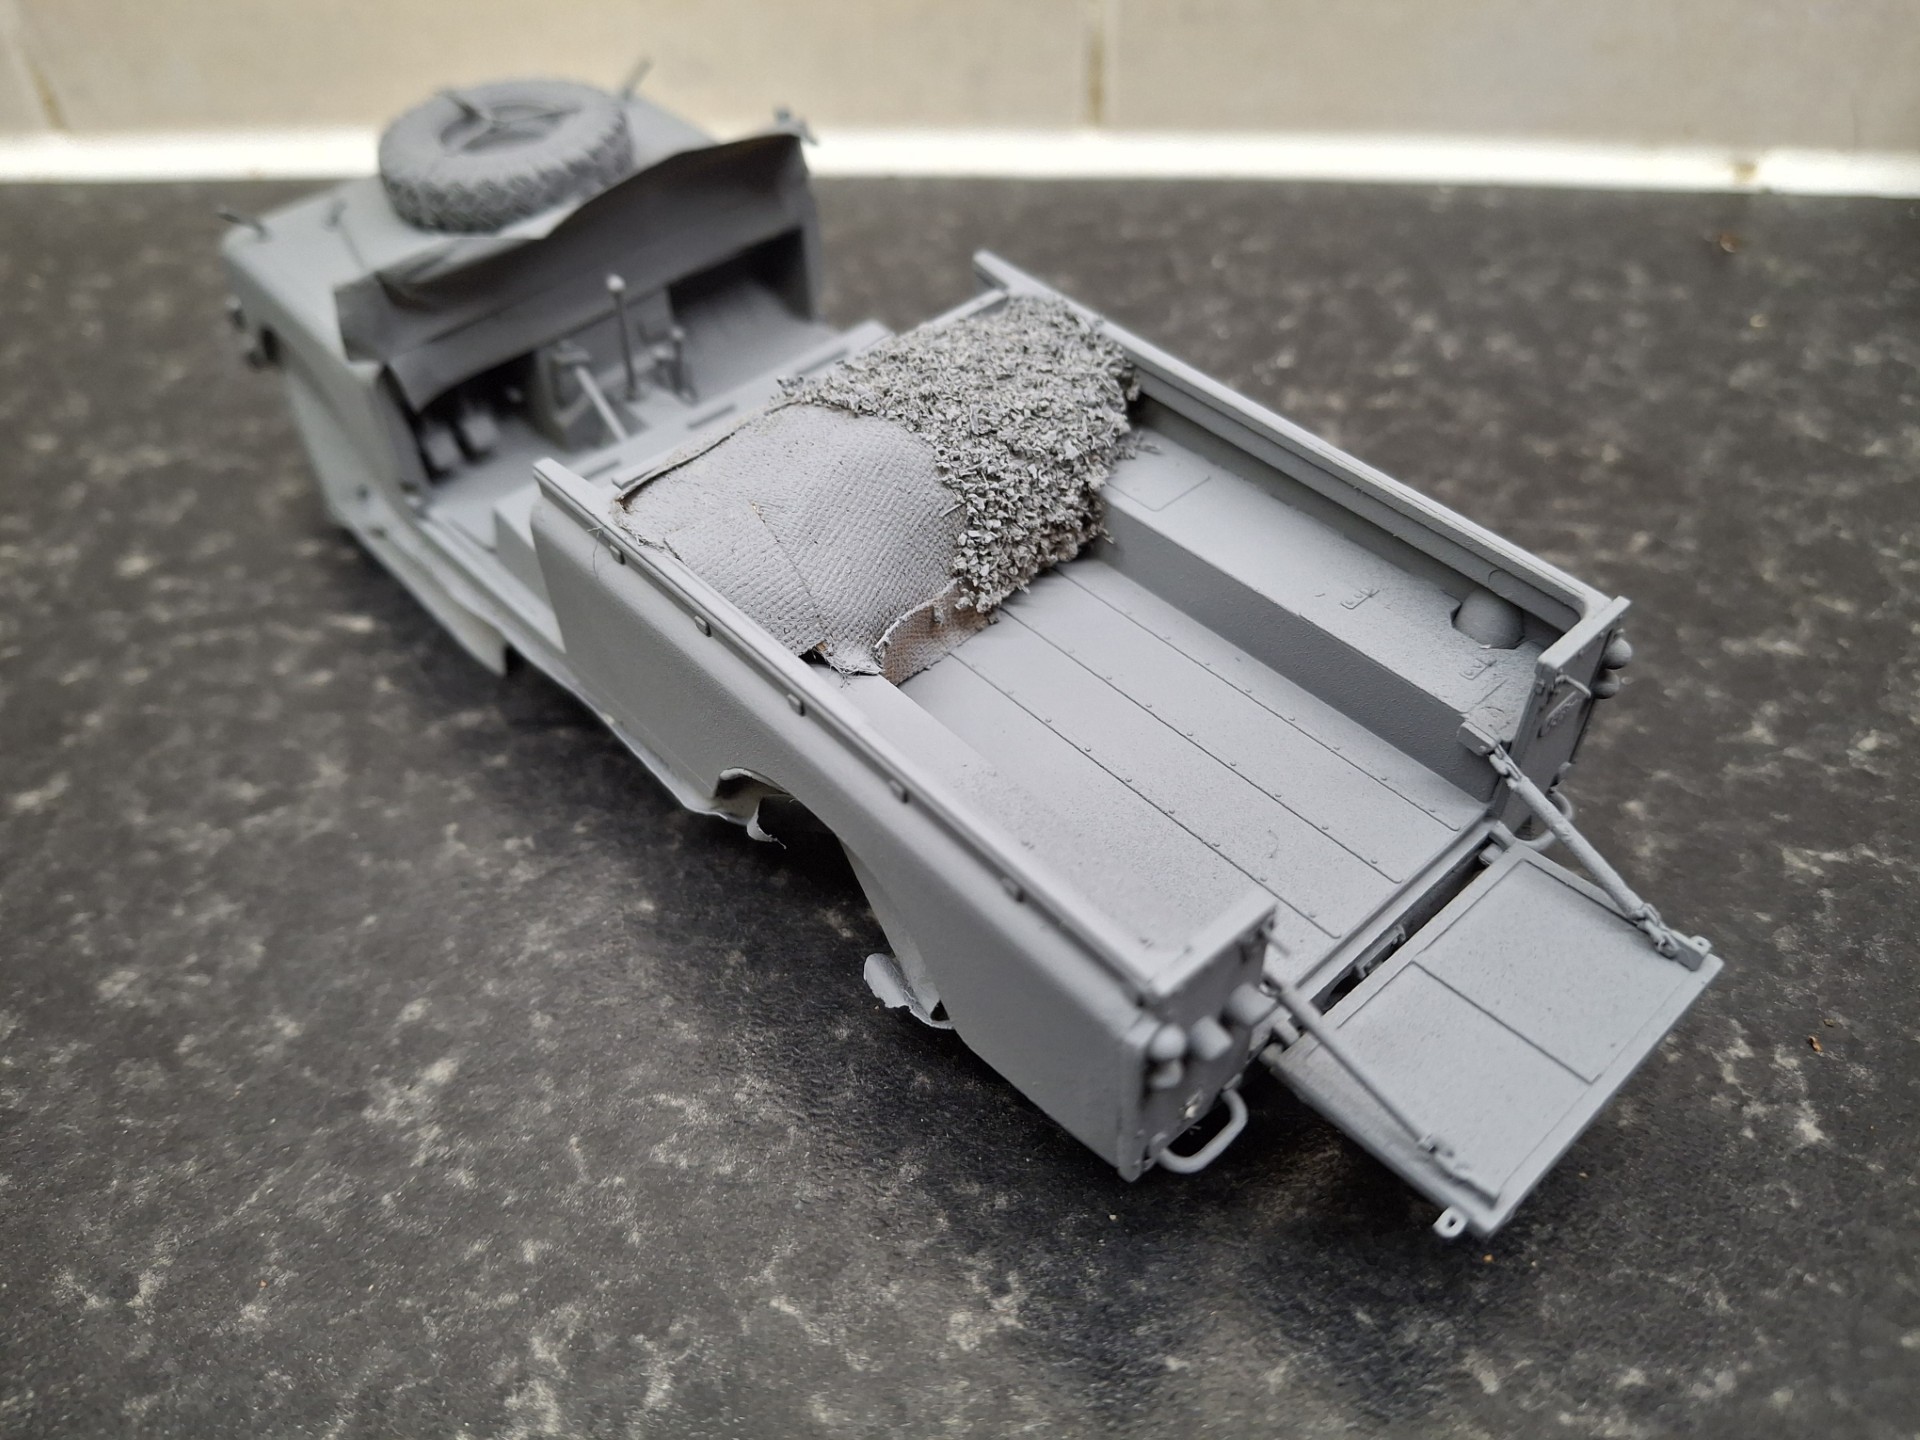
I needed to replicate the effect of a rolled net so first fashioned a lump of Milliput and located it on the floor of the cargo bed up against the bulkhead. Such nets (and poles) may have been carried on the roof as per Brit practice but on this particular vehicle when we drove to Maastricht, I don’t think it was. The components:
I had mislaid the woven-type adhesive sniper-tape I thought I still had somewhere, to use for the Hessian, so utilised one of those adhesive plasters - they type used for say, covering up kiddies’ skinned knees and the like. It’s overscale but adds some texture. I applied this to nearly half the Milliput. The other half I covered in glue and applied the dried used tea leaves.
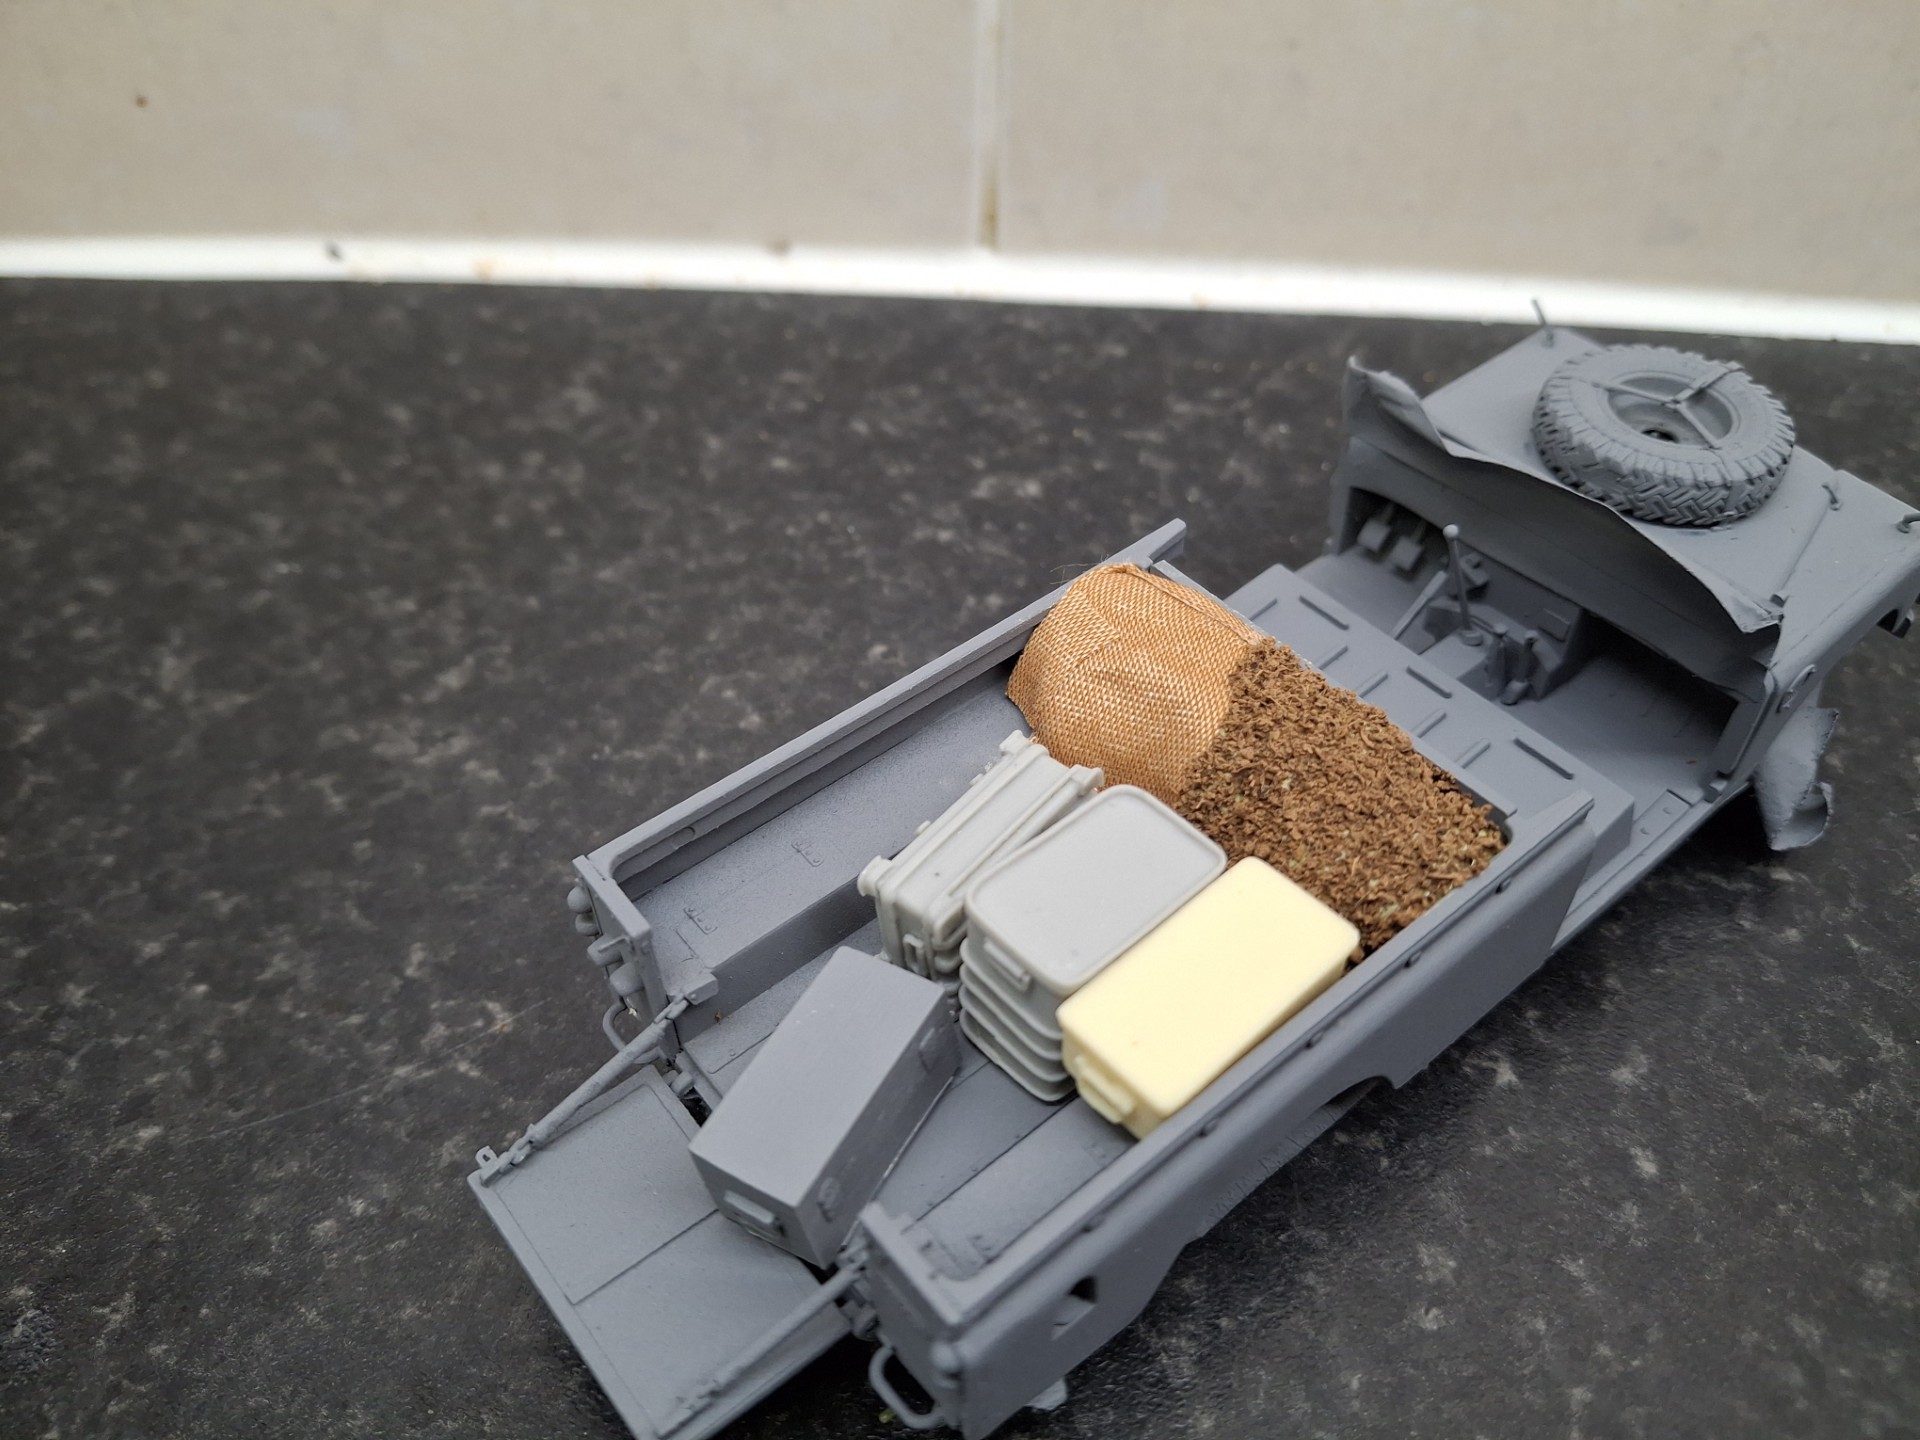
Not much of the net will probably be seen - I taped a side panel in place to check - but more will be visible from the rear as the canvas flap will be raised as the vehicle is unloaded:
I’m sure parsley will work but I was very keen to get some consistency of size in mine to replicate the scrim patches; it took a bit of trial and error but eventually I came across a tea that provided just that, once dried. It also means one can make a decent brew using fresh tea and not tea bags(!)
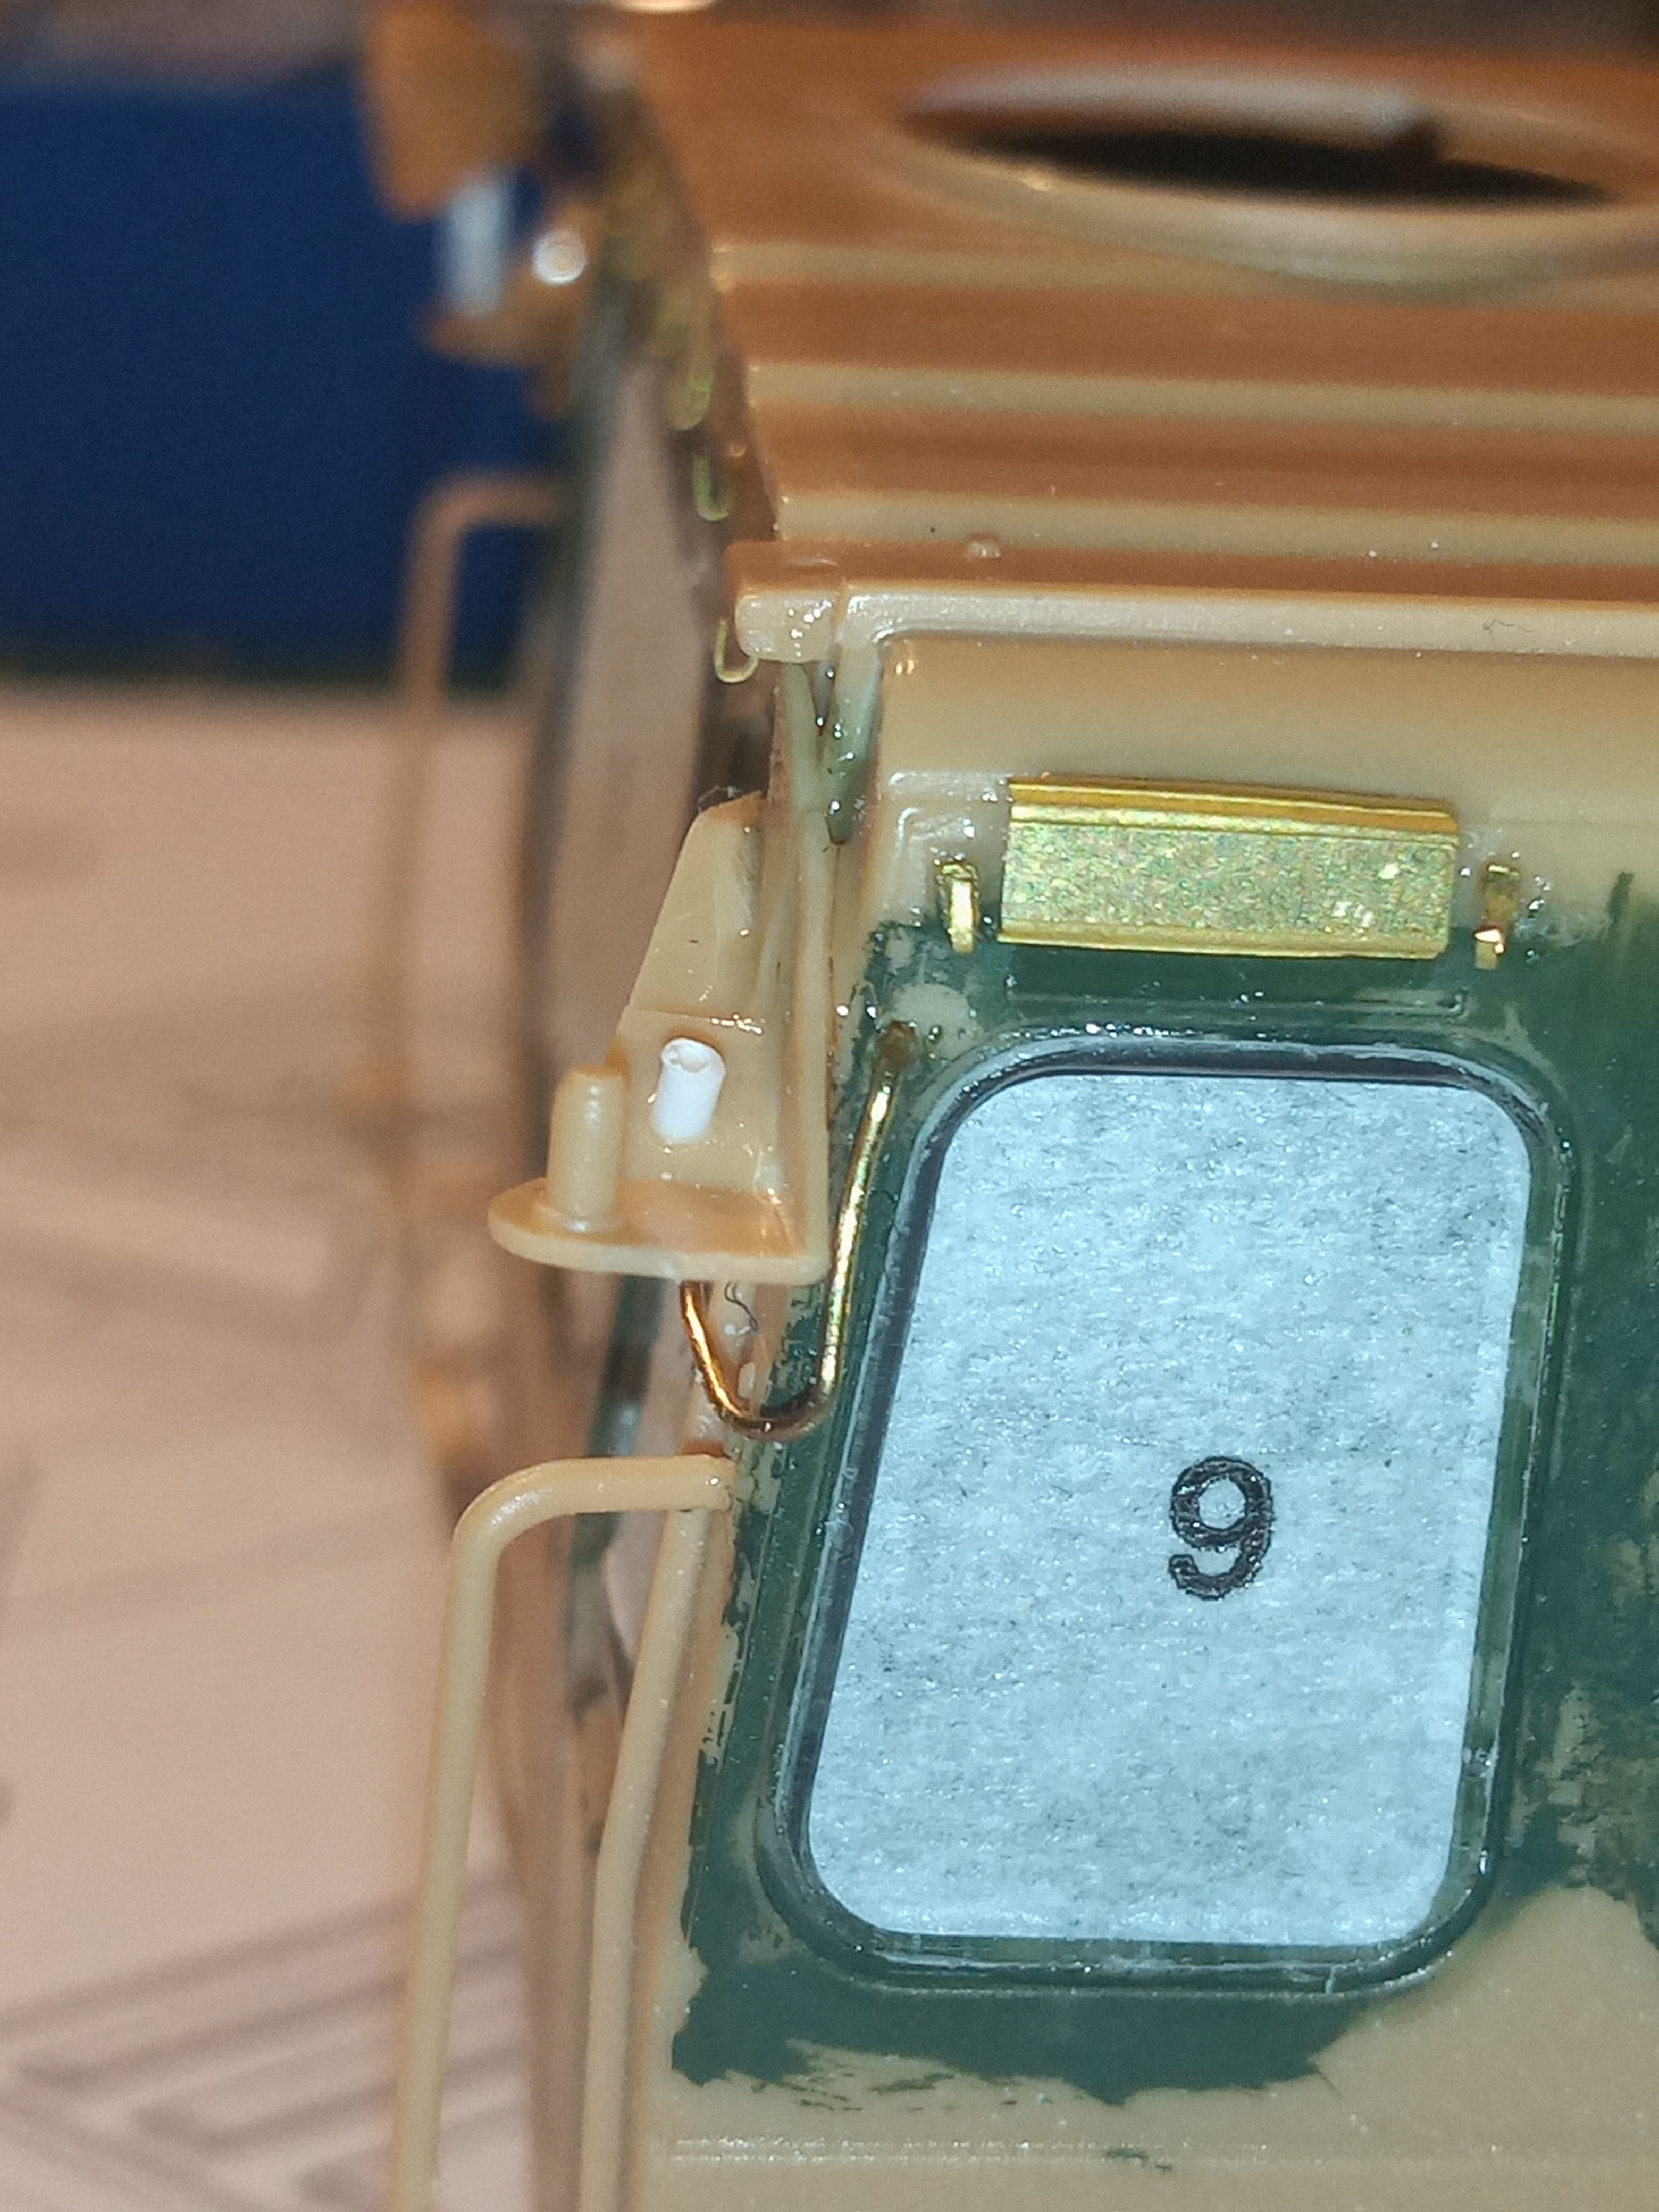
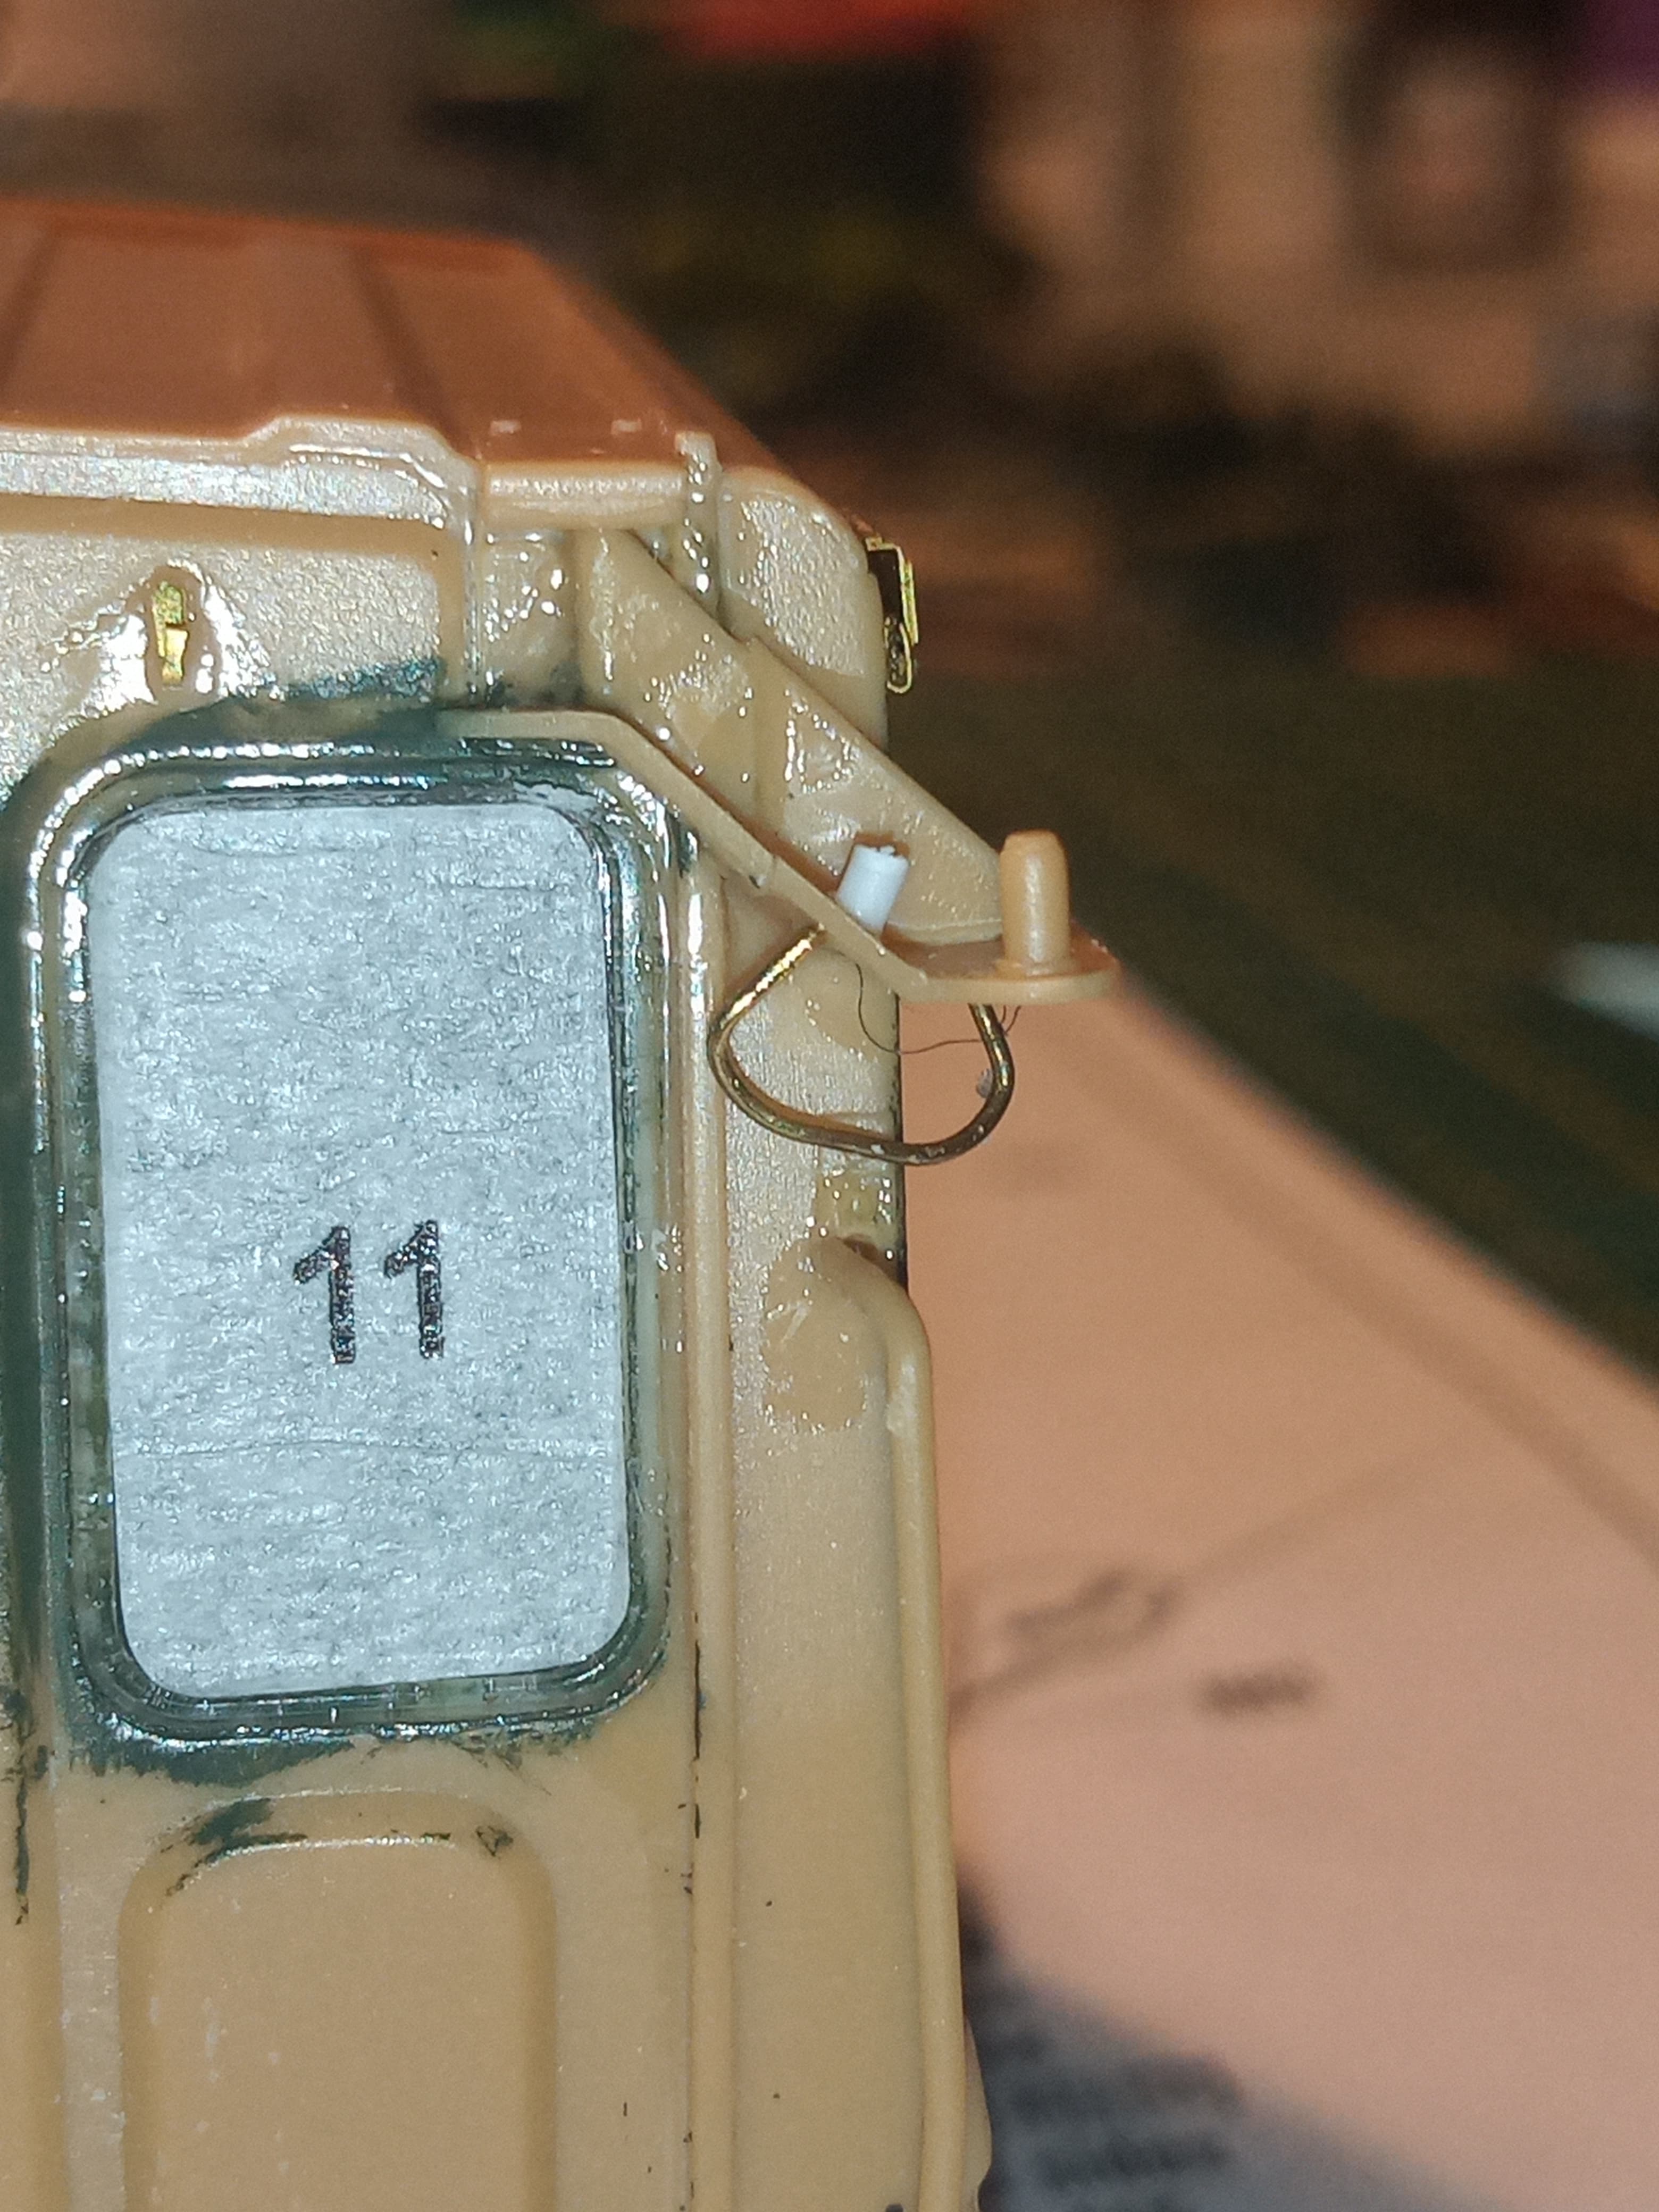
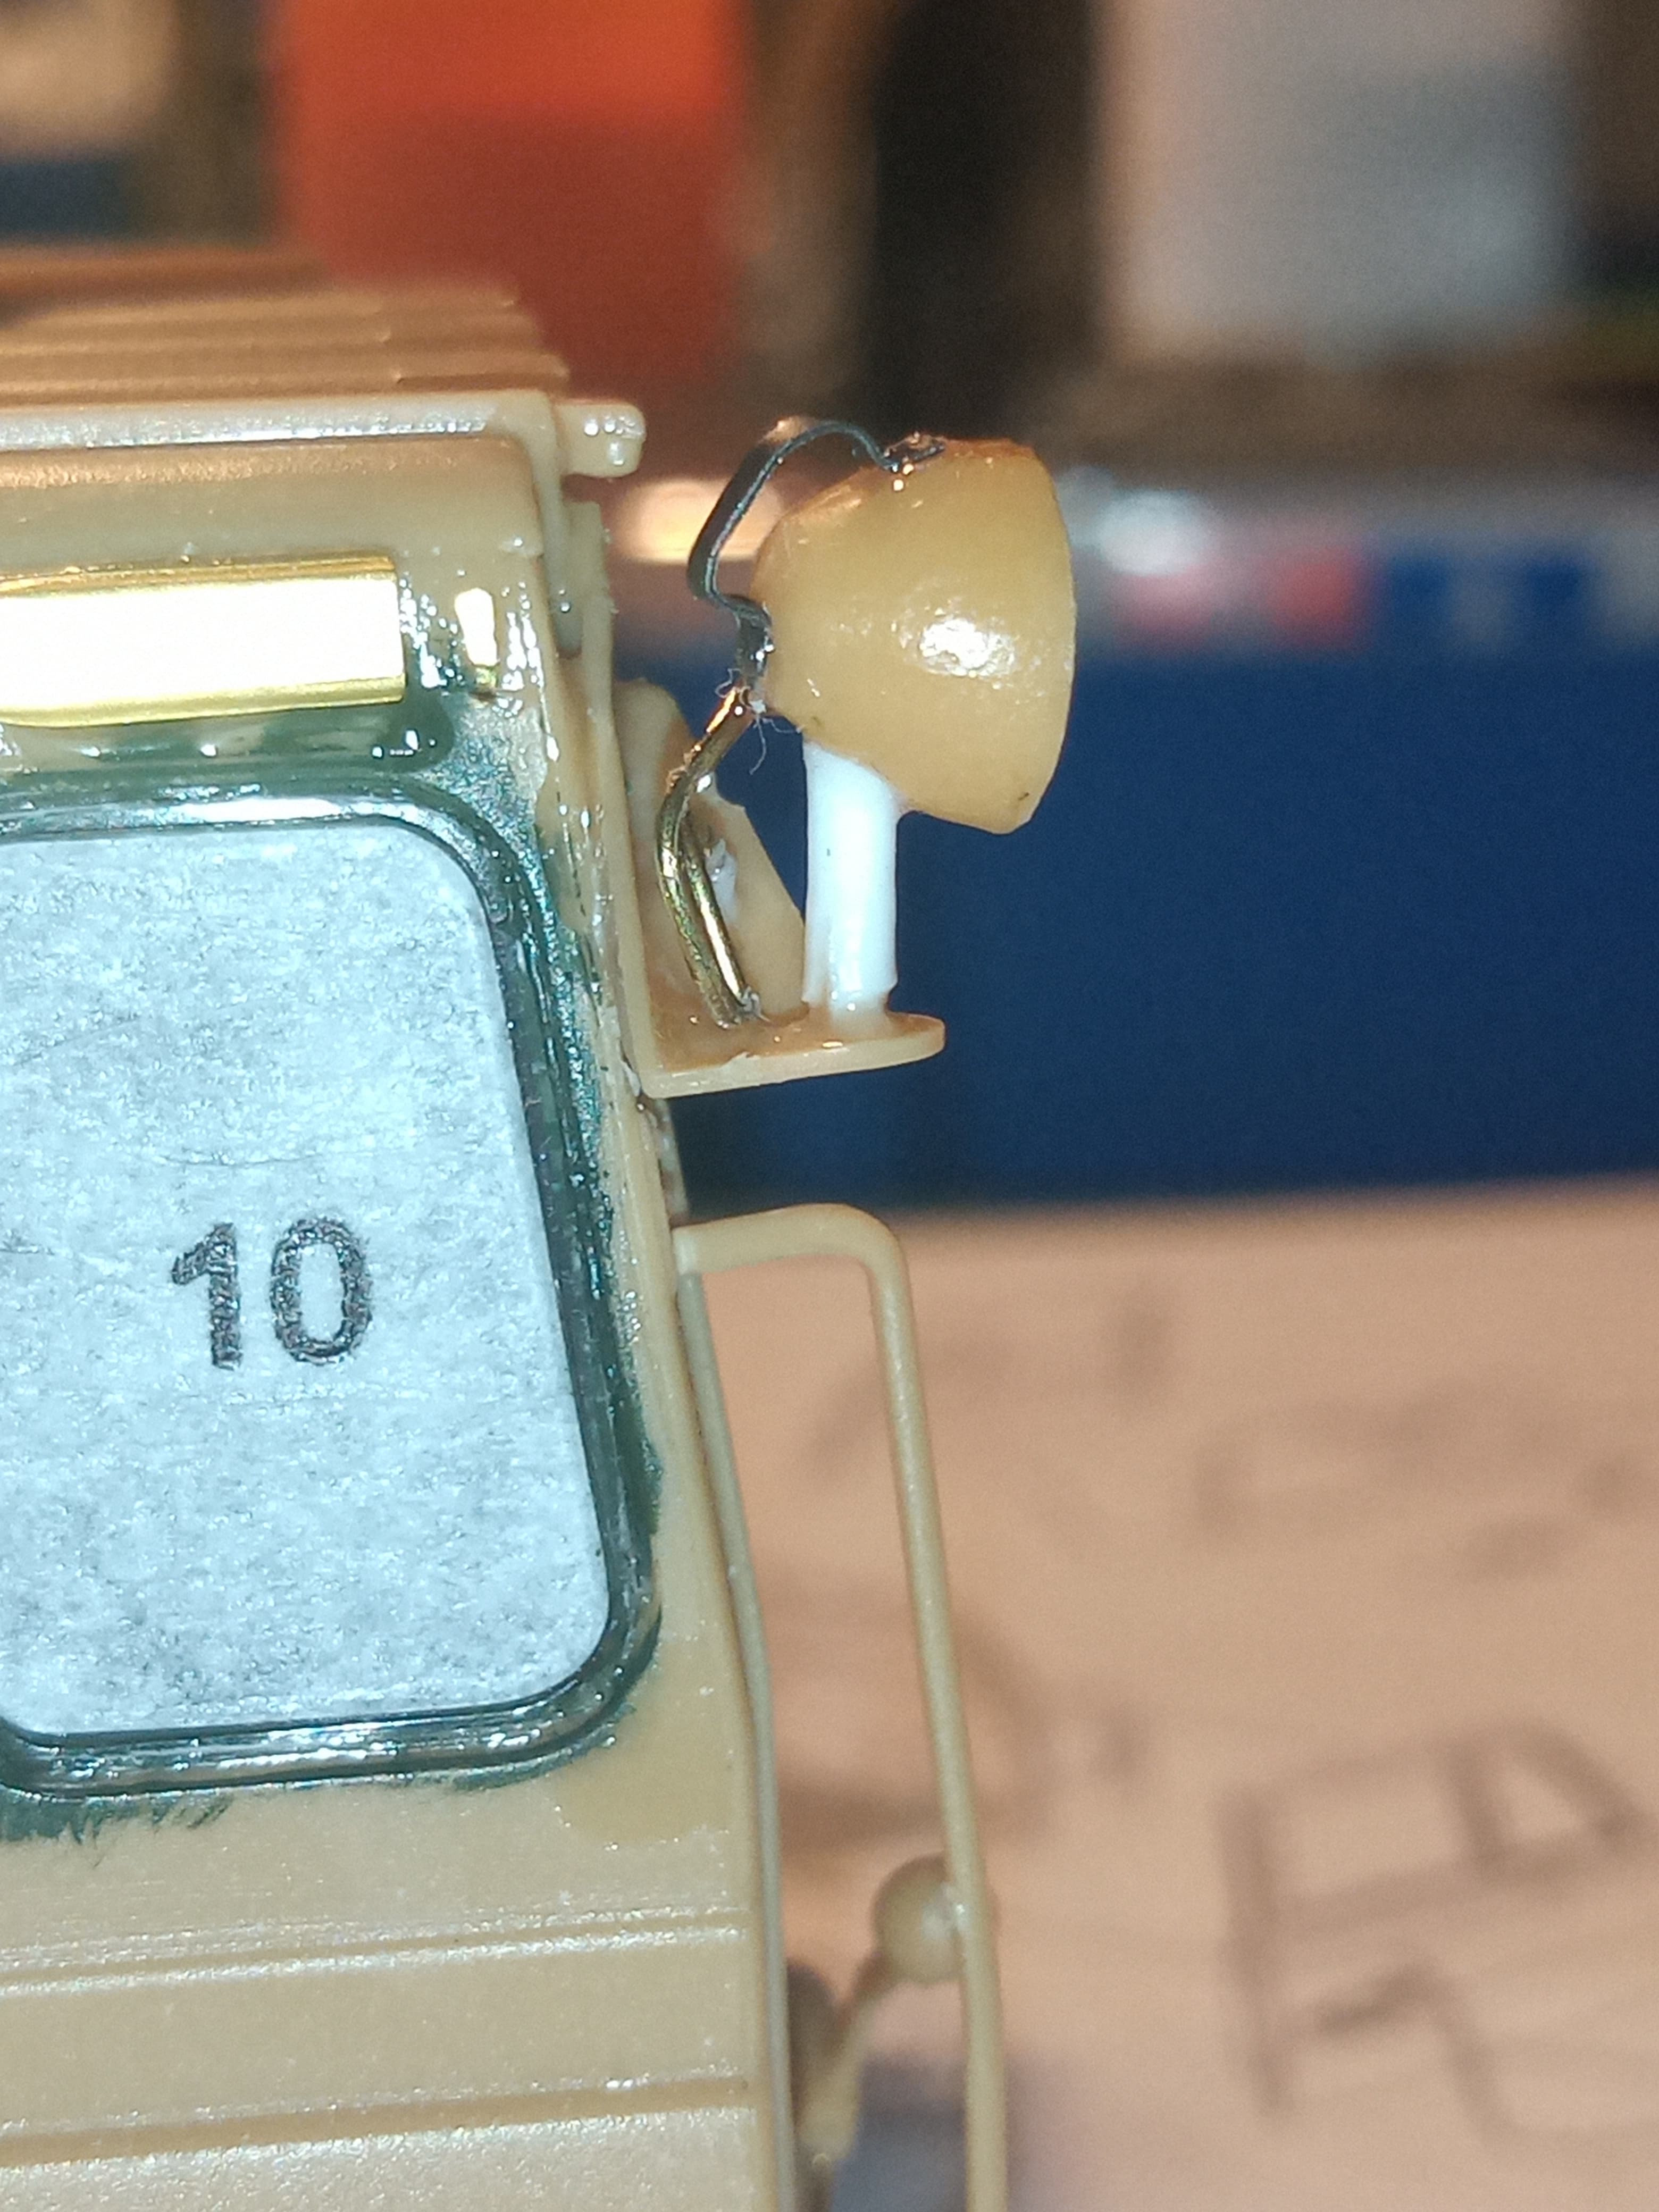
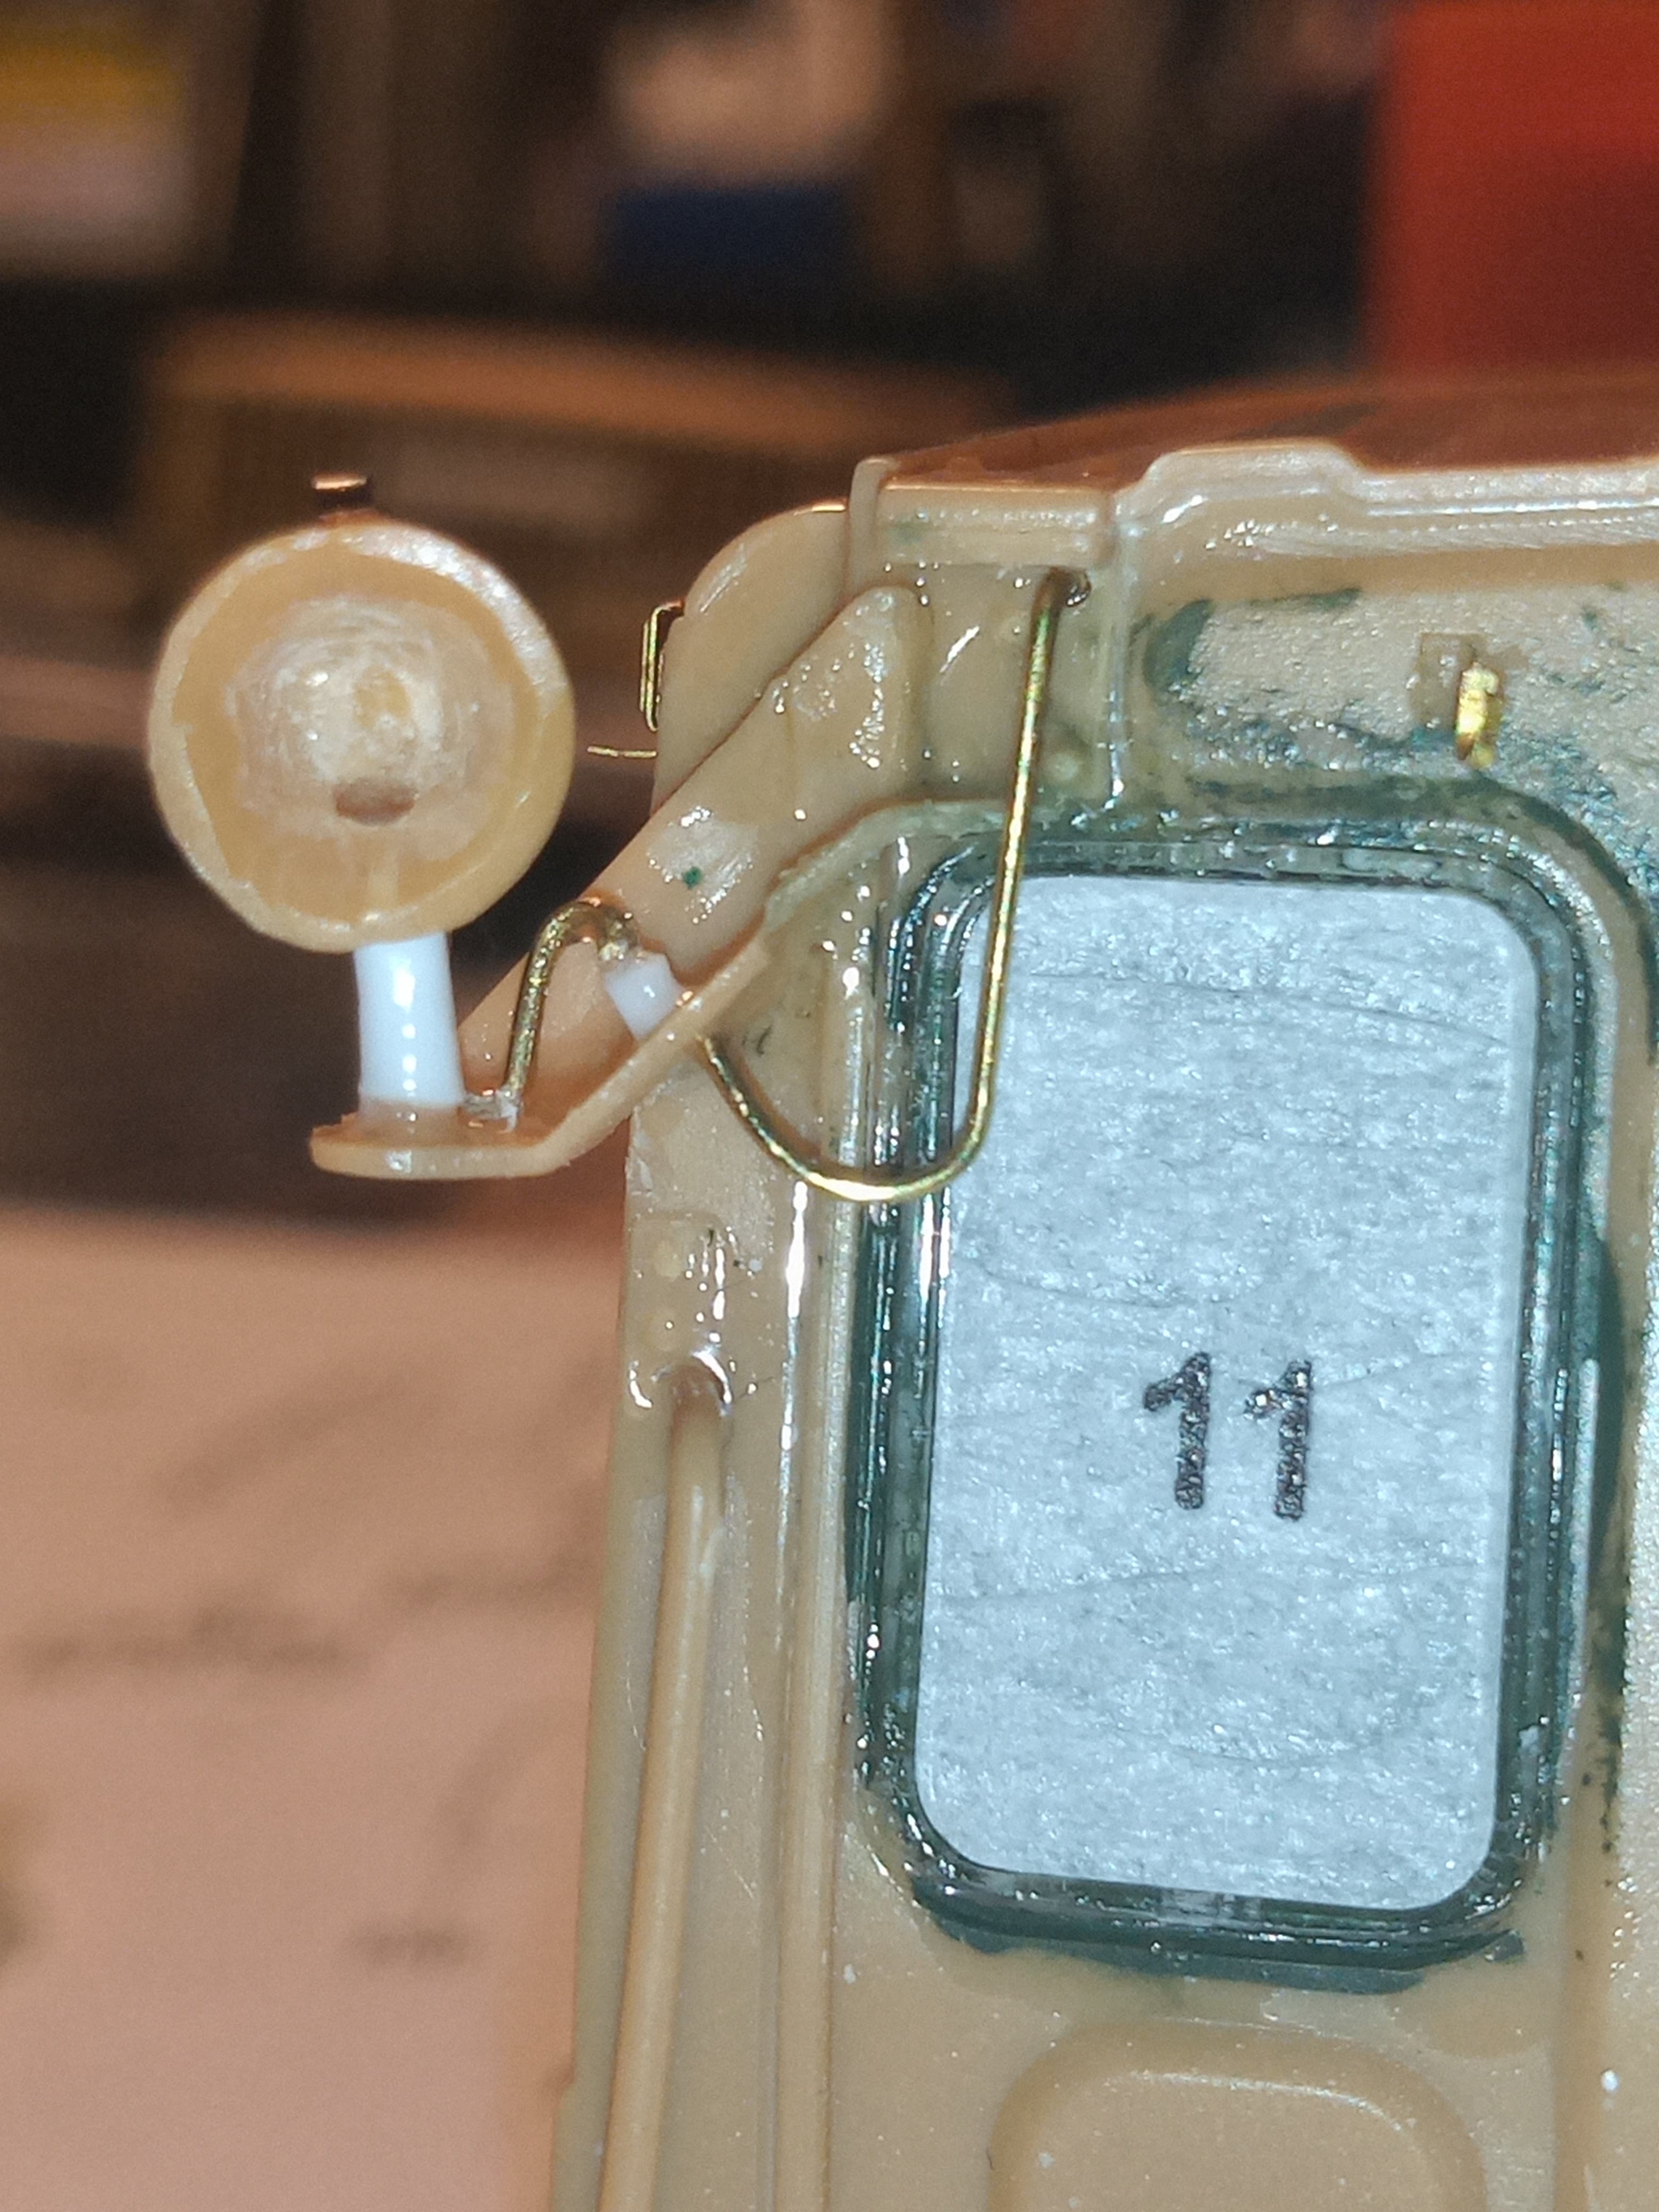
I know that no matter how much care I take, some of the handles are going to get knocked off …
Now, once this gets painted, it’s going to be a whole load of green… I was thinking of doing one wheel in desert sand, as a look back to GW1, but in all honesty, there may have one or two lurking around, but generally the colours weren’t missing matched, so green it will be … And lots of it …
However, it’s not to say there won’t be some colour splashes …
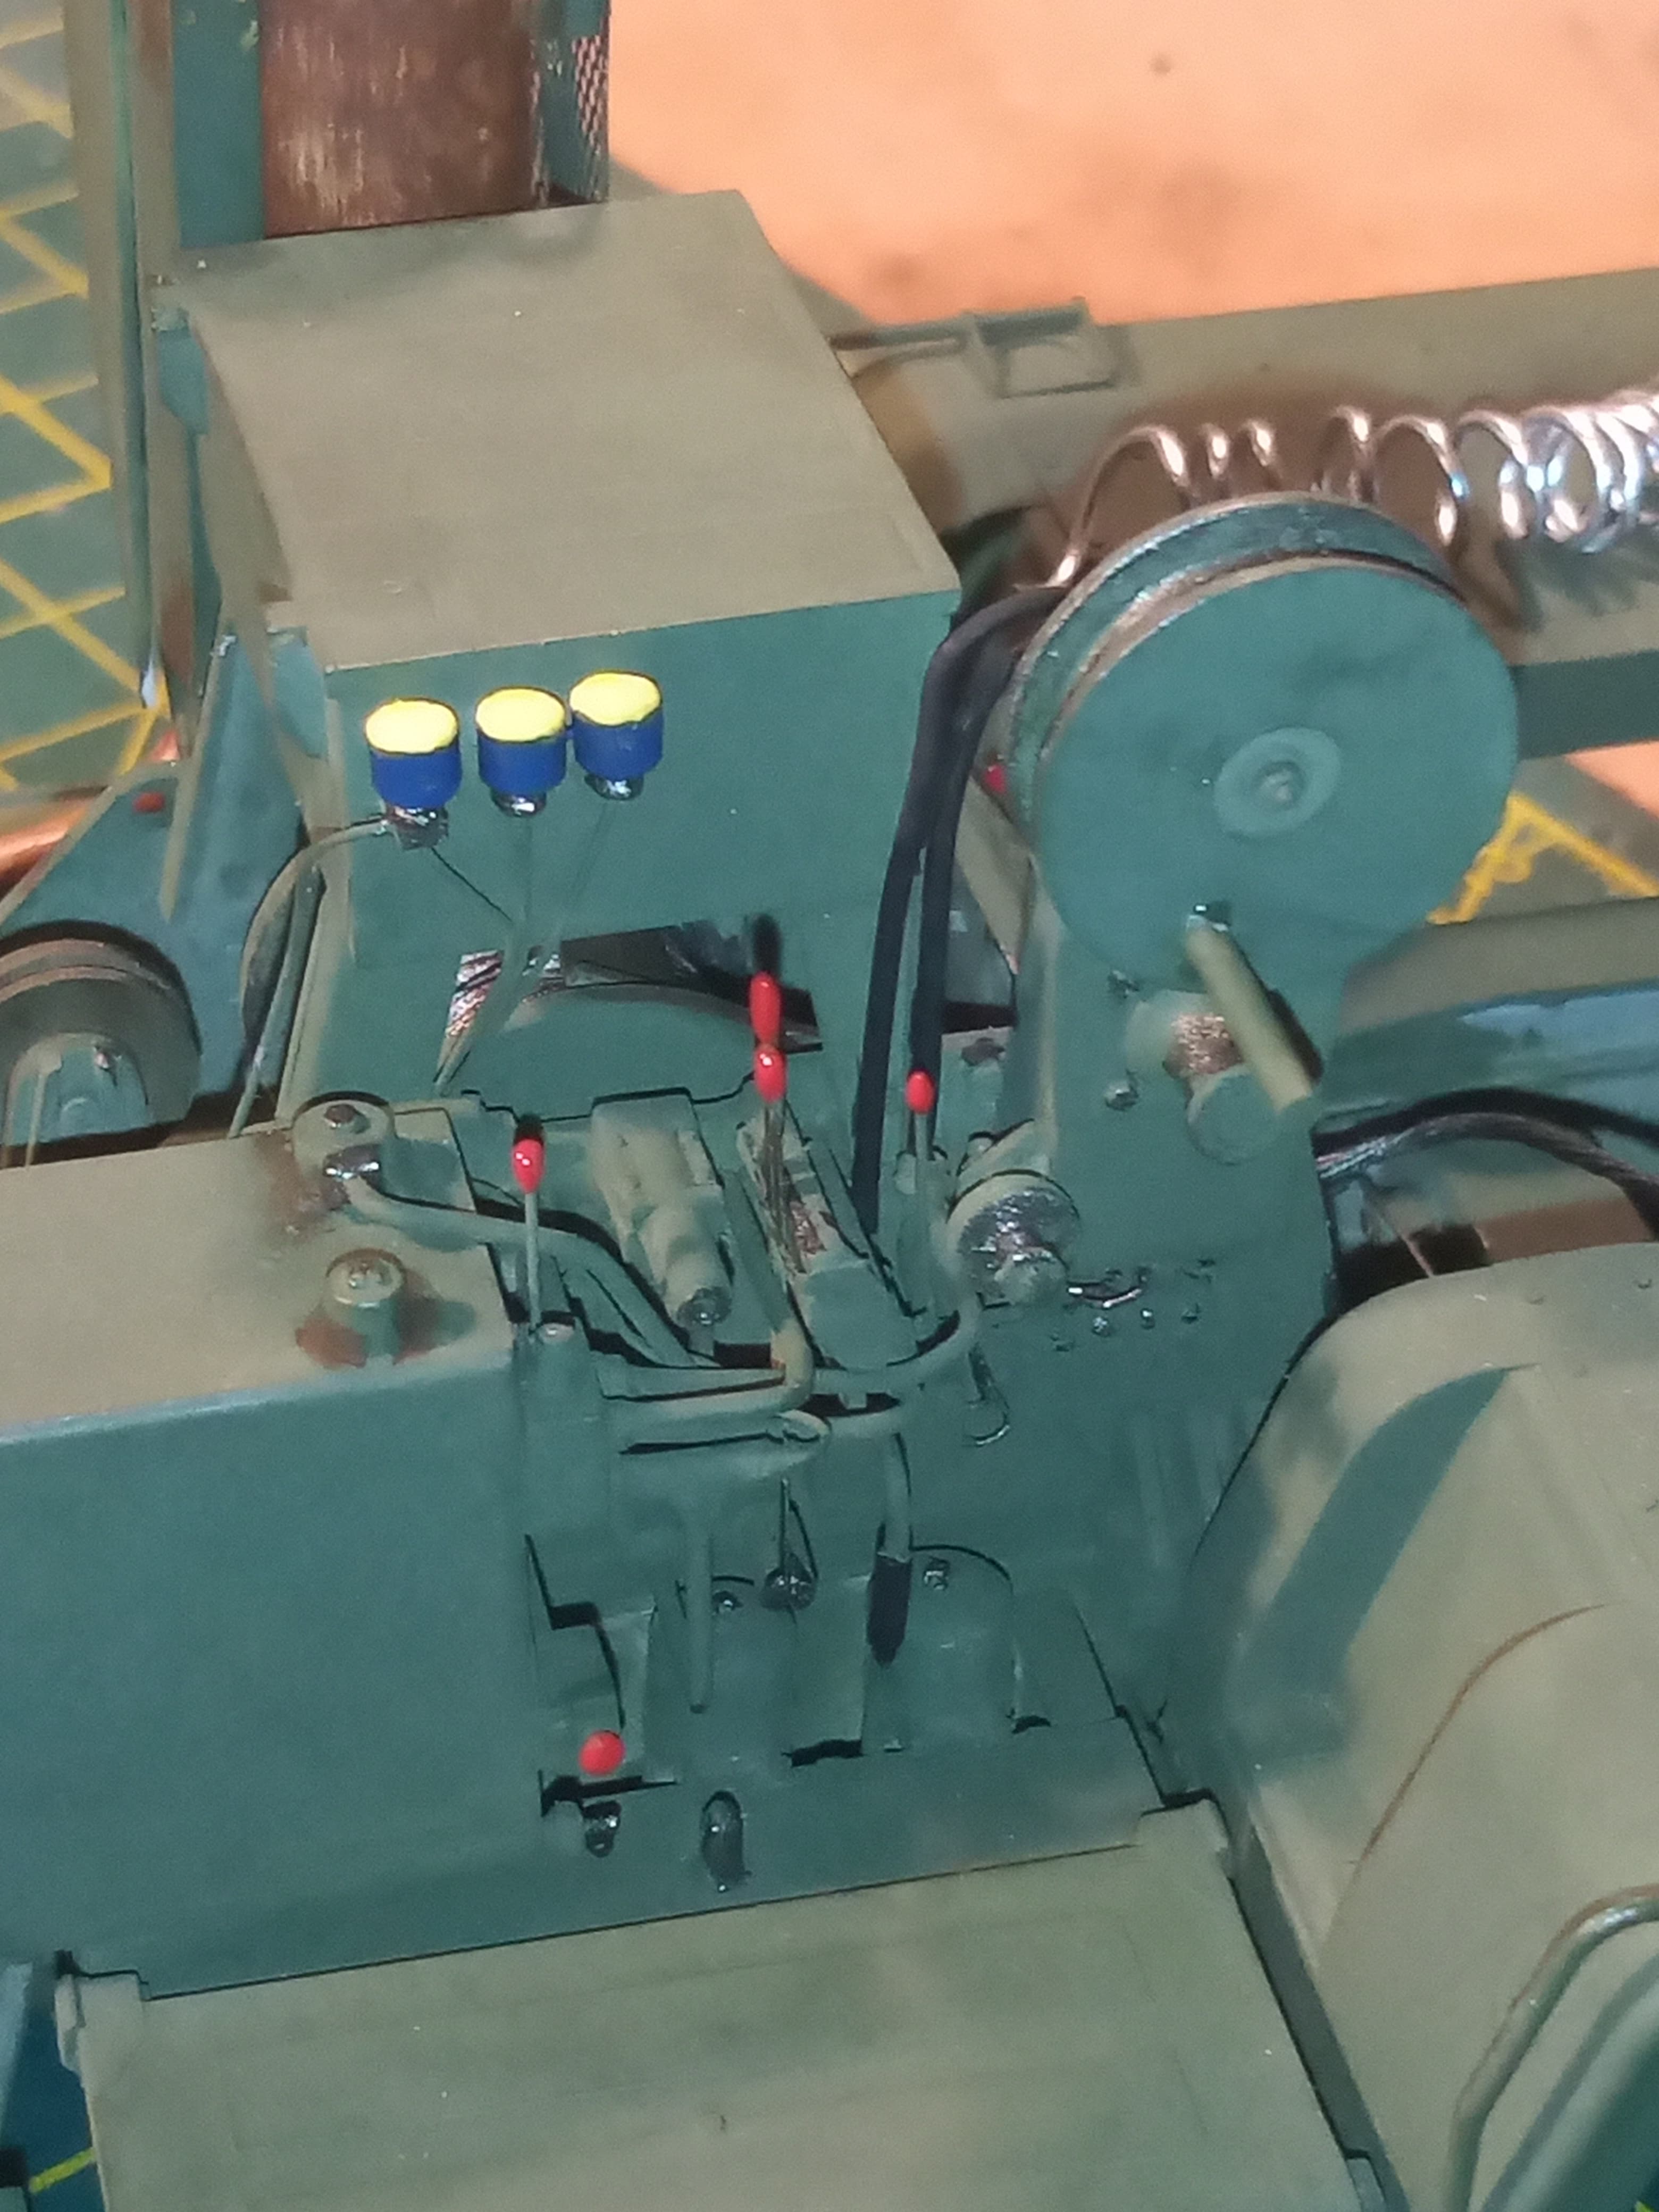
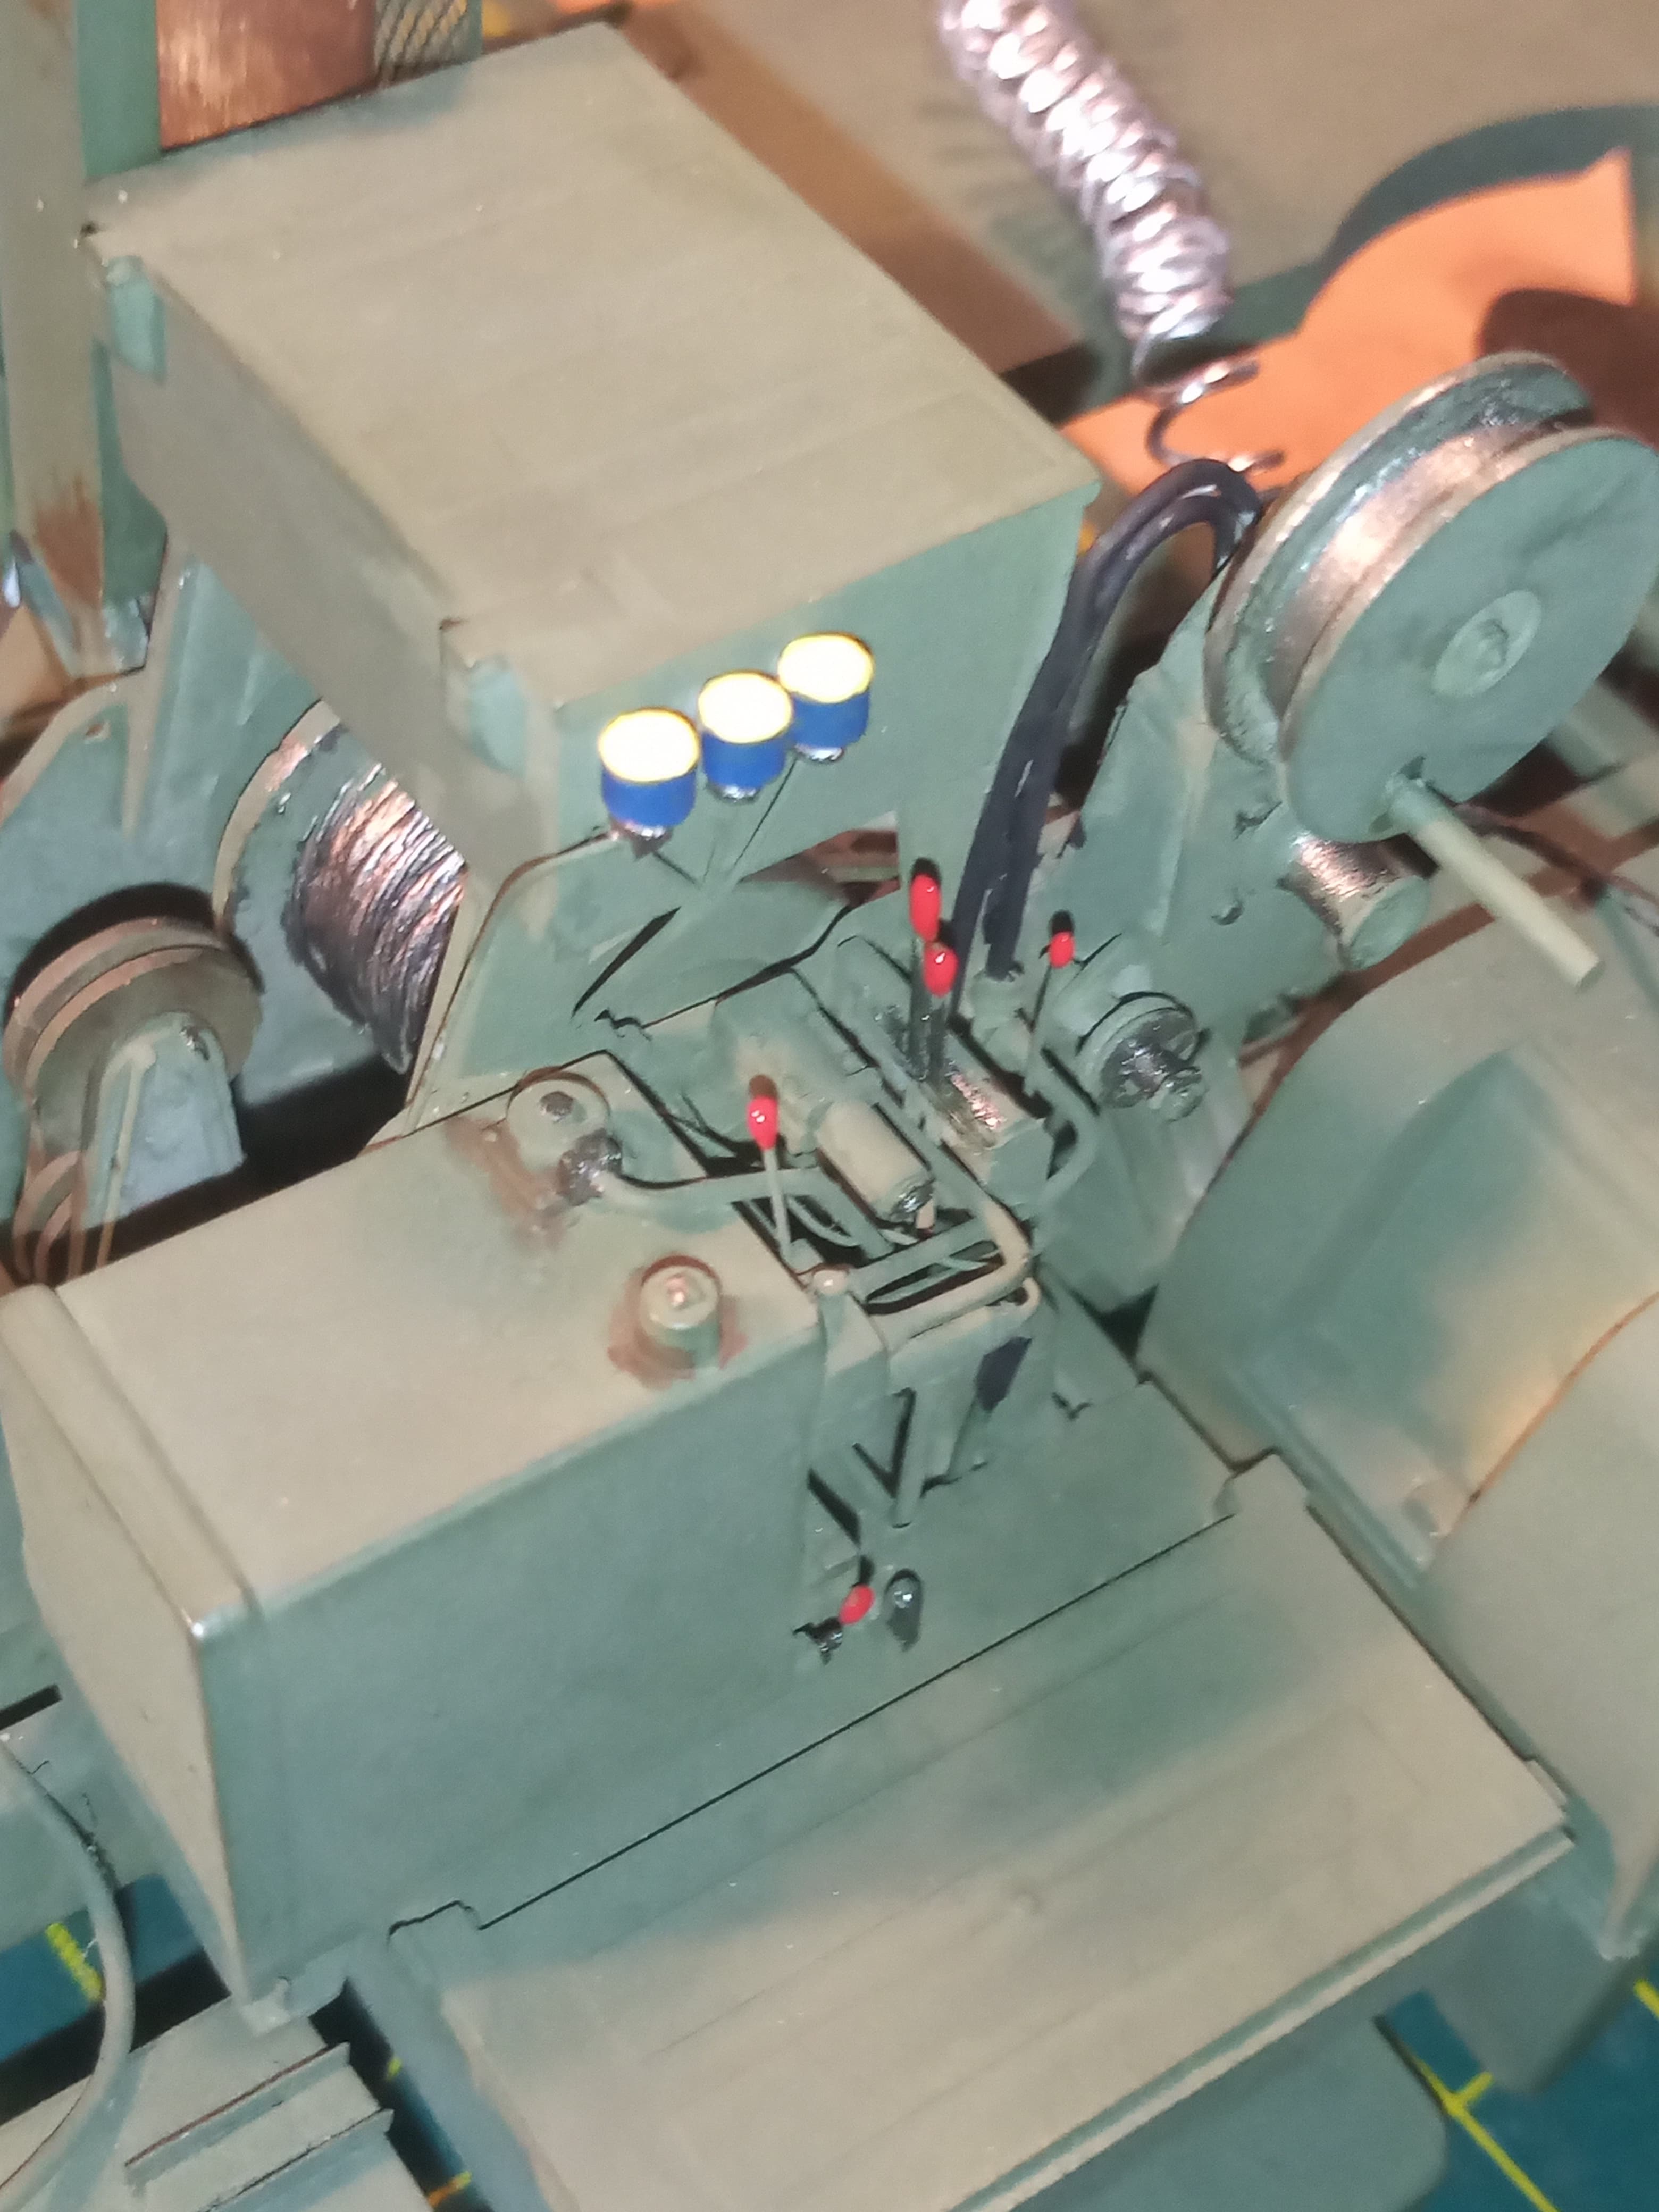
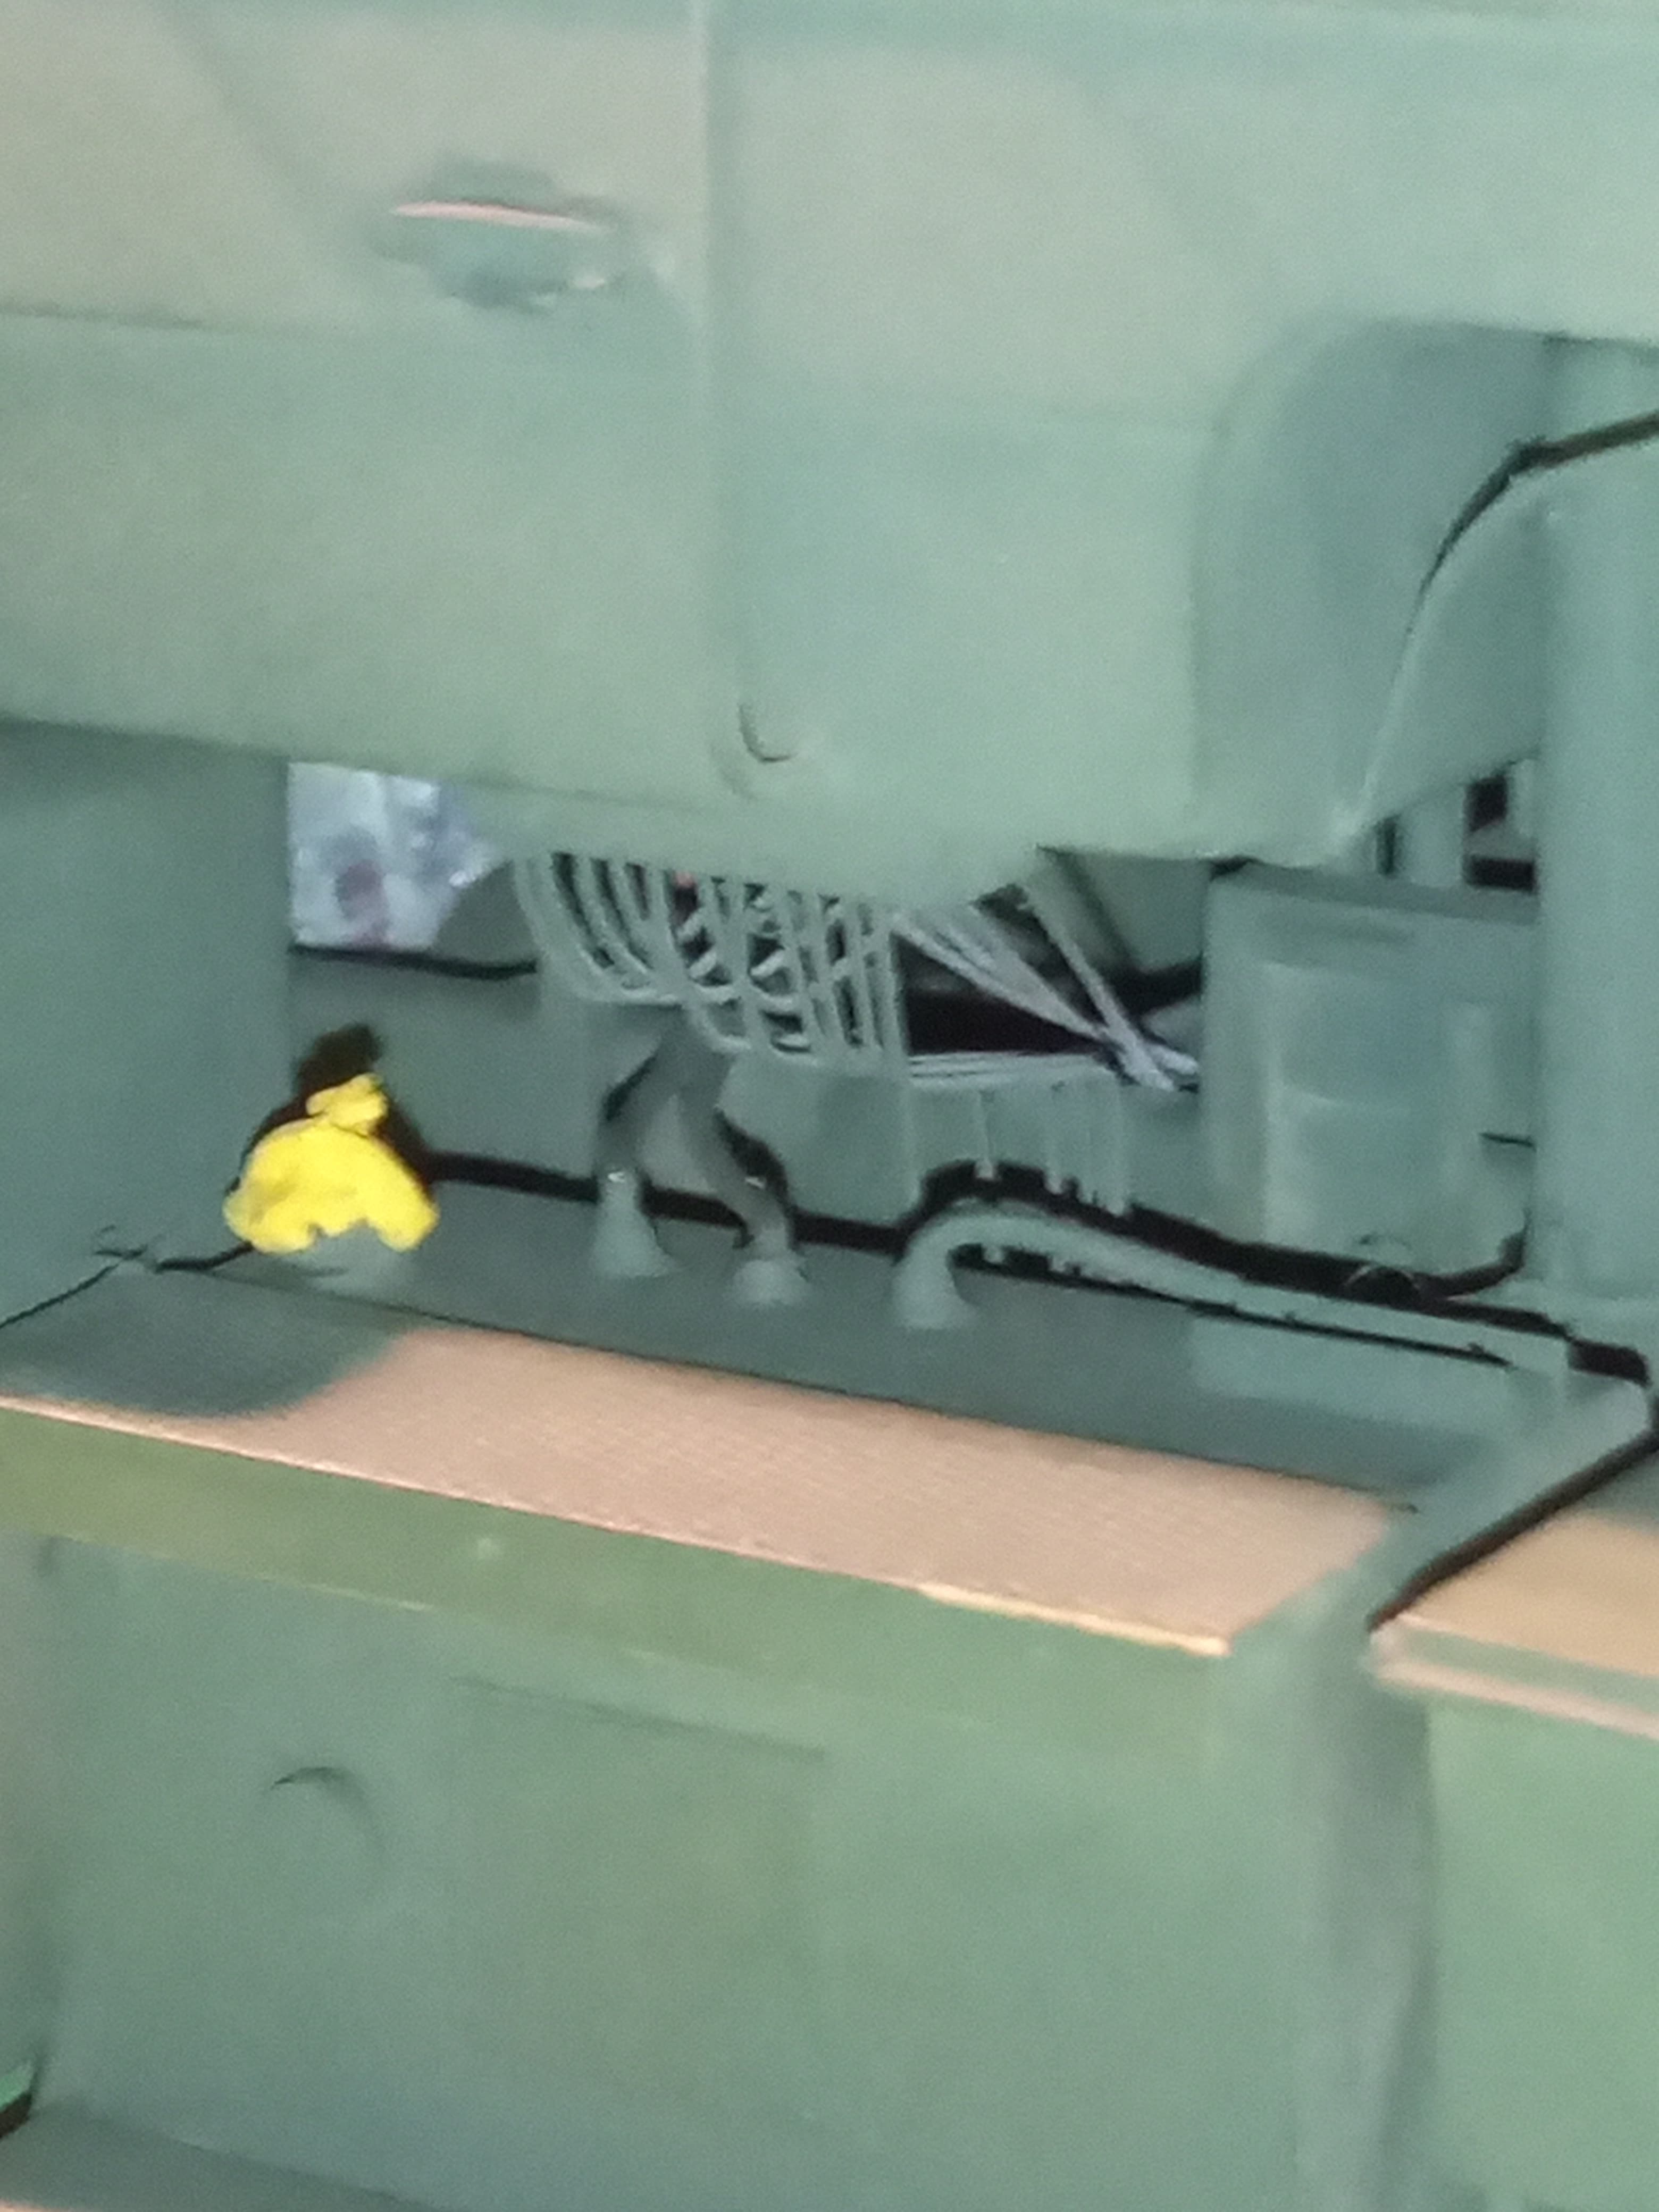
Yellow, red and blue I hear you say … Yeap, they are all present in certain areas on certain parts, … So will detail paint those over the next few days …
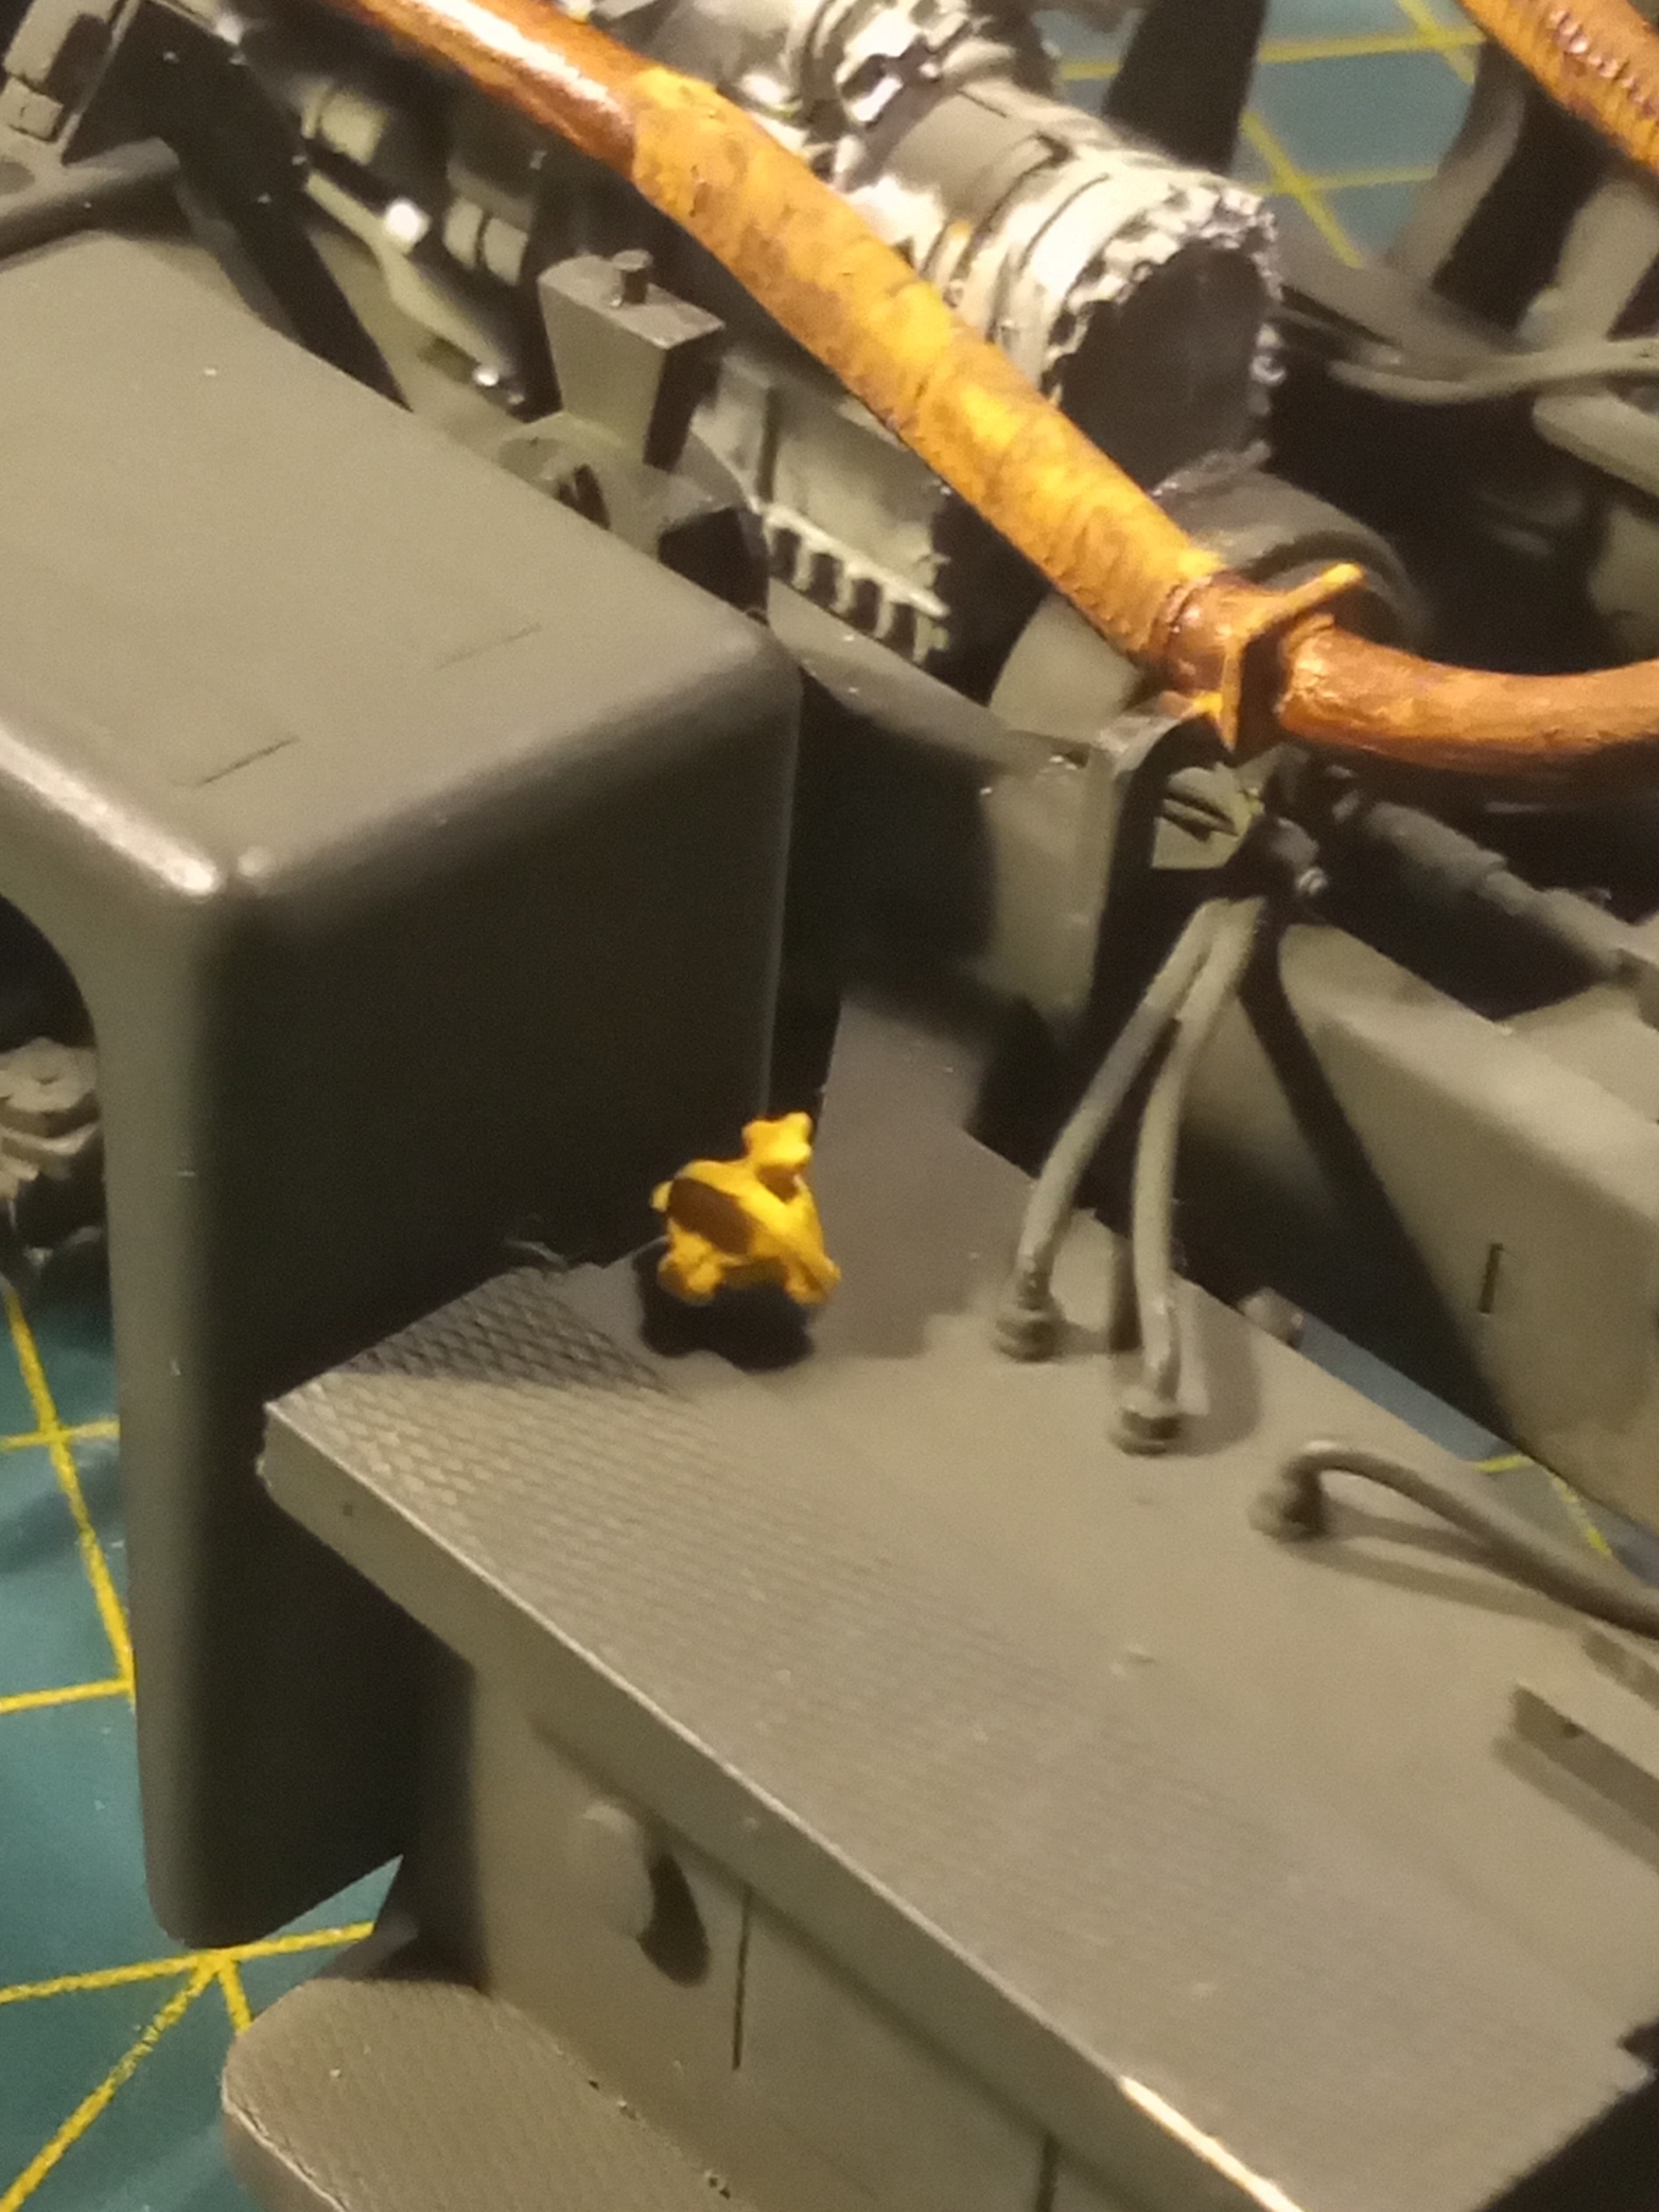
From the in depth pictures I had sent to me,
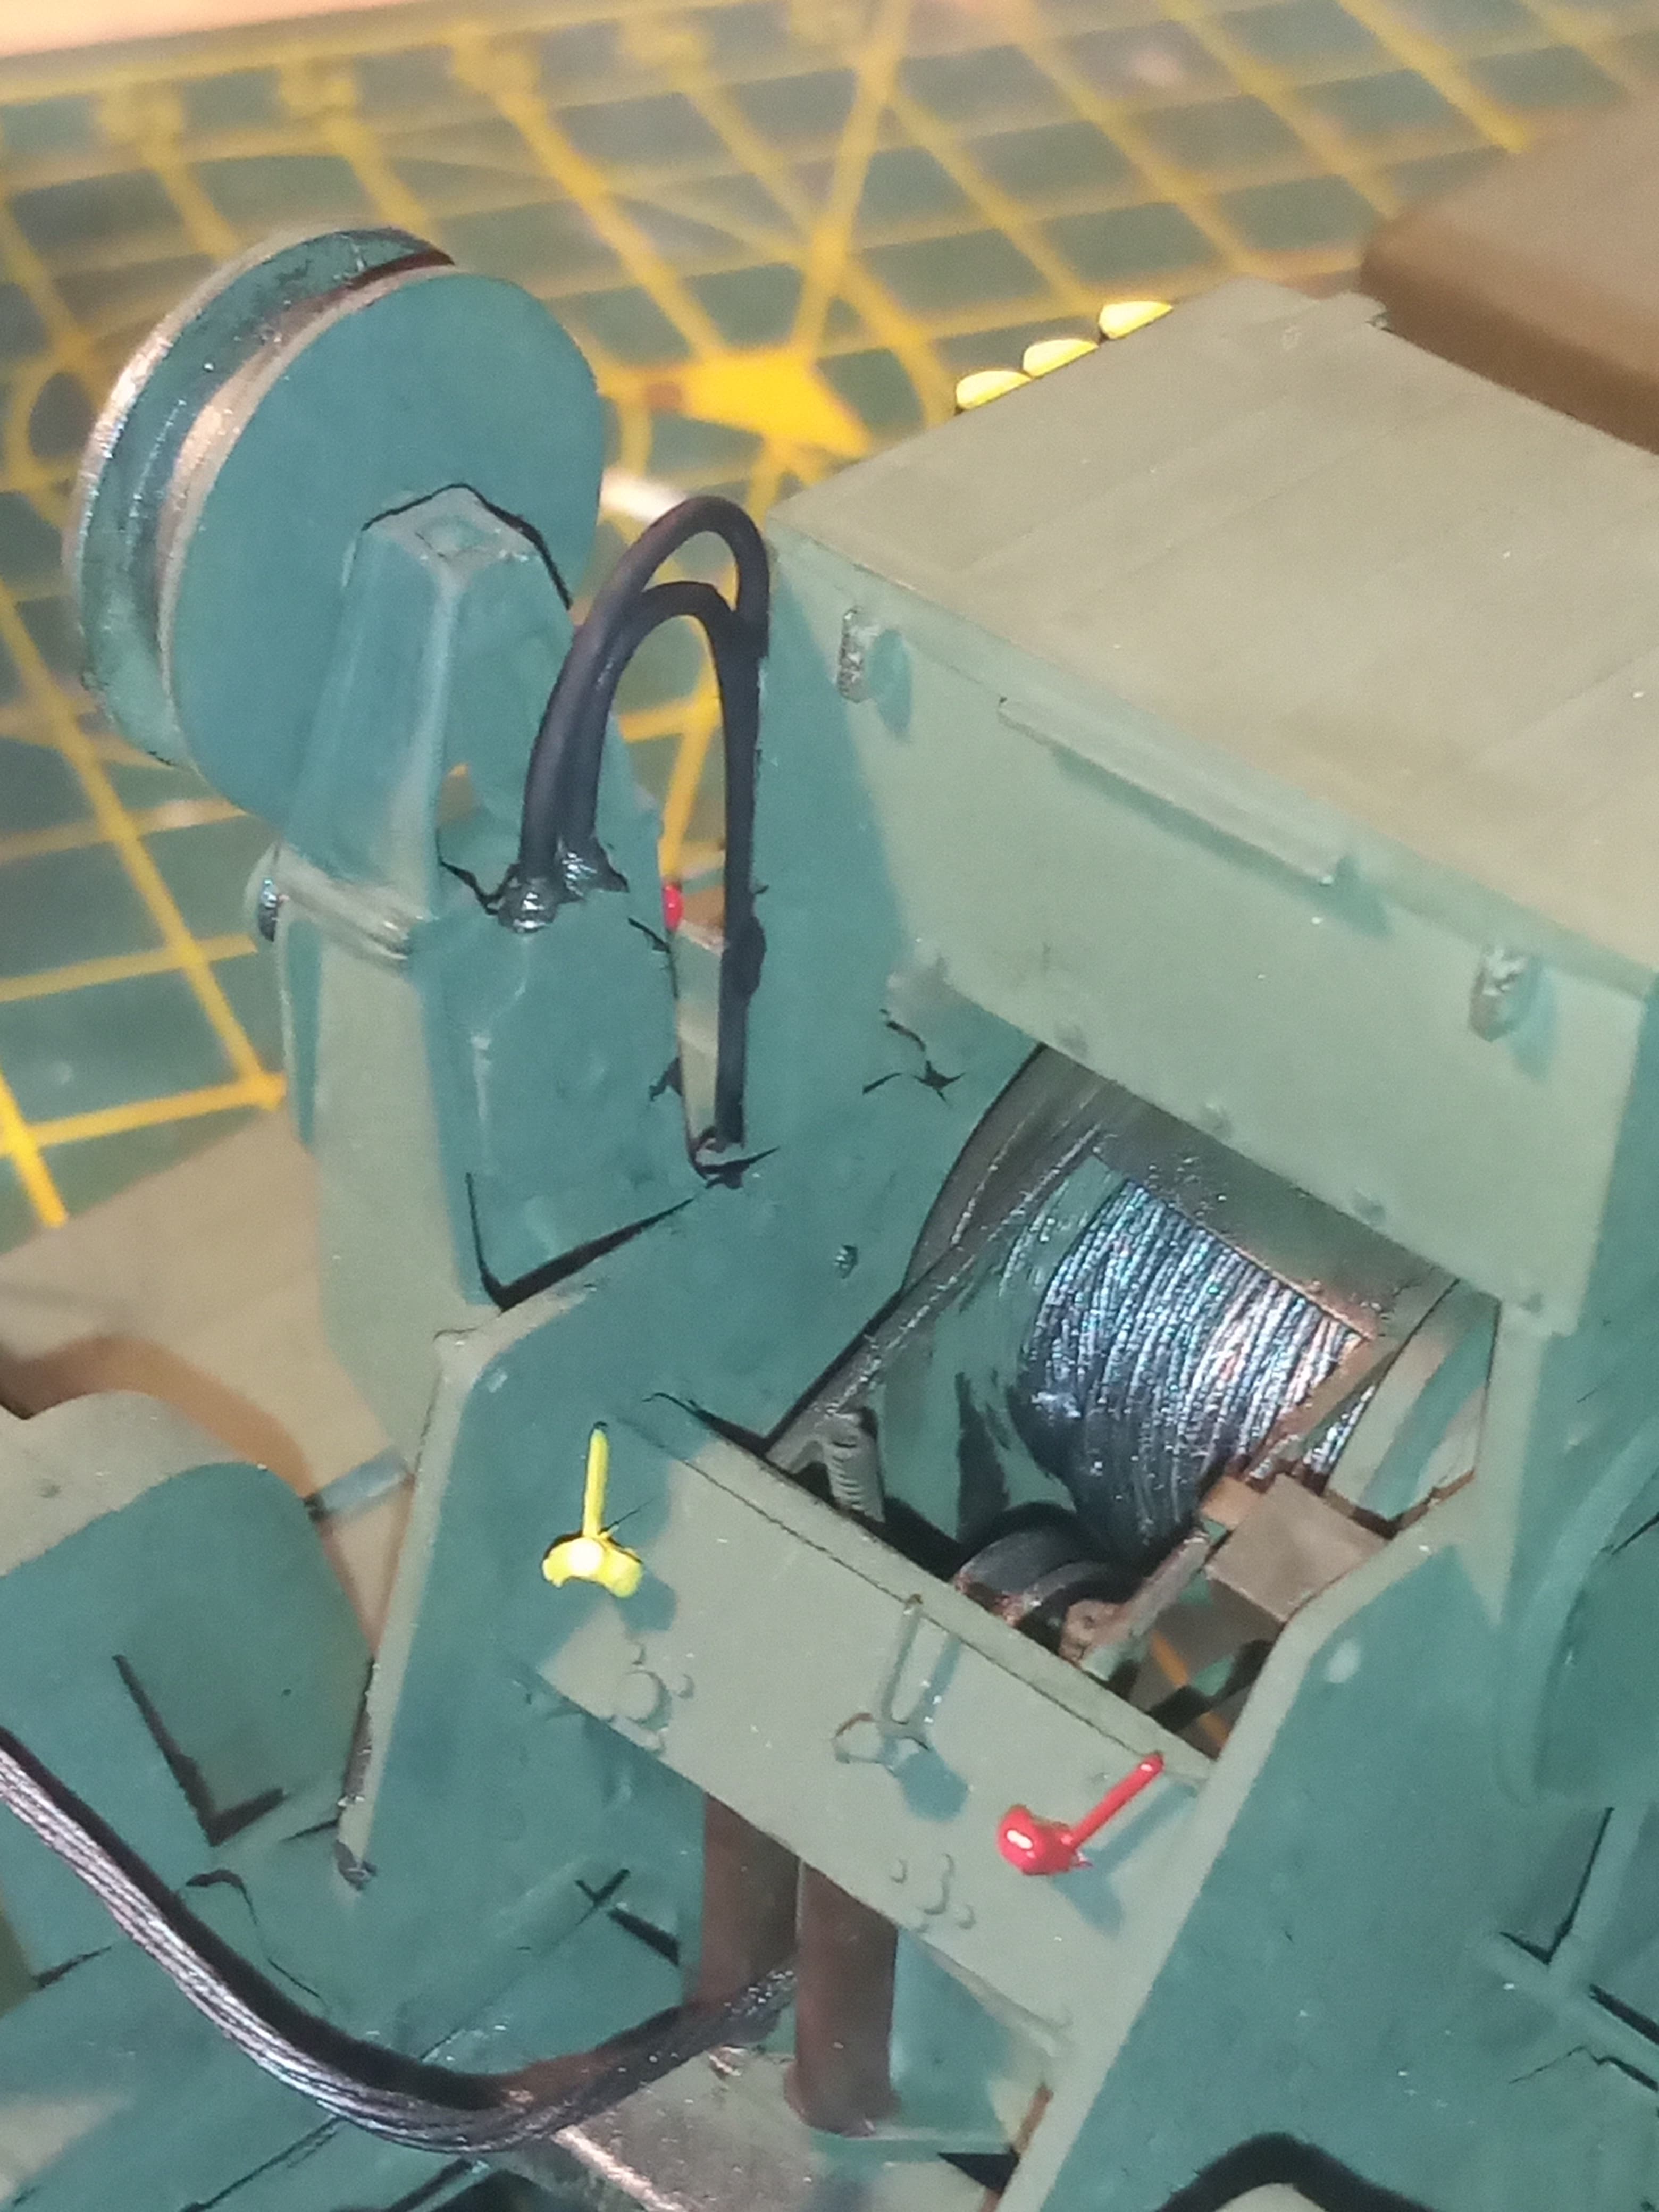
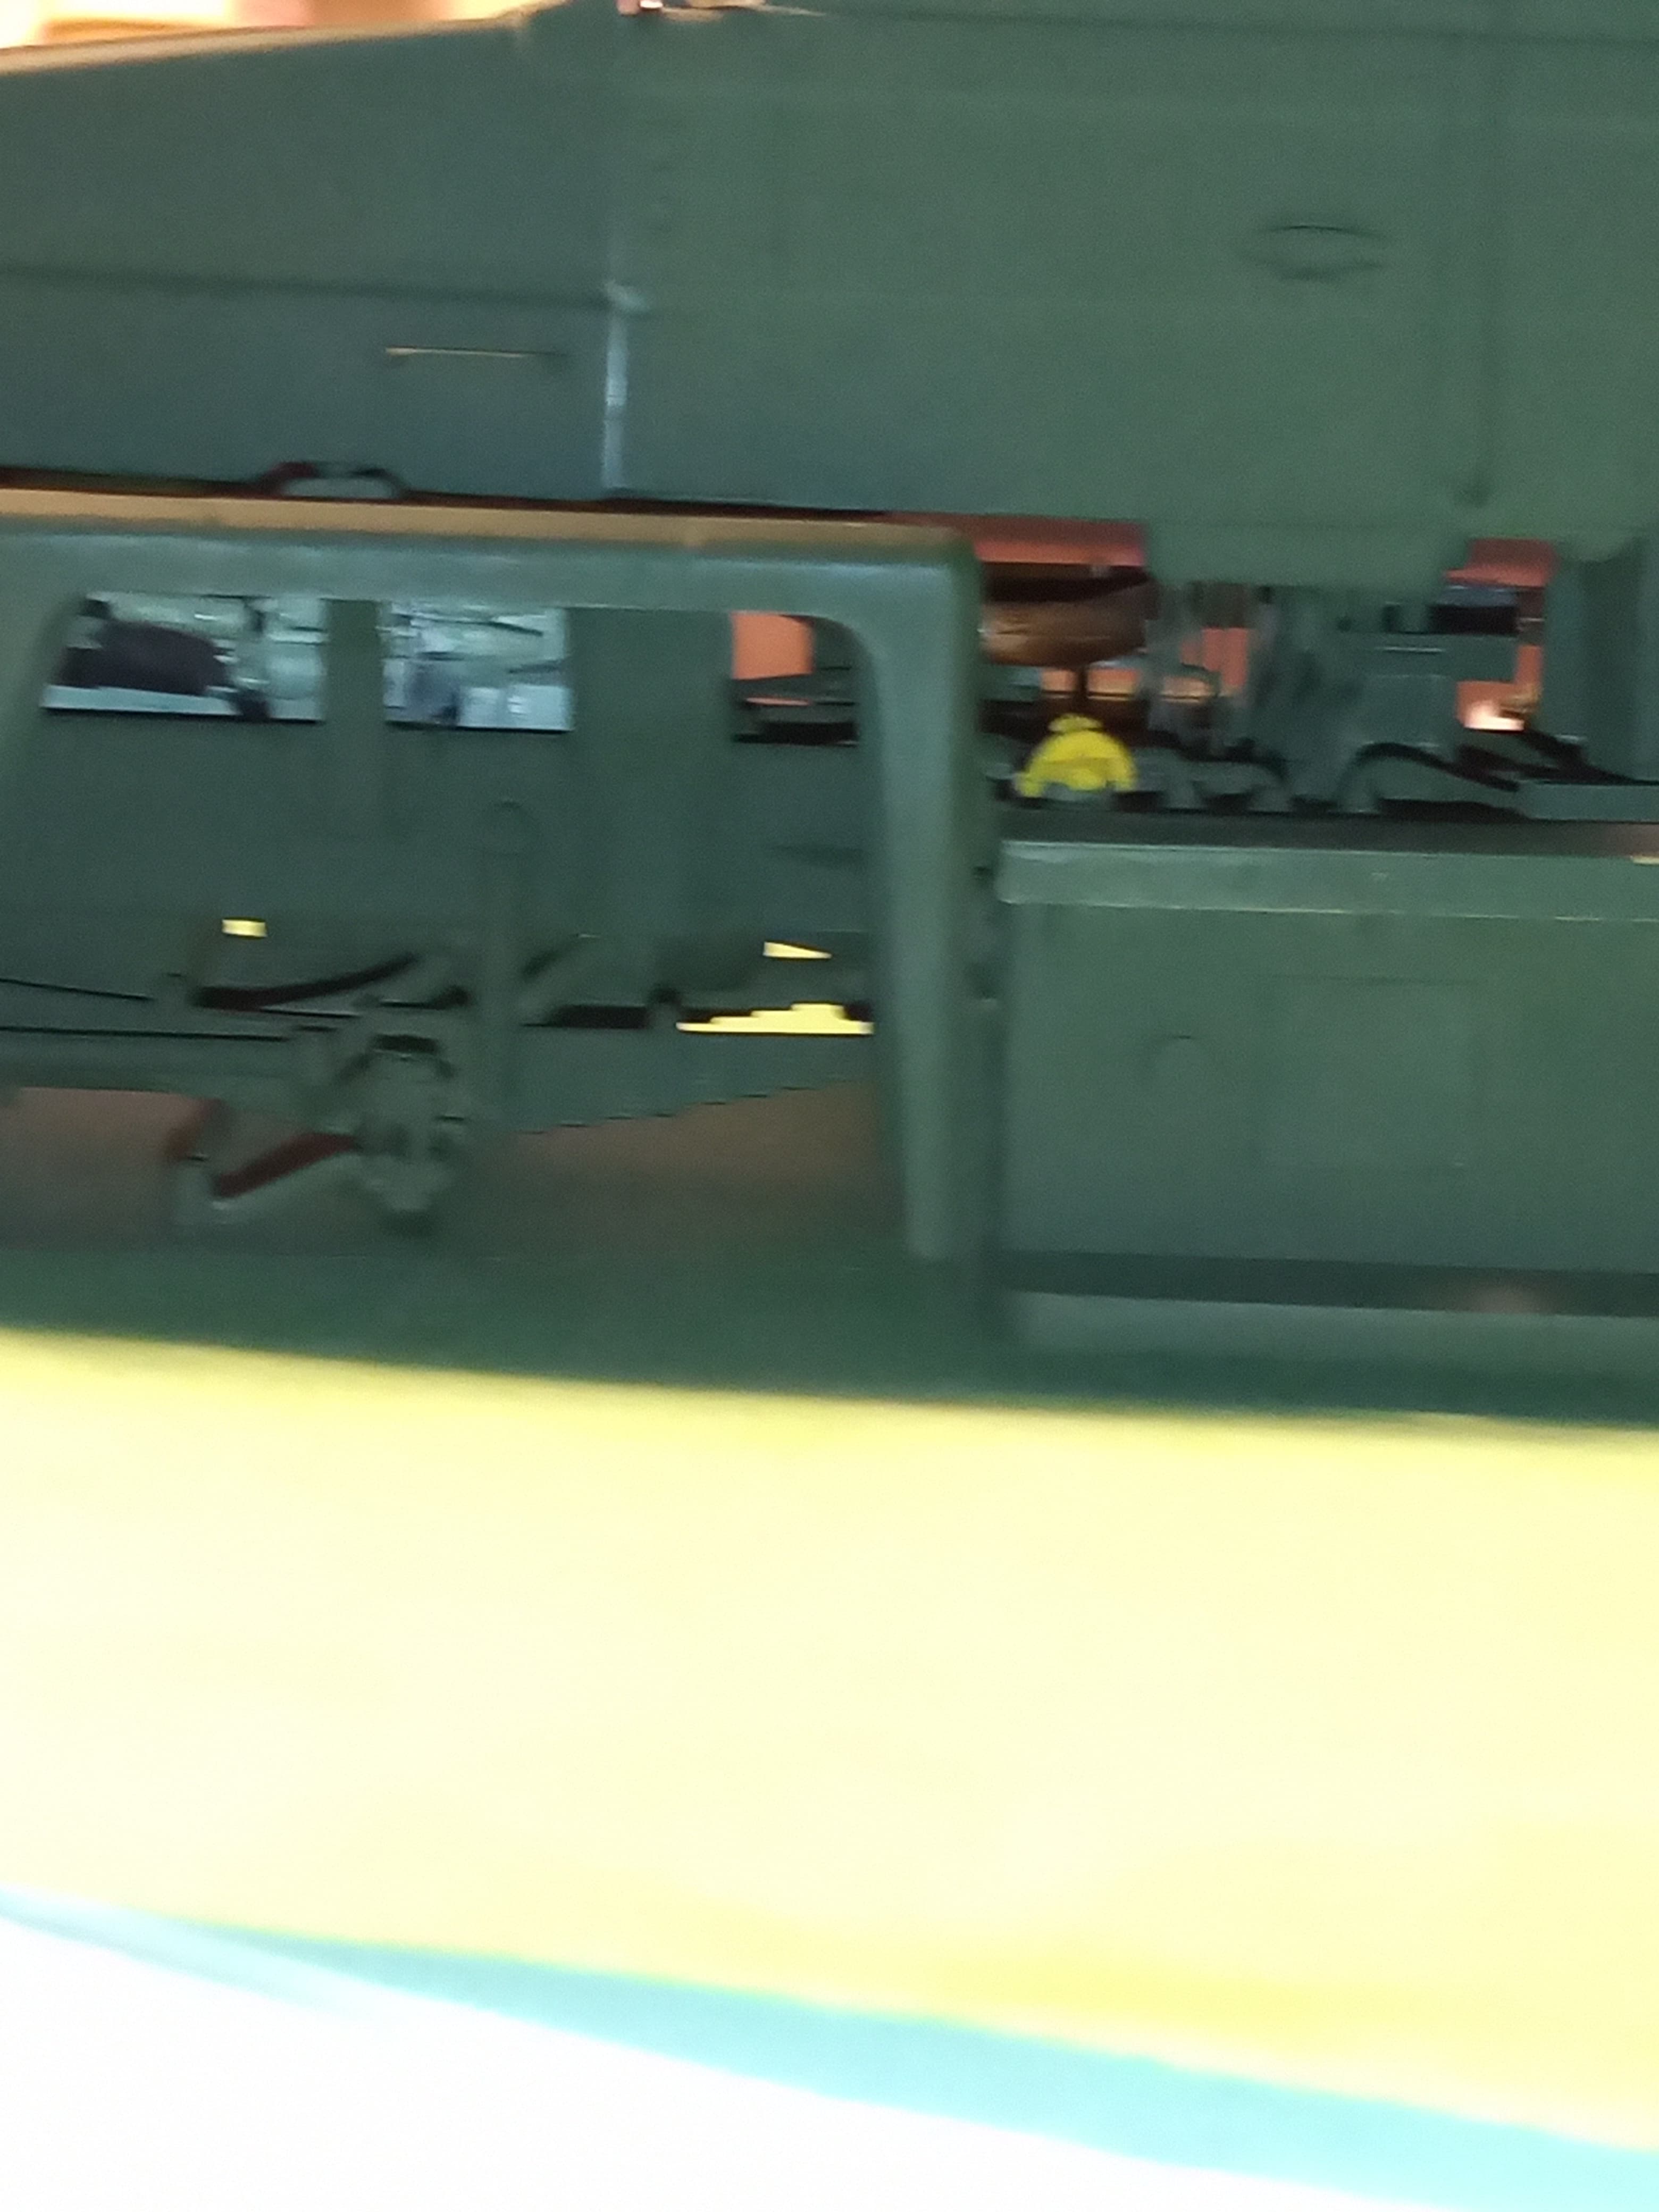
The 3 hydraulic reservoirs have a blue outer shell, and a yellow top. Red handle tops on the winch levers and controls, some black pipes and metal edged parts
I will be using .6mm wire to make the hoses, and they will be also yellow, red and black. Will also need to make some larger connections to join the hoses to the main air line mounts.
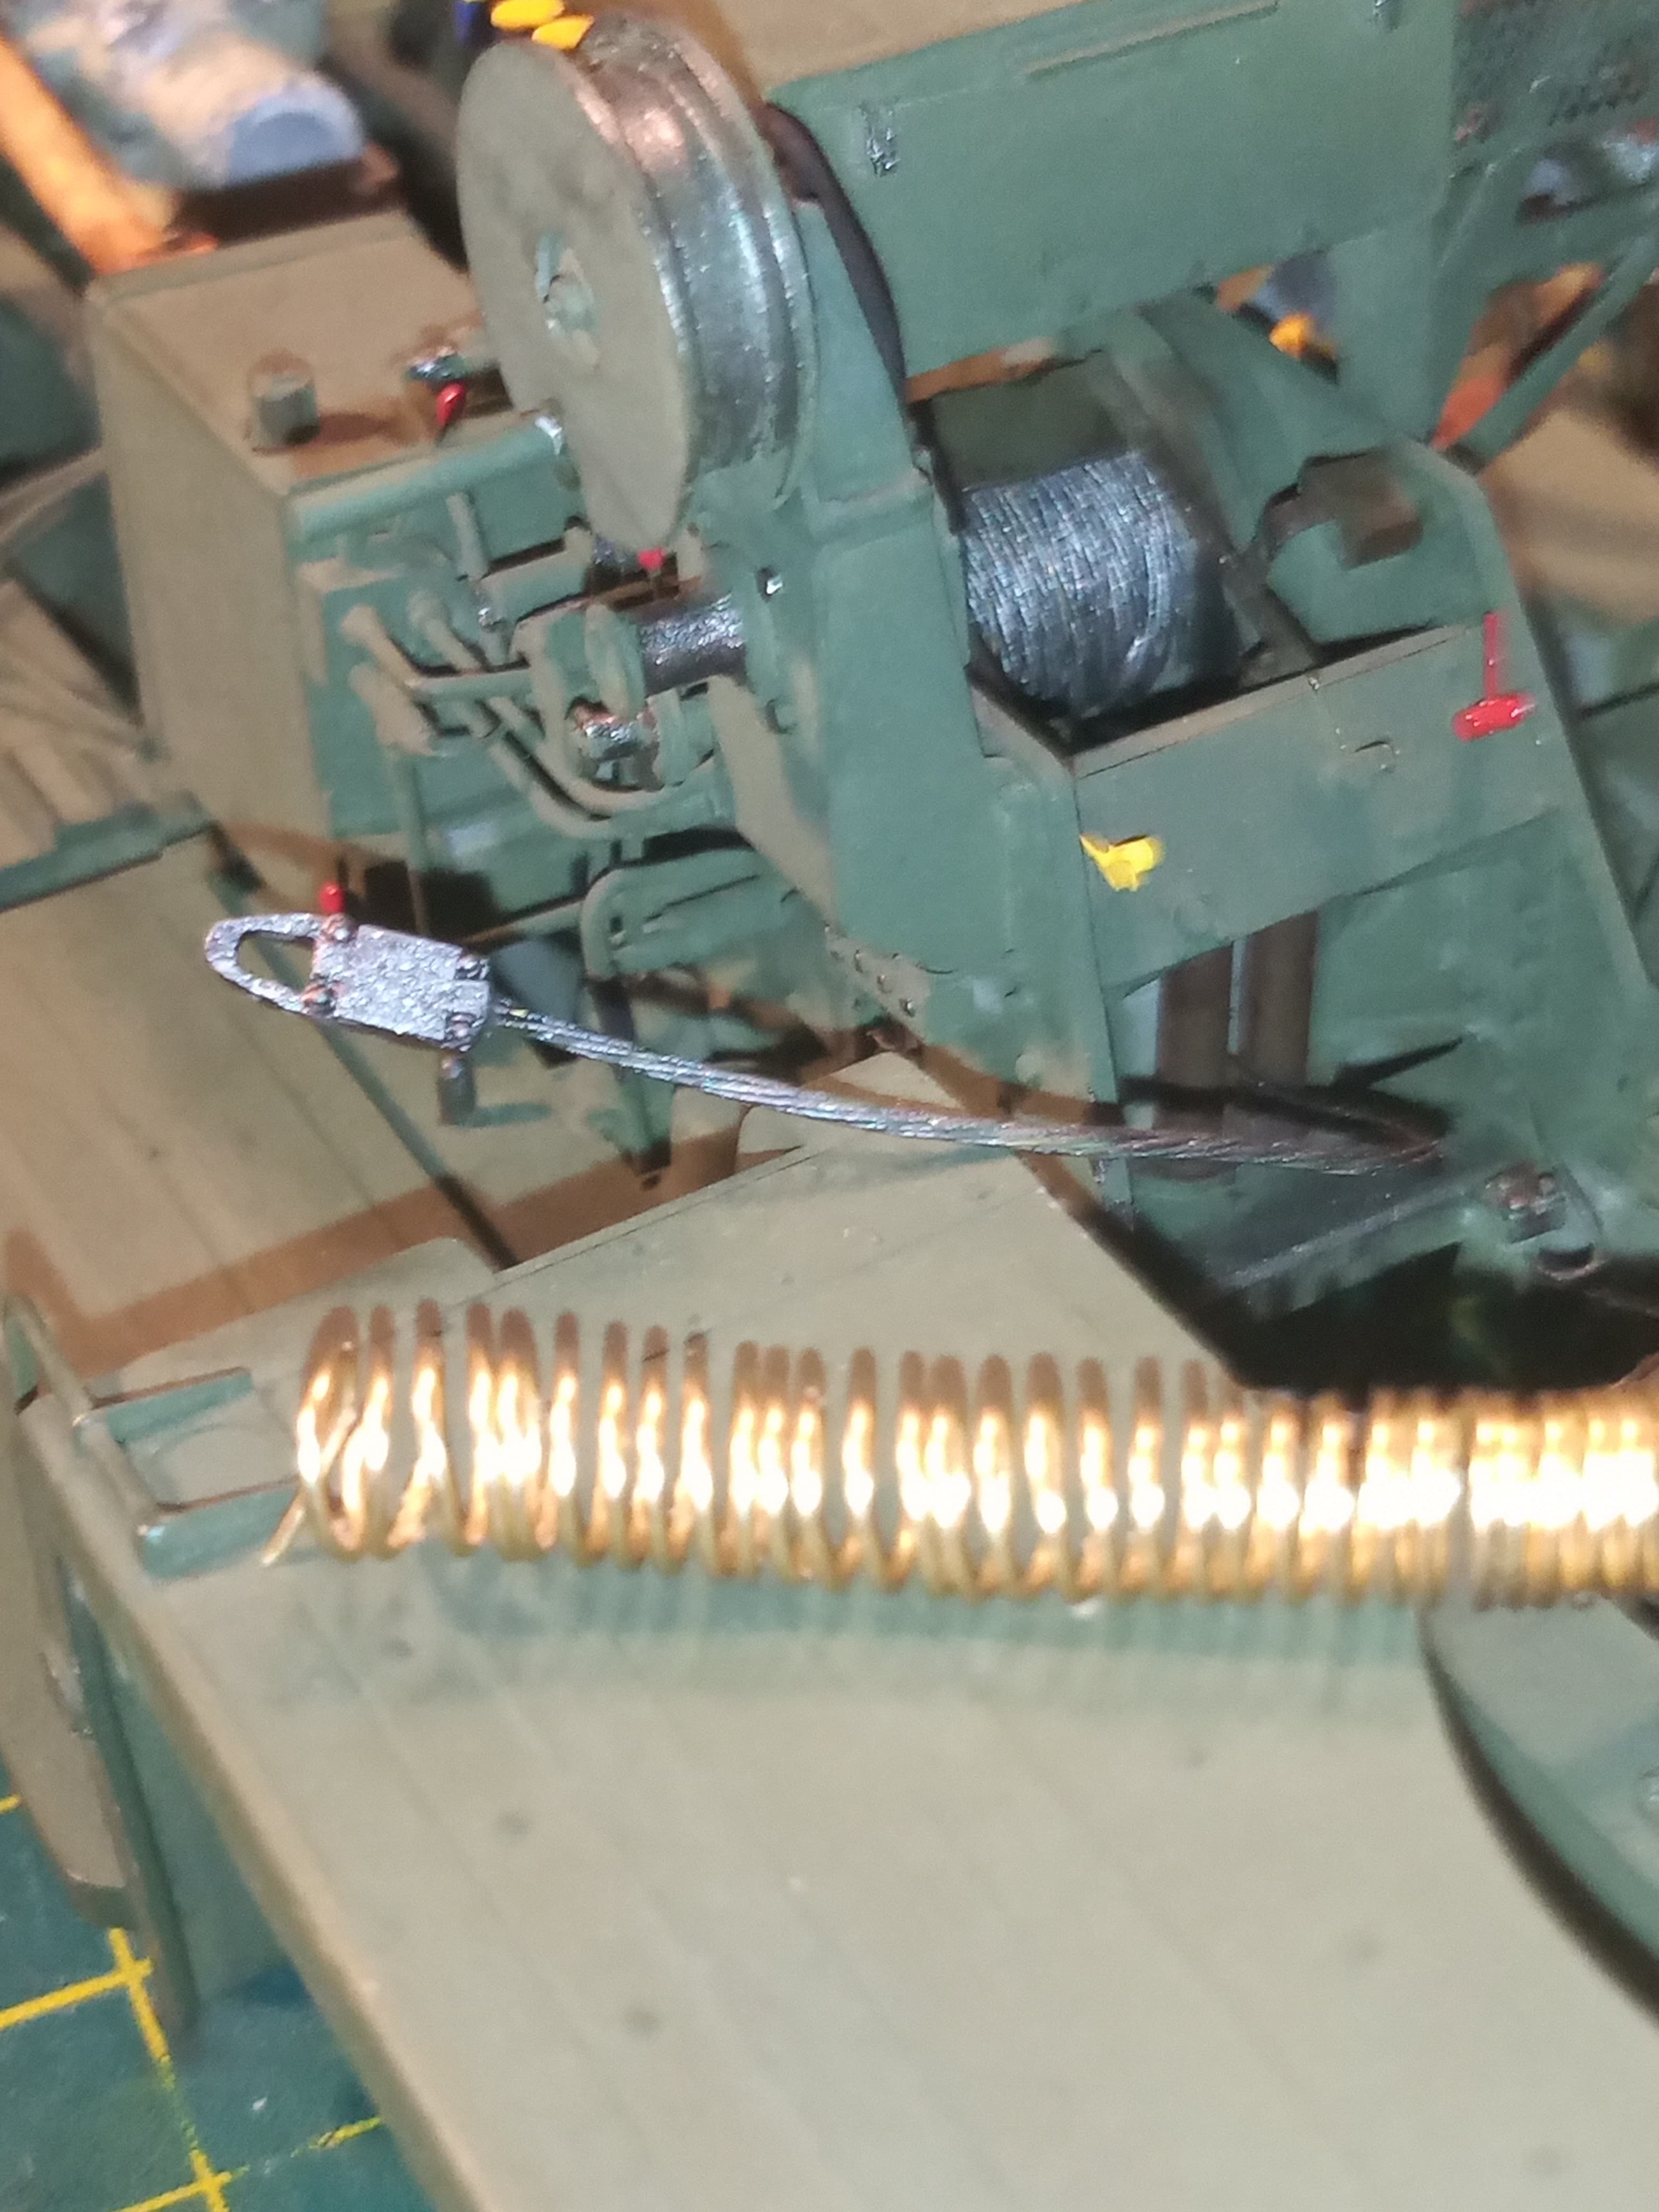
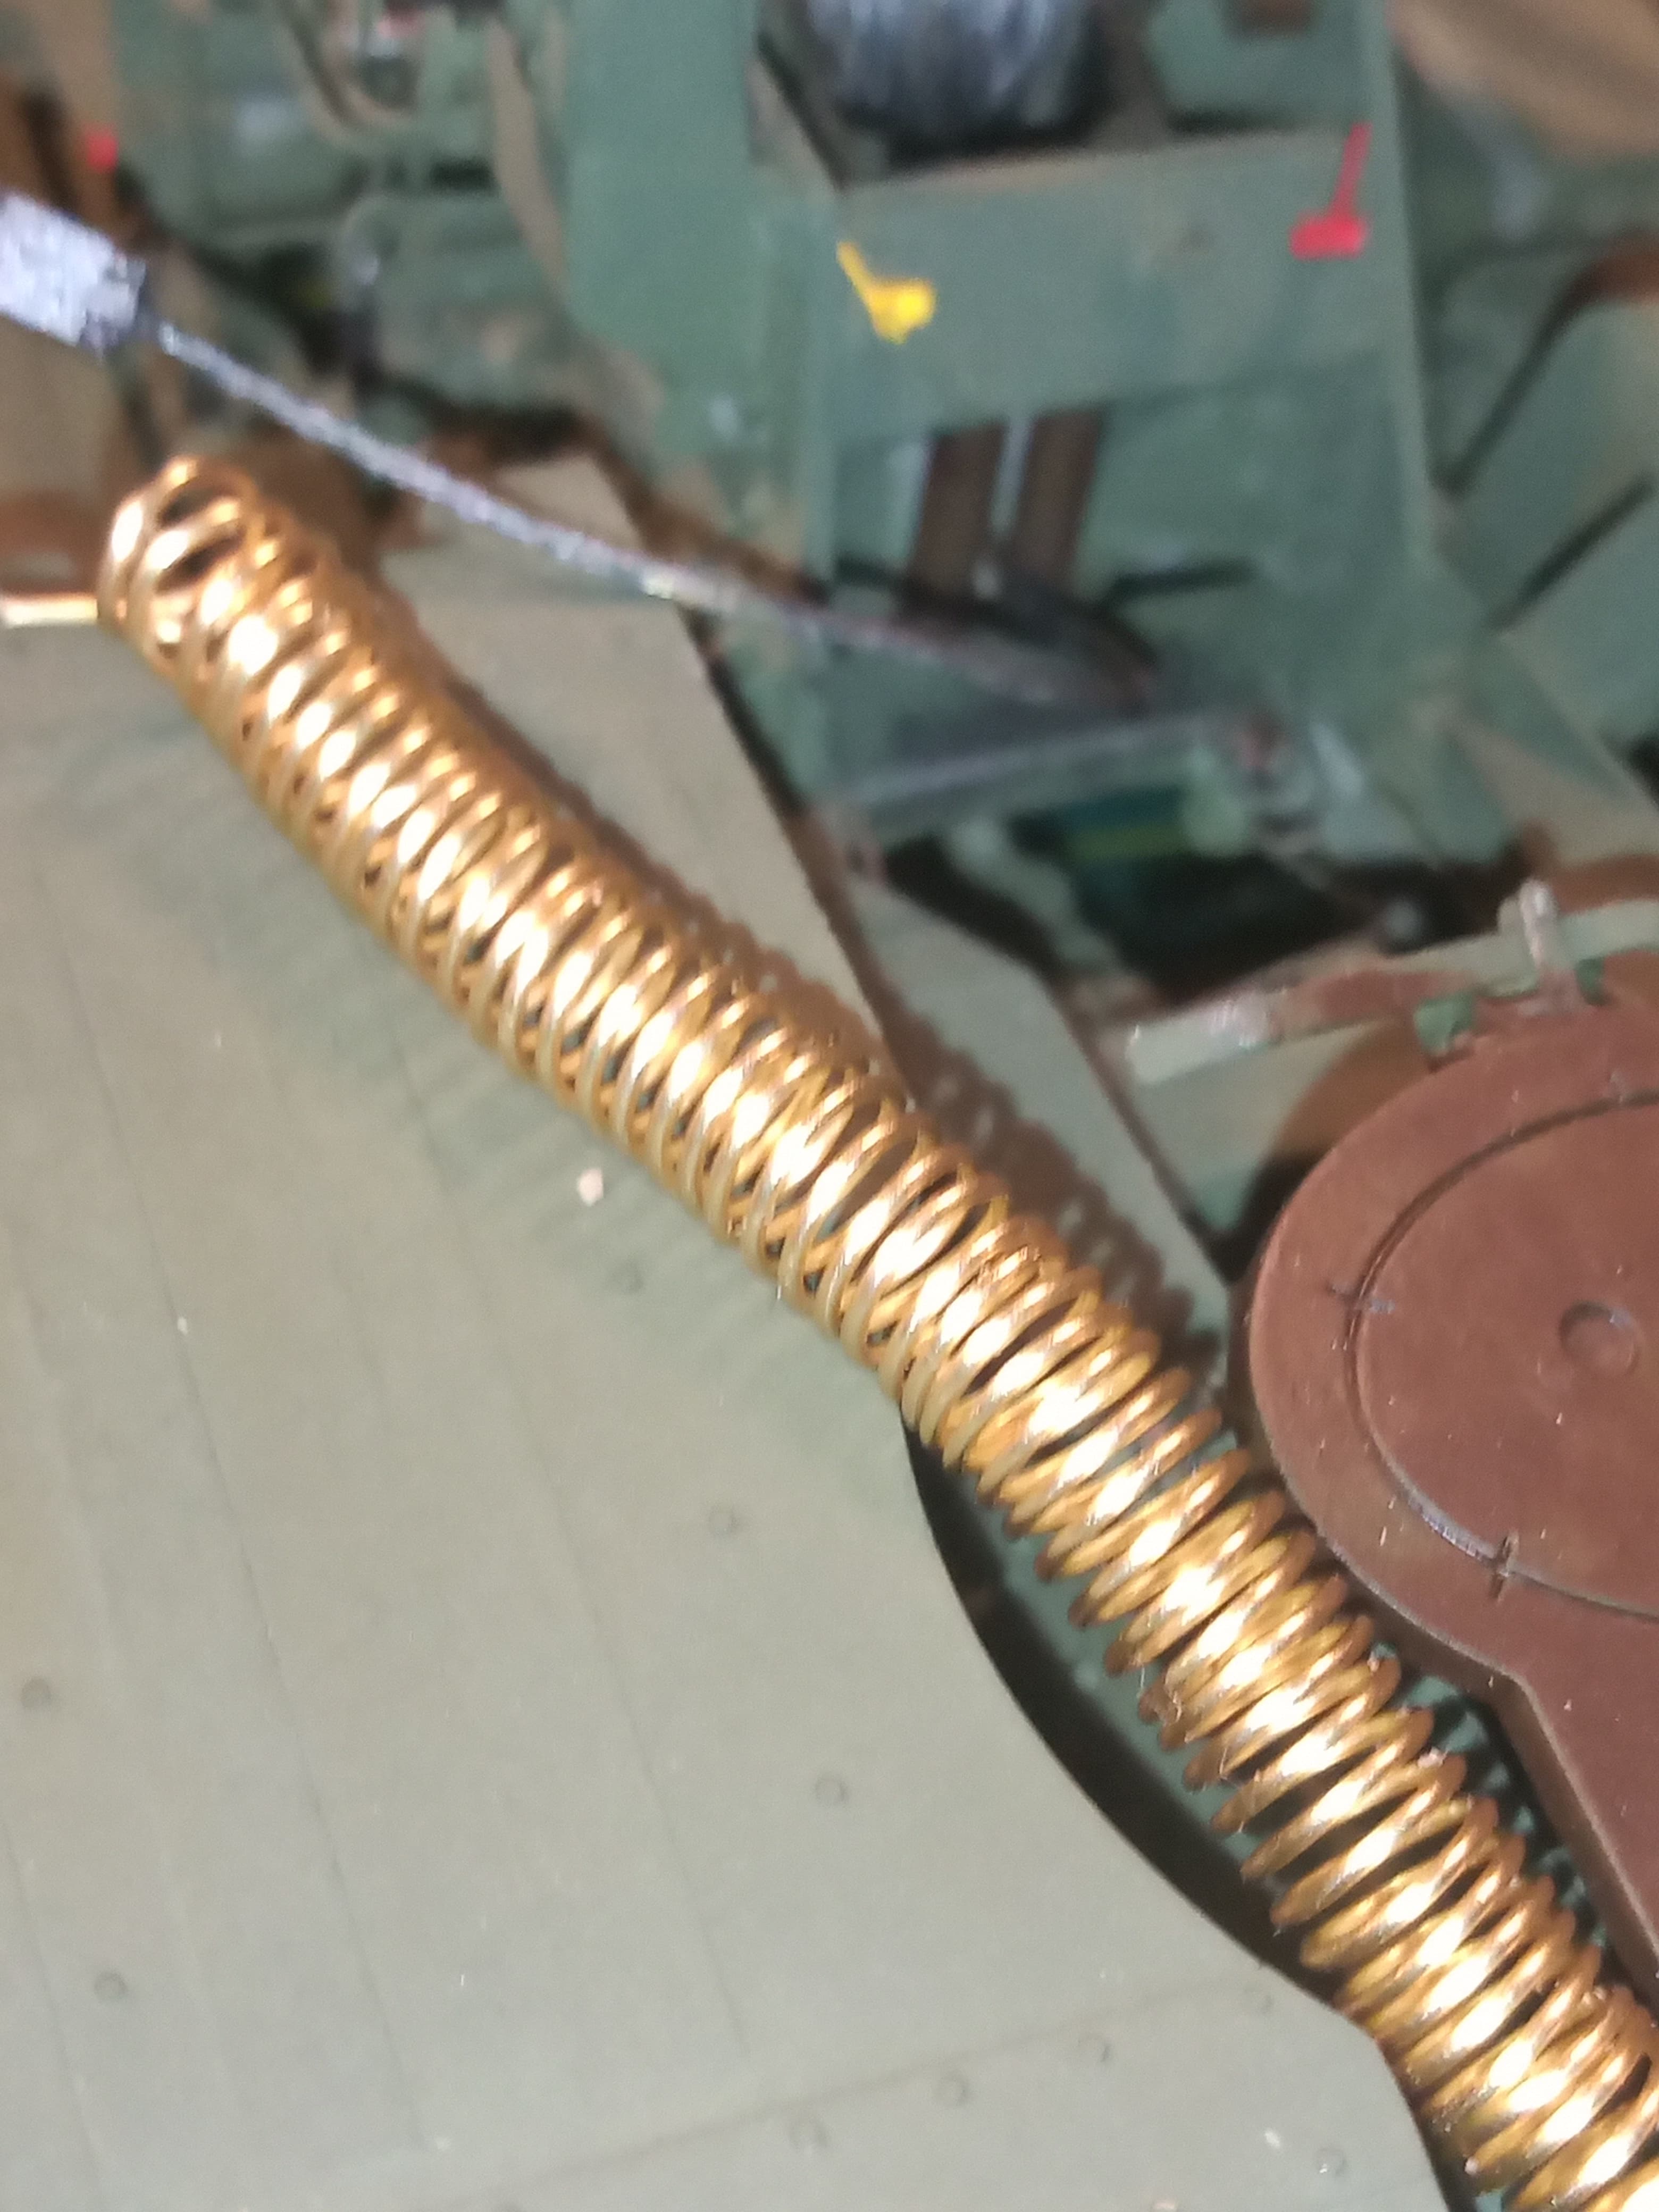
Fitted the winch connector onto the cable, and also did the air lines using .6mm jewellery wire, nice and easy to do, same method as making springs, just upscale the process. This length should easily make the 3 required airlines.
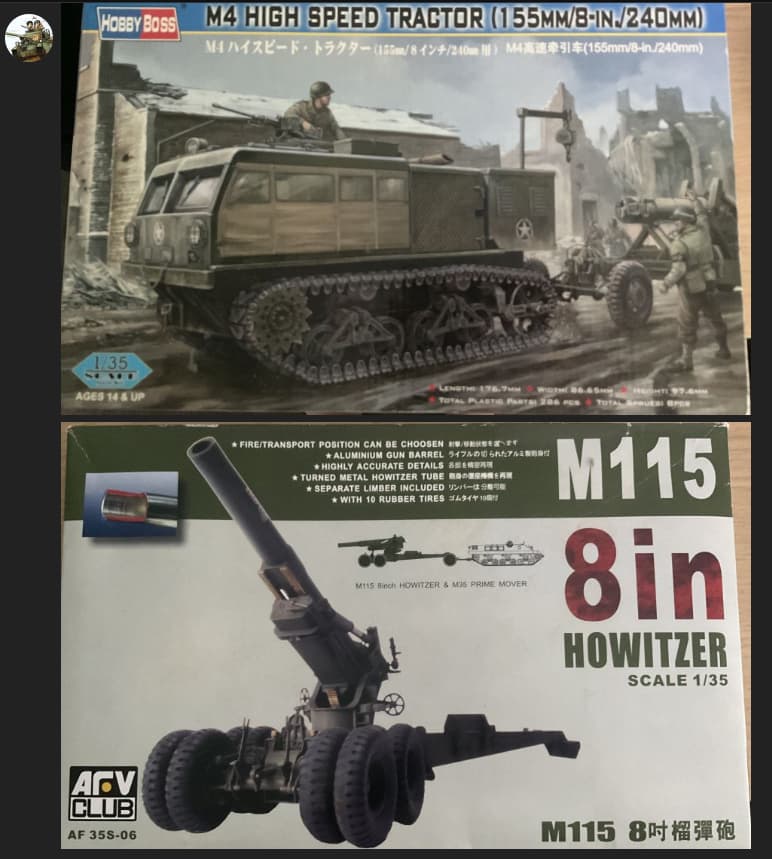
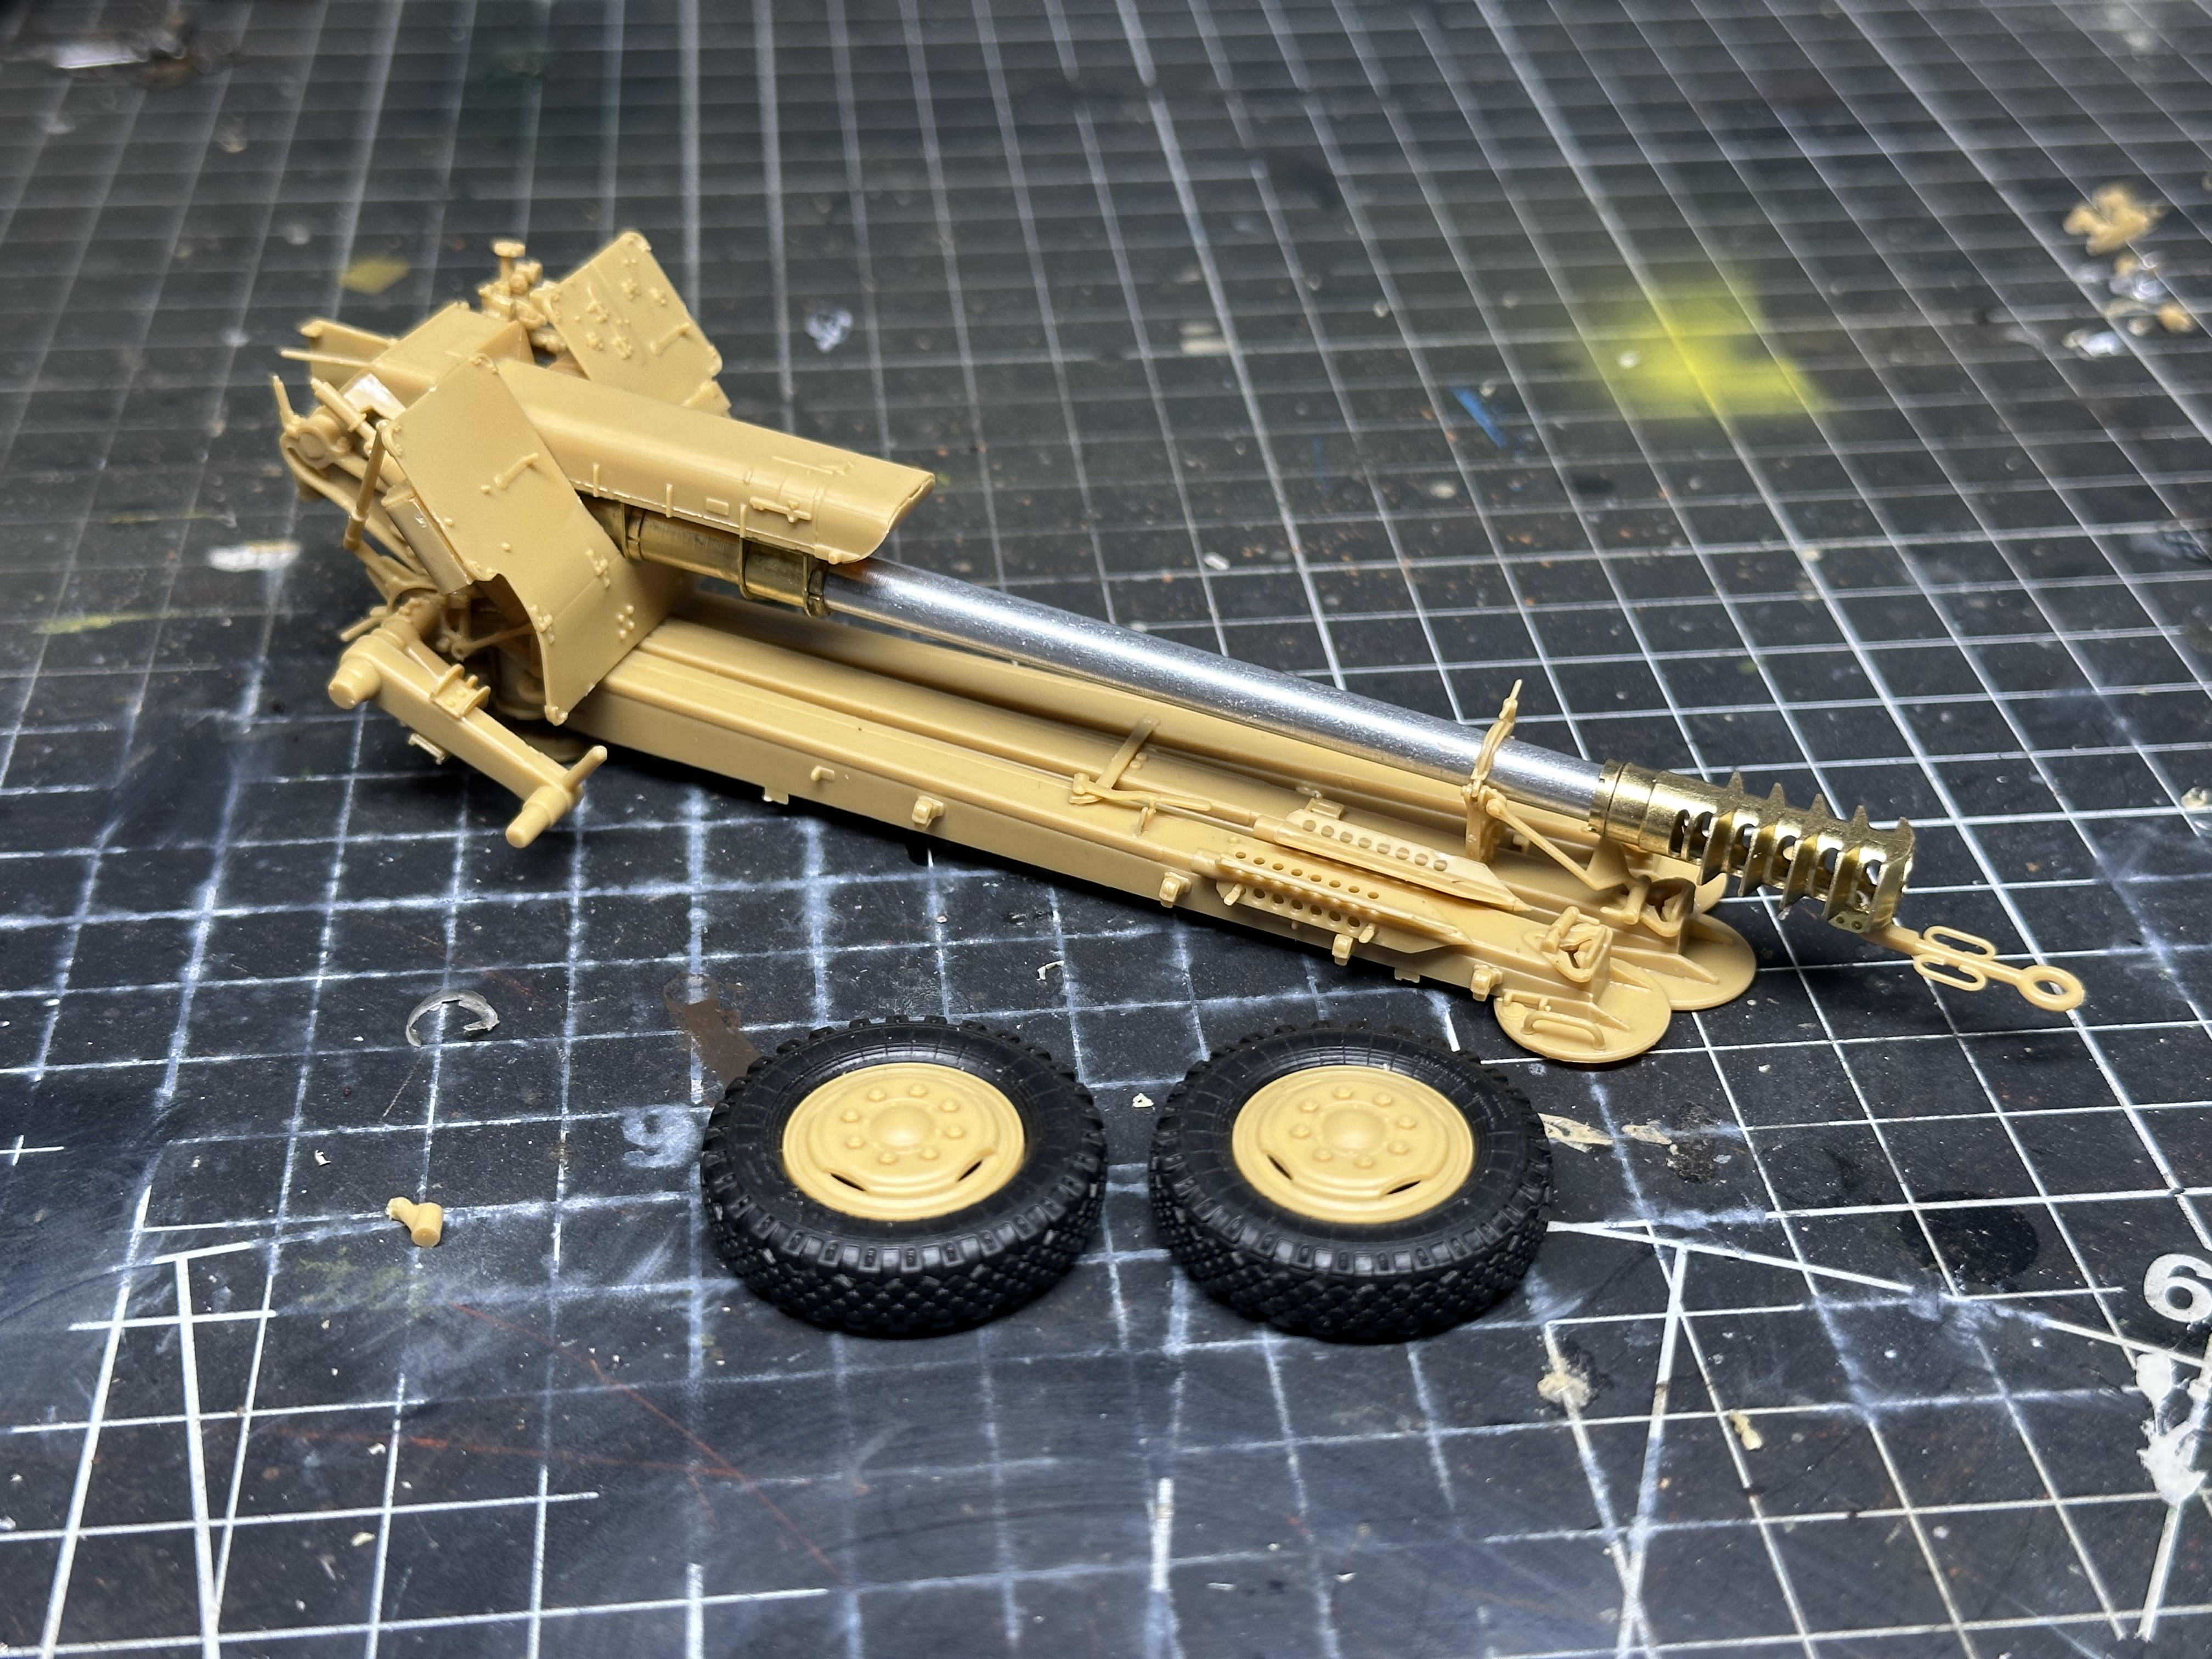
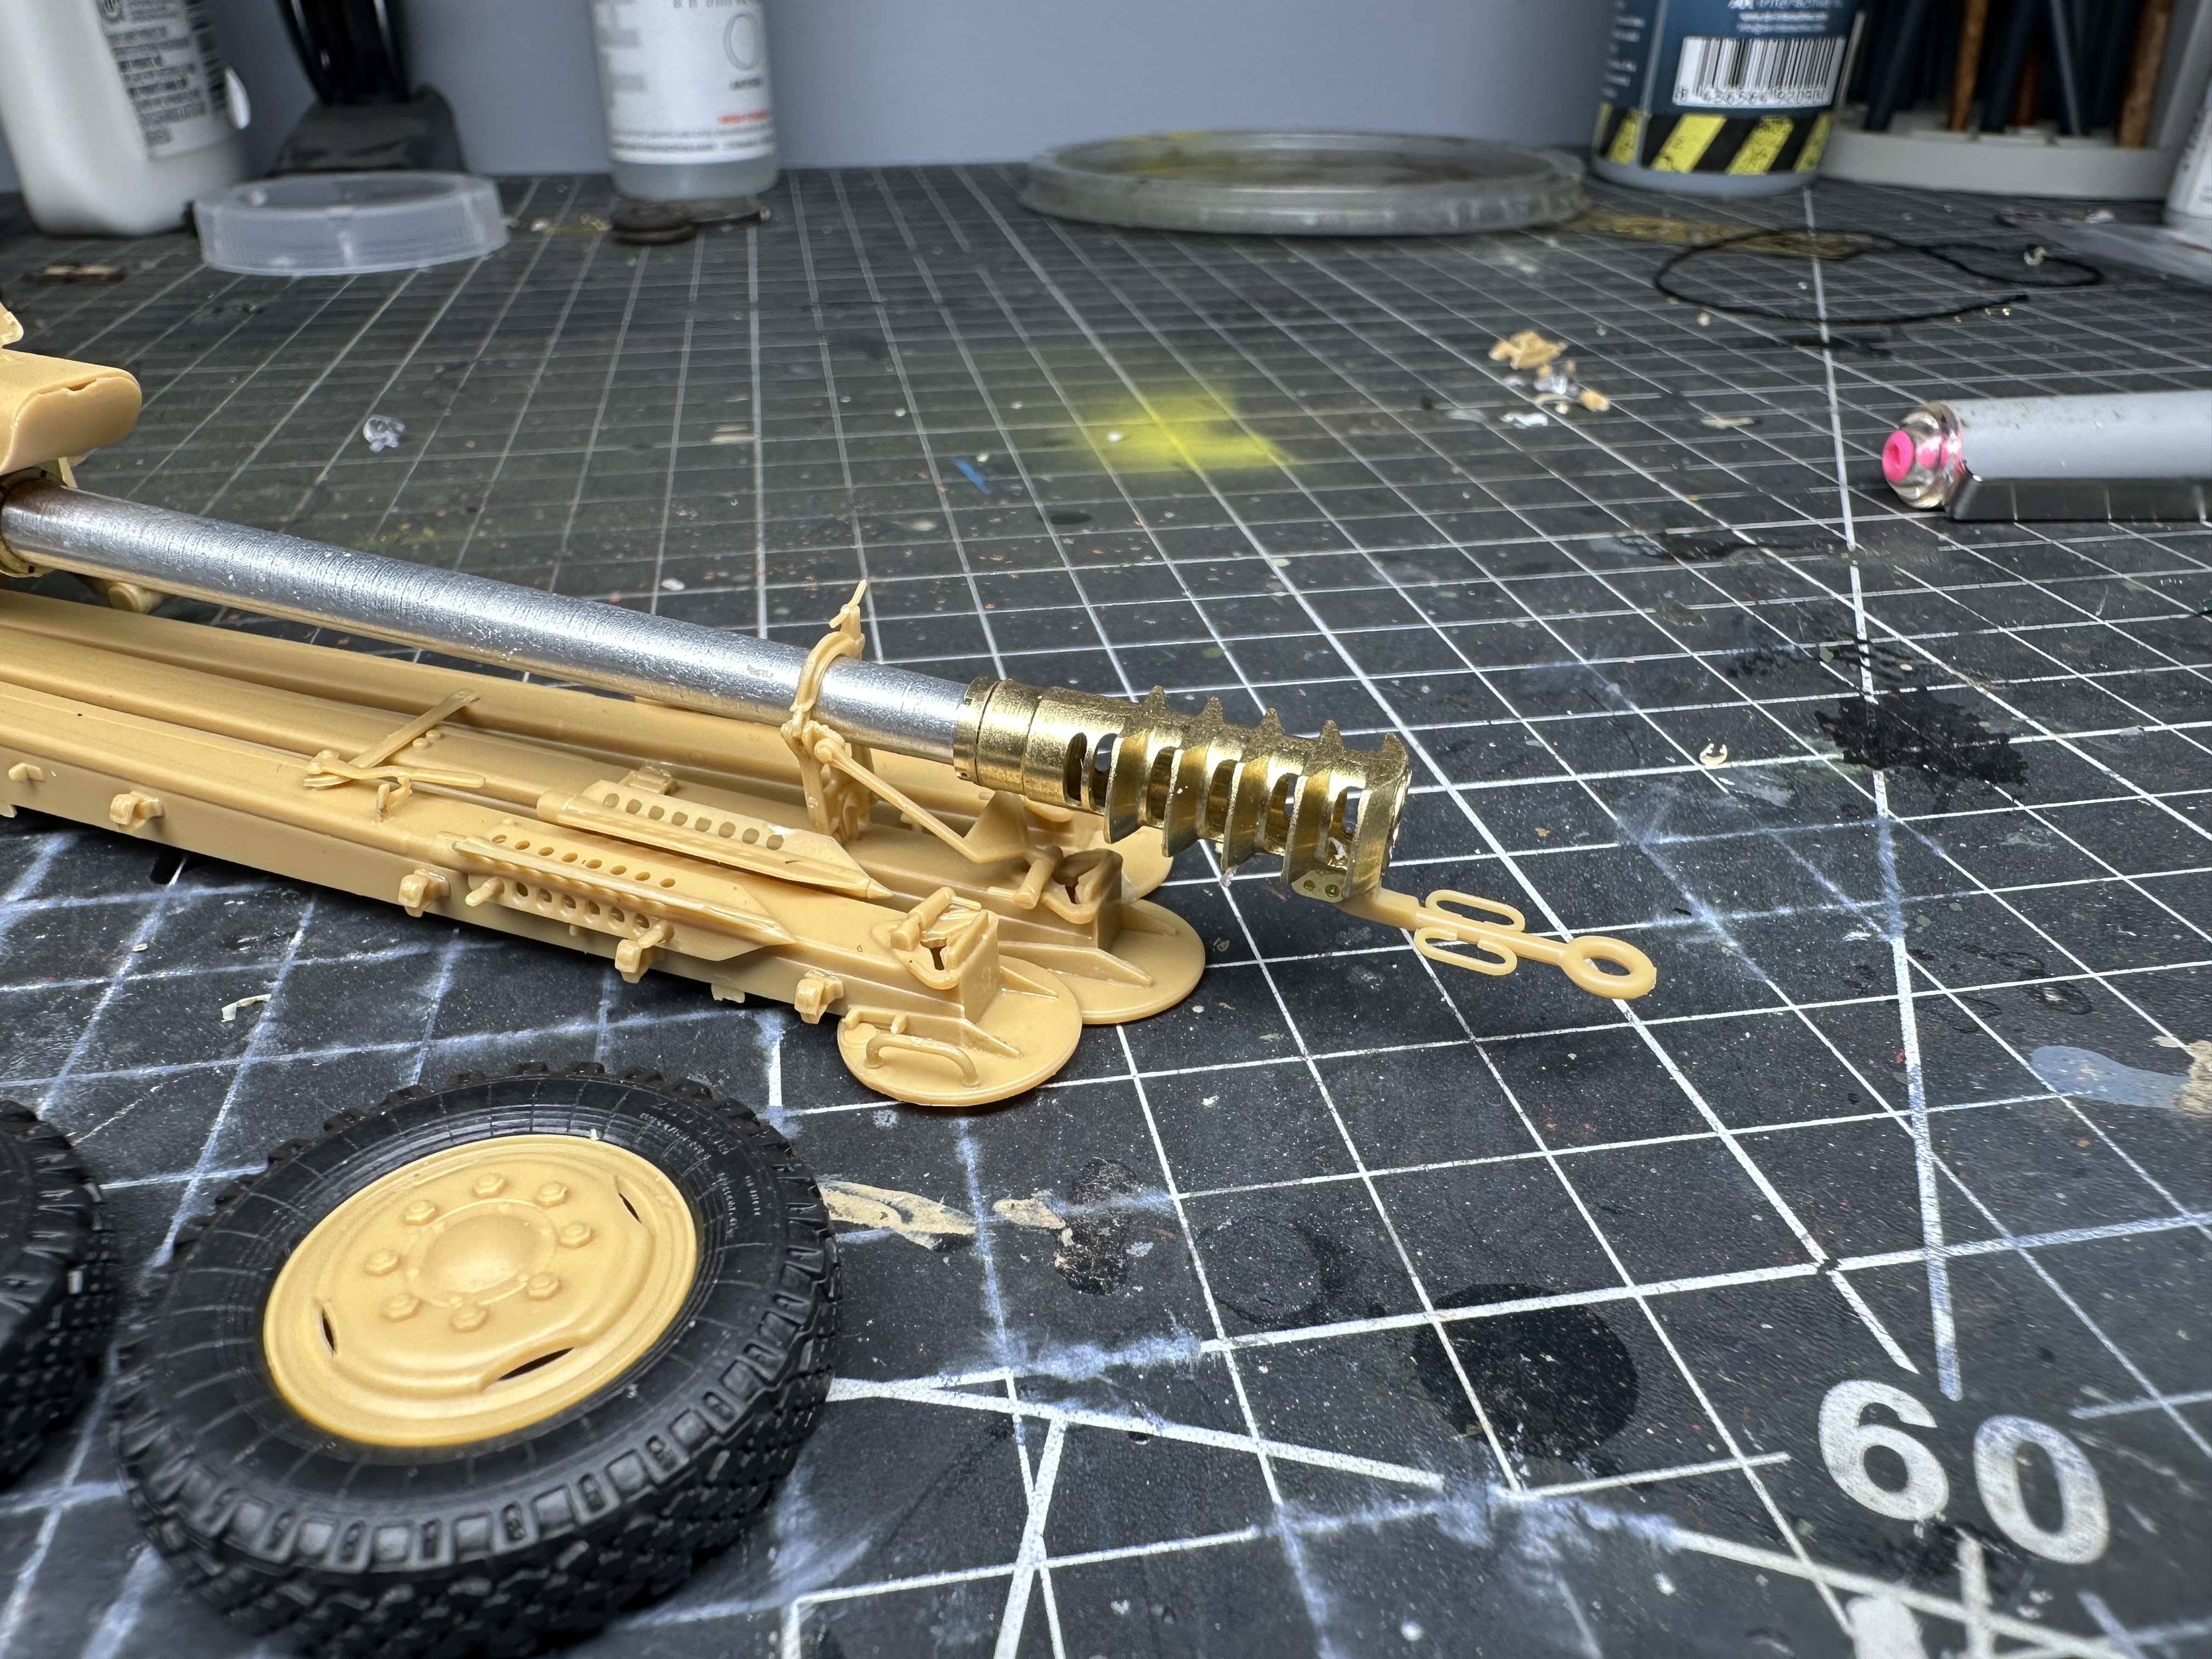
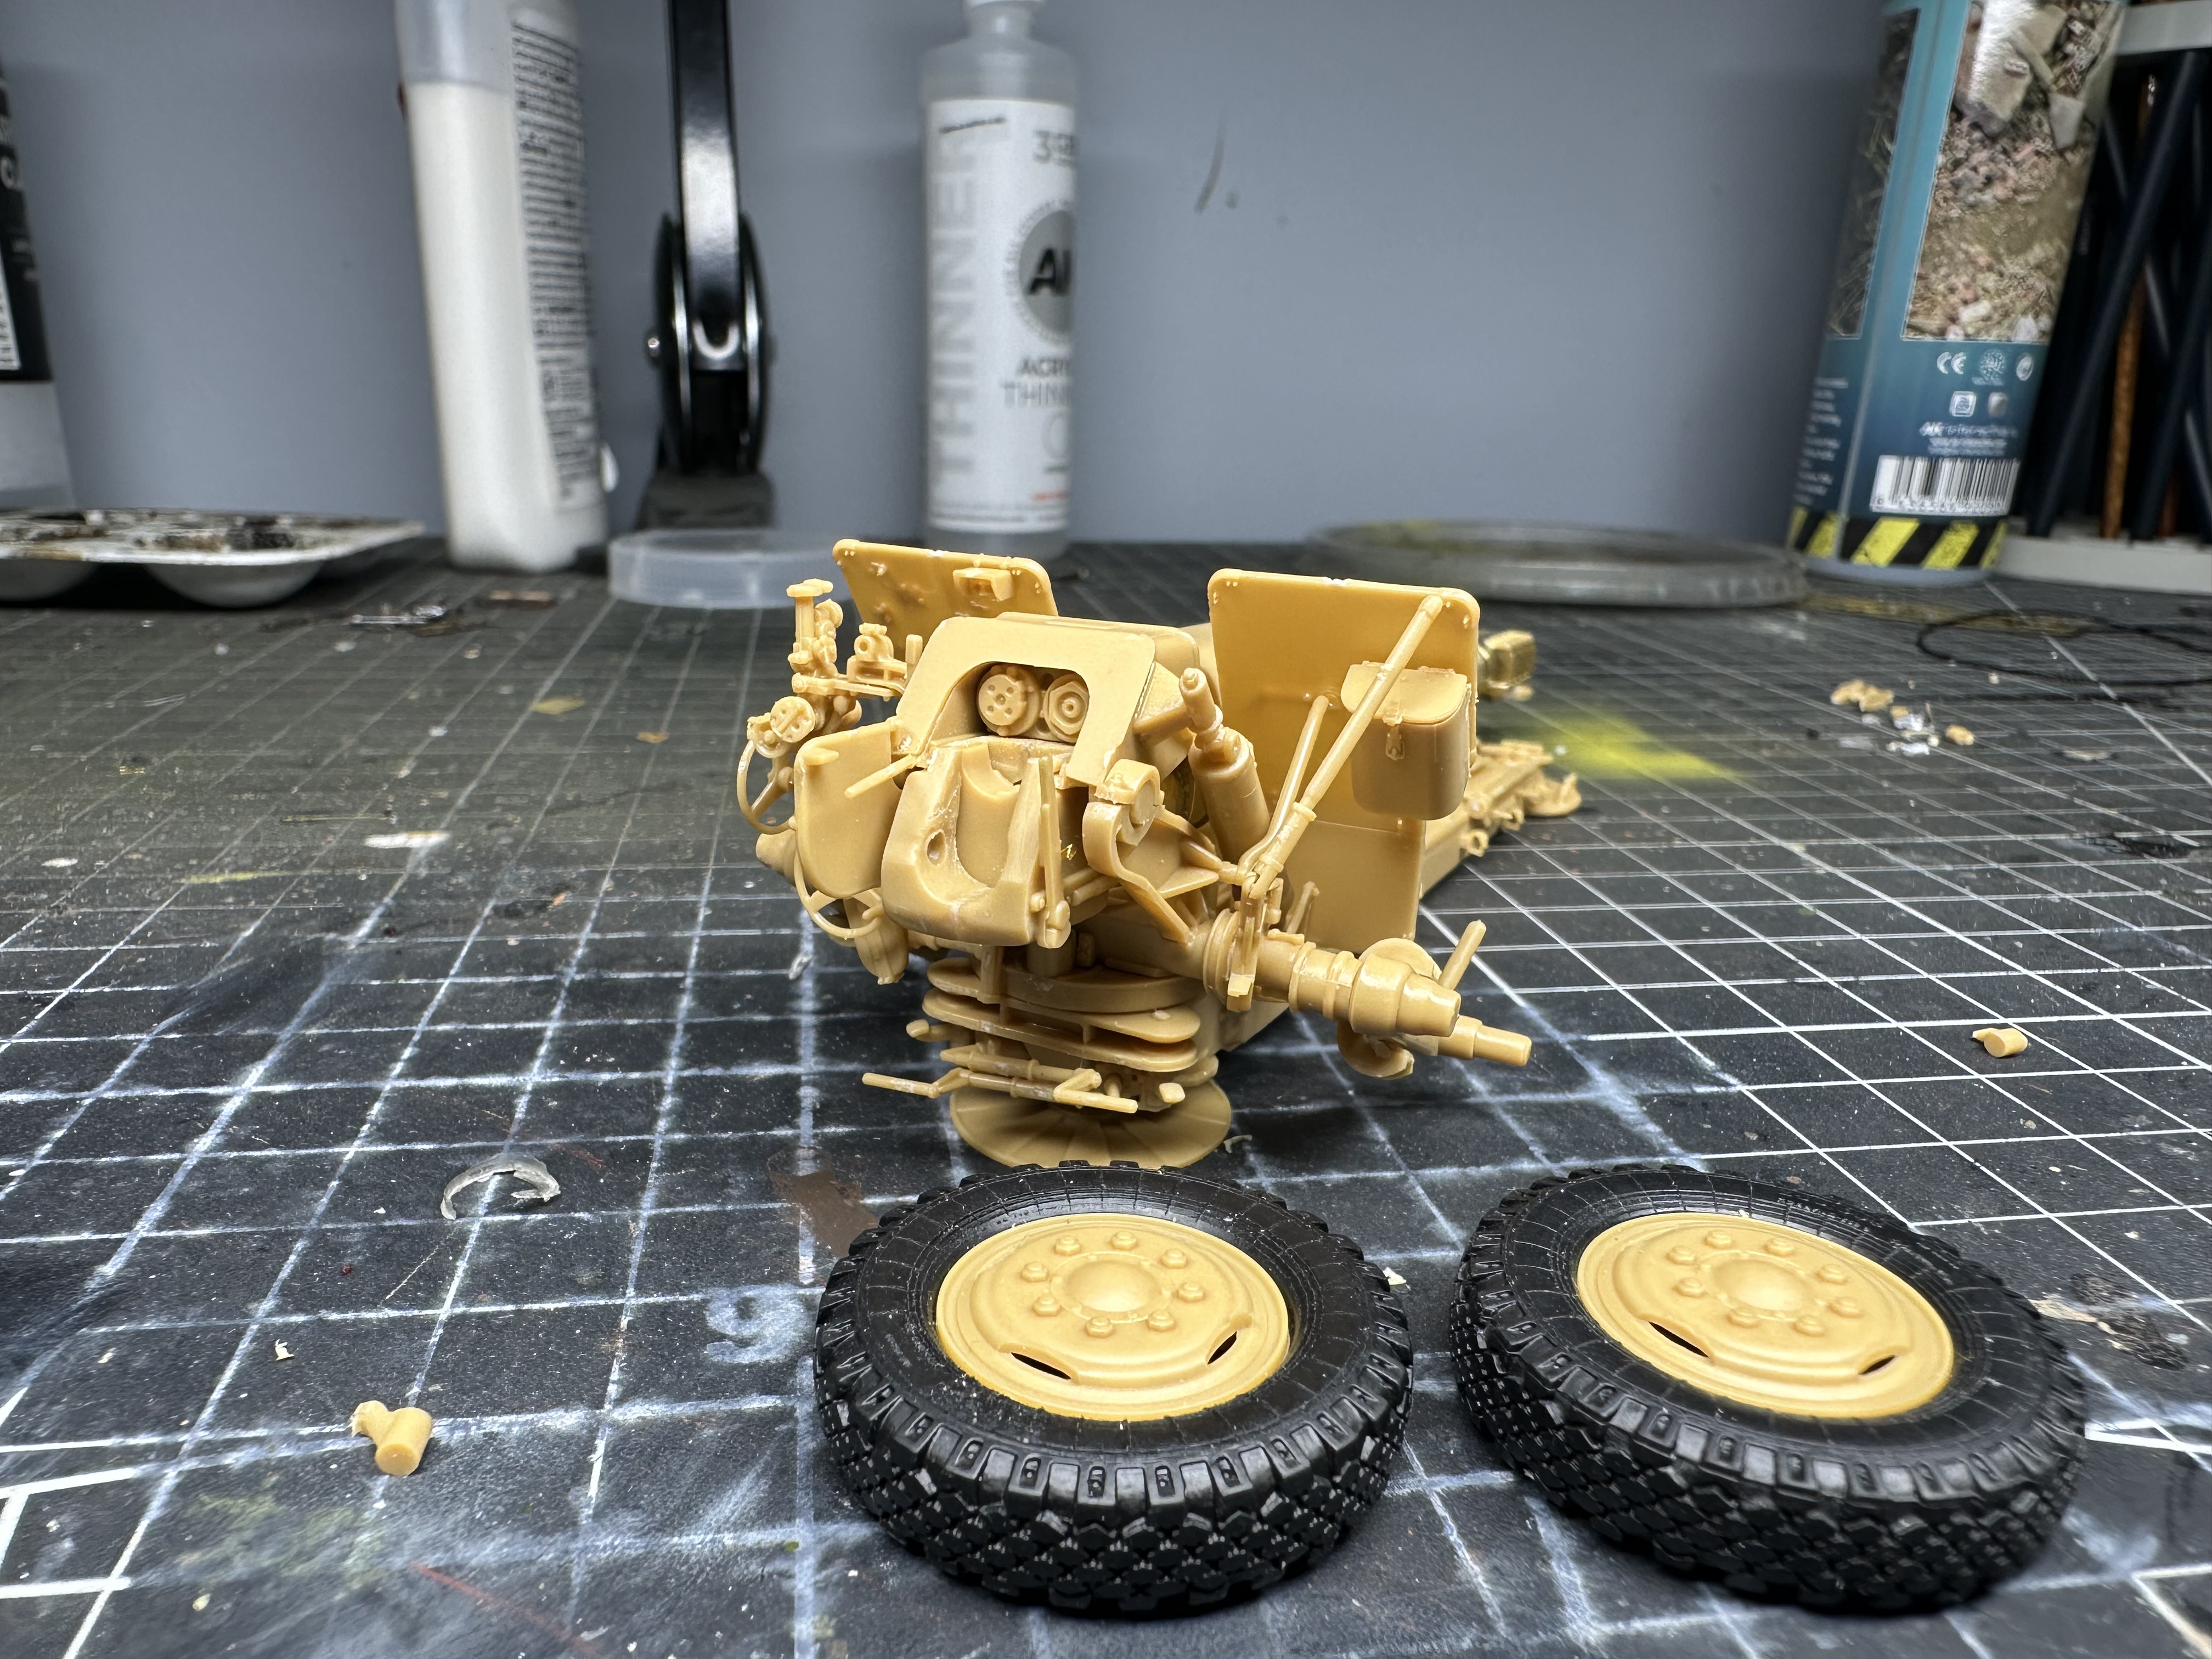
May I please give you a tip though, in case you are not aware of it - vinyl can react with styrene over time and melt it, so it is best to prime and paint the rims before adding tyres. Also scuff up the vinyl tyres with one of those Nylon kitchen scourers to take off the shine and, if you are painting them, give the primer something to bite onto.
Thanks for the great heads up Peter! They’re there temporarily, I am really hoping I can find a set of the Hussar Productions resin tires for the howitzer.
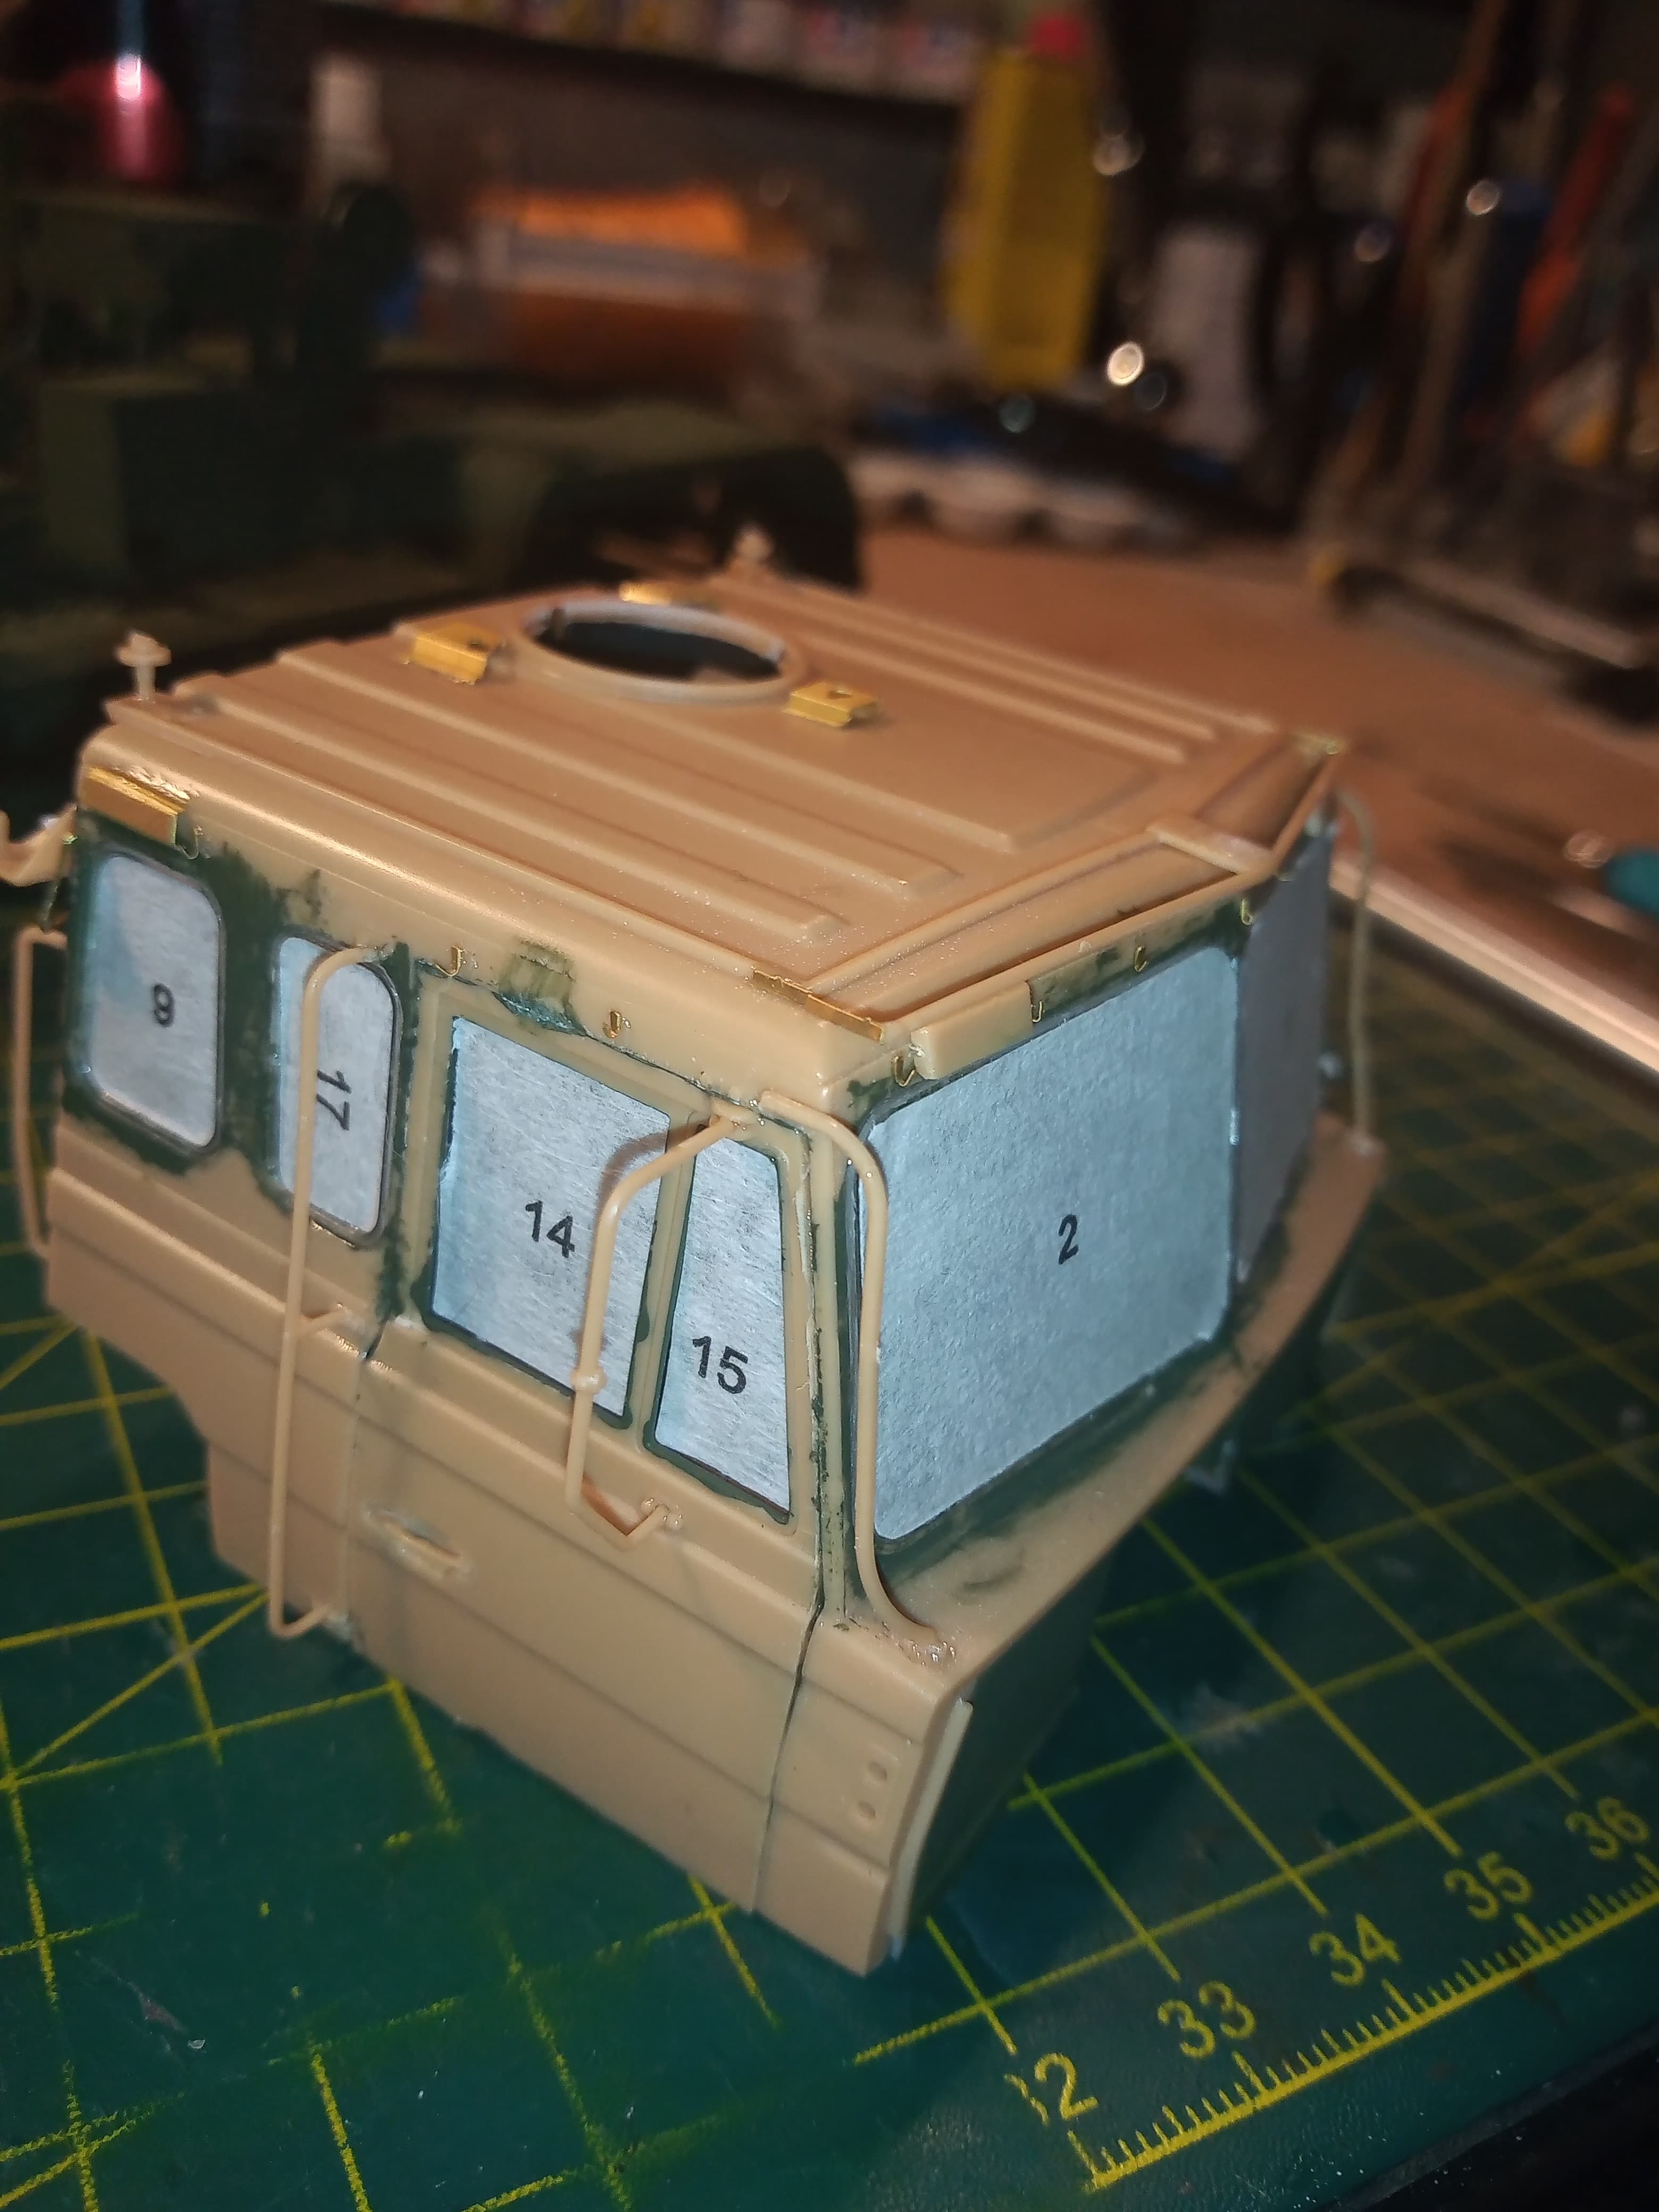
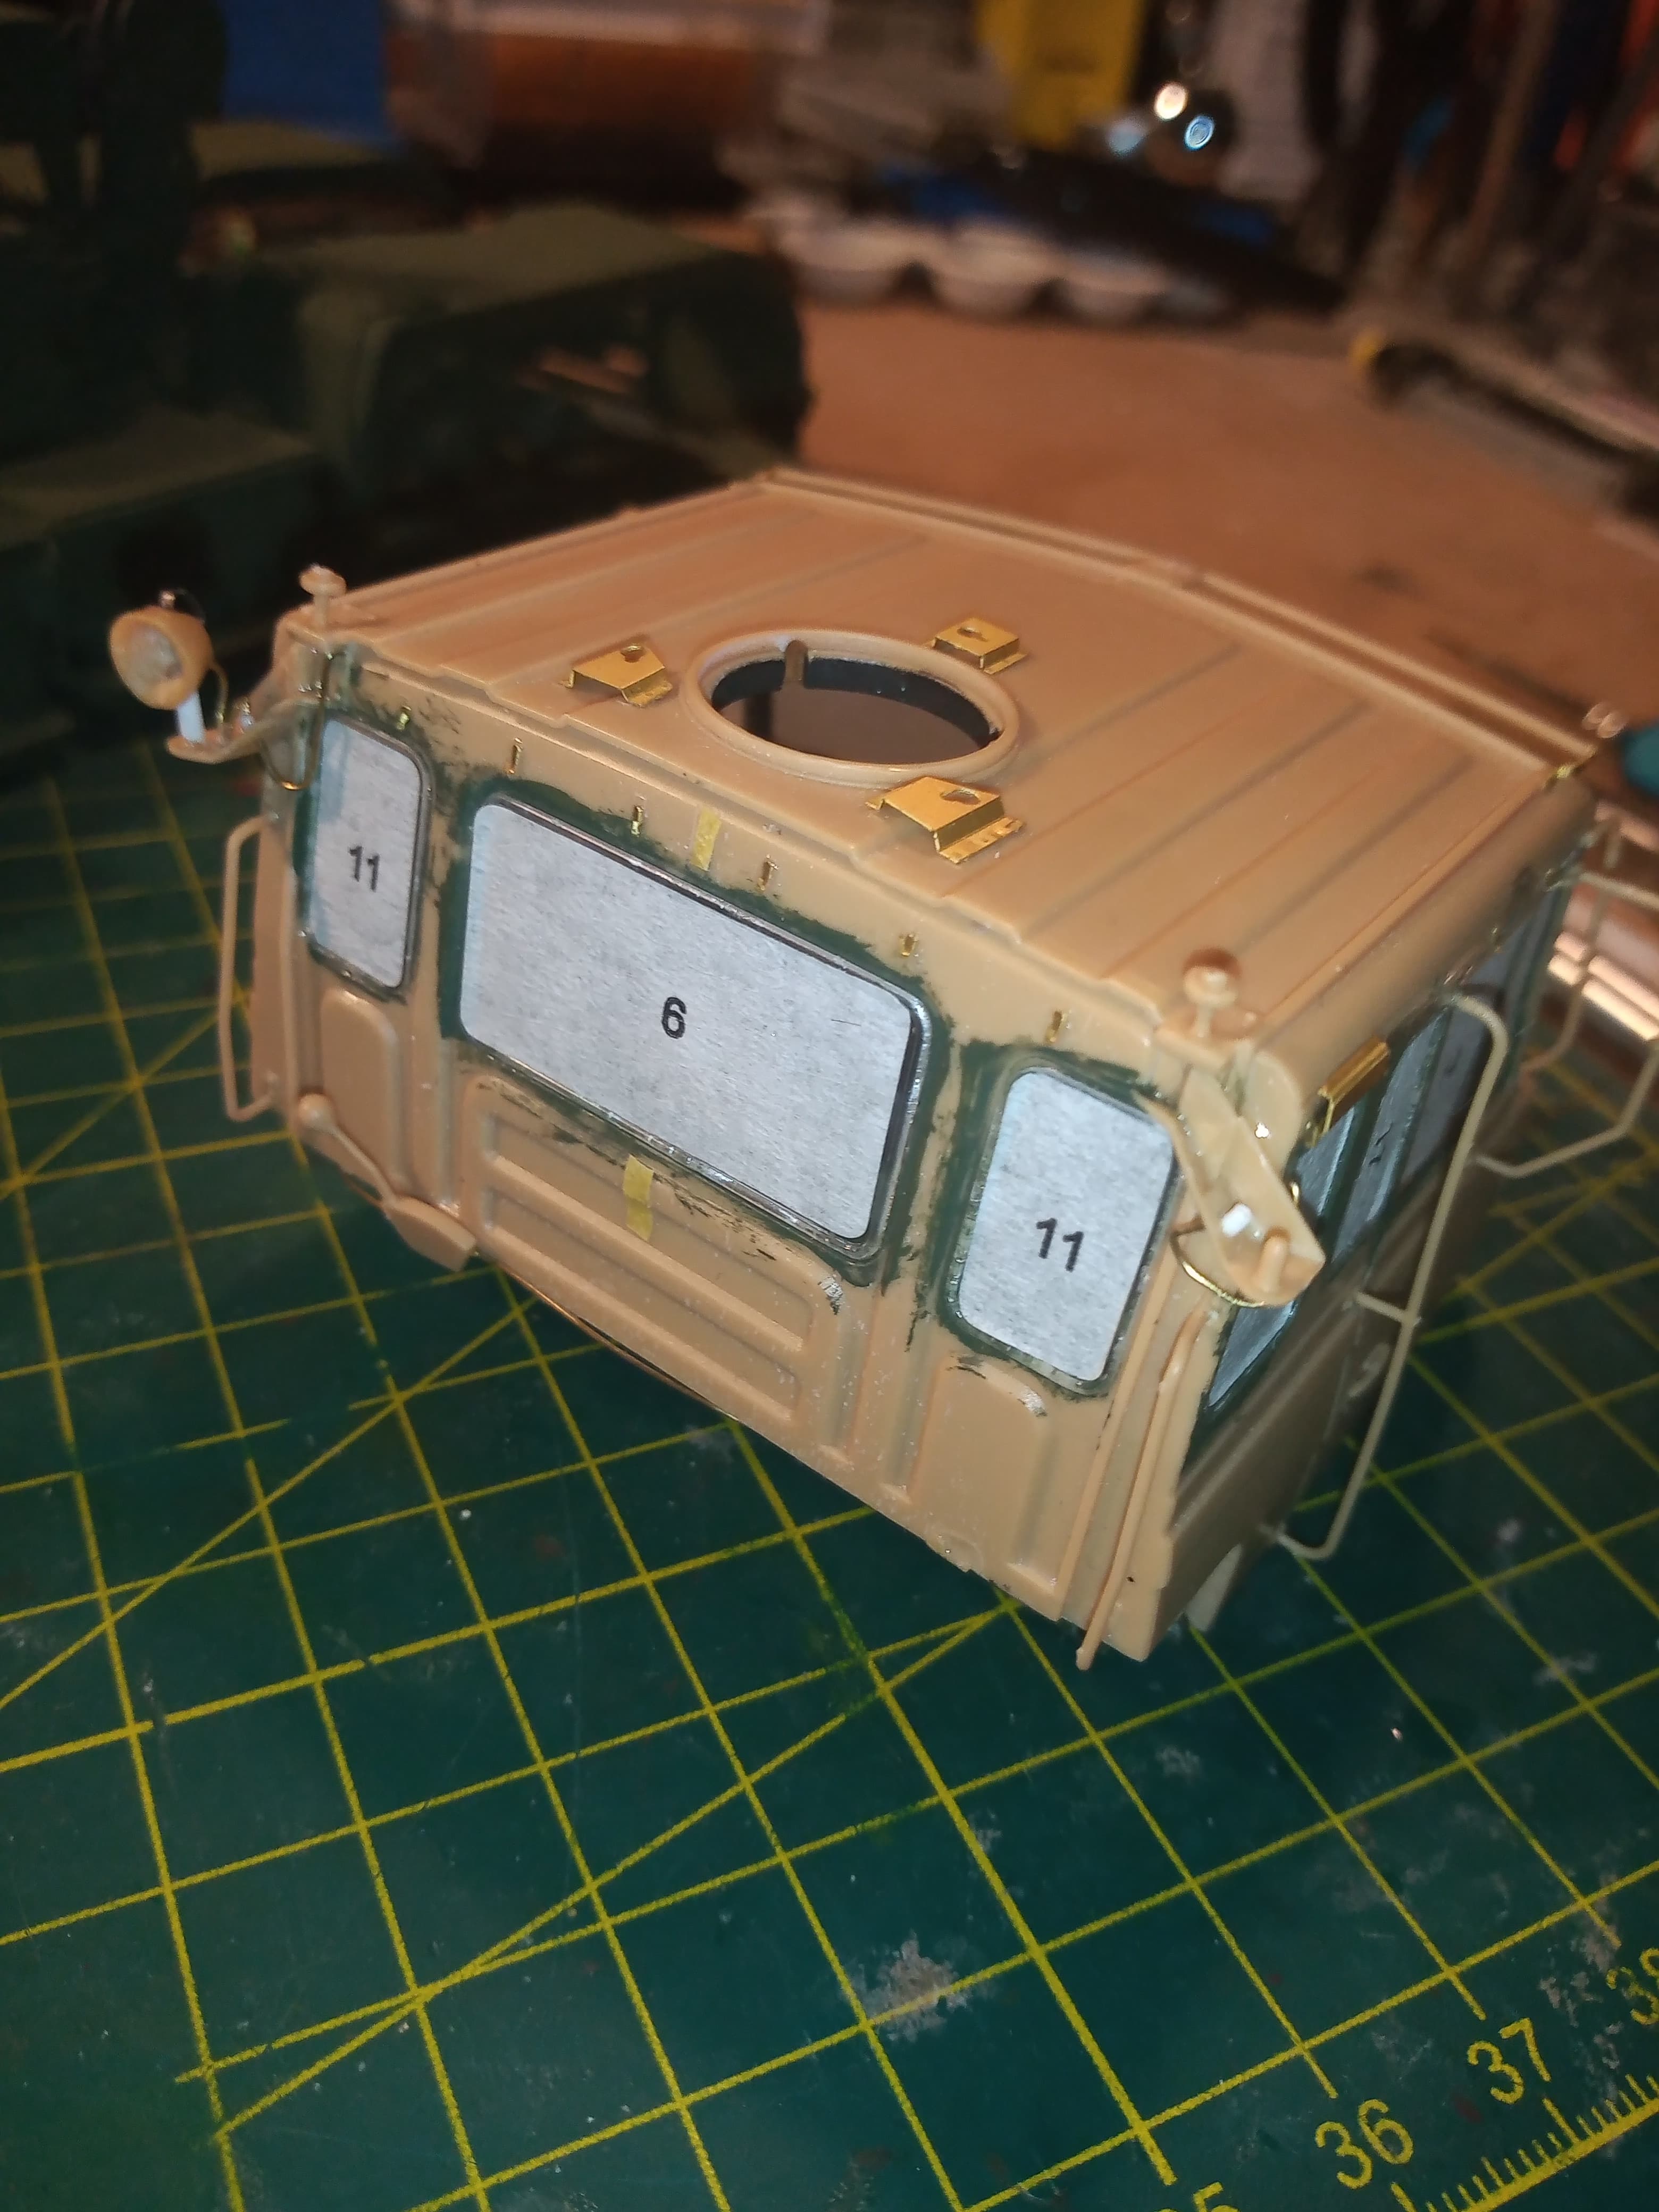
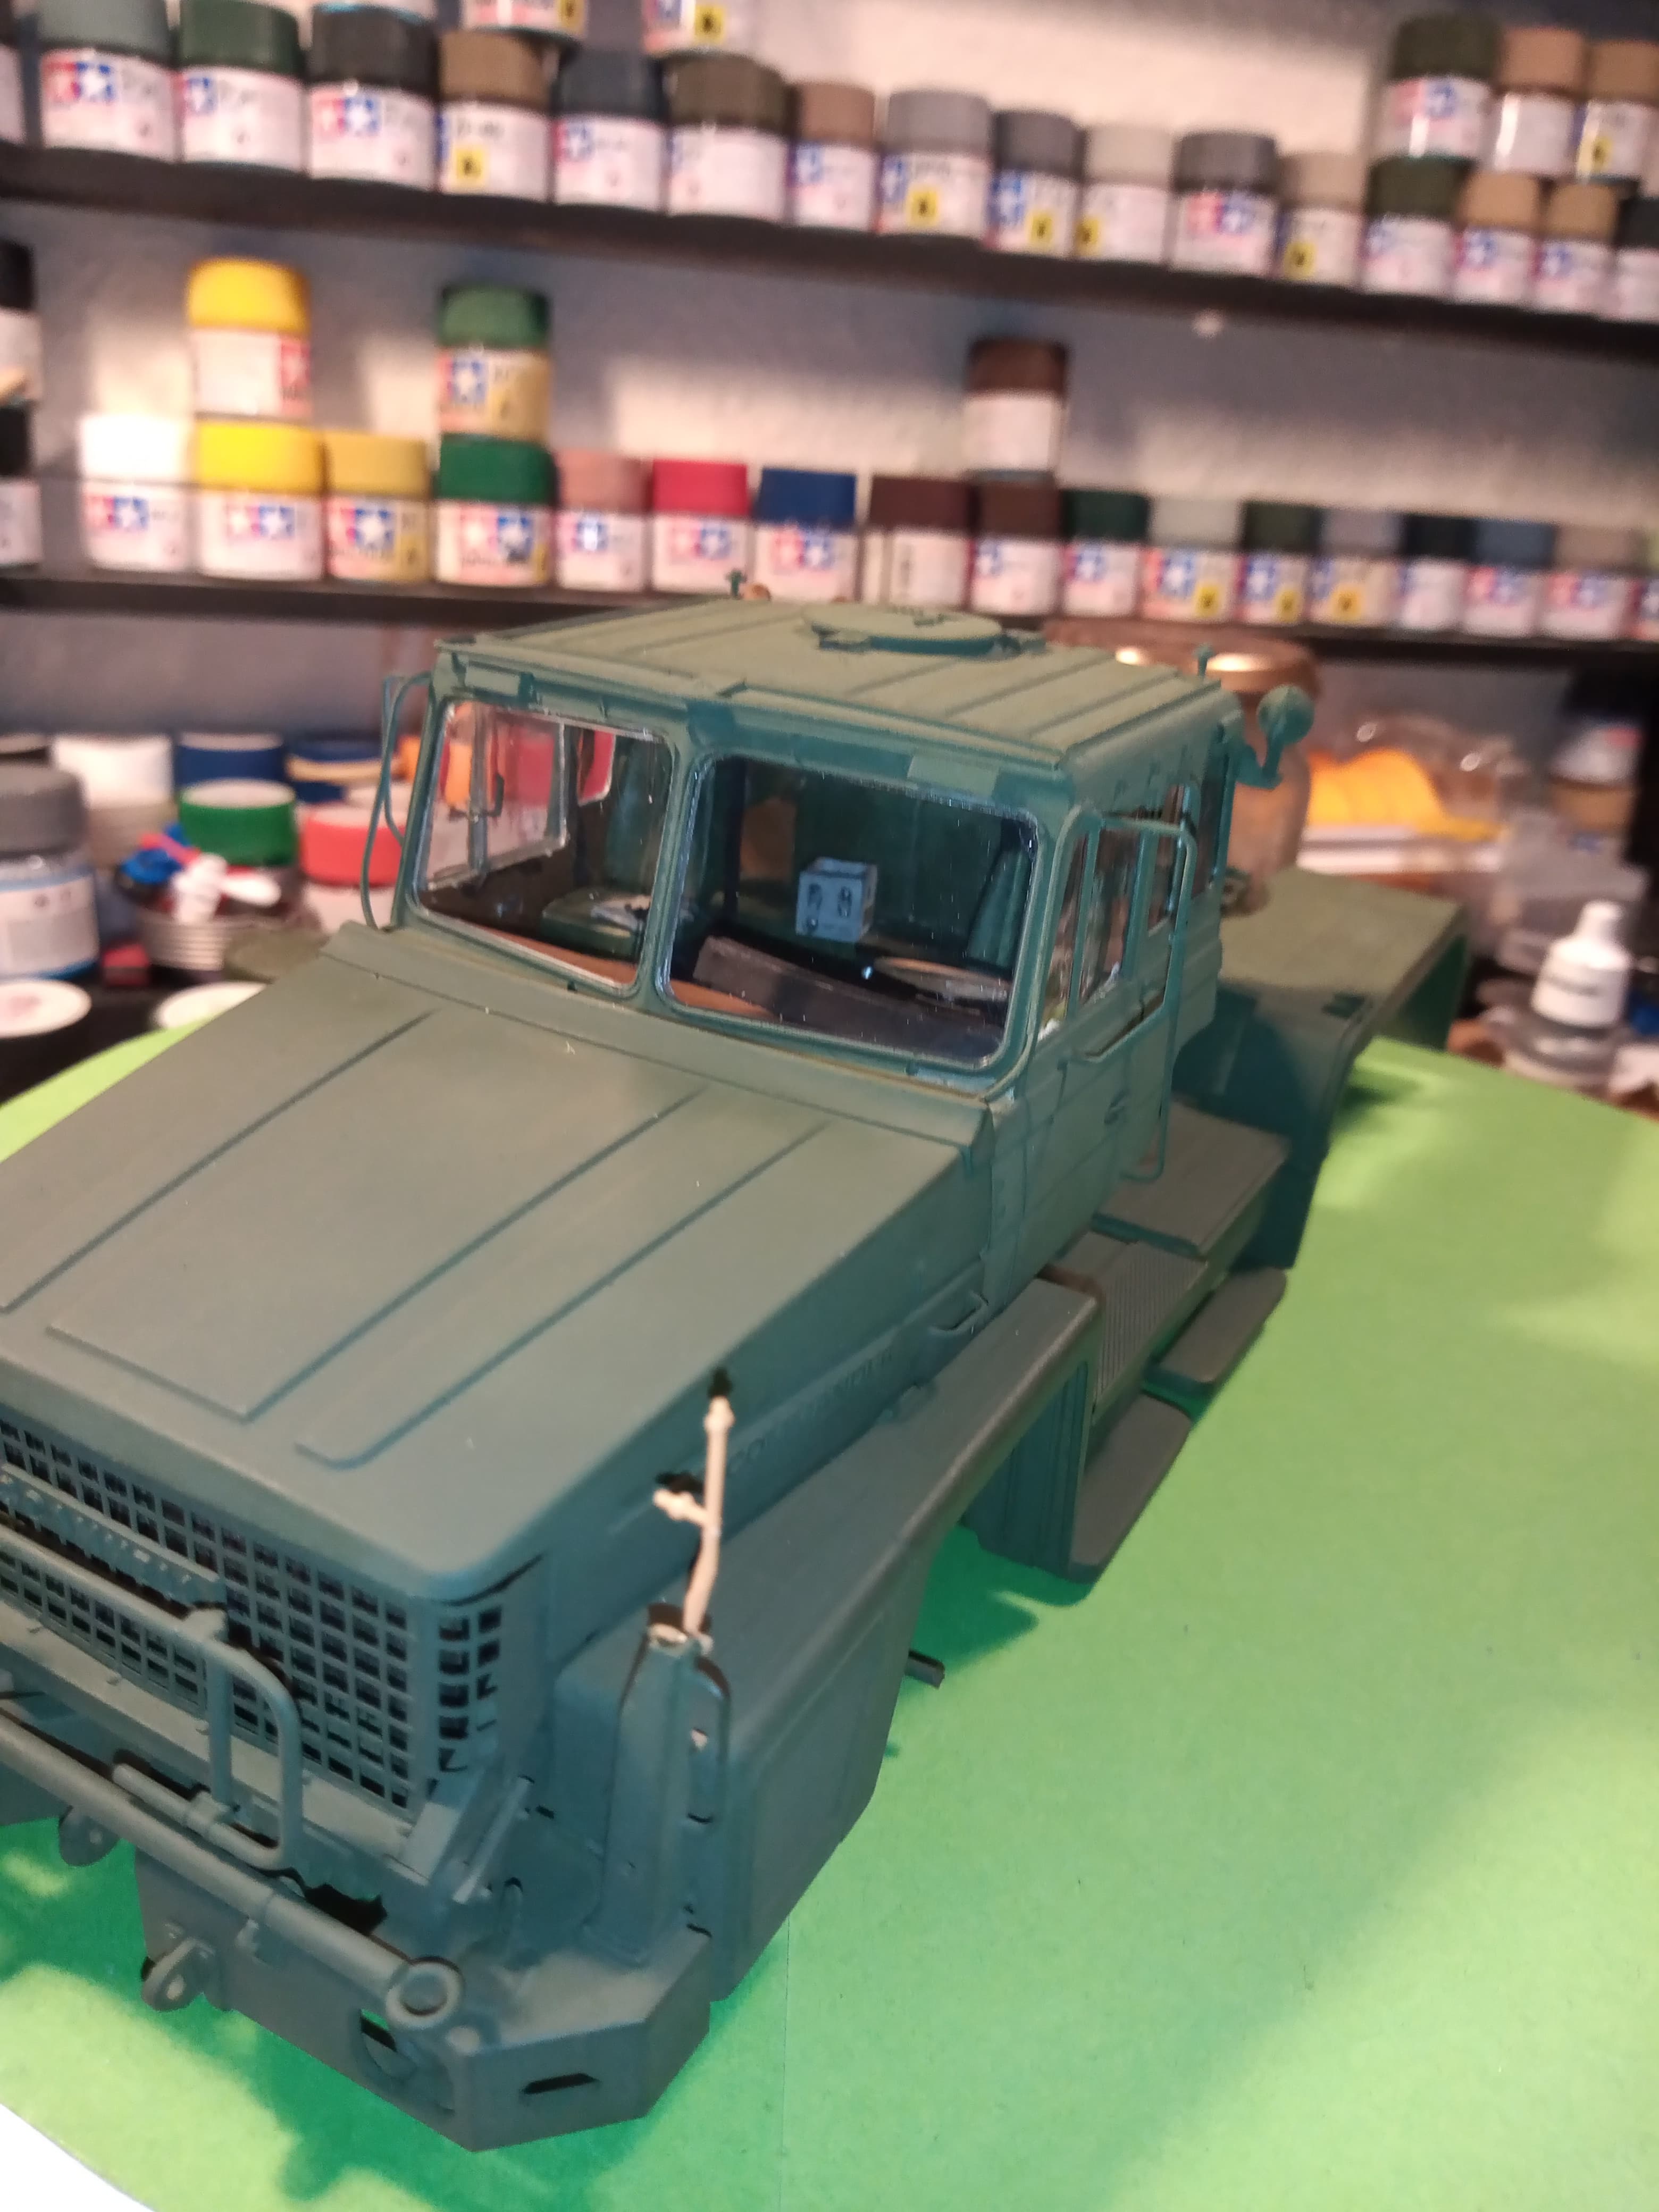
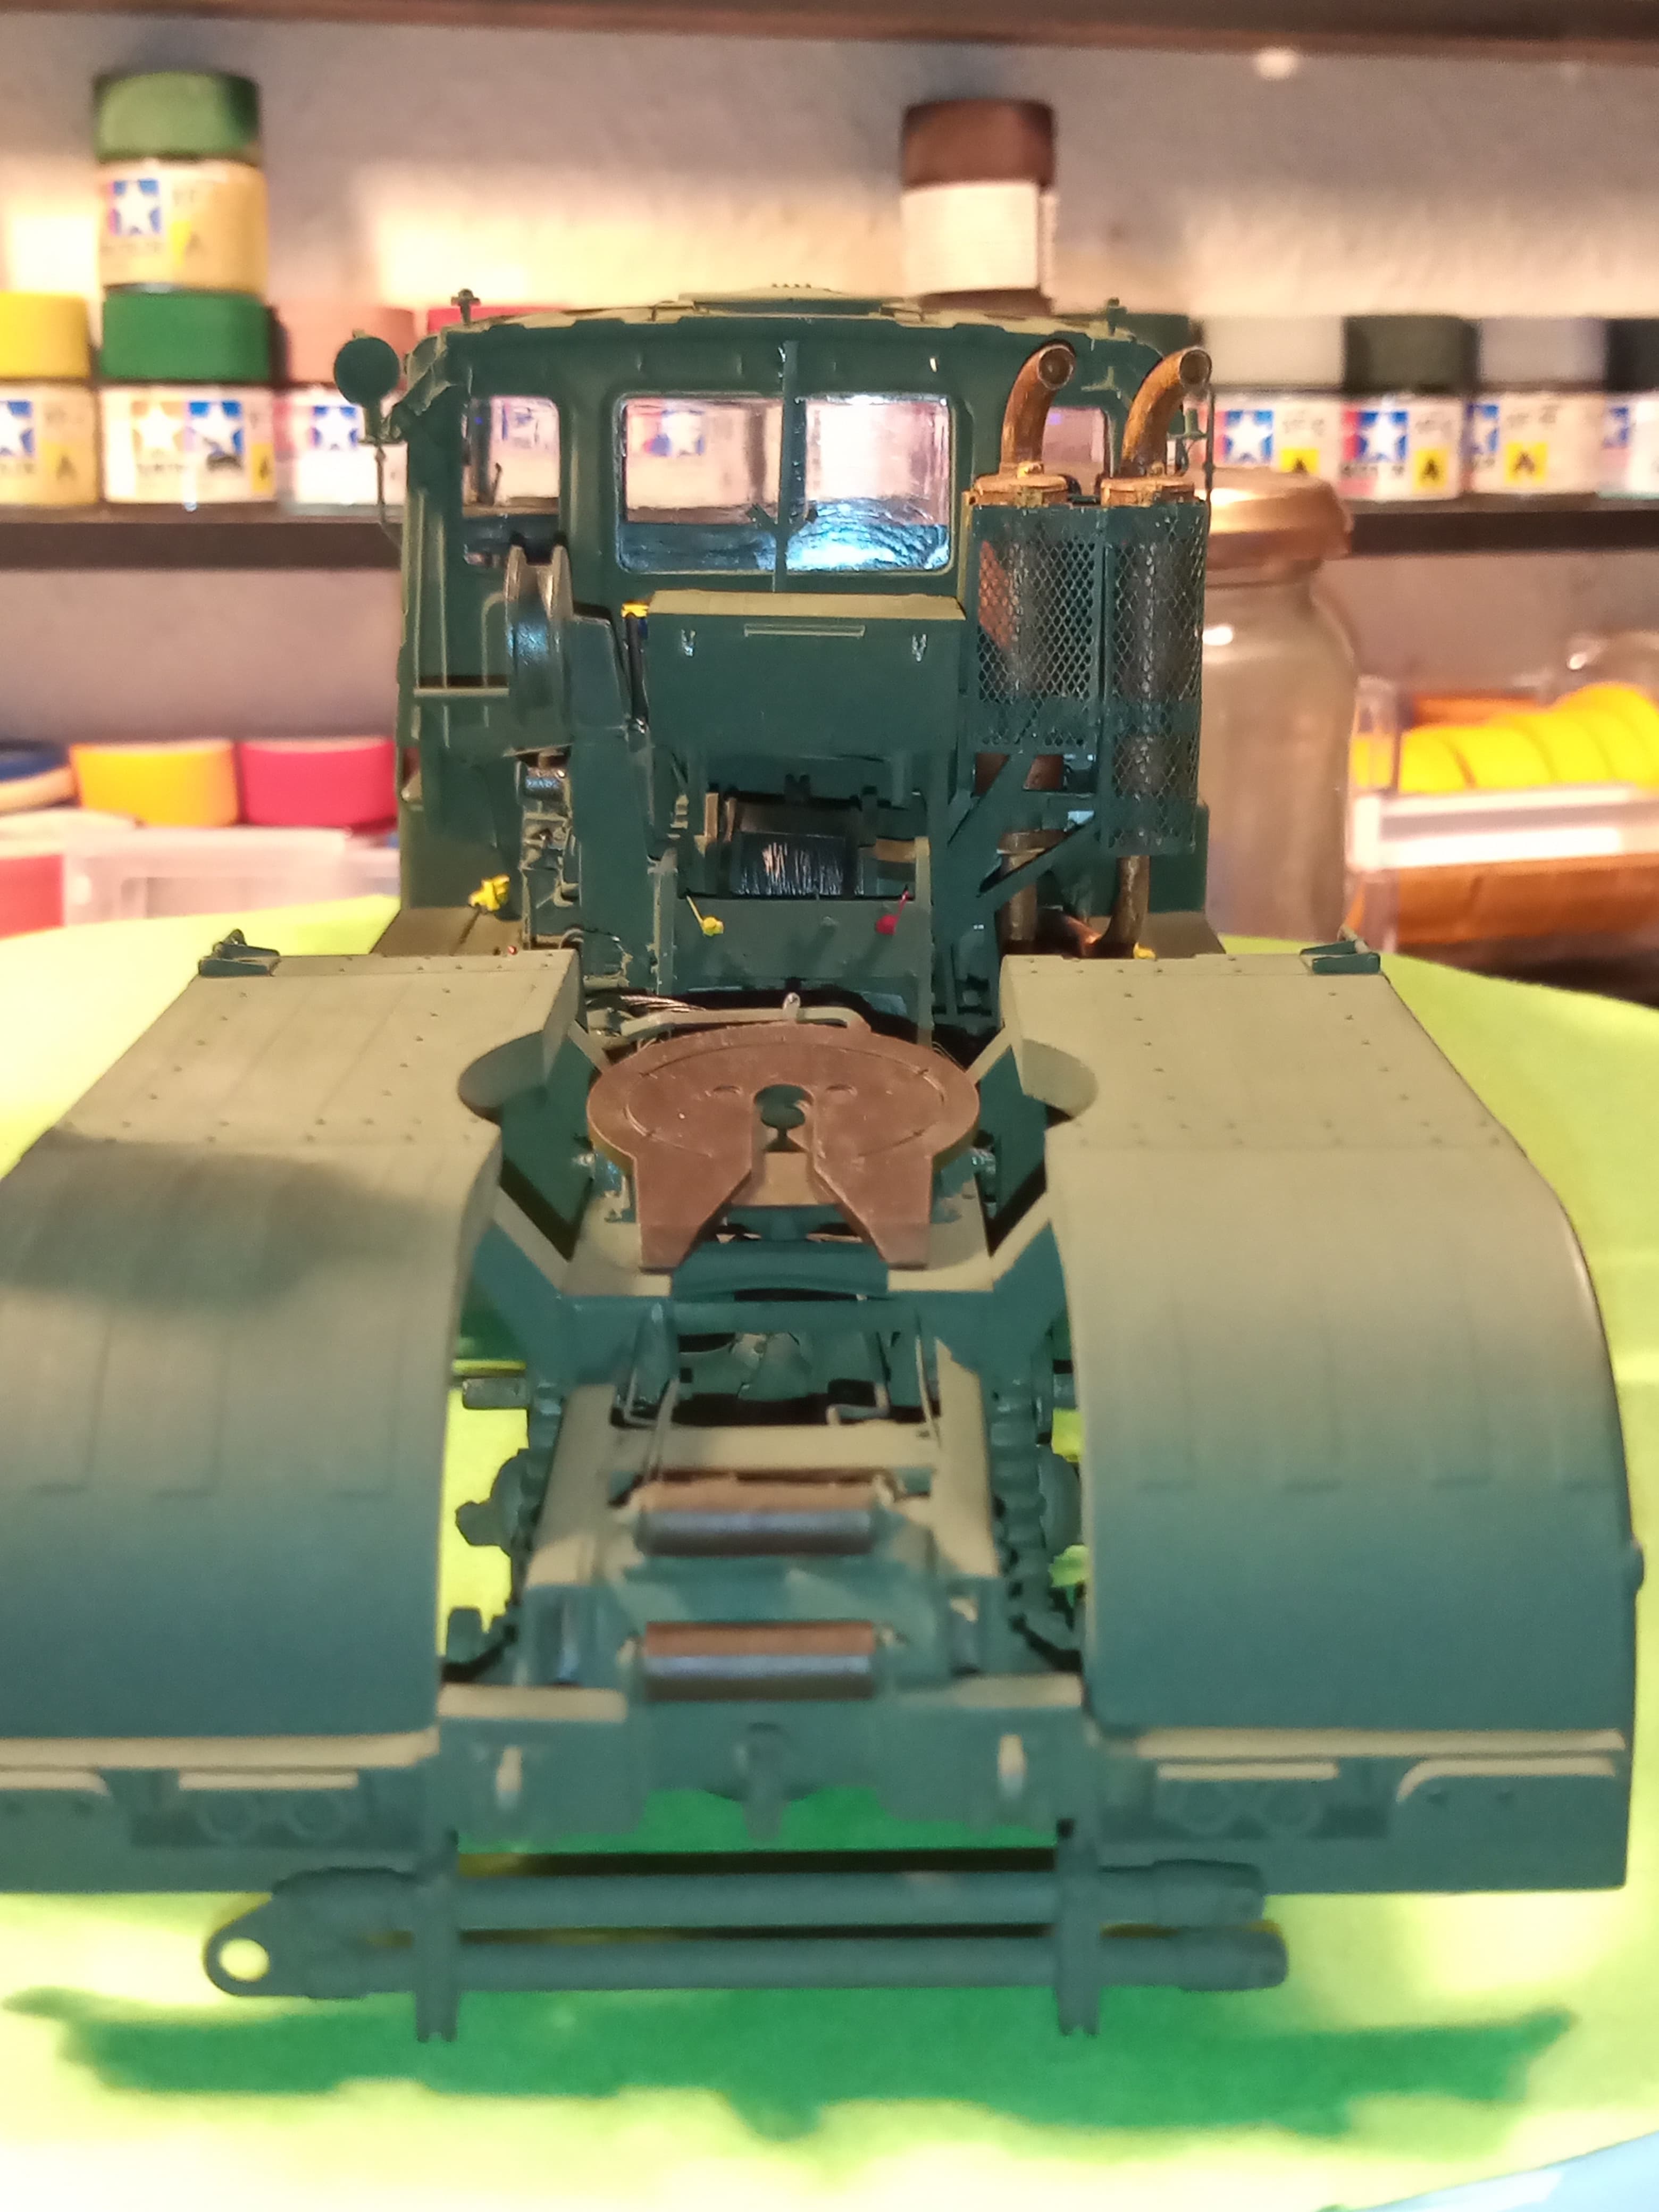
I too had some time to get the Commander a bit further along. I was able to get the cab and bonnet painted and then took the masks off the clear parts … Was nice getting that done.
It says to add one, then the other when attaching them to the tractor chassis, but I really wanted all the panel lines to marry up that run along the sides of the bonnet and cab, so glued them together first.
This is just a dry fit of the cab, but everything sits as it should, no gaps where there shouldn’t be any…
At the moment it really comes across as a big slab of green so some of the finer will remain difficult to see until I’m able to get a wash on it to highlight it all better.
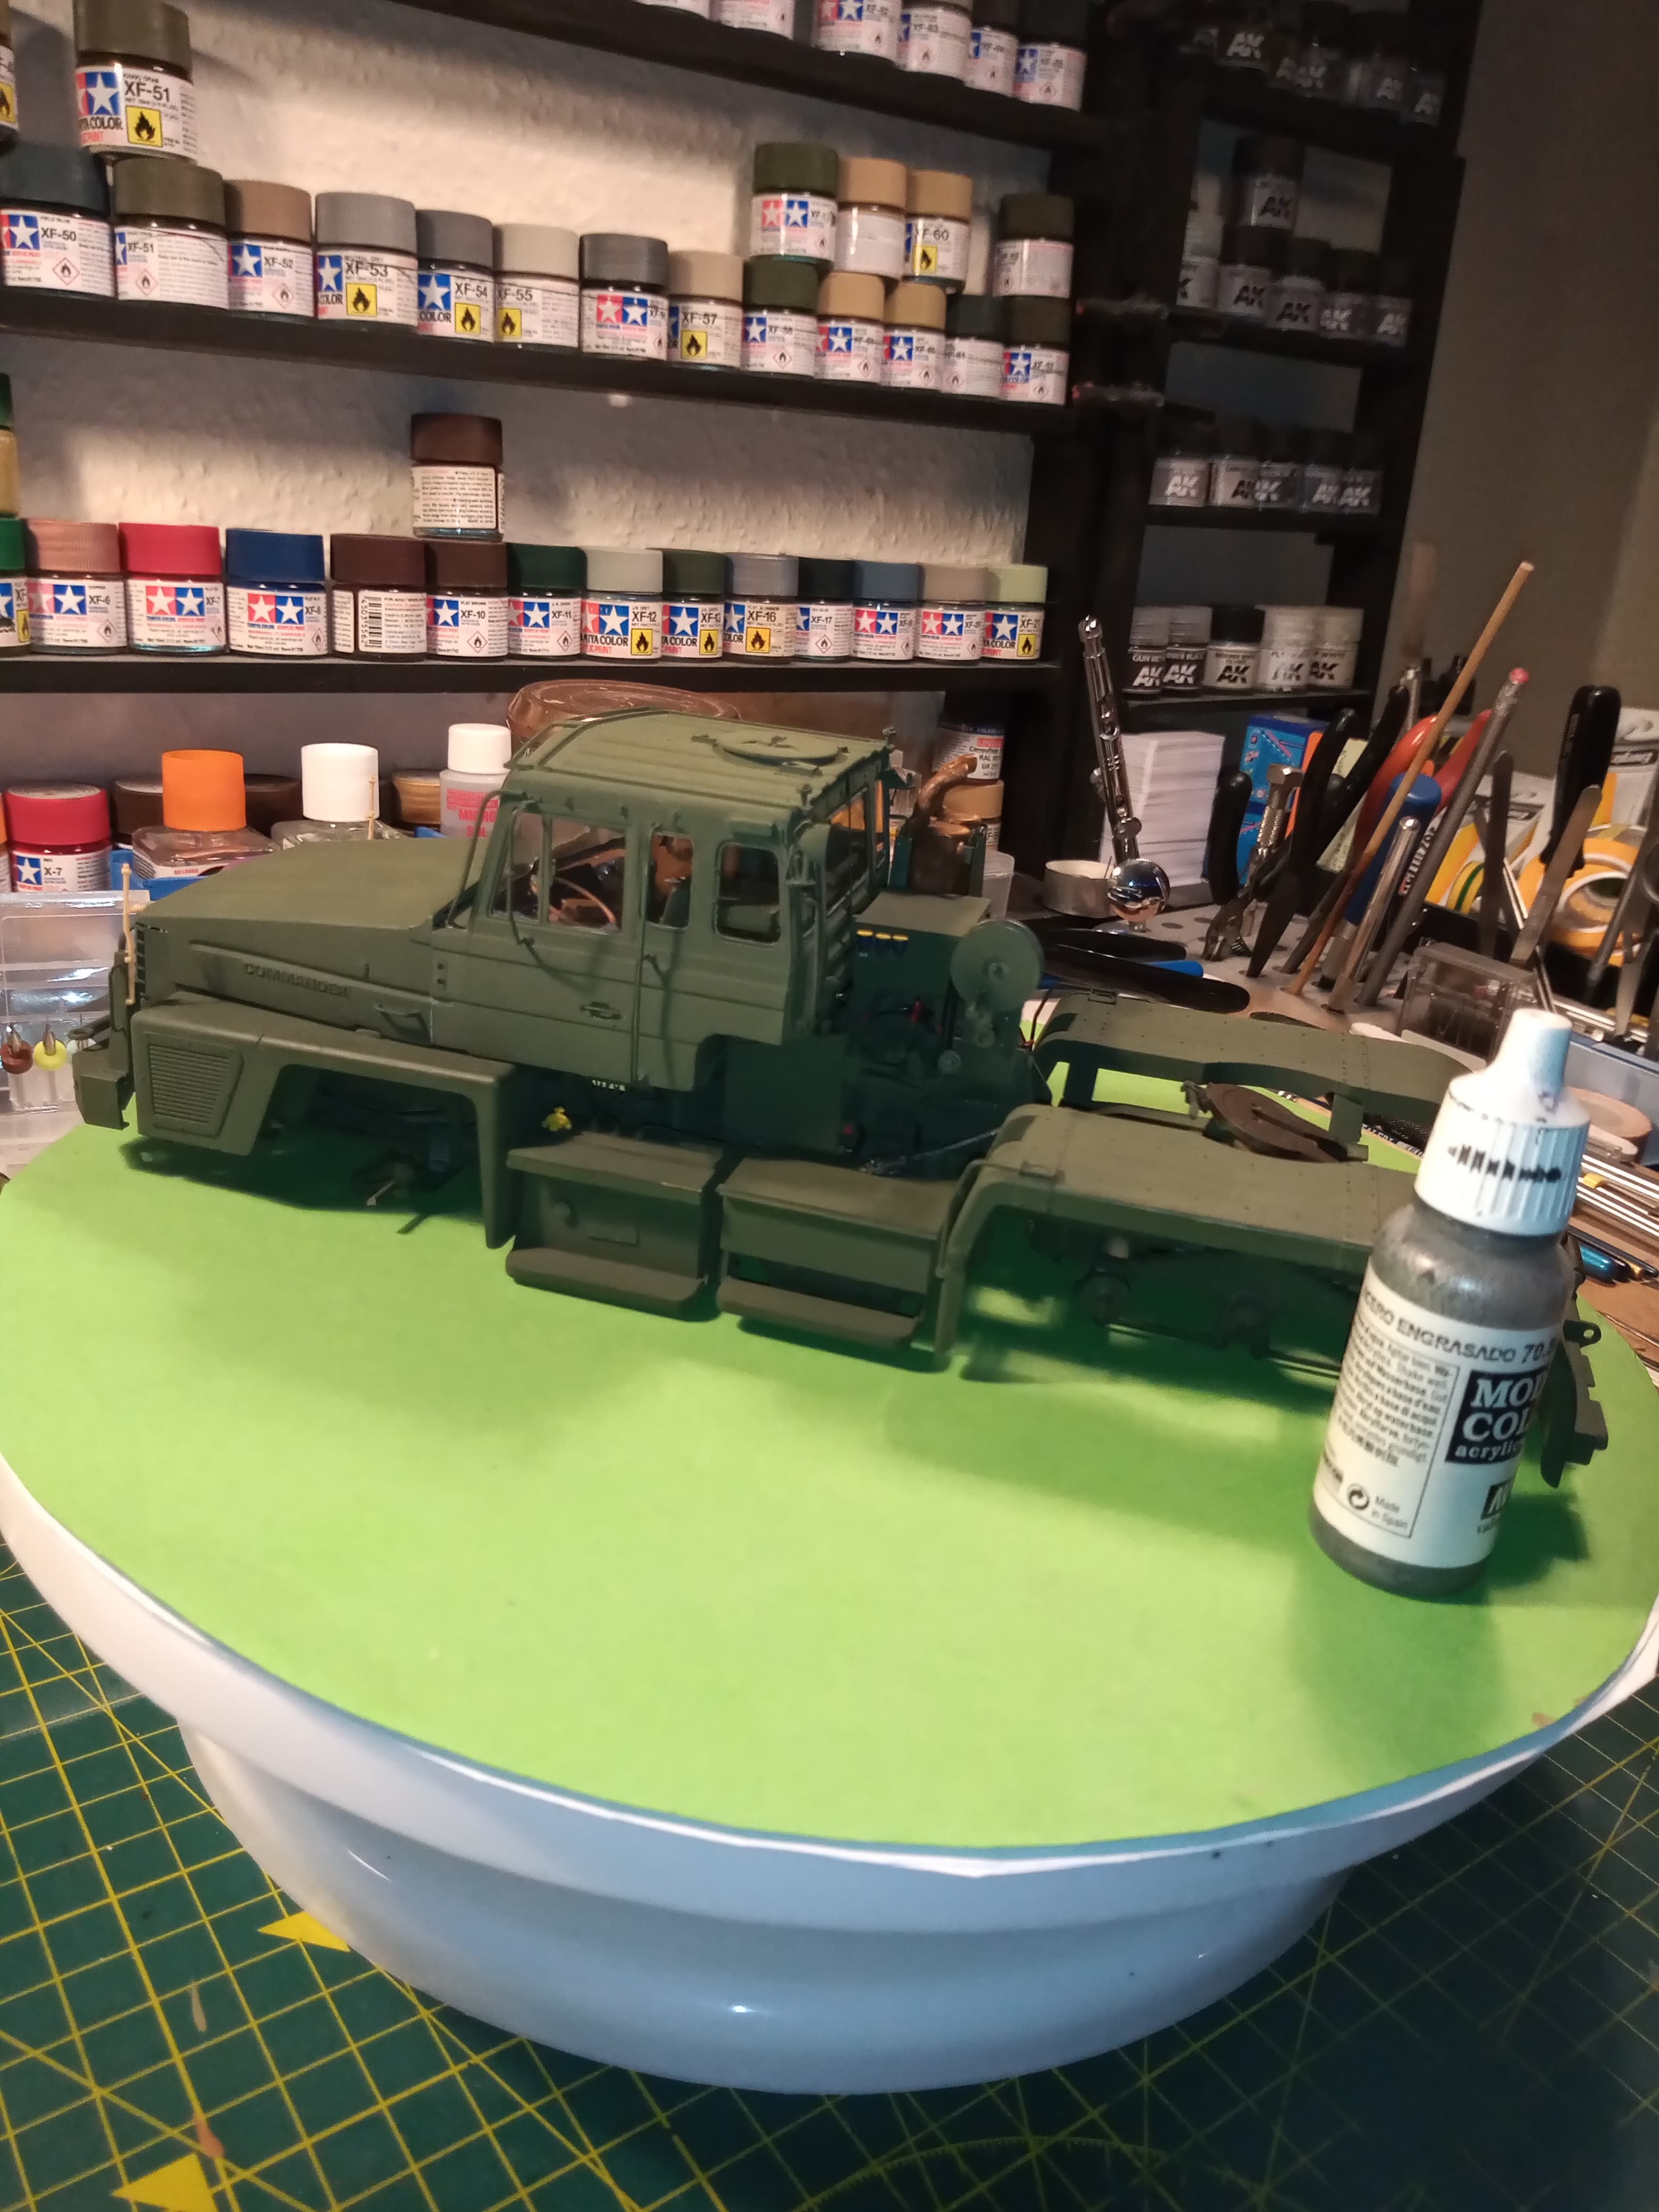
There is still a lot more detail painting to get finished but I wanted to get across the build as it is, and it’s size , just the tractor unit is 26cm nose to tail…
Among this lot, and the one above, you can see the hydraulic block under the cab with the added lines, which disappear in and around the chassis. Also, I am happy that I decided to use the Pantsir engine in this as it gives that area a better look as you look through.
I am also thinking of mixing some NATO green in slightly different tones, to highlight some parts to help break up the overall one tone it is at the moment…
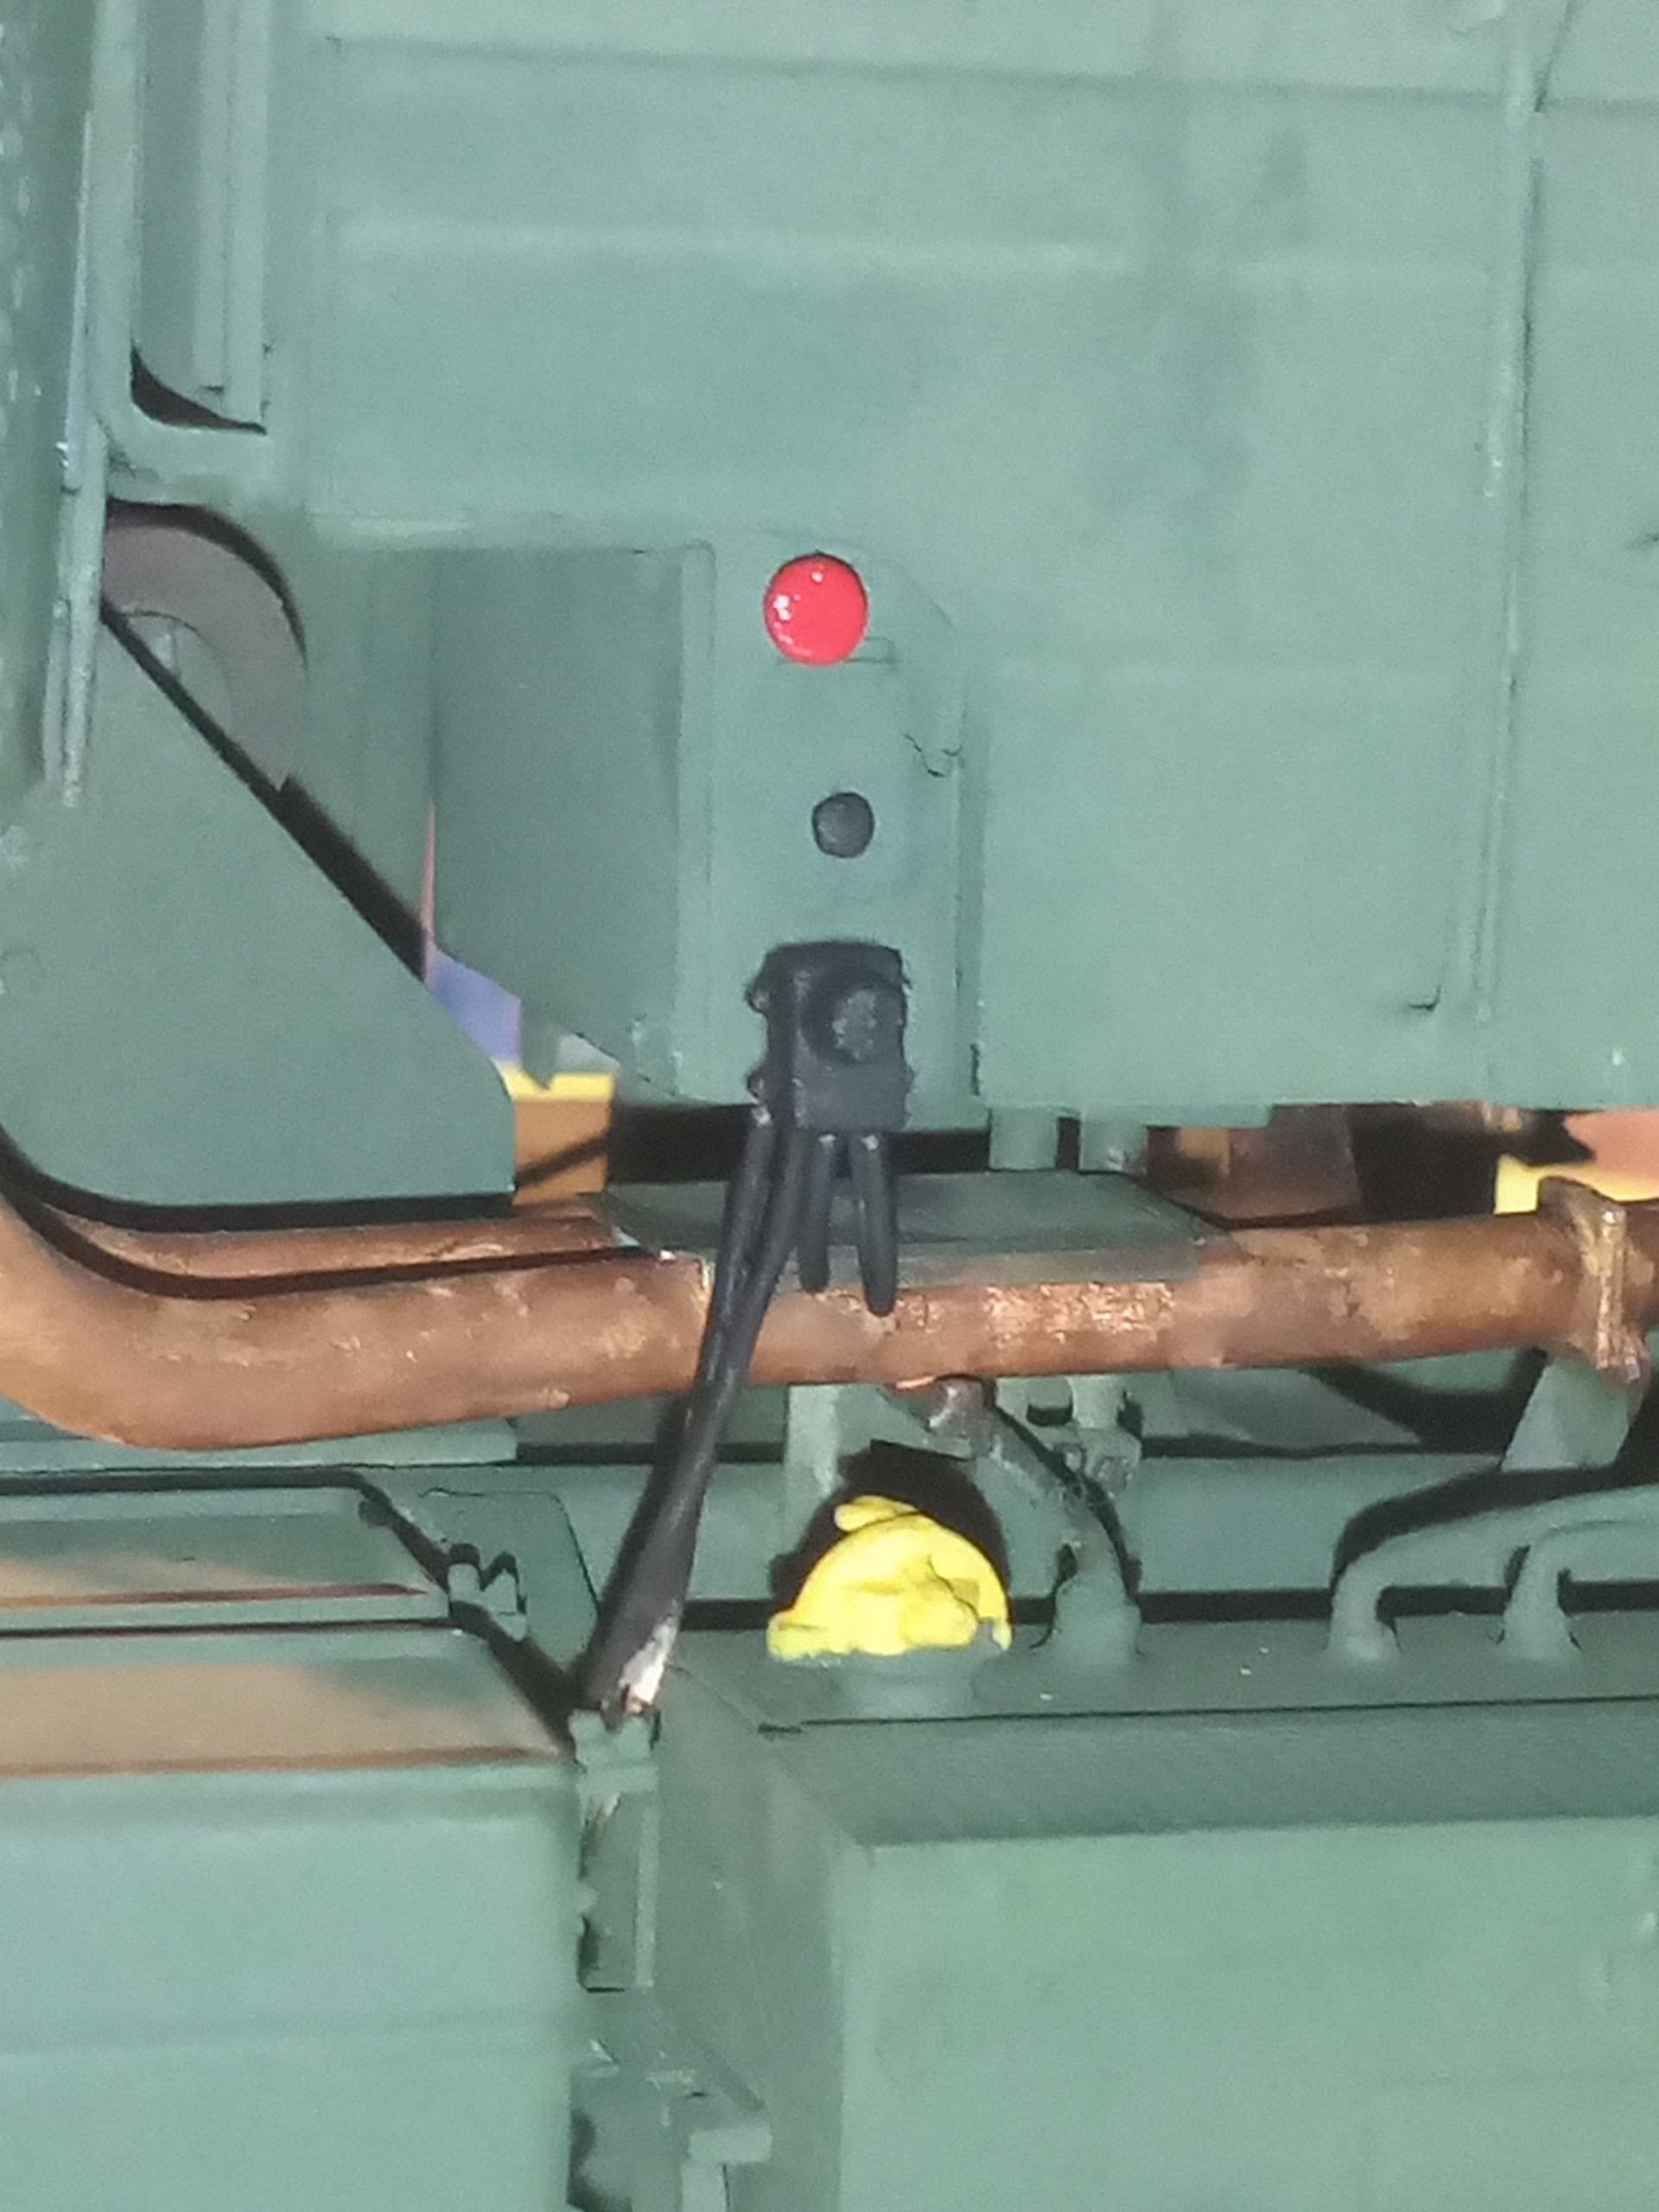
Did some more detailing today and checked some references …
Painted the small details around the battery master switch box and slave lead box and added the cables.
There is also a small emergency red decal to go on under the red button. Need to finish up painting the cables as well. I also used the Molotov chrome pen and did the mirror faces and the insides on all the main front lights and the spotlight
While looking through the Scammell Commander tech book I got from Frank @frank I found a couple of images of a wagon that has the VRN for decals included in the kit. It’s nice as it has a few hand painted areas on it, so I can incorporate those as well. Also, noticed the bumper on each side has a metal foot step under it, so need to do those as well.