Interesting choice, Erwin!
I am especially curious to hear your comments on the glue free tracks. So far I have tried a number of glue free plastic tracks myself, but so far none have turned out glue free for me. ![]()
Maybe these are….
Interesting choice, Erwin!
I am especially curious to hear your comments on the glue free tracks. So far I have tried a number of glue free plastic tracks myself, but so far none have turned out glue free for me. ![]()
Maybe these are….
Thanks… I will have to see how they work out. They are certainly sprue less. So that saves quite some time already.
Well, that seems to work out fine! No removing off the sprue. The ejection mark is in the centre of the the links, which will not be visible at all and with a bit of care, the links click together easily!

Engine hatch handles glued to hull then cleaned up. Exhausts and machine guns will be added after the hull is painted. Instructions say Olive Drab for the Whippet. Do I use XF-62 or is that too dark?
Now to start work on the suspensions. The tracks for the Whippet need some cleaning of gates but also seem to snap together.
I thought it was a brownish color. I did a mix of earth and deck tan, Xf-52/55 in a 1:1 mix.
There has been quite a discussion on said topic on Britmodeller. There is no real consensus about the definitive solution. Some say more green, some say more brown. I opted for the same colour as the Mark IV and similar tanks. Why, after all, would they maintain double standards for similar vehicles?
Beautiful tracks, Erwin! First time I hear of glueless working tracks that actually work.
Thanks for sharing ![]()
You’re welcome. As you can imagine, the other one is finished too, and they are in the box wait for the rest of the tank to be completed…
I have moved on to the huge task of removing the various wheels and cleaning them up. There sure are a lot of them.
And you can barely see them once installed.
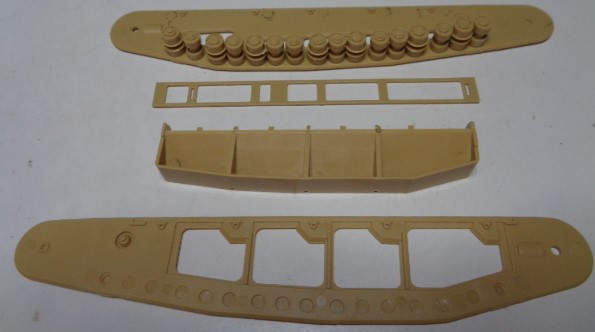
I am trying to dry fit the suspension unit, but it is putting up a fight. The road wheels are a tight fit on their shafts. some of them can’t go all the way down. Another issue is the mud chutes seems to be a bit too long. When I put everything together, it shimmies and creaks. The ladder like part is supposed to go on top over the mud chute, but it doesn’t fit.
I know I had to look carefully, but it did fit… Dry fitting was really necessary here…
Just to show and remind me of everything that goes in the side units, which is not visible after mounting the tracks…
All the wheels can rotate . Not that I am going to drive it around, but they do spin…

I decided to glue the ladder (D4) on the mud chute (C1), then try fitting it to the side (B13). I found a boss sticking out from the mud chute and removed it. That did the trick so I glued it to B13. I forgot about the return rollers but I don’t think it will be that much of a problem fitting them in. Next was trying to fit everything to the outer plate (C3). I had to flex the mud chute a bit to finally get it to fit, but eventually I got to fit nice and tight.
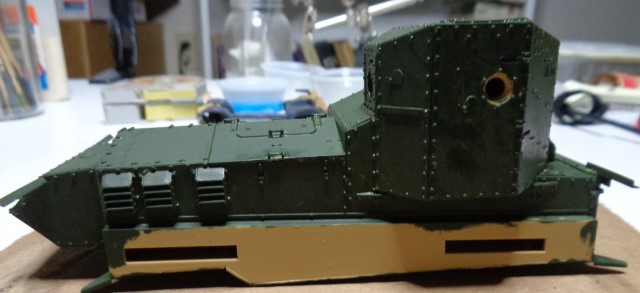
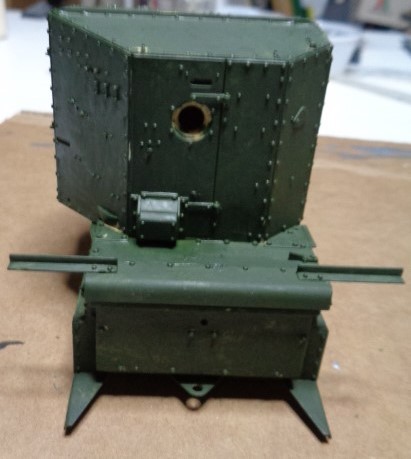
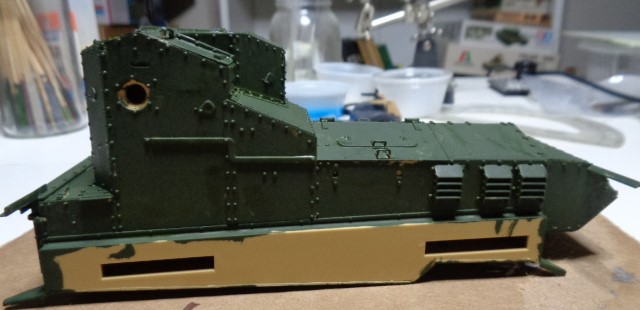
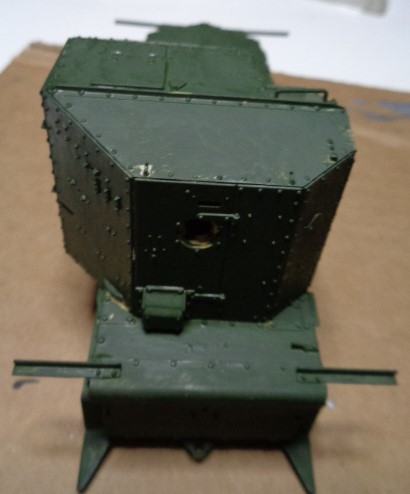
For the Eagle-eyed viewers, you can see the rear “Mustaches” are facing the wrong way. I tried liquid glue and prying but they refused to budge.
Working on tracks.
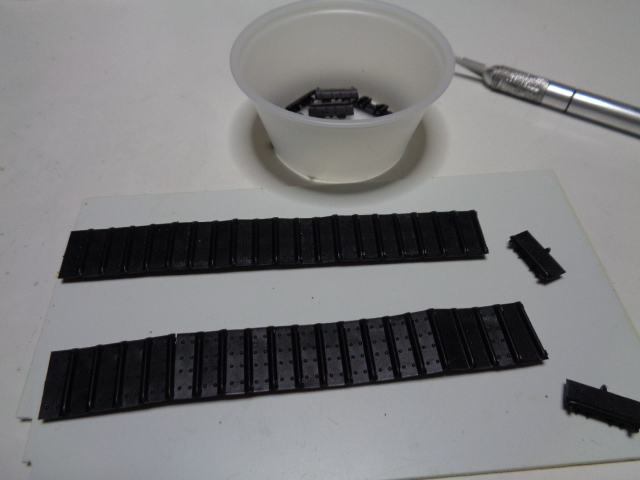
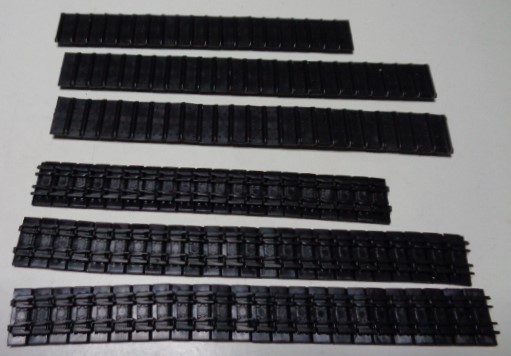
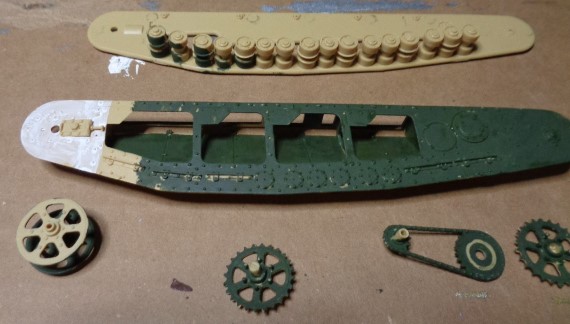
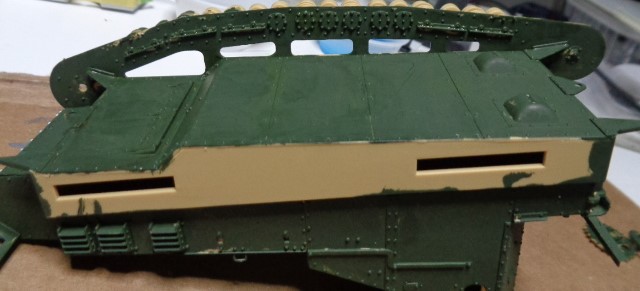
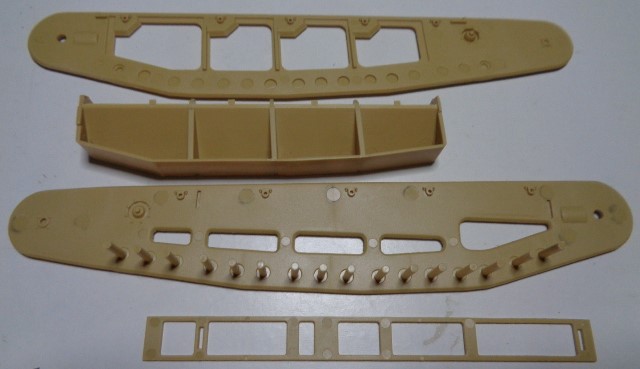

Progress today. Tracks are all done except for painting and fitting to the model. Painted the outer side of the left suspension, then I taped the left suspension assembly to the hull and painted the inner side. Cleaned up the parts for the right side.
The clamps are to hold the inner and outer sides of the left suspension while I place and glue the return roller, one at a time. I have to do this because I glued part D4 (the part that covers the top) and completely forgot I had put the return rollers in first.
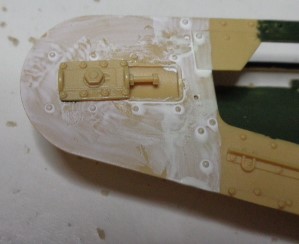
Mounted the track tension adjuster too far to the rear. Fortunately, I was able to loosen it with glue and pry it off. This shows the correct position.
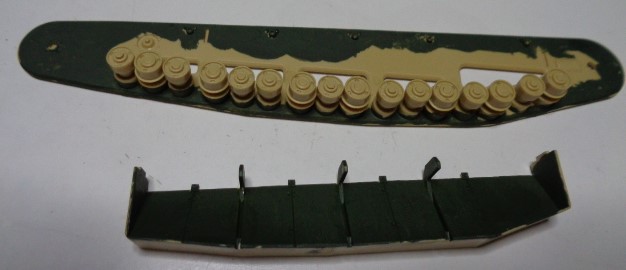
Painted the right suspension mud chute and the inside of the inner plate. Also placed the second to last return roller on the left suspension.