Well, here I go again, kicking off another build, while still so many more are not yet completed.
This is Italeri’s 1993 vintage 1/35 Panther A. I’ve had it in my stash since it was a new release, and am finally getting around to building it. I started the build yesterday at the AZ AMPS meeting, and made pretty rapid progress so far before reaching where I need to start doing some paint work.
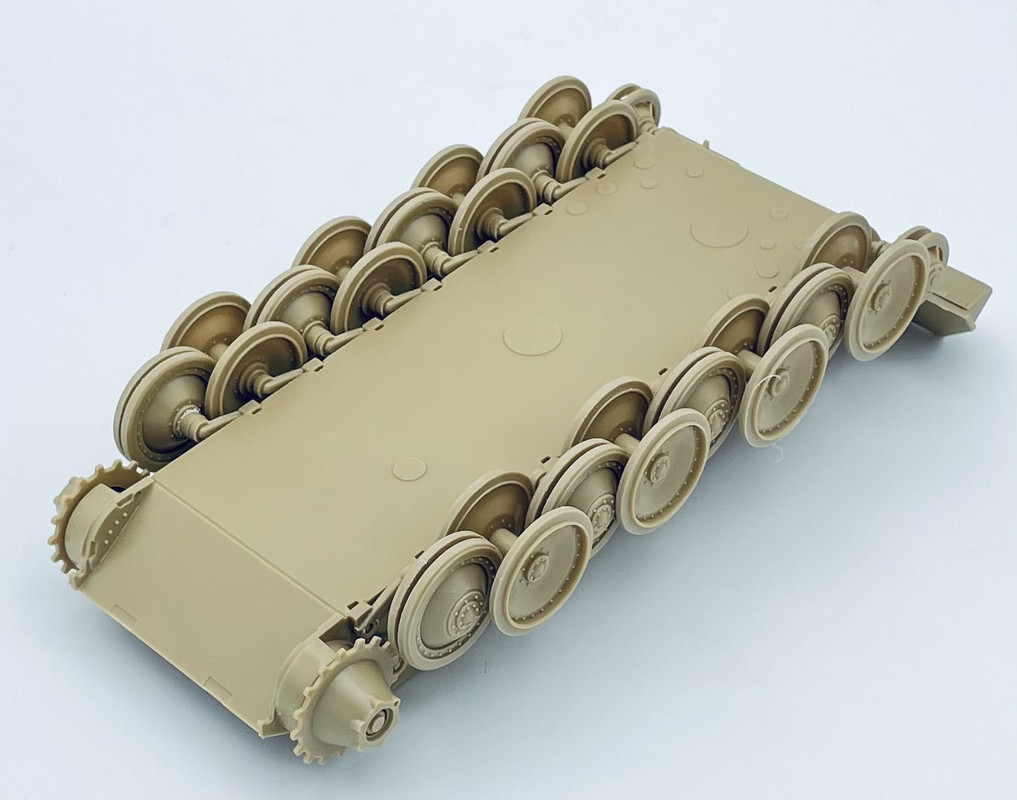
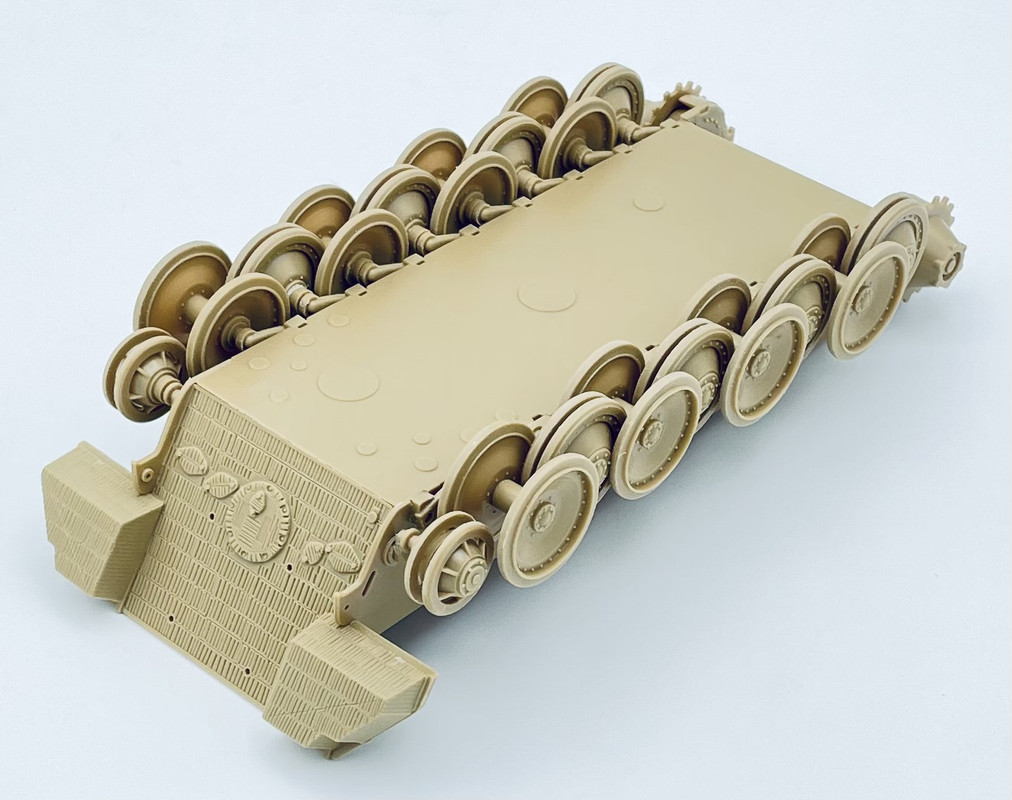
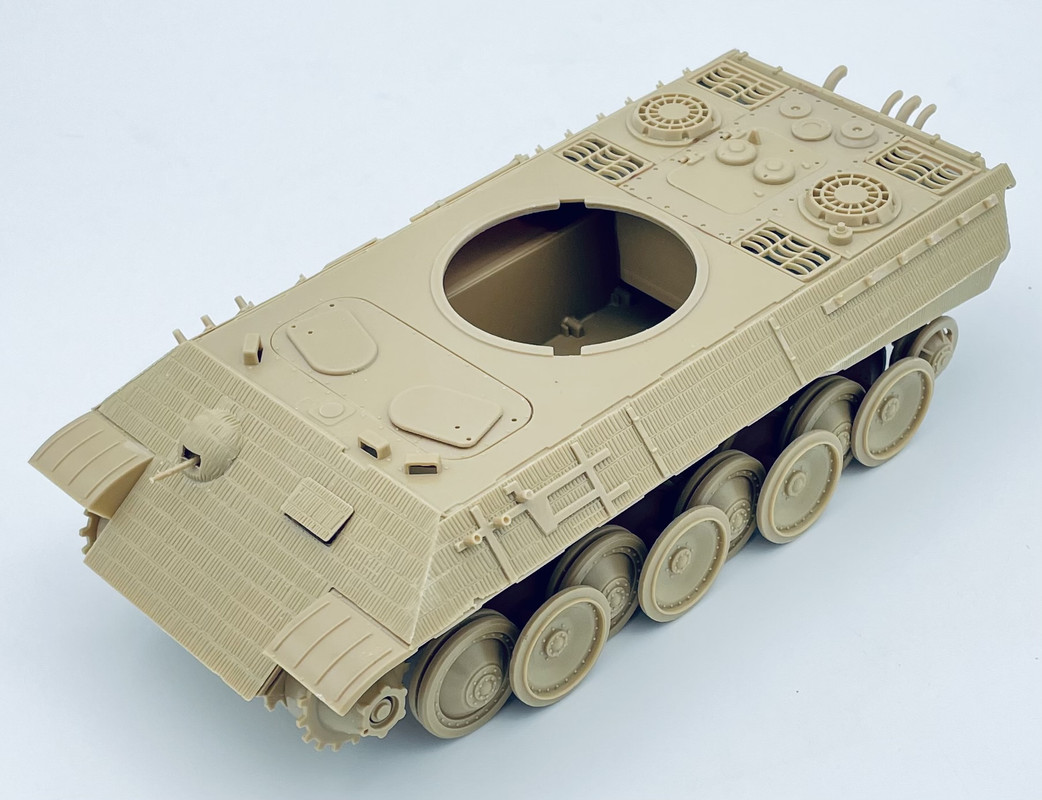
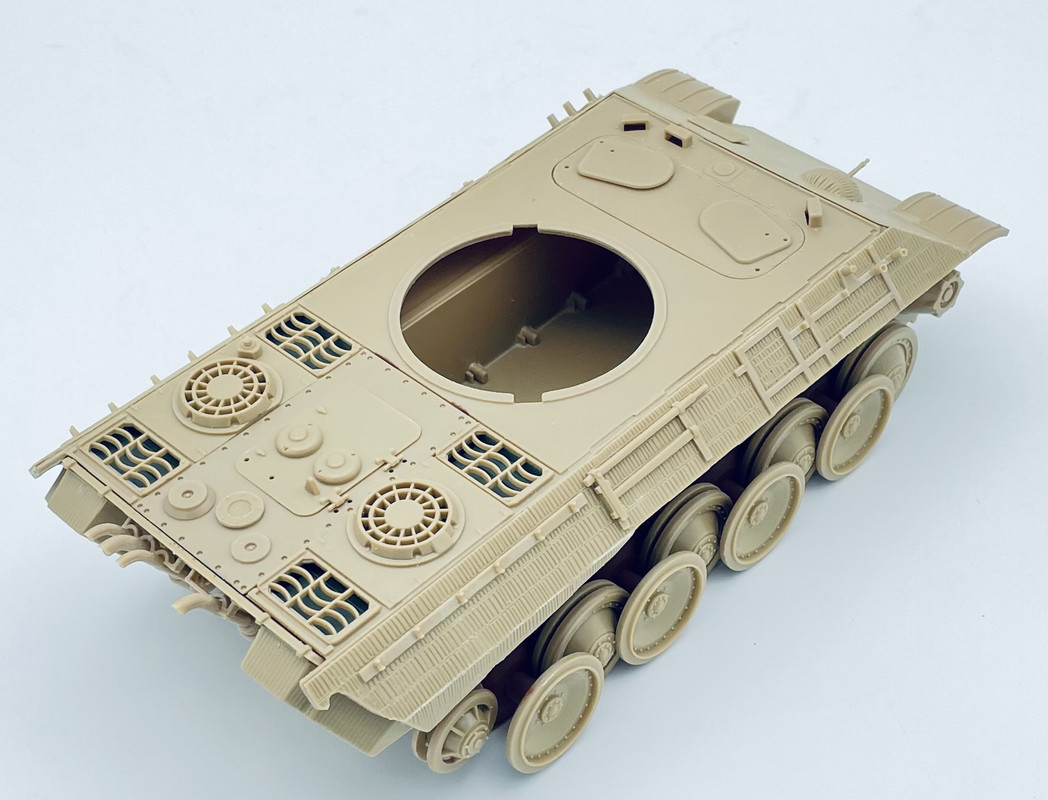
I was able to get most of the lower hull, and running gear built
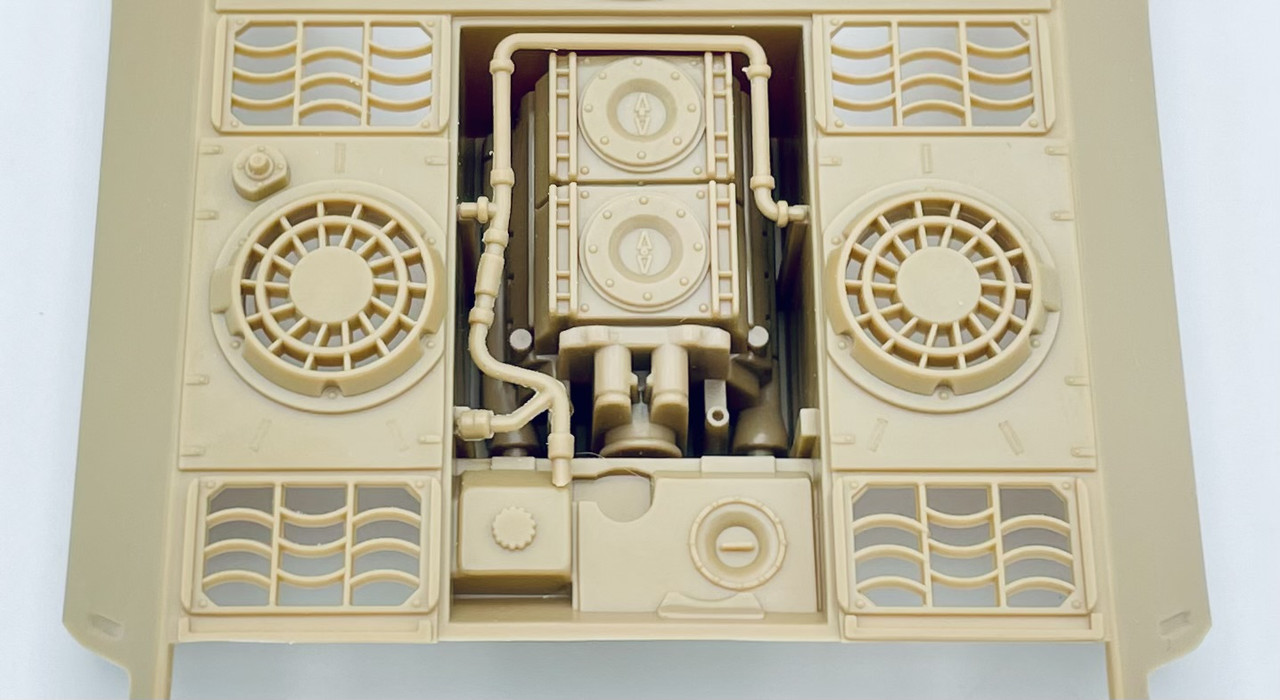
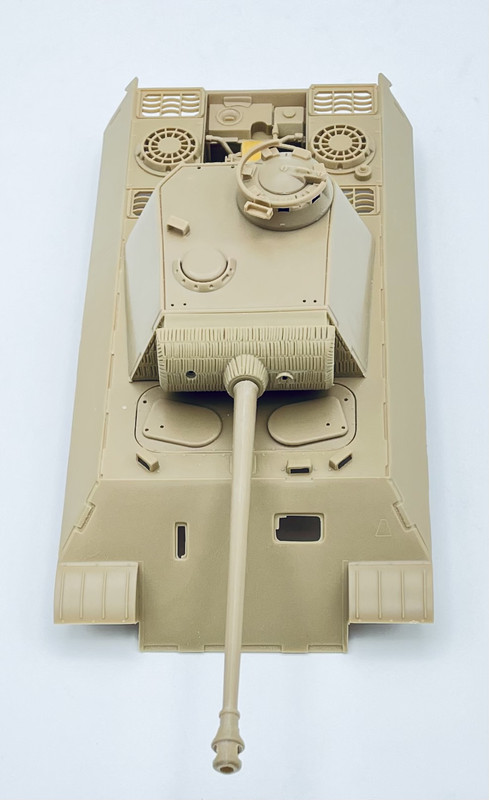
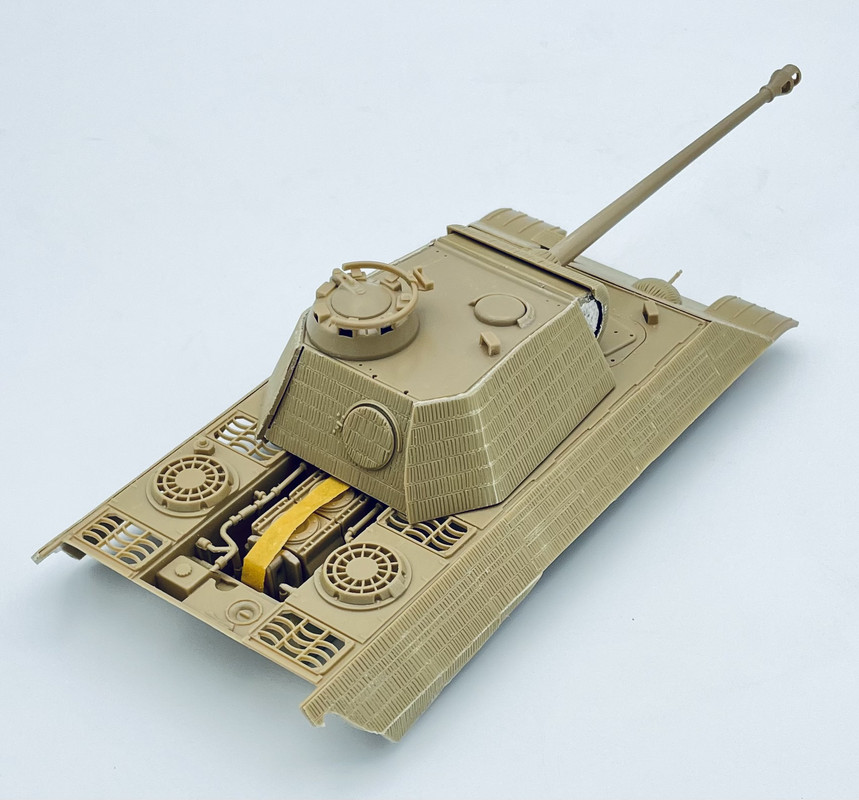
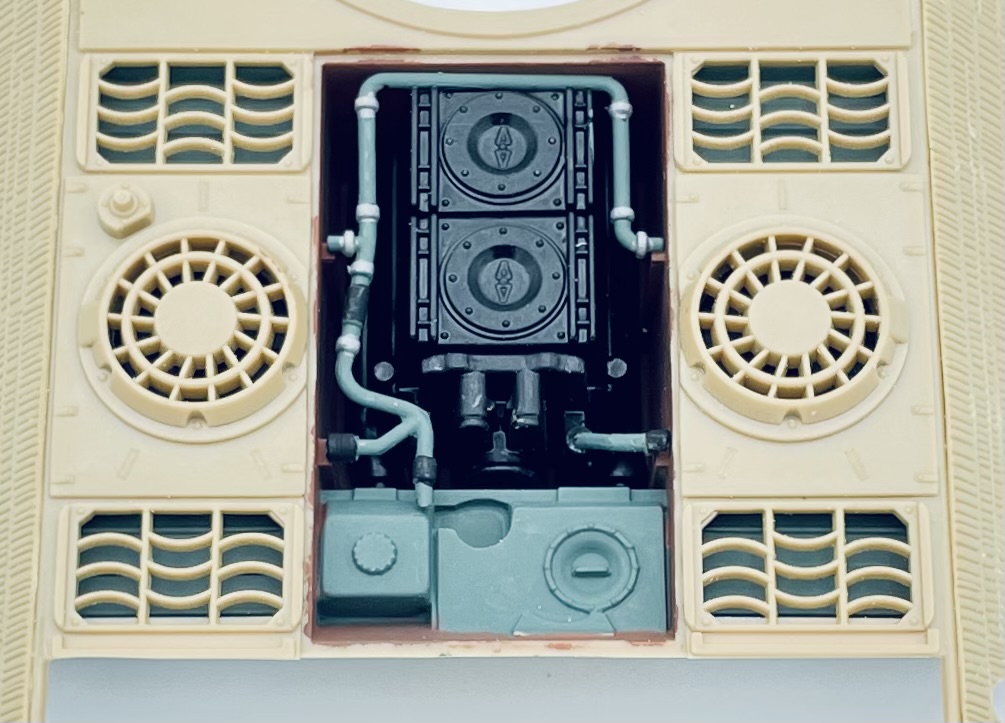
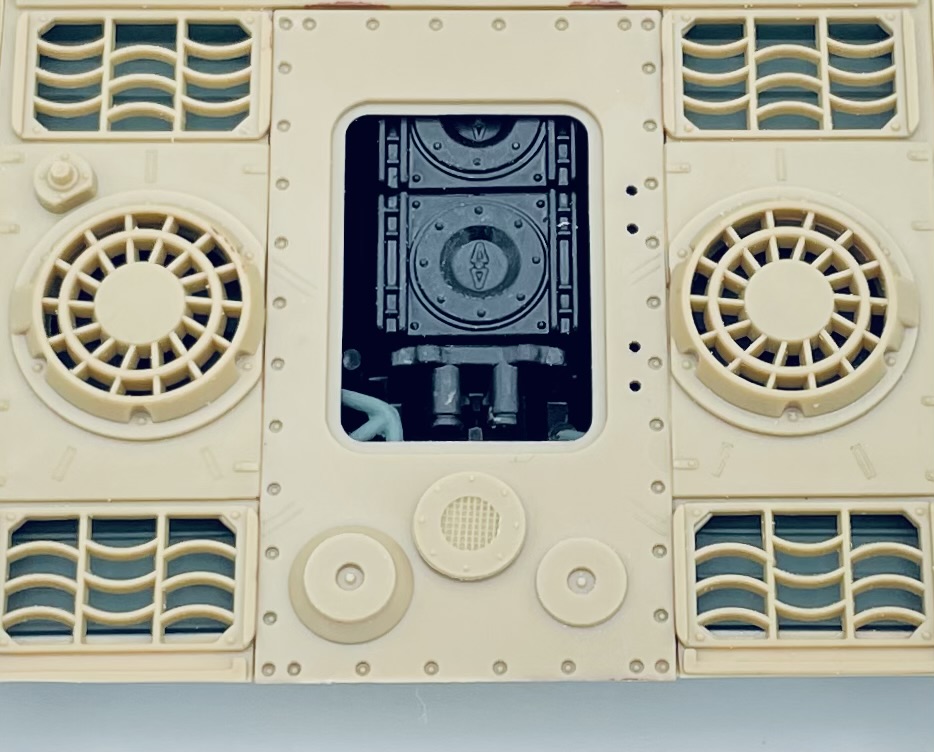
The kit even includes a basic engine compartment, although I will not deep dive into this one as I did on my M47 from 2021
and I was also able to get the insert area for the driver and bow machine gunner built and installed
the kit comes with alternative pre made zimmerit parts, but they are a bit thick, so I will be thinning those down before installing those. The next update will be after some painting, and getting those items taken care of…
I strongly recommend that you read the review if this kit by Cookie Sewell. He dispels criticisms of this kit and provides any necessary corrections. I love Italeri kits. To me, they are fun to build.
Thanks for the tip on Mr.Sewell’s review of this kit. Any idea where I can find the review, as I am having zero luck via google search, and Scalemates haas no link to the review for this kit. I’m with you on liking Italeri kits and enjoy building them as well for the fun factor.
Thanks Tony. I’ve got so many projects going right now, I’m trying to balance them all and slide a few that are nearly done past the finish line first.
Well yesterday was our monthly AZ AMPS meet, build, and BS session. I figured that I hadn’t worked on this one in awhile, so I brought it along to work on.
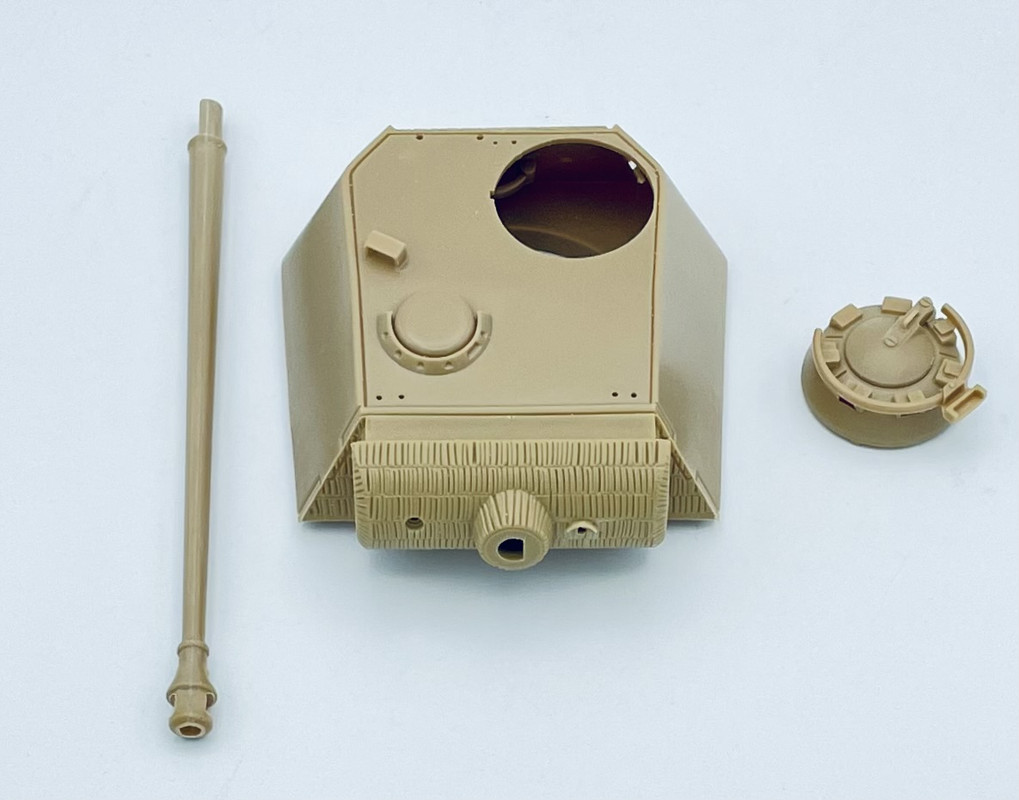
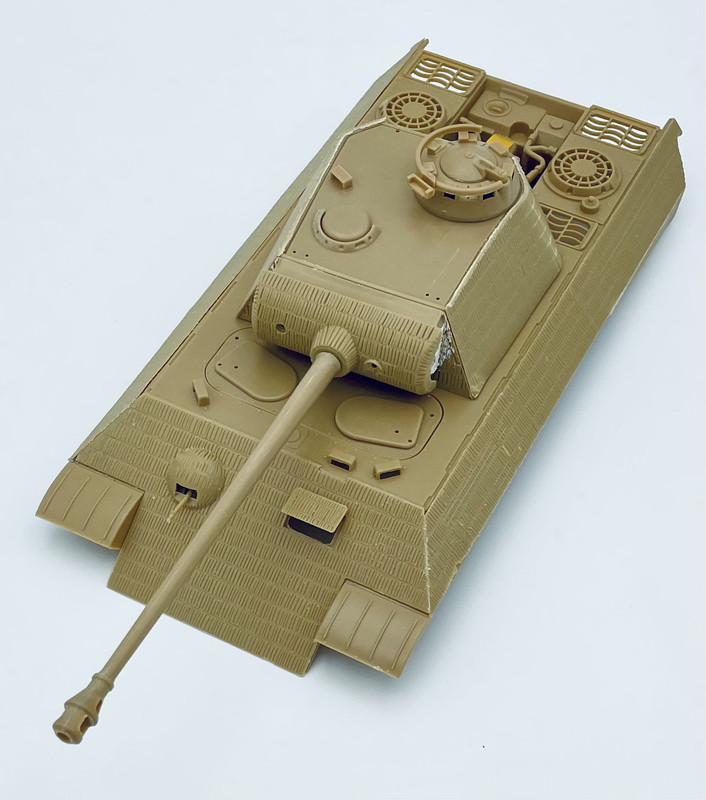
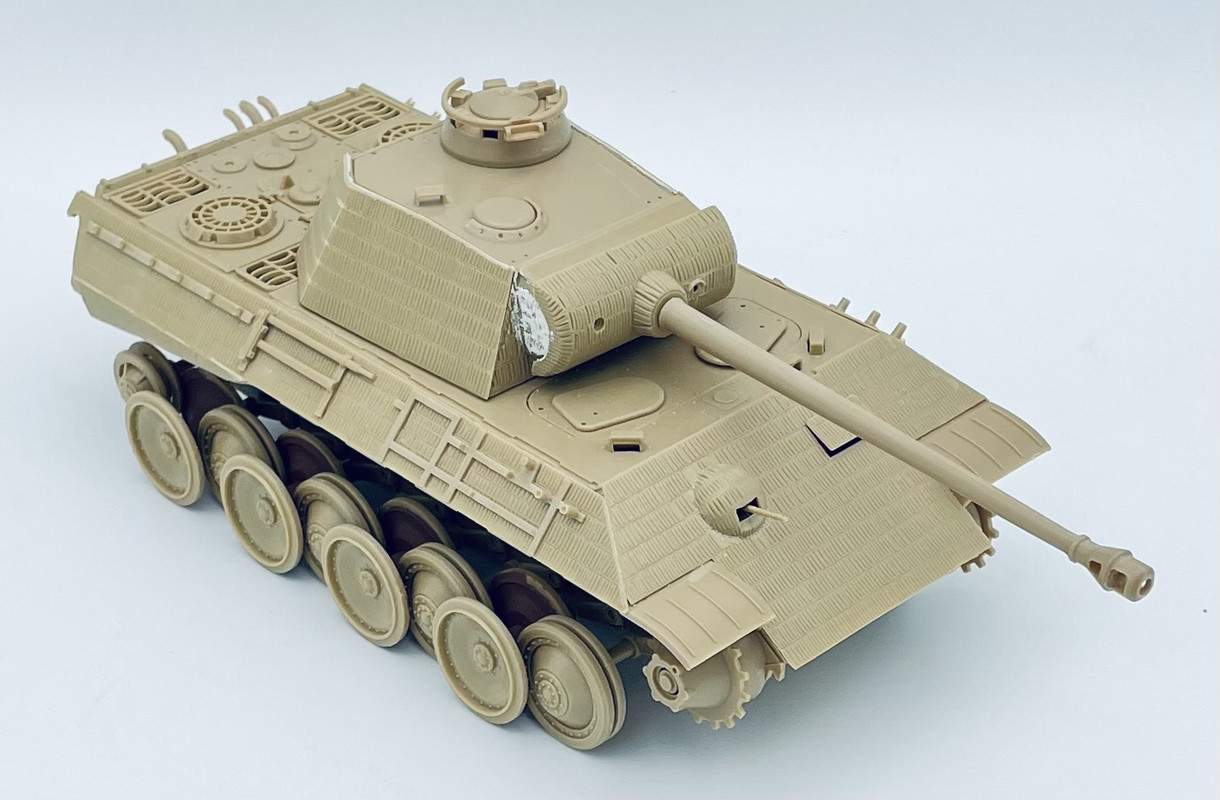
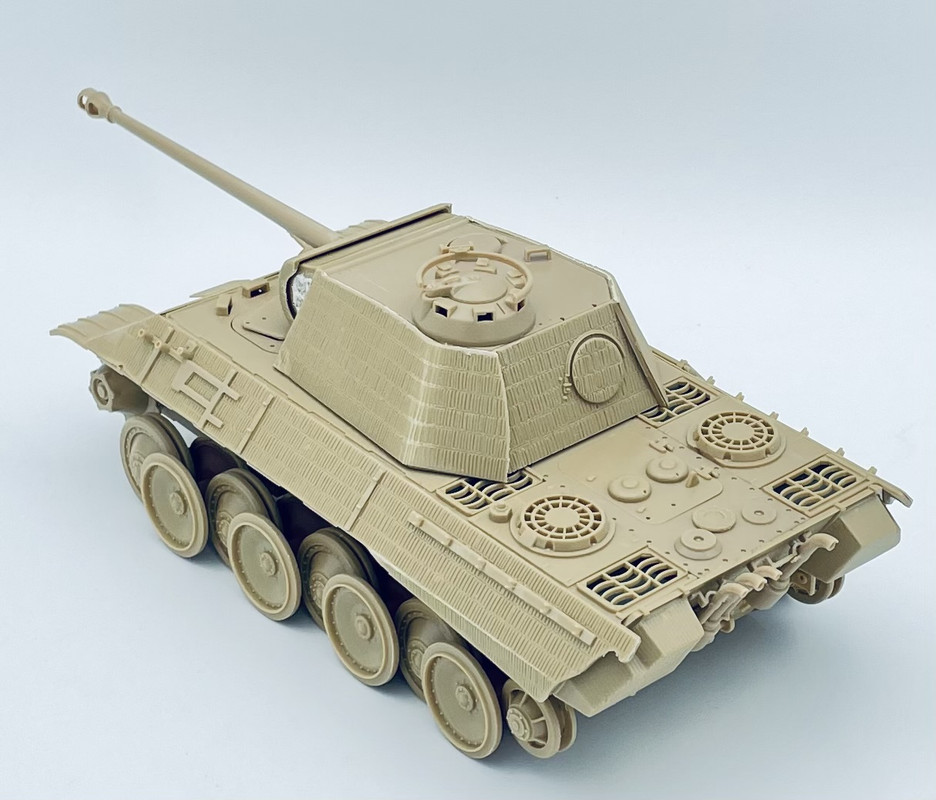
My main area of focus was the turret, so I built the main areas of turret, couple, mantlet, and gun tube…
I’m using this kit’s zimmerit parts, although Italeri neglected to put the zimmerit on the sides of the trunnion points behind the mantlet, so I’ll need to add some there on my own.
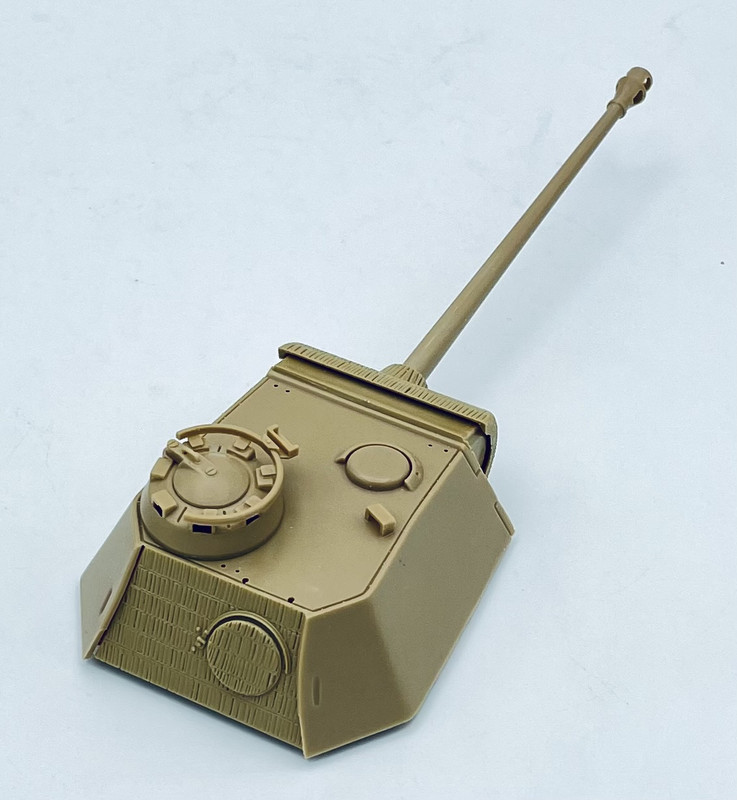
Here is a test fit rear quarter view with the cupola and gun tube in place
I need to thin down the kit zimmerit turret sides with my Dremel before I glue those in place, as it is way too thick as molded…
One of the critiques of this kit is that the base of the turret sits too high as molded and leaves a noticeable gap against the hull top deck. So I sanded down the turret bottom part to sit higher inside the sides to remove that aspect…
and I also added most of the parts to the hull rear… I didn’t like the kit jack that stows between the exhaust pipes, so I’m gonna replace it with a better one from my spares bin…
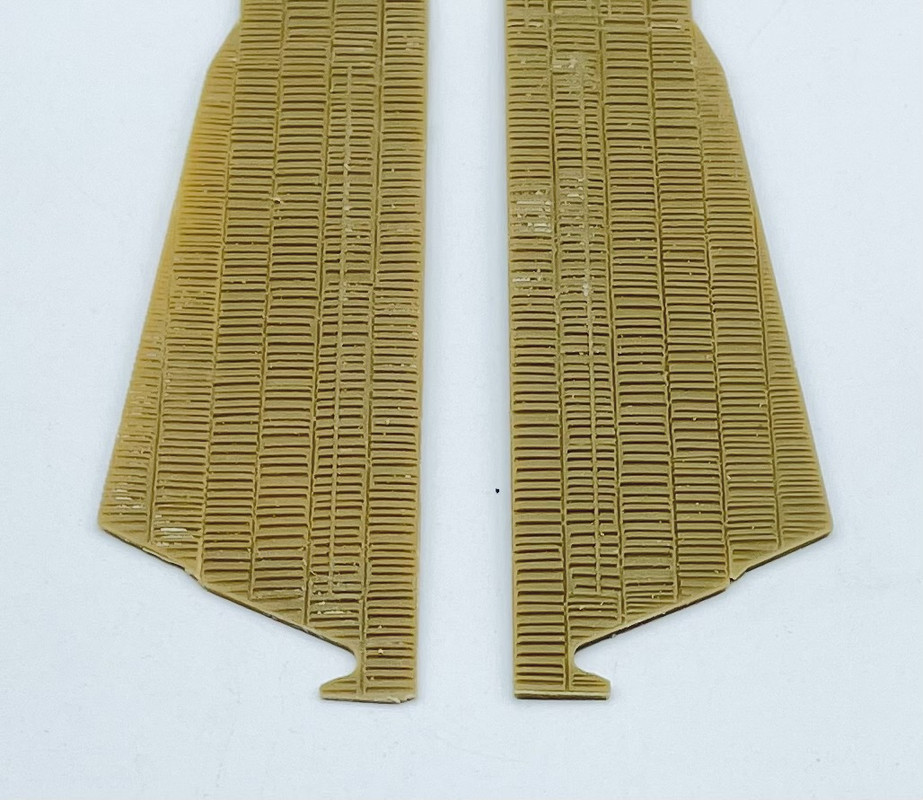
Today was a good bench session for this project. I spent a good portion of the morning using my Dremel to thin down the zimmerit panels for the hull and turret
Here you can see one before thinning and one after thinning side by side…
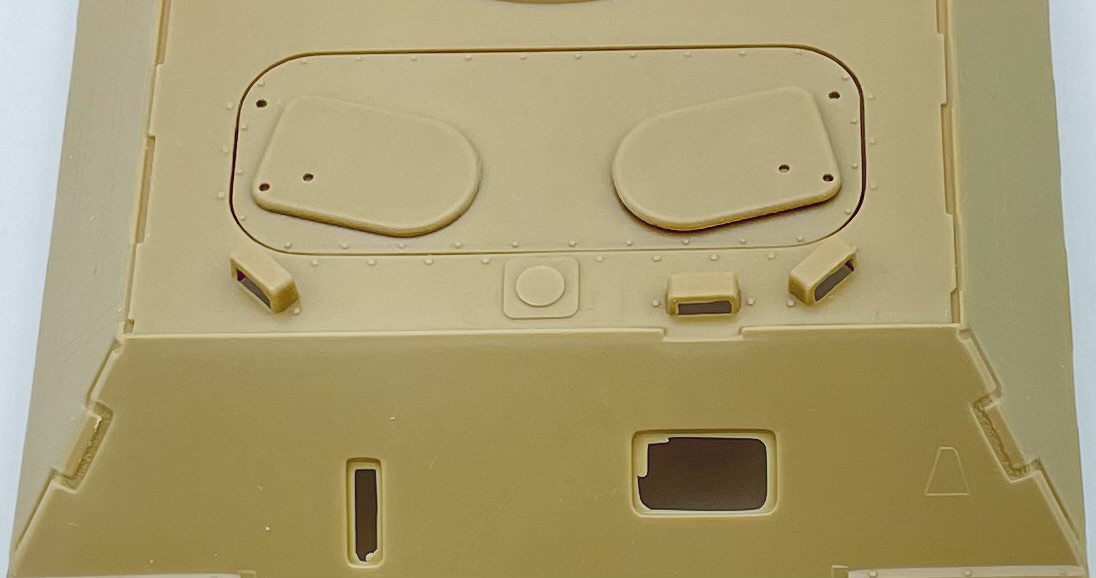
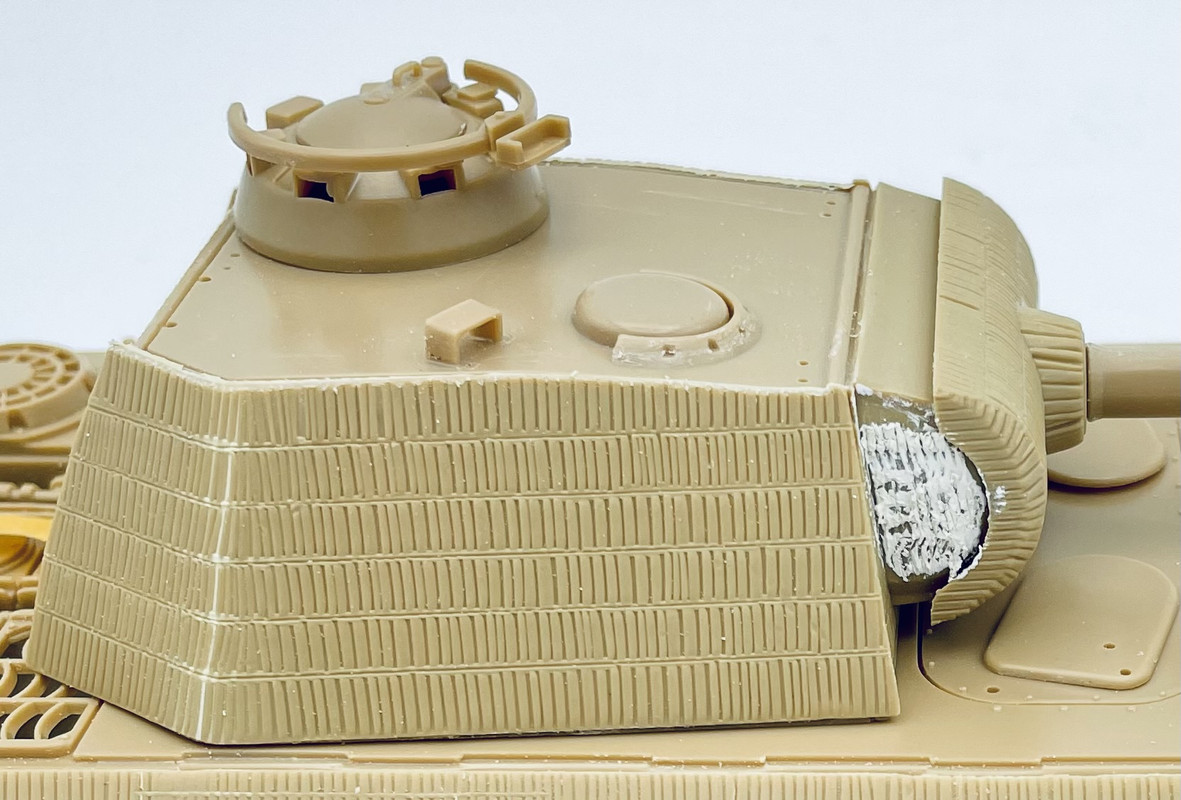
After that was all finished, I glued them in place and let them dry. Once dry I did a little fine tuning of sand if and roughing up the edges to make them look more realistic. I also added the drivers vision flap and bow machine gun ball mount
and lastly for today, I added some putty zimmerit on the turret front sides behind the mantlet, where Italeri neglected to add that feature…
Thanks Bill. I figure a little extra effort is worth the lower cost of these kits. Not to mention that they don’t have the mind numbingly high parts count of many of the newest kits. I build slow enough already…. Don’t need two to three times as many parts to slow me down even more.