Dan, that is an impressively big project! Hope you’ve got some shelf space! Good luck.
1 Like
Hi Everyone,
As some of you may recall, I was diligently working on Hasegawa’s 1/48 F-15C in the Hangar Queen campaign last year. That came to an end when a loose thread on my shorts connected with a probe on the F-15’s nose while I was heading out the door. The F-15 decided to take an unauthorized flight, and with no power, dove into the tile floor. The results were less than desirable.
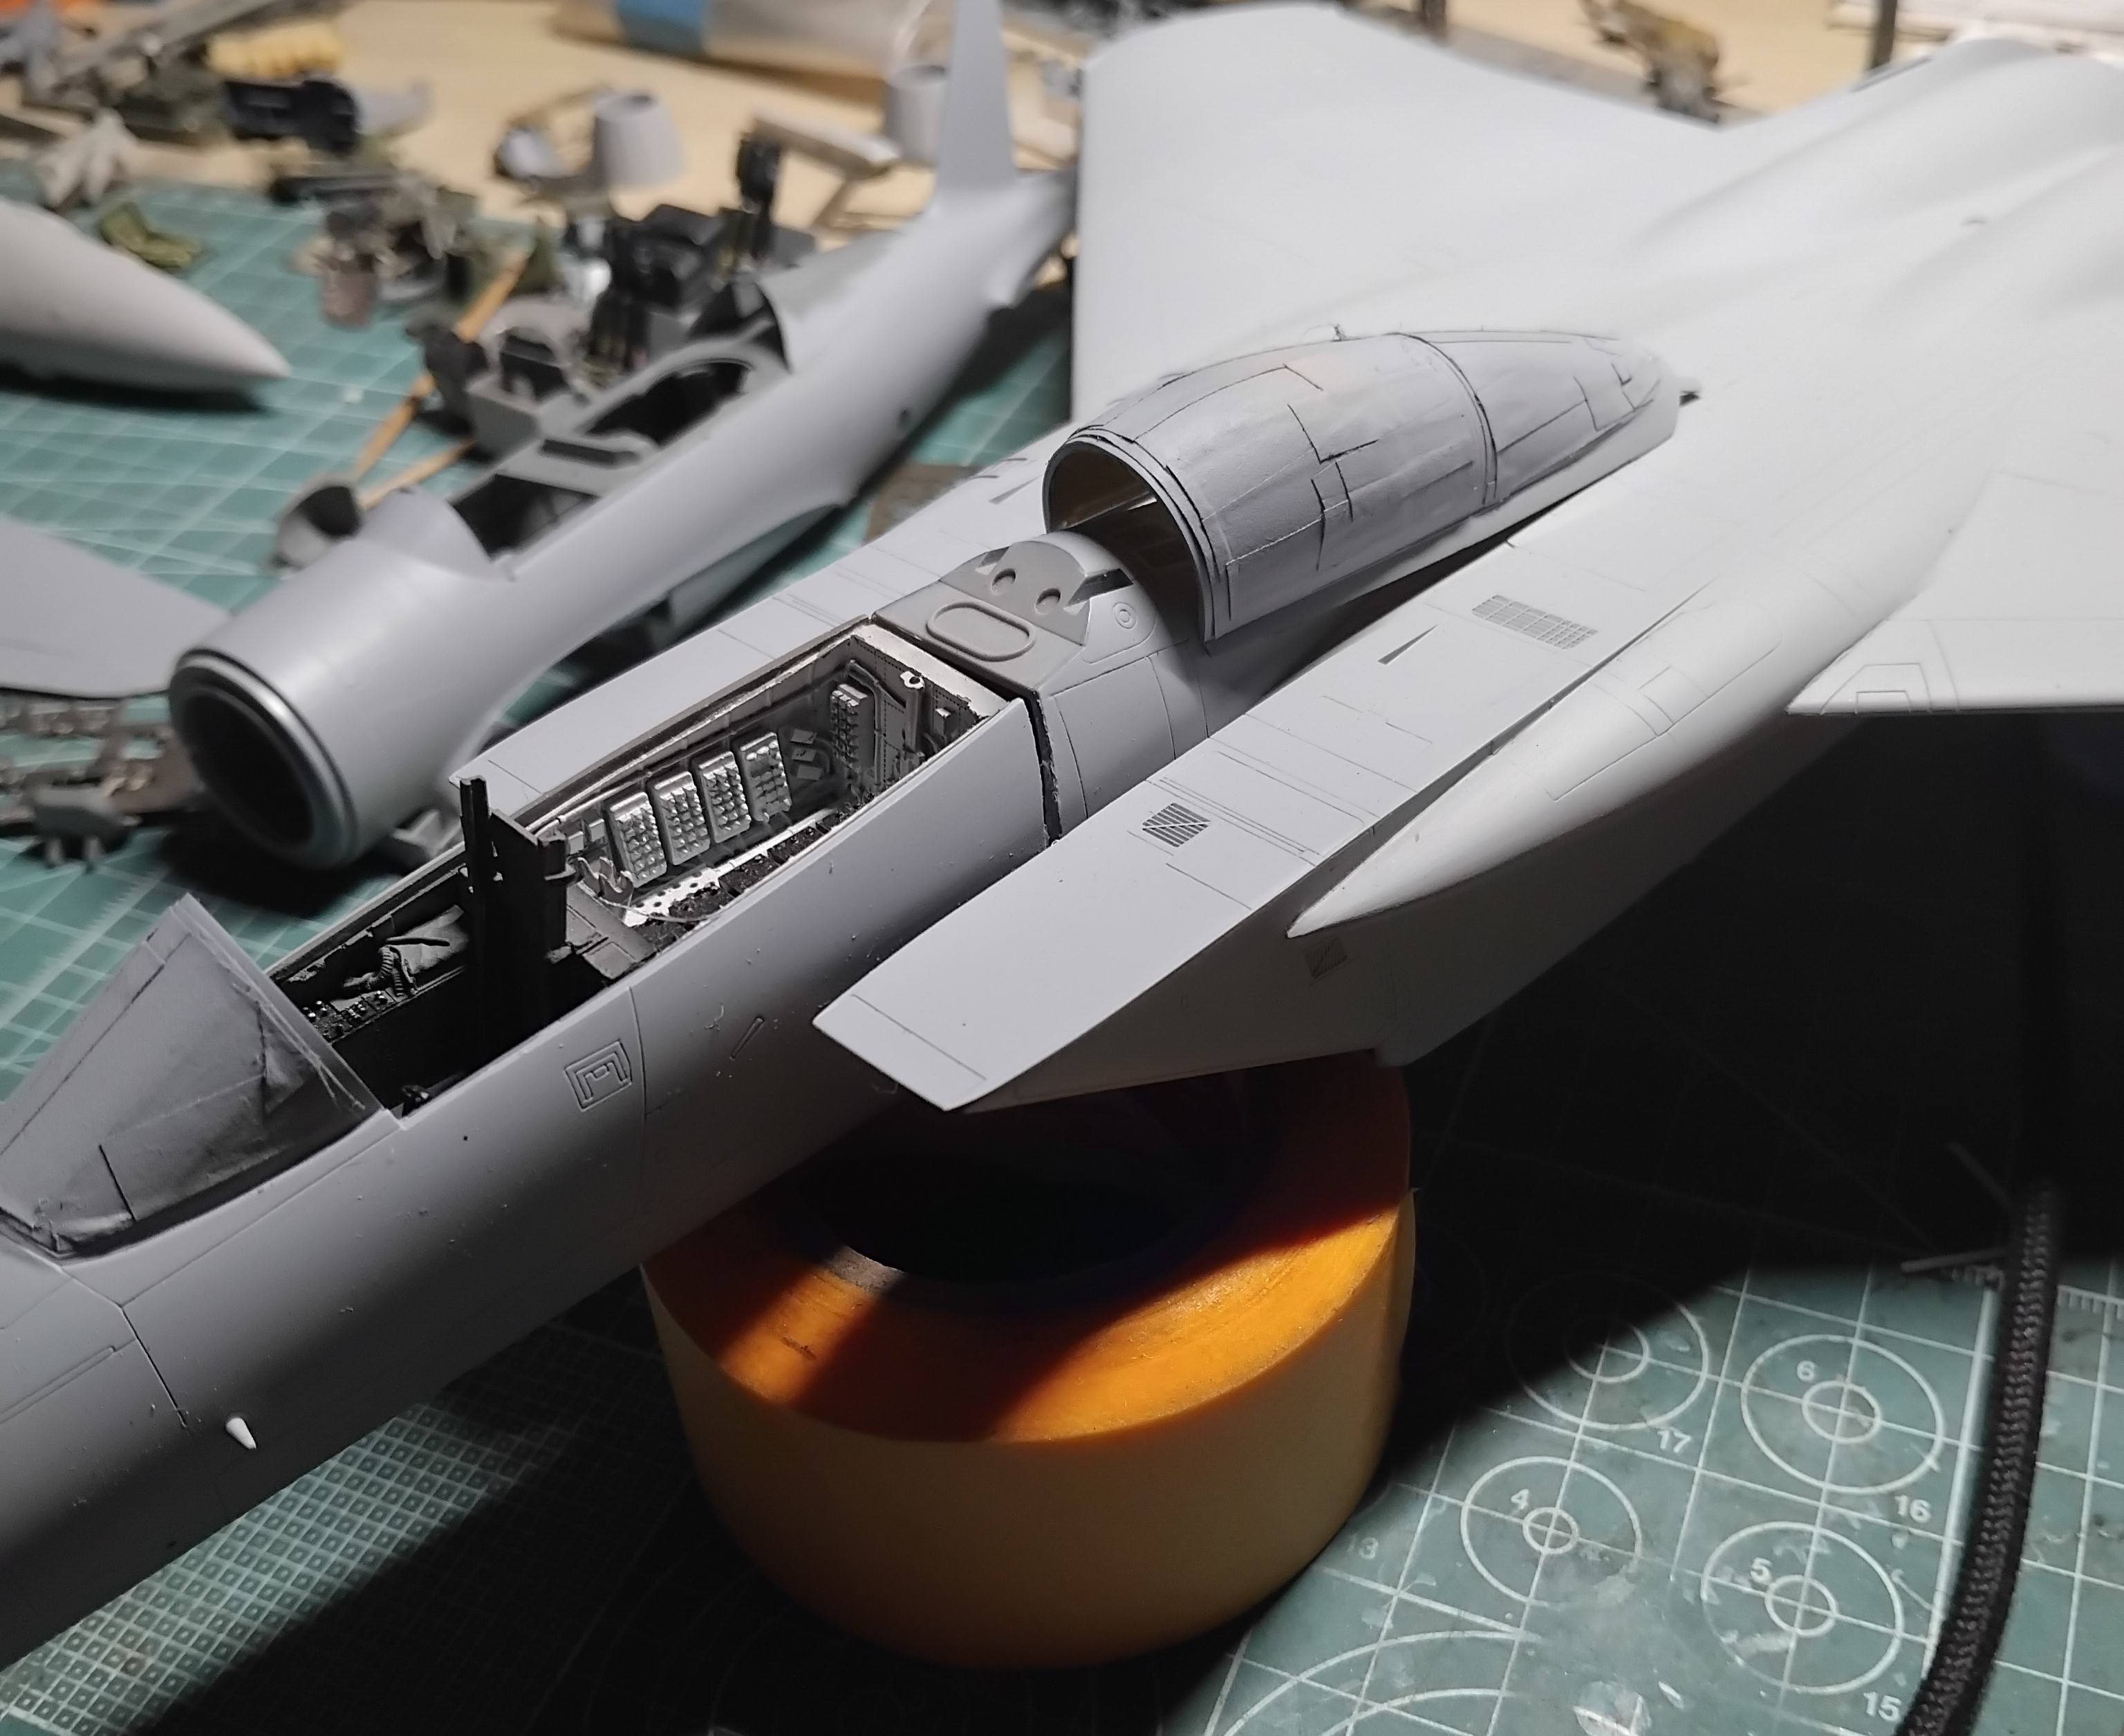
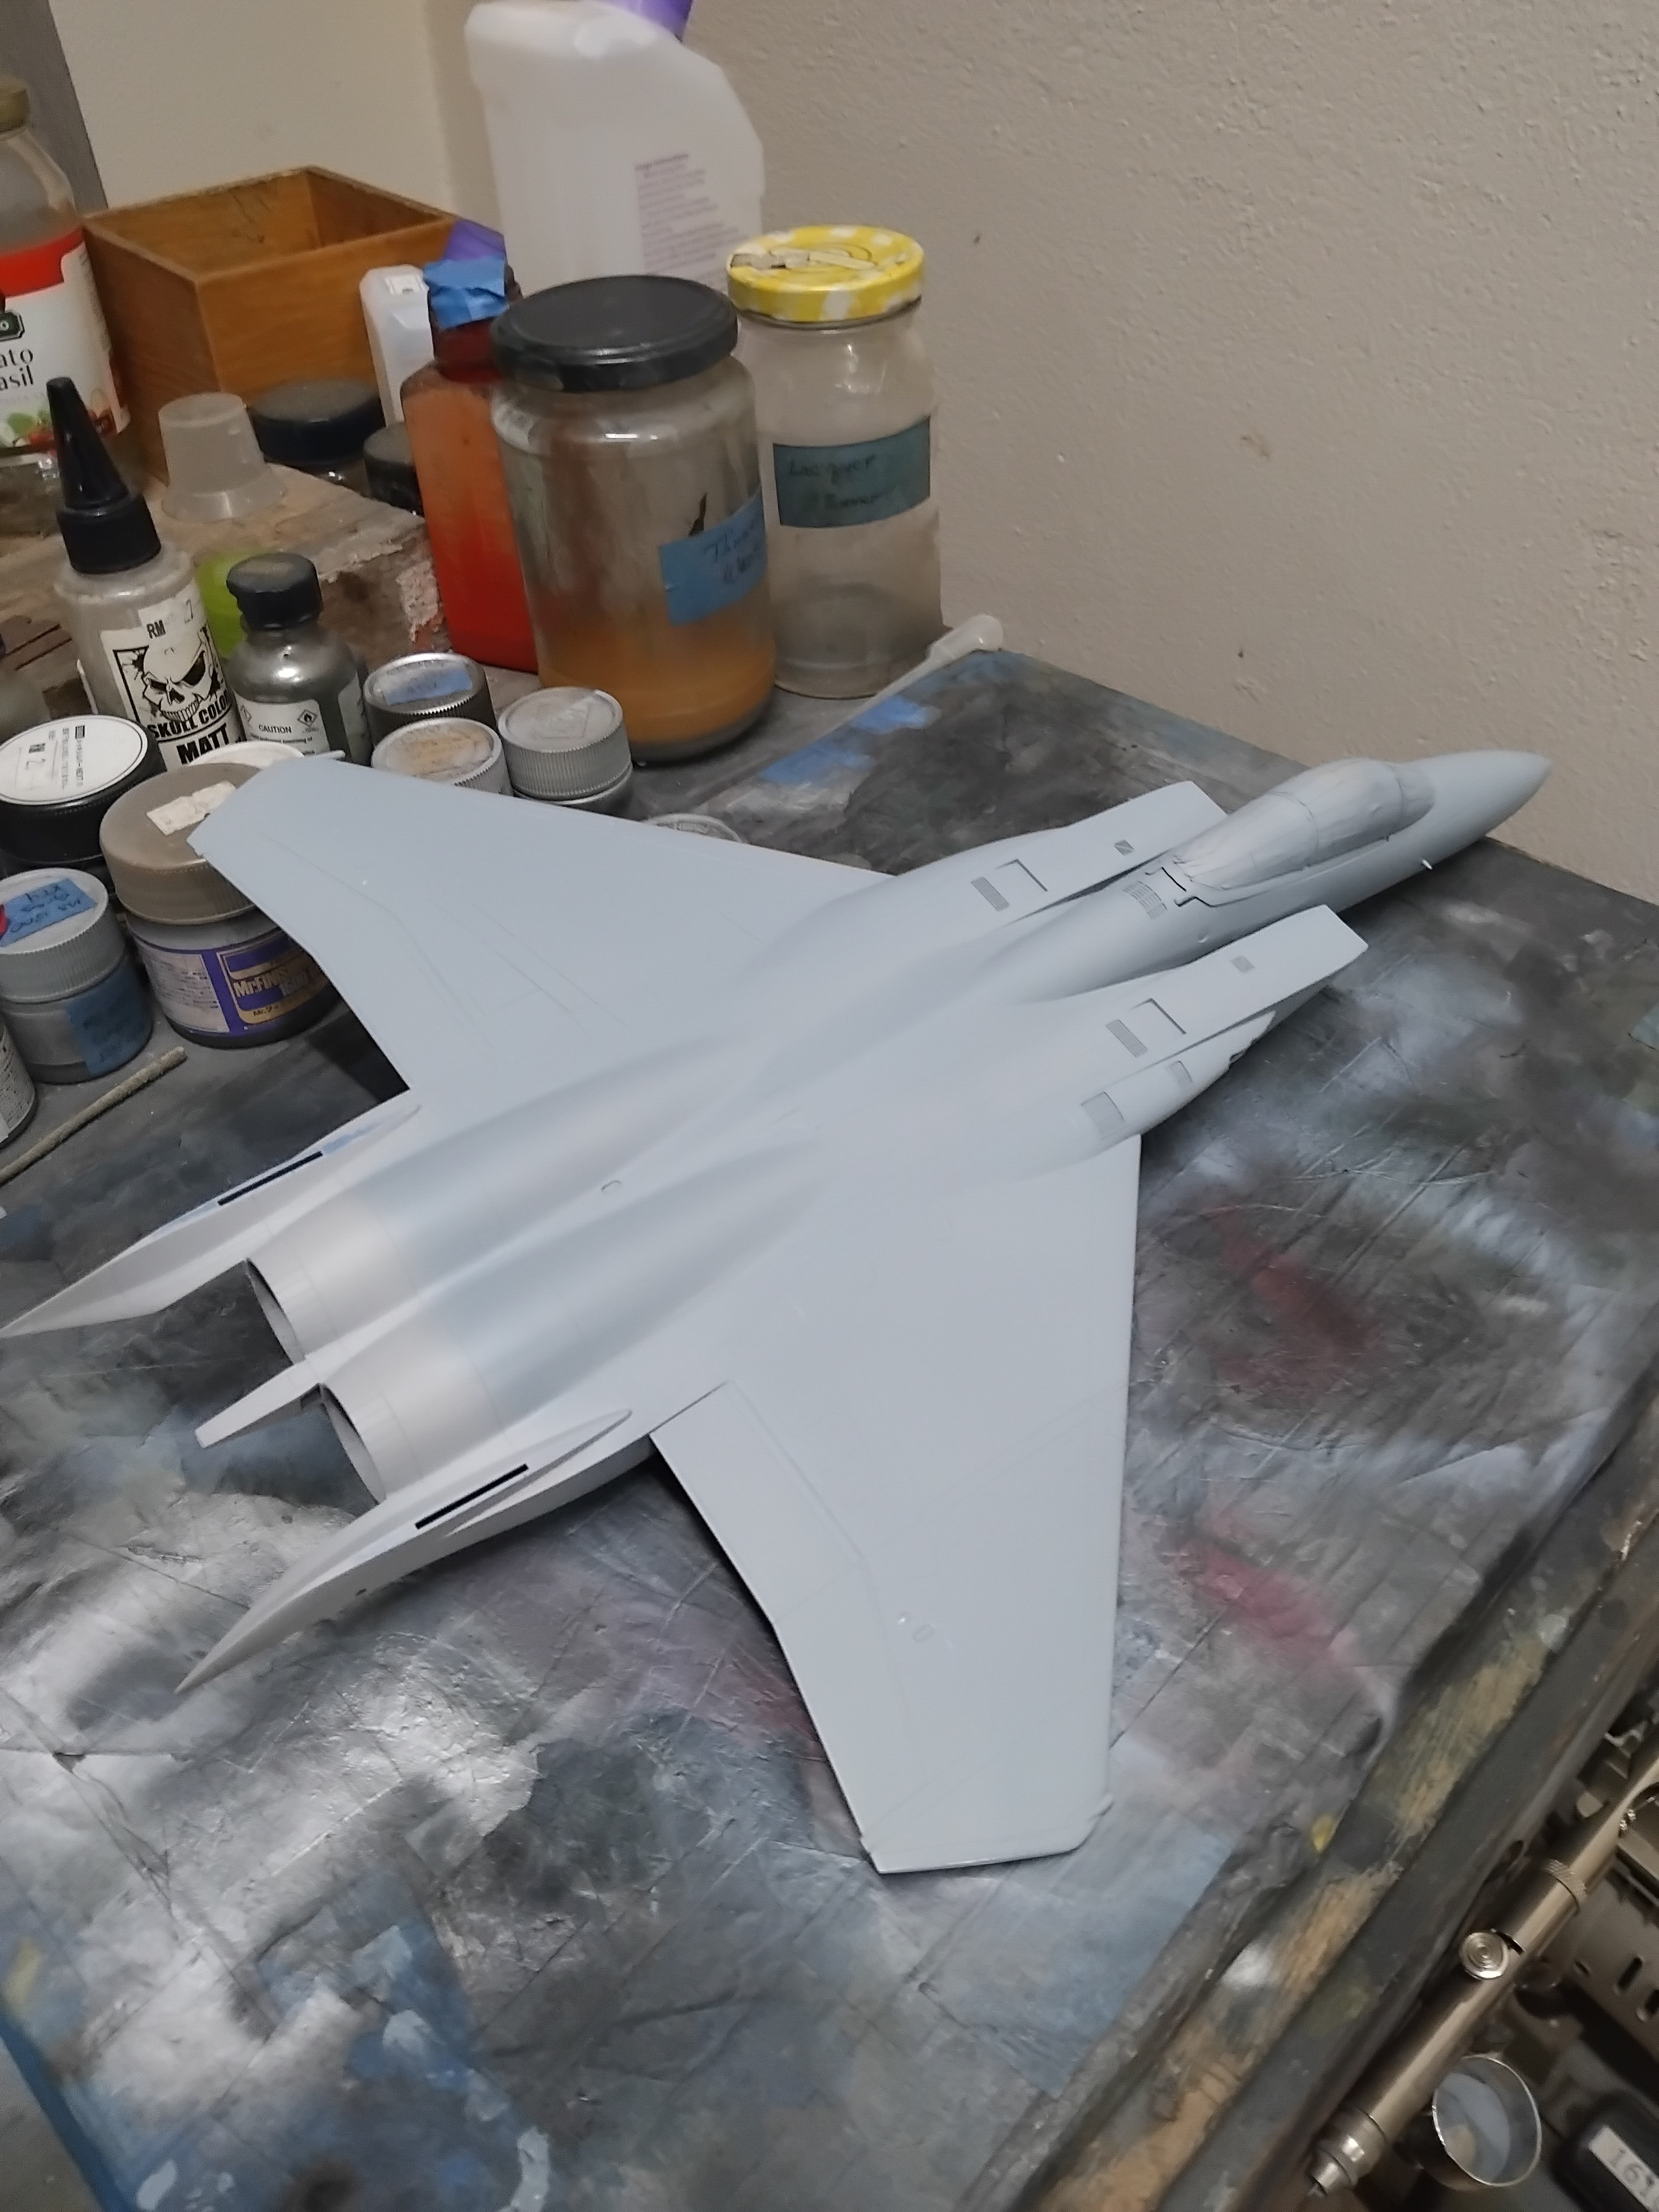
This resulted in it going back into the box. With a new year and new Hangar Queen campaign, I pulled her out and made the appropriate repairs. After some time and lots of patient careful sanding and filling, I was able to get the nose pretty much back to where it was supposed to be. I gave everything a prime with MS1500 grey as before and was looking to get this baby back on track for completion!
I’m pretty sure I’m able to move onto painting this bird!
Till next tme, be safe, wash your hands with soap and water and above all have fun!
4 Likes
And beware those threads !! ![]()
1 Like
Seriously, it’s great you’ve pulled her out and got her back into shape. She’s looking good so far. Got a particular color scheme in mind ?
1 Like
Thanks Dan! Indeed, I do, having grown up in St. Louis, MO I had the pleasure of watching the Missouri National Guard 110 FS flying overhead. So, I’ll be giving them a little tribute for all the cool things I got to see.
That’s great! I look forward to the finished fighter!
1 Like
My entry for the GB - Revell’s 1/72 He 177 A-6 with the experimental HL131 turret. I started this in 2023 and the build stalled about 3 weeks in. I hope to reincarnated the build and finish it this time.
Thanks for looking.
Cheers ![]()
4 Likes
Hi Everyone,
Way to go Raj! This is what the campaign needs, more of us jumping in to get these stalled builds off the bench! Last years campaign was very weak, so it’s great that we’re seeing some progress here. That said, Phil and Dan, hoping to see some updates!
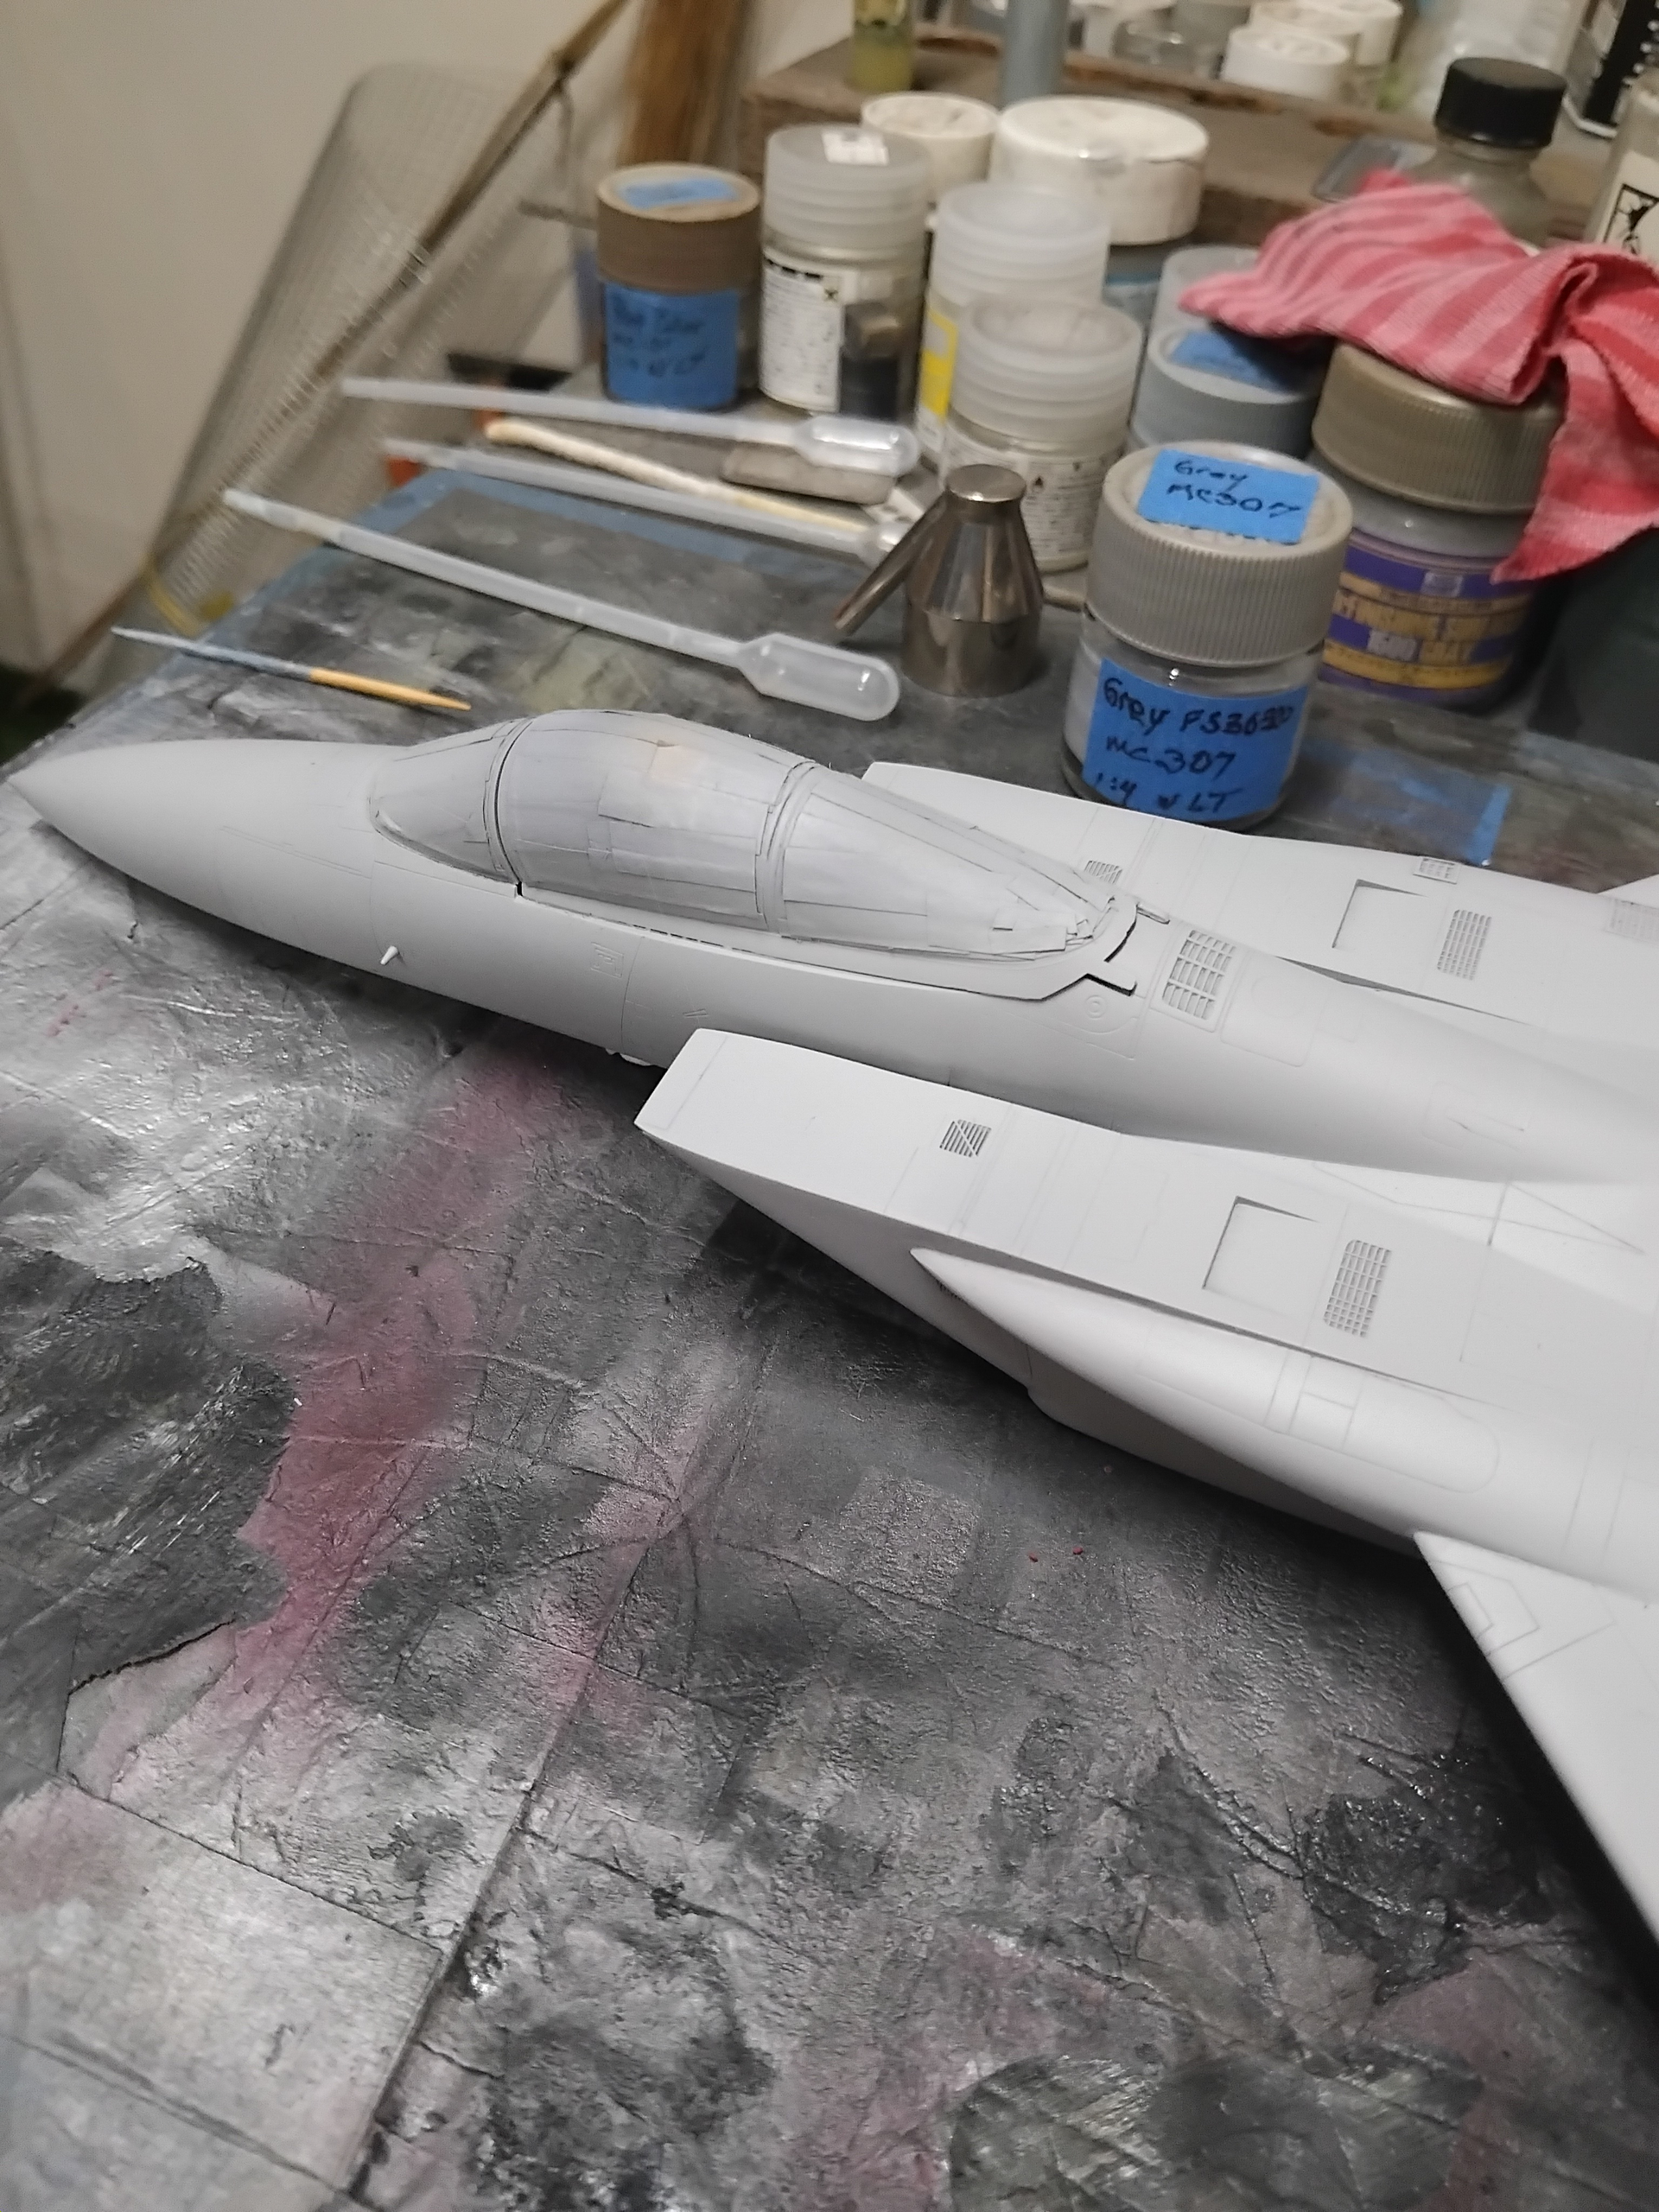
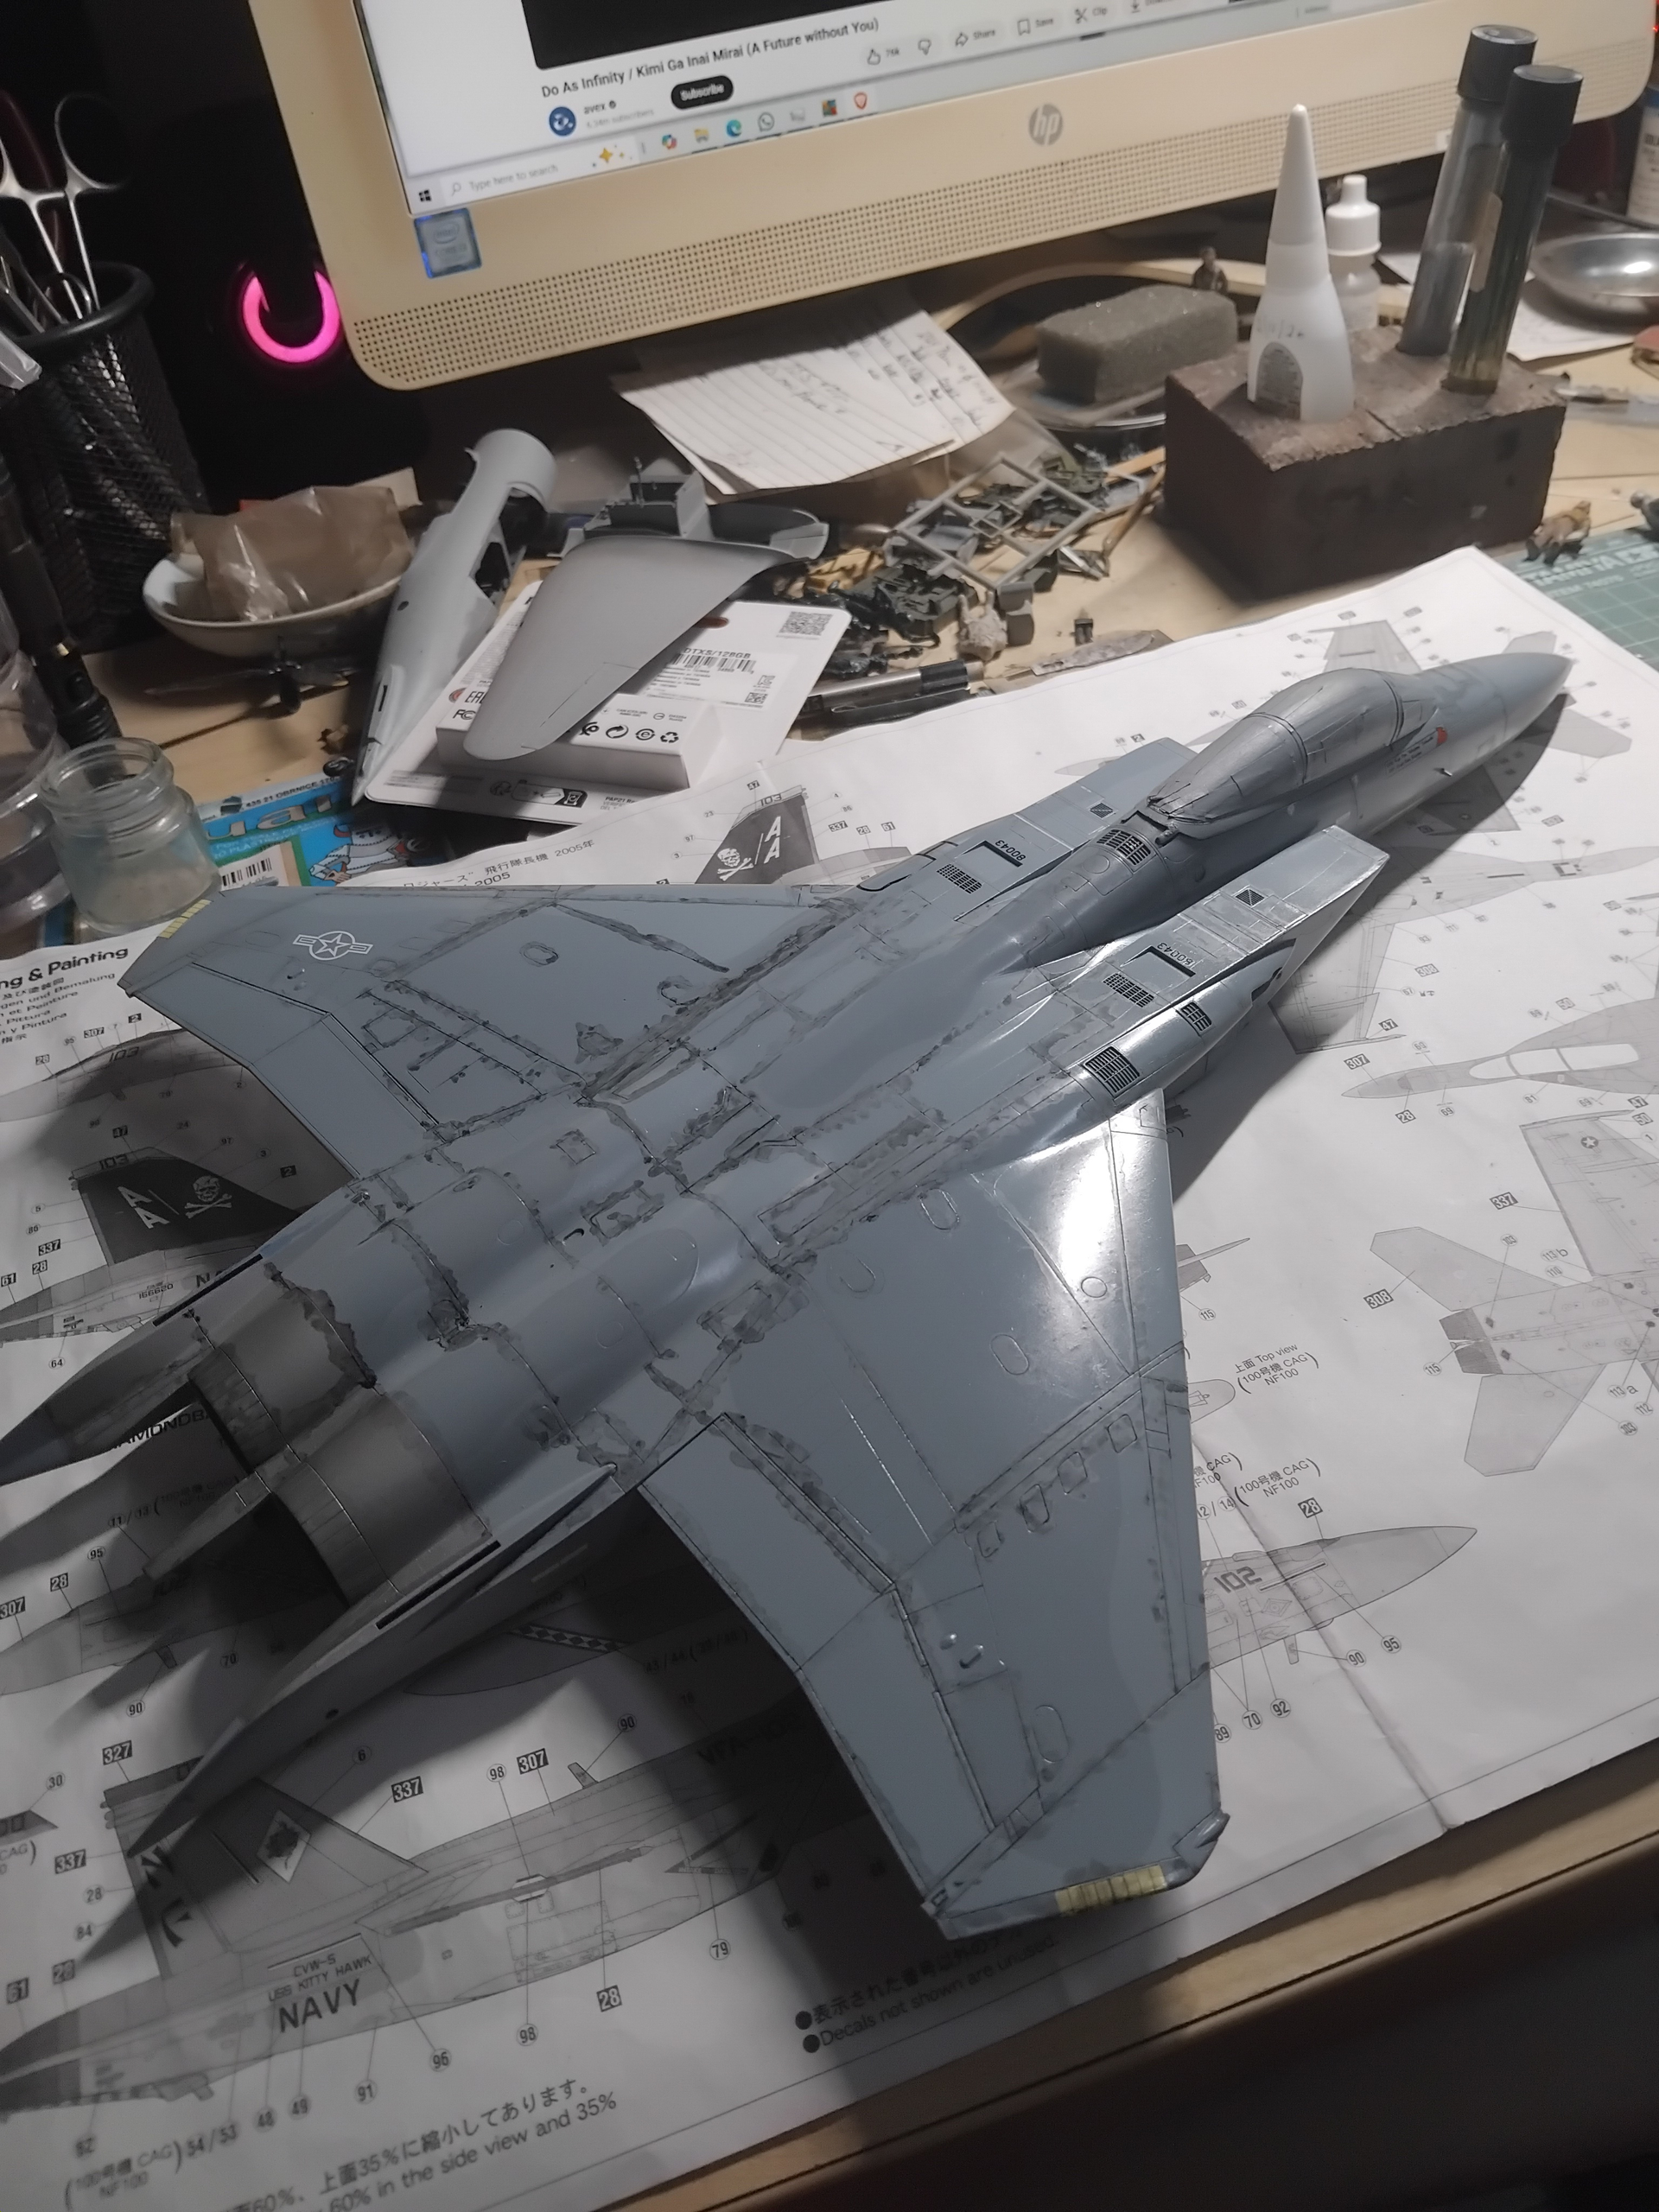
In my last update, I had made the repairs and prepped for painting of the F-15C. In preparation for the camo scheme, the airframe was given a coat of Mr. Surfacer 1500 (MS 1500) grey, diluted 1:4 with MLT.
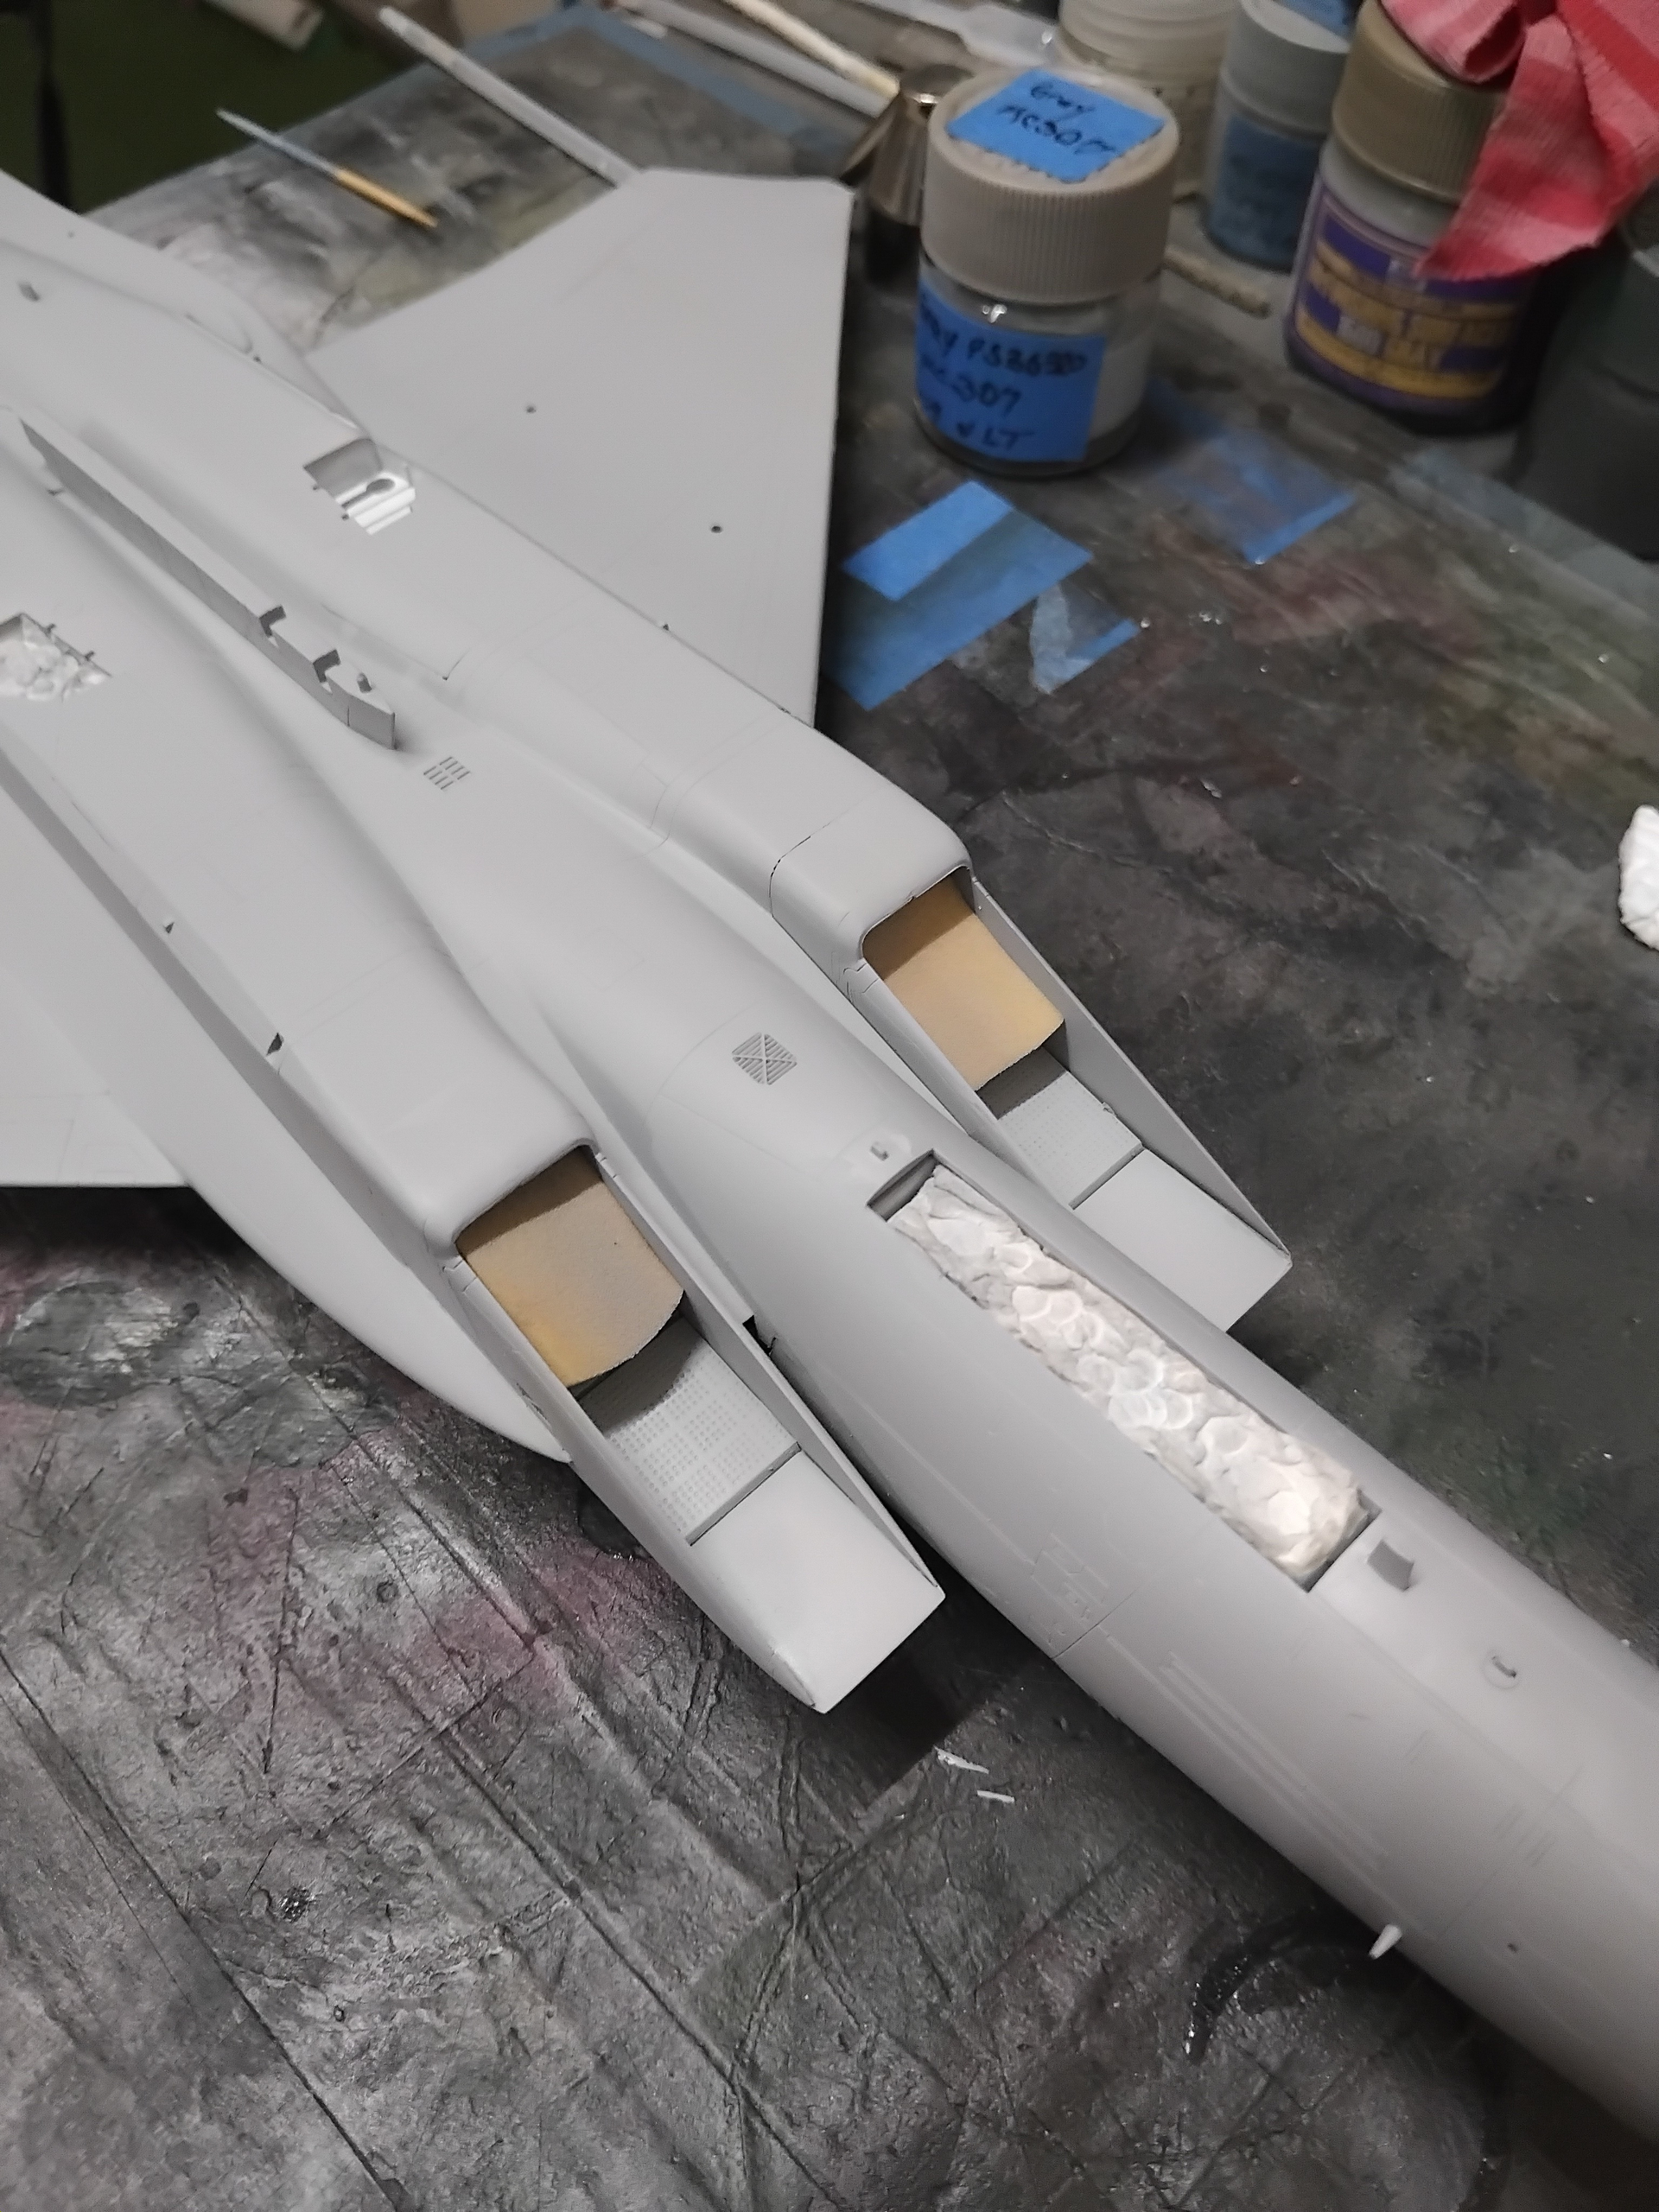
Following the primer, seams were double checked and found to be acceptable. The aft areas that are left in natural metal were then masked off and painted up.
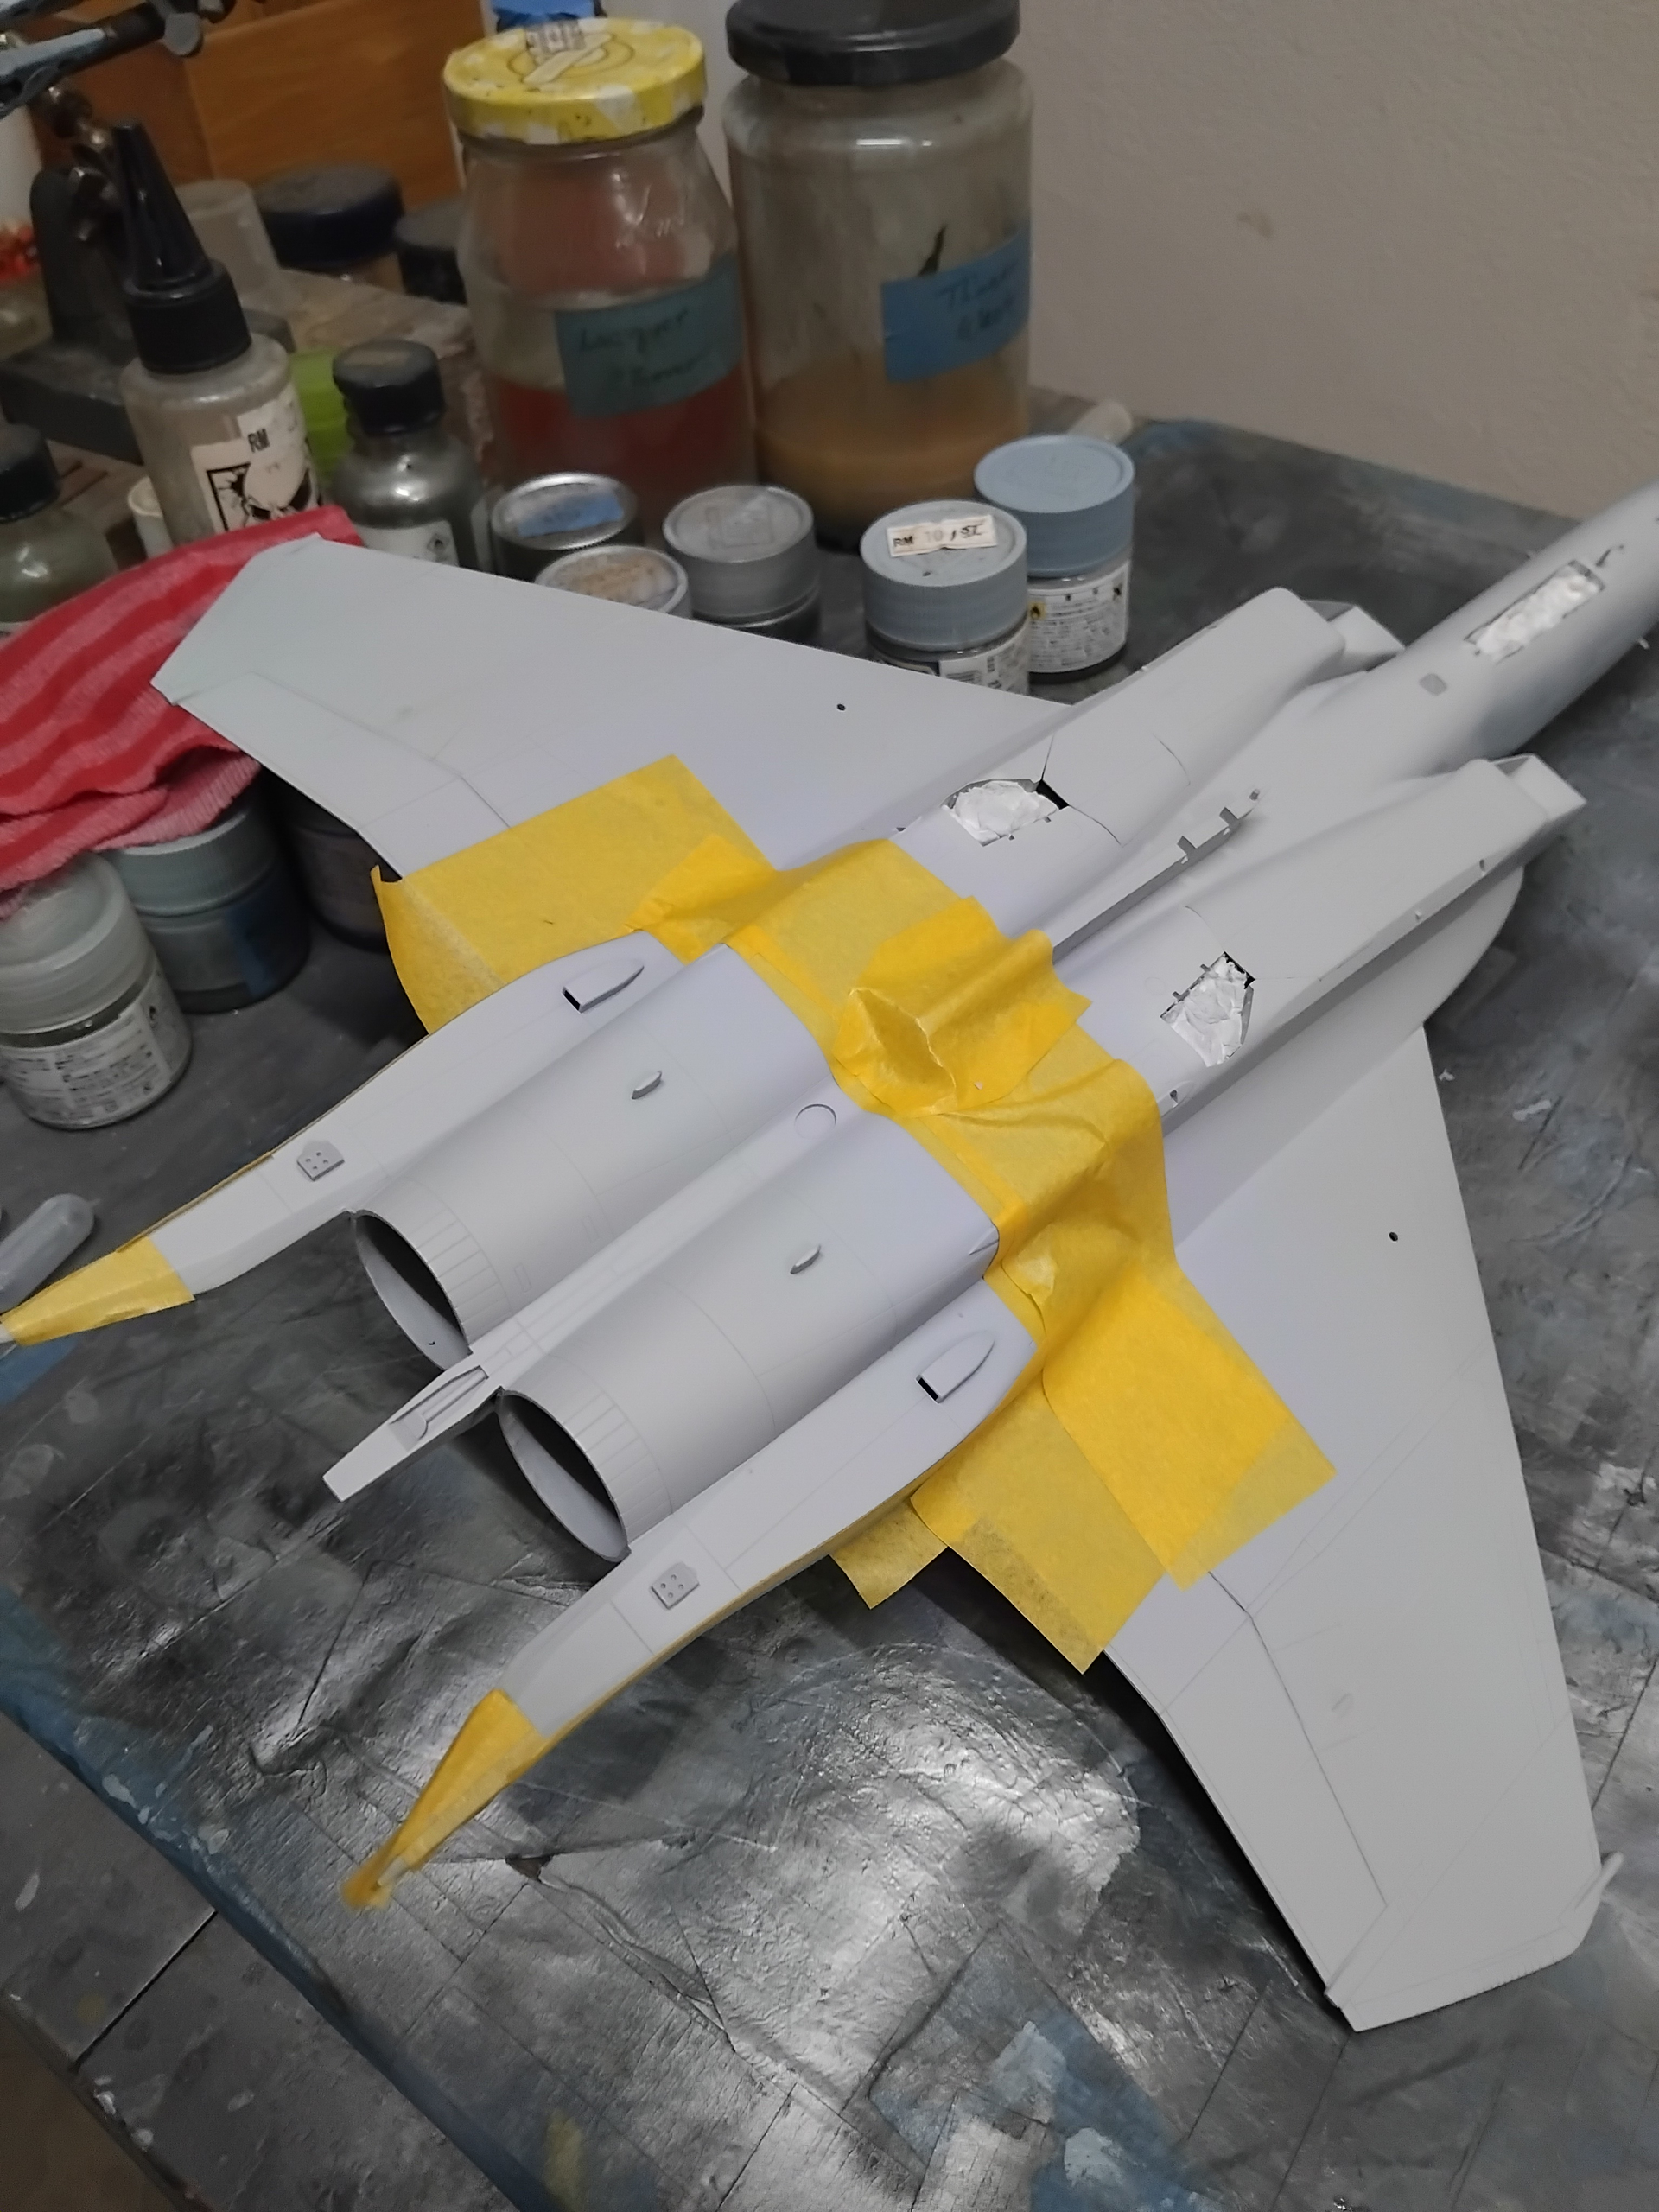
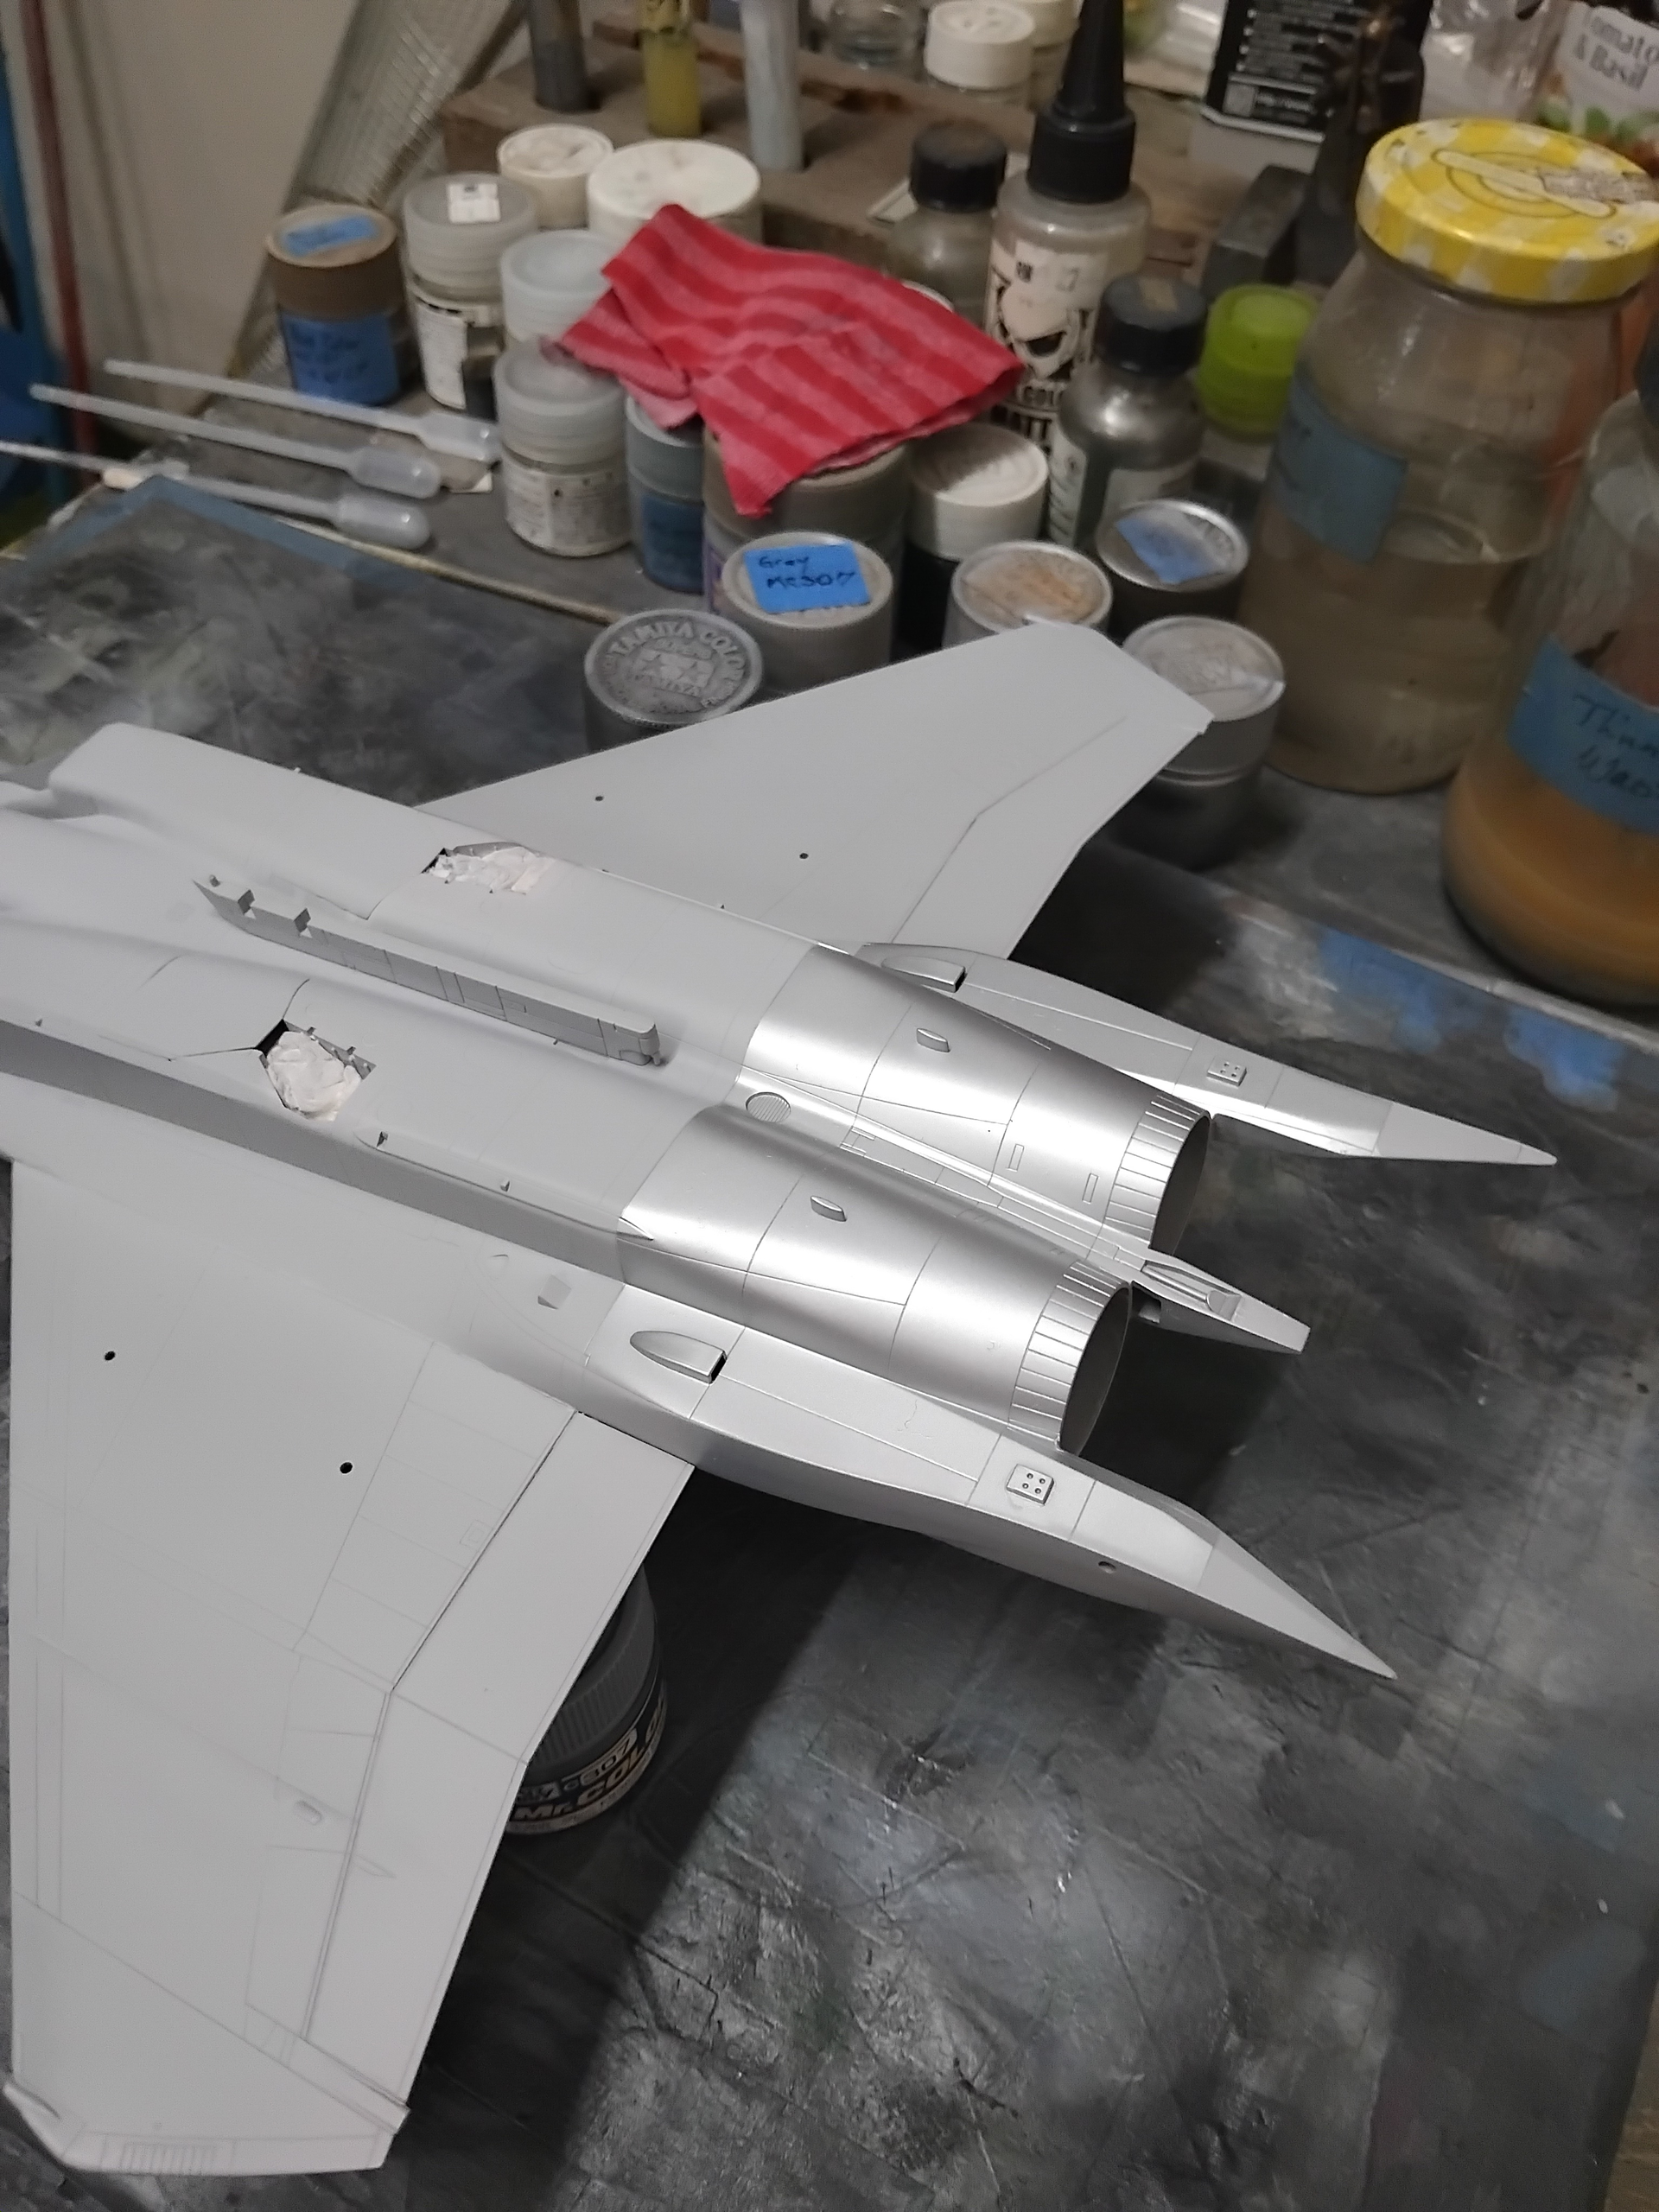
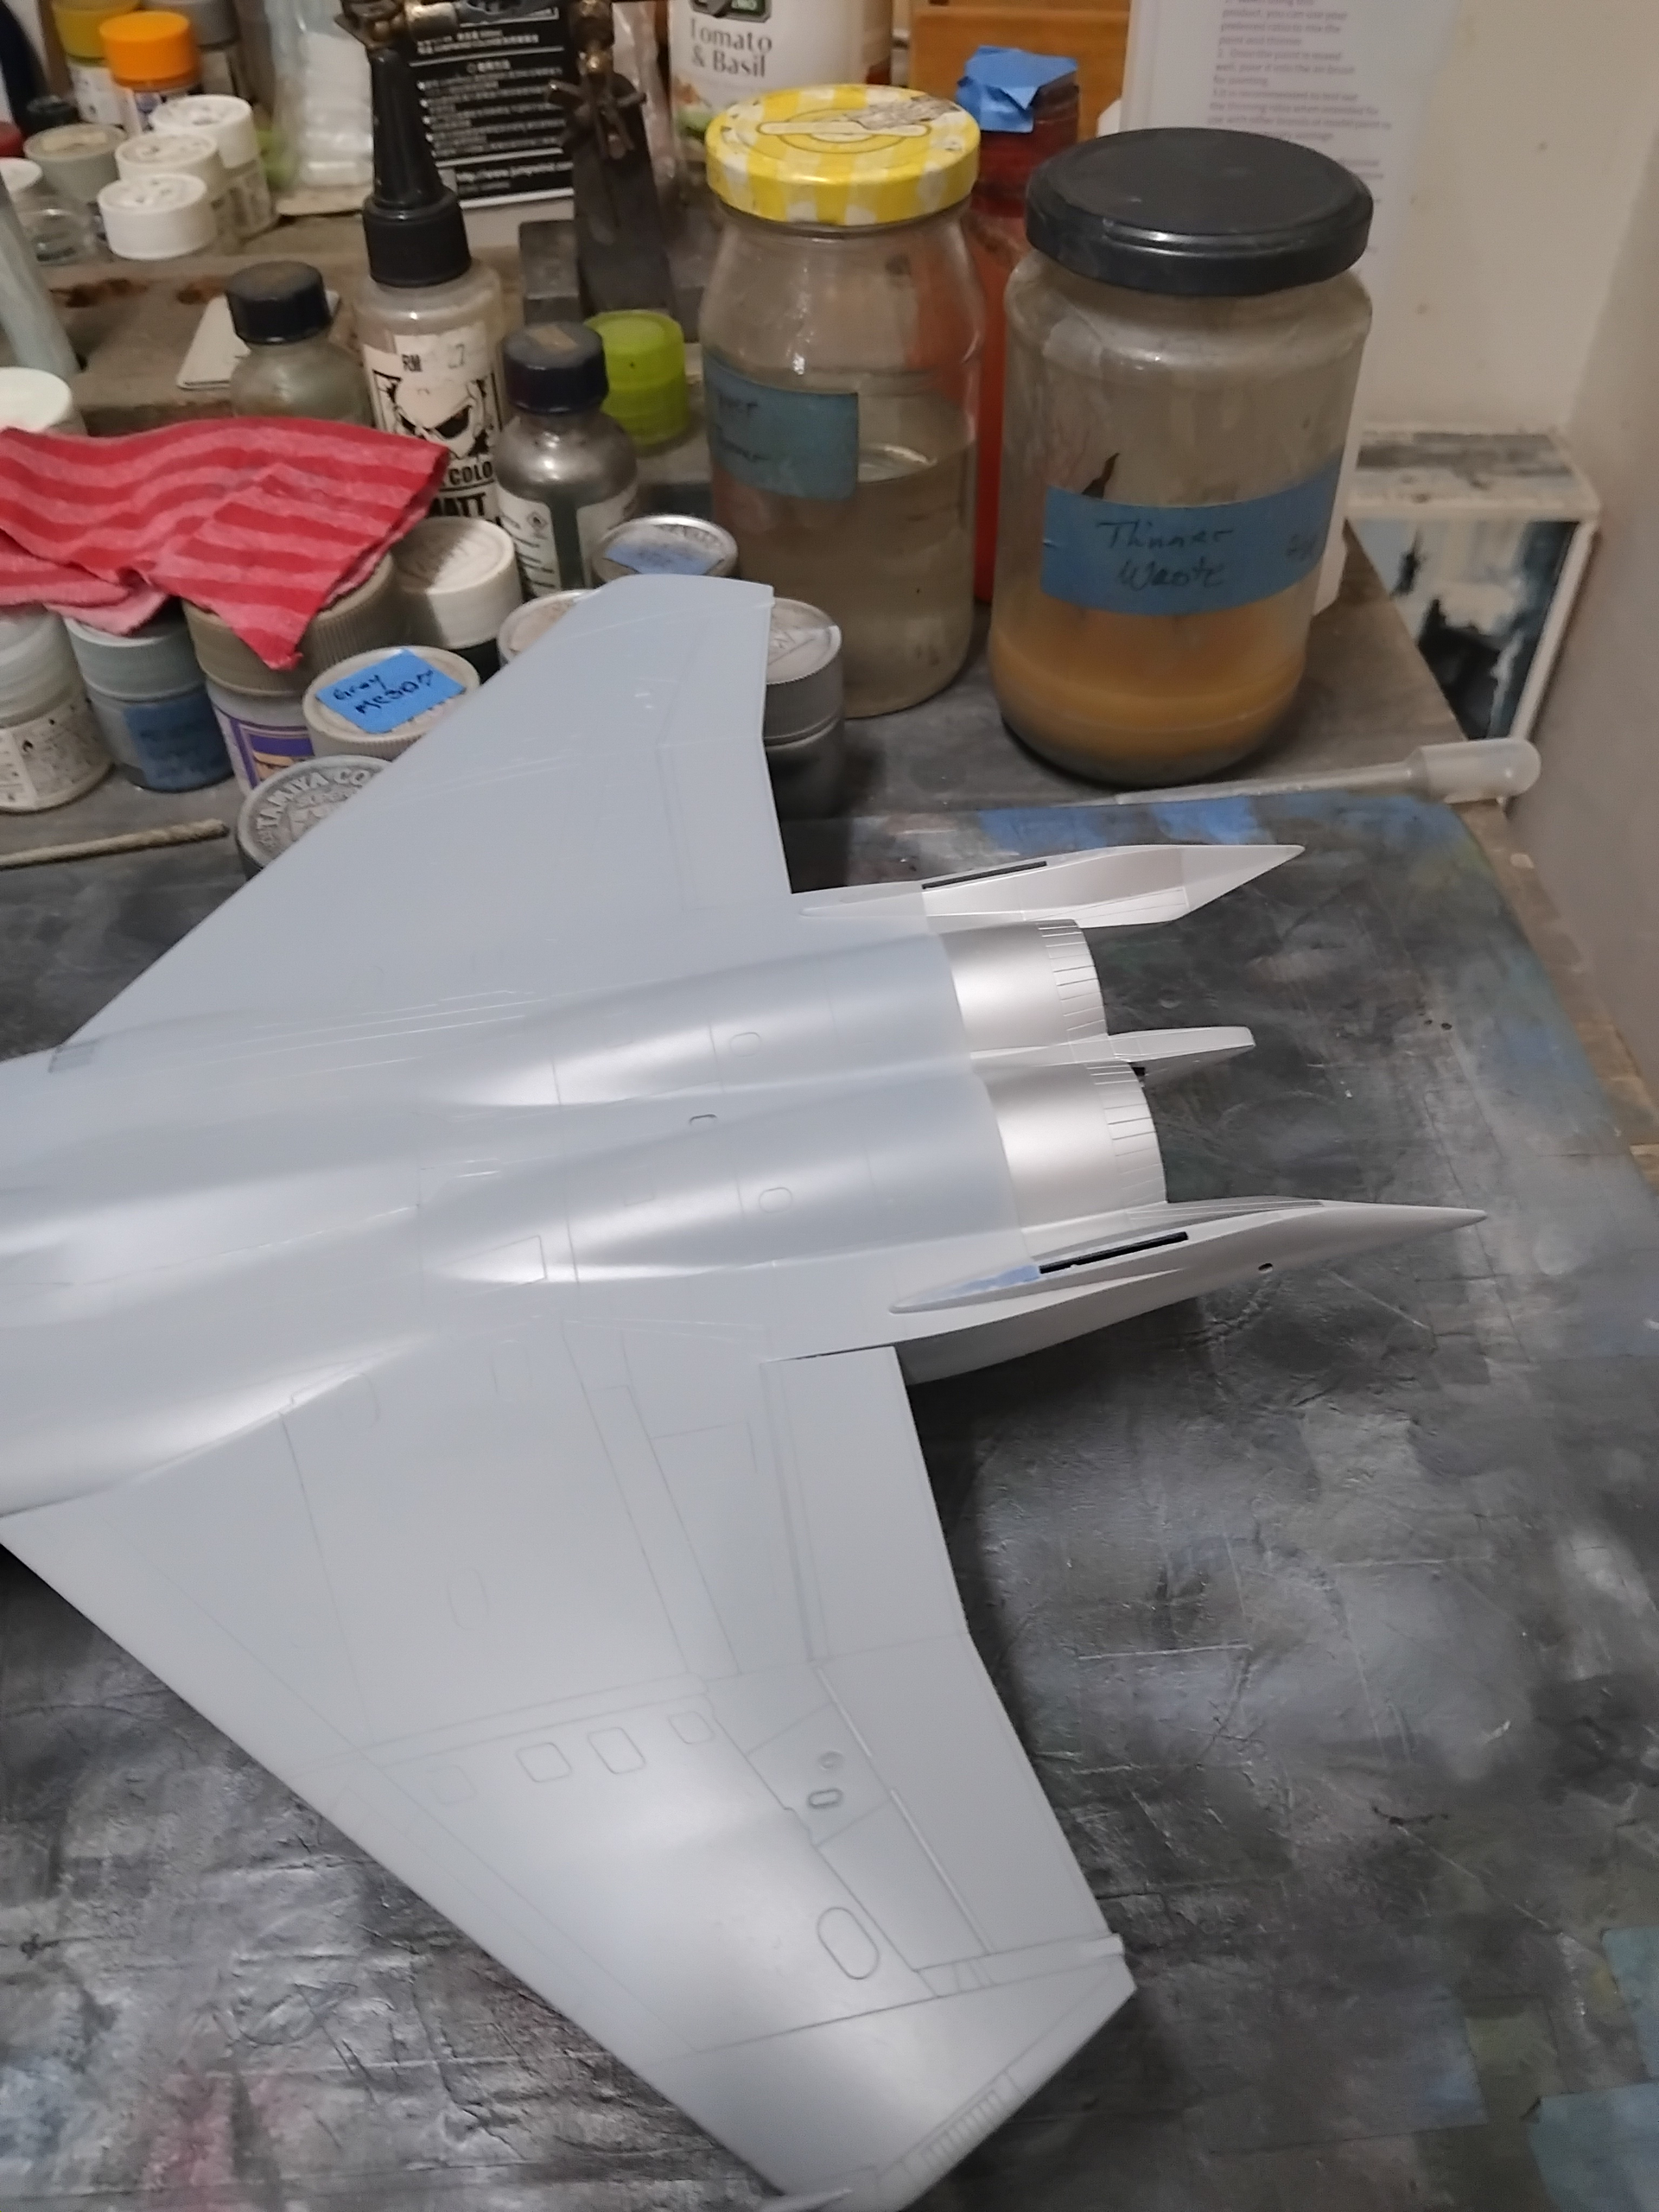
The metal areas were then masked off so that the camo scheme could be applied. For this, I had purchased some masks some time back on a whim, because I wanted to try them out. This was not a complete waste of money, however, they didn’t fit, they were overly thick and were not the easy as pie masks they were touted as. During this process I neglected to take any photos, mostly due to just wanting to move through and past the process. I started the process by giving the entire bird a coat of Mr. Color (MC) 307 grey as the darker grey base color. Again, the masks were the inverse of what they ideally should have been. The masks were applied, and the lighter grey MC 308 was then painted. Since this was a comemorative paint scheme preshading and pre-weathering was really not applied. With the masks removed there were notable raised demarkation lines that needed to be delt with via 2000 grit sanding sponges. Any areas that were distorted were repainted, and then the bird was given a clear coat of Future (due to shipping delays that didn’t allow for the Mr. Color clear being in the stash). This didn’t go as well as hoped, and required lots of rework. Finally, things got to the point where decals could be applied, and then a clear coat (shipment came in!), followed with a wash.
This turned out fairly well.
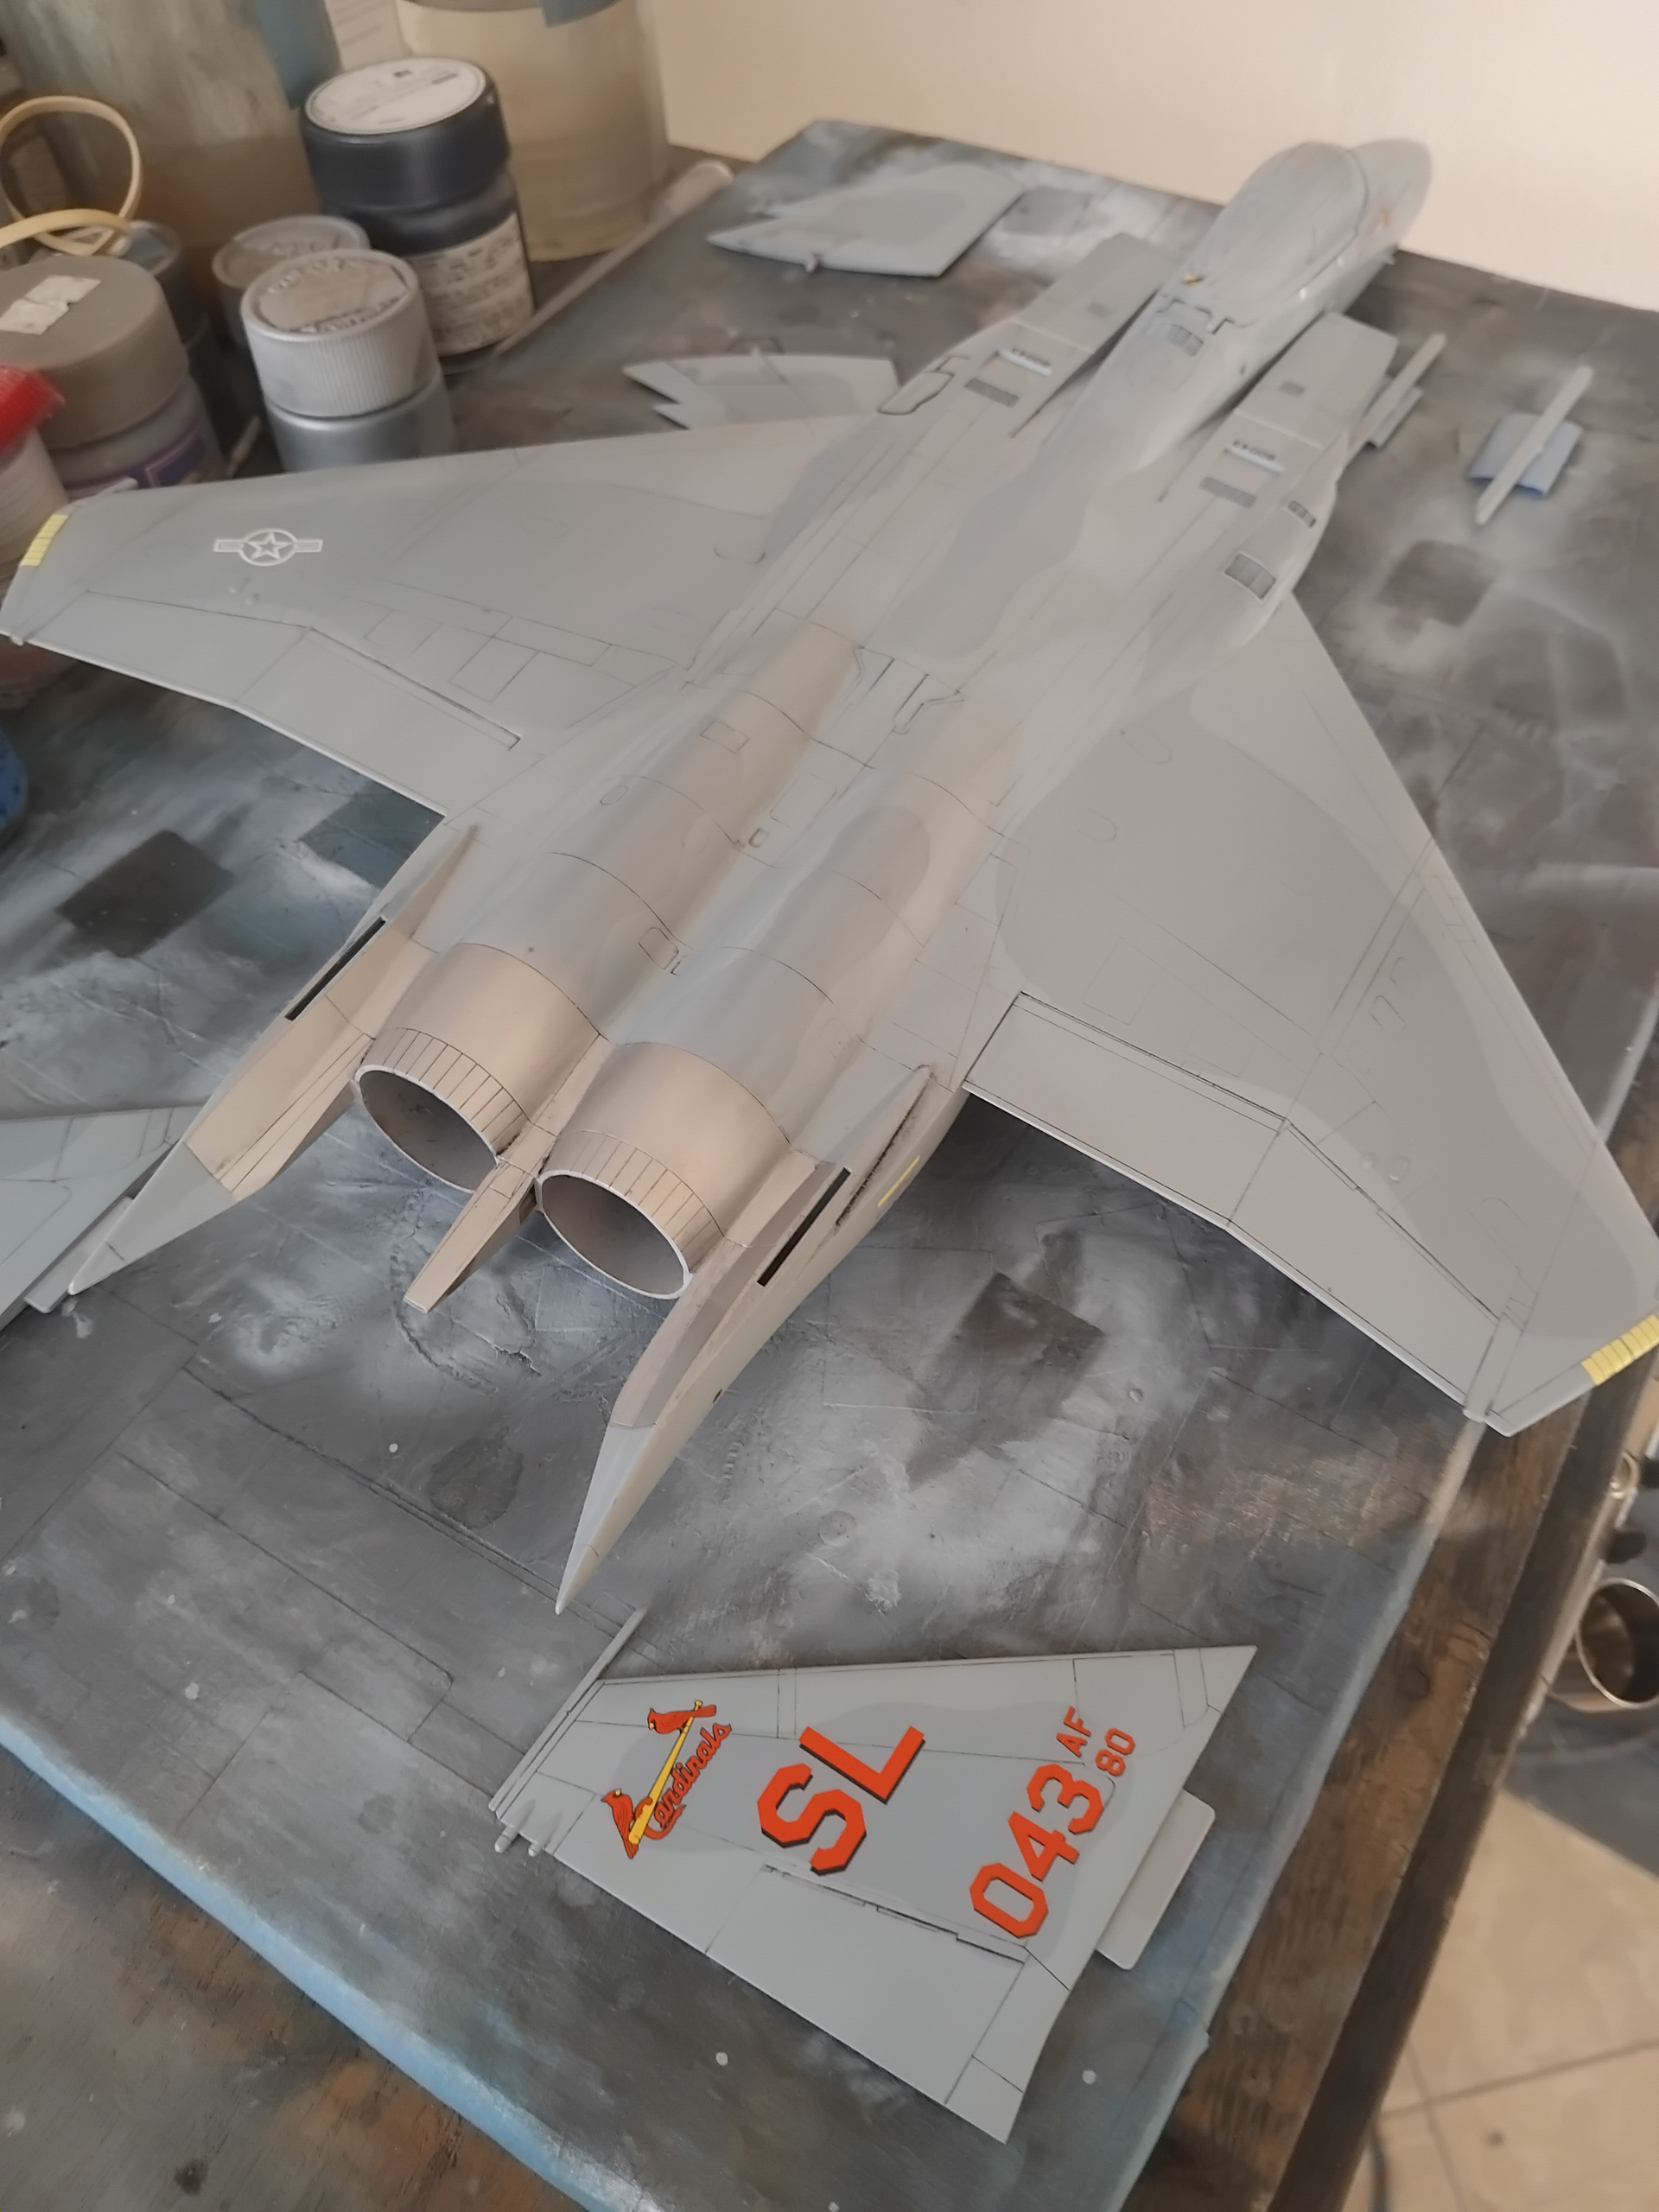

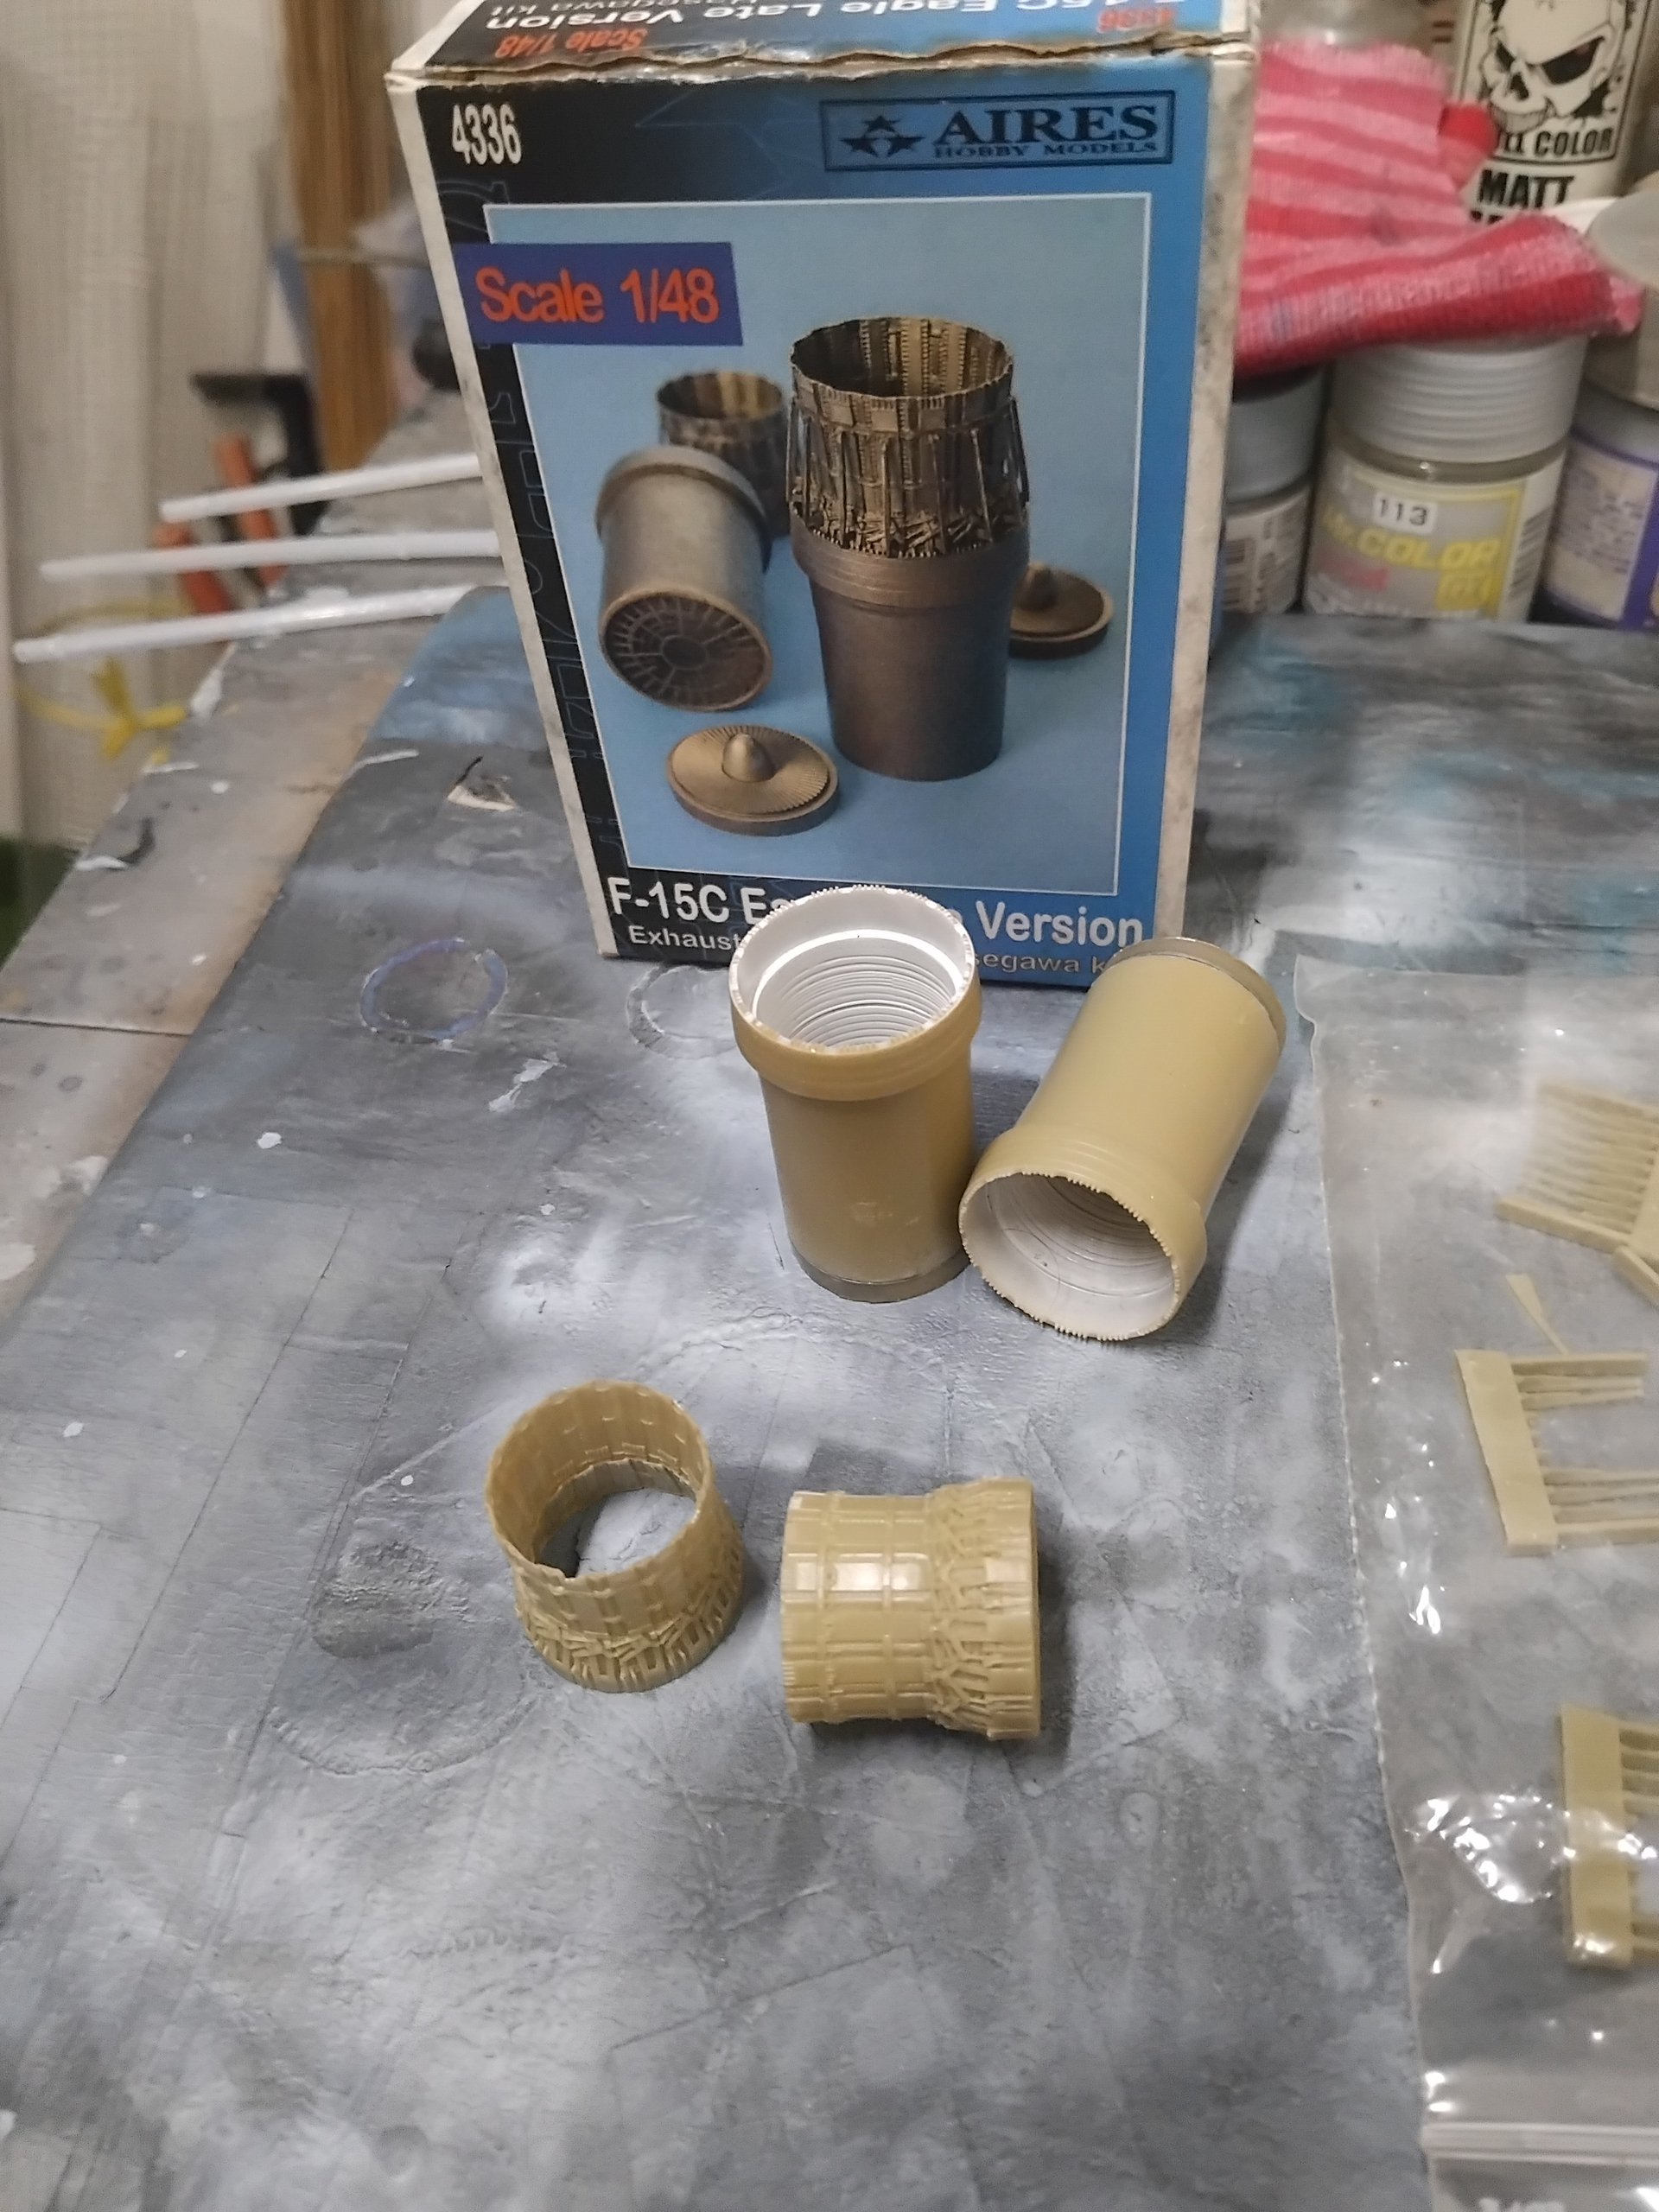
With the airframe mostly taken care of my attention is now turning to the assembly and painting of the exhaust cans. I’m optimistic that the Aires exhausts will really add to this build!
Till next time, stay safe, wash your hands with soap and water and above all have fun!
4 Likes
Thanks a bunch John
My first ever completed model was a revell He177 way back in 2008. This build started as a 15th anniversary tribute to that but some family events put a pause on that.
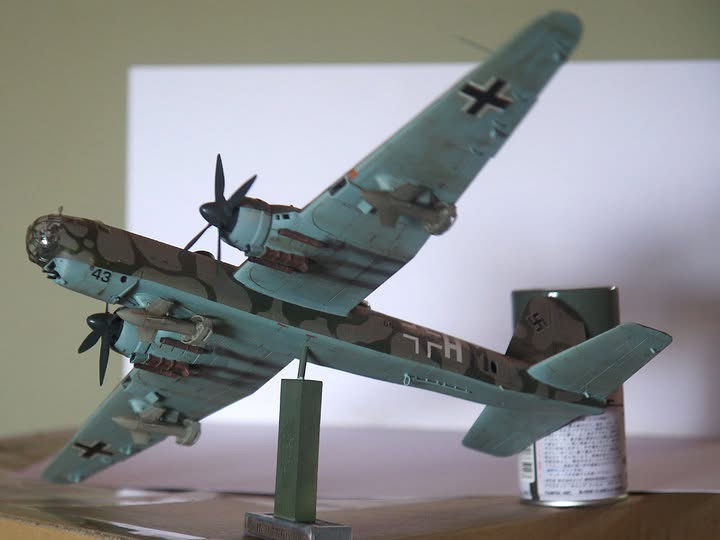
Made by the 2008 me ![]()
Progress update:
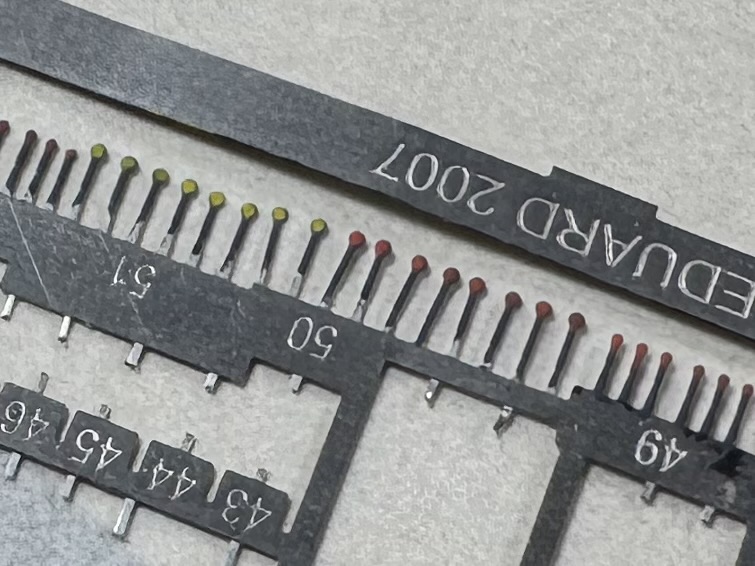
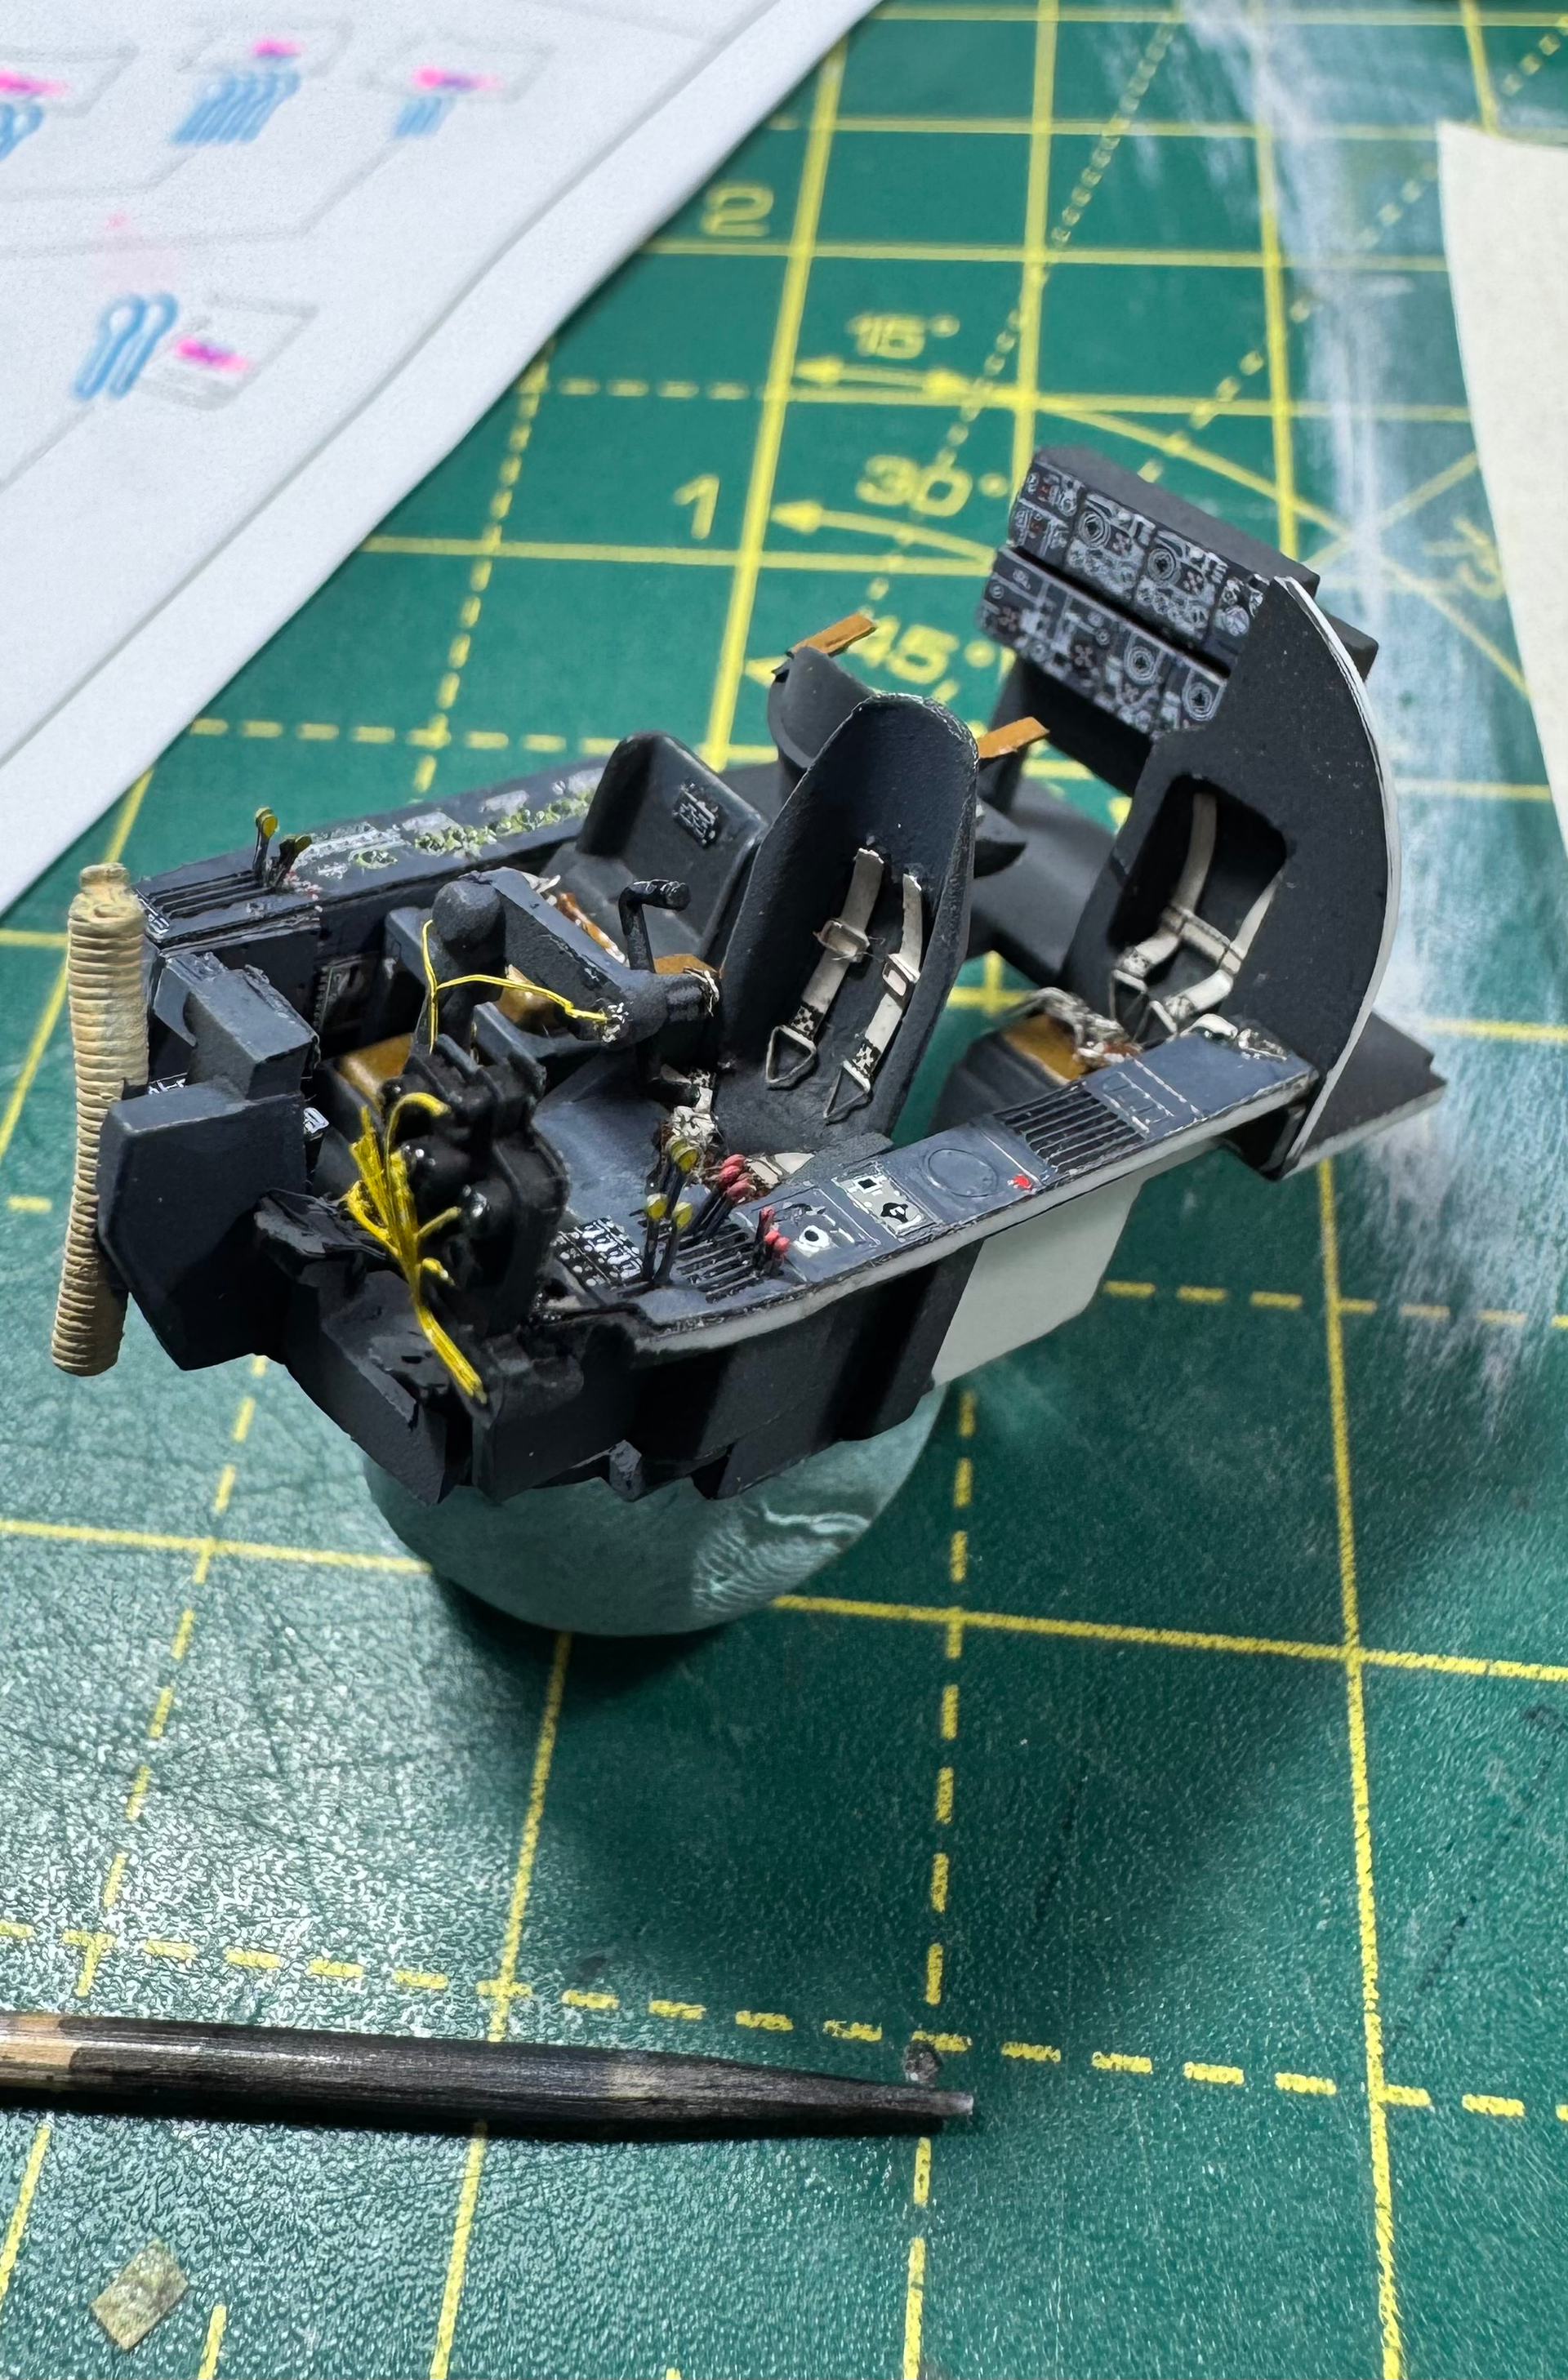
I painted over the PE’s RLM02 with 66. Got all the seatbelts done. Next step is to glue all the levers and then close up the fuselage.

Thanks for looking
Cheers ![]()
4 Likes
Raj, I’ve seen those levers, for me thank goodness for magnifying glasses! Good luck, it’s looking pretty good so far.
Thanks John
I finally finished gluing the levers. I plan to go swimming with the sharks to relax and recover from the ordeal.
4 Likes
Raj, that cockpit looks really good!
2 Likes