@HeavyArty Cheers Gino, I kinda thought the green elastic band was standard issue for all of the US army but I just wanted to make sure. I did clock the USMC emblem and I recall they weren’t issued to the marines in Vietnam either.
Sooo I will improvise one with some painted masking tape…I take it they still have those two small luminous squares that face the rear of the helmet?
Yes, the “cat’s eyes” are still there.
Right, and “Bob’s your uncle” 
This is great work!
1 Like
Thank you. I enjoyed building this kit very much!
2 Likes
…or possibly Aunty… these days… apparently…
LGBTabcdefg…
5 Likes
Oh you forgot the Q’s! Don’t forget the Q’s or there’ll be a scandal!
6 Likes
Got a primer coat on all the major parts today.
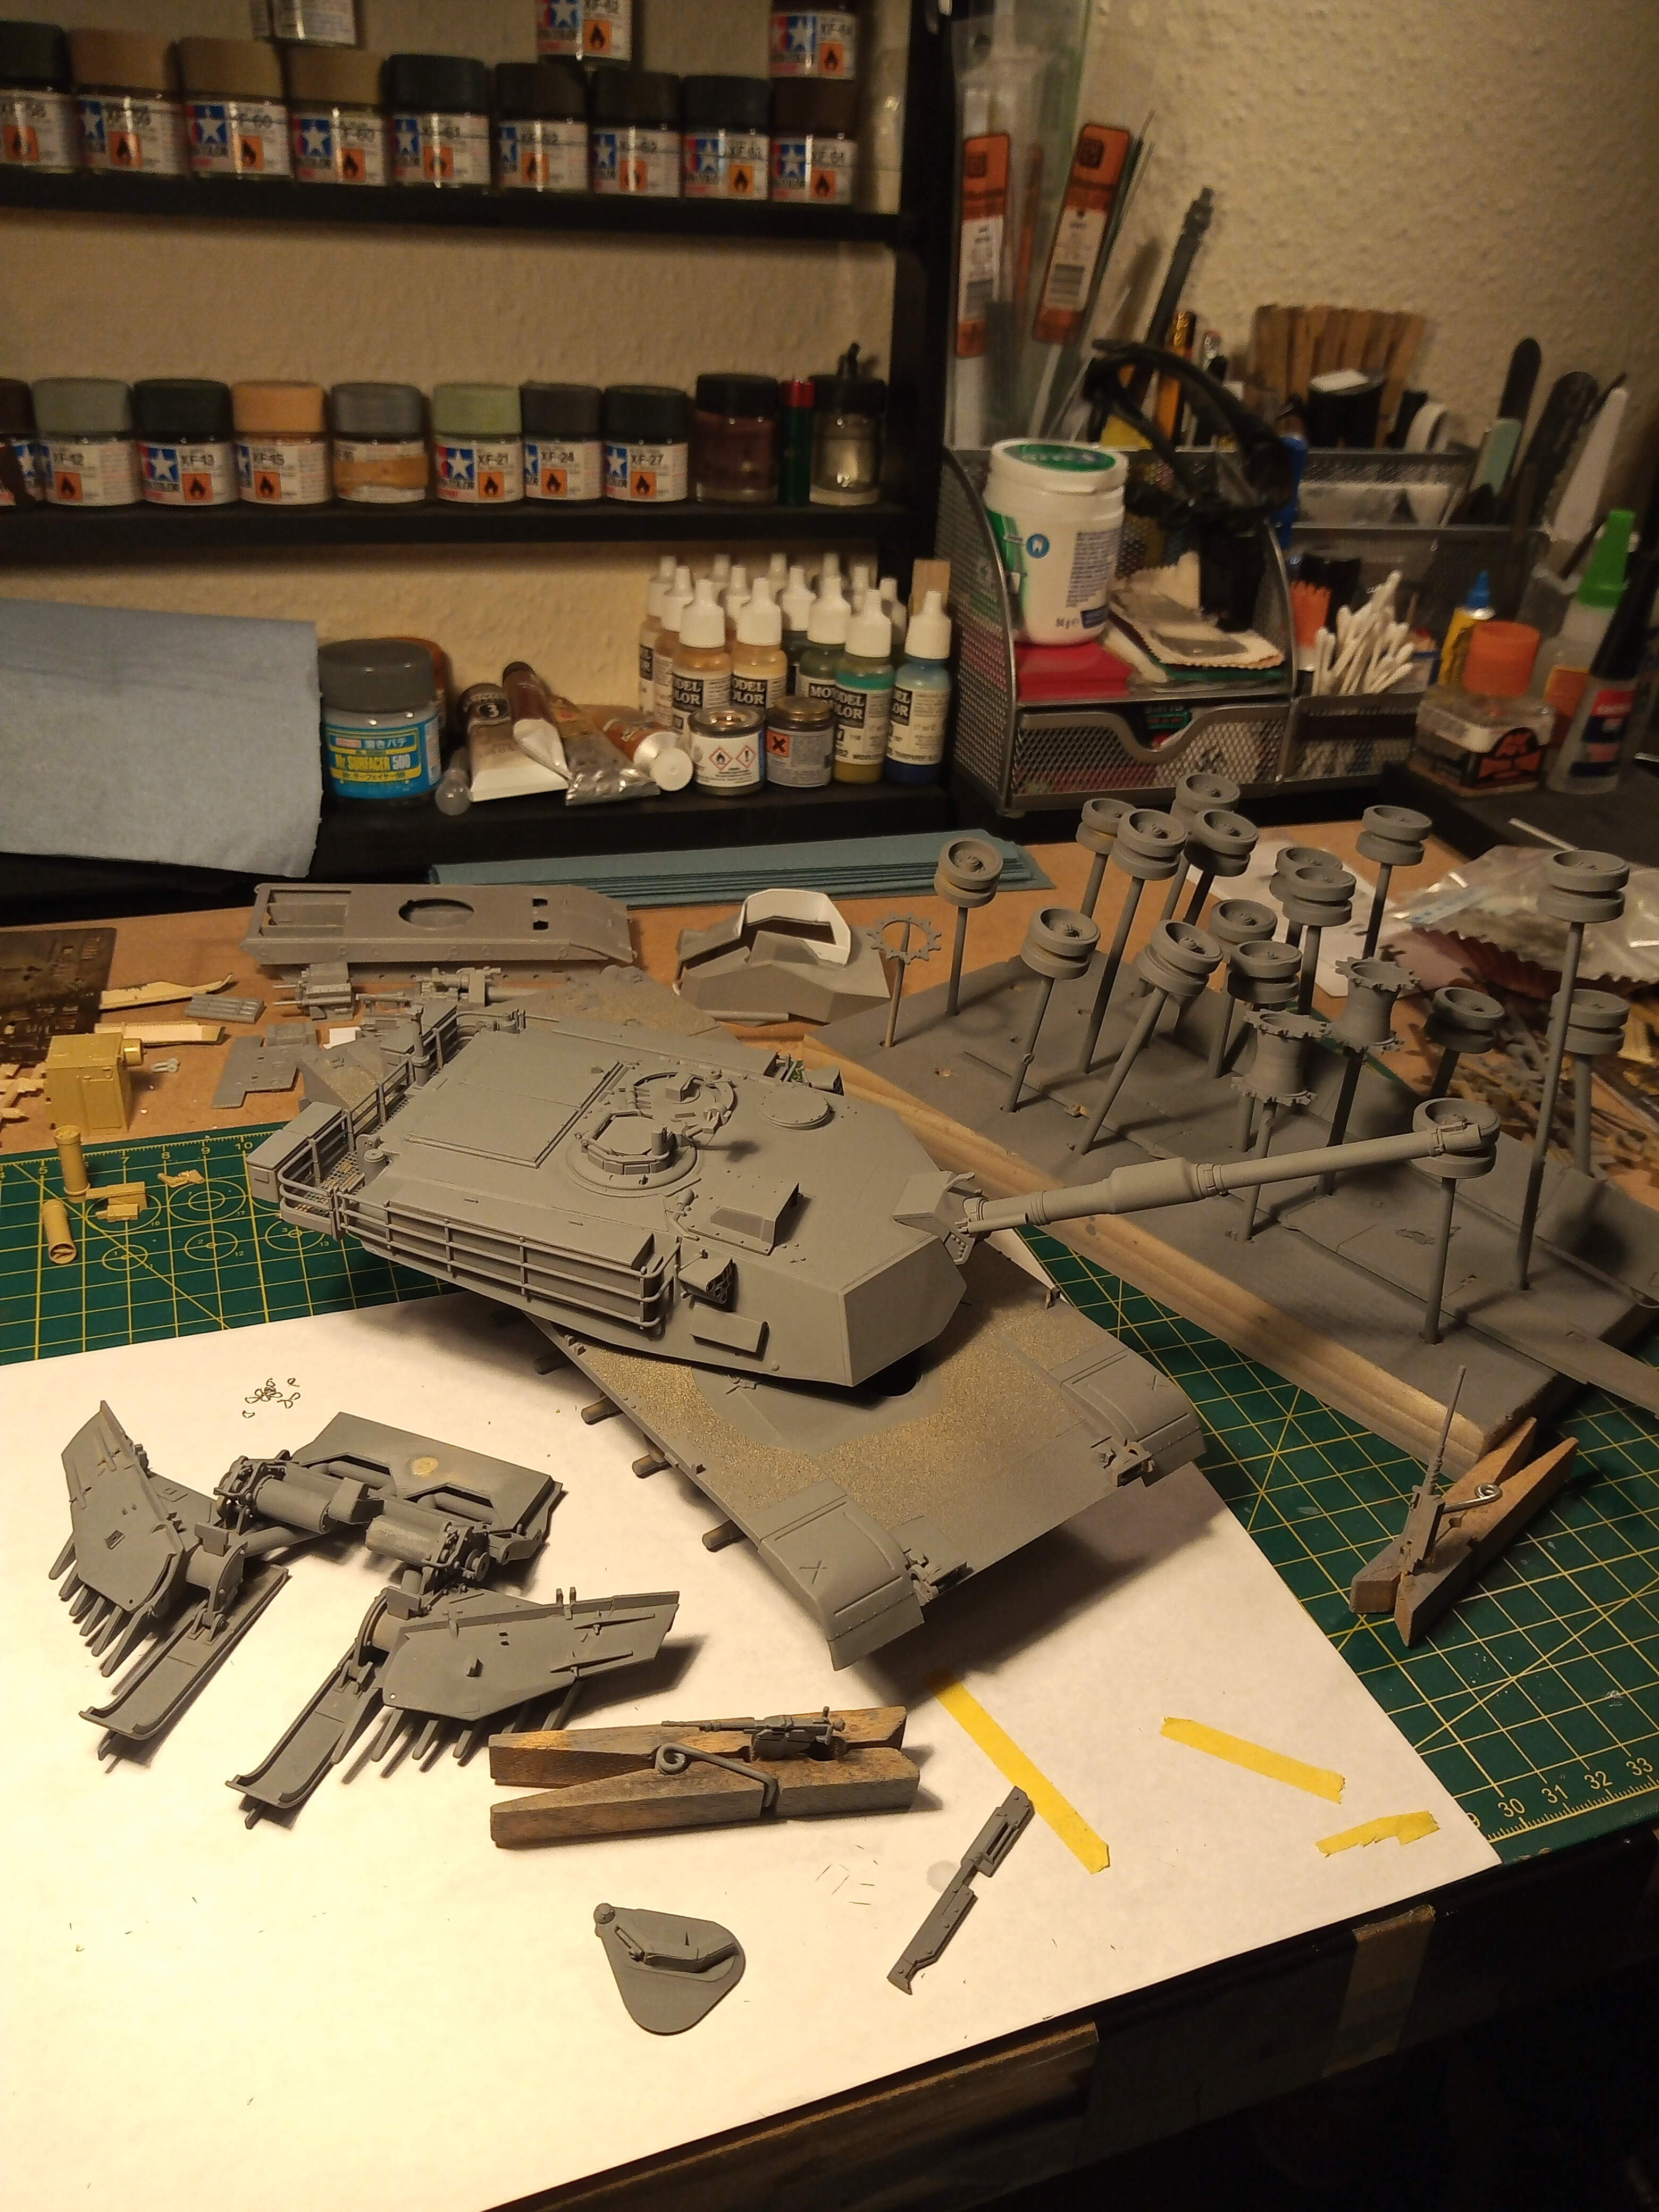
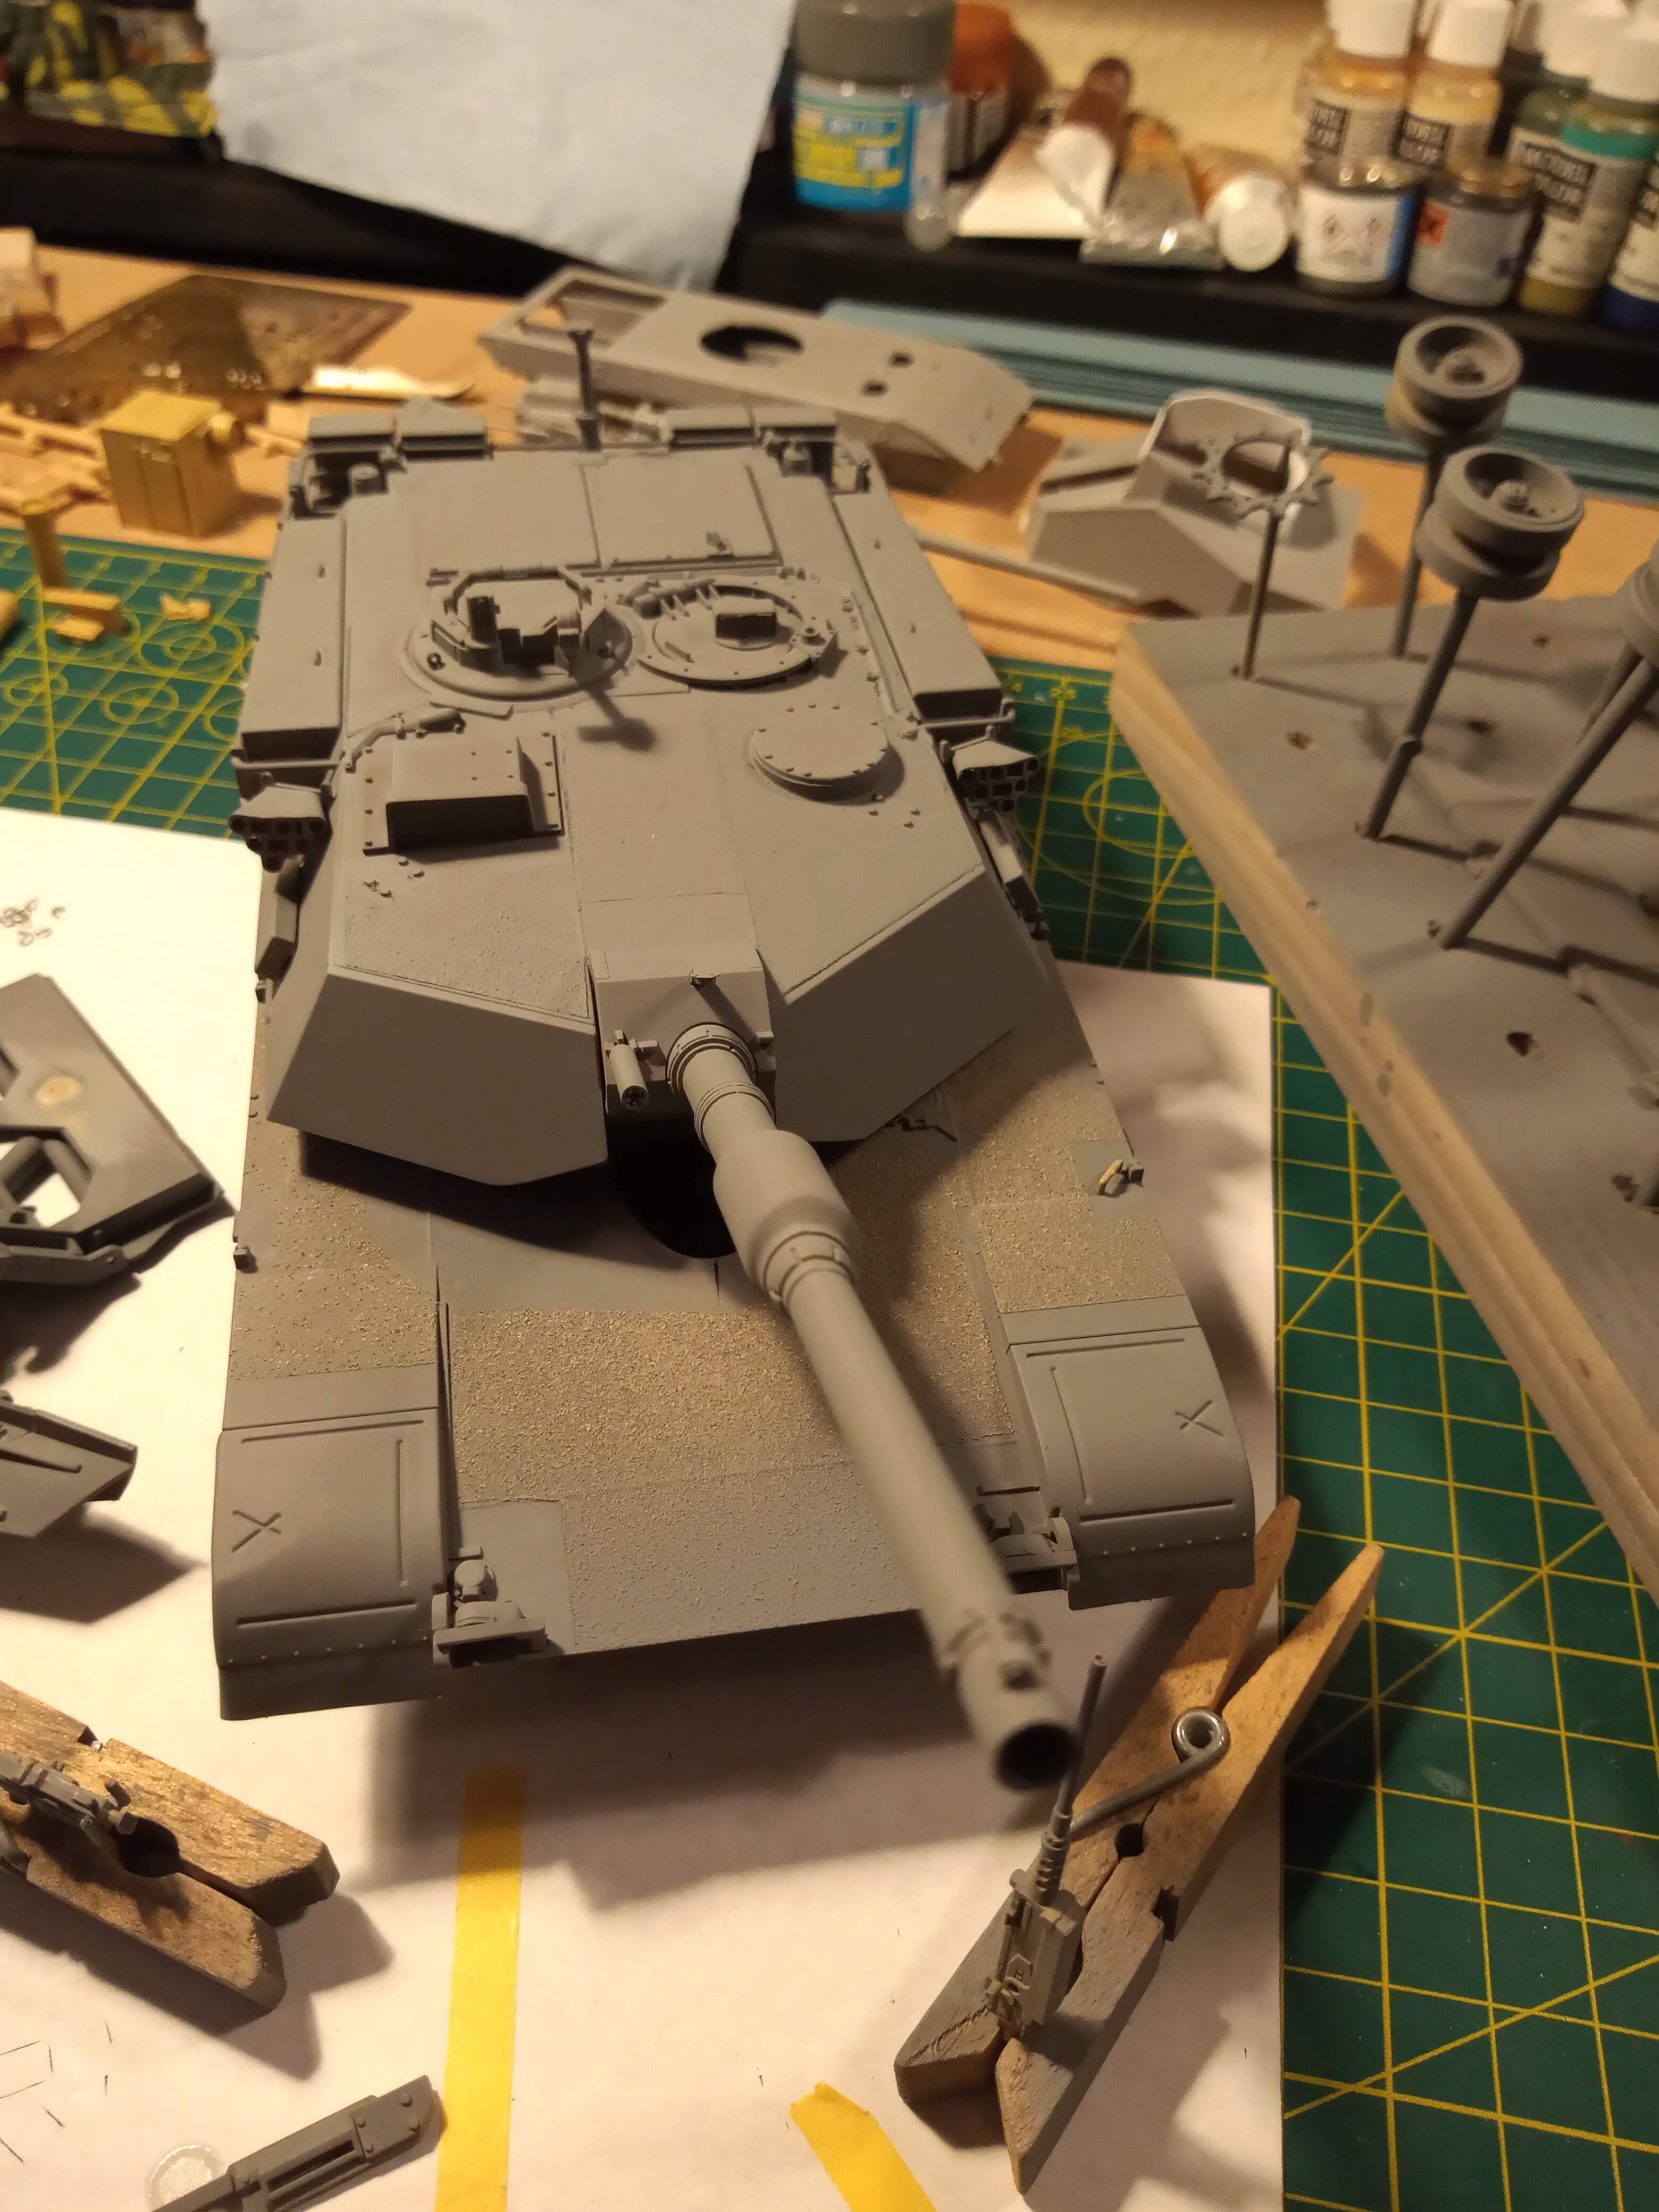
Need to tidy up a few areas and finish off a bit of clean up then add the straps to the lowering/raising pulleys that Gino mentioned on the plow. I still think I will be painting that green and the rest of the wagon sand… I just like the idea of the colour variations and that it was a last minute job to get it fitted and deployed…
Hopefully one of the ex M1 crews may be able to tell me how the spare wheels were secured to the top of the turret roof ? Is it by the 4 bolts in front of the sight mounting plate ??
6 Likes
Starting to shape up nicely. Going with a green plough assembly is a good idea. Like you said it will add a bit of variation and and make for a more visually interesting subject. 
1 Like
Exactly. One of the bolts is removed and reattached through a lug hole on the roadwheel. The four bolts are for attaching a lifting ring when removing the turret.
1 Like
OK, so this weekend has involved me watching the film T-34 which is rather good, the effects are fantastic even if the story line does stretch the imagination somewhat. I also managed to watch some more of the DVD my wife got for our first wedding anniversary: SPACE:1999 oh yes classic sci-fi action.
i have managed to do some work on the Sheridan, one key issue is the Academy decals which have a habit of repelling any surface they come in contact with. i thought this was only an issue on aircraft kits but no alas not.
so i have taken an exacto knife with a fresh blade…(don’t they always tell you to do that in those magazines every time you start a new kit) and i scored over the decals and used my tried and tested decal solution Tamiya X-20 acrylic thinners and after 2-3 coats the decals are settle down again.
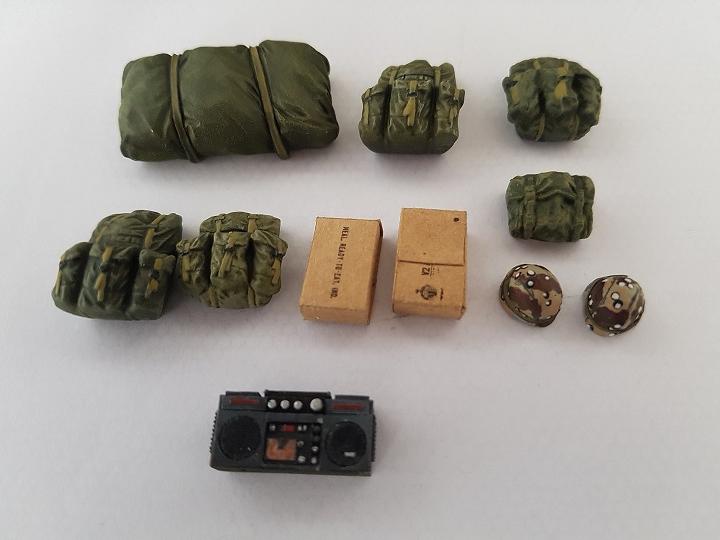
i have also been working on some of the accessories big shout out to Gino here who told me the sleeping bags that tamiya do wouldn’t be right and also gave me some pointers on the helmets. I have also thrown into the mix a Brixton Briefcase or Ghetto Blaster which i feel adds a human touch, something i think we forget when we build our models that real people live and work in these machines.
8 Likes
The gear looks great. Good job on it all. The ghetto-blaster is great too. I can hear it belting out Guns 'N Roses - Sweet Child 'O Mine now.
1 Like
Stowage looks great David, especially the helmet covers. Very nice
1 Like
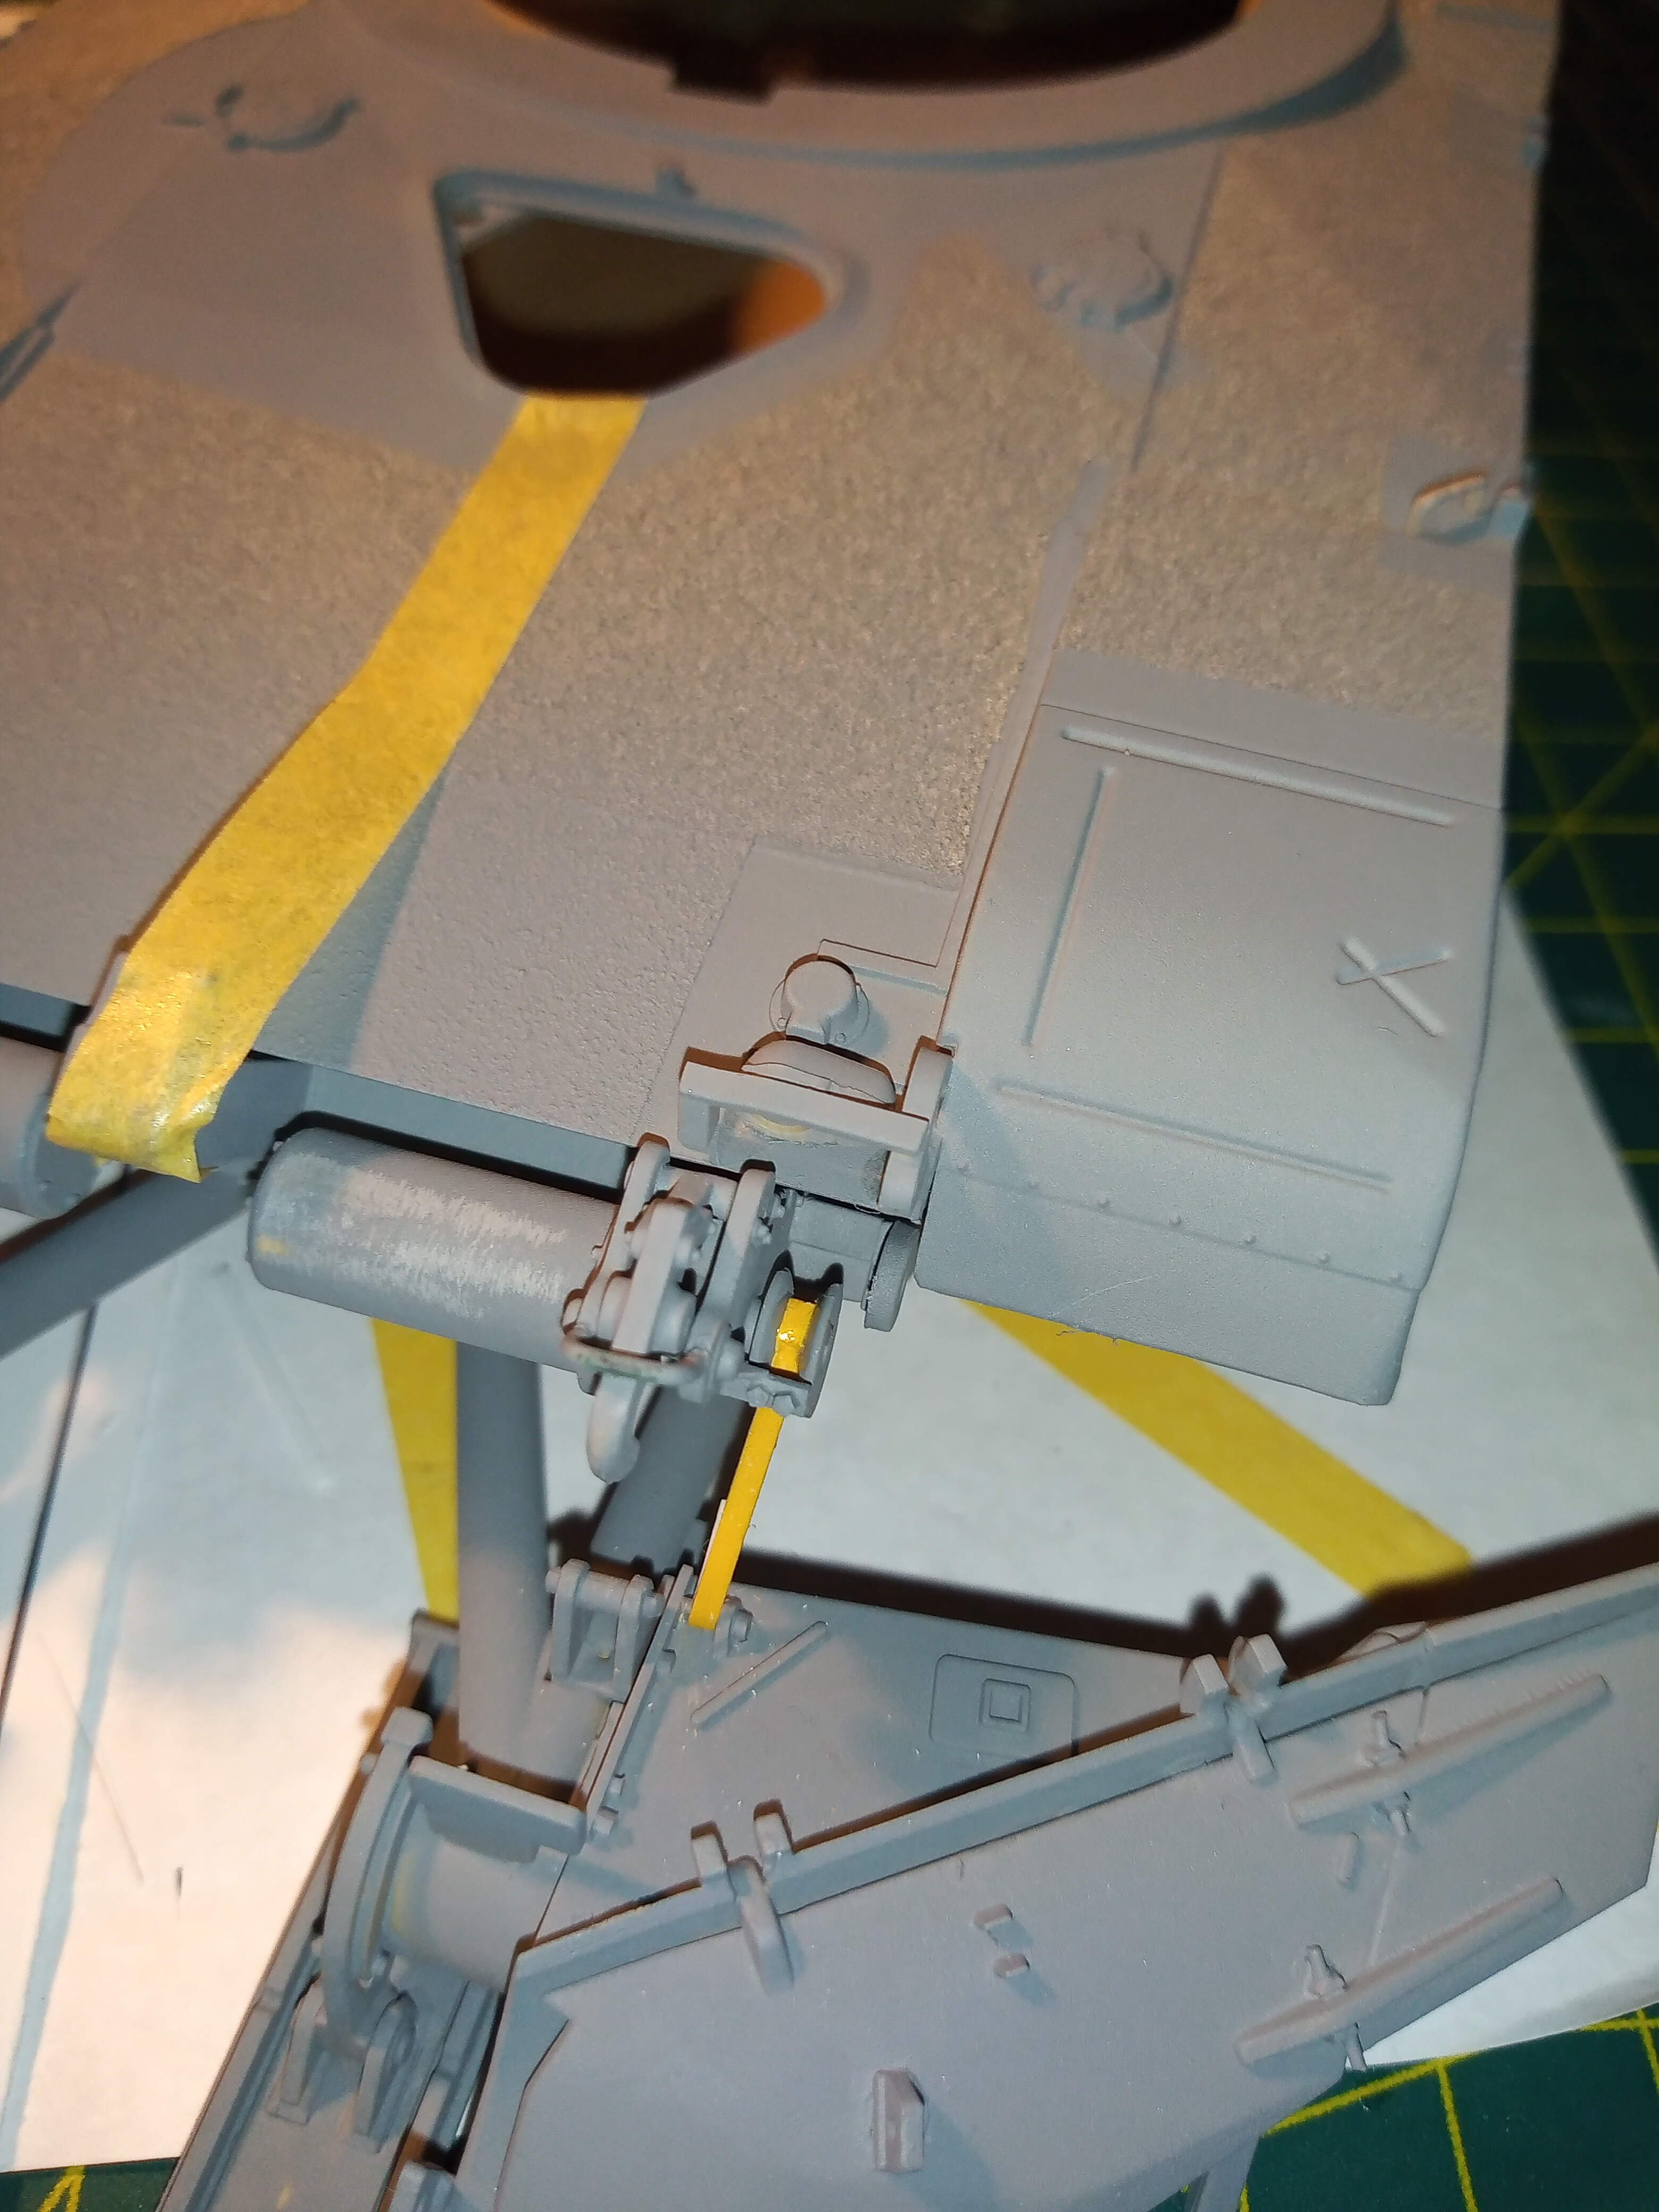
Have started to add the lowering/raising straps. Have secured them to the fixed anchor point on the lower blade of the plow.
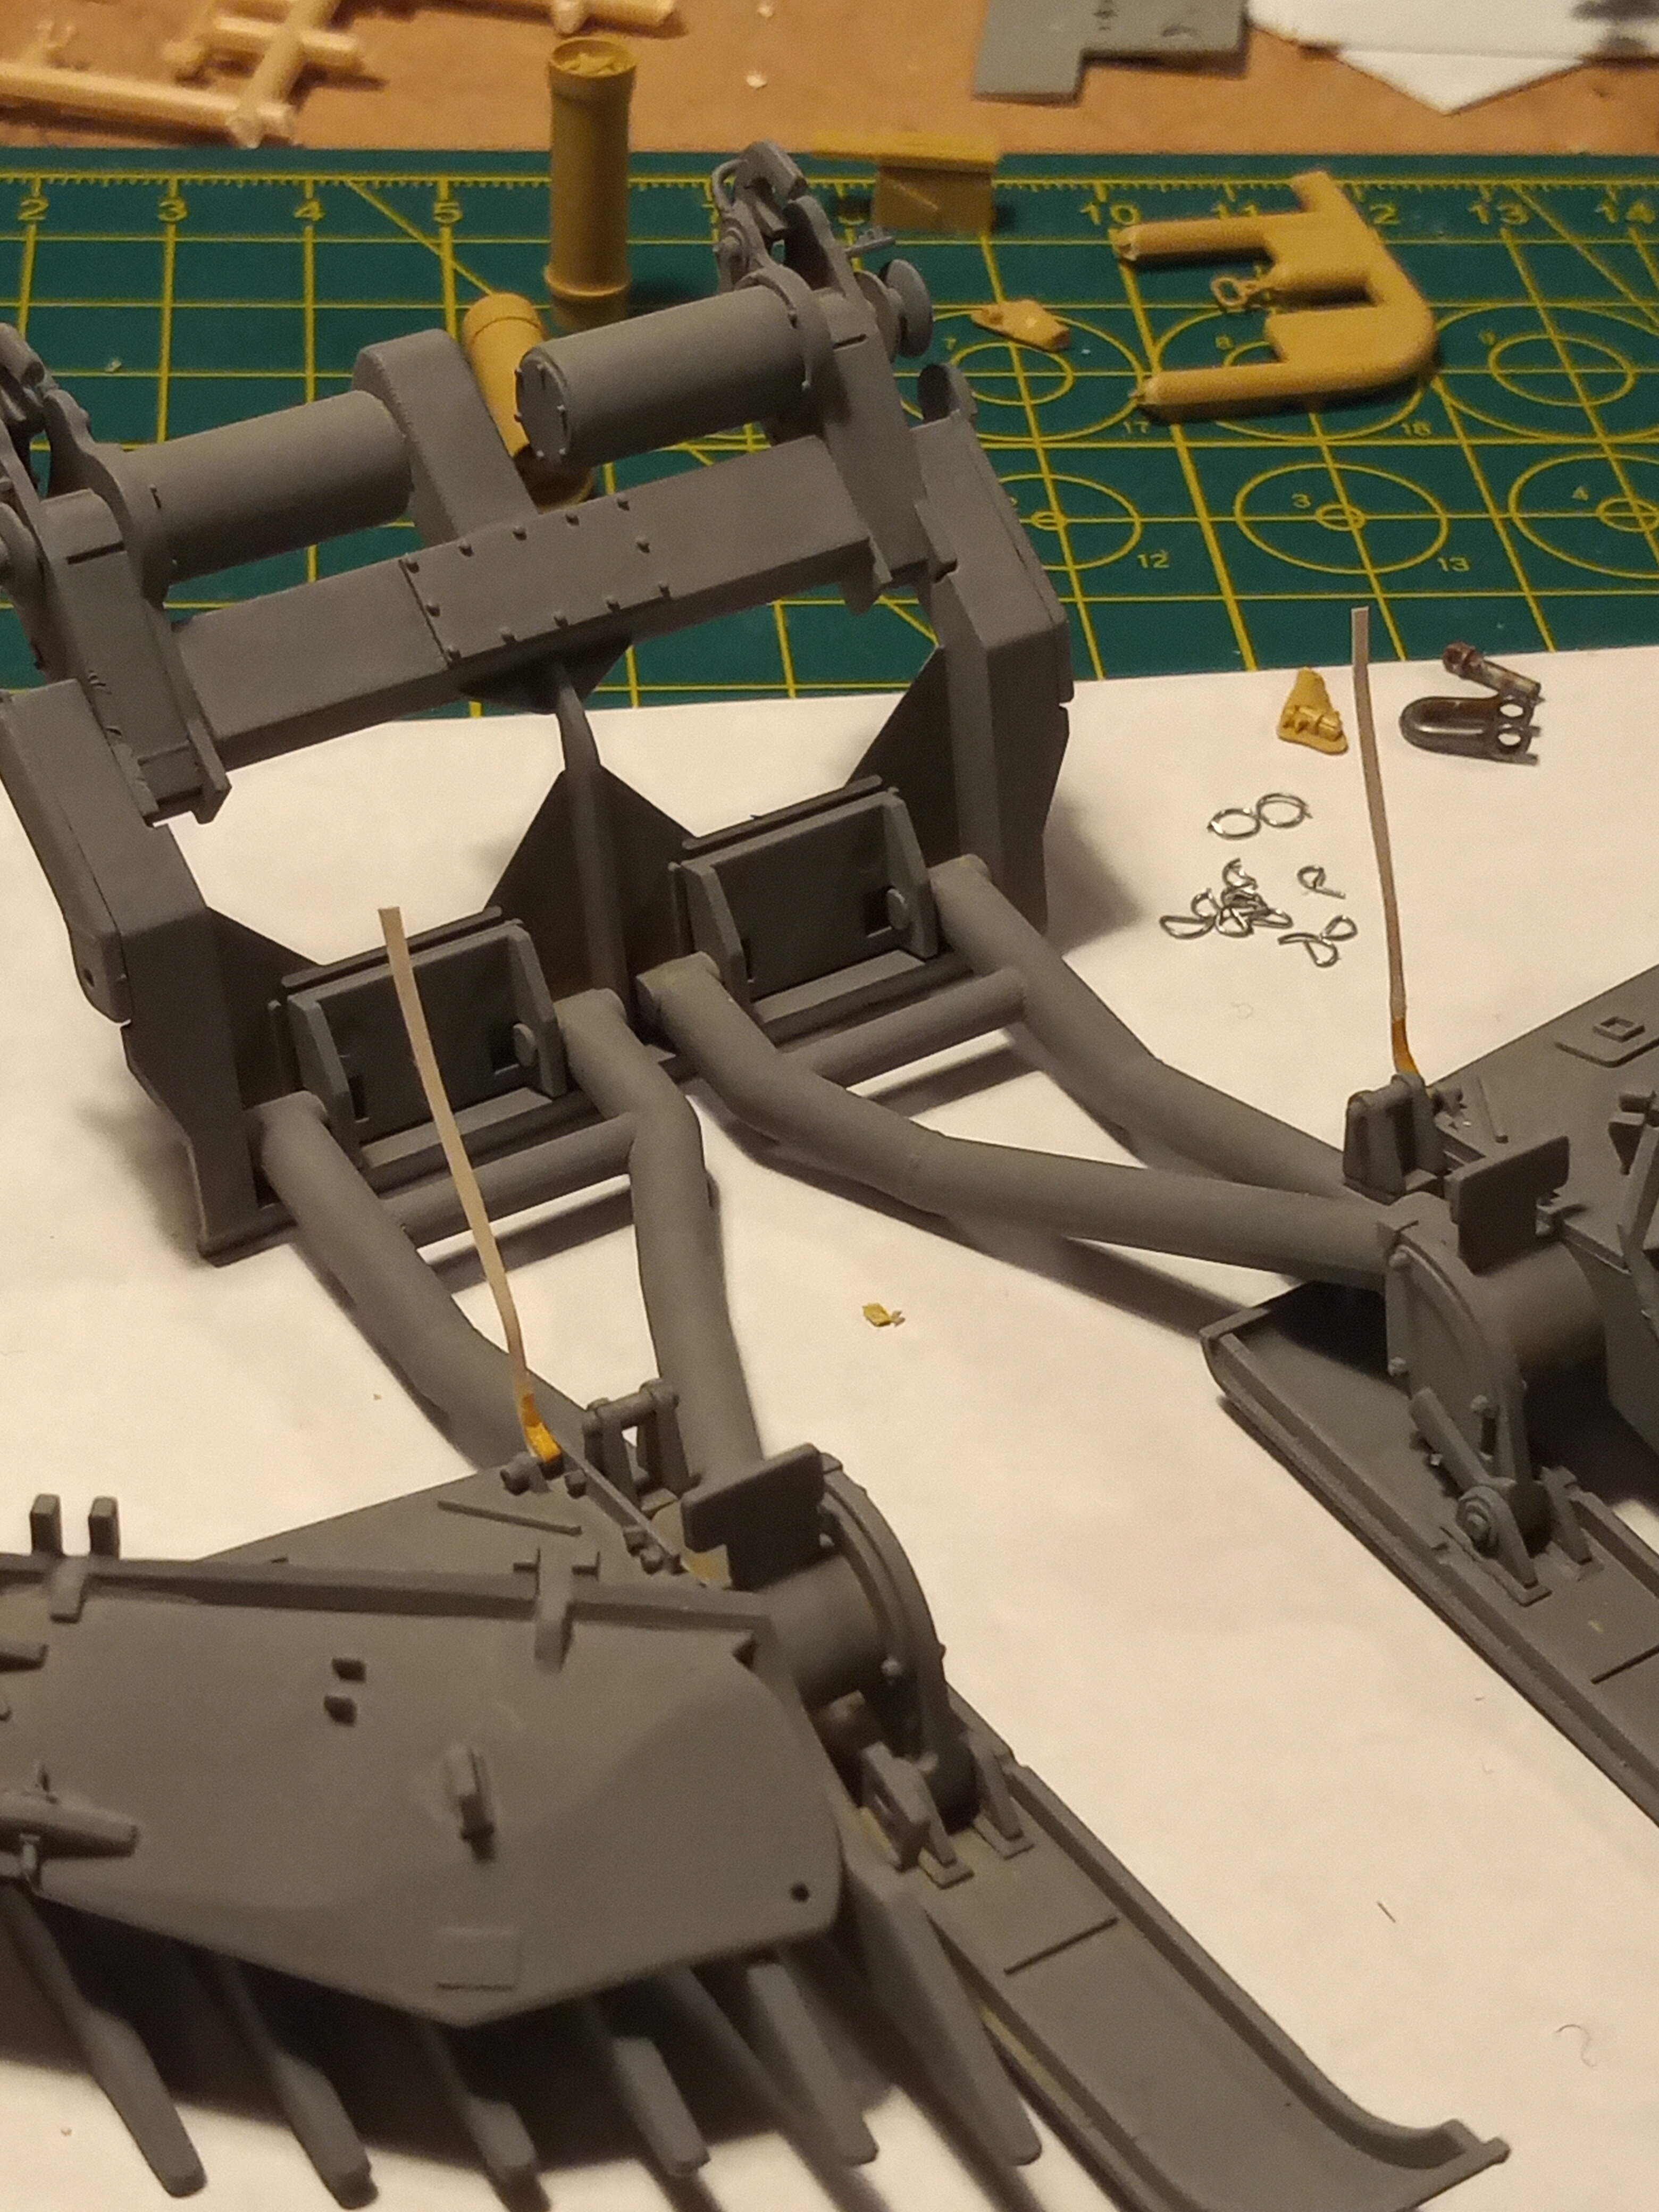
Will work out a decent length and then secure that to the pulley.
I just used a small length of one of the kit stowage straps from the Trumpy Stryker I did.
5 Likes
Stowage and accessories look great. Those helmets are awesome!
1 Like
Got both pretend straps secured to the pulleys now. Eventually they will be painted an off white to represent the colour I’ve seen in some pics and the images Gino showed earlier in the thread.
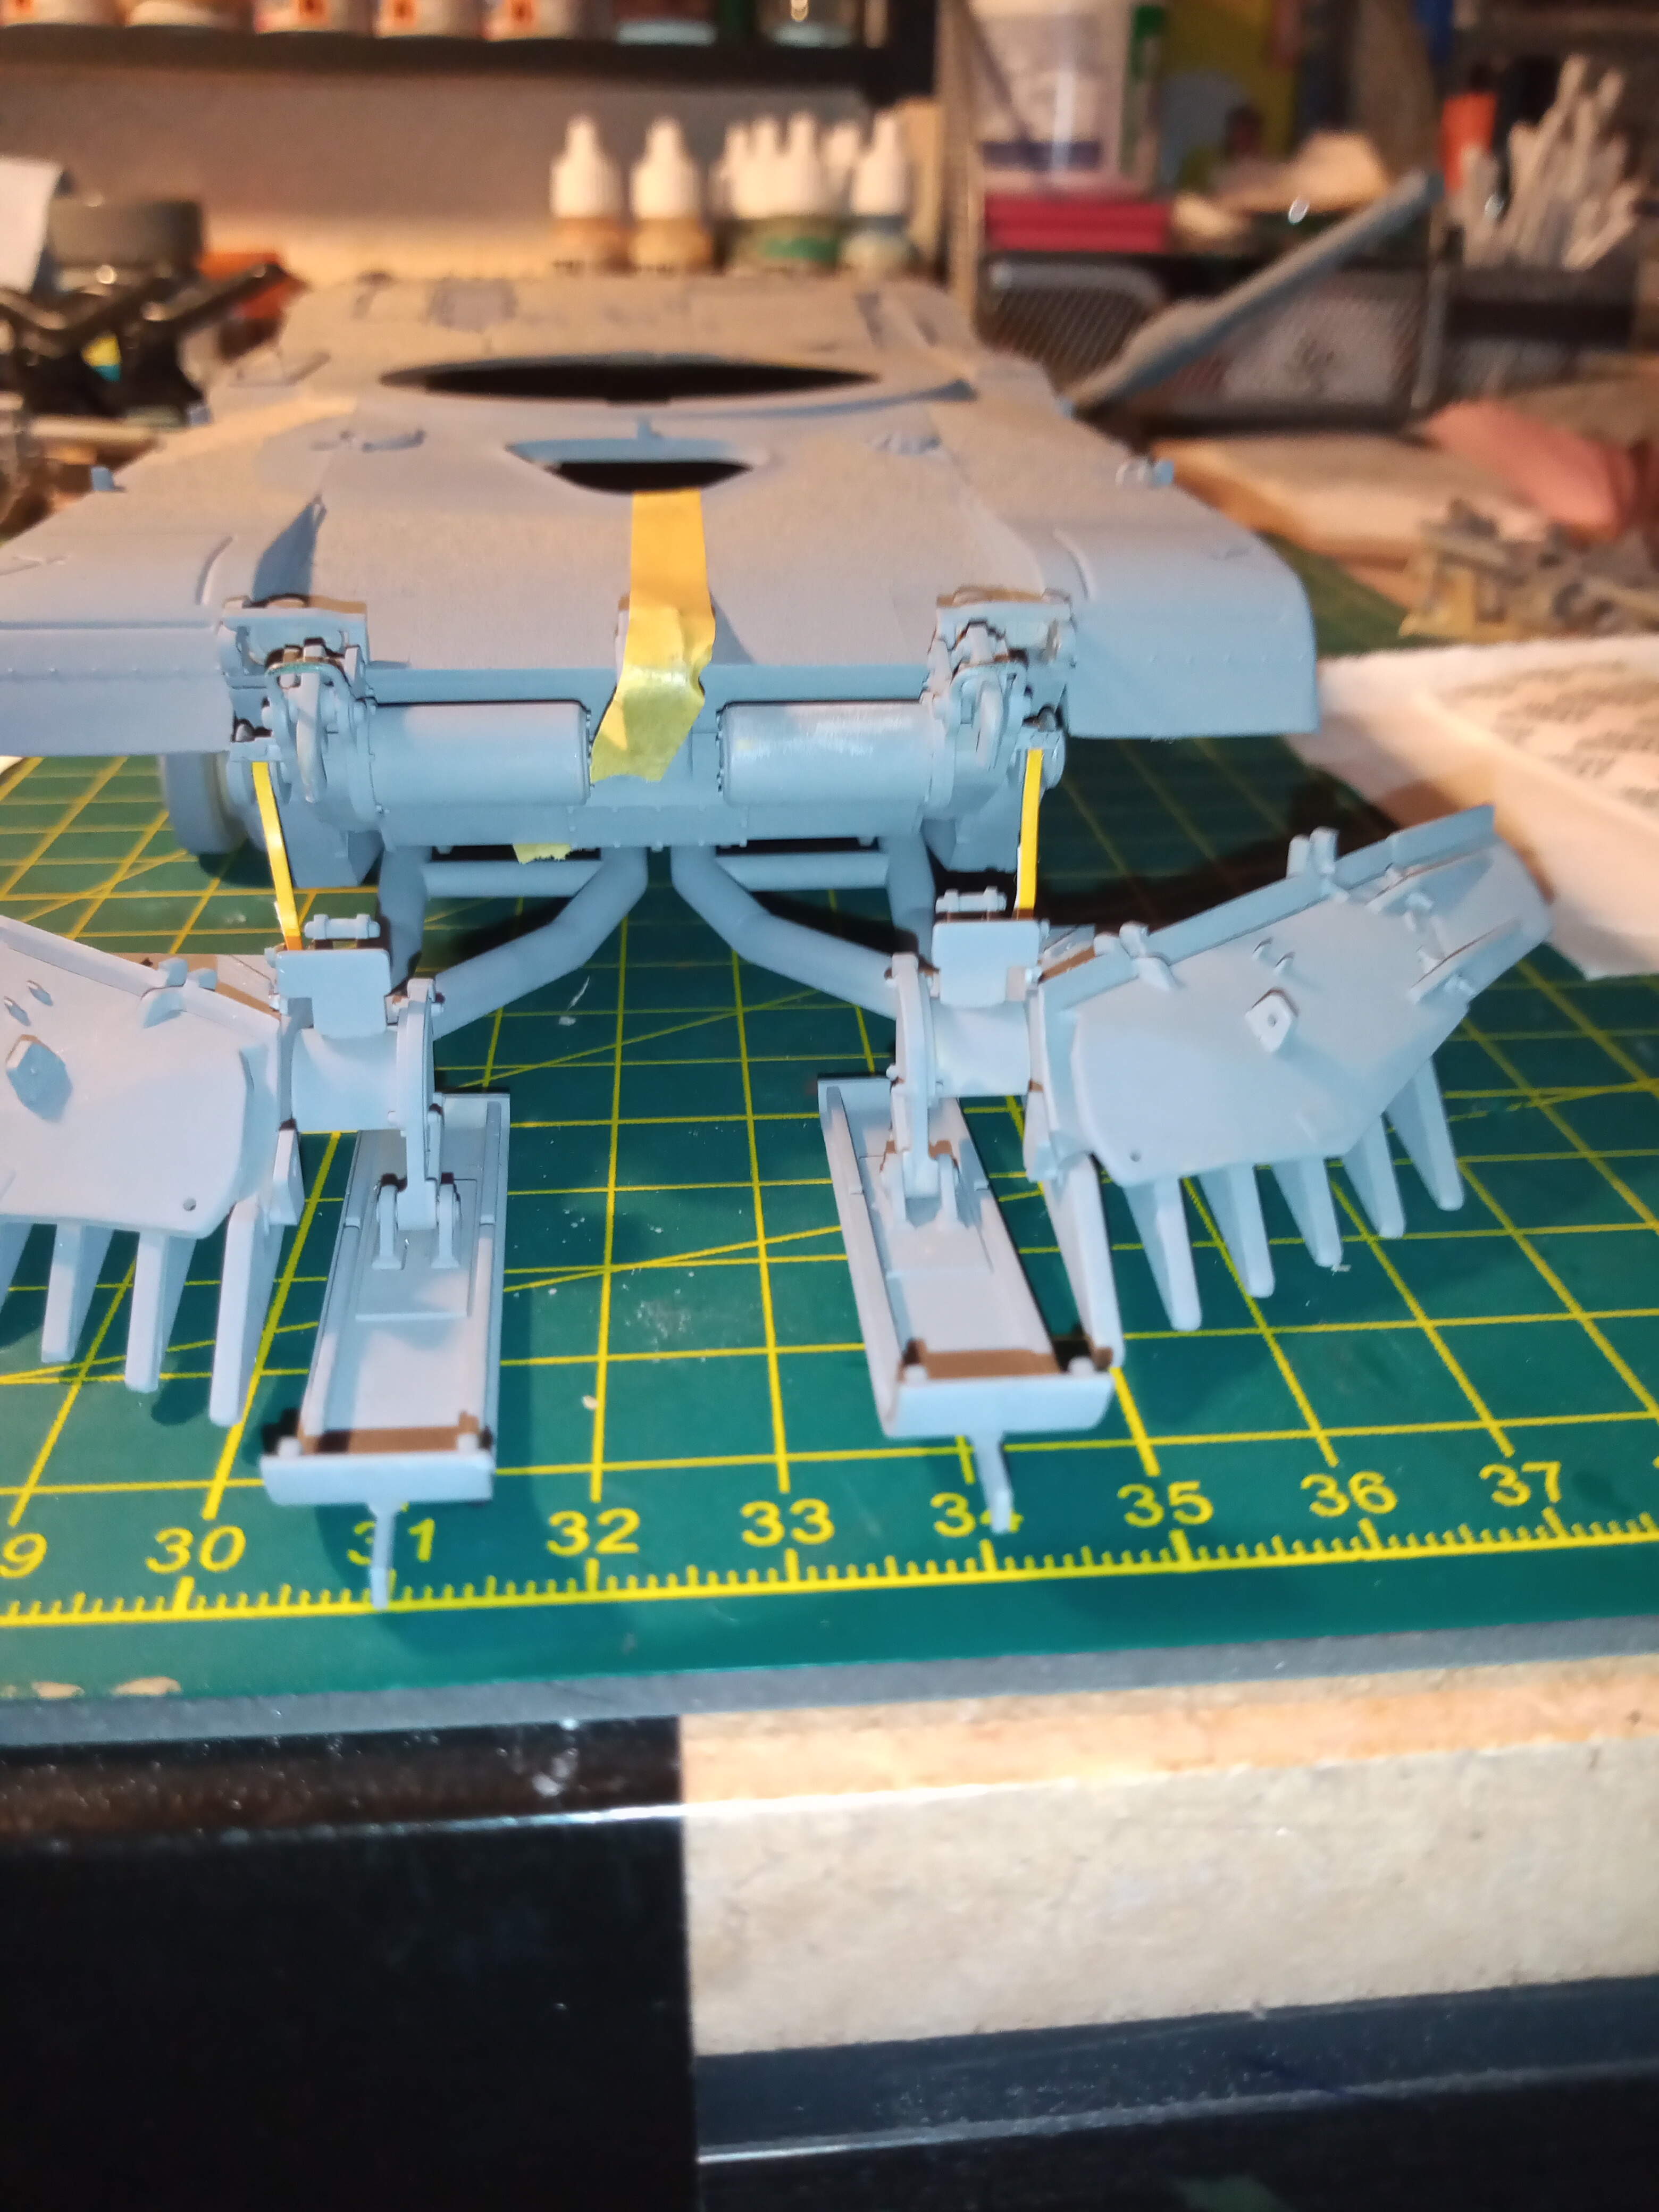
I intend to have in on a sandy type of base, with a few pics of the plow down and few in the up position.
6 Likes
Started working on this, and immediately ran into a couple of problems. First, when comparing the Trumpeter tracks to the drive sprocket, the drive sprocket was the wrong size, it did not fit the tracks. The sprockets are kinda crappy anyway, so I ordered some new ones.
The second problem was the front slope of the hull. Most Yugoslav M-84s are based on the T-72M1, but the Dragon kit is a T-72M. The M1 has an additional armor plate welded on the front. So I took another Dragon kit and cut the front off and trimmed it down to size, then glued it on.
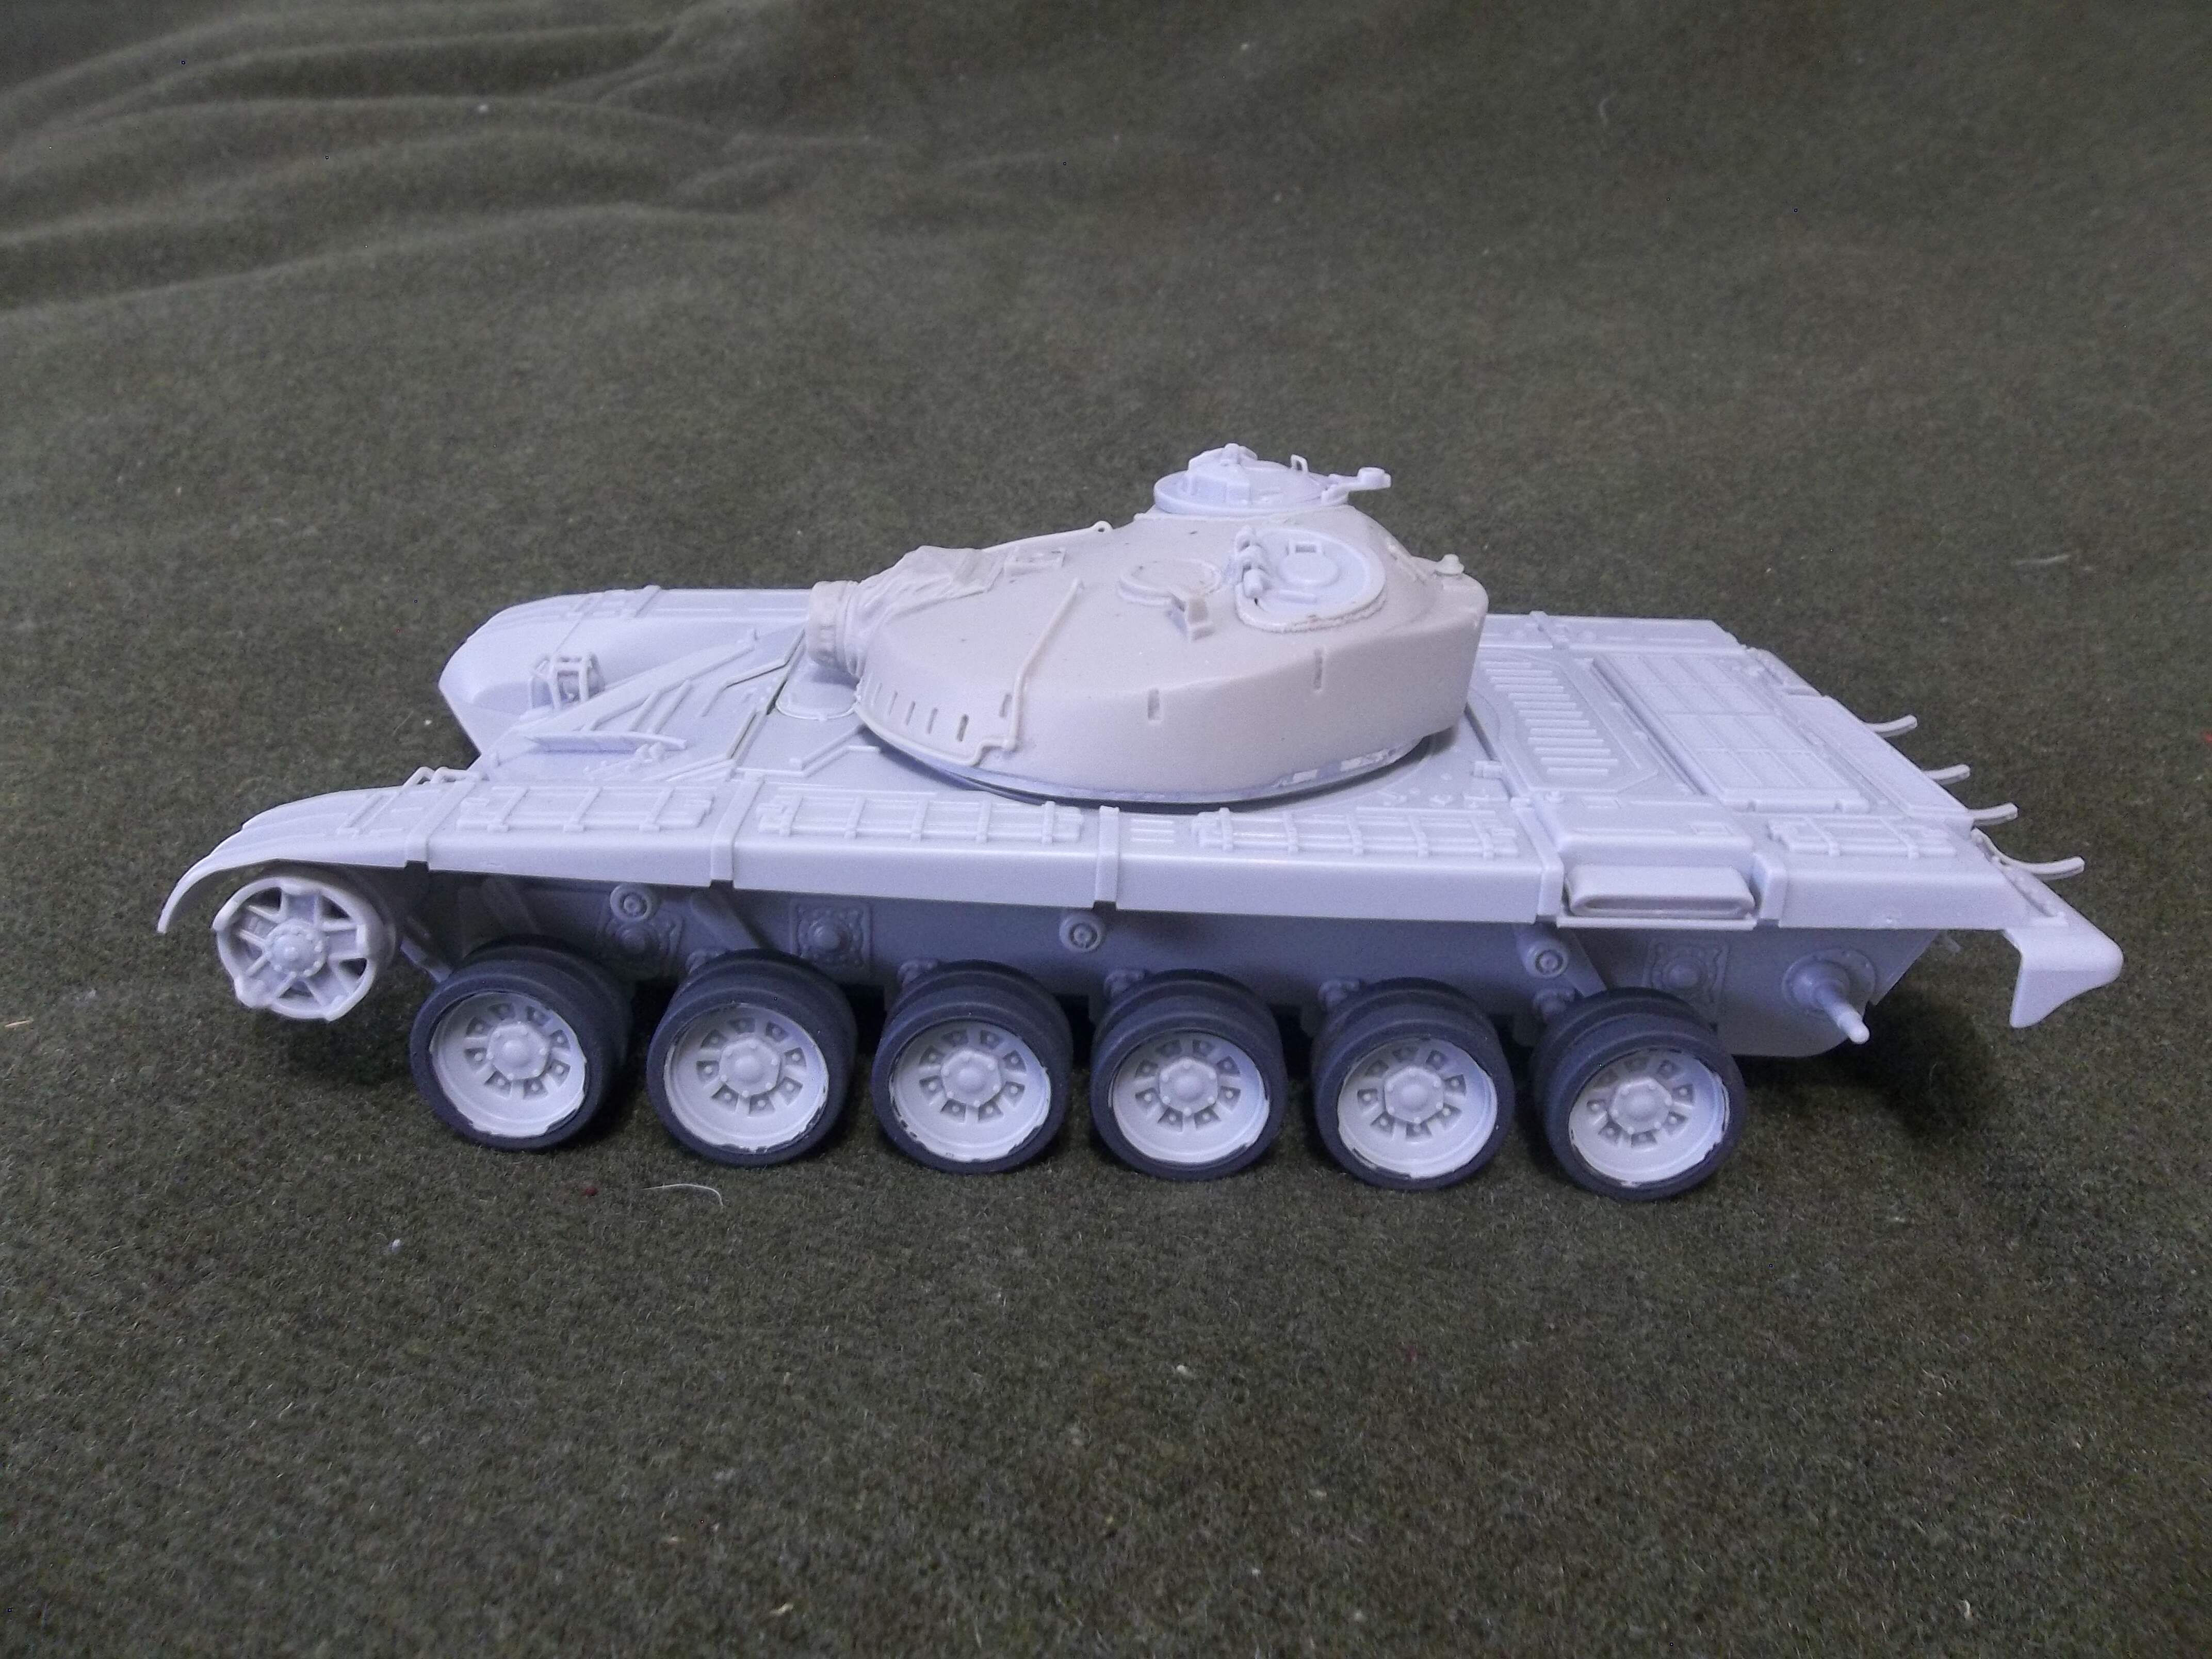
The Dragon kit is not the best in the world, but it’s not bad. The hull went together well enough, now I have started working on the turret.
Ken.
4 Likes
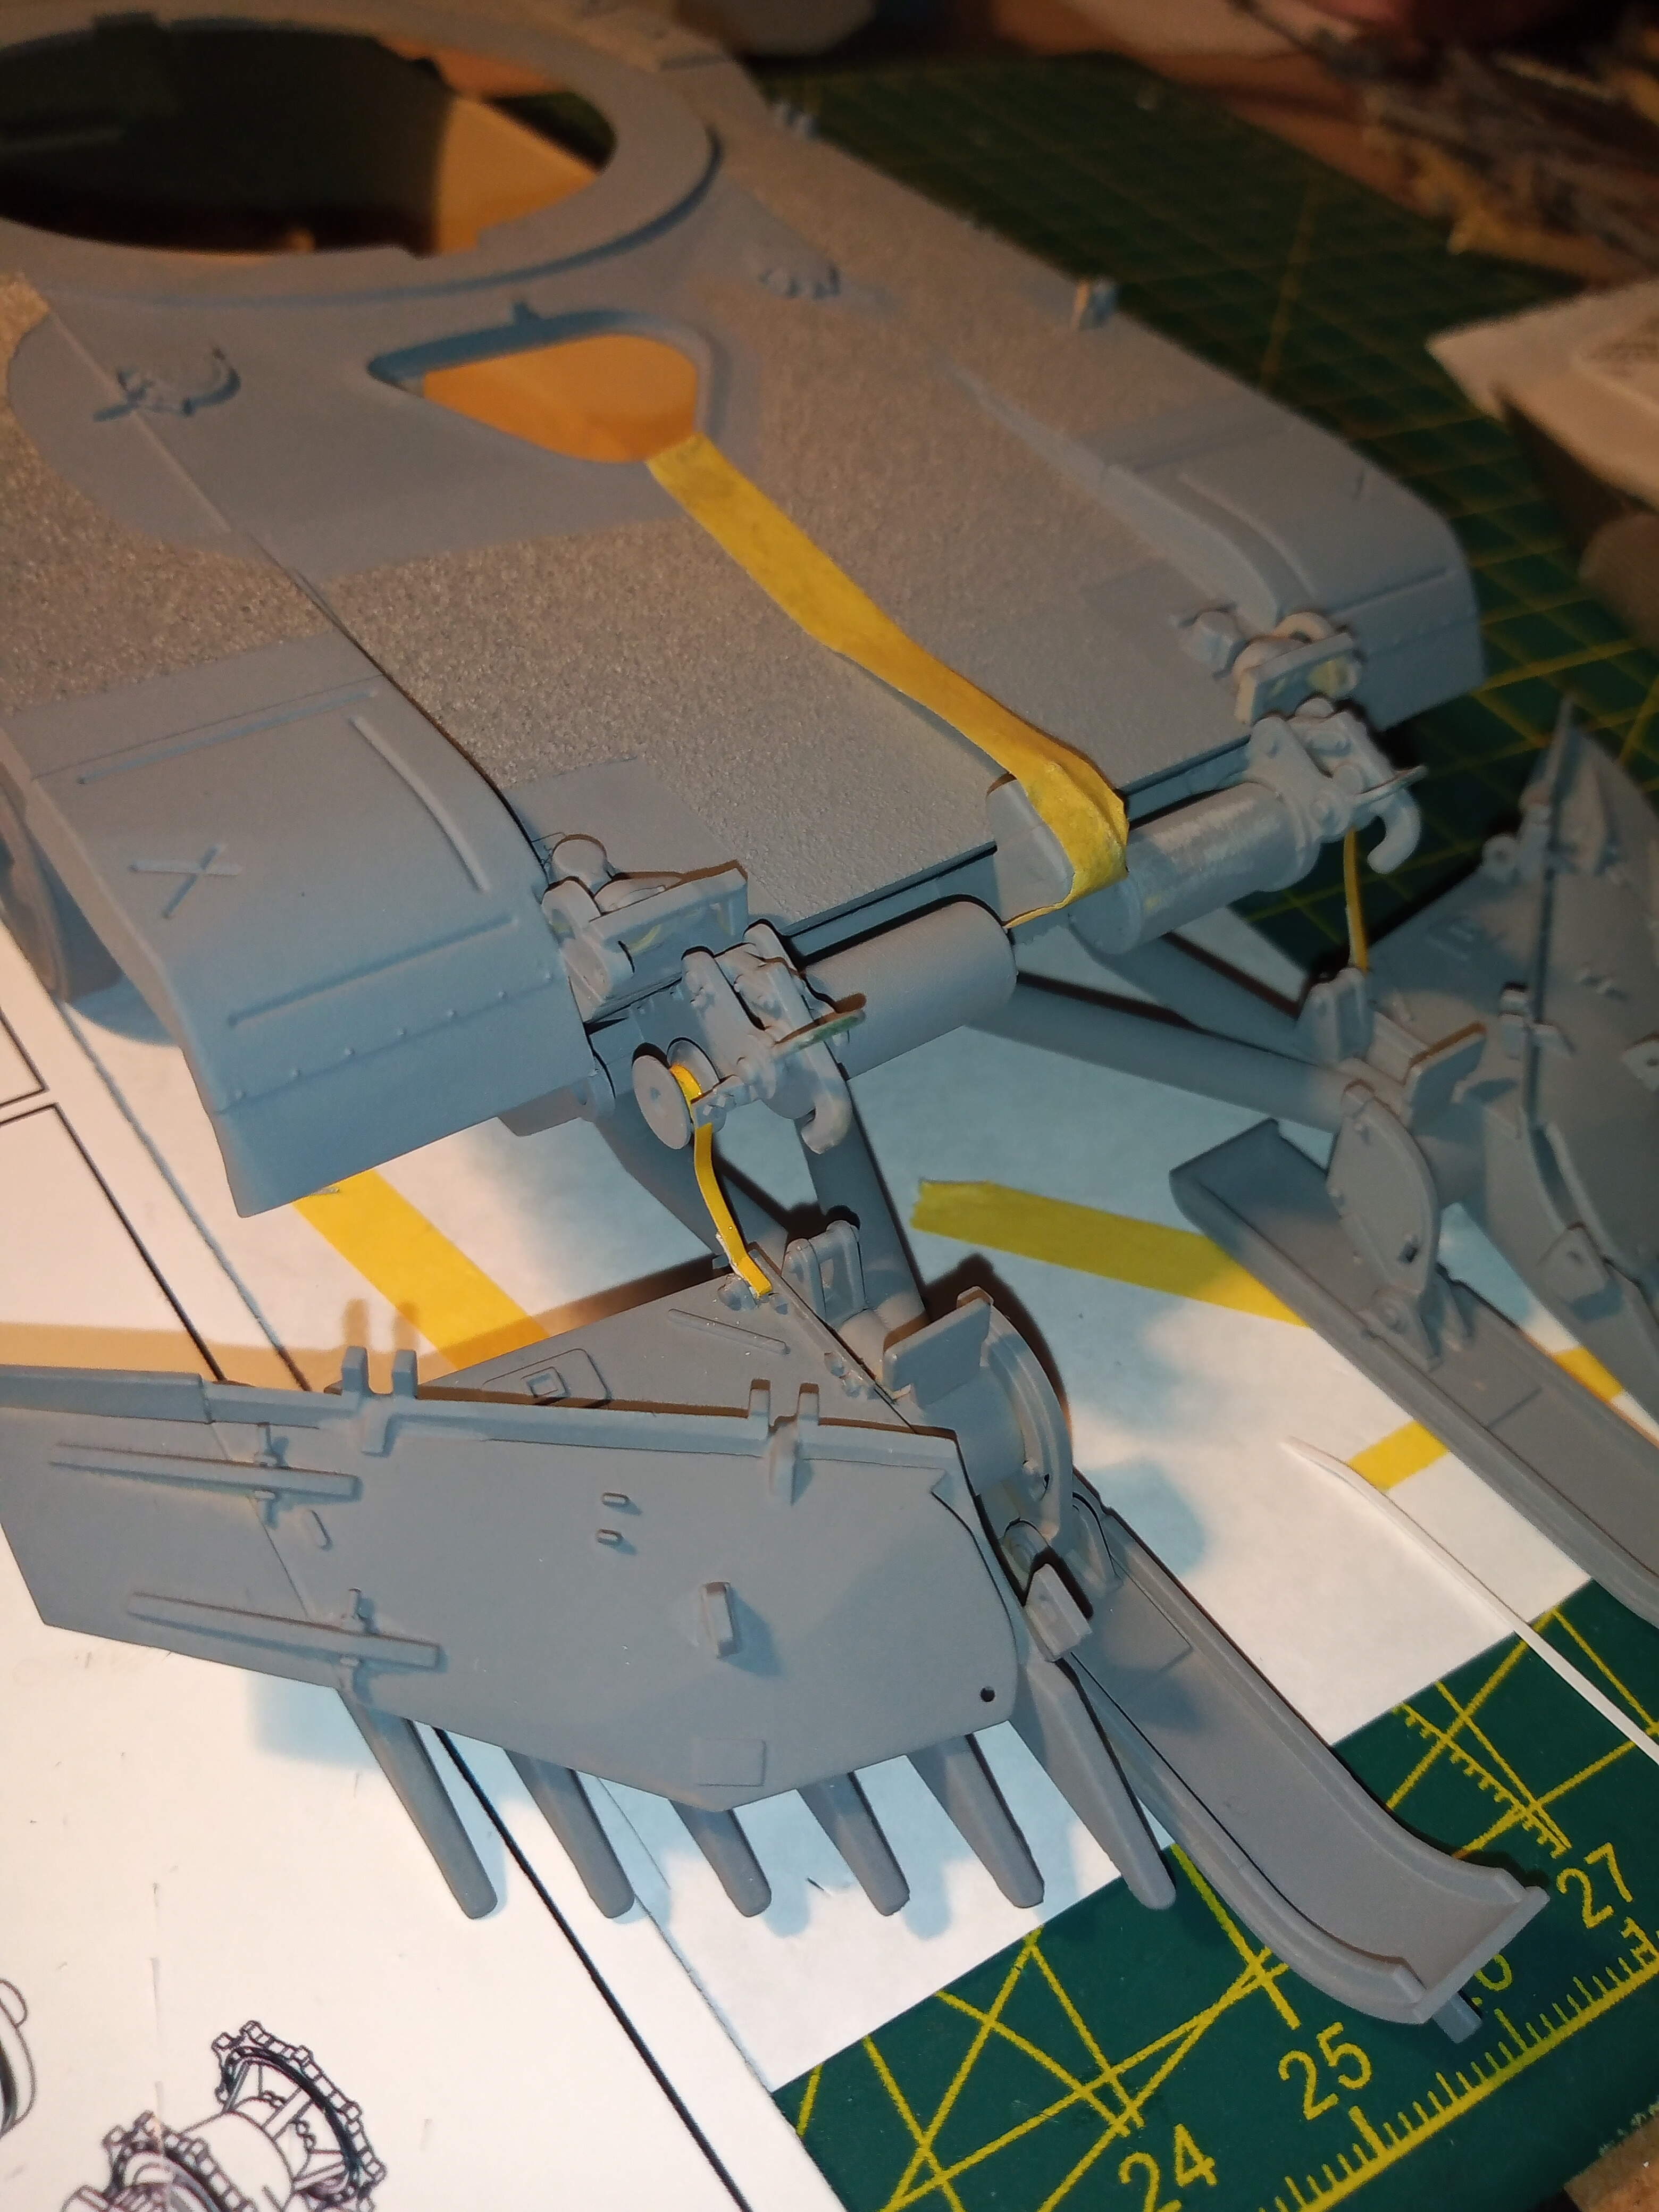
Just another view with the plow dry fitted and lowered … Have put some wheels on to give it some height and with the tracks added the plow should sit about 6mm off the ground.
The lowering straps should stand out nicely with an off white colour against the plows green when it’s done.
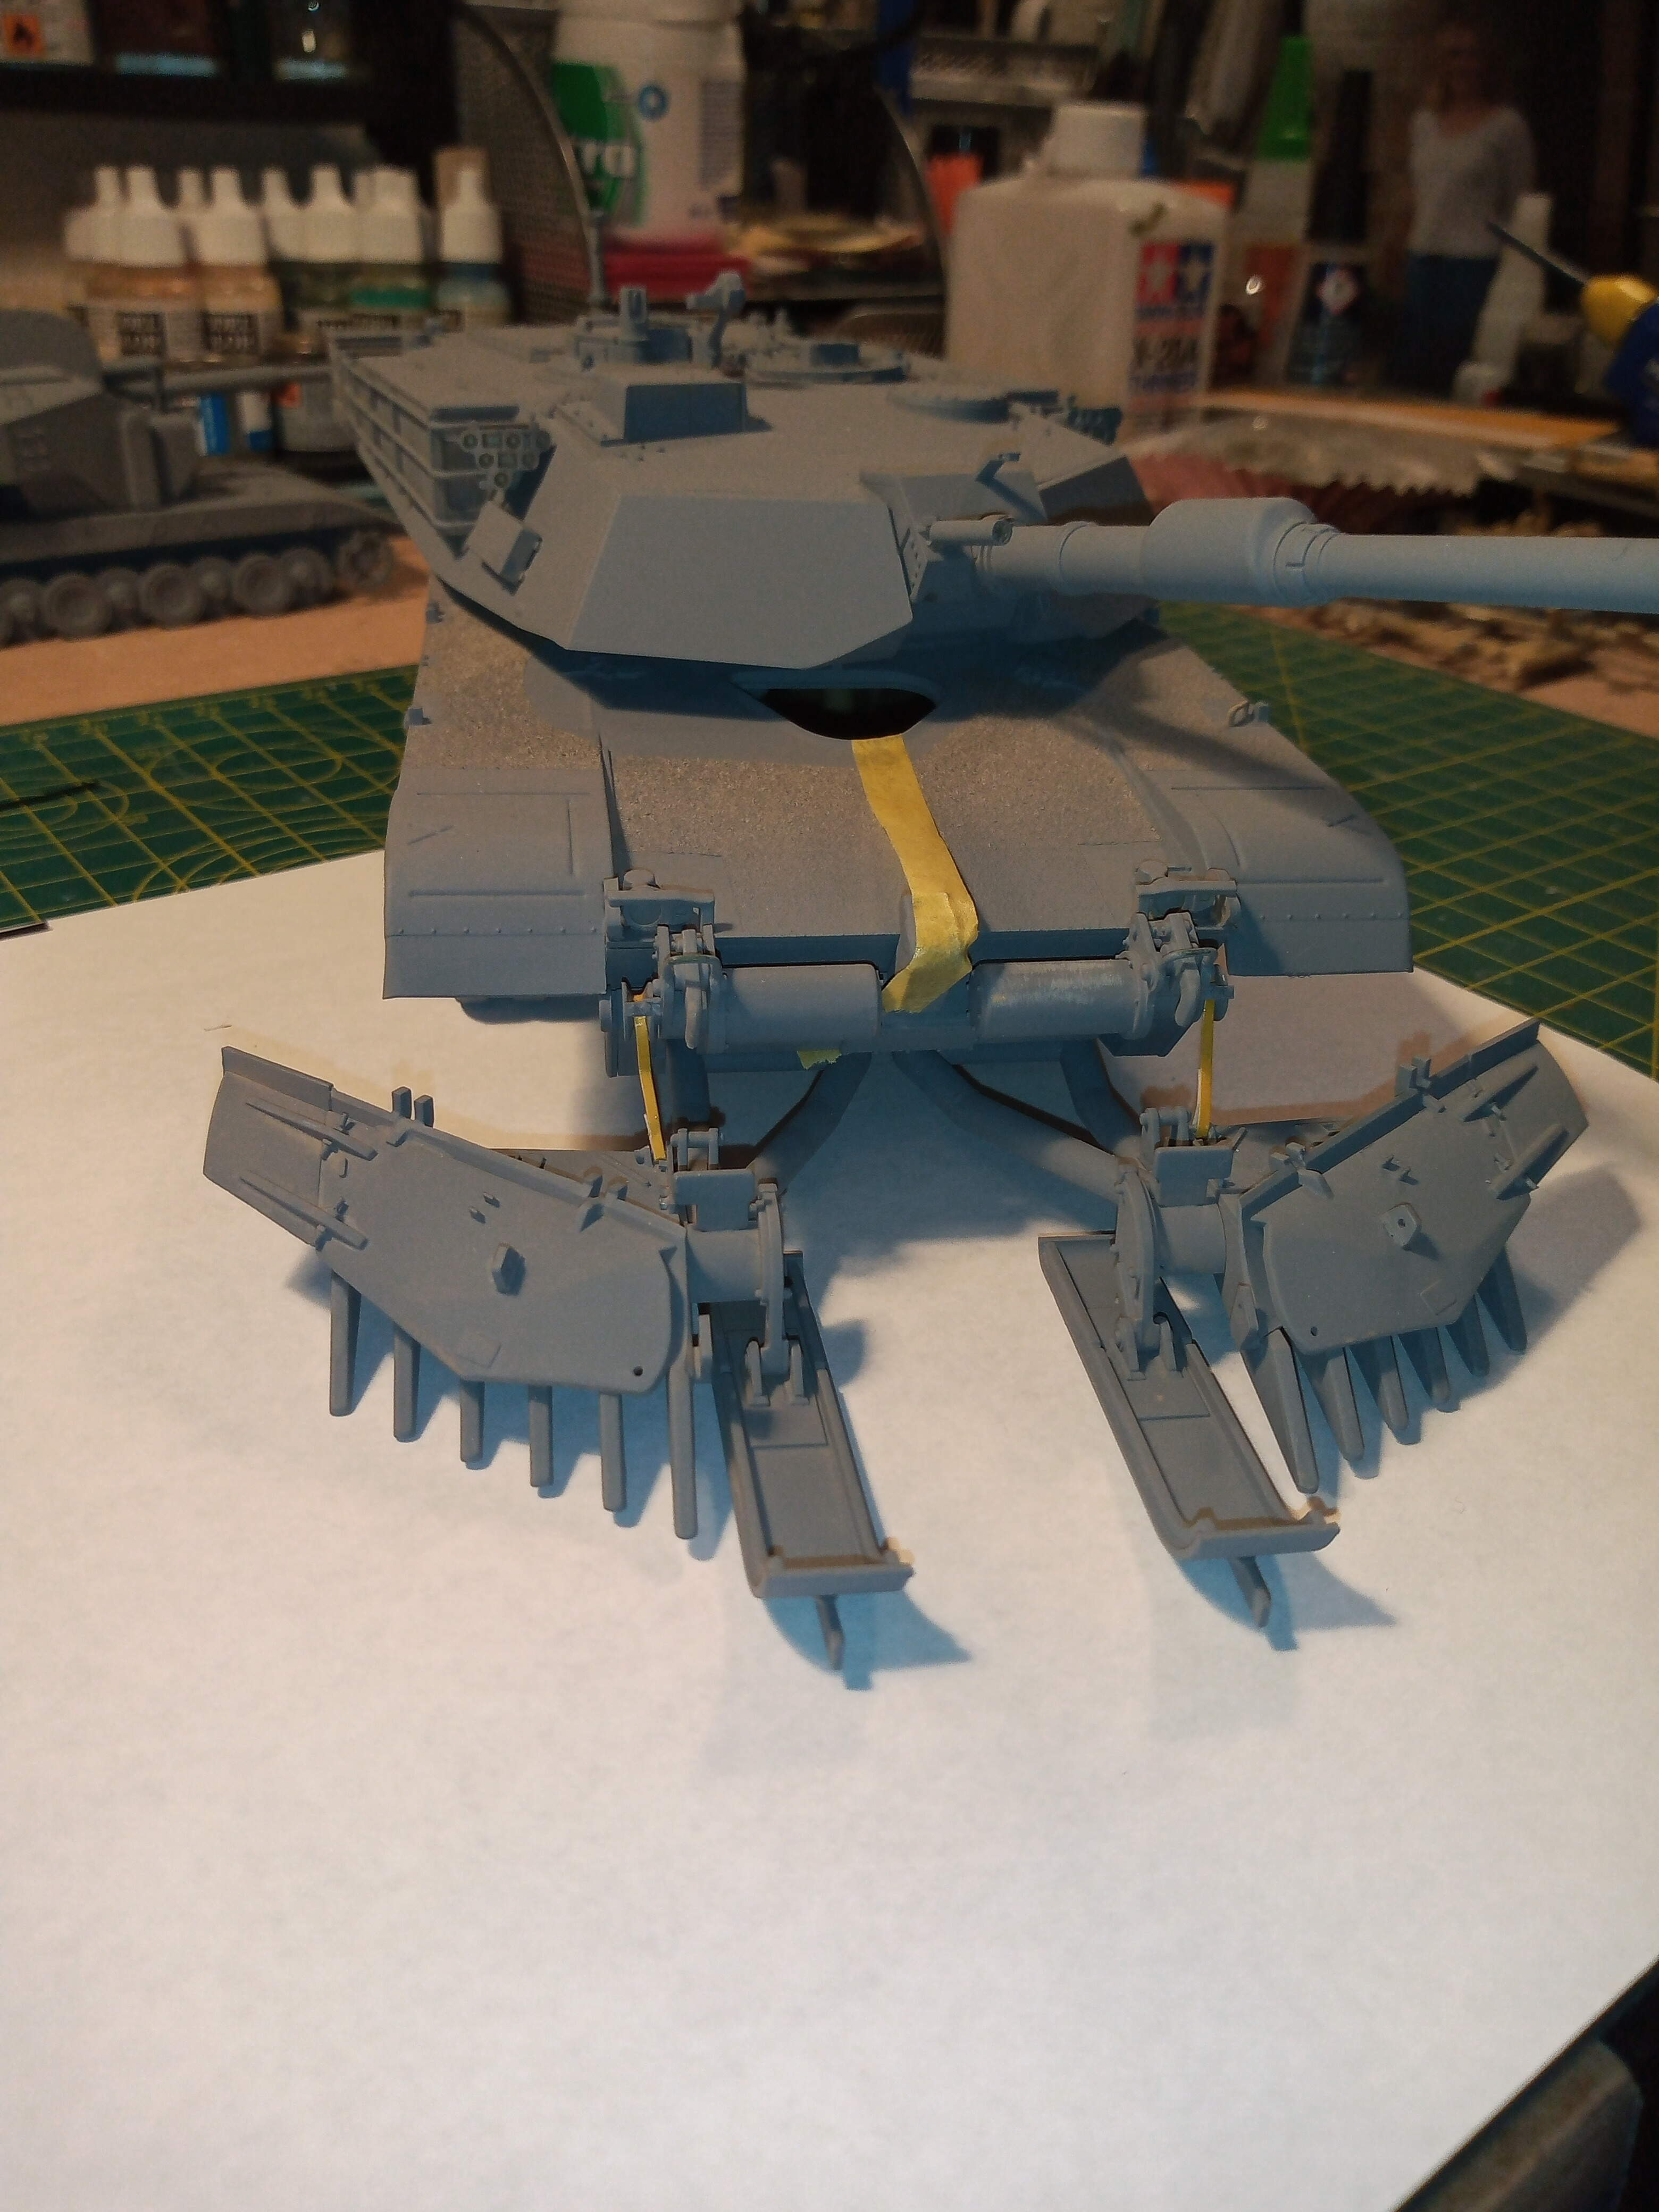

7 Likes
That’s a beast right there. Looking awesome.
2 Likes
Thanks Rory… I’m really enjoying this M1 … My first modern piece of heavy US armour. I’m looking forward to doing the A2 SEP ver2 now as well, will do that one tri colour though.
The plow was fun once I got stuck into it and Gino mentioned about the straps. Just adds a bit of realism,
2 Likes