So I made some progress since last time!
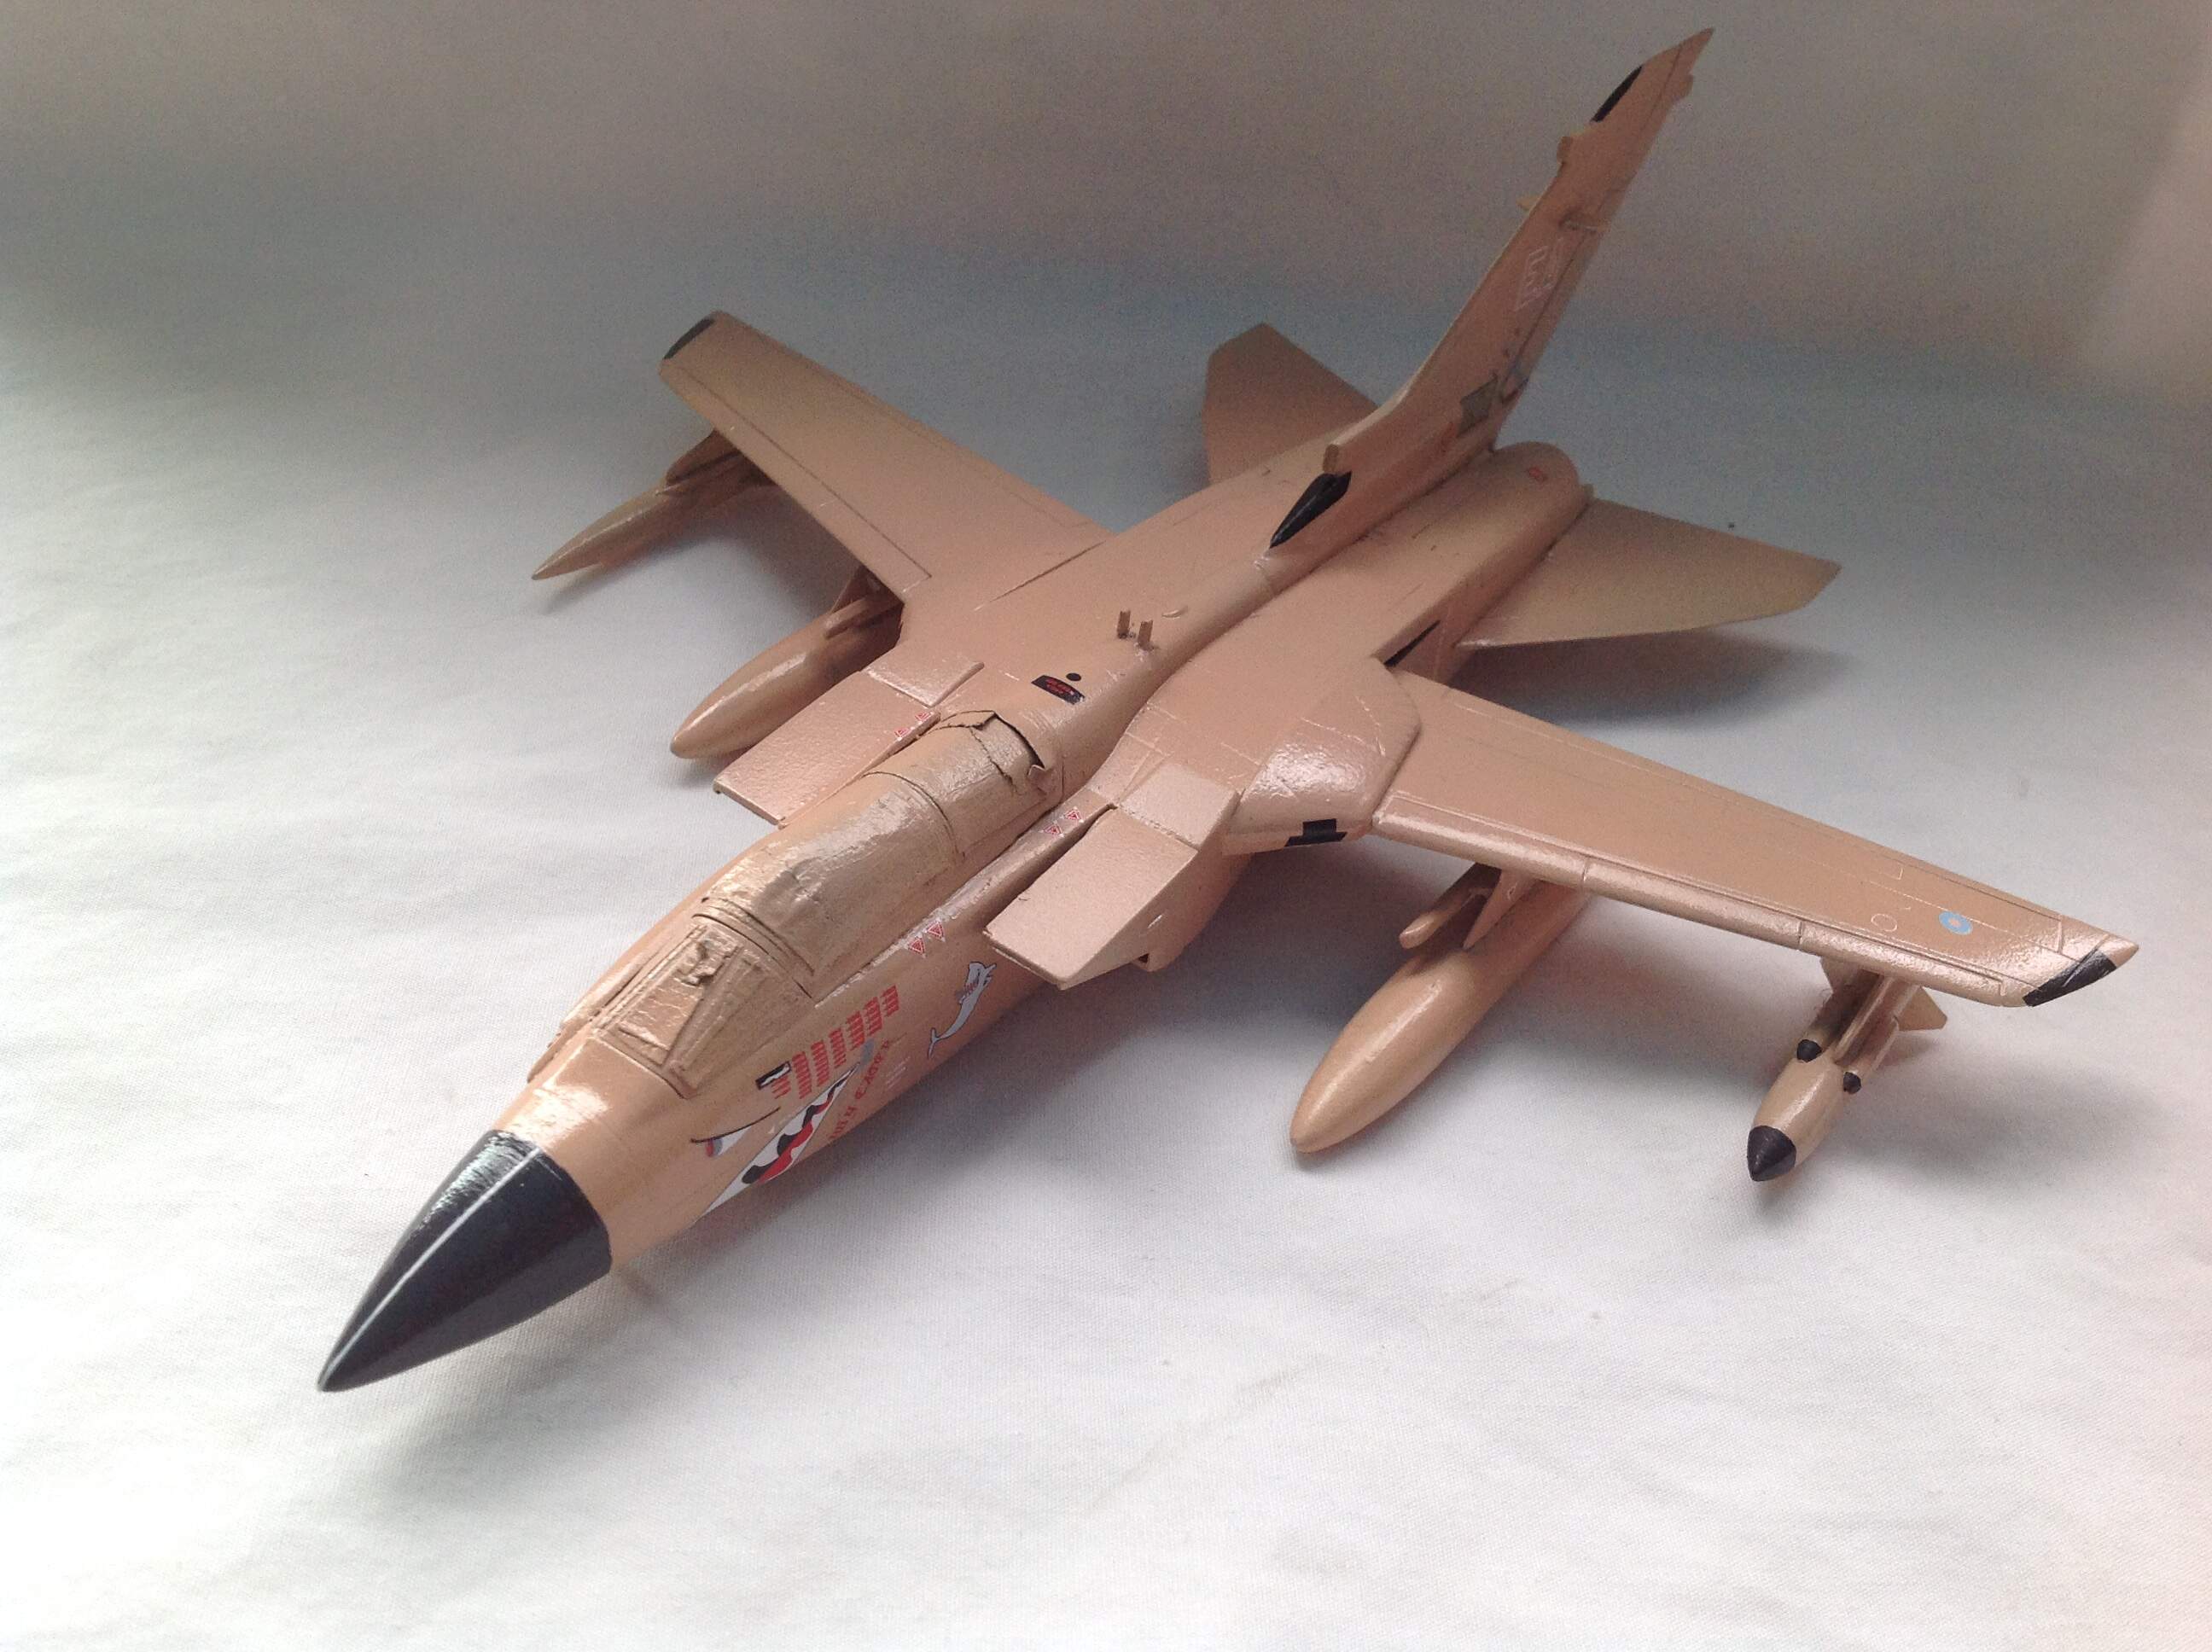
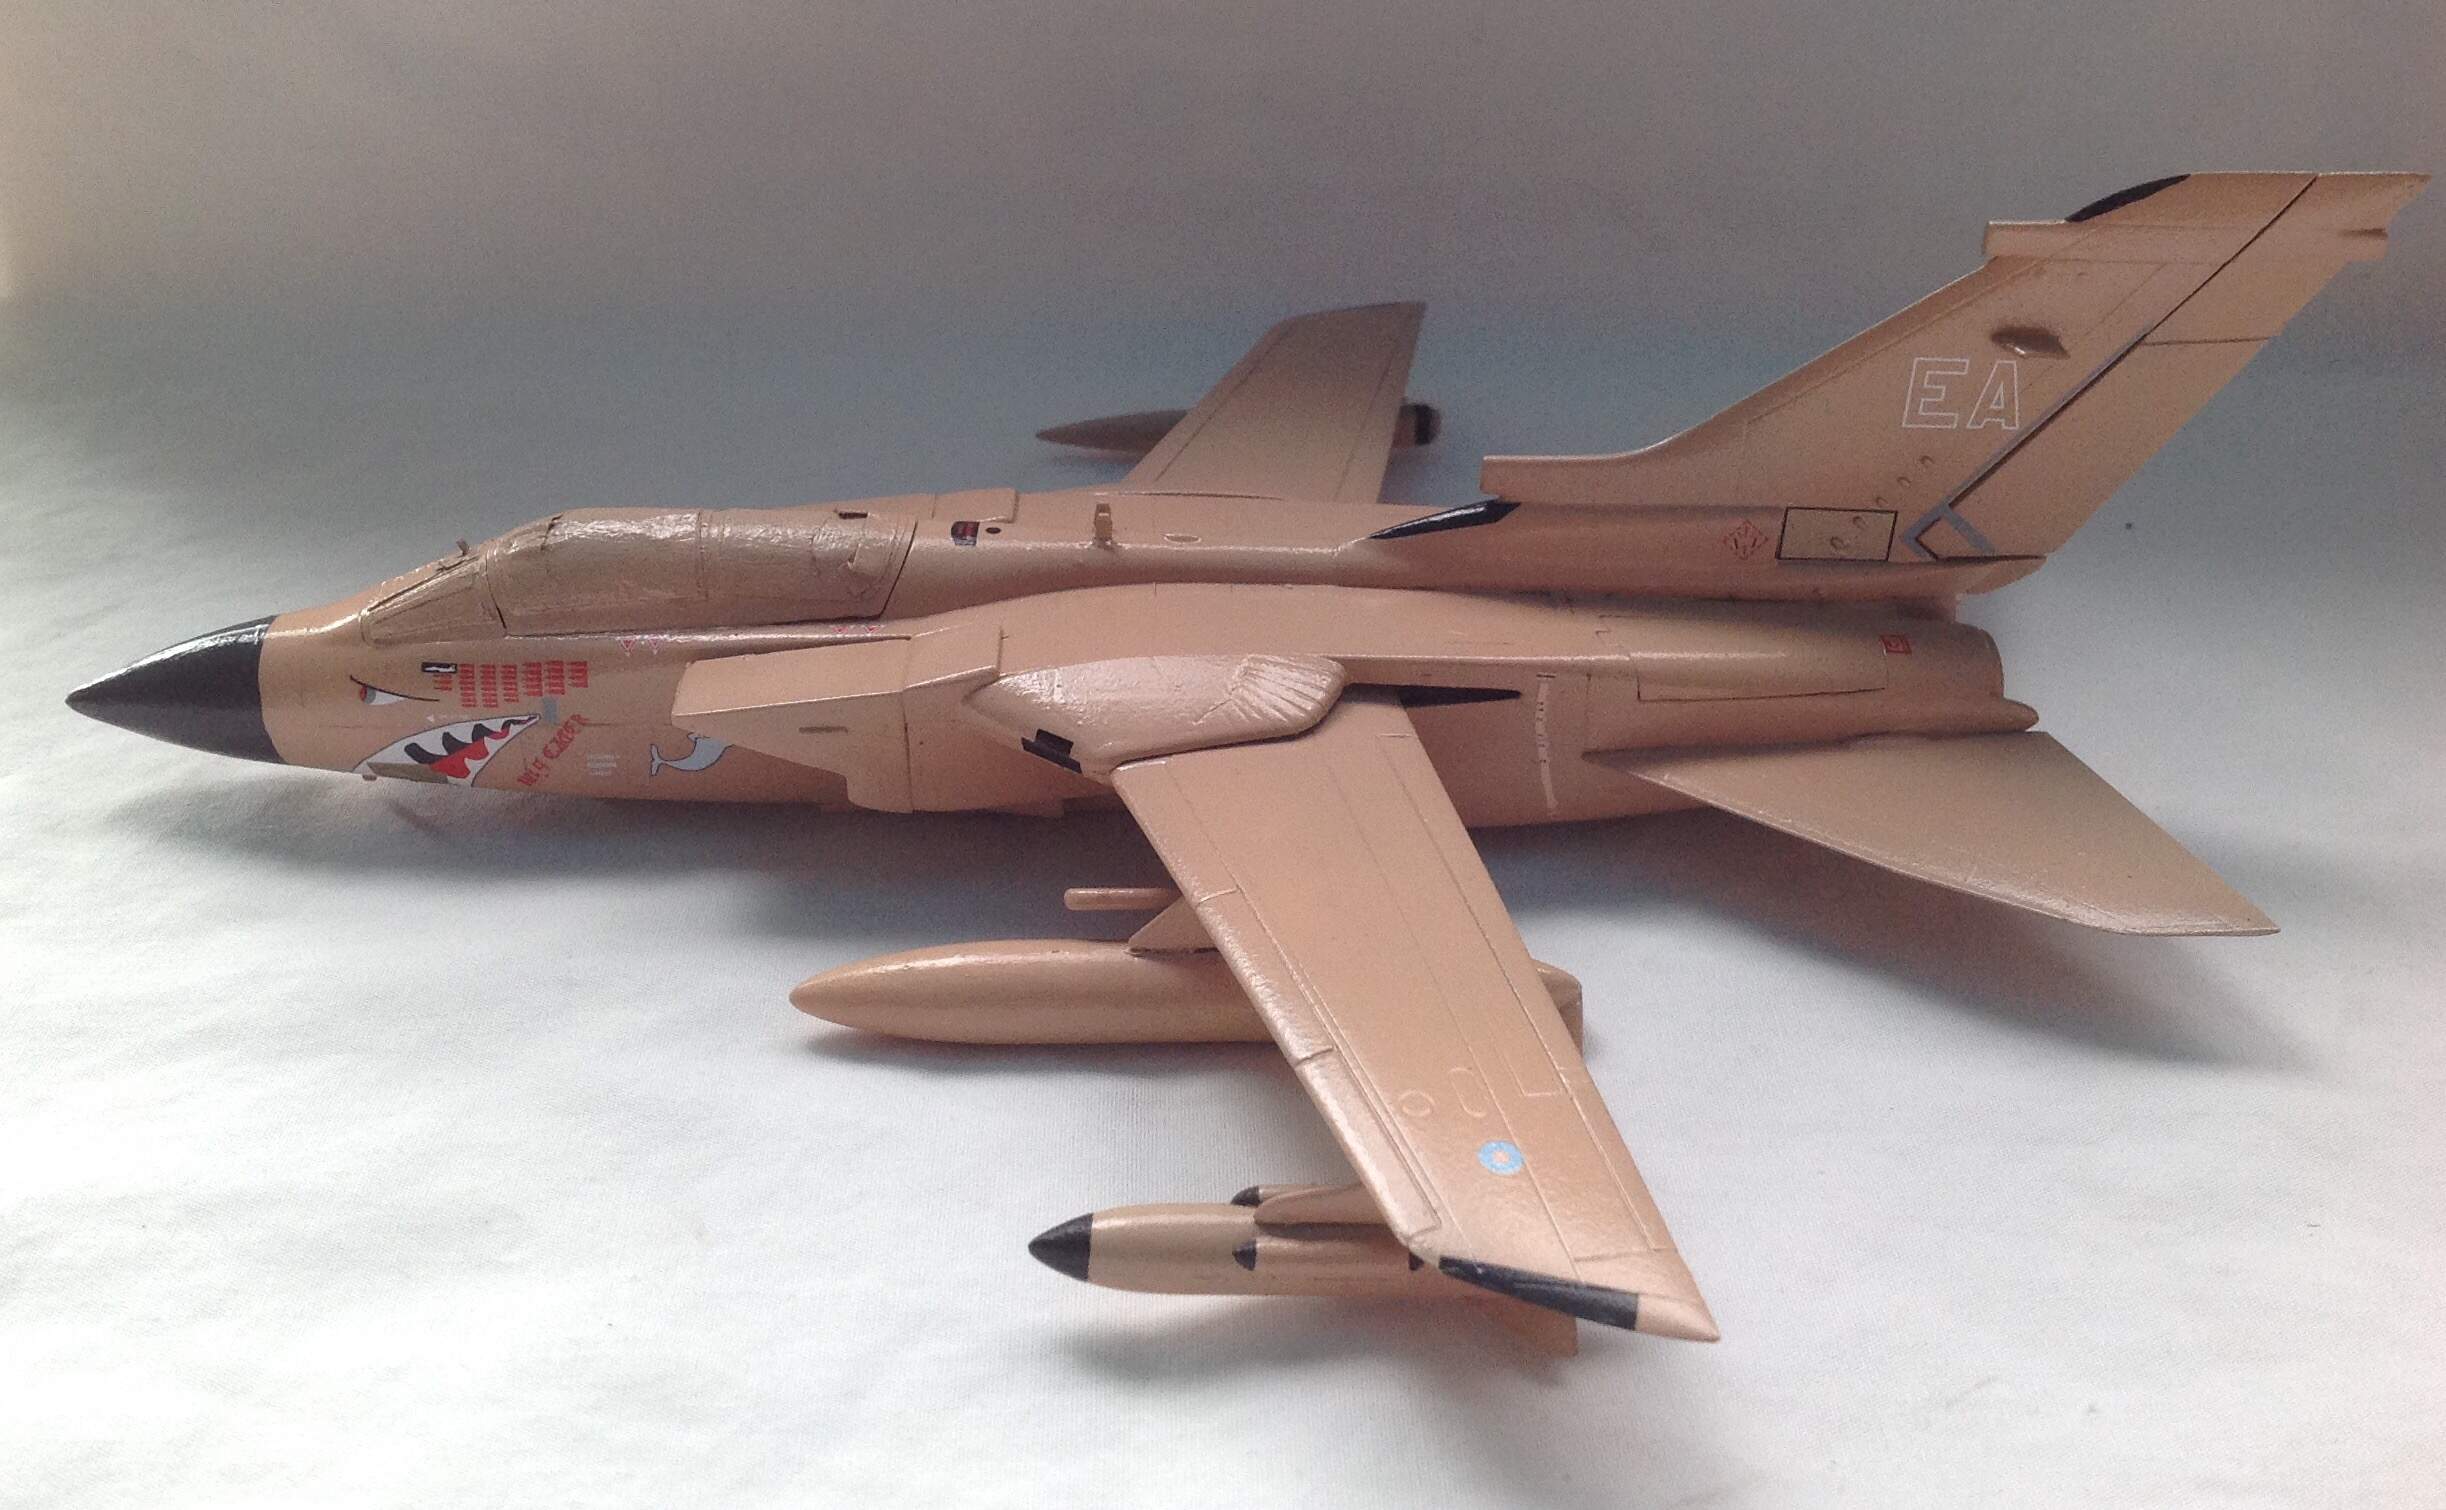
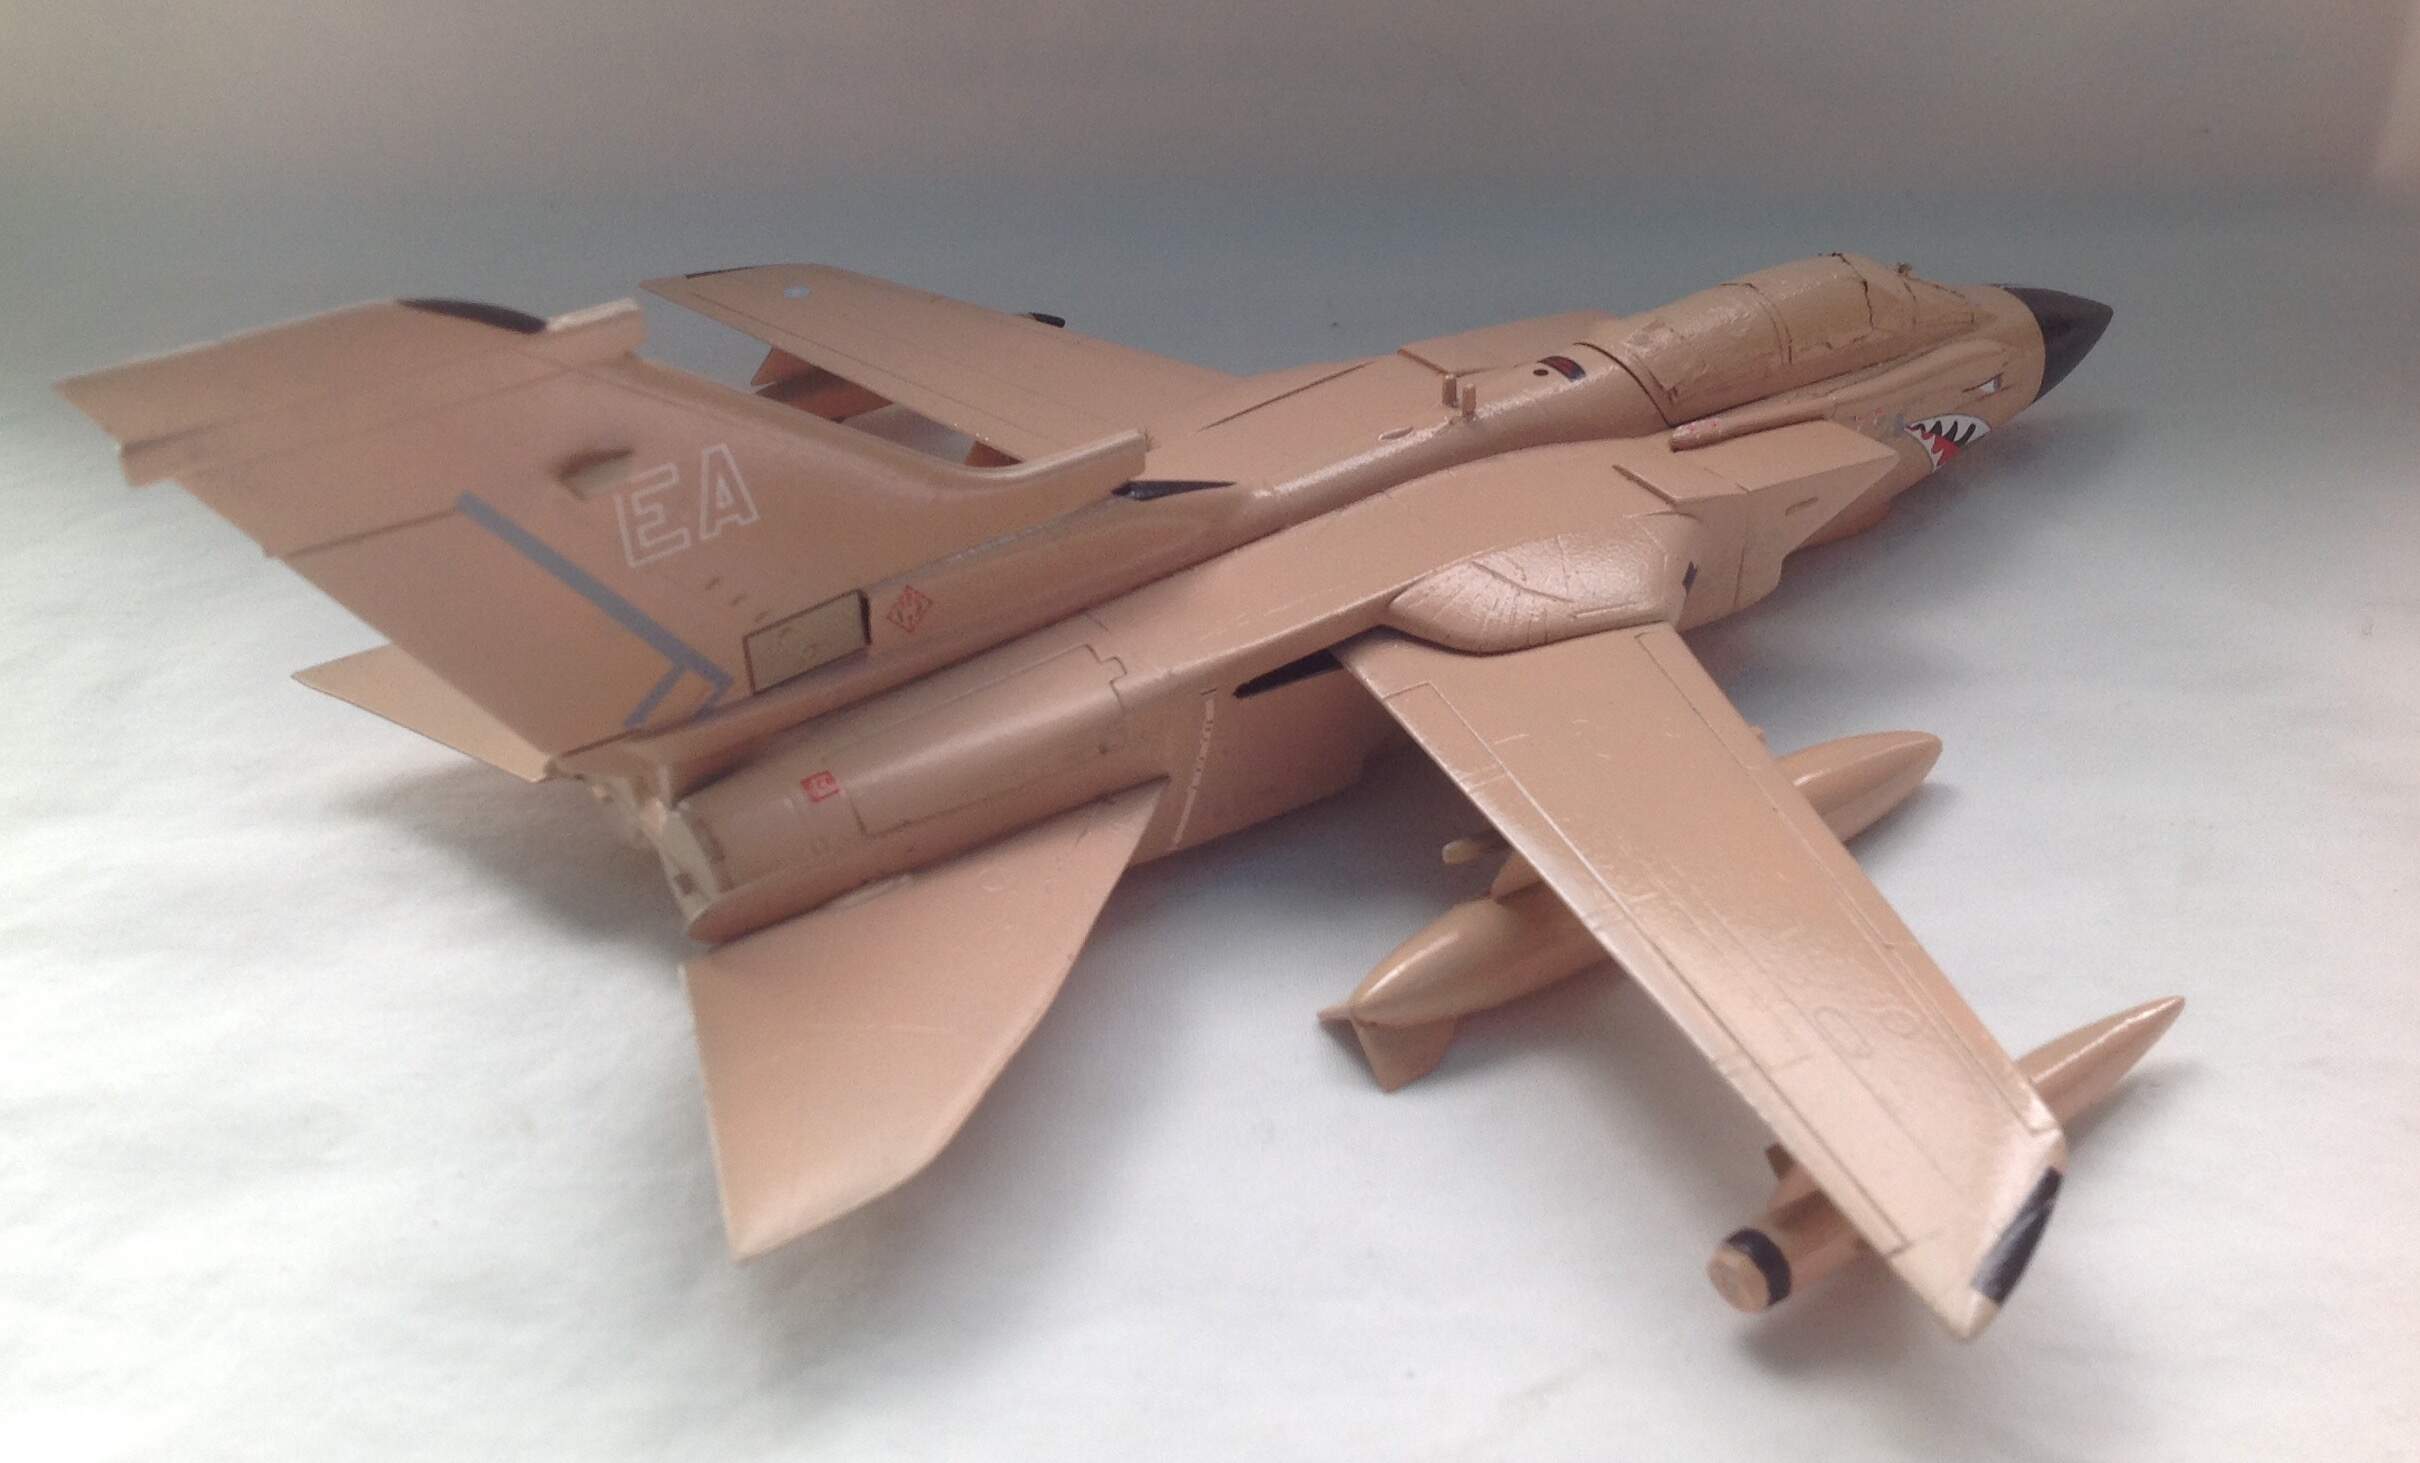
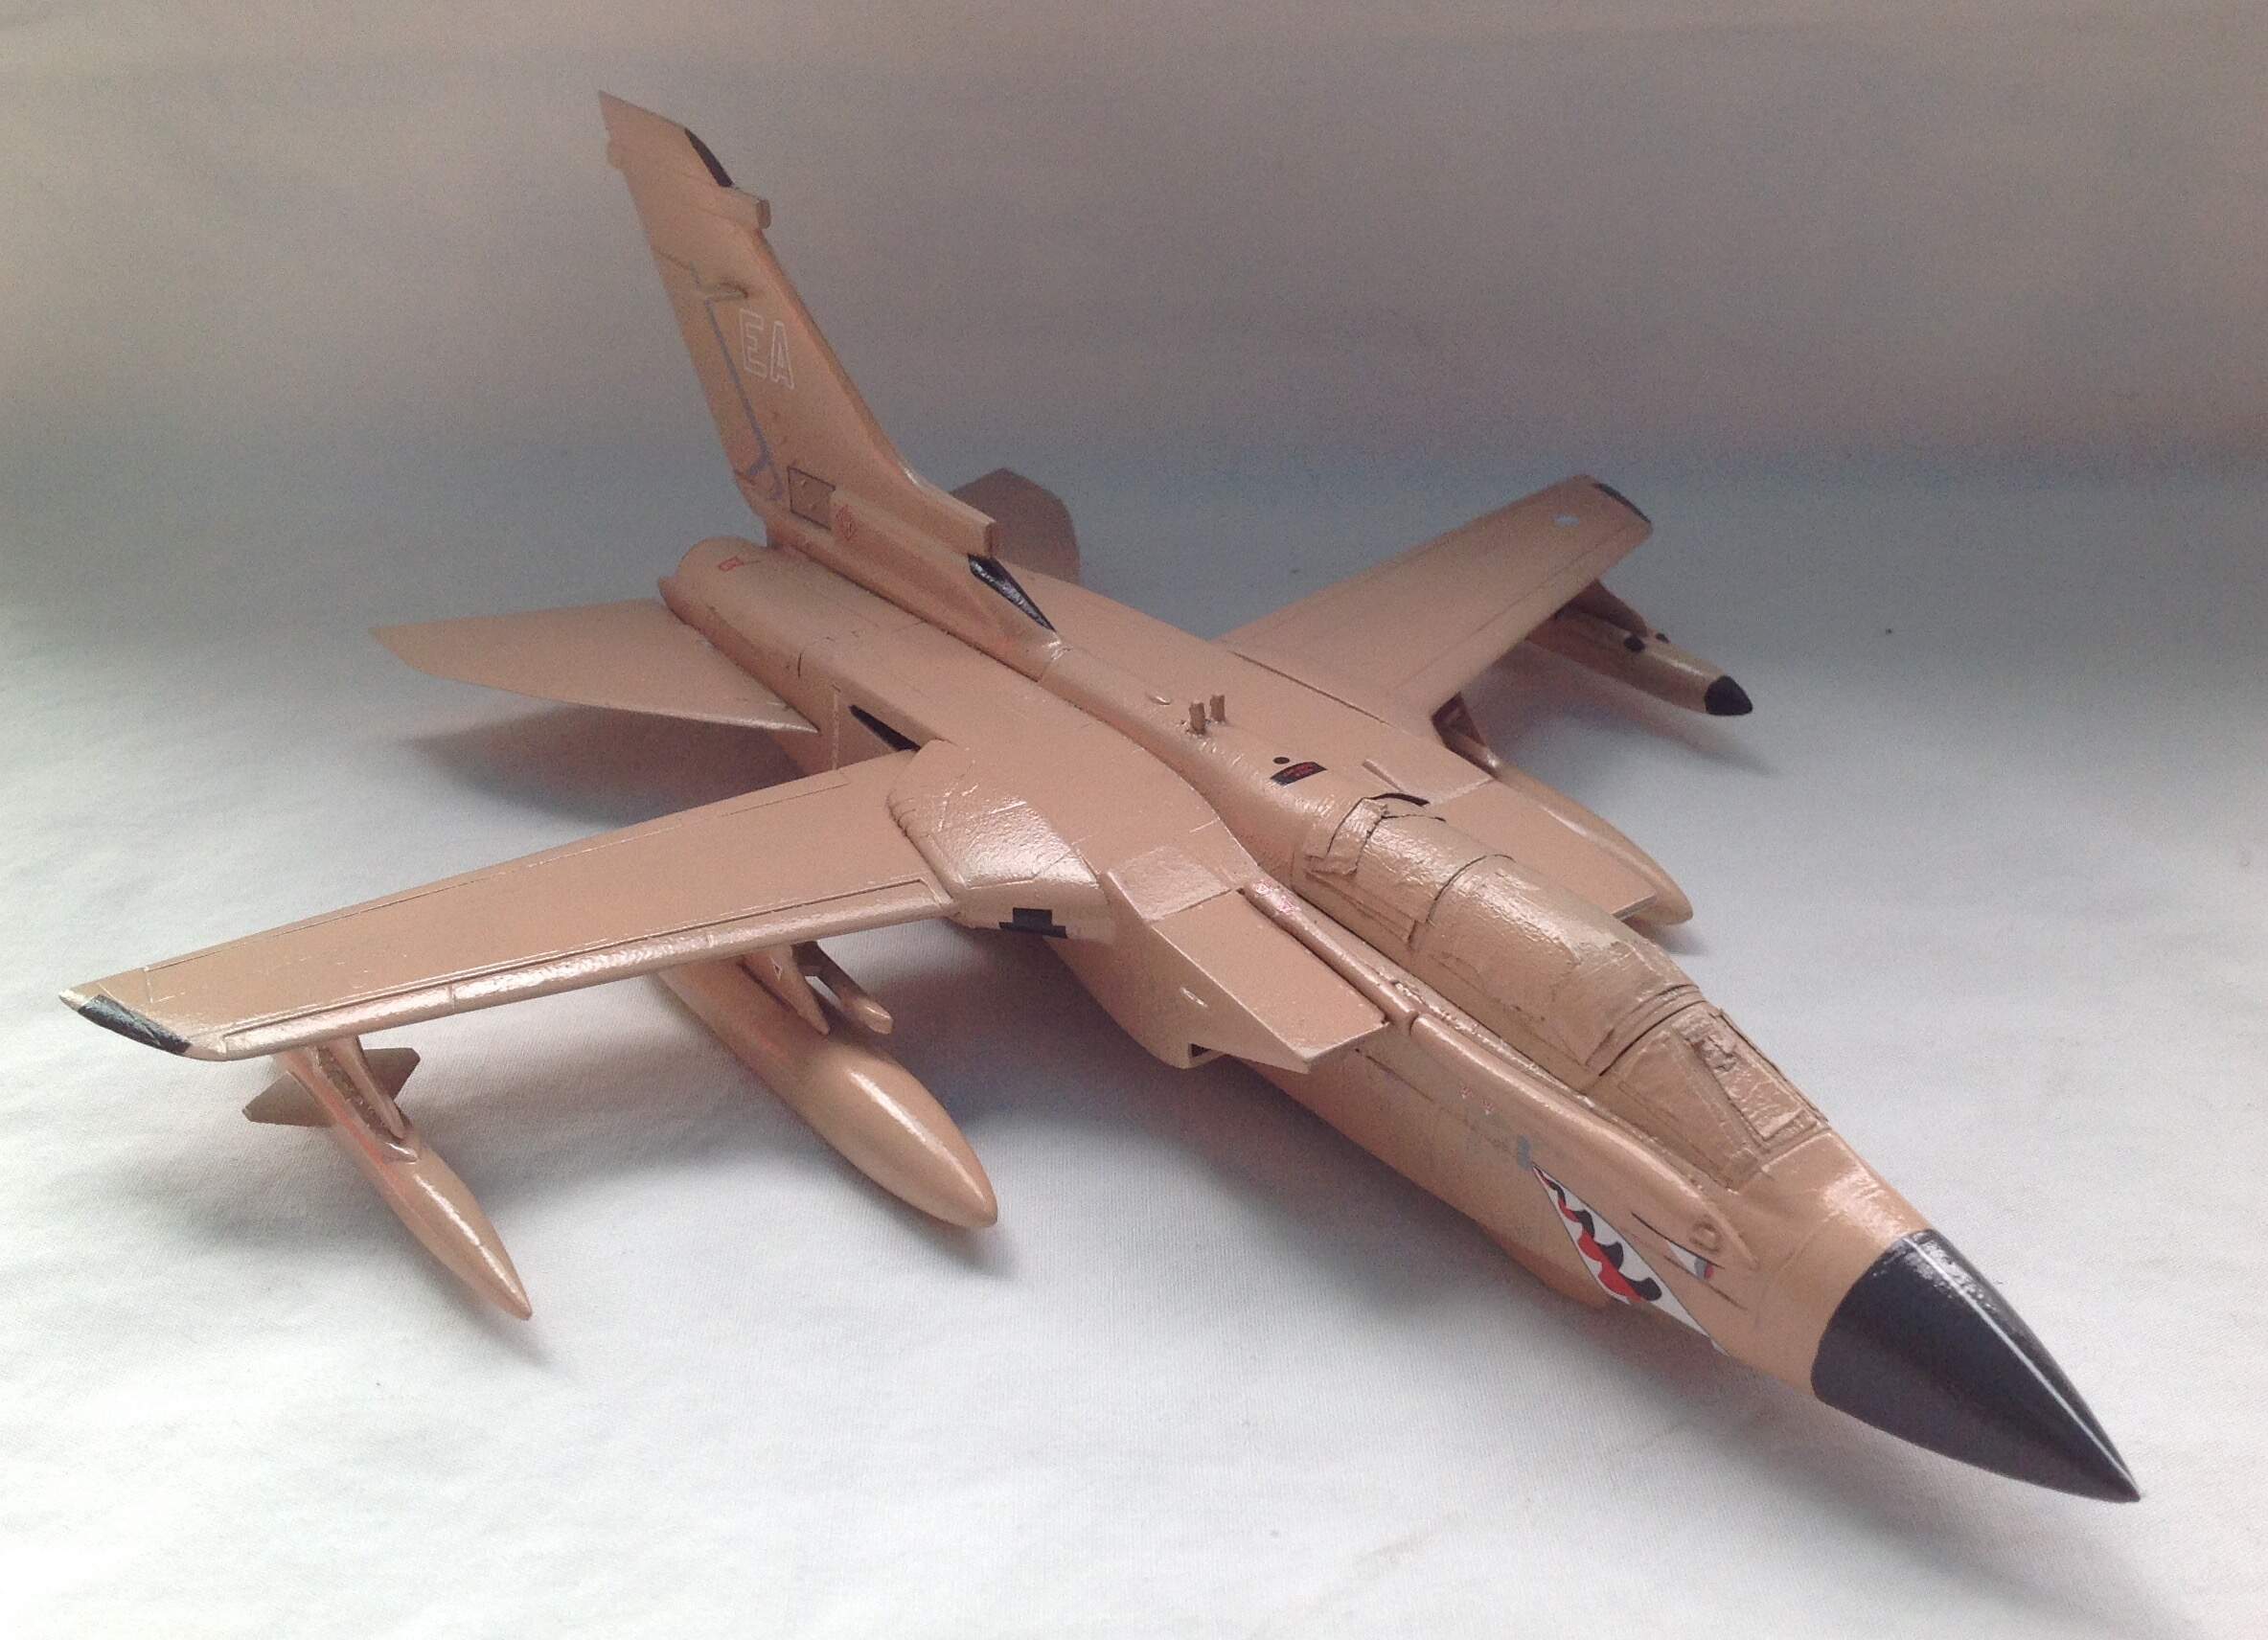
The Tornado is painted decayed and awaiting weathering! I’m super happy with how it looks so far! All that’s left is to paint the gear bays and afterburners.
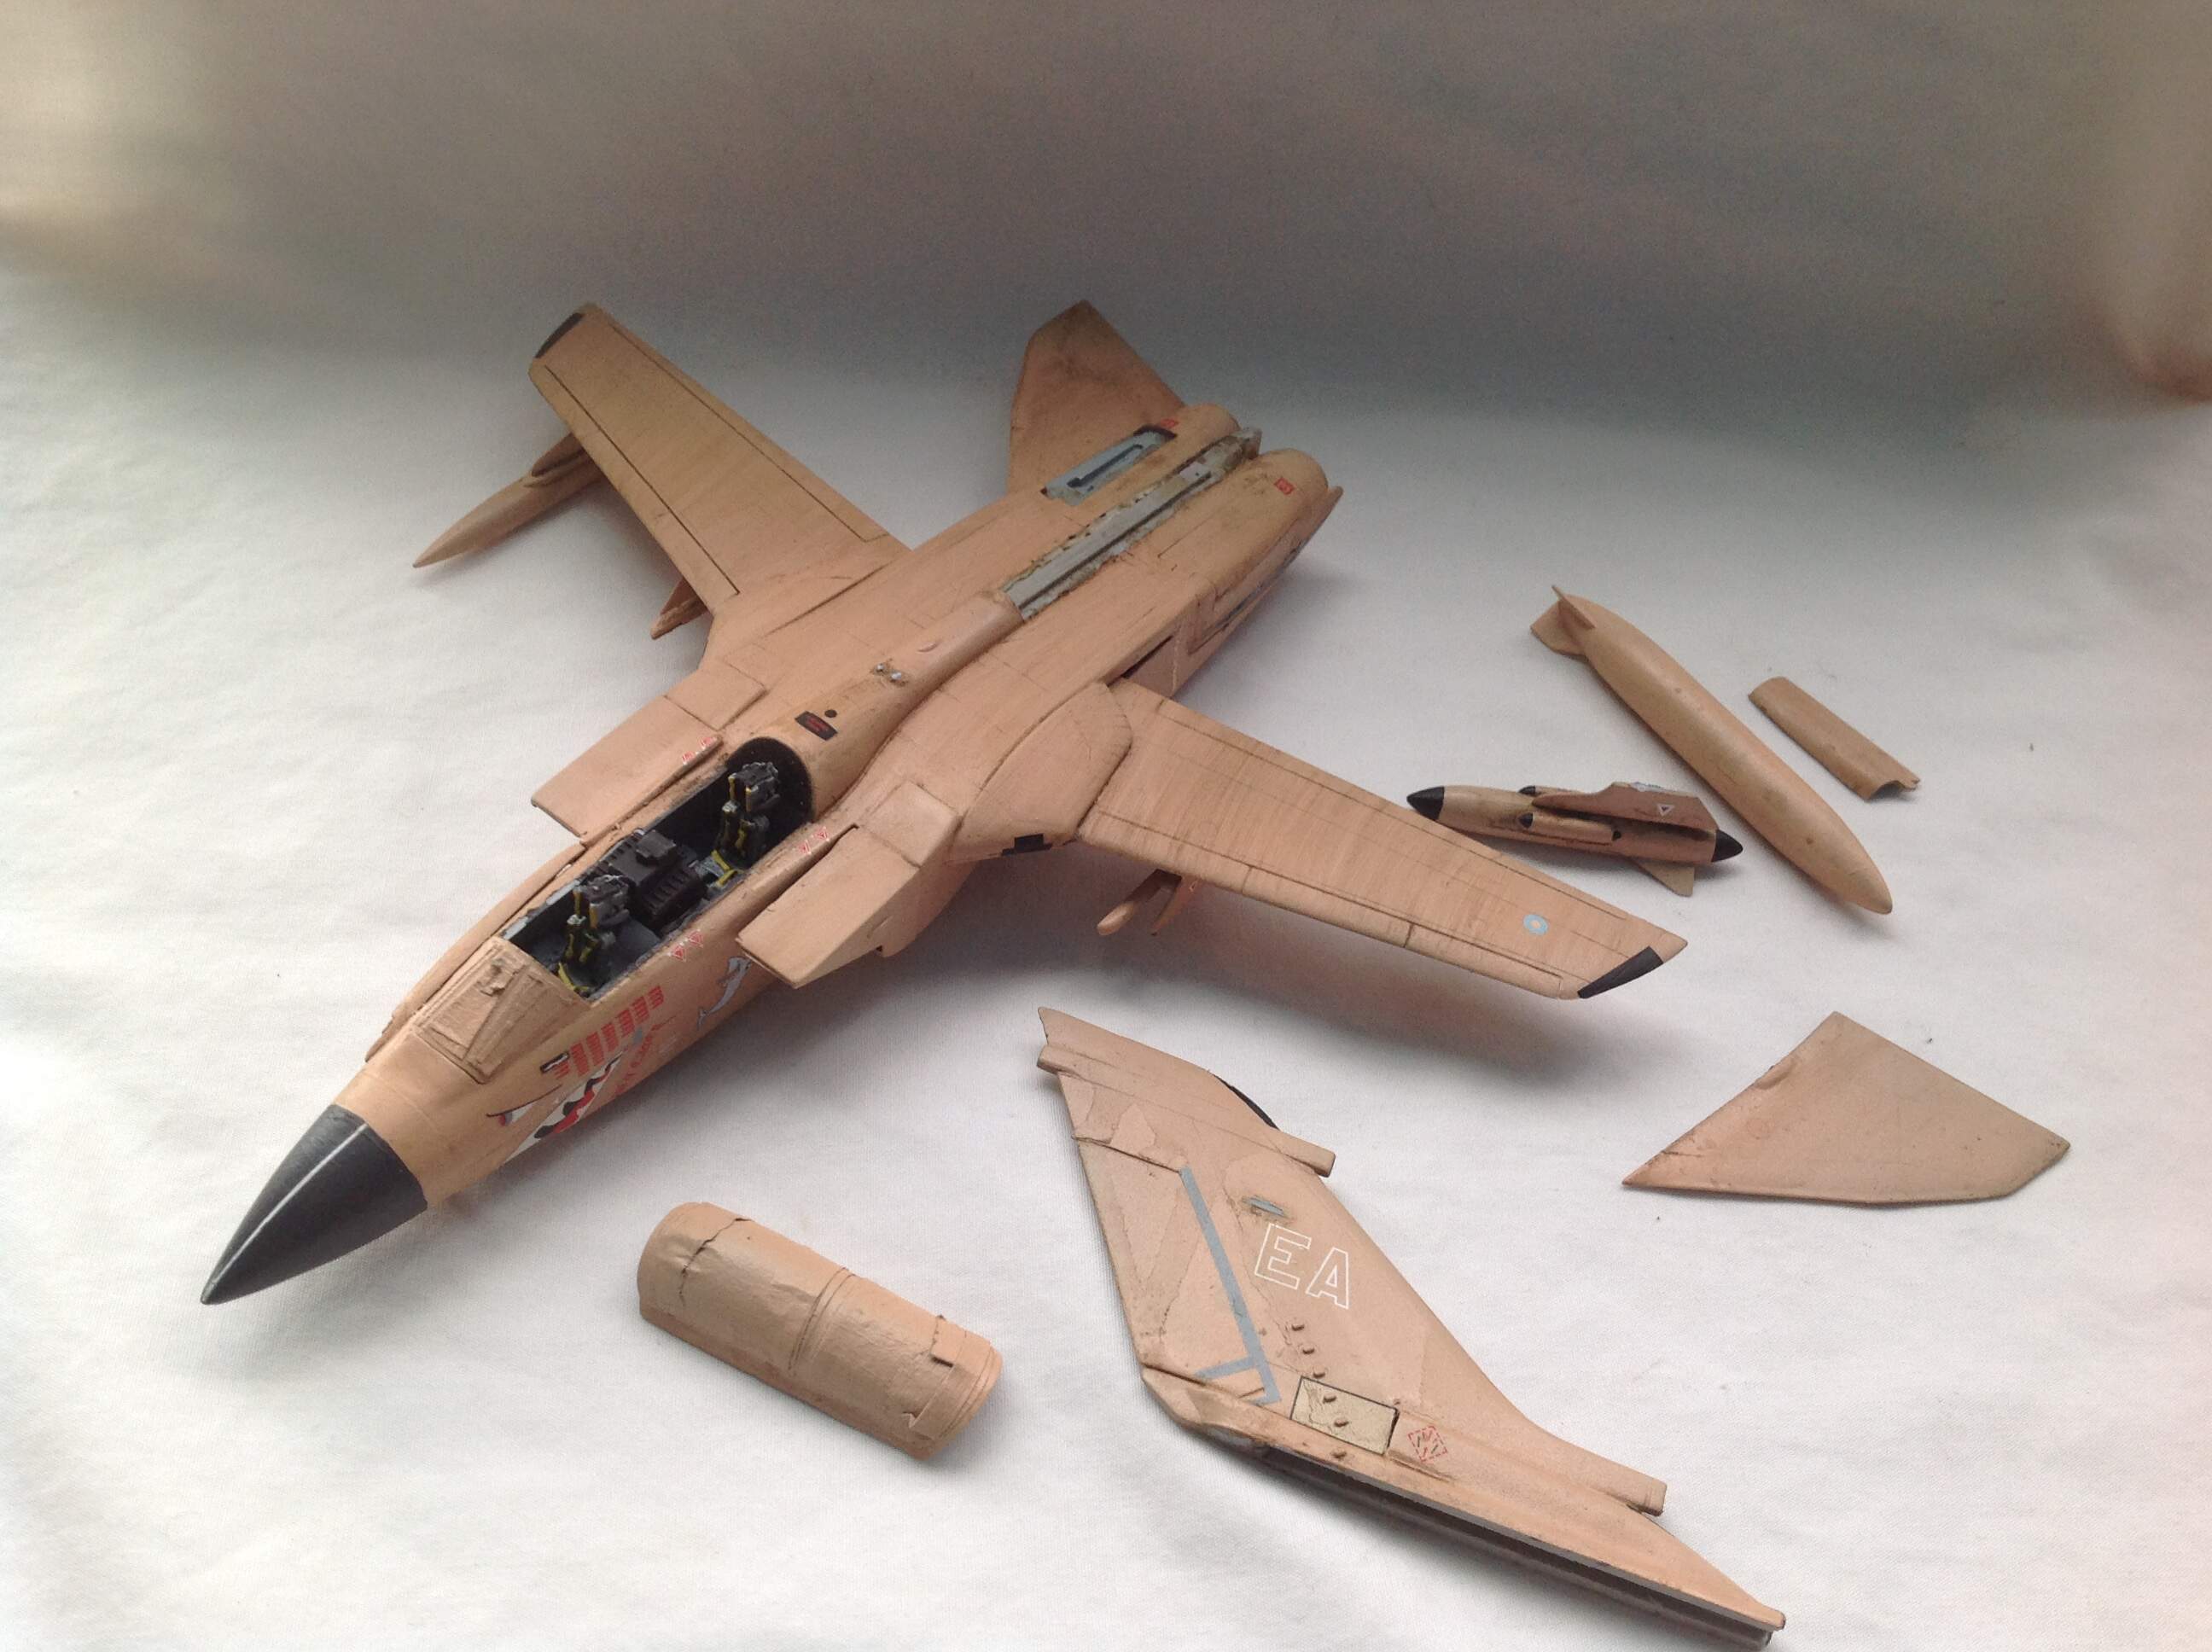
Then disaster struck… I was applying a oil wash when as I moved my hand hold on it the Tornado slipped and smashed onto the floor…
(It was hit by a SAM on a low level strike on a Iraqi airfield.)
The fuel tanks, ECM pod, canopy, vertical stabilizer, tiny antennas, horizontal stabilizer, airbrake and fuel tanks were knocked off…
The damage seems fixable. I’m saved though by the fact that the Tornados were painted in country so their paint jobs were less then perfect and some repainted spots will fit right in.
Good news! I wired and painted the landing gear then test fit them and it sits on its landing gear!
Next update when this is all fixed. (Fingers crossed)
Ezra, the paint job looks good and I am sure it will look great after repairs are made to the kit. I do love the aesthetic of the Tornado. Its solid and chunky!
Thanks Rory.
Ive already glued the vertical and horizontal stabilizers back on with very little fuss, there is only a small gap on one side of the tail.
Well i was going great guns lastnight until i started t build the commanders cupola and discovered that the damn side panels are riddled with injector pin marks so i have filled them with perfect putty and i am waiting for that to set, probably wont be able to do any more work until next weekend now
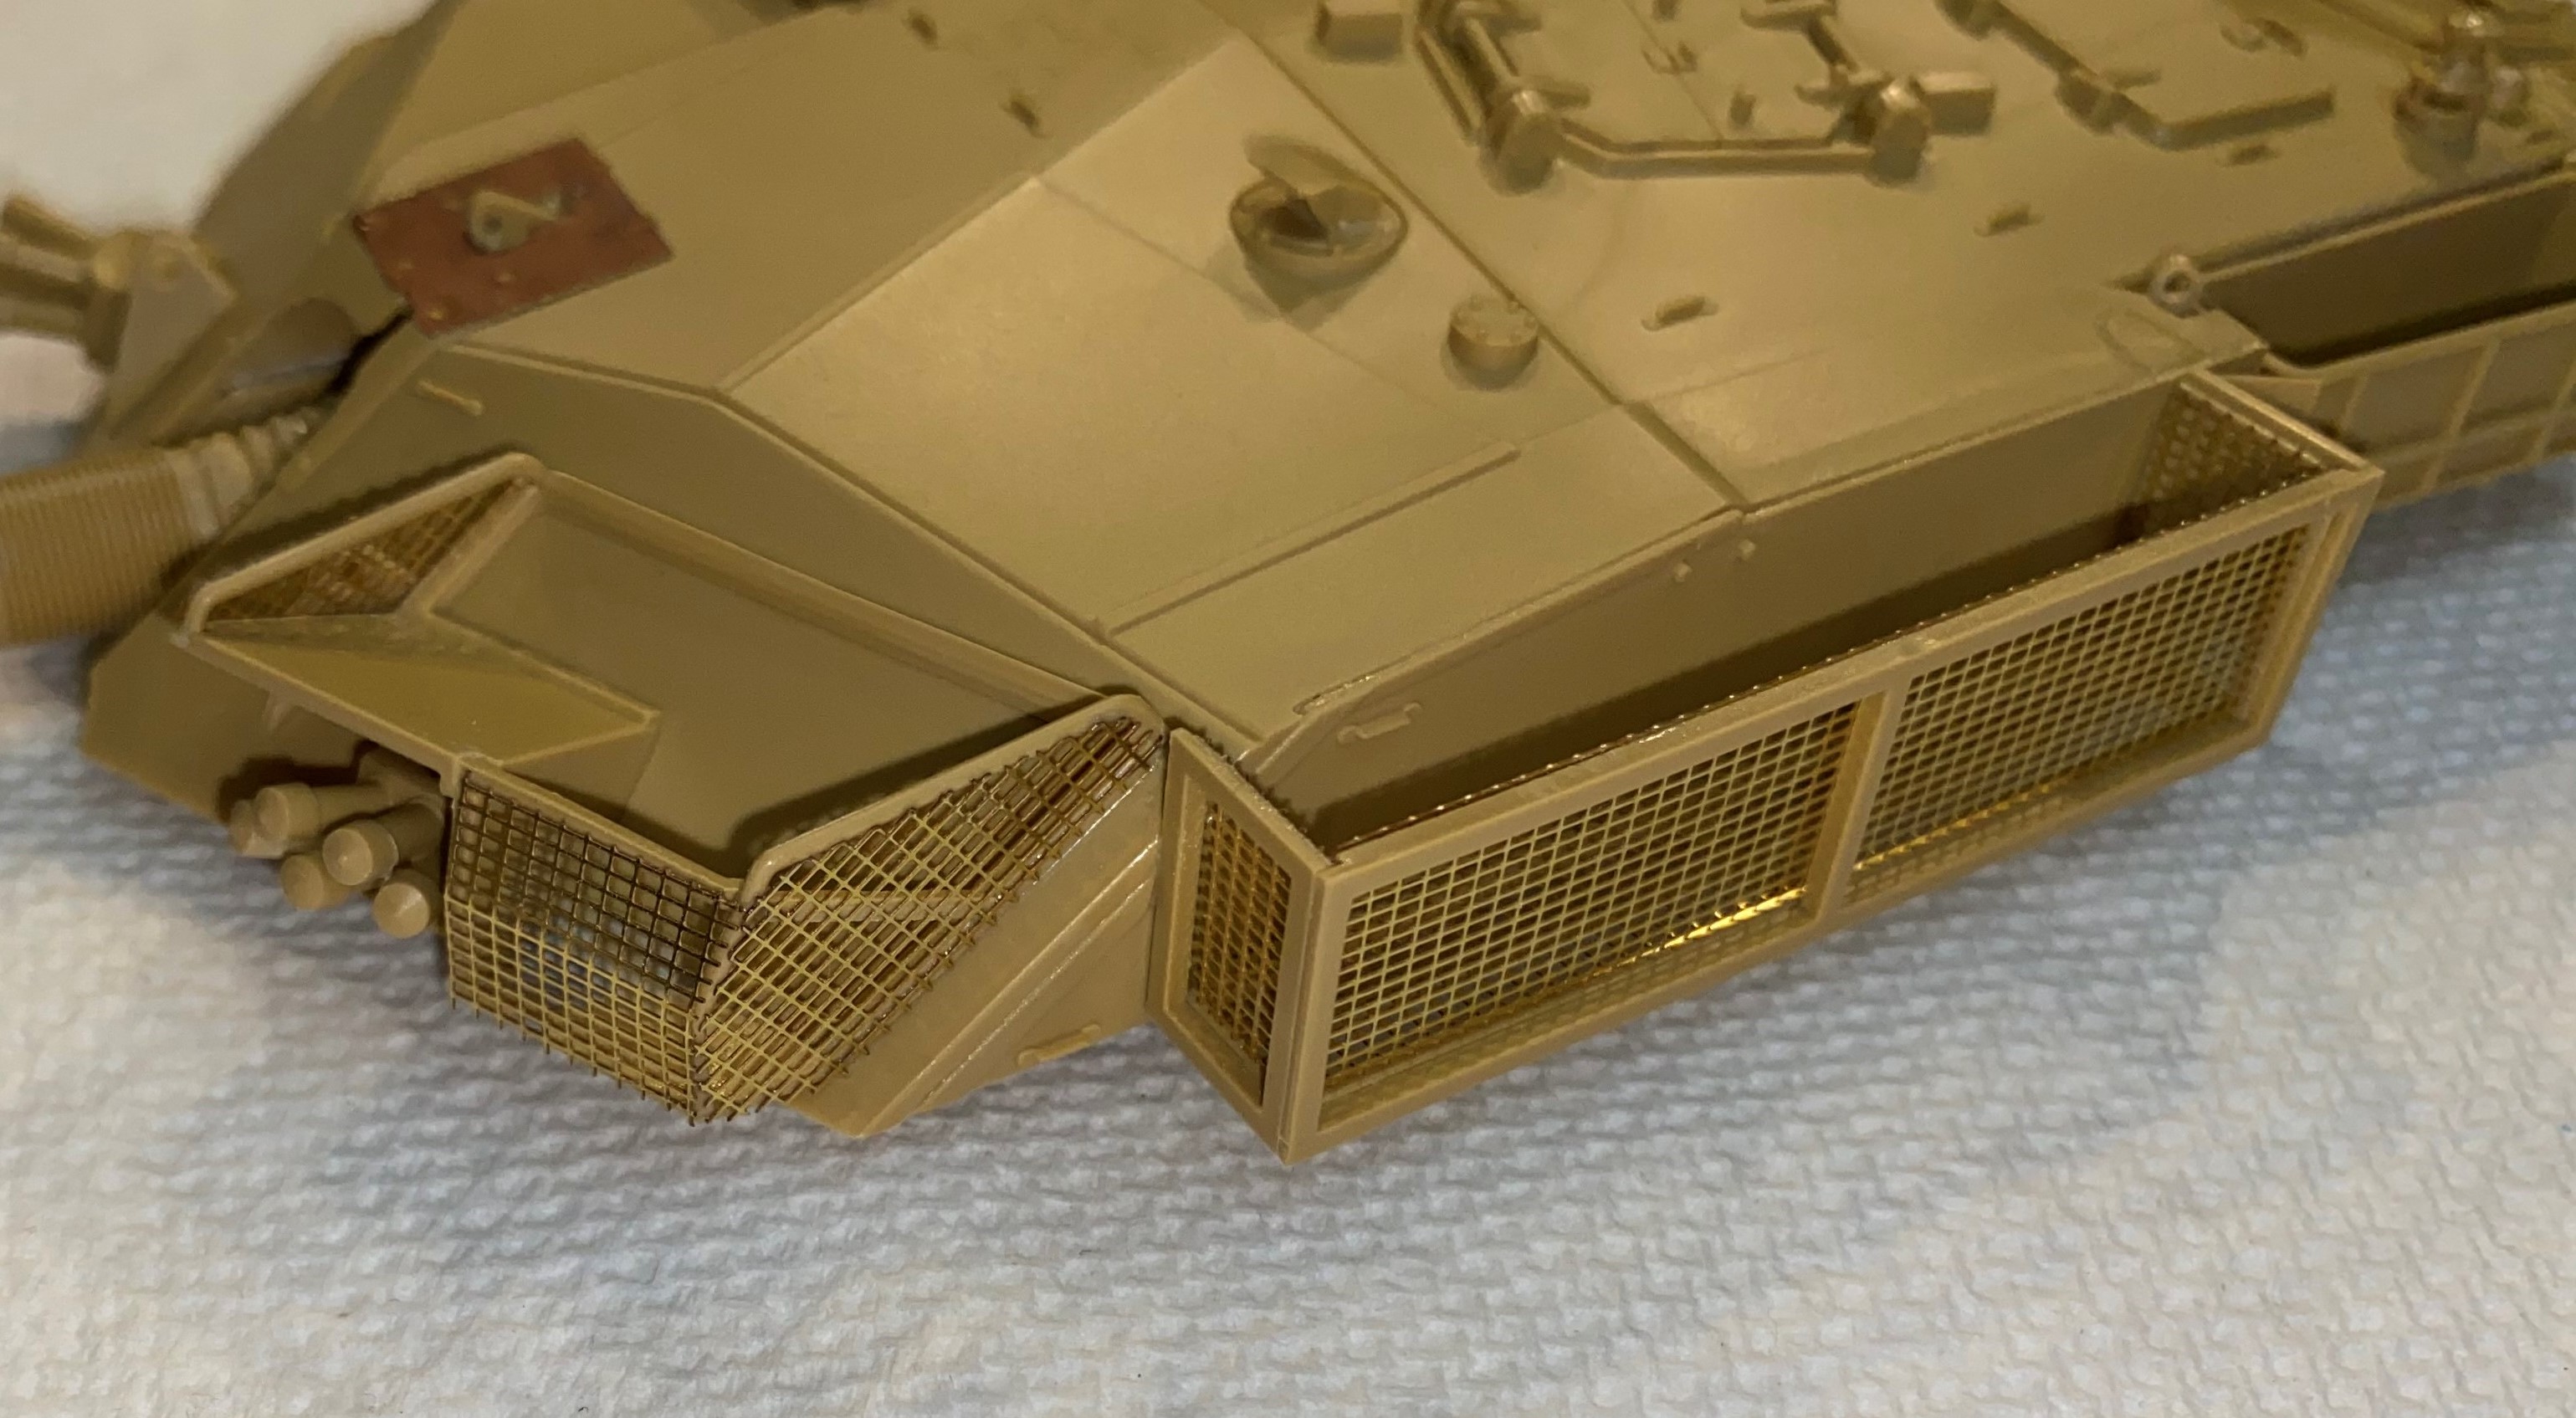
Ran into a similar issue with my challenger 1. Tamiya are usually reasonably good with hiding the pin marks but the stowage baskets were also covered in them. A whole lot of putty and sanding was done over the weekend.
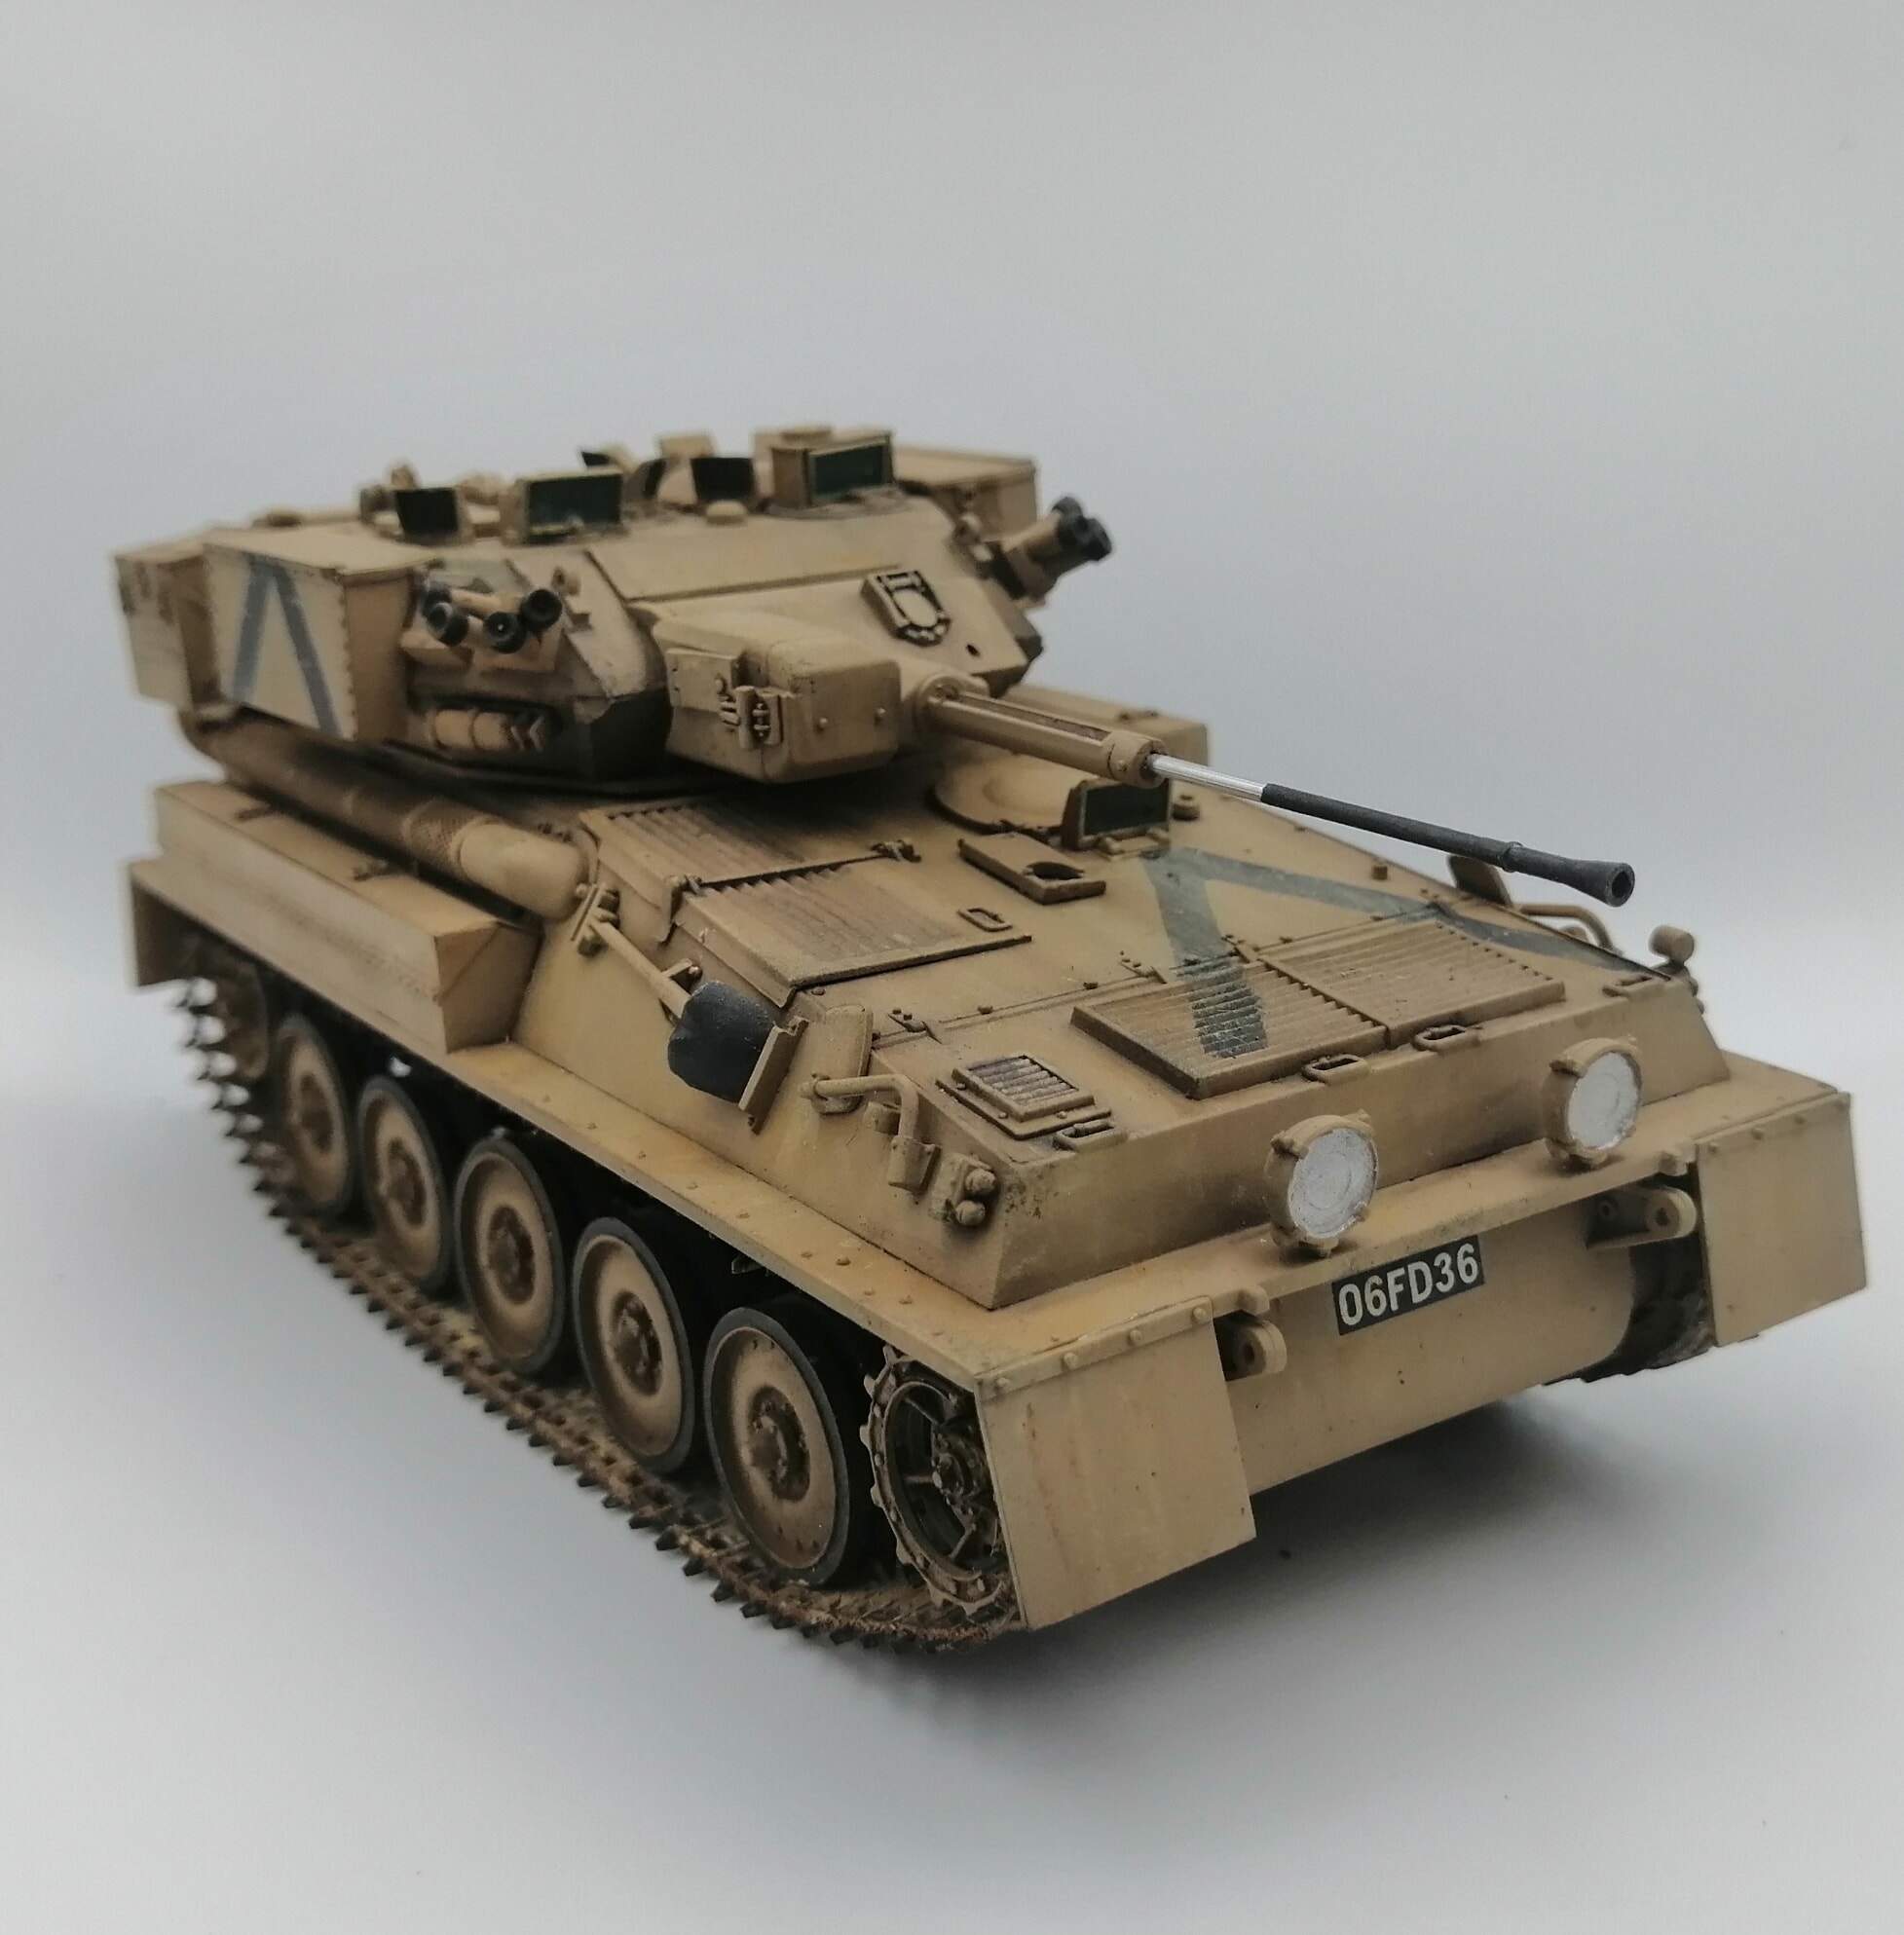
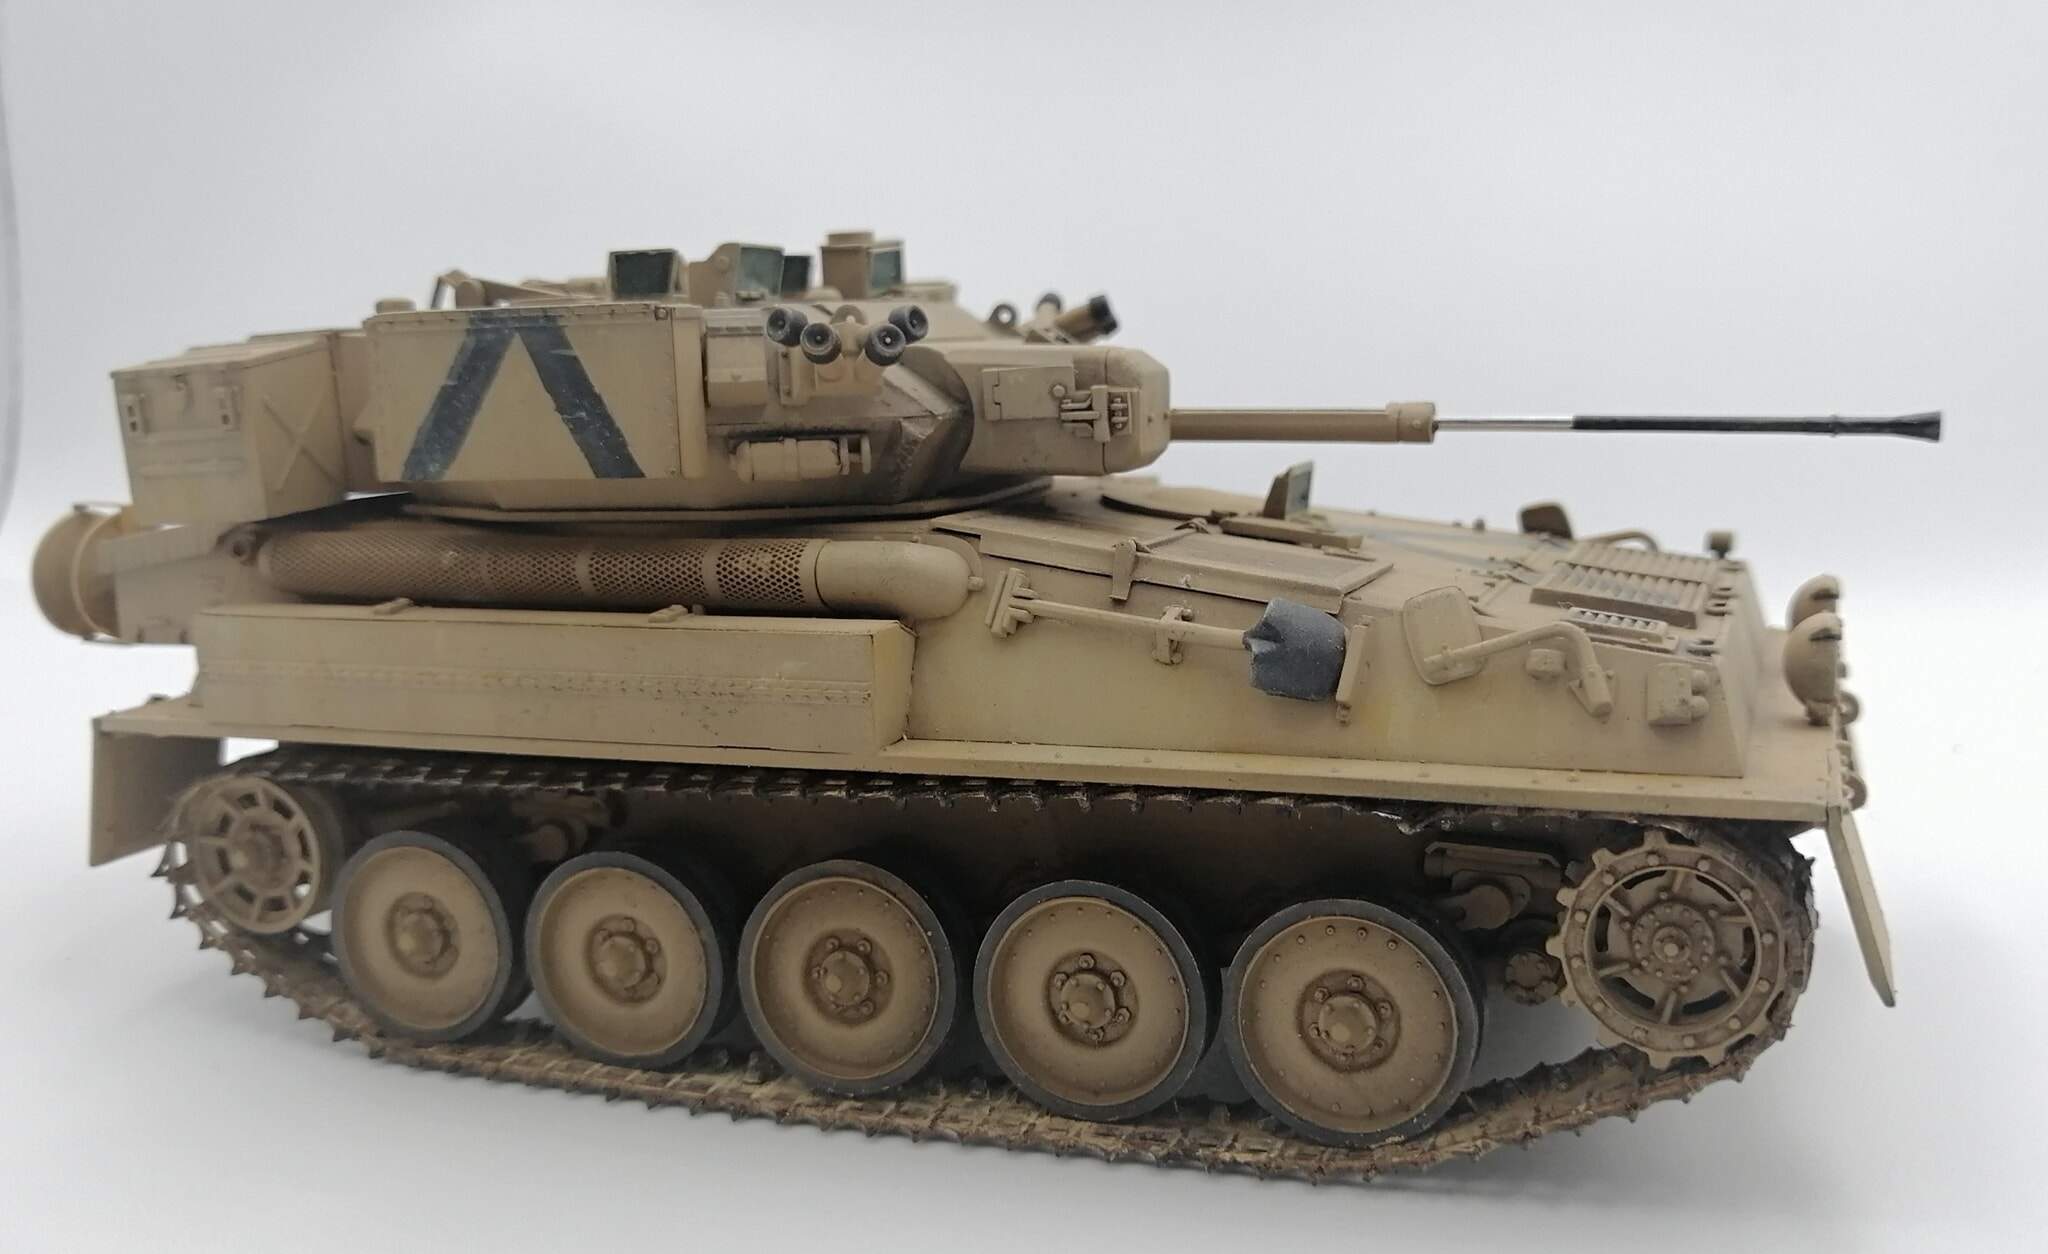
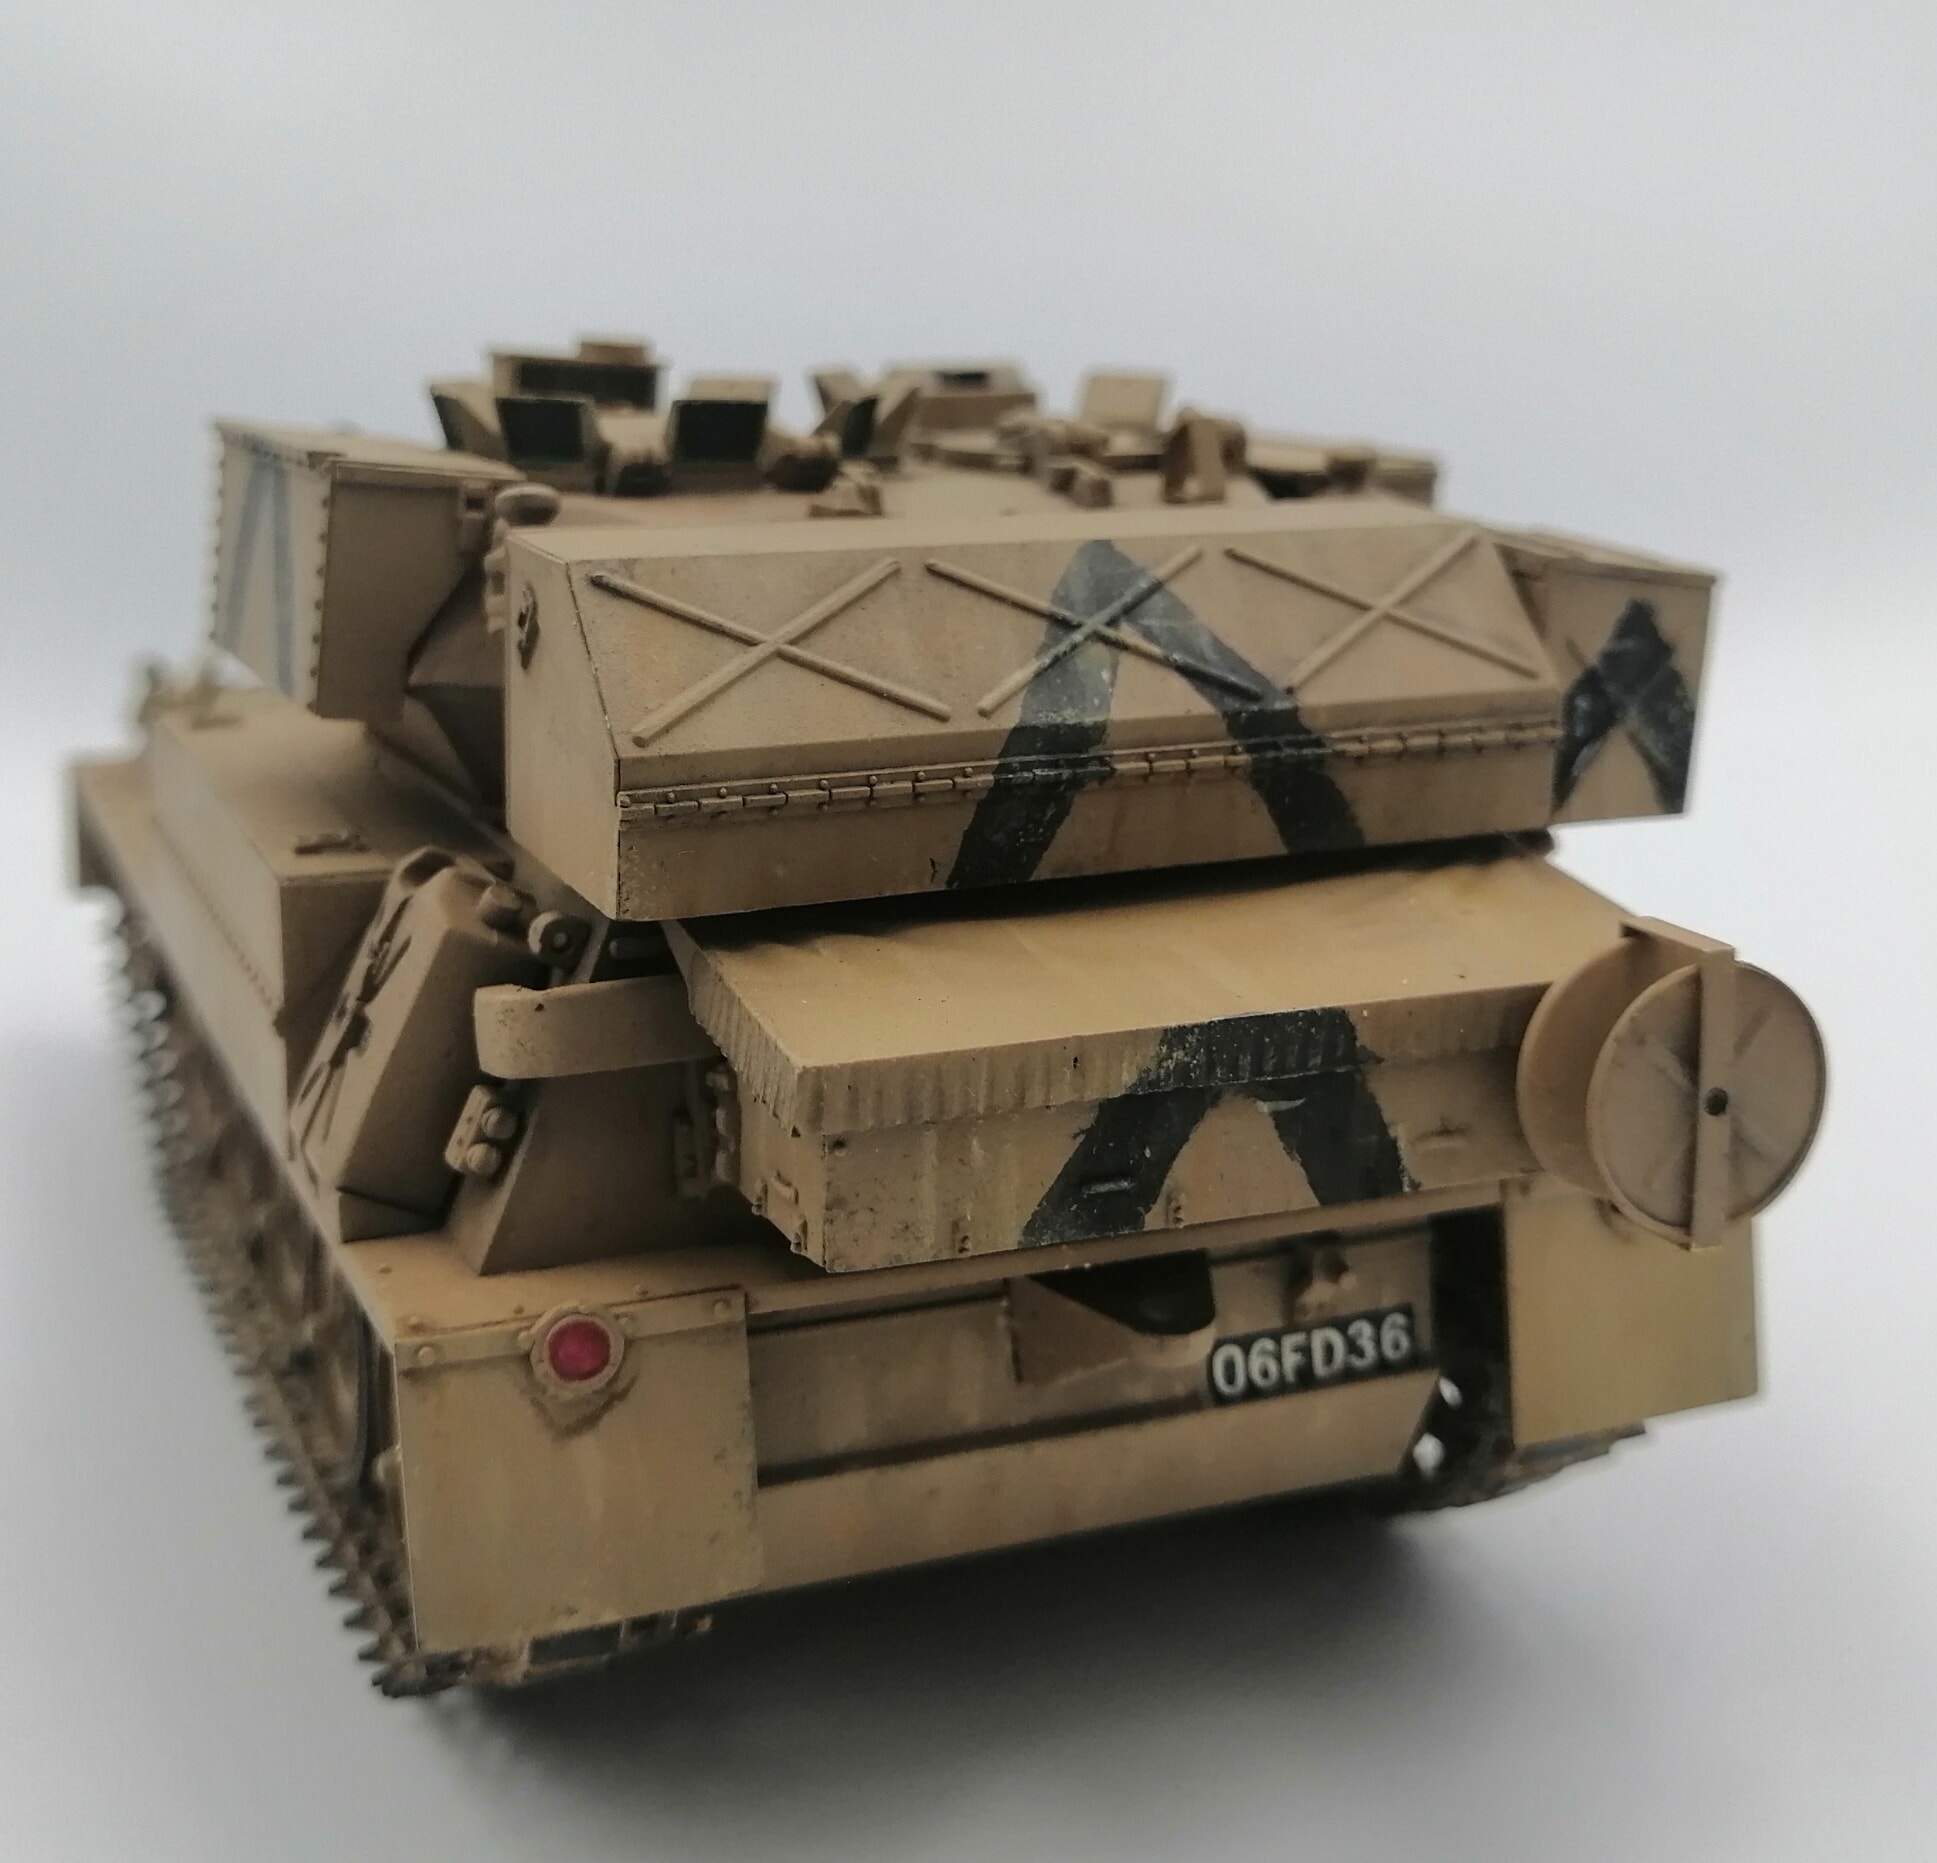
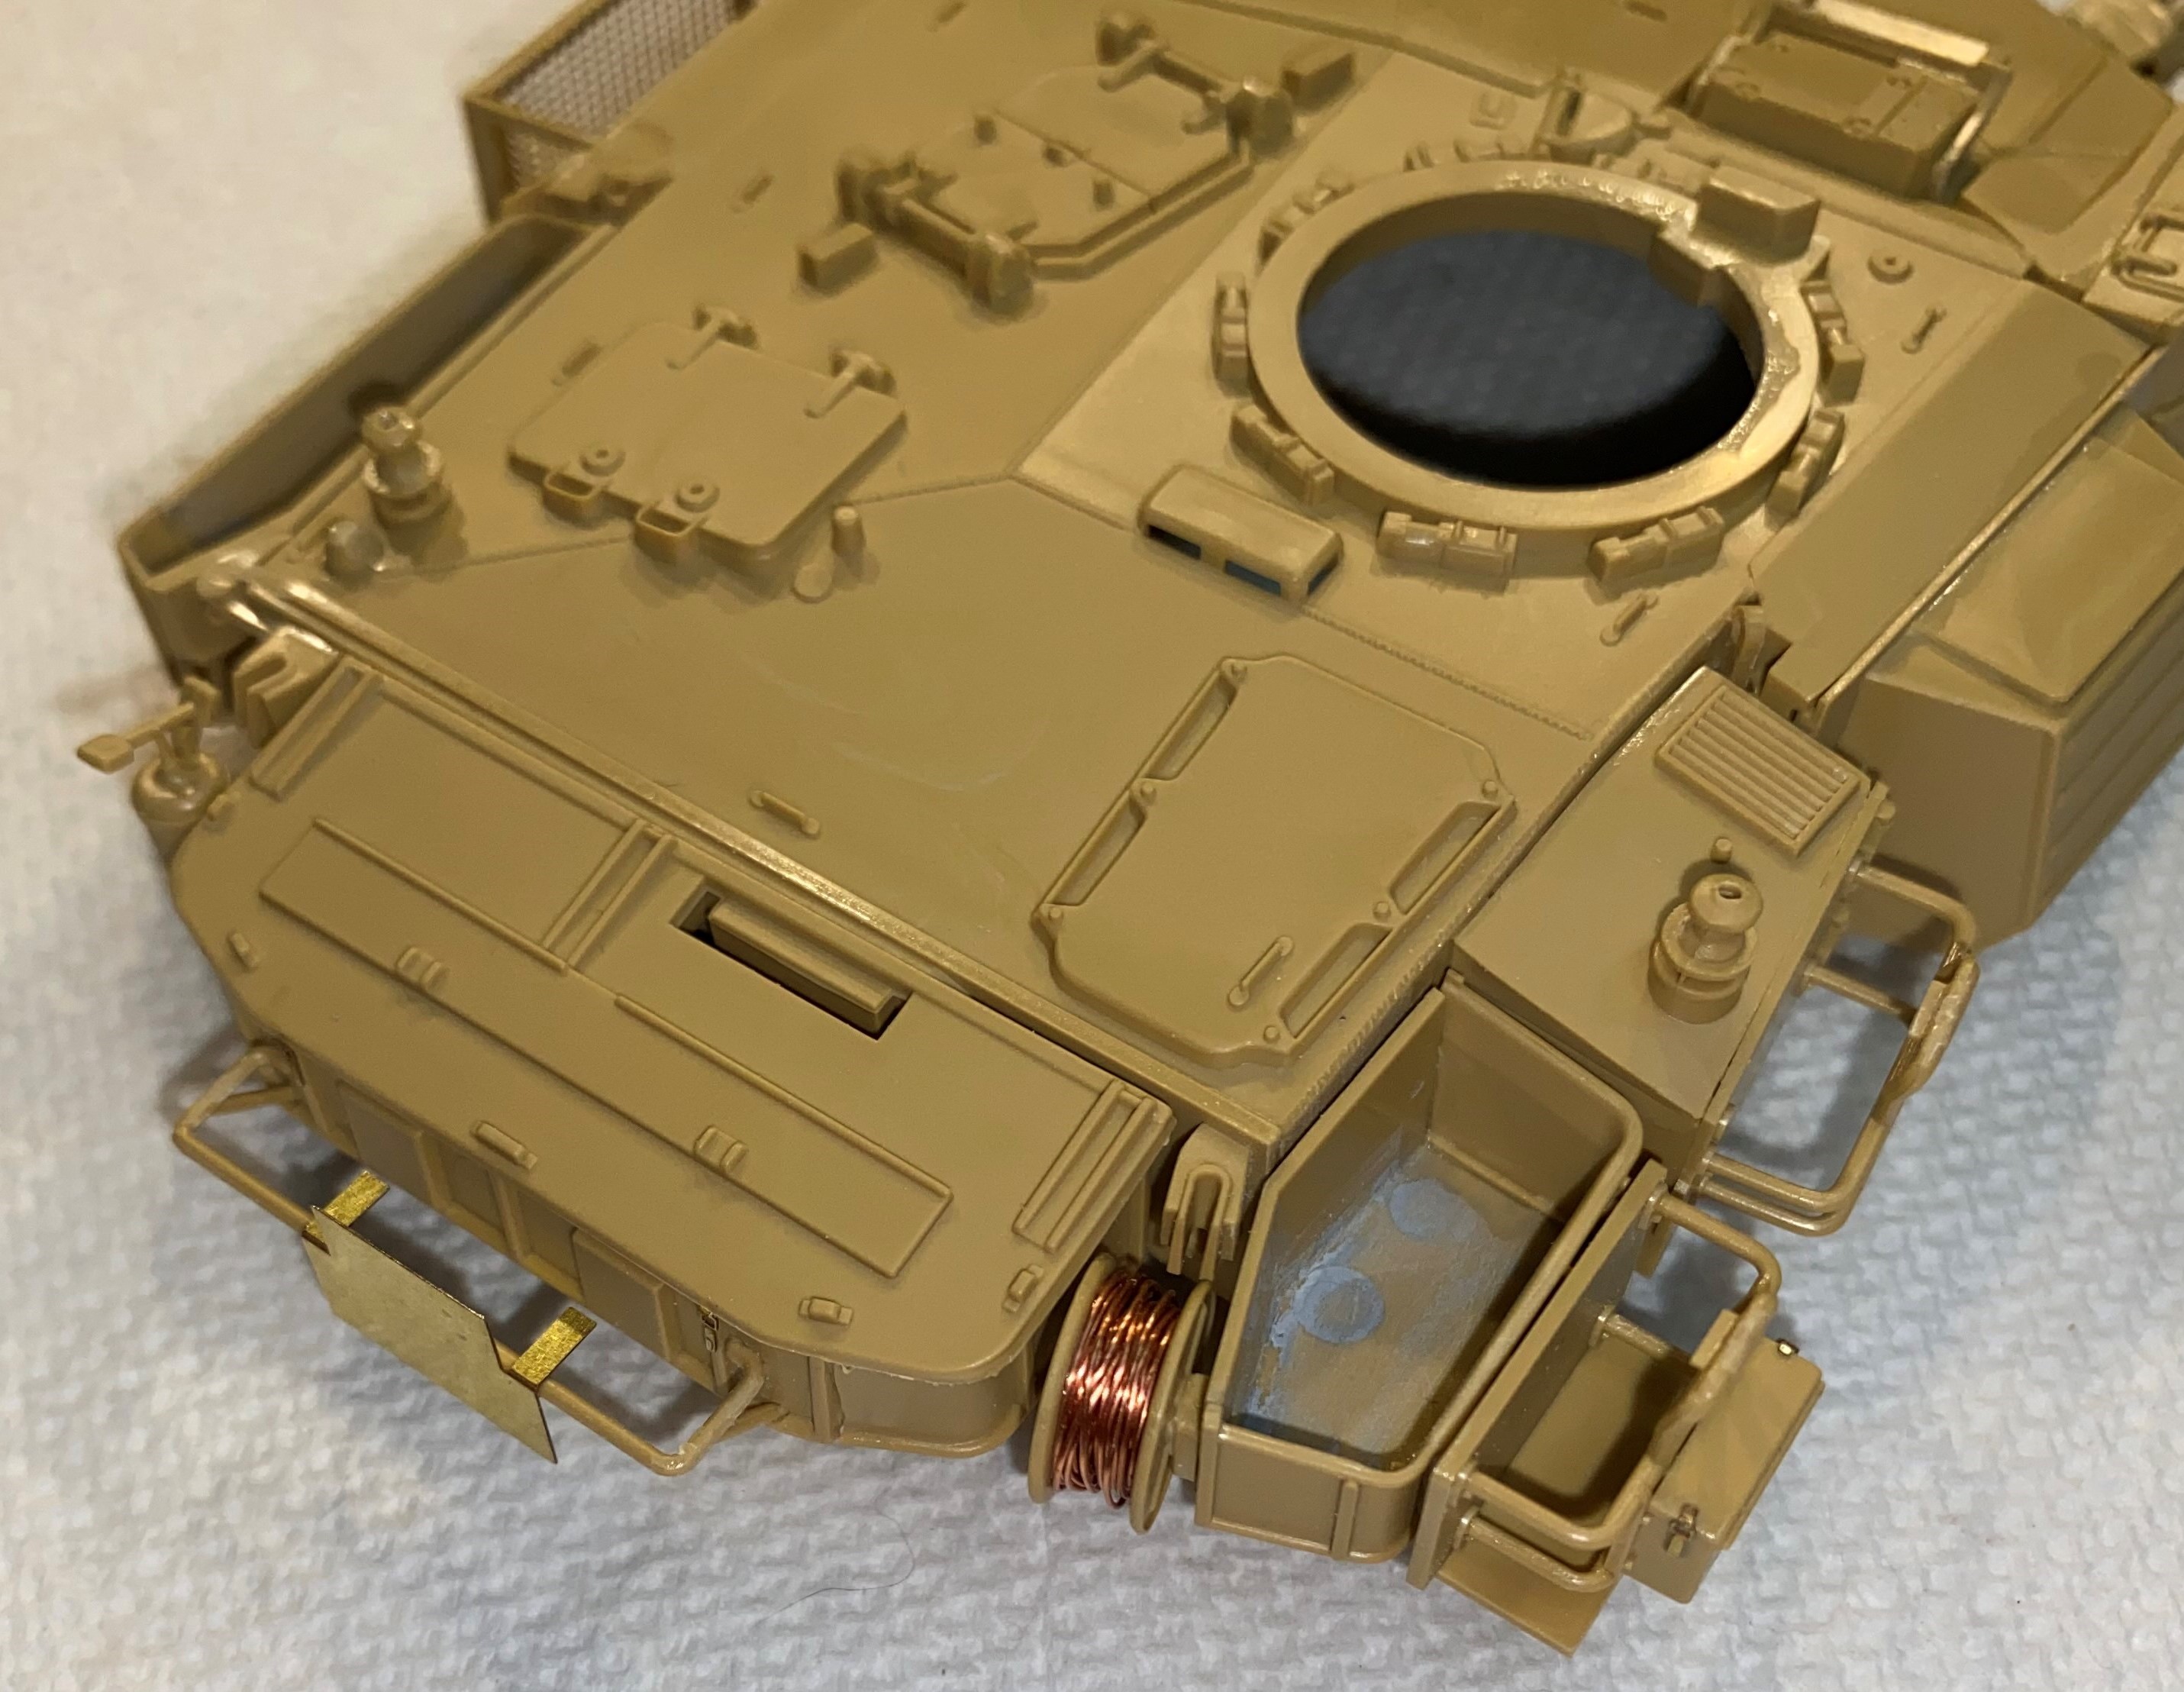
For the Scimitar, I used a mix of Tamiya XF59 Desert Yellow , XF-57 Buff , and XF-19 Sky grey as recommended by an old thread.
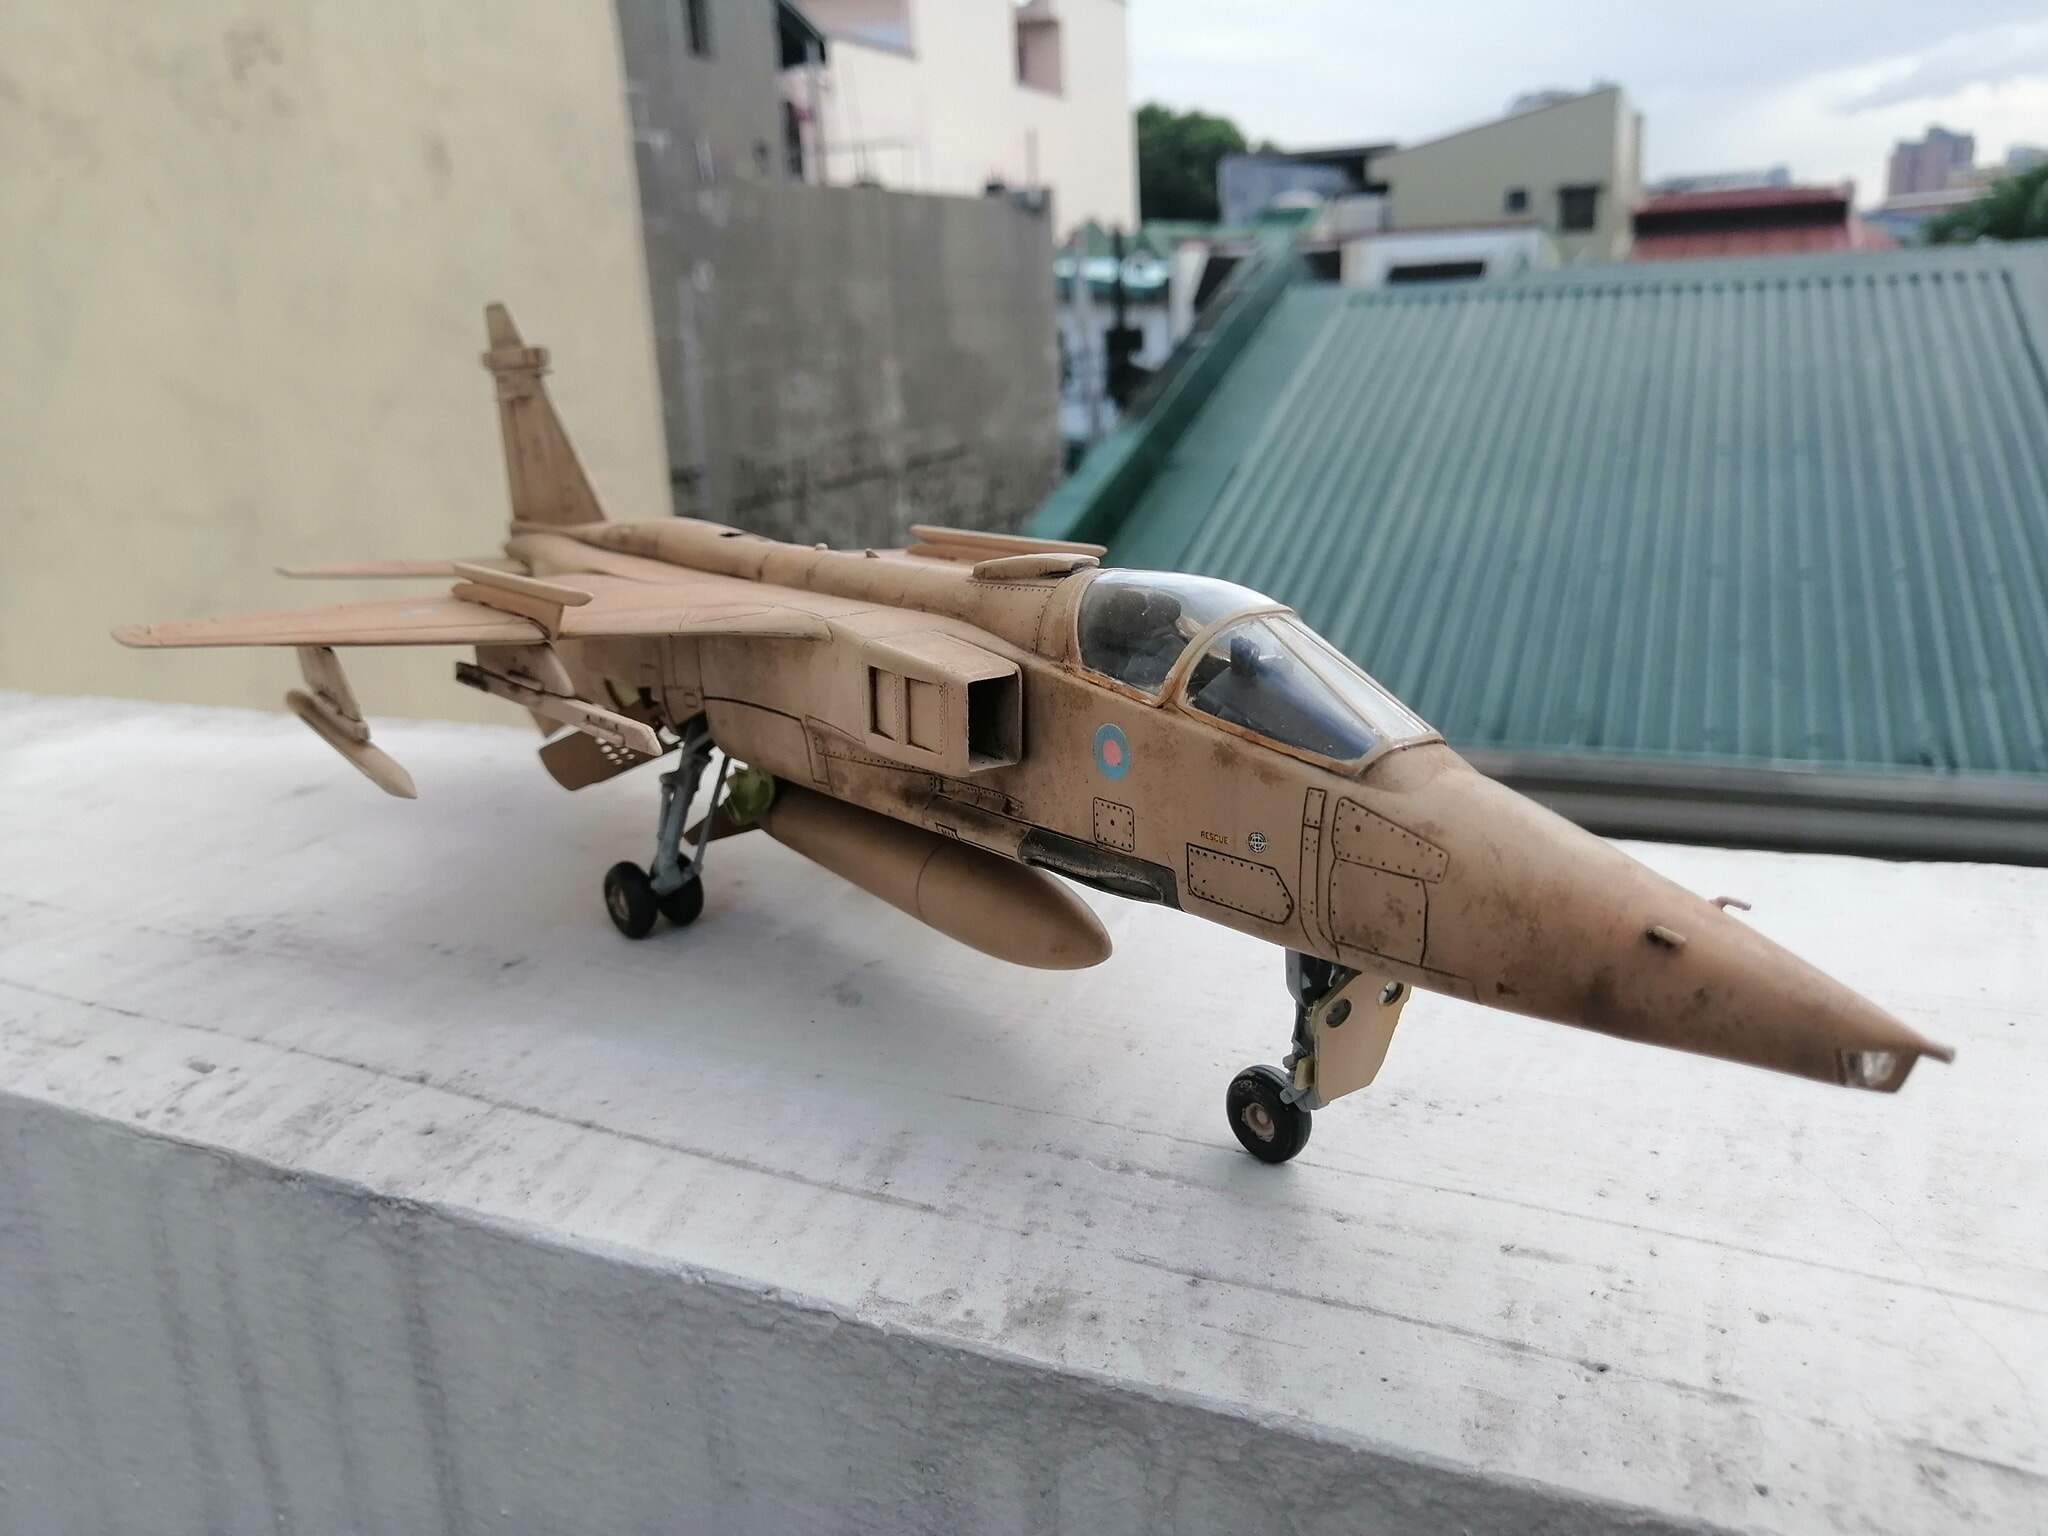
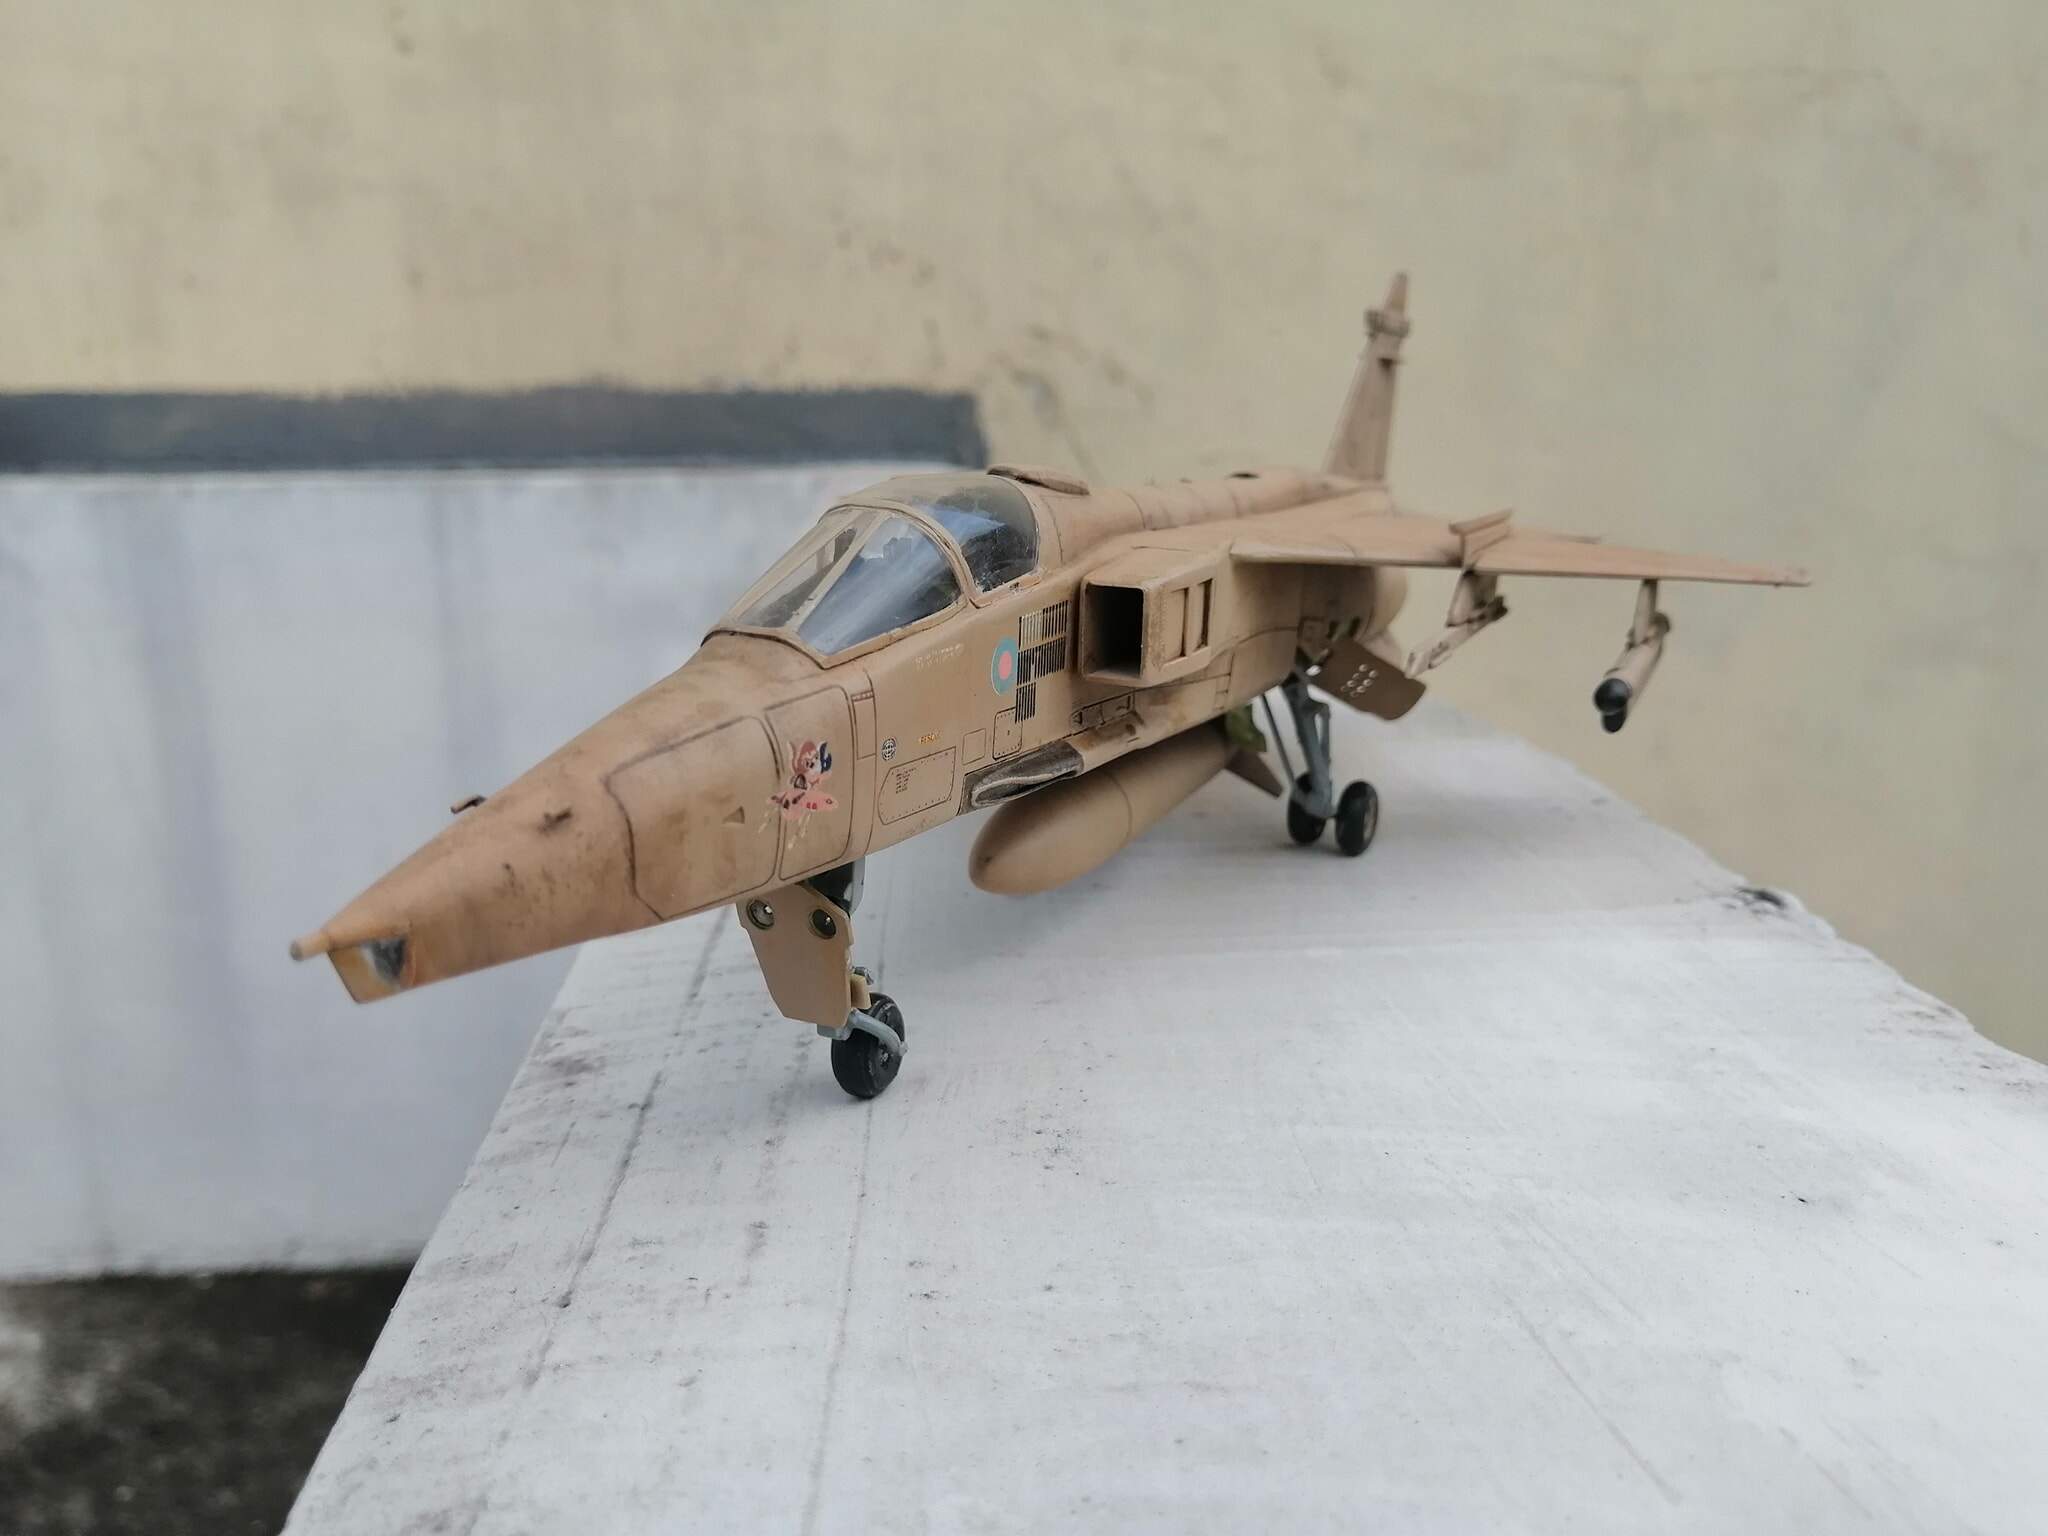
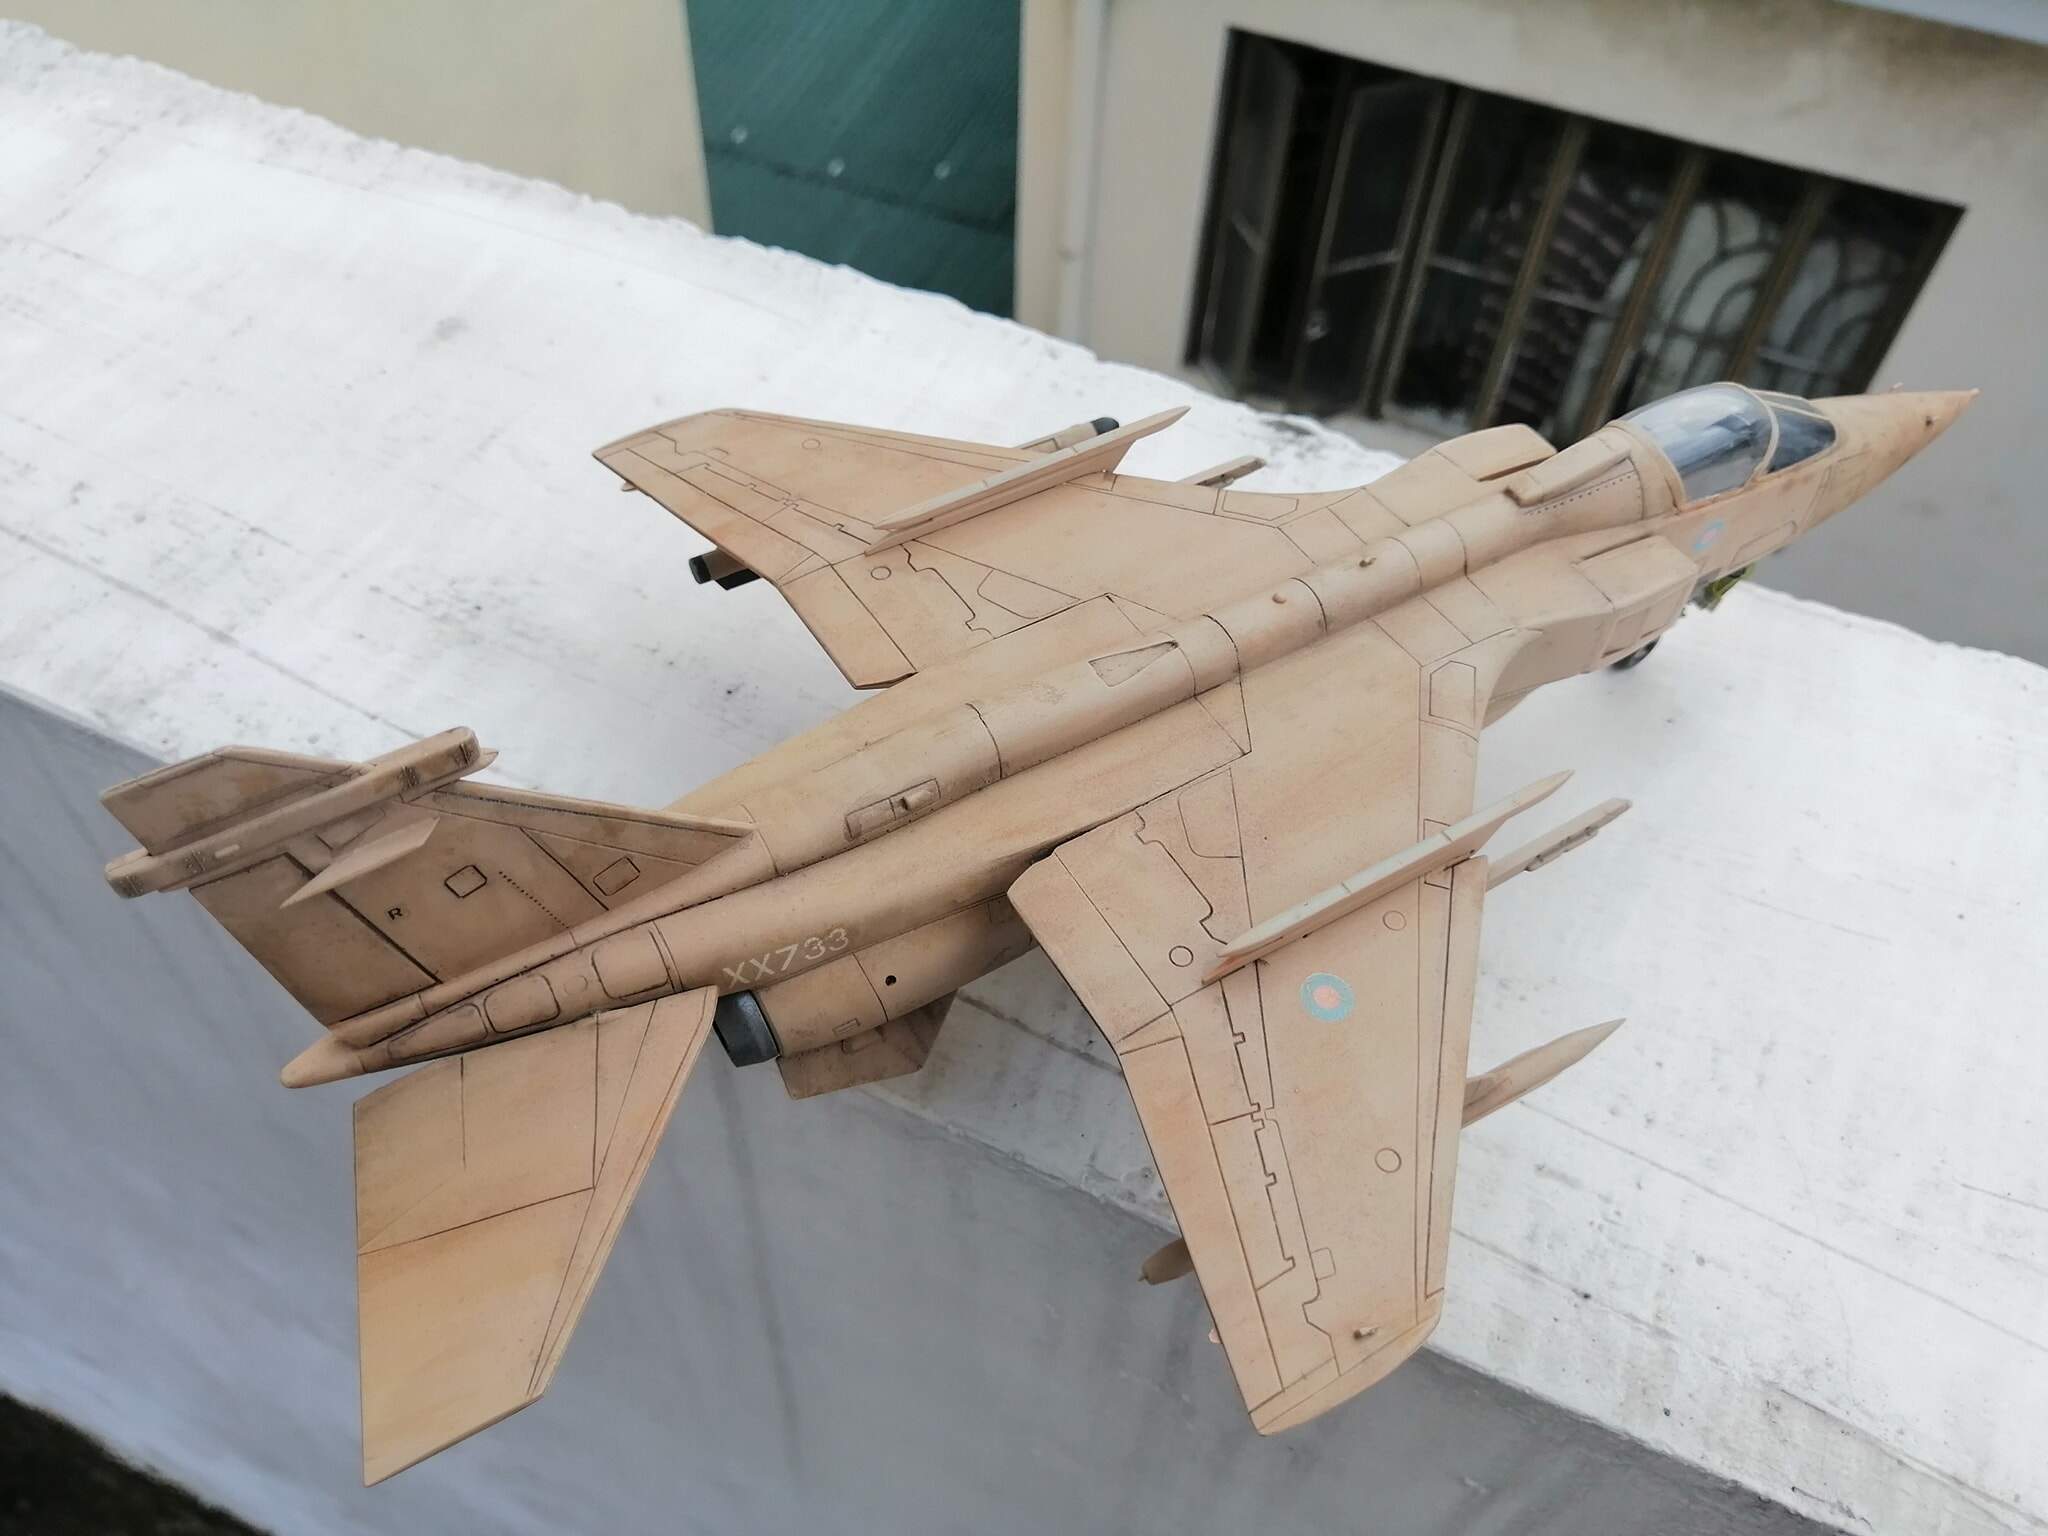
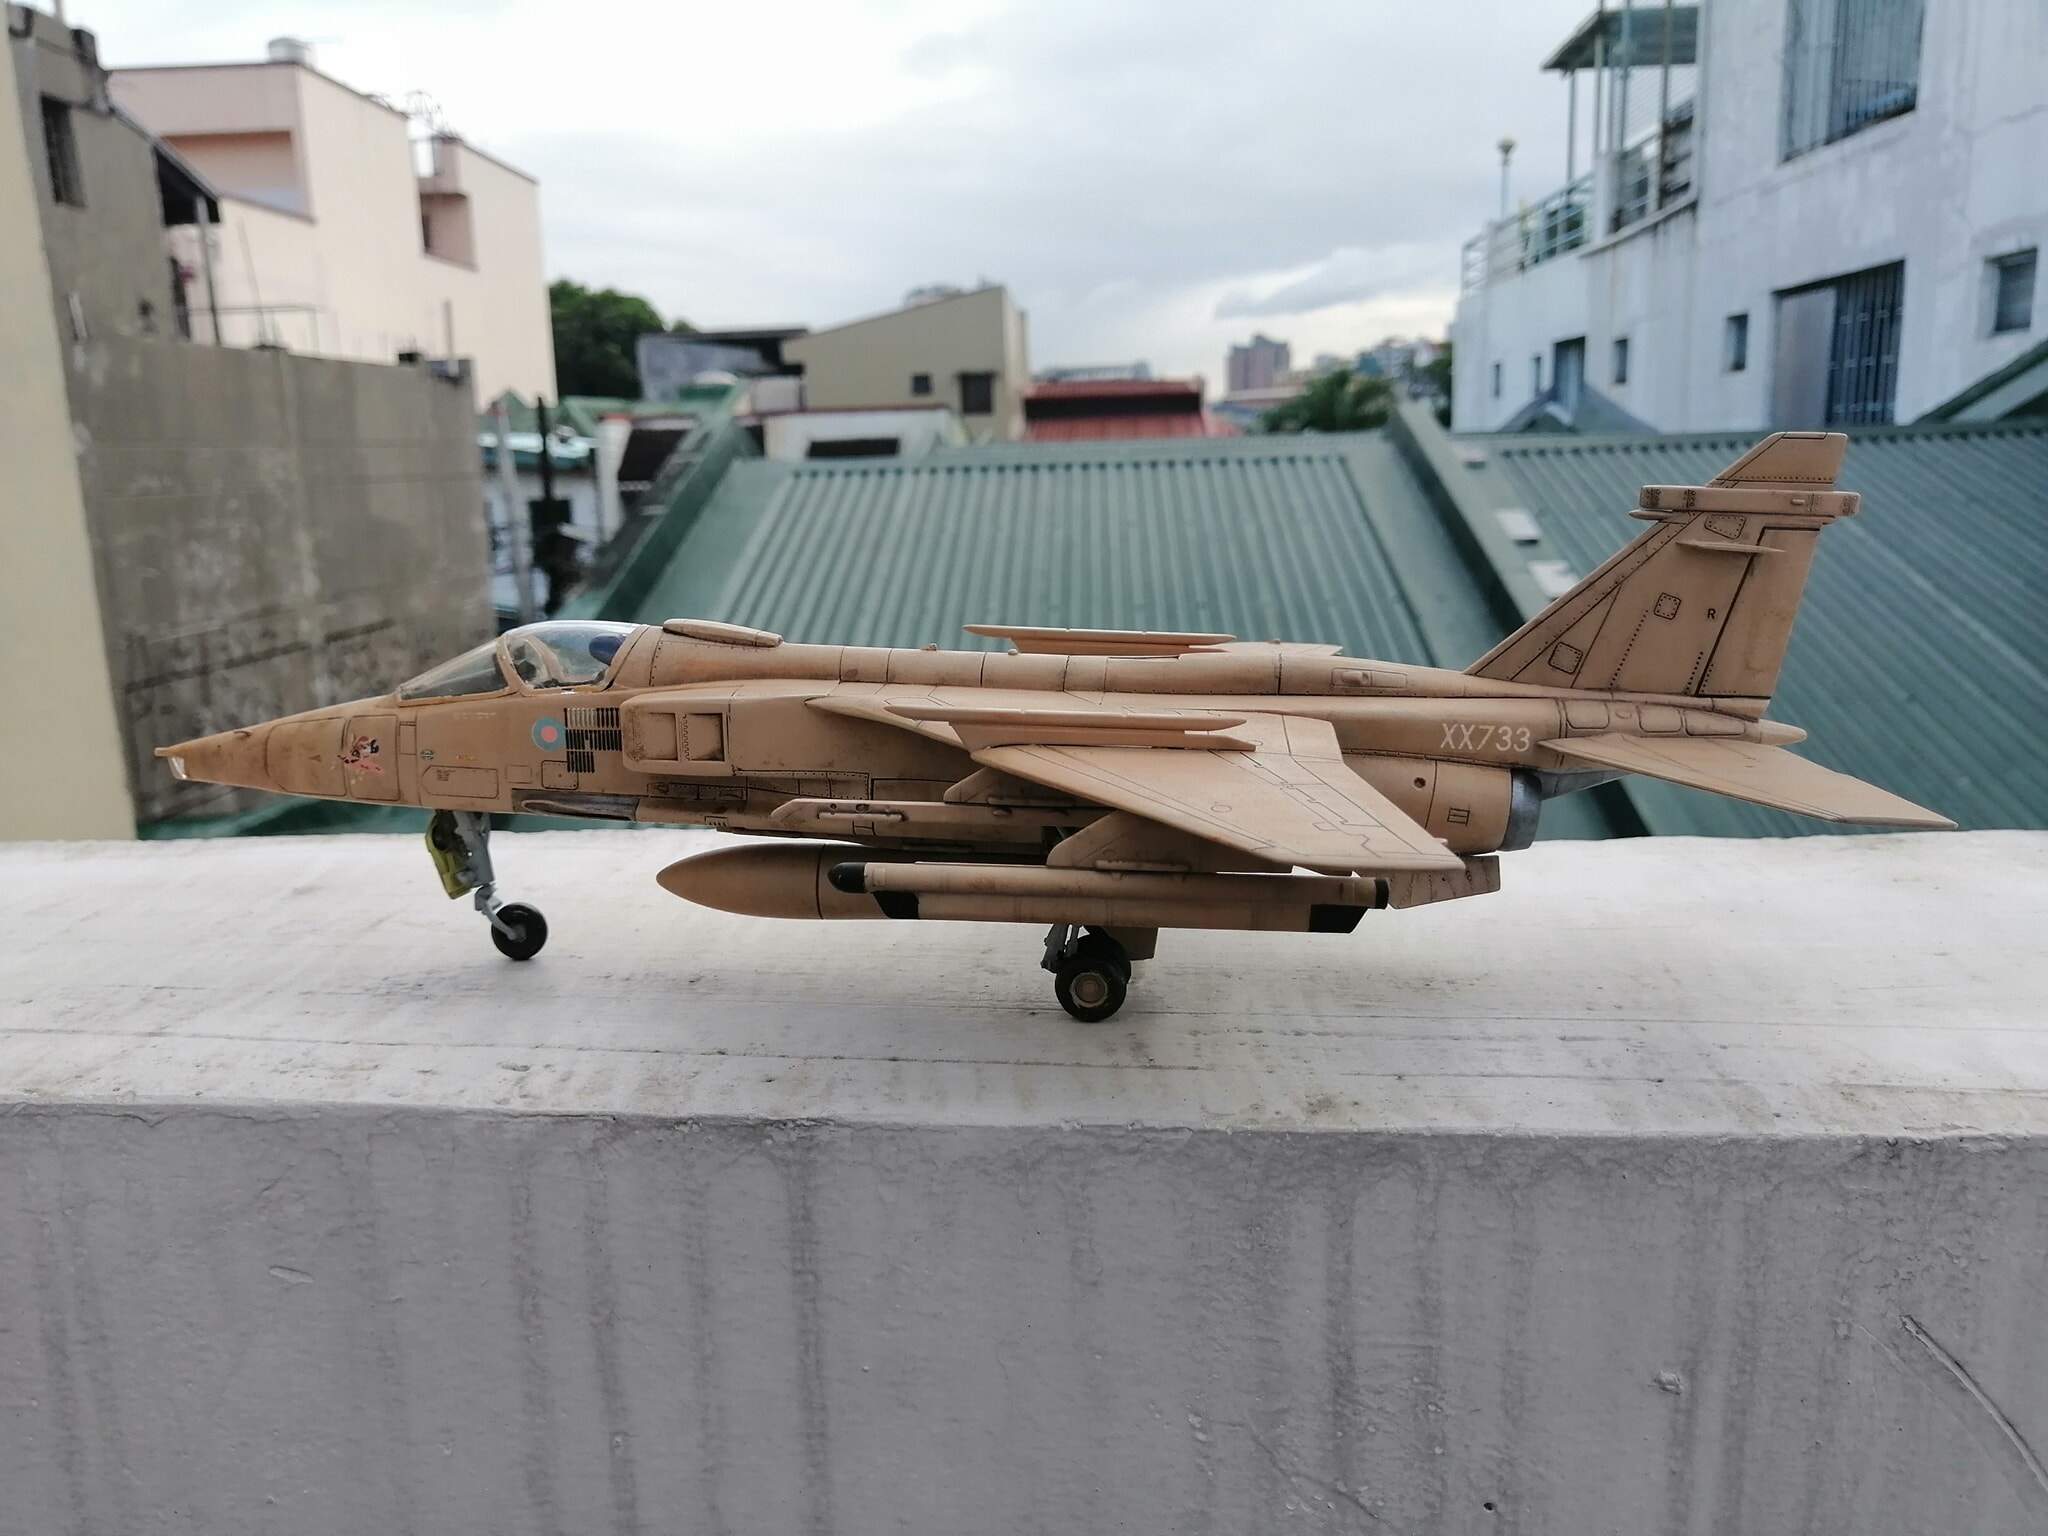
For the Jaguar, I used Tamiya XF-78 Wooden Deck Tan to replicate the color. I was told that the so called “desert pink” paint used on the British Aircraft looked tan but shifted to a slightly pinkish color when applied on the plane itself. I think XF-78 looks good enough - some people might want to add a bit of red if you want the more pinkish color seen in some photos but I wanted to keep the base color light to account for the weathering and the smaller scale-effect on the paint.
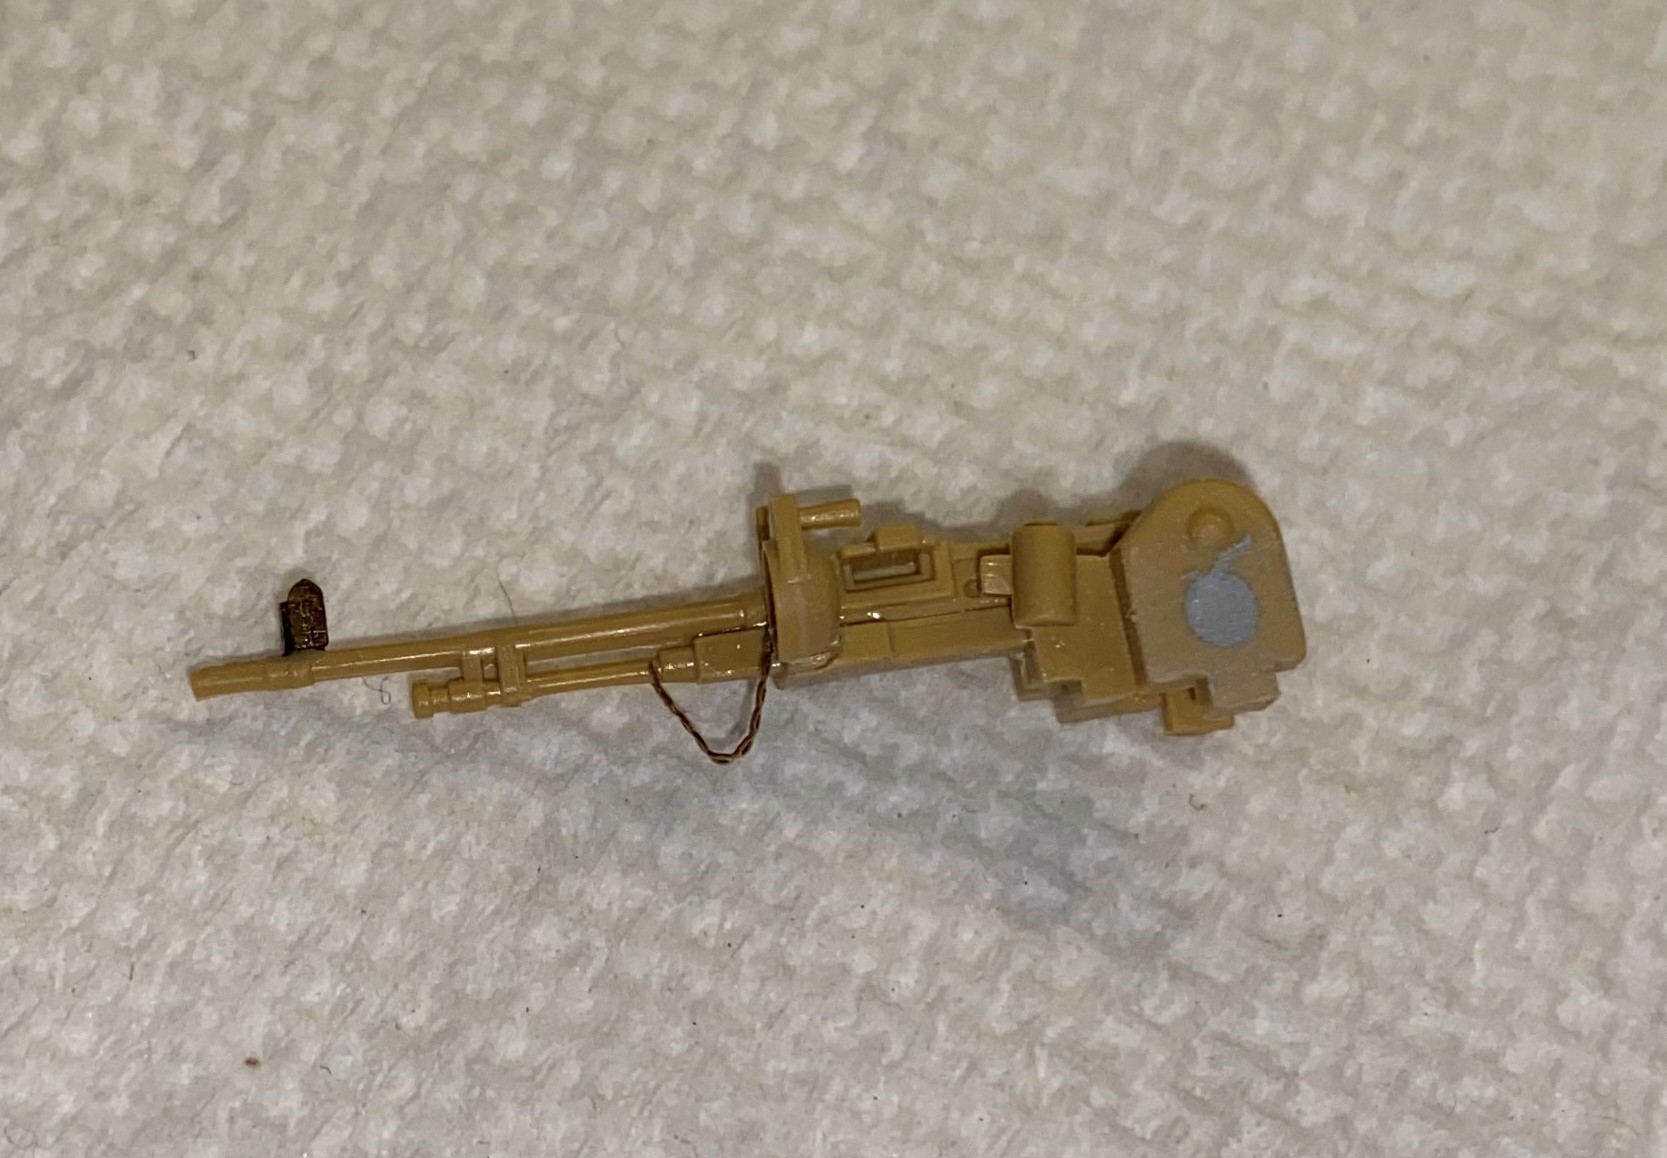
Added some wire to the field-telephone spool so it looks correct. Drilled out the antenna mounts ready for later. You can also see some of the injector pin marks I had to deal with. Looking at the photo I can see that mold line on the antenna mount. I will be dealing with that later
Looking very nice so far Rory, as you said, it’s the little details that can give it so much. I’m glad you did the Comd’s wiper blades, I forgot those when I did my Chally1.
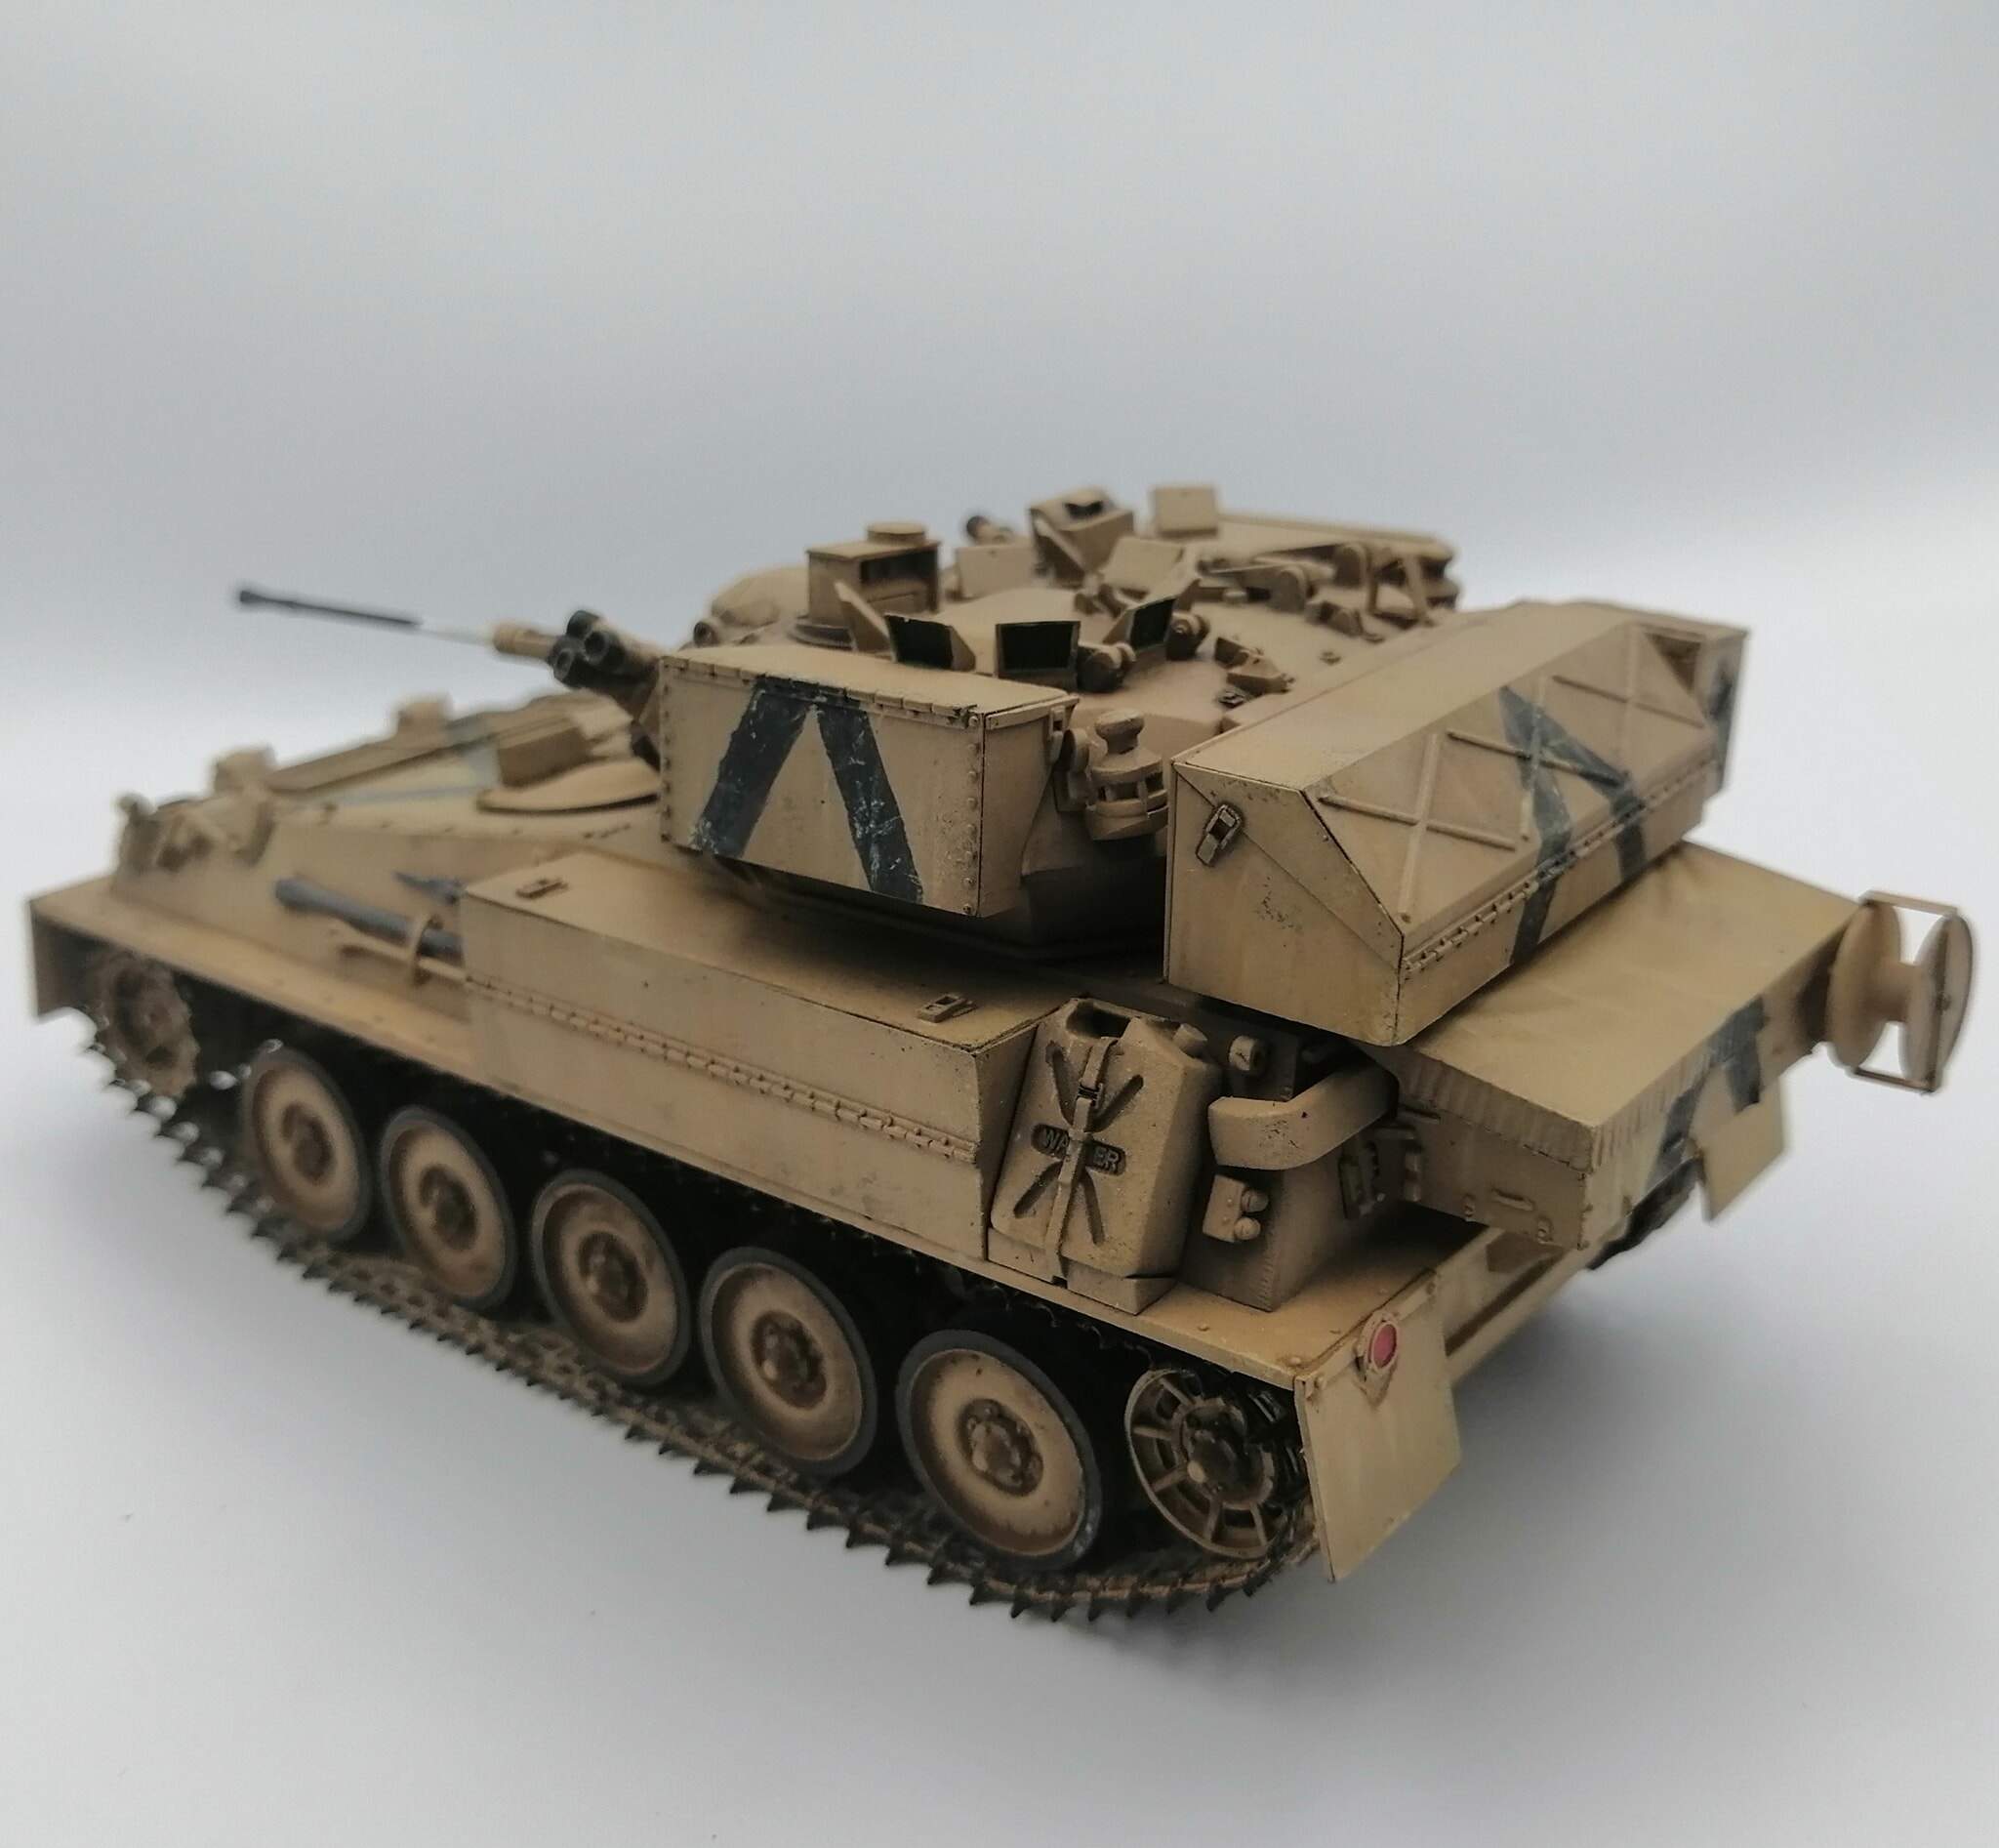
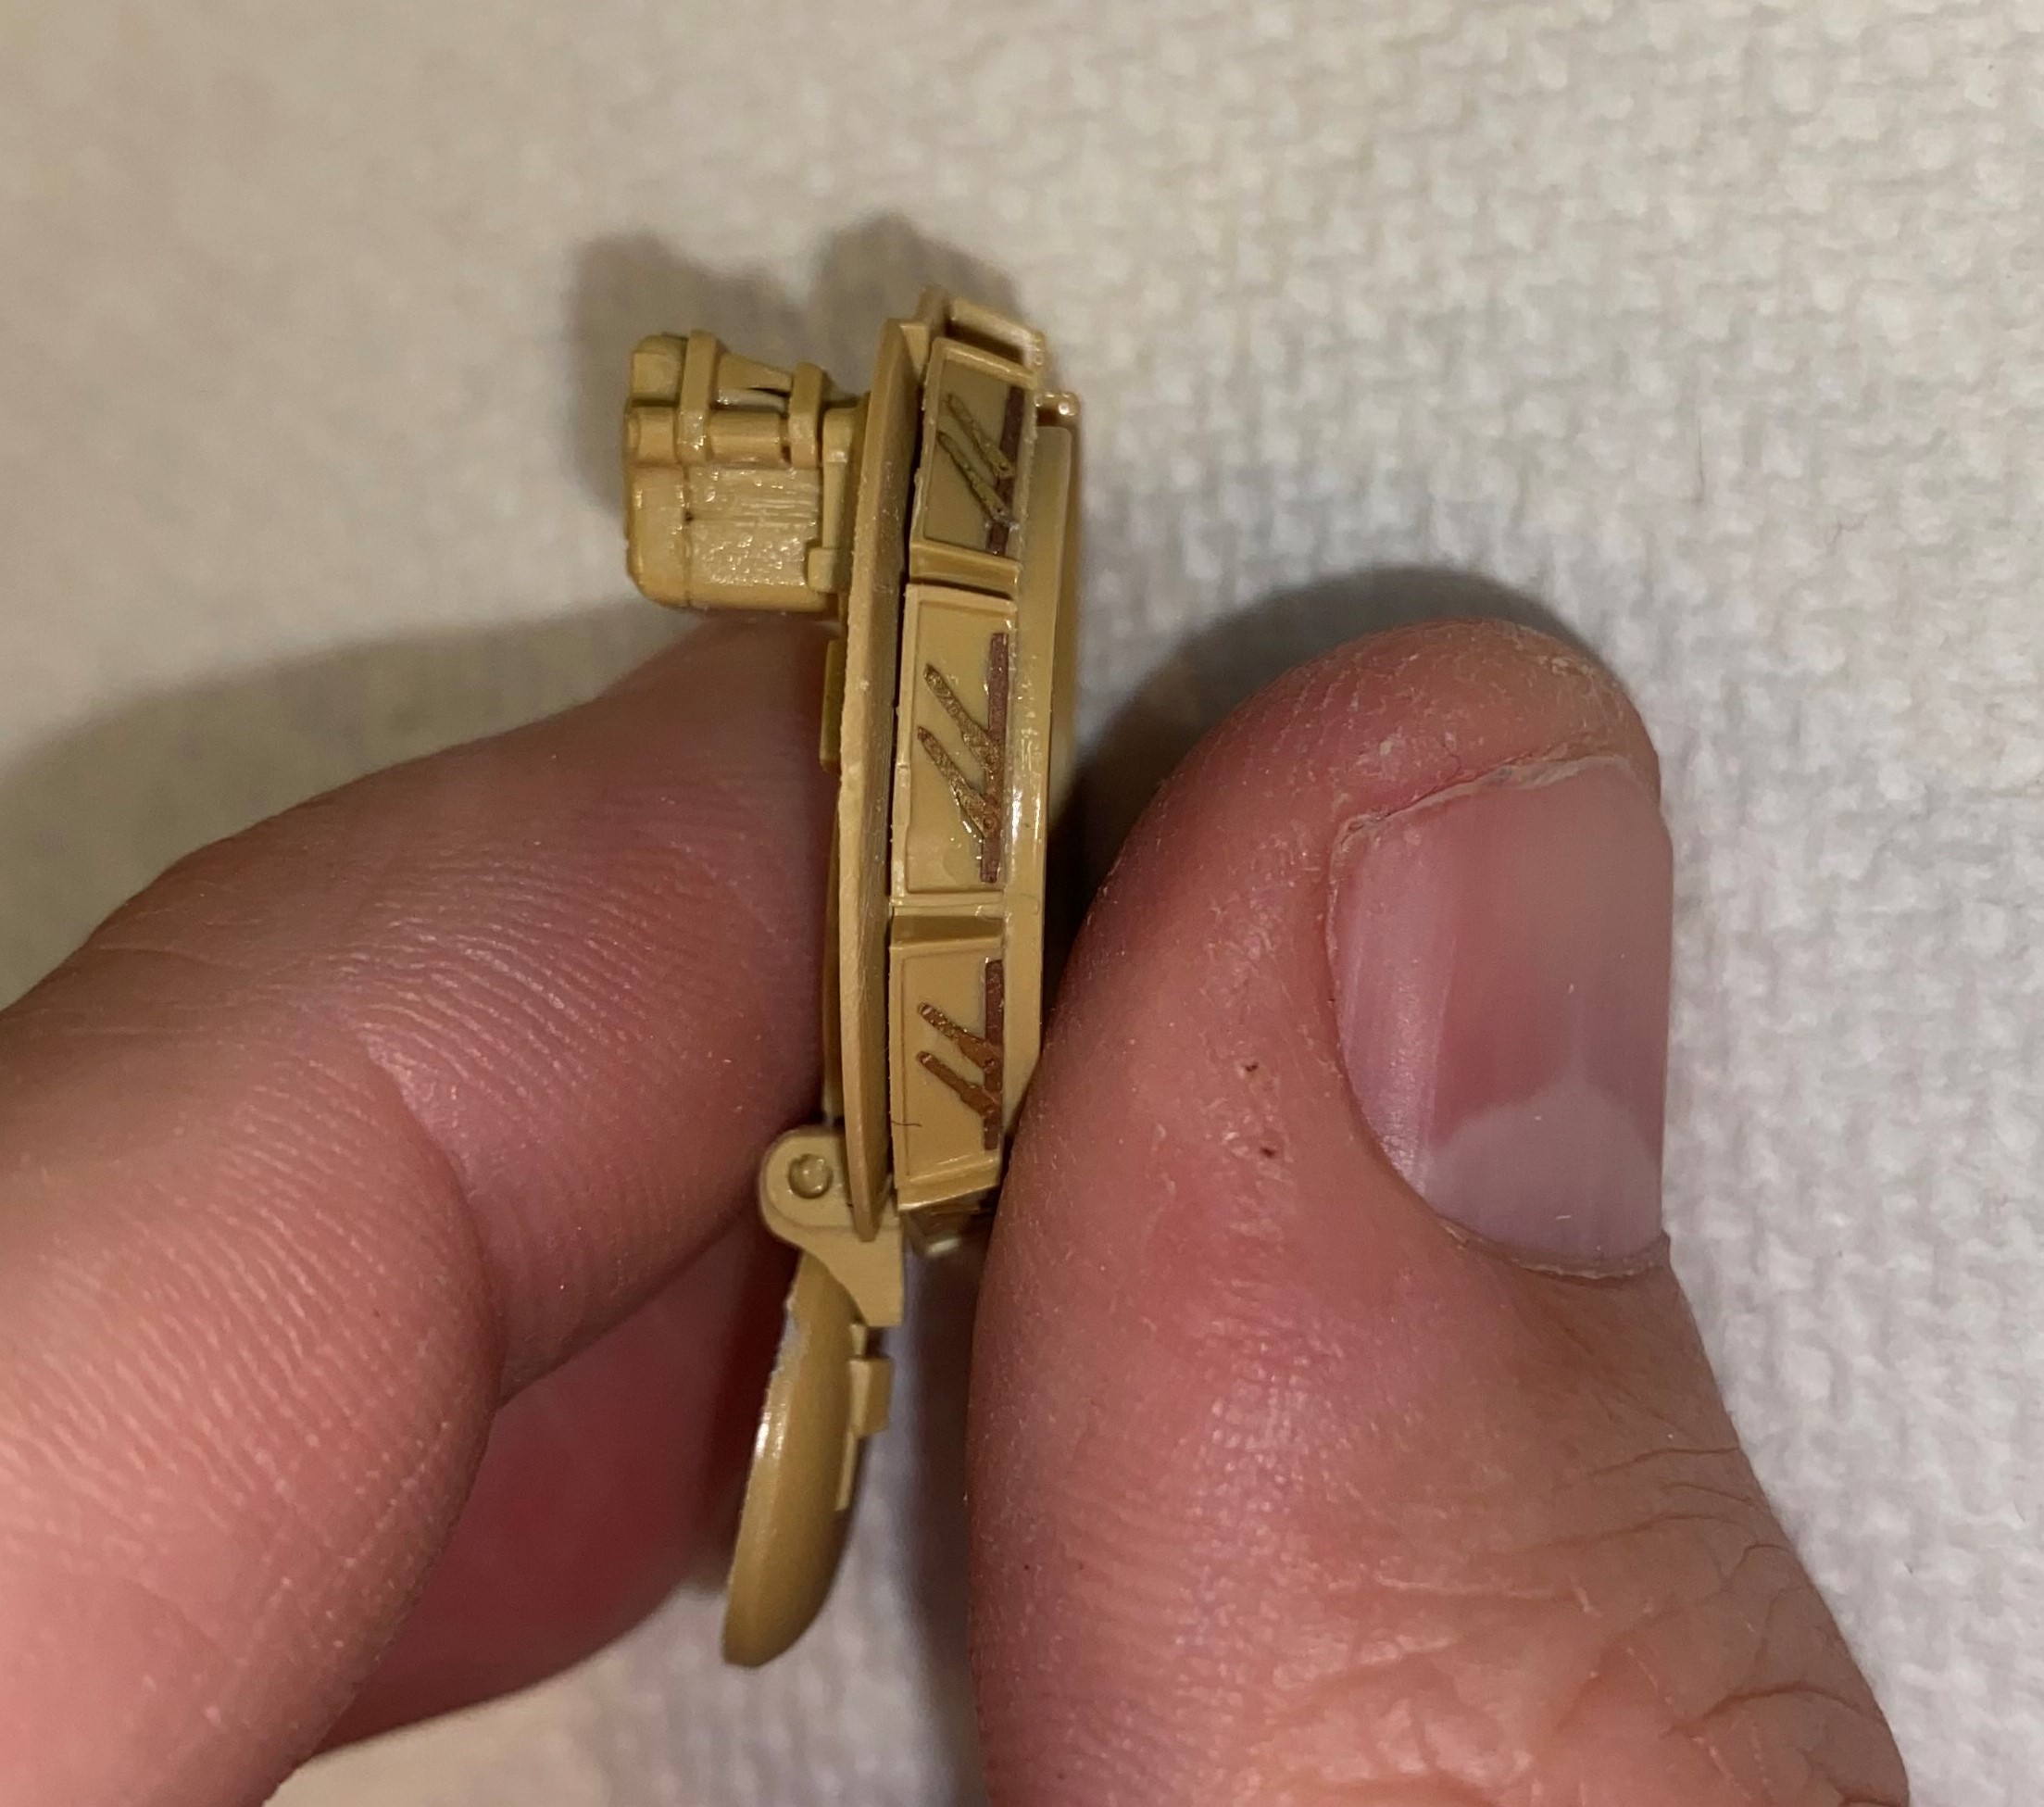
Looking good Rory. If I can make one suggestion? - the moulded in handles on the rear hatch that go all the way down to the hull. It looks way better when you remove them and replace with wire.
Normally I don’t care to much about molded handles but I have gone back and looked at some photos of the real vehicle and yikes!, I will definitely be removing those. Thank you pointing it out.
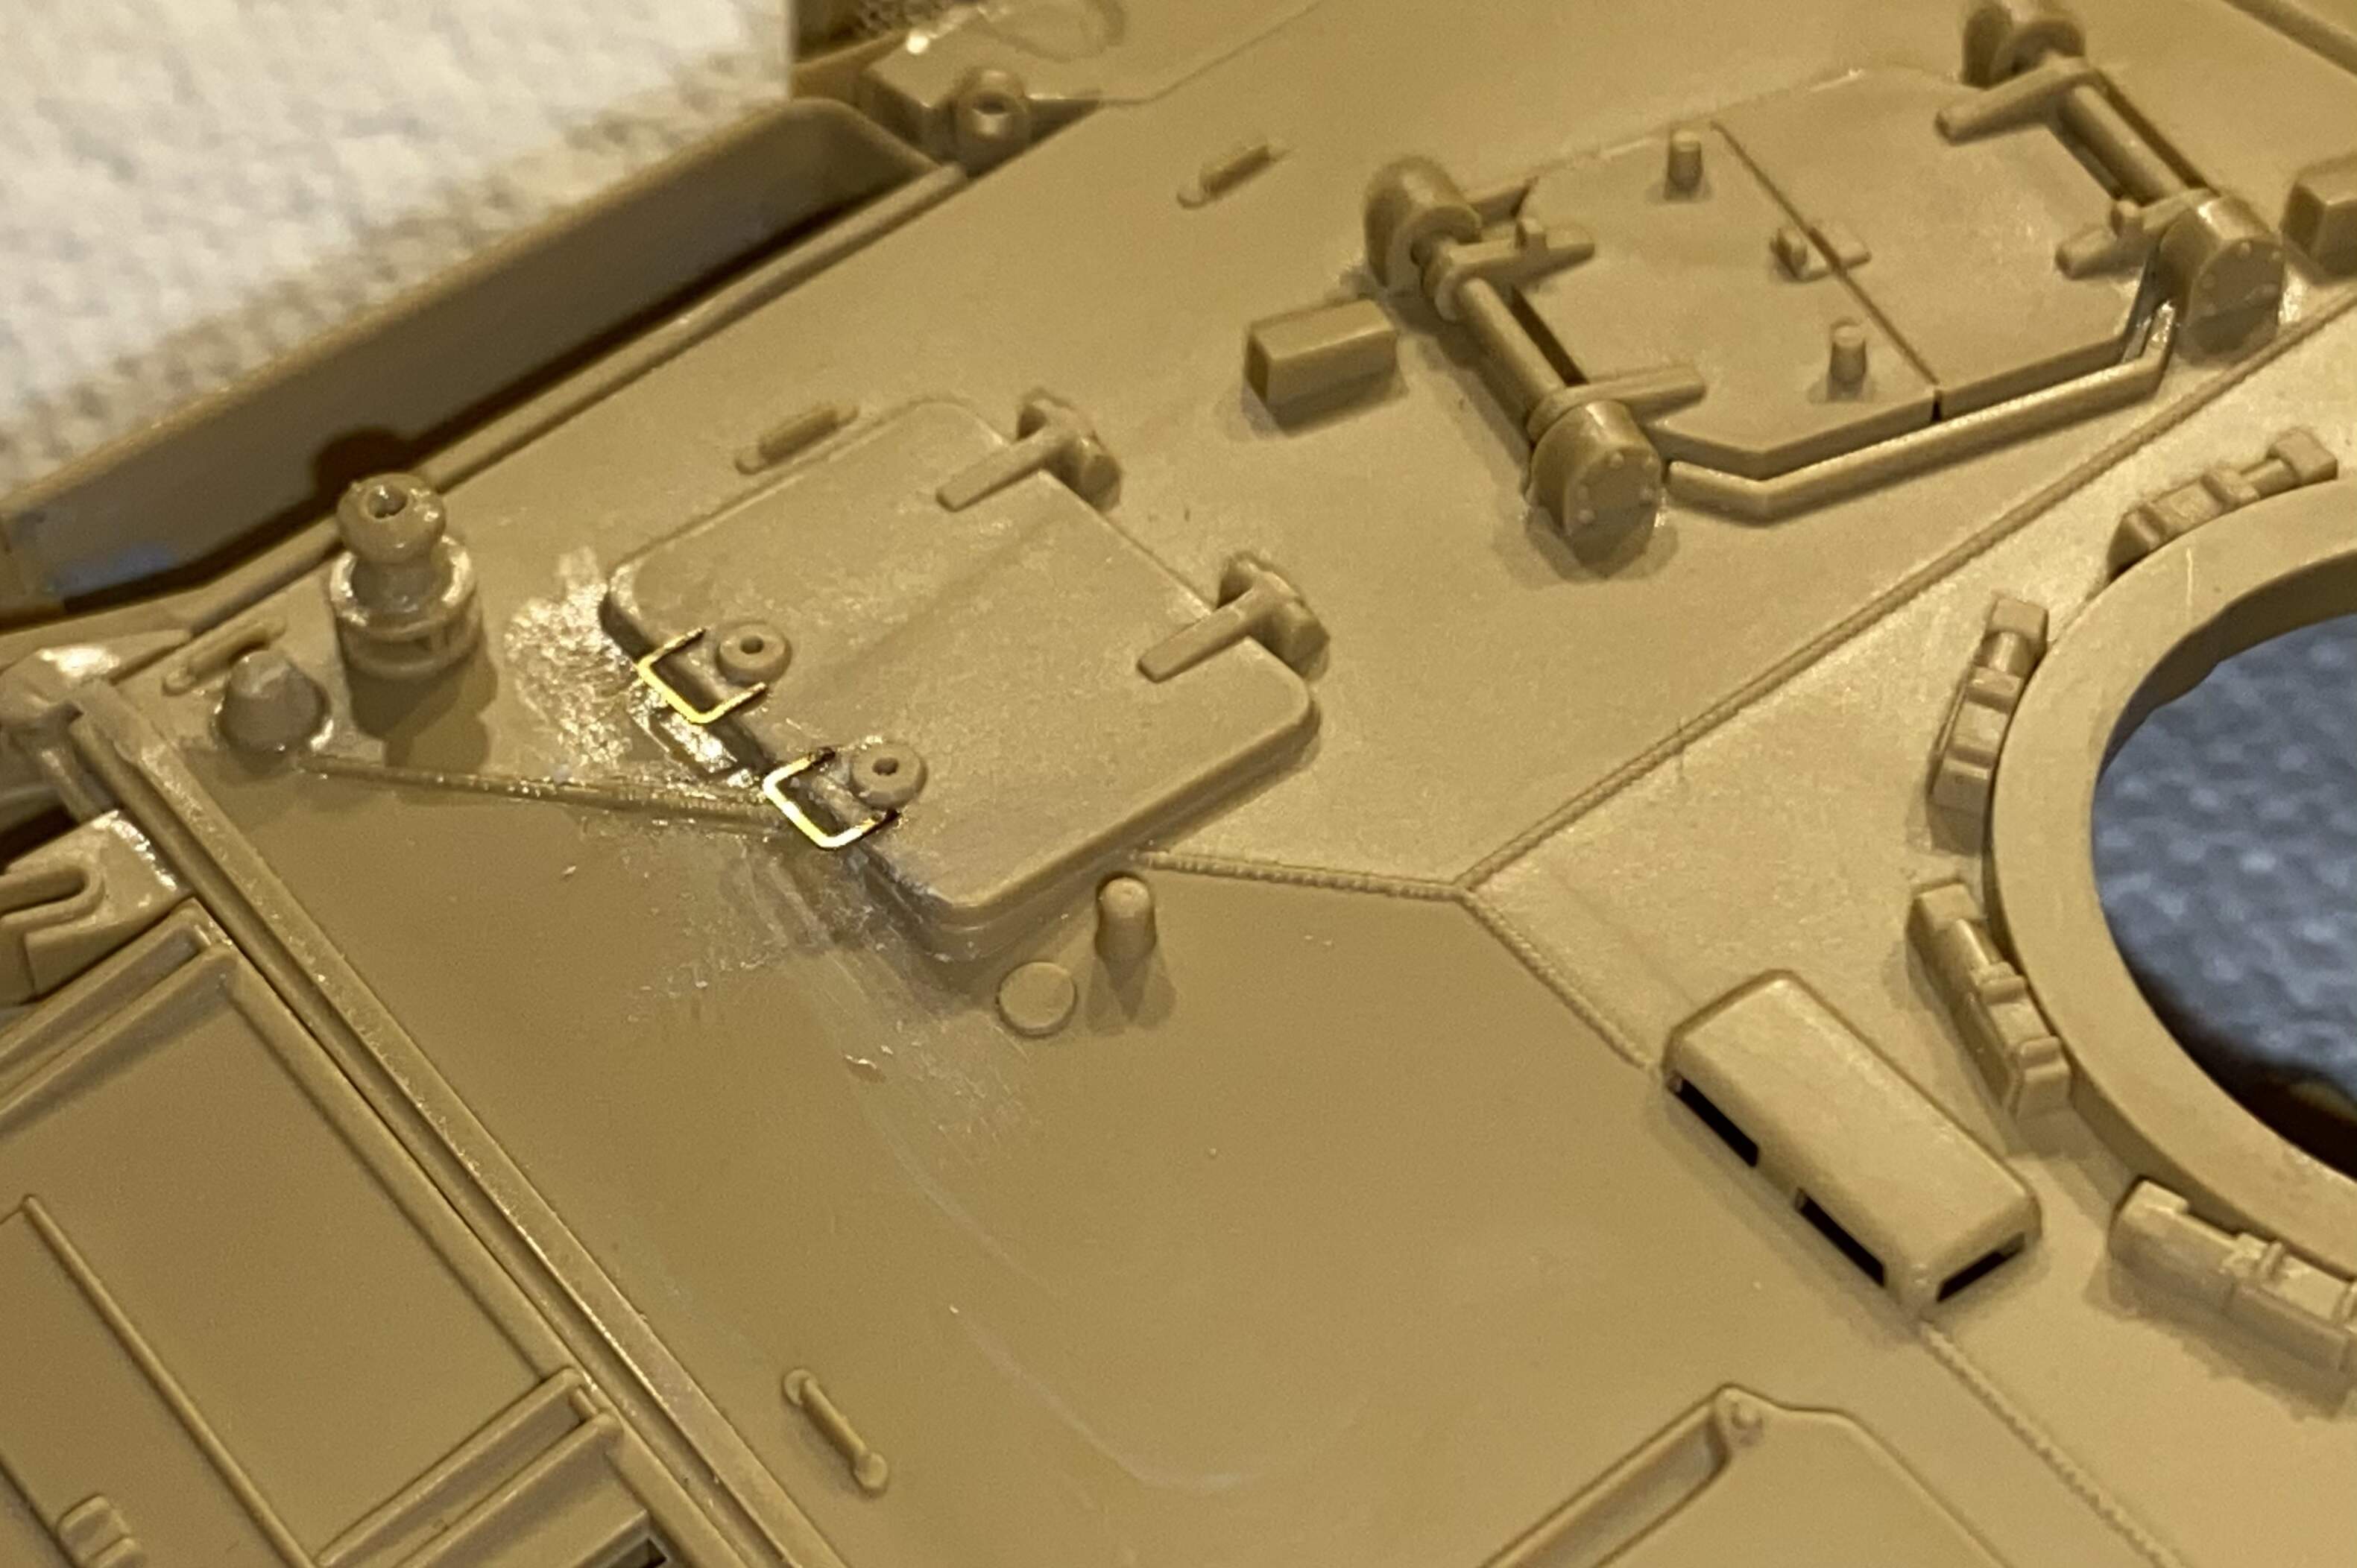
Went back and removed the molded on handles. Had to rebuild the weld seam with some stretched sprue and added some spare PE handles. Looks much better.