Cheers Olivier, I will be trying gentle sweeps as I pass over it and trying not to let it stay over one area. I don’t to build up a small mountain range of anti slip 
Masking is now complete thank the Lord…
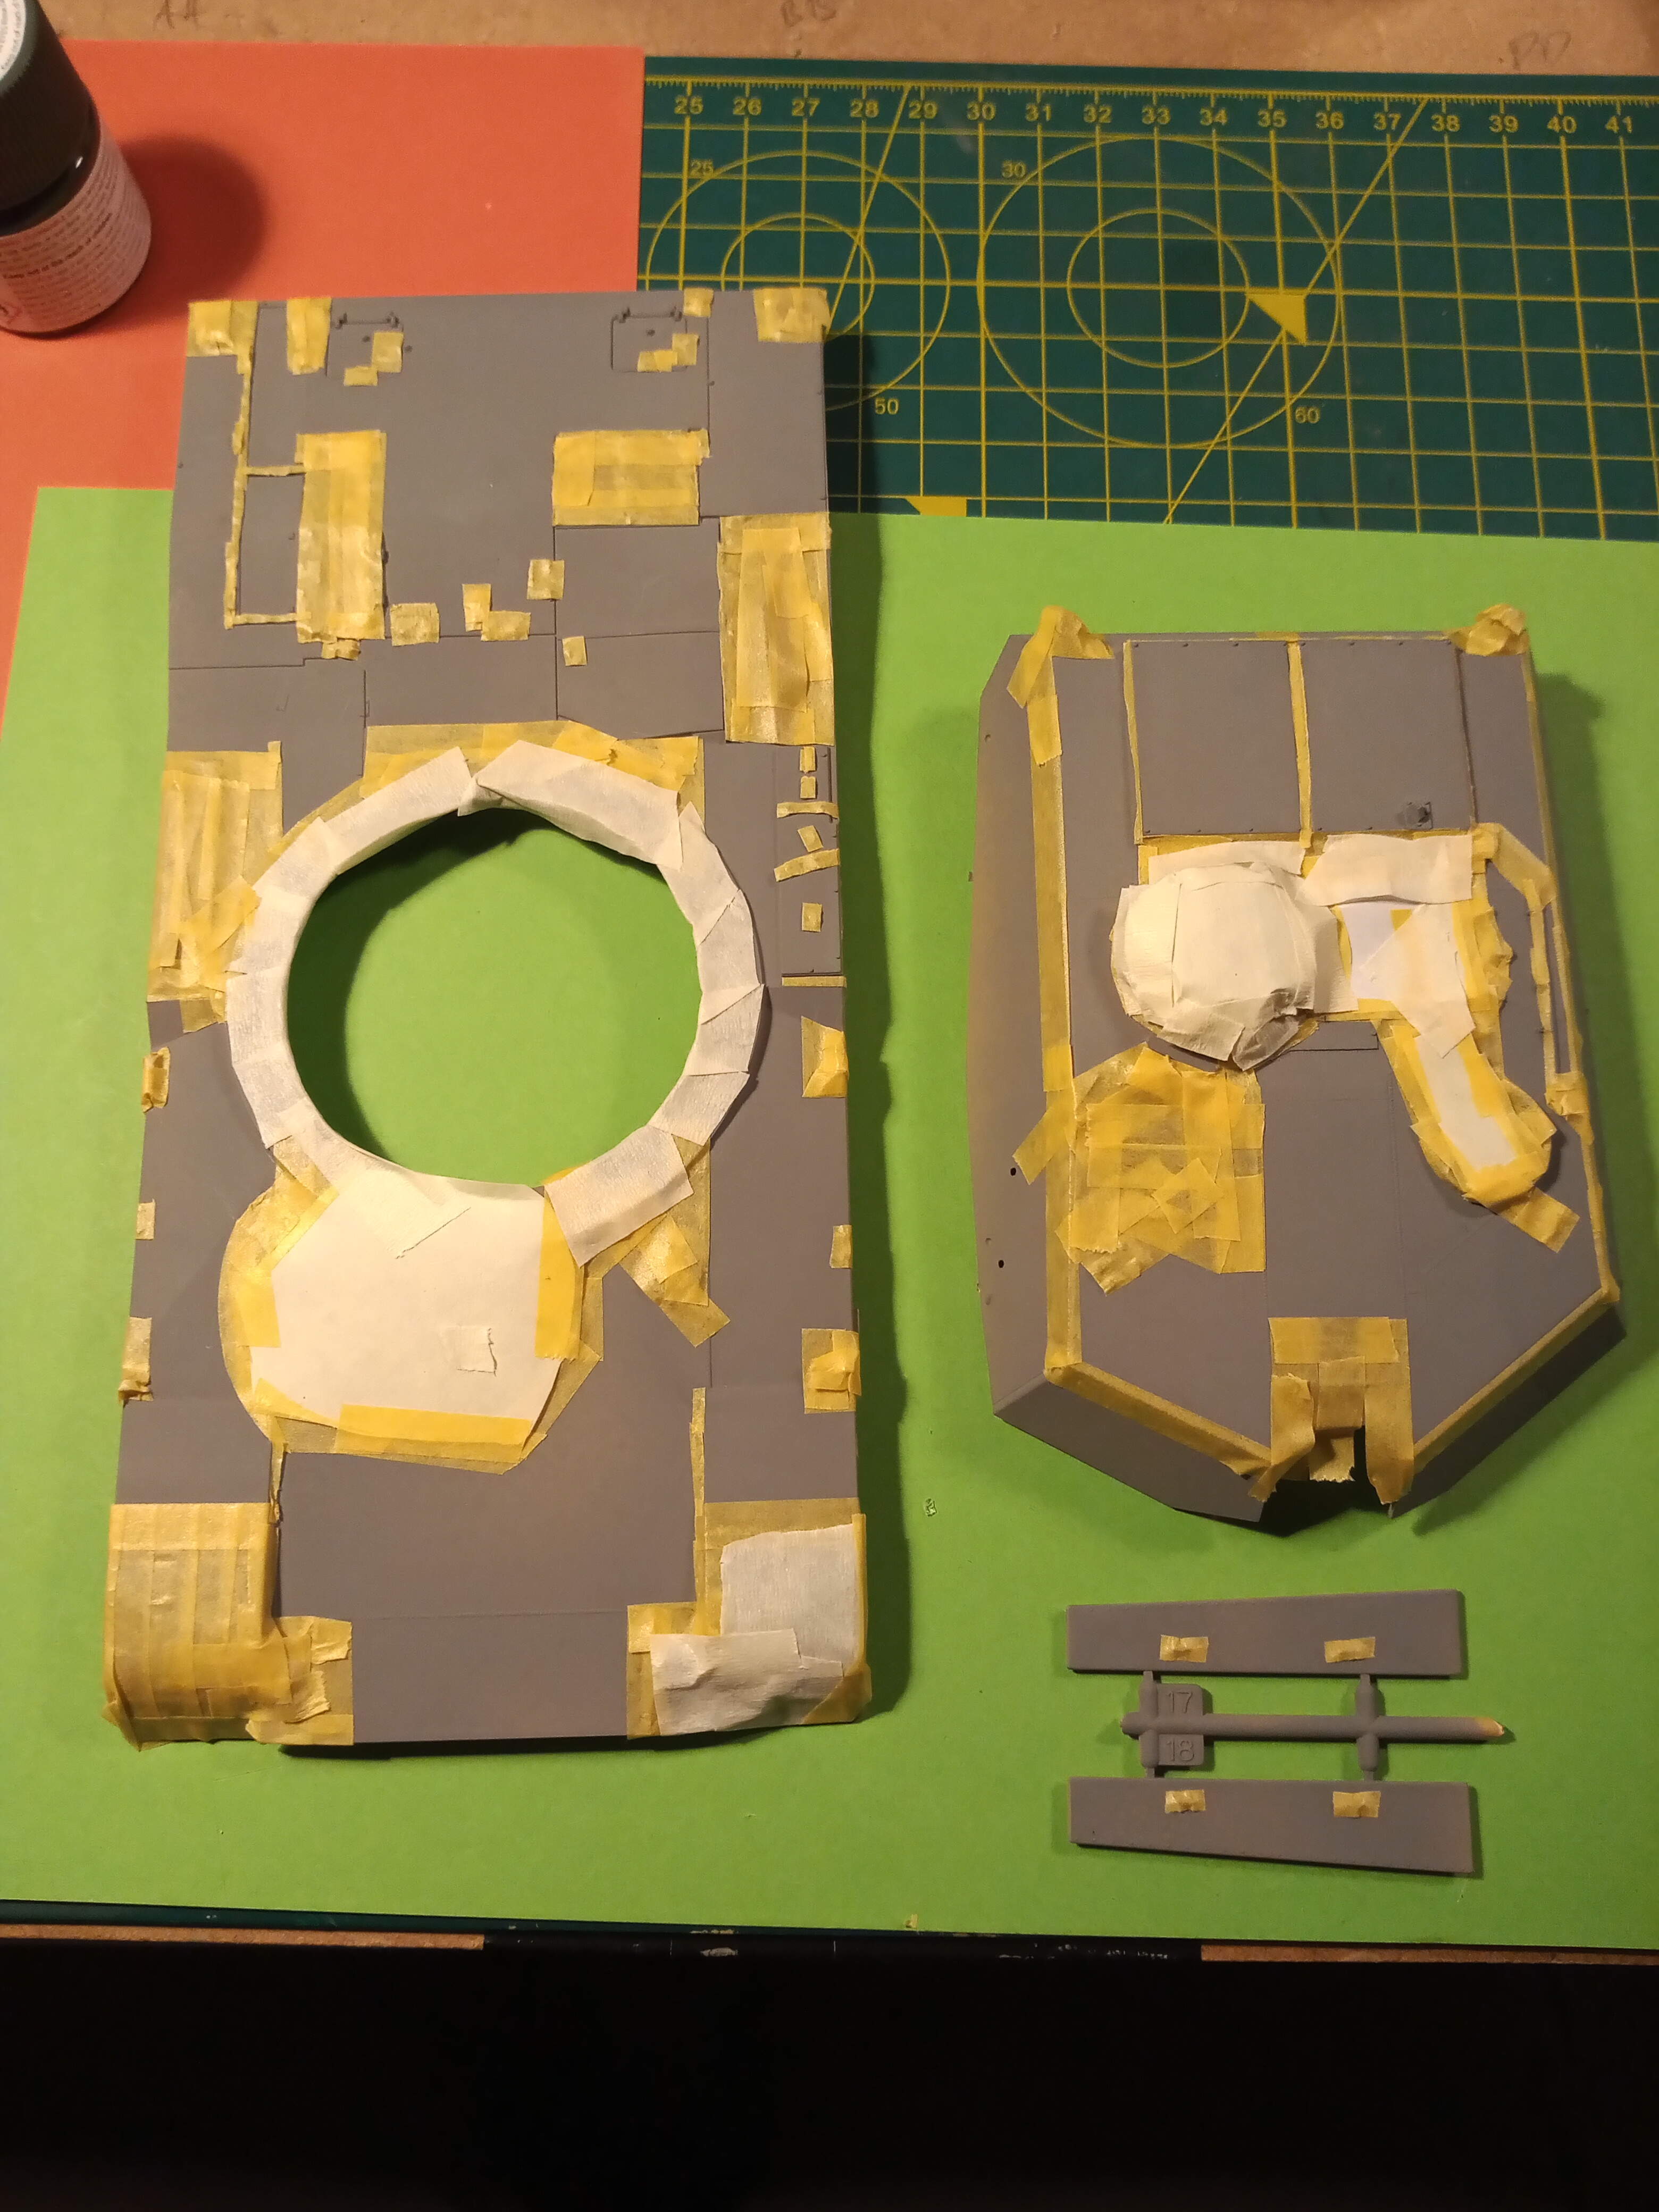
I didn’t think that would ever end. Thankfully I won’t be doing that again… Wait a minute, I have that M1A2 SEP 2 for later this year… Damn it 
7 Likes
Hi Ezra,
The real color ak paints need their own thinner, or a lacquer thinner, be it mr color levelling, tamiya yellow/orange cap, and I know others use generic lacquer thinner too. I think they claimed they were compatible with x20a when they first came out, but that is certainly not the case now.
Hope that helps. J.
1 Like
You might want to tape the front and side of the turret given your using a spray bomb to prevent against overspray.
Depending on the kit, it may already have non skid.
1 Like
Thanks Ryan, I remembered to do it just prior to spraying.
The other M1 kit, A2 SEP2 is the RFM kit.
I just checked and it is textured, sort of, but it’s more of a cast look that the anti slip, so it may need doing after all.
I have done this M1 now and will do some pictures in a mo hopefully showing the anti slip 
2 Likes
Update. First few pics are with the mask still on. Before I did it for real, I did a test on the Tiger hull to see how it sprayed etc. Boy am I glad I did… On the first spray the pressure it comes out at is crazy… It was a massive burst, so from that decided it was easier to spray and then move the parts through the spray as I could control that way easier.
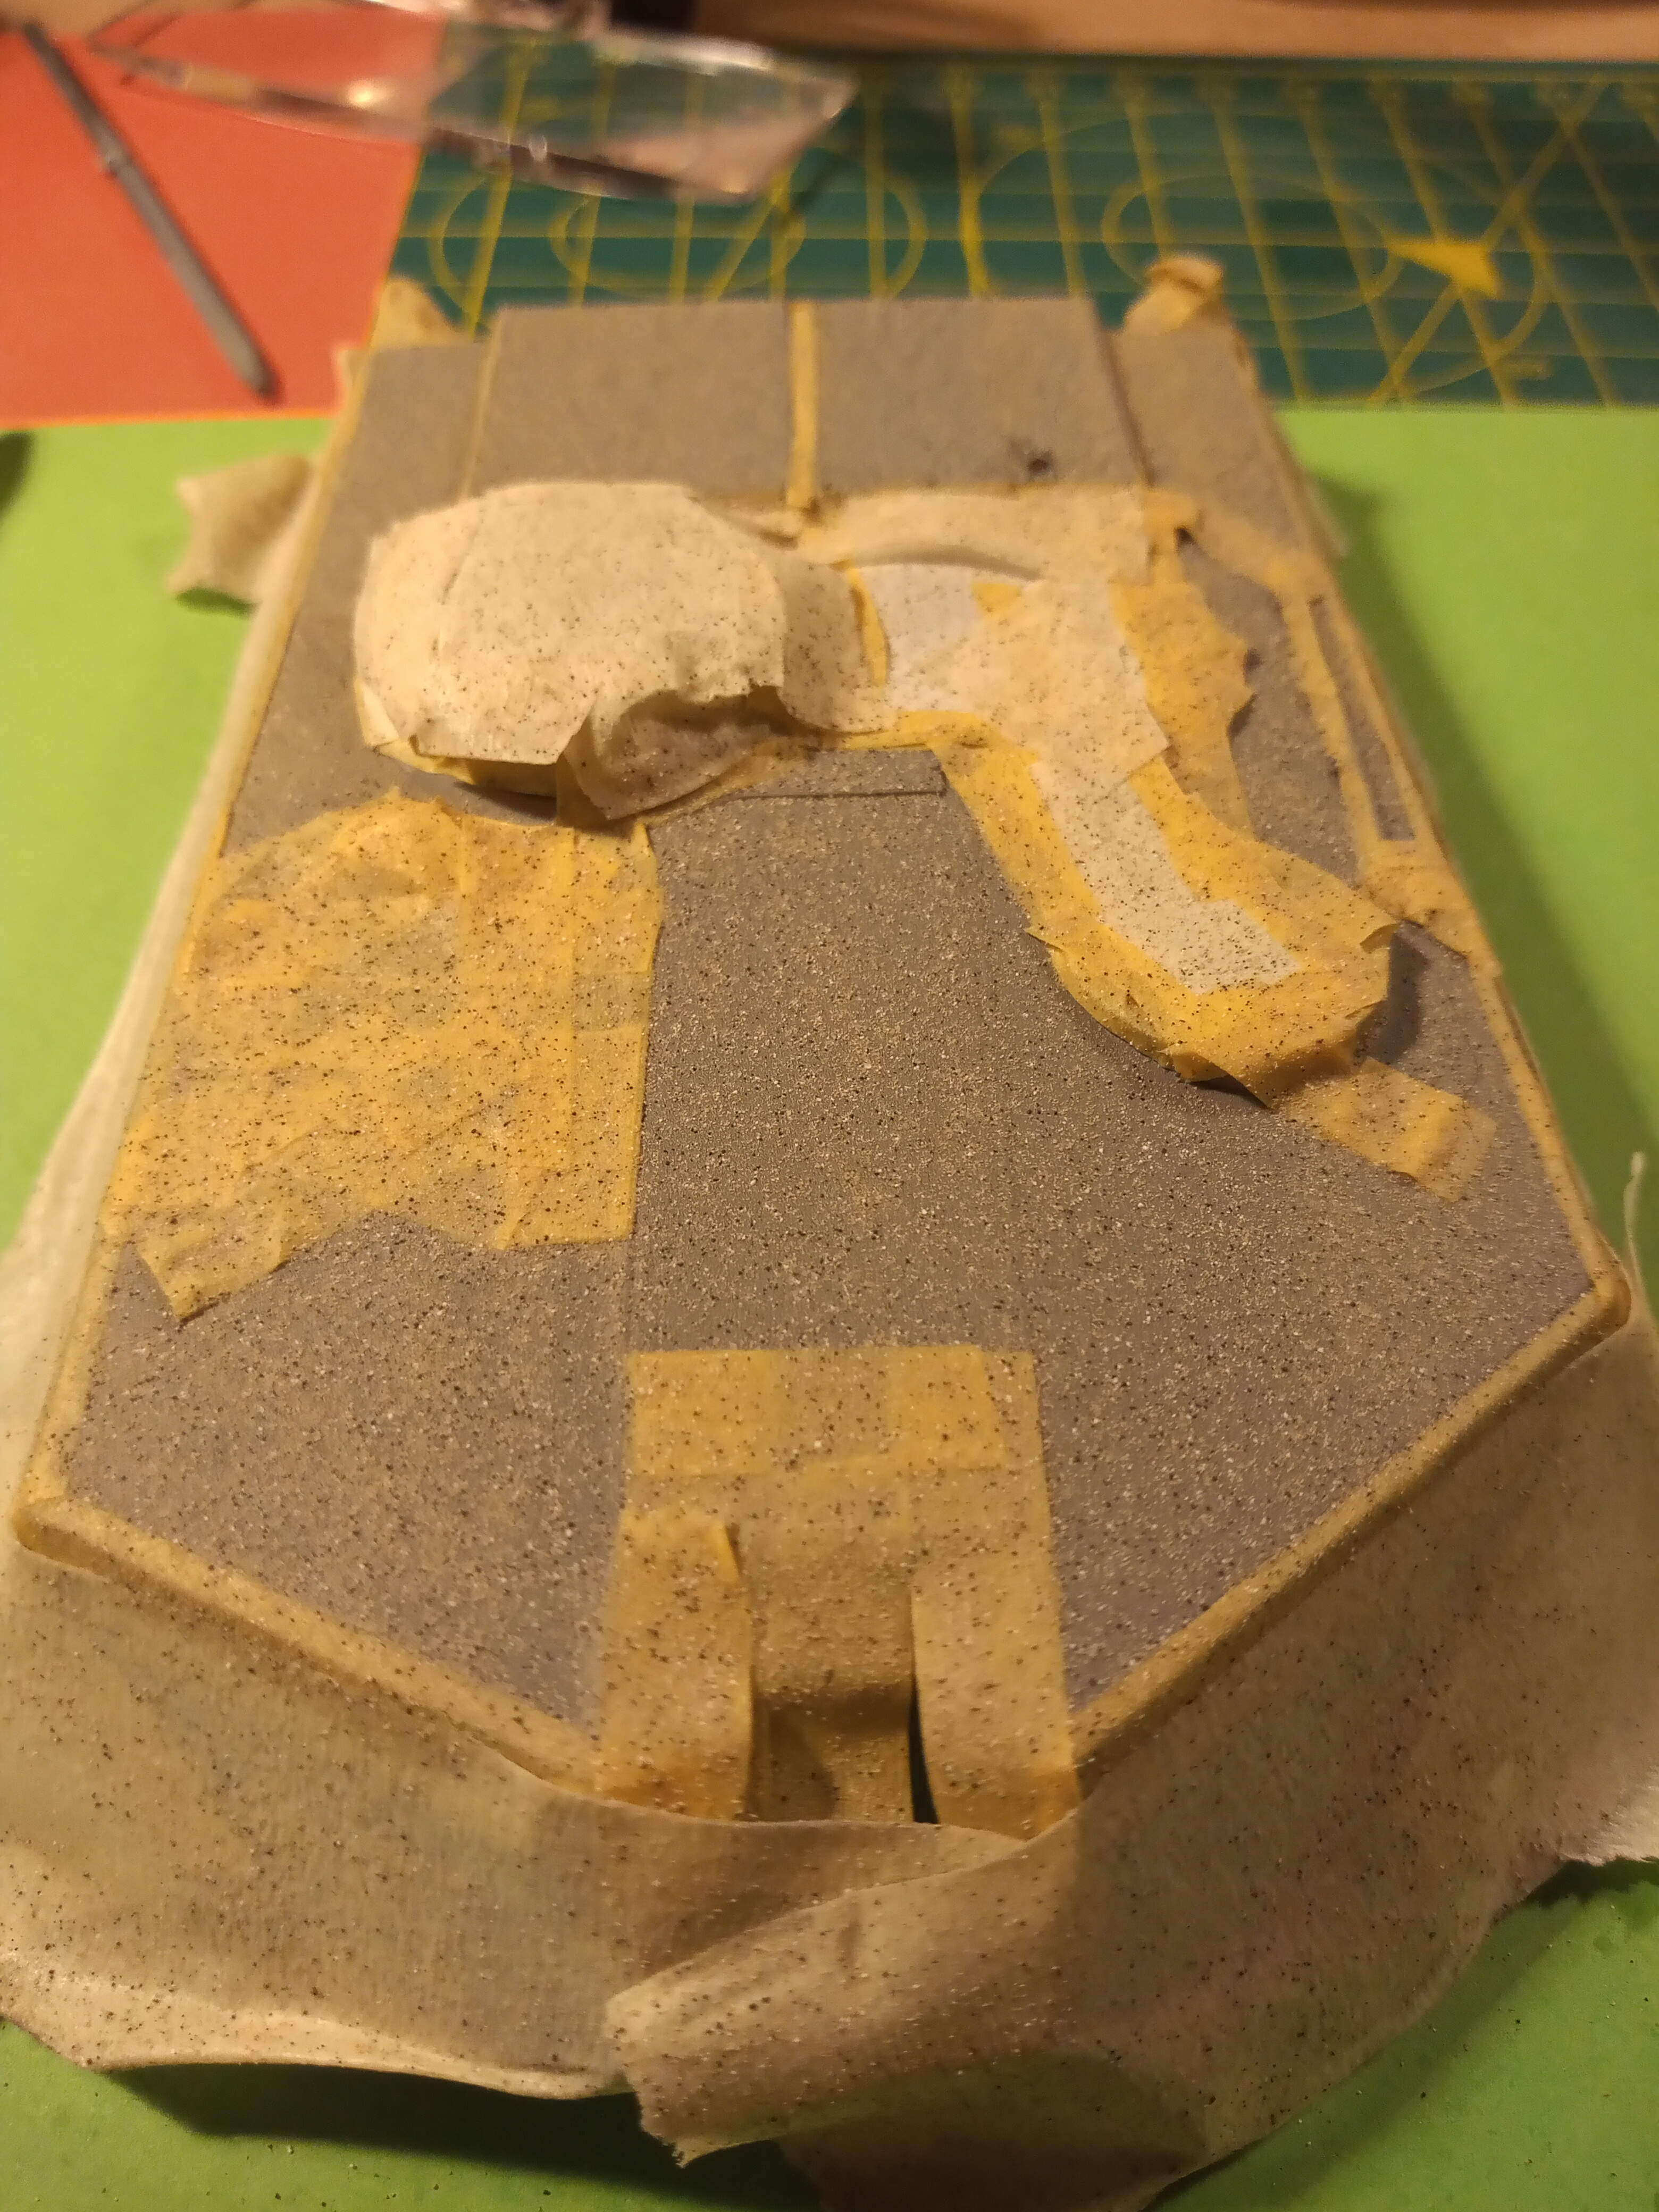
Next one is a close up of the texture. I really like it, and when you think of 1/35 scale, I would say it’s pretty close to perfect.
I was going to do 2 sprays but I think that will over do it and it will become over textured if that makes sense.
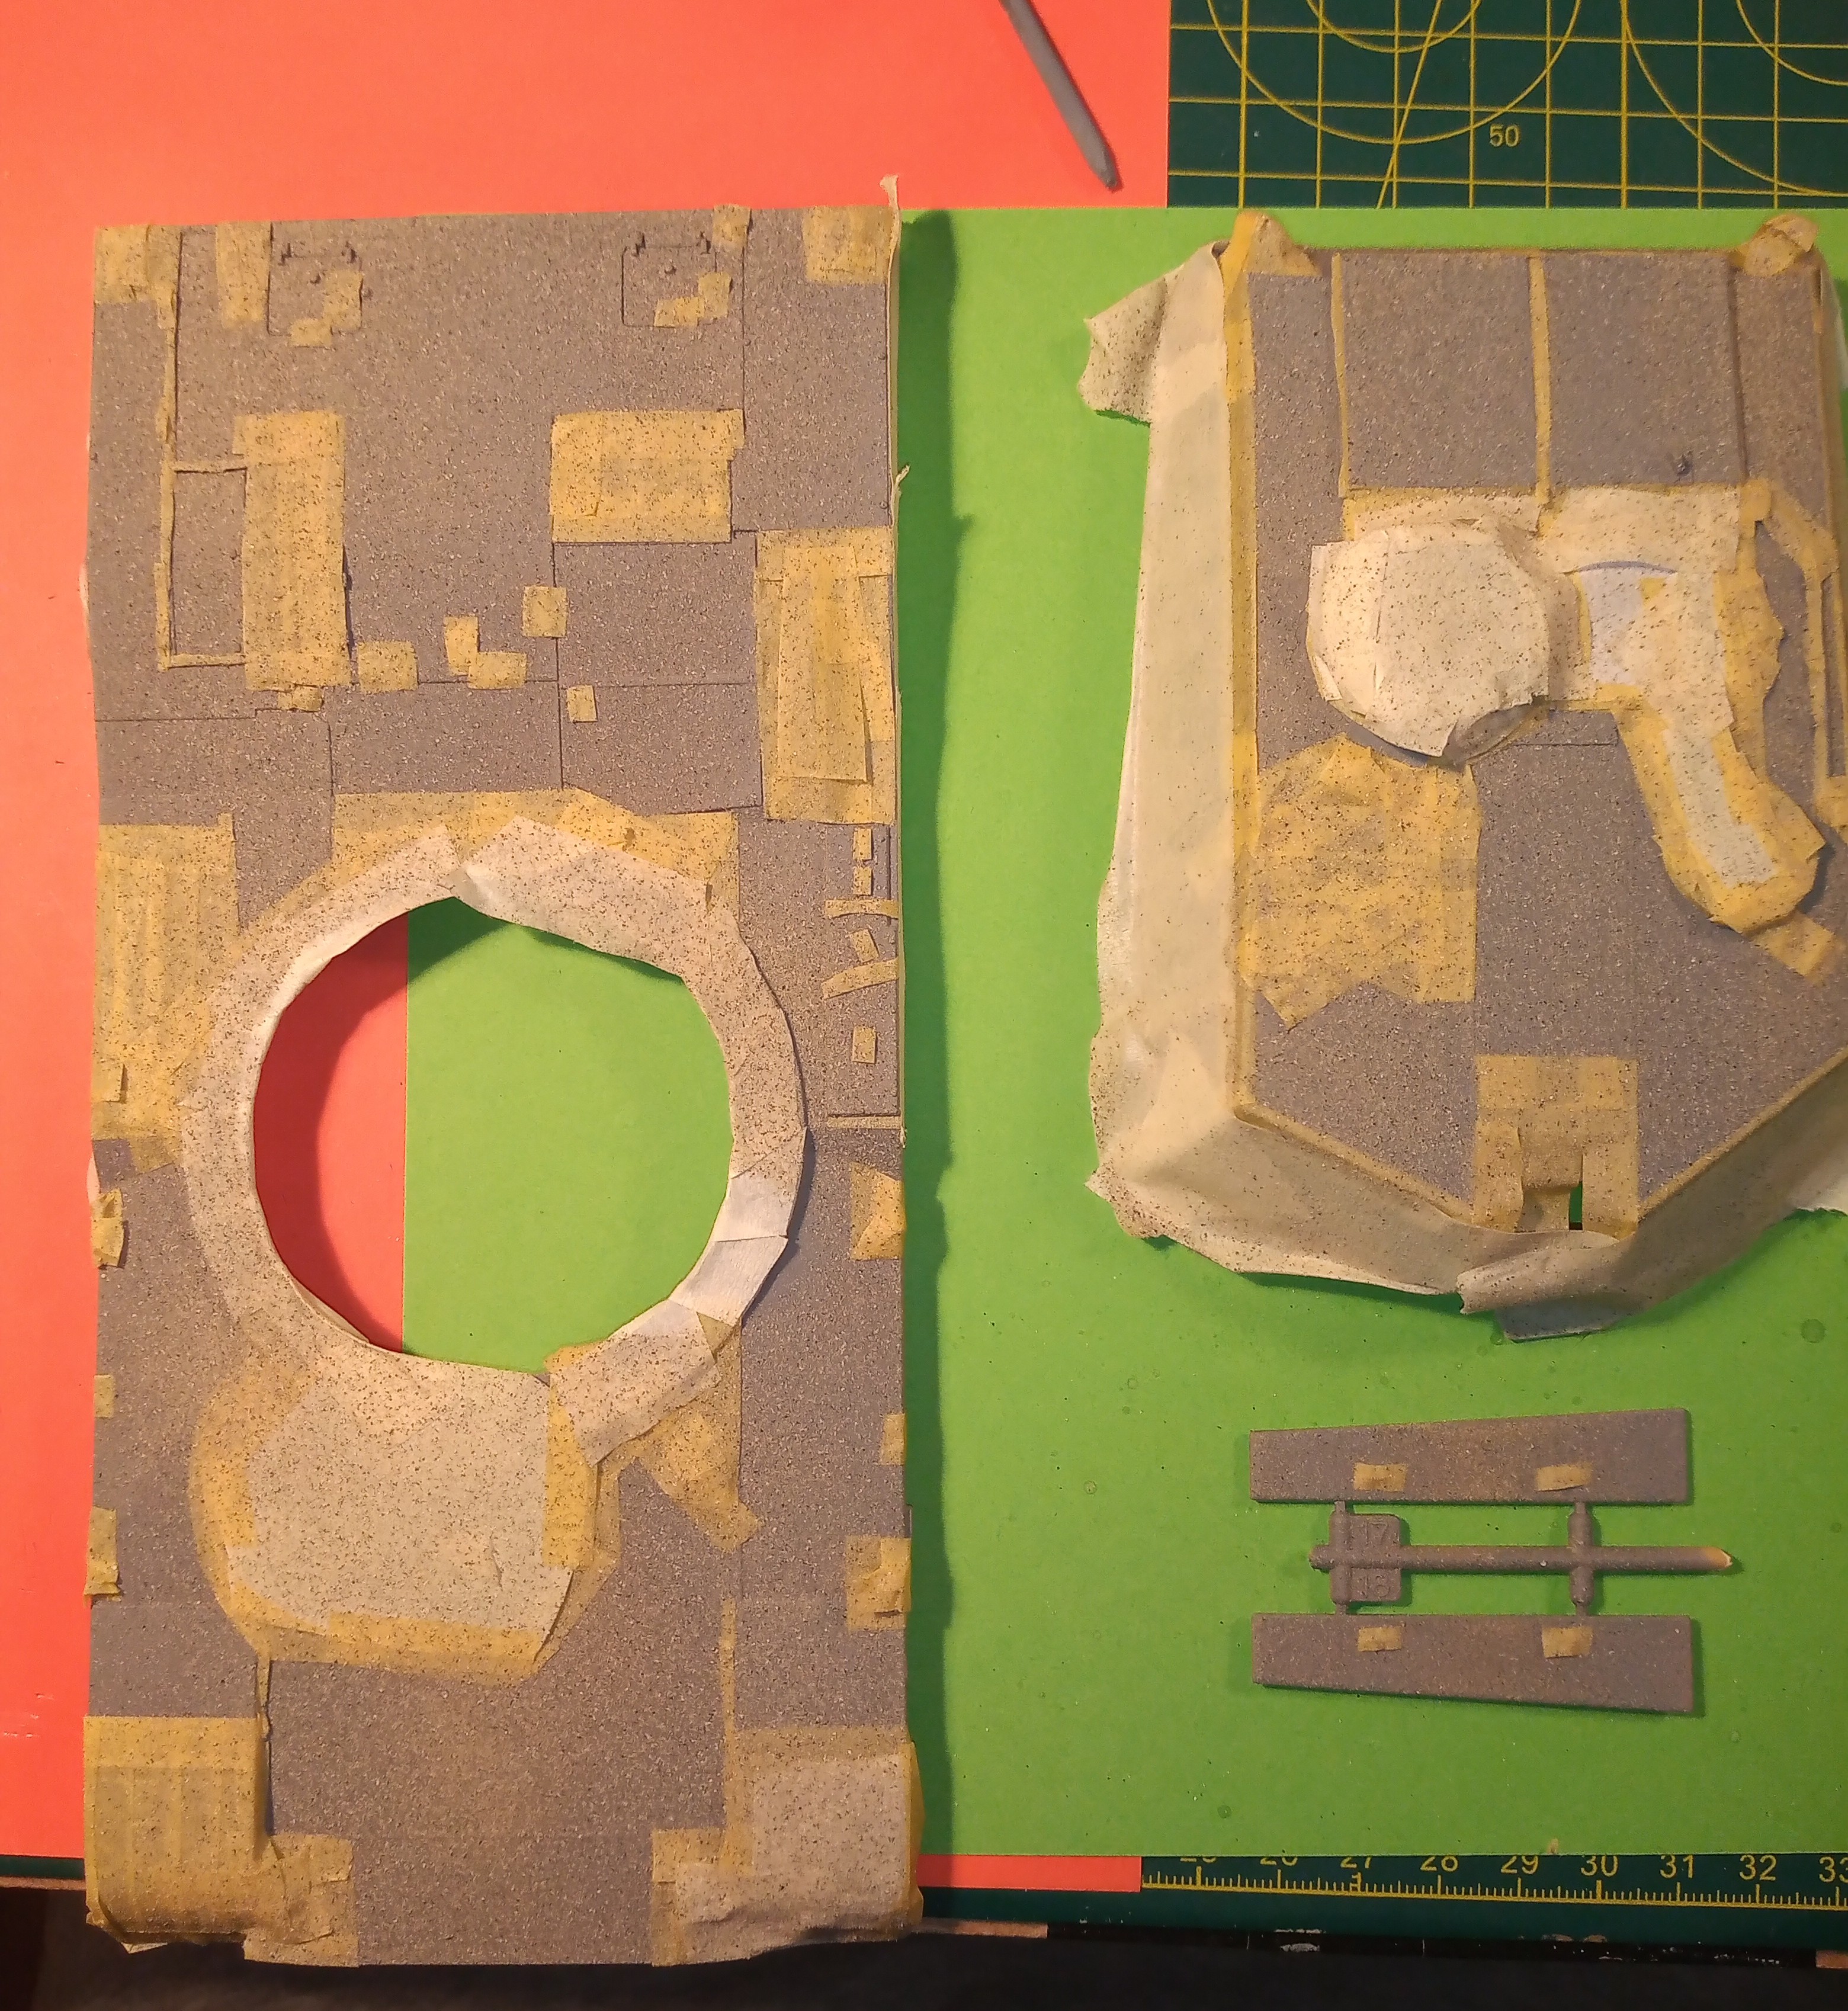
Next few are with masking tape removed.
And final 3 of just various areas in a bit more close up.

There are few little areas that need cleaning from overspray ( commonly known as bad masking lol).
Overall, very happy with the end result.
And this cans colour finish is quite nice as well.
6 Likes
Very nice. It came out looking great. Like I said, it looks just right to me as well.
1 Like
Thanks for that Gino, with your knowledge it means a lot. And also without the template you posted it would of been impossible… So thanks for that and the steer onto Rust-oleum. It is worth the money and I would highly recommend it for anti slip…
Looks good now and better under paint.
1 Like
You are supposed to eat the Weetbix John, not stick them on the model… 
Seriously though, that effect looks brilliant. You made the right choices clearly. I need to see if I can buy the paint over here…
@Panzer_modeler I know exactly what you mean concerning the globs when using AK real color. I had the same issue, until I used their own real color thinner. If you use the real color thinner, it sprays like a charm and it is often my go to paint type.
I do make sure that I spray out the cup in the airbrush and then spray through some straight real color thinner, otherwise cleaning the airbrush after use is a pain. But when sprayed through with some thinner, no problems at all.
1 Like
If you can Peter I would seriously recommend getting it. I know there are probably alternative products, but I can’t see a fault with it … And the can I got will in all probability be the only can I ever need. Once it has the paint on it, it will blend right in.
As I said before it also comes in a shade around about olive drab/green / forest green.
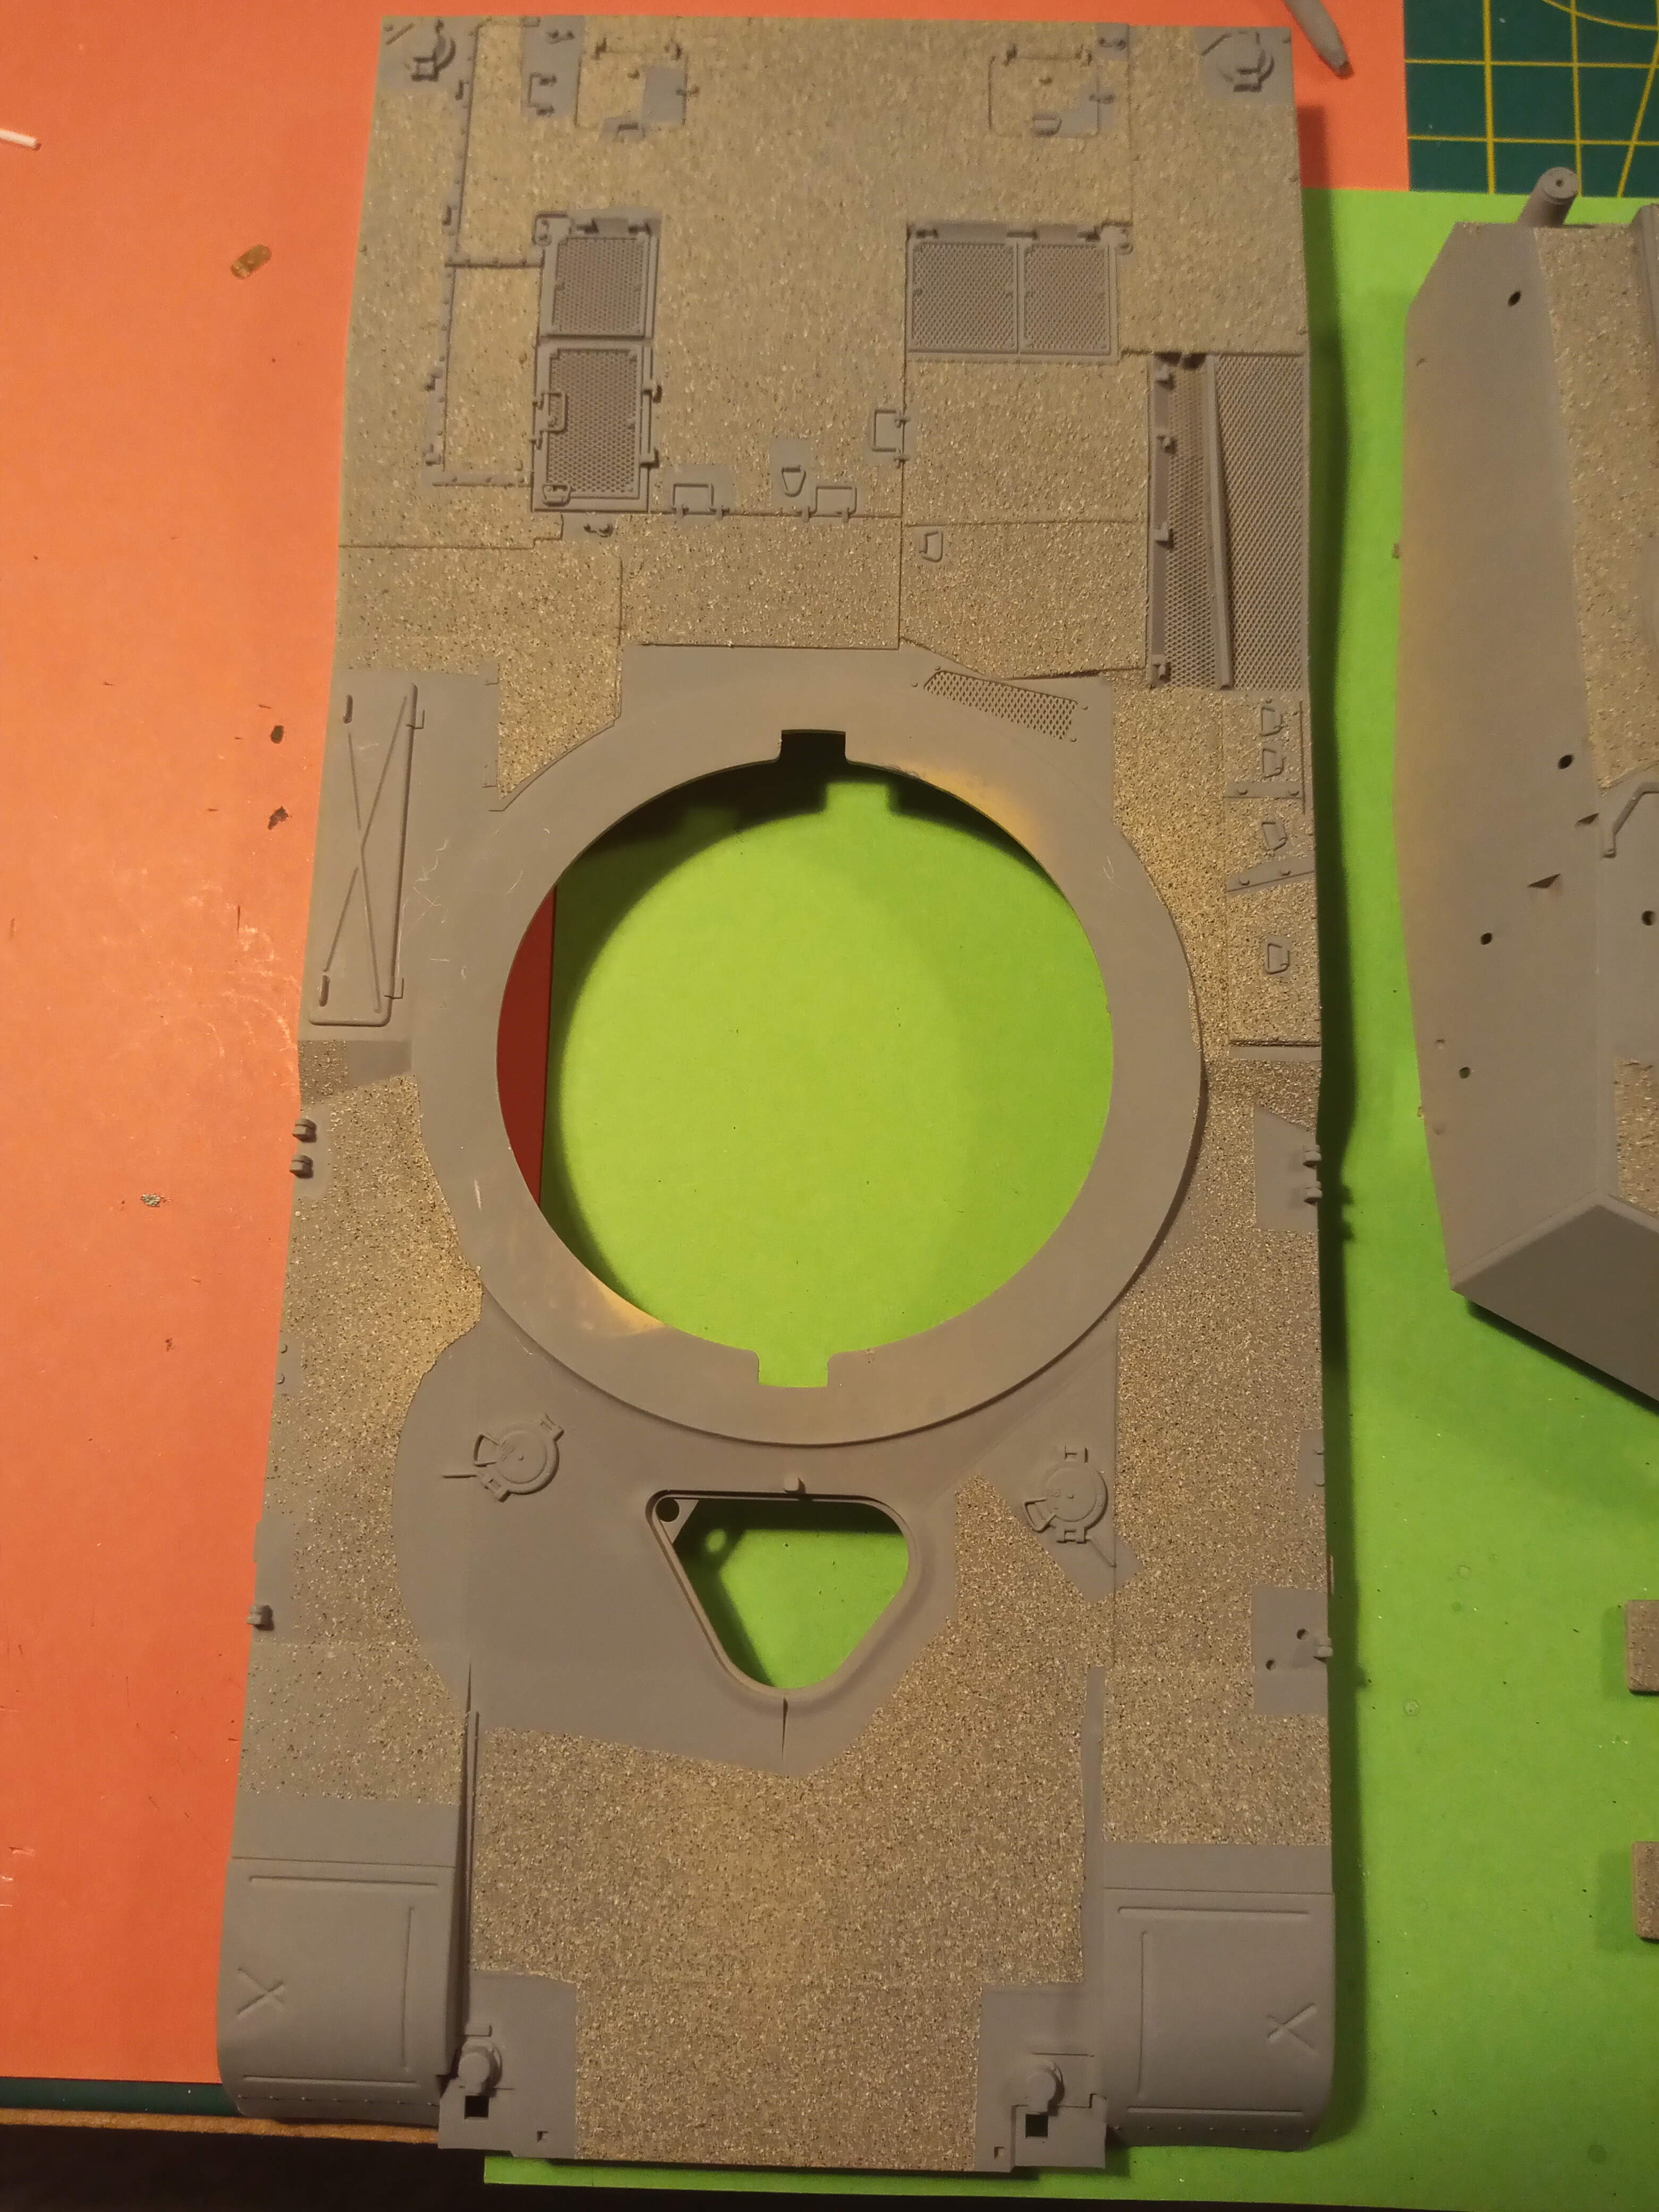
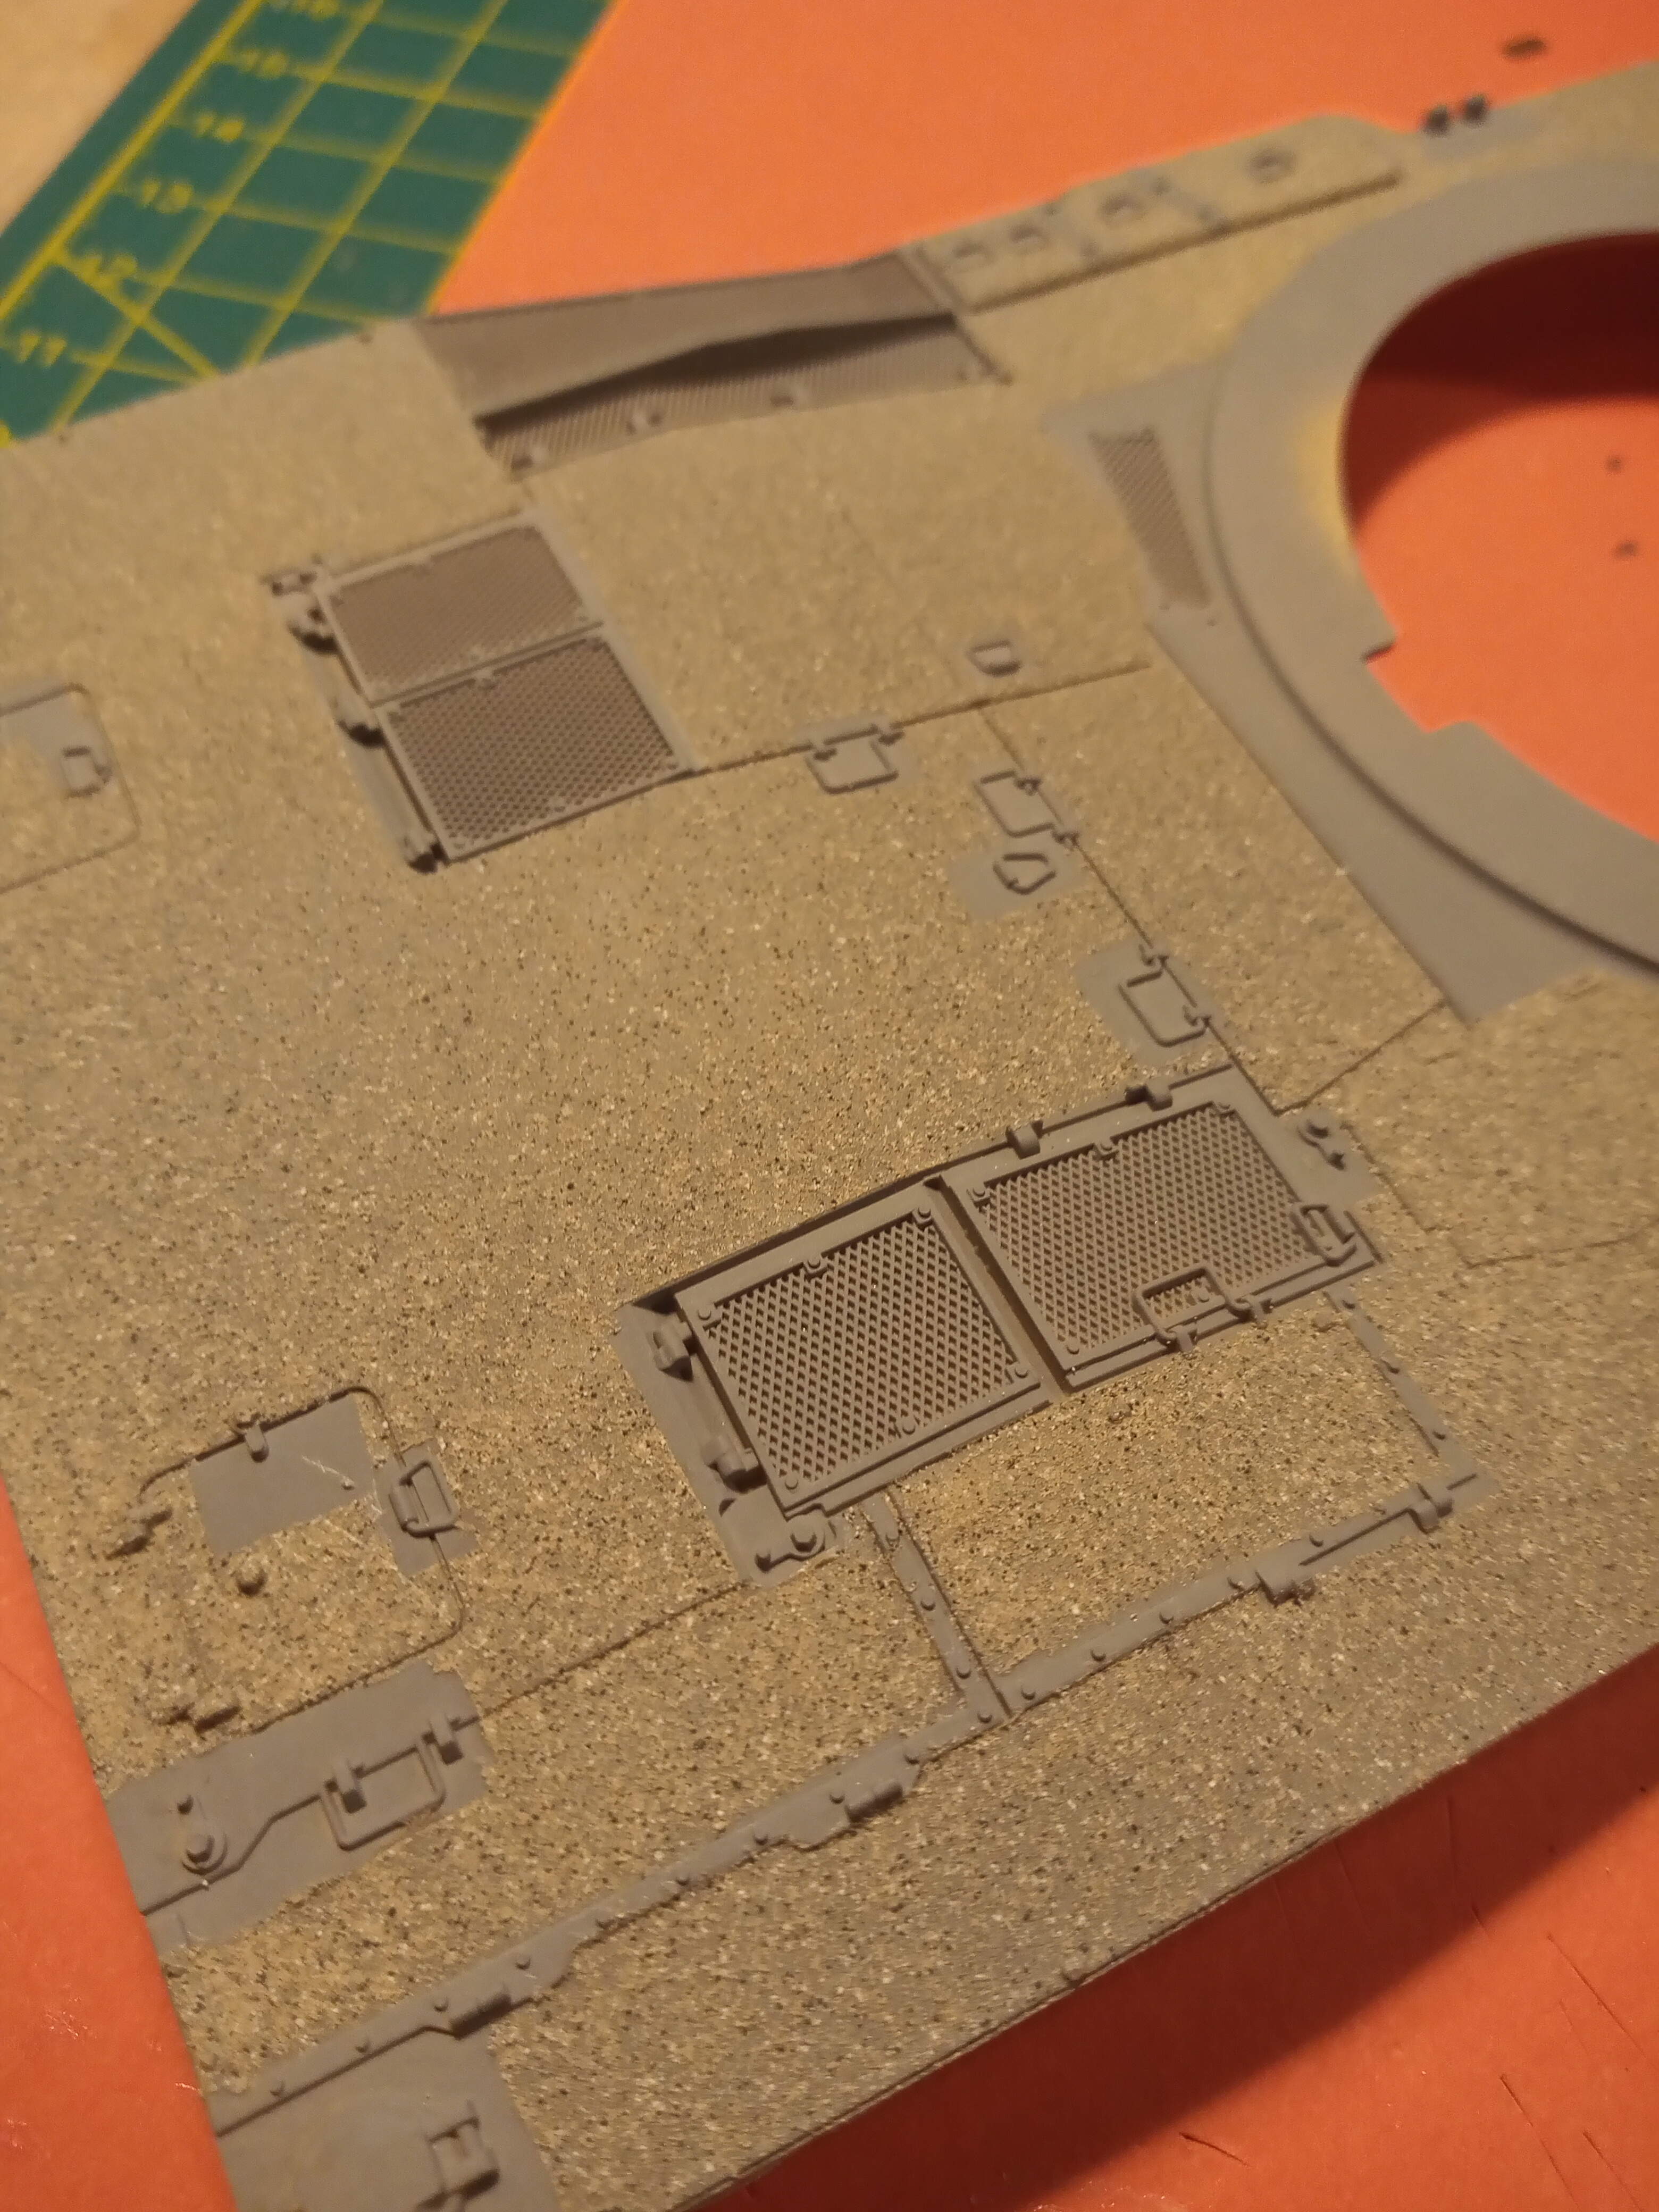
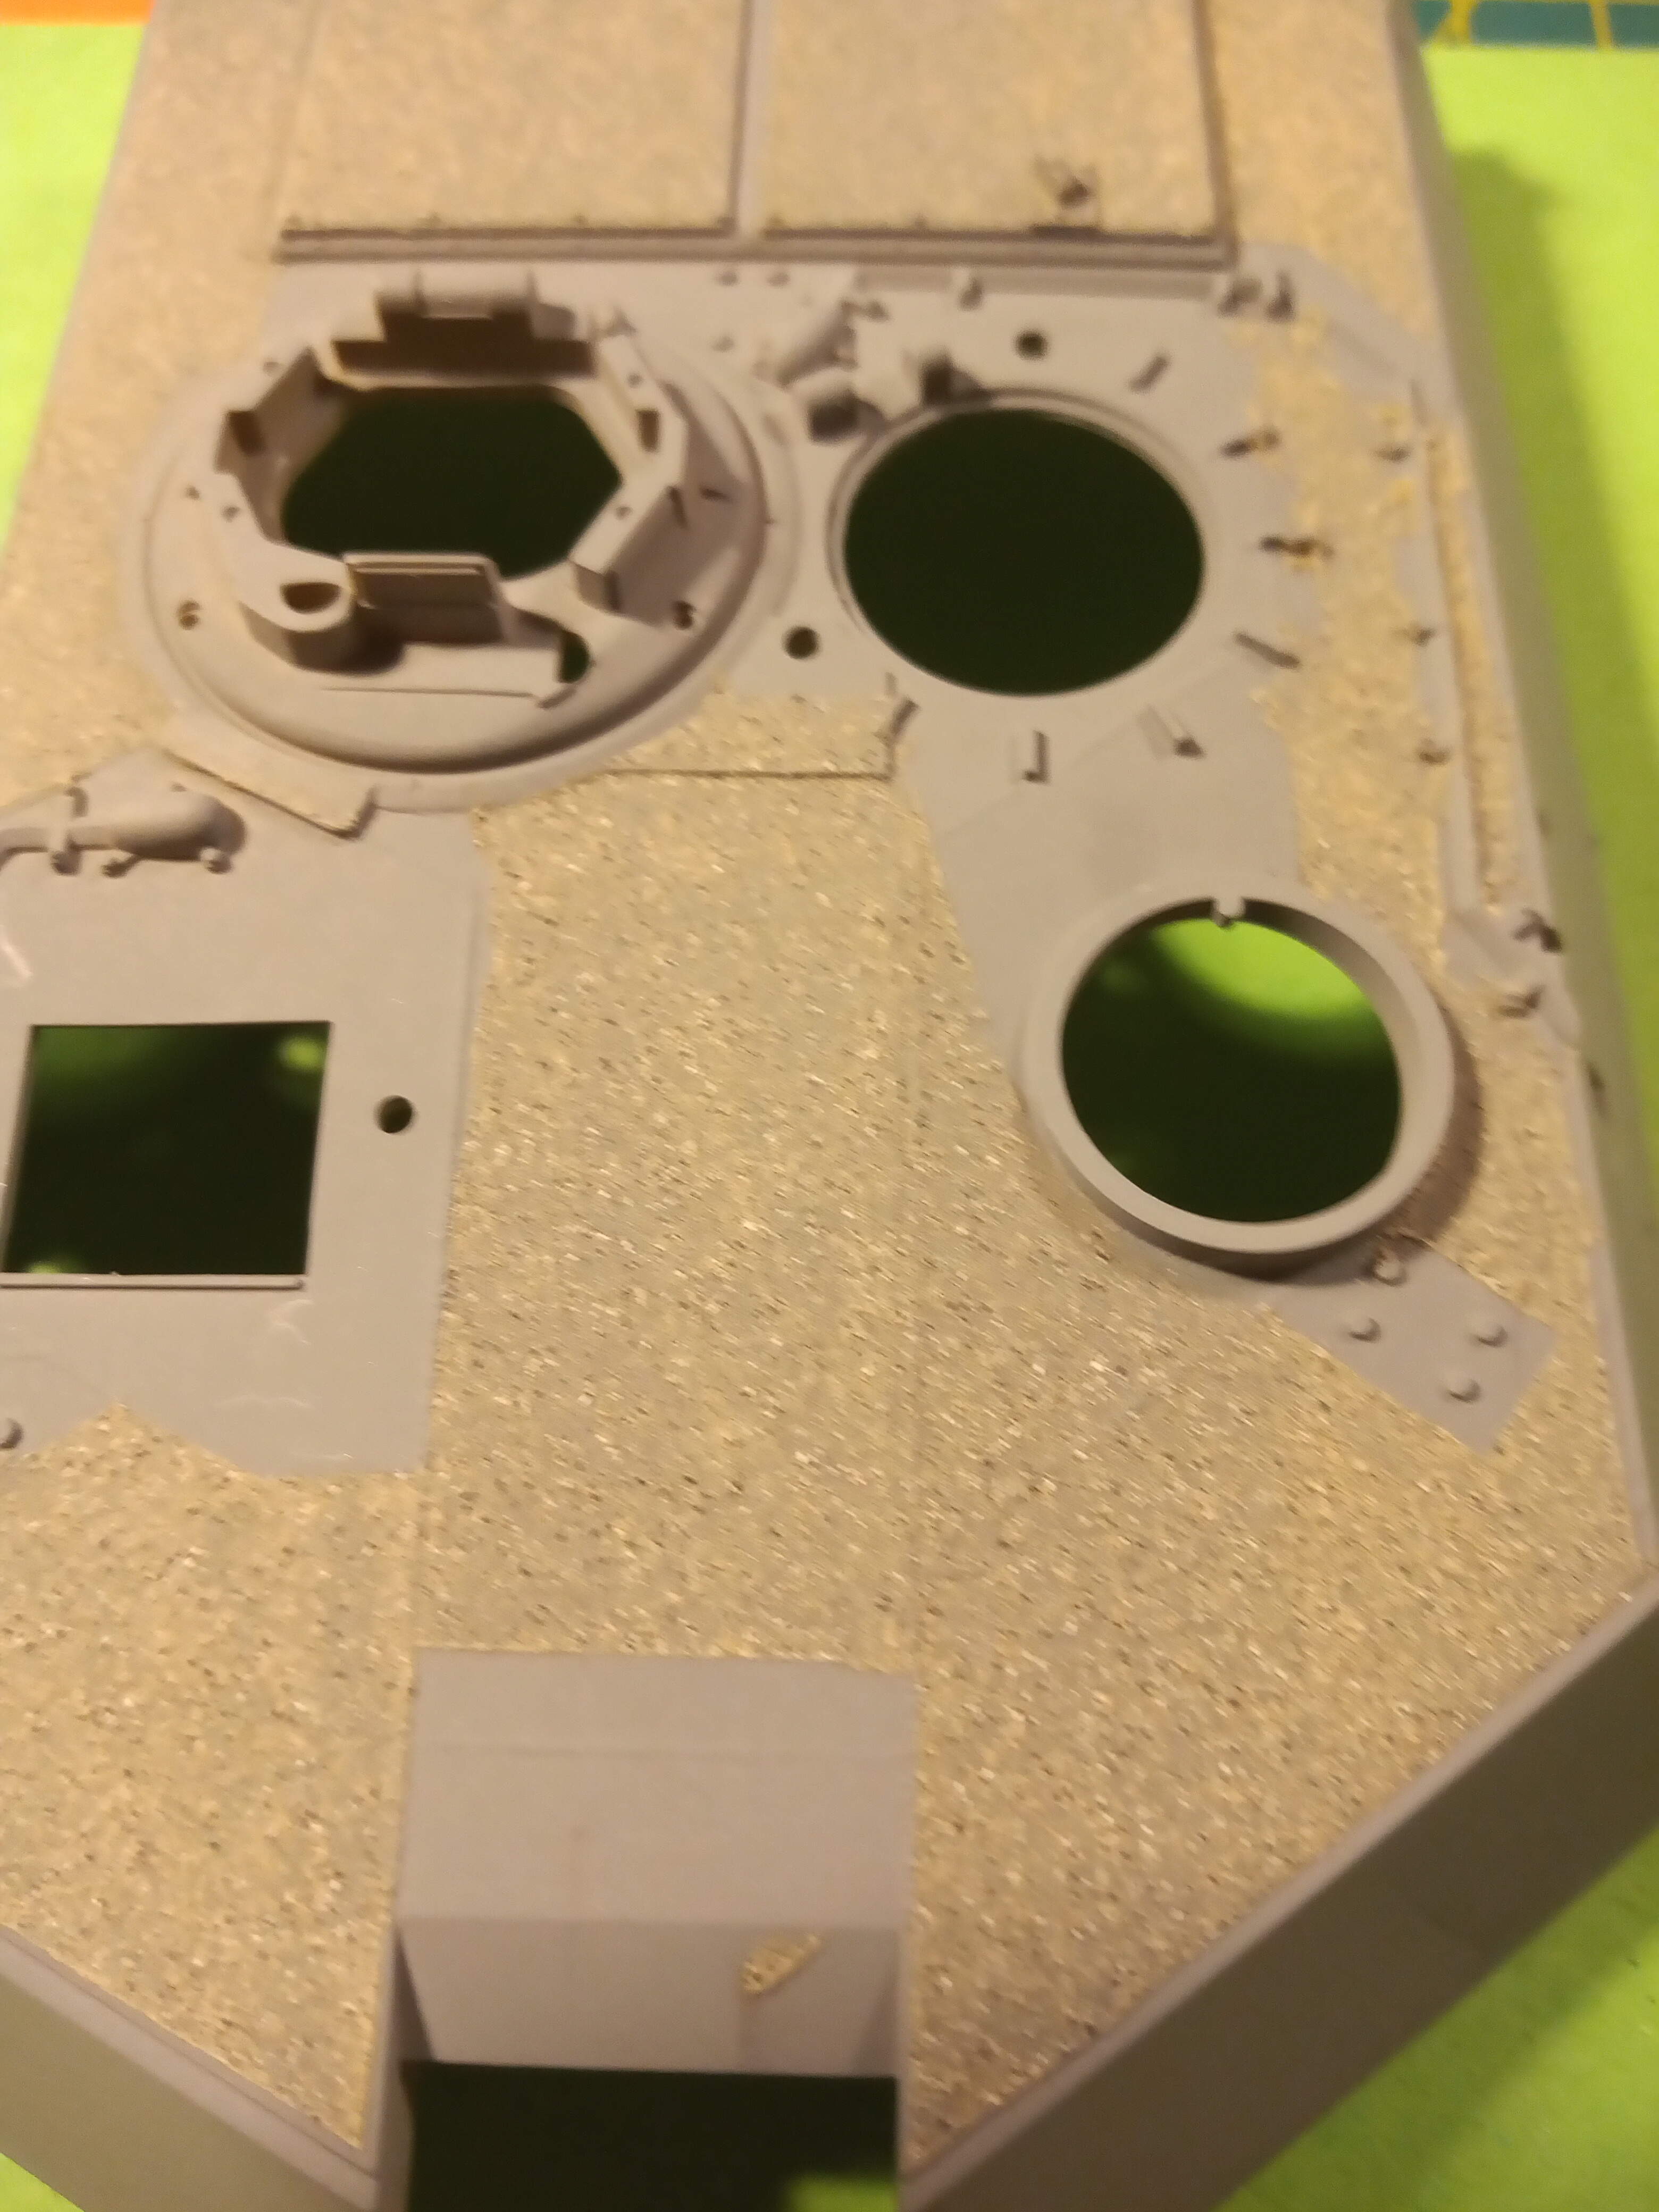
just a quick update, i have glued the upper and lower hull sections together as you can see in the picture below:
I have started on the main weapon and the searchlight thing to the right of it which has a few sink marks in it which i have filled with perfect putty.
7 Likes
Love the anti slip John!
Looking good so far David!
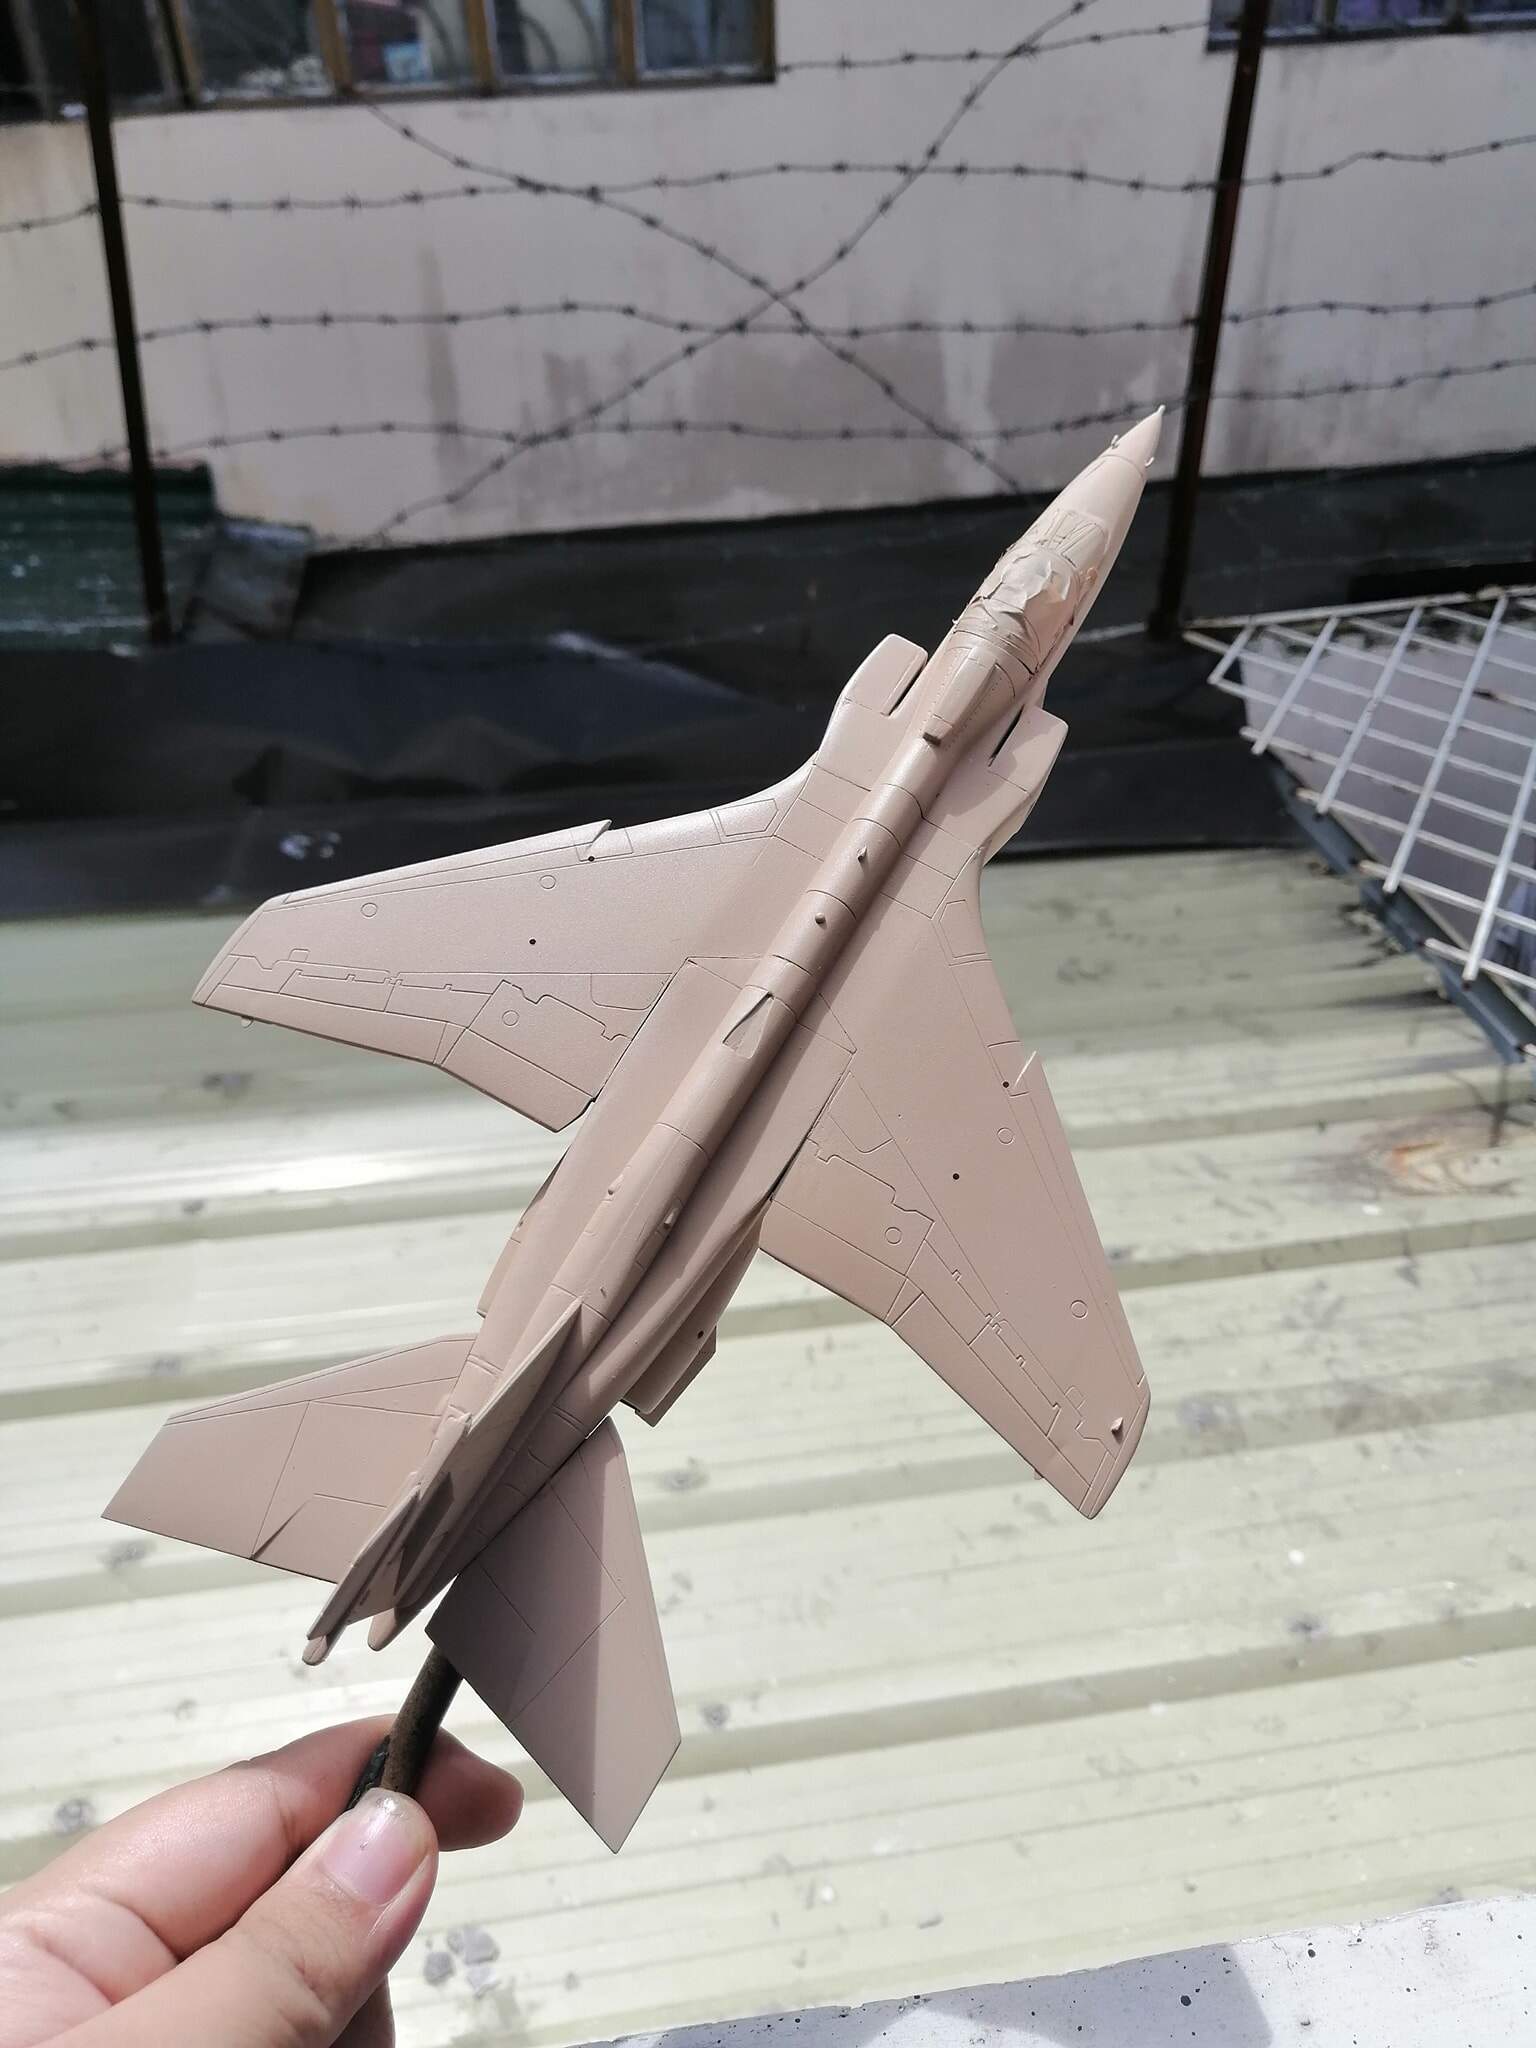
My Model Master Desert pink arrived today so I will be painting the Tornado soon.
1 Like
Update time.
Hull has been built up. It went together really well with no issues to speak of beyond filling in some holes used in the Nato version.

The tank does have open sponsions however once the side skirts and tracks are on you wont really be able to see anything so I didn’t cover them up as I would do on say a Tamiya M4A3.
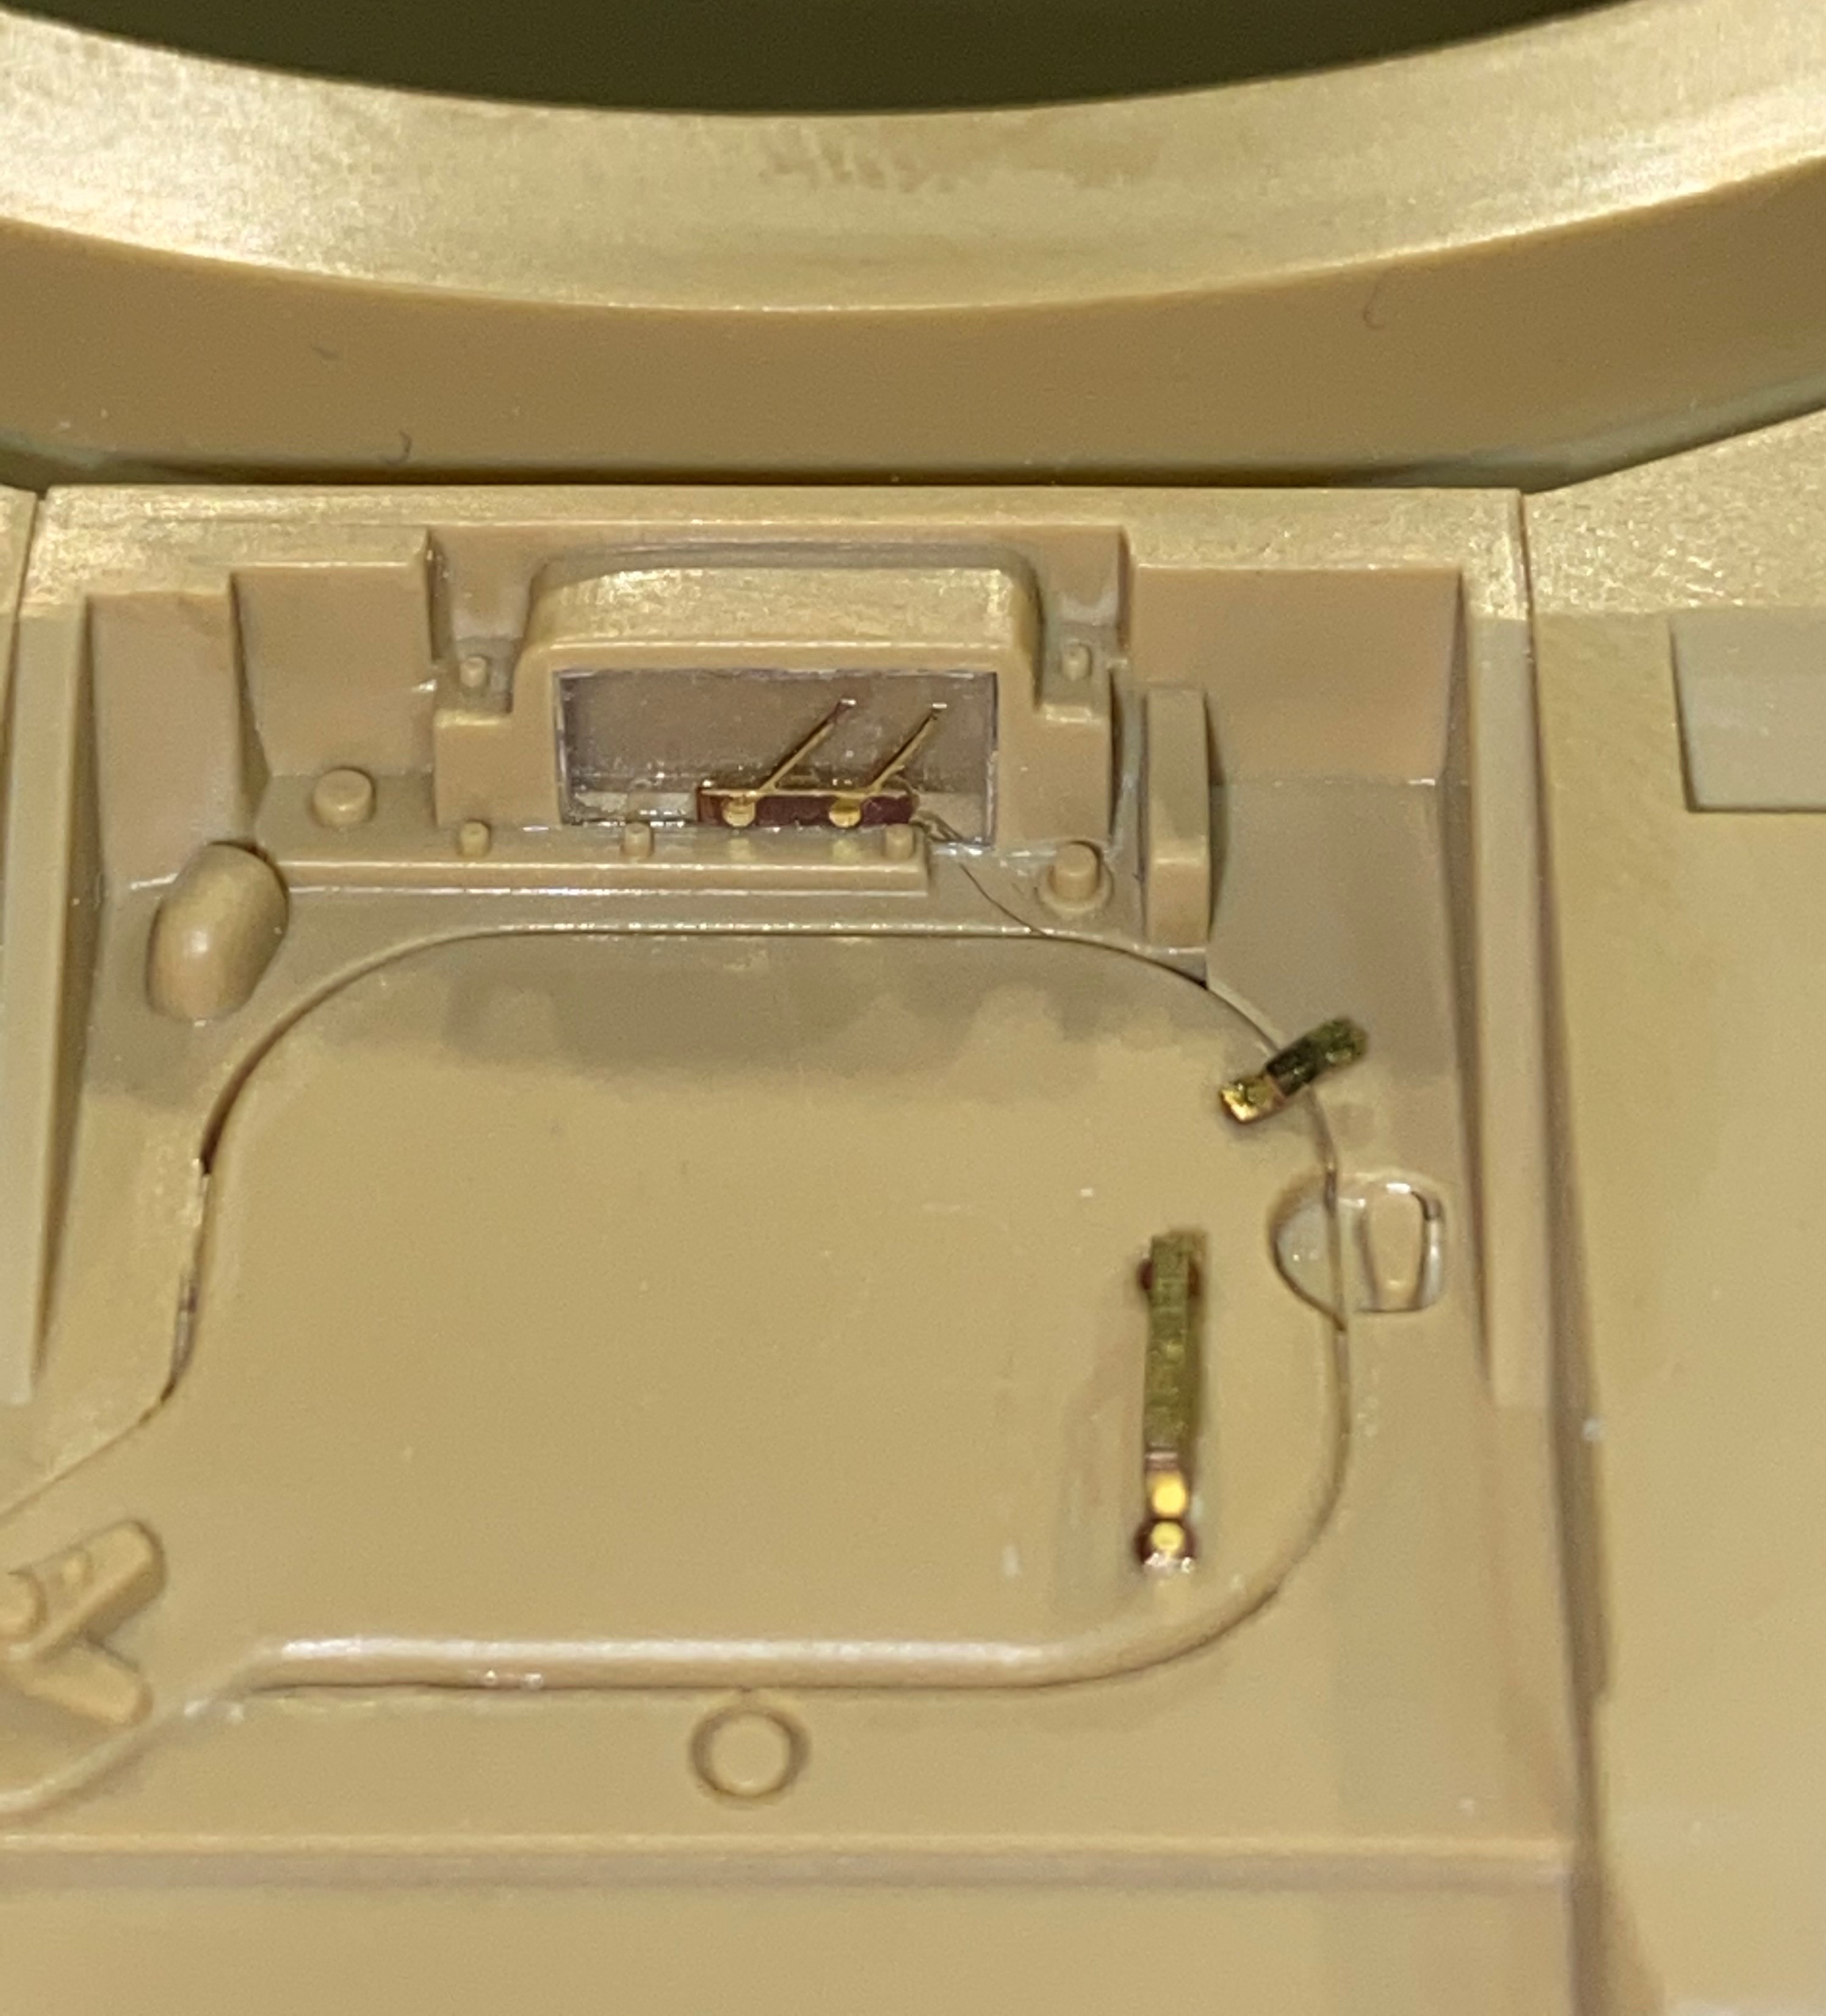
The detail on the kit is pretty good. I am only using the PE set because it came with the kit when I got it off ebay. I am being fairly sparing with it, only using it to enhance detail or add whats missing.
Example: The fuel caps saying Fuel and tool brackets.
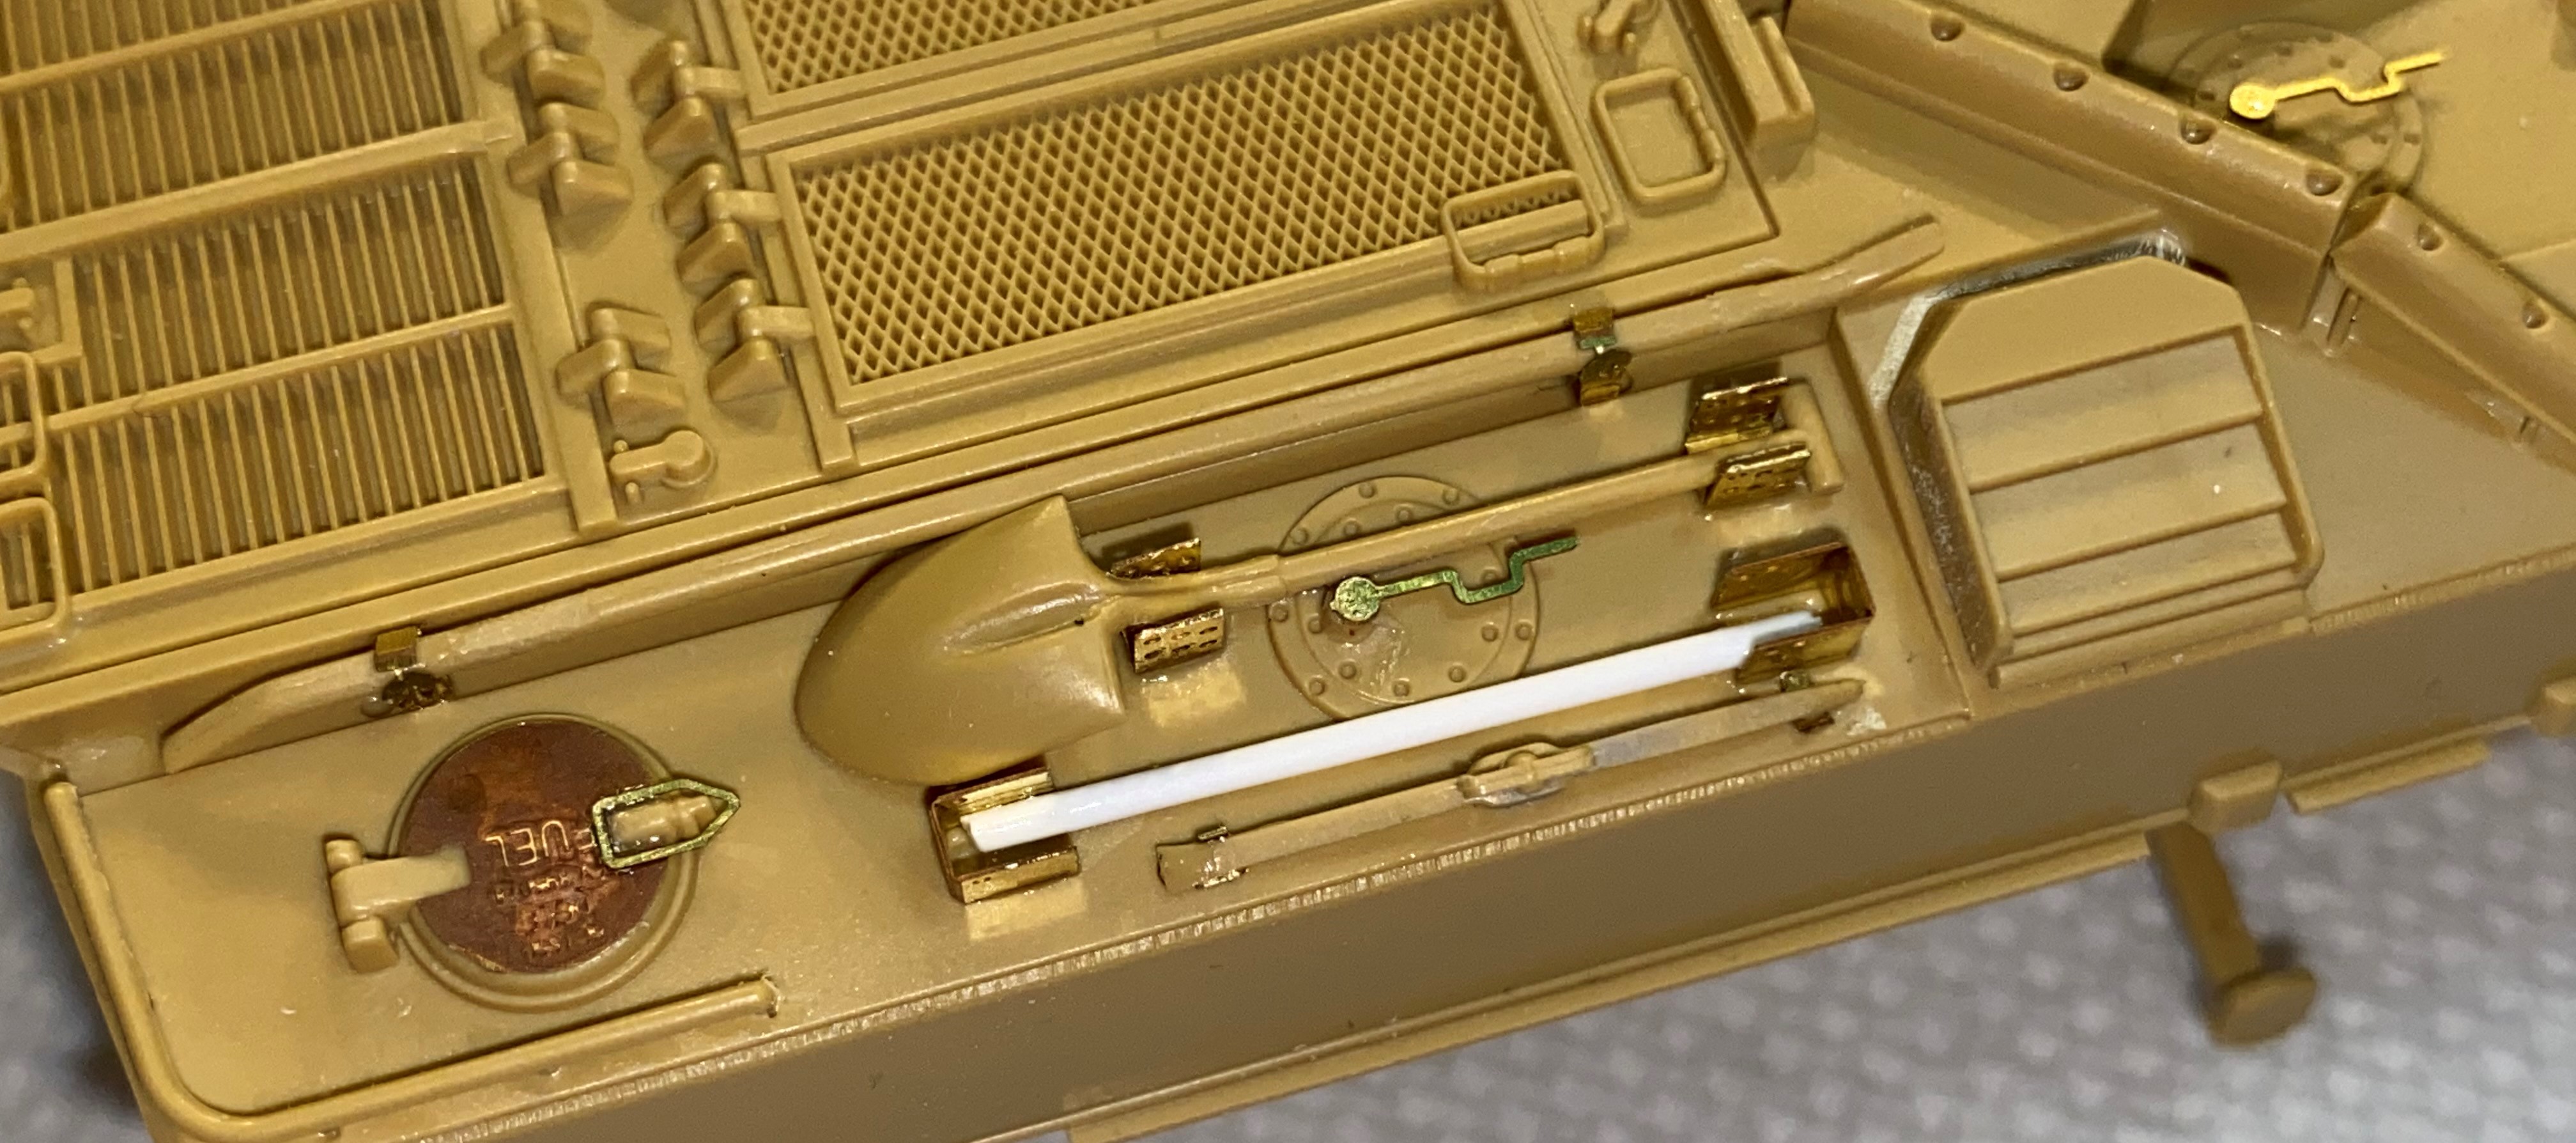
Drivers persicope windscreen wipers.
8 Likes
Looking great Rory!
I’ve finished painting and am currently decaling the Tornado. Pictures tomorrow.
1 Like
I just read in a Fine scale magazine that the Tornados fuel tanks were painted in country, does anyone know what a good match would be to this? Valdo Jovic used pale sand, is this a good color?
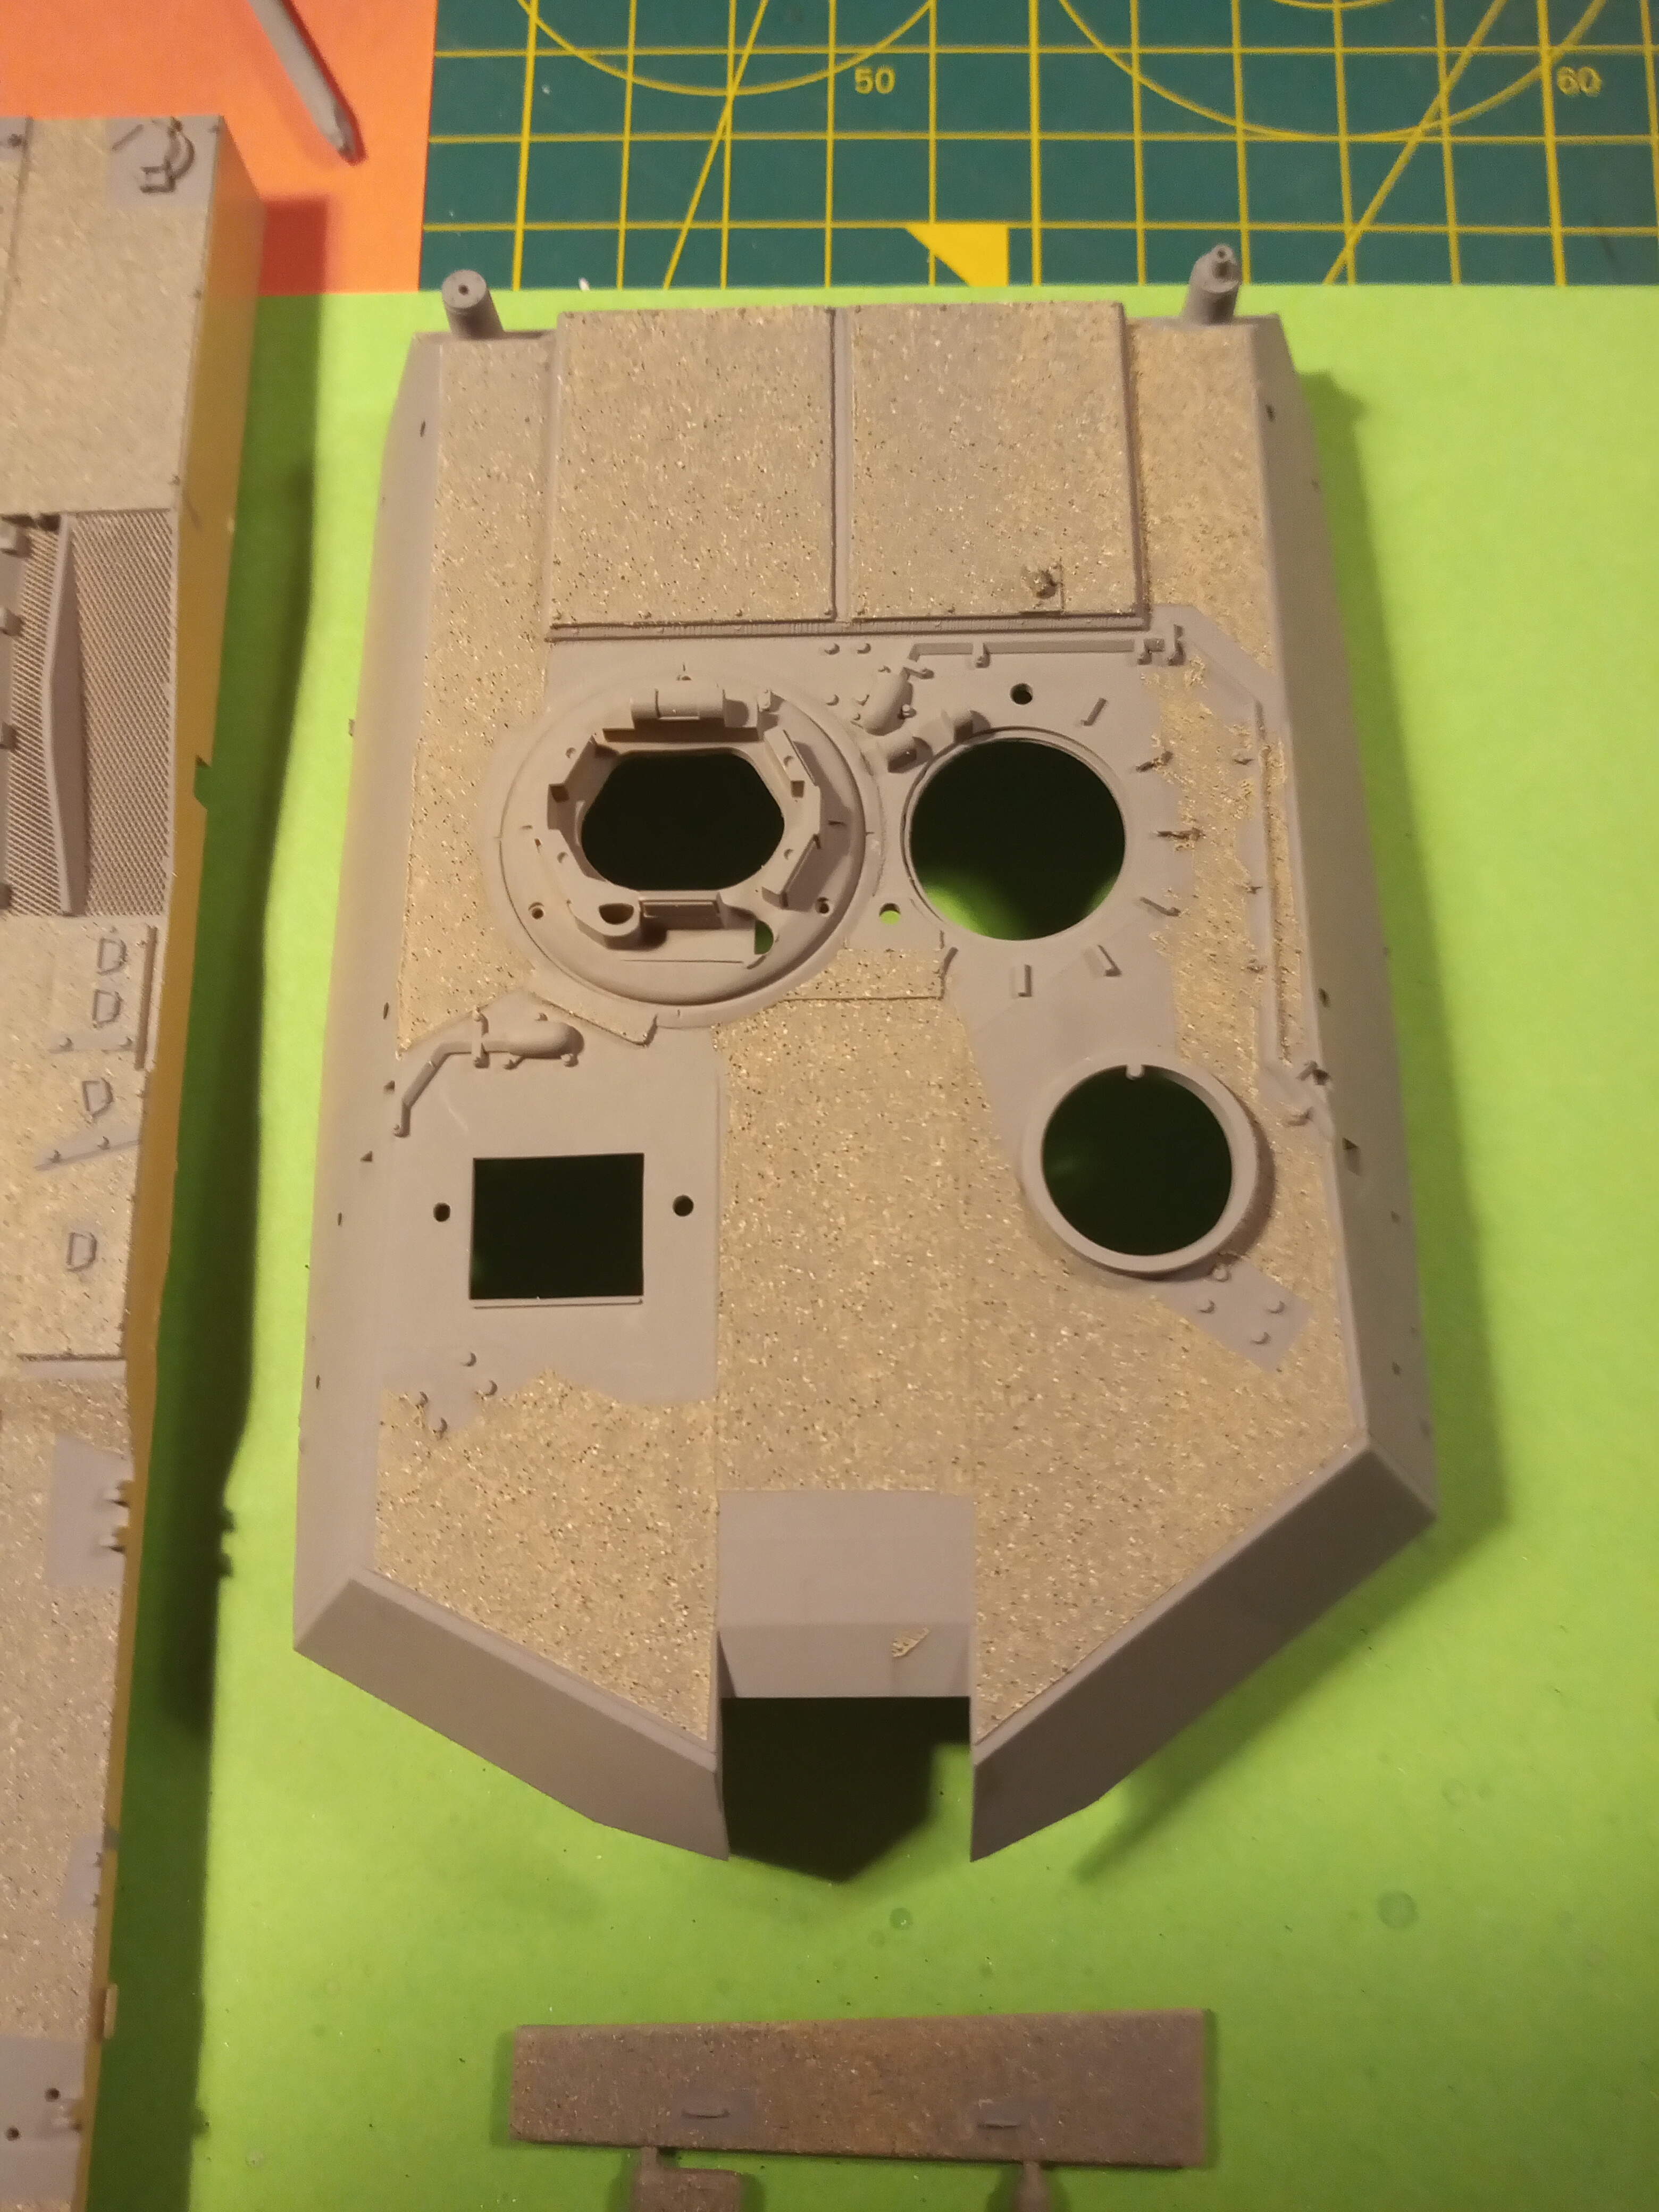
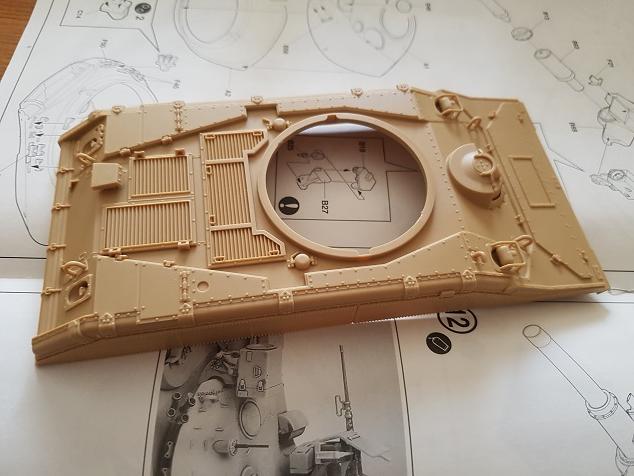
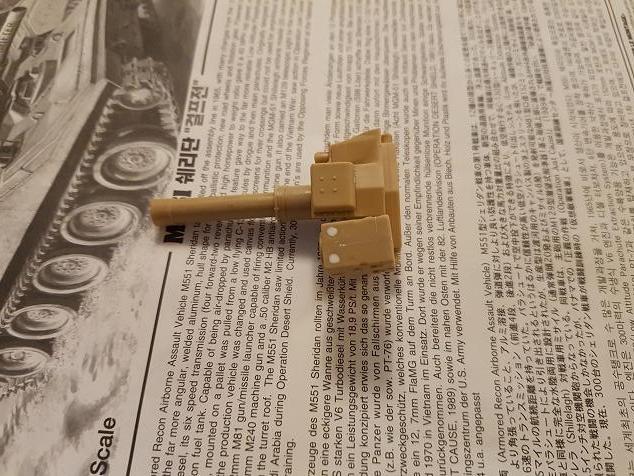
well after watching more tv on netflix i managed to get about halfway through the turret of the M551 Sheridan.
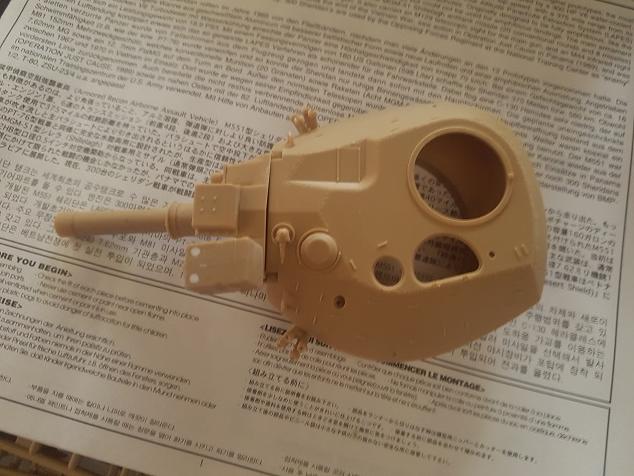
4 Likes
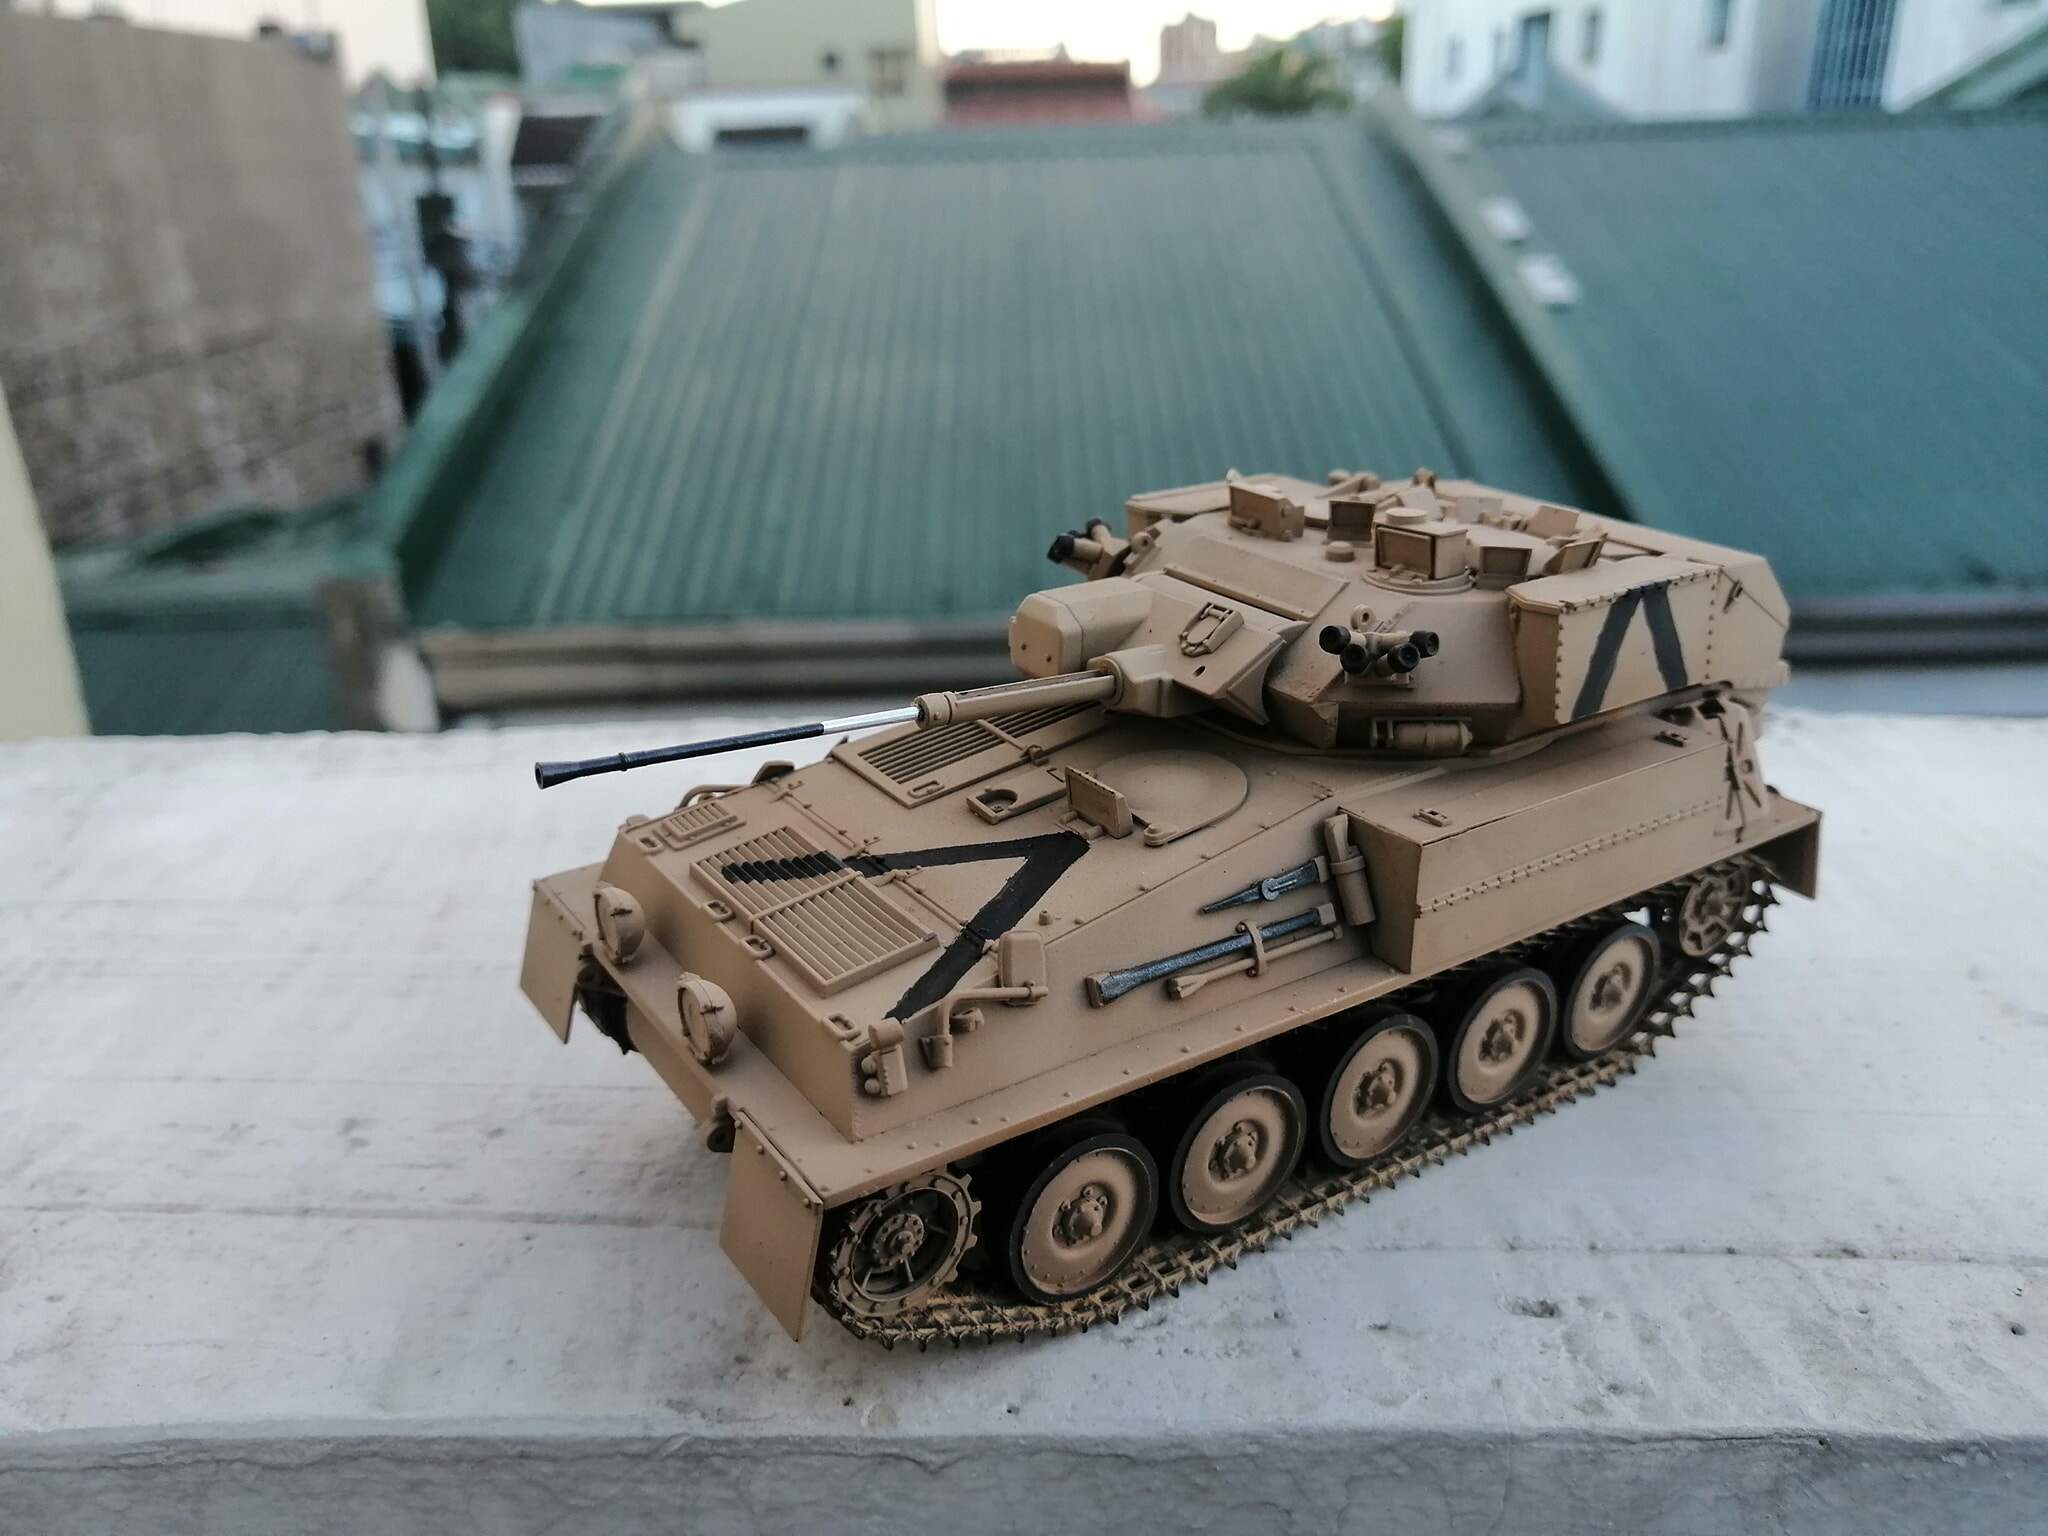
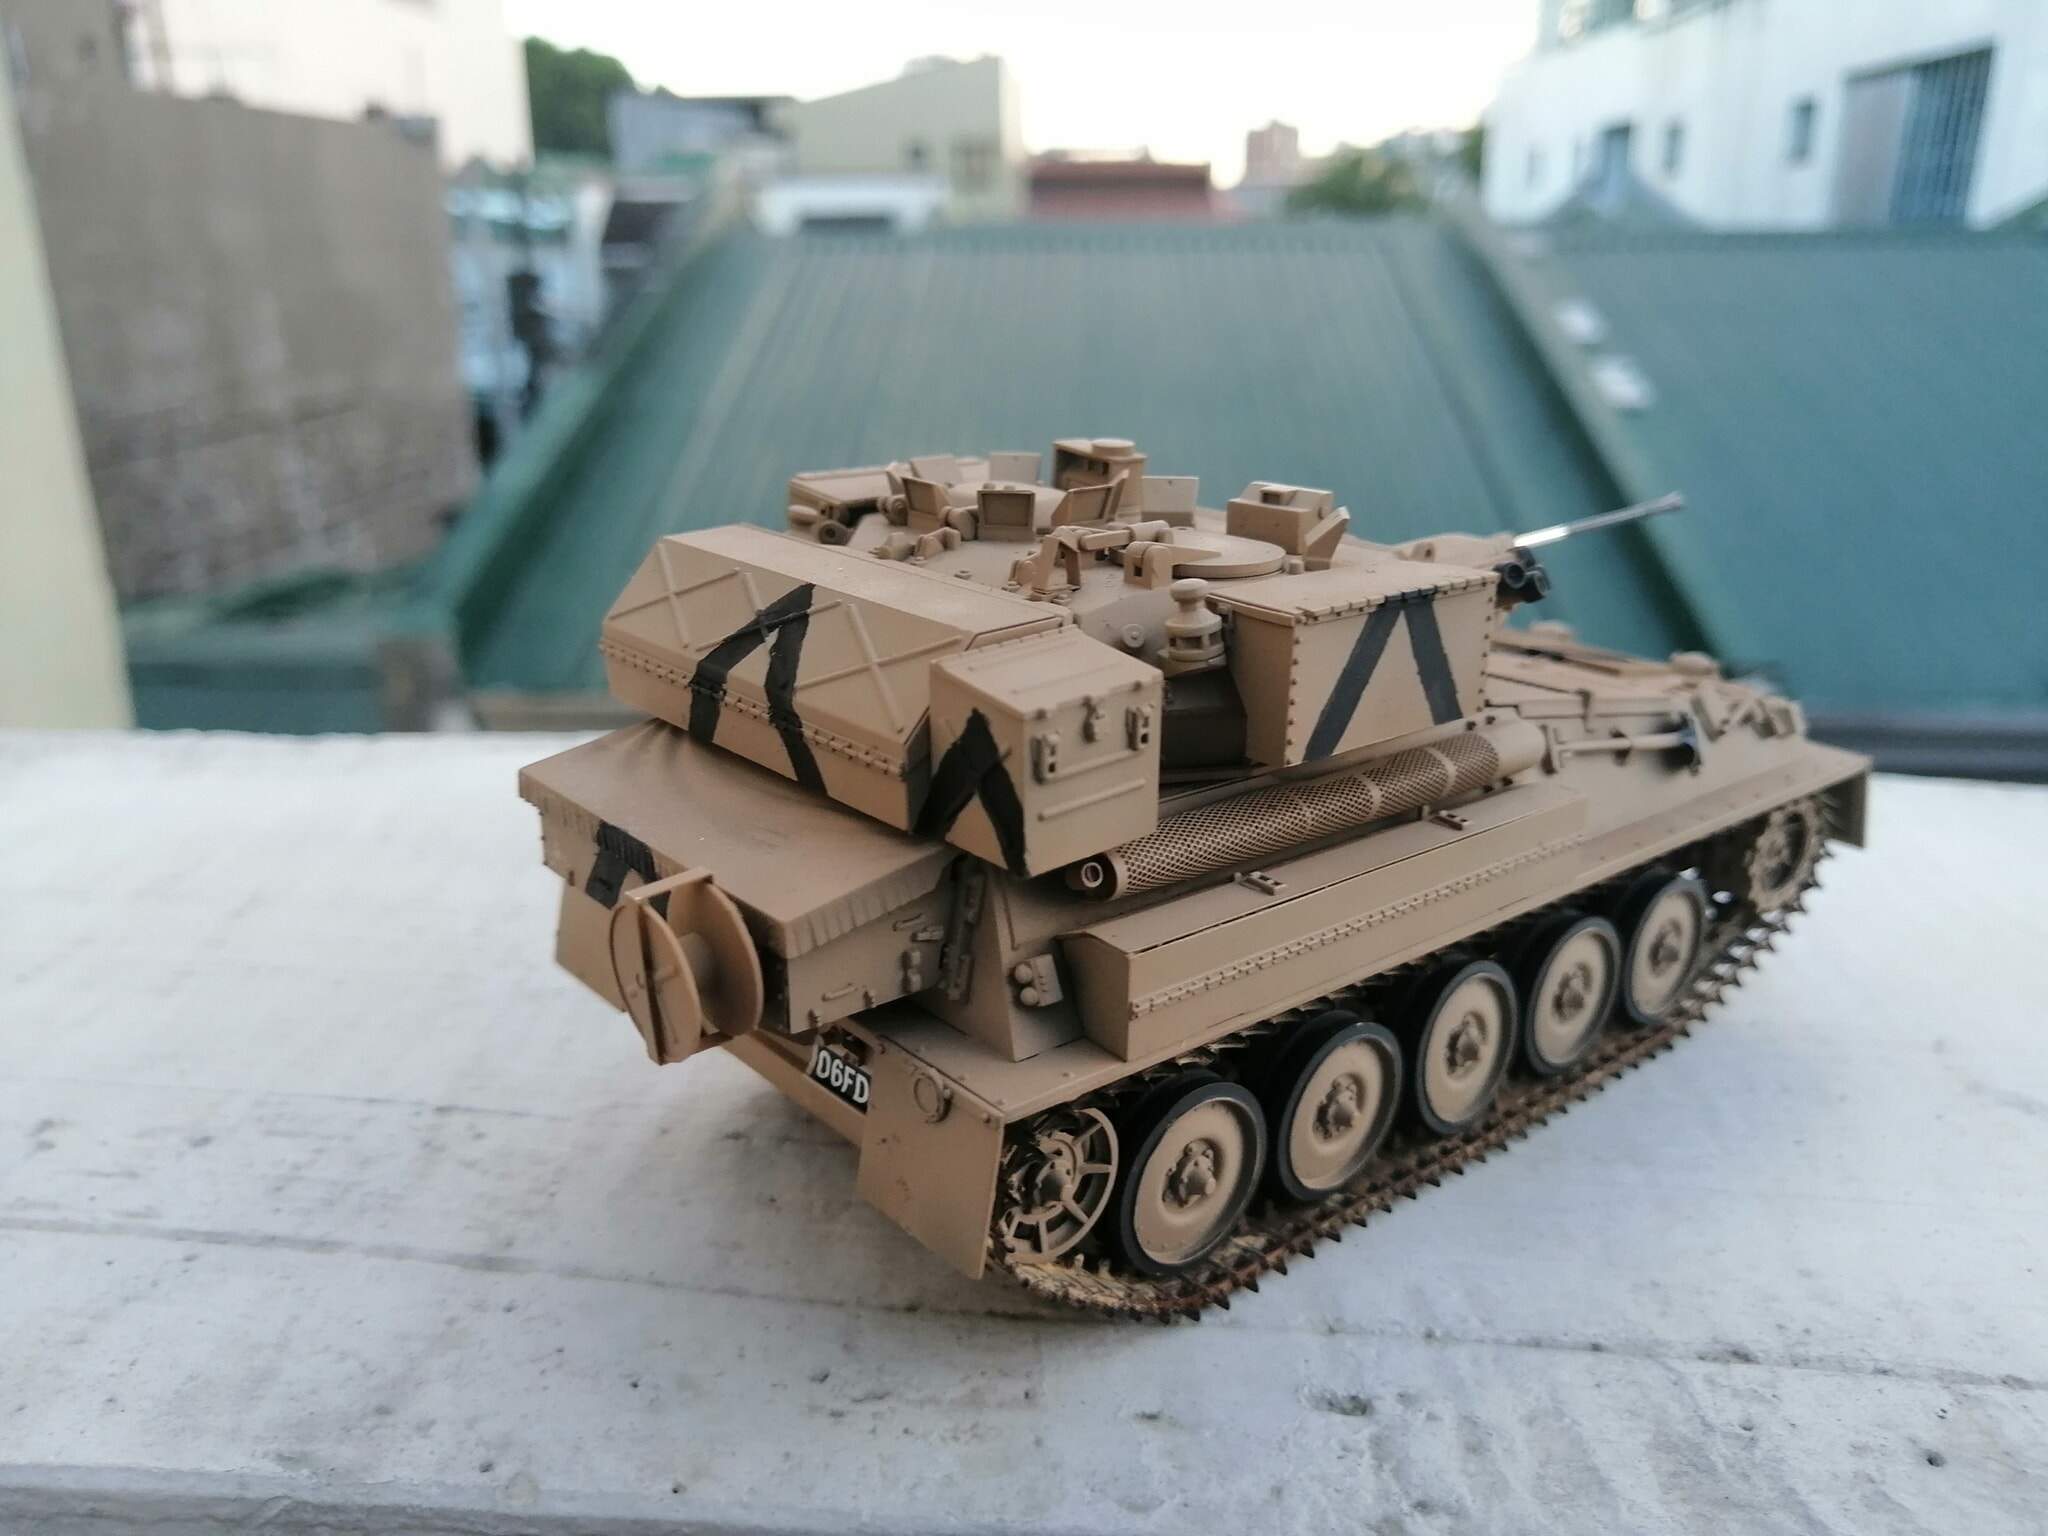
Update on my WIPs:
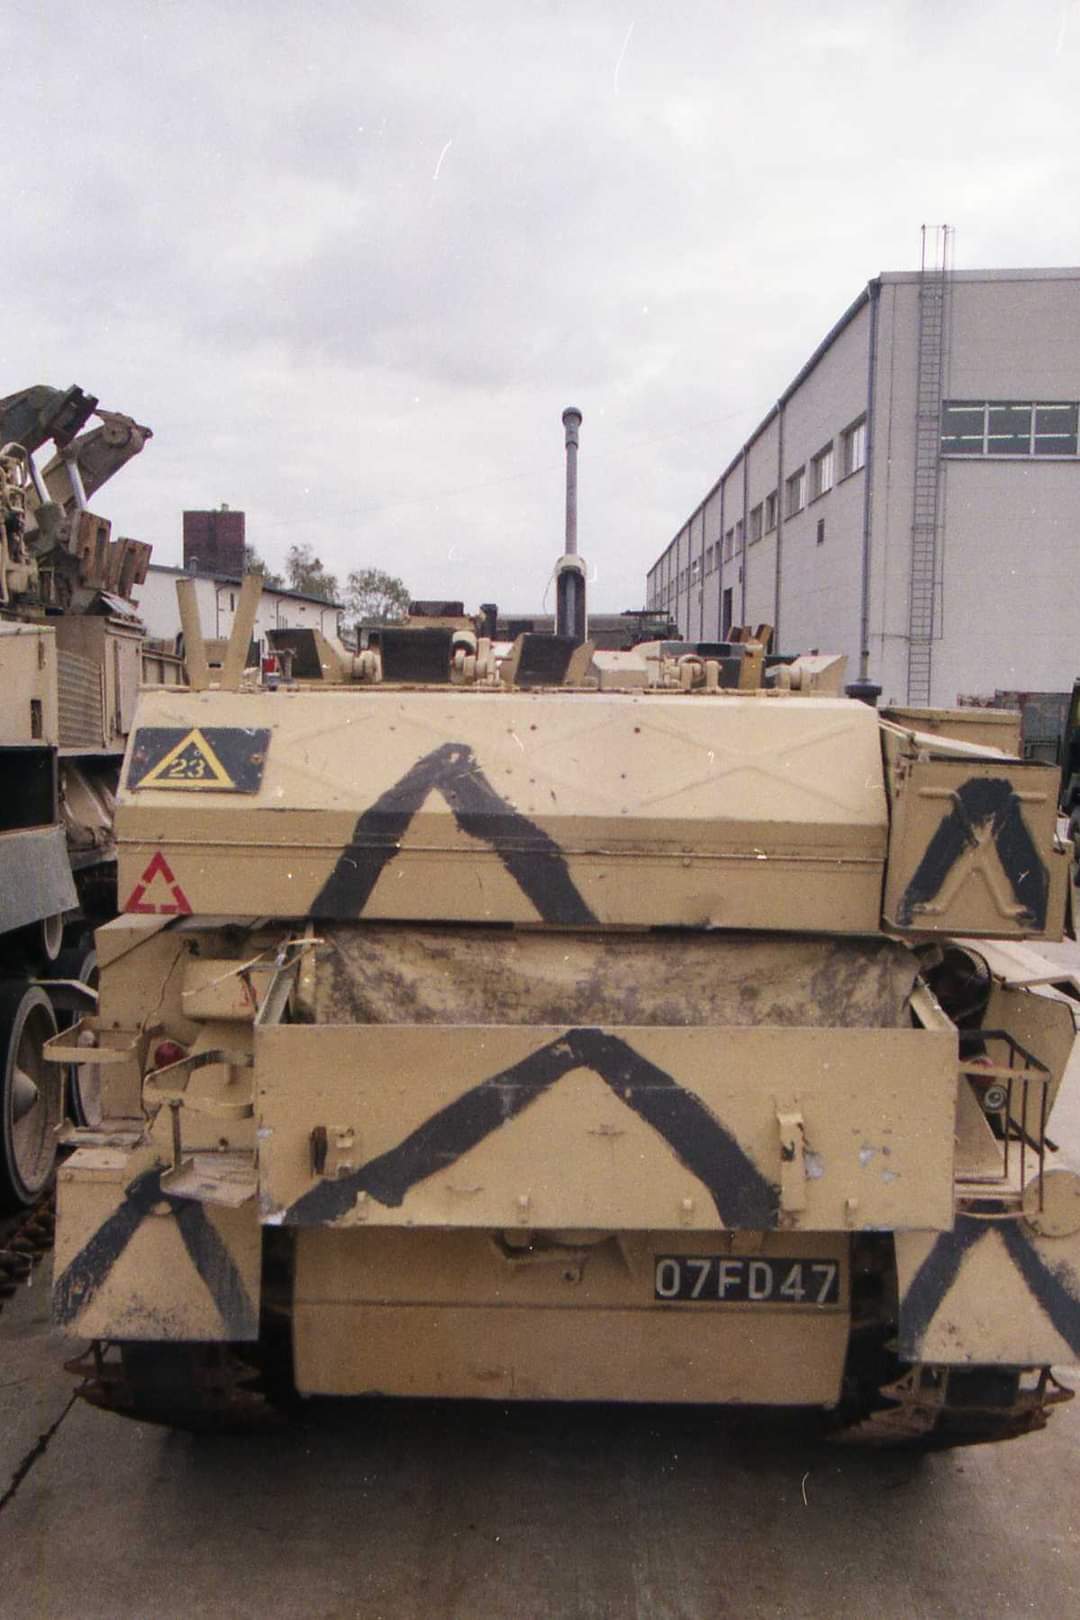
Scimitar got painted up, with initial weathering done. I will apply another layer, and perhaps a dust coat on the wheels. I also need to re-apply the pinwash on the vehicle. However, I only took photos before the start of the weathering process. I’ll try to take updated photos later on. Note: AFV Club gives you the wrong decals for a OP Granby (1991 Gulf War) vehicle. So I decided to paint the chevrons on - and I did it a bit haphazardly as a photo I found online suggests. I like the uneven lines but I do get the subconcious urge to make it clean and straight hehe
The Airfix 1/48 Jaguar also got her basecoat. I broke the pitot tube but I managed to find the part before the carpet monster ate her. I’ll be gluing her back at the end to avoid any more mishaps
3 Likes
The scimitar looks very nice! Same for the Jaguar, cant wait to see it finished.