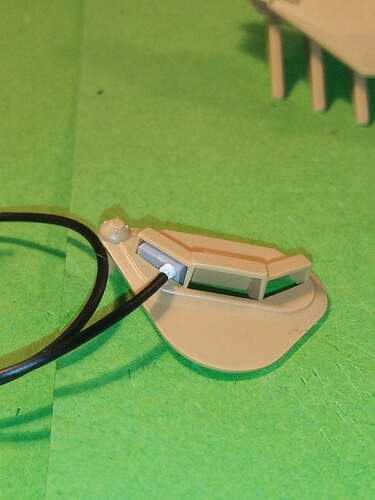
Good TM pics. Another detail that isn’t apparent, and not depicted by any of the model companies, is the two straps that raise/lower the plows. On each side there are horizontal drums with pulleys on the outer ends. These are the electric motors that turn to raise/lower the plows. On the pulleys are wide canvas straps that attach to the top of the plow frame arms. You can see them below in a tan color. When the plow is up/stored, they are not really visible. If it is down though, they are very apparent.
This looks like a possible challenge  And more great ref pics Gino
Any further questions , I’ve got the operators & parts TM.
So, thanks to Gino, I am now about to go down the rabbit hole lol…
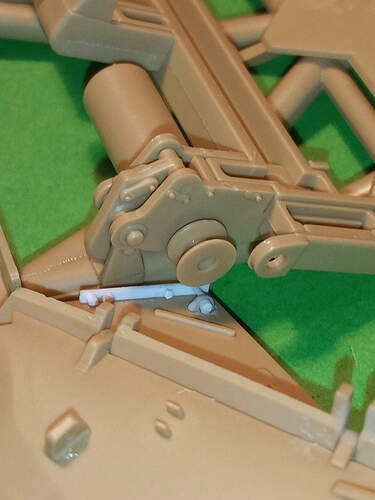
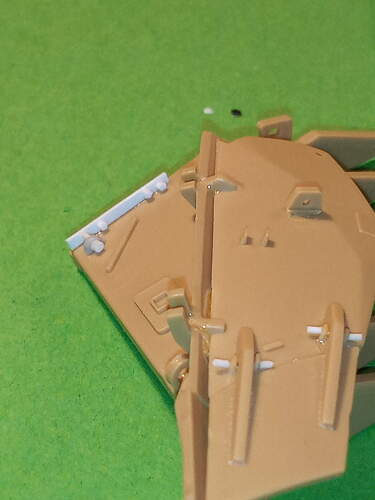
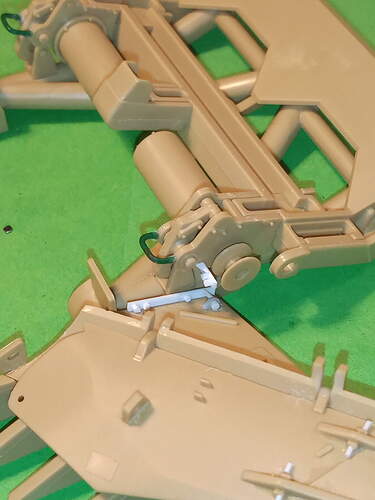
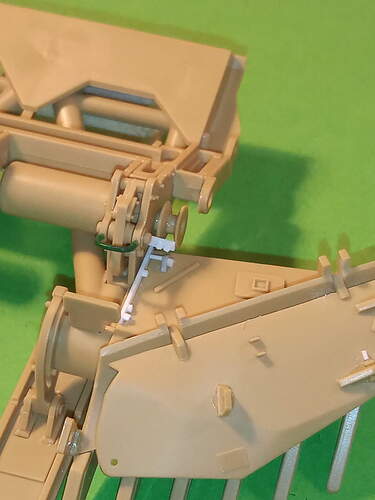
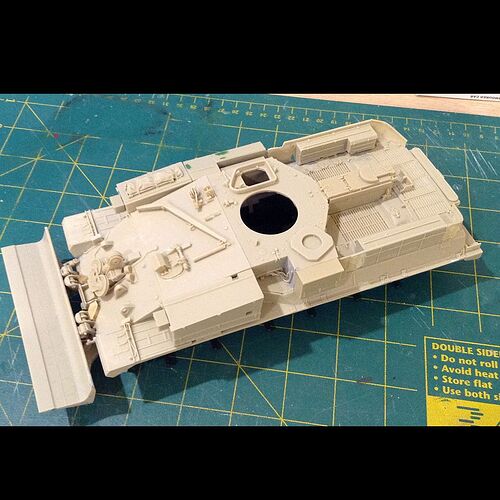
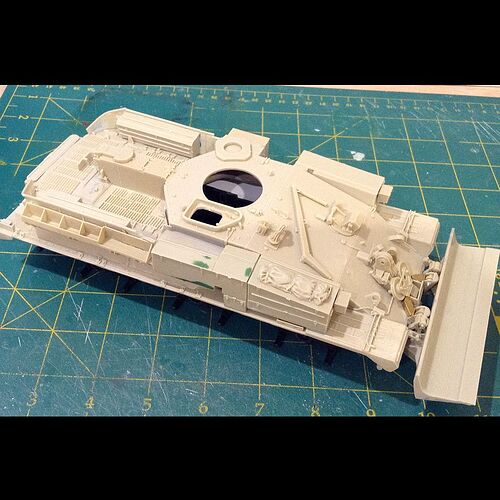
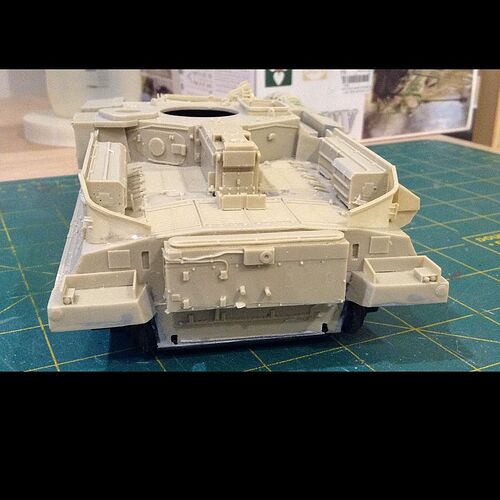
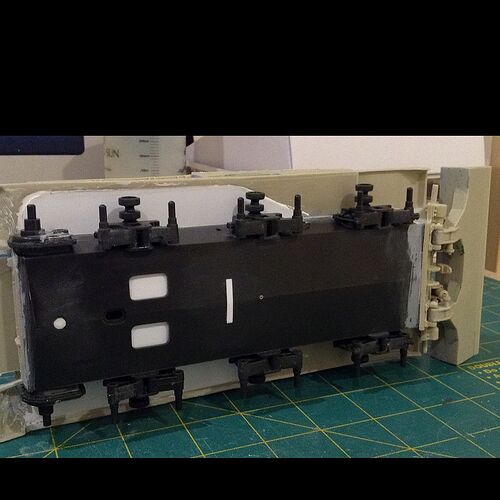
After he mentioned about the straps I thought, “oh well… May as well give it a go”… So using his last ref pic above I have done a very rough representation for some extra detail around the area the strap fits into. The paper stowage straps you get in the Stryker kit fit the pulley so I will end up using those.
Where it is now after the prelims.
I also added the guards in front of the pulley and the guards in front of the plough release hooks ( excuse my terminology)
Just a couple of little details added around the pulley system and the guard in front of the pulley.
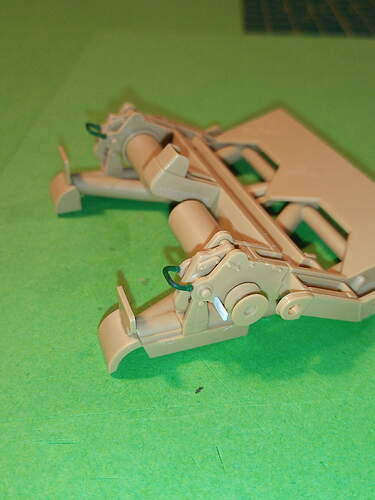
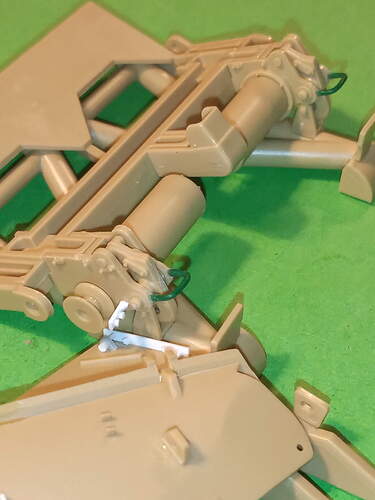
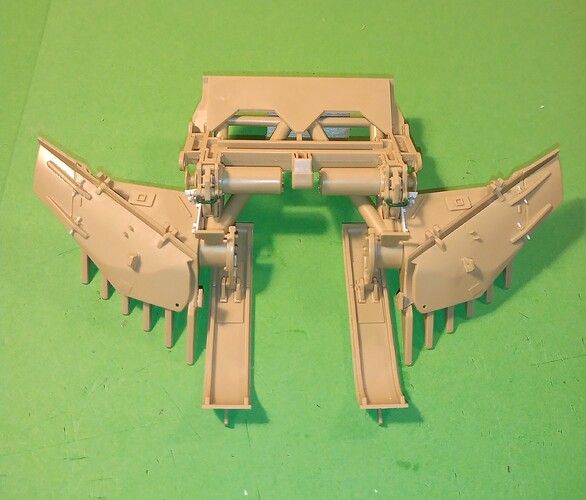
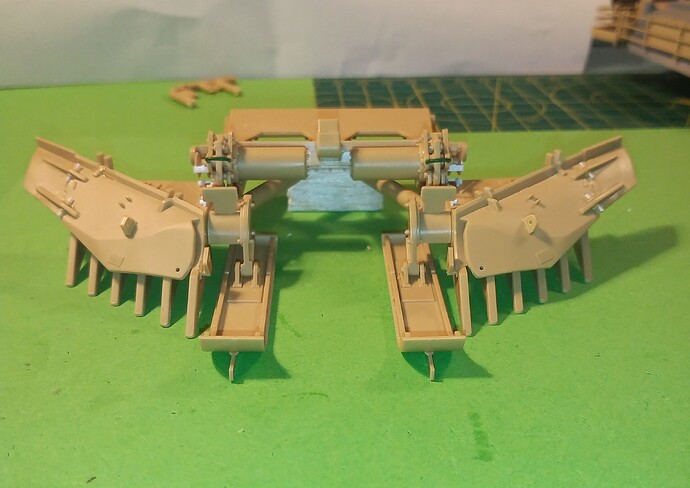
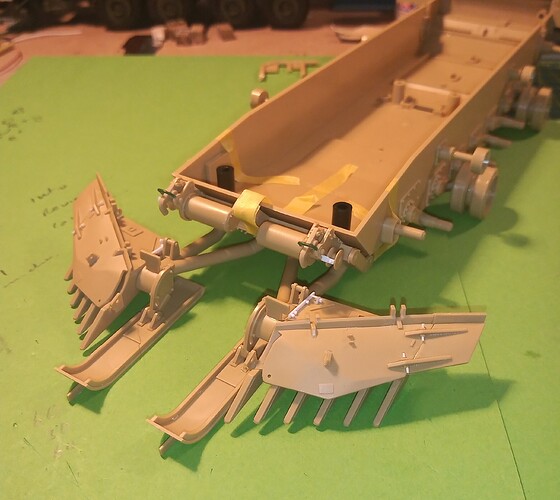
And also the plough laying in roughly the proper way to get a view of all of it.
Looking good.
You are getting good at this scratch building stuff John 
Thanks Peter and @HeavyArty. I am enjoying doing it, but it is a bit rough and ready compared to the vast majority of the scratch built stuff I see. My problem is I work with what I have and it is pretty limited for bits like plasti card or rod etc … but I try and muddle through … 
Got the mine plough together. Just have to measure out the various chain lengths and then connect those.
Also put together the cable connection through dvrs RH vision block housing.
Stay safe 
Looks really good!
Looking good. Nice job.
Looking sweet John
Thanks guys for the encouragement. I just have to check myself sometimes in how far to go with adding extra detail… I don’t want to go over the top.
Why? At least you will know it is there… ![]()
Okay, have been doing some work on the Accurate Armour Chieftain ARRV. It has not been as bad as I thought as many of the flaws are covered by other parts. I ended up piecing the jigsaw of broken parts together. I intend for the holes to be covered by stowage. Even the hollow curved part for the rear came away relatively clean and a little cyano inserted into it gave it sufficient strength to hold together.
I have found parts are missing from the kit, the hatch actuator arm, the piece on the rear between the curved sections are in the list so far. I am about to scratch build these, plus parts to fix section of the castings that are missing or broken.
So… The Good
The Bad
and The Ugly
Some nice fixes there Peter. Chieftains are always a handful… In the model world and in the real world…I remember our LAD sections ARRV with very warm fond memories… It was the place to be if you needed a tow… They always had half a penthouse set up over the engine decks… Super warm and snug in the winter…
Hopefully with yours you can get away with some of the gear hiding certain issues like you said . …
And I think regarding the Ugly… In this case sometimes out of sight, out of mind is a good option 
Did a mock up with the plough attached and in a down position.
I think I will do it initially like that as you will be able to see the straps extended. The good thing about this plough is the retaining hooks work really nicely so you can show it in the down or up position.
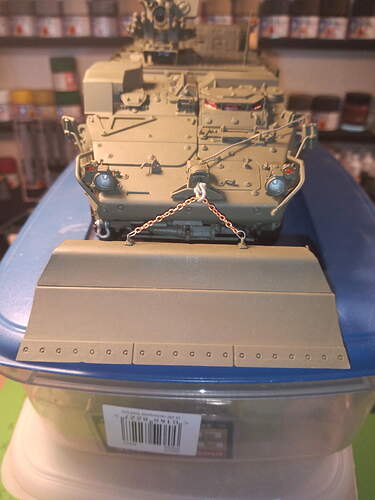
While I’m here, I have a query about the colour of US chain…really about my Stryker build and the chains on that.
Would they be a green colour or more old dark iron colour ? Some chains in the pics Gino posted are green ?
Looks like players choice. It is the color of whatever color was used to paint to parts, there was tan, green and dark iron. It doesn’t appear they removed the chains to paint. They had plenty of chipping in the photos.
Hi John,
I believe the chain shown in Ginos’ second photo pulls the top moldboard open automatically as the plow is dropped, hopefully it’s not glued in place yet.
Chain color is the vehicle color with lots of dark iron chipping. Excellent work there John! 


