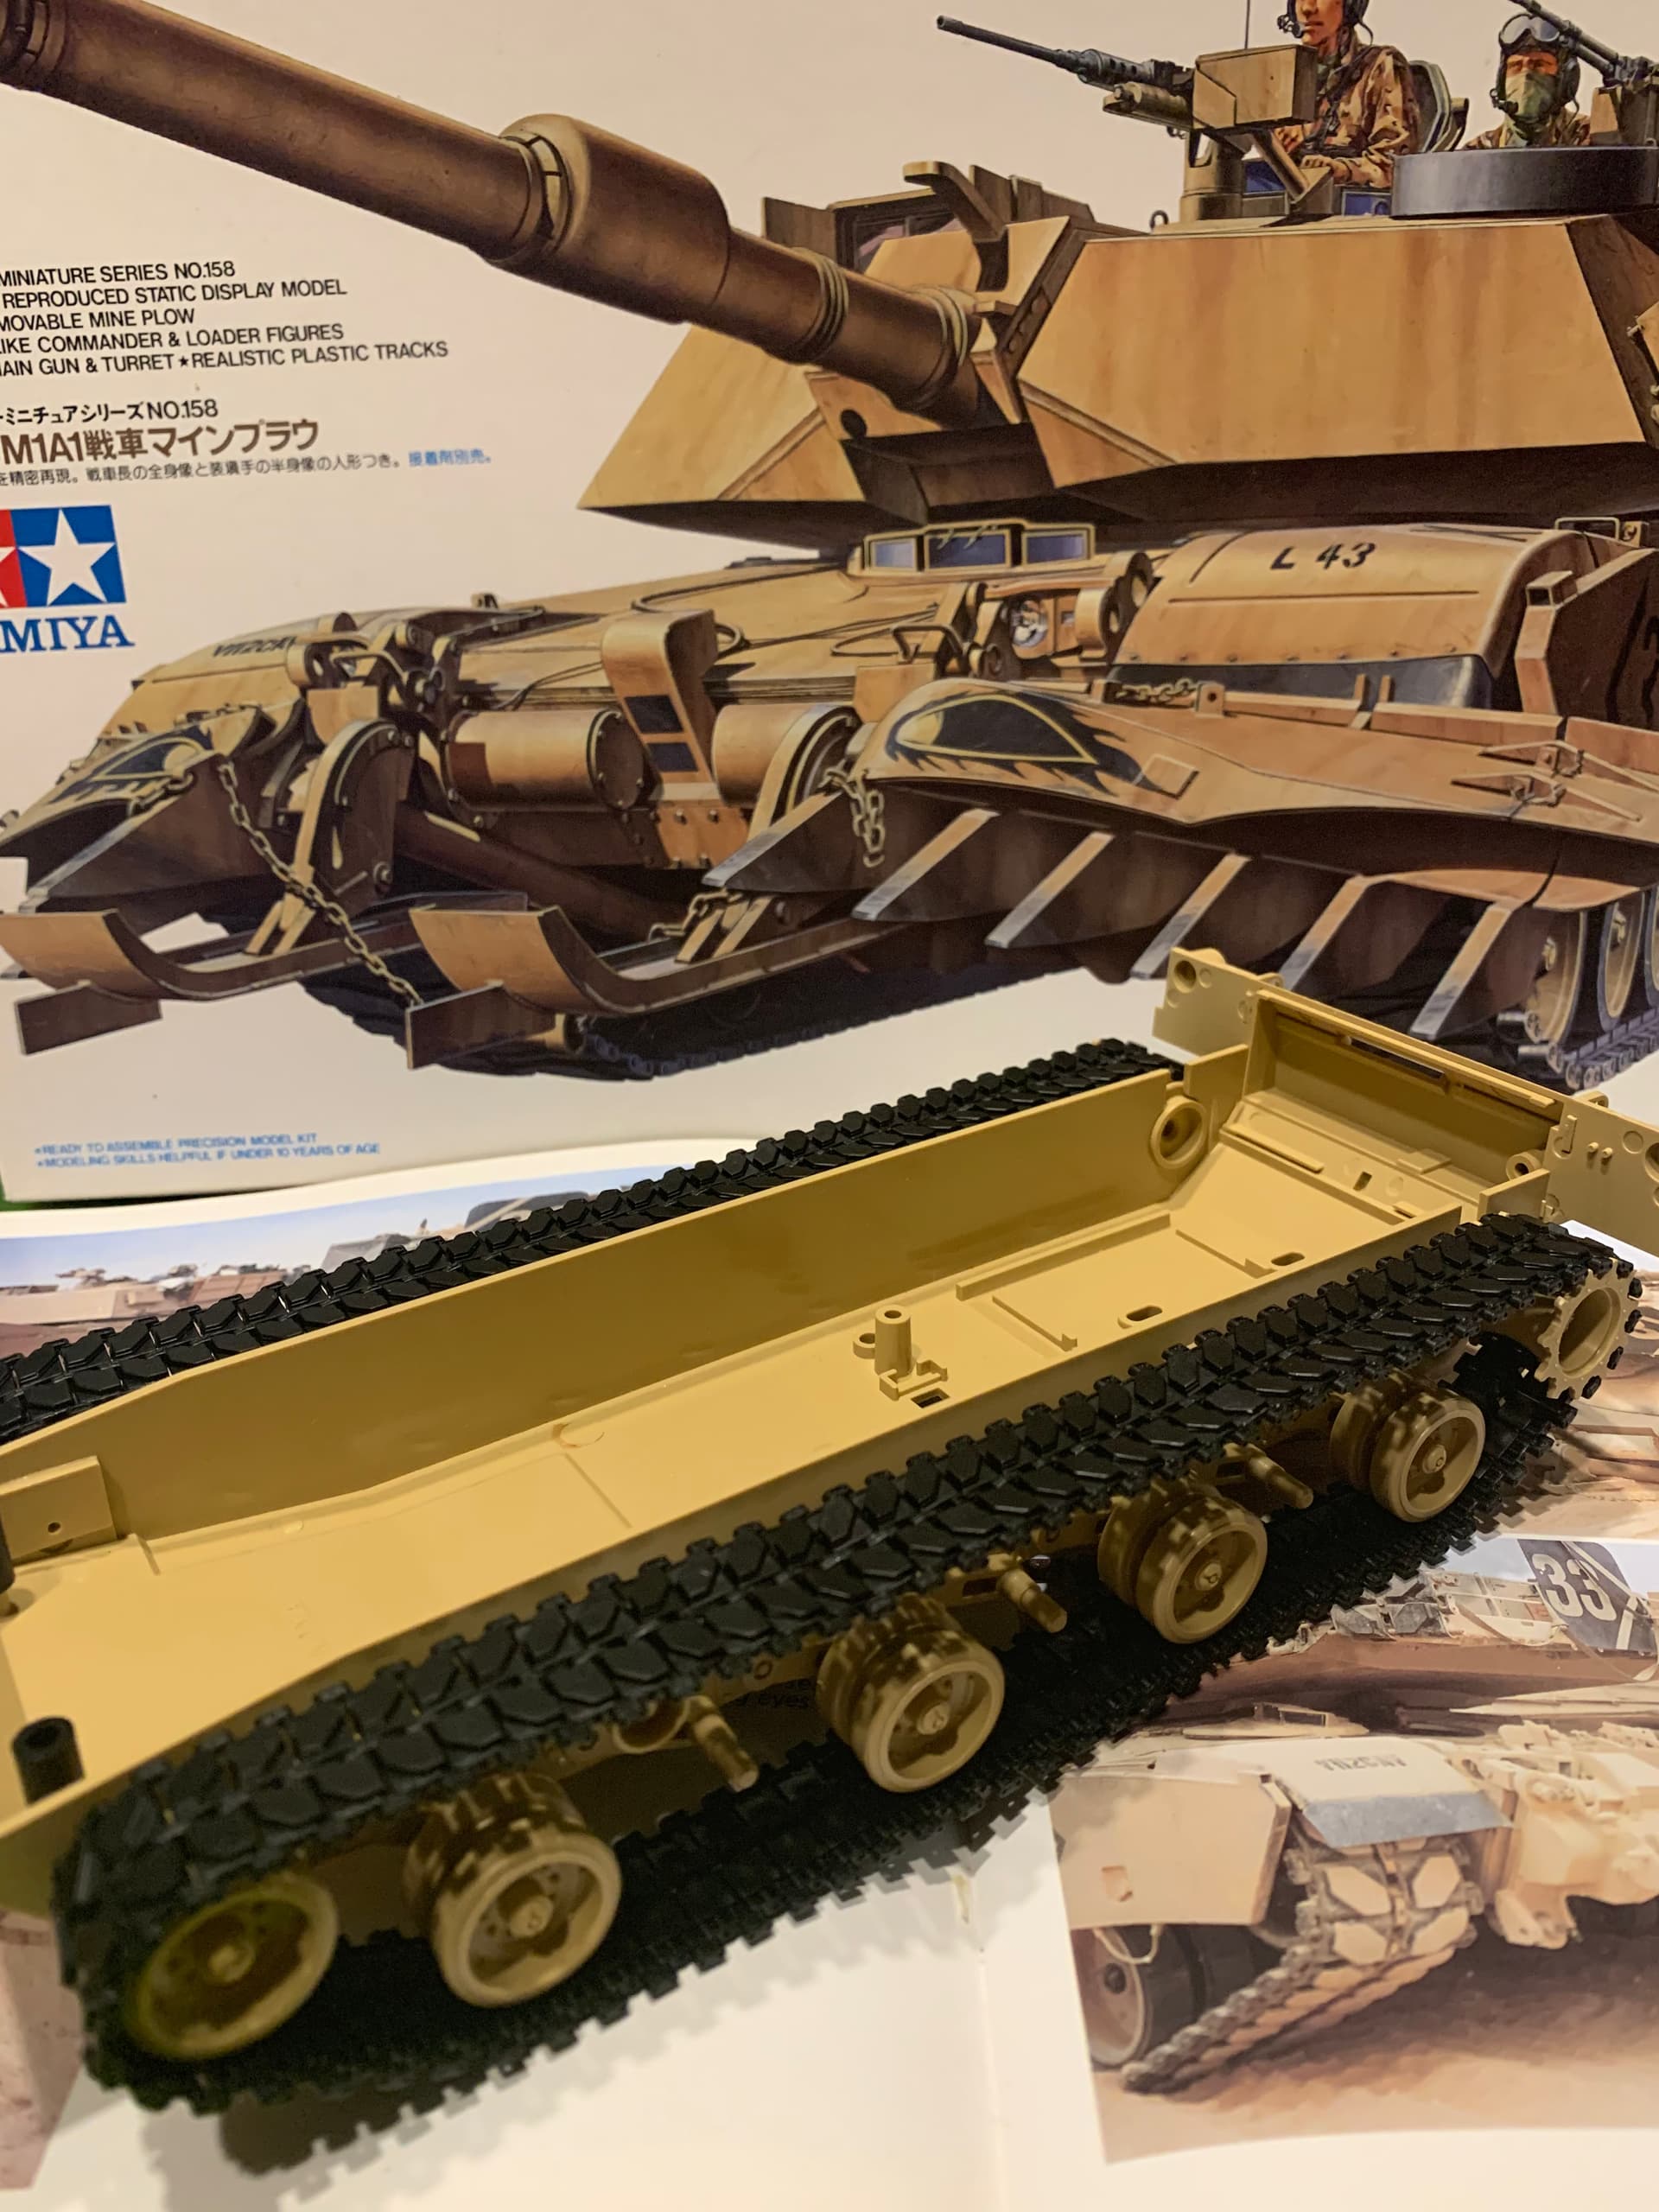
I made a promise not to start the kit until I had the indi tracks complete. As of this morning they were about 75% complete. Here is how they stand as of this evening…
I’ll be using the kit decals to build the Abrams depicted in Verlinden’s Warmachines #8.
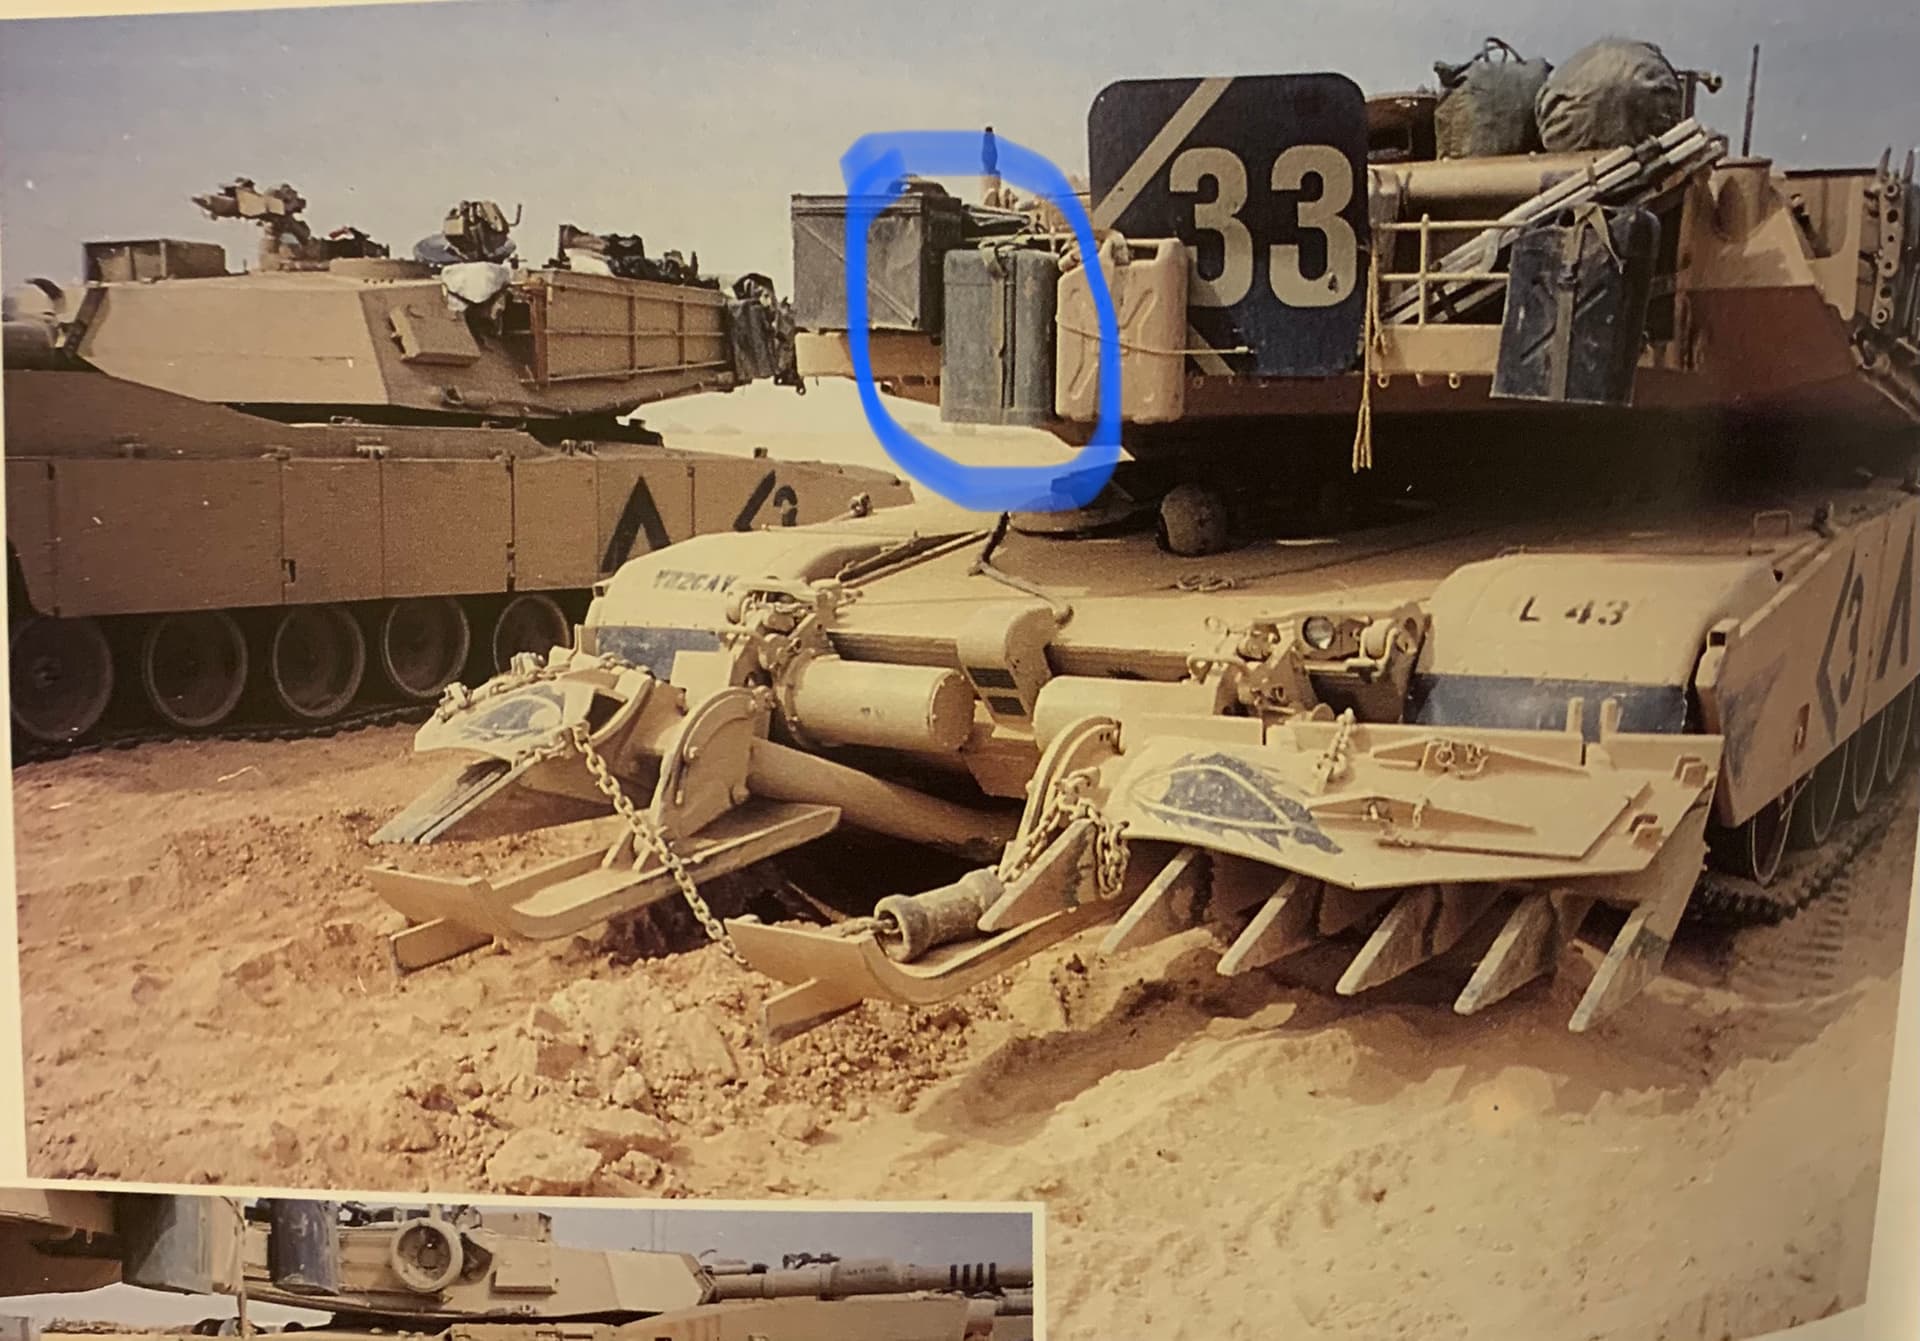
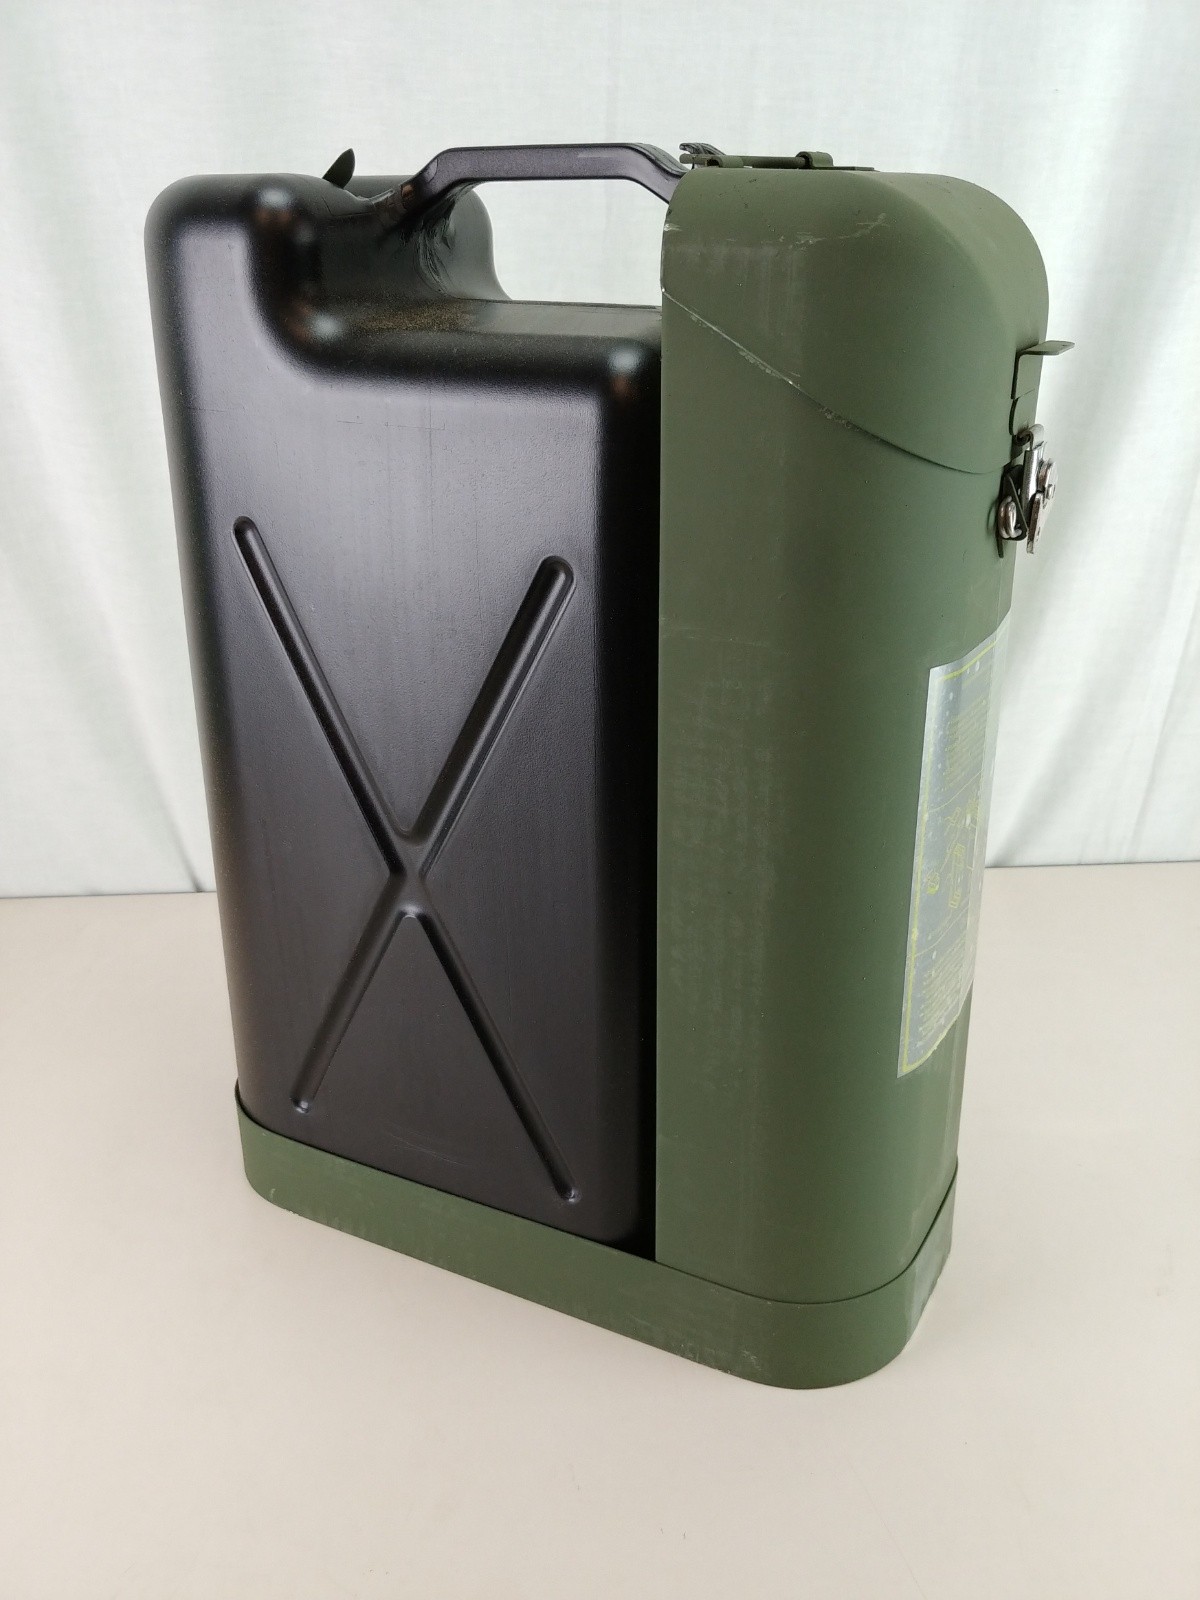
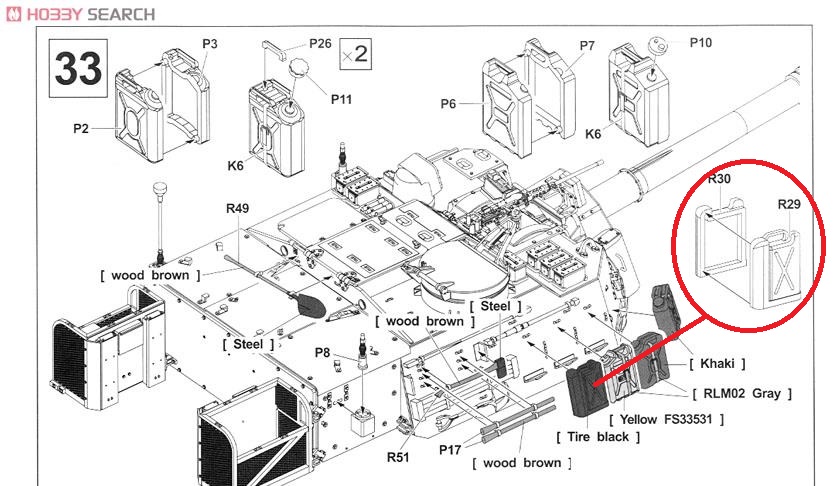
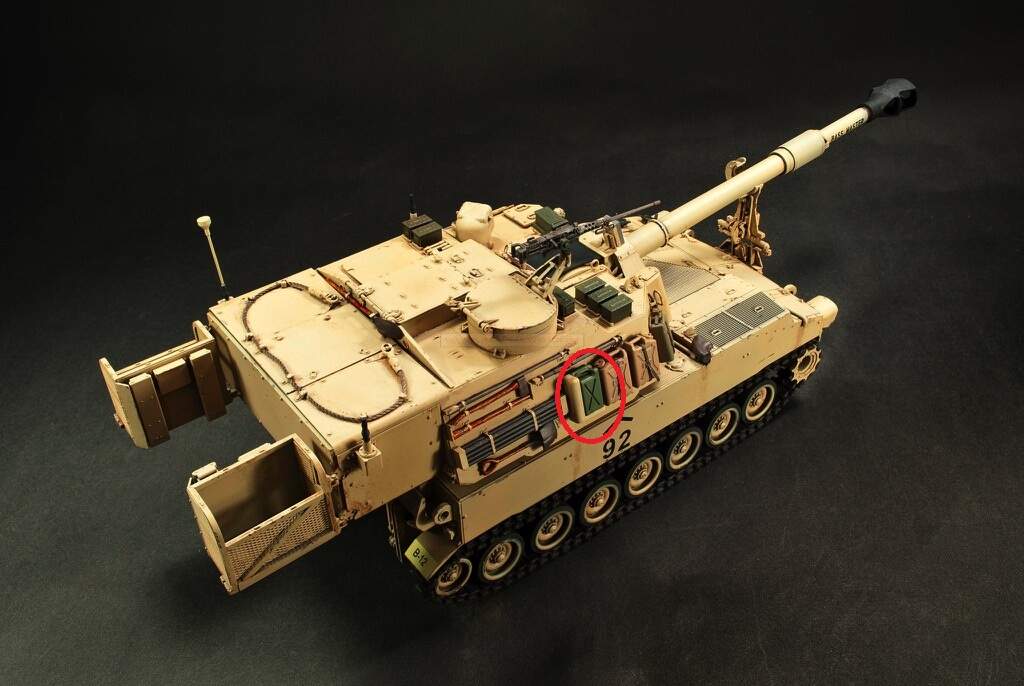
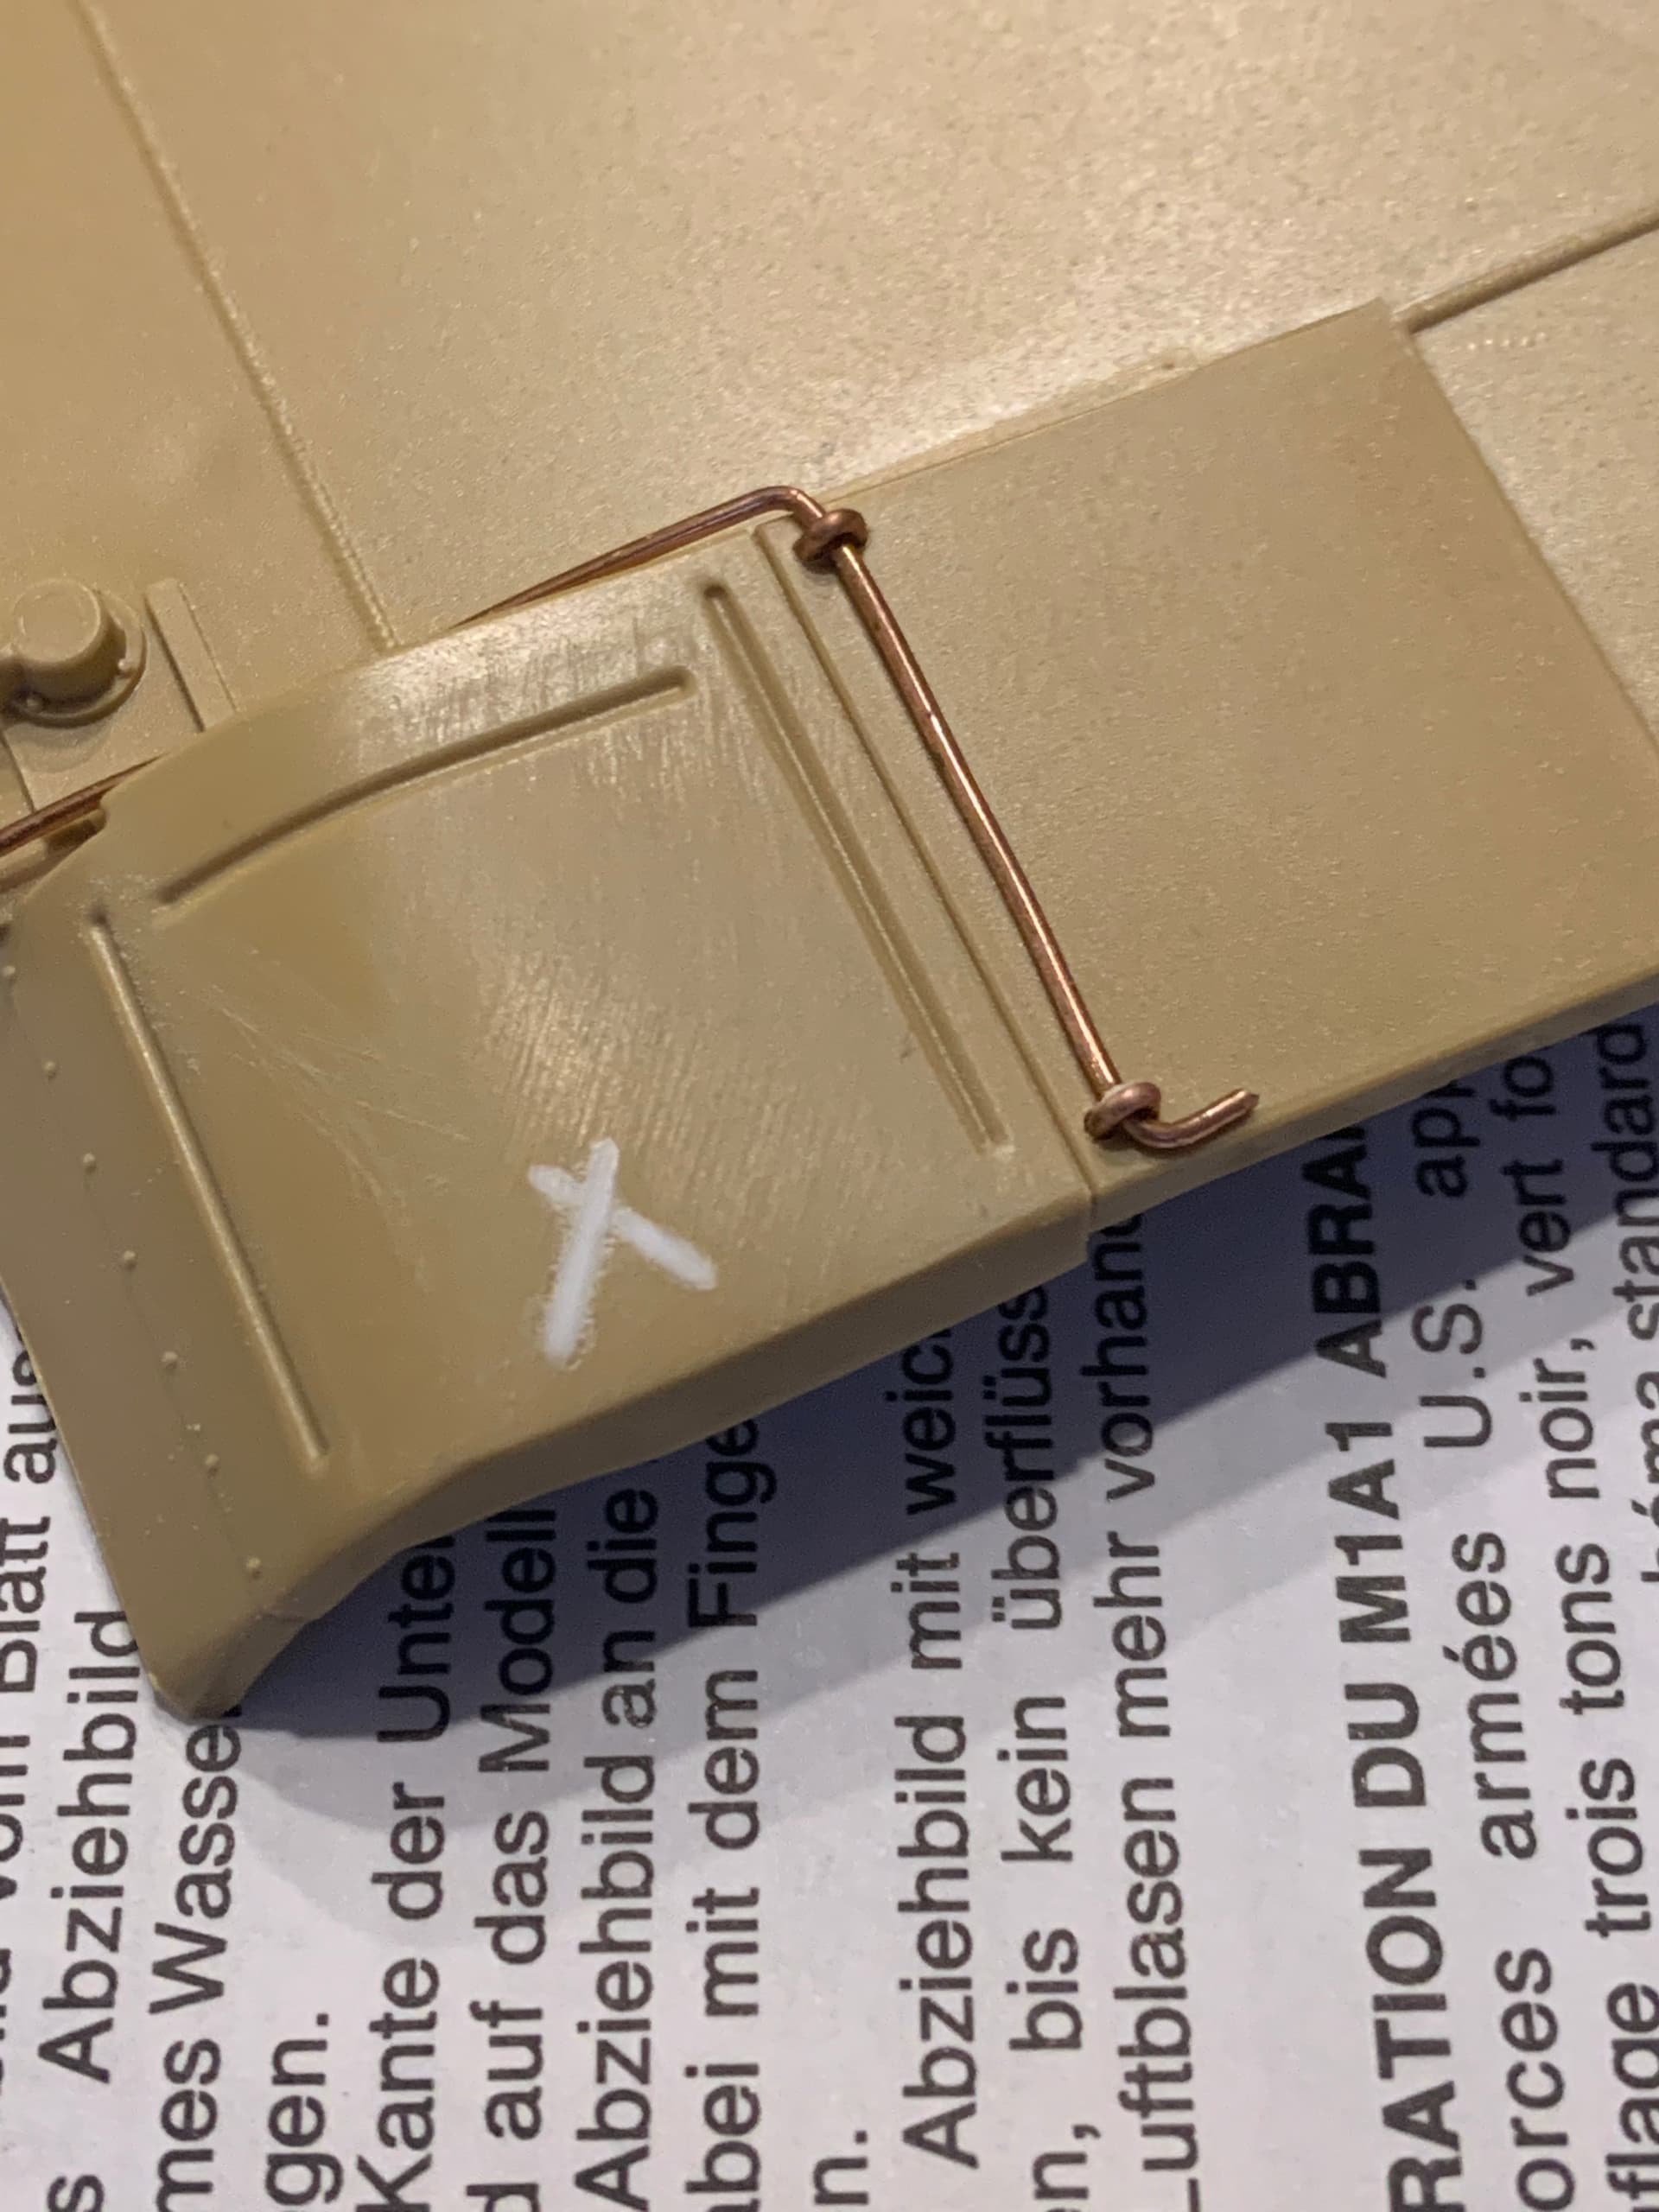
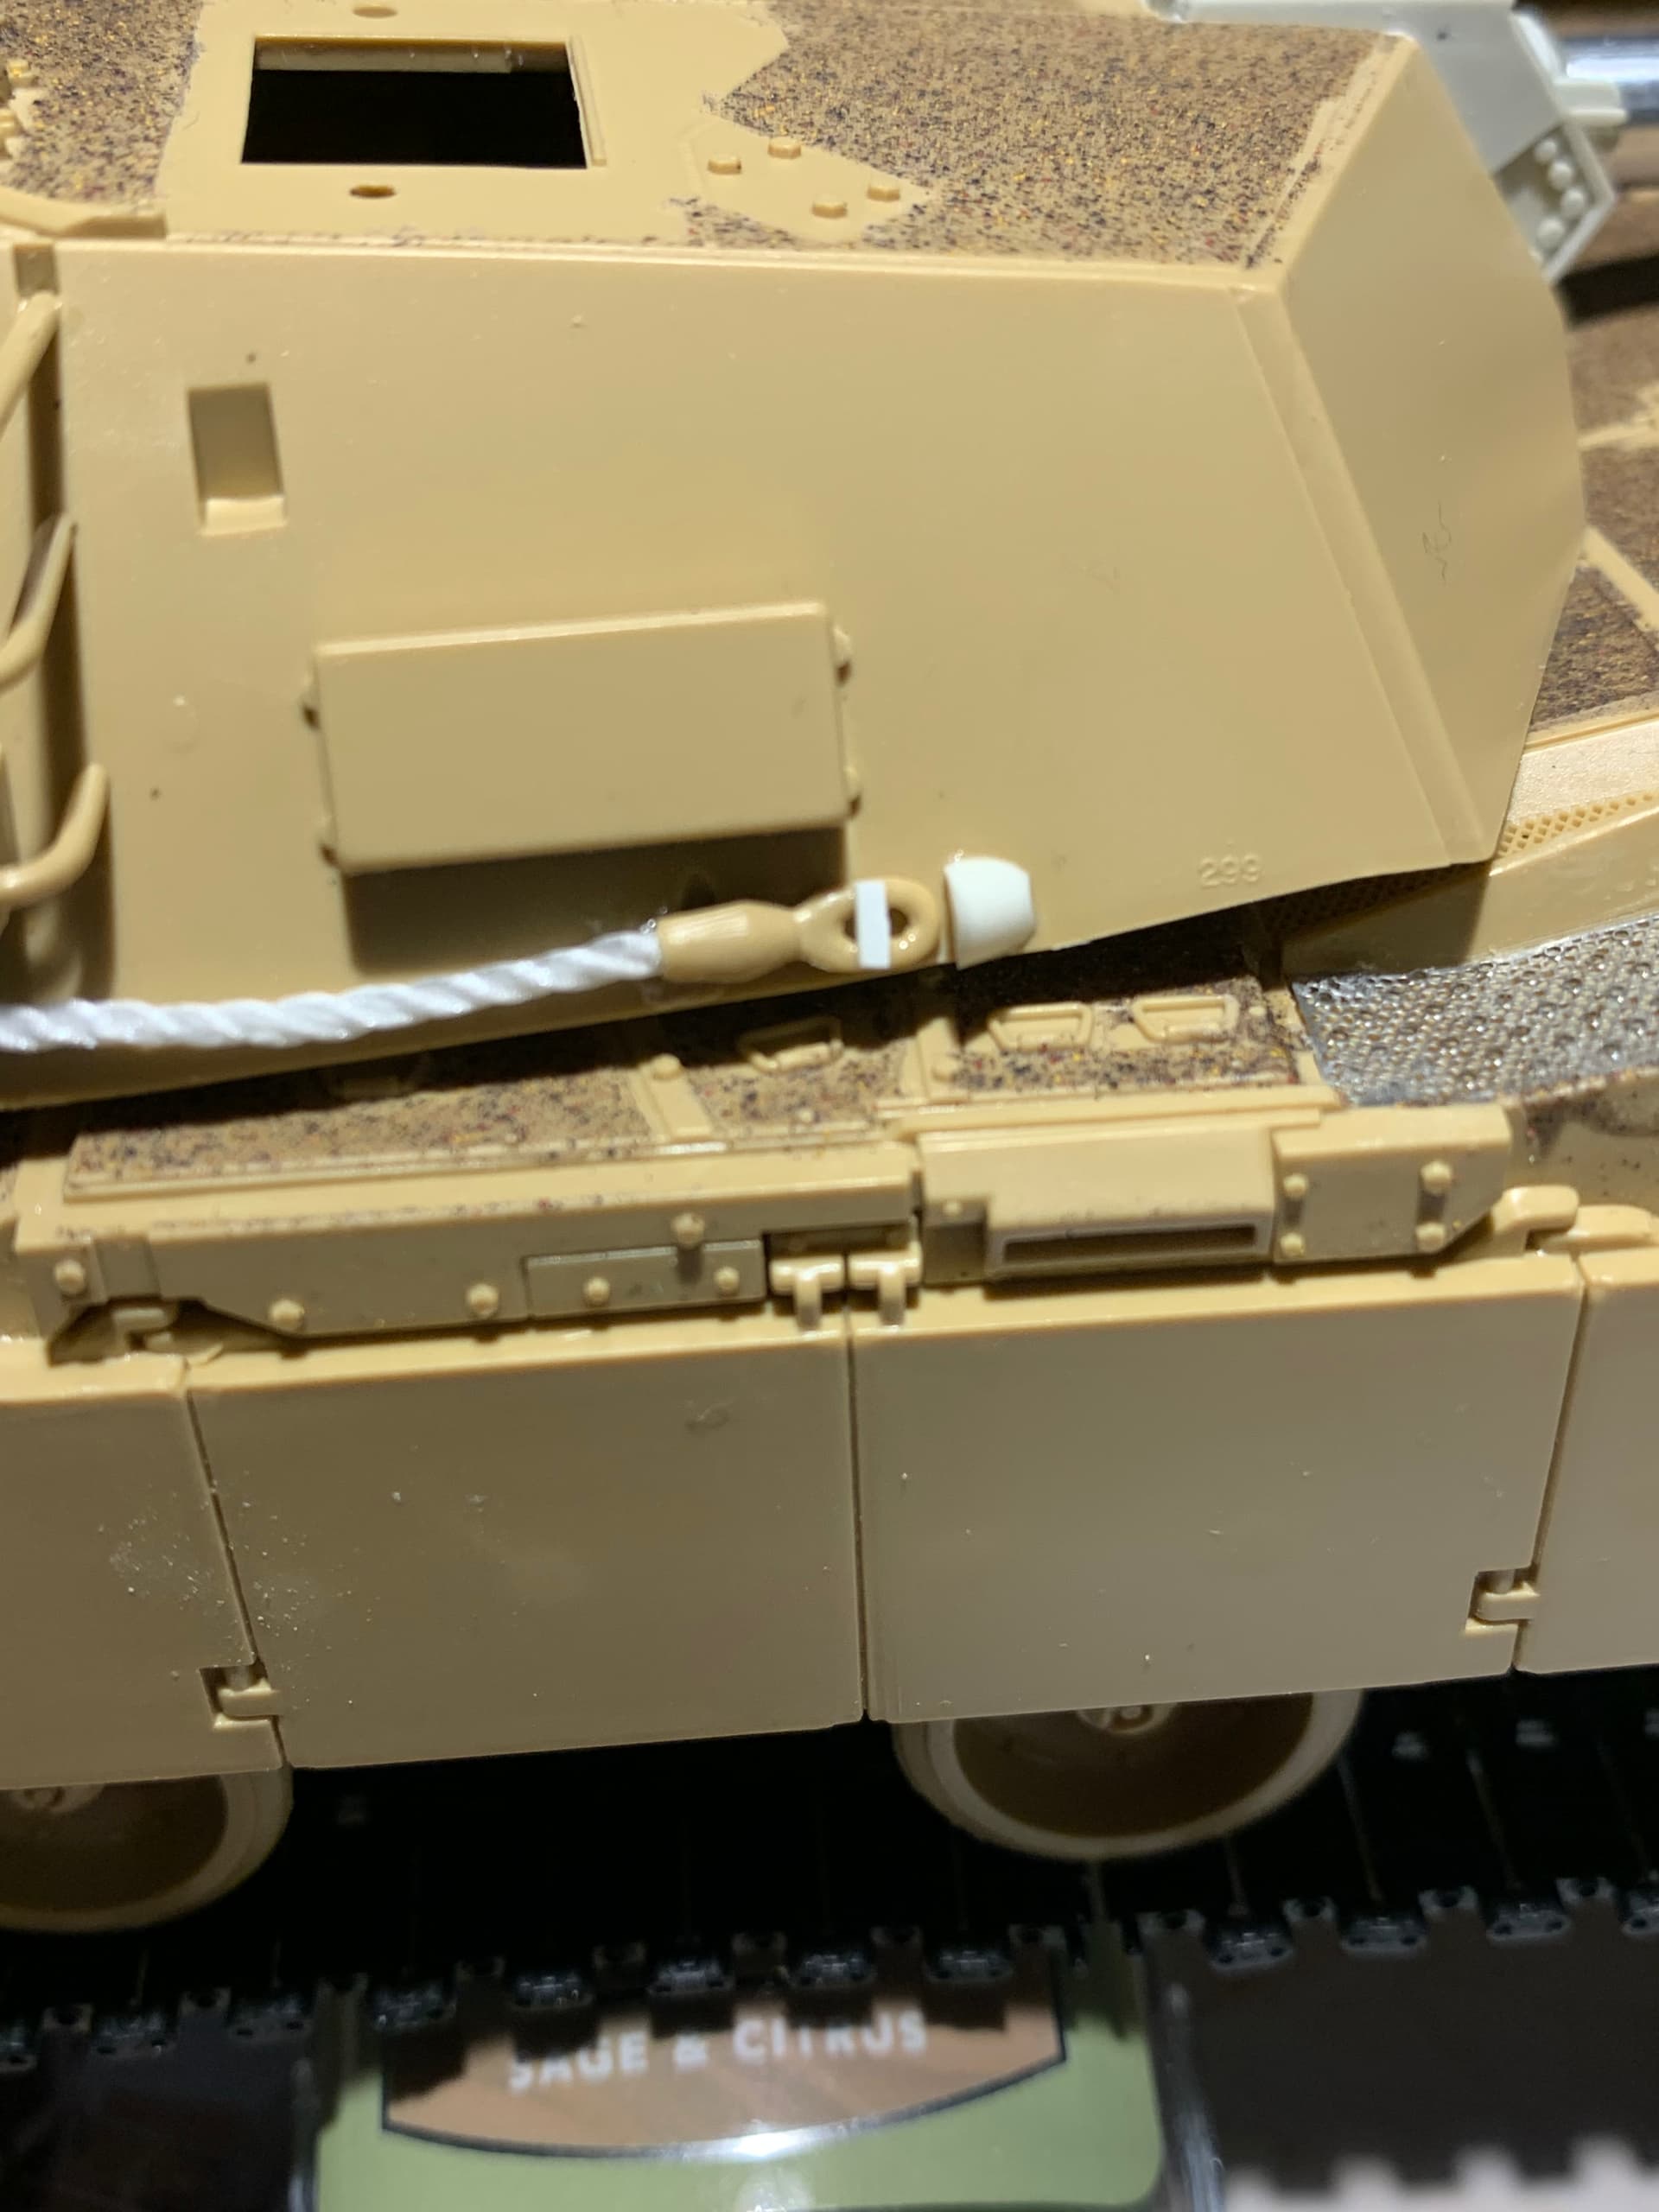
Any one have any idea what the circled box is?
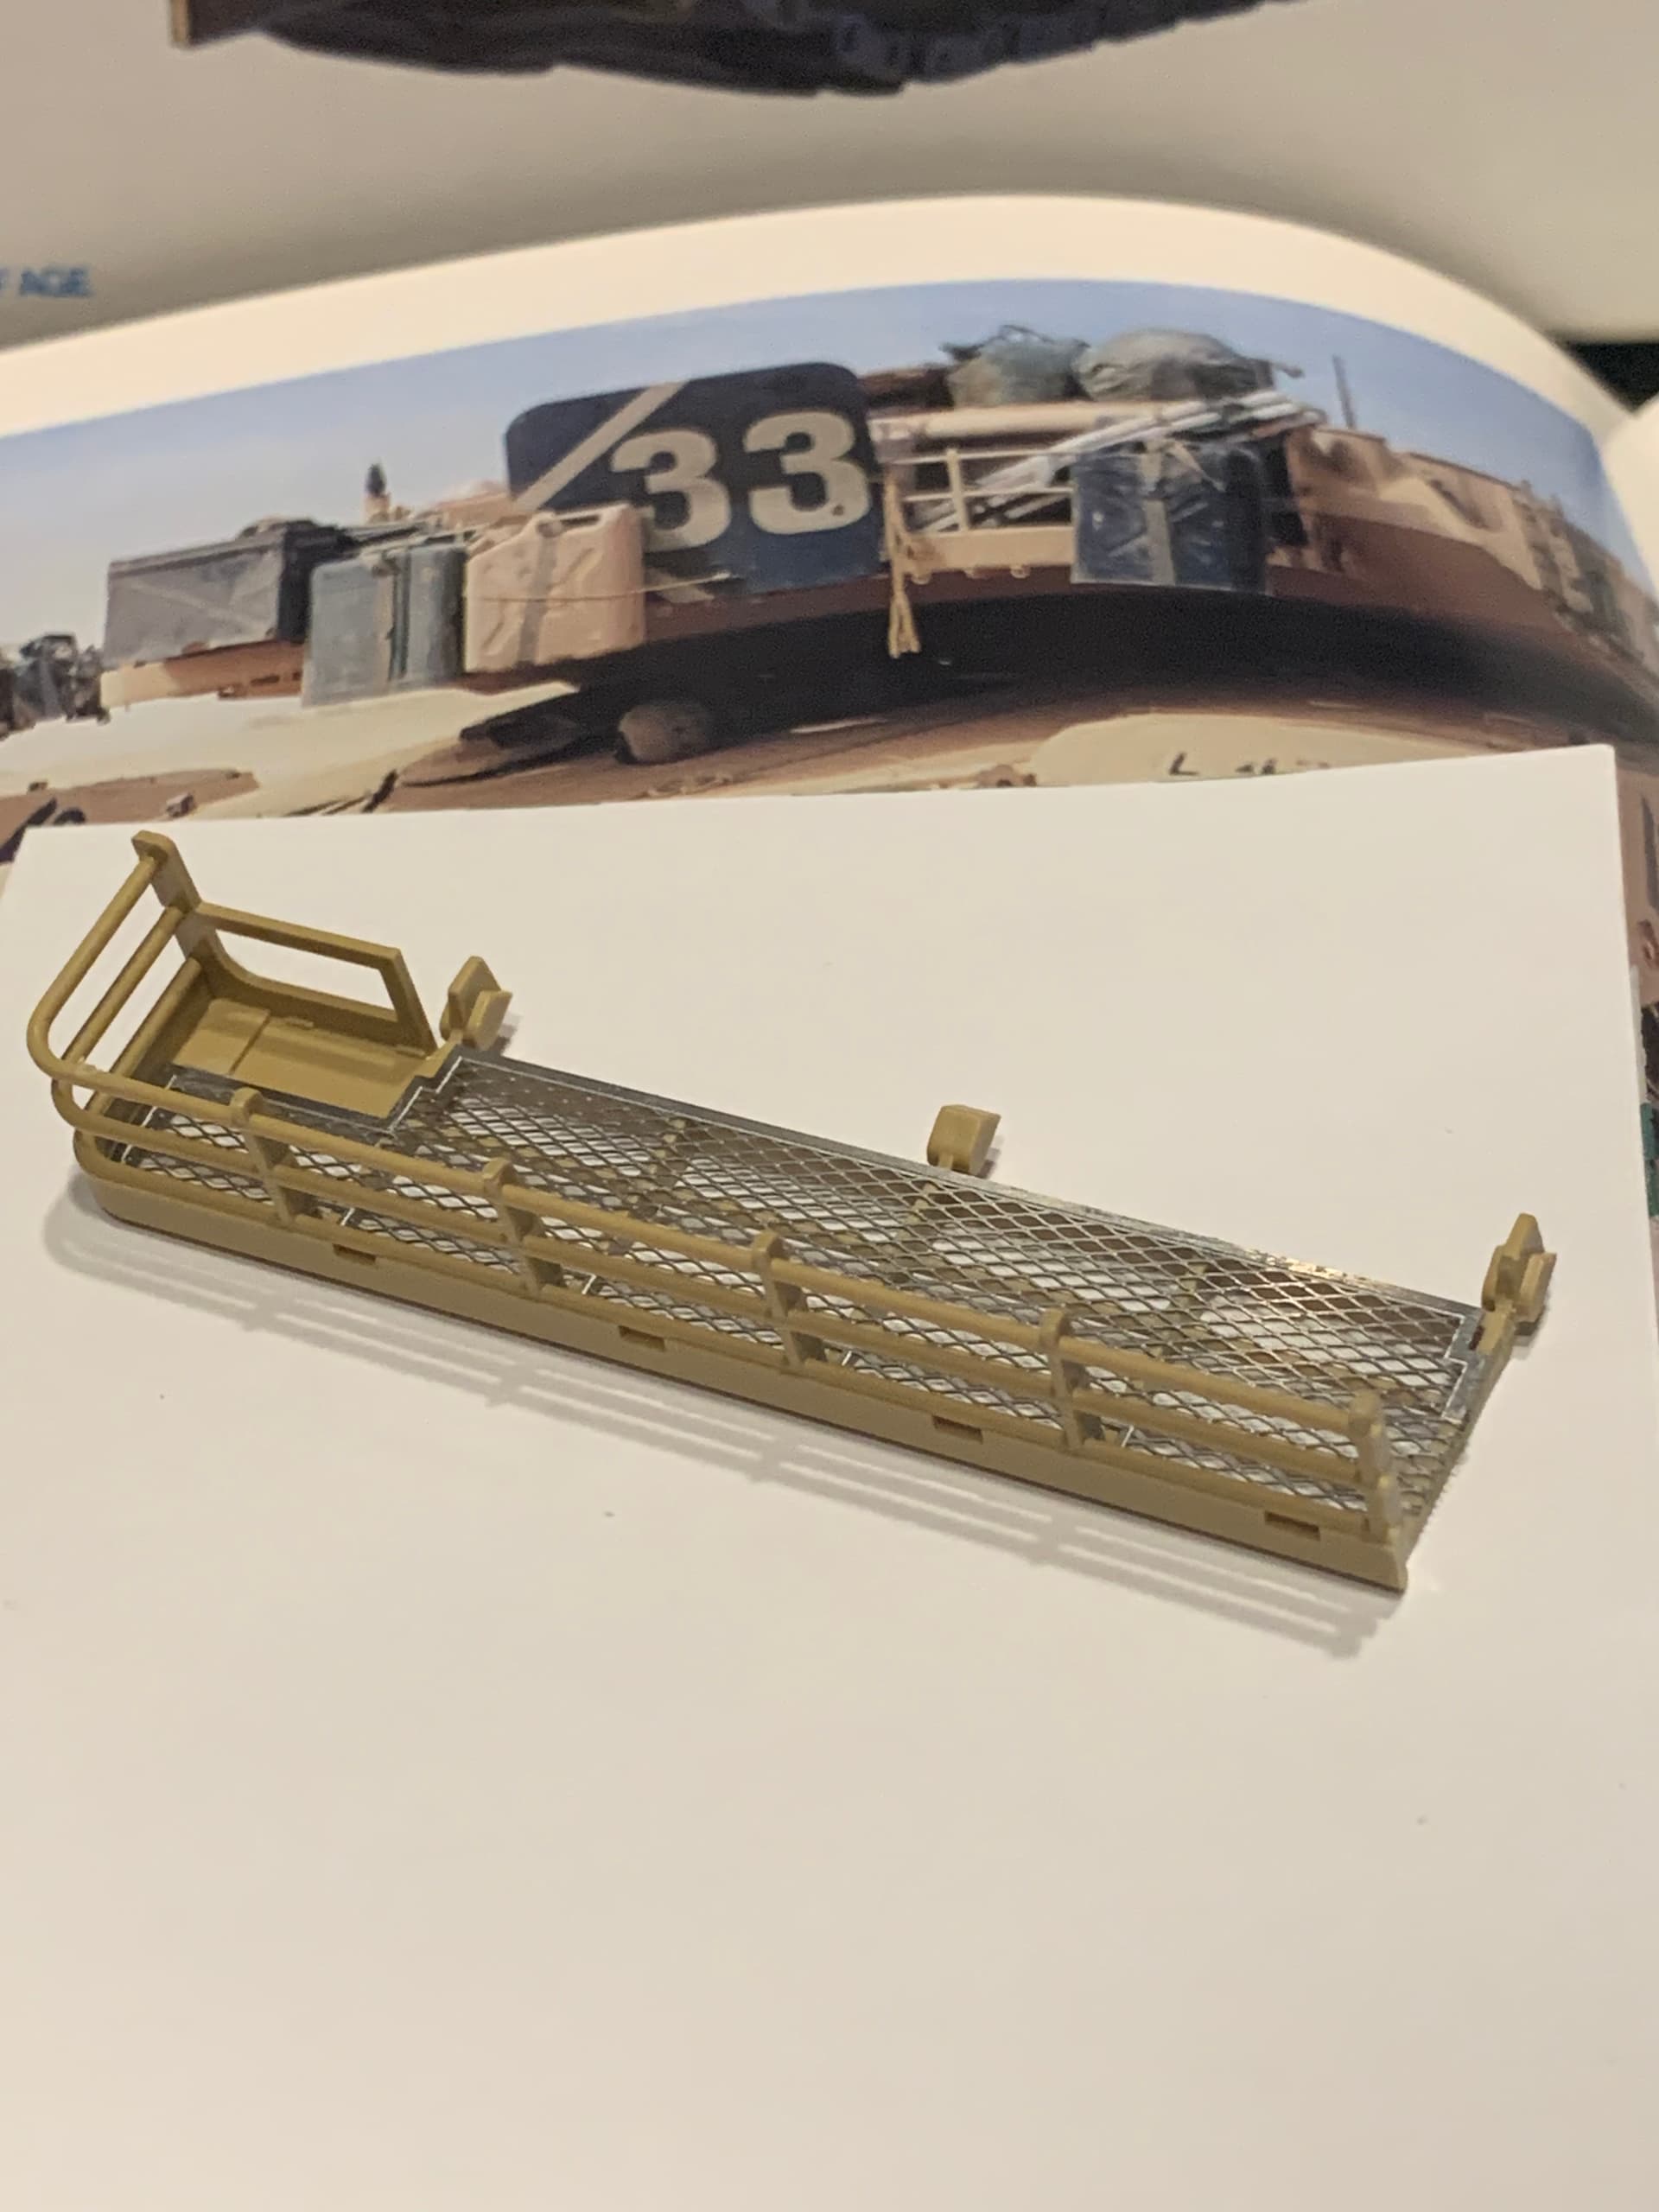
Or why the corner is missing from the bustle rack? Seems like an odd spot to sustain damage.
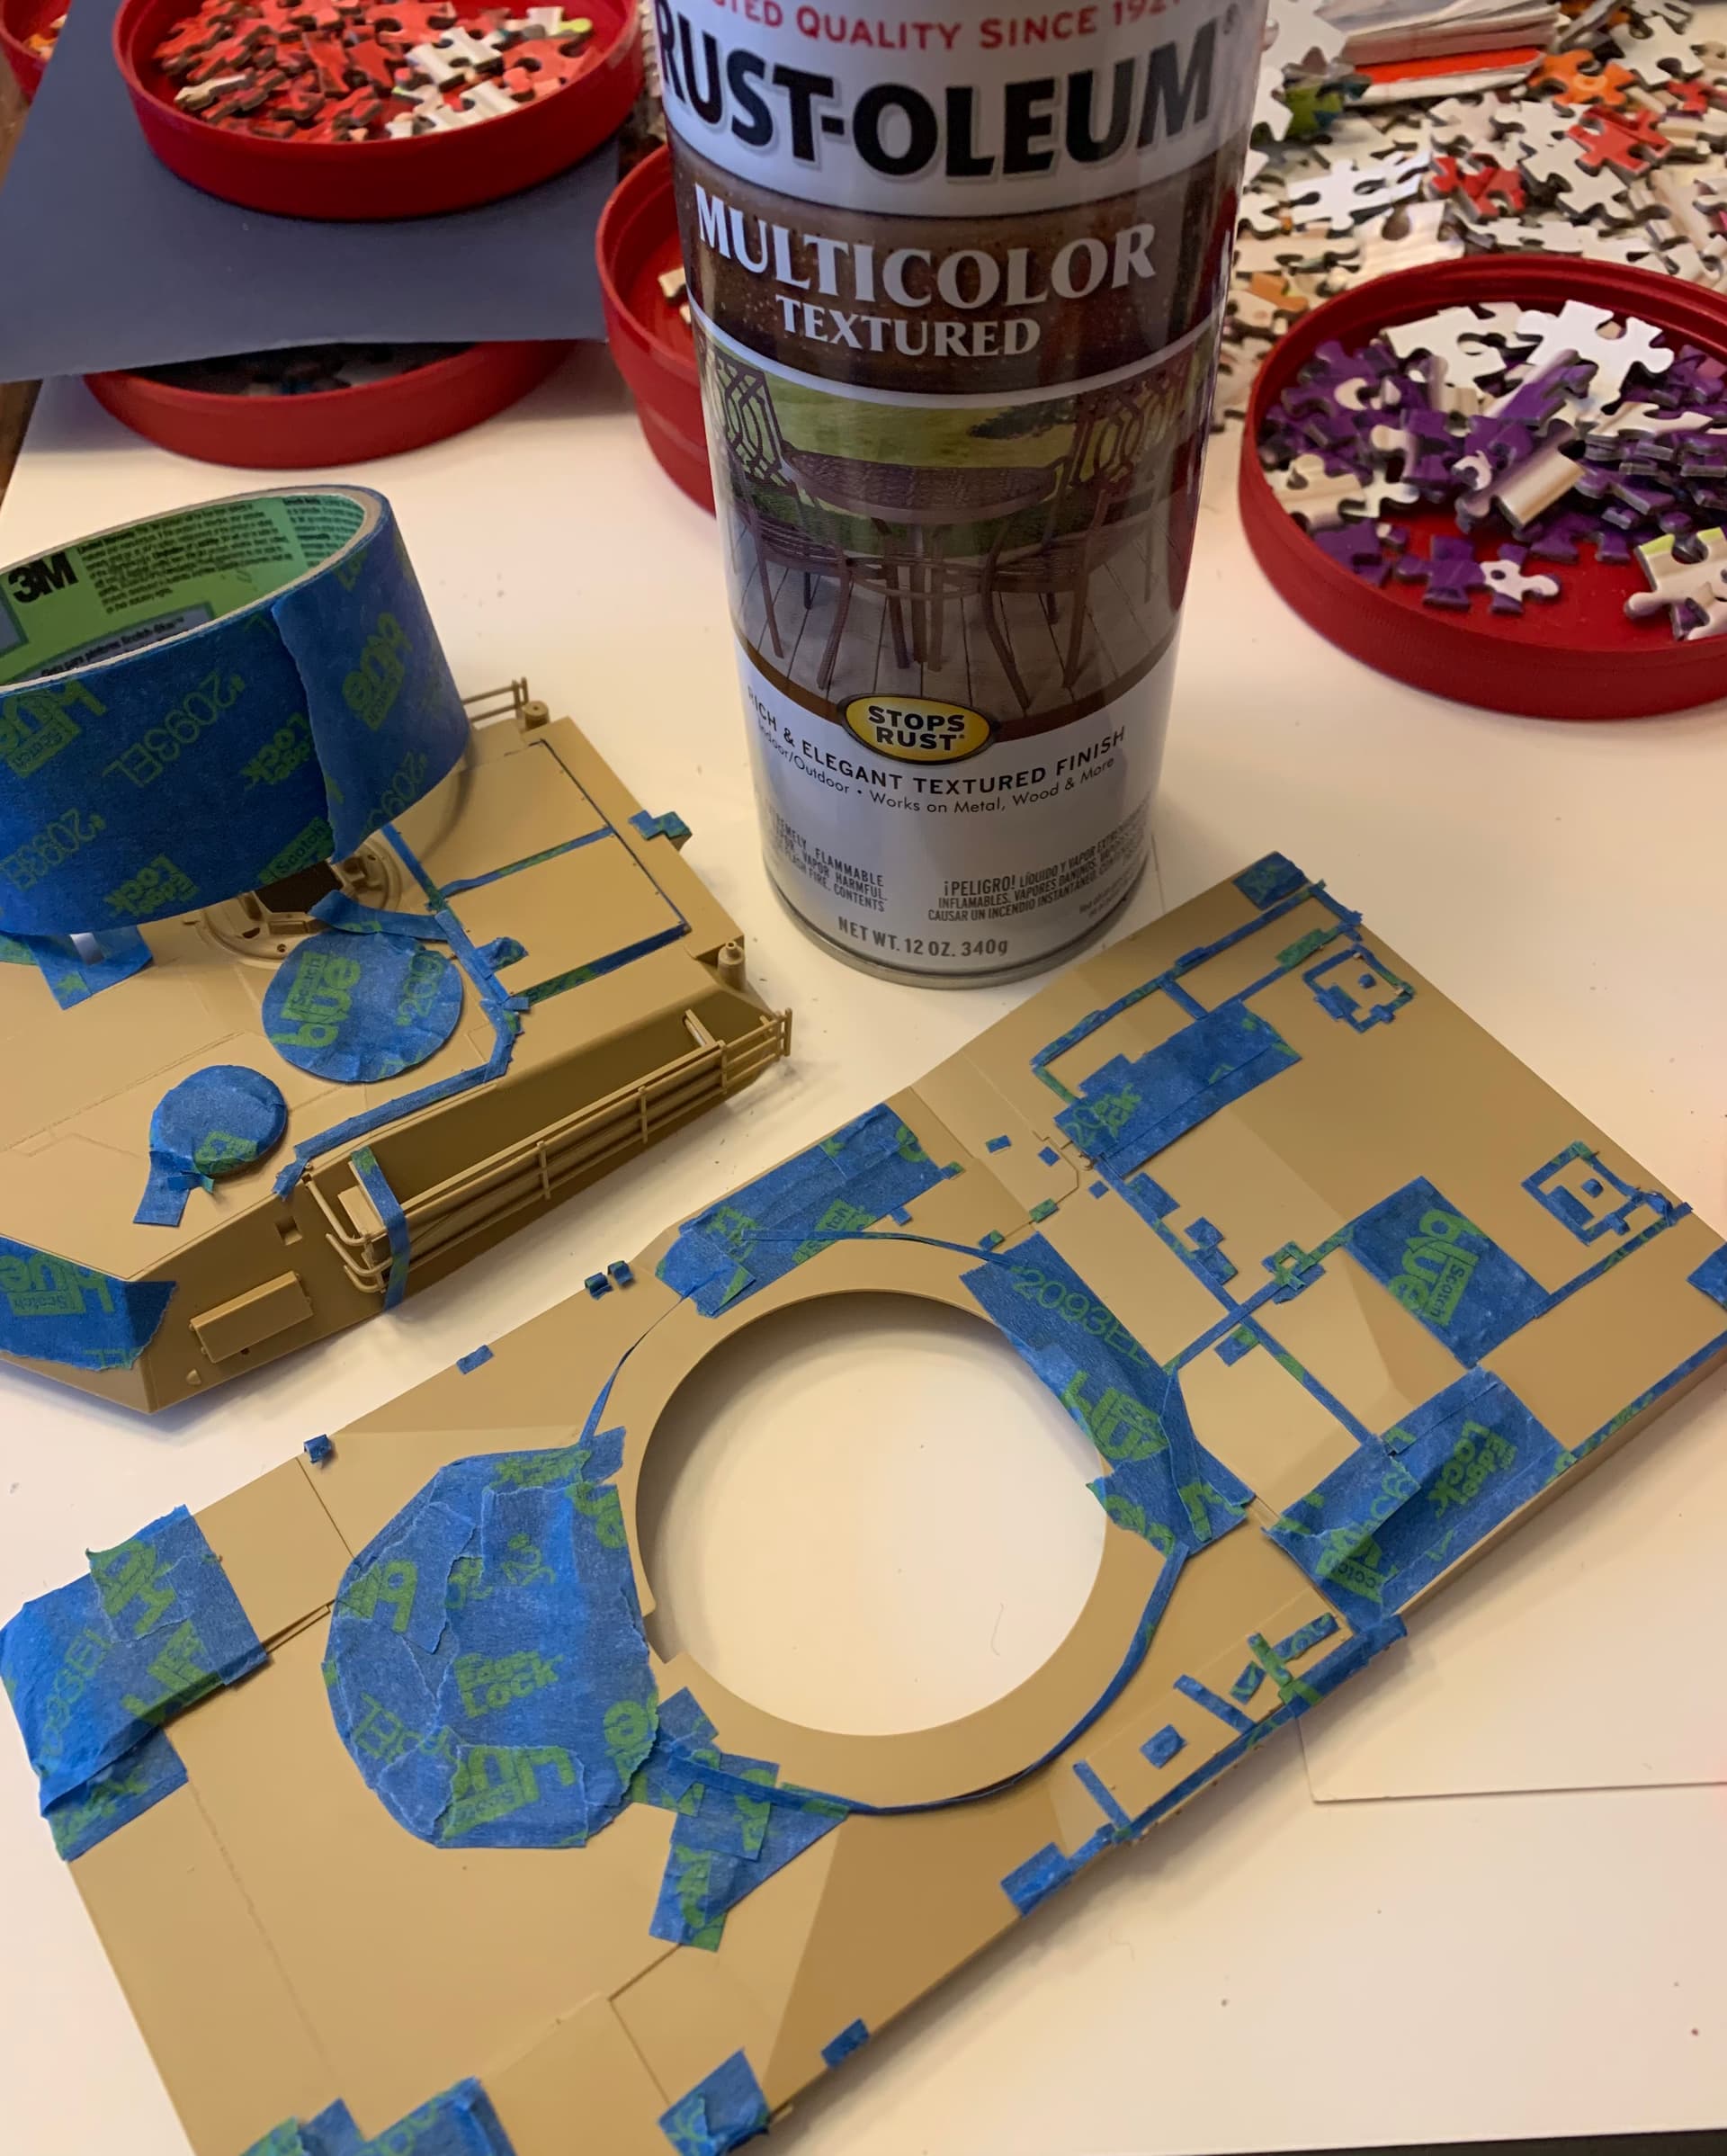
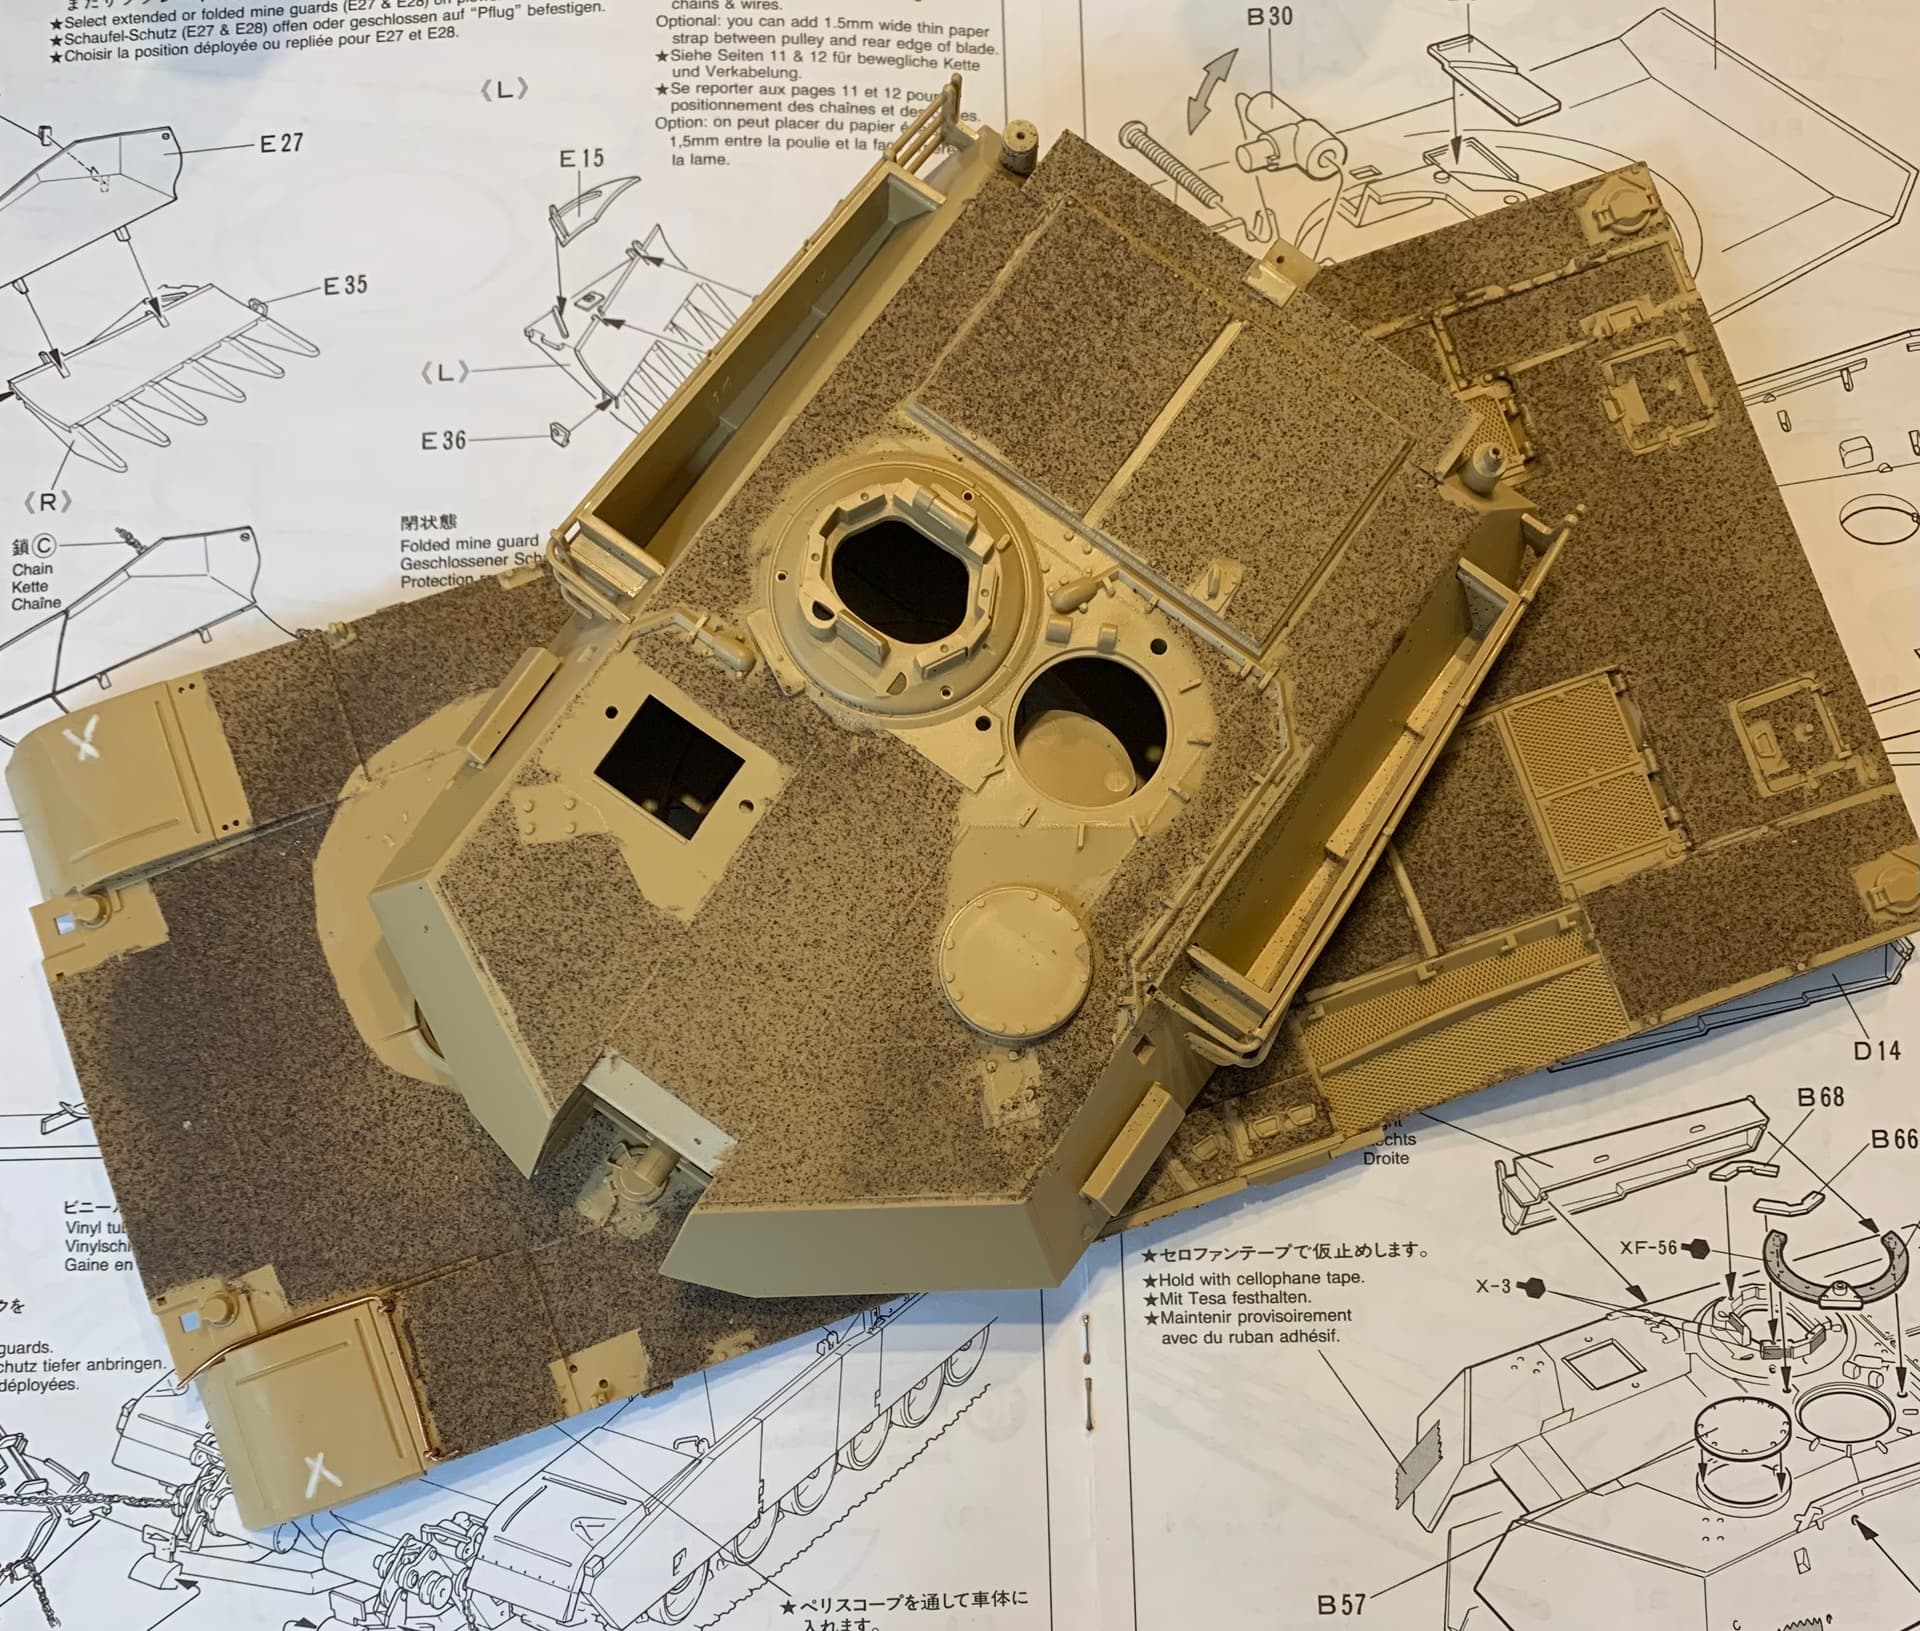
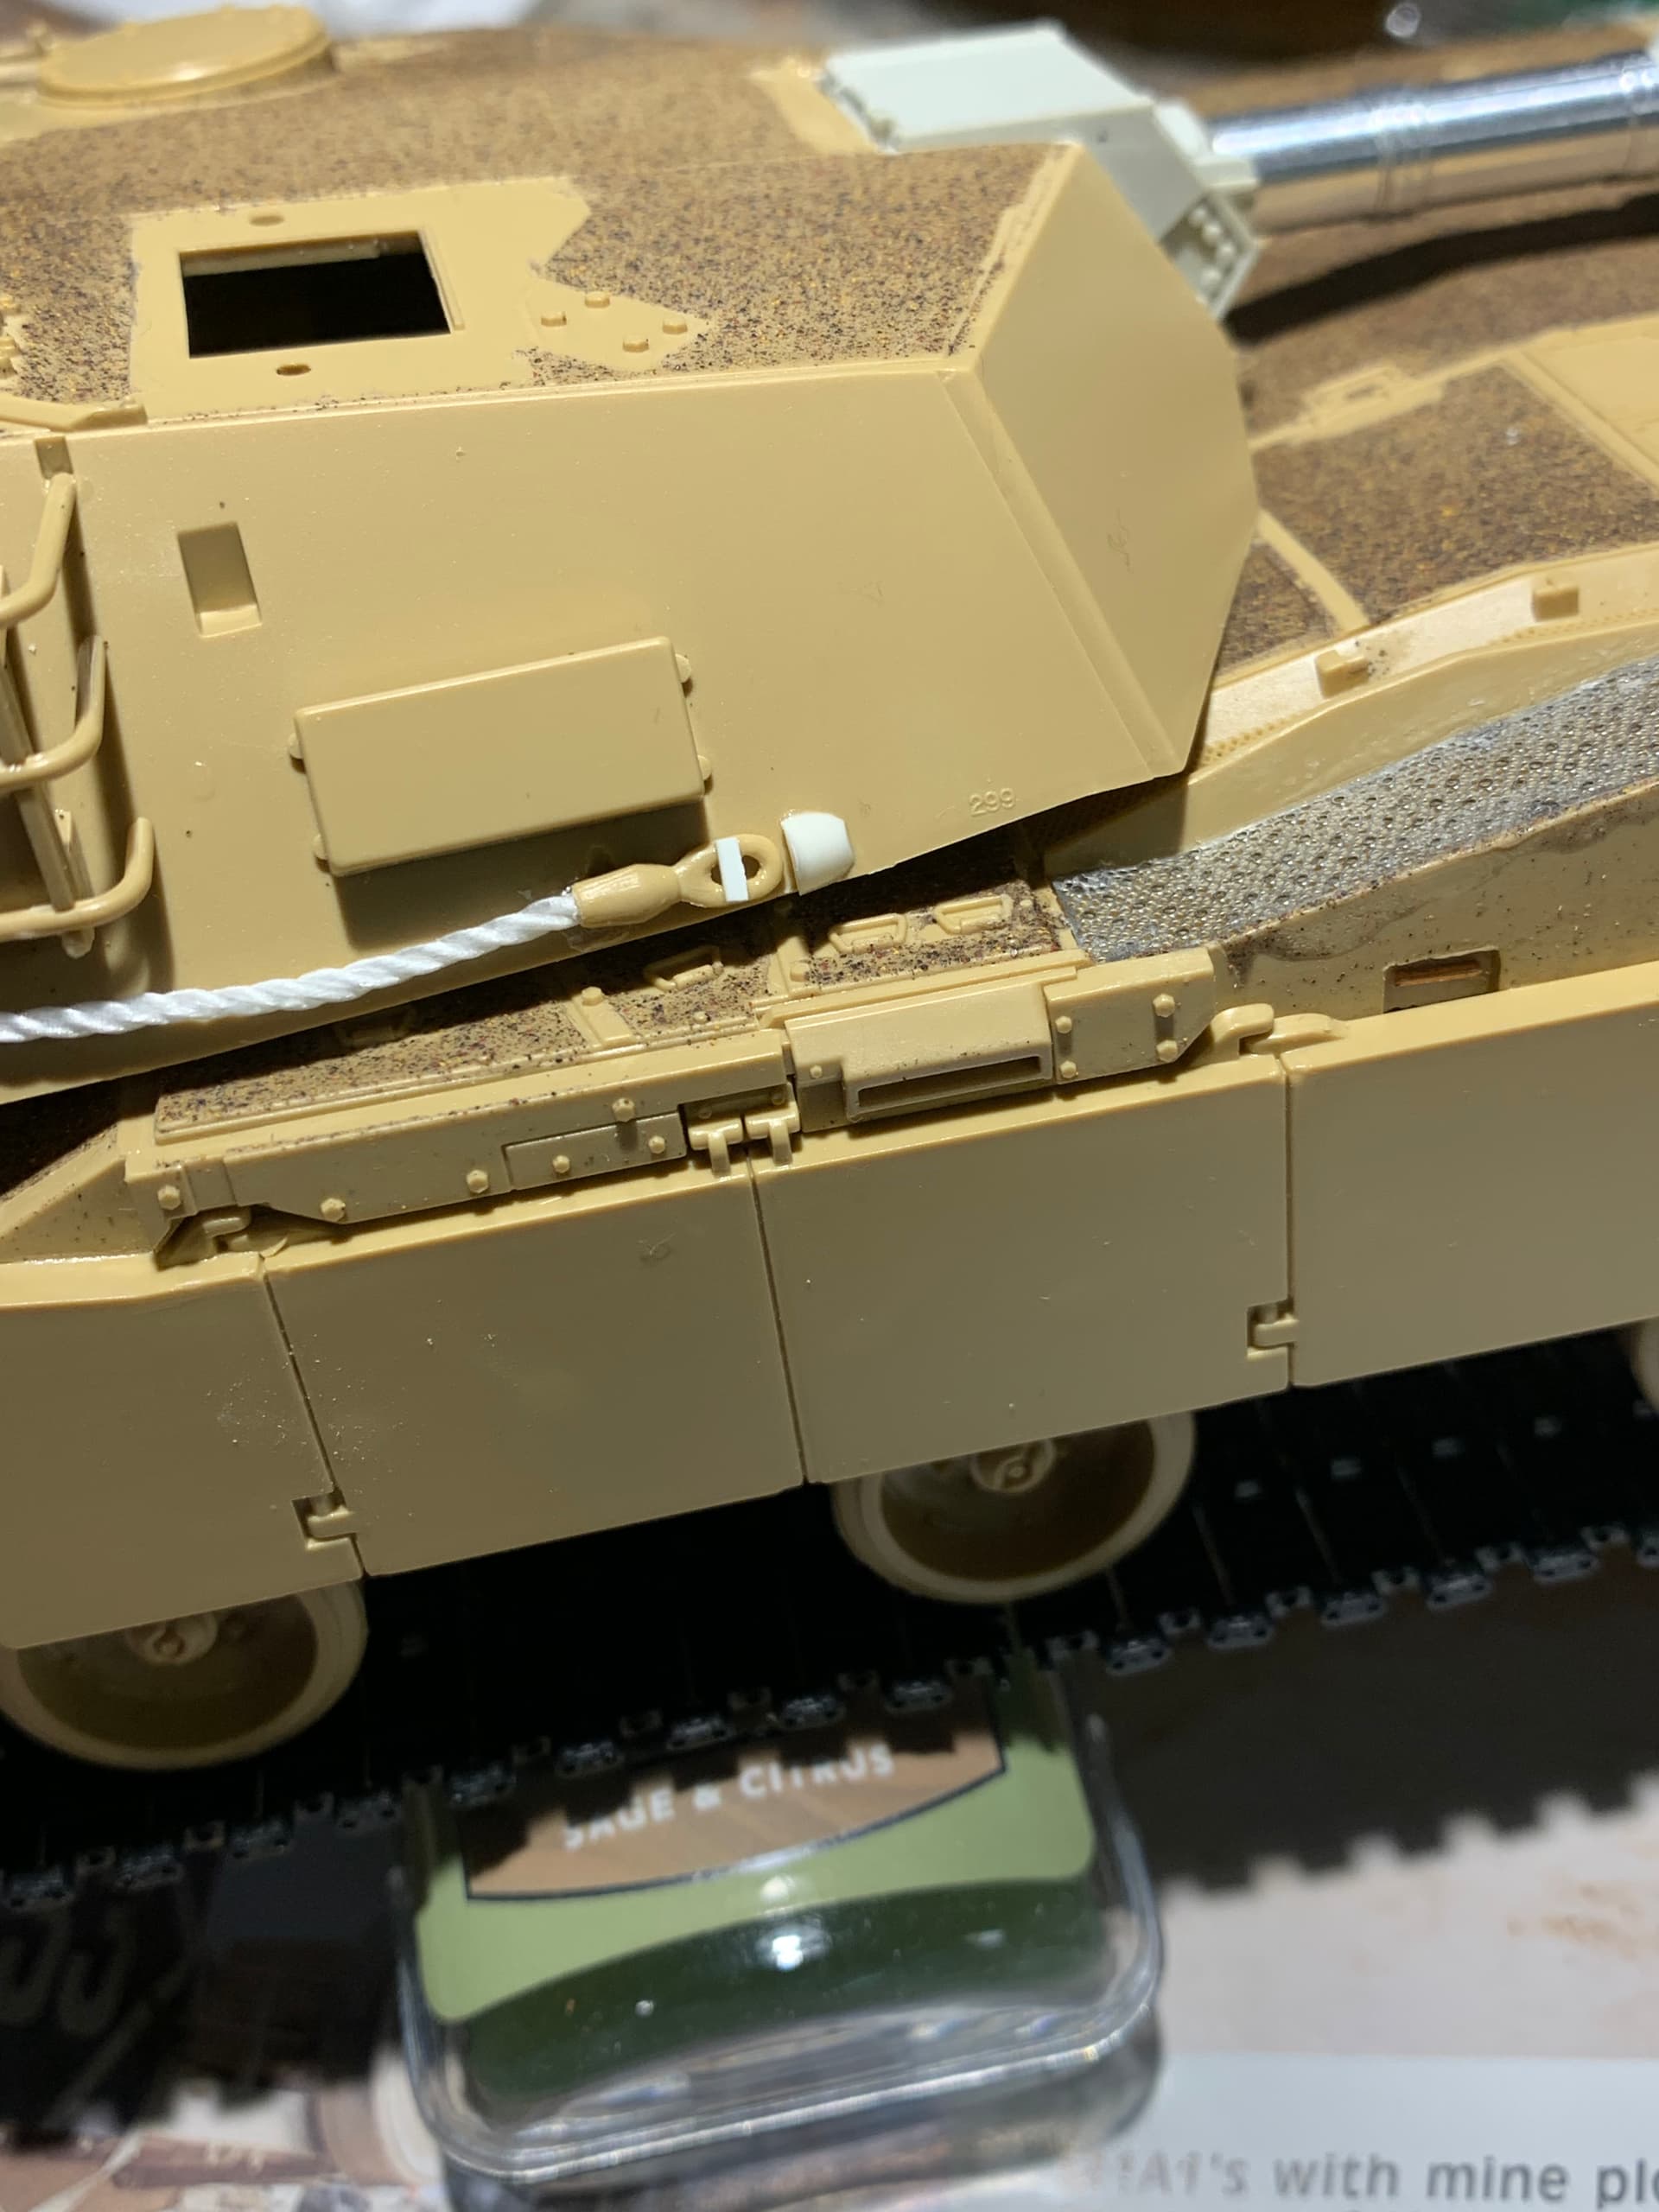
Unfortunately my putty has dried up so the “X” is going to remain un-filled until the my next supply order arrives. Some textured spray paint is also on the list to do the non-slip surfaces.
The only one I have seen in 1/35 is the newer version in the AFV Club M109A6 Paladin Howitzer kit (Parts R29 & R30). It is not in their other M109 kits.
If I were you I would fill that X using stretched sprue.
With a few minutes of practice it should be possible to stretch sprue
down to the correct diameter. Press in position using extra thin “glue” or solvent
to soften the styrene. Fill remaining gaps with thinner stretched sprue.
File down and fill any remaining small gaps with CA.
Don’t know why it damaged but if you turn the turret to an angle or side, it would be very easy to damage the bustle rack with it hanging out there. Granted a number of people are not doing their job correctly for that to happen but never underestimate the troops ability to mess something up and I am sure they didn’t know how it happened either.
Looks good so far, even if you picked the wrong branch to model.
@Tank_1812 LOL. Believe me, it was a close call. I’d collected some photos of Gulf War M1A1s with the mine plow, just came down to having the markings in the kit.
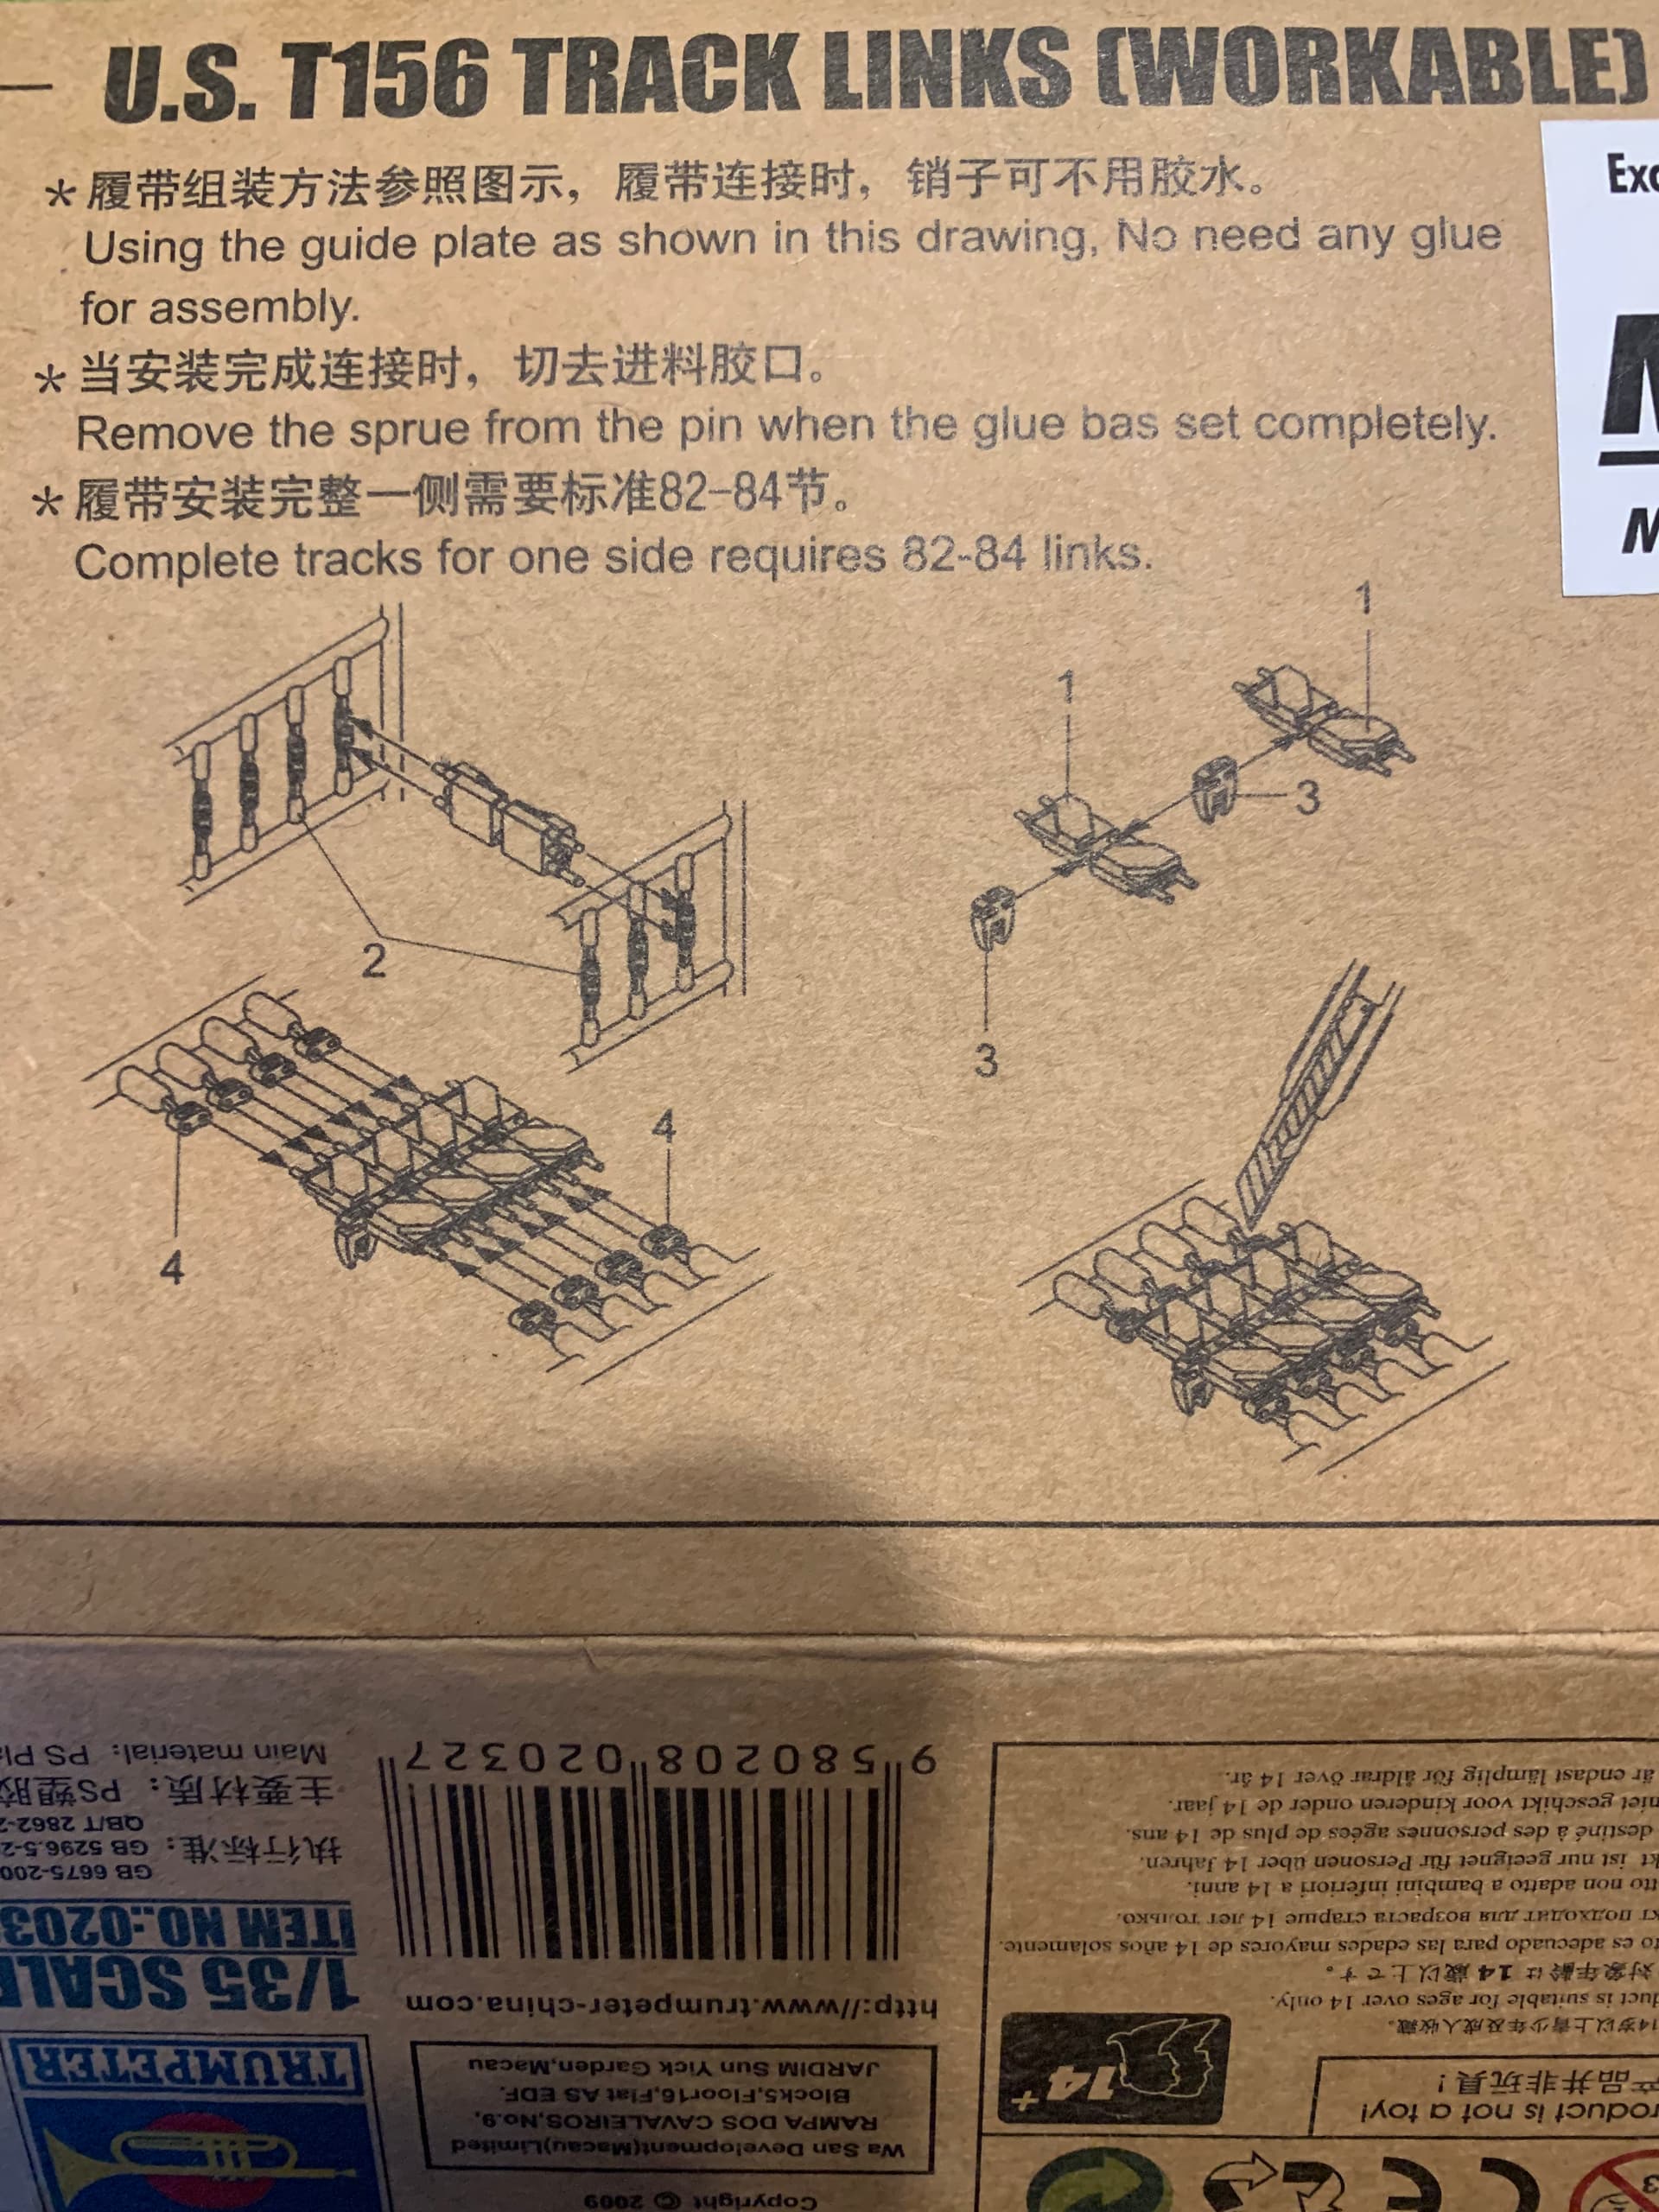
@Seanmcandrews The tracks are from Trumpeter, #02032. They’re a reboxing of the Armour Track Models. Similar but much more time consuming and not quite as easy as the AFV Club style.
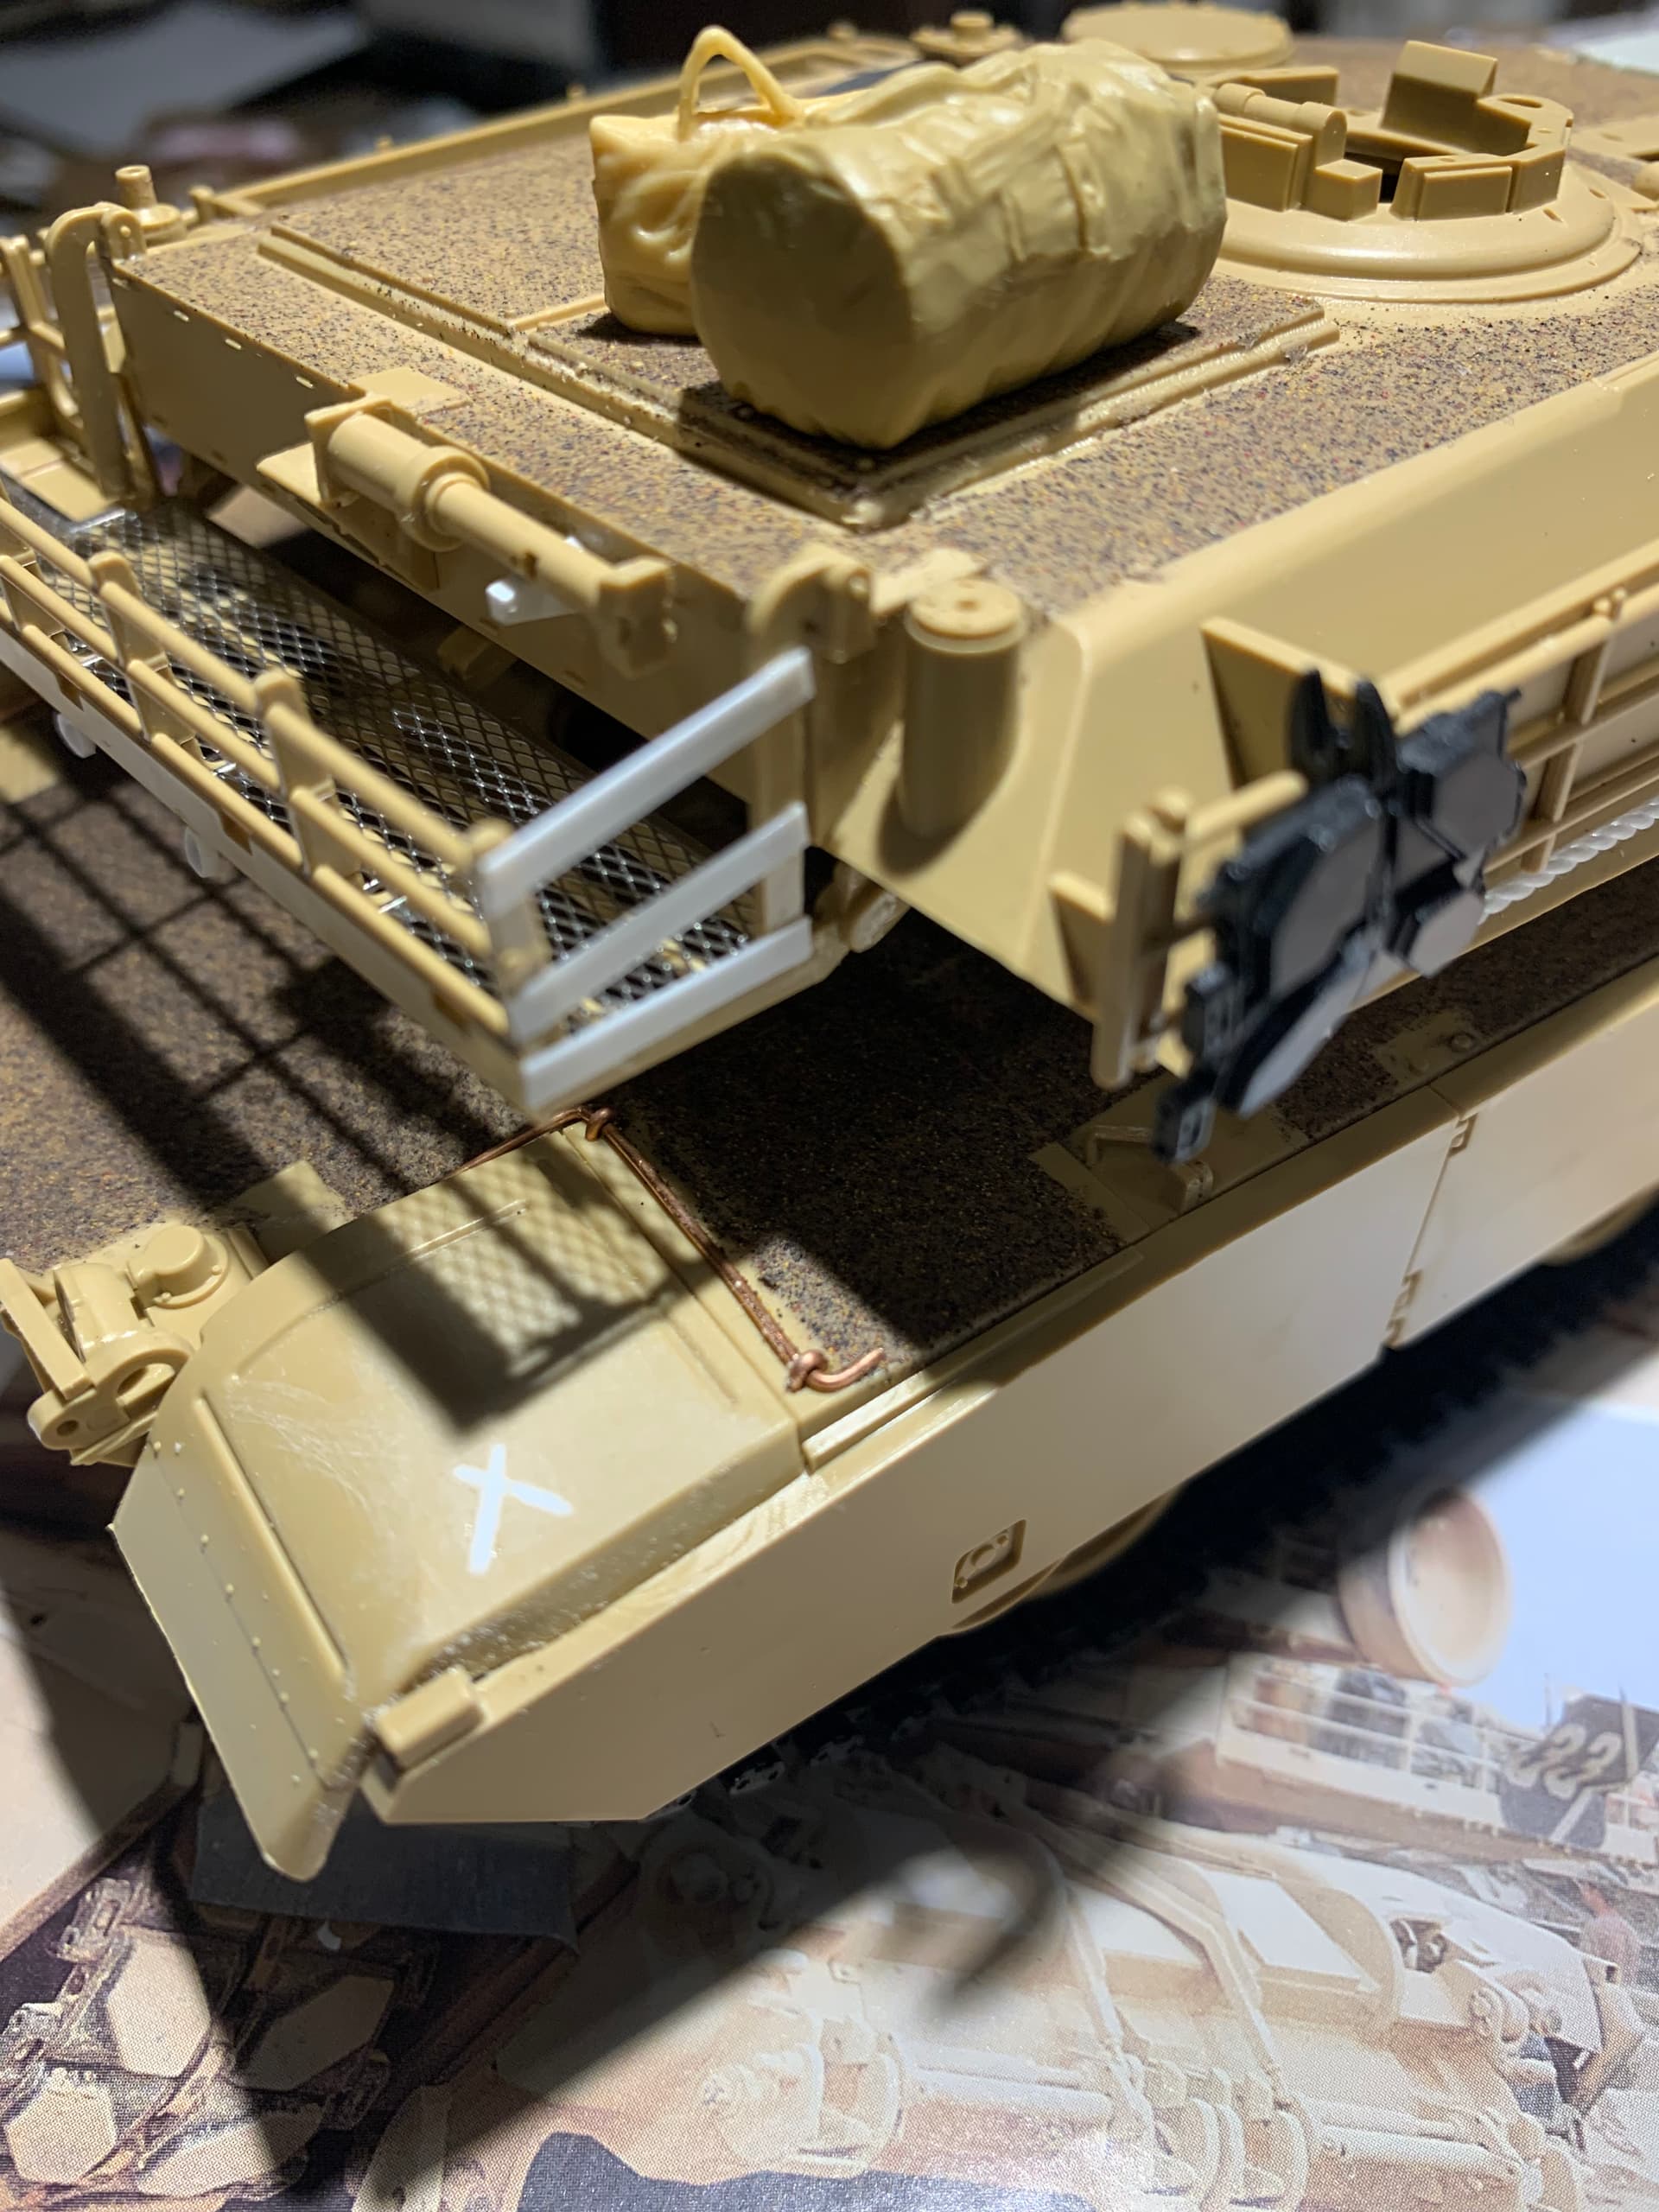
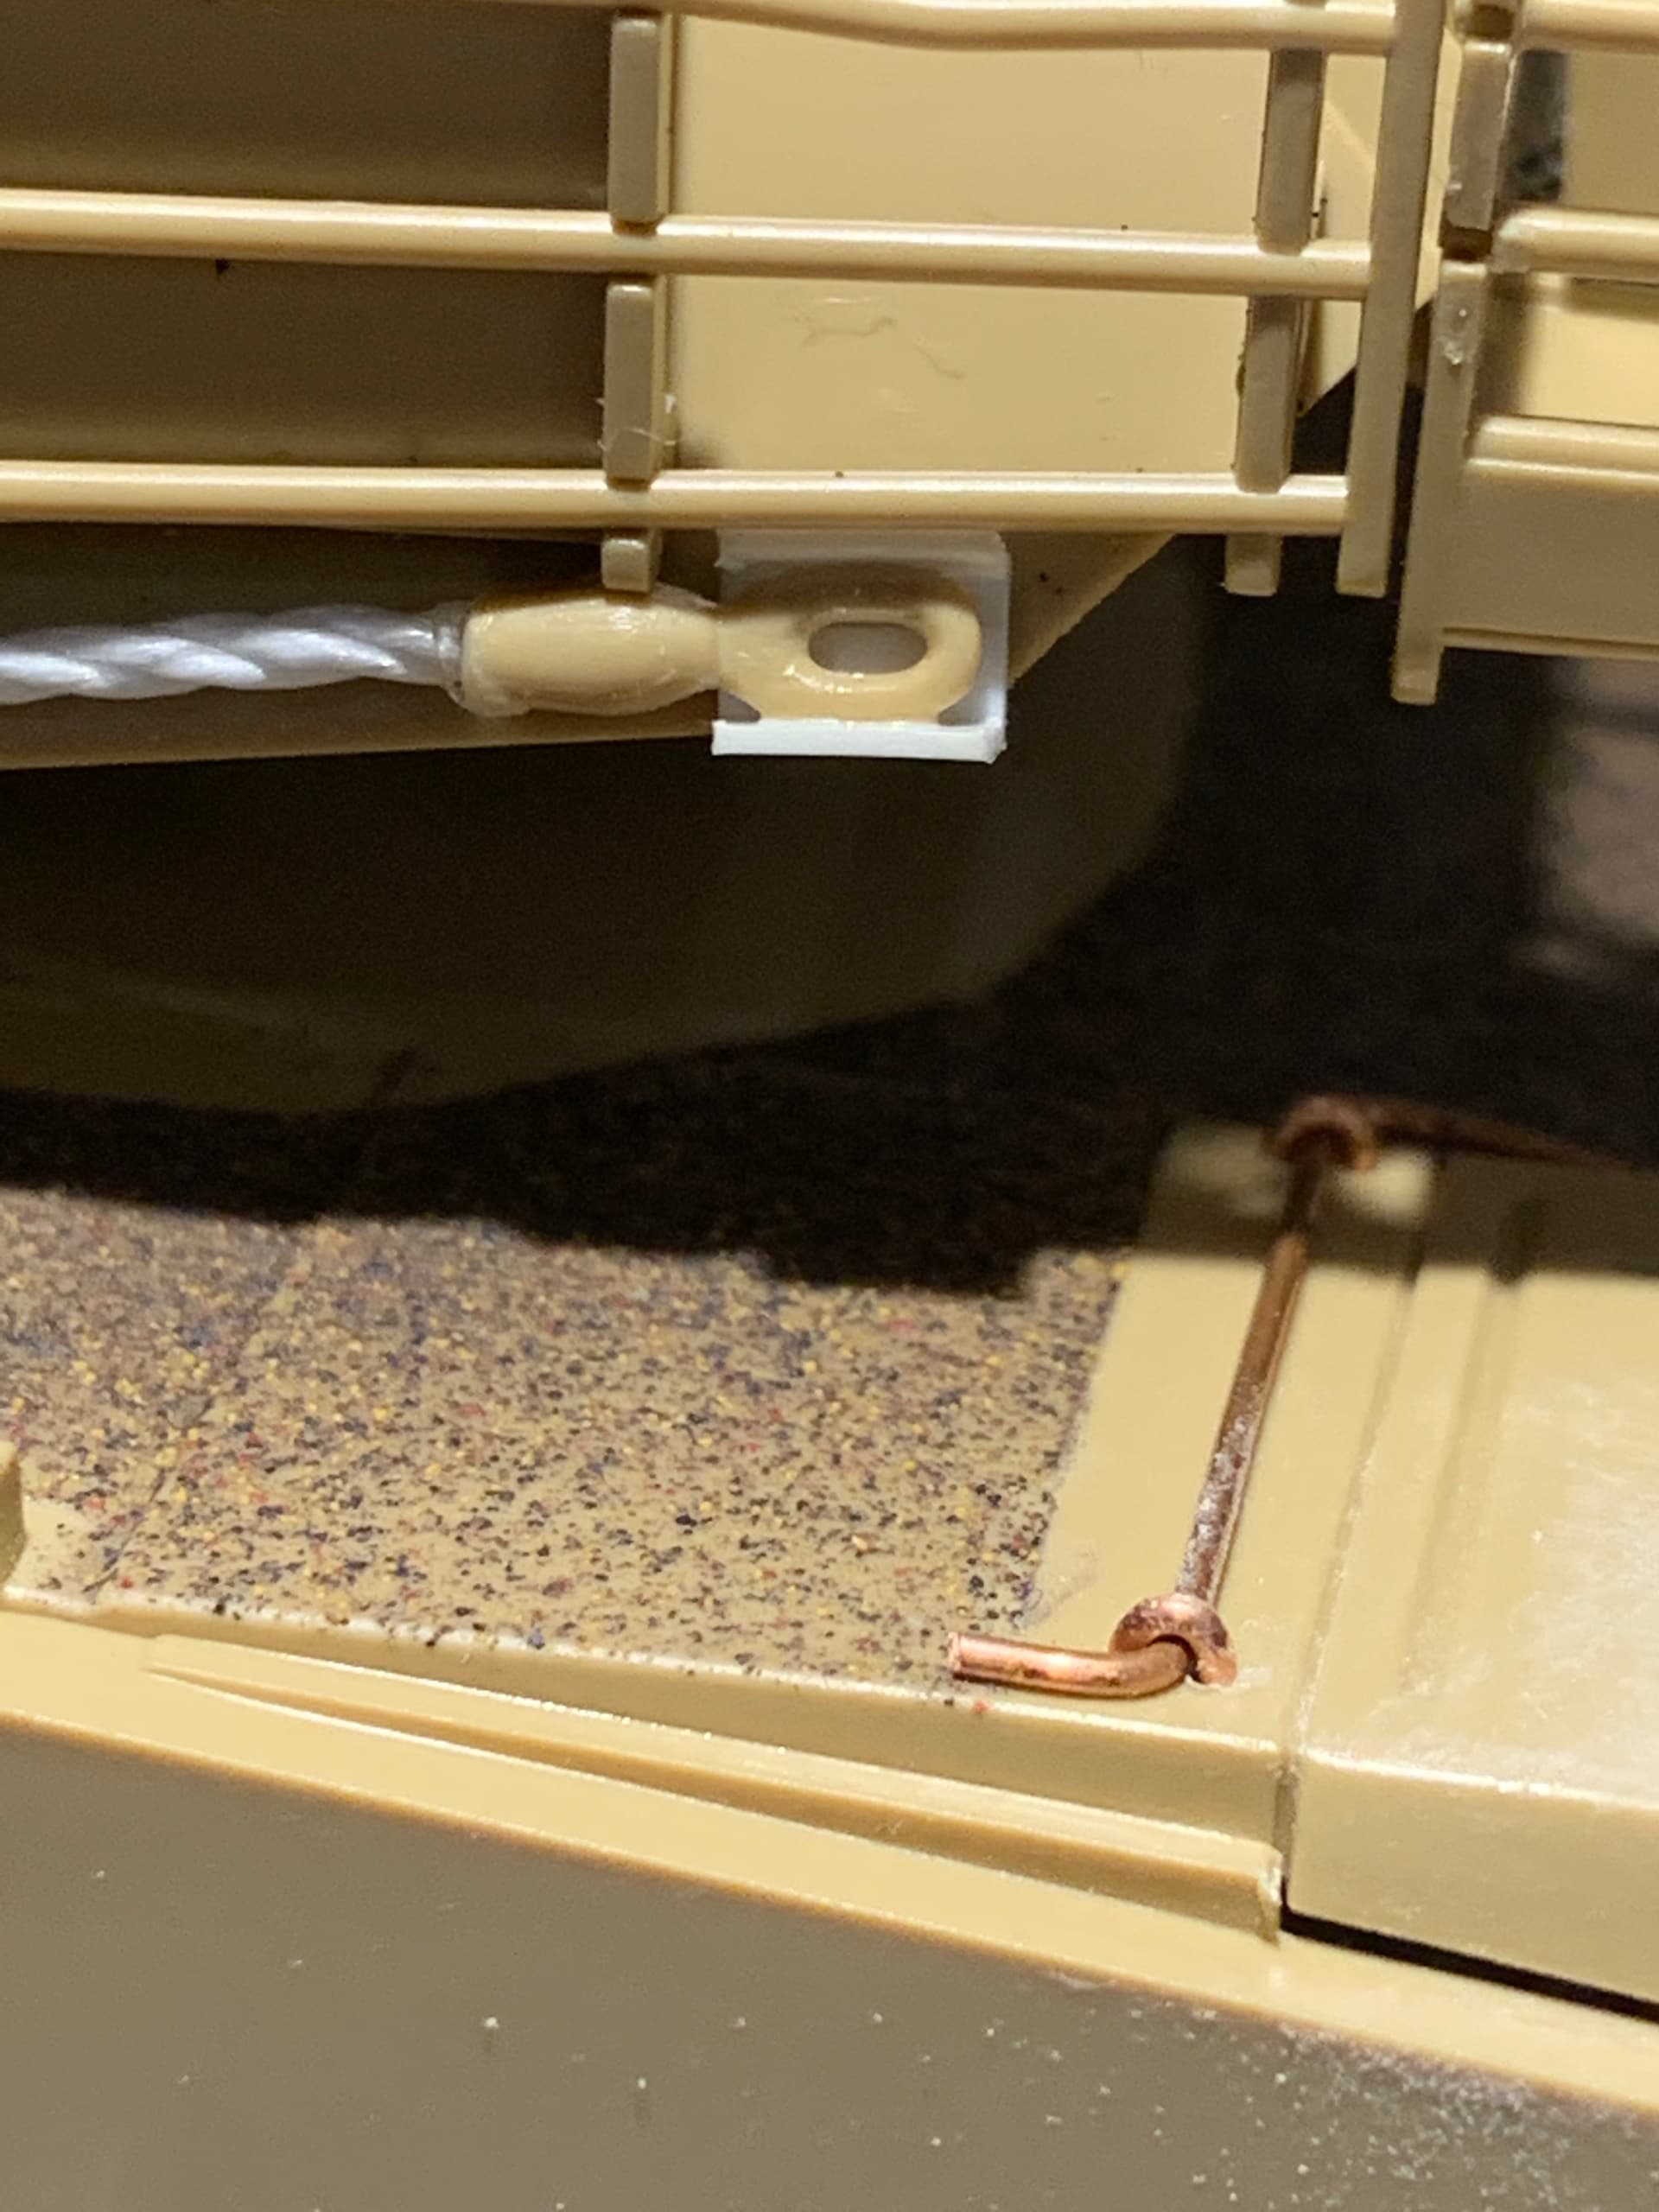
I know some of the scratch built details are a little out of scale and/or not 100% accurate, like the rear tow cable holders. Just trying to have a little stress free fun with this build….and I actually want to try and get it done.