It’s so scary how fast and how brilliantly you think of things then make it happen. The exposed brick work looks amazing Erik. It’s all starting to gel together now really really well… Fantastic work. 
1 Like
Thanks John! I go for the slogan: “Life is short, build fast”
Update.
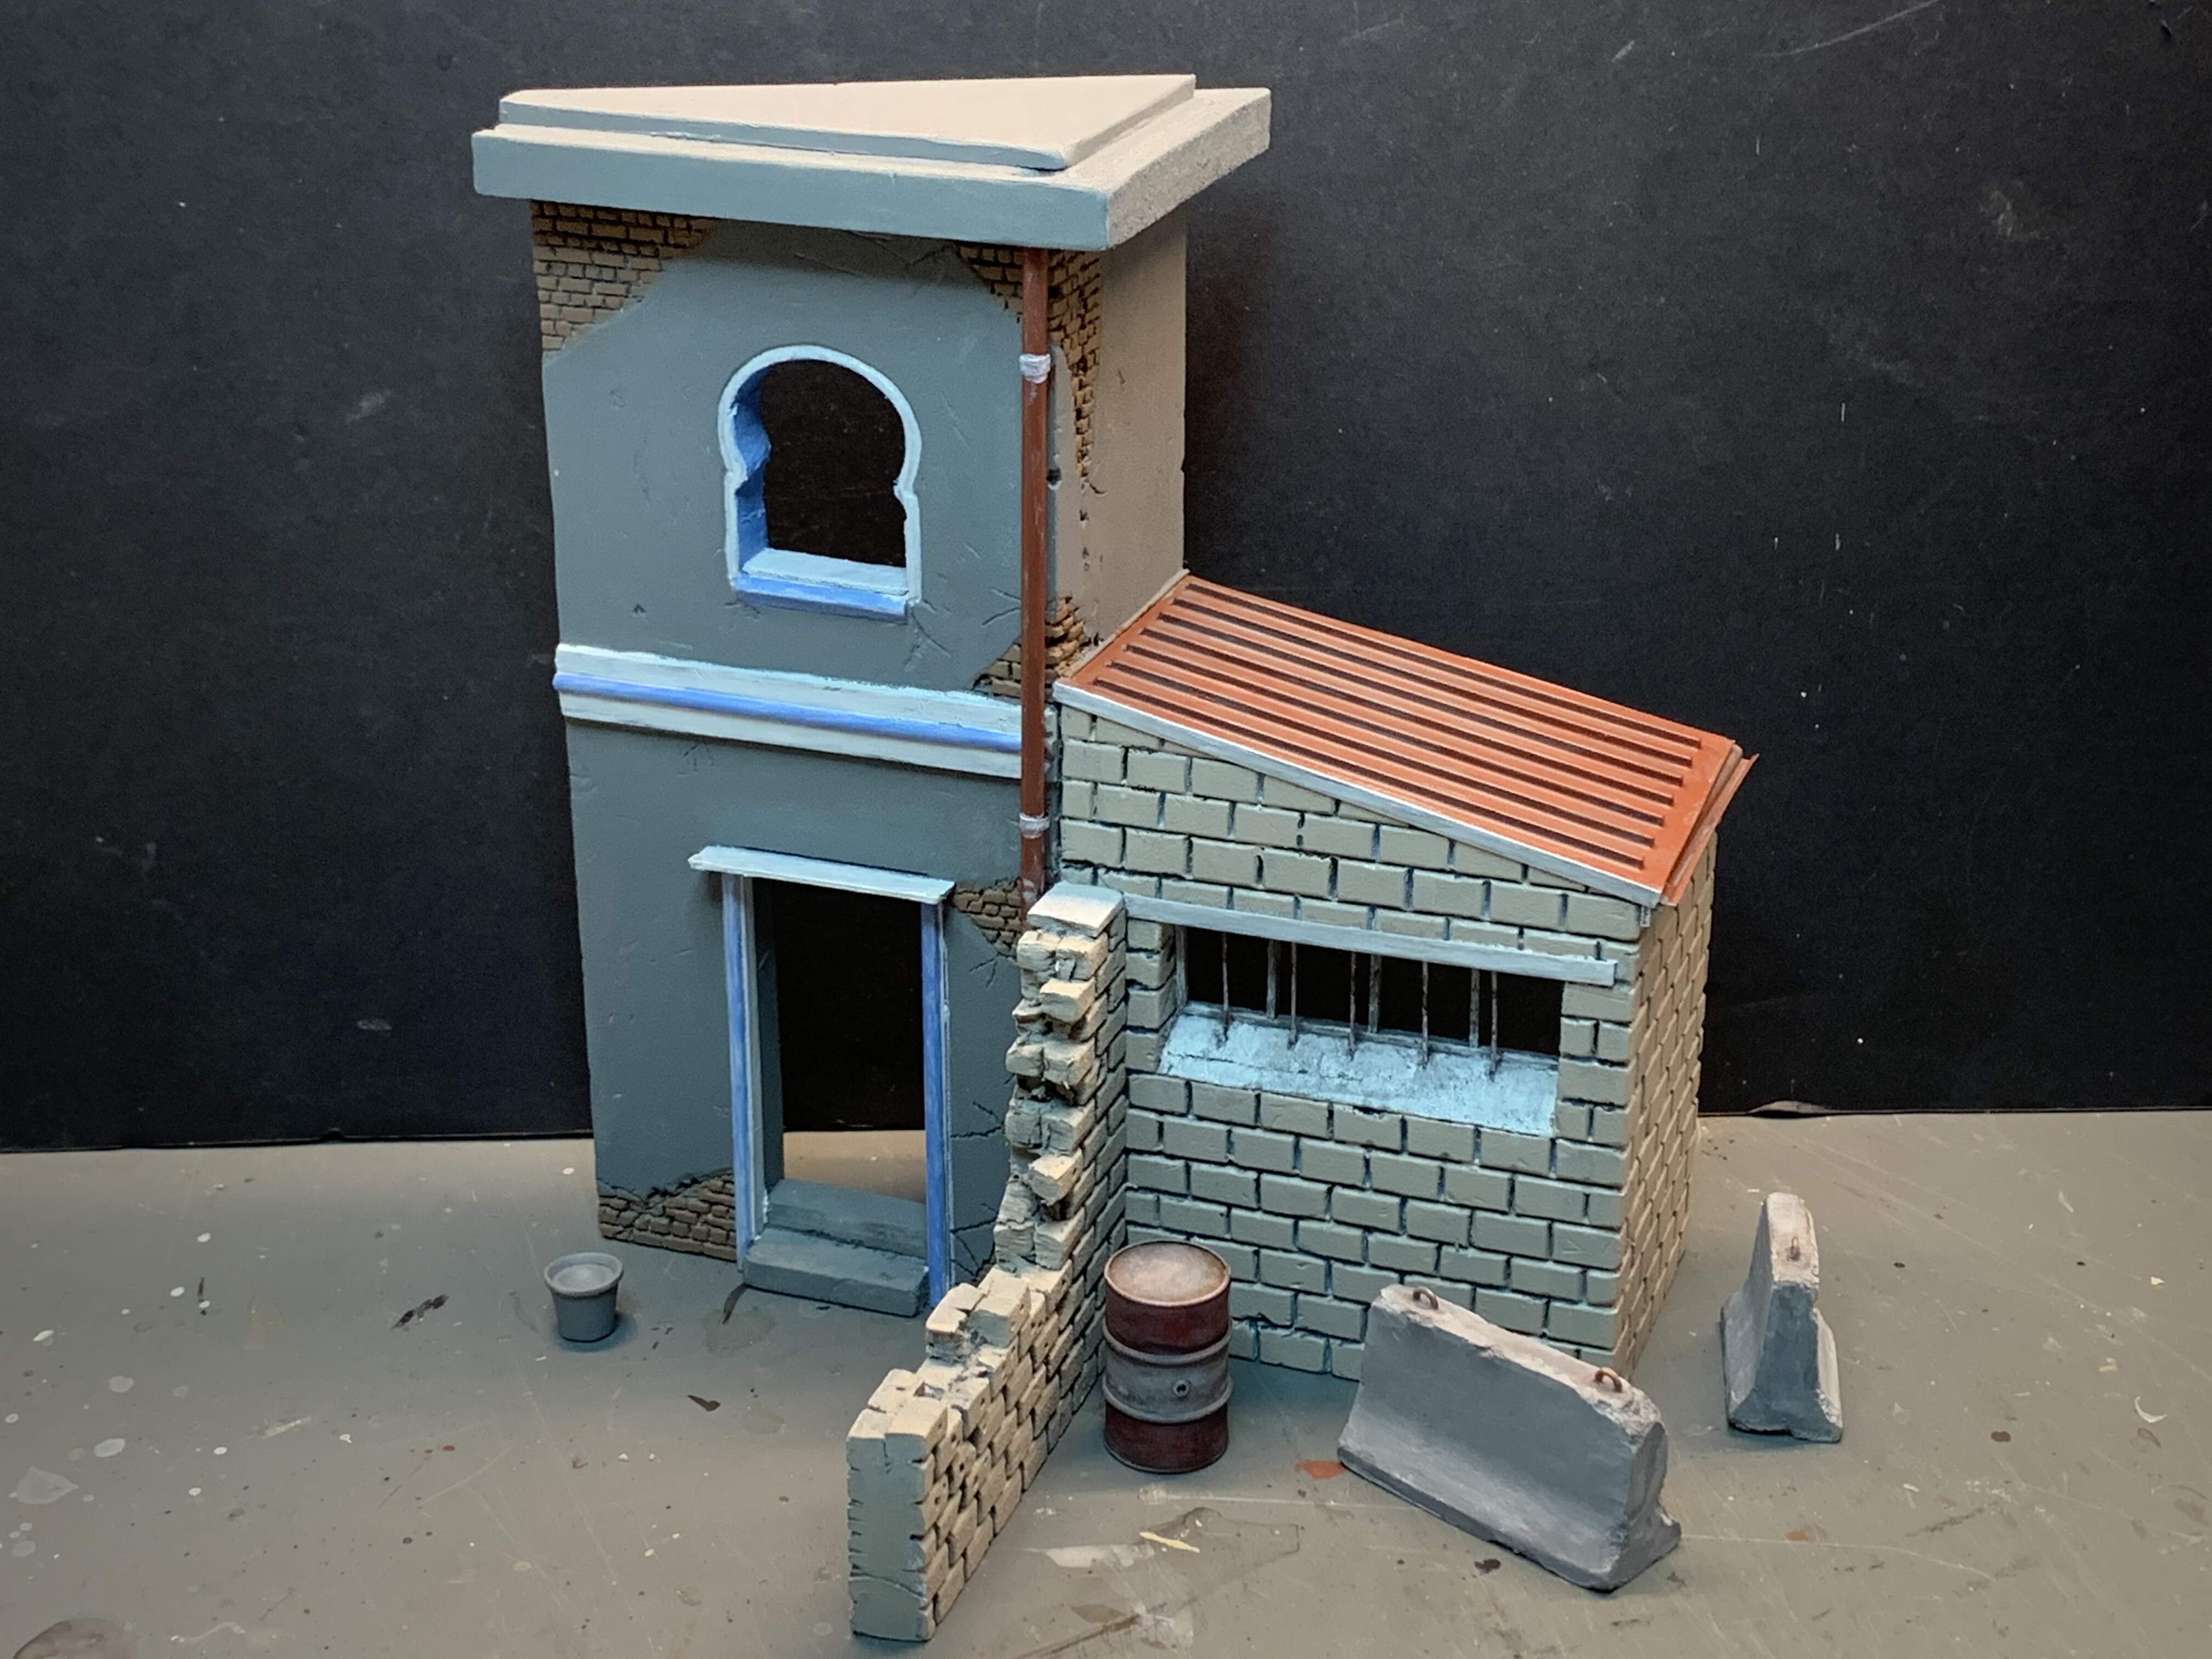
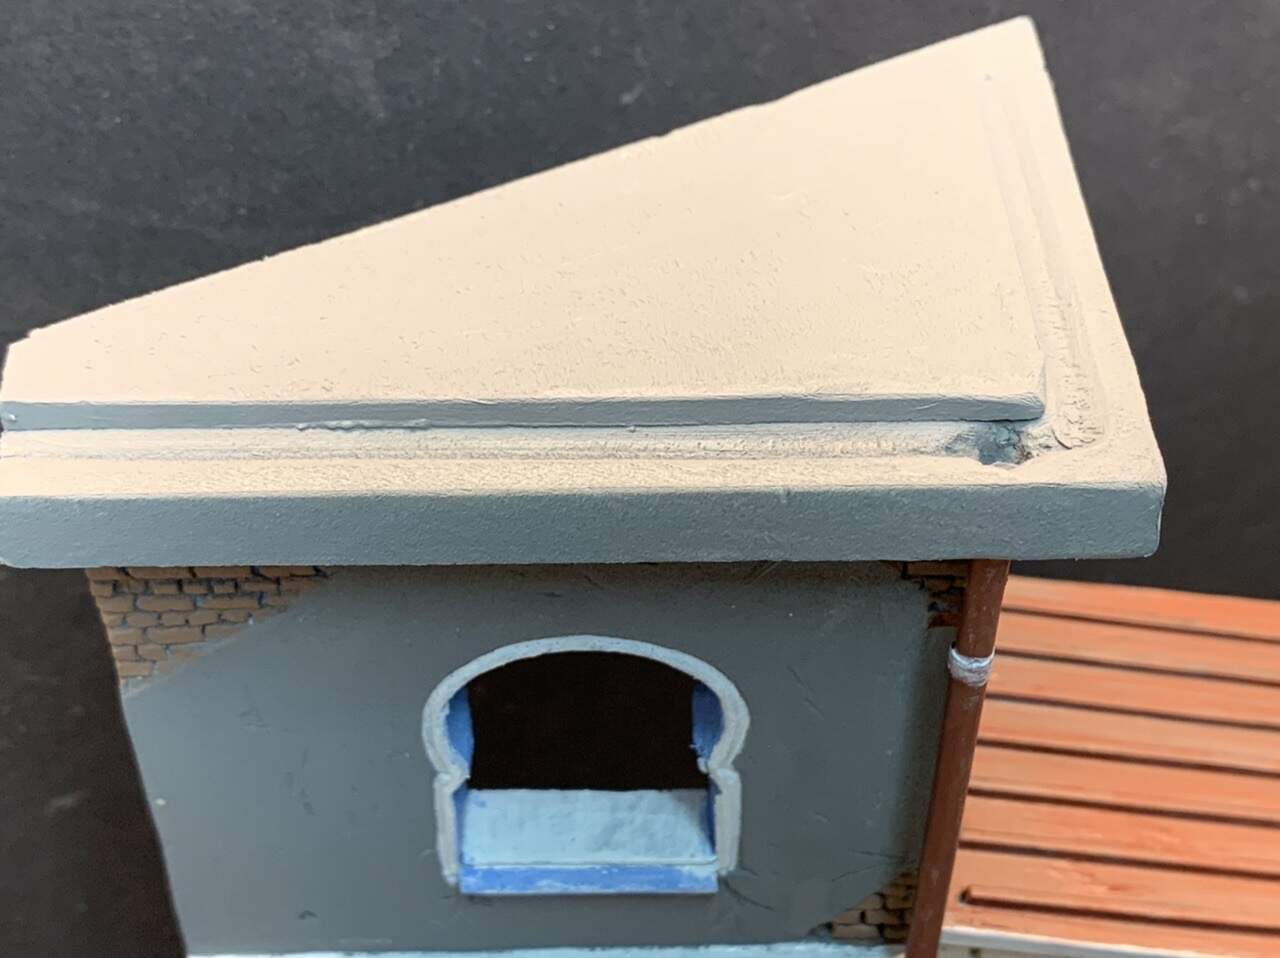
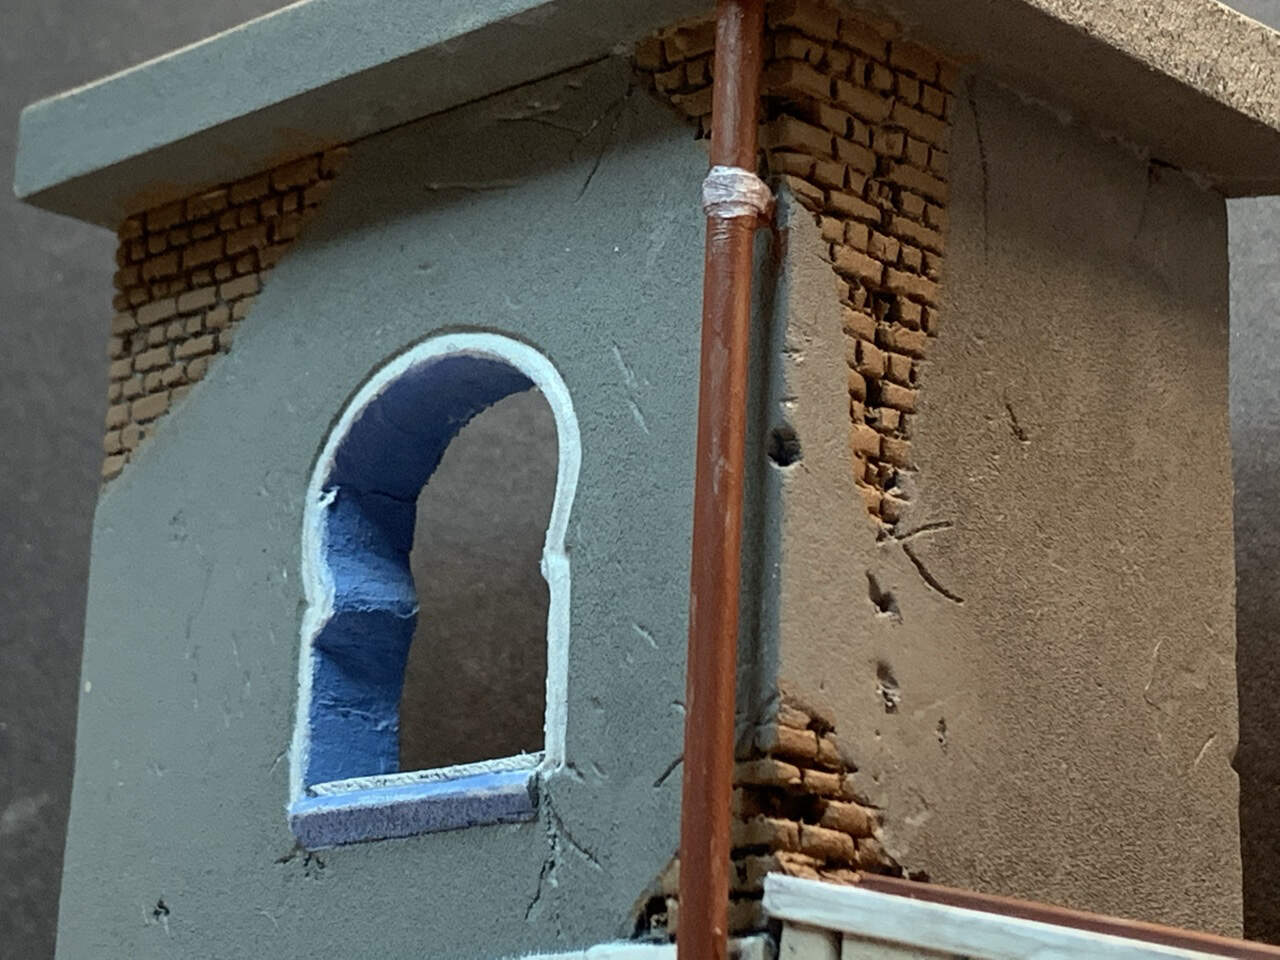
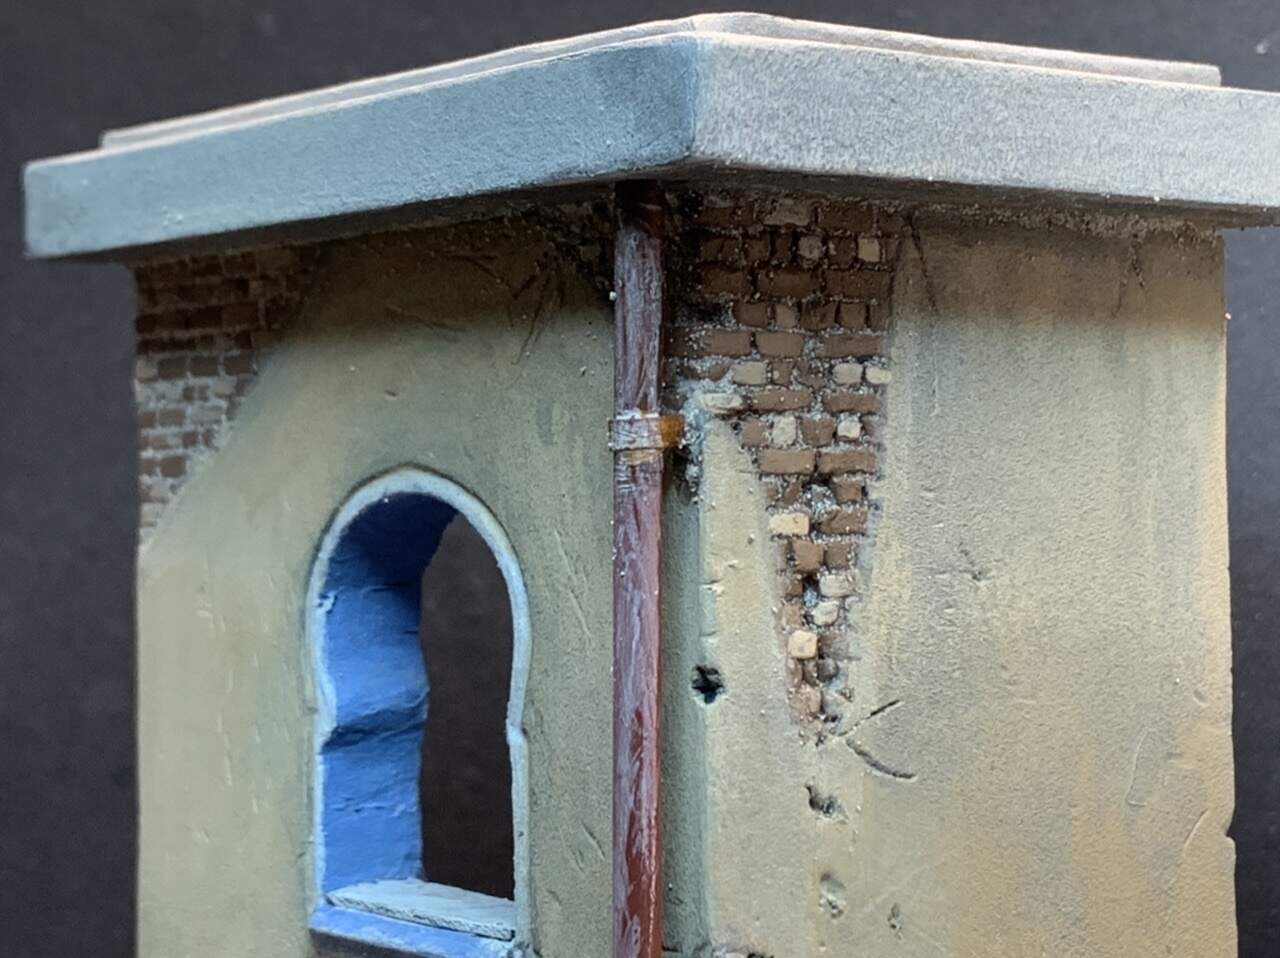
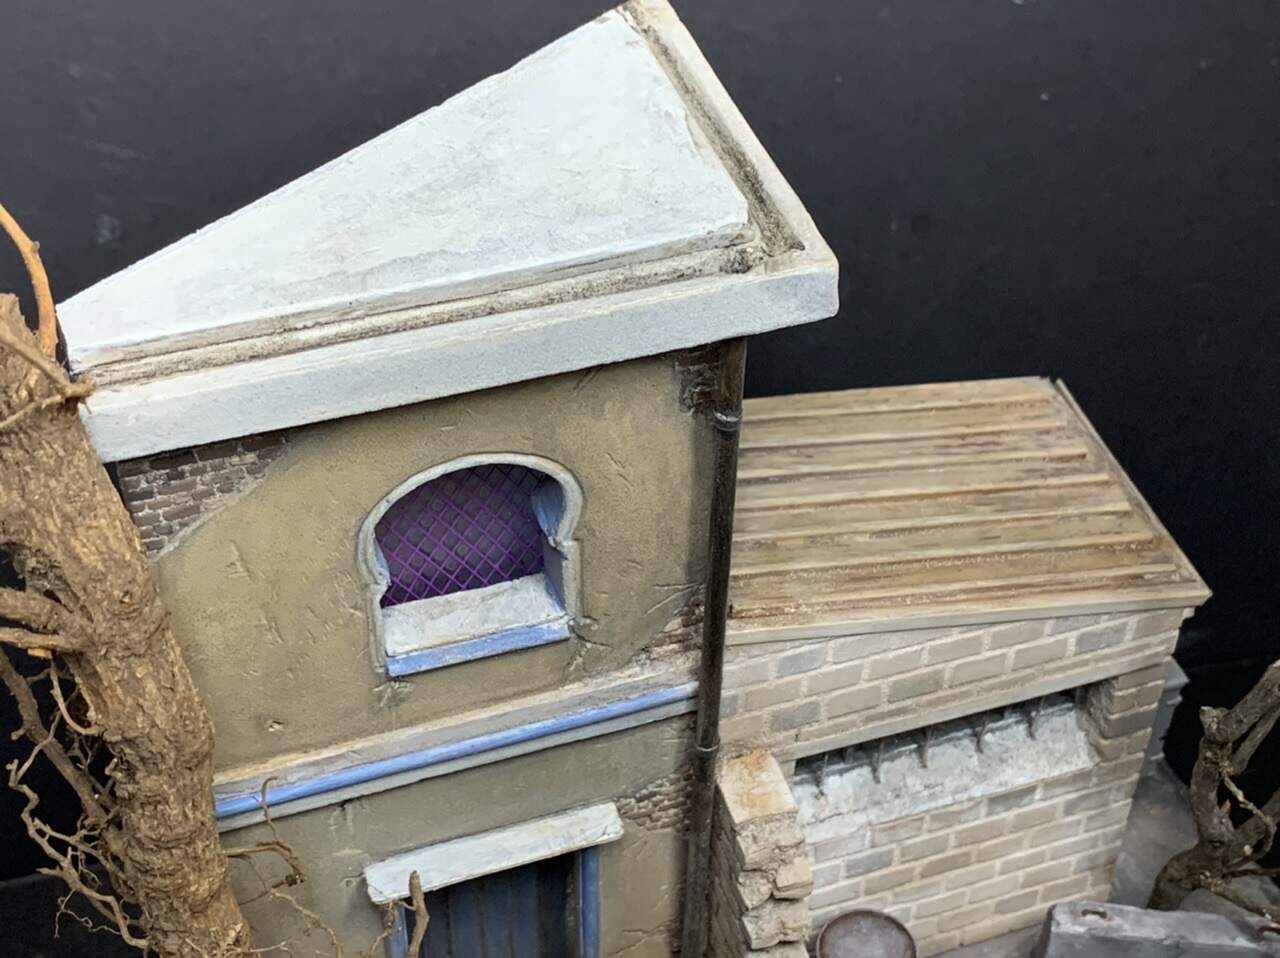
Tonight I primed the building and started to paint the first basic colors. The facade color are not painted yet.
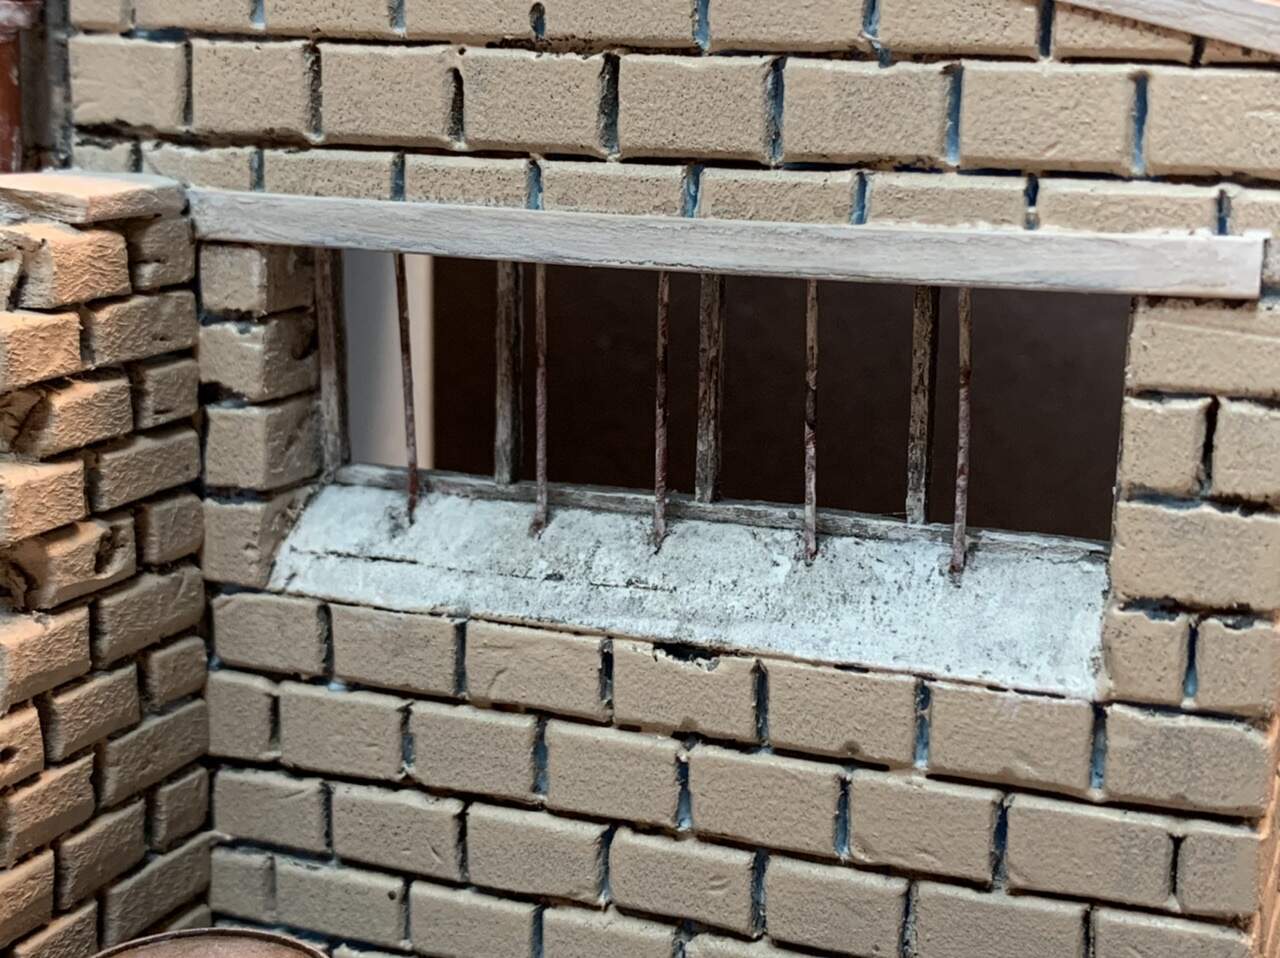
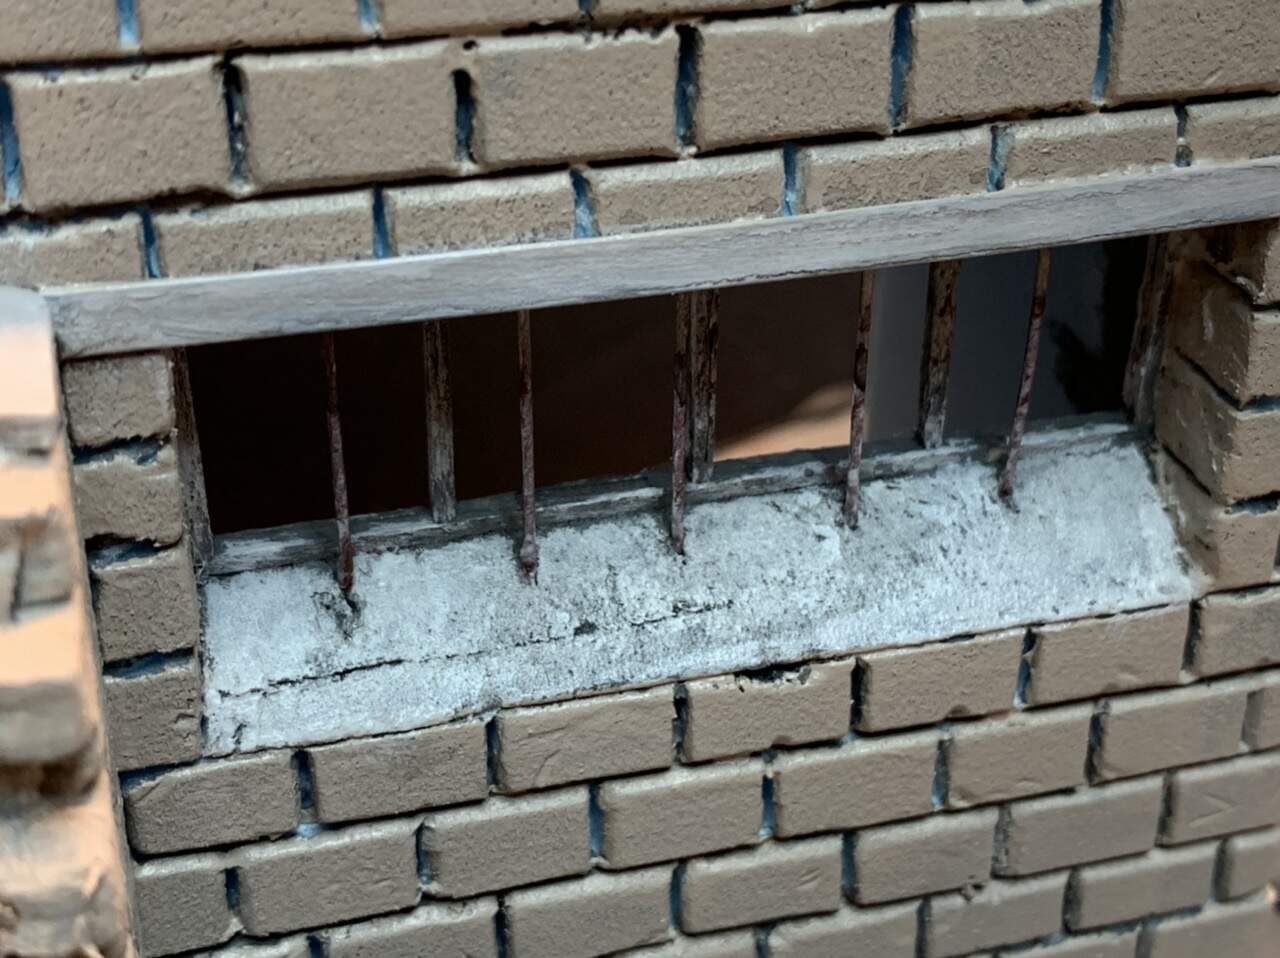
The area around the window on the lower building are washed with black water paint, that’s the only thing so far that are not a regular layer of paint.
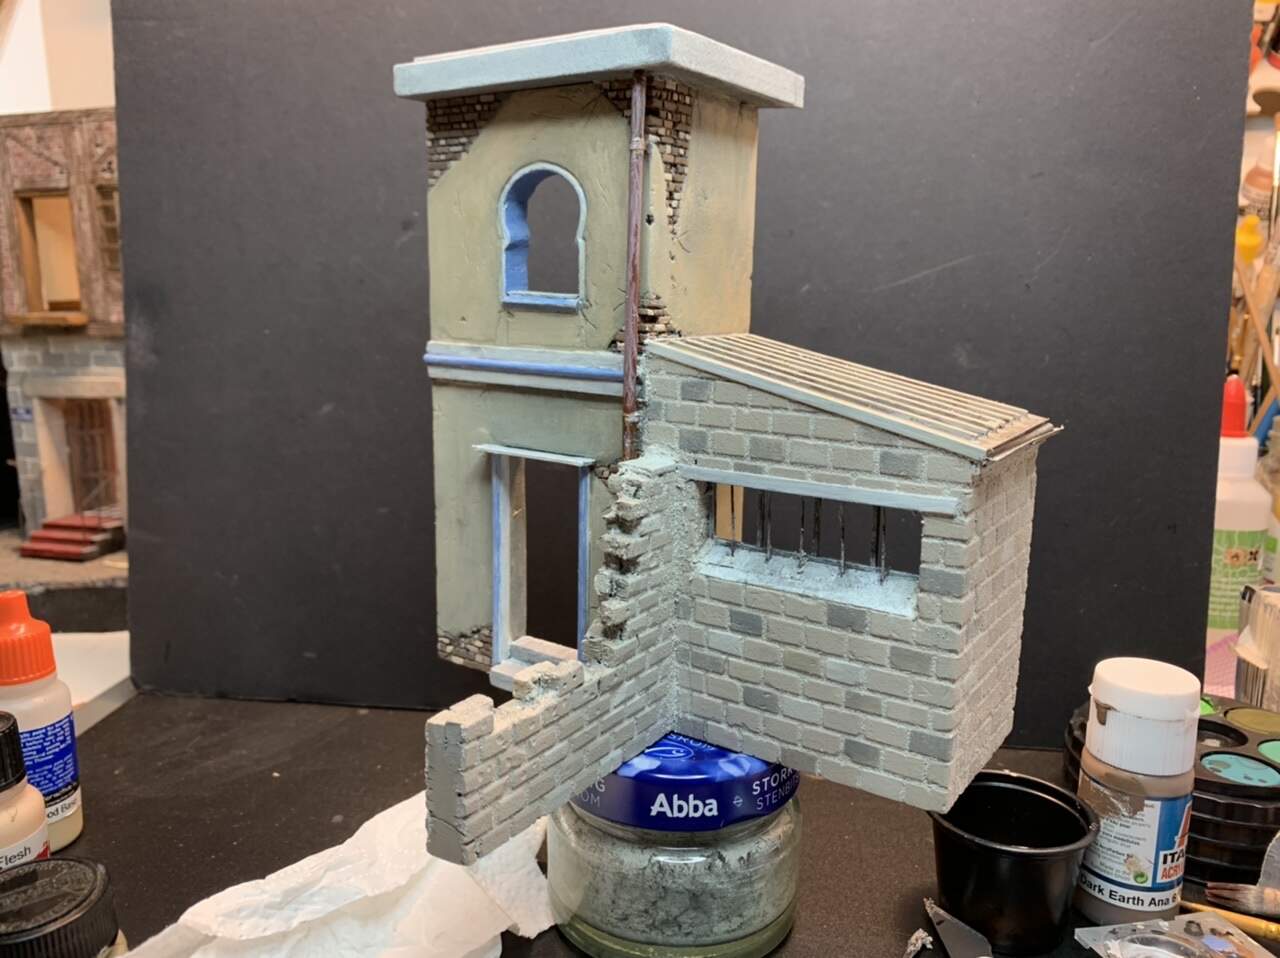
Primed:
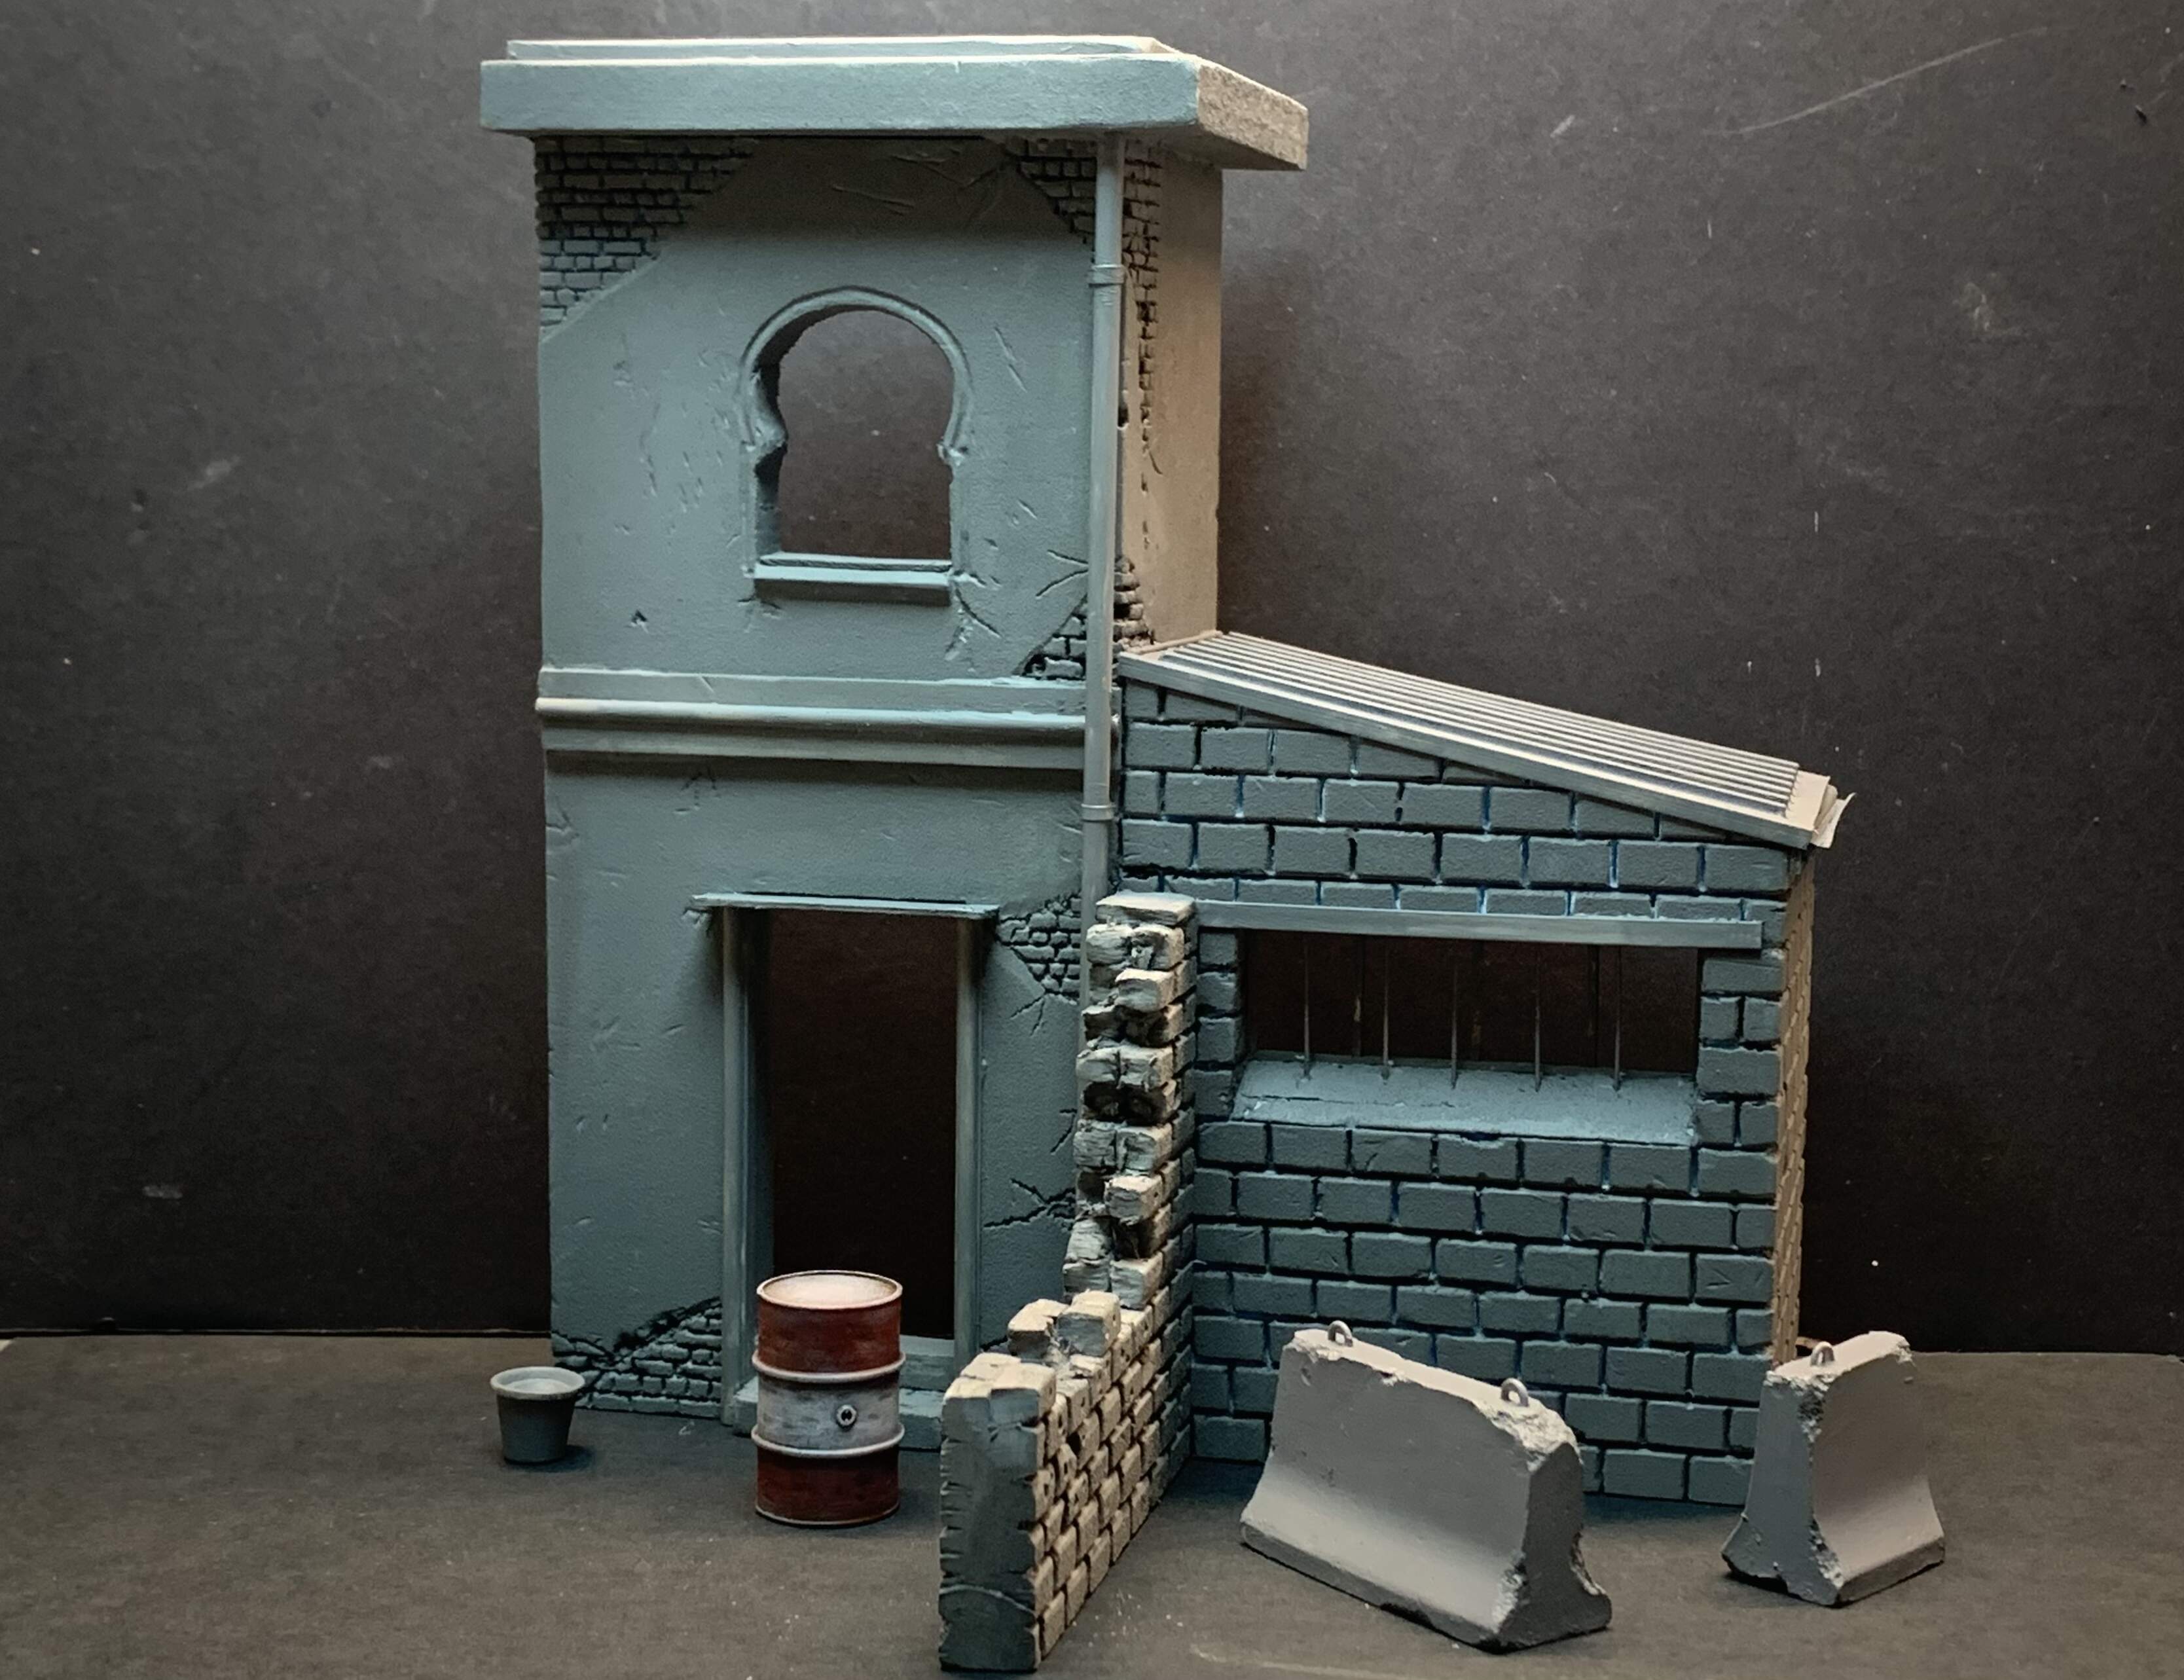
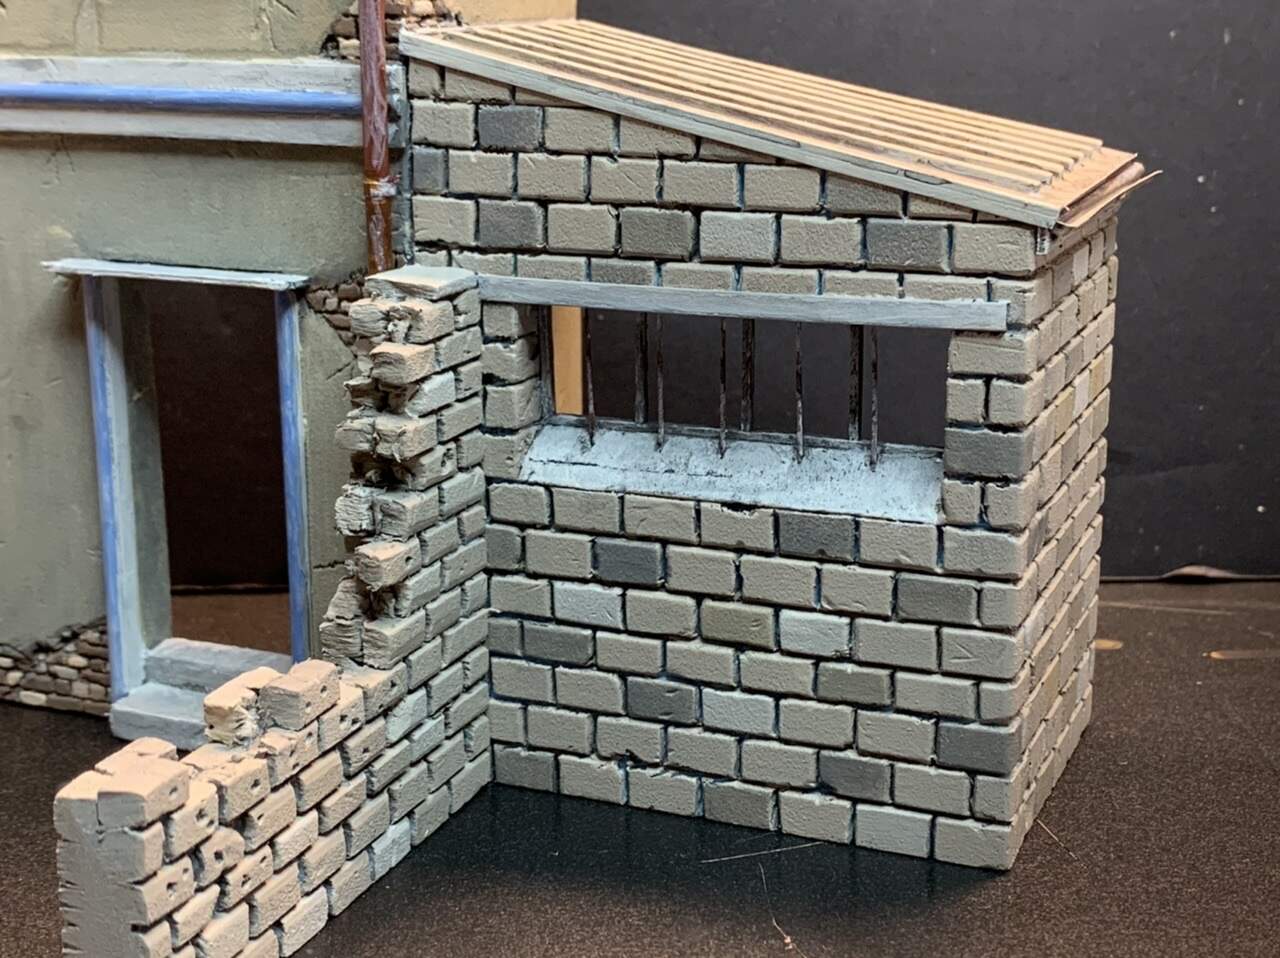
First layer of paint:

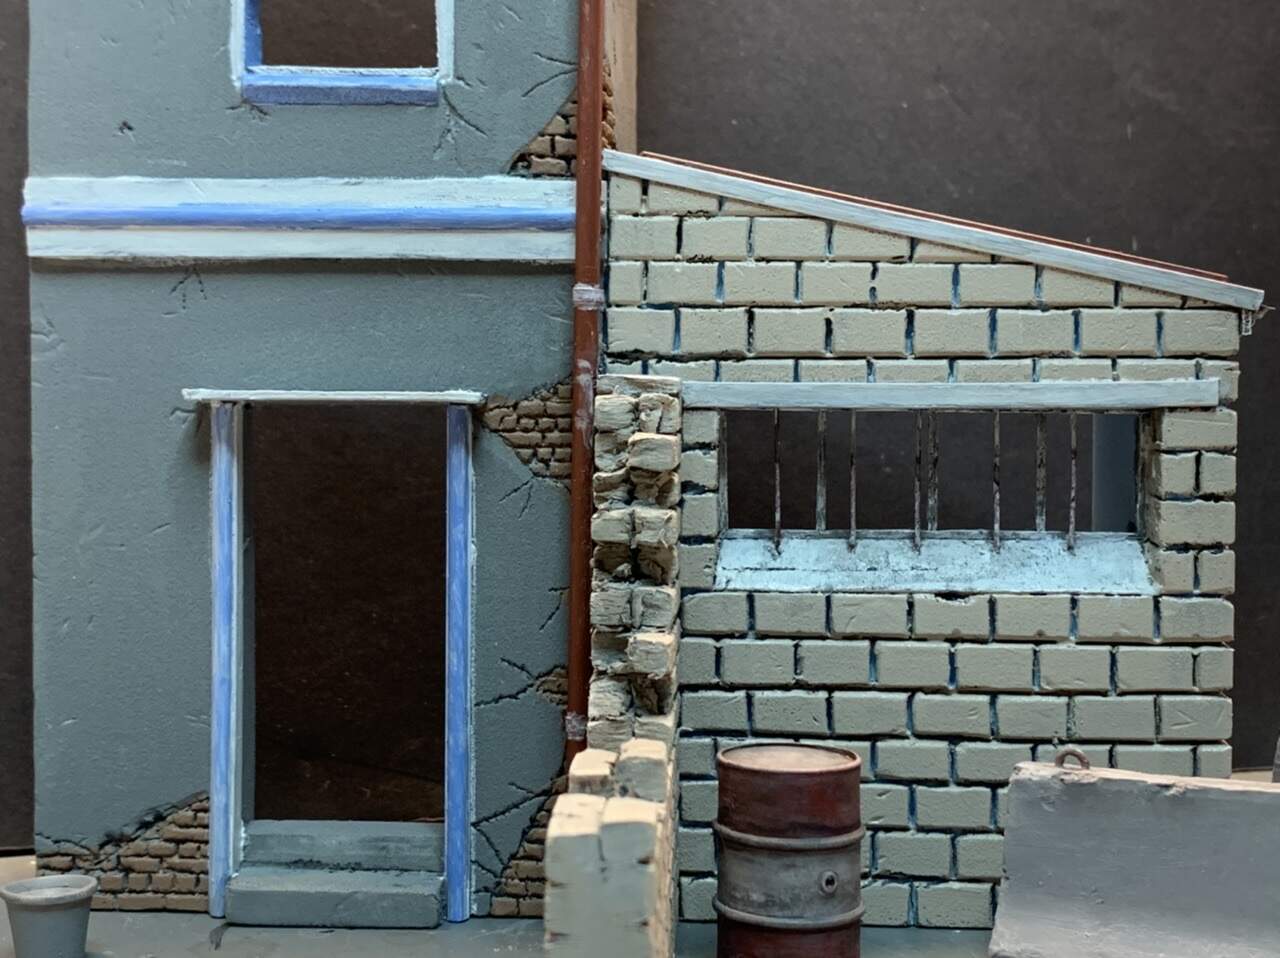
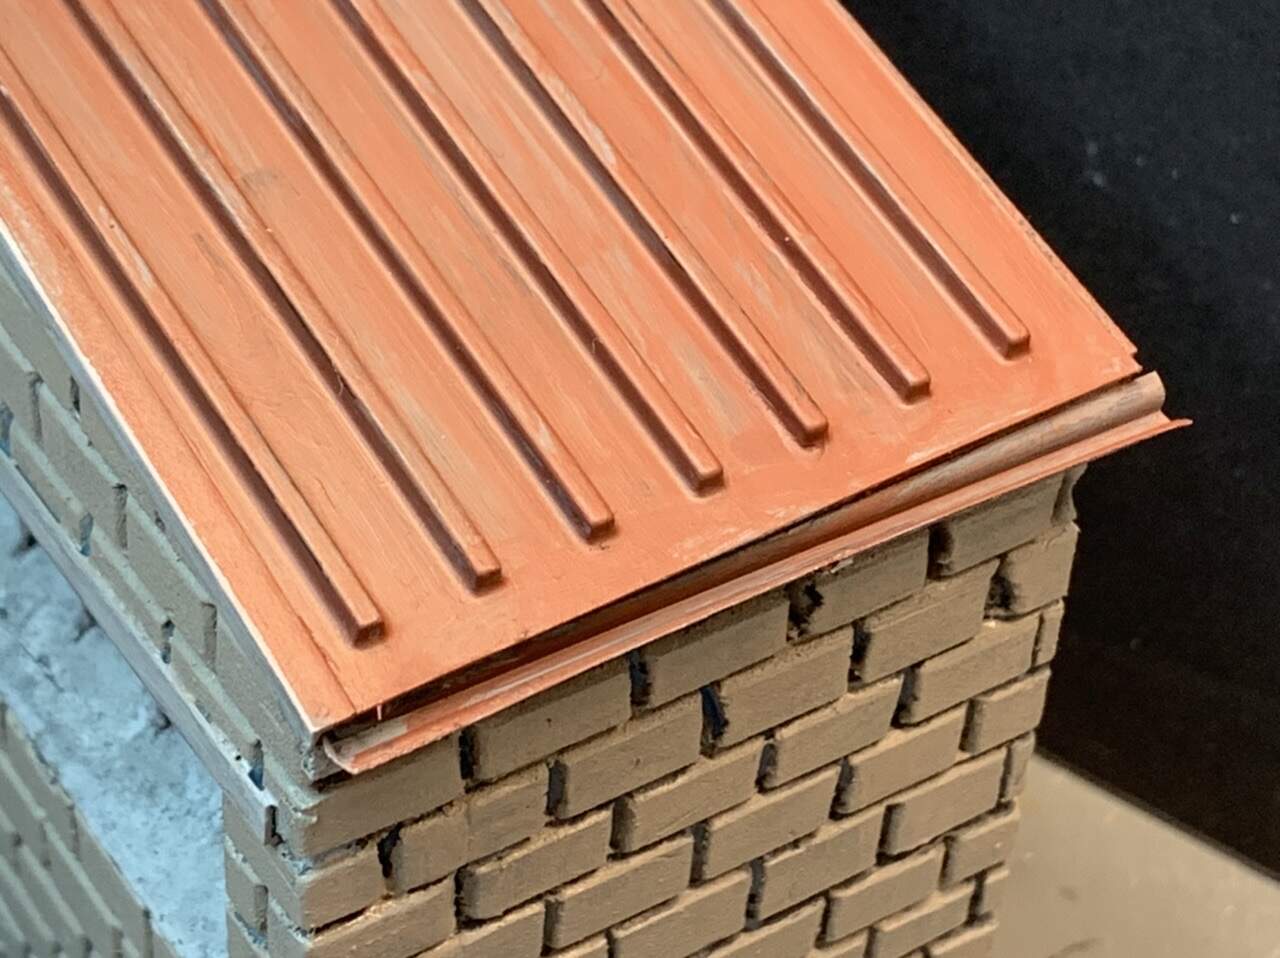
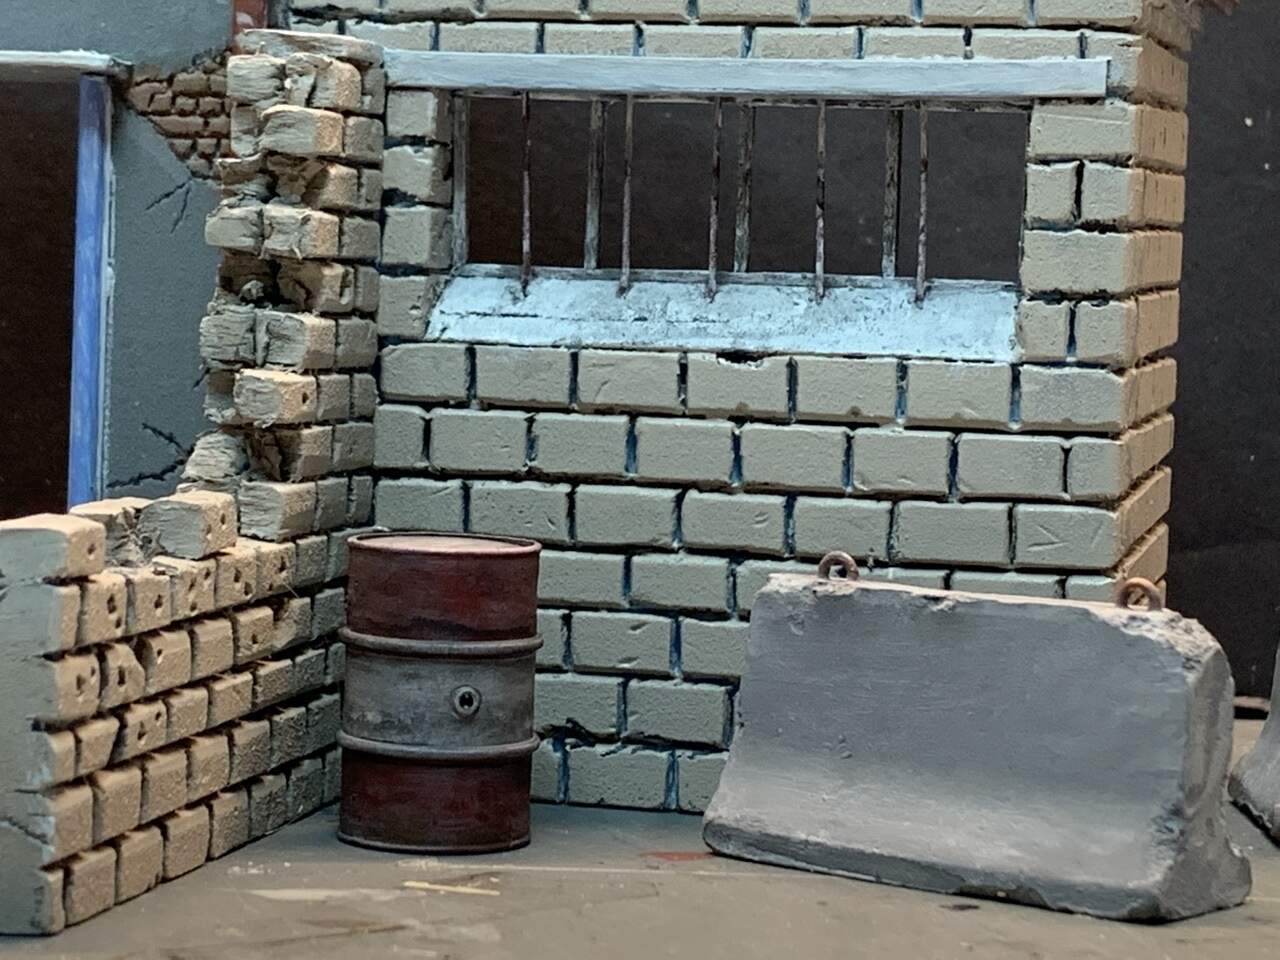

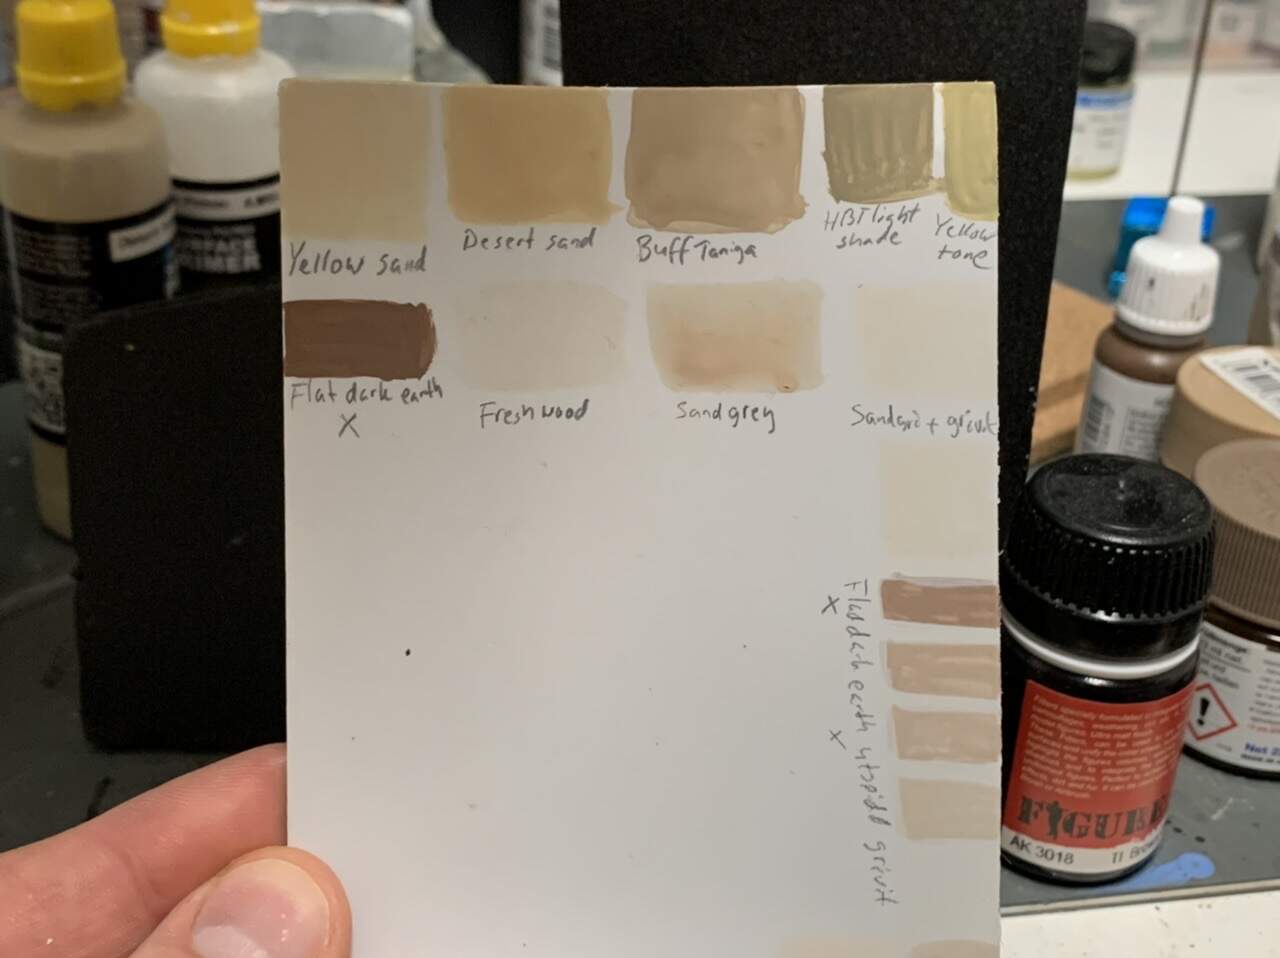
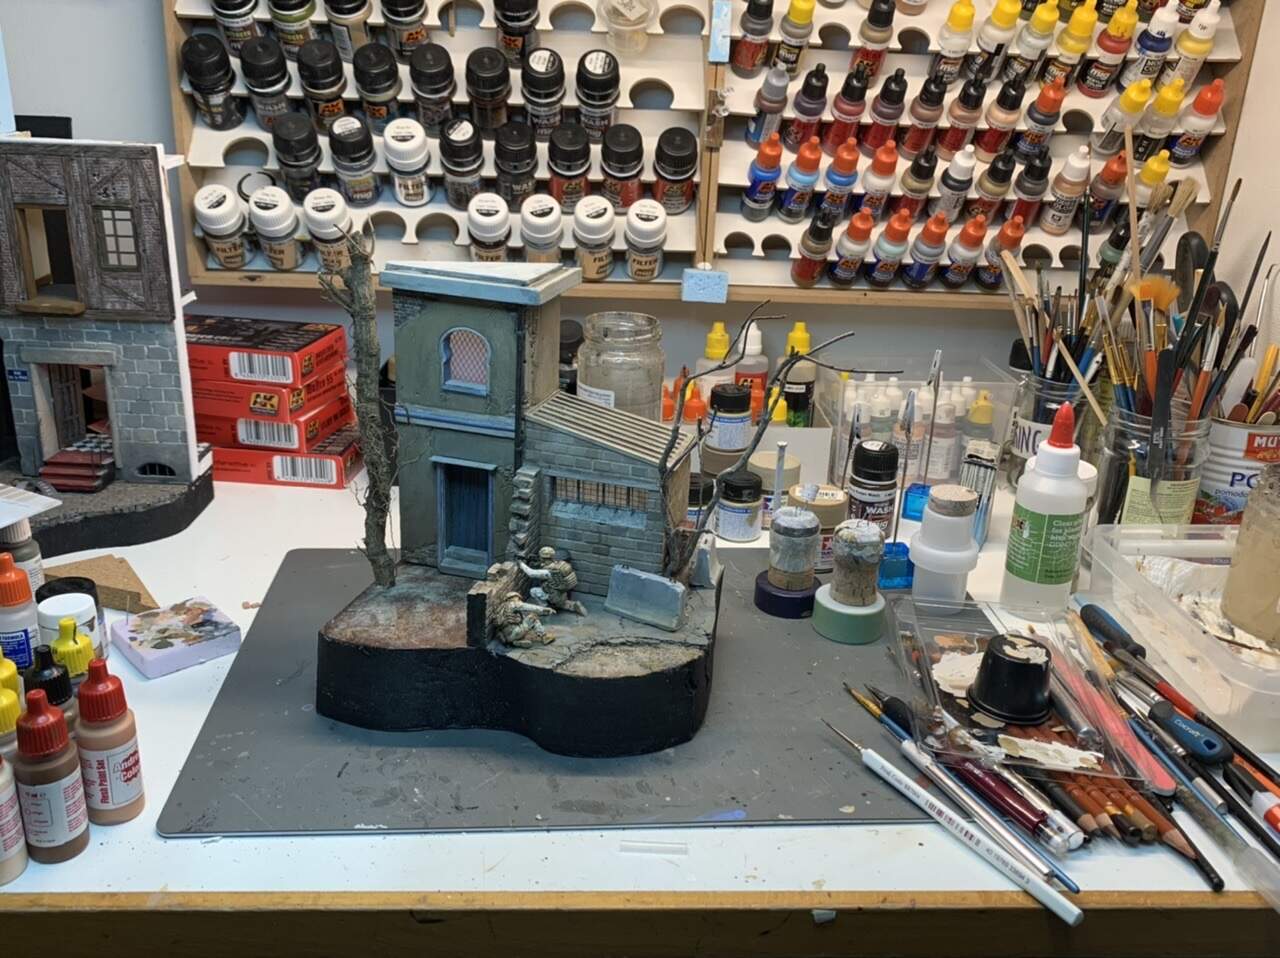
Here you see what colors I used so far.
I really enjoy this hobby:) Cheers!
6 Likes
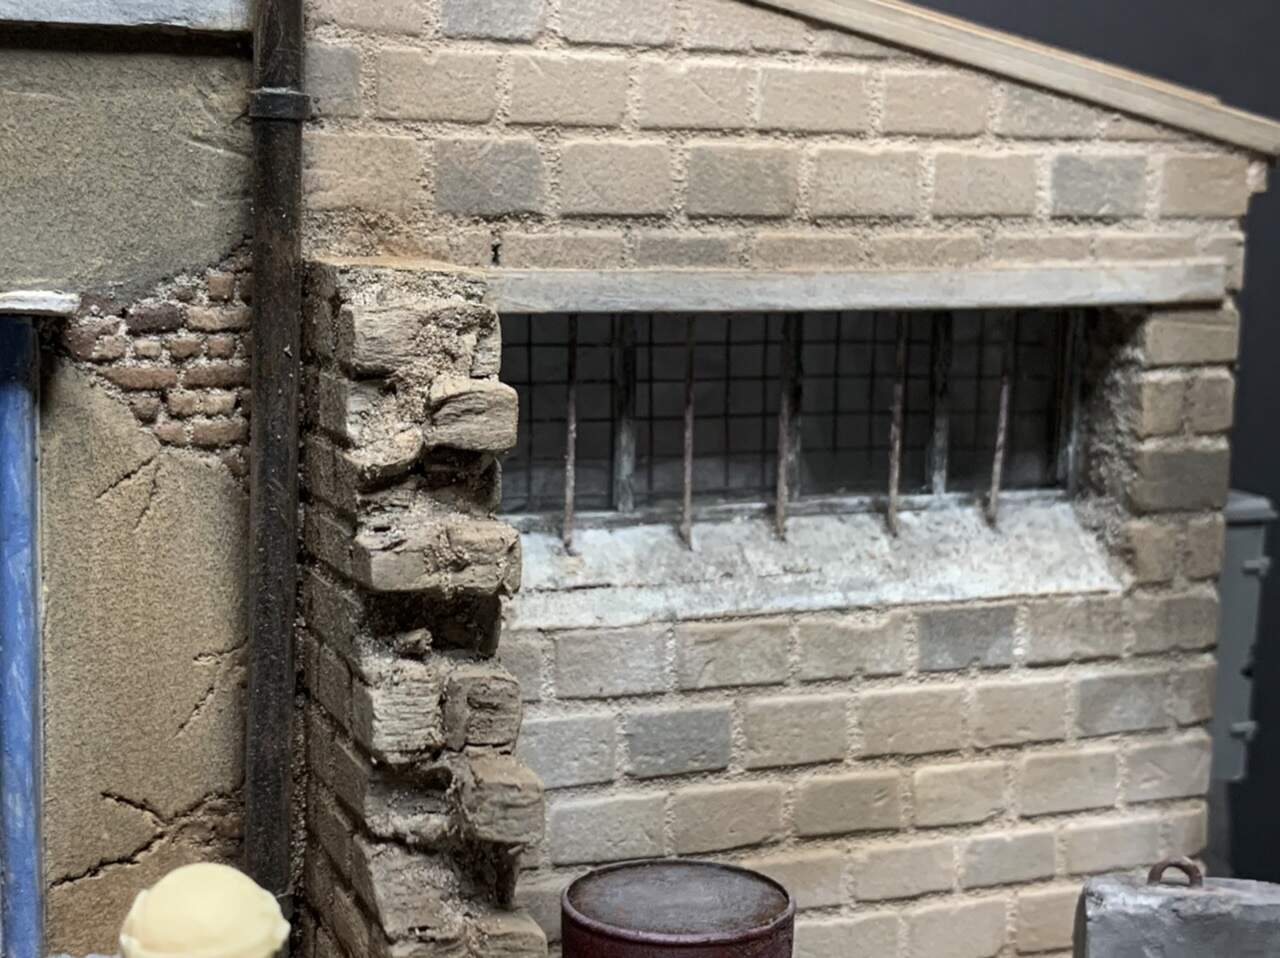
Lovely colours and tones you are getting down there Erik. I love the brickwork and the little details like gouges and chips and missing bricks you add in. Makes it super realistic
1 Like
Thanks John!
Update.

Painting and weathering of the building is doing fine, still work to do but I can see the light in the tunnel.
I have made a new base, it’s a little bigger than the first one. I have put some paint on it to get rid of the pink color.
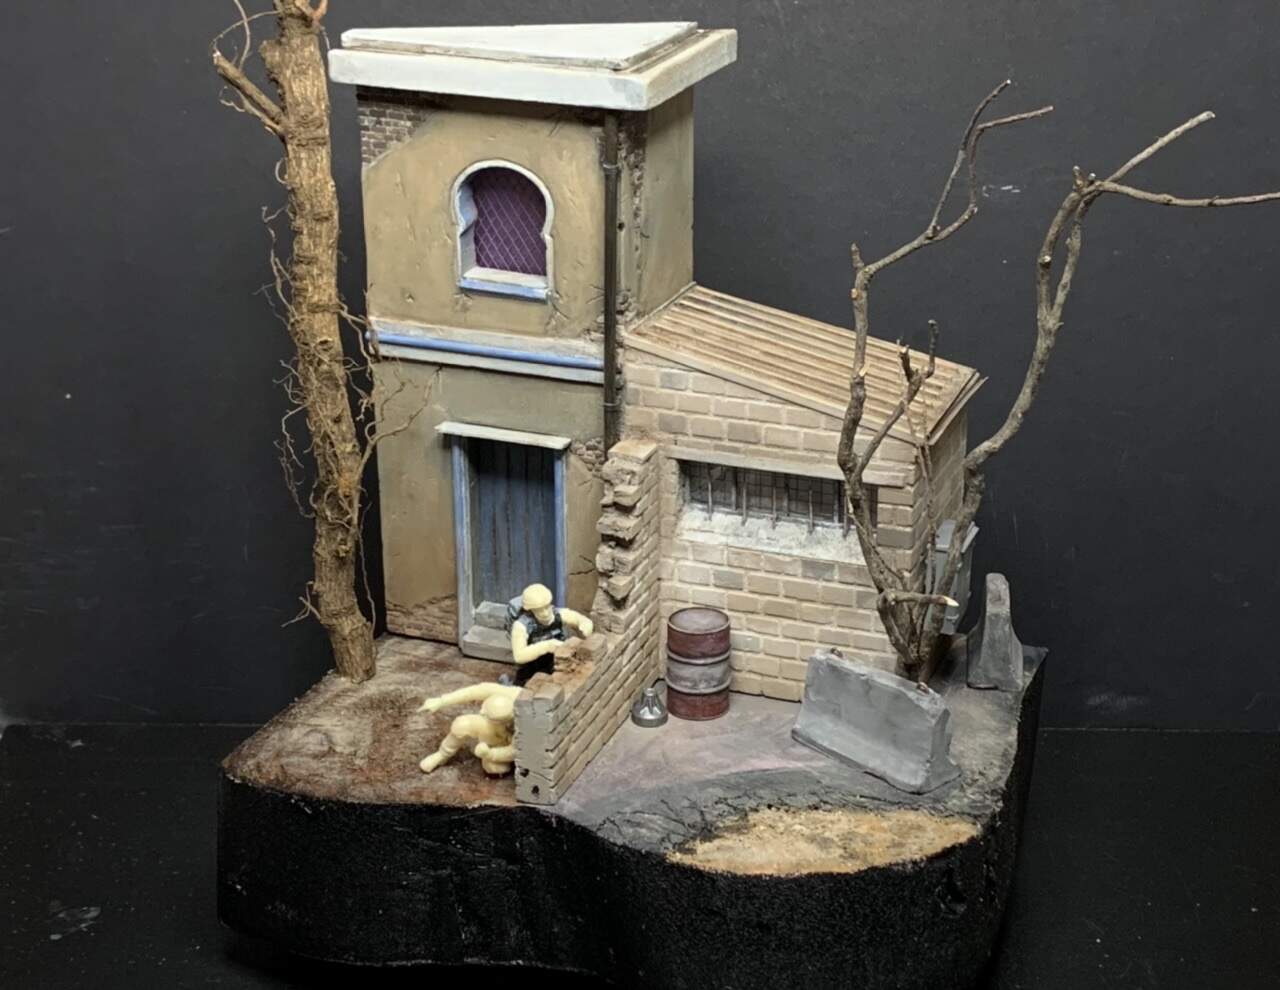
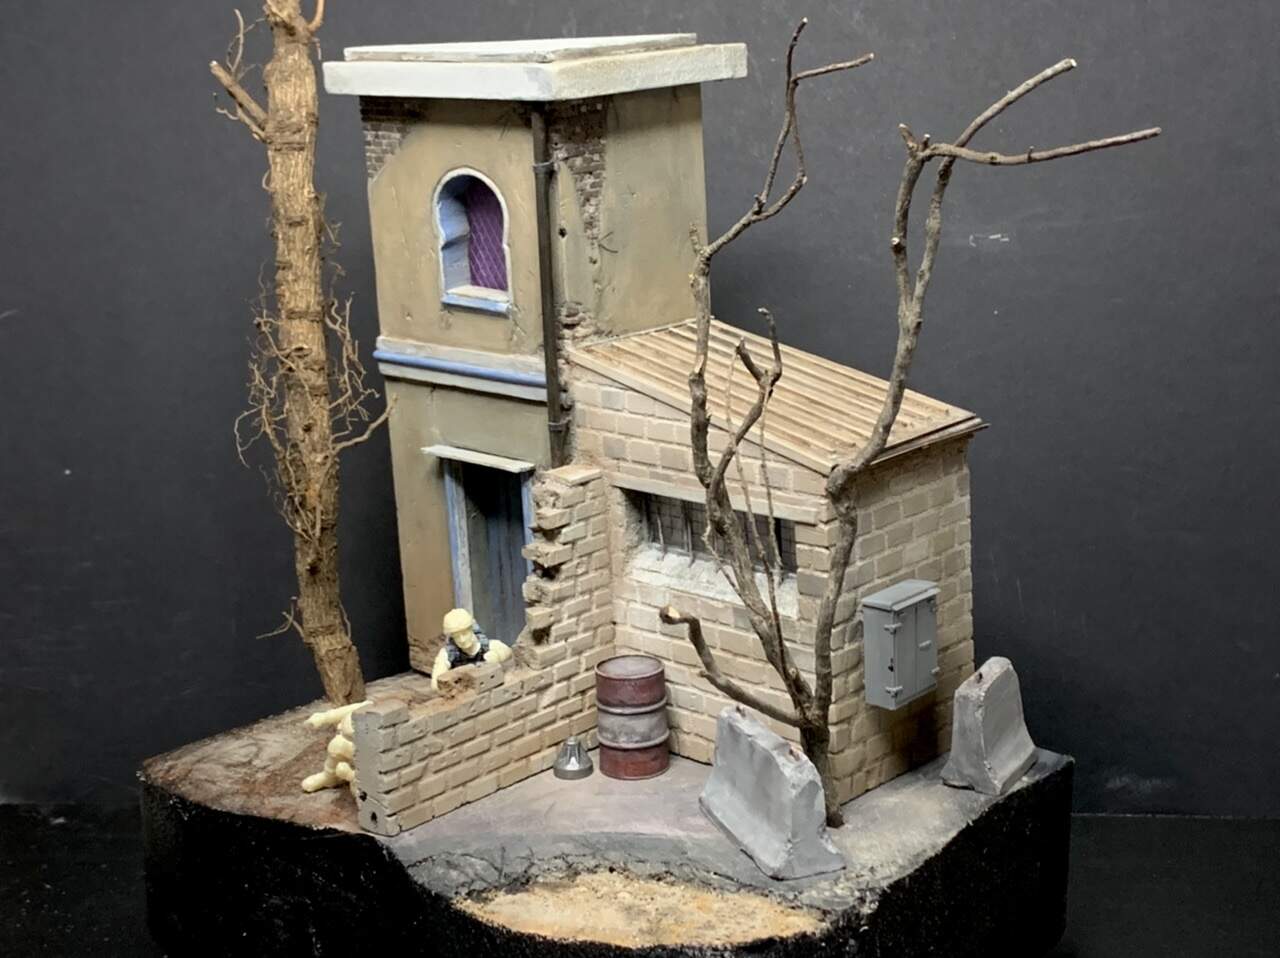
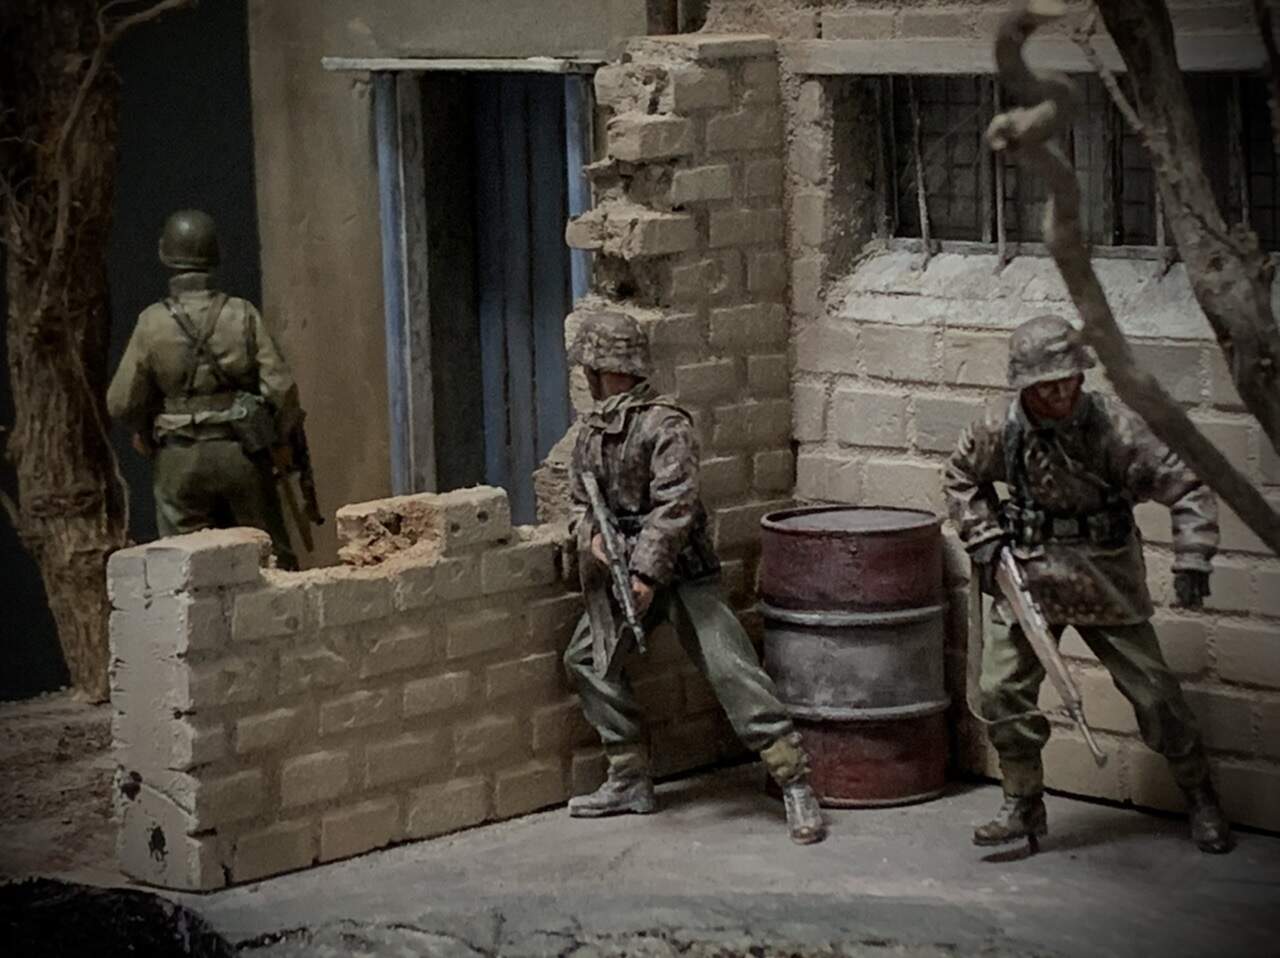
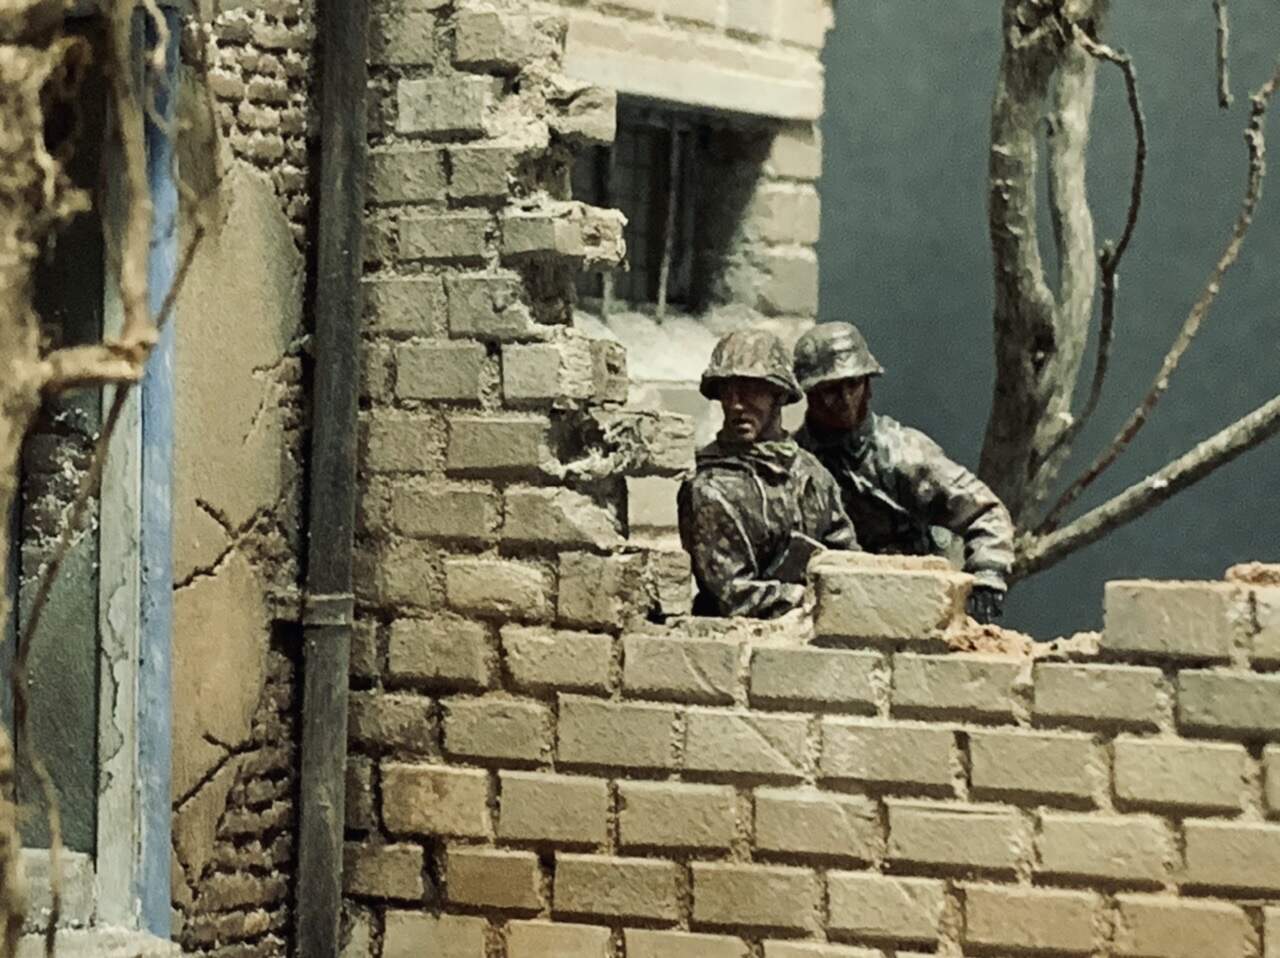
It’s alway interesting to test some other figures in a diorama. I must say that the German figure I used in the last build fits great behind a broken wall like this. Hmm maybe it’s time for a new scene for my MP44 gunner? This scenario with building and wall gives a lot of opportunity’s.
“Smoking can cause death”
Cheers!

5 Likes
looking very good!!
1 Like
On just the buildings … They are looking superb now Erik you have got the paint down and given them both a real wow factor … Again lol !!!
The replacement figures give it a new twist and do look good… I like the shot of the GI’s face and the German looking at him … Very nice…
But don’t forget the modern US figures you had planned …
1 Like
Ha ha don’t worry! Hagan and his boys are safe, it’s really impossible to place winter dressed German soldiers from 1944 in an Arabic town…
1 Like
Normally it isn’t possible…
But I am sure you would make even that look great…
2 Likes
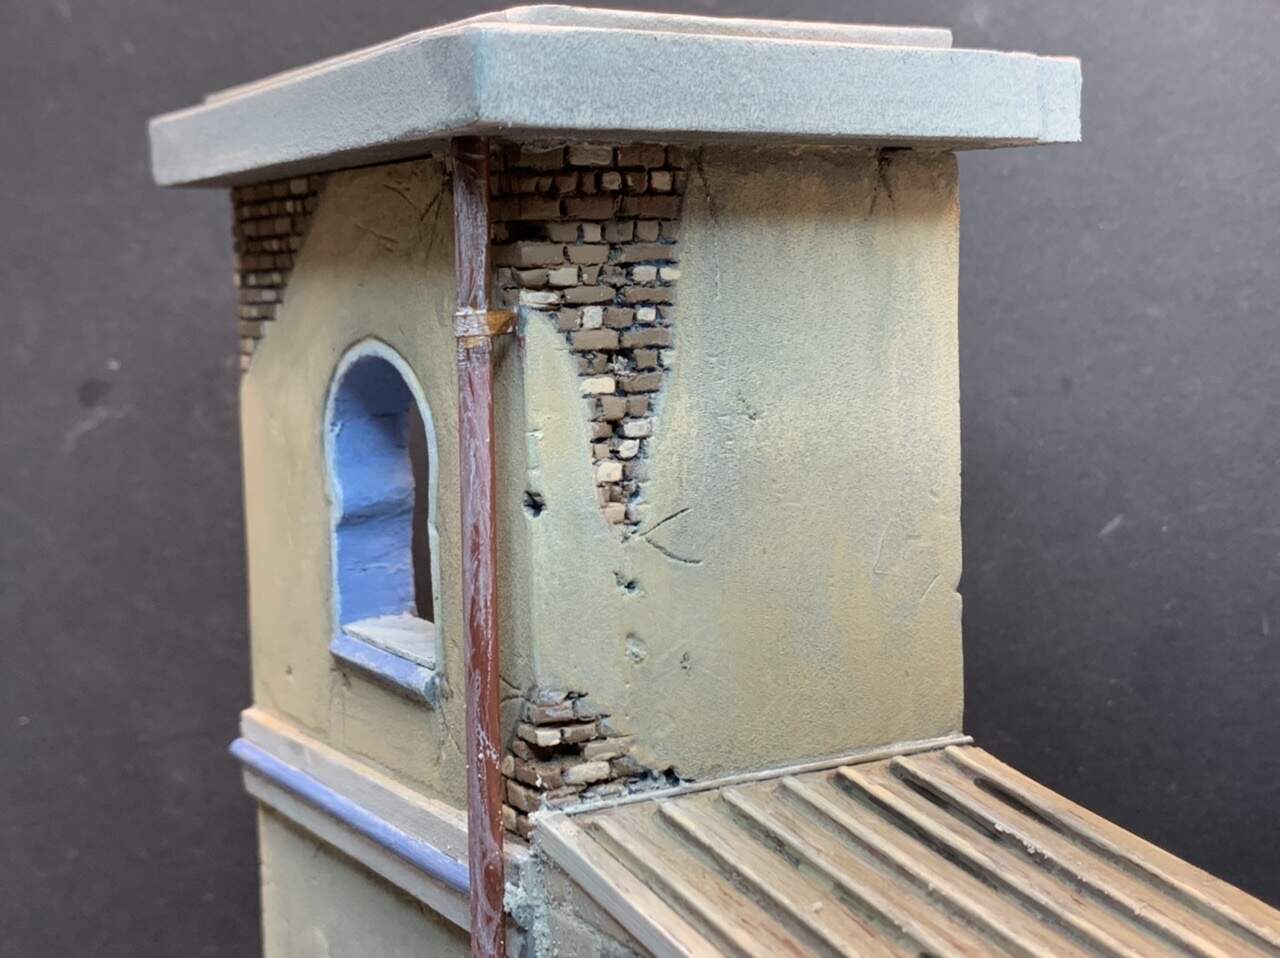
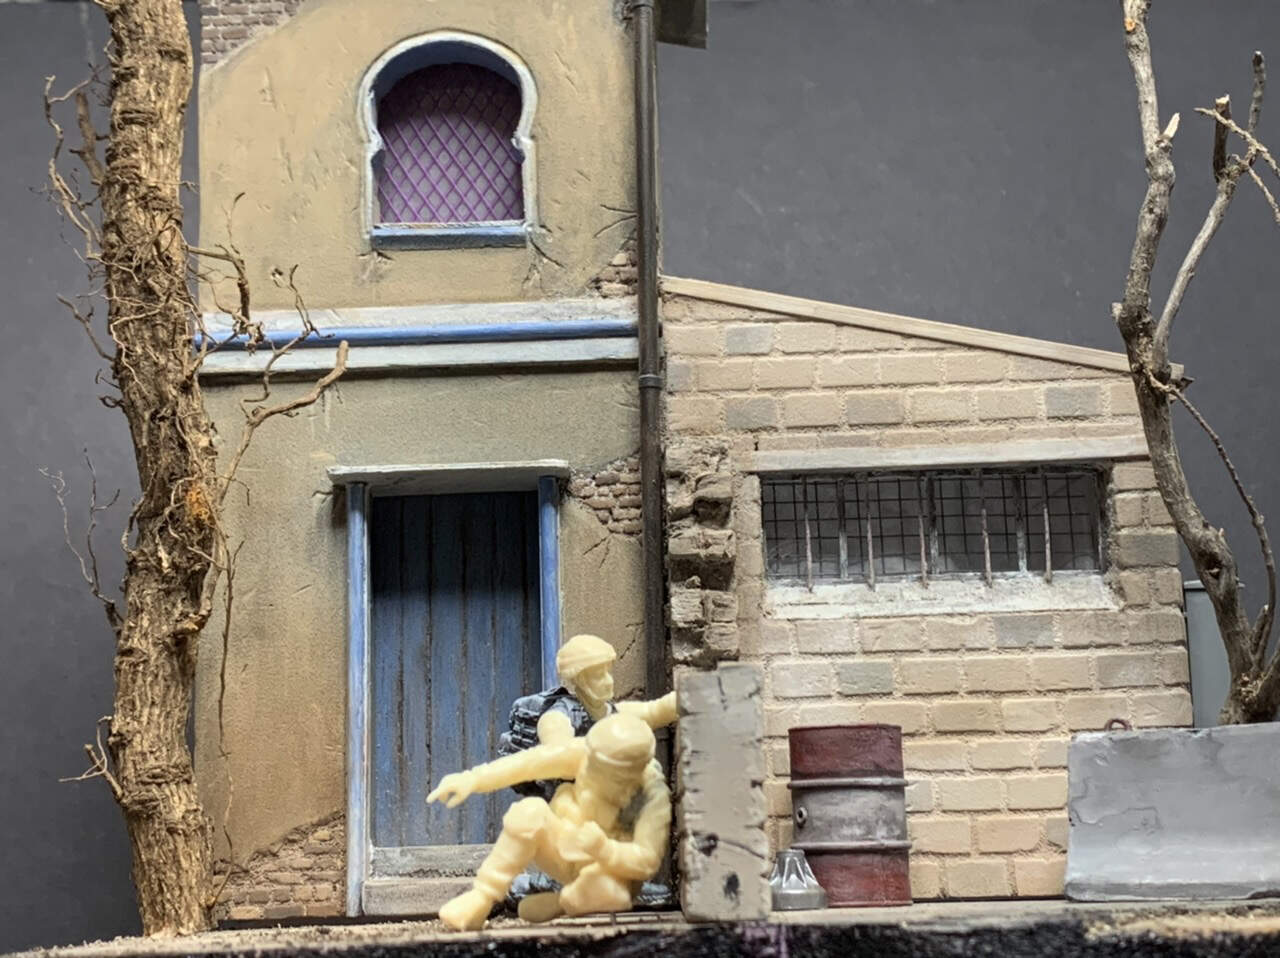
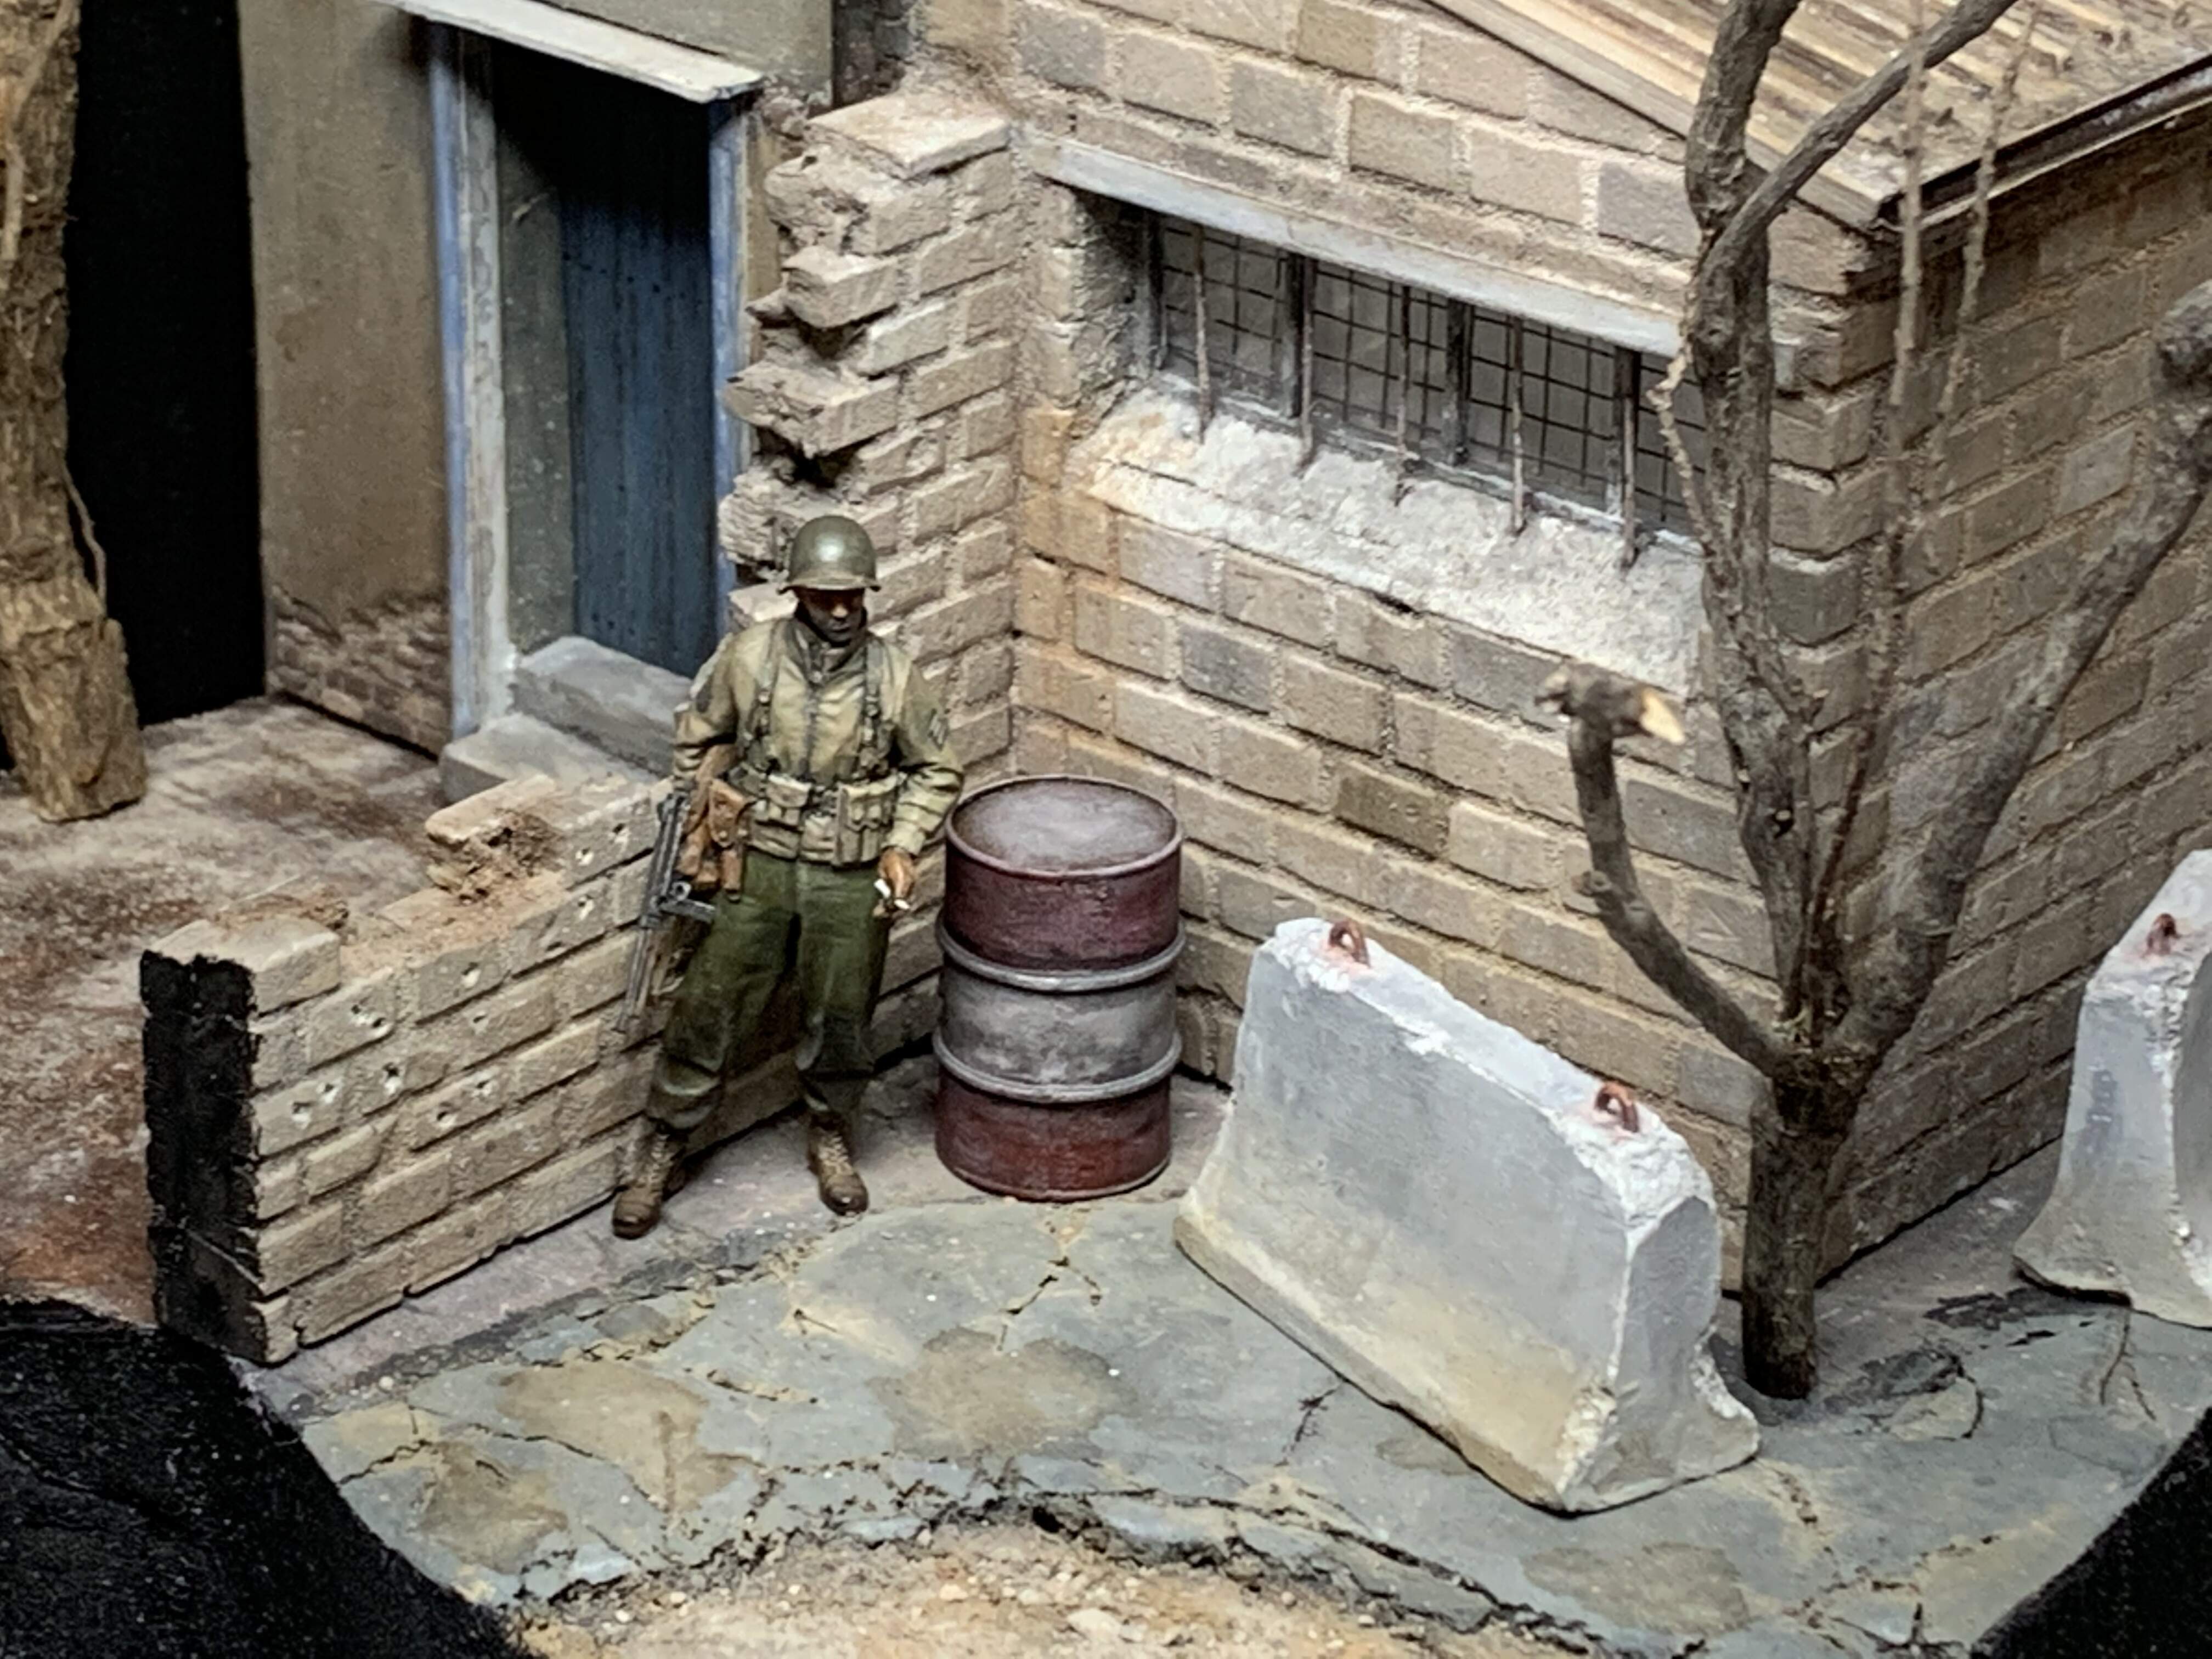
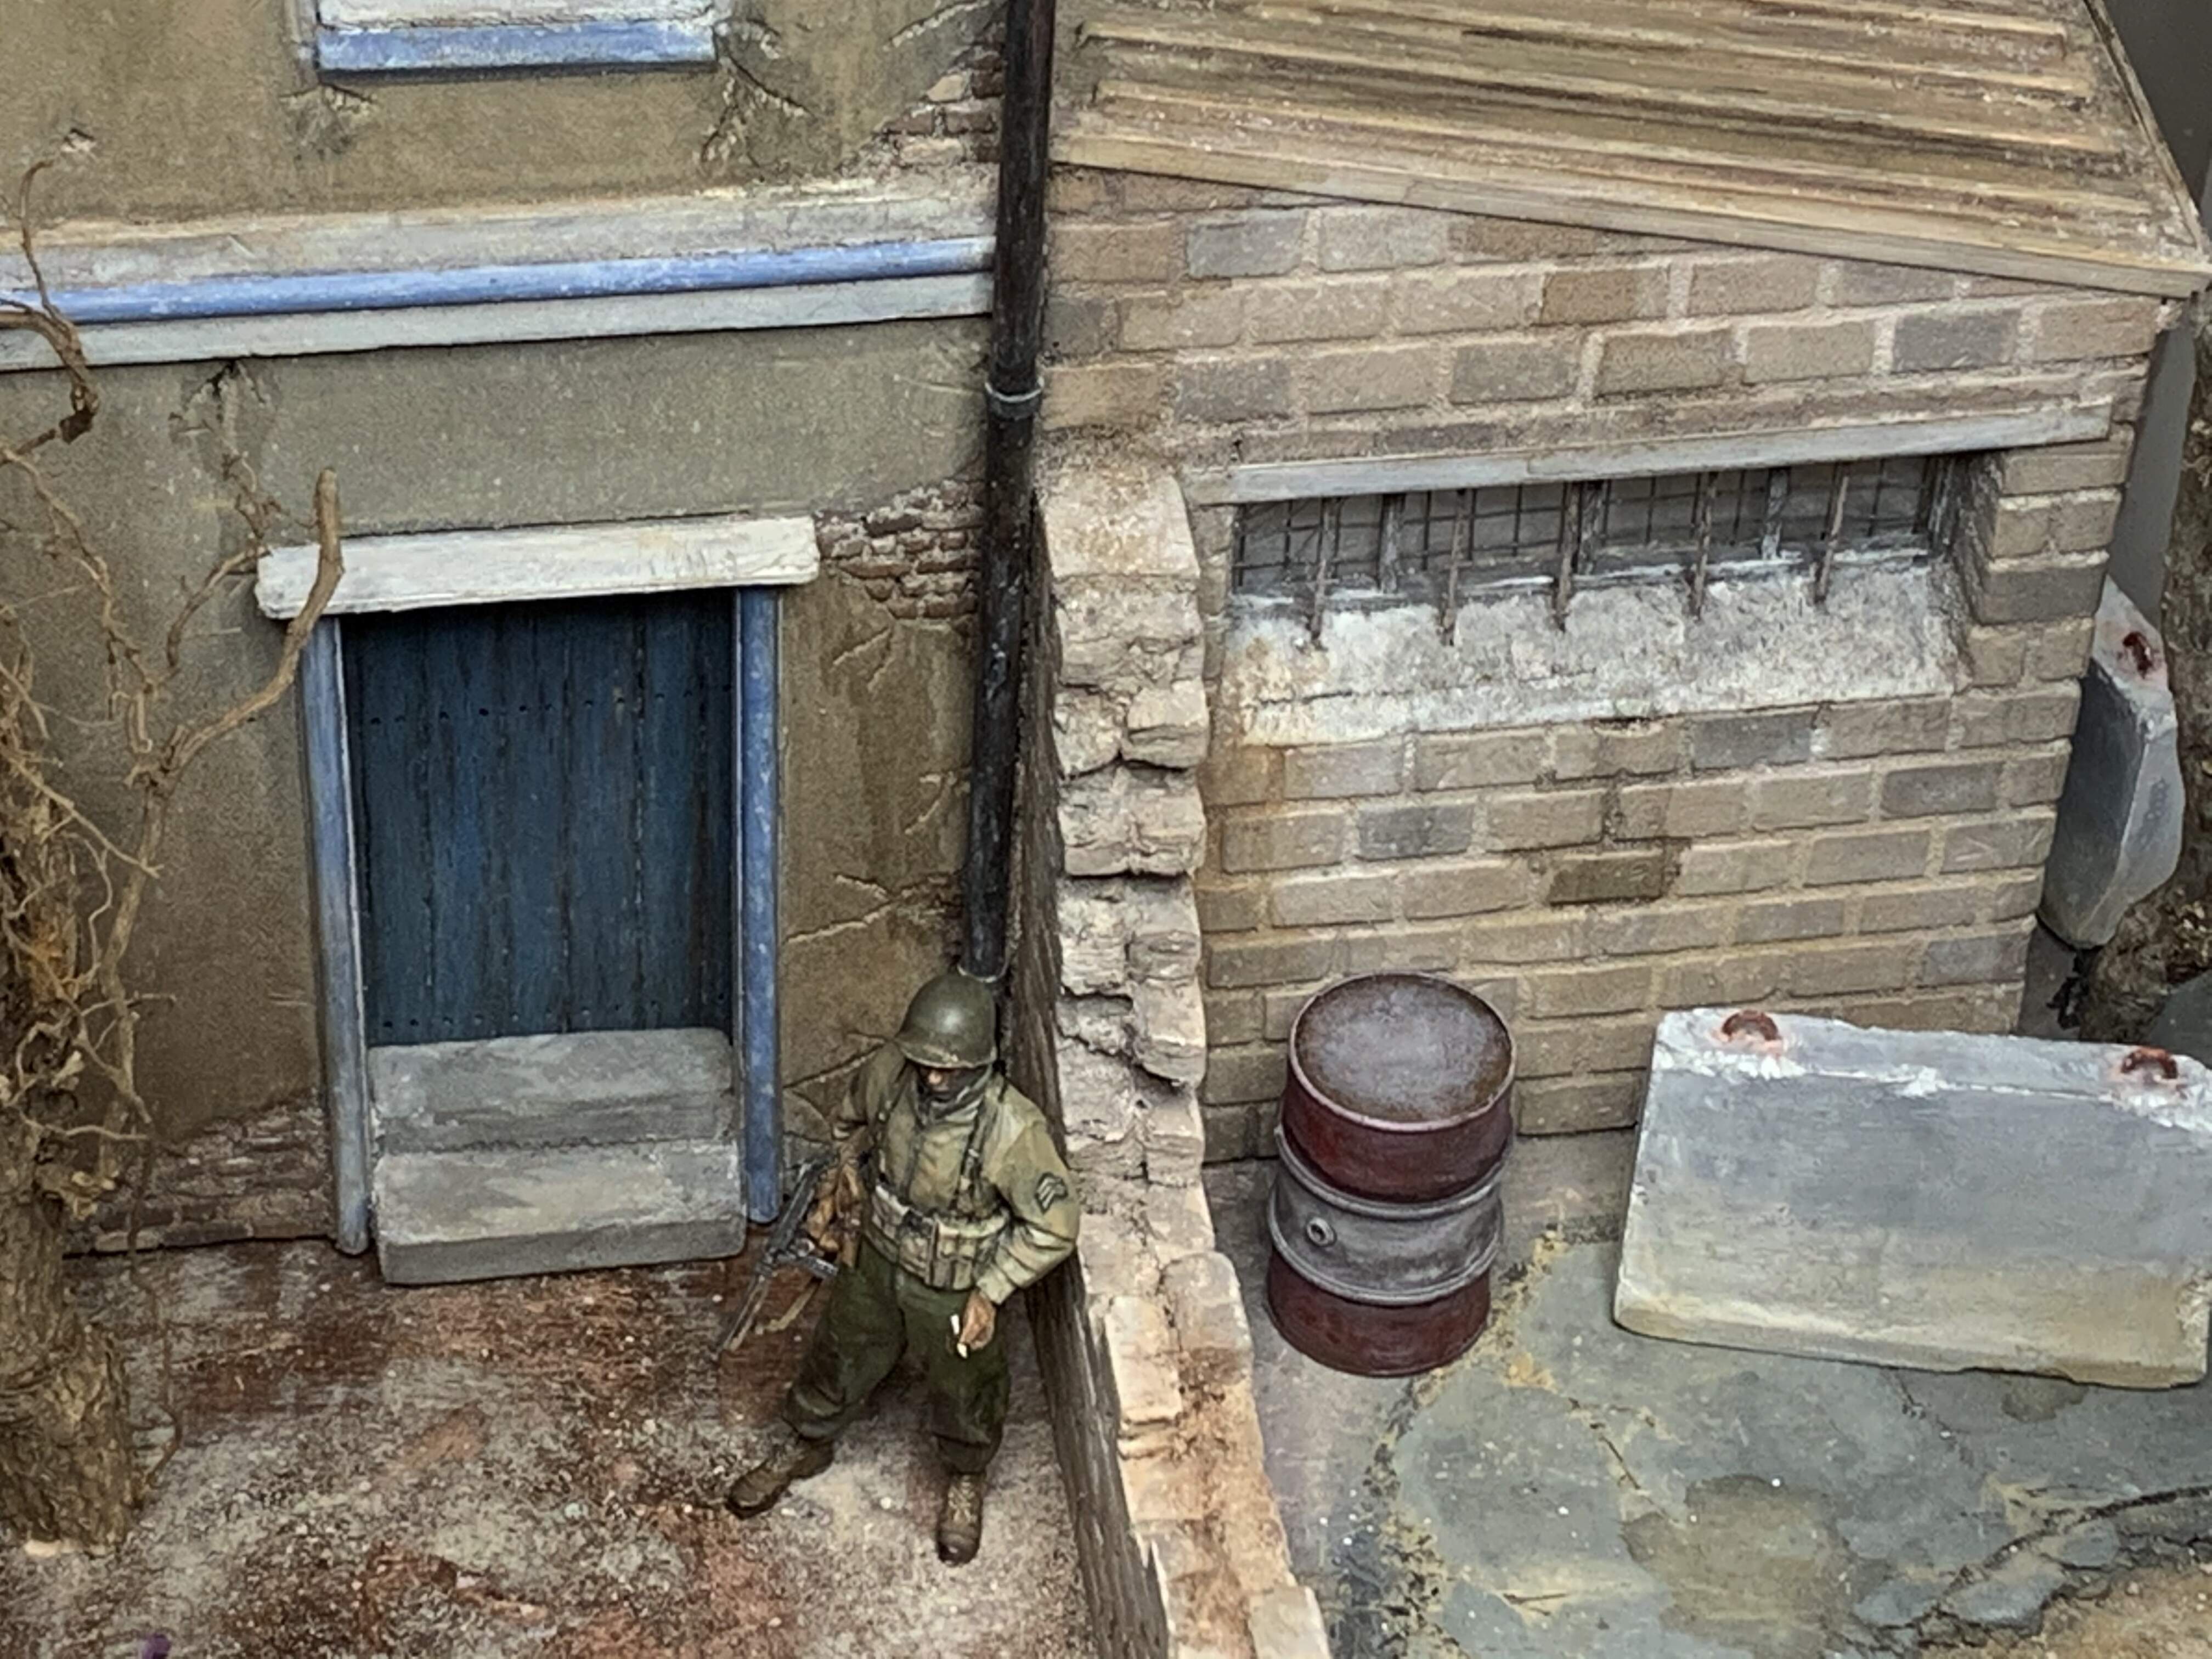
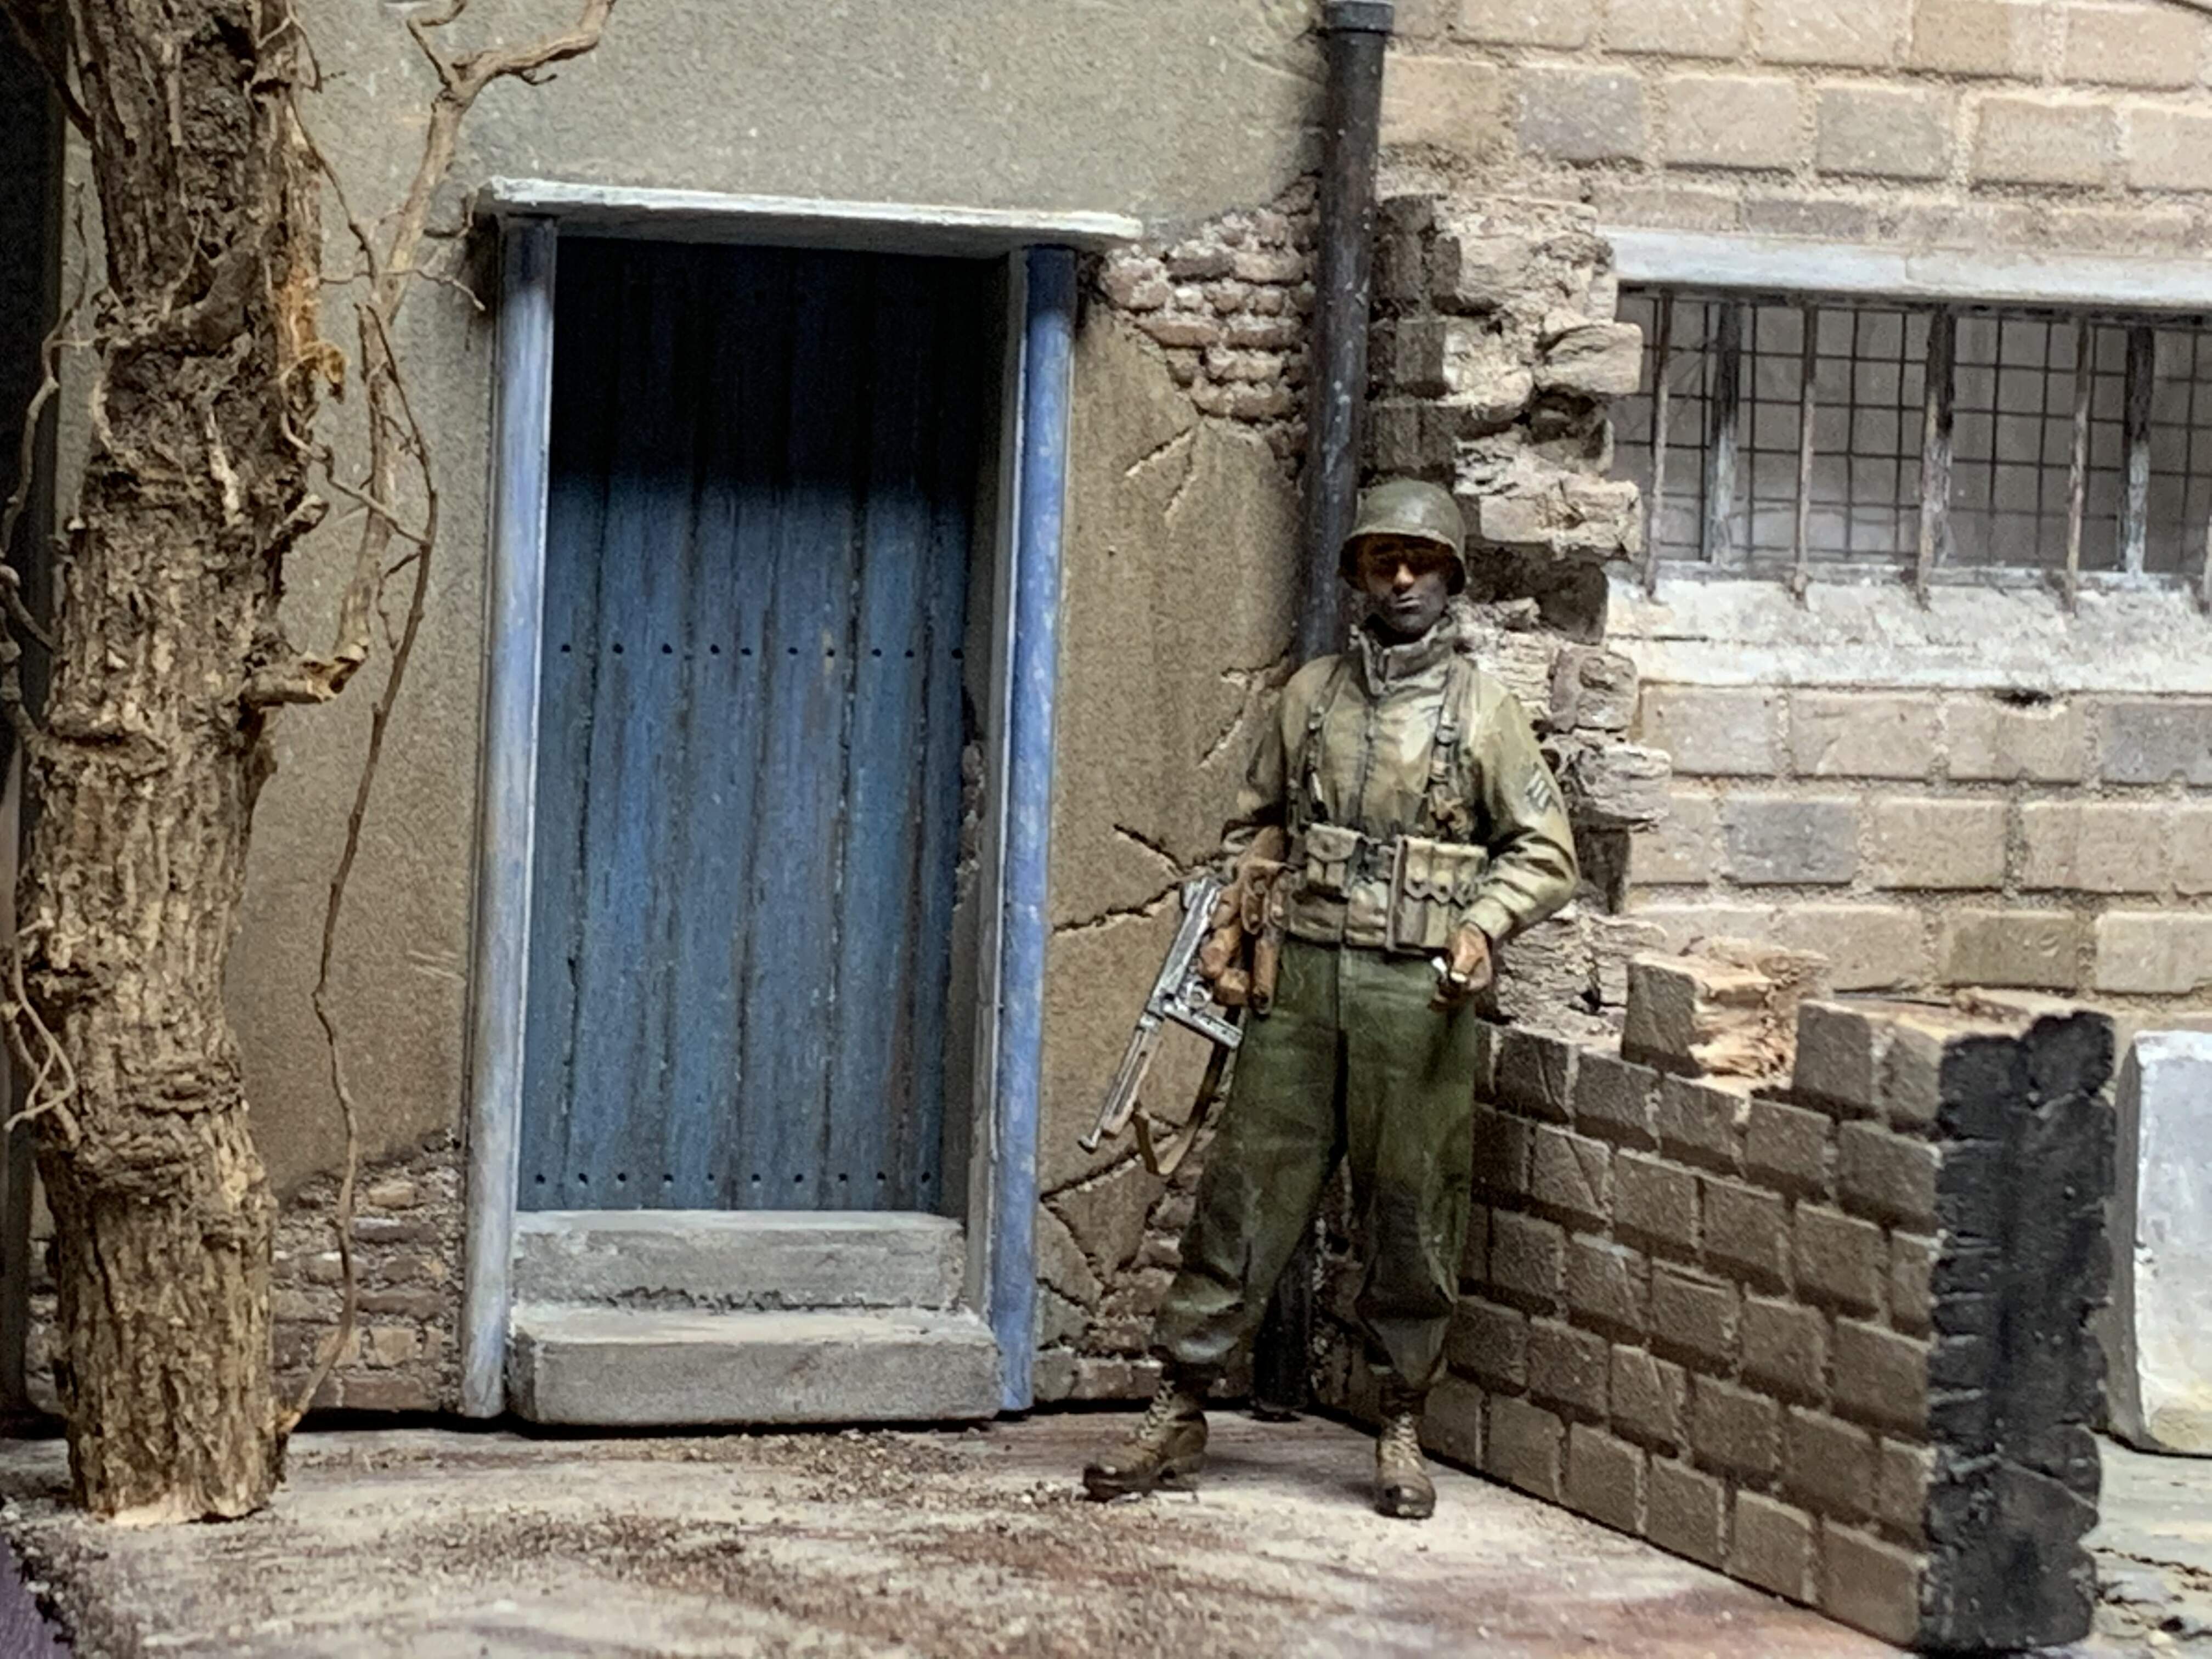
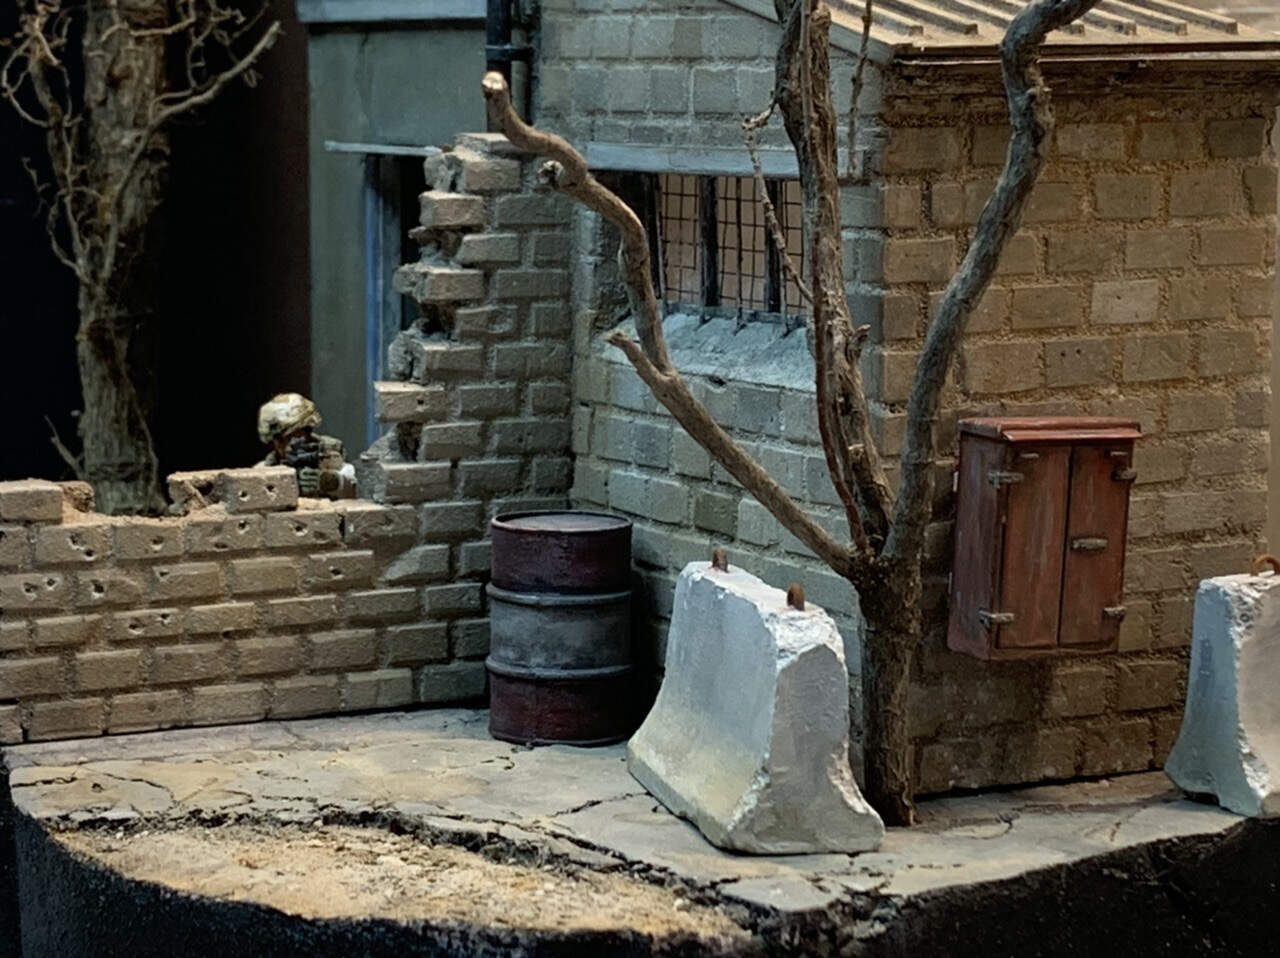
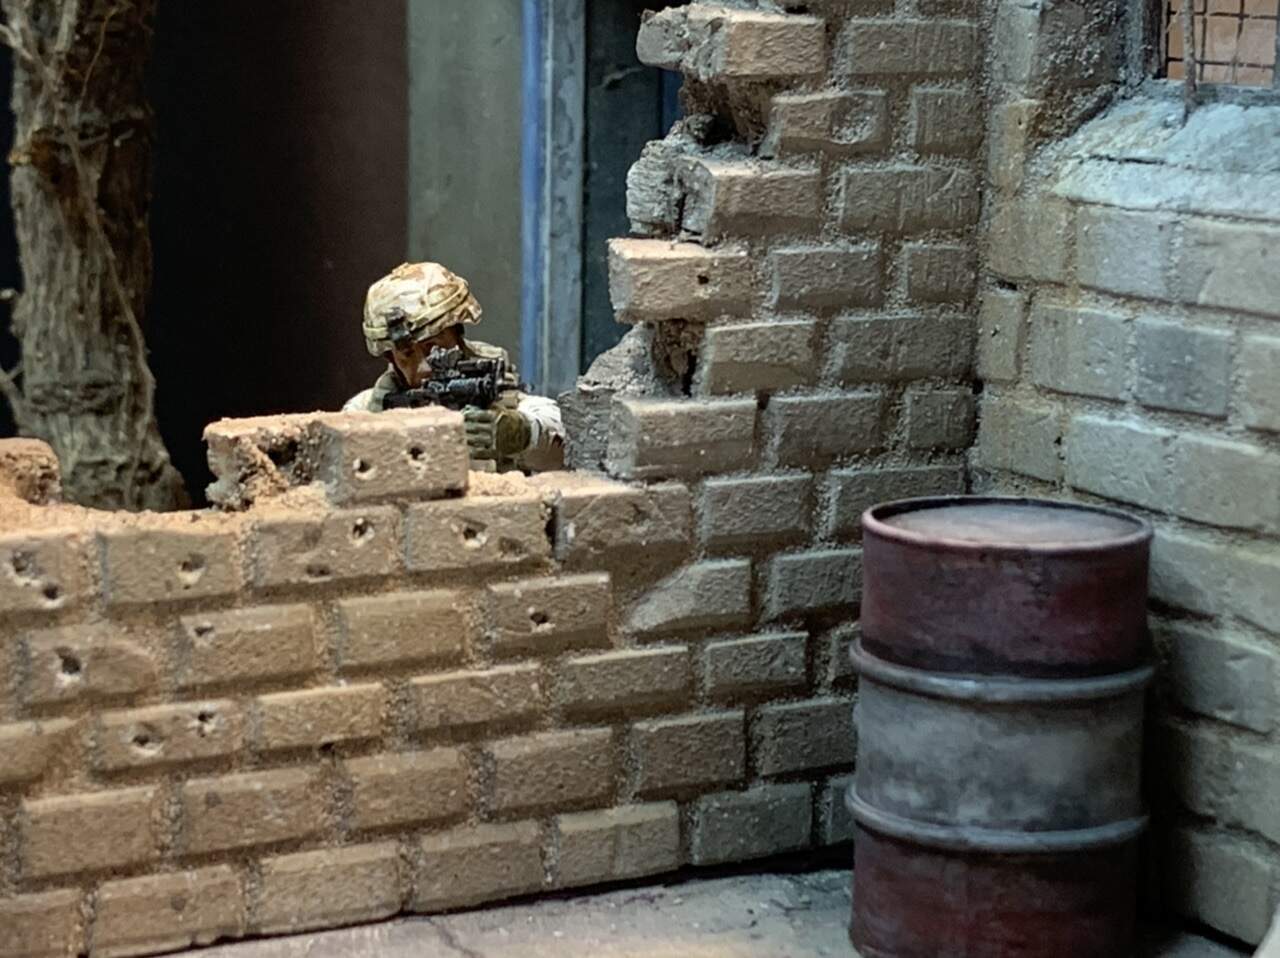
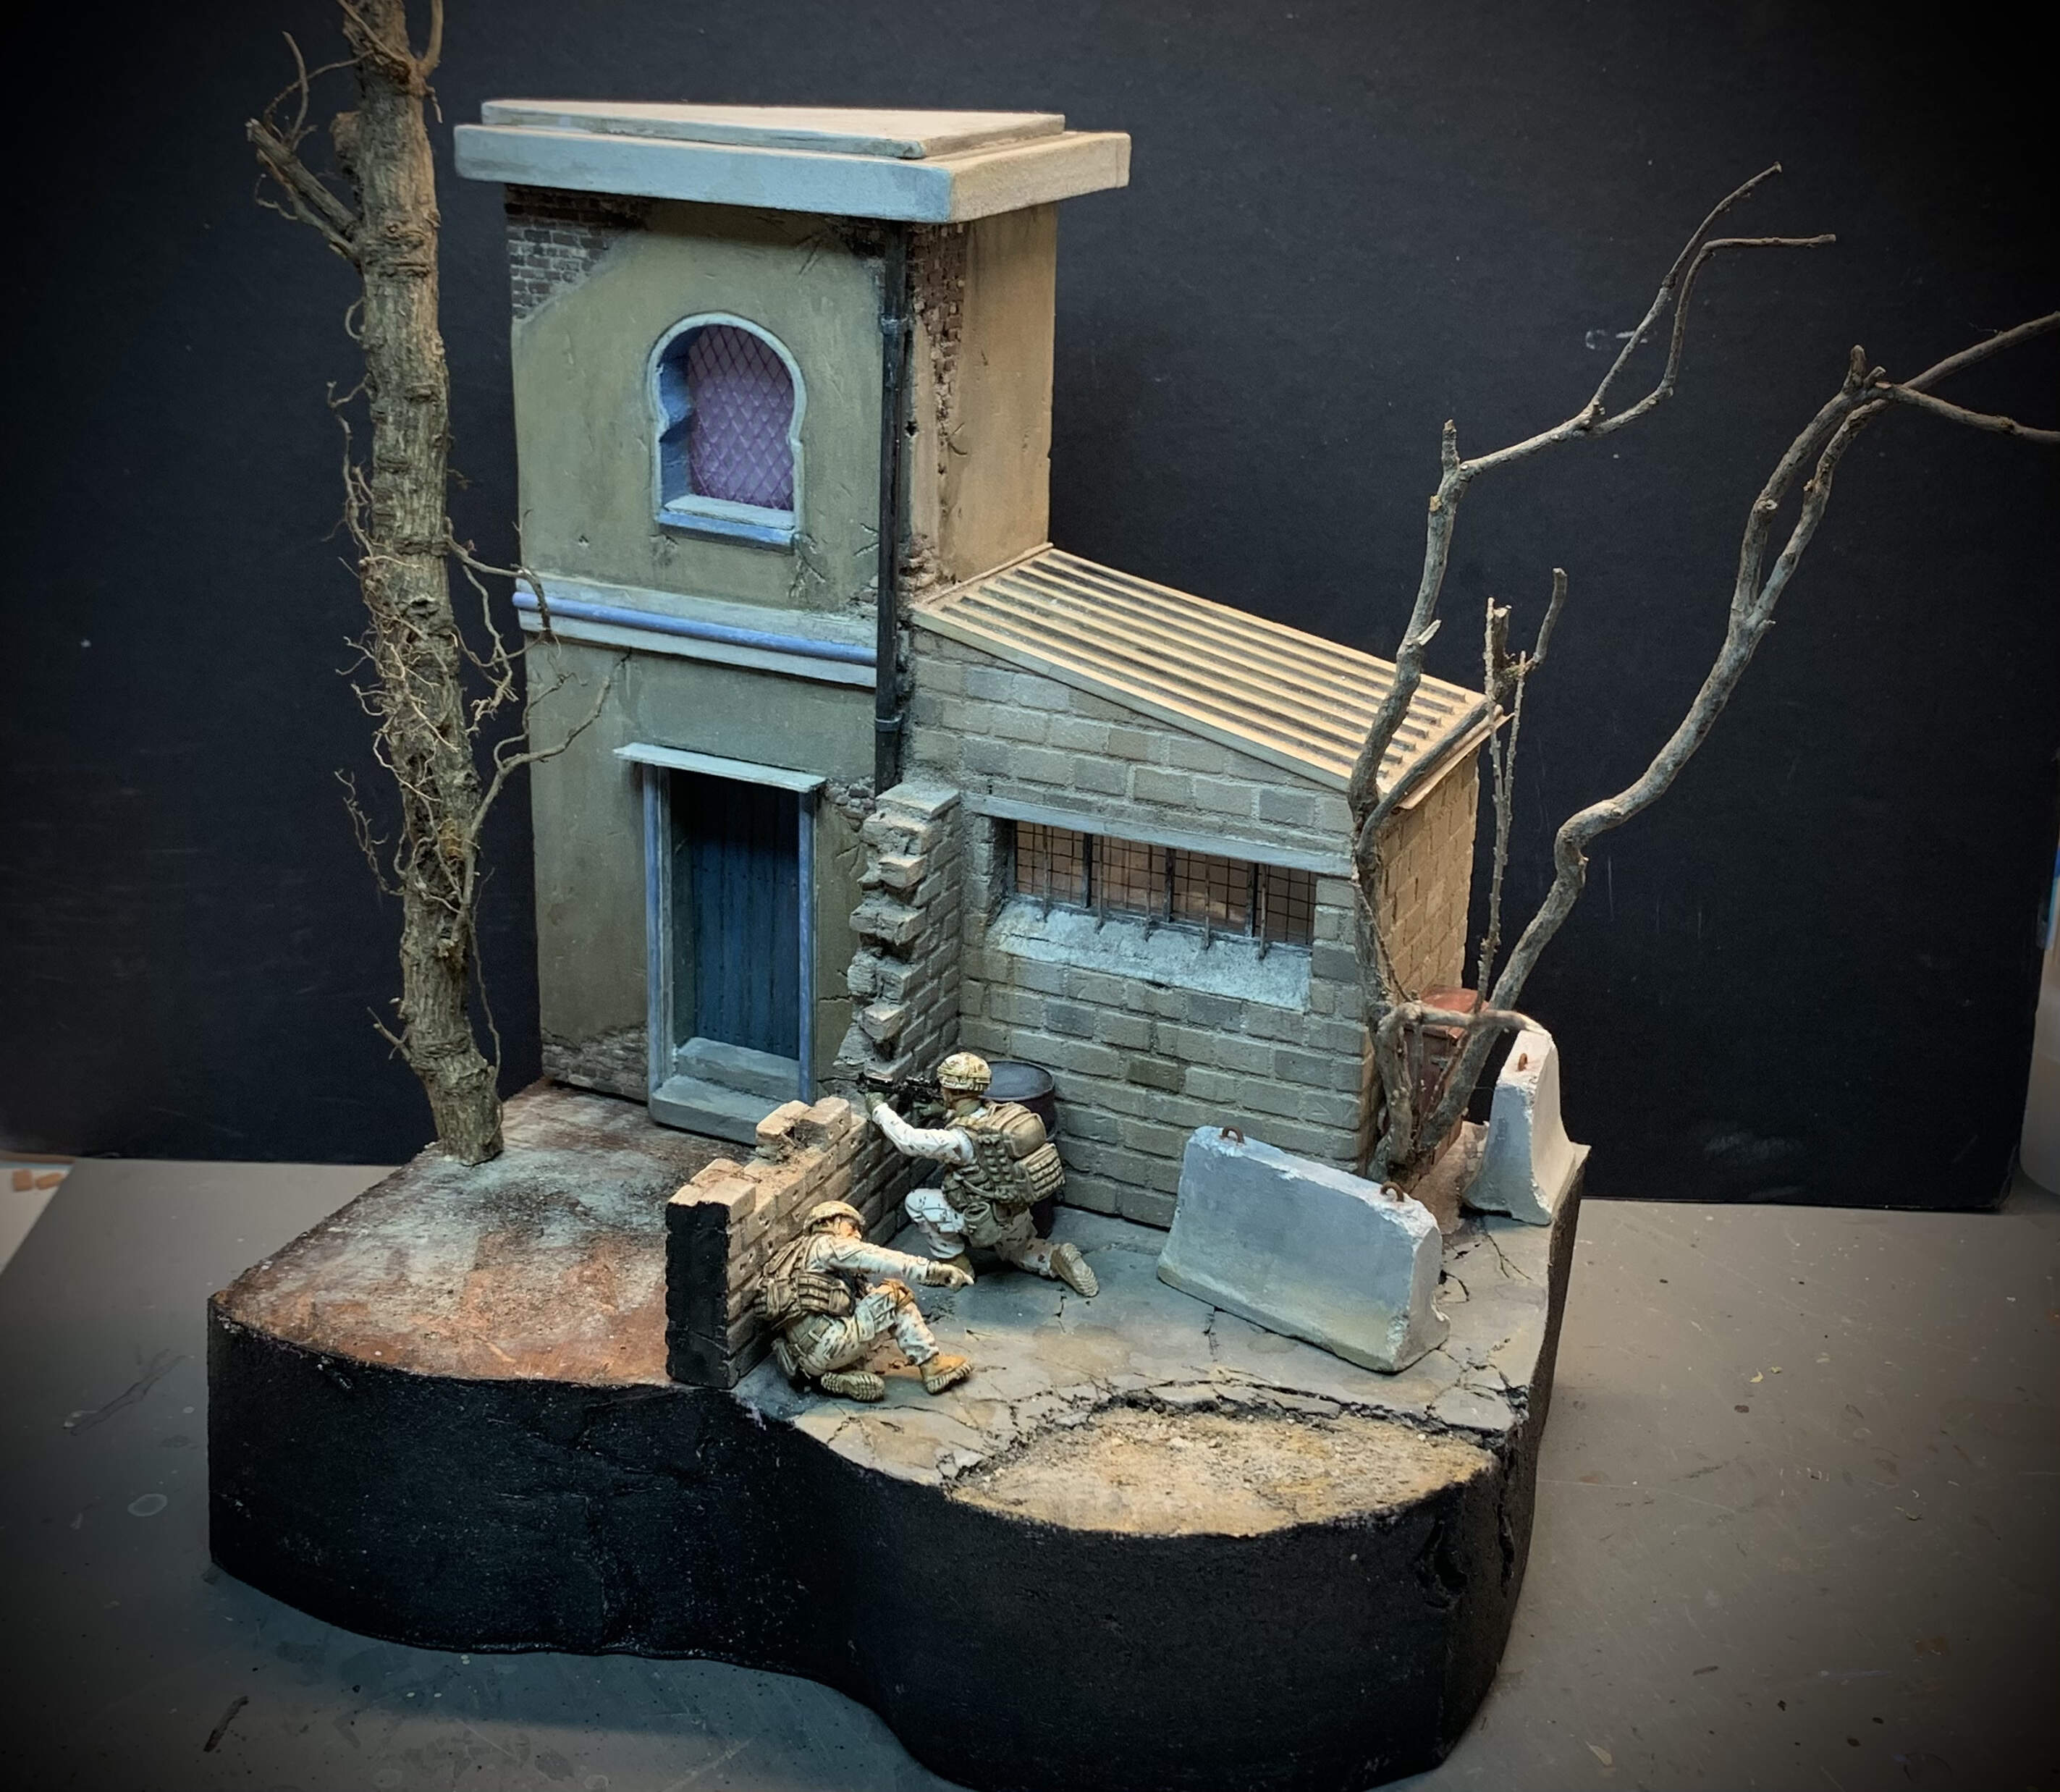
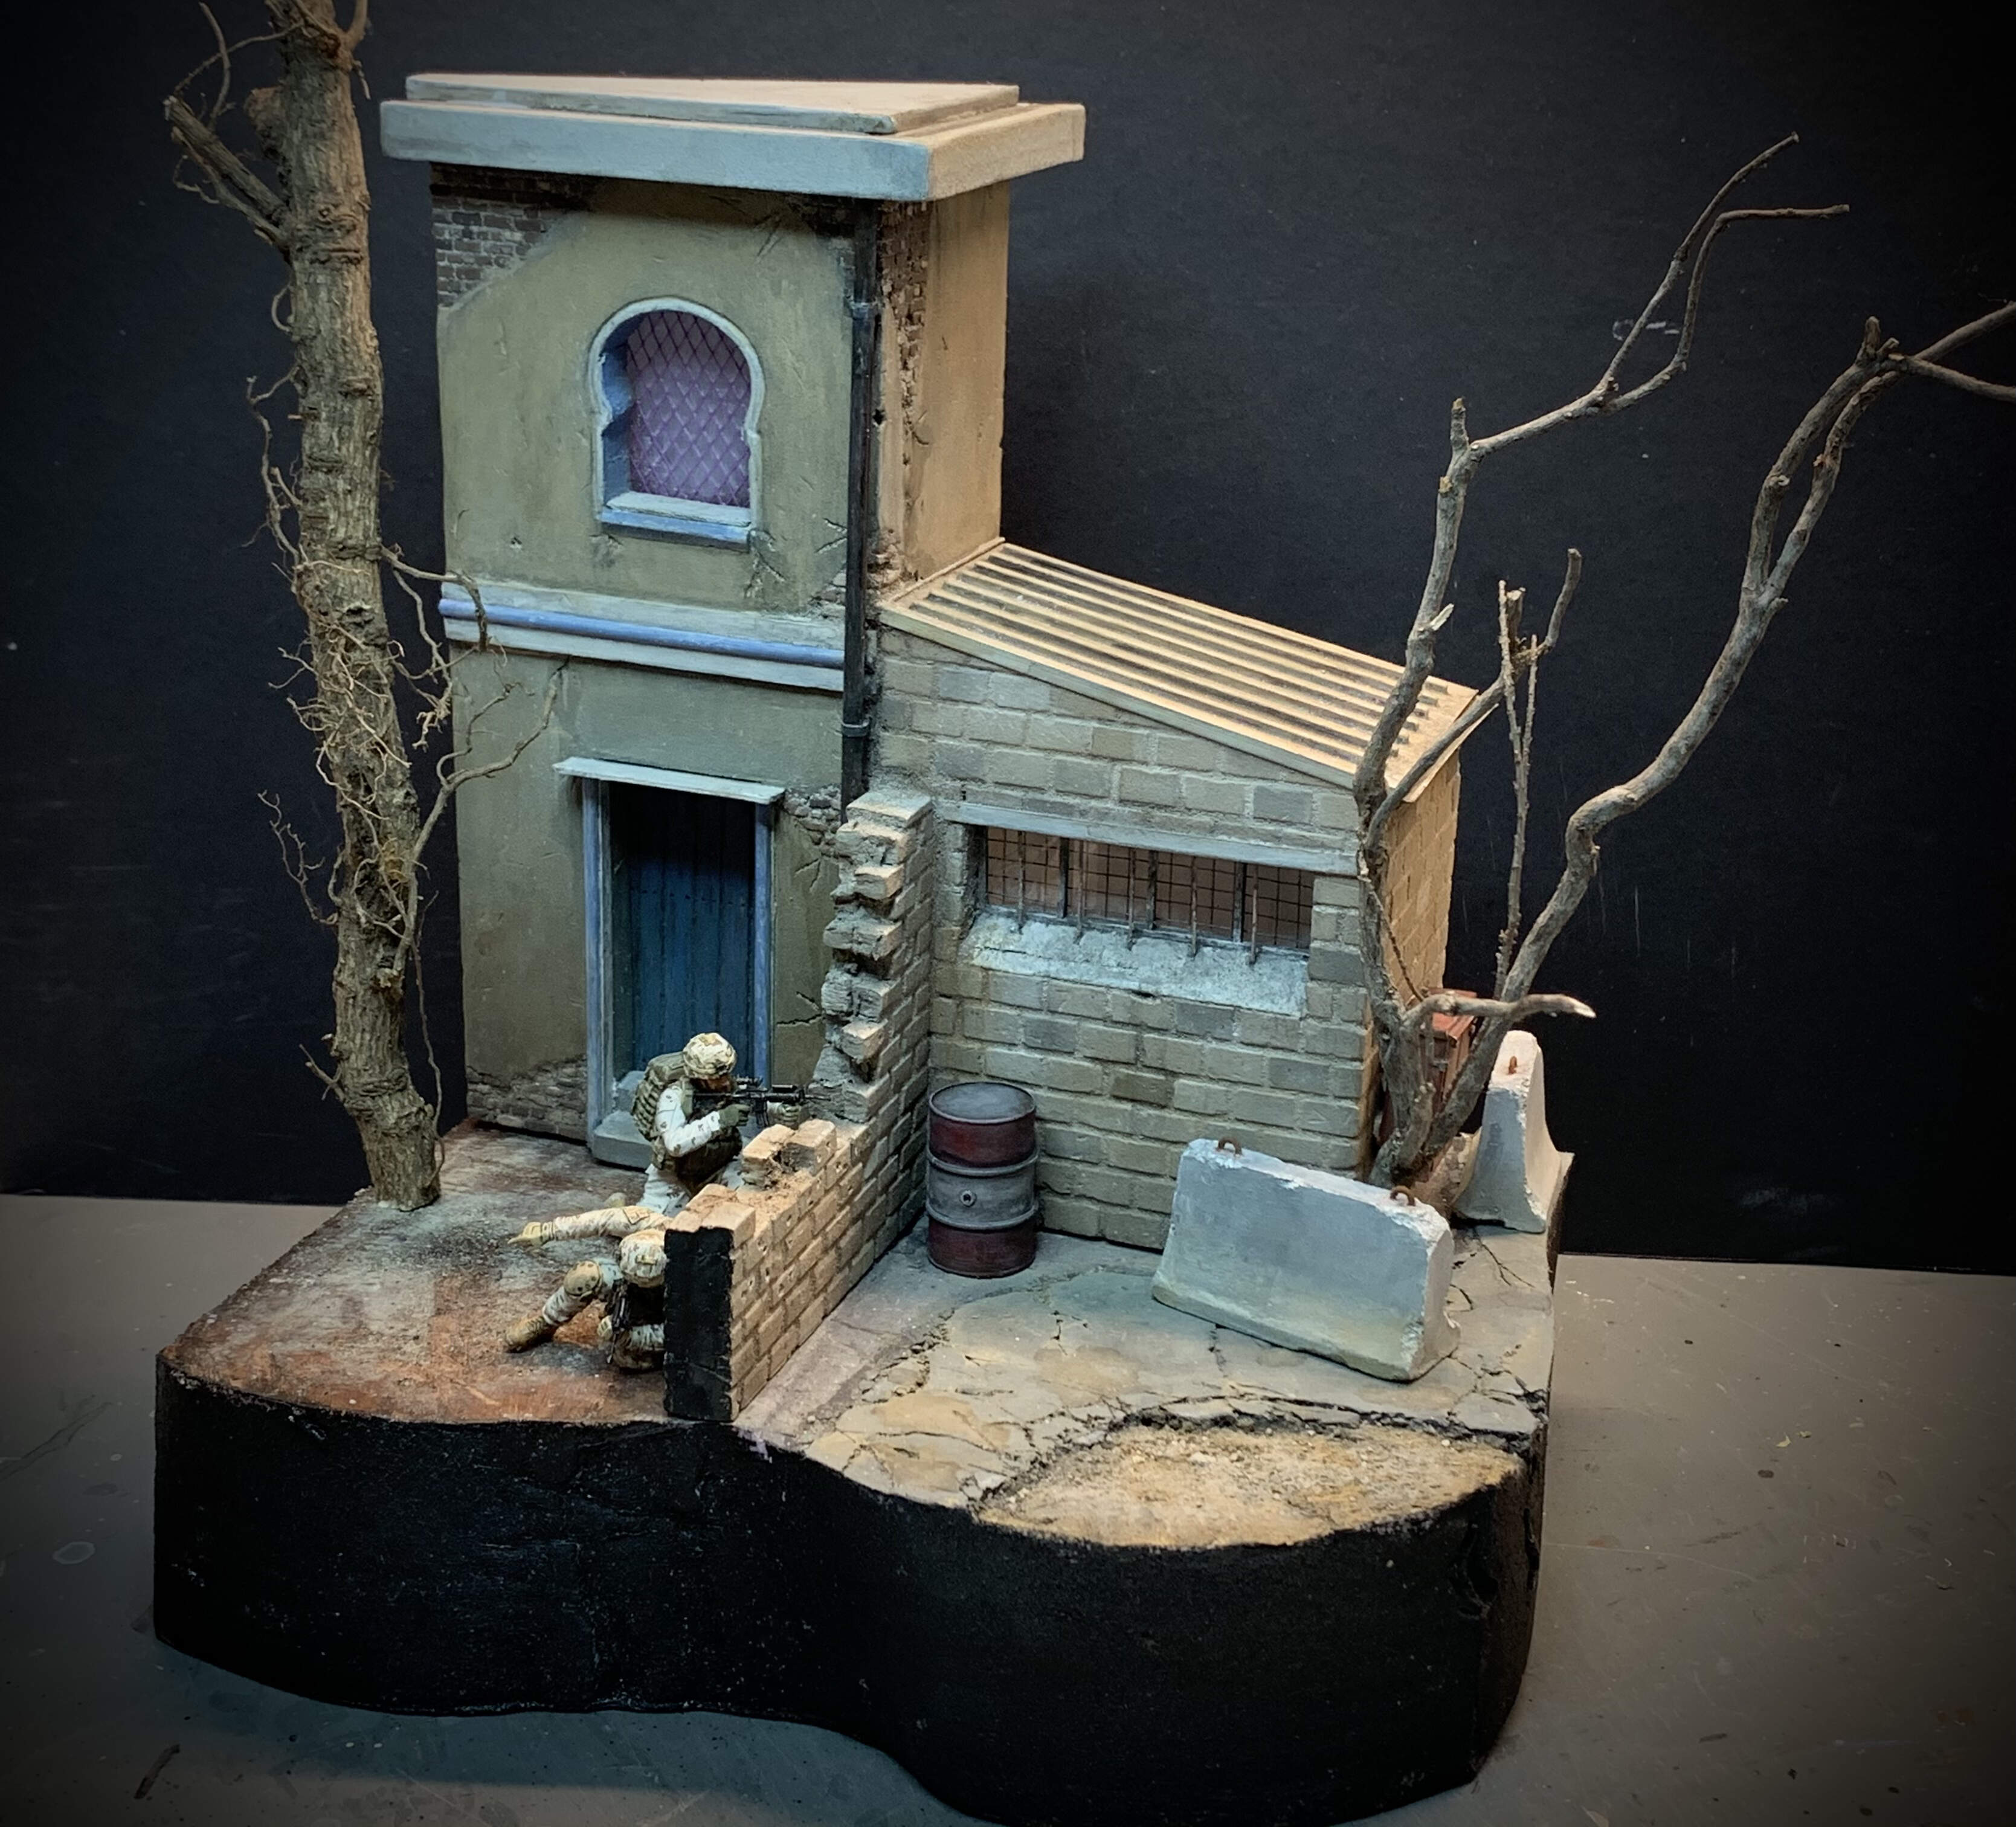
The facade and asphalt are almost finished. Except for the asphalt, the groundwork is only primed, I haven’t started with that.
Now work is getting slow, many hours just working with paint, washes, pigments and filters.
I will still add more details on the building.
The figure in the pictures are just as reference.
Cheers
5 Likes
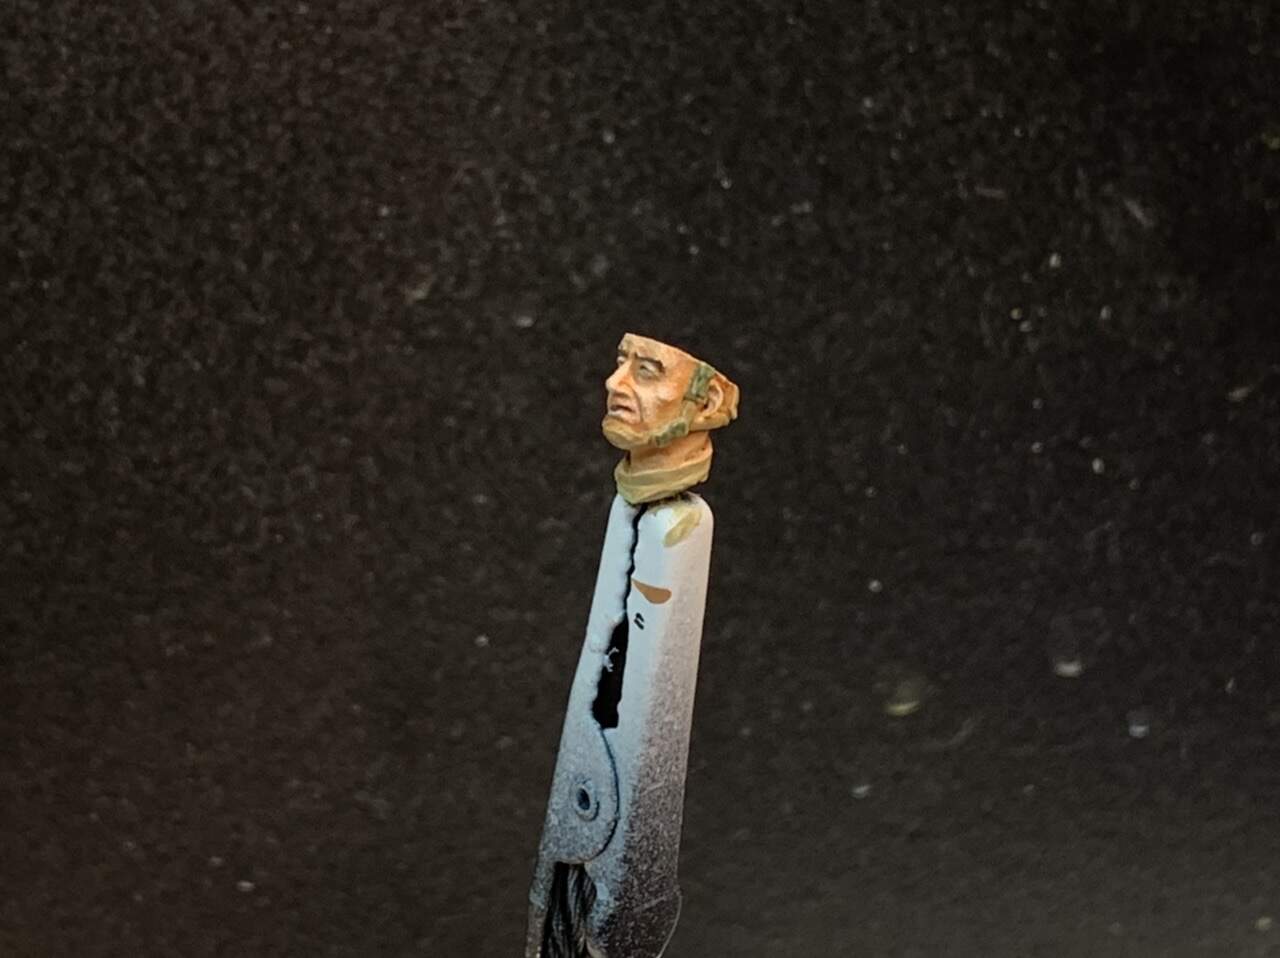
I have started painting the two figures.
The pattern I will try to make is the USMC Desert Marpat.
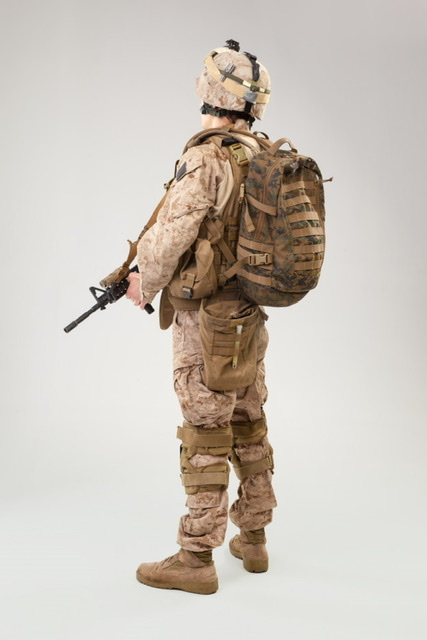
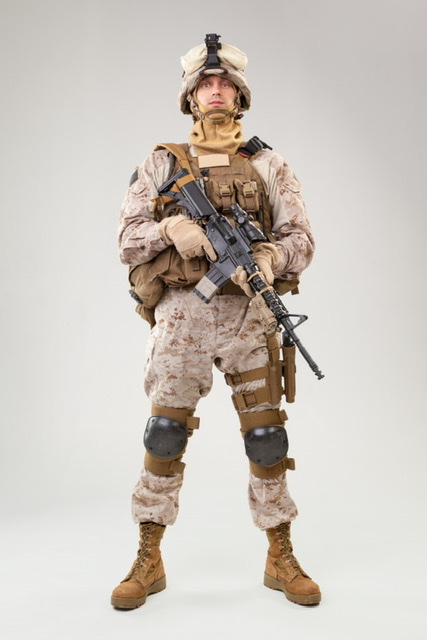
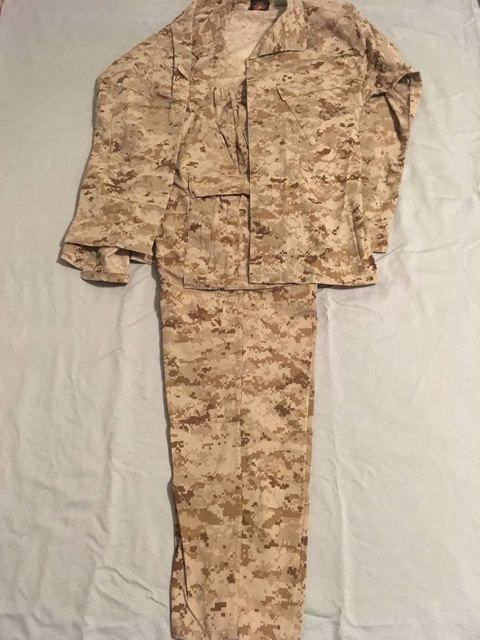
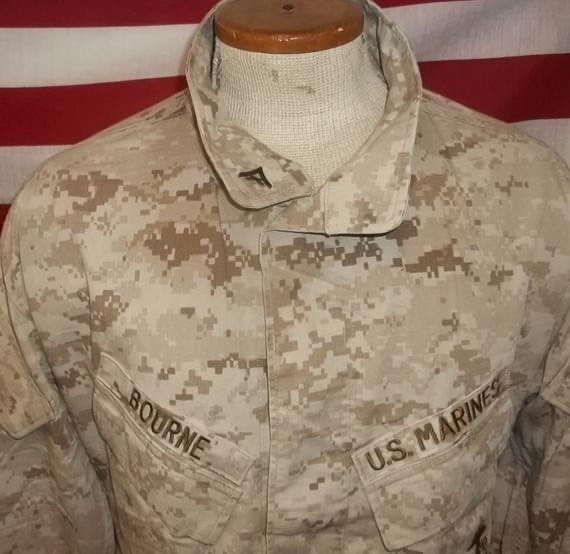
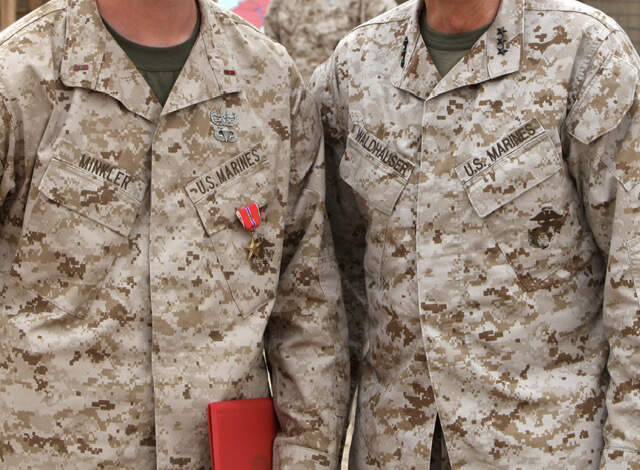
I have tested a lot of colors to find which one that’s most like the original.
It’s hard because the colors of the uniforms in my reference pictures is different of course.
Will see have it turns out.
I like the figures from Hobbyfan, always done that. They suits my painting style.
Cheers!
3 Likes
Good start with the best colour. Looks very good. This is one area that really puts me off figures, is the intricate detailing on the cam schemes… especially modern ones. Good luck with it Erik
1 Like
Thanks John, it’s an interesting job for sure:)
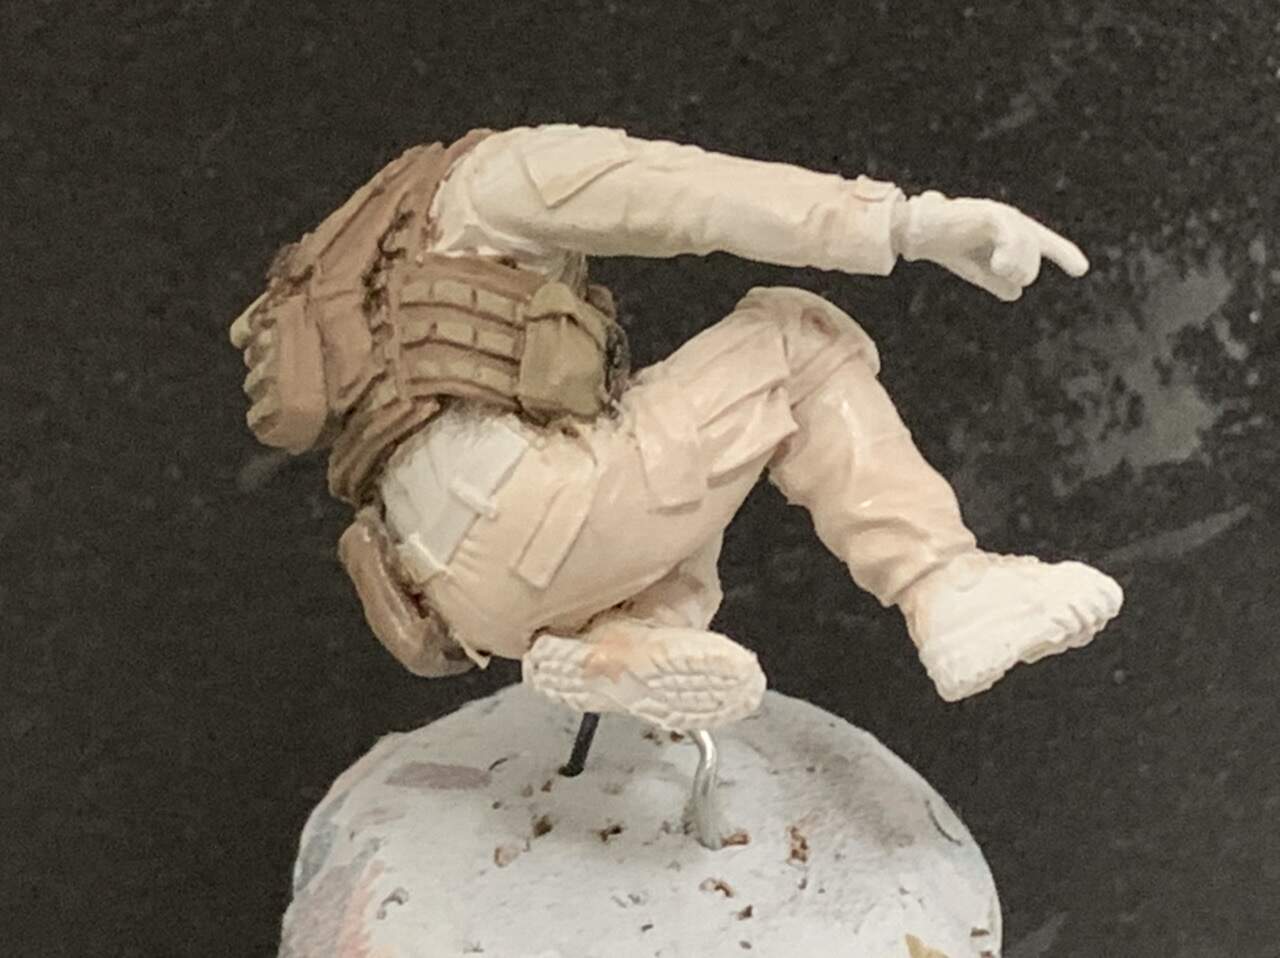
I work slowly, on lunch today I worked with the rucksack.
Cheers
4 Likes
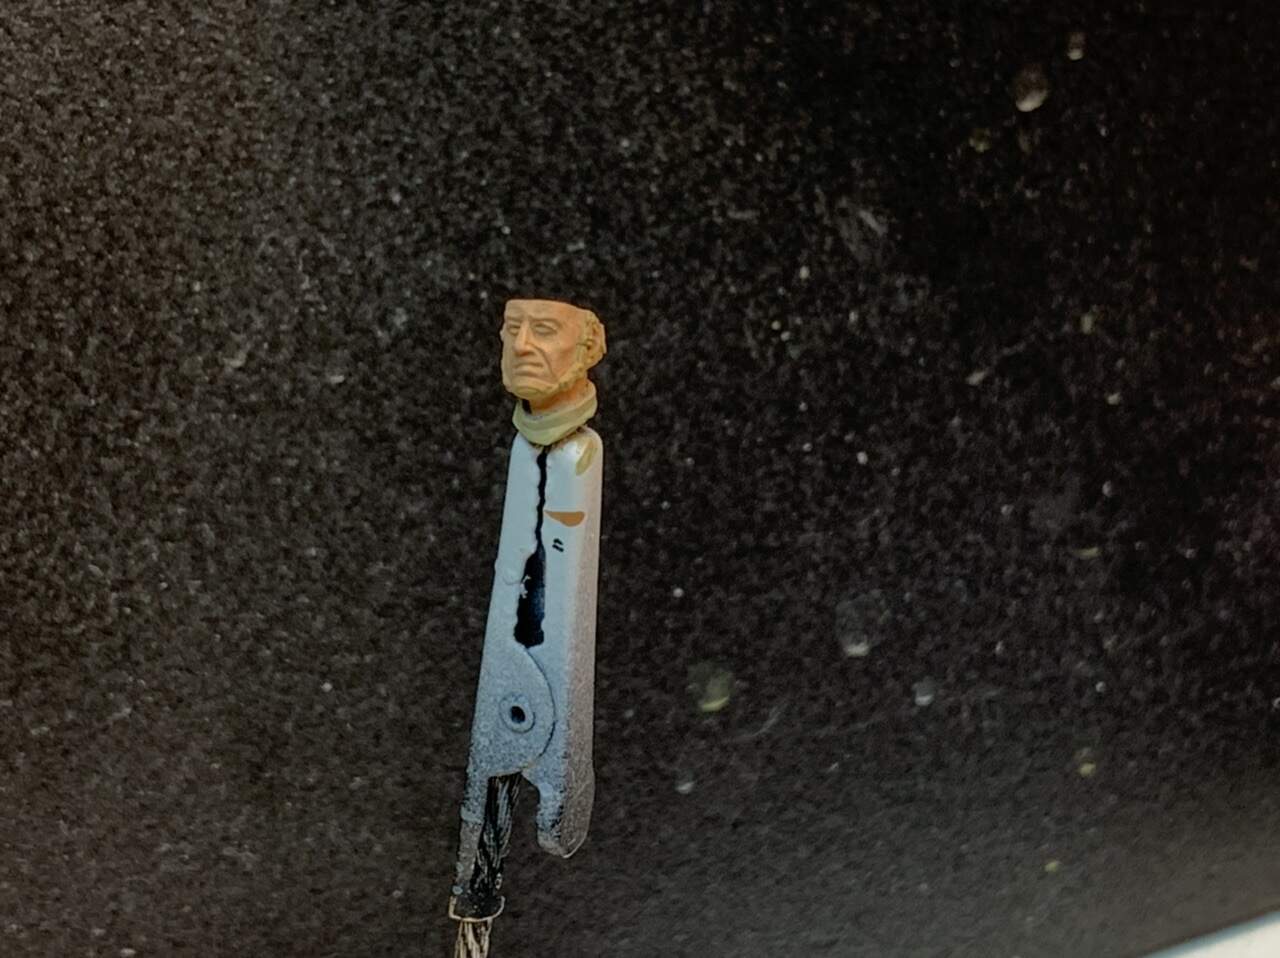
what are you painting with? a toothpick? that’s some pretty superb detail there, man!
Cheers!
L
1 Like
So, Jason Bourne was a Marine? Who wooda thunk??!!
1 Like
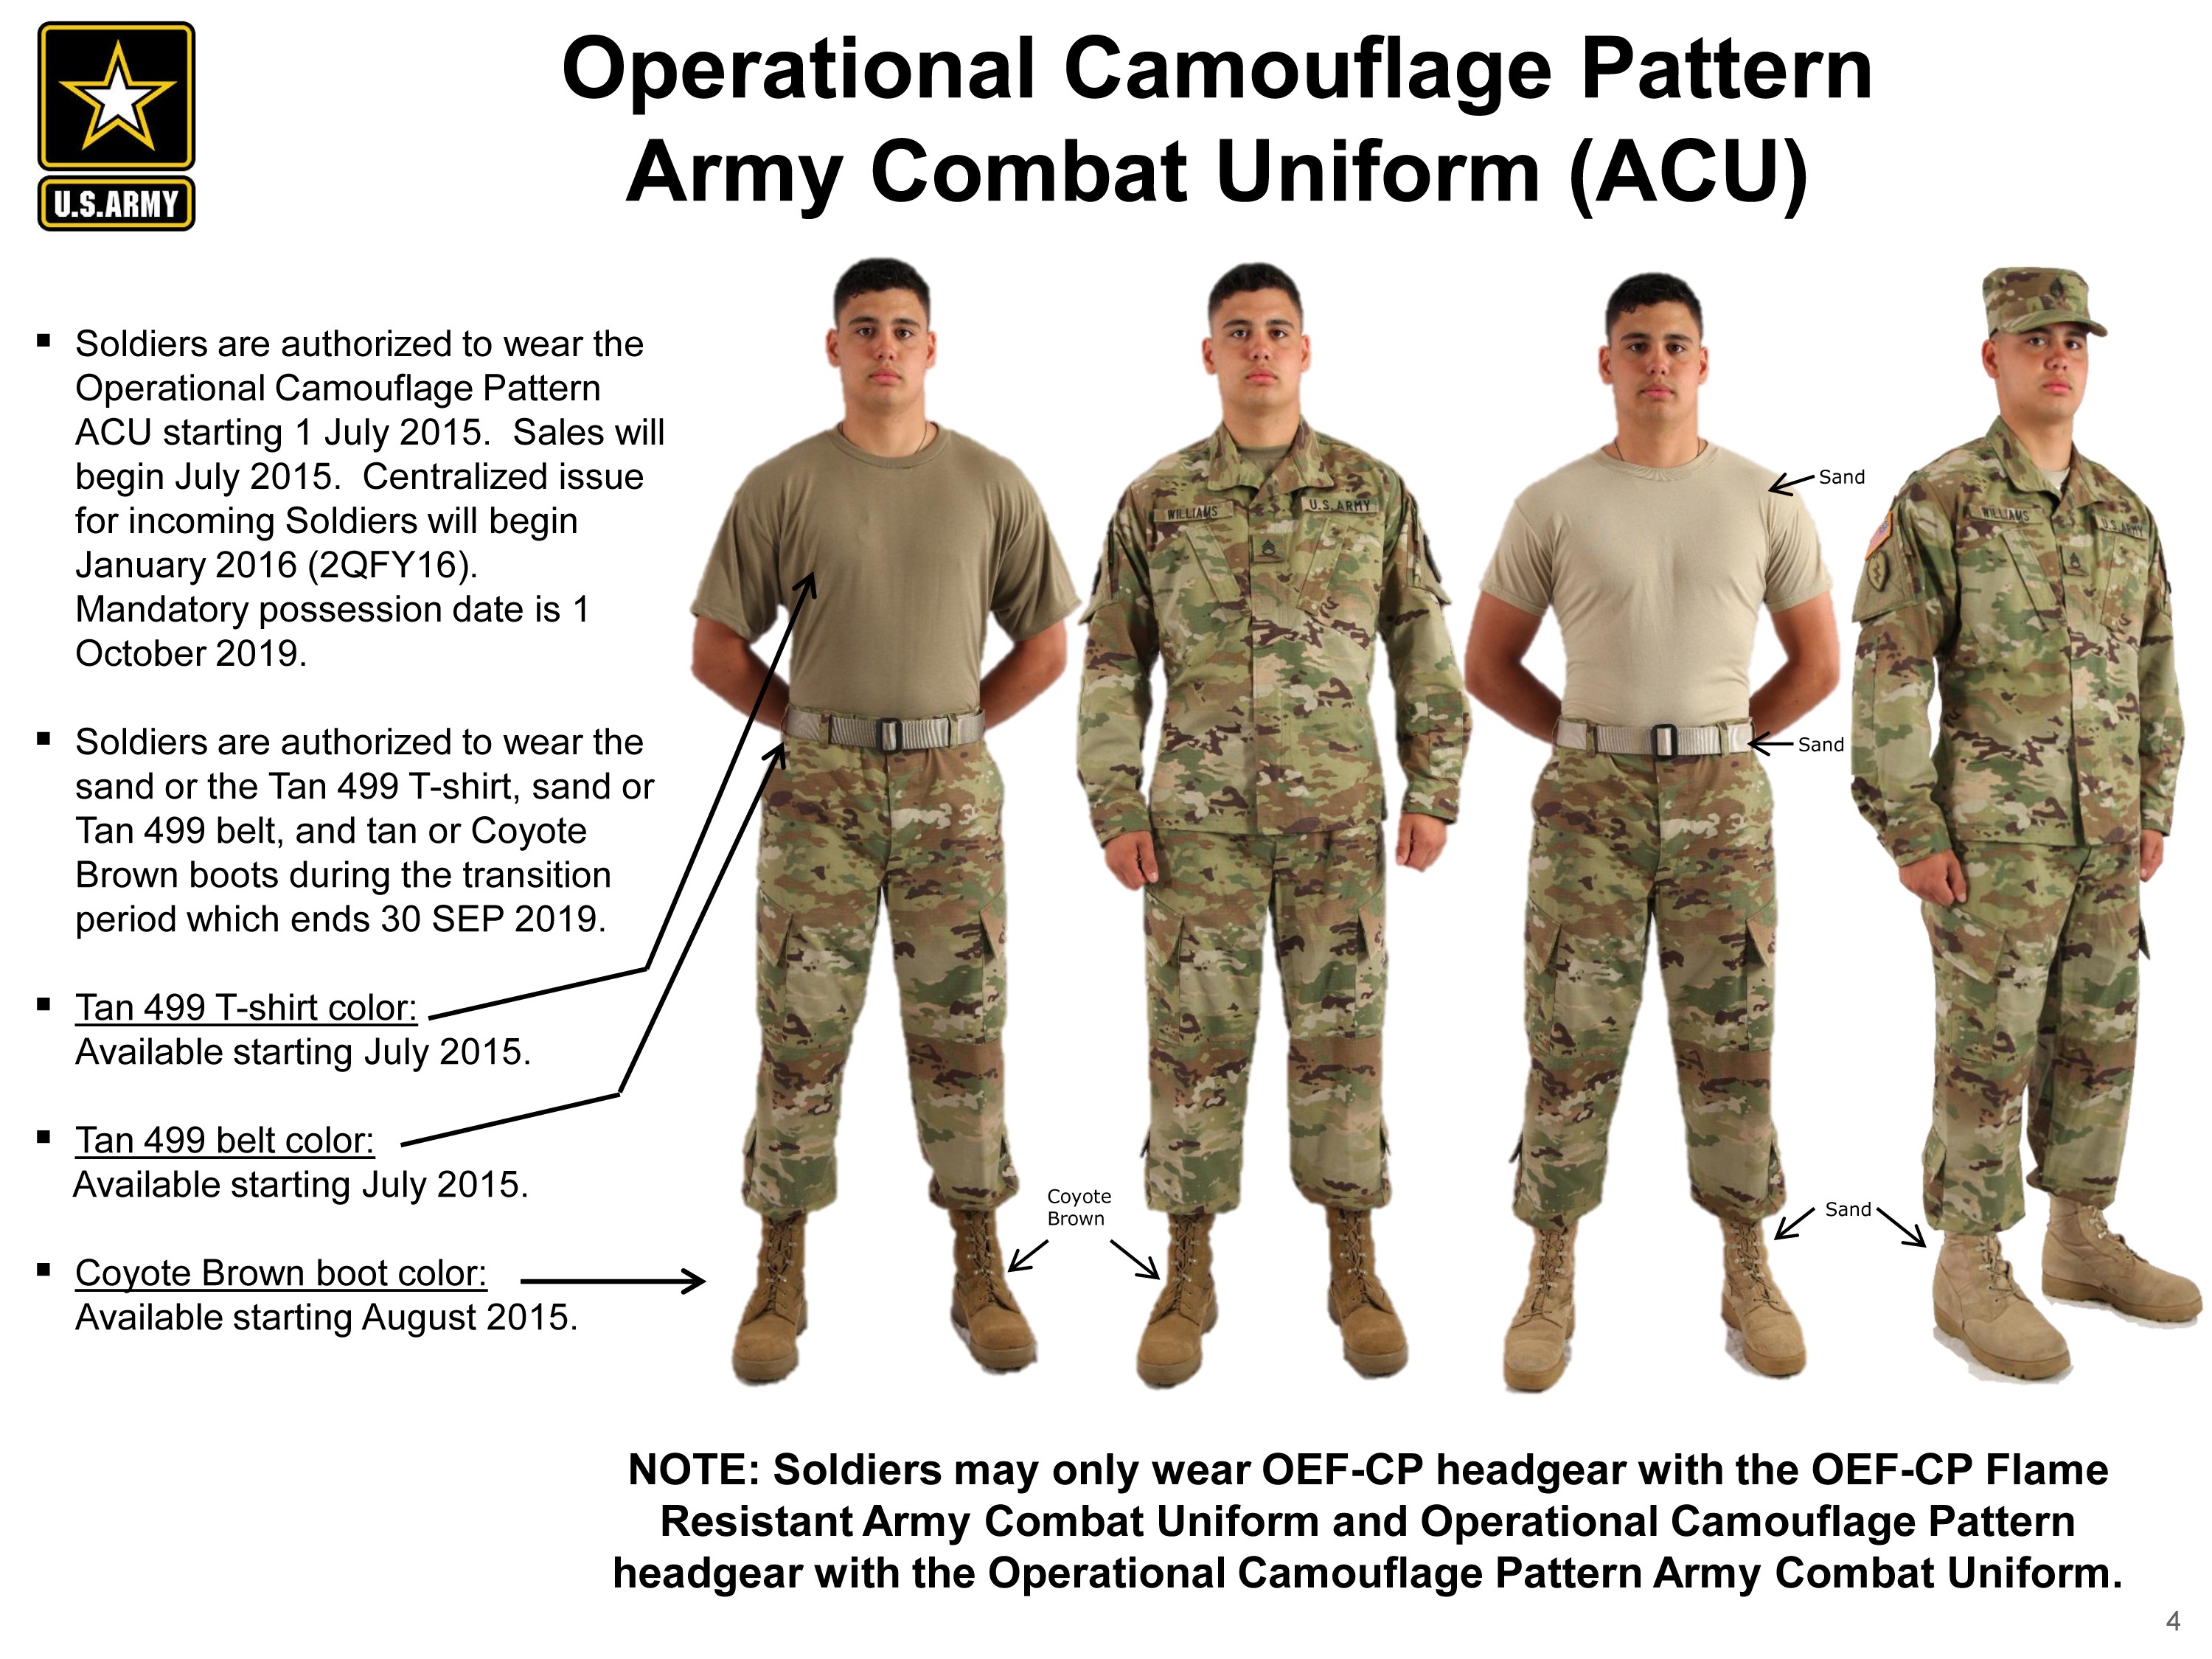
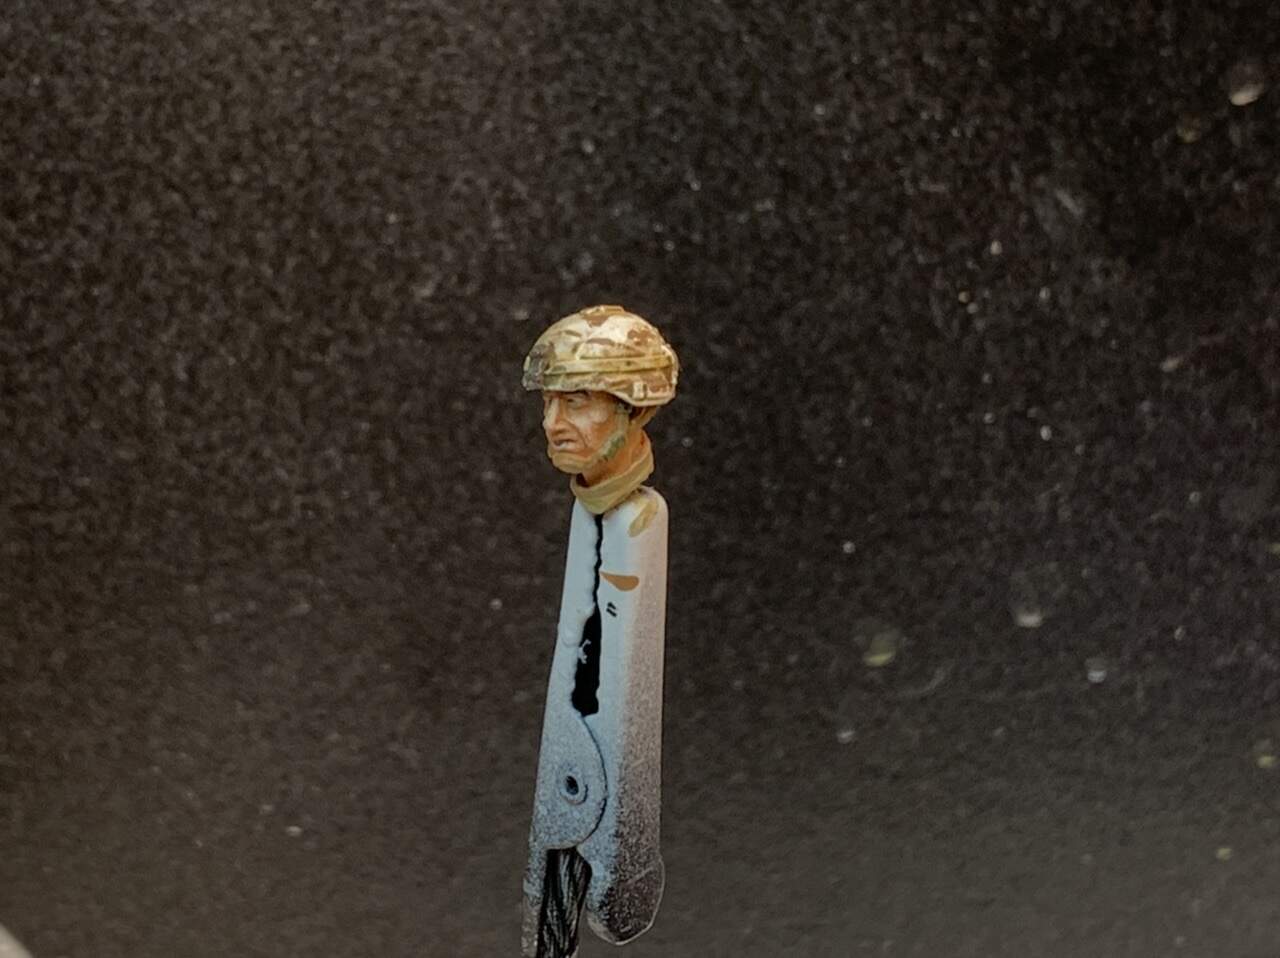
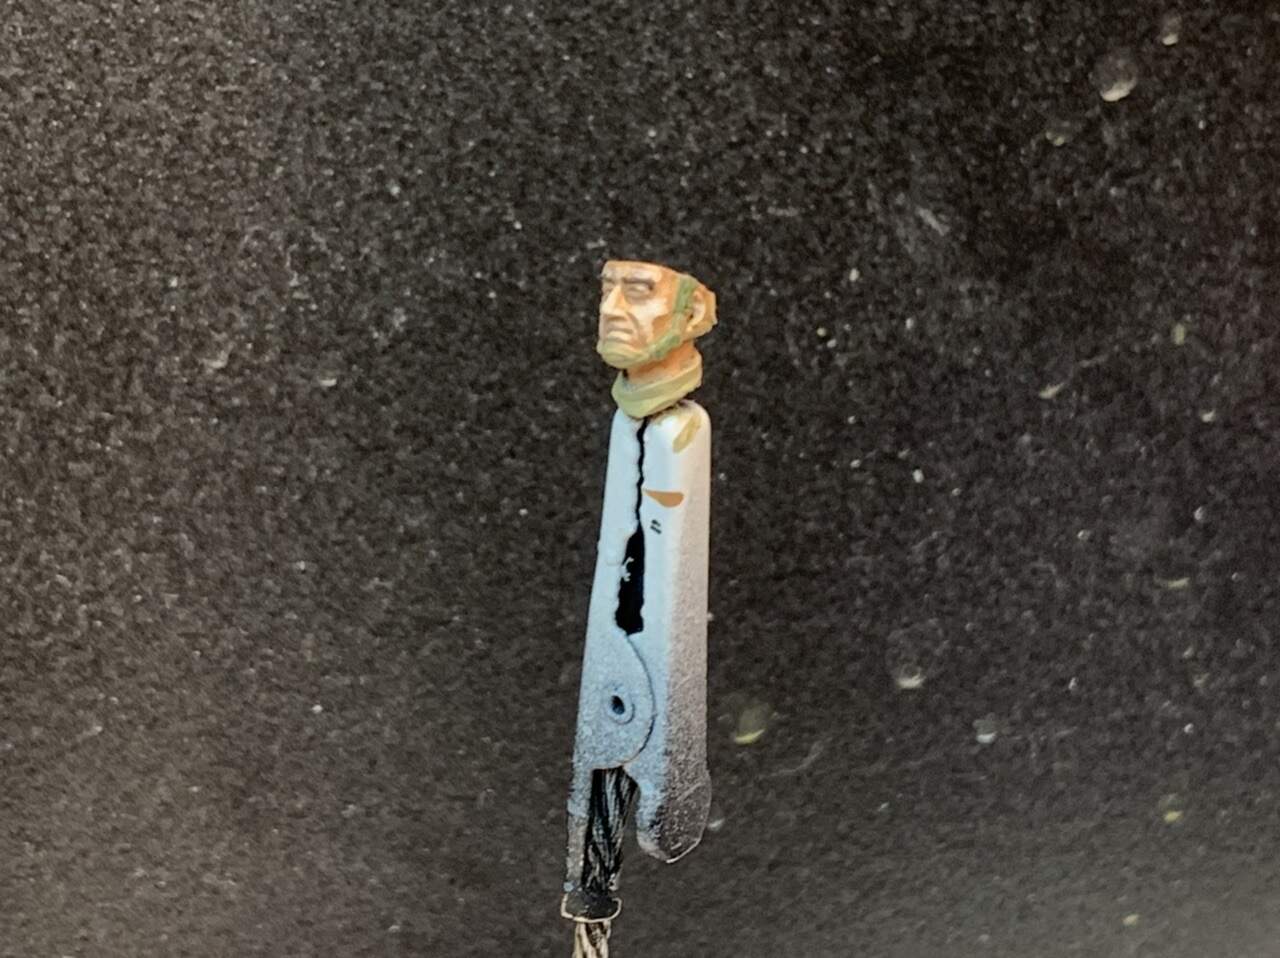
That camouflage pattern was a bad choice, the digital pattern is to difficult for me.
I should have done the newer pattern like this, it’s a traditional camouflage.
Actually I would prefer the British pattern like this
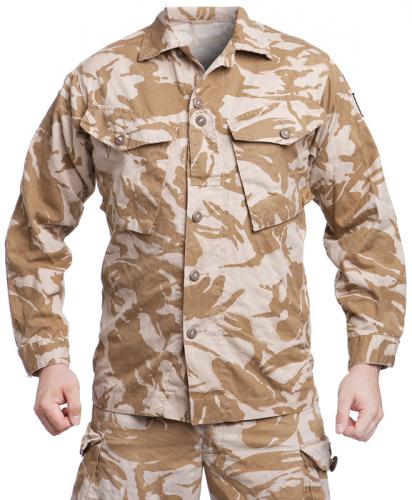
That’s quite easy I think, I must get som modern British guys:)
Anyway, I will finish these two guys with my attempt of the digital pattern.
@logandavis74 all is done with brushes.
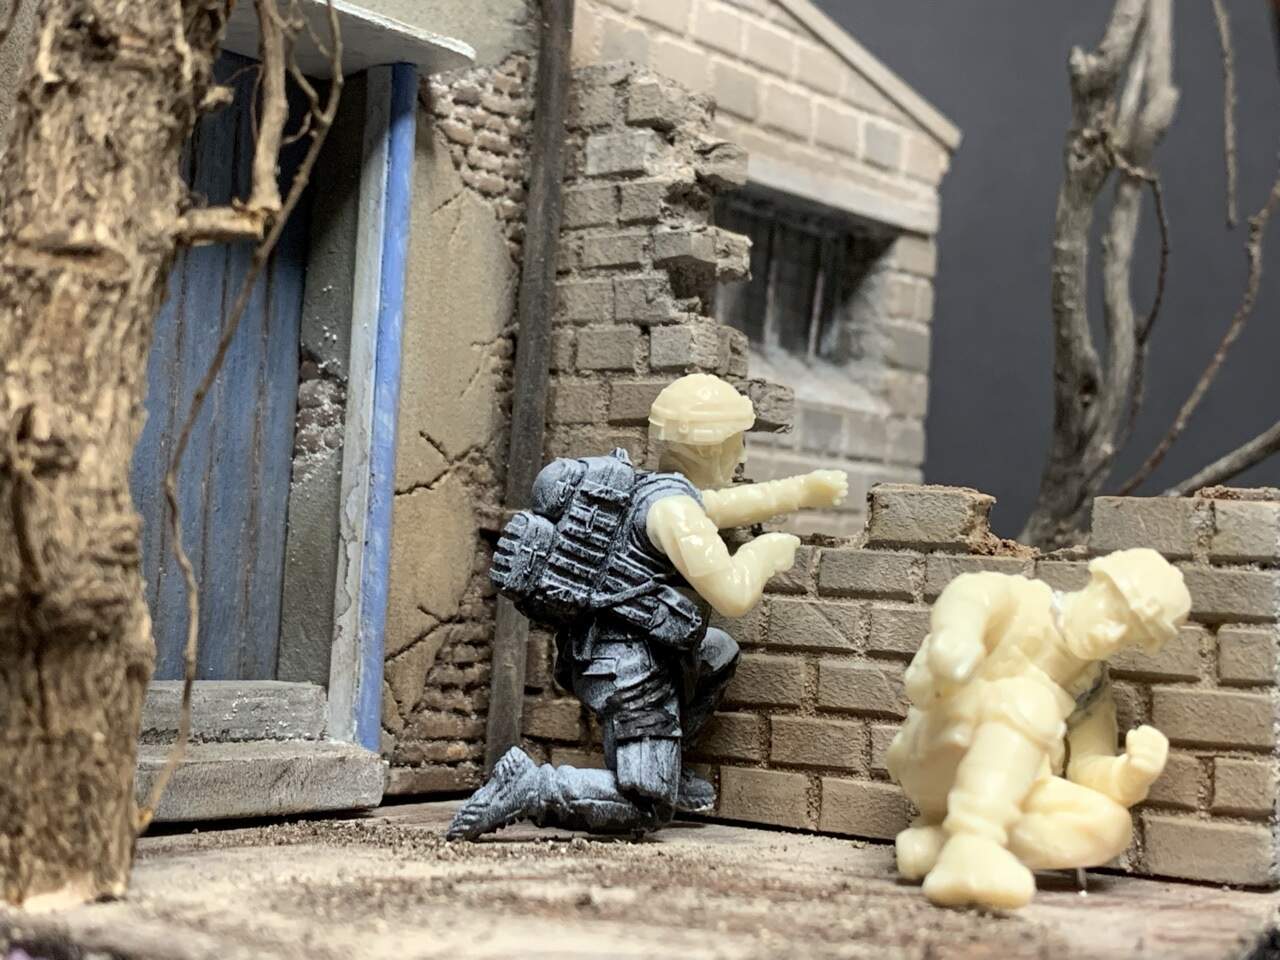
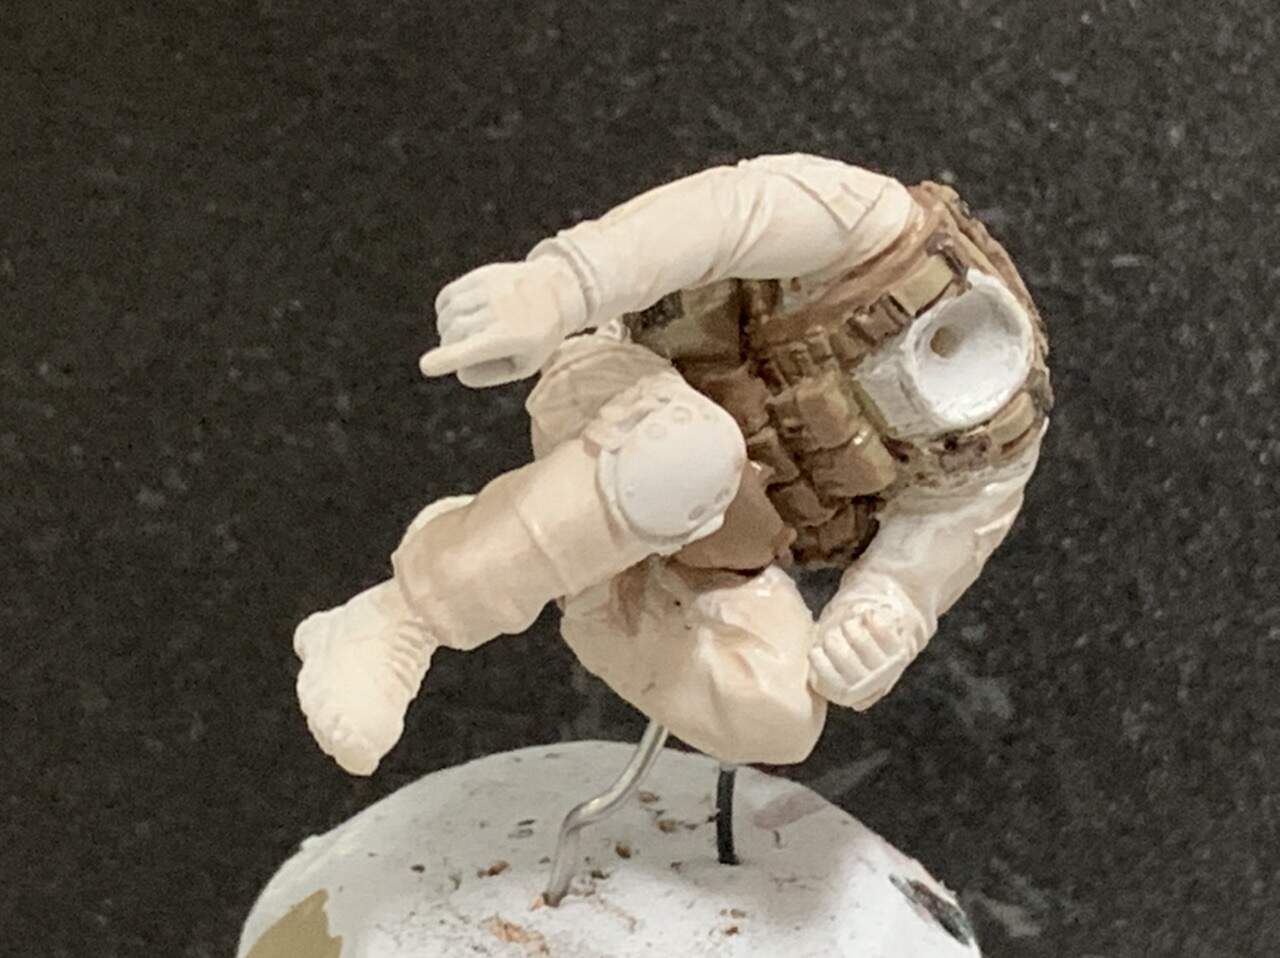
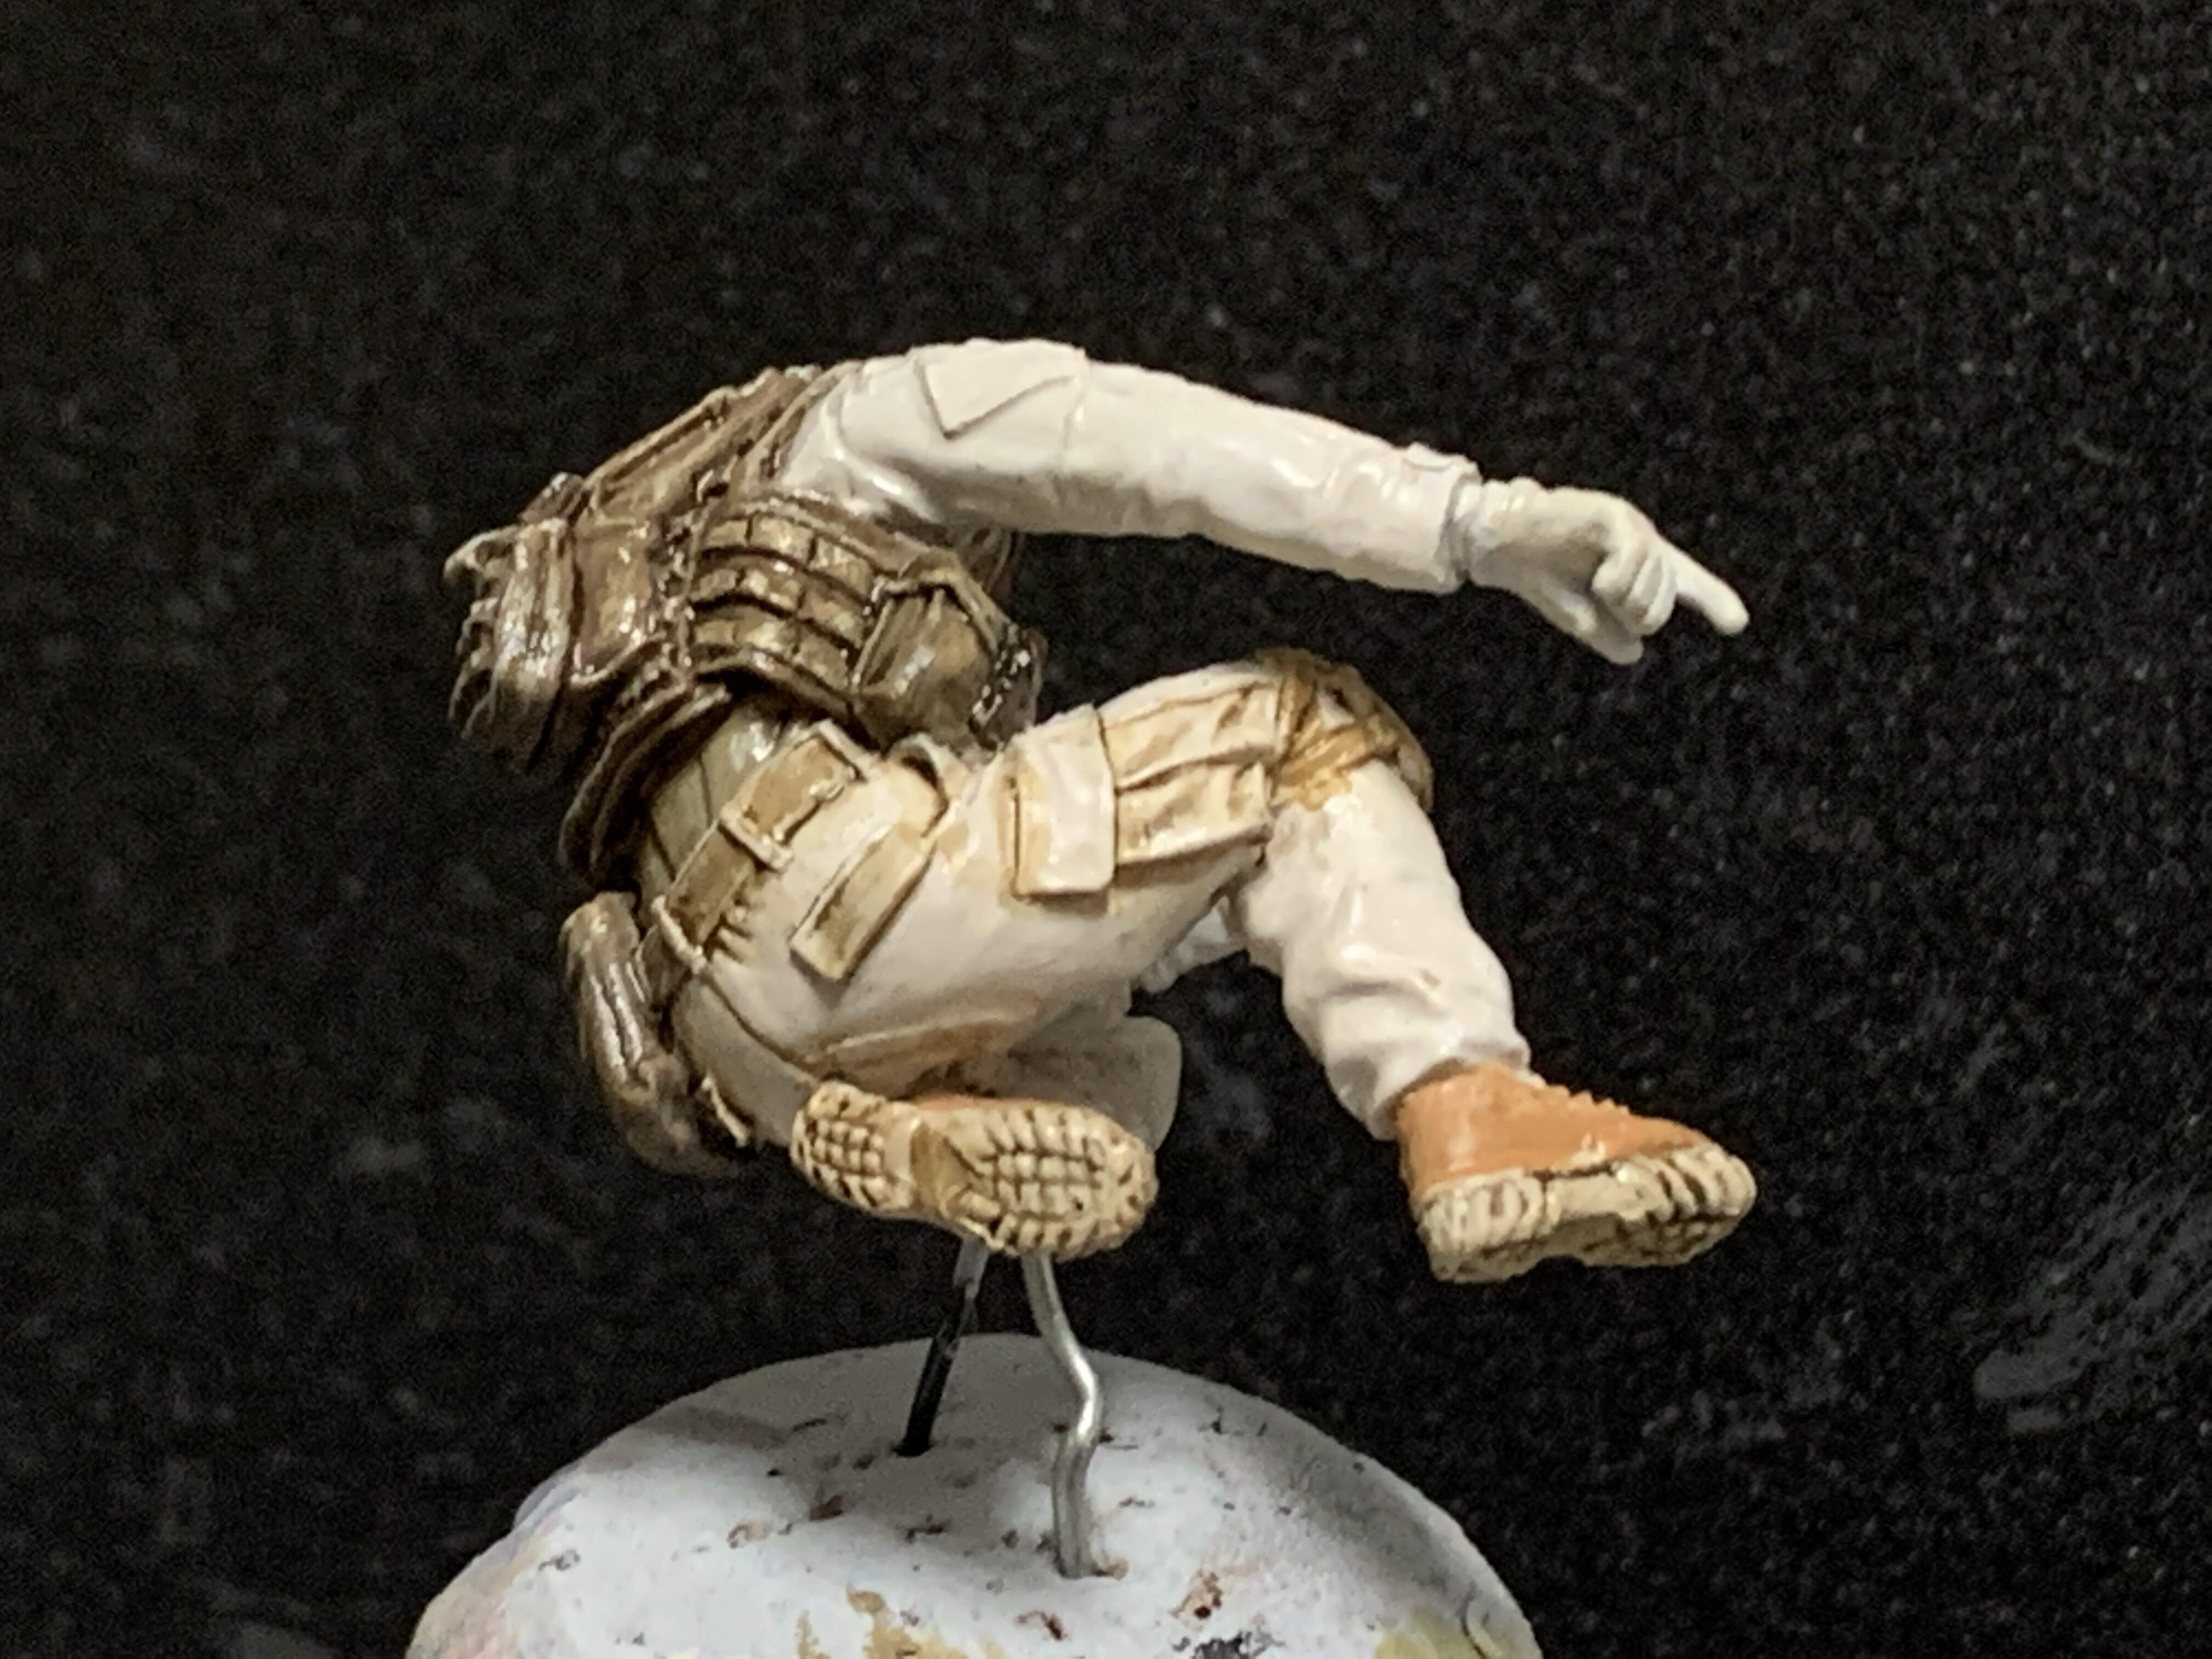
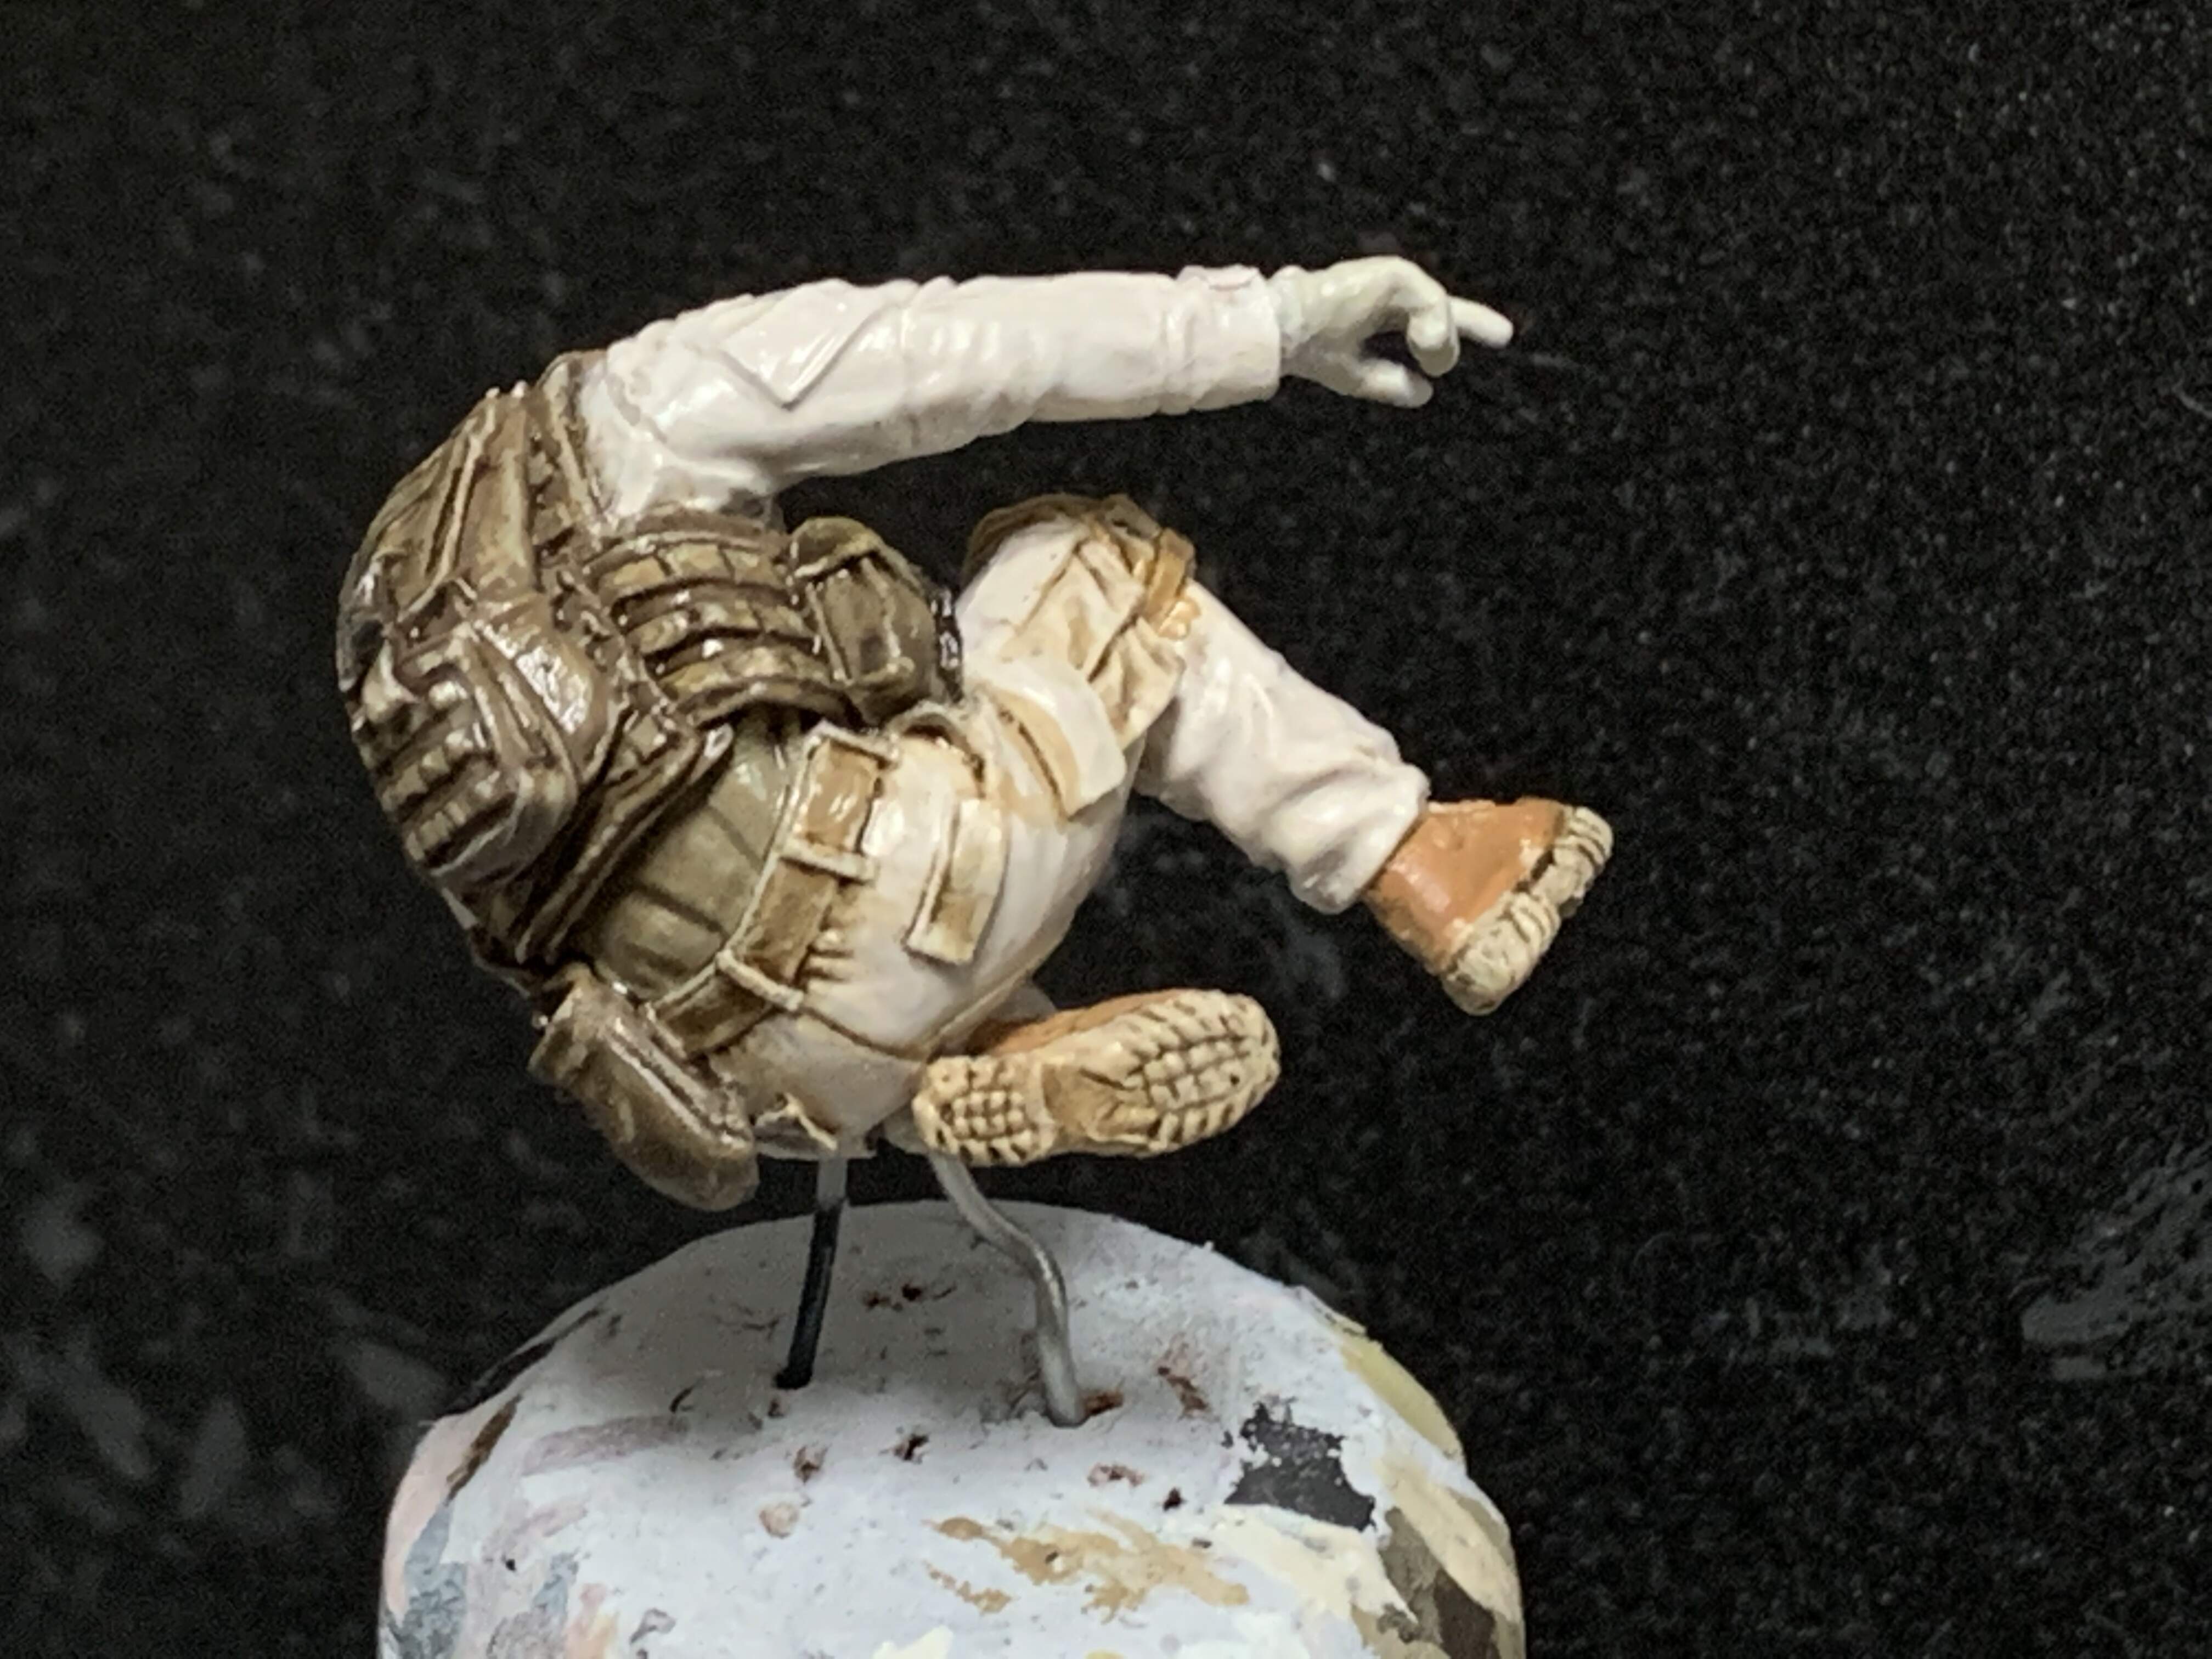
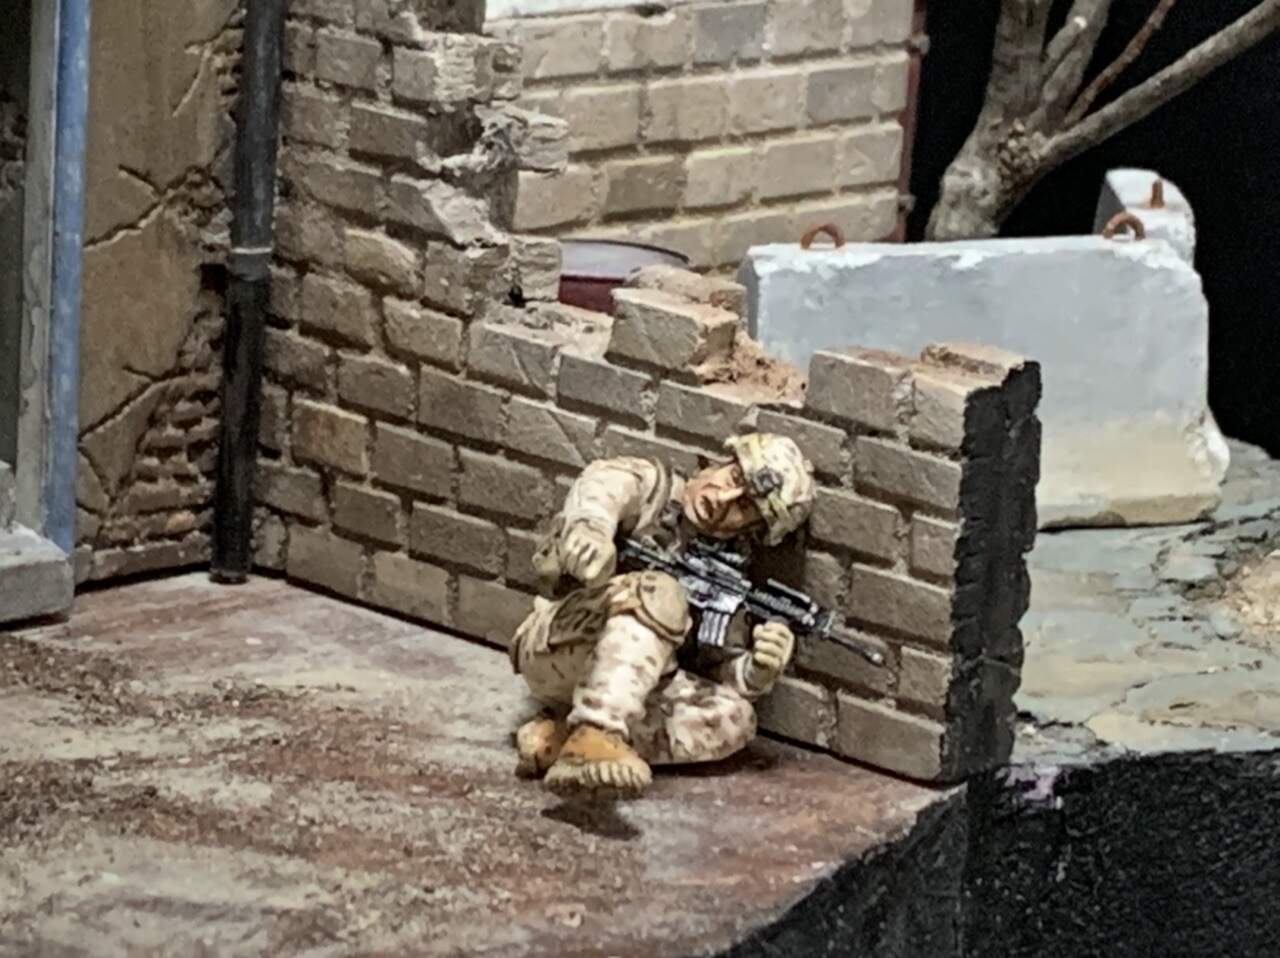
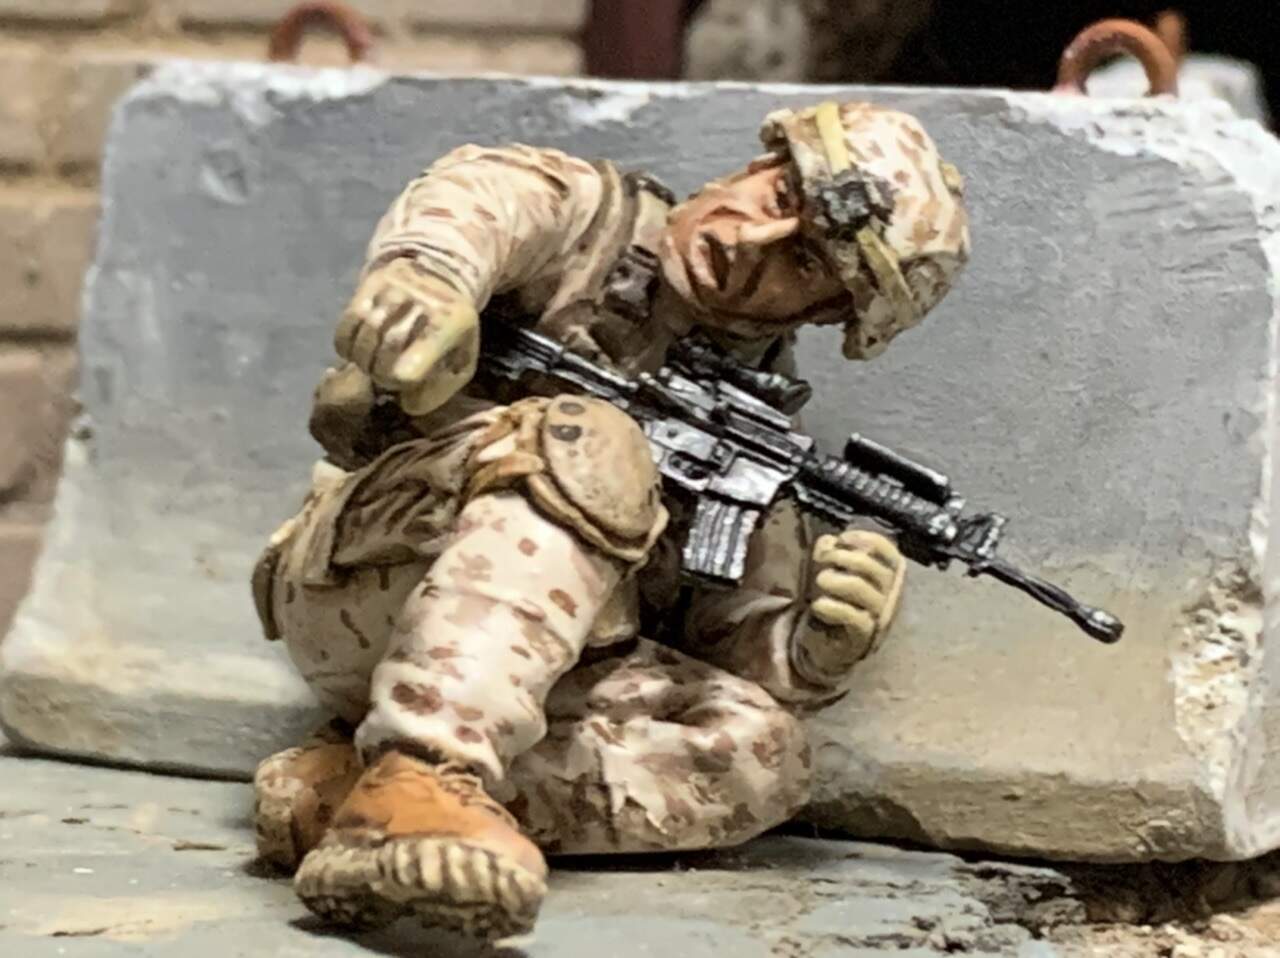
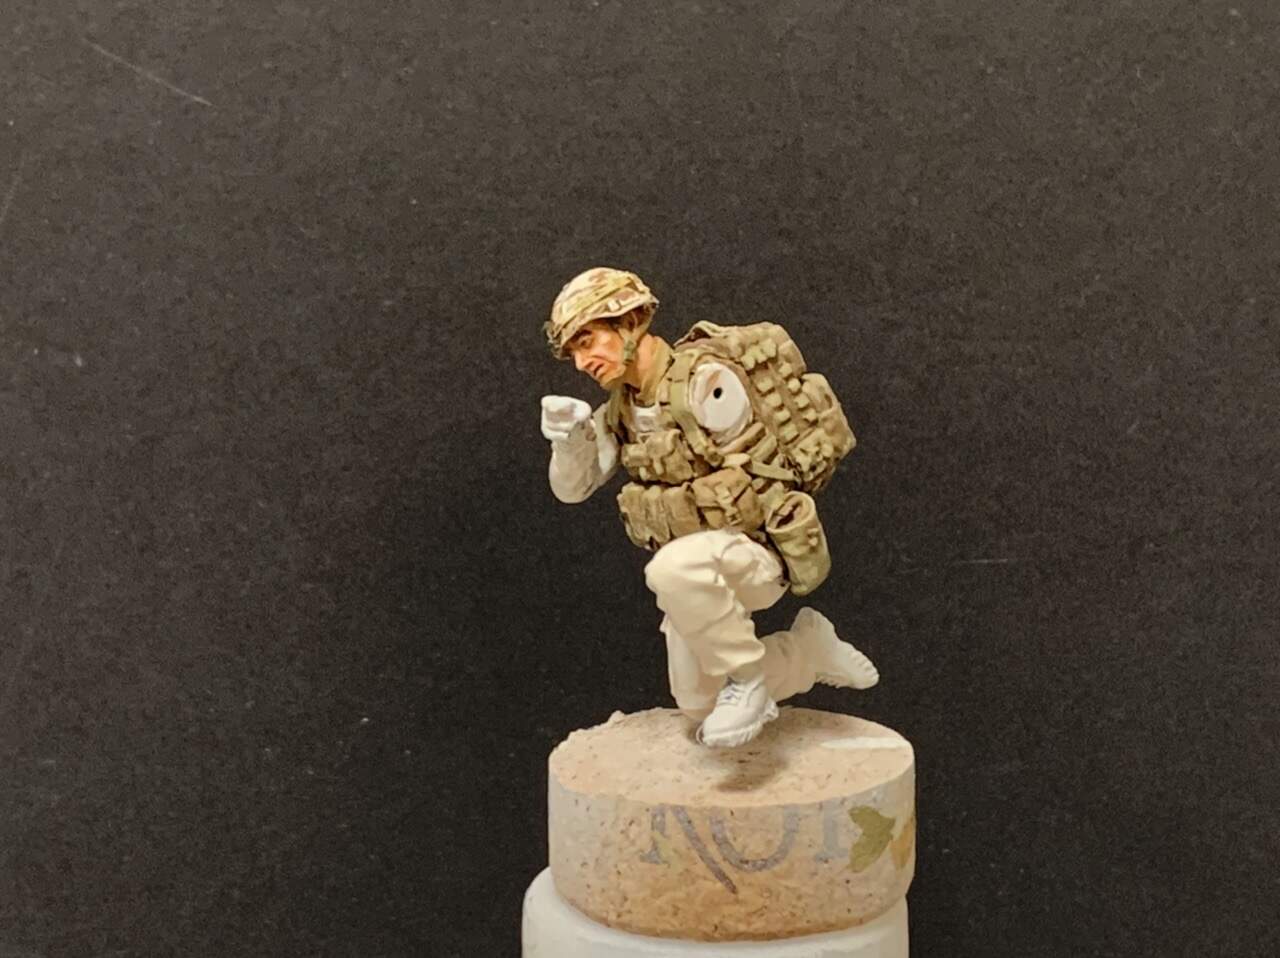
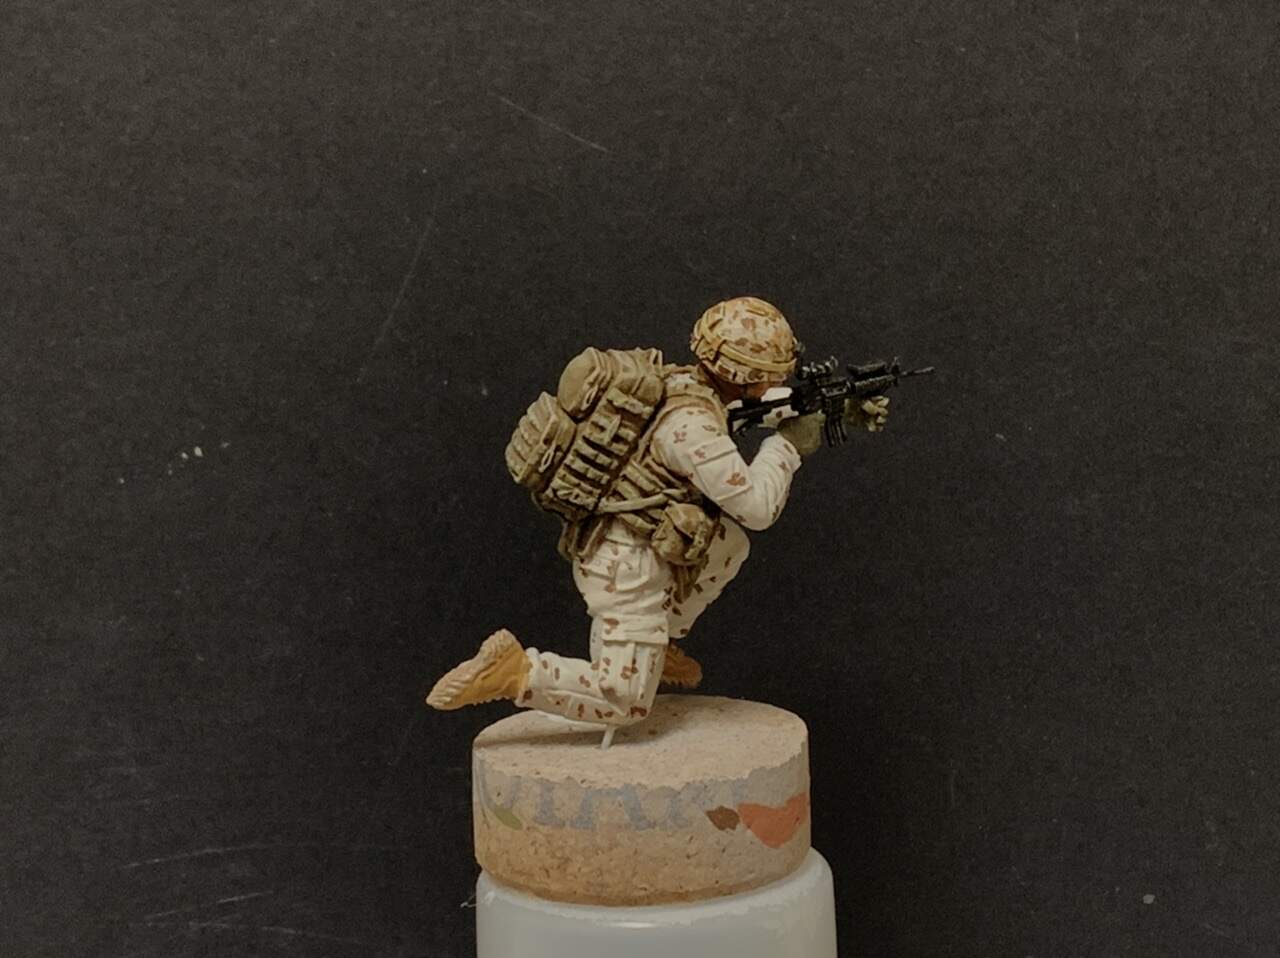
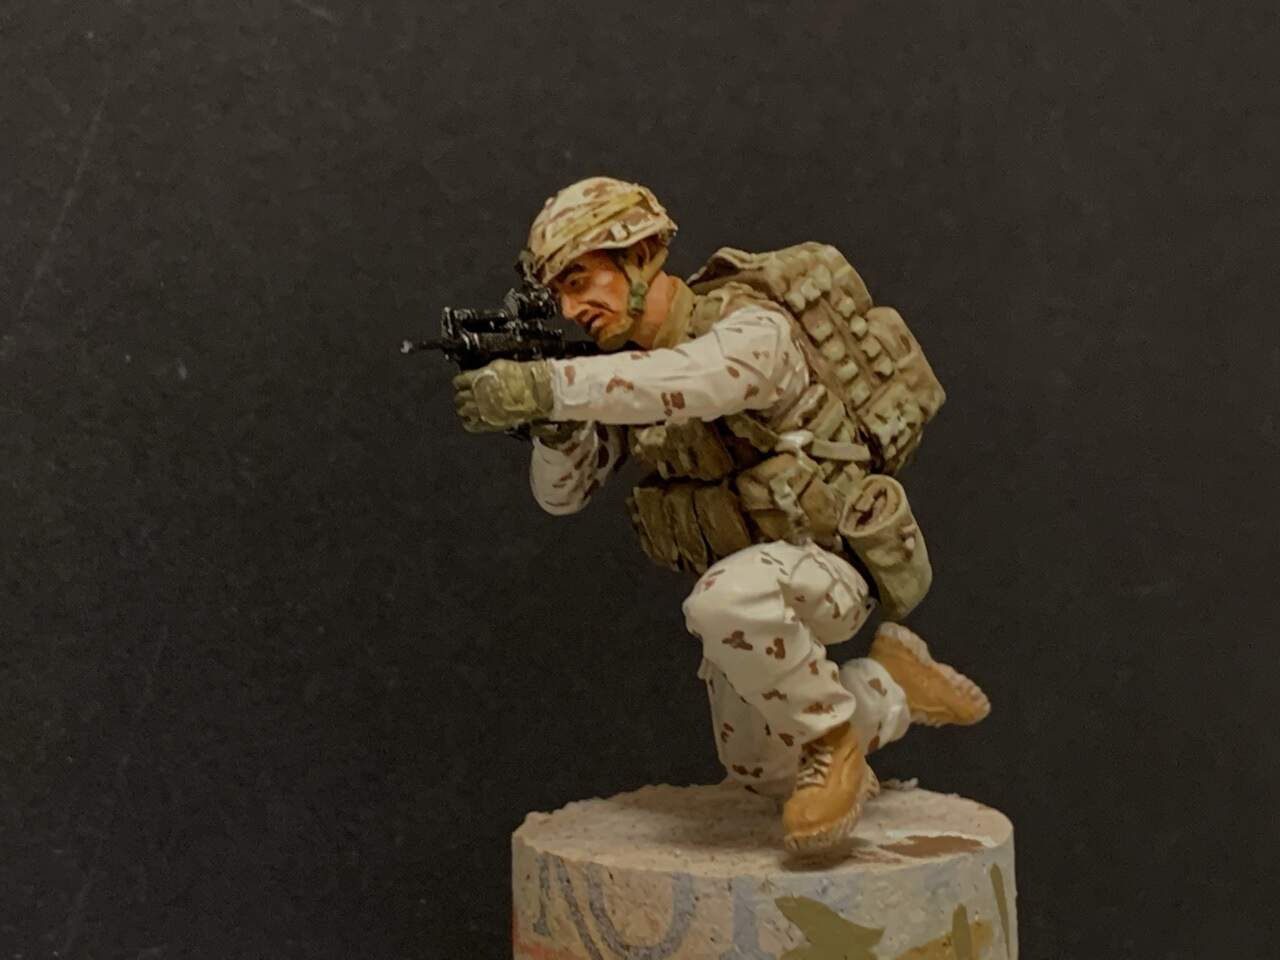
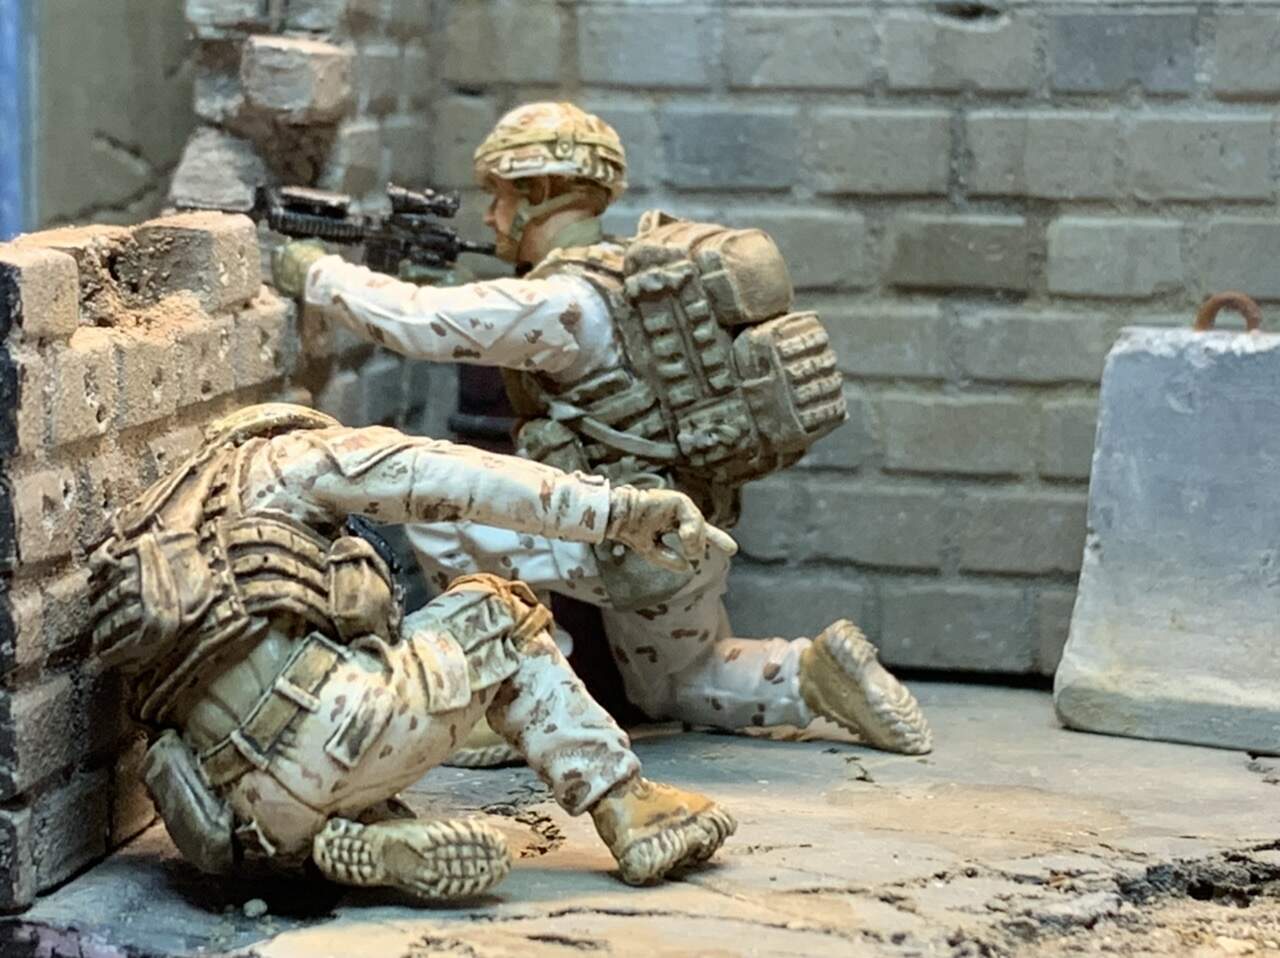
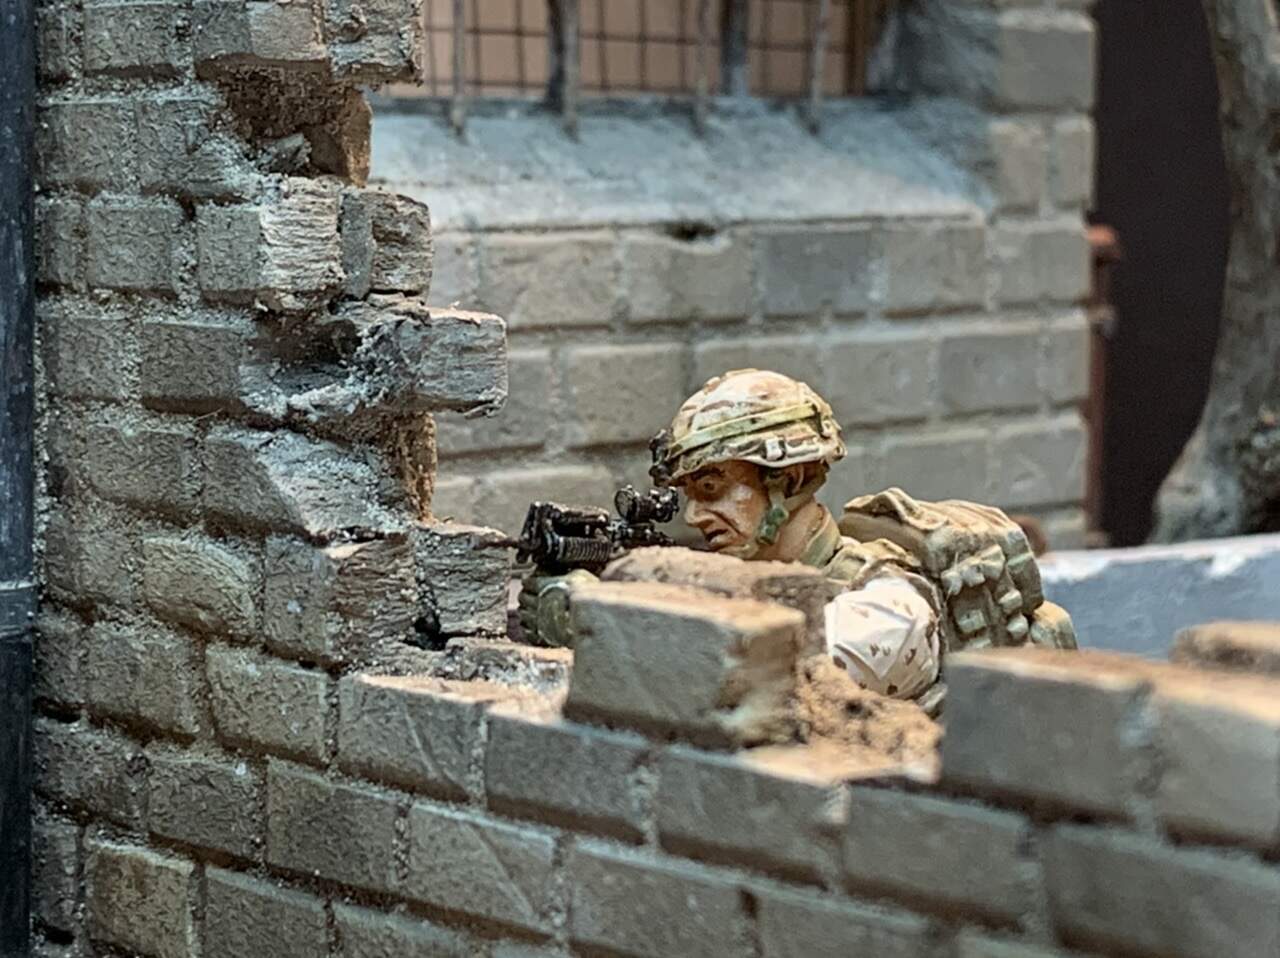
I worked all evening with this guy, I like the result except for the non realistic pattern. There is some small things to fix on the figure, but to 95% he is ready.
The thing is, I like his back more than the front that is supposed to be shown. That’s because of the gap where you se the t-shirt and the belt etc.
I am actually thinking of moving the figures to the other side of the wall as you see in some of the pictures. But then the design is not optional.
I have to think about this, maybe I build a new scene that is better for showing his back…?
Here is some pictures:
Cheers
5 Likes

Coming along really well Erik, although you may not be enjoying painting the cam scheme I think your doing a great job The face looks really good and the detailing which you’ve picked up on the best/back pack look lovely. Well done again
1 Like
Thanks John!
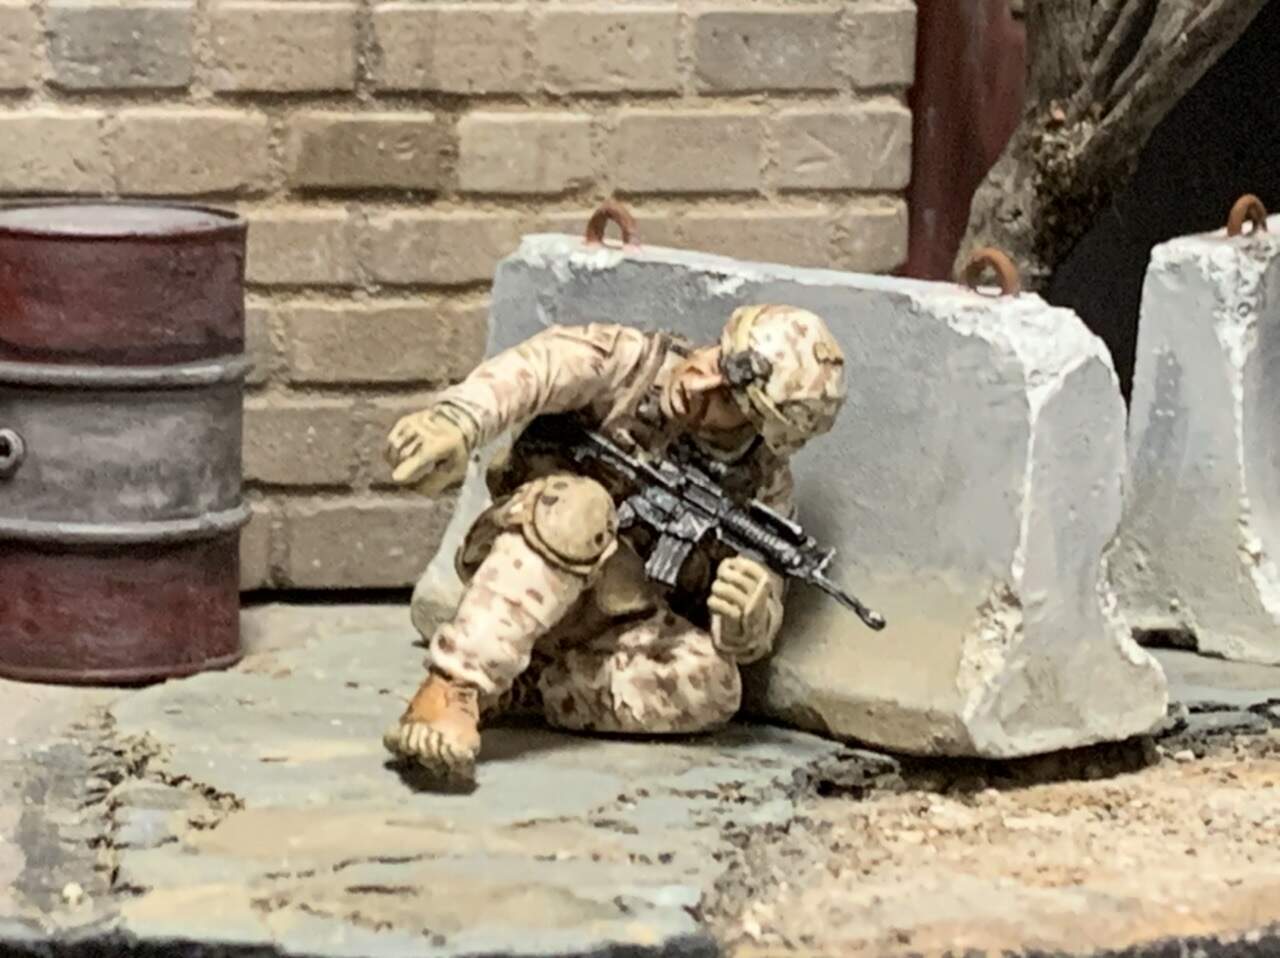
Oh man, it’s a lot of work to do with “the other” guy! His left arm need putty after gluing it to the body, still washing and paint work to do.I have to close his left eye as he is aiming etc. so he is far from ready. But that’s fun work!
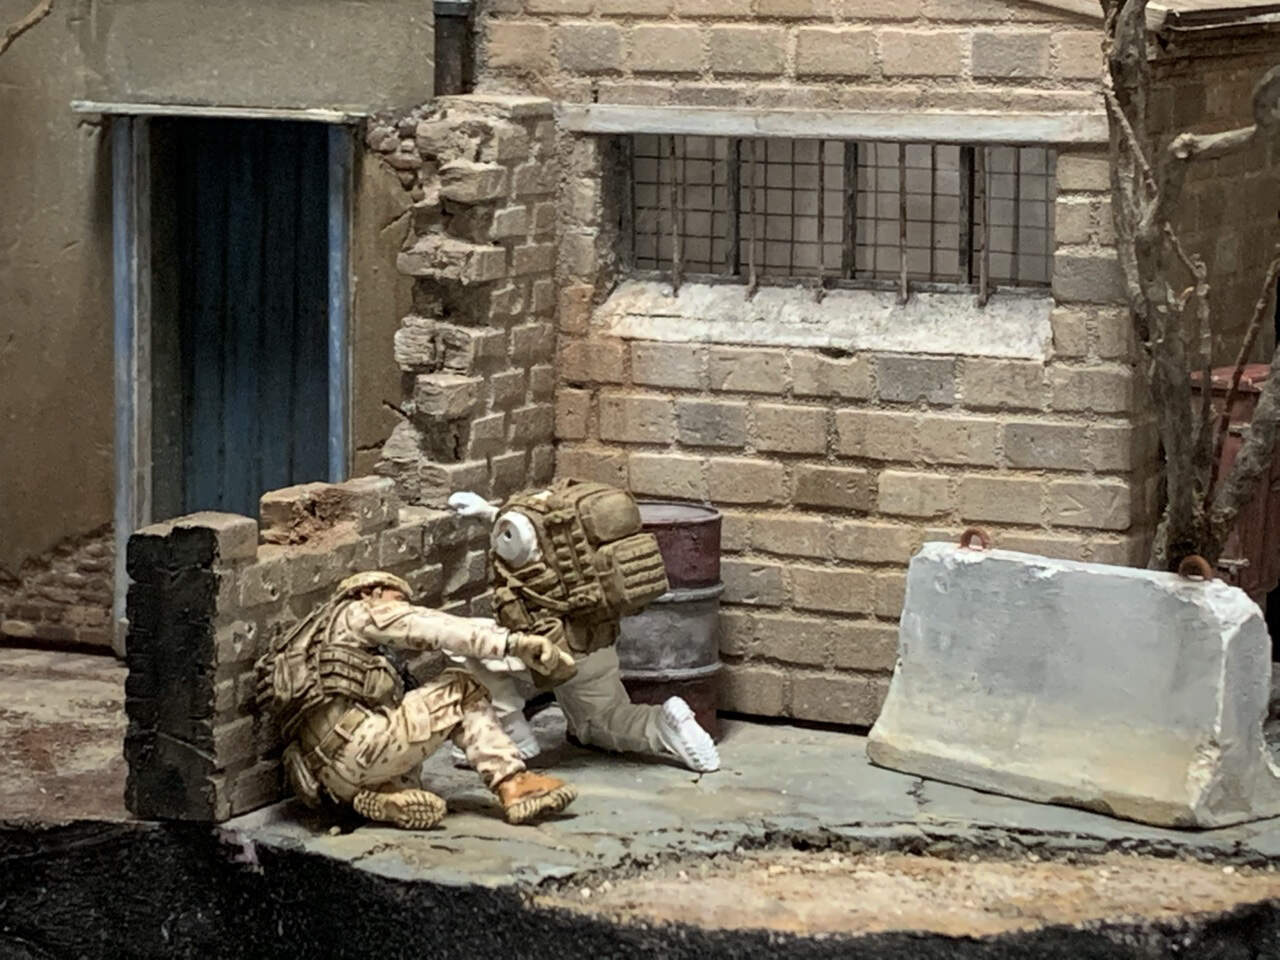
After glued his arm and his weapon in place (head is not glued yet) I was for the first time able to test the set up.
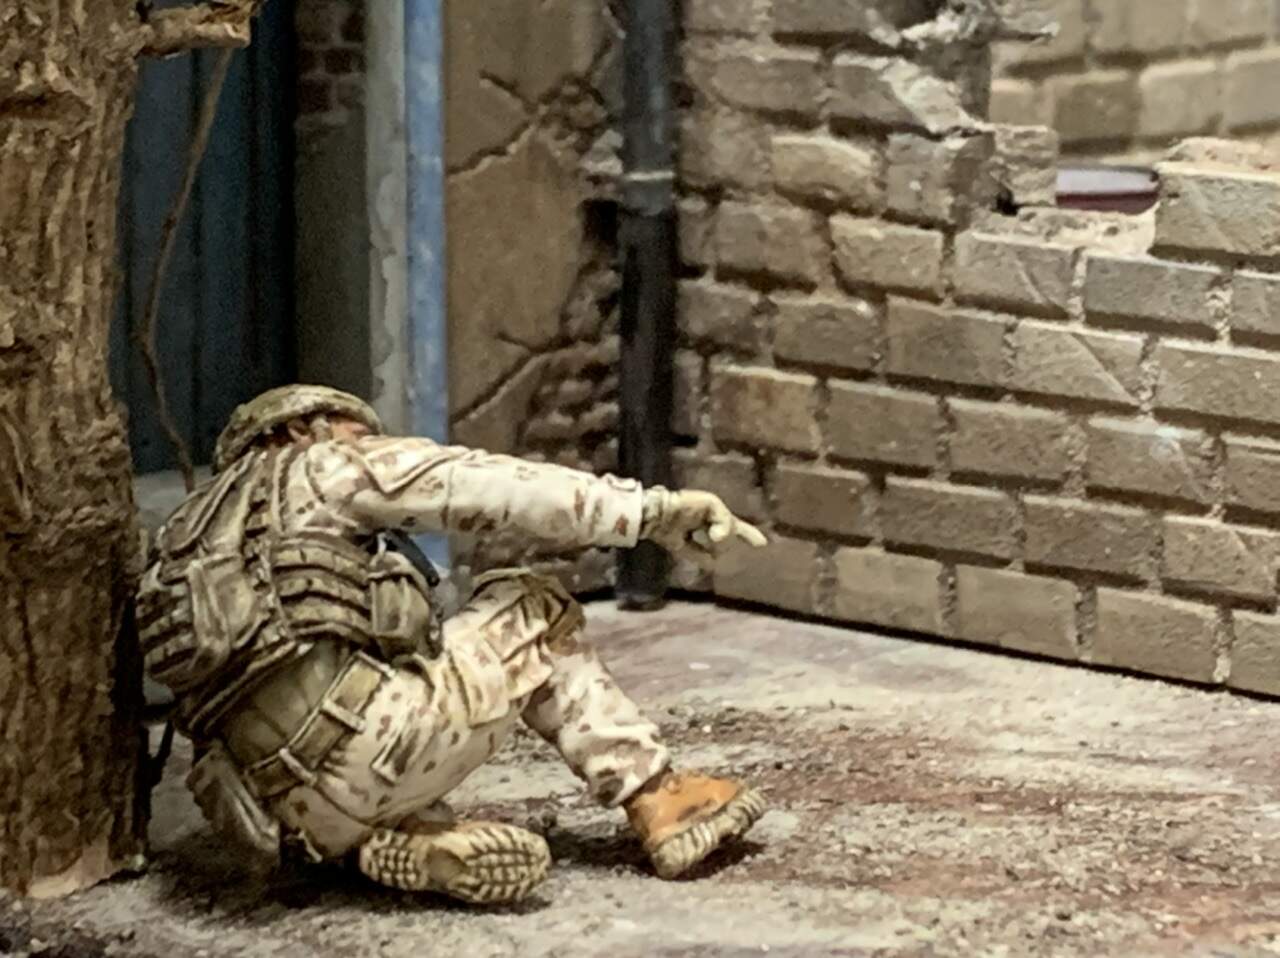
I now realize that this scenario is not optional for these two figures. As I wrote yesterday, I like the backside of pointing guy. I tested to put the guys on the other side of the wall. That’s may be better as the viewer see the figures better.
The bad thing is that the whole idea is that we should see his face screaming for back up.
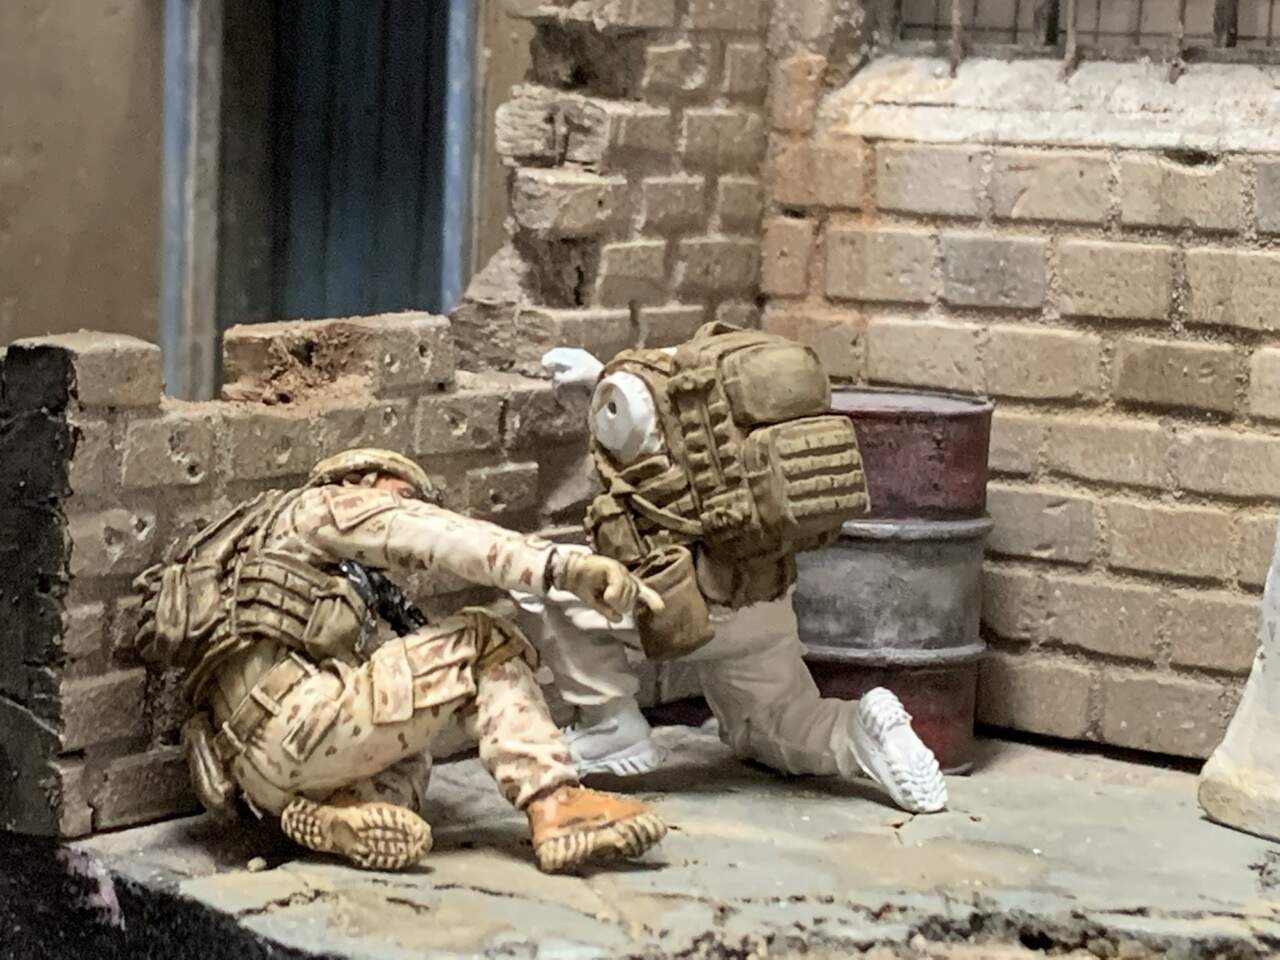
Here is some pictures of the two scenarios.
Please tell me your thoughts about the different scenarios.
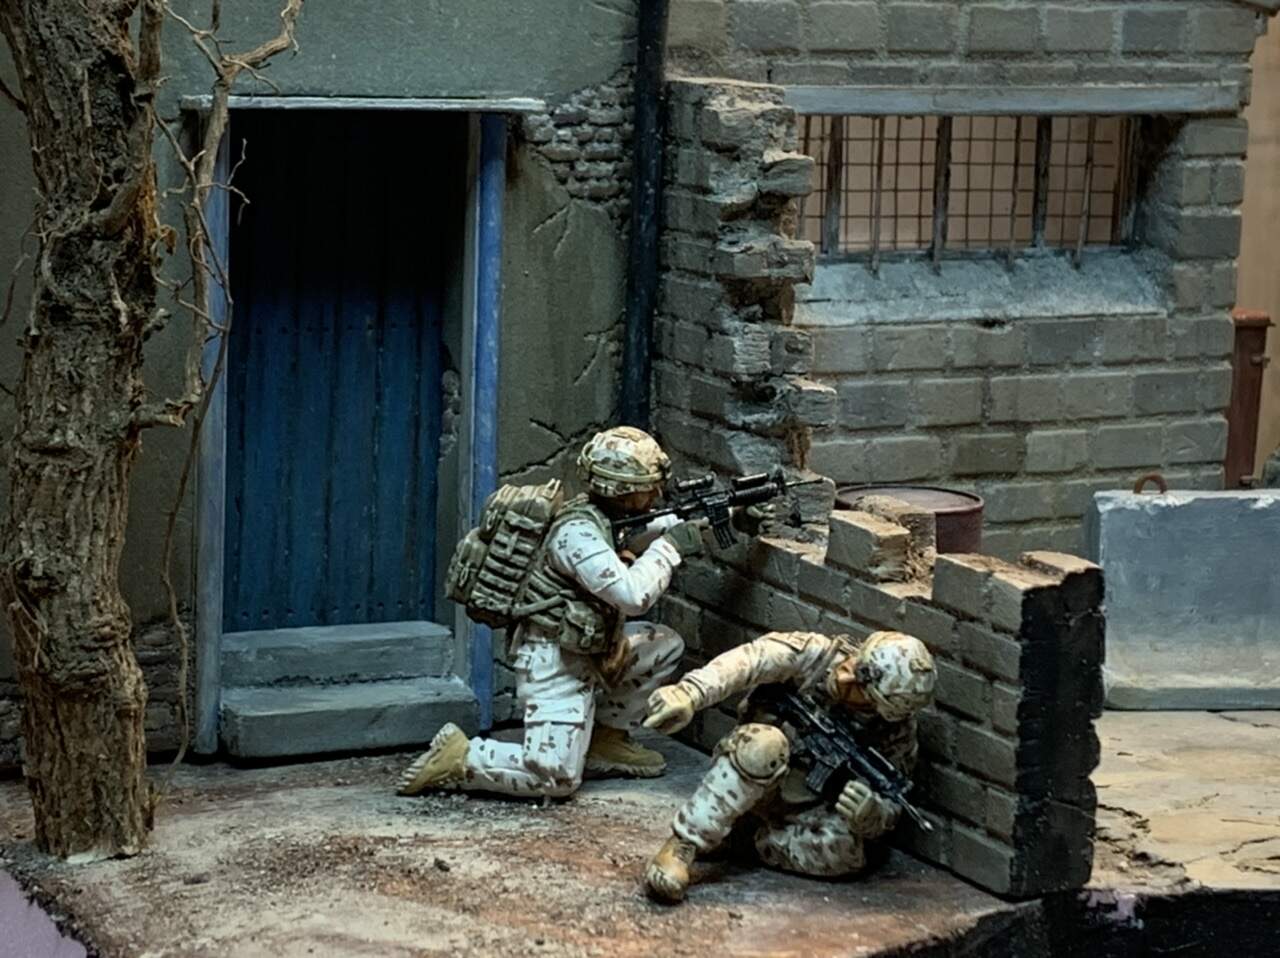
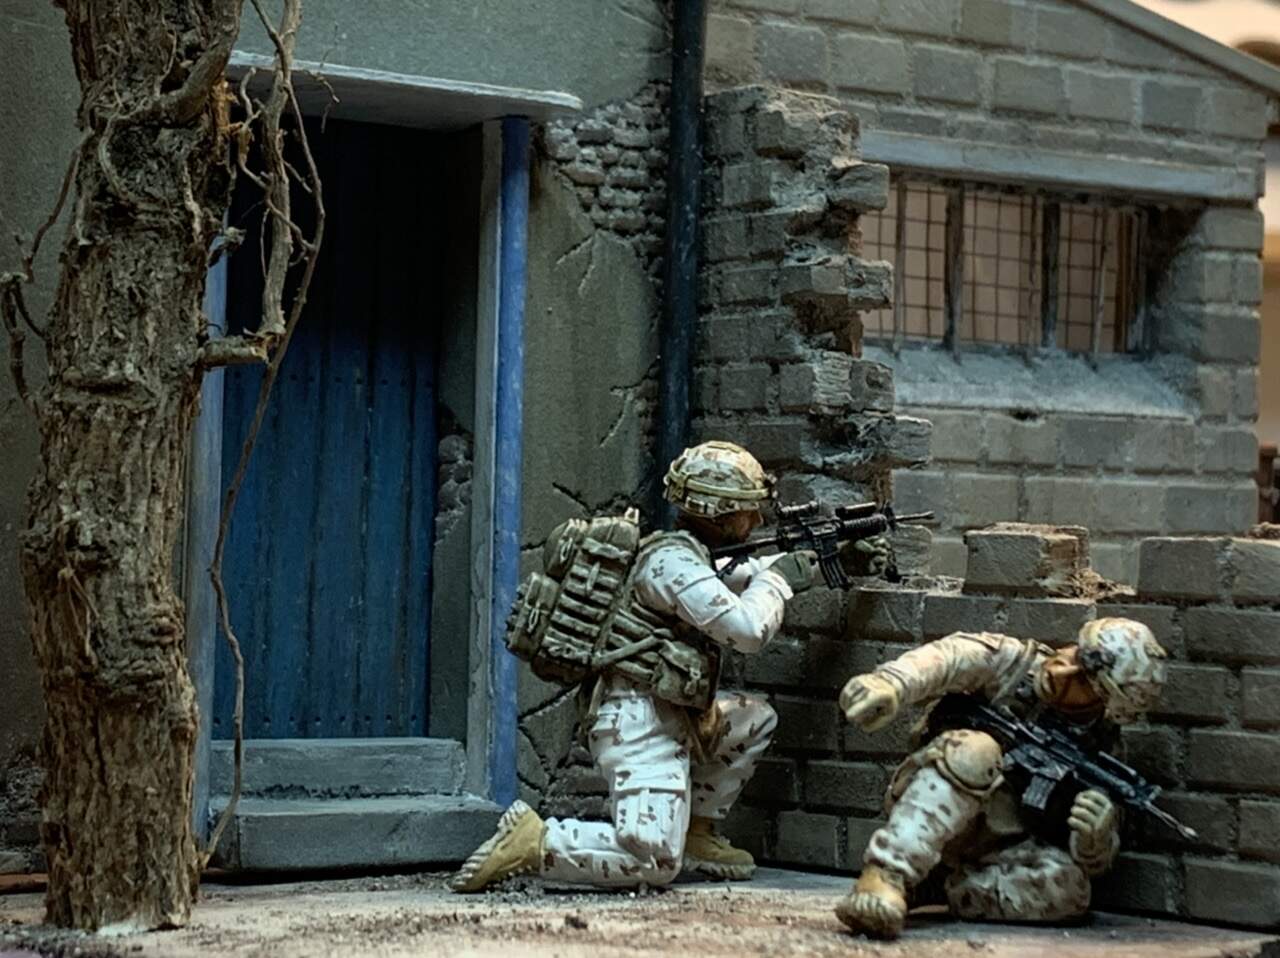
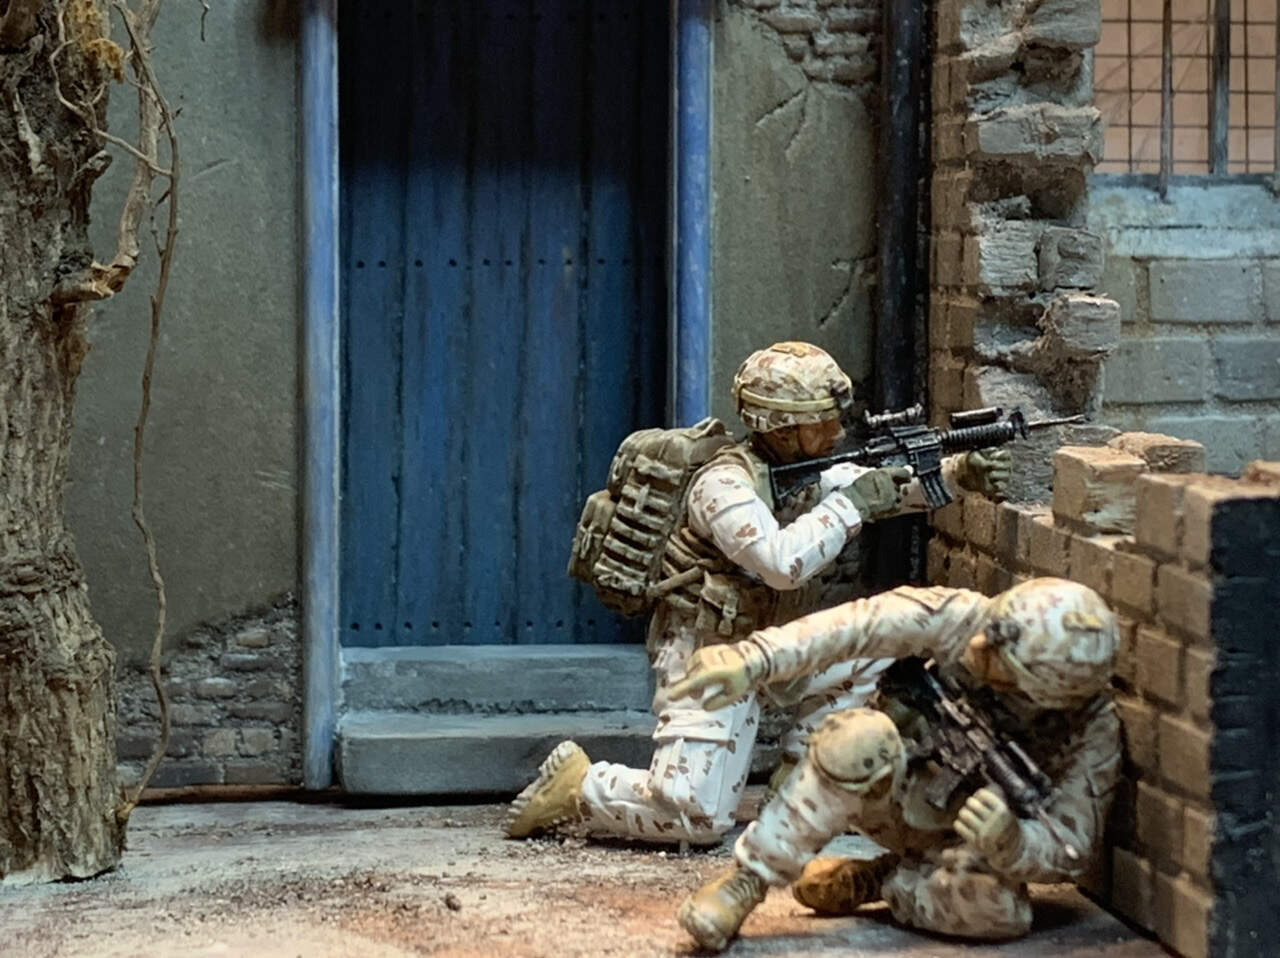
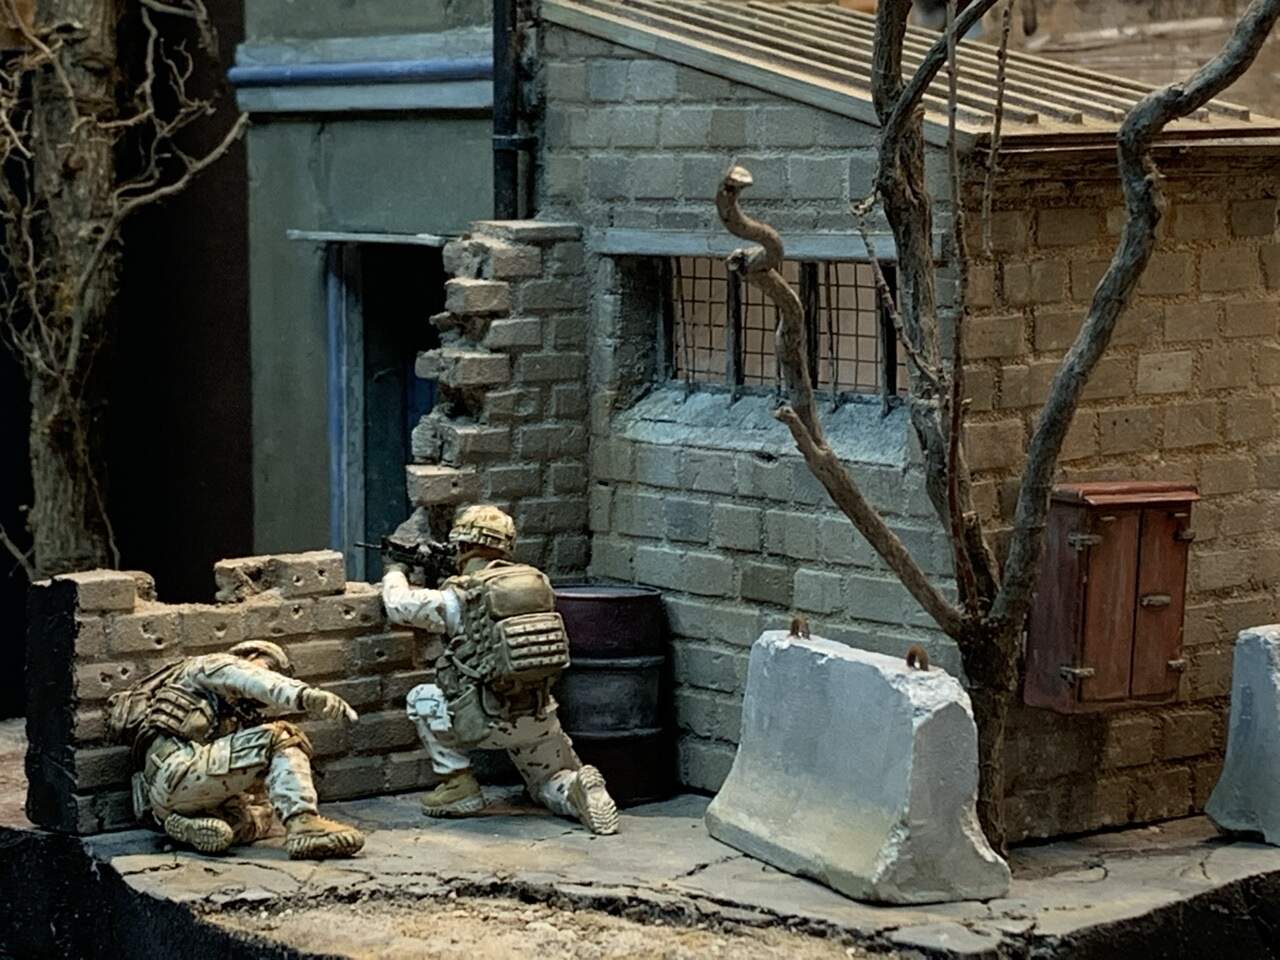
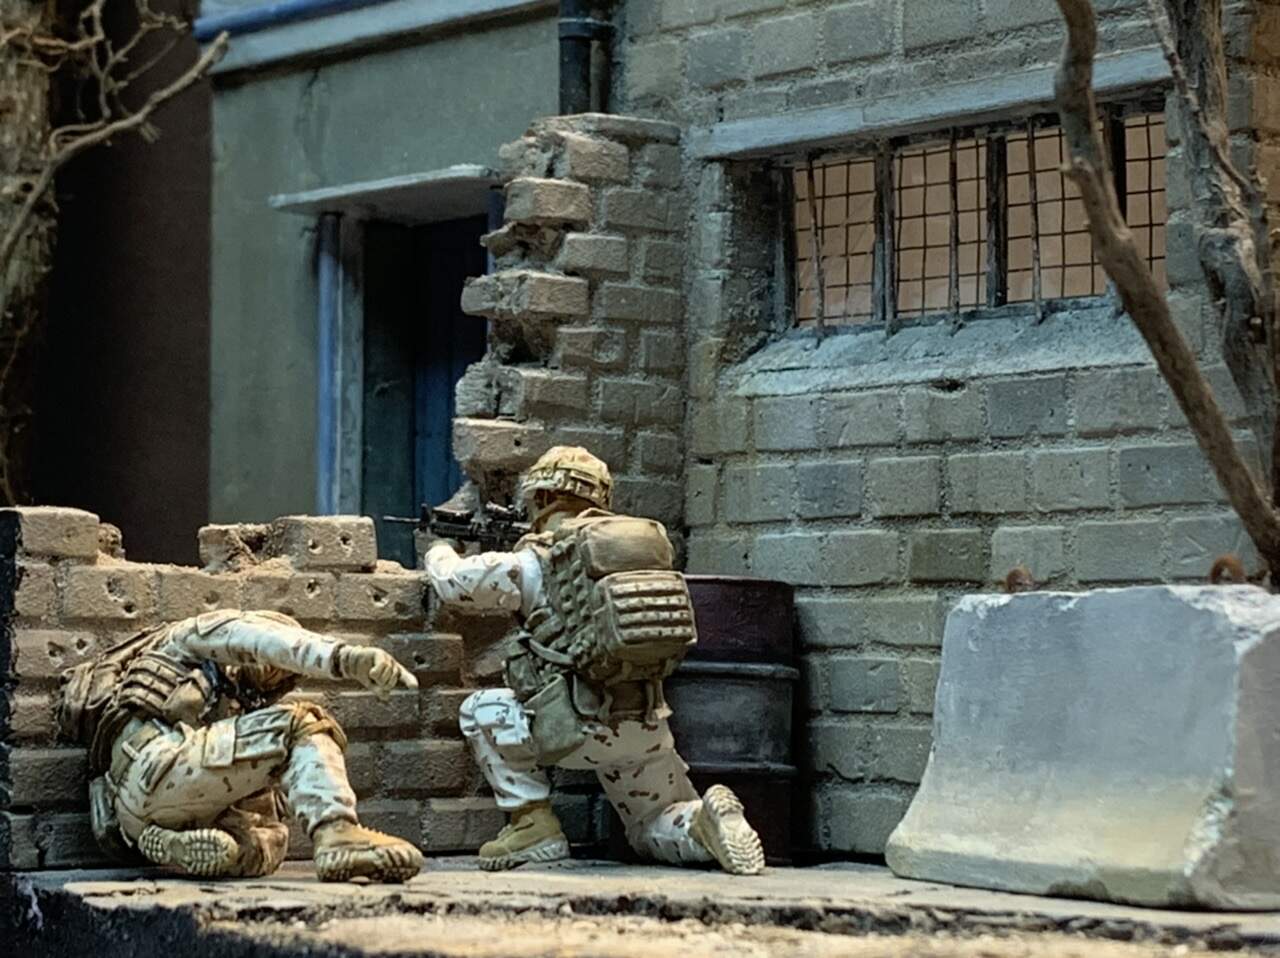
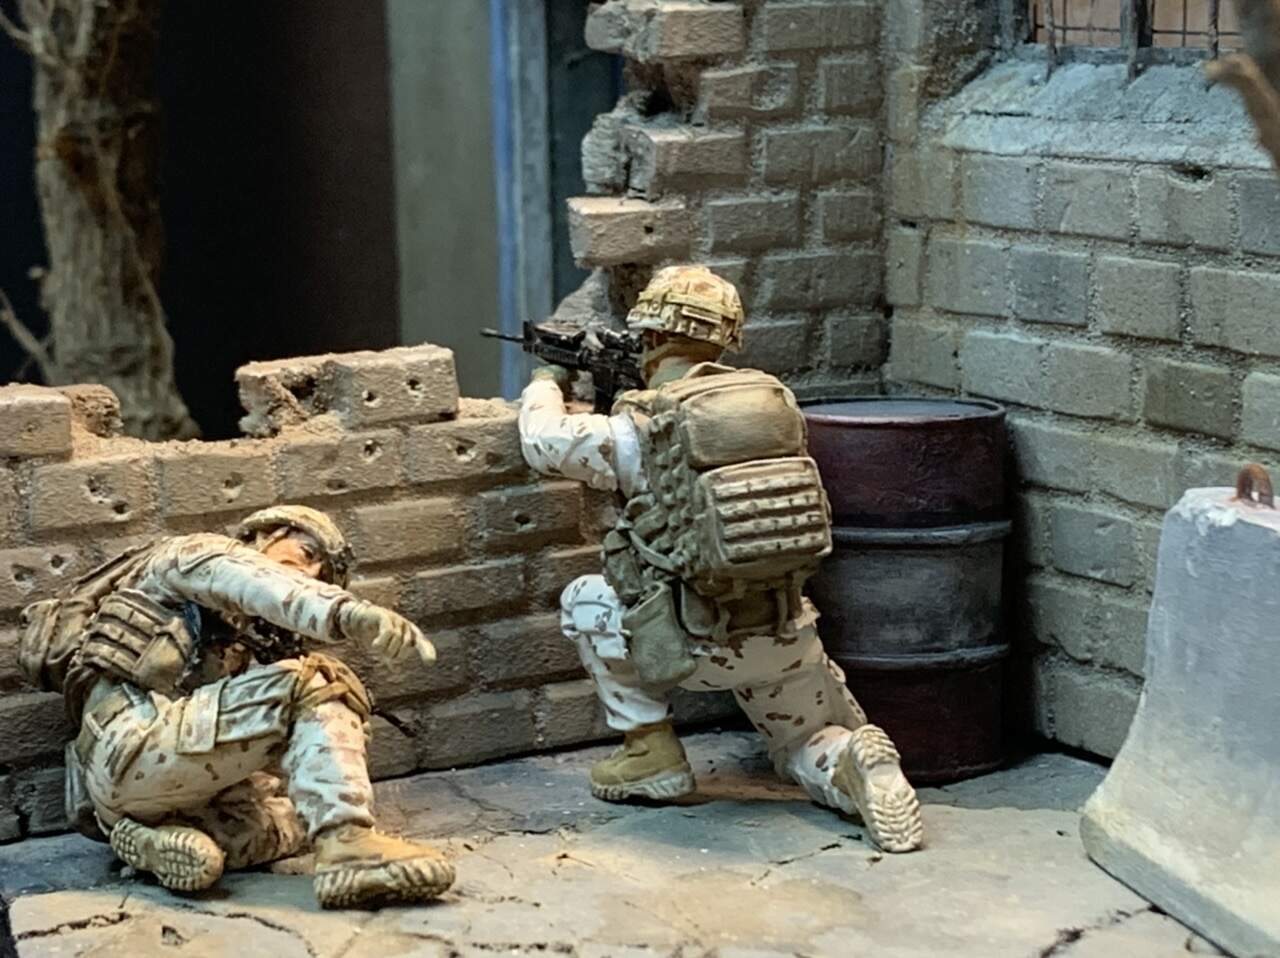
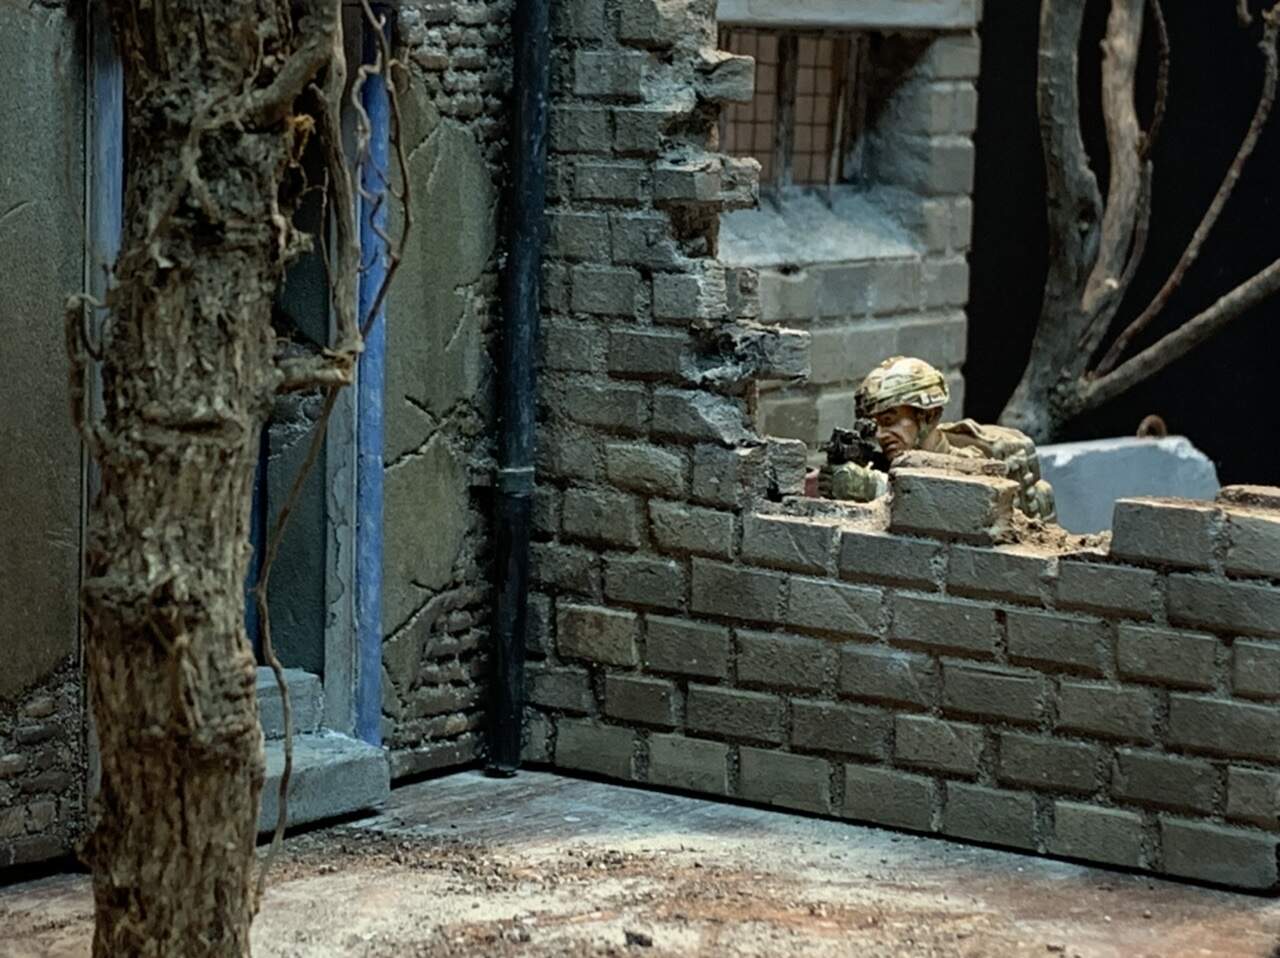
Here you see “the viewers view”:
I really looking forward to start working with the groundwork.
Cheers
3 Likes
I get what you mean about the figures on the other side of the wall, it is a tricky one. For me though I prefer them in front room of the blue door as to me it shows off more of the figures. This one may go down to your gut feeling Erik… Lovely work
1 Like
Yes it a tricky one. I will spend a couple of minutes to consider a new set up for the figures.
It’s a shame that the figures doesn’t fit “perfect” after so much work, but that’s life…
Well while considering that I will finish the figures:)
Cheers!