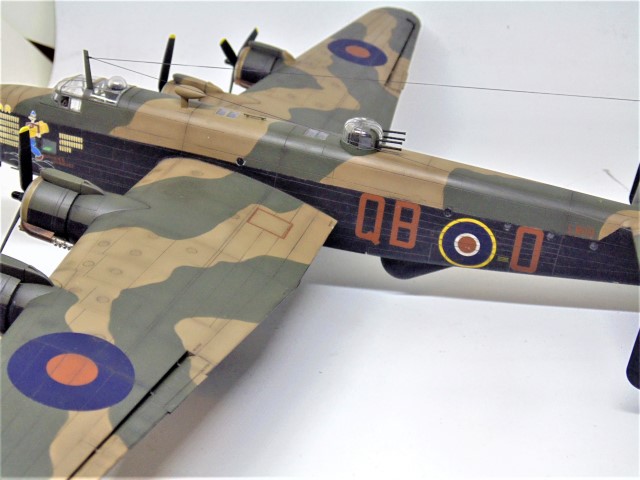
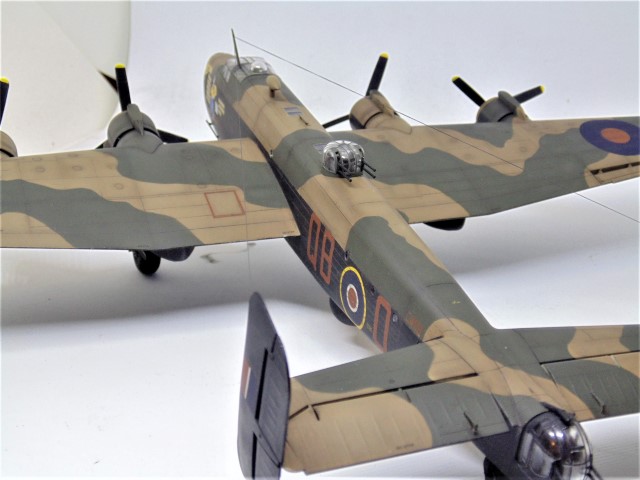
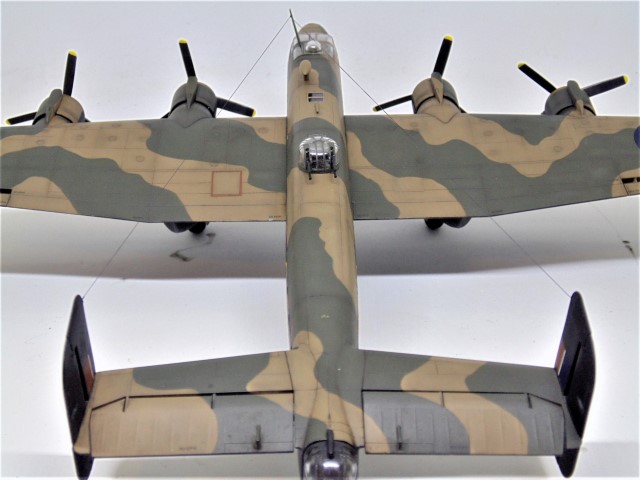
Handley Page Halifax B Mk. III in 1/72 by Revell SHELFQUEEN

Hi All,

This “Halibag” has been laying around since 2015, when I got back into the hobby in a serious way. Initially, building scale models was a release/reprieve from the endless torrent of ideas for new sci-fi and adventure/comedy novels. It helped me relax, forget about writing, focus and ultimately allowed ideas to brew into something far more palatable. Funnily enough the roles are reversed after taking on Brian D. O’Neill’s 1/48 B-17. Now my writing literally re-energizes the modeling batteries.

That said, there are no pictures of the build or parts. There are, however, build videos and Moje hobby have the sprue layout on their product page. For “Shelf Queen” sake we pick it up as of a week ago… after the dust was cleared away. I hope you enjoy.
DSC00607 (Small)

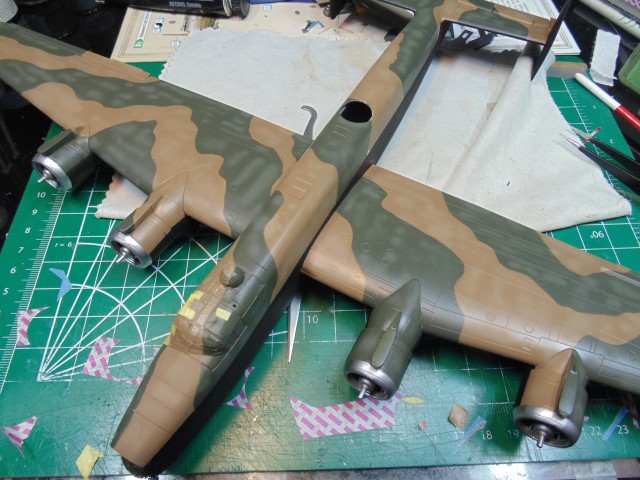
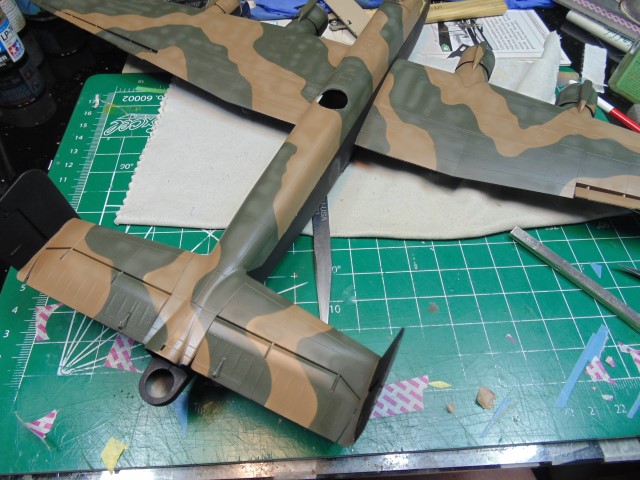
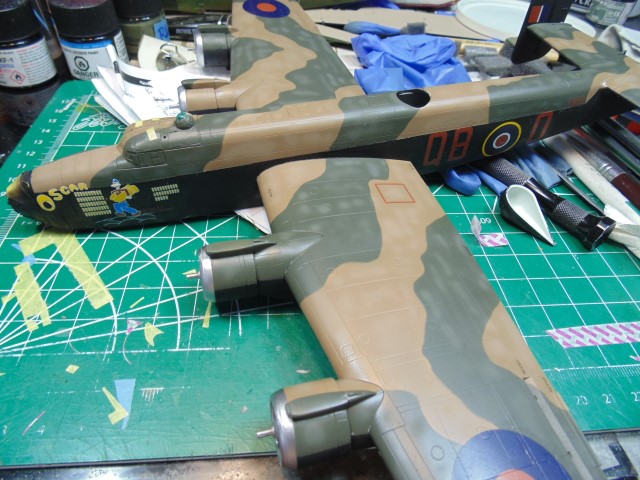
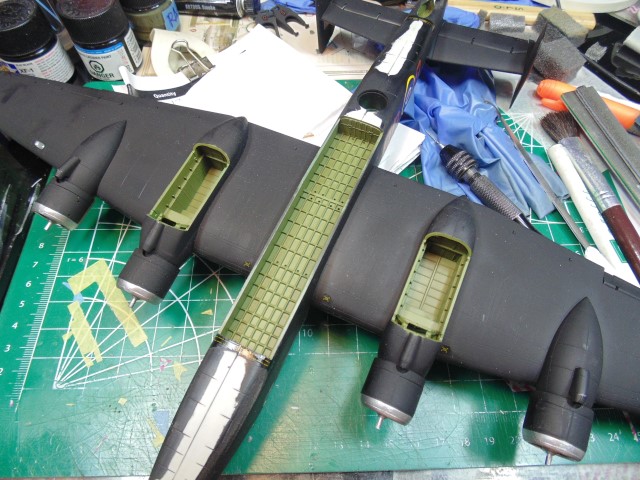
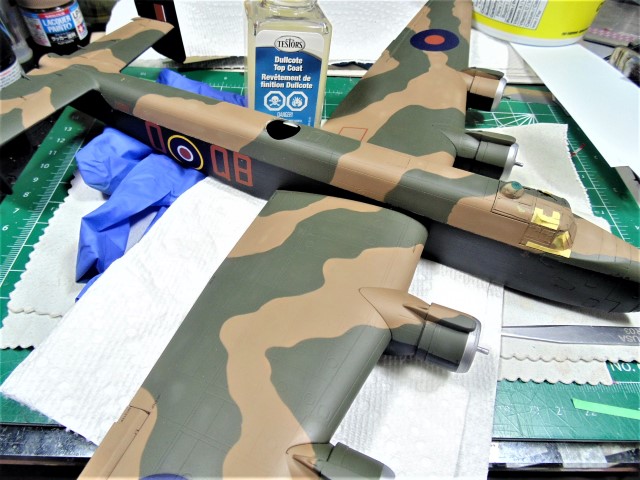
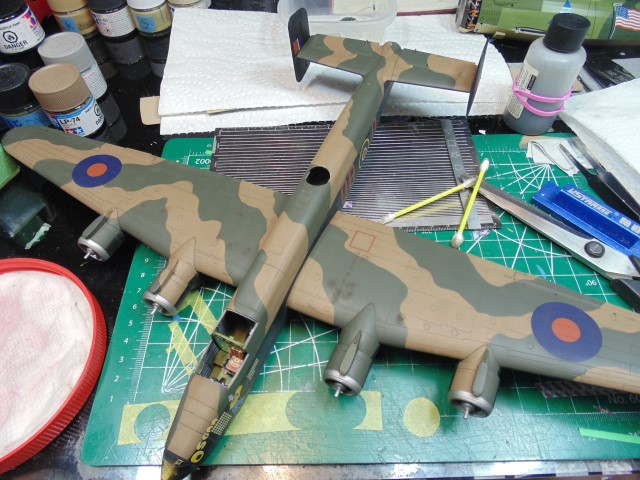
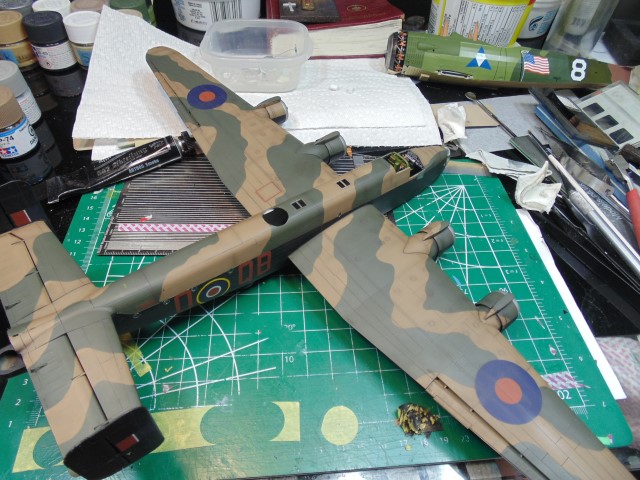
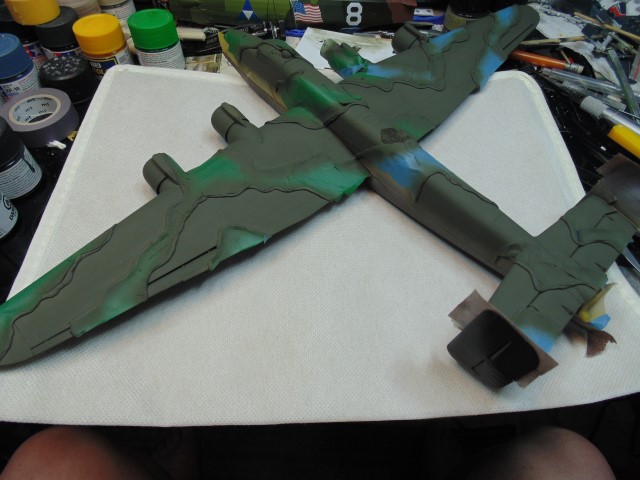
The Black had already been painted… please don’t ask, I have no idea why I did that. So the top had to be cleaned with IPA then fresh water, primed and a few coats of Tamiya LP-74 Flat Earth. It’s close enough in tone because we all know those colors were rarely the same from one aircraft to another.
DSC00608 (Small)

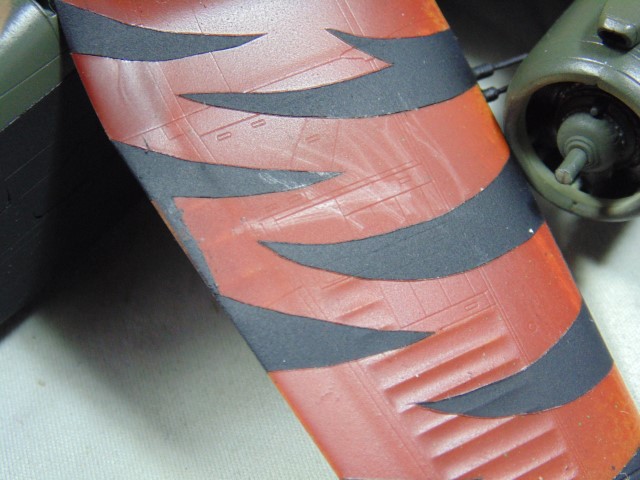
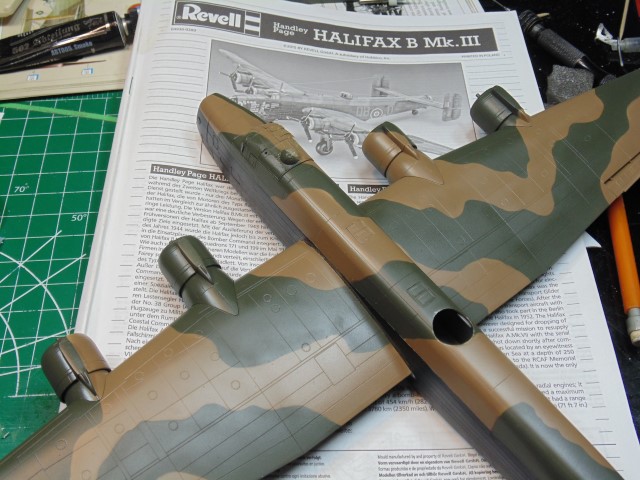
I went with rolling out Blu-Tac to give a slightly soft edge compared to bold lines of just tape. Then a medium coat of AK Real Colors semi-gloss varnish. That will seal it in for masking the engine exhaust rings and then respray the black.

More when completed, thanks Everyone.
7 Likes

Looking good, HG. How is the kit to build? I have a Revell Halifax stuffed in some moving box. You are inspiring me.

1 Like

Hey Buddy,

As I recall the fit was really good and just recently the top center seam sanded smooth without any filler. Goes for the wing roots too. The only thing is there are no rivets on the panel lines. When I do the next one, at the Trenton Air Force Museum Canada, I’ll rivet it. Also, I cut the masks on the windows and it was tedious but easy. Loads of detail… as you’ll soon see.

Thanks Sir!

Oops on the center seam and fit being great. Sorry Fred, I miss spoke. It does need some attention. Taking a few hours off from the B-17 to get this thing up to some form of quality.

DSC00617 (Small)

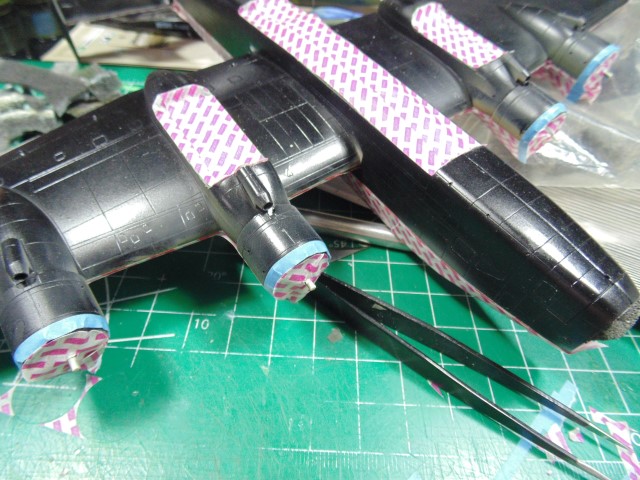
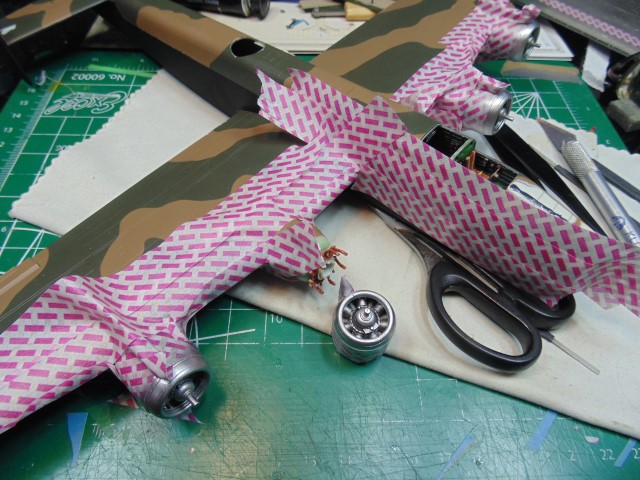
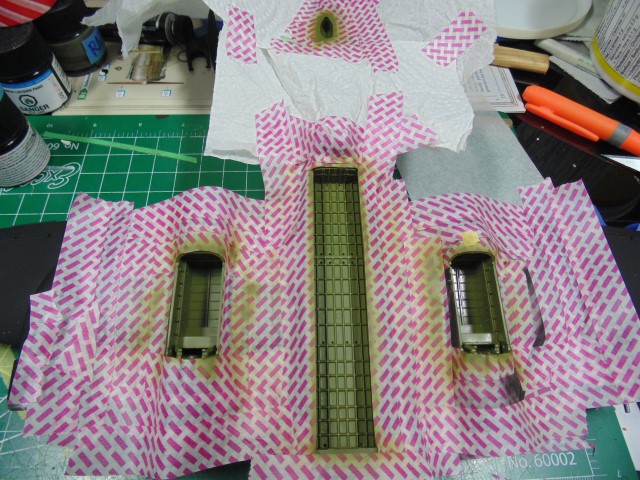
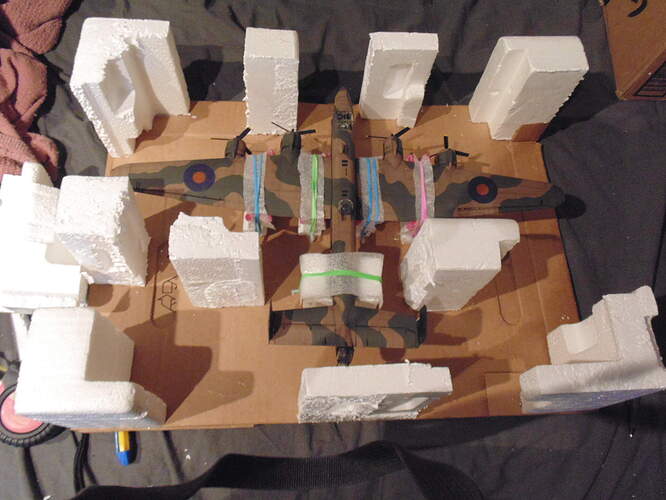
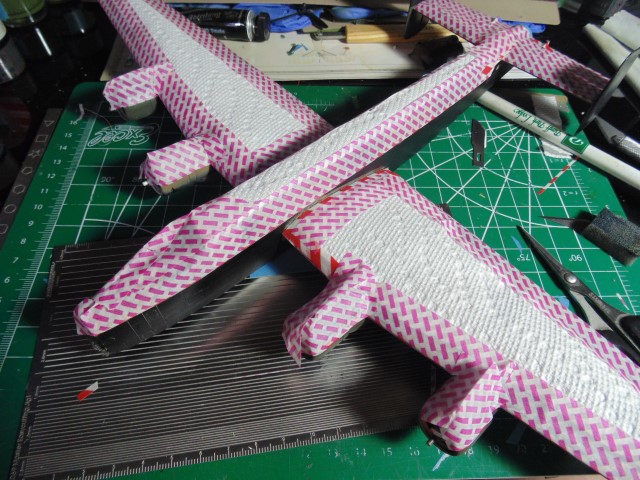
Washi tape from the bargain bin of the craft store. Super cheap at only $1.50 for 32 feet. Make sure you de-tac it though.

DSC00618 (Small)

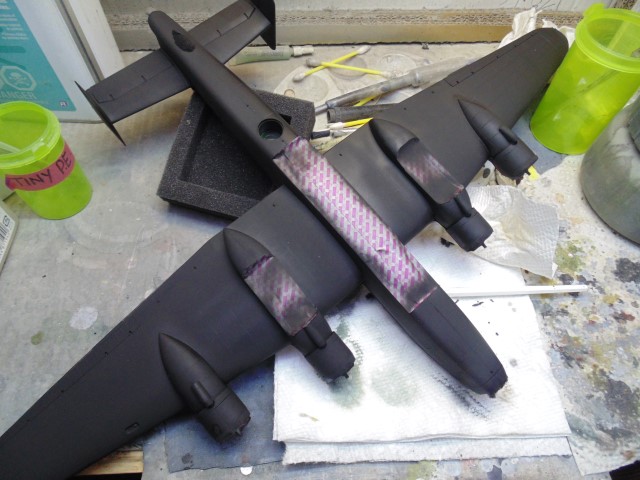
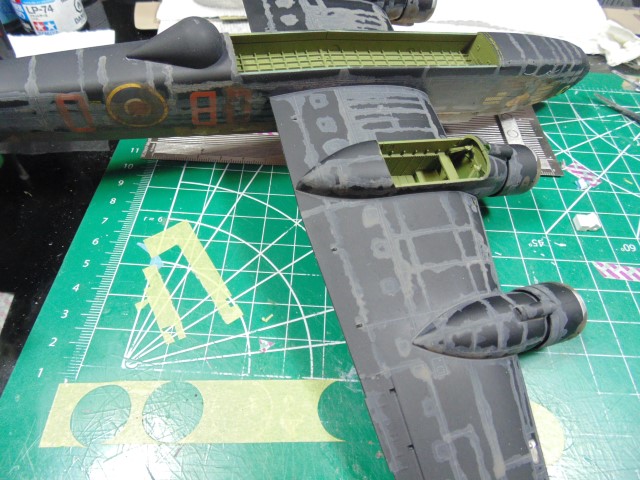
Masked for the black on the underside but this will evolve later.

DSC00619 (Small)

Black is on with some touch-ups.

DSC00620 (Small)

However, I do need to fit some flaws. Melted Styrene Filler is extra thick to dry faster and sand easier. Took about 12 hours to have it ready to work on again.

DSC00621 (Small)

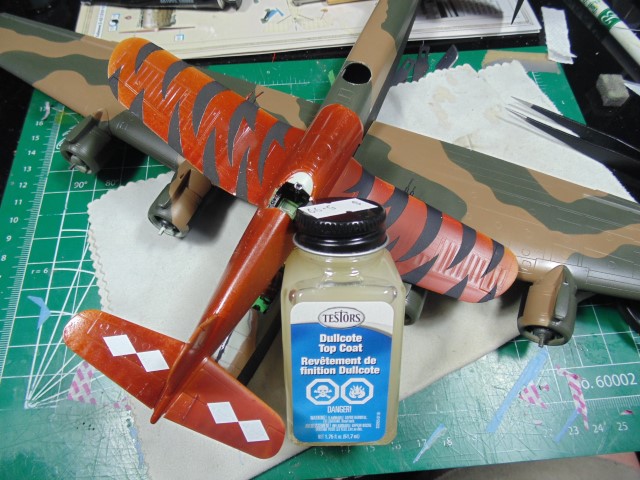
For Brian’s 1/48 B-17 I need a really good dull coat. I figured experimenting on the Halifax was the best real world way of doing that since there will be oils and clay washes involved.

DSC00622 (Small)

So far I’m liking this Testors product. It mixes well 50/50 with lacquer thinners, both self leveling and quick dry, and I got three different looks depending on the number of coats. It also stood up to my aggressive finger scratching. Sure, it buffed shinny, yet didn’t come off… and that was after only an hour using quick dry thinner.

DSC00623 (Small)

All this to mask for the exhaust rings. Later, some pigments will heat rust them up.

DSC00624 (Small)
DSC00625 (Small)

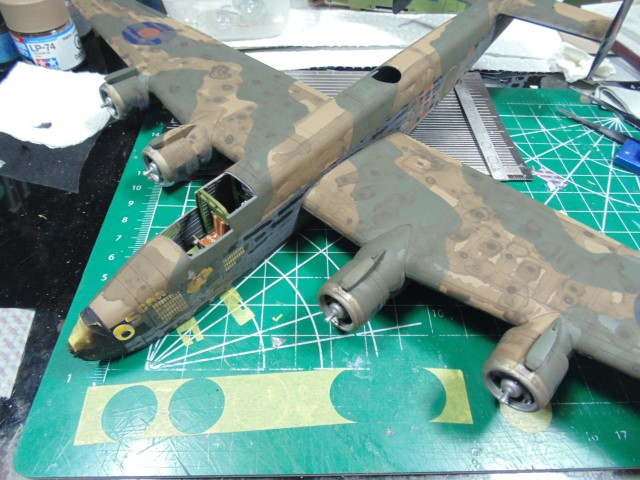
Nine drops of the camo color to one white for 1st aged effect stage. I know it looks ridiculous, but don’t fret, there will plenty of oils added to this later.

DSC00626 (Small)

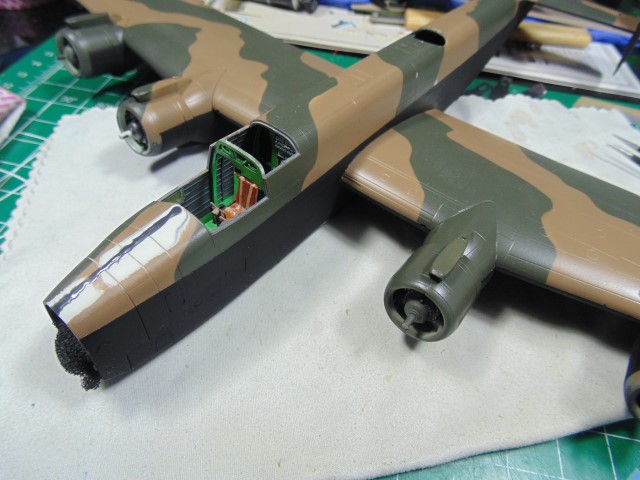
Most definitely the wrong interior color… oh my, what did I drink that night?

DSC00627 (Small)

That’s more like it. As my father-in-law (he was a WWII Turret gunner) Ormand called it when I asked, “It looks like piss-green!”. HA HA.

DSC00629 (Small)

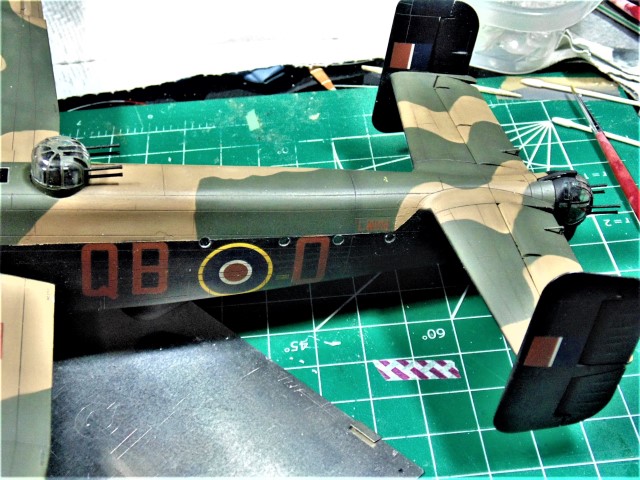
I had to put the decals on. Used Micro Set and Sol for these. They may not be labeled Cartograf but they sure do act like them.

DSC00628 (Small)

More flaws to fix. Par for the course right?

That’s it for now Everyone. Please leave a comment if you have any suggestions. Thanks for dropping by.
2 Likes

Hi Everyone… and you know who you are,

Very impressed with the Testors Dullcote product! I could get it even more matt, but this look works with reference photos. The price right as well. At six to seven dollars (CDN) for a 51 ml jar you’ll get plenty of projects done for minimal cost for a high quality product.

DSC00639 (Small)

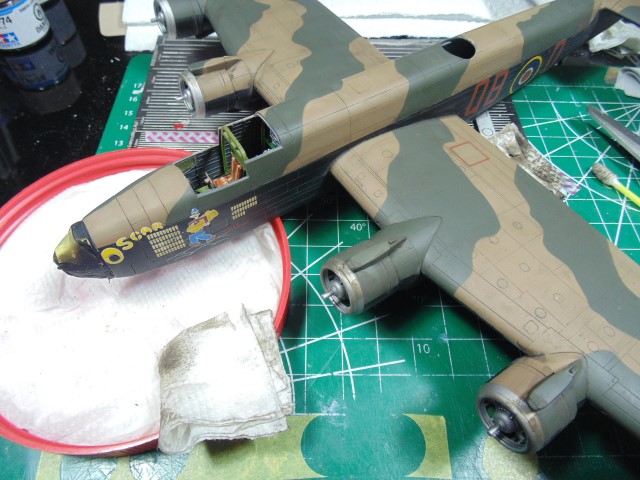
As you can see, all those nasty lighter blotches have been toned down, yet still have enough presence to look sun bleached.

DSC00643 (Small)

Now for some ugly. Because the finish is dull I painted the clay wash as localized as possible. Matt finishes tend to hold onto the clay pigment. The excess, when starting to clean up, will blend in and save you a ton of time in removing unwanted filth.

DSC00644 (Small)

I mixed 3 parts dark dirt to 1 part winter white for the dark grey/brown over the matt black.

DSC00645 (Small)

A wet paper towel in a lid will let you control the amount of dampness on your clean-up pads. Nothing special here, simply squares of paper towel folded into smaller squares. Don’t let too much of the clay build up on the pads, but if you missed a panel line or rivet you can use that build up to fill it in. Just make sure it fully dries before cleaning that up.

That’s stage one of three. More soon… well, that is after Oscar get’s an enema HA HA. Thanks for dropping by.

3 Likes

Hi Folks,

Just in time to get this in before the end of the month. Hope you like the outcome.

DSC00646 (Small)

Much cleaner, but a few spots were missed.

DSC00647 (Small)

Starting to feather some oils.

DSC00648 (Small)

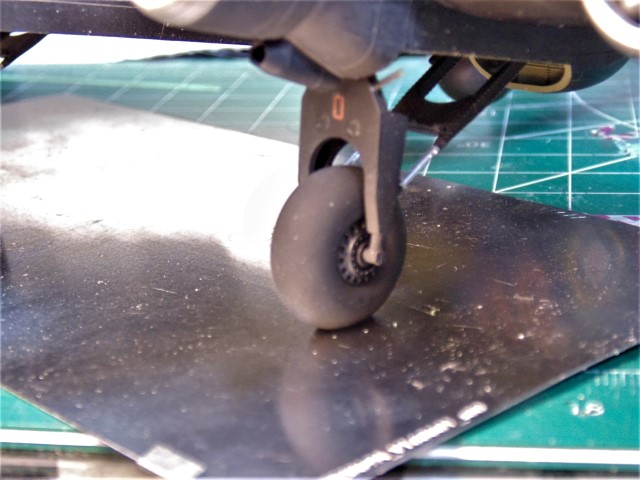
Tires get a flat spot and gear goes in.

DSC00649 (Small)

Much better on wheels and rubber.

DSC00650 (Small)

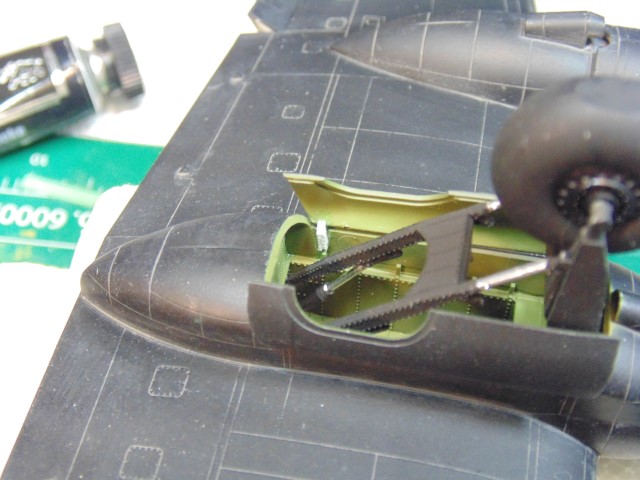
Both inner doors were missing the back tab.

DSC00651 (Small)

Guns and more oil.

DSC00652 (Small)

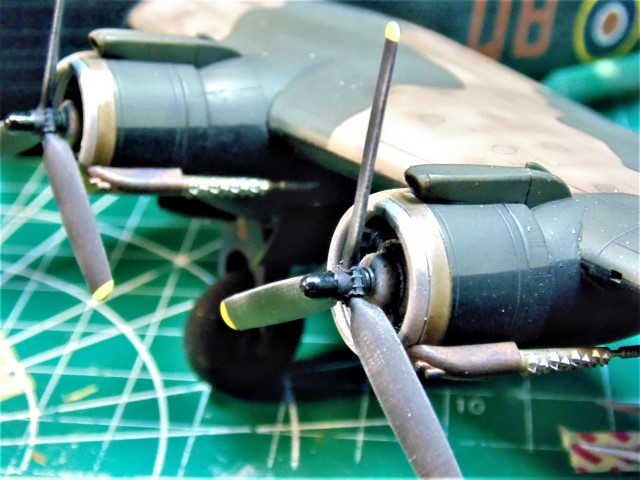
Props painted.

DSC00653 (Small)

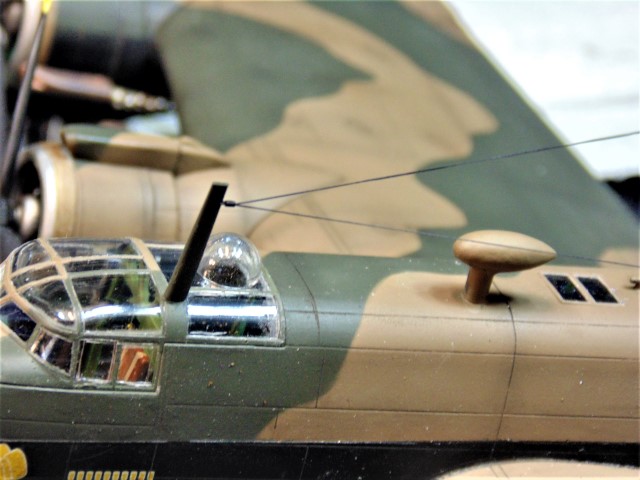
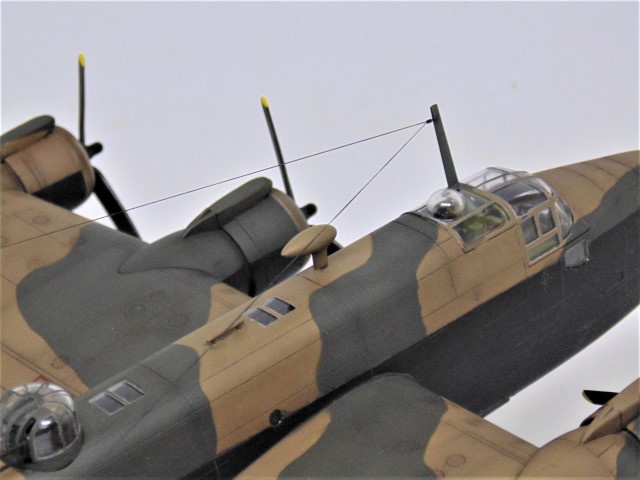
Bit of brass tube and EZ-Line antenna.

DSC00654 (Small)

More bits like the pitot tube added.

DSC00655 (Small)

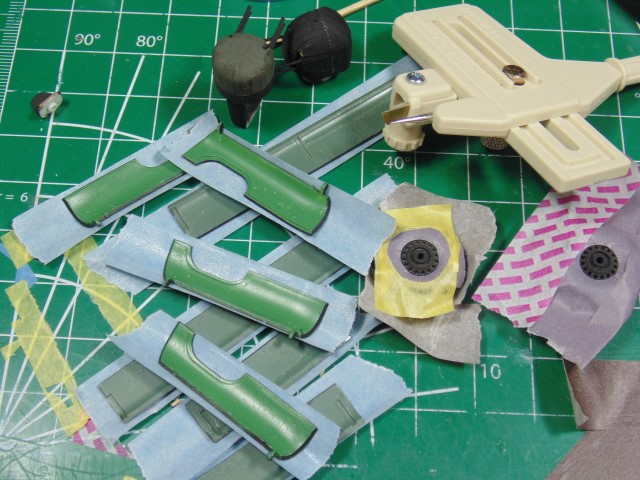
Here’s something I came up with to hide white lines around windows, use Tamiya black panel line accent and let it wick around the edge between the clear and painted part. Then simply clean up the excess with a cotton swab.

DSC00656 (Small)

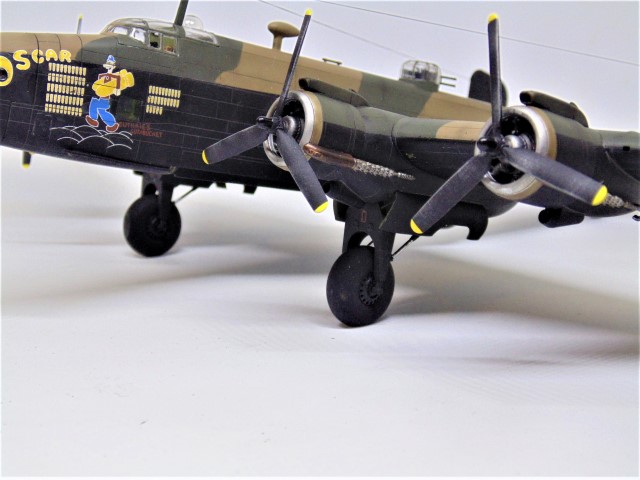
Bit of steel dry-brush on the props along with some panel line accent on the engine cylinders cooling fins. Finally, the exhaust rings were masked off and rubbed with a rusty pigment.

DSC00676 (Small)

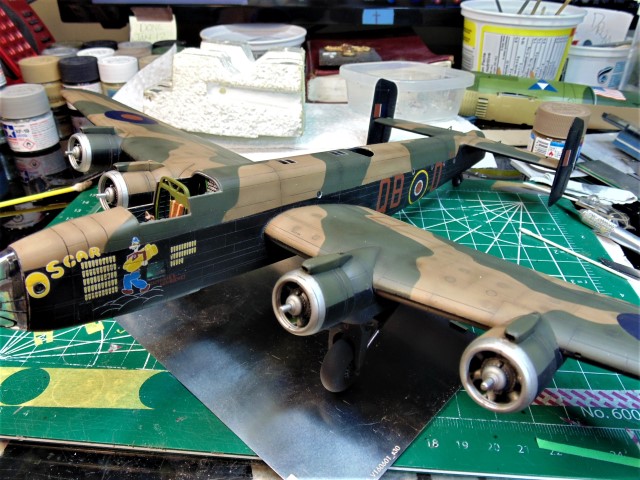
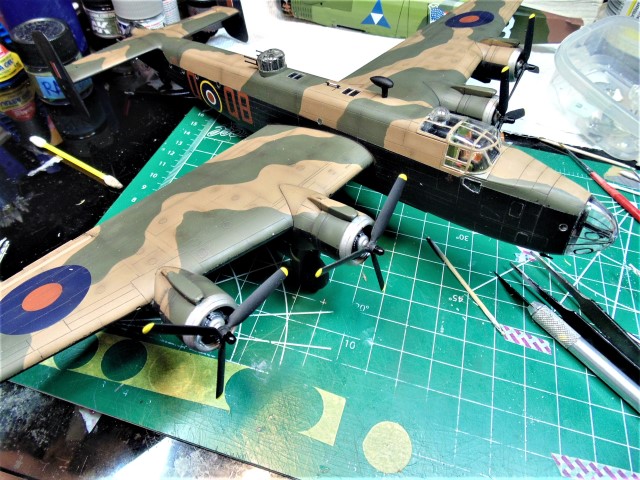
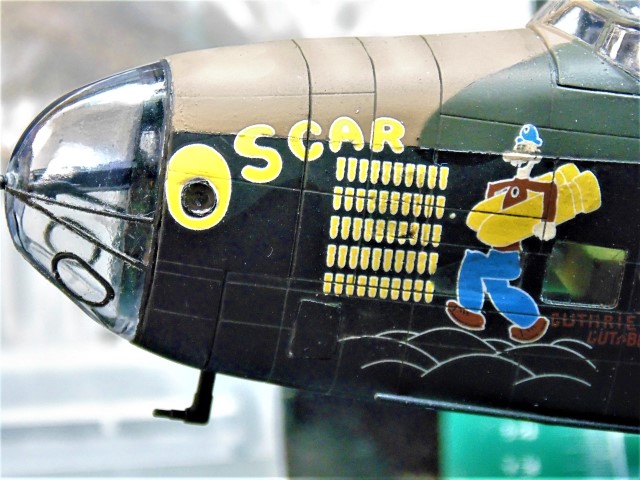
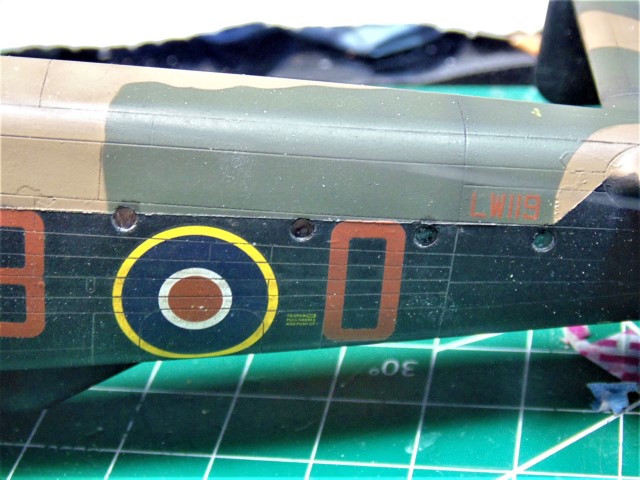
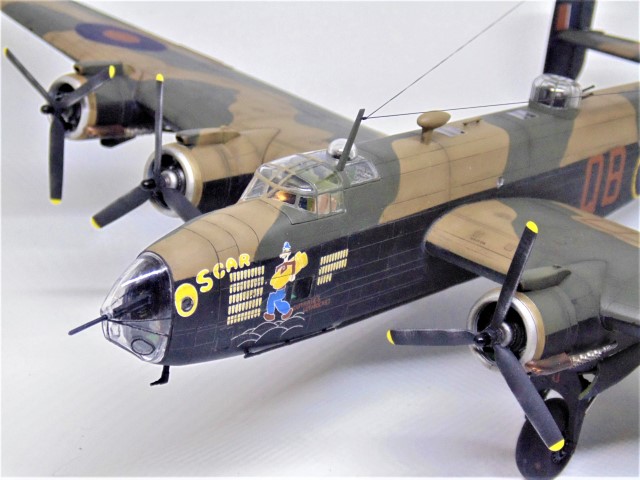
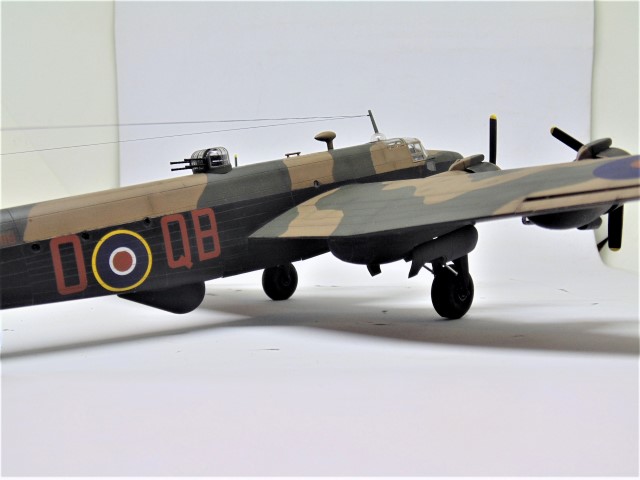
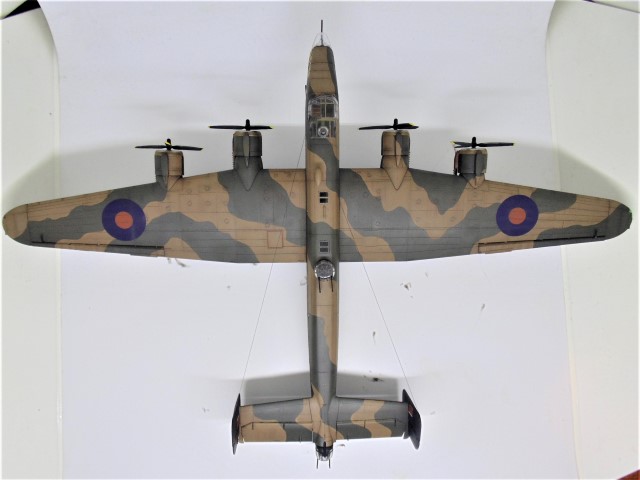
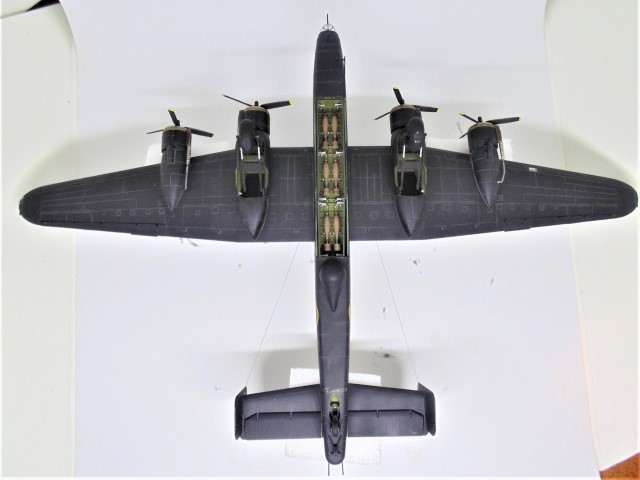
Now the finished project.

DSC00677 (Small)

DSC00678 (Small)

DSC00679 (Small)

DSC00680 (Small)

DSC00681 (Small)

DSC00682 (Small)

DSC00683 (Small)

DSC00684 (Small)

There are plenty of things that could have been done to make this really stand out, but unfortunately those things begin with fresh clean plastic. The great news is, a shelf queen was put in good stead and soon will have a new home and a disabled person will continue to enjoy mobility.

Thanks for taking the time to follow along.

7 Likes

Great result, HG! She’s a beauty! Thanks for sharing your work with us.

Torsten :beer:

1 Like

Thank you for those kind words.

Beautiful work, I’ve seldom seen this kit built! Reminds me that I got to finish my Airfix Lanc…

:raising_hand_man:

Magnus

1 Like

Thank you Magnus. :slight_smile:

Feeling a bit melancholy today because after spending two days of making boxes, and doing all the packaging, the Halifax went to a new home. Sure hope and pray it arrives safe and sound. Good news is a battery will get installed in someone’s wheelchair so he or she can move to wherever… who cares so long as they’re mobile, right!!!

You guys would have laughed at seeing me, of all people, being meek and in full worry mode when on the receiving side of the riveter back in the mid 90’s. SSSPPPRRRAATTT HA HA Like a little kid afraid of making his great uncle upset with doing something wrong.

Be safe Halifax.

HG

2 Likes

WOW!!! When I started reading the thread I saw the basic paint job and was hoping that it would wrap up as nice as you did. Man!! Excellent weathering on that paint. Build looks stellar!!!

1 Like

Thanks Joseph!!! I hope the new owner feels the same as you. :slight_smile:

Lovely build HG :slightly_smiling_face: