Oh, yes, the seat in mine hides all of the mismatches I made in getting the interior tubing connected. 
Mark, hoping to see this one by year end! Maybe the Bearcat next year? I do like your work, and you seem to enjoy it as all of us should!
Radek, great finish! I’m sure I’m not alone in saying I don’t think your audience is looking at the gardening, though it looks pretty convincing. You’re an inspiration for me to do a diorama! Though don’t hold your breath!
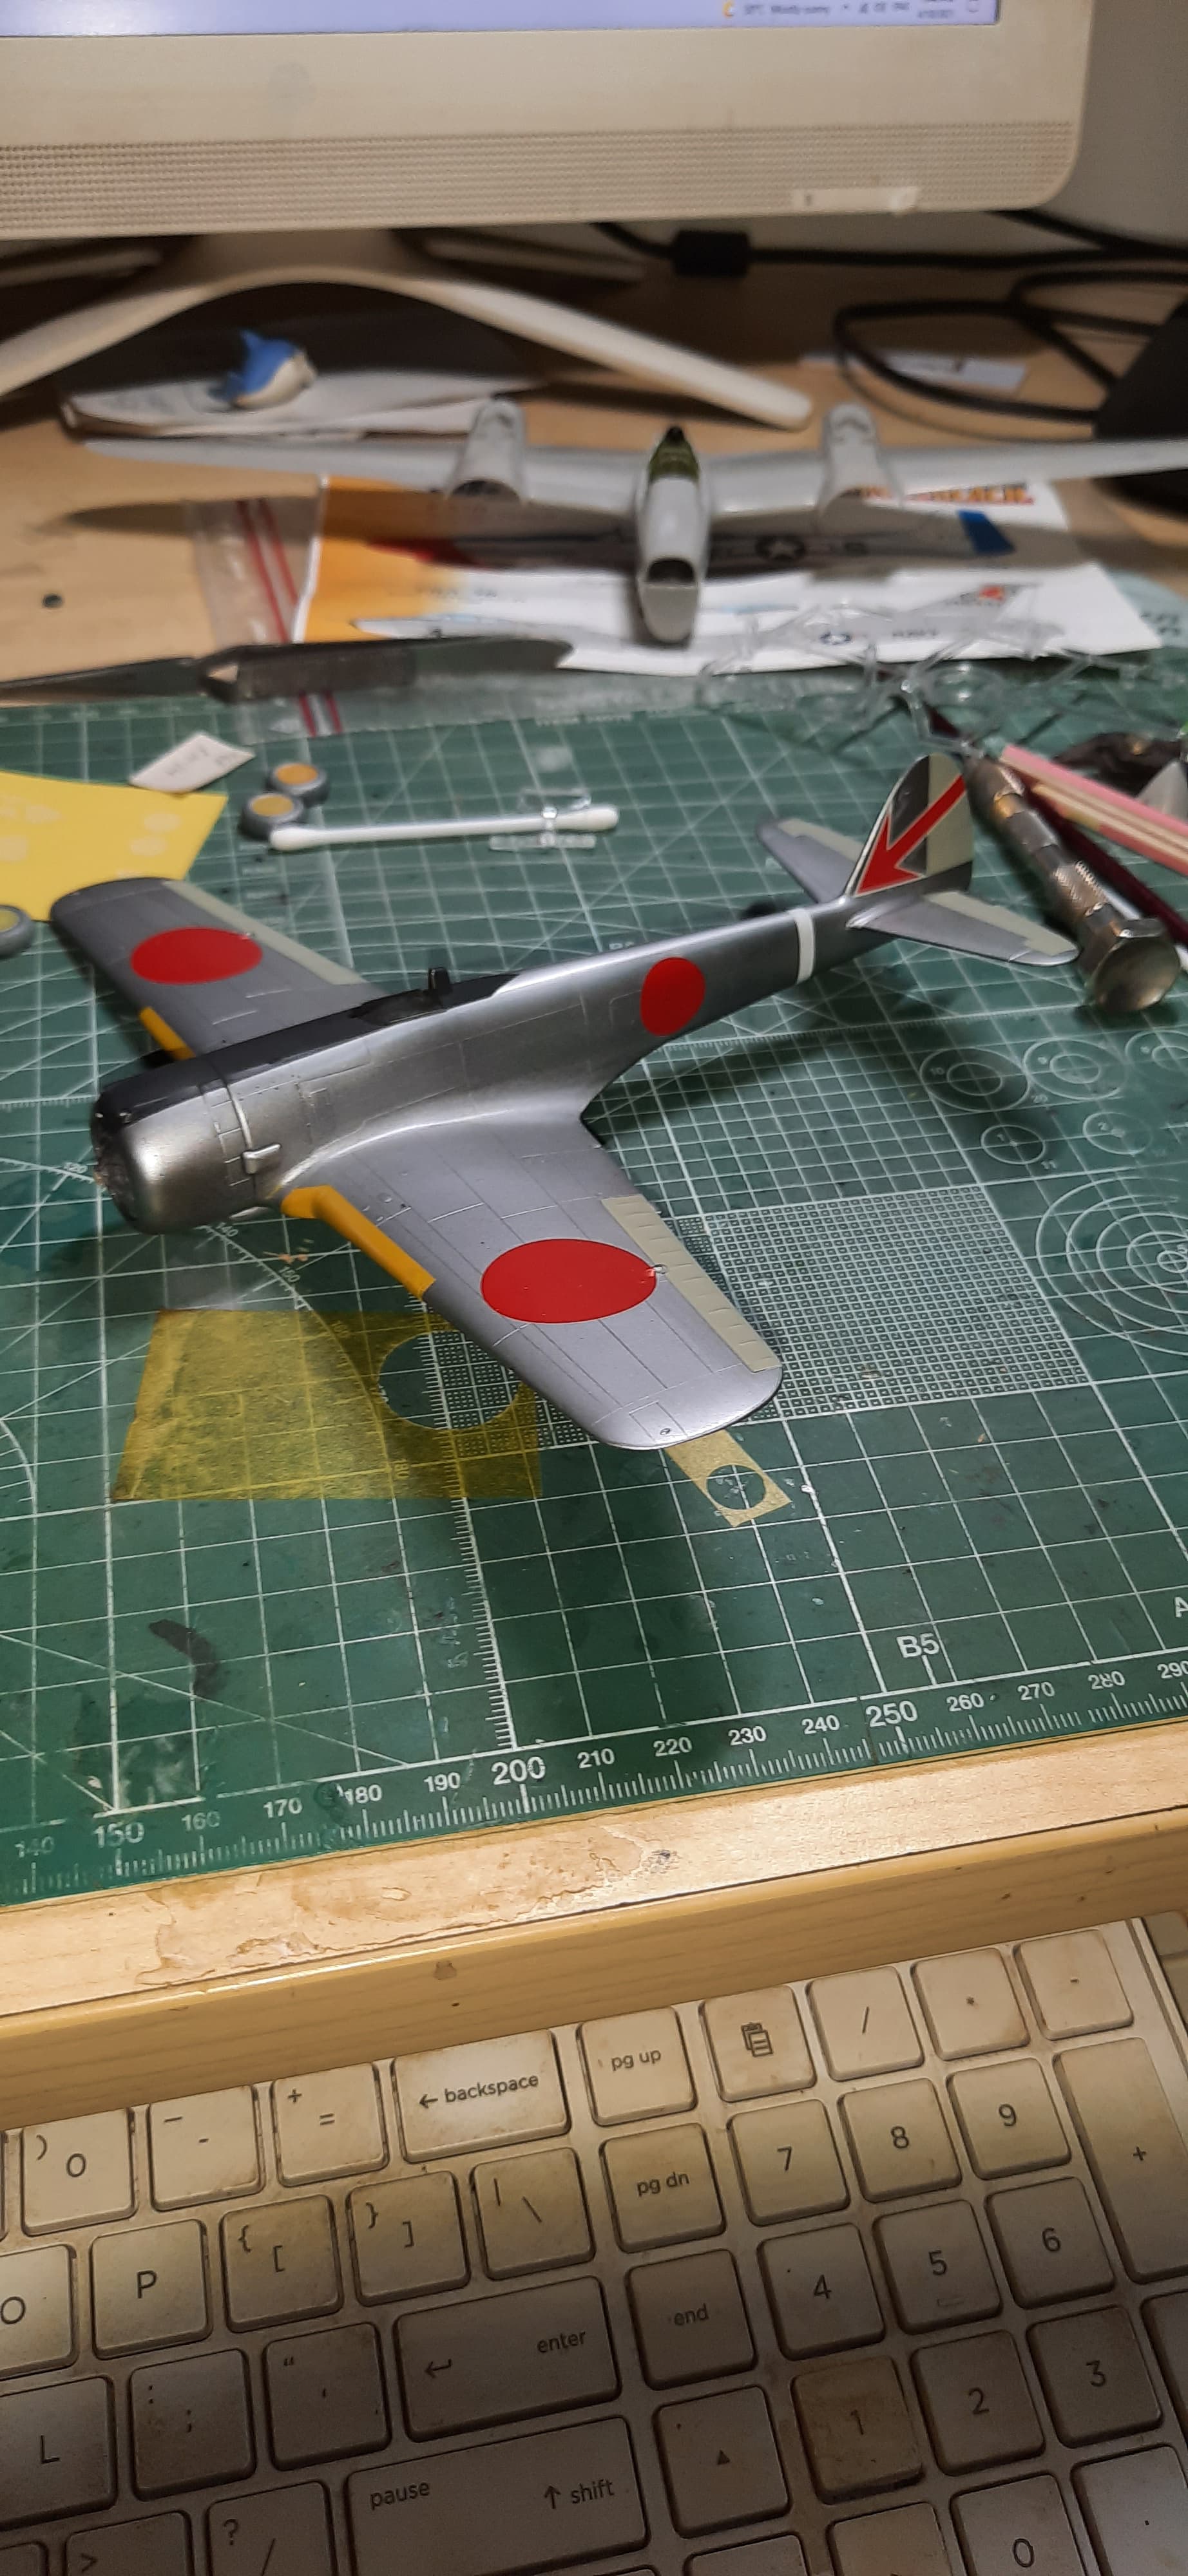
I’ve been making some headway on my Ki-43 II, and I’m feeling pretty ok about it. Last check had me at a metal finish, and the next step was getting the IFF orange/yellow bands on. Went ok, I think.
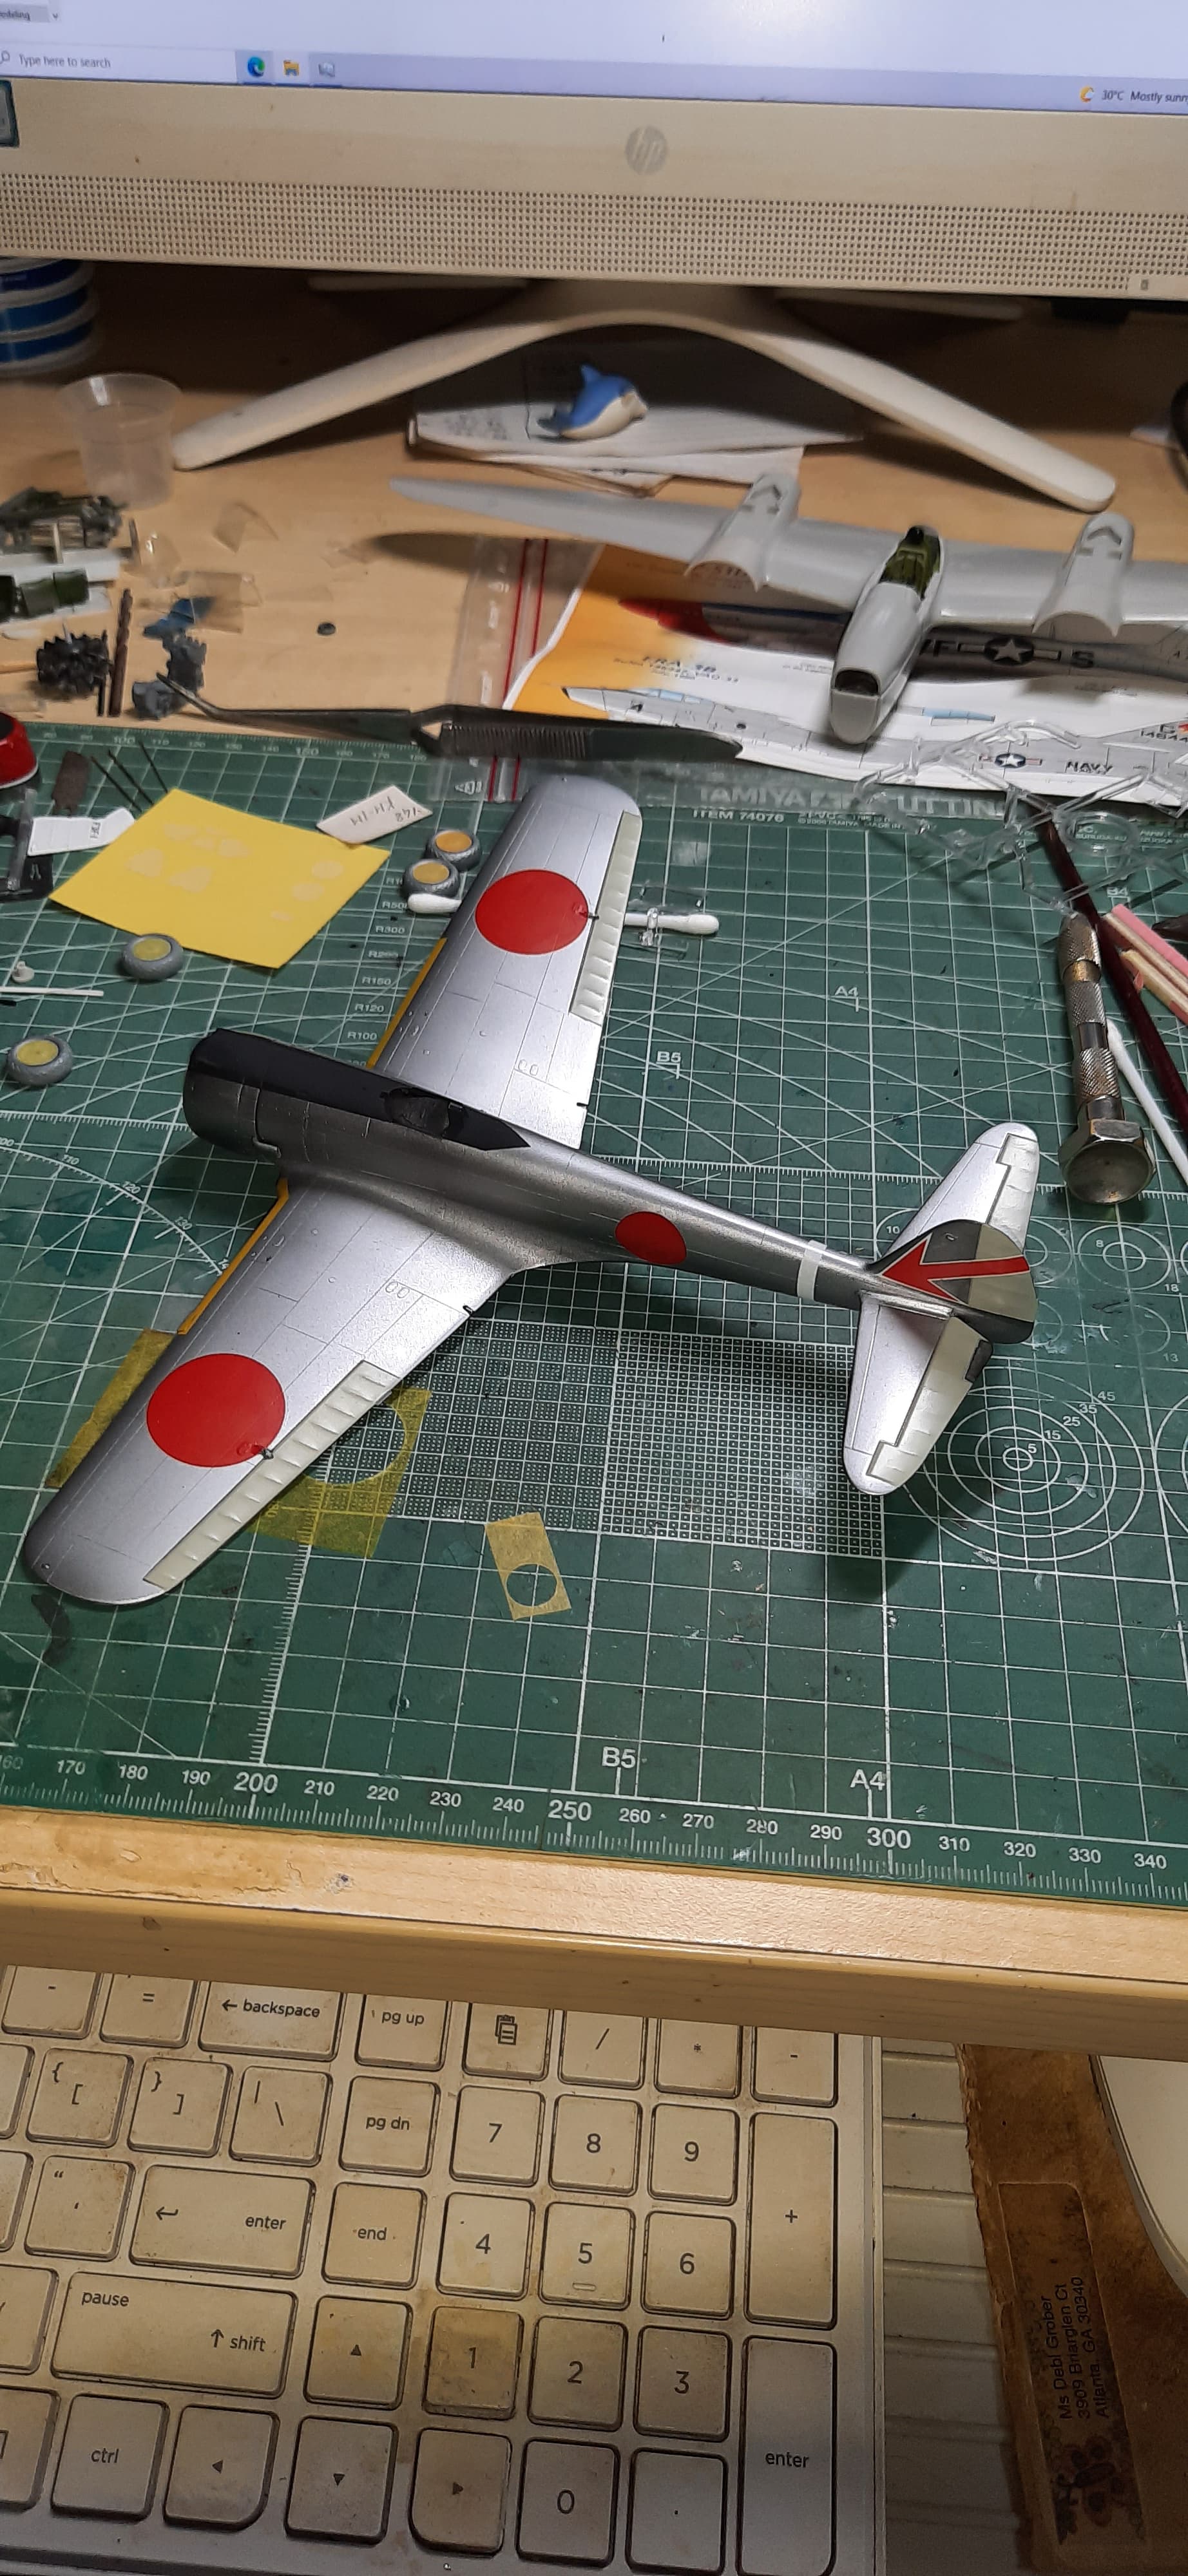
I also stole a decal set to do the bird, as the kit decals shattered, or decided not leave the carrier film. Being an older set, they worked, but were a bit of a challenge.
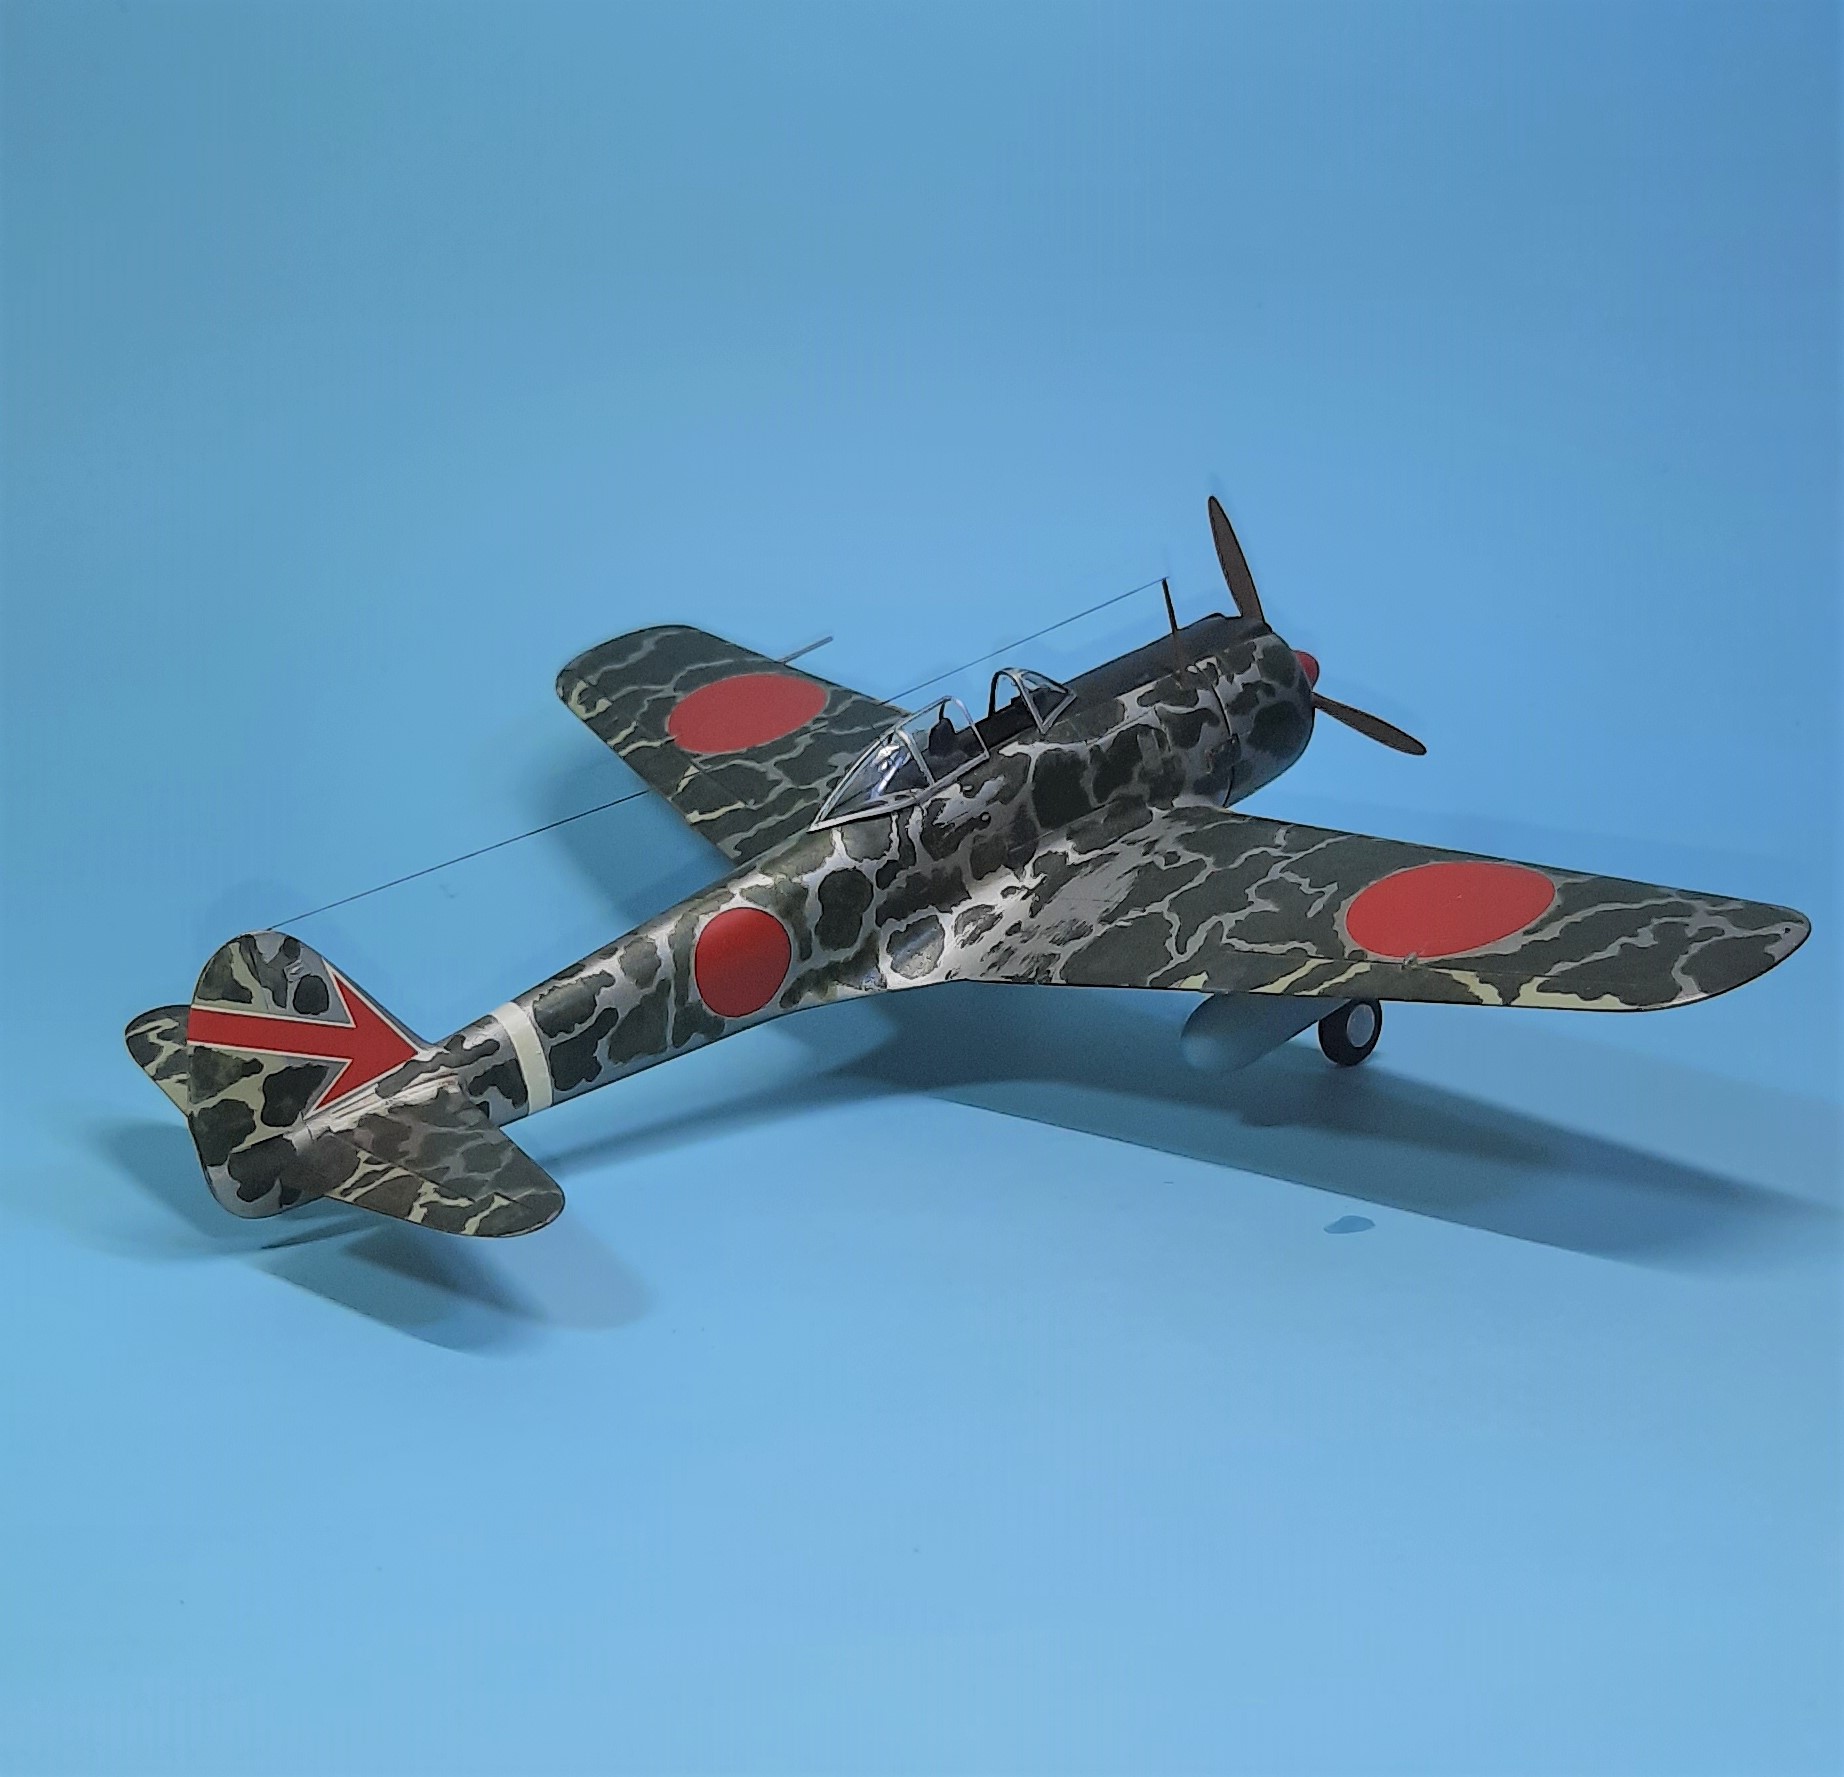
Then the “fun” started. This bird had the the camo applied in field with brush and rags soaked in gasoline. The paint color was from stocks found where they arrived from those that were left. Not having a good refence, I opted to go with IJA Green, pretty much a faded olive drab. I used Tamiya IJA Green and 70% IPA in a 1:3 mix in a yogurt cup. To do this you should start with an area that you’re going finish in one go, because evaporation moves much faster than you think! I used small volumes, and small brushes to mimic the painting technique in scale. Yes, it was tedious, and the wife began to question my sanity, though there was no smell so I was ok!
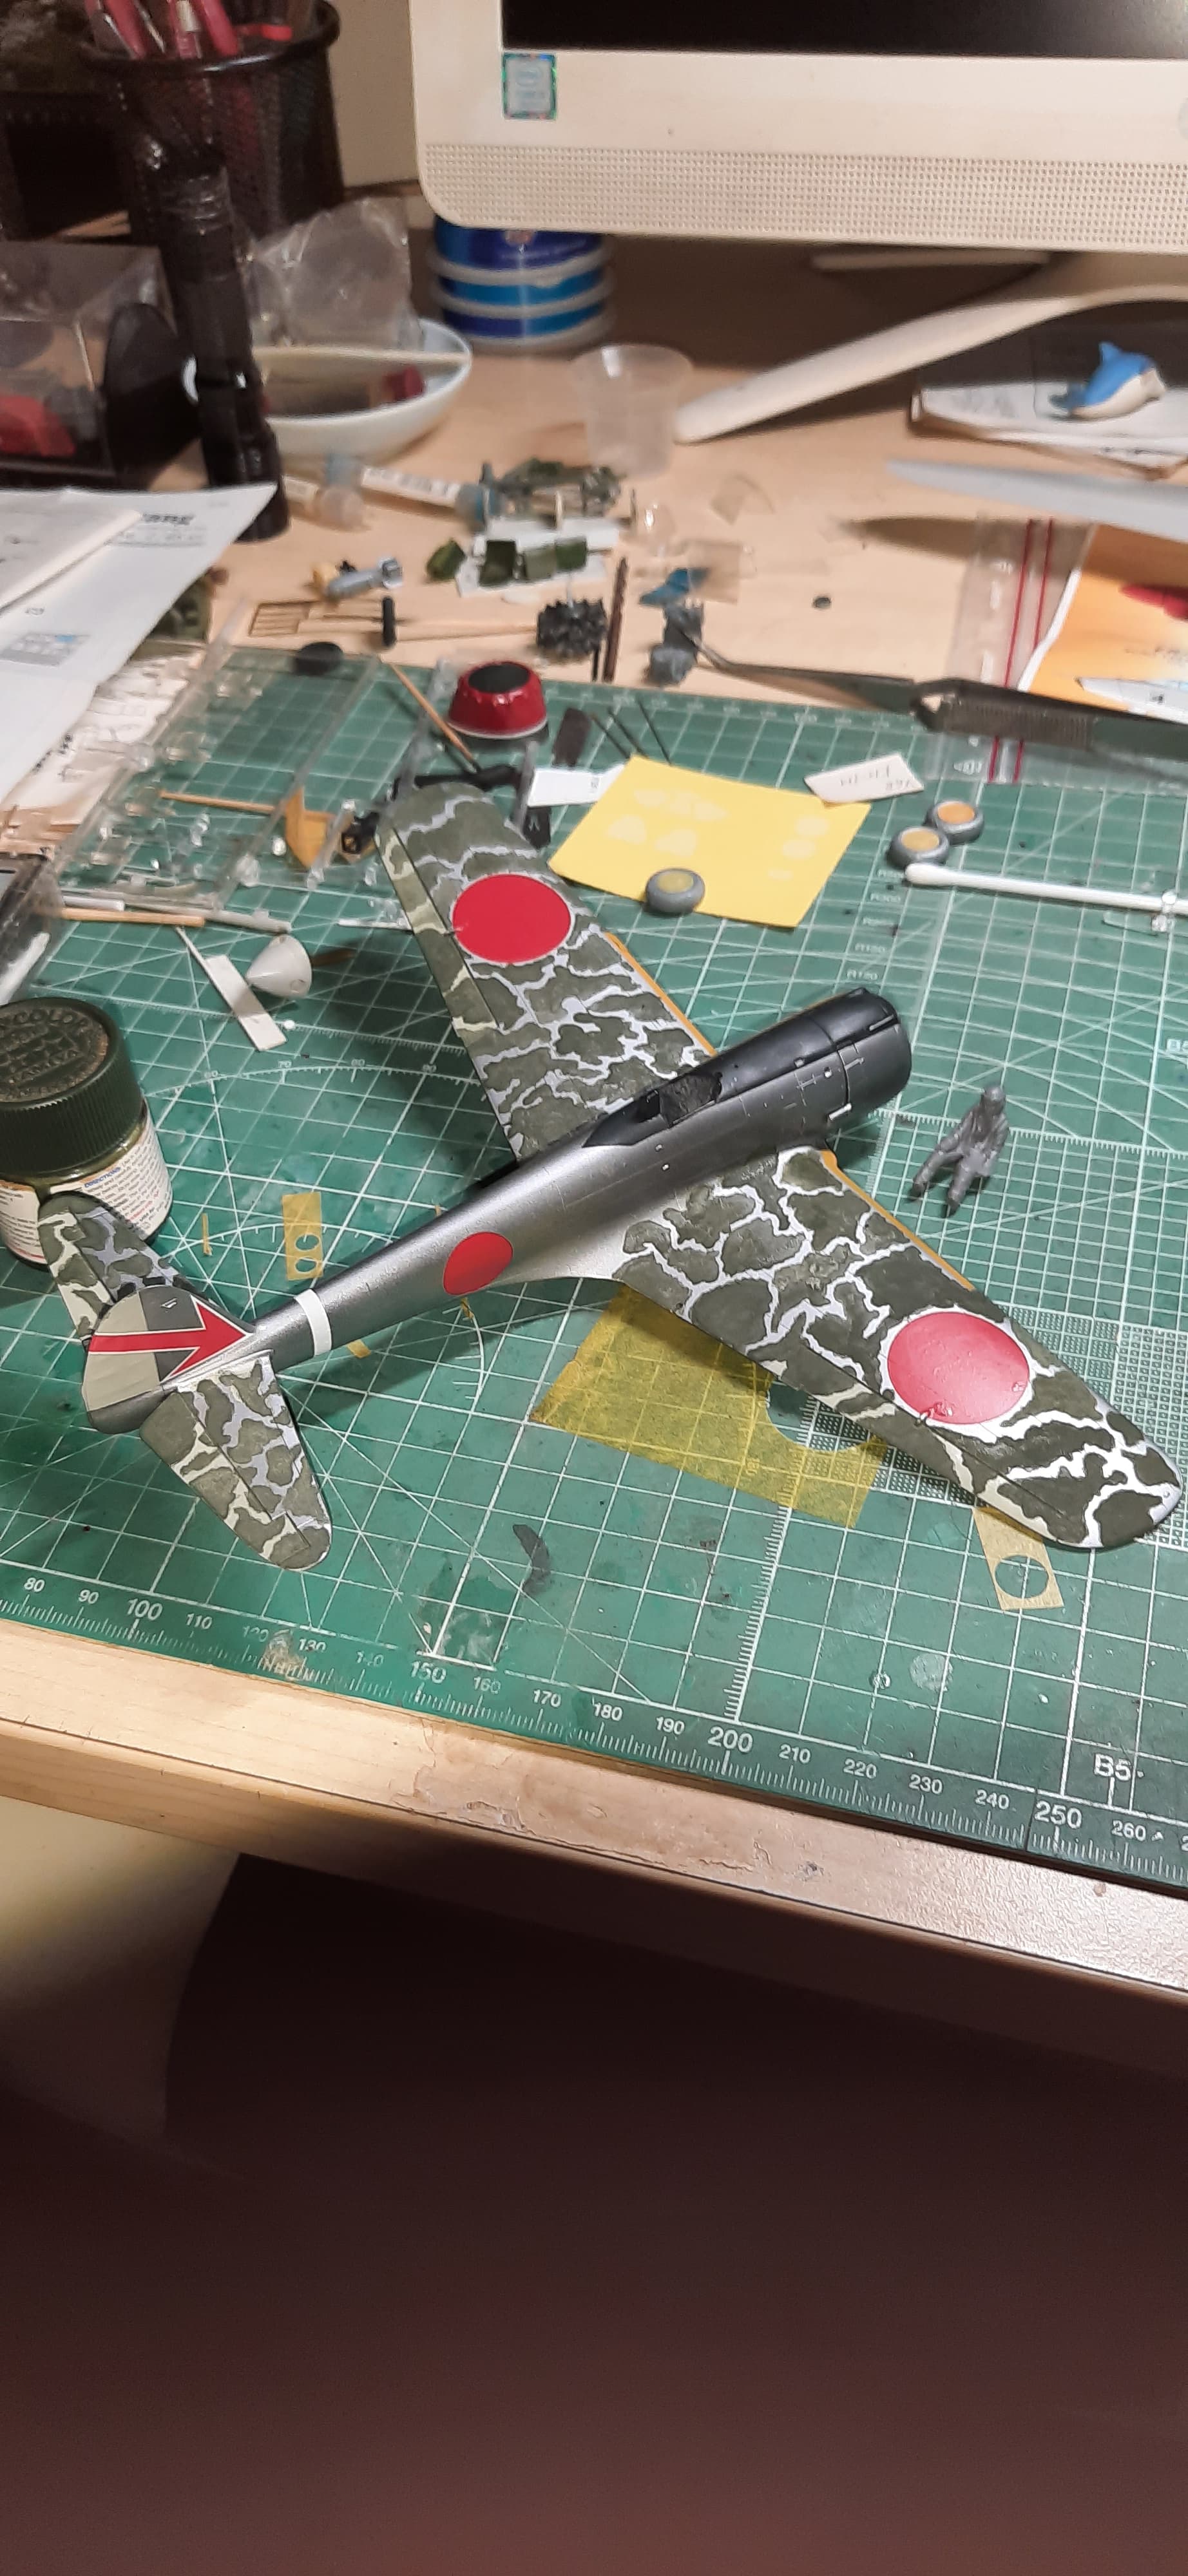
I applied thicker coats to the horizontal surfaces as the paint would sit there a bit longer, and the sides of the bird they’re a bit thinner. This was a challenge, it was fun, though you should pretty patient when you do it. Meaning if the wife wants to watch her favorite movie, be at a good stopping point, because your focus will leave. Which is why less than a mill of paint in the yogurt cup is a good idea!
After getting the uppers all done, I took some 1500 grit sandpaper to the areas where the pilot and crew climbed around. The effect of the Tamiya acrylic over the Mr Metal was pretty nice. I do recommend 3 coats of clear. To aid me, I did have Shin, a 1/48 pilot figure always near so that I could keep my brush strokes in scale.
A cool note for me was the assistance of my niece Vanessa, who did the masking for the main wheels. Despite not really wanting to, she felt that learning a skill that takes PE templates, a sharpened pin in a pivot pin vice, with some old Tamiya tape, on the desk would be a pretty fun thing. Personally, I think they turned out quite nice, and not bad for an 11 year old novice. There may be hope!
Sorry the photos don’t look so great, but this has been a blast and it’s a bit of sentimental build on numerous levels. More will follow!
Also, time check! we got six weeks to wrap things up, otherwise, it rolls into next year. Have fun!!
3 Likes
Beautiful job on the camouflage, John. Looks very realistic.
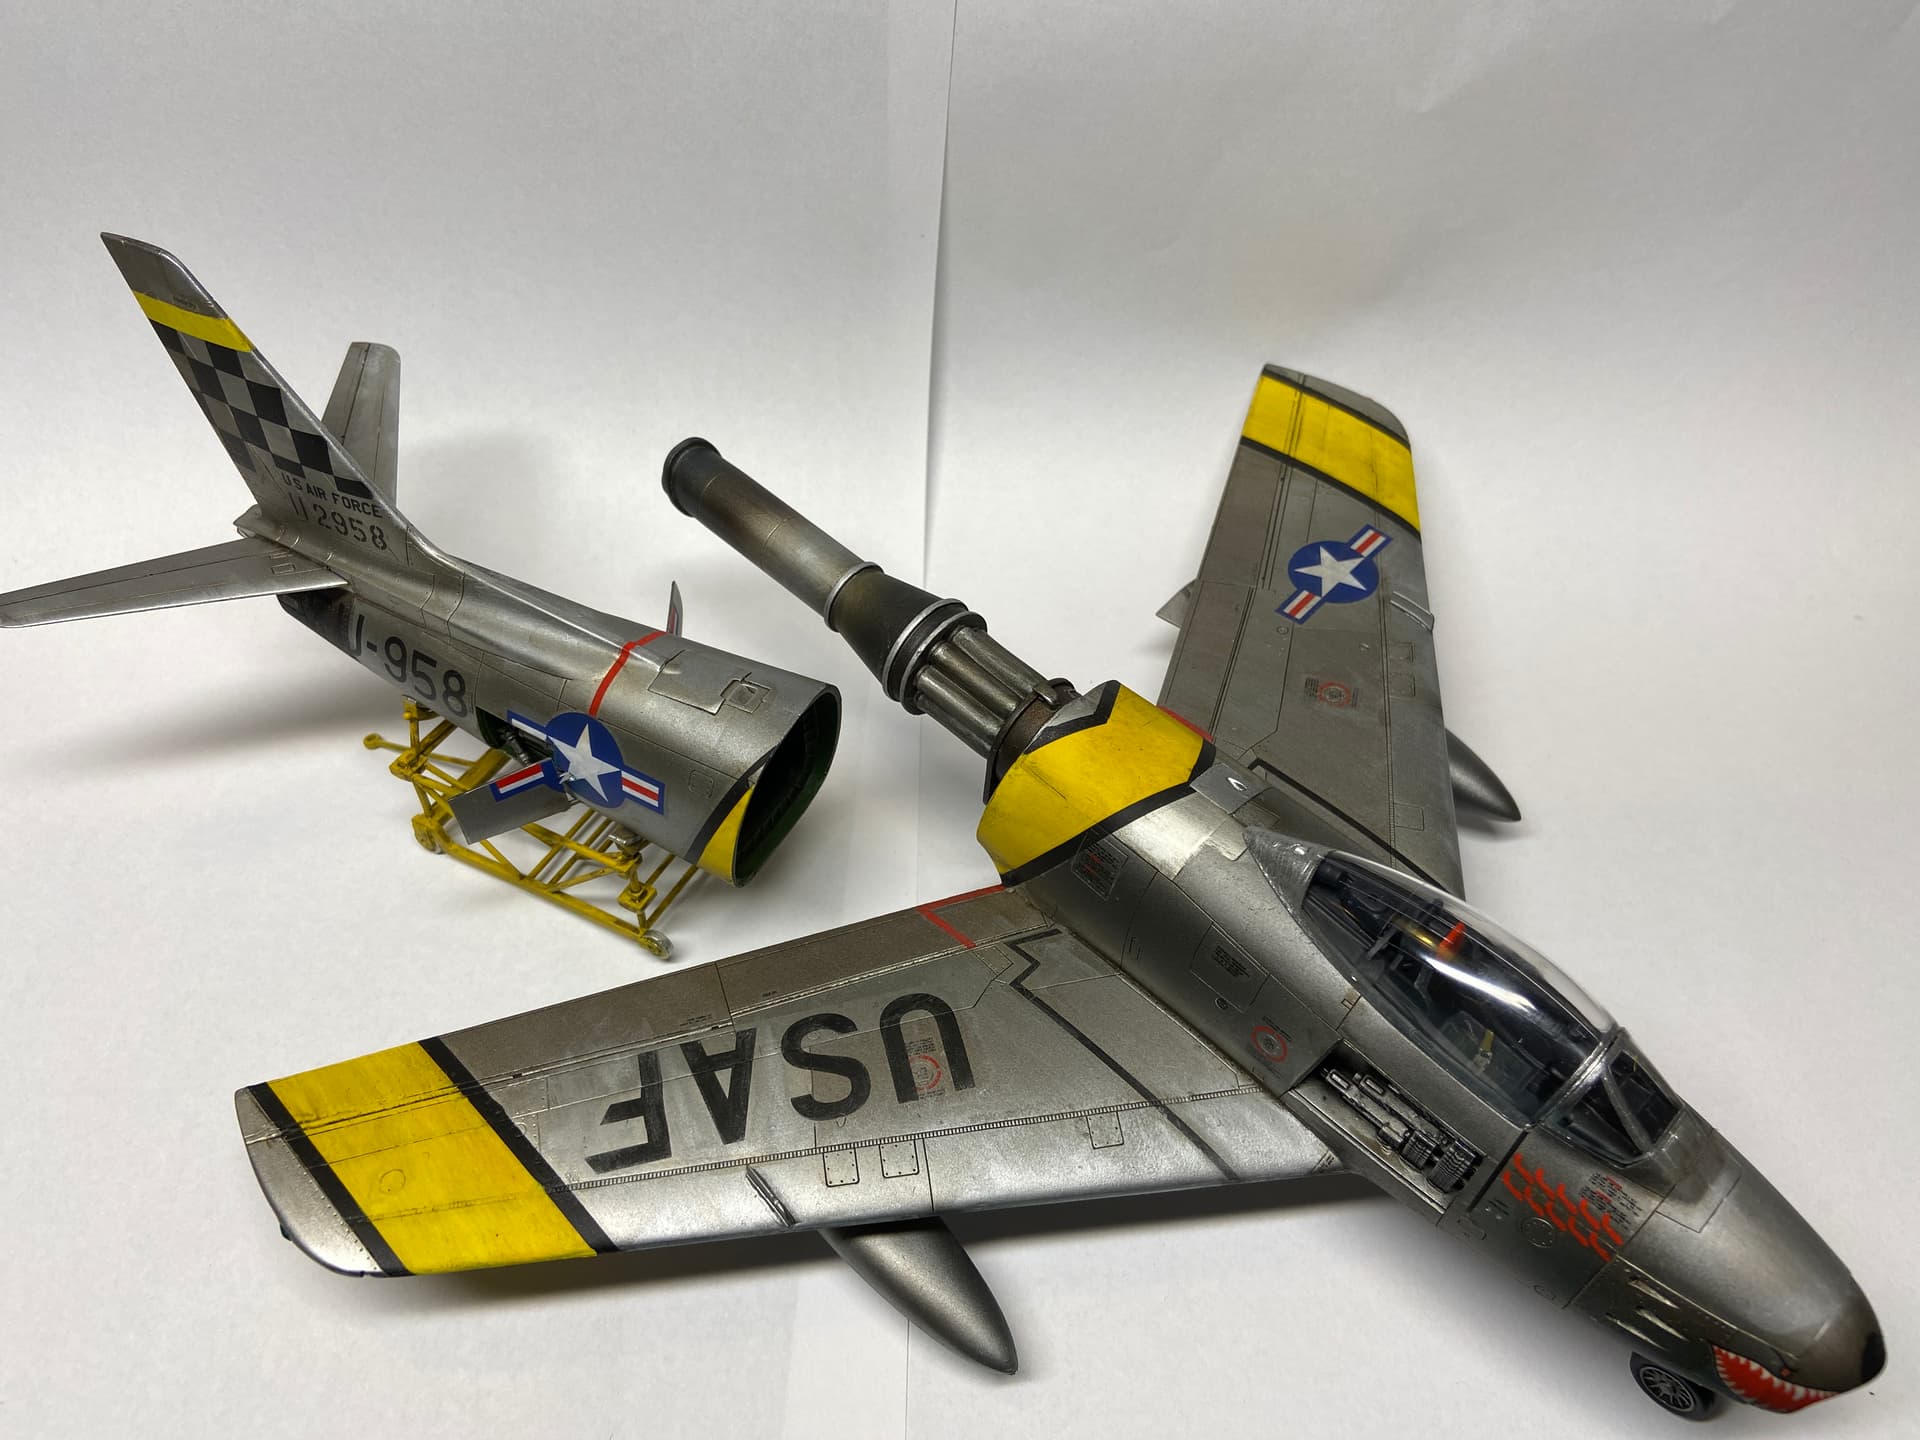
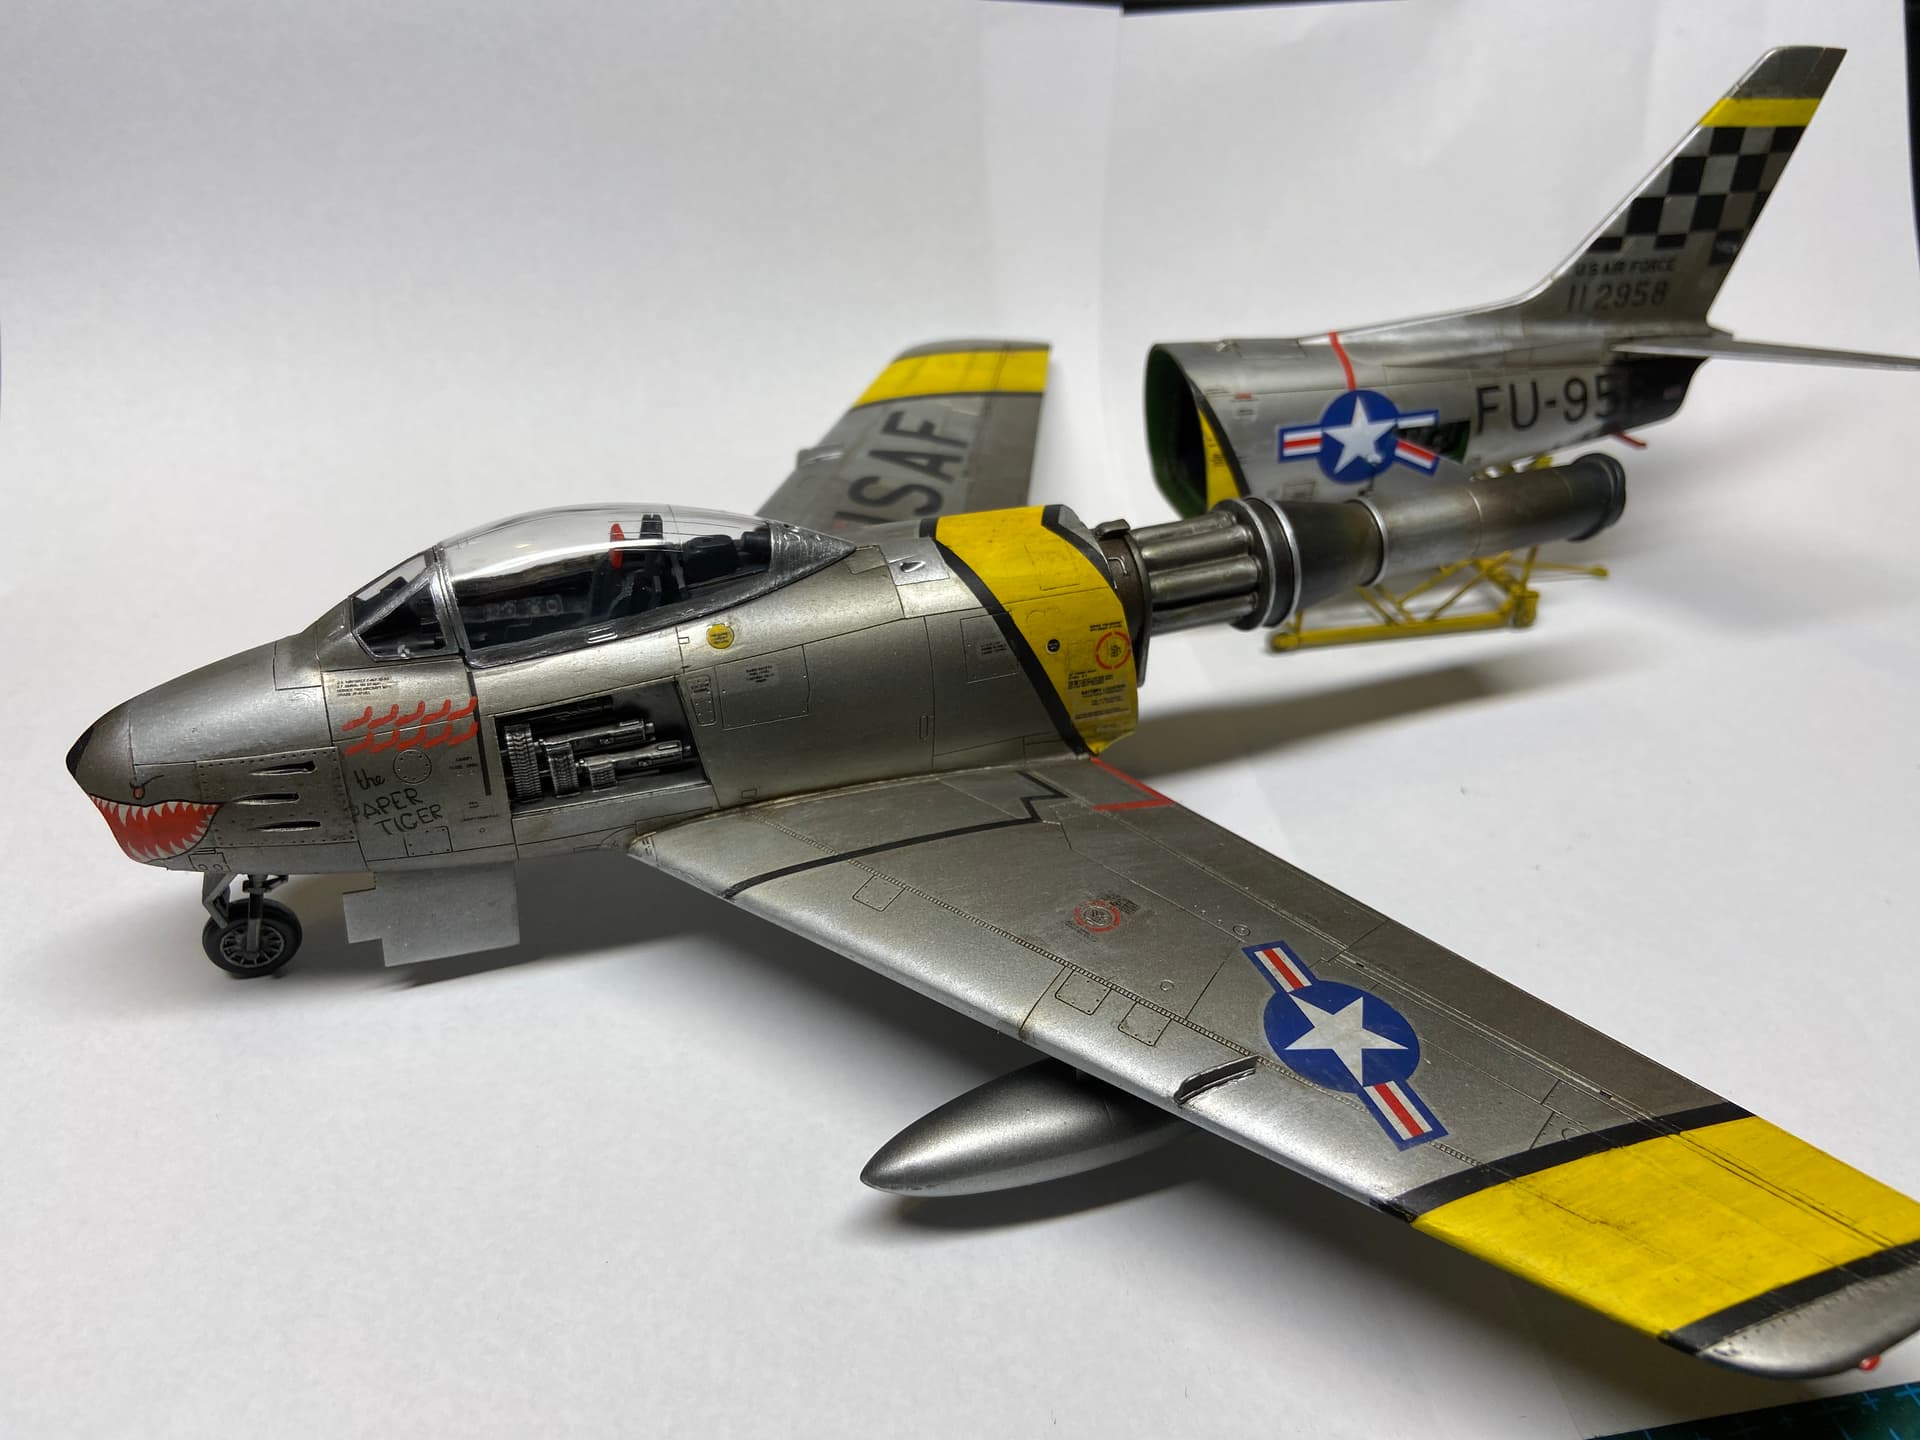
I am making some progress on my F-86. I only have old academy decals that are simply terrible and very stiff. I bought some new decals, but they do not come with the yellow/black recognition stripes. Now I am using the academy decals and getting them to settle - sort of - by using glue and strong decal setting agent. I hope it will work out.
More to follow soon. 
1 Like
Thanks Jesper.
Those Academy decals can be a real challenge, so far looks like you’re winning! I’ve also found that some post weathering will help them a bit too. I really like the burnt metal on the engine! That looks convincing.
1 Like
So how did I get myself into this mess?
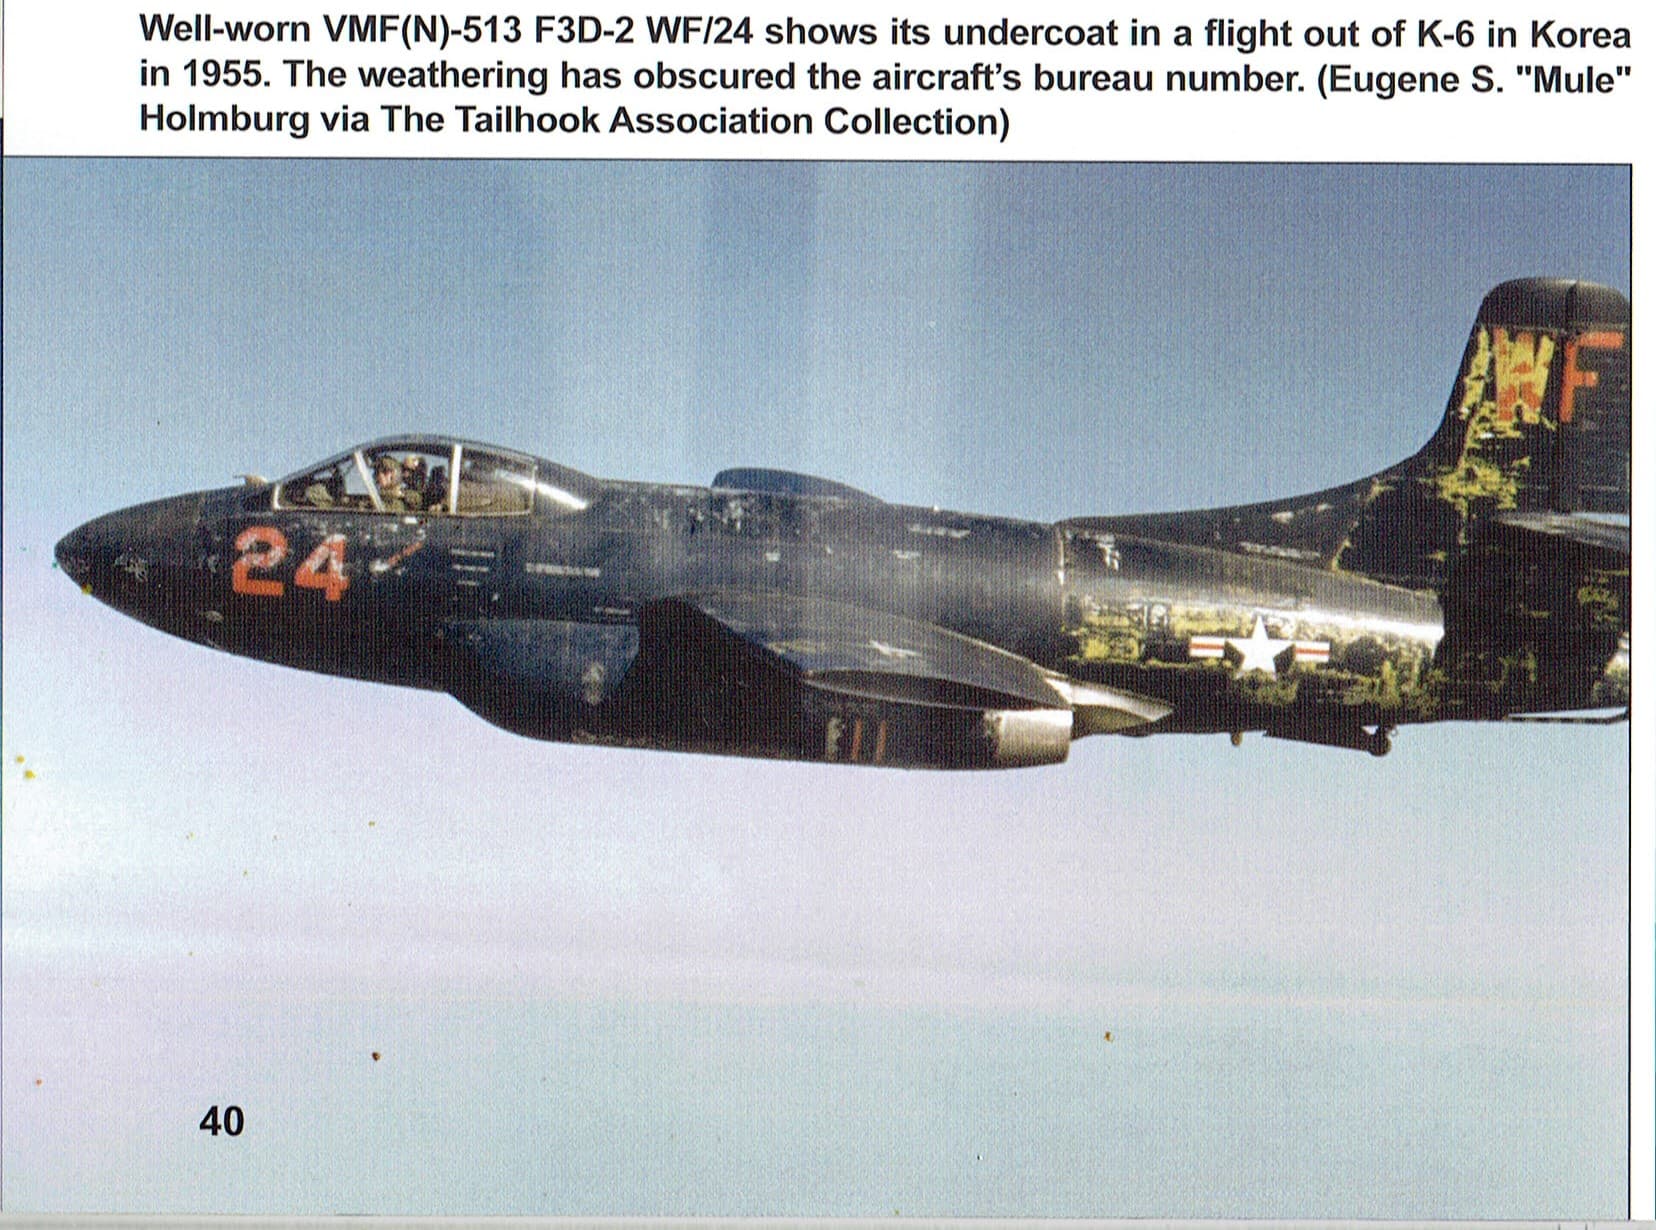
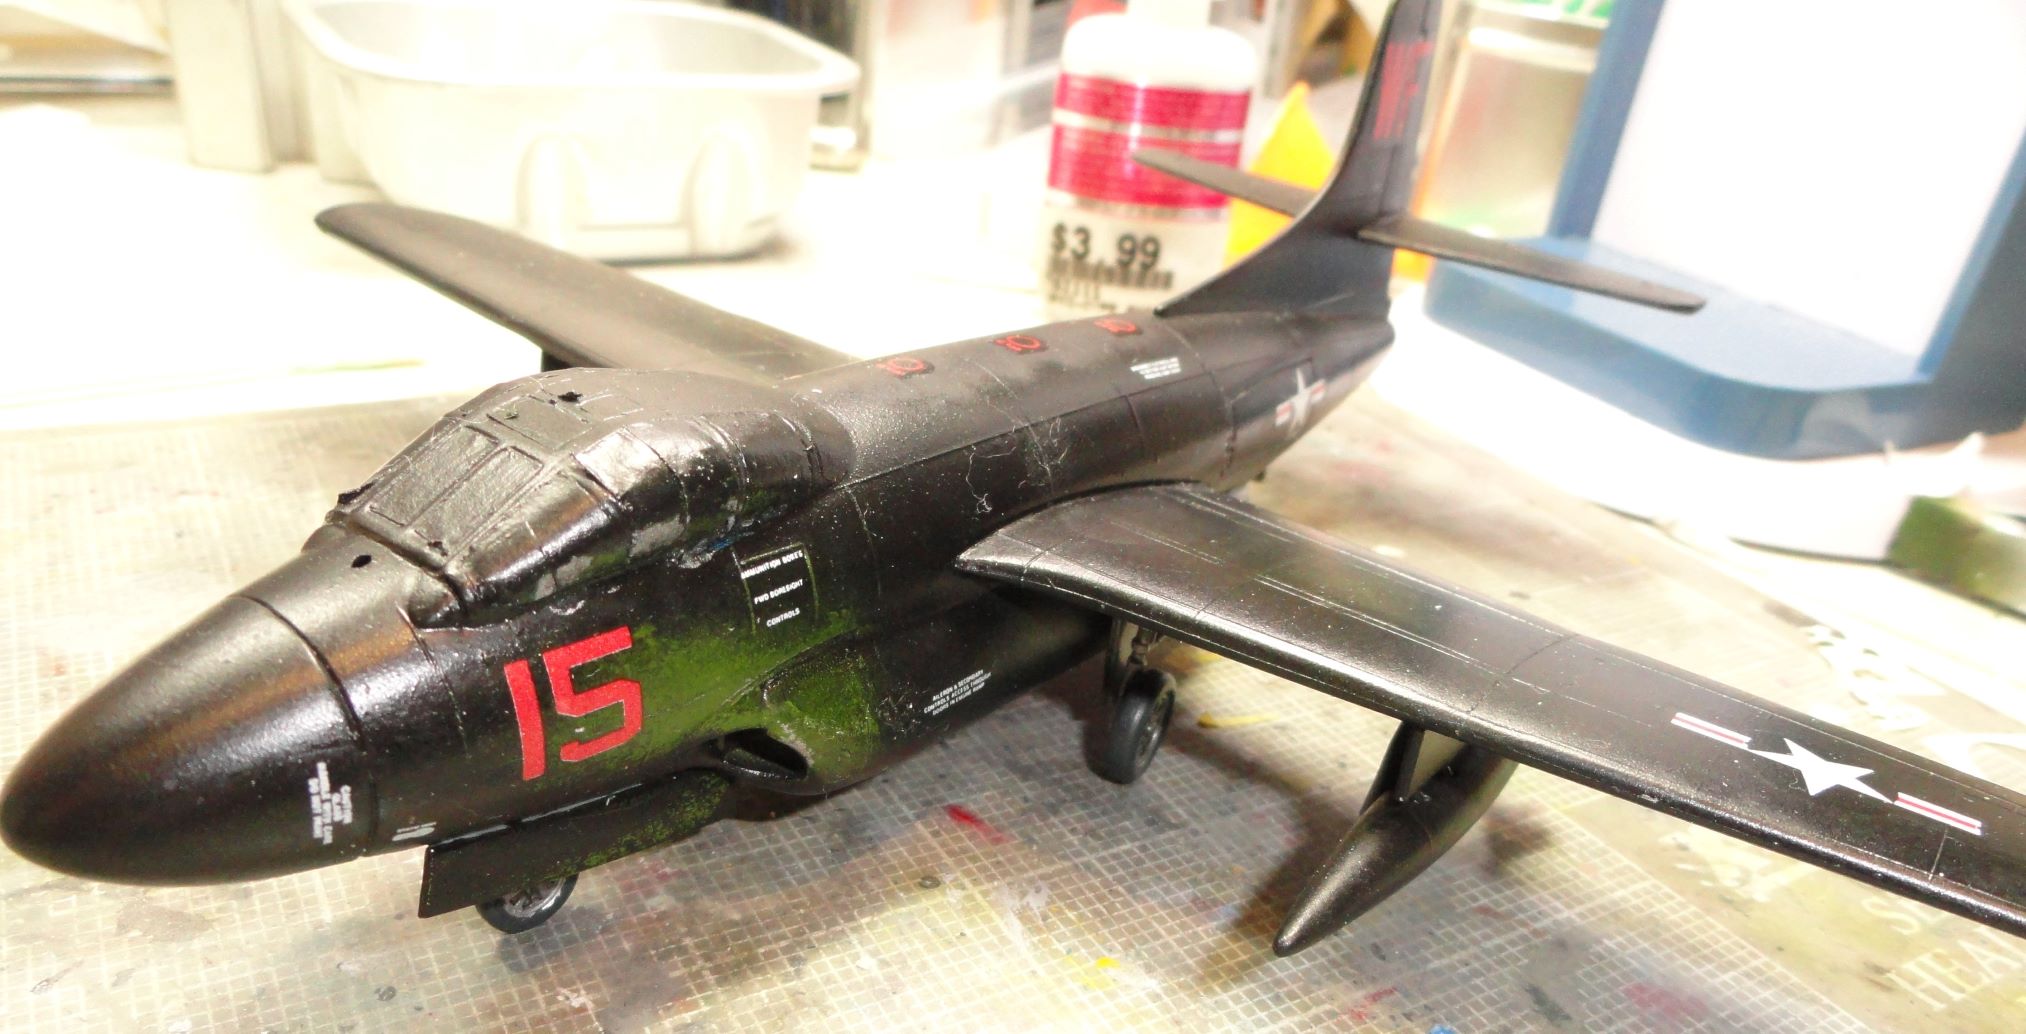
One of the most important rules in project management is to never let someone start a research project in the middle of your development project. And that’s just what I did. When I decided to build and F3D-2N for “Korea the Forgotten War” campaign I wanted to do one of the VMF(N) 513 Skyknights with black finish that was flaking off revealing a green undercoat. Like this one from “F3D Skyknight In Action”
I decided that the way to do it was a hairspray technique. Thus the research project started. I watched a number of YouTube videos and decided I knew enough to get started. Off to the paint booth I ran. Four coats of paint later, five if you count the hairspray, it was ready for the chipping. Chipping didn’t go as well as I hoped but it suggested the wear and tear on the airframe. I put a final clear coat of paint on it and ran out of time, the campaign was over.
 And there was still plenty of work to do. I set it aside in favor of a couple of projects I could get done in time.
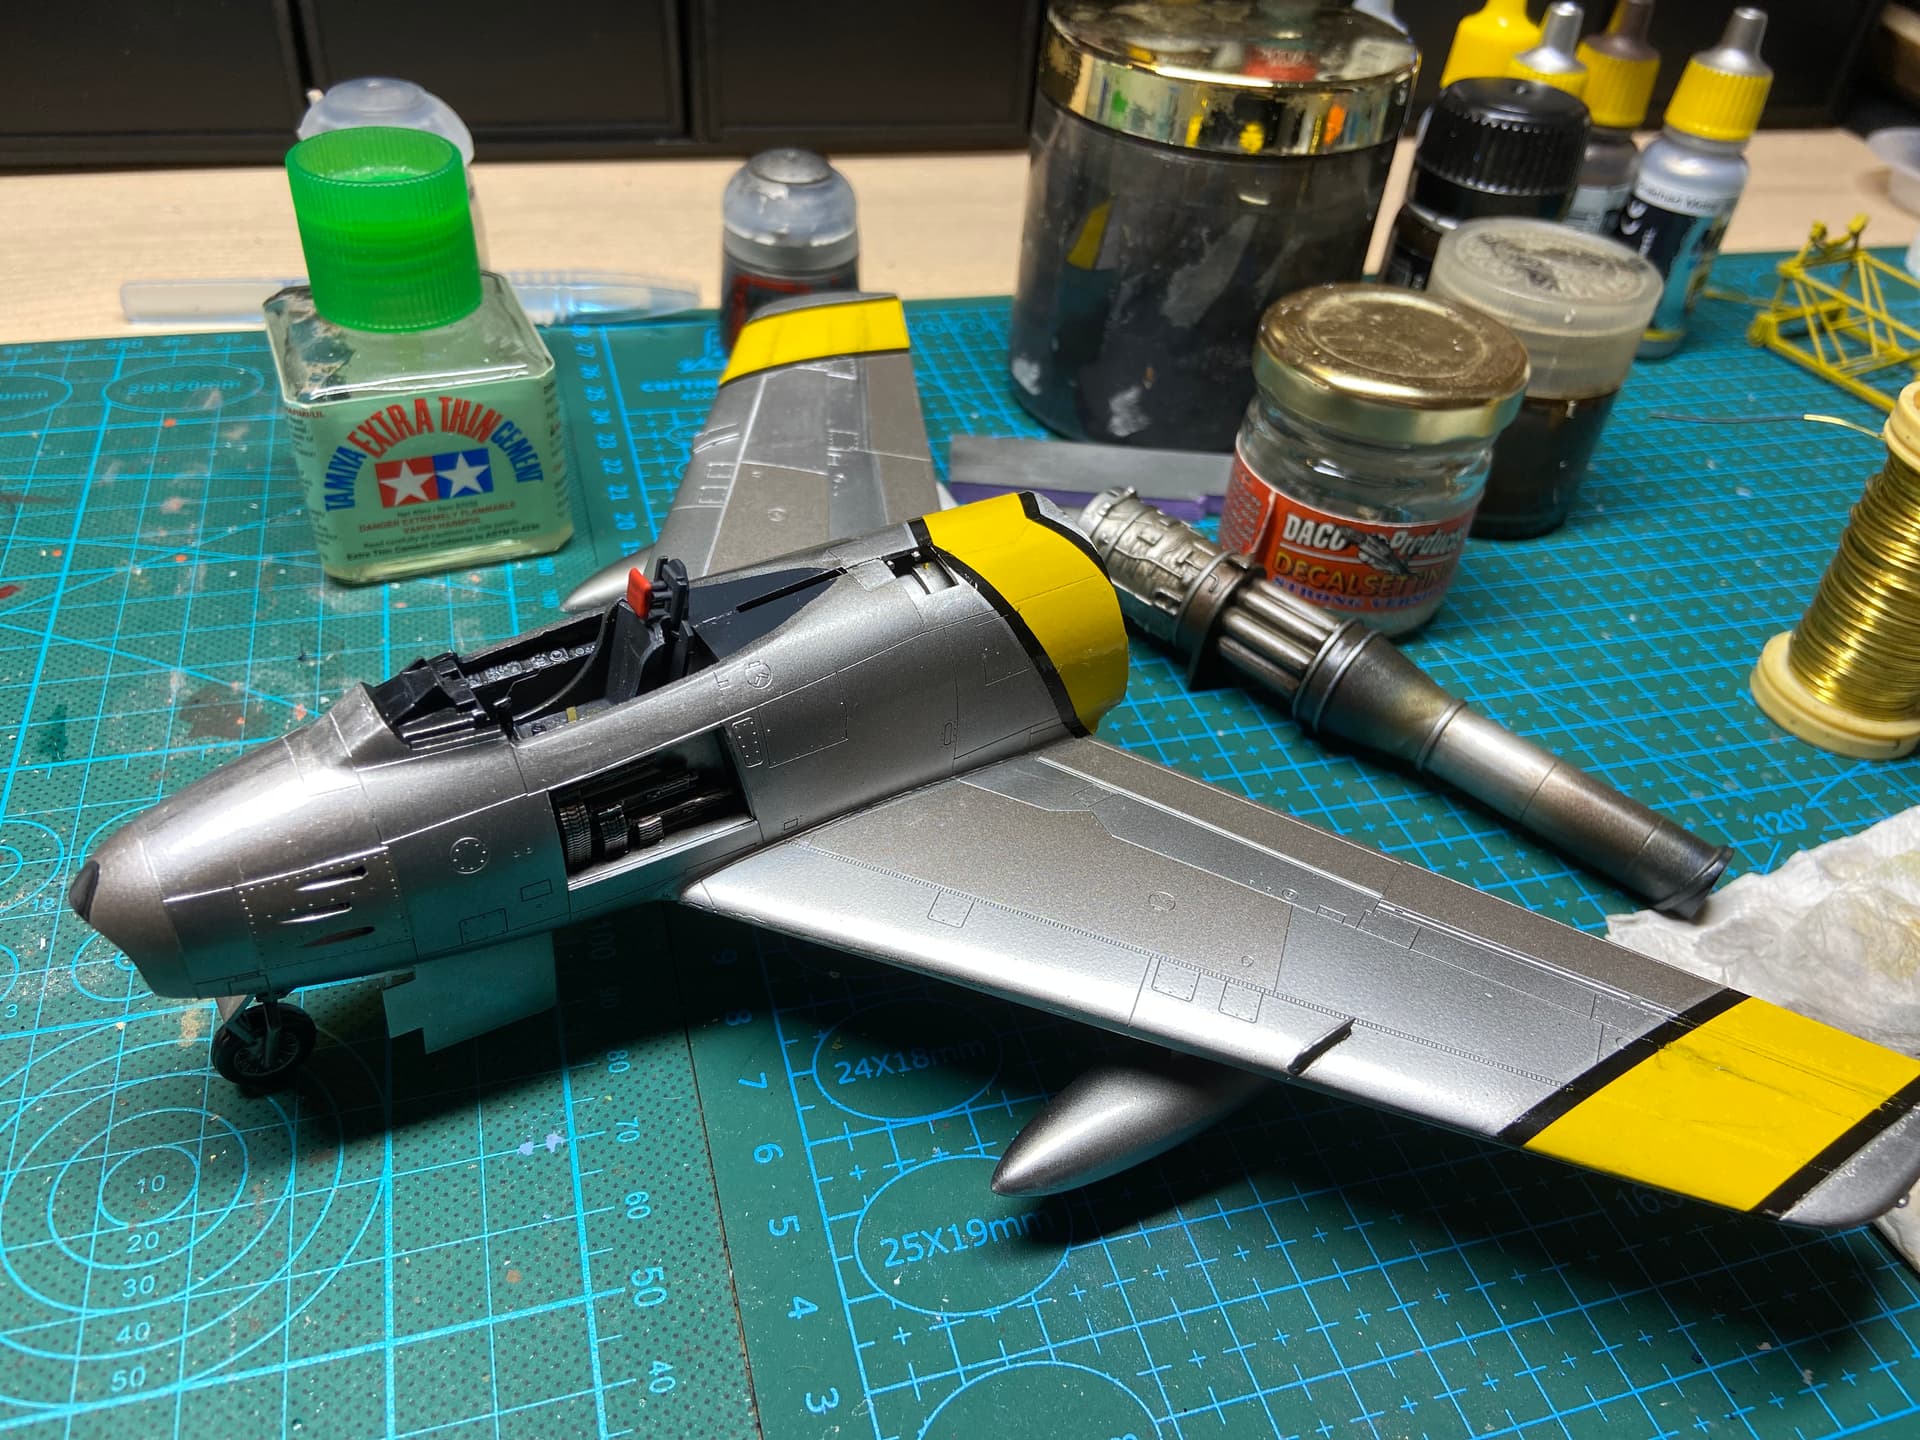
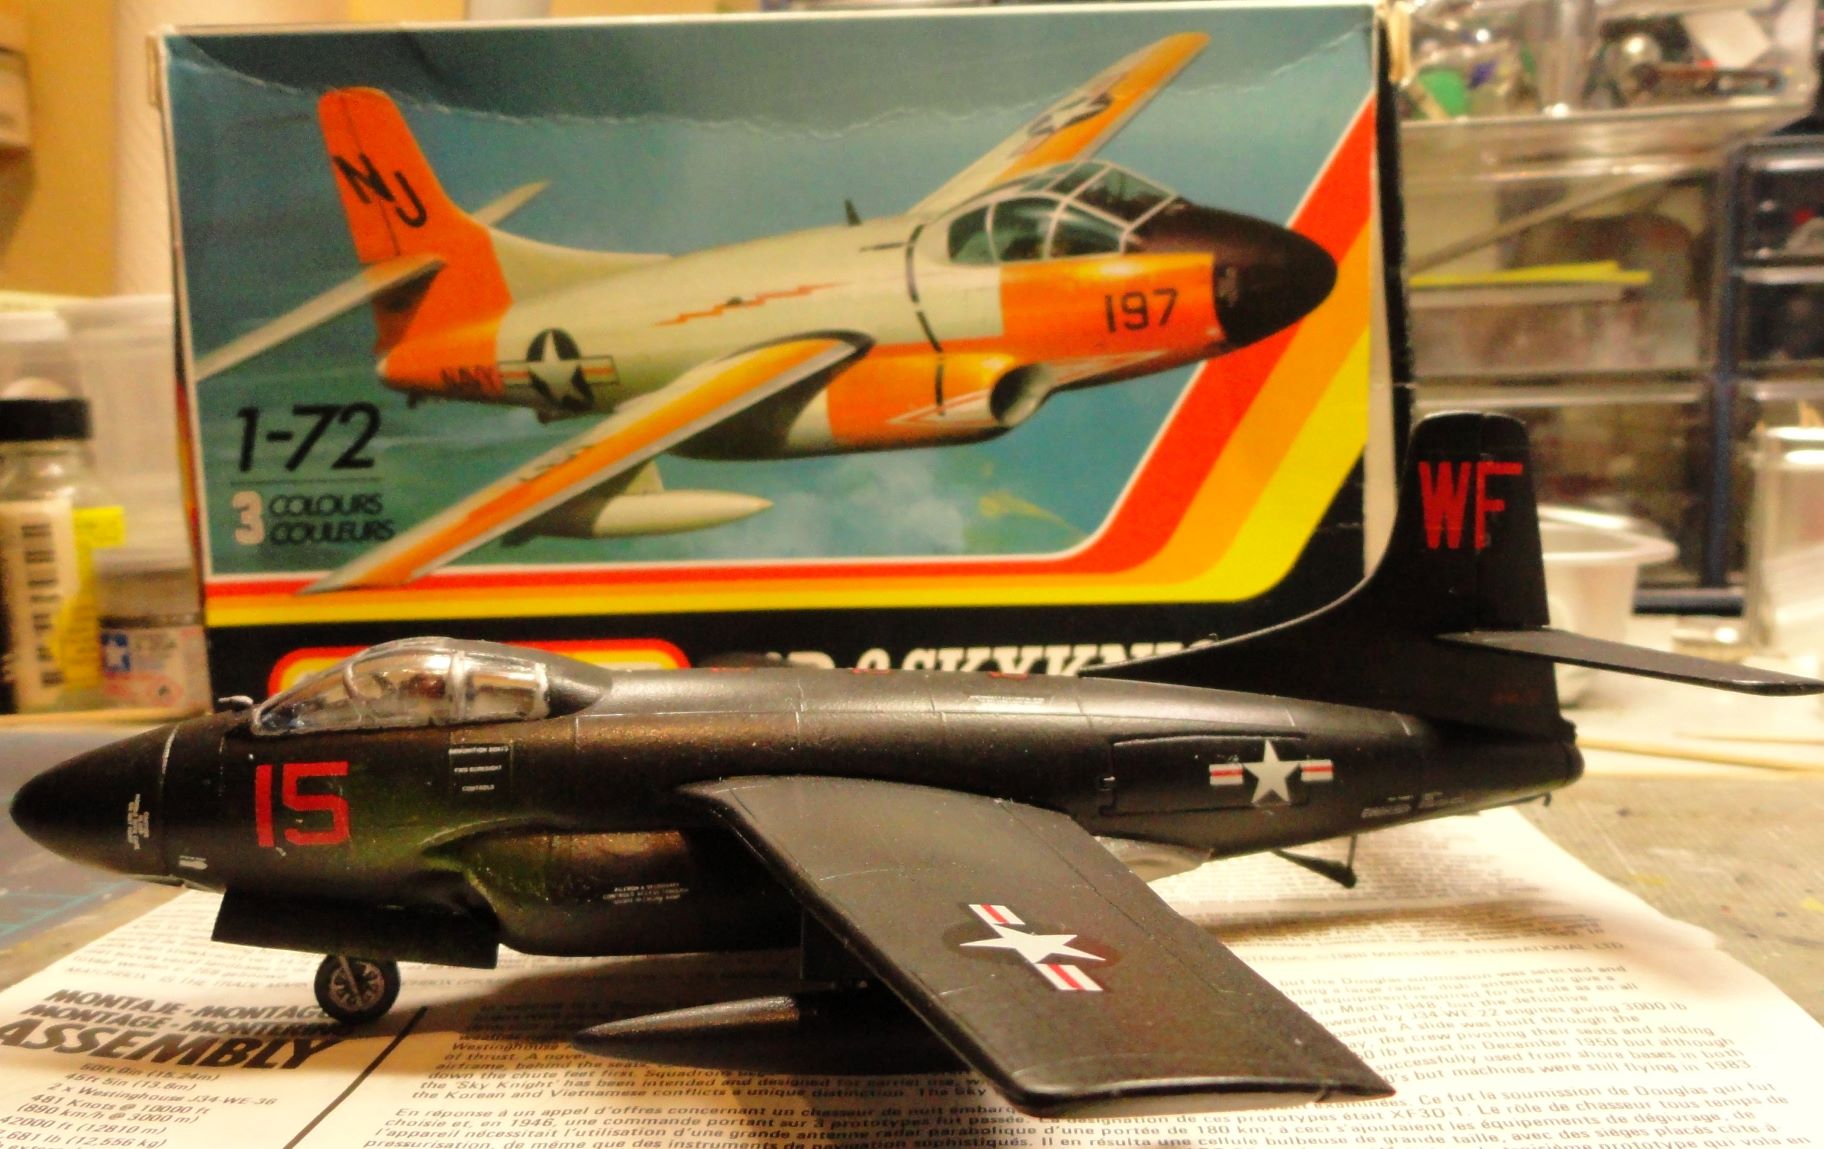
I finished the other projects and then made the foolish decision to clean off my desk before I got on to the next projects. With the desk clean and room to work, I tackled the F3D. Got this starting photo set up.

As I broke down the phot ans started to work, I noticed that the sprue with all of the landing gear parts on it was missing. Had I thrown it out when I cleaned of the desk?
 I spent the next three evenings going through every box and bag that had been on the desk. Checked in by boxes of old sprues, all the drawers of the desk and even the pile of old instructions on my desk. No joy. Noe I’m starting to figure out how to build it with the gear doors closed, after everything around them is already painted and wondering how bad the fit is going to be.
On the fourth night, I sit down ready to start gluing in structure in the gear bays to support the doors. I pick up the instructions that have been moved at least 3 times in this search and there is the missing sprue.
 Apparently I got the proper combination in place to open some sort of wormhole and it returned. I’m back in business.
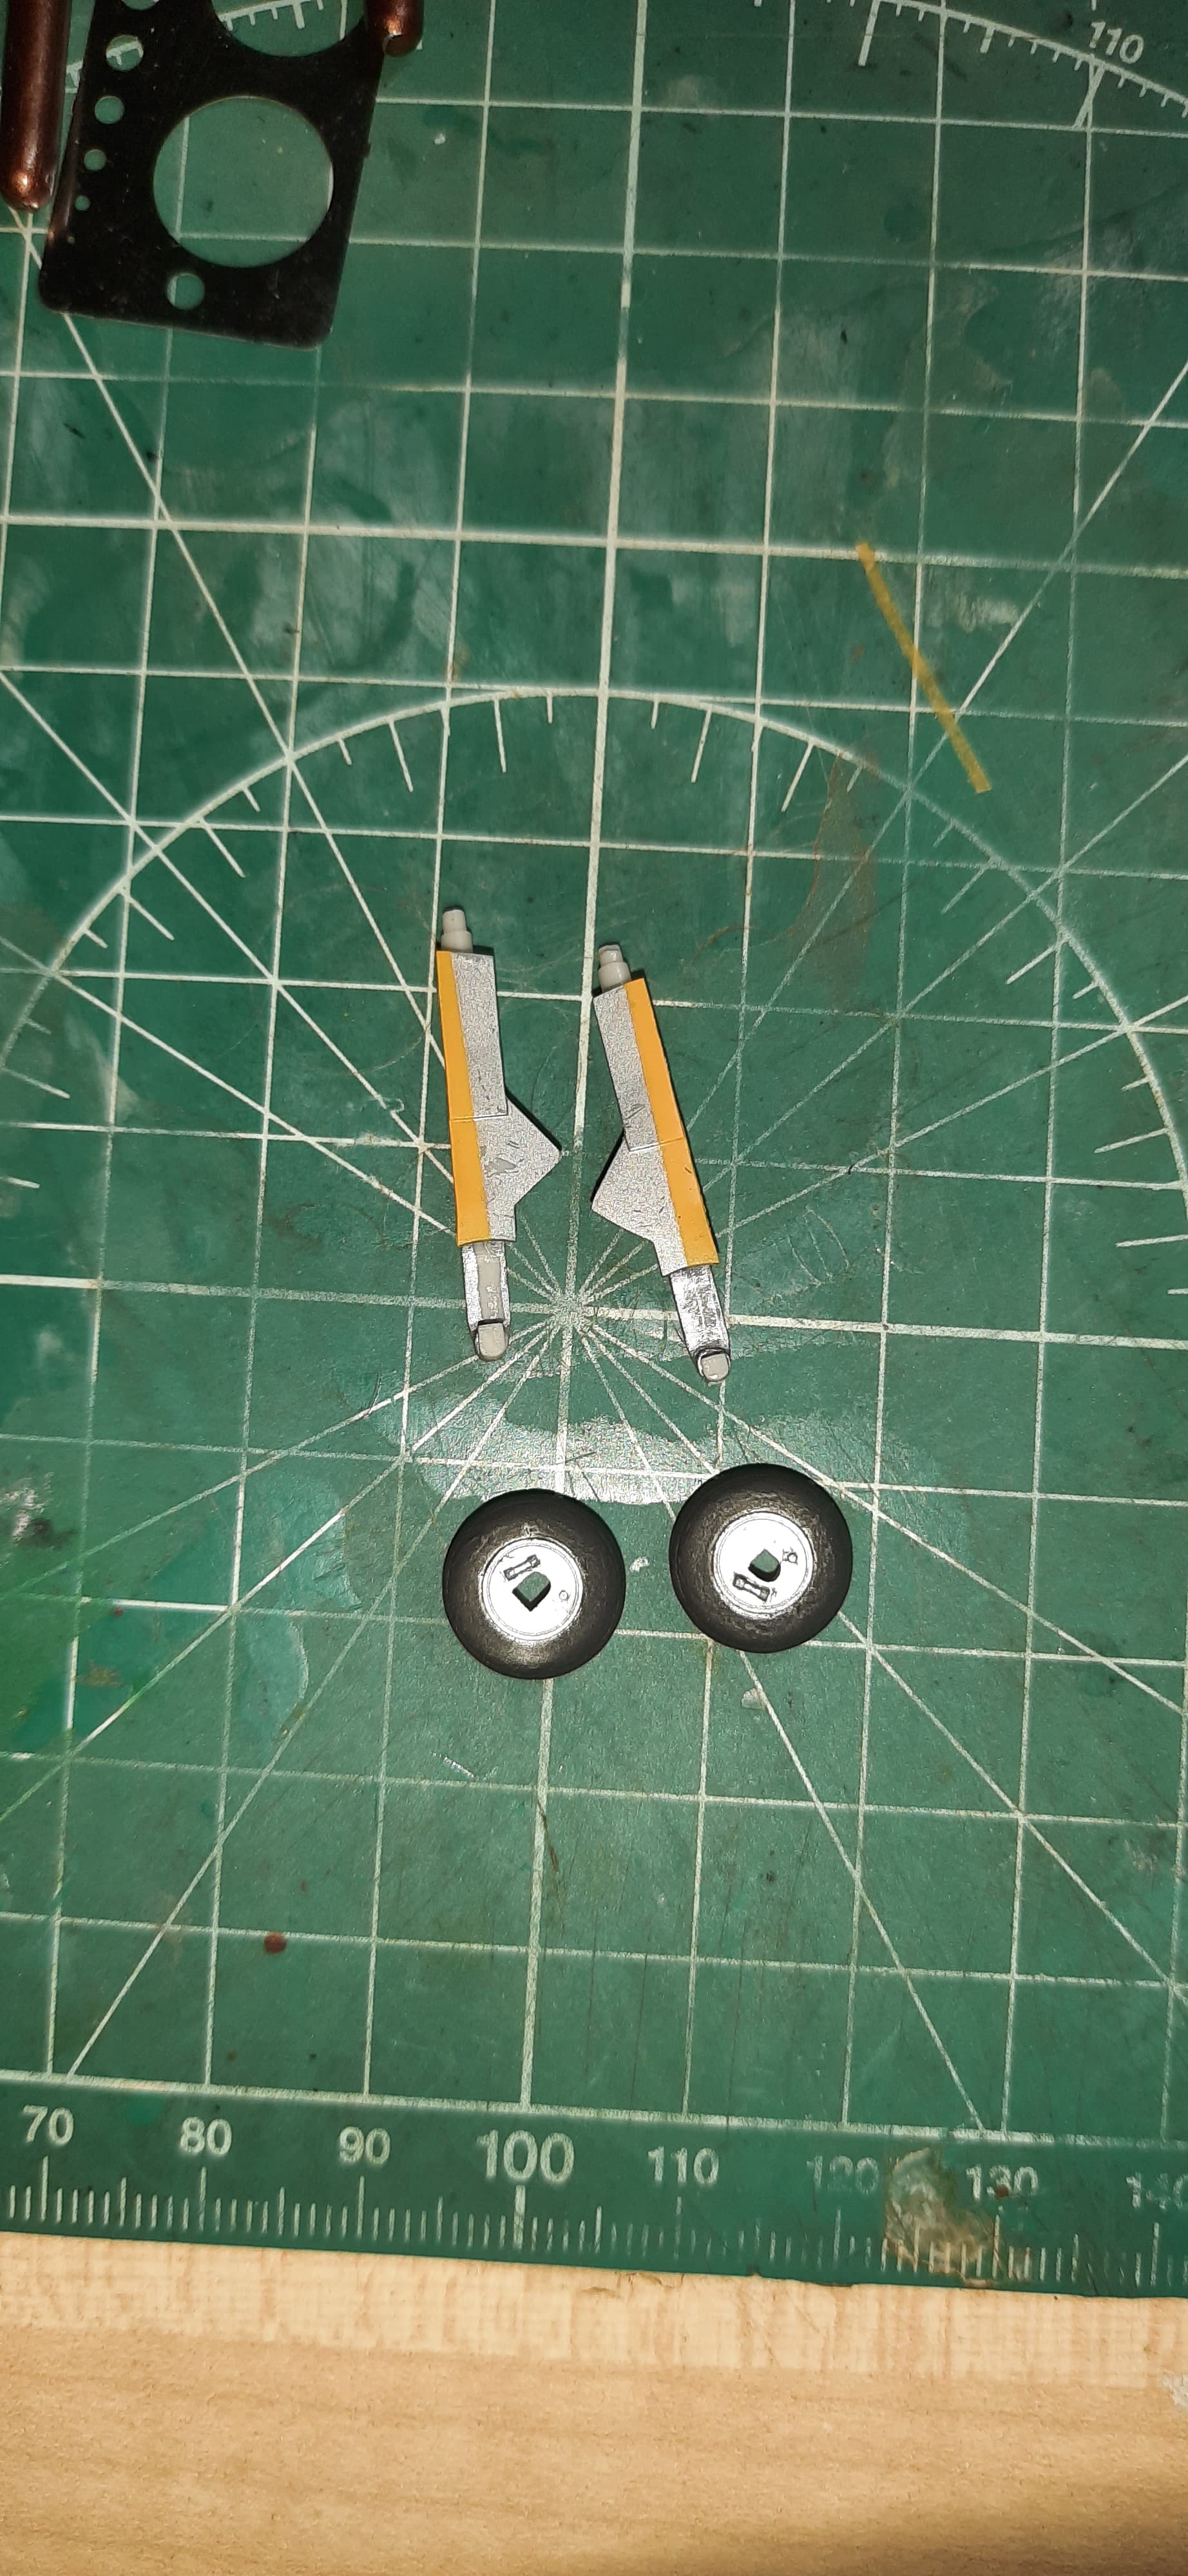
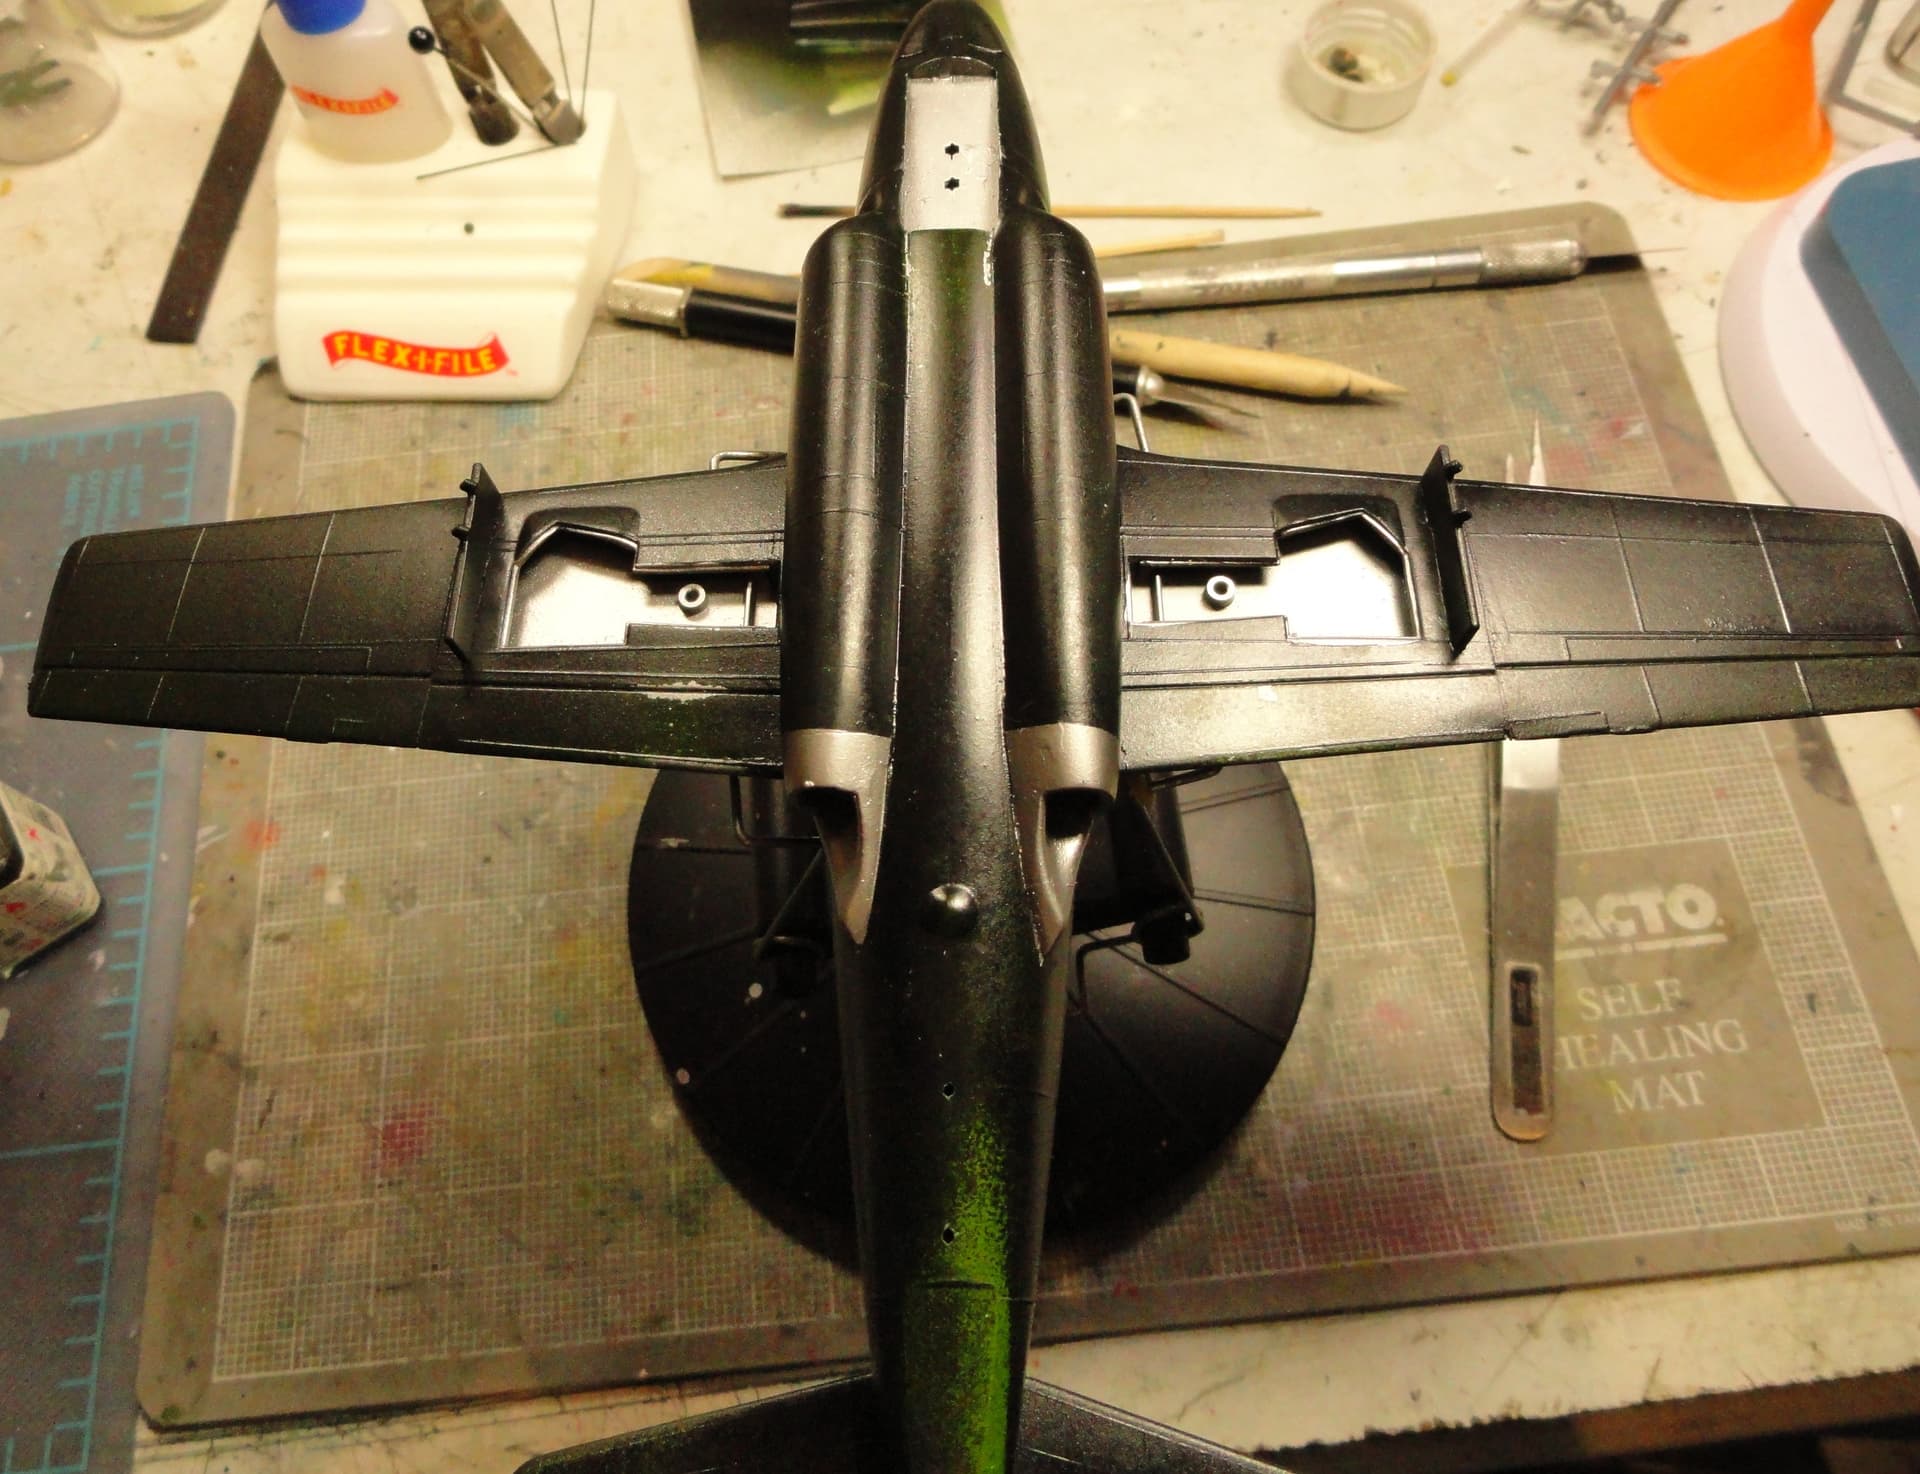
First step is to repaint the gear bays and the jet exhaust.
So progress is being made with less than a month to go before the end.
2 Likes
Looking good, Mark!
@john41492, Thanks for the comment. It is definitely a struggle. I have a few more old academy kits in the stash. For those I will definitely go with after market decals. Too much of a struggle and it affects the end result too much.
Decalling done. Quite a struggle. Next I will go over them again and paint up a few scratches. Then a clear coat to seal everything in. Then weathering
More to follow soon

3 Likes
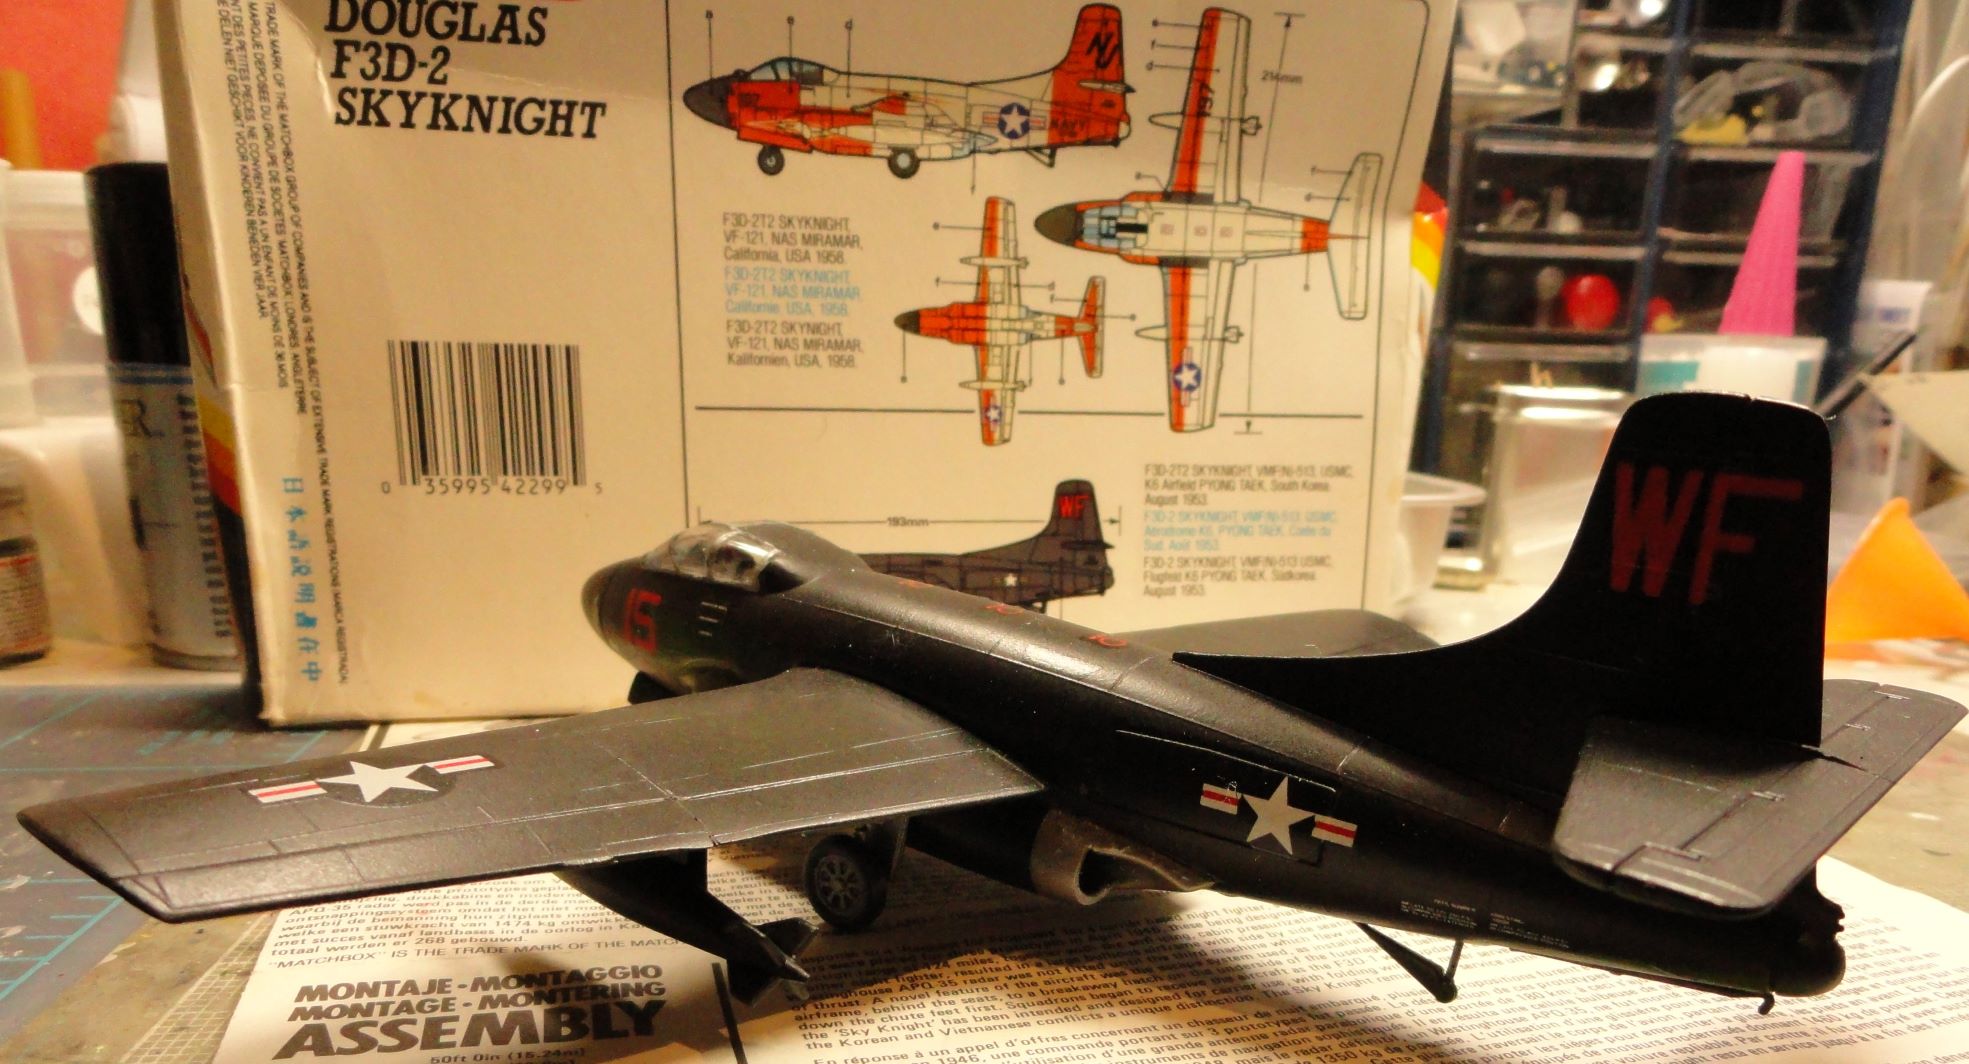
Progress! I’ve got all the decals on. Now for a bit of defuzzing. Then I can replace the gear door I knocked off, add some fiddley bits, satin coat and reveal the cockpit.
2 Likes
Finished. I’m calling this one. Matchbox 1/72 F3D-2N from VMF(N)-513. Didn’t finish in time for “Korea, the Forgotten War” campaign. But, It’s done now.
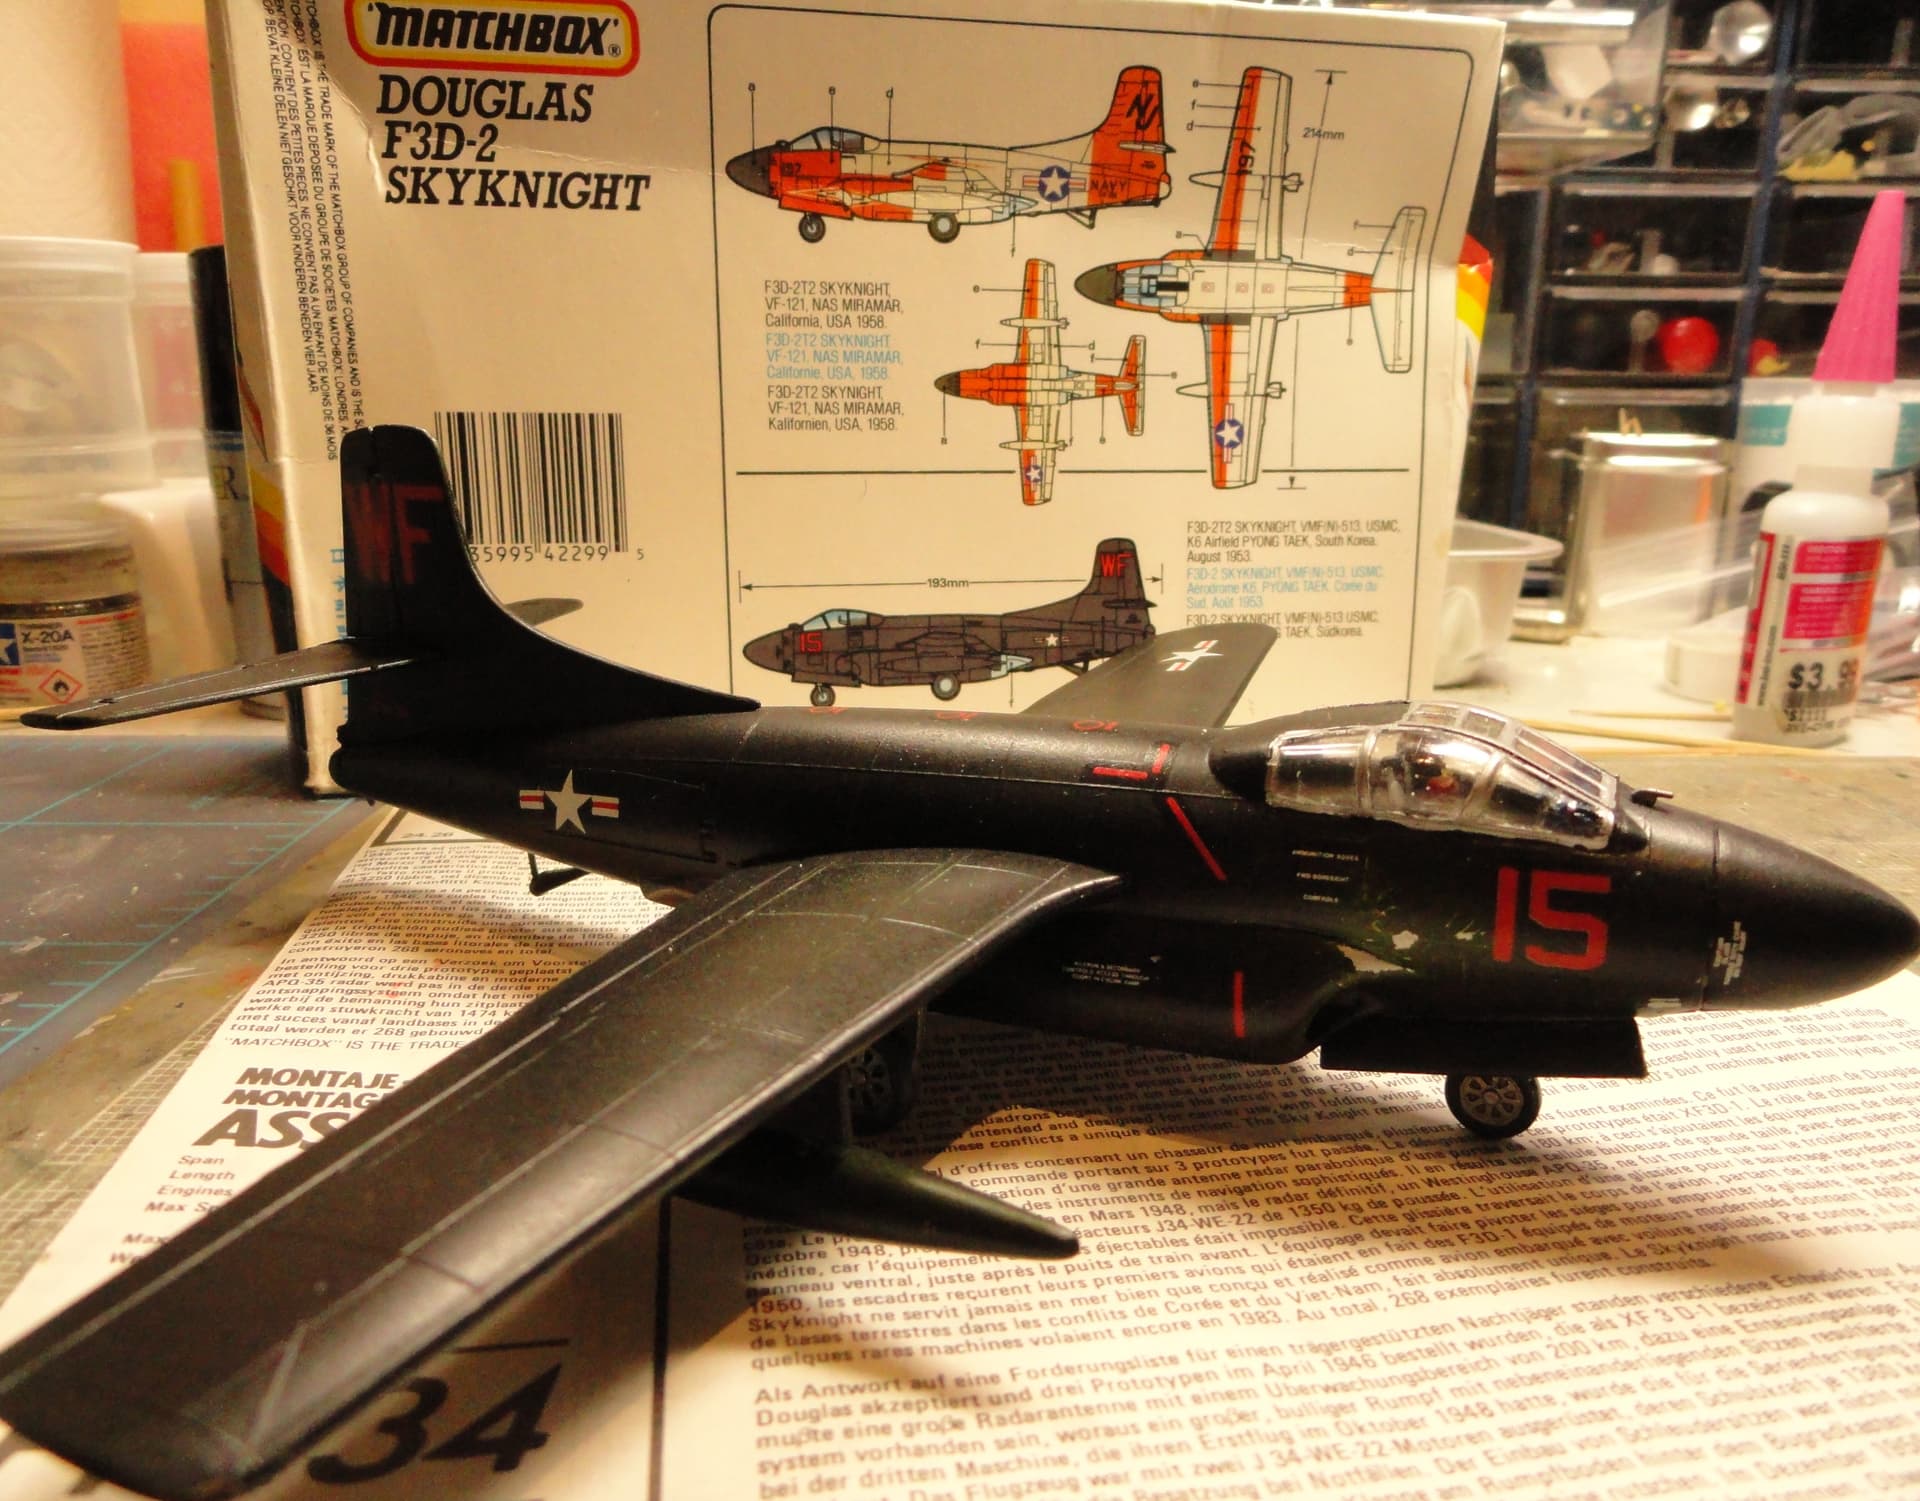
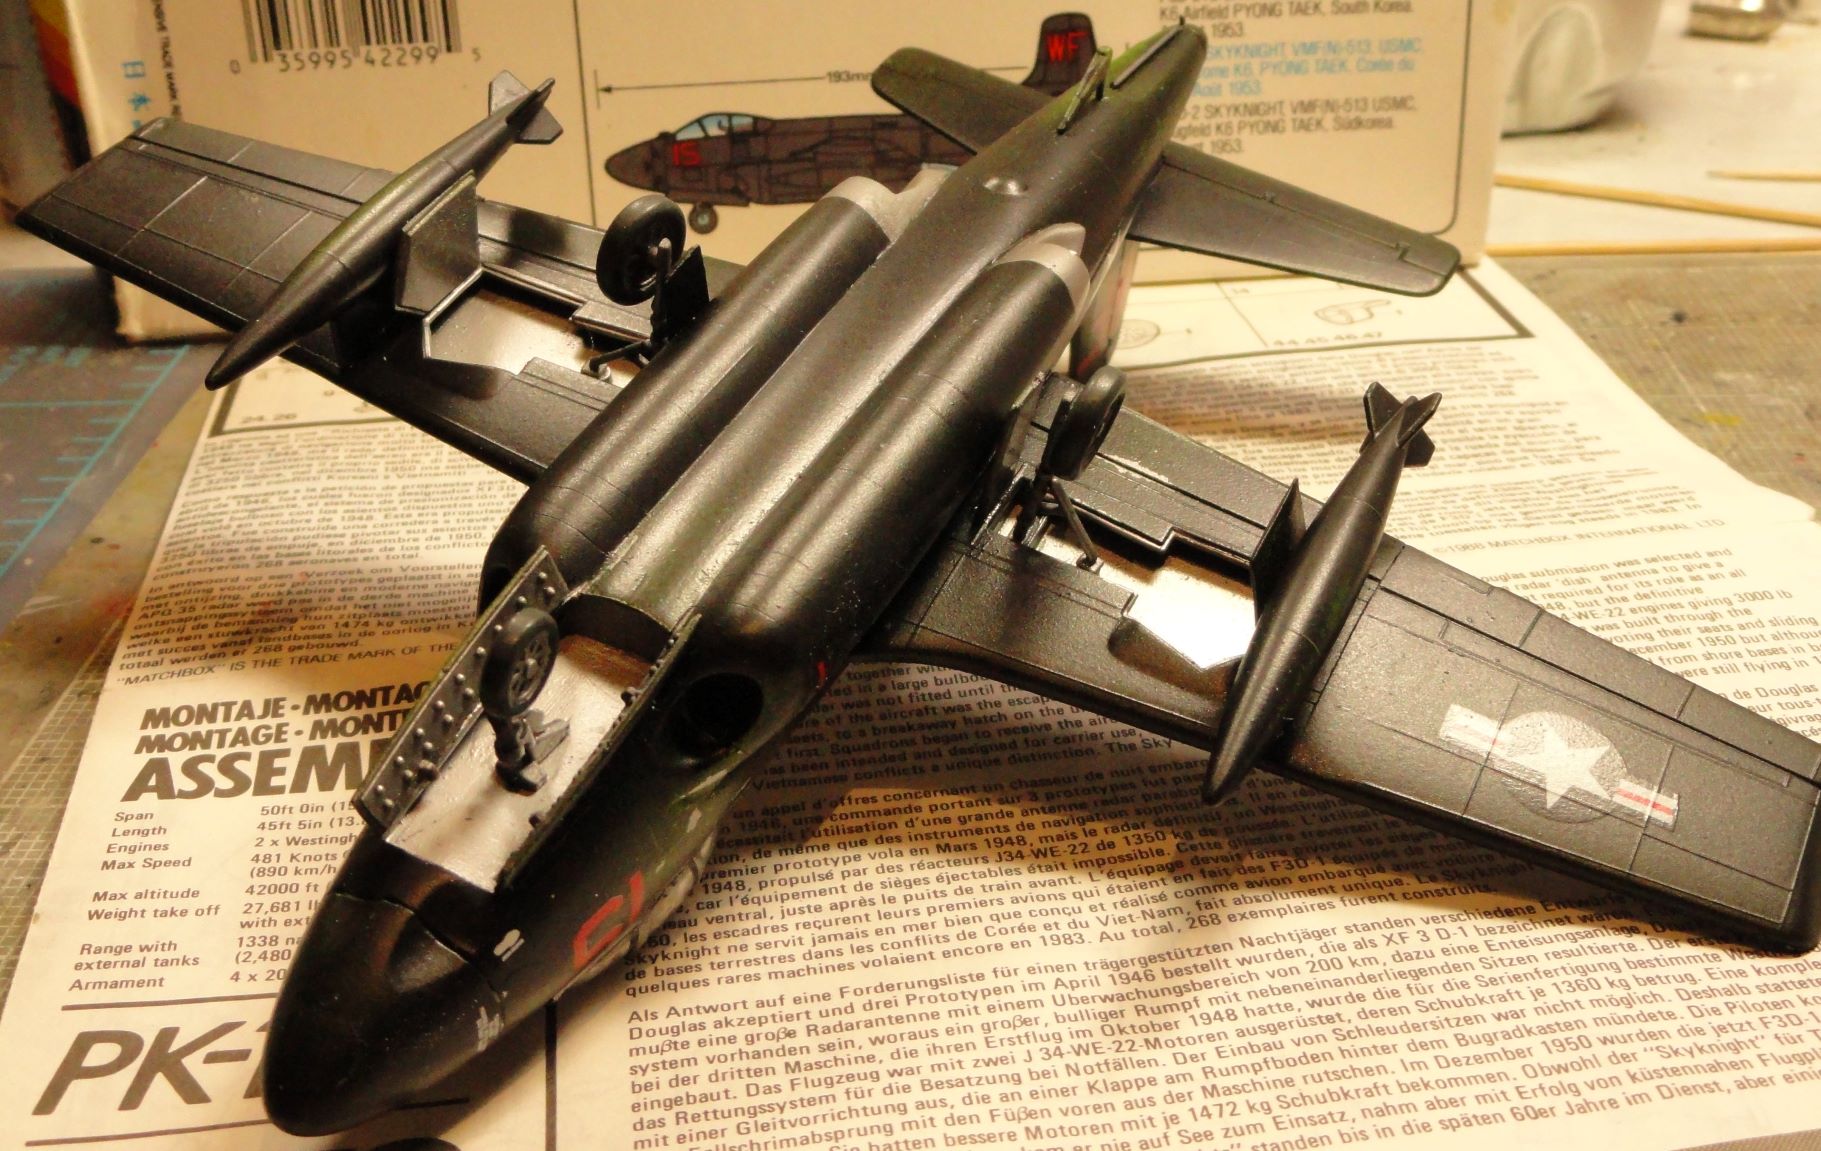
Not the greatest finish, but it’s done.
2 Likes
Don’t beat yourself up, it’s better than mine!
Congrats on finishing, Mark. Nice result!
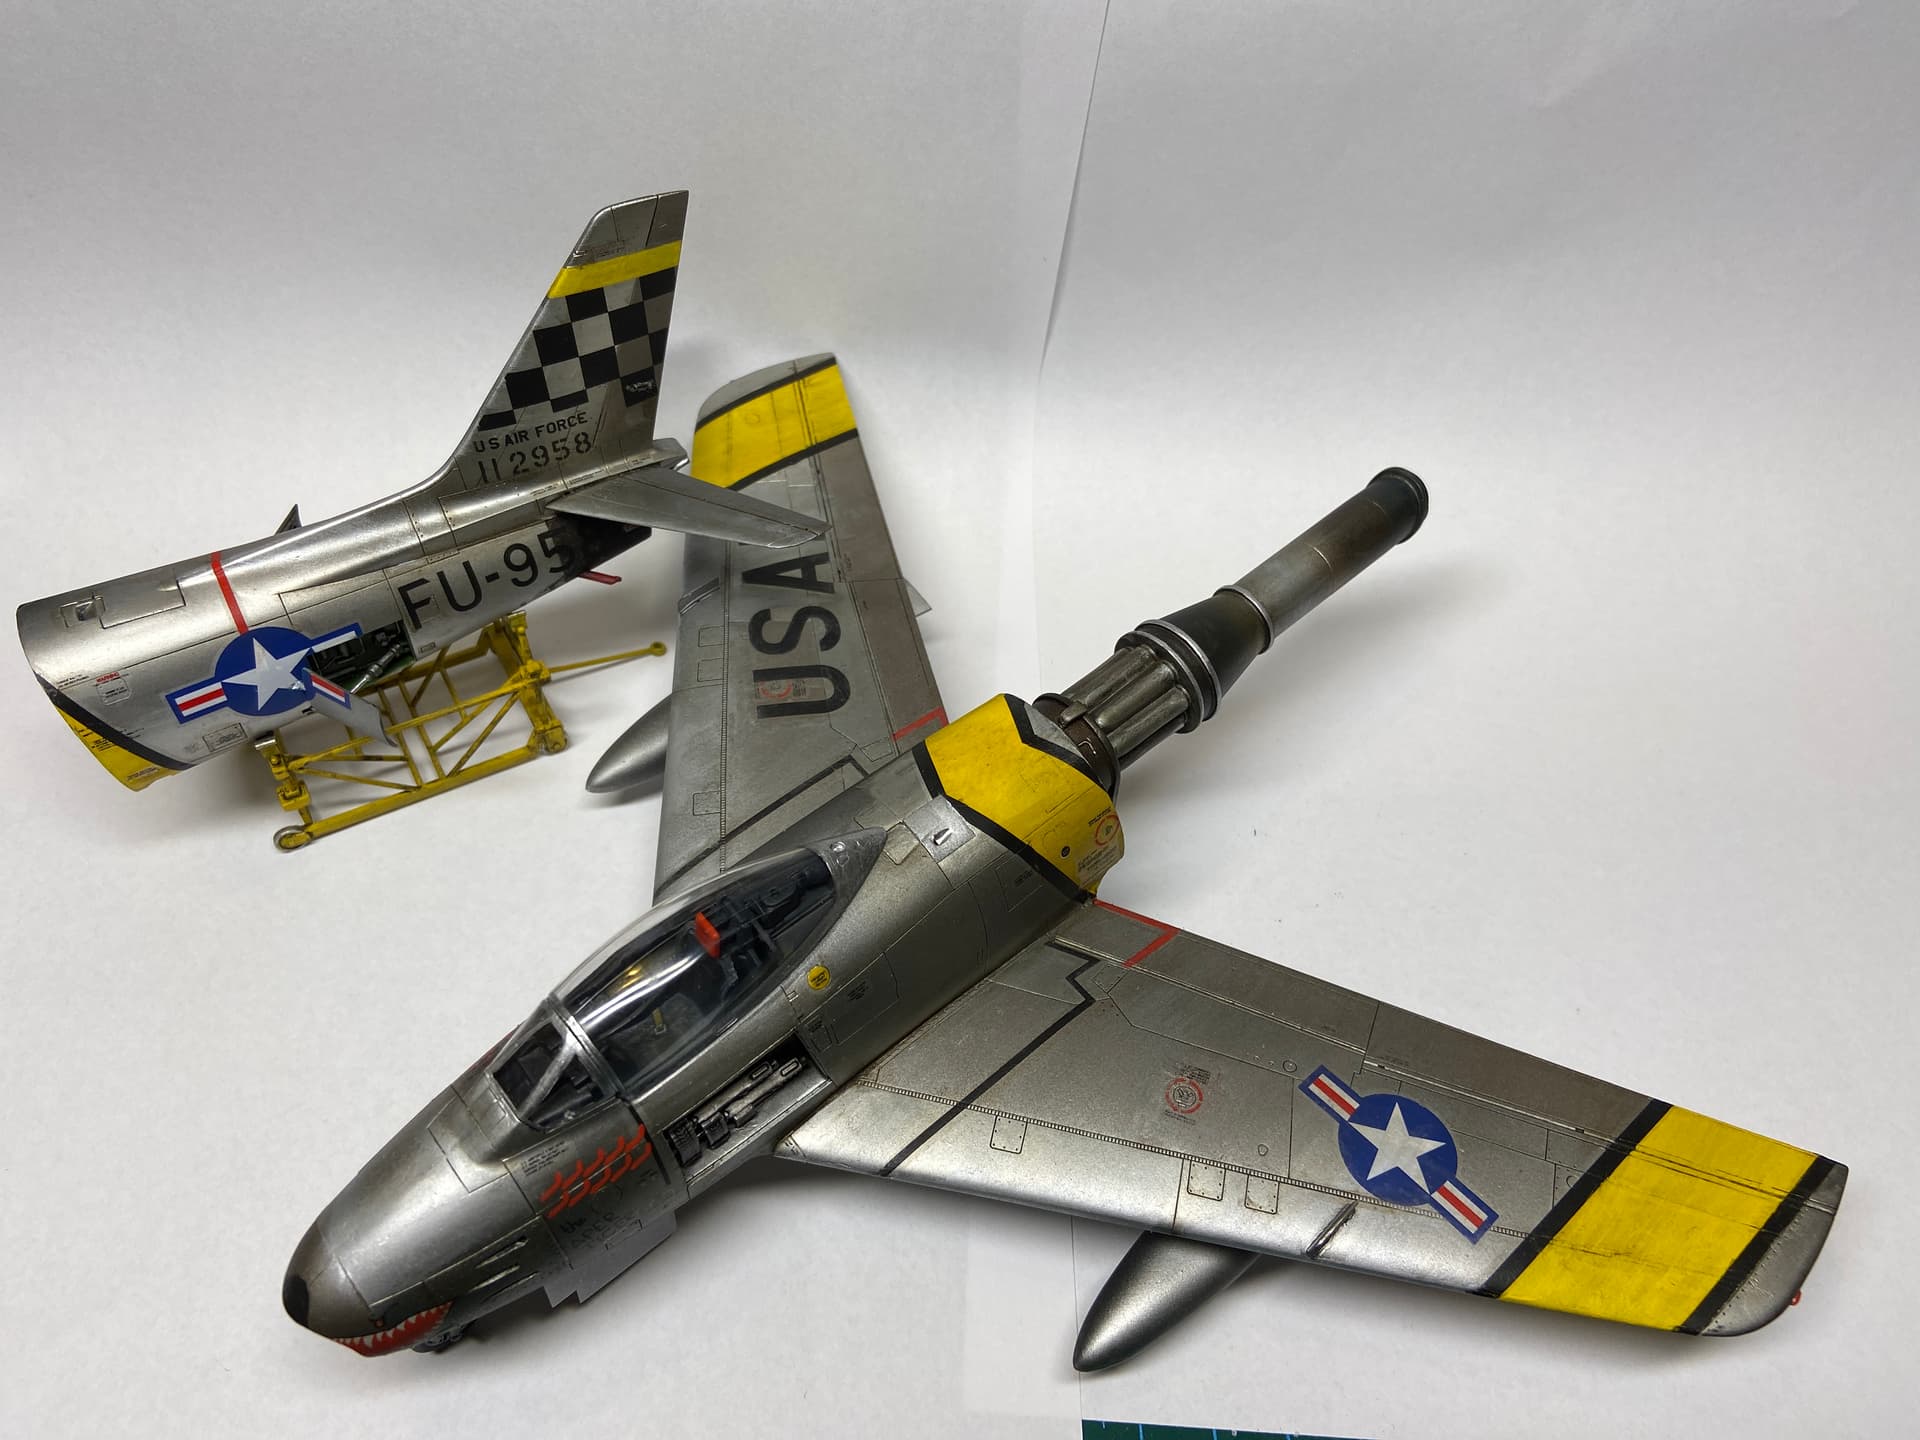
I am putting the finishing touches on my F-86 Sabre - just waiting for the oils to dry before going again for the final wash and dirt.
2 Likes
Hi All,
Jesper, the ID stripes turned out pretty good! Looking forward to seeing the post weathering results.
Way to go Mark! Another one down. Like I said, I’ve always liked that bird, and you did pretty good with it, congratulations!!
I too am going to call this one done!
I did have a little war with the old decals, to the point that I dipped into the Hasegawa ones, and used them instead of the FineMold ones.
It was nice not to have to fight with the landing gear, and the canopy went just like it said in the instructions! I did manage to split the tail while putting the antenna wire in. This turned out to be a blessing in disguise, as it gave a solid spot for the EZ line. I merely trapped it between the two fin halves, the rest went nicely.
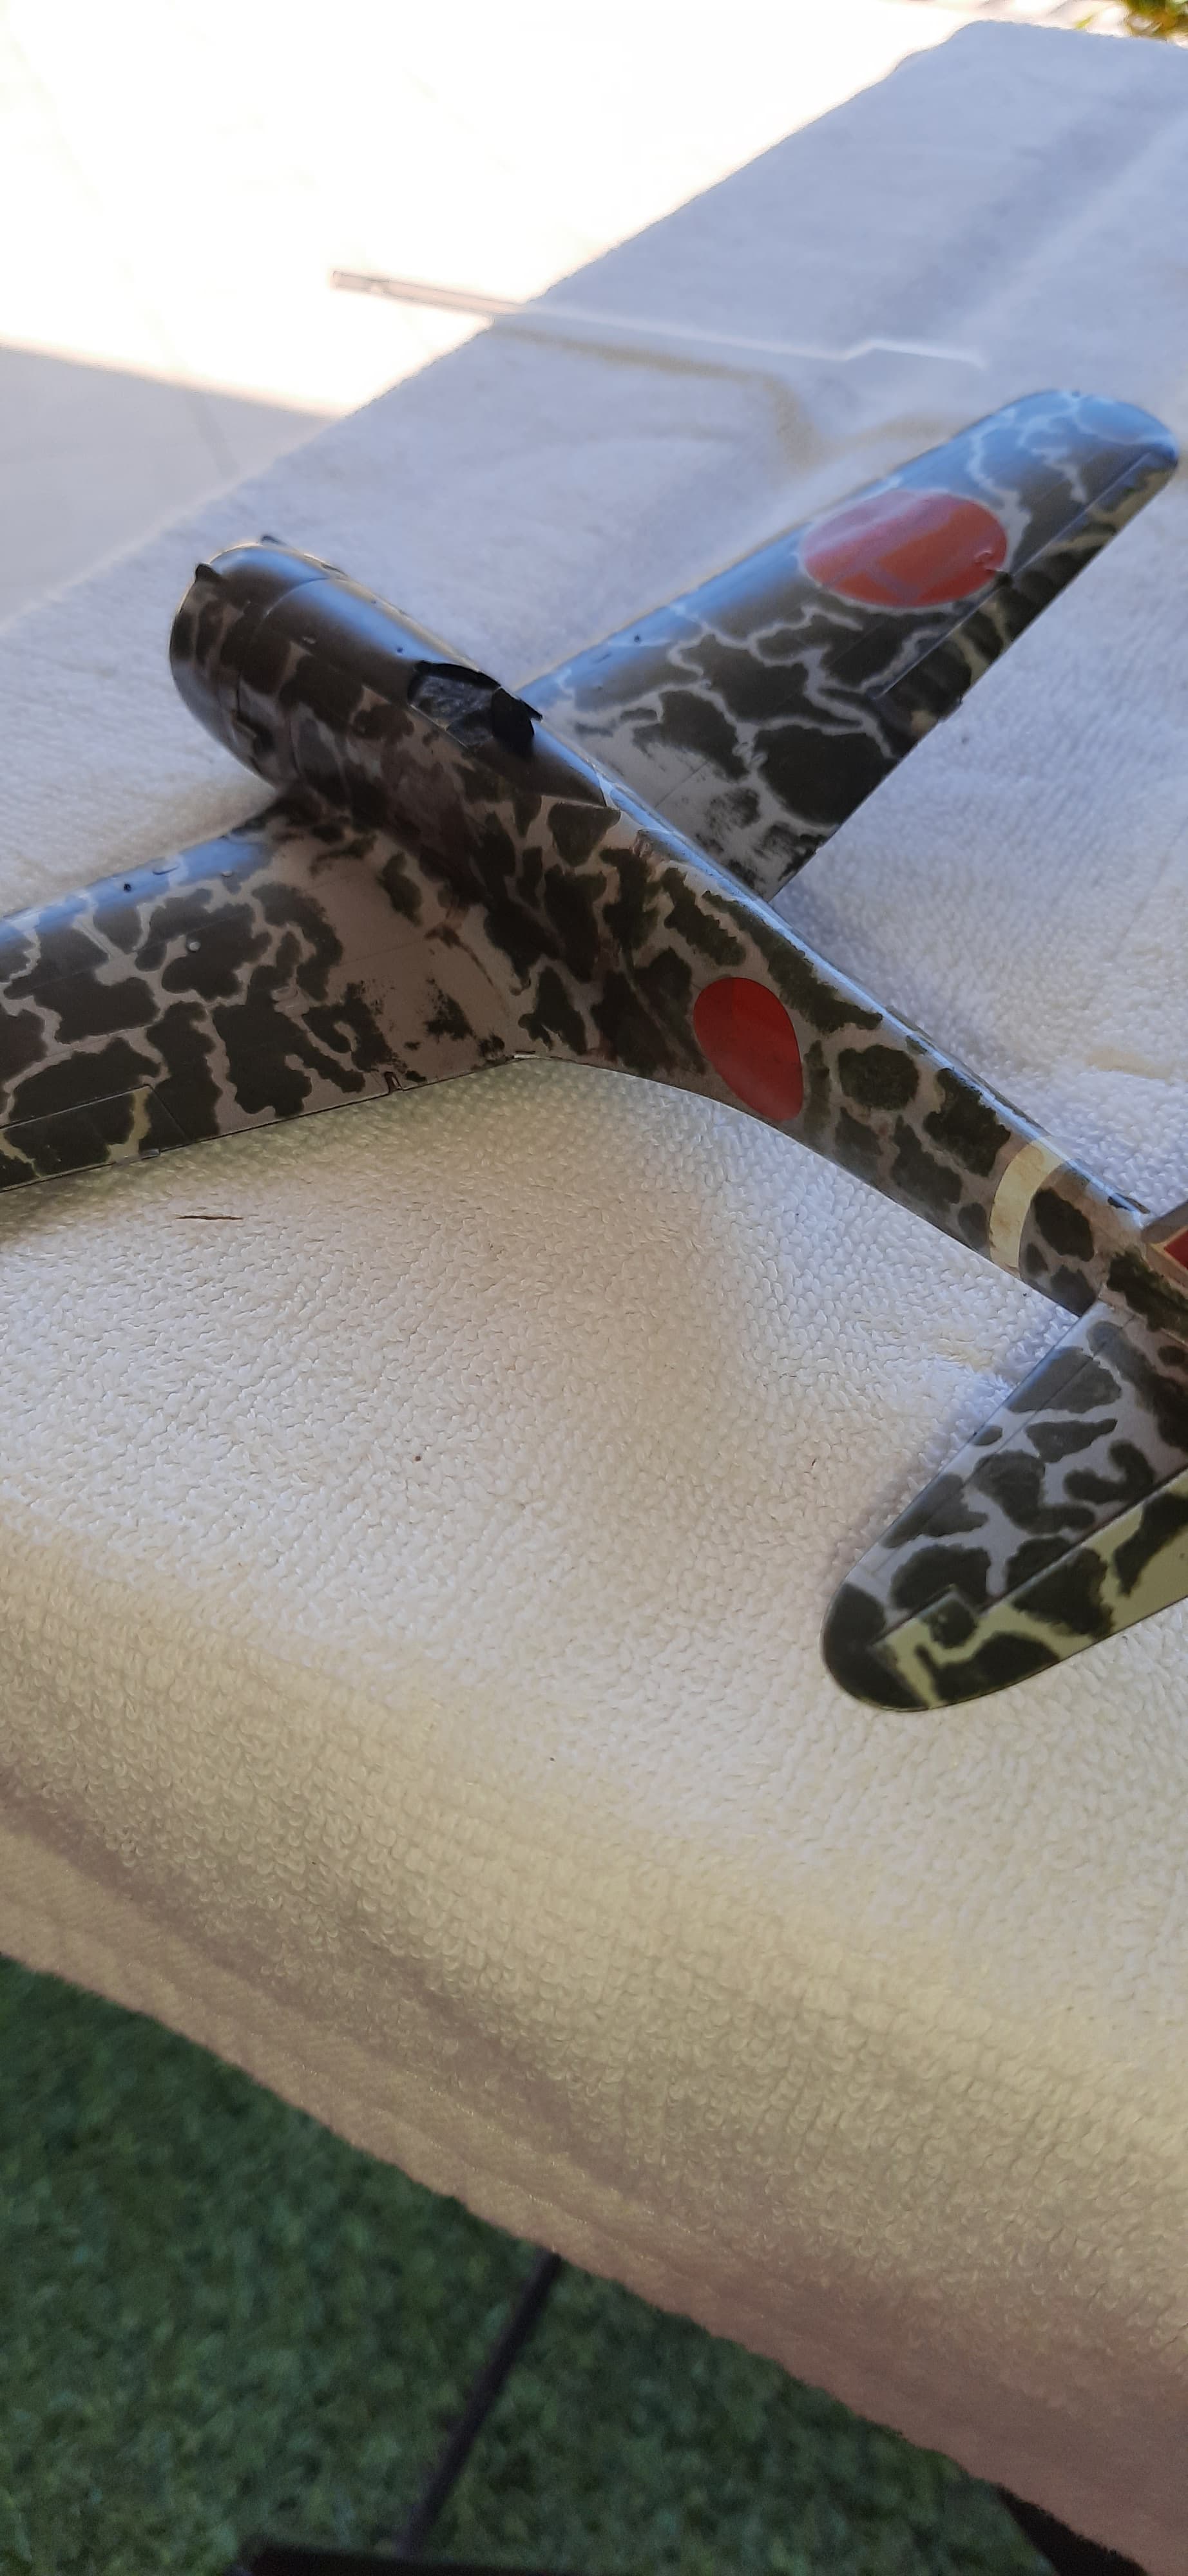
So I present IJA’s Ki-43 II Otsu, flown by Capt. Hideo Miyabe, Flight Leader, 64th Sentai, Burma, during the spring of 1944.
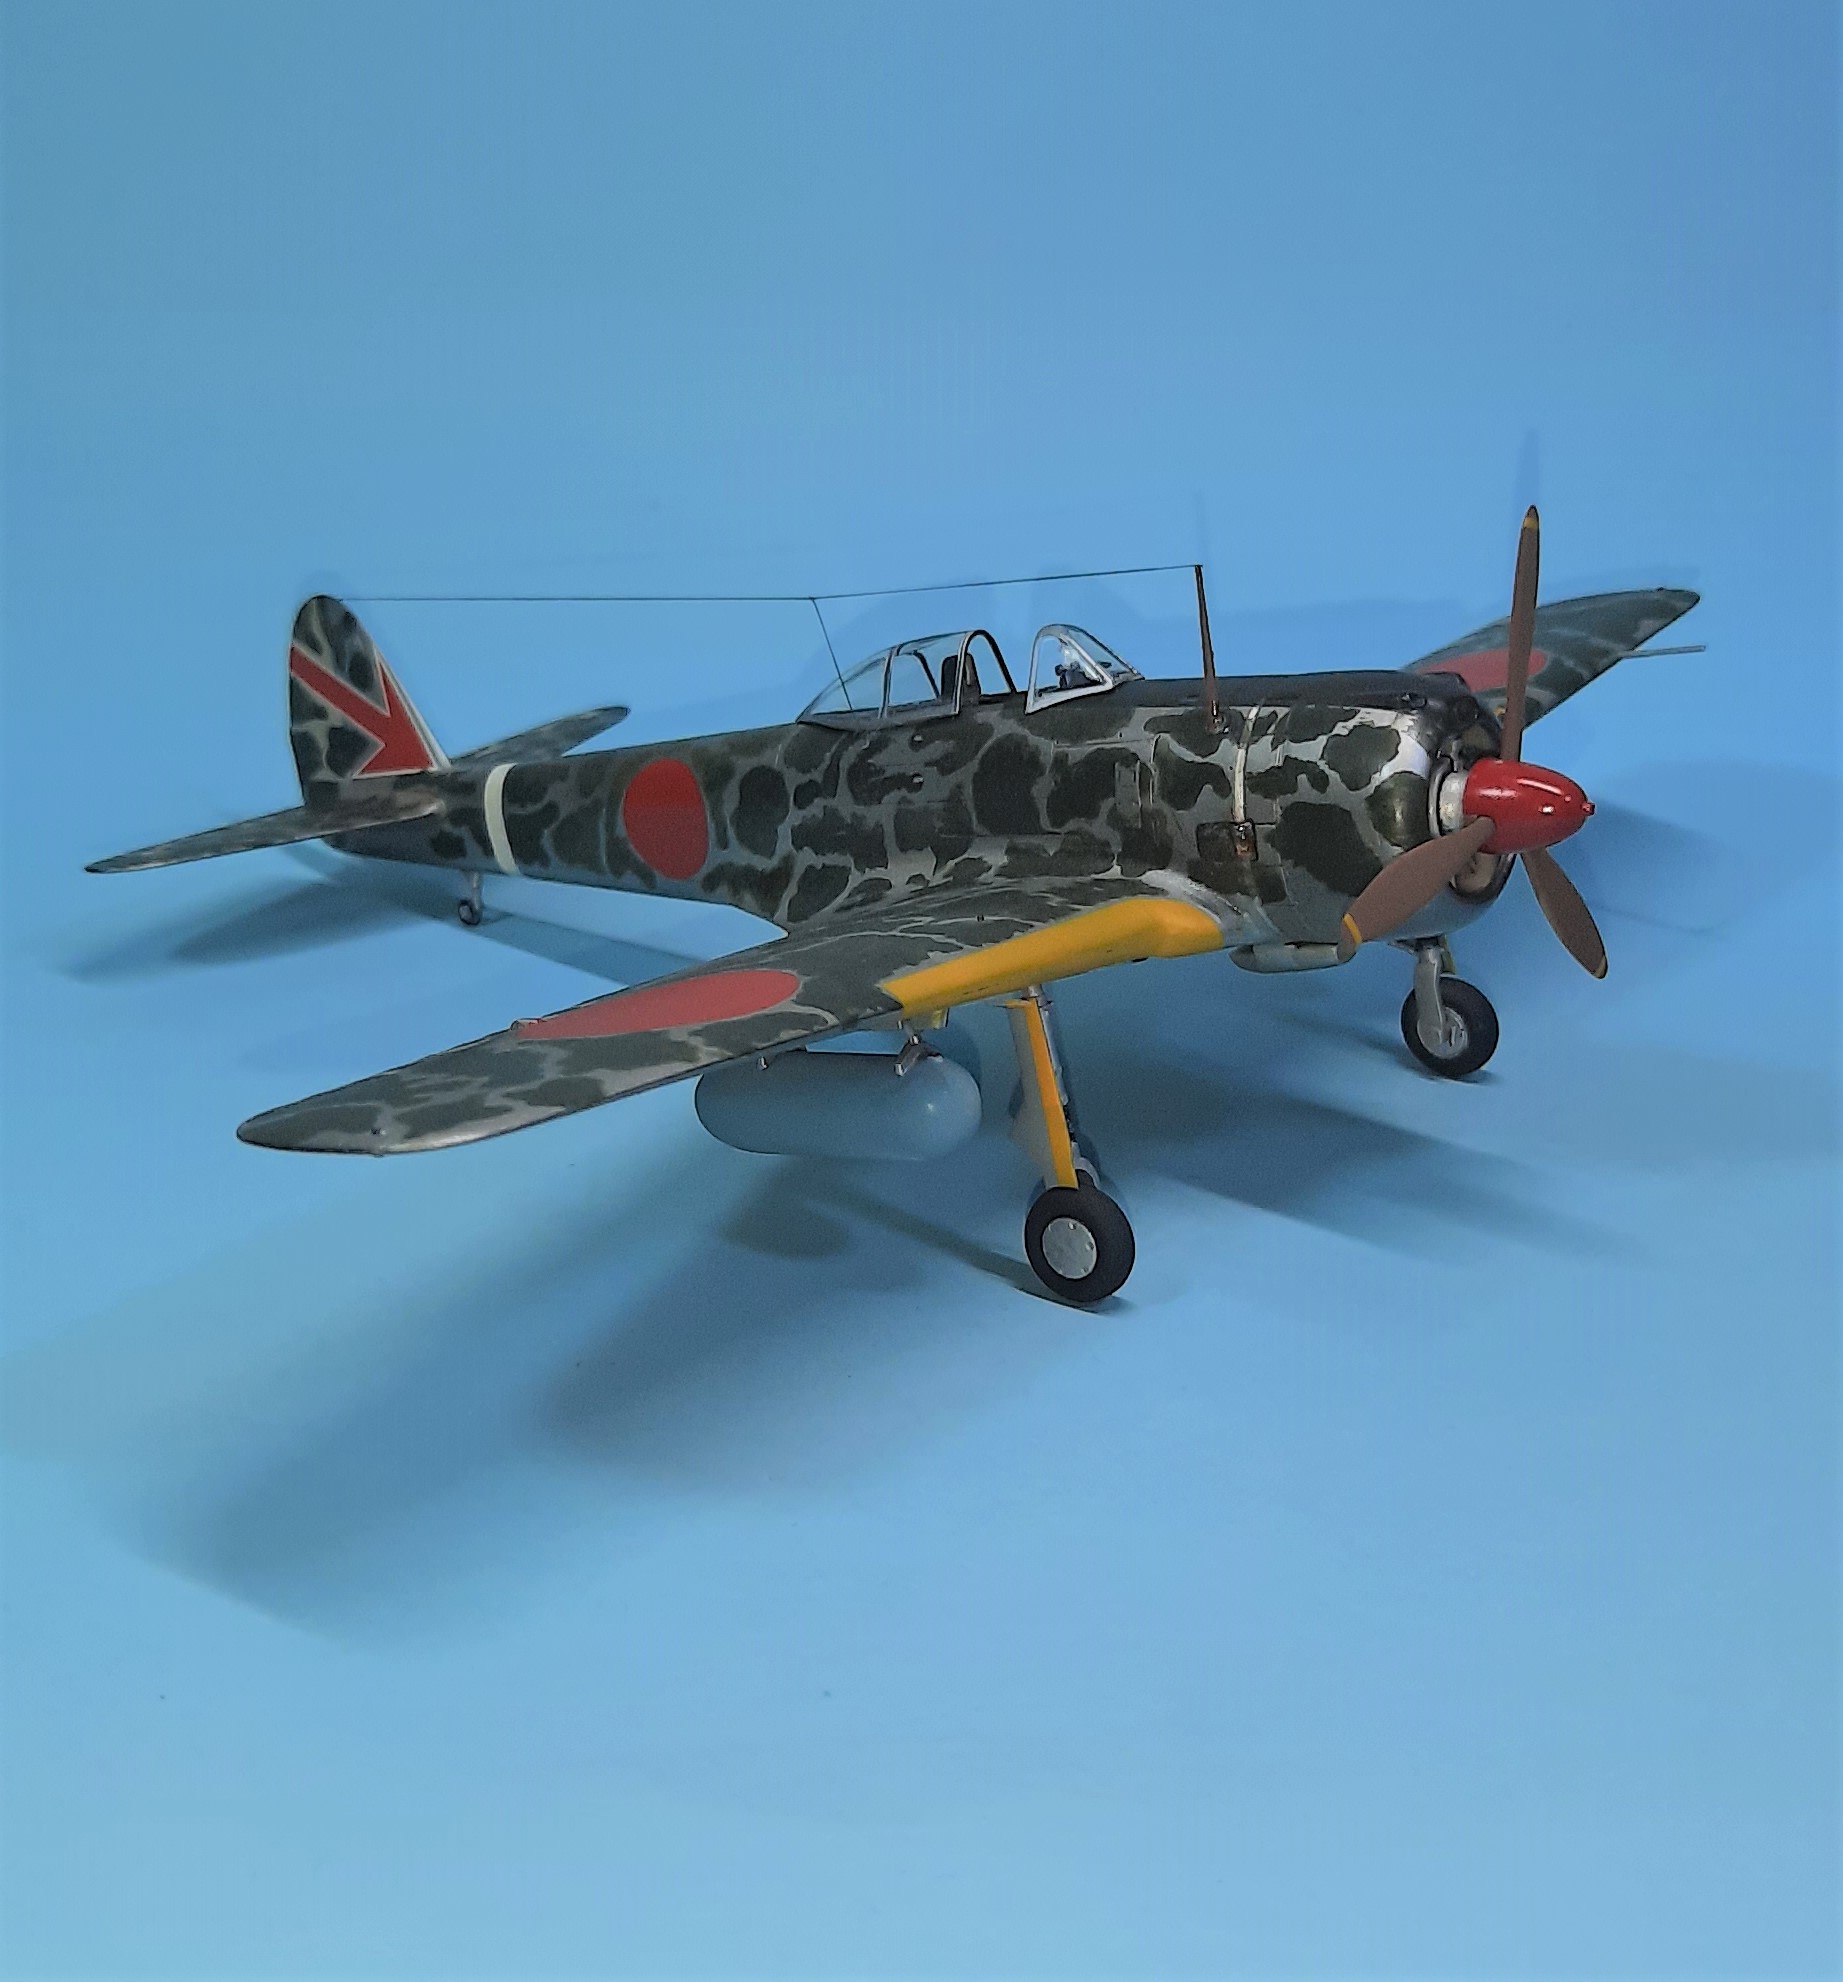


My final thoughts on the kit are that it’s not a bad kit, though the fit could have been better, and decals were damaged (most likely due to storage prior to me buying it). Still it makes a nice addition to my IJA Air Force. I did like how the mottling turned out, trying to replicate an in-field paint job. Though, I think I’ll be using the airbrush on my next one, it was pretty tedious.
Time to think about who shall be the 2022 Hangar Queen! For me, it could be the F-15 or one of the proof of concept P-47’s. Though, I’ll admit I’m starting to run low on queens after that! Then again, I’m sure I’ll come up with some more!
We’ve got 20 days to get this years Queens over the line, but fear not! 2022 means the Hangar Queen 12 campaign will start on New Years day! Till then, Merry Christmas, Happy Hanukah, and Happy Holidays!
3 Likes
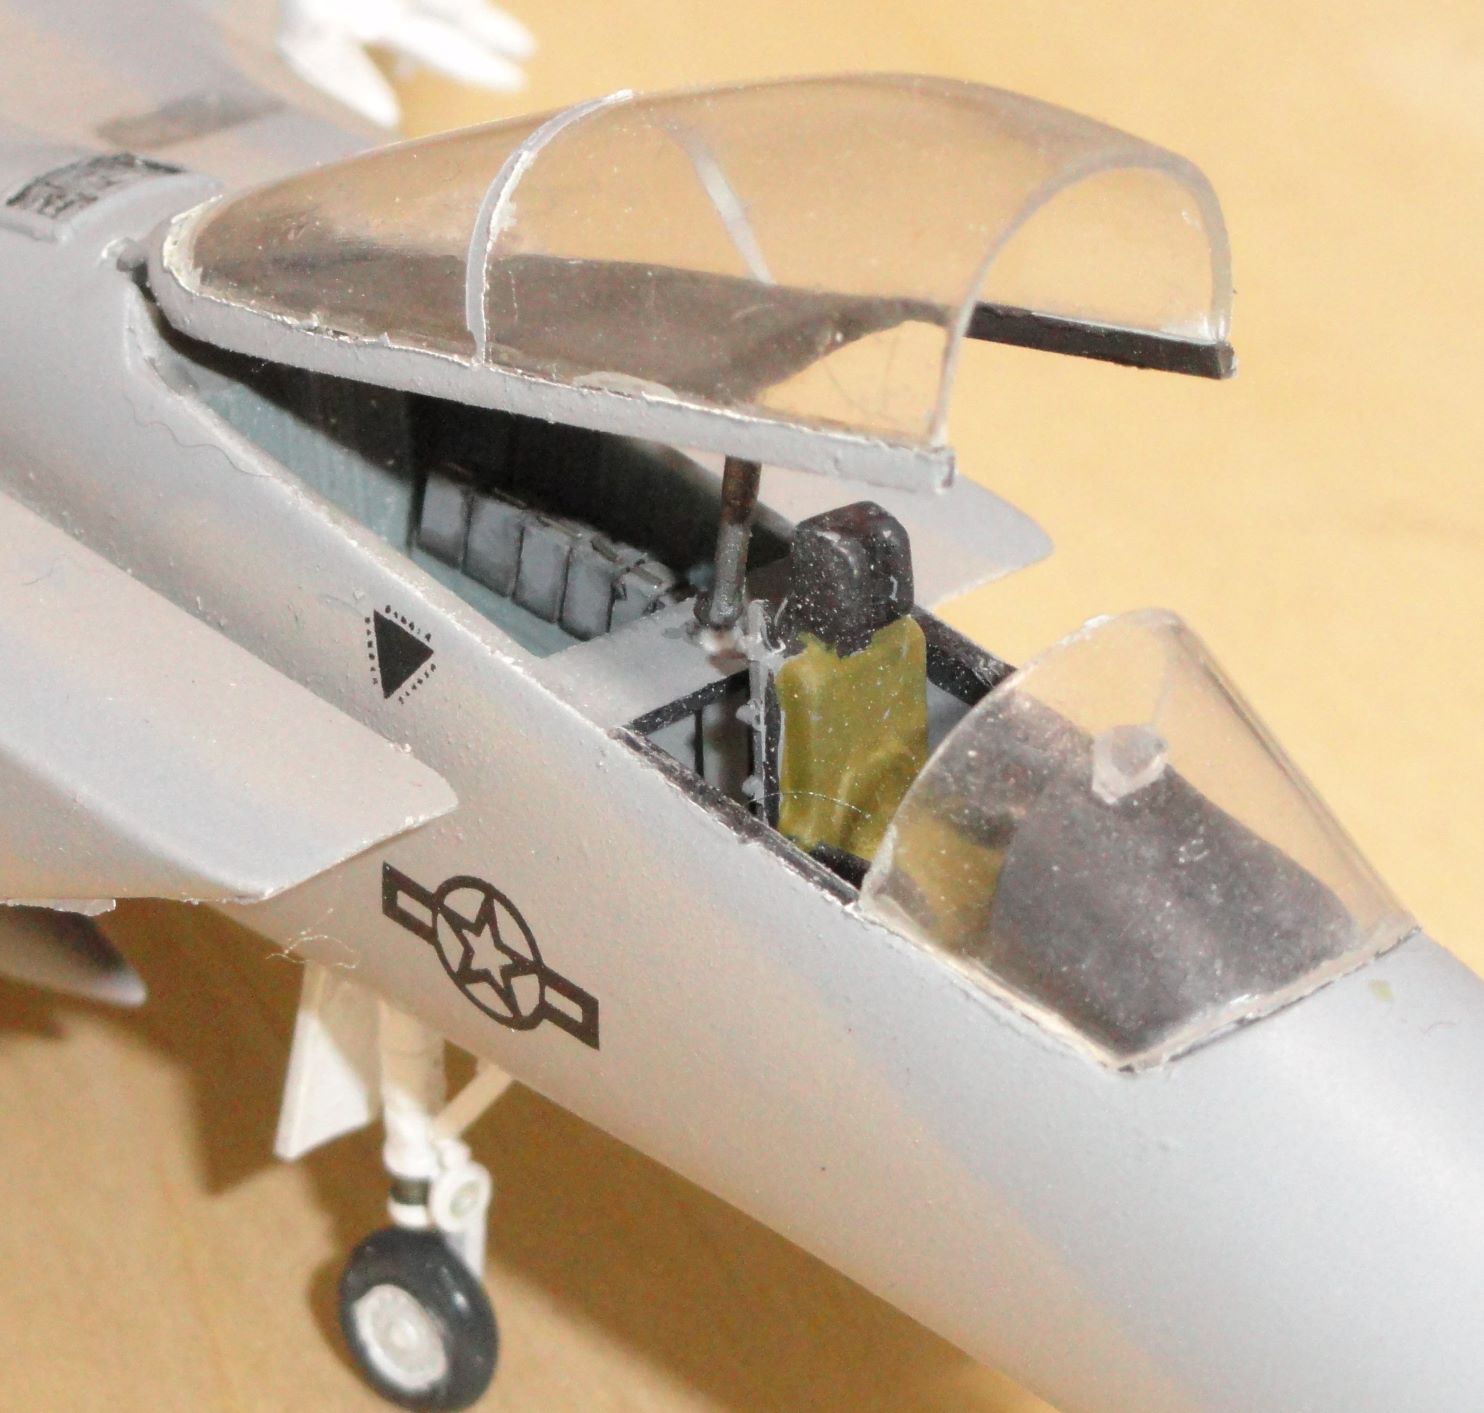
Not exactly a Hanger Queen. I finished this one with a closed canopy for the Gulf War 30 campaign. But I only white glued the canopy in so that I could come back later and add electronics in the bay aft of the cockpit.
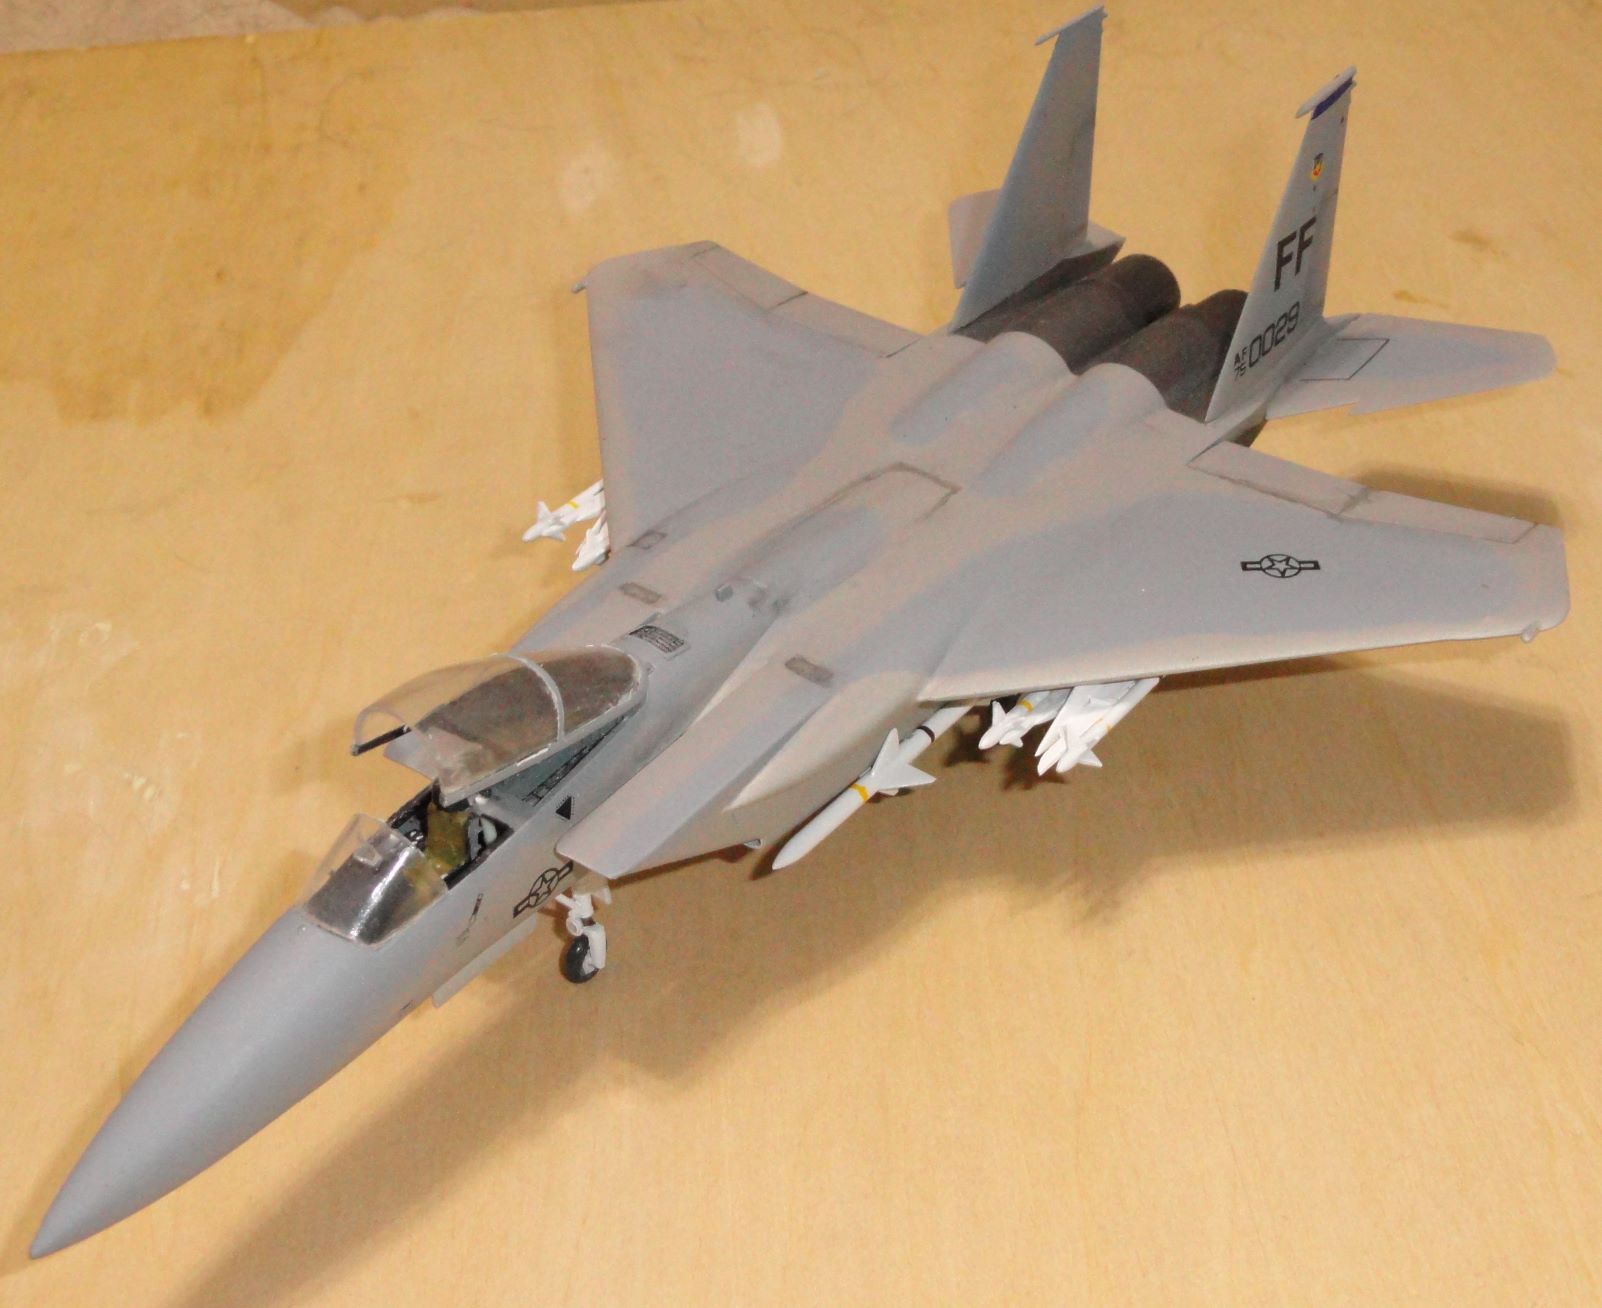
View of Starboard side fuse boxes.
/
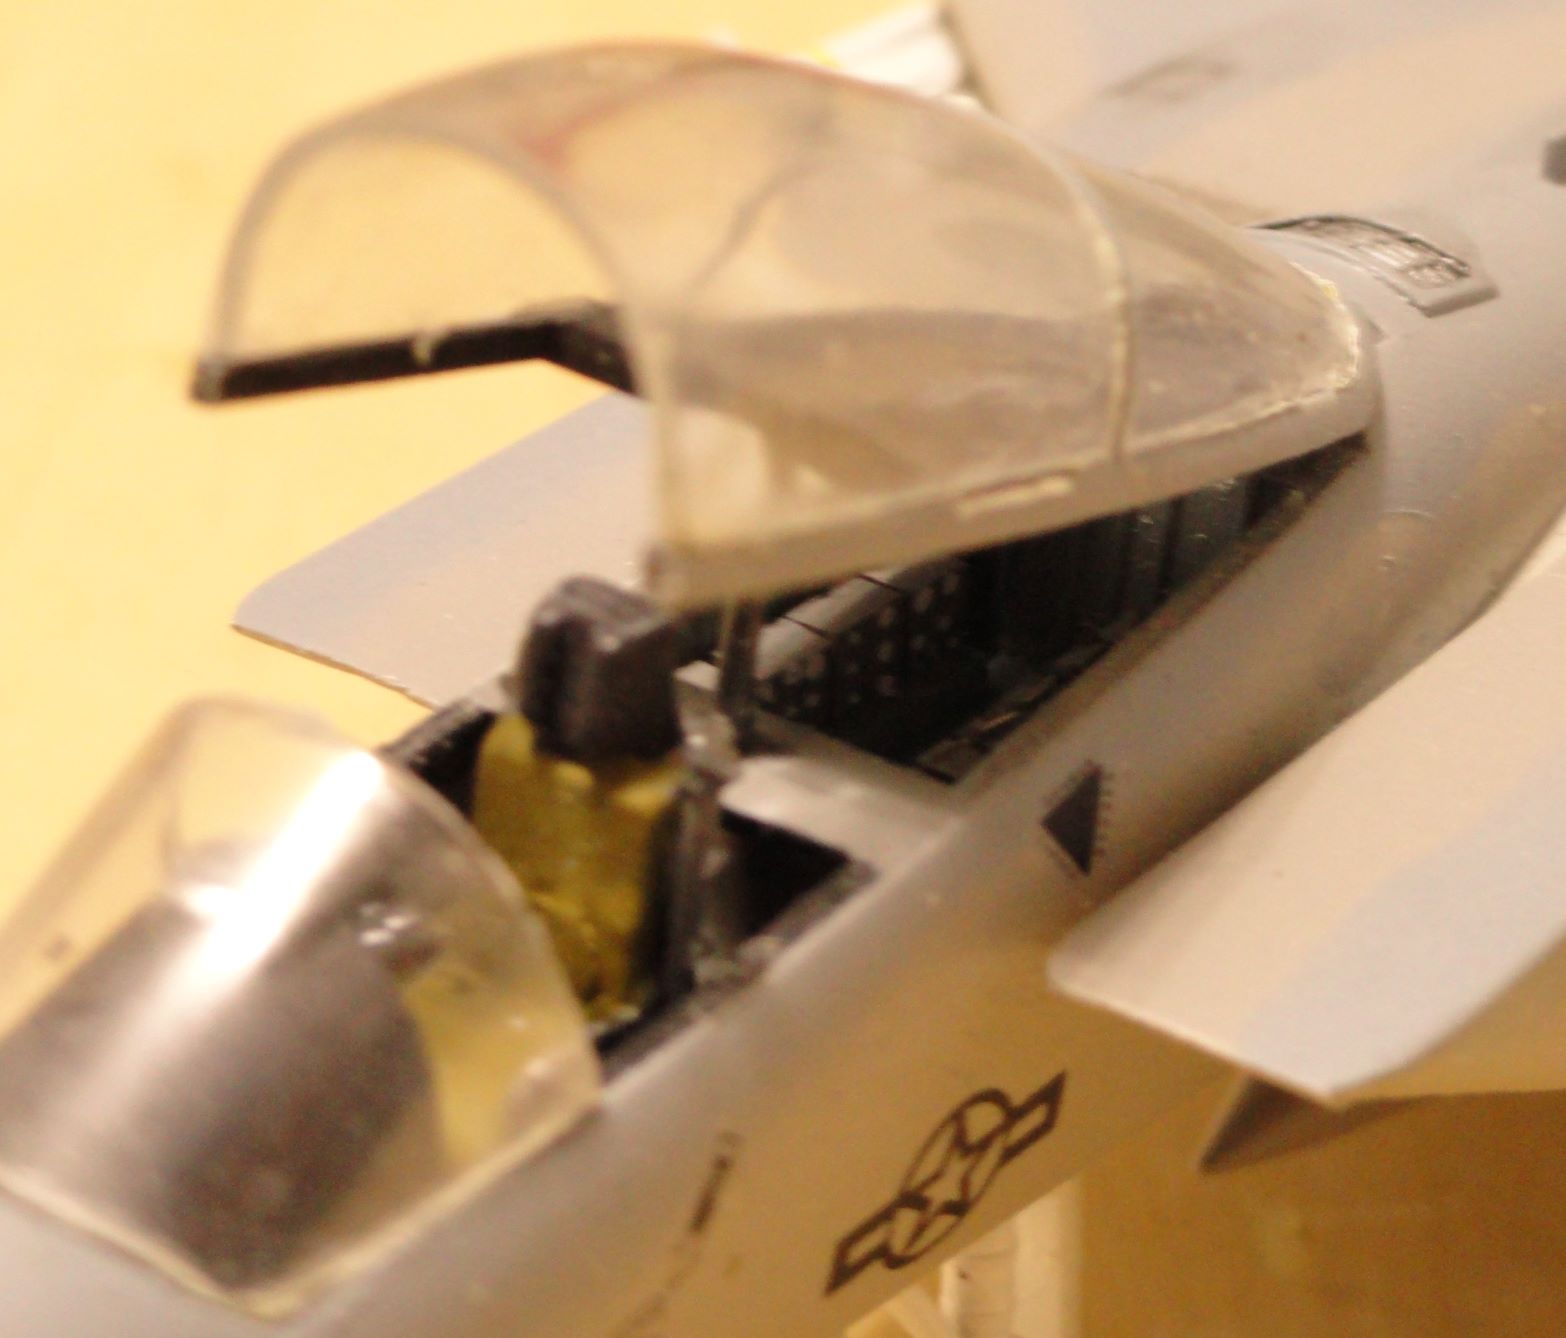
View of the Port side.
3 Likes
Yeah, it looks smashing!
John, beautiful build! I love how the camouflage came out.
Congrats on finishing
I am calling this one done. Finally got it finished - although I needed almost the full time frame of the campaign 
A great campaign and glad to see so many builds getting done. 

5 Likes
Nice finish Jesper! The weathering gives it that “flown in a war” look! Congratulations!!
2 Likes
Thanks for the comment, John. Much appreciated
2 Likes
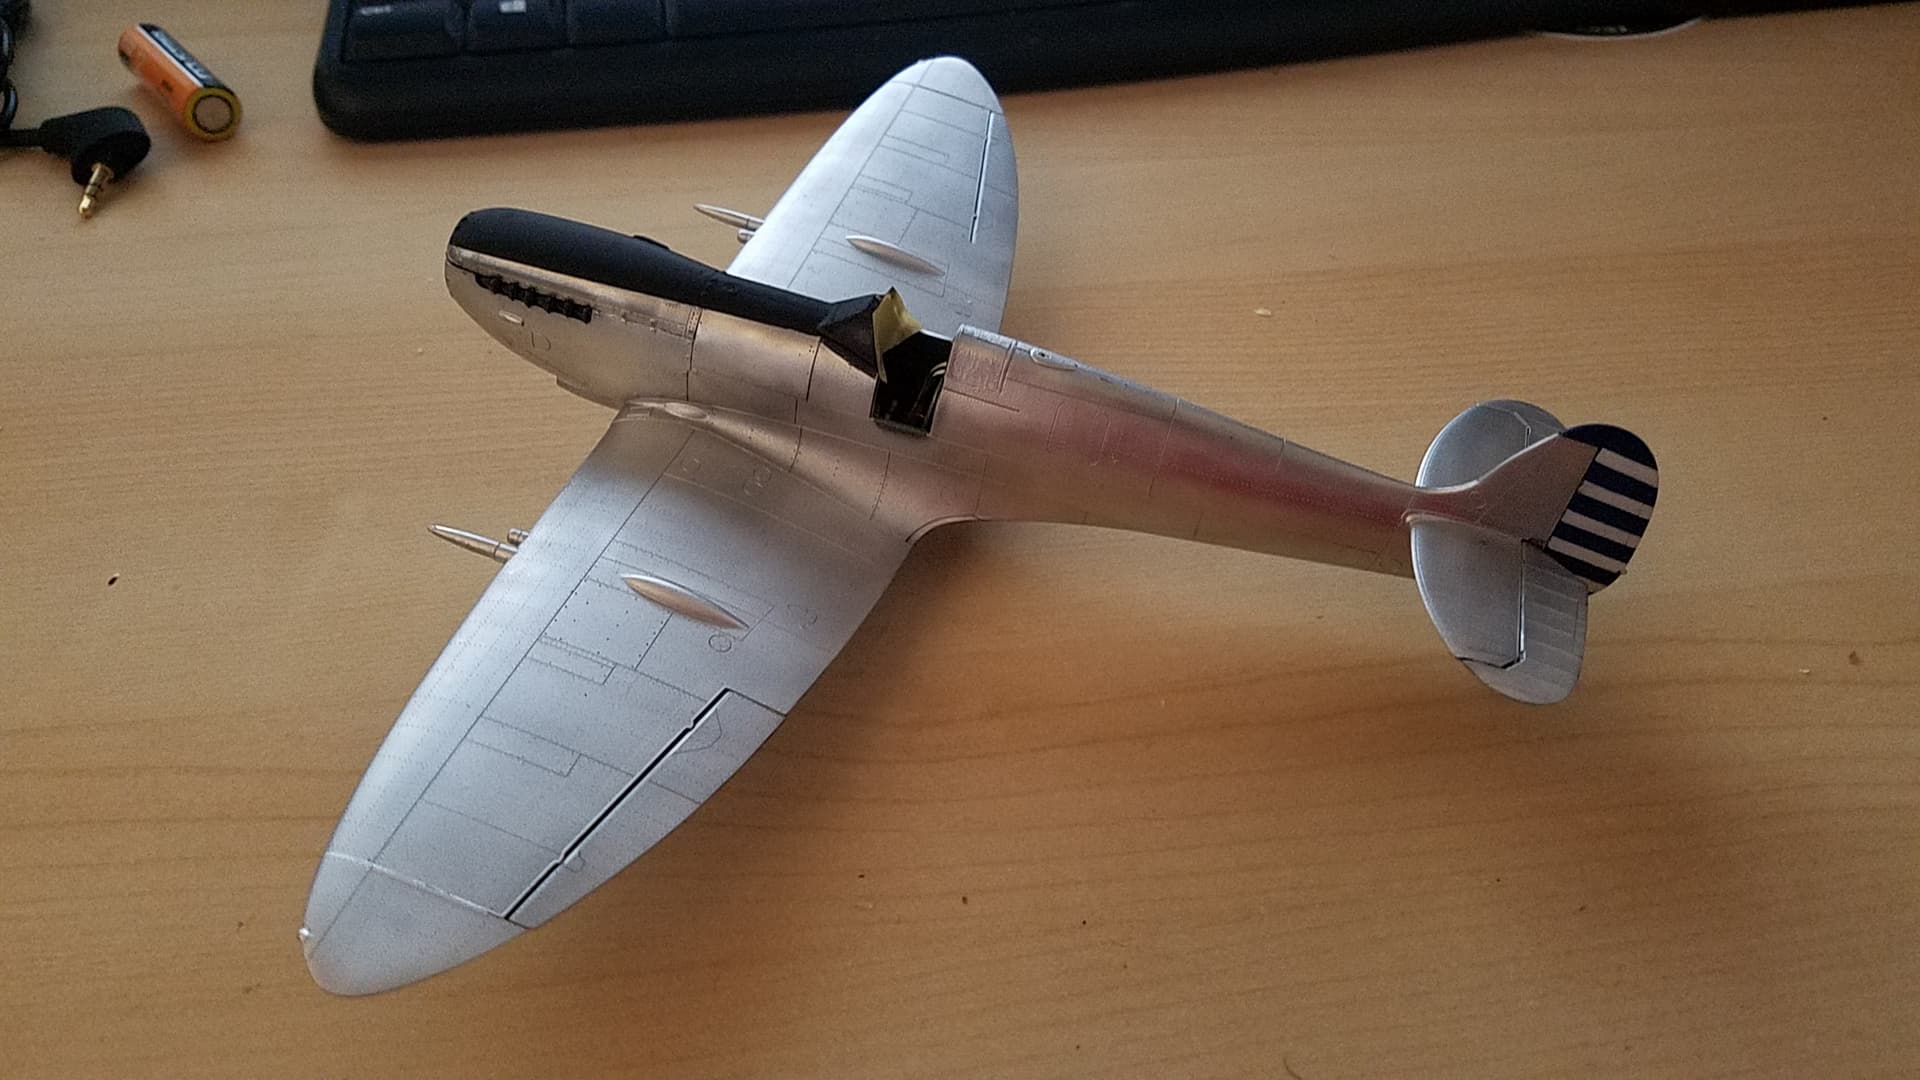
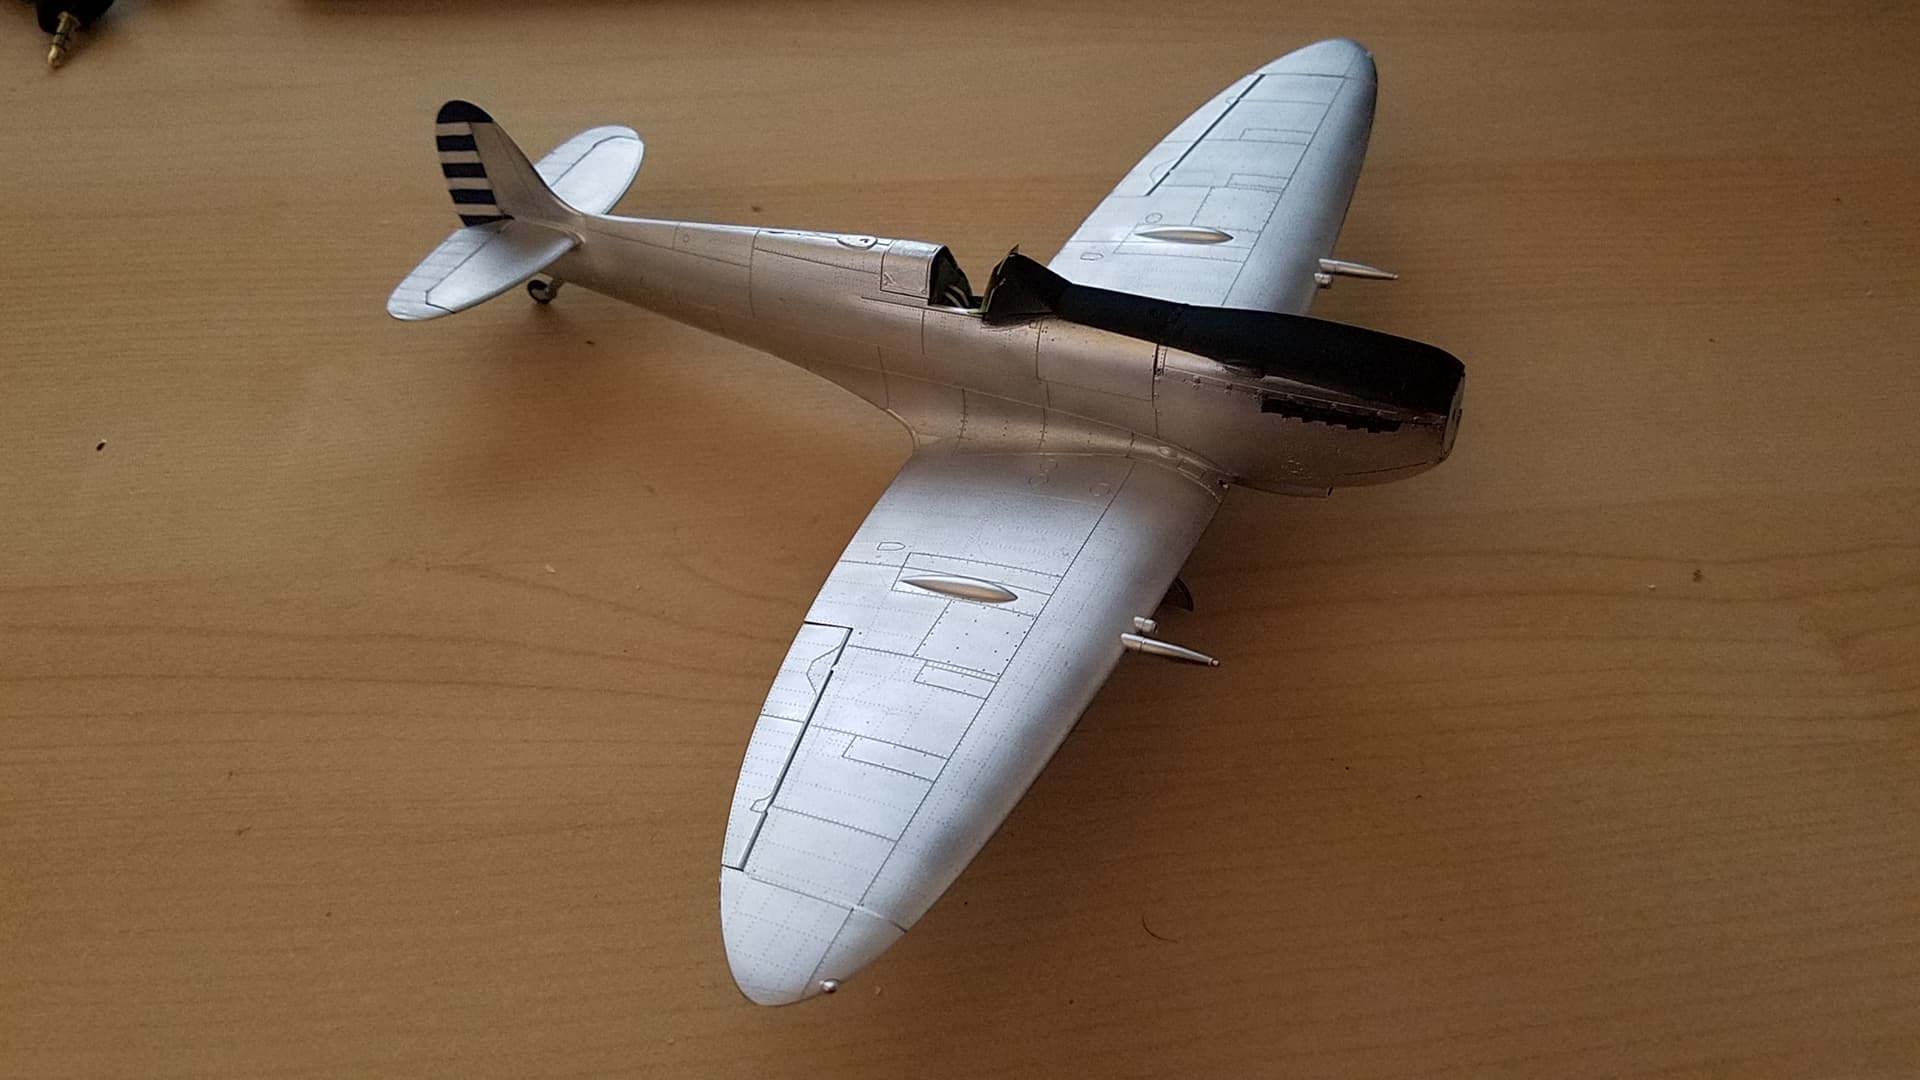
I’m very very frustated, my israeli spitfire need a couple of week of work, but i can find enough time.
5 Likes
Fear not! Hangar Queen XII starts in 27 minutes here! So, you’ll be able to finish it there. It looks great so far!!
2 Likes