Hi Everyone,
Btwosan, things look like they are coming together nicely. Keep it up! Looks like the paint job could be a lot of fun.
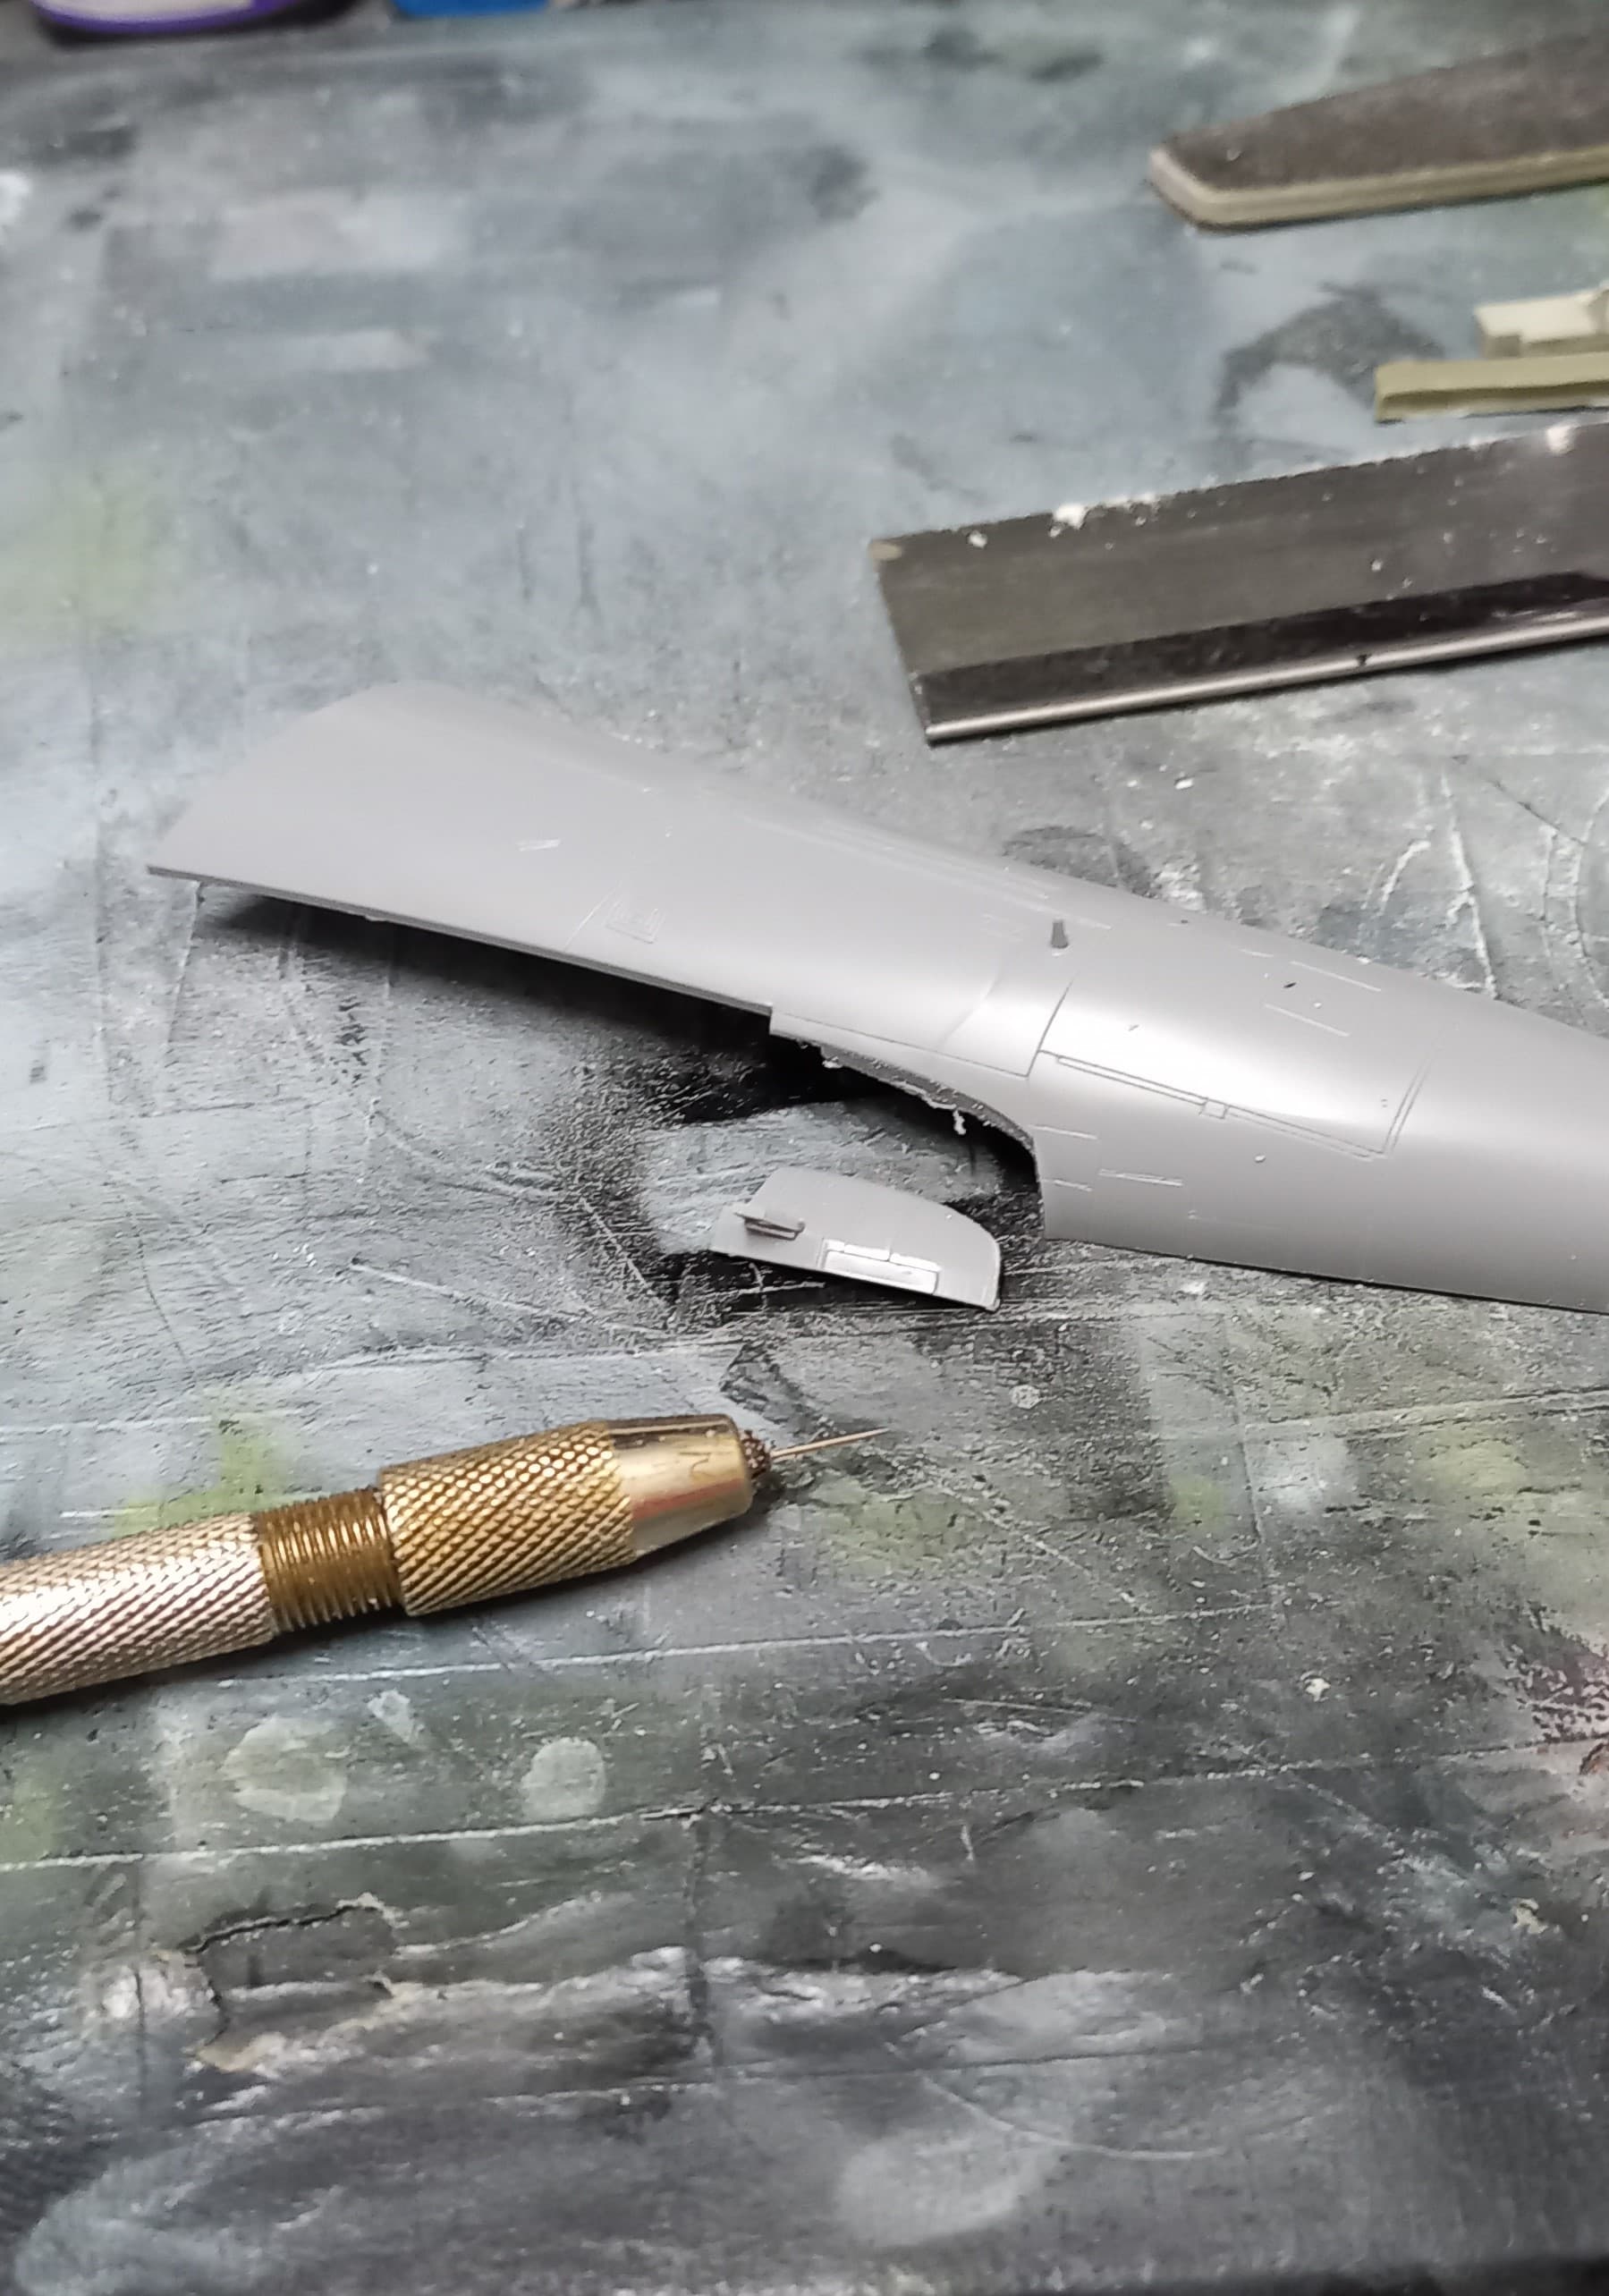
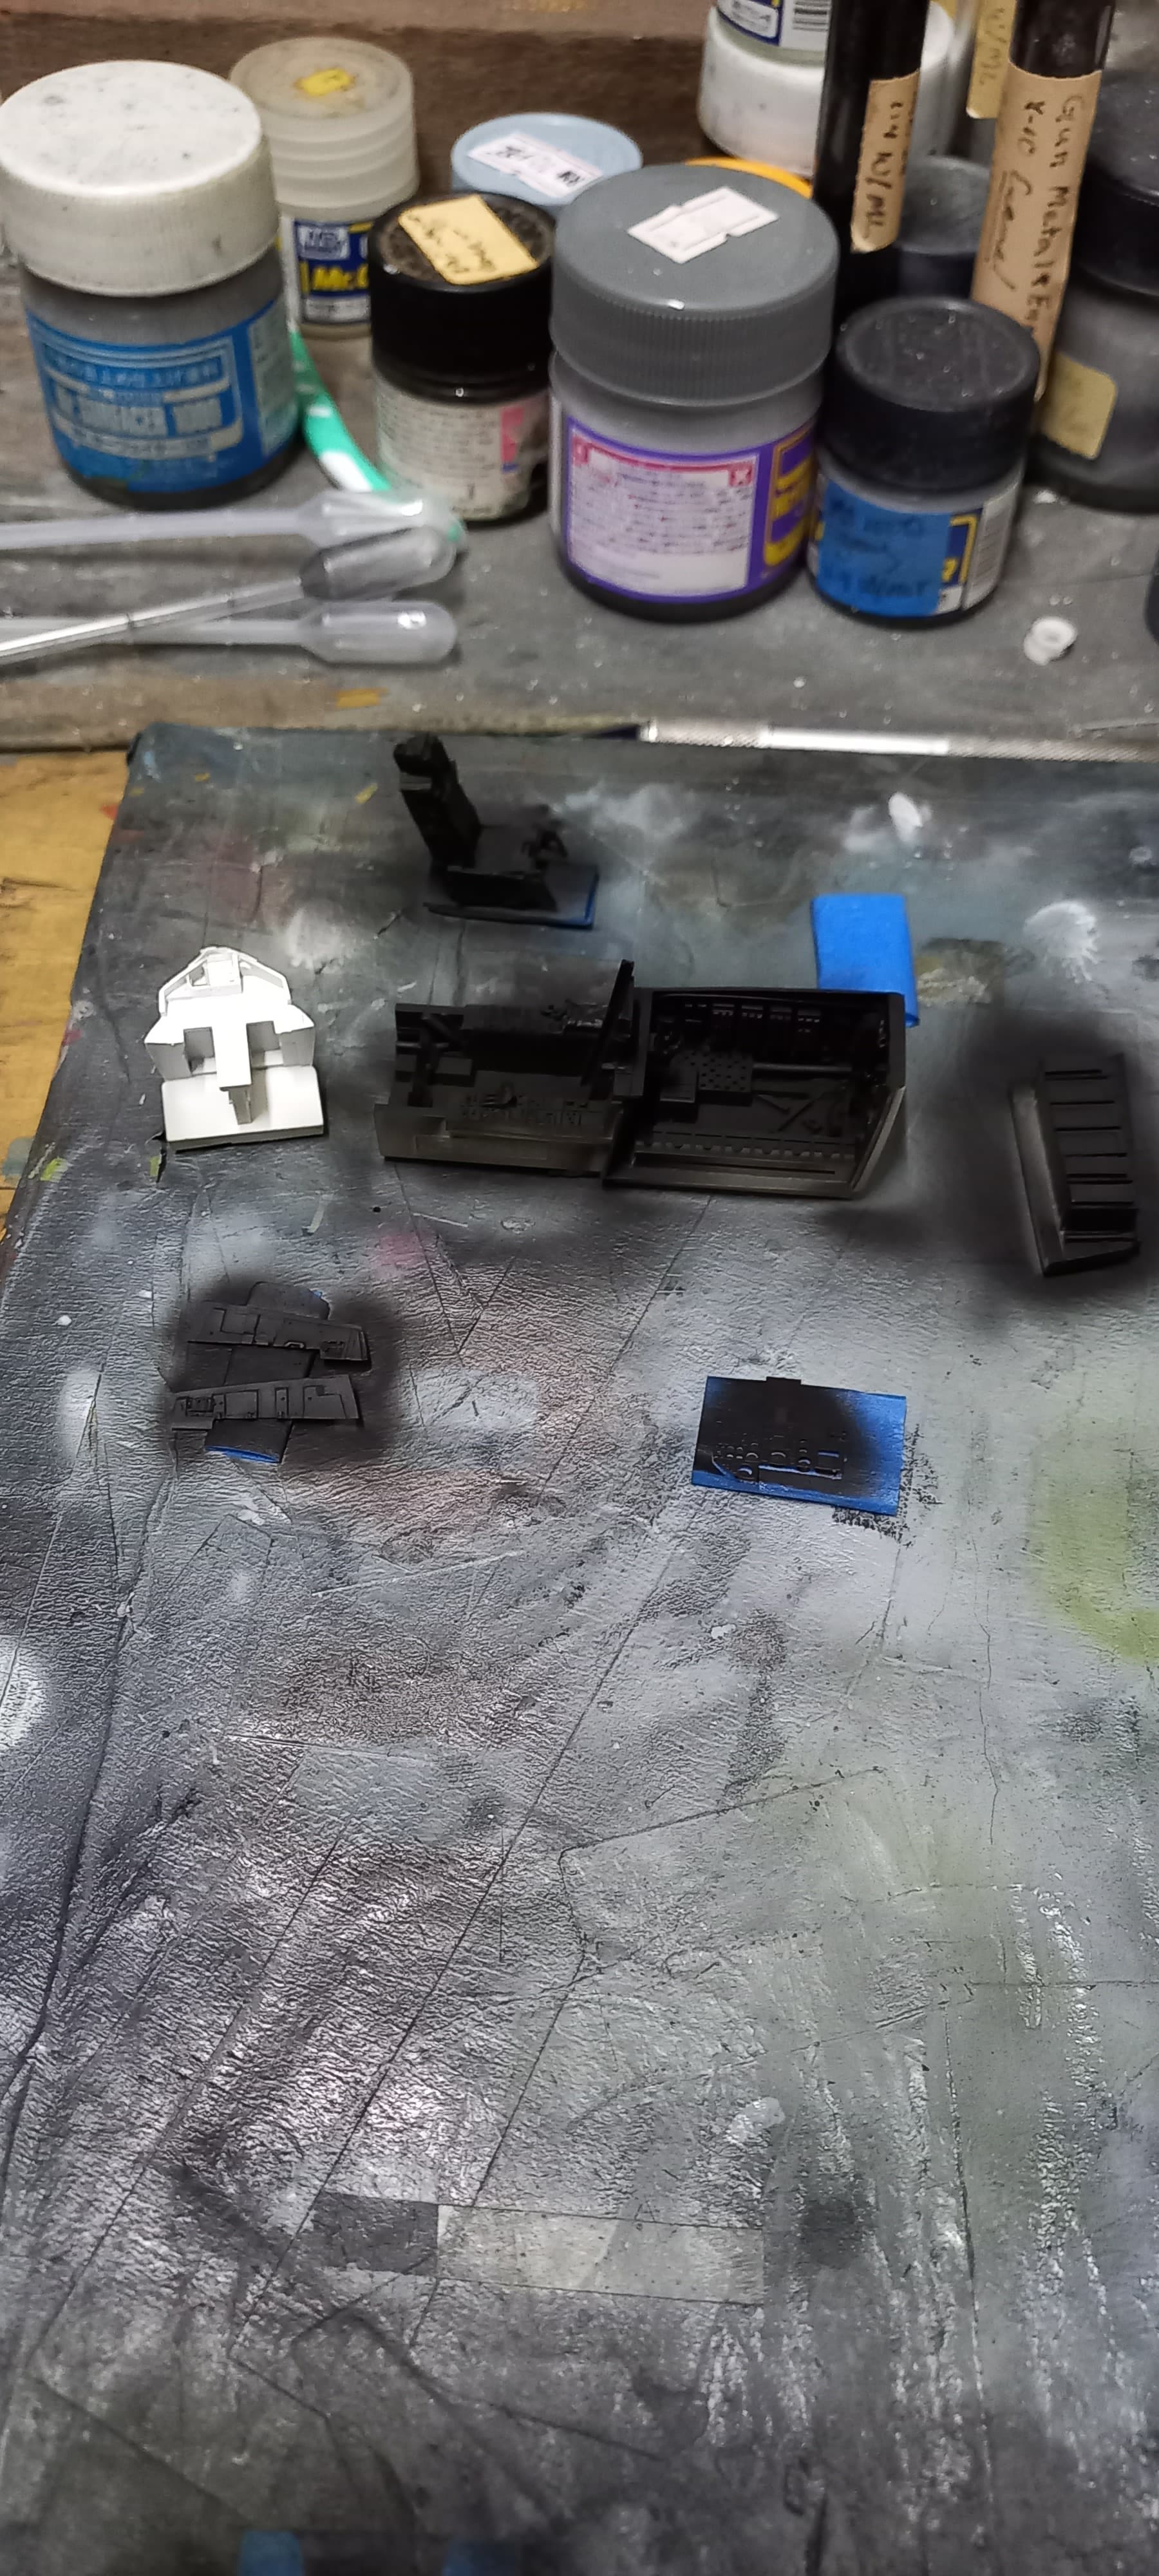
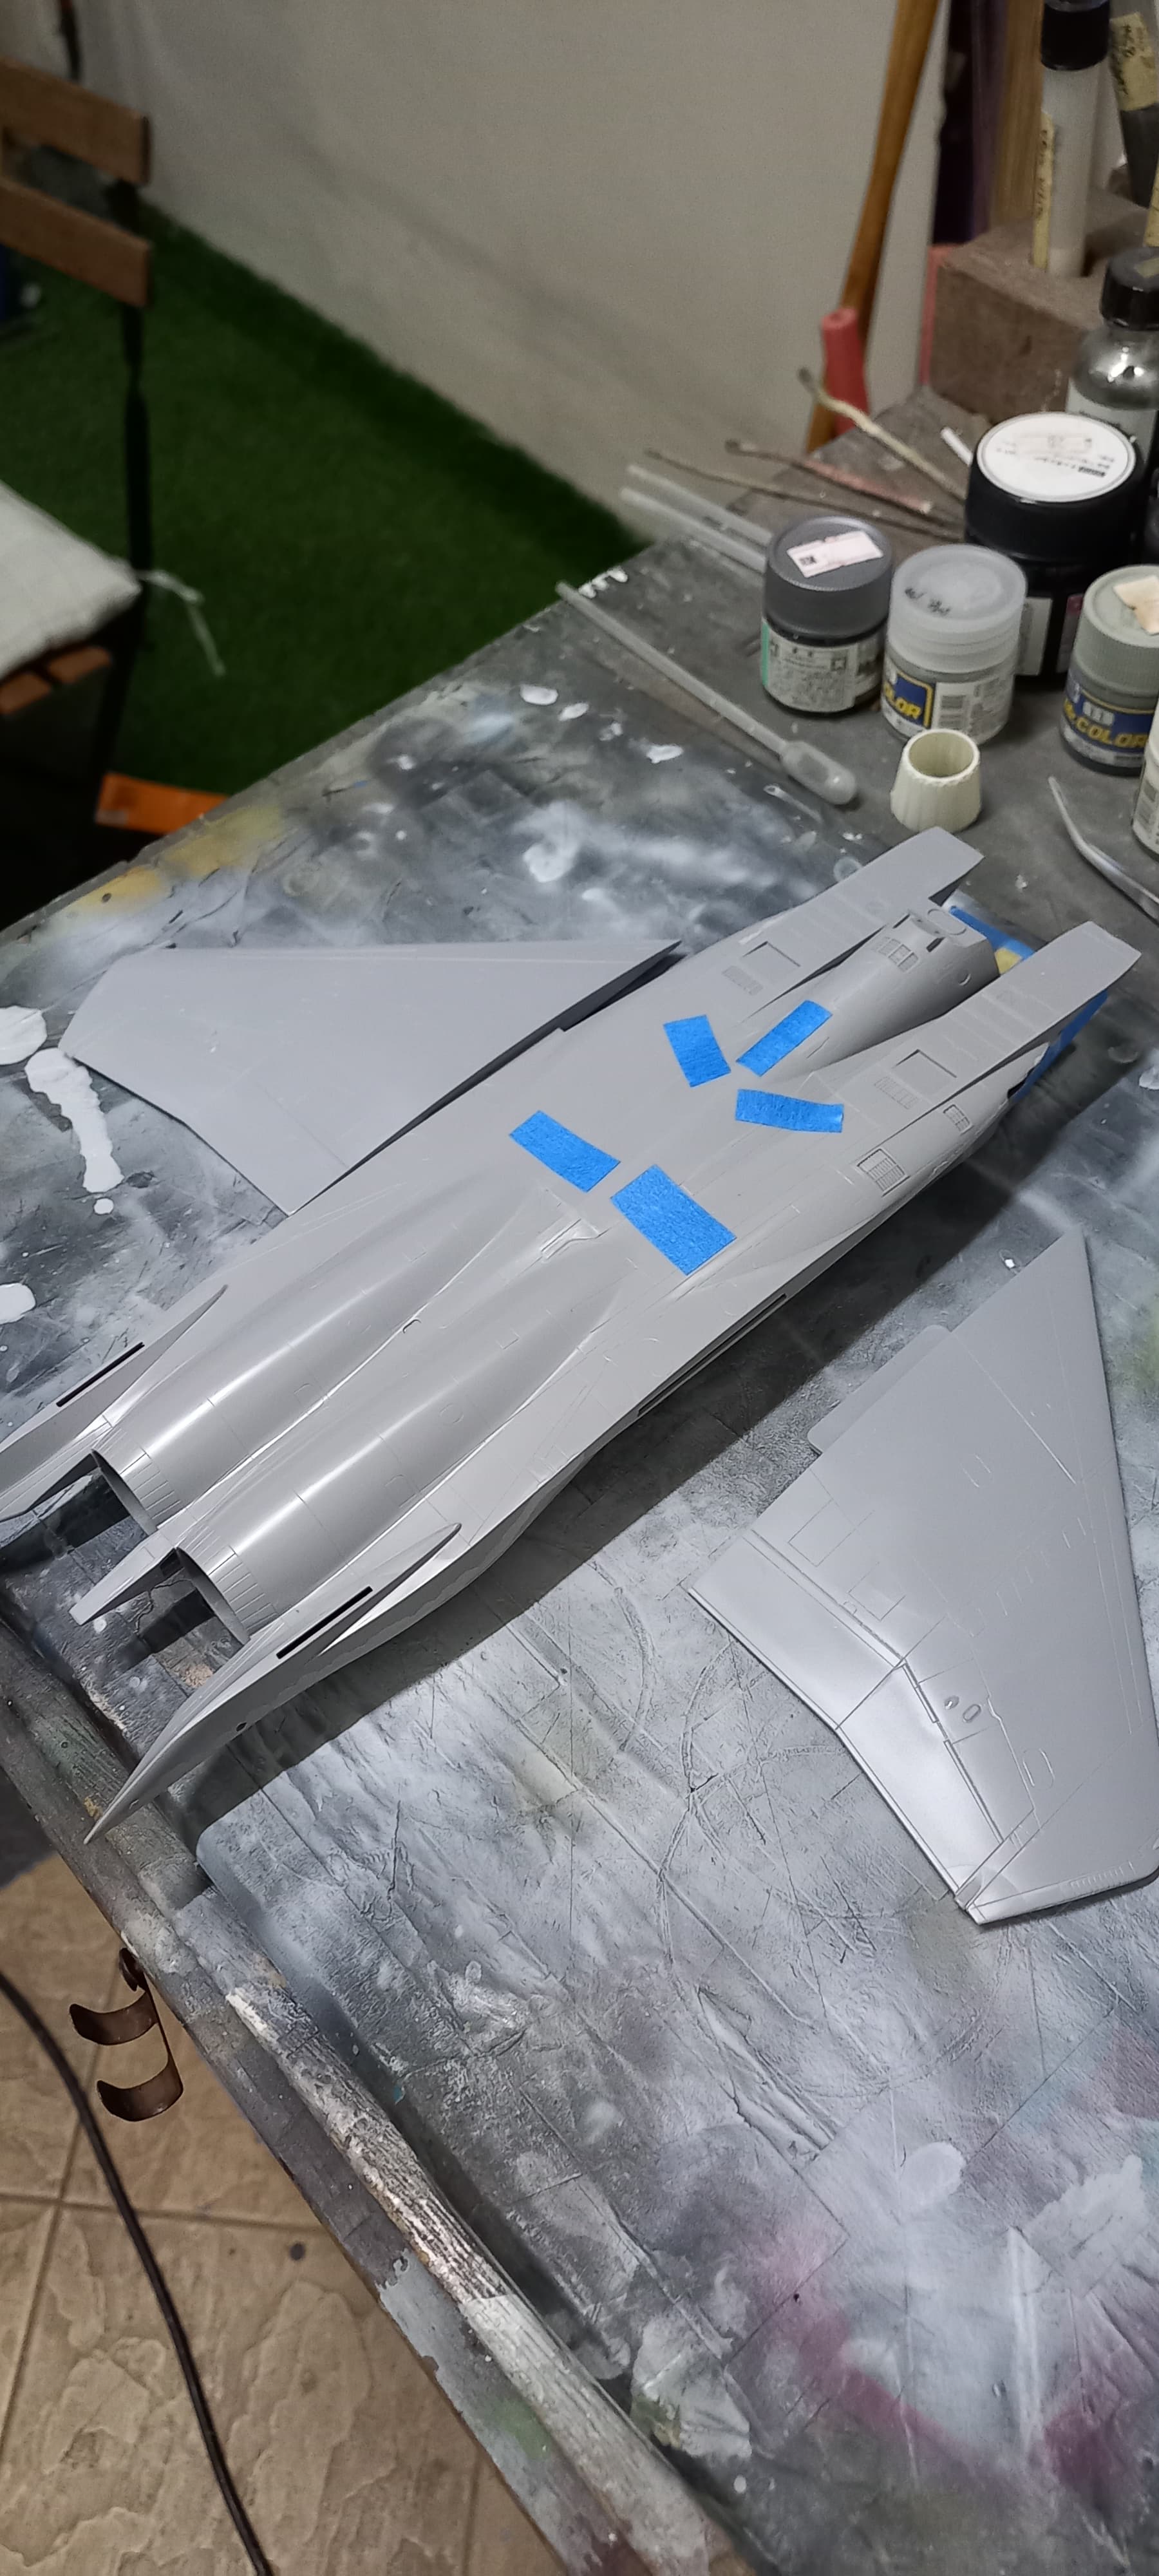
Work on my F-15 continues, though after careful consideration, I doubt I’ll be getting any more Aries cockpits. They are overly complicated and the bang for the buck isn’t much more than the kit part. Being mostly a prop guy, I tend to forget just how big certain jets can be. The F-15 is a pretty darn big bird. So I had to clear some space on the bench to allow me to work on it.
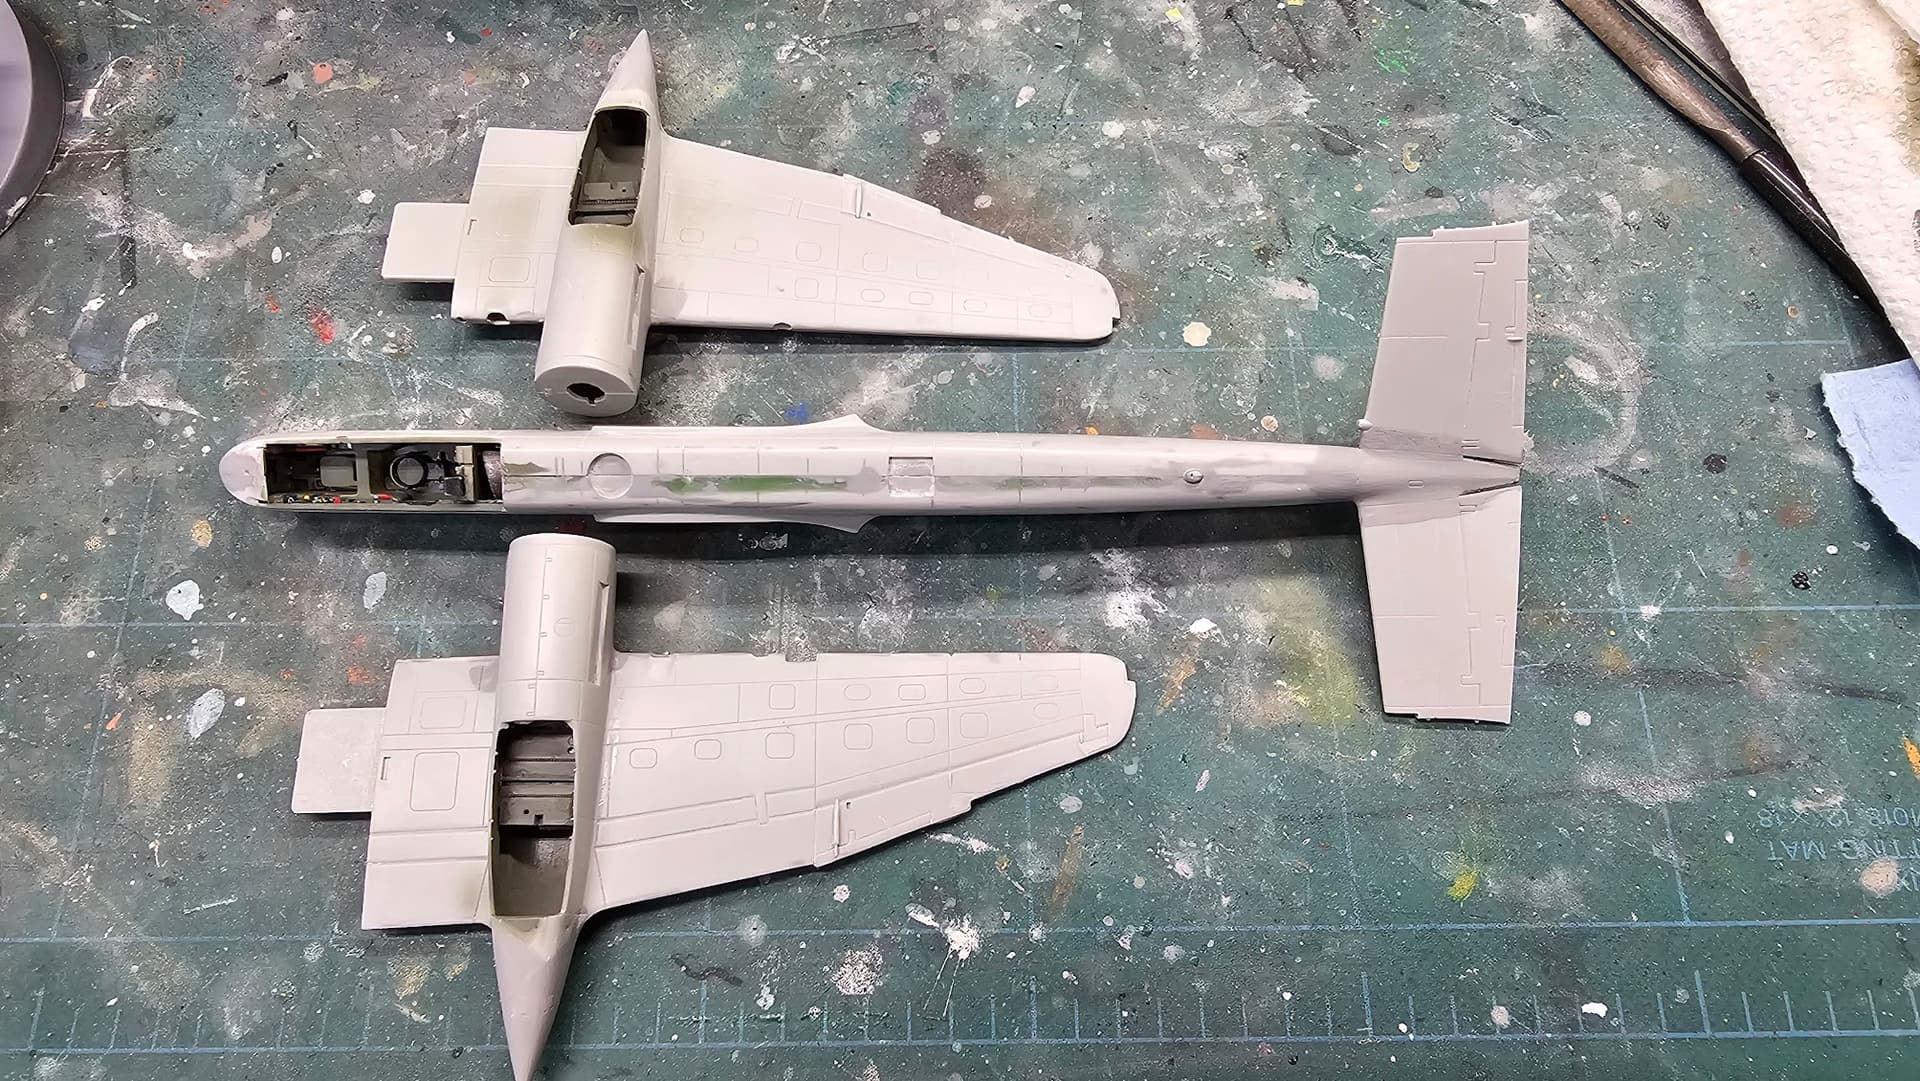
So, the Typhoon that I started for the D-Day campaign was occupying my workspace that was needed for the F-15. For progression of the F-15, the Typhoon needed to be completed. And it was! Here’s how it went.
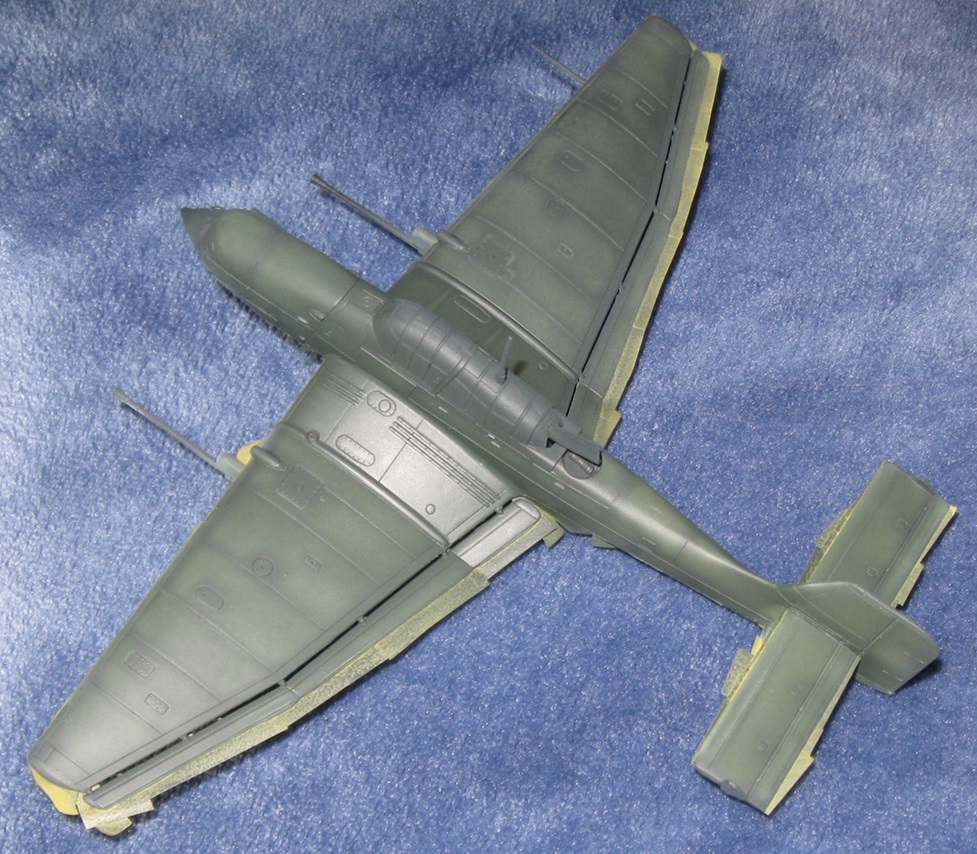
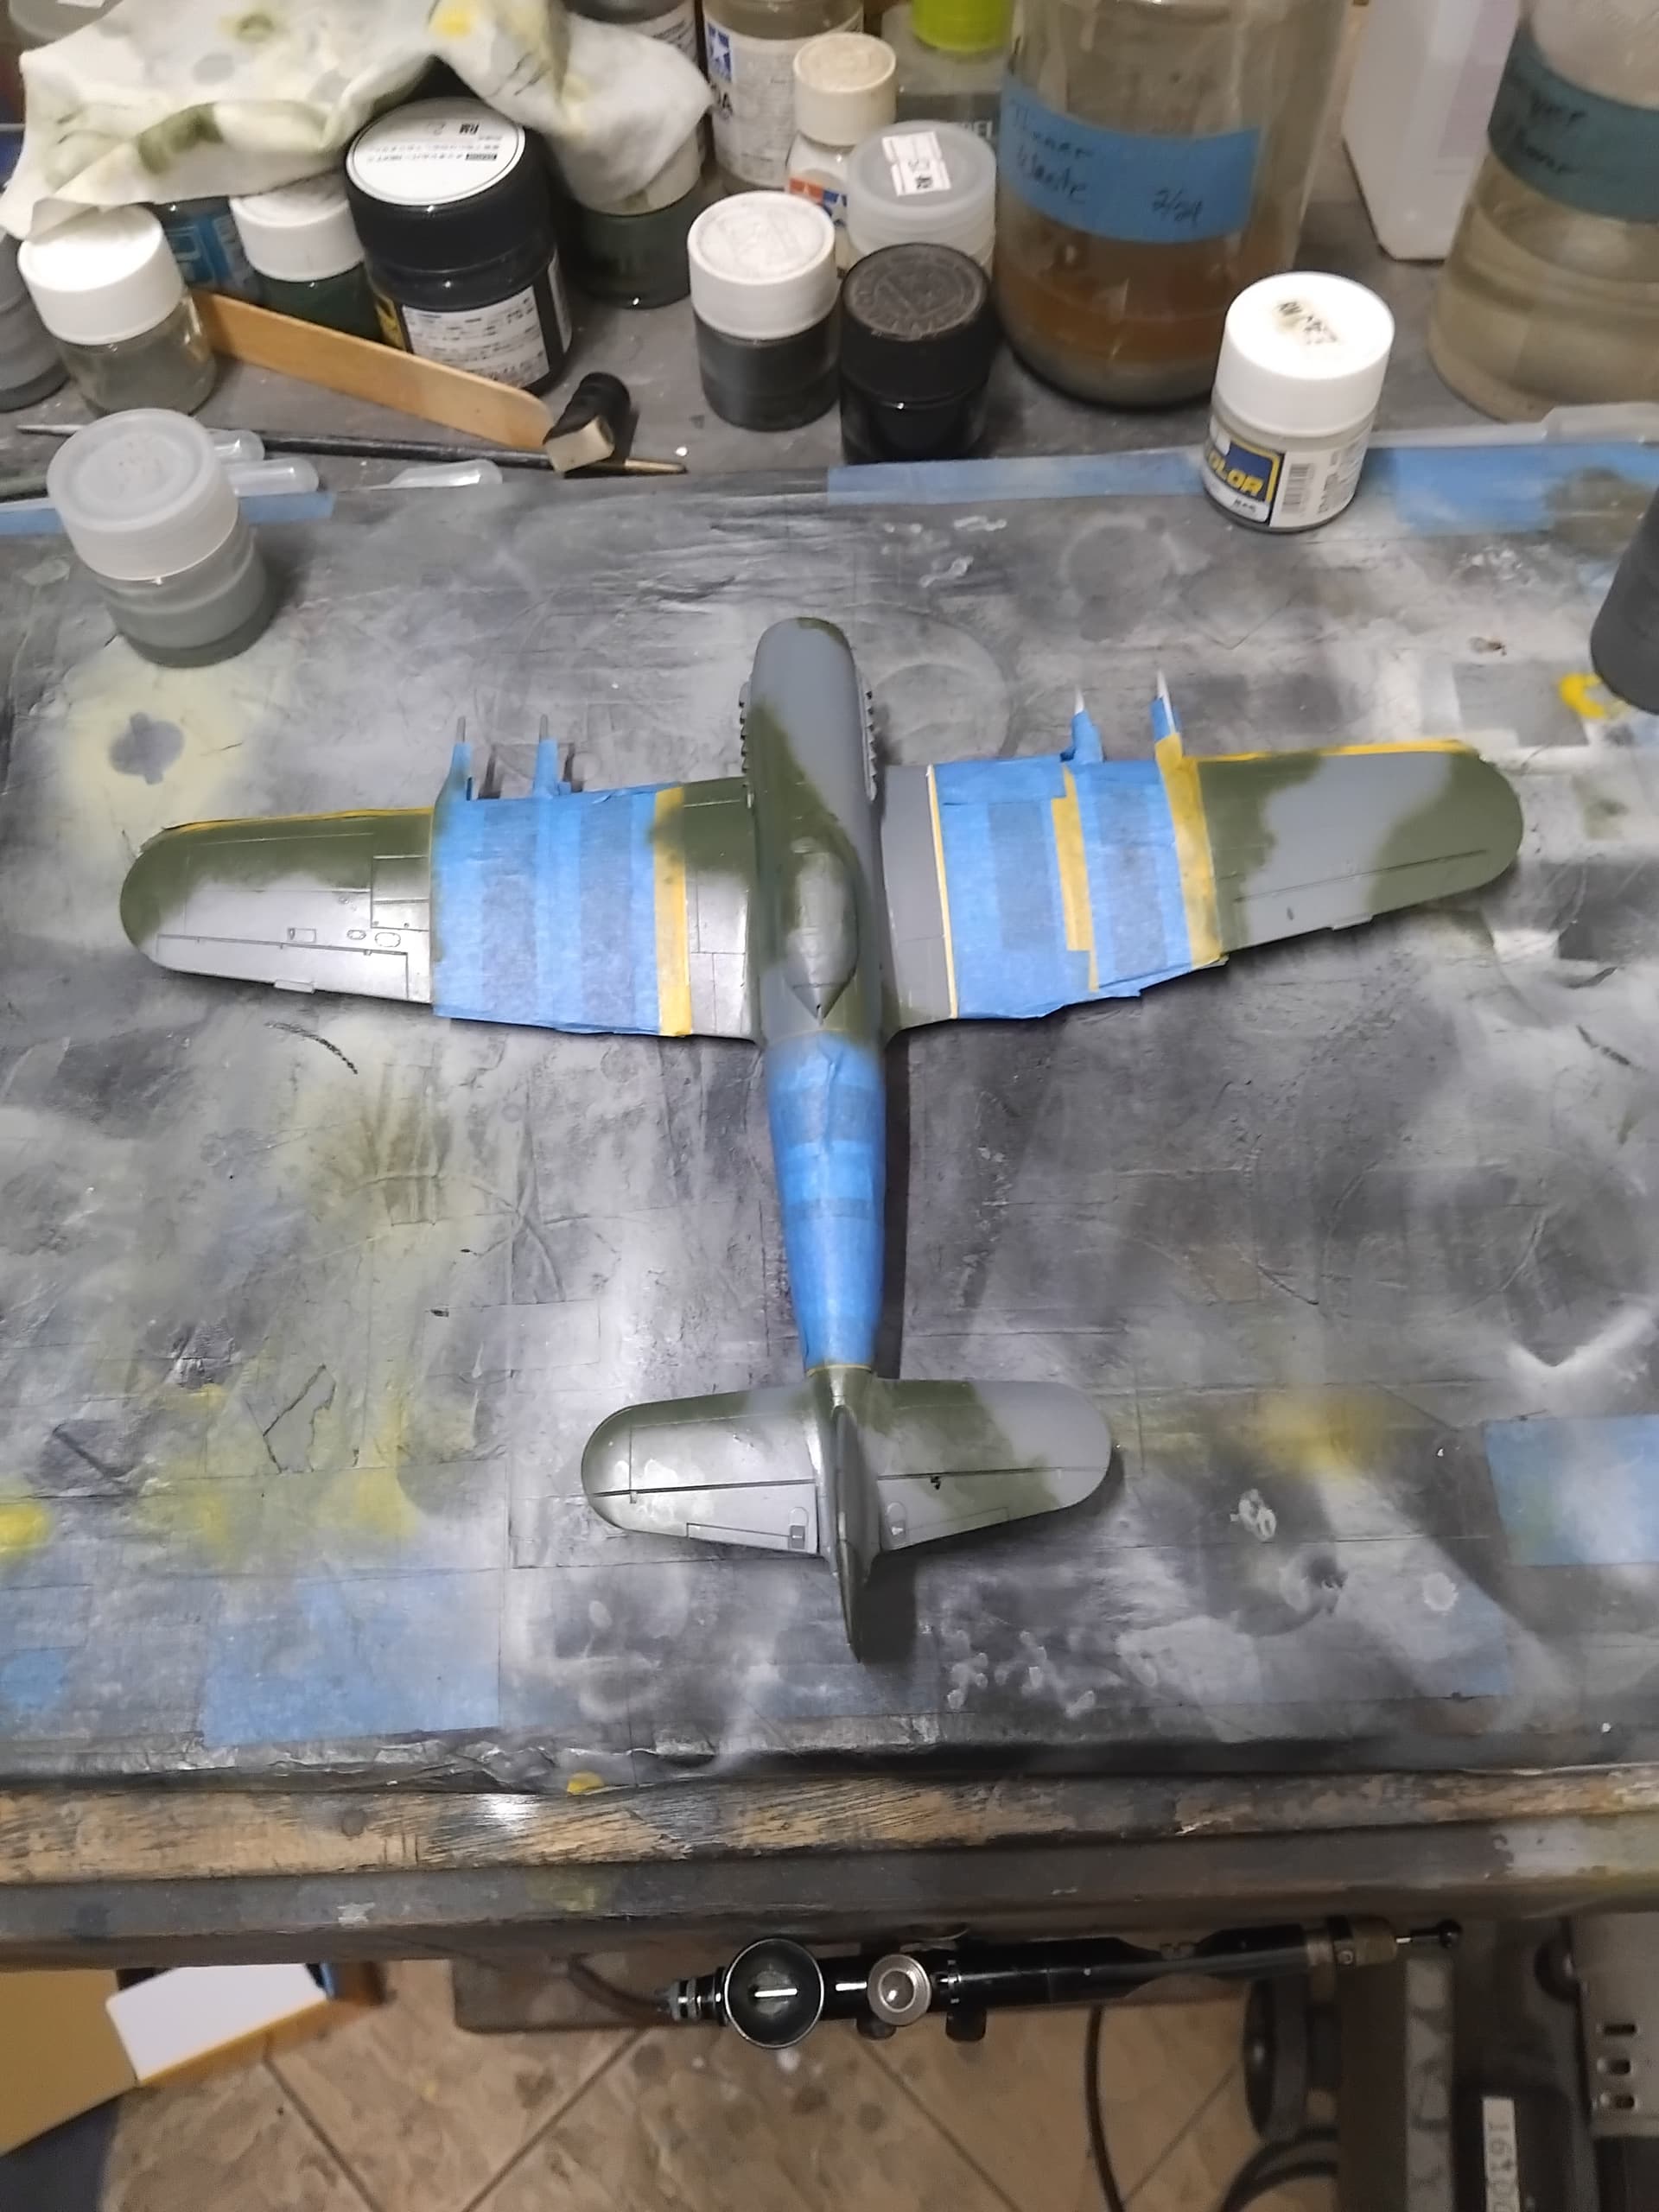
My last entry for the D-Day campaign had the Typhoon looking like this.
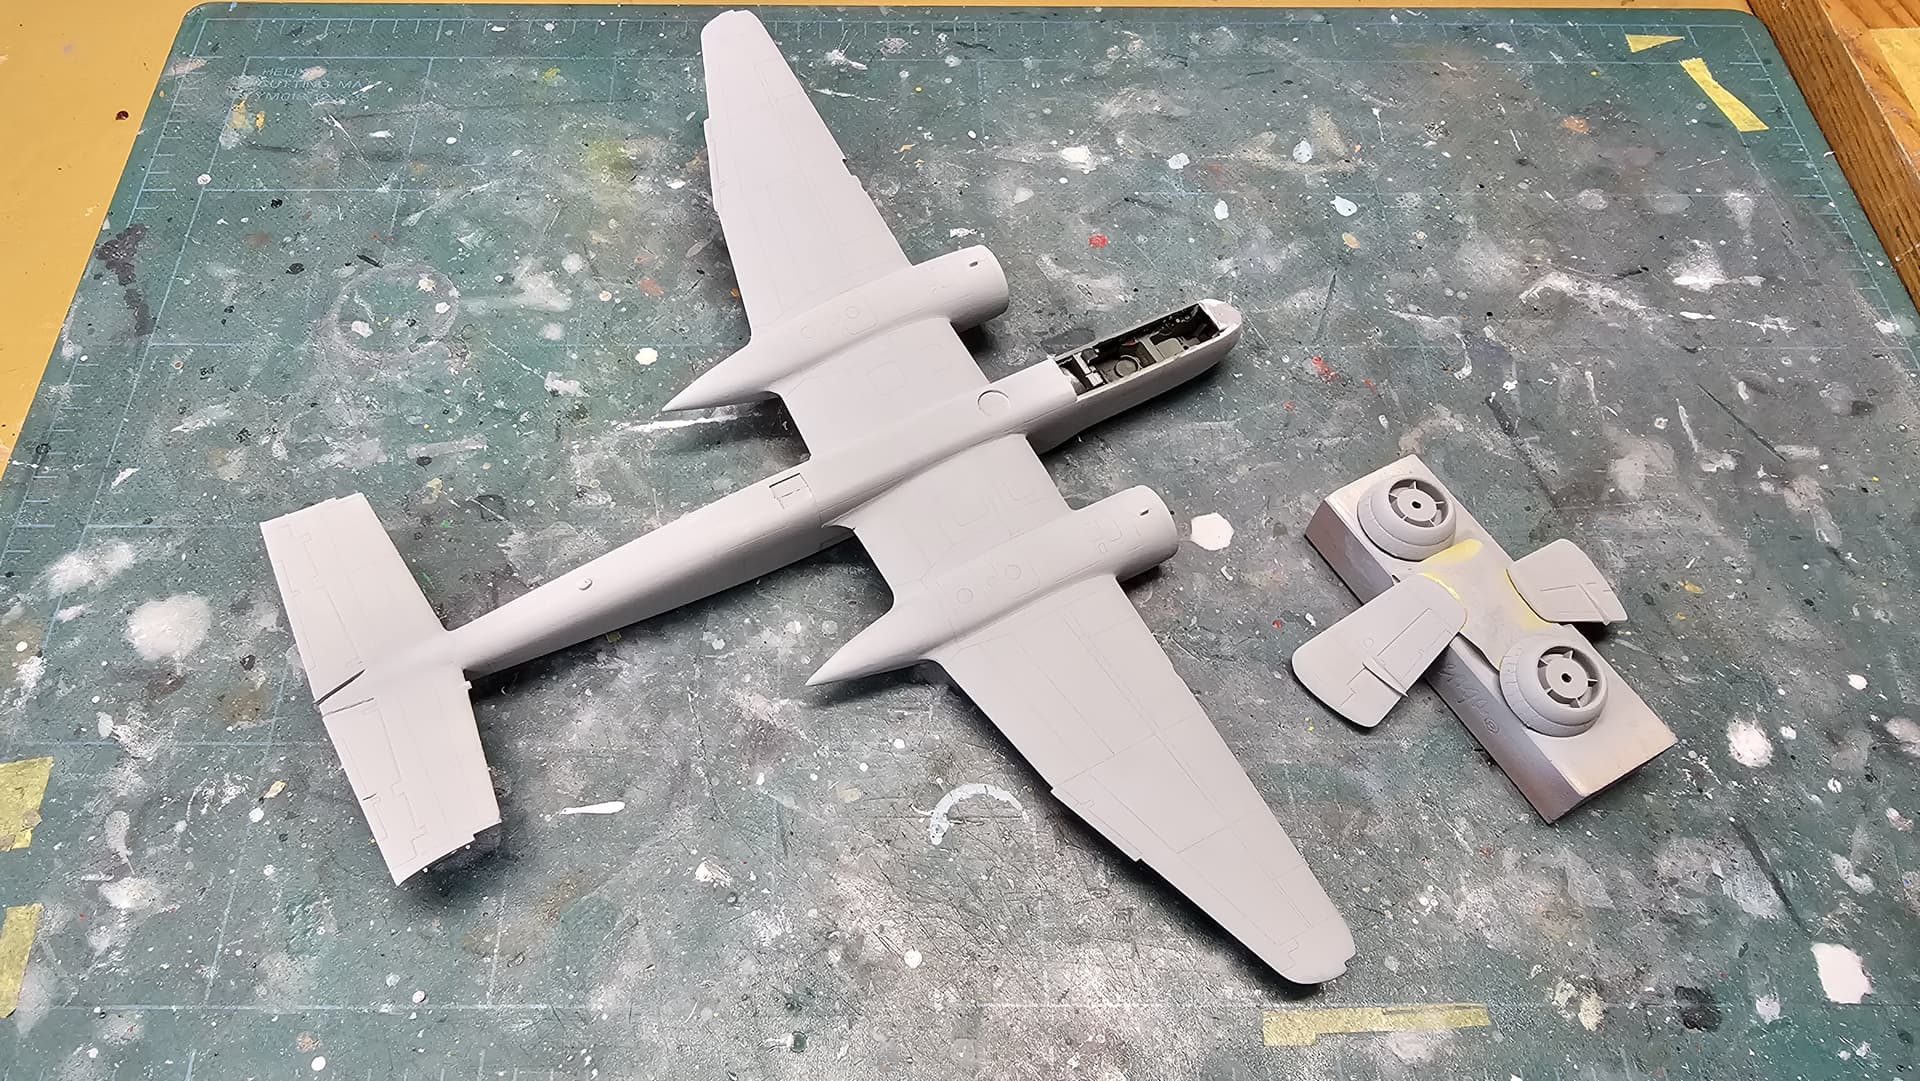
I attached the stabilizers, which fit quite well once I figured out the engineering of how they were supposed to attach.
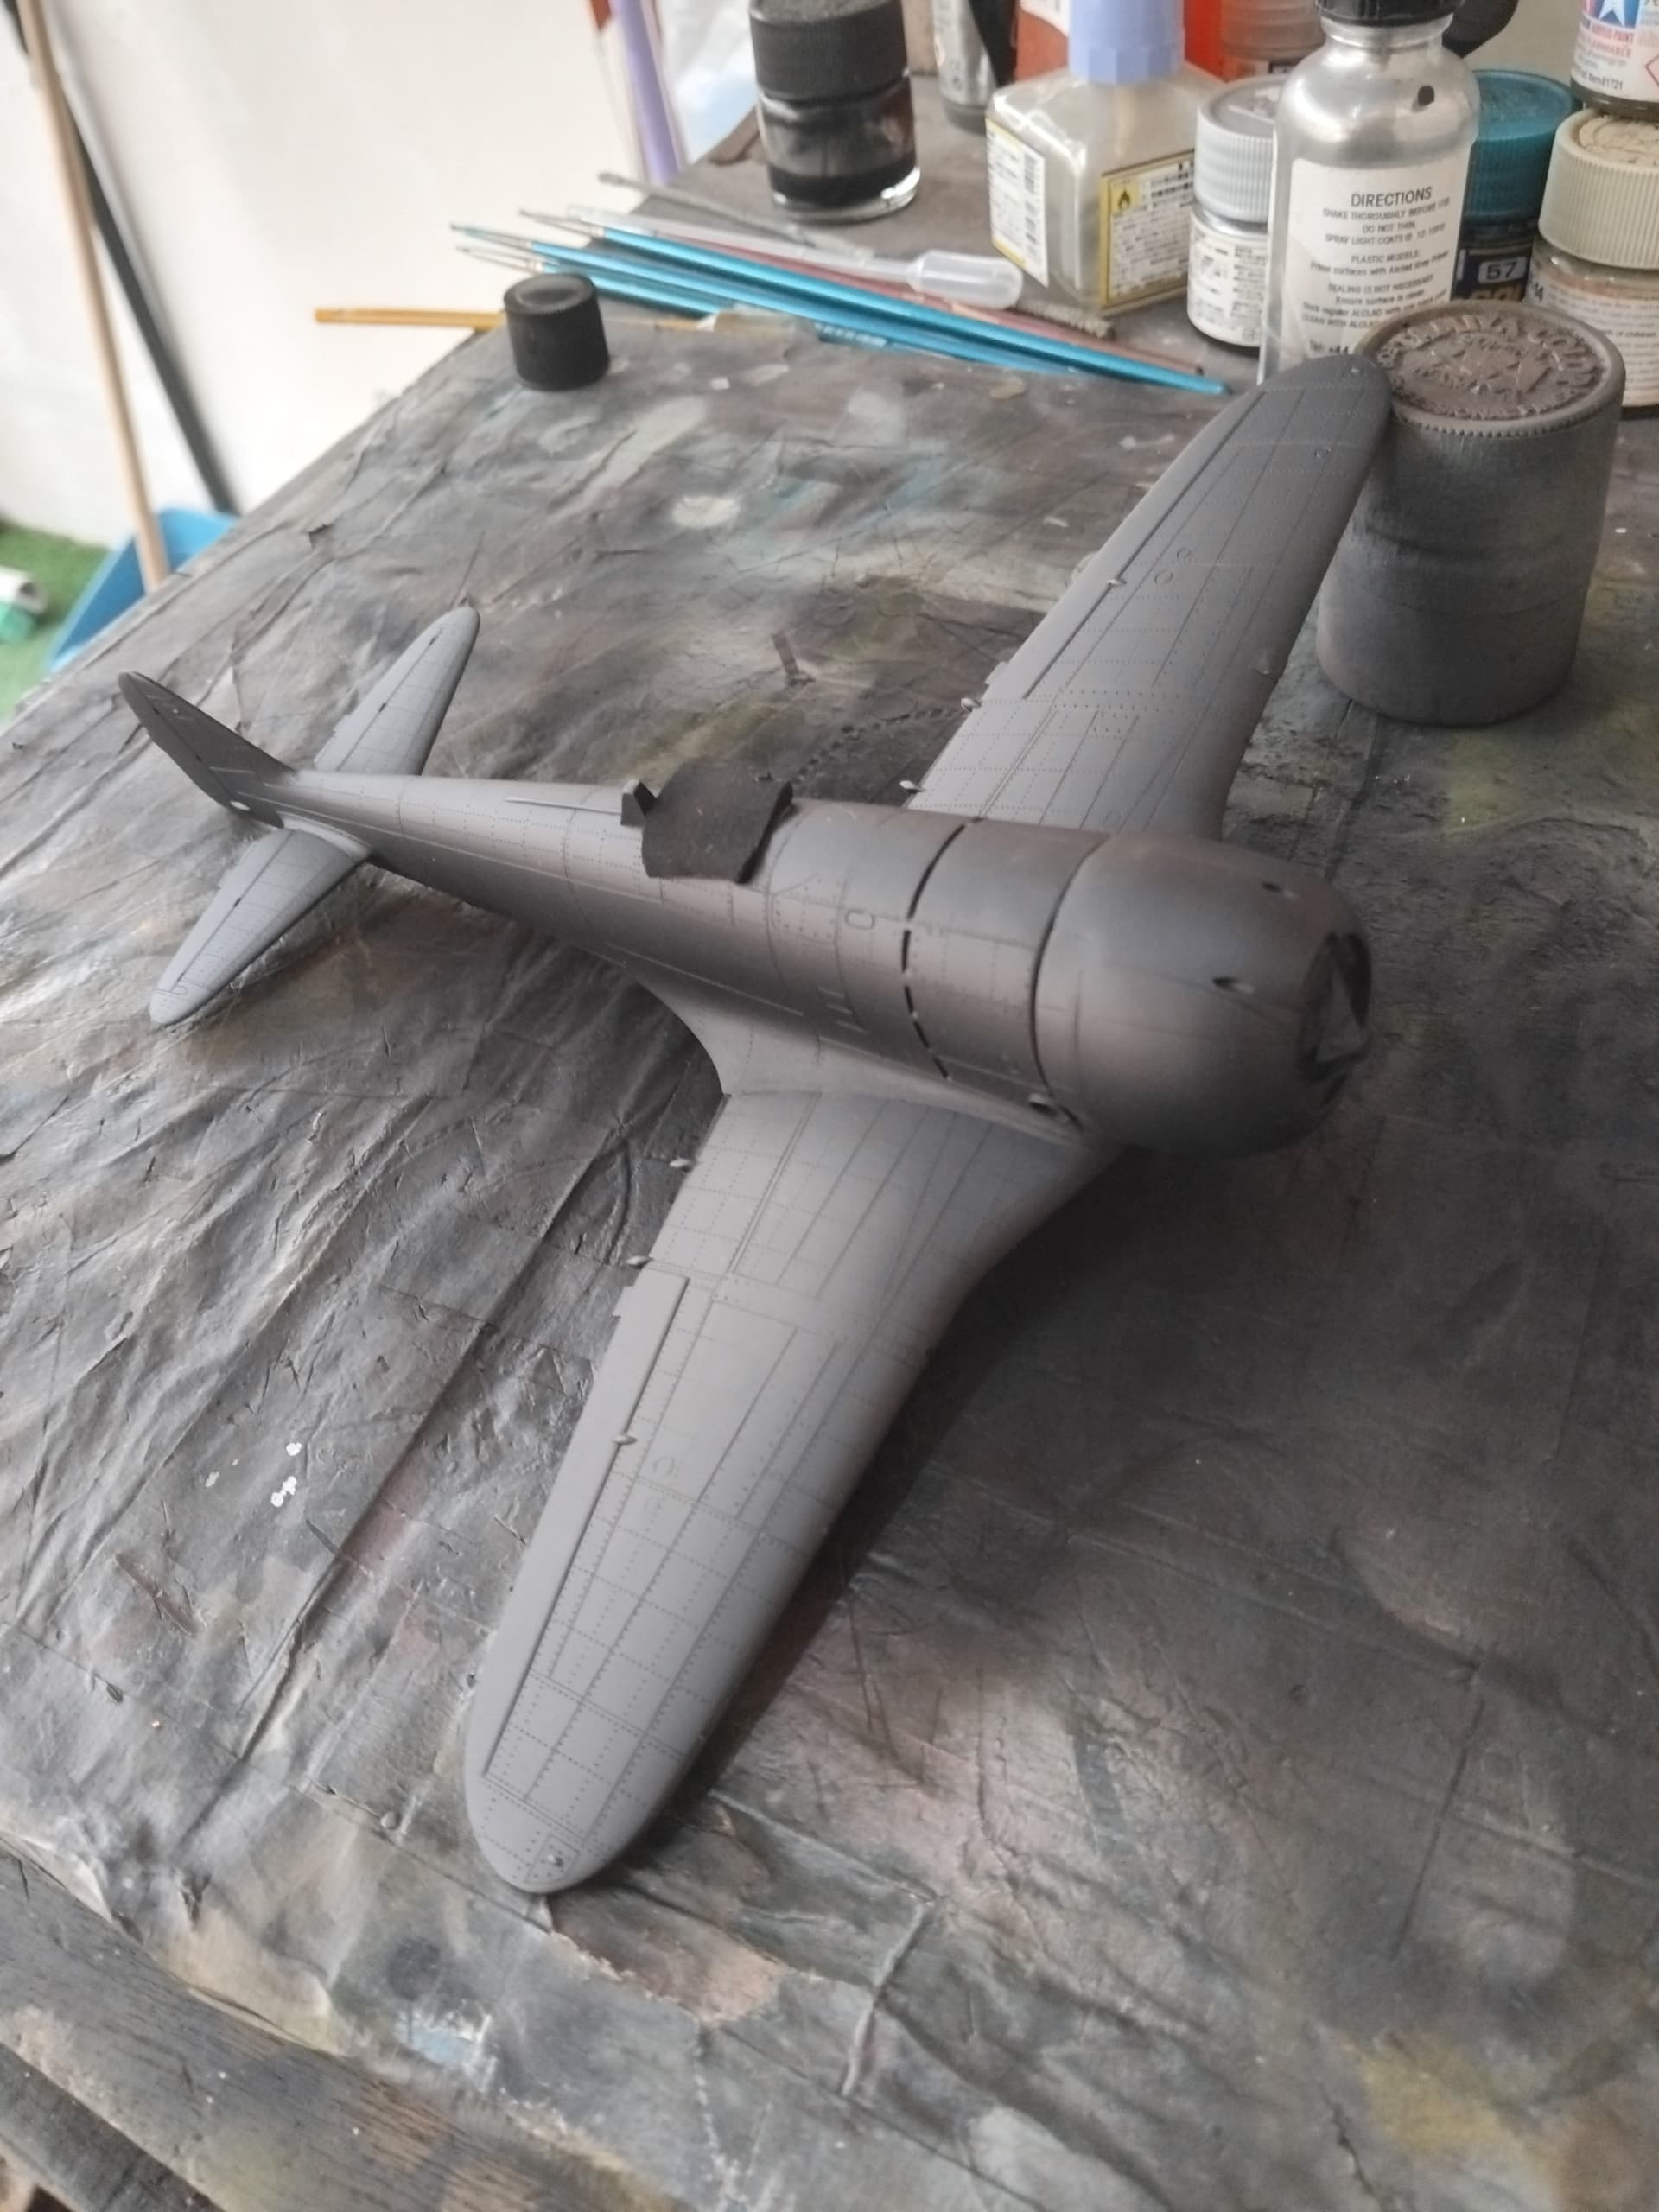
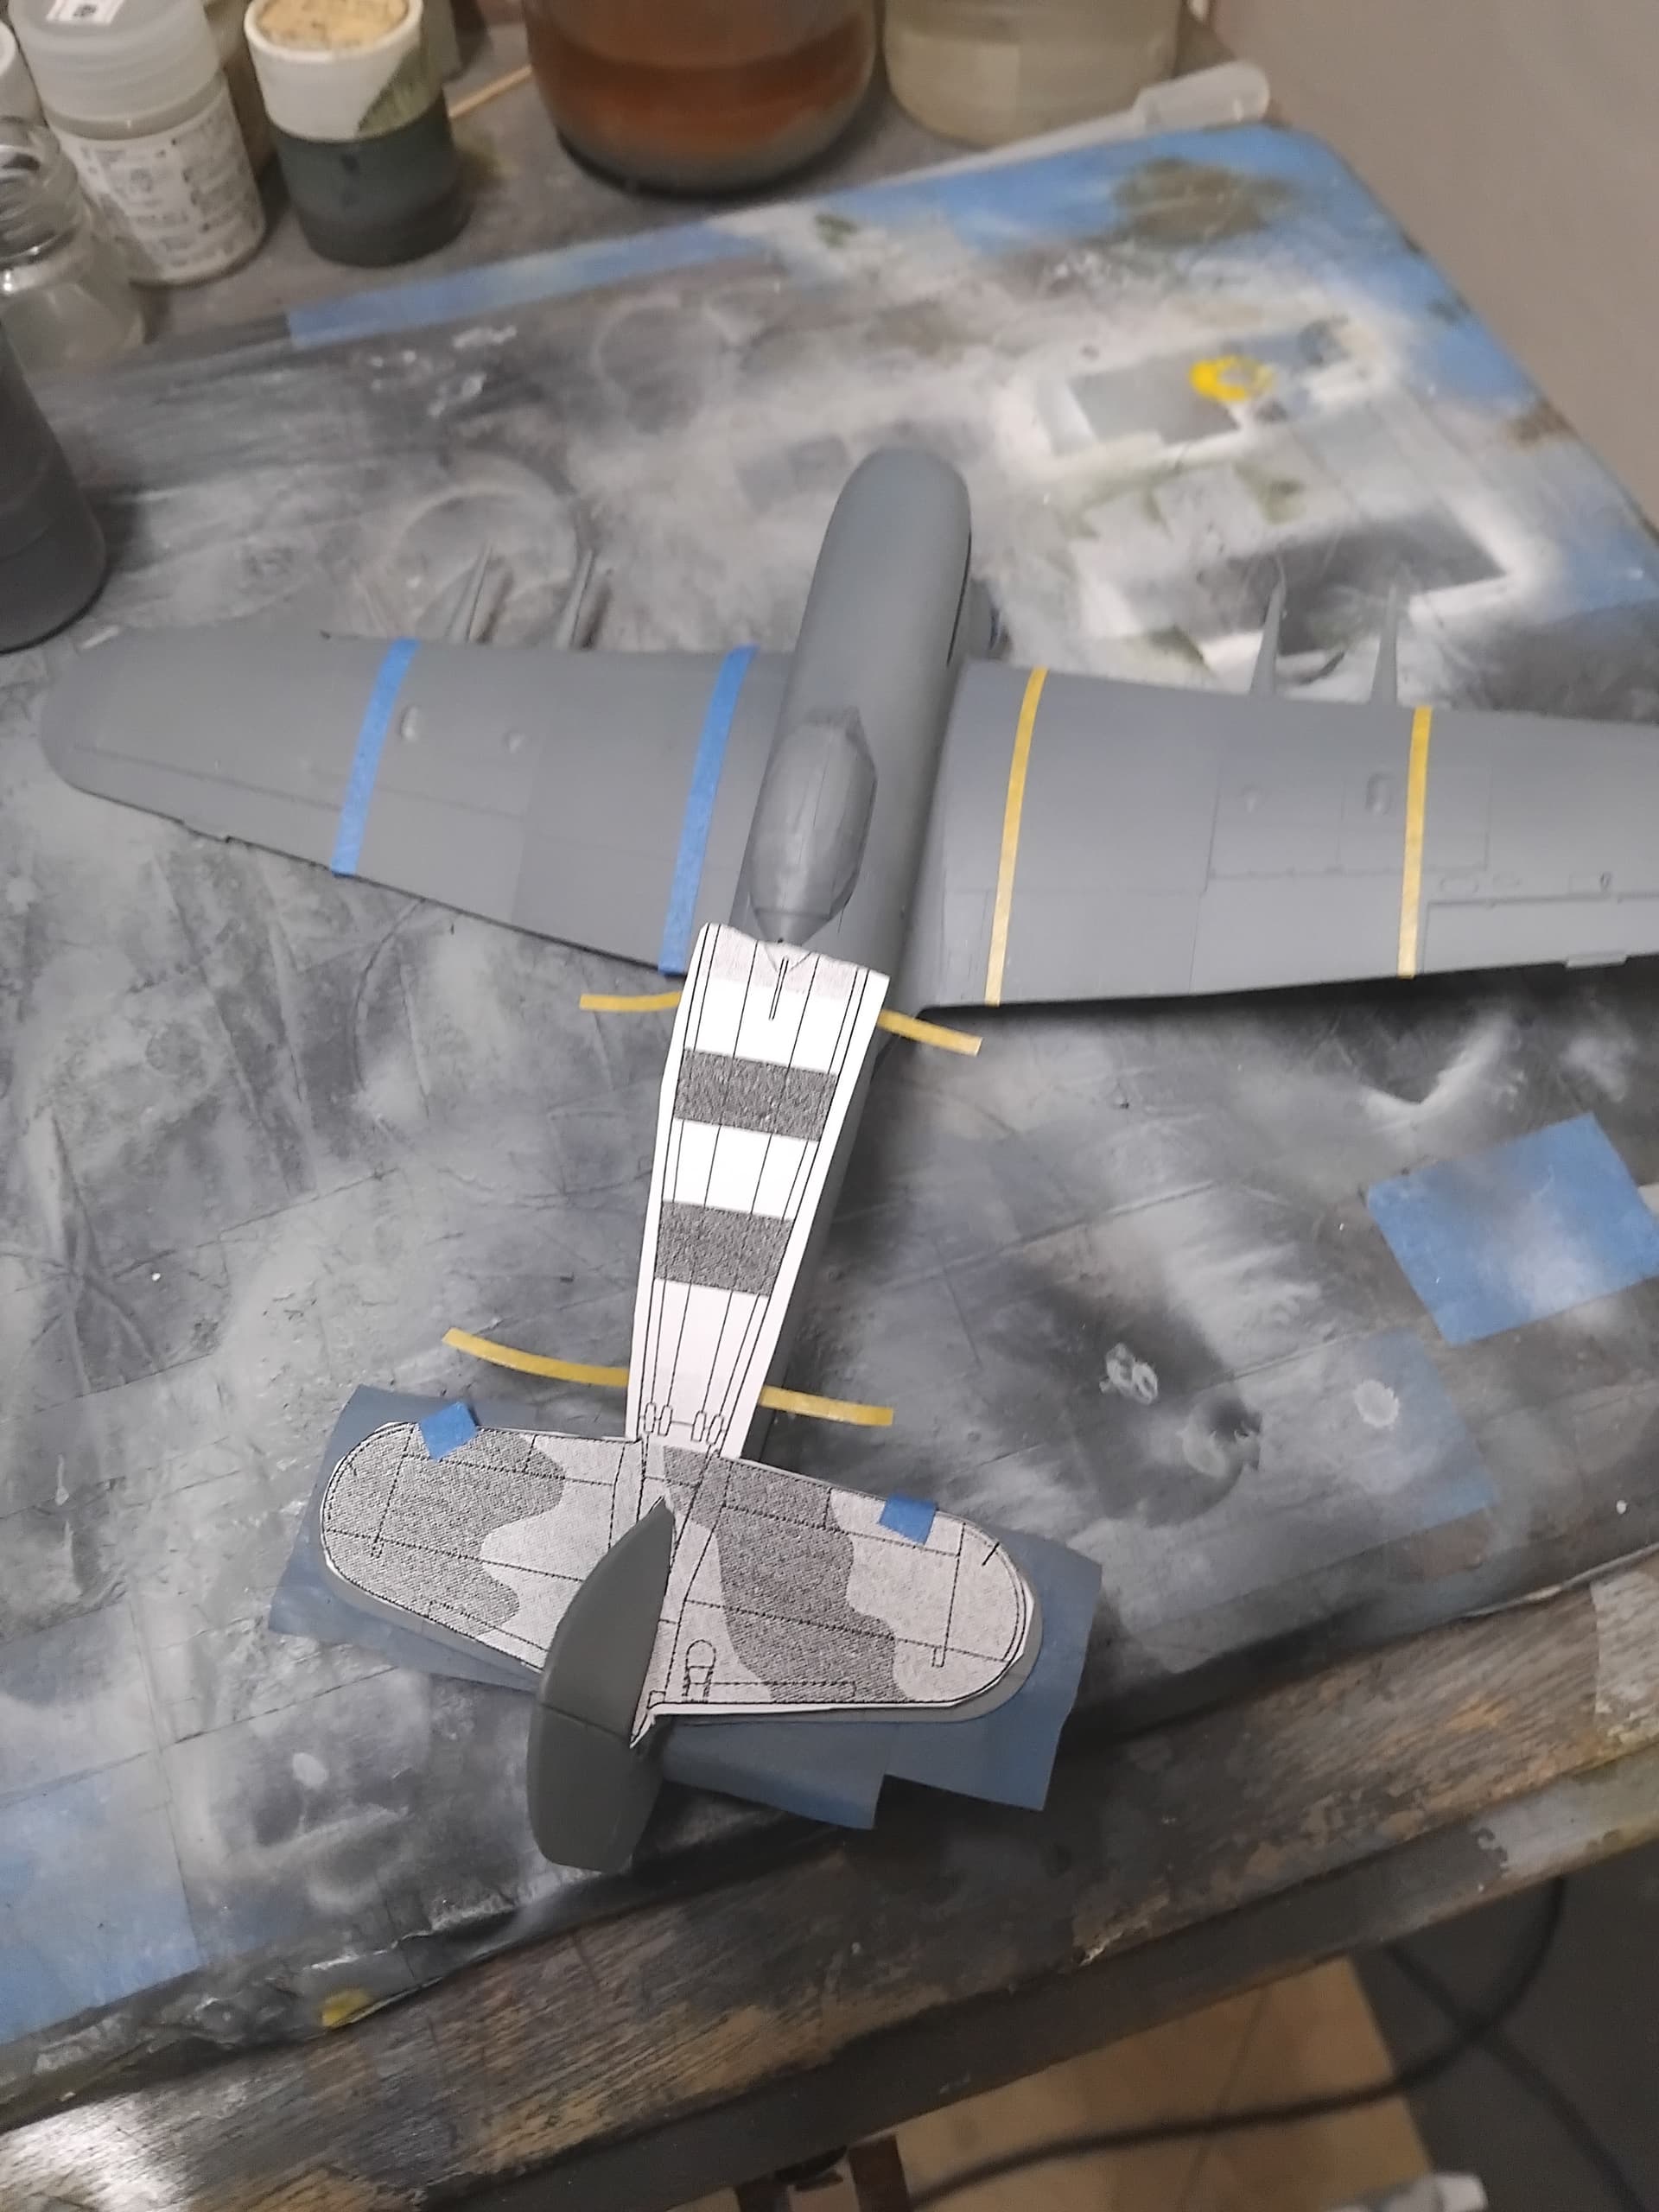
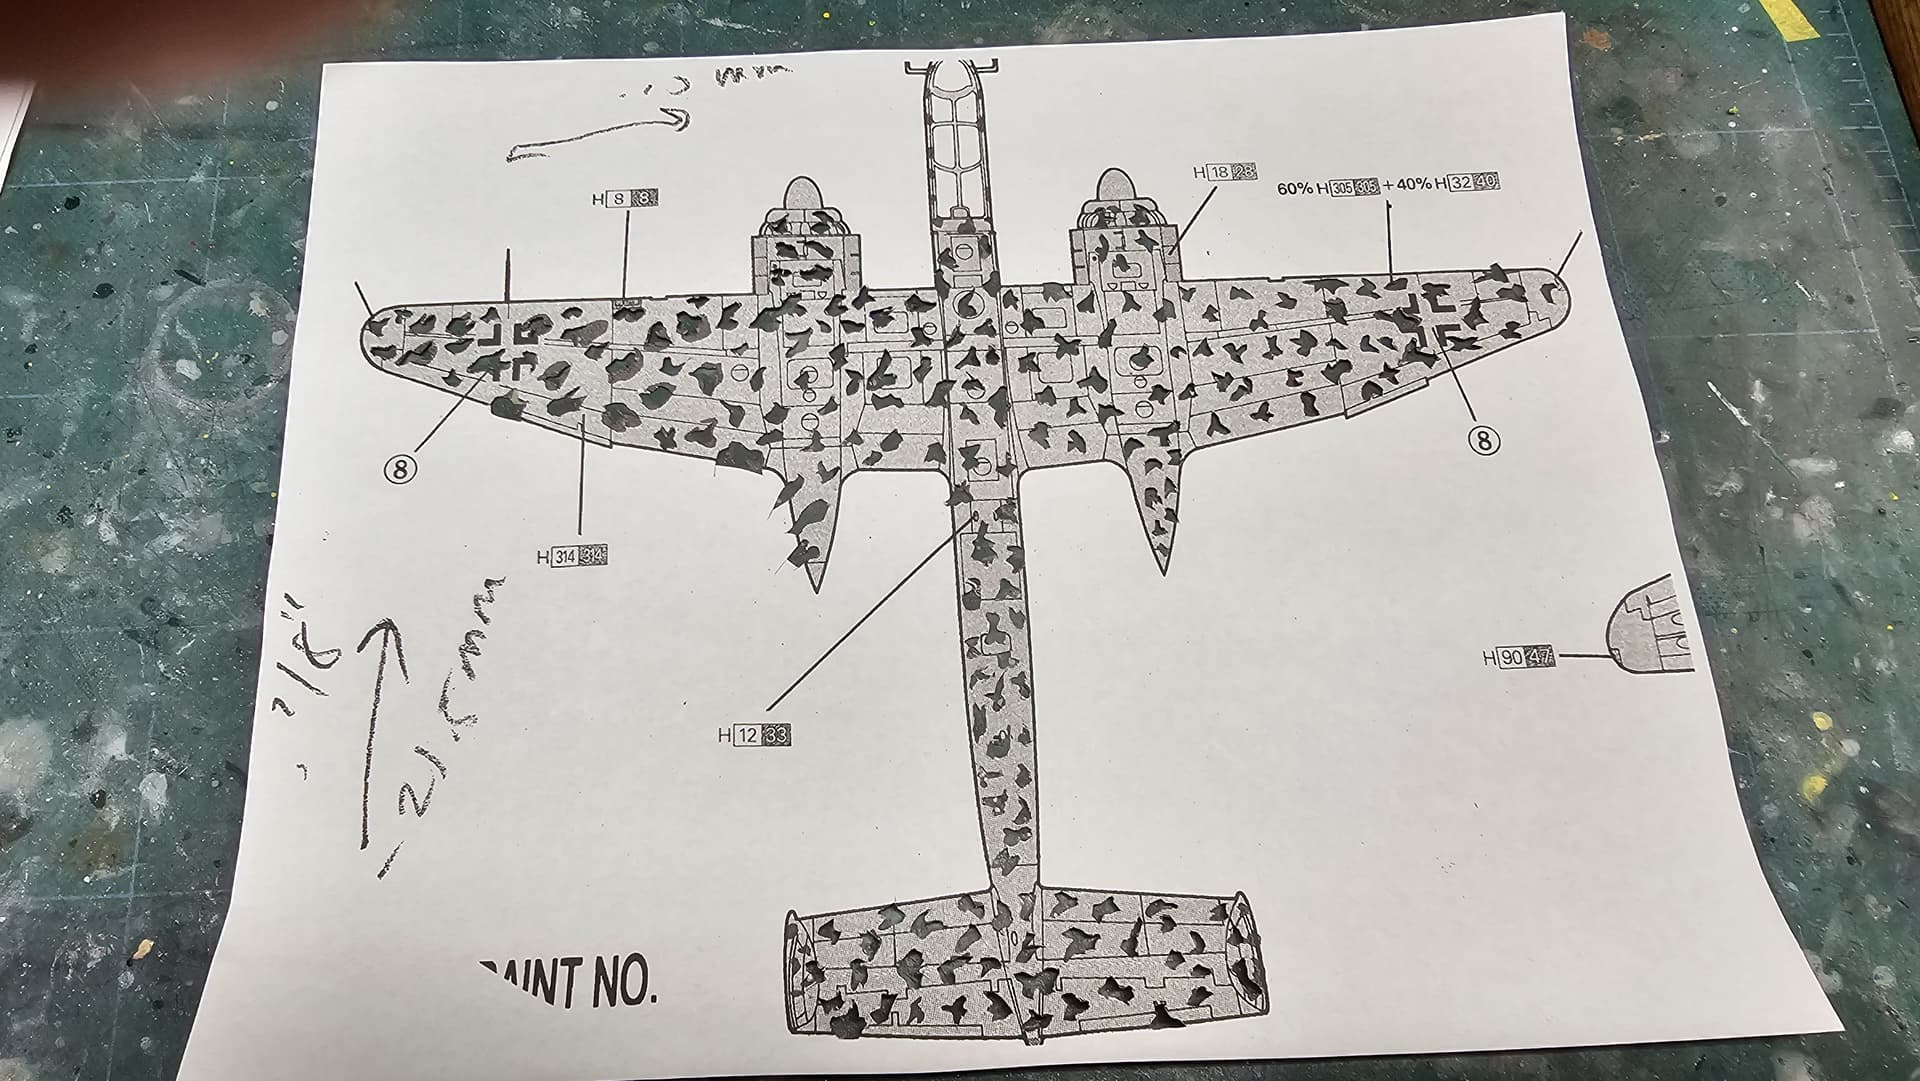
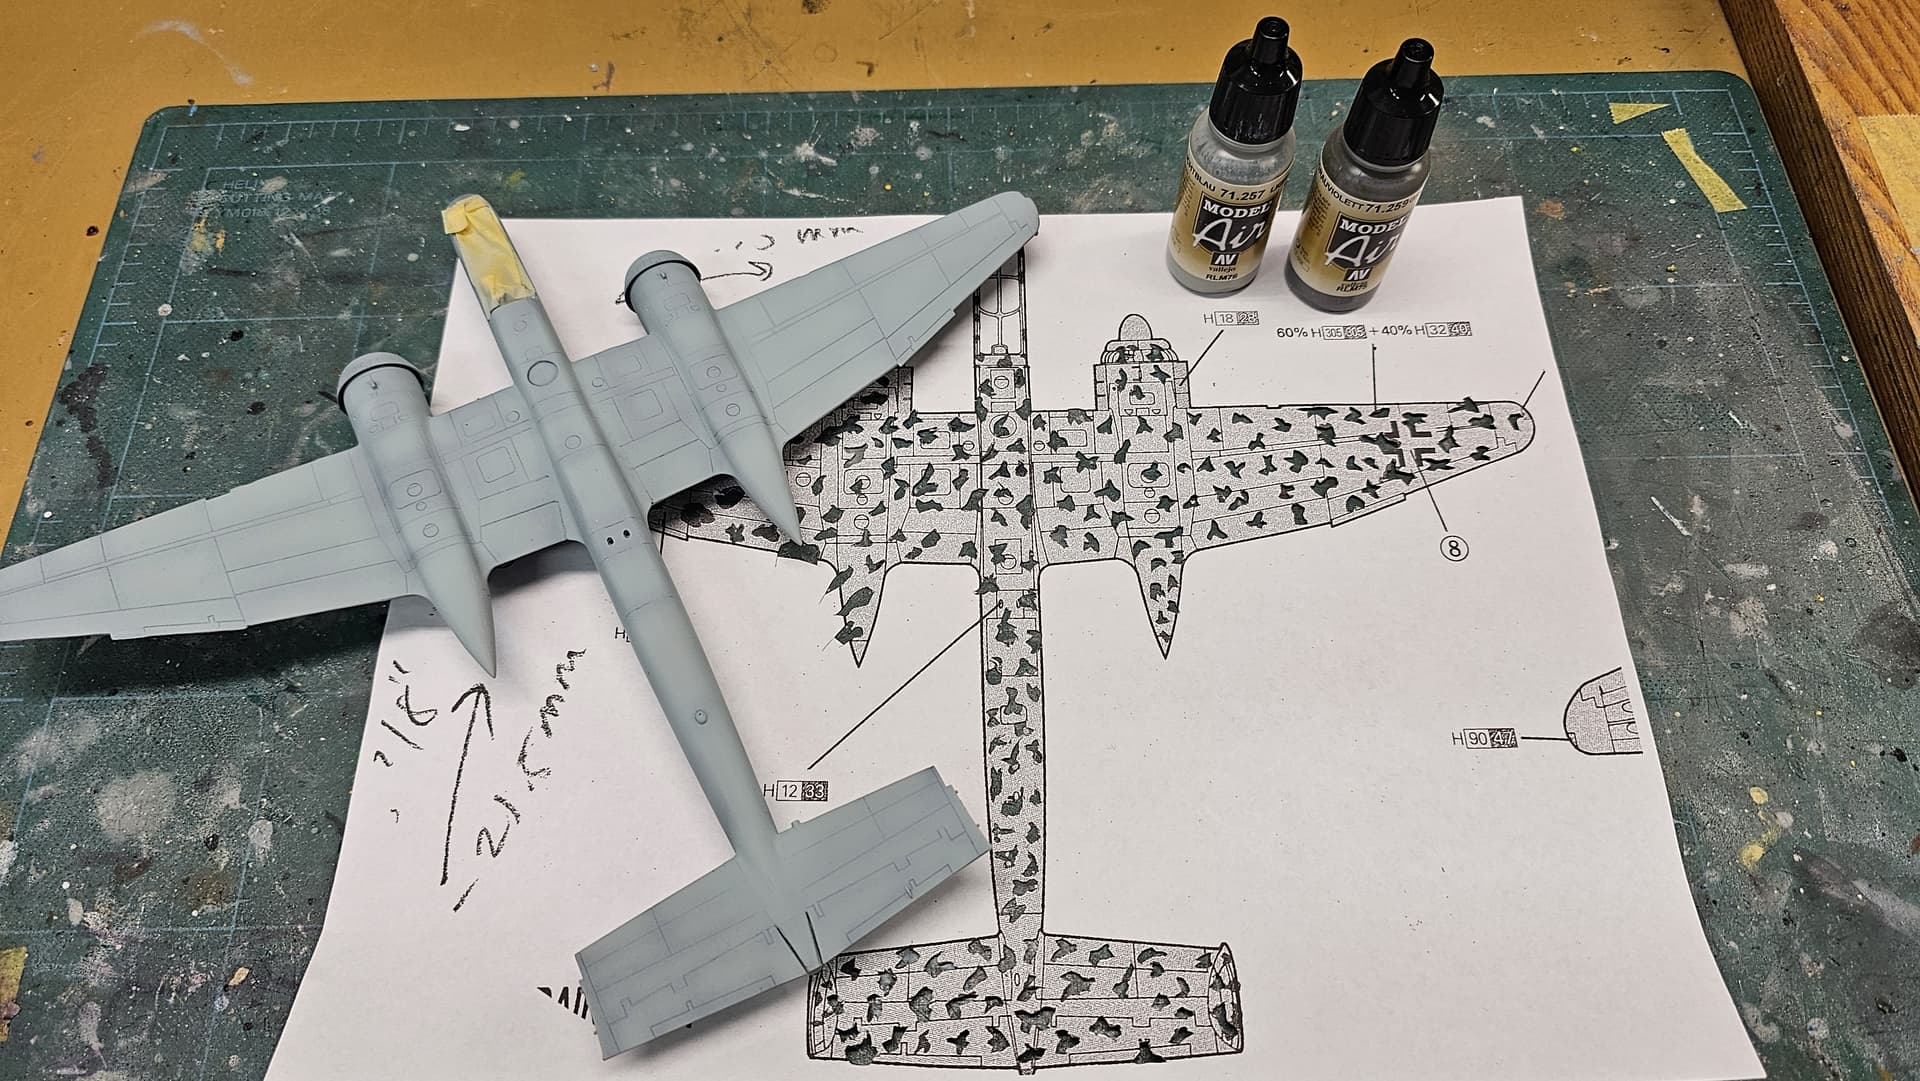
Next all the seams were checked, and feeling pretty good, I decided to proceed with painting. After some consideration, I opted to paint the invasion stripes first. I made sized copies of the paint drawings to aid in the painting of this bird. Taking the copy and cutting it and placing onto the plane, and then using thin (about 1 mm) strips of Kabuki tape where the invasion stripes would go.
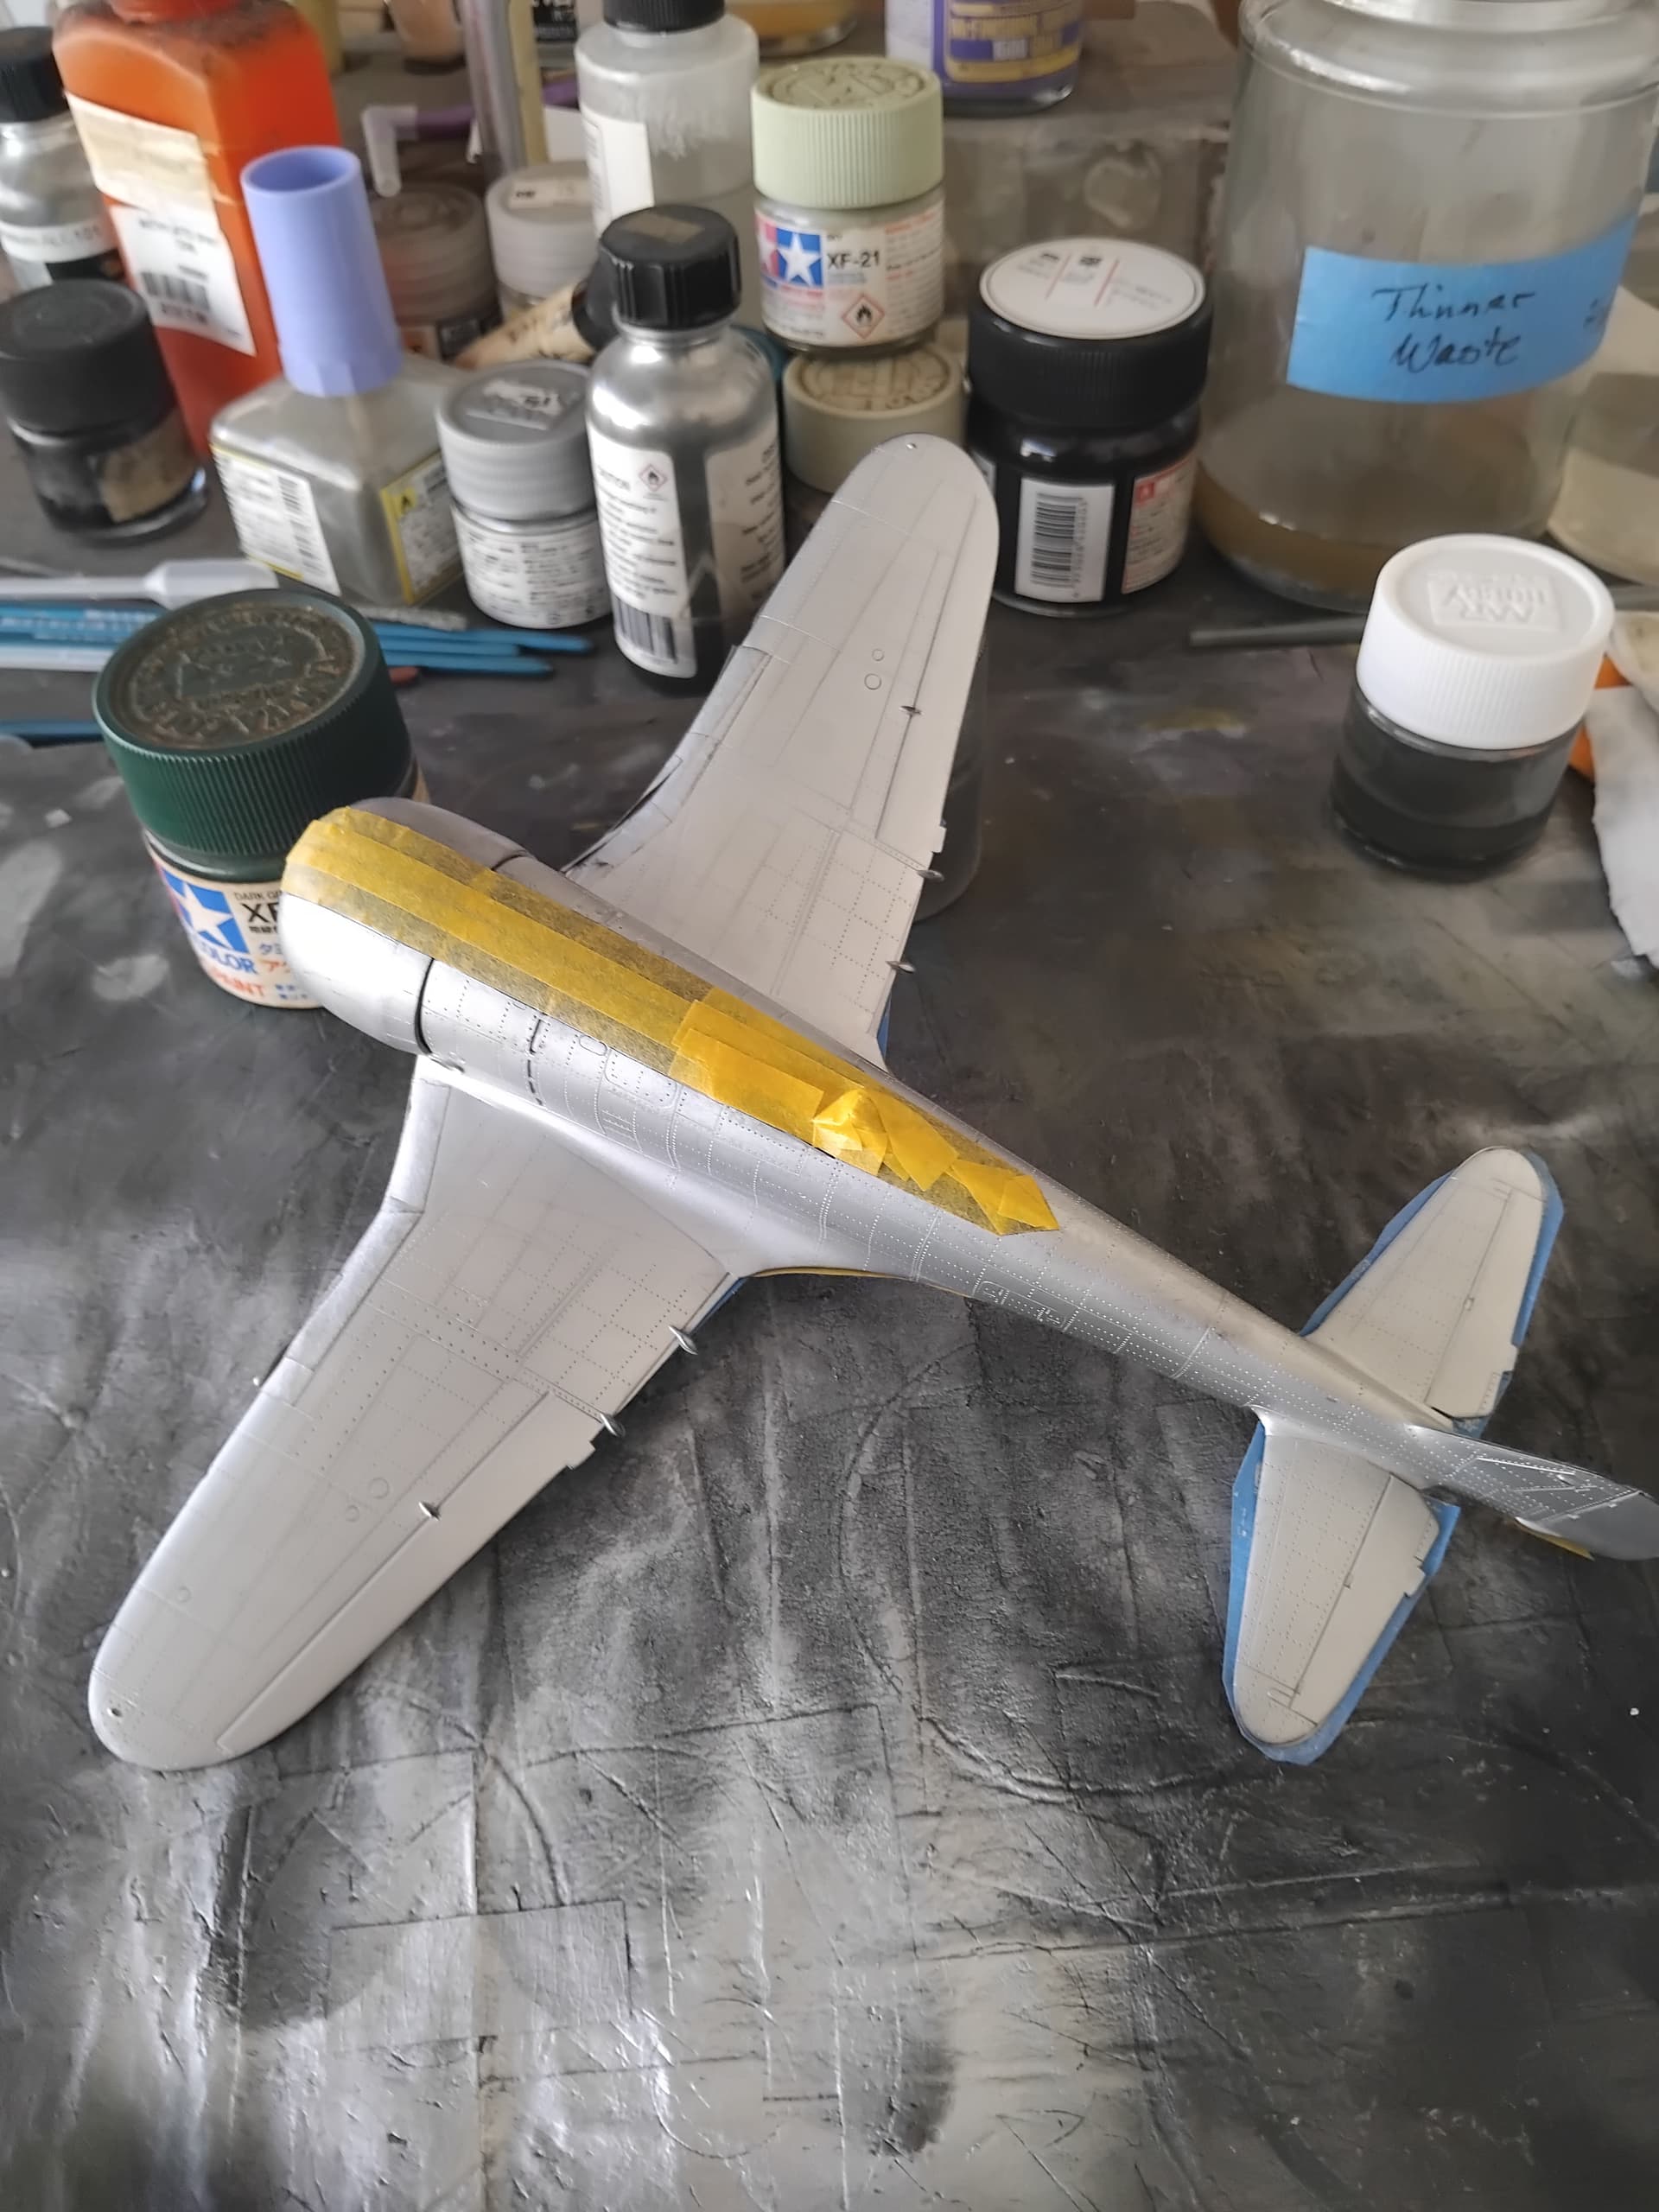
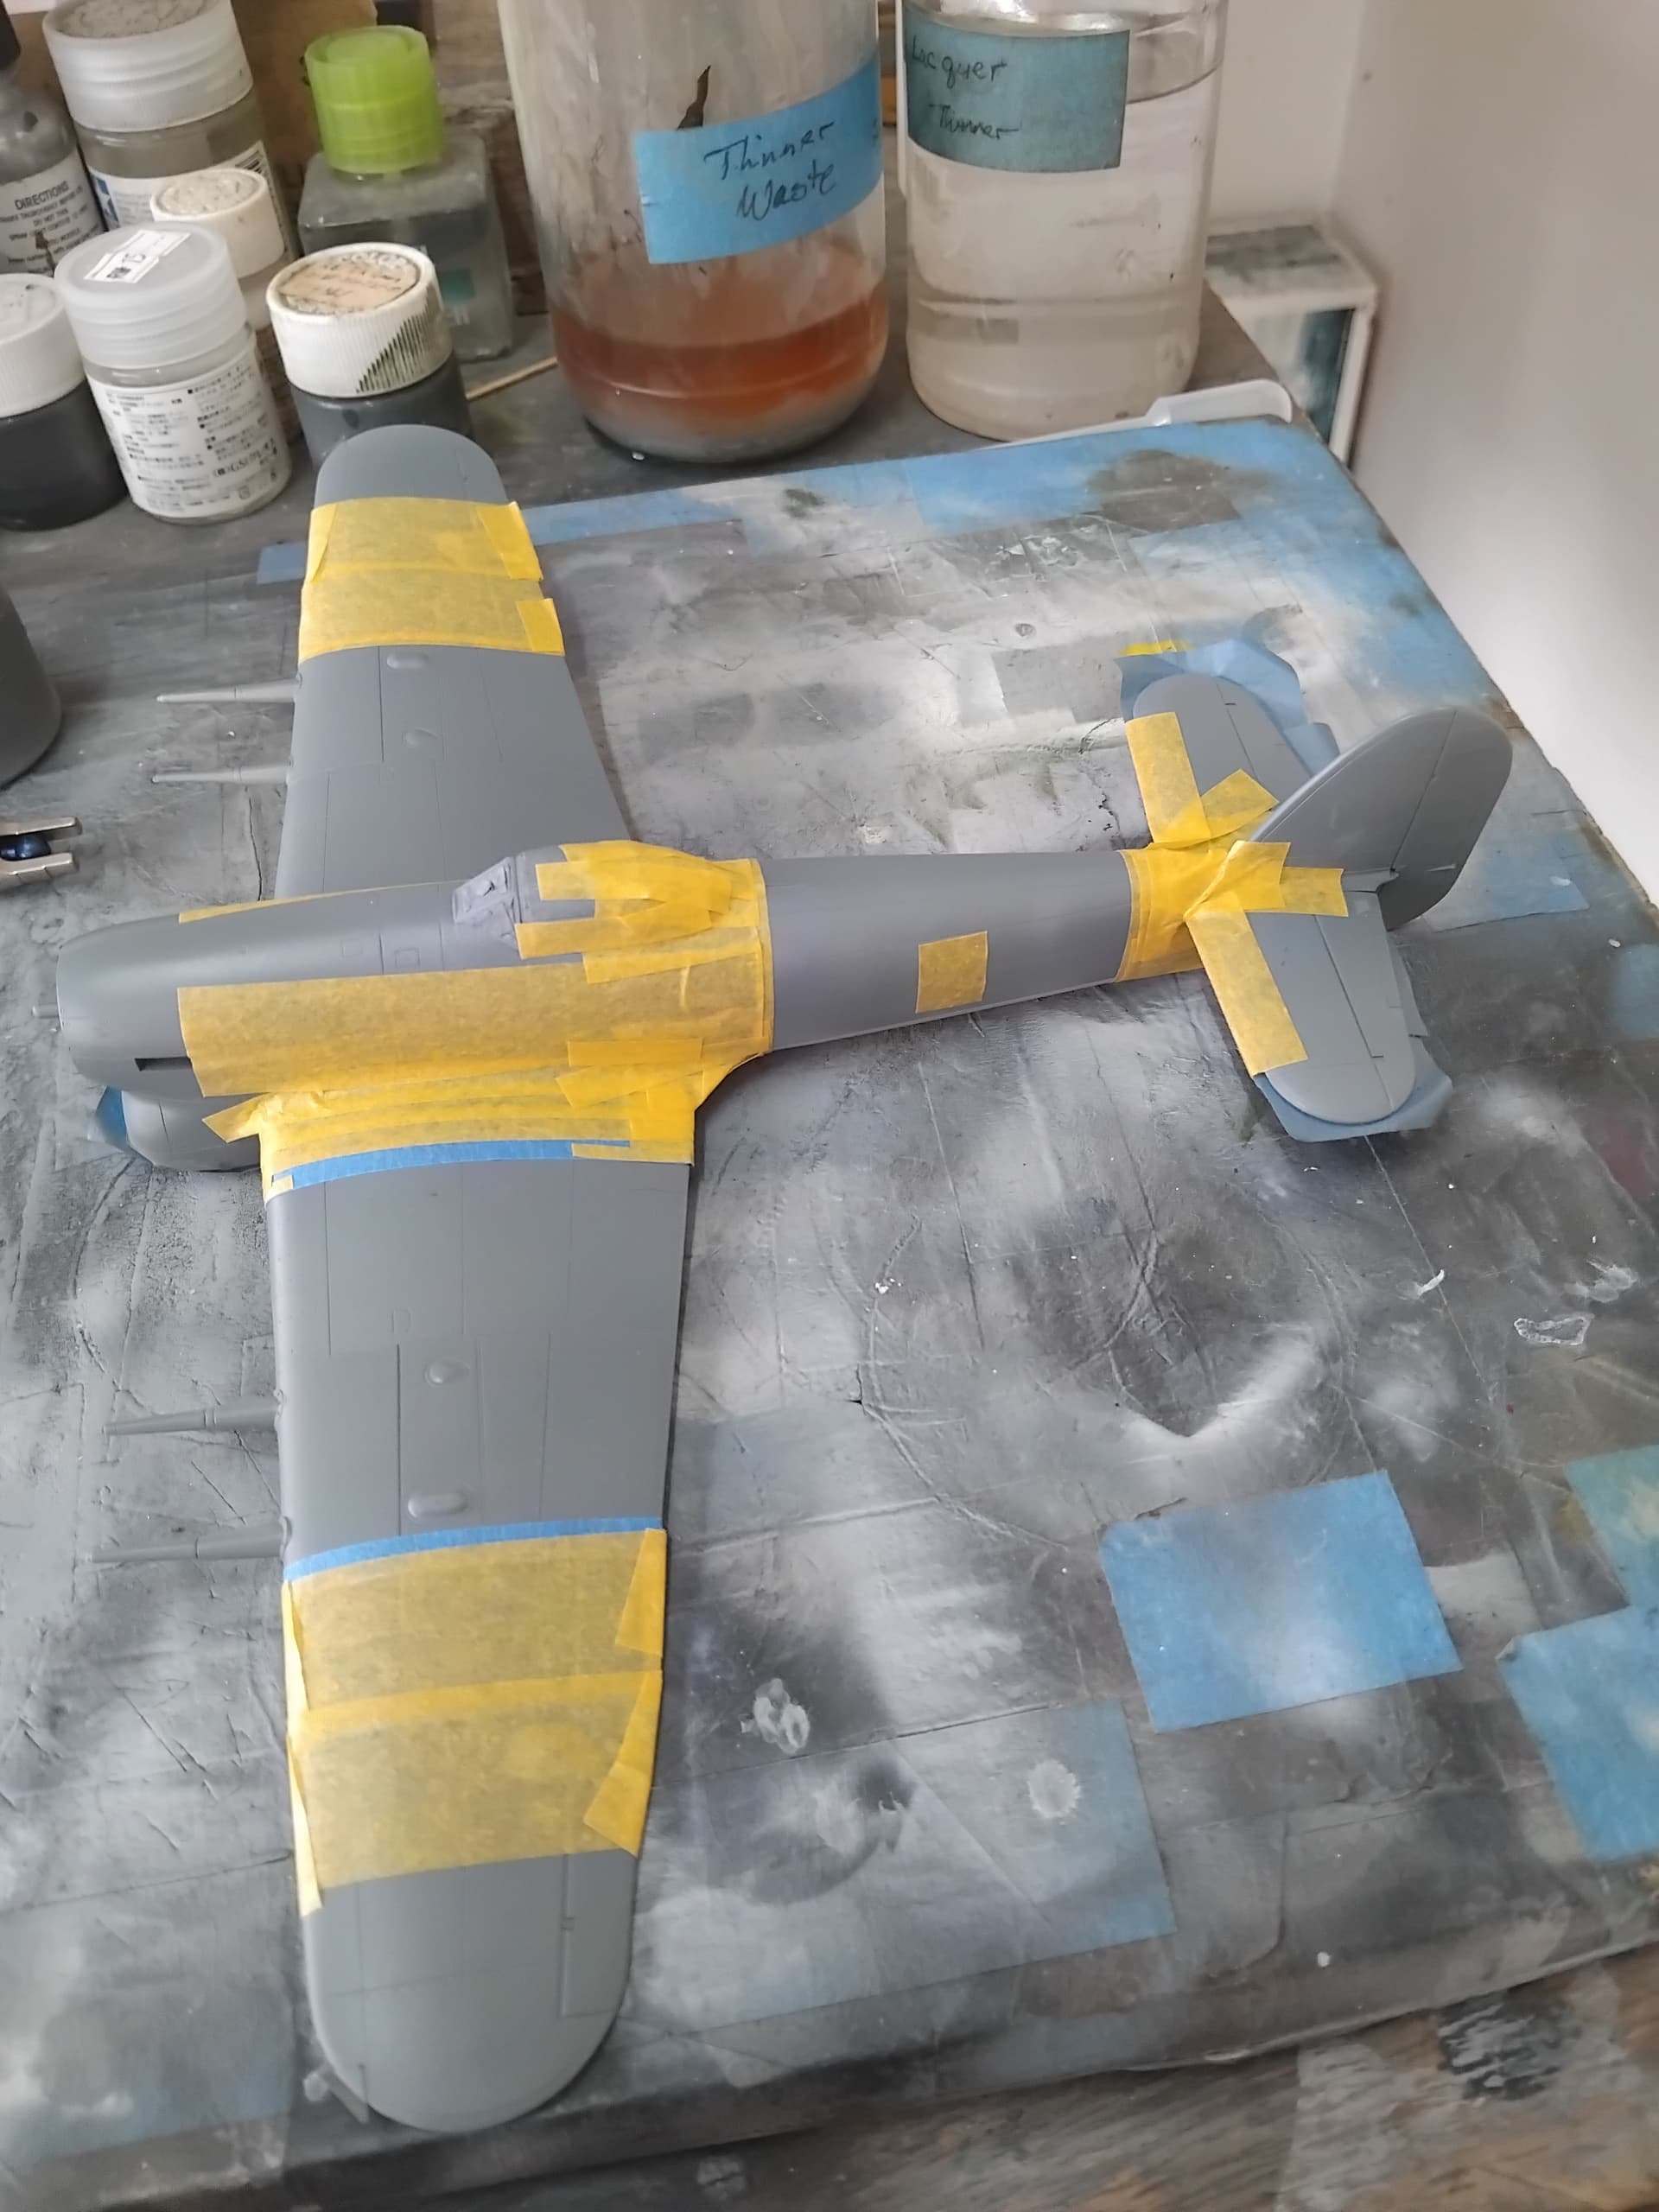
I’ve been doing invasion stripes for a long time, though I realized that it had been some time since I’ve done them. So, I opted to paint the stripes first, and then go with the camo. First up was to mask things up for the white background. Bless those Brits for painting around the identification letters on the invasion stripe area, nothing like increasing the difficulty of a masking job!
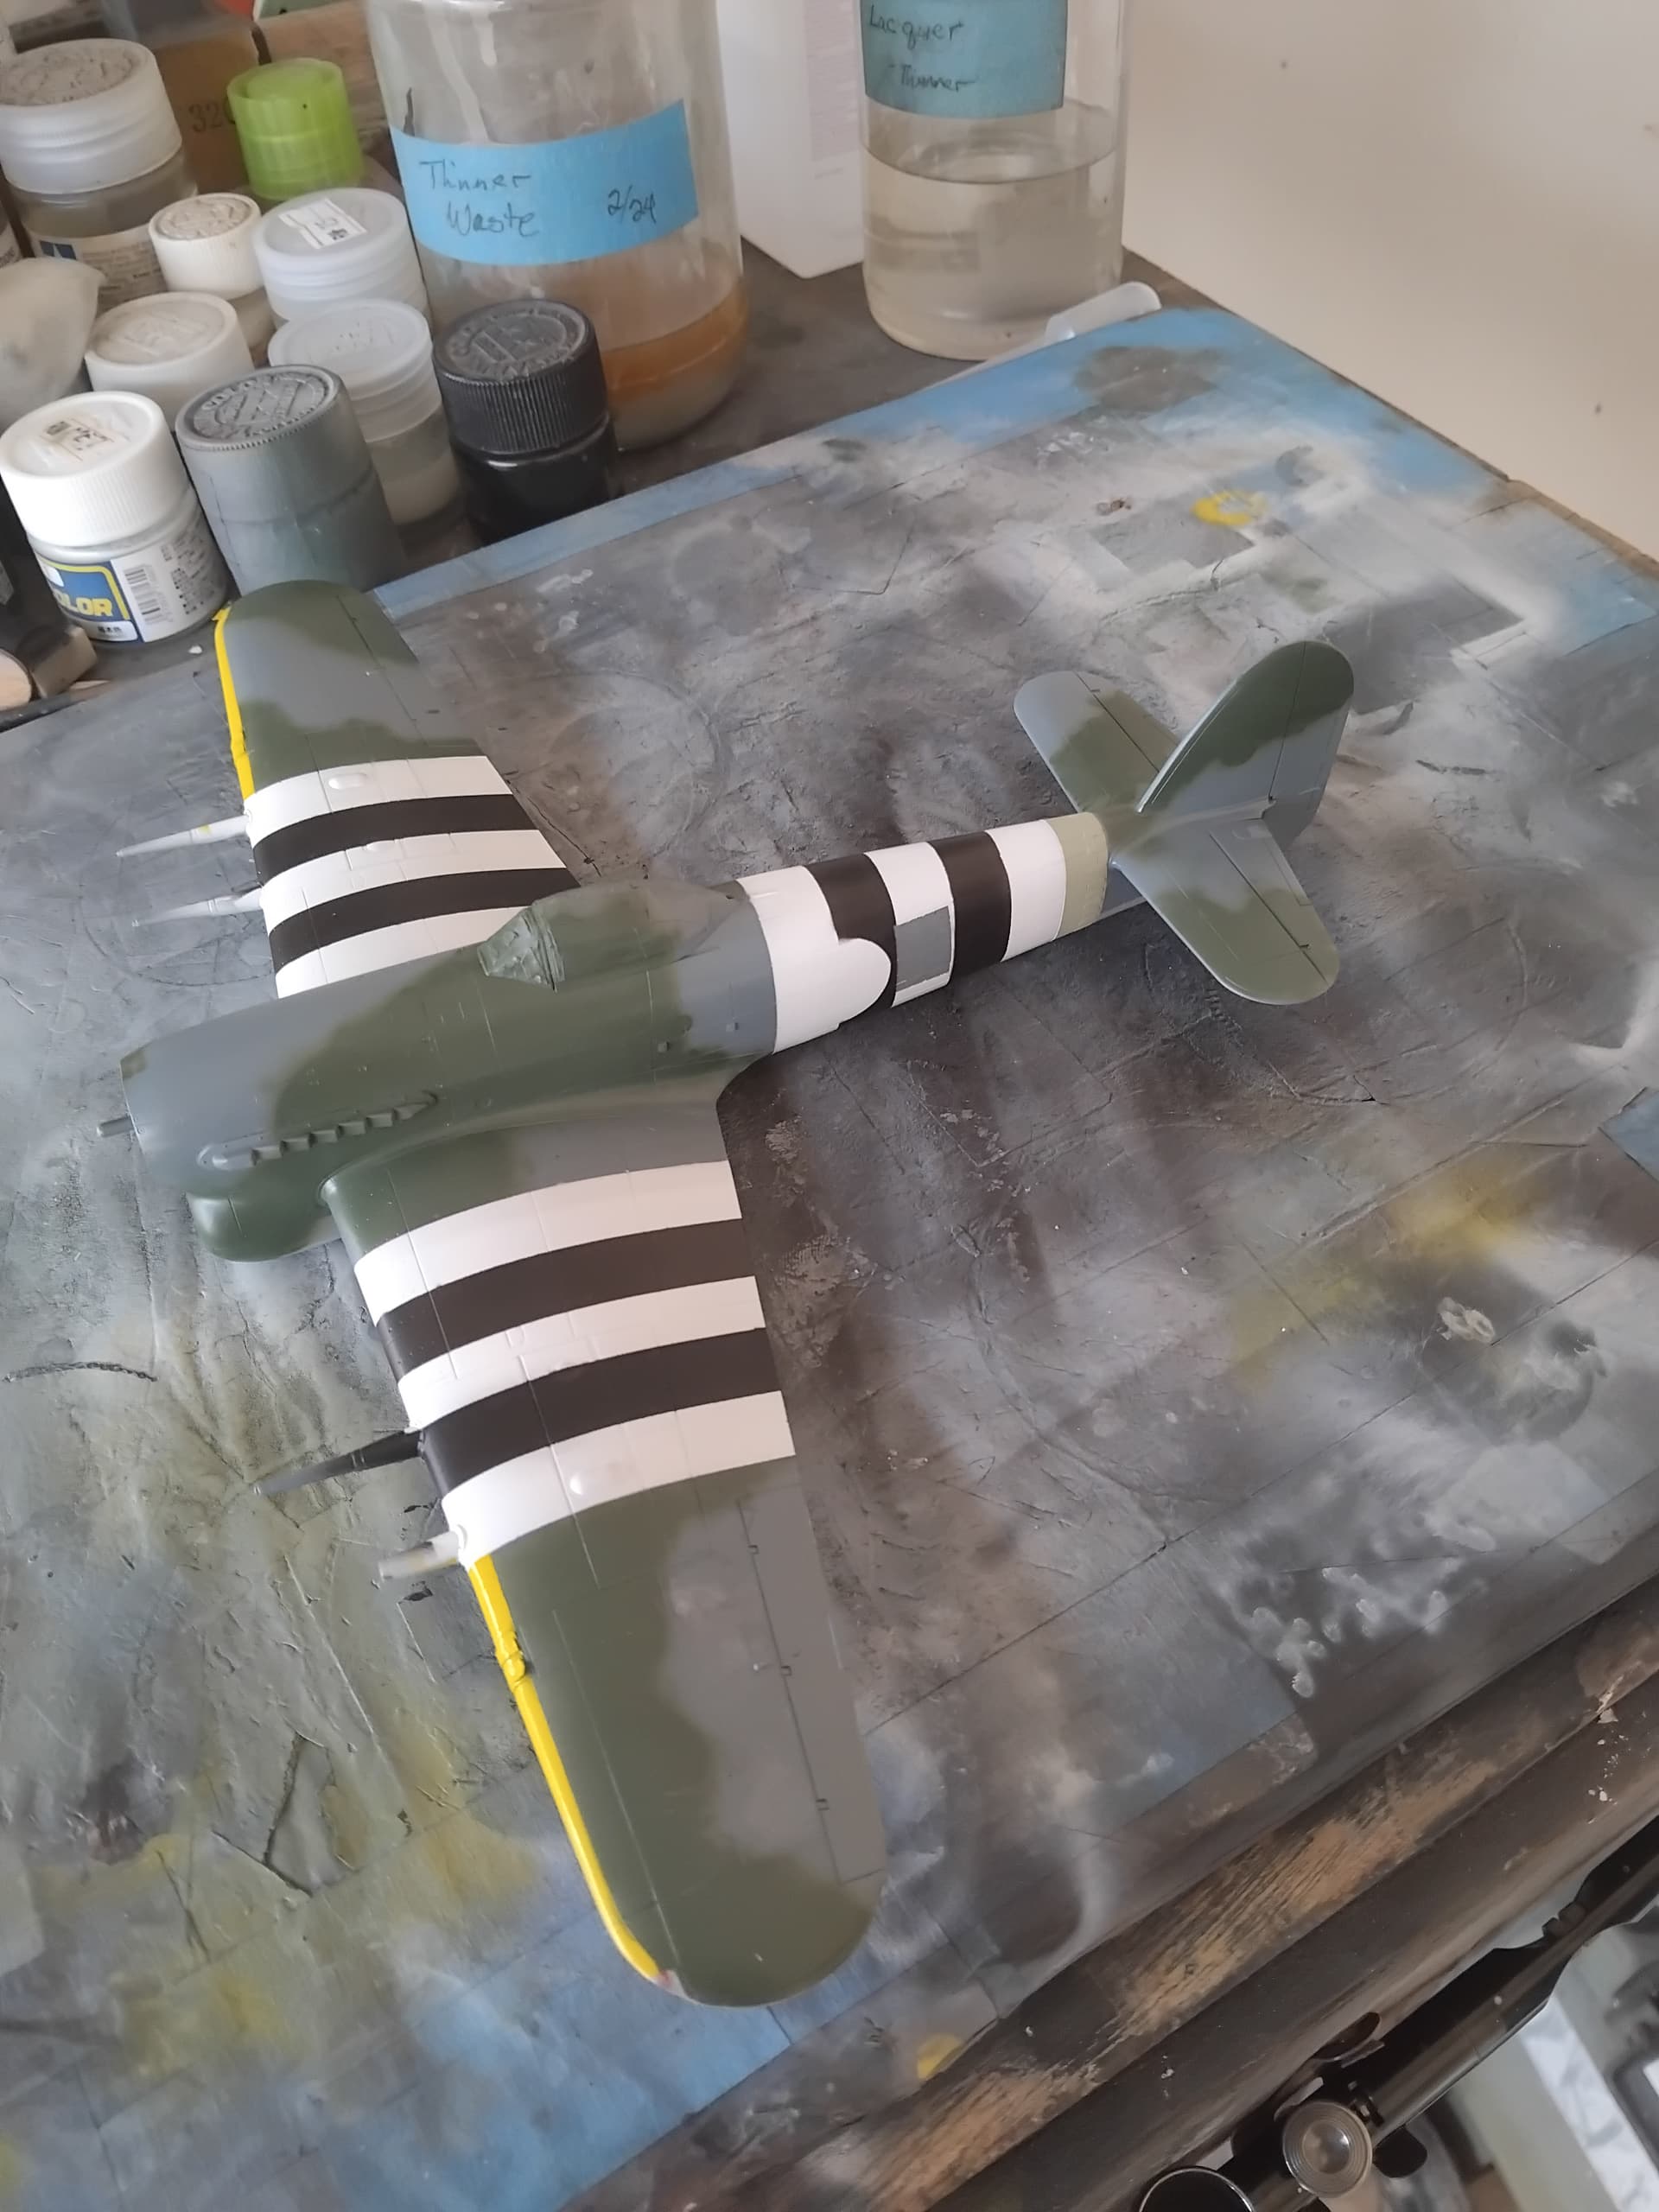
Finally I was ready to lay the white!
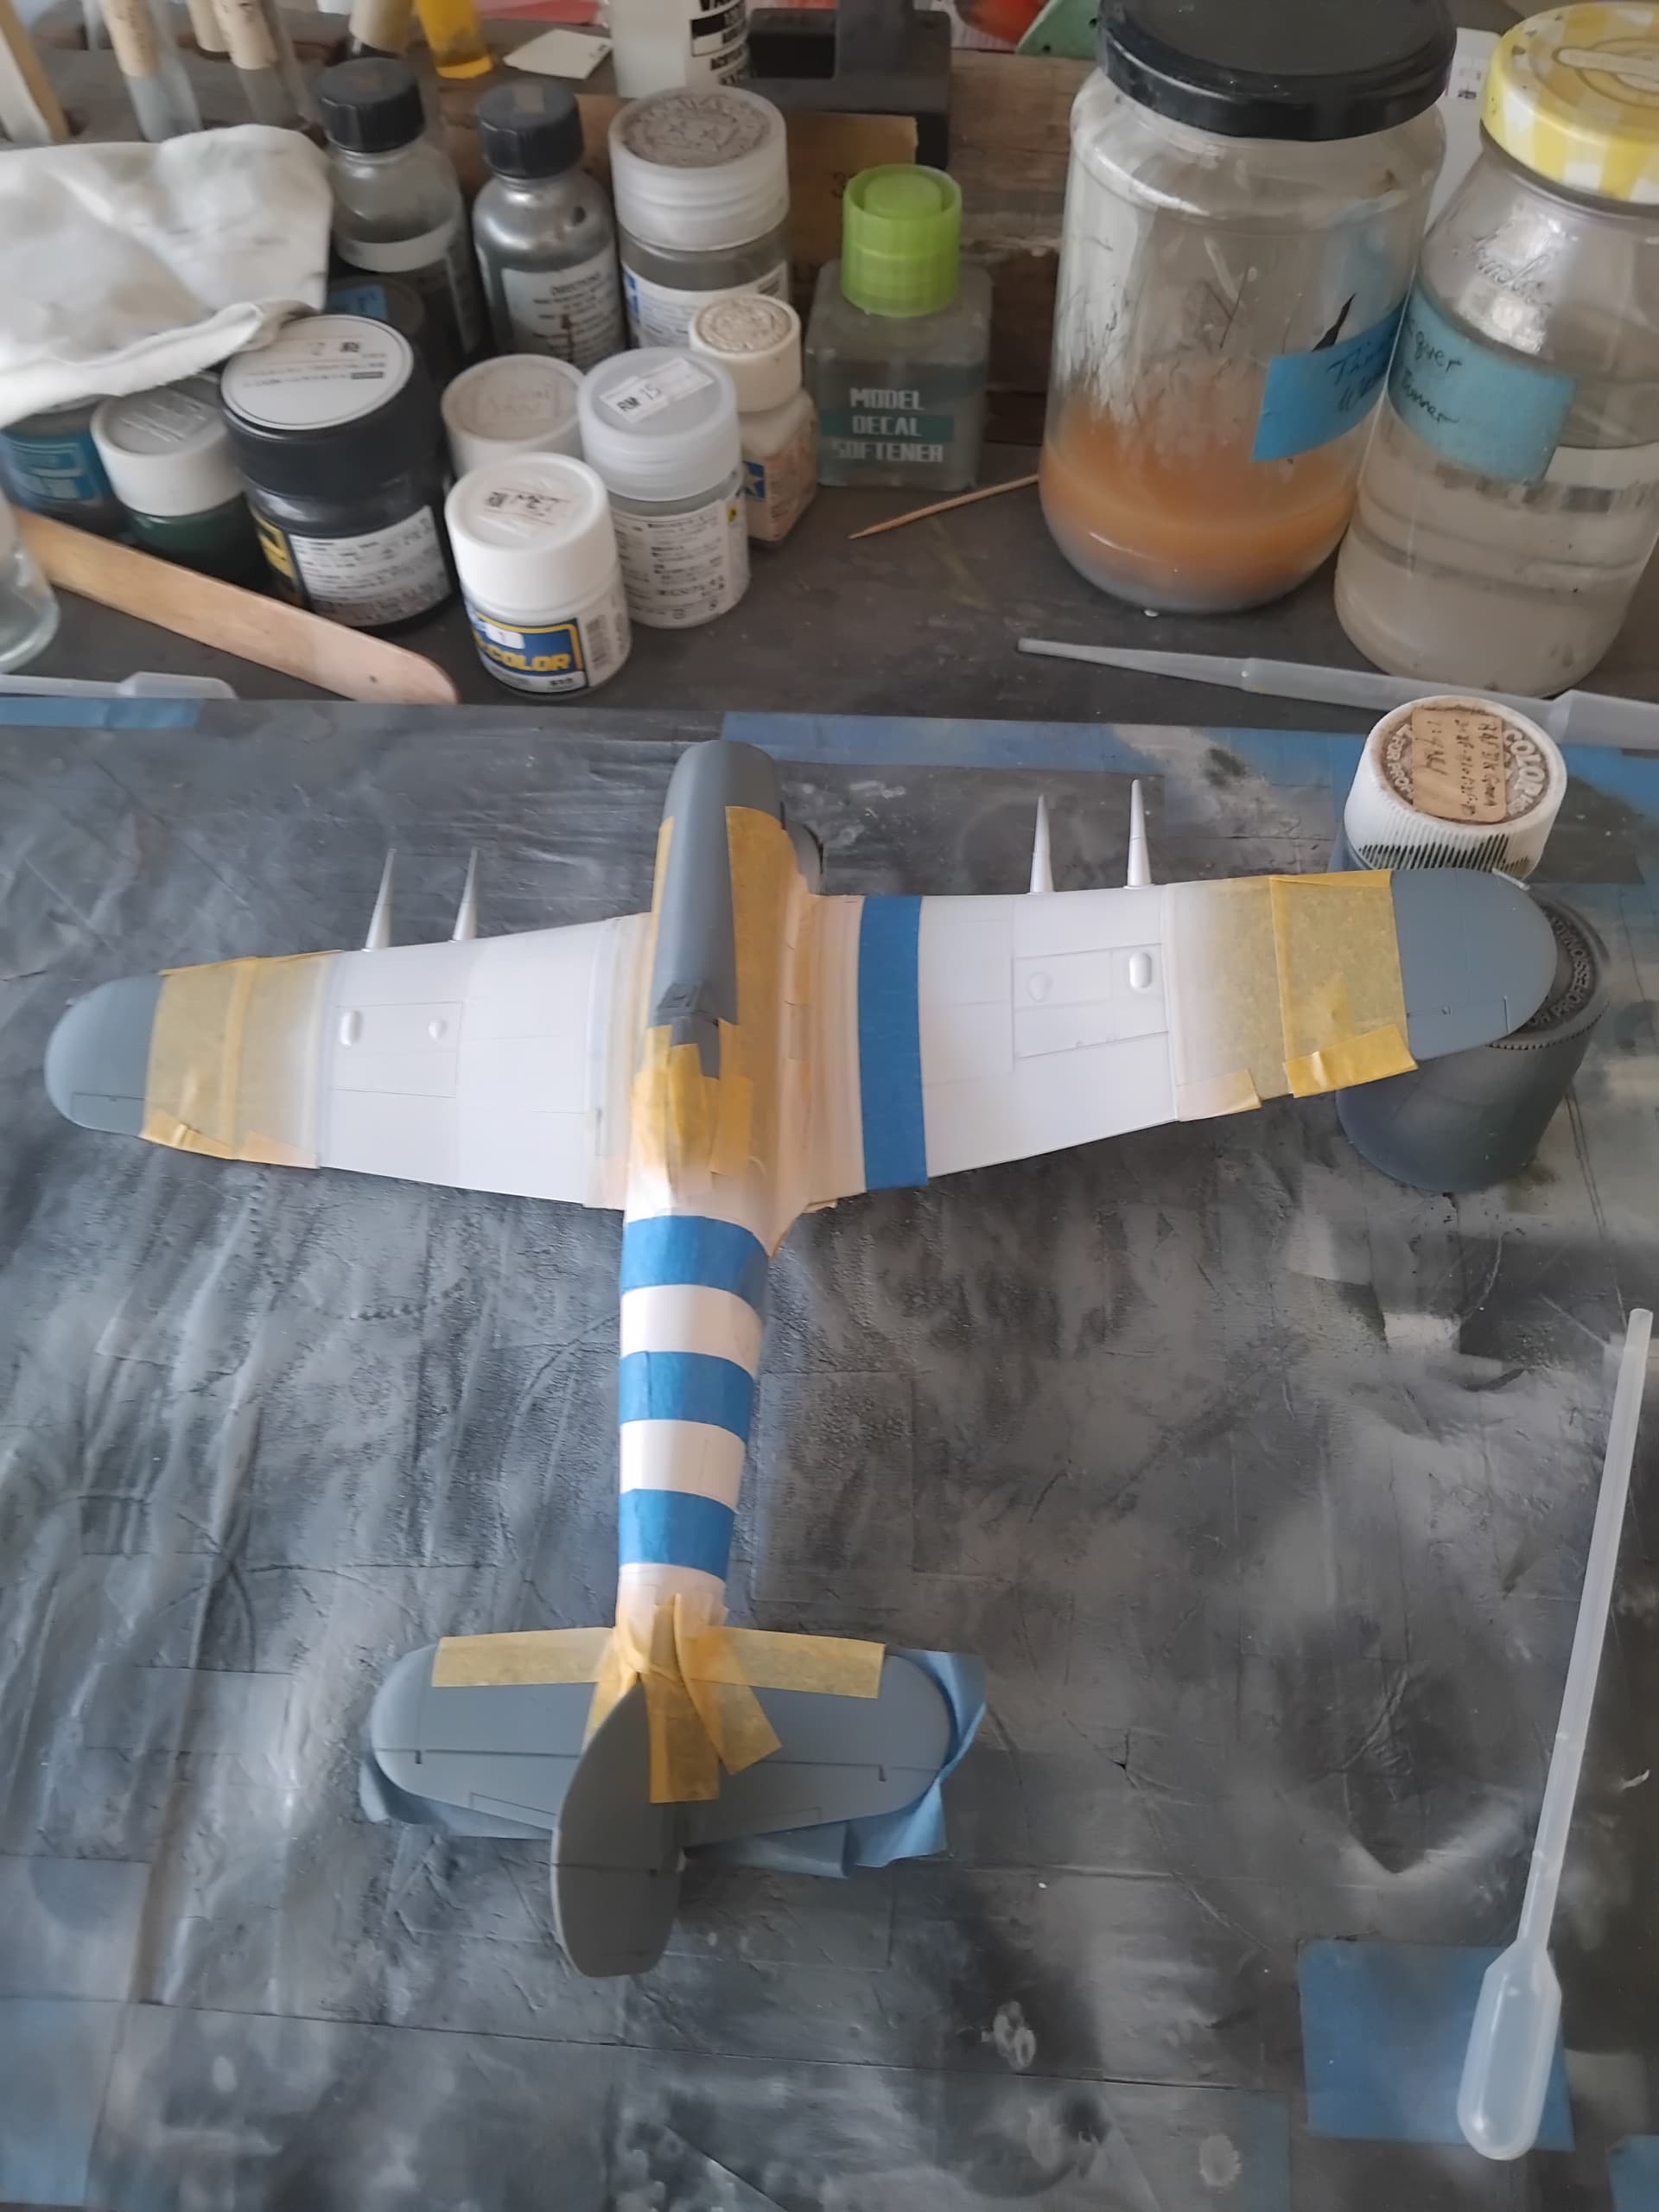
Using the decals as a guide, I cut low tack masking tape to the width of the stripes so that the black could be painted down.
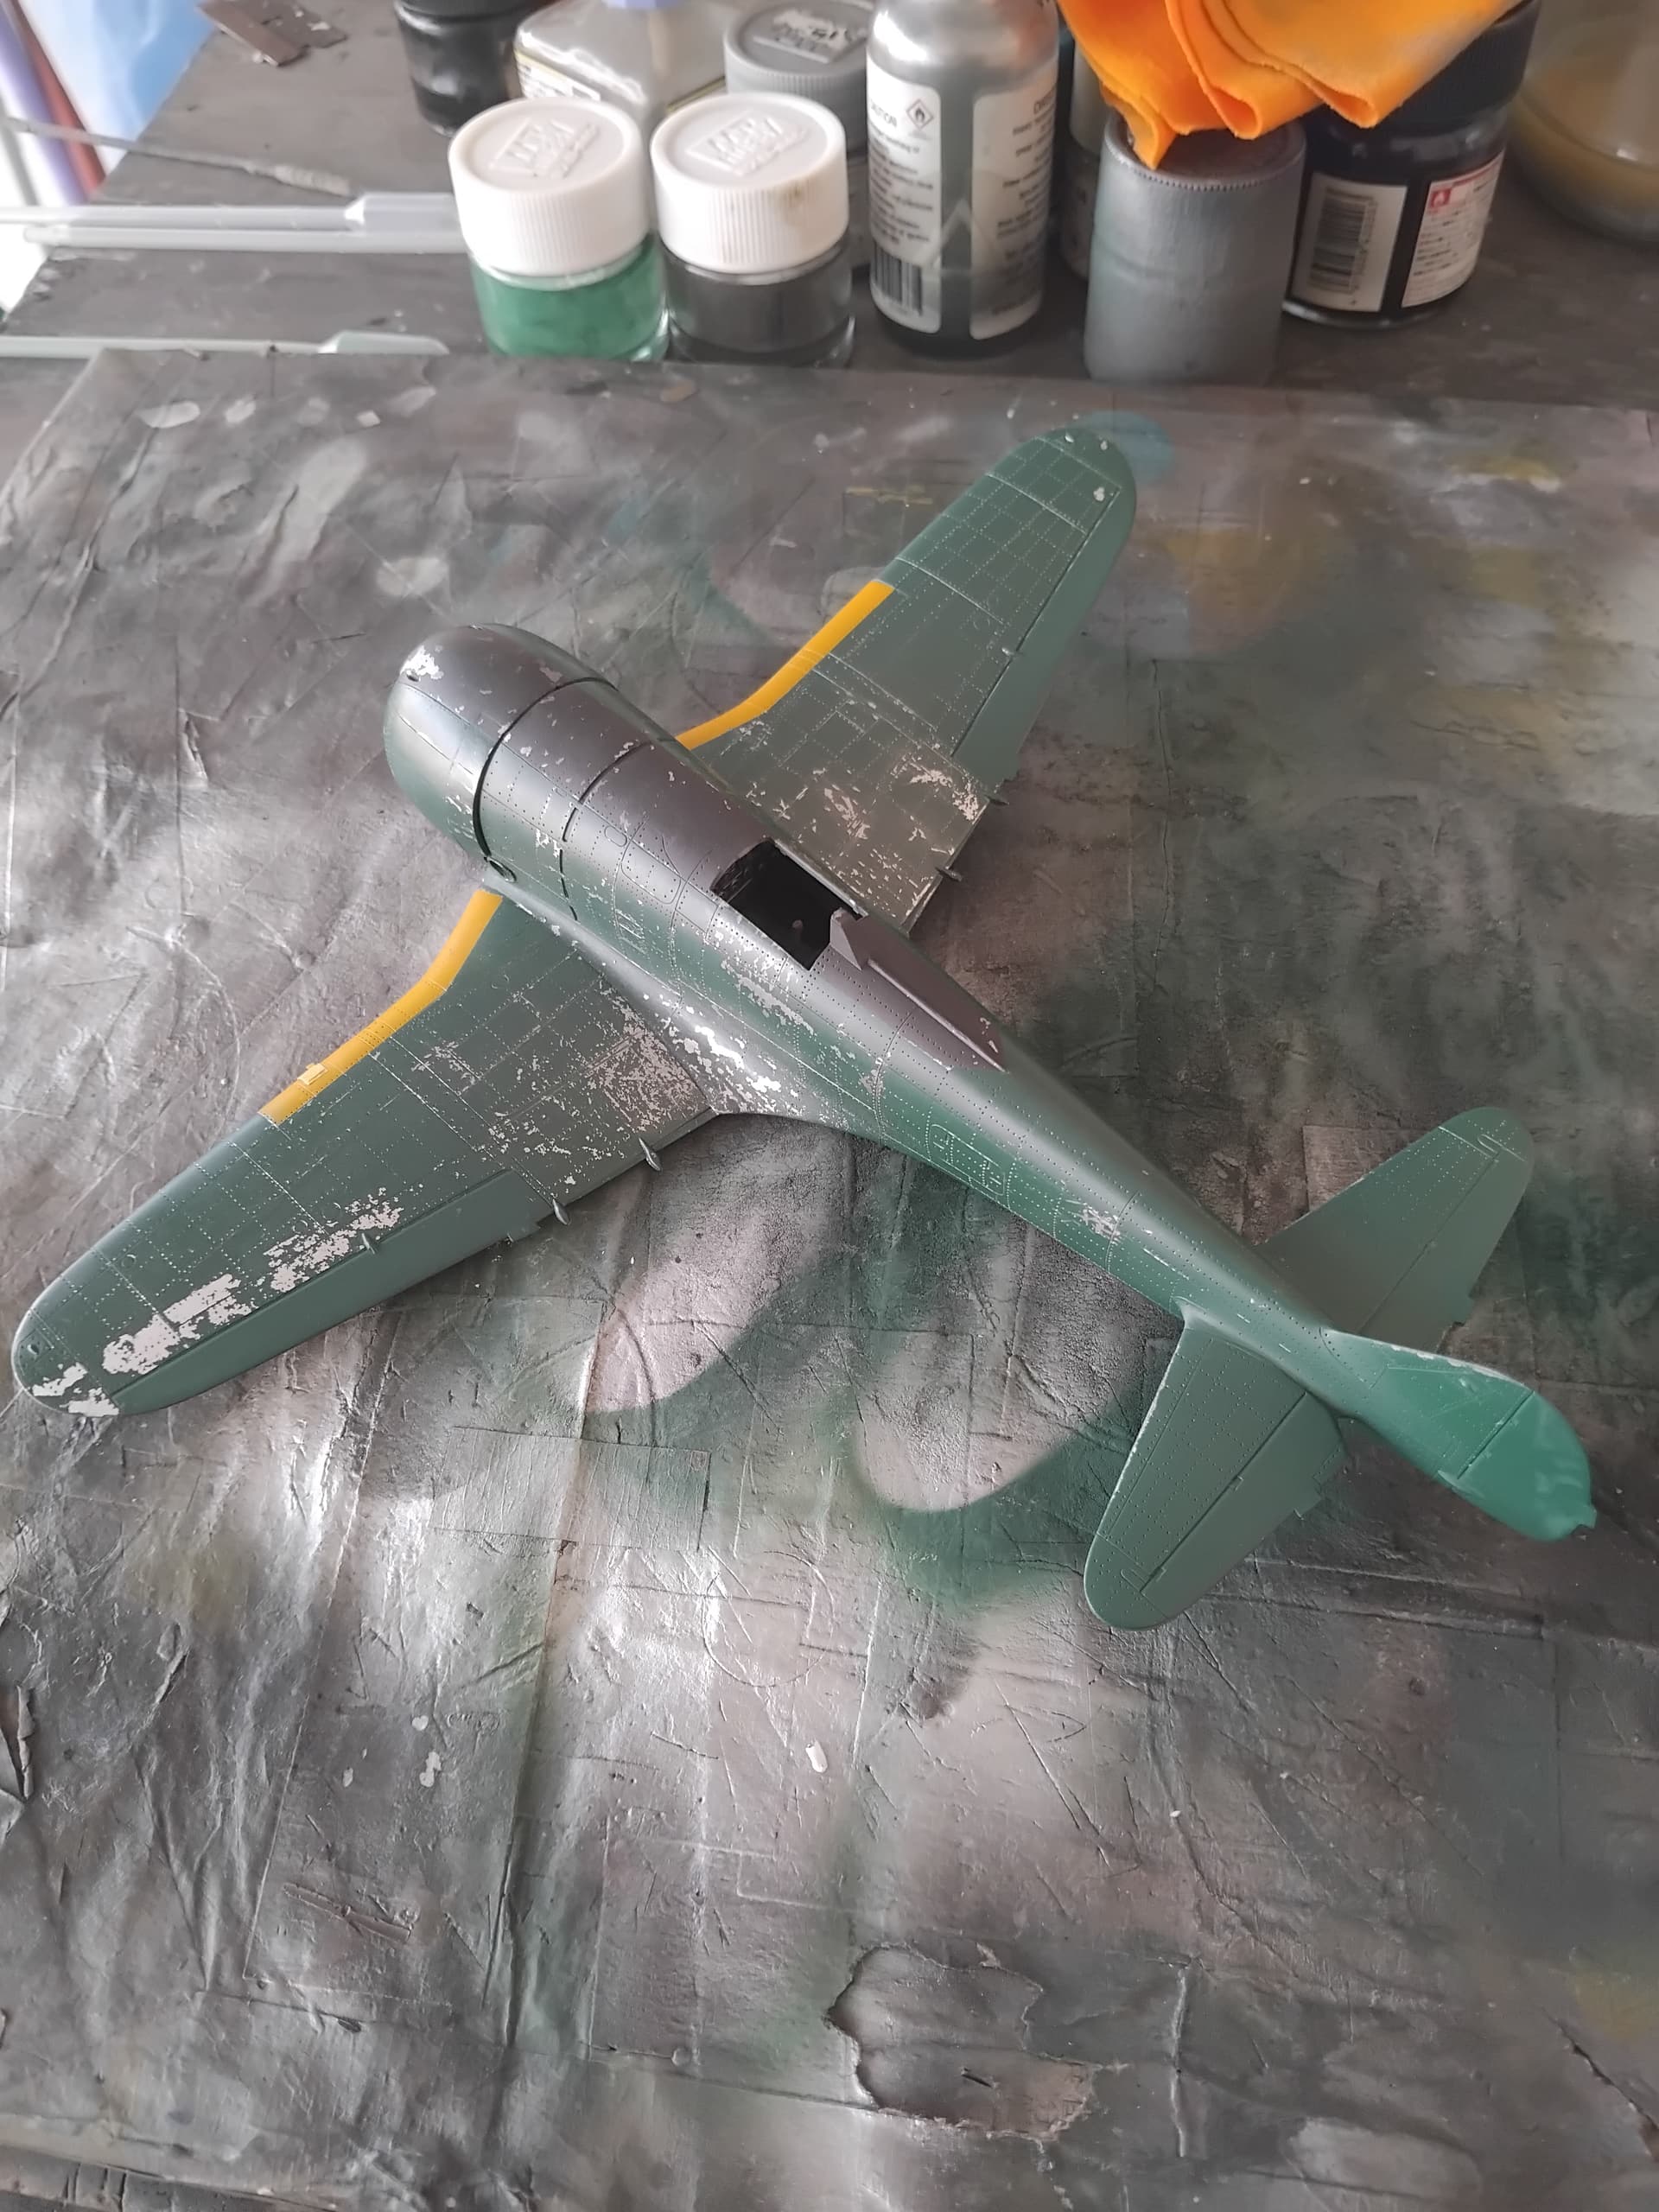
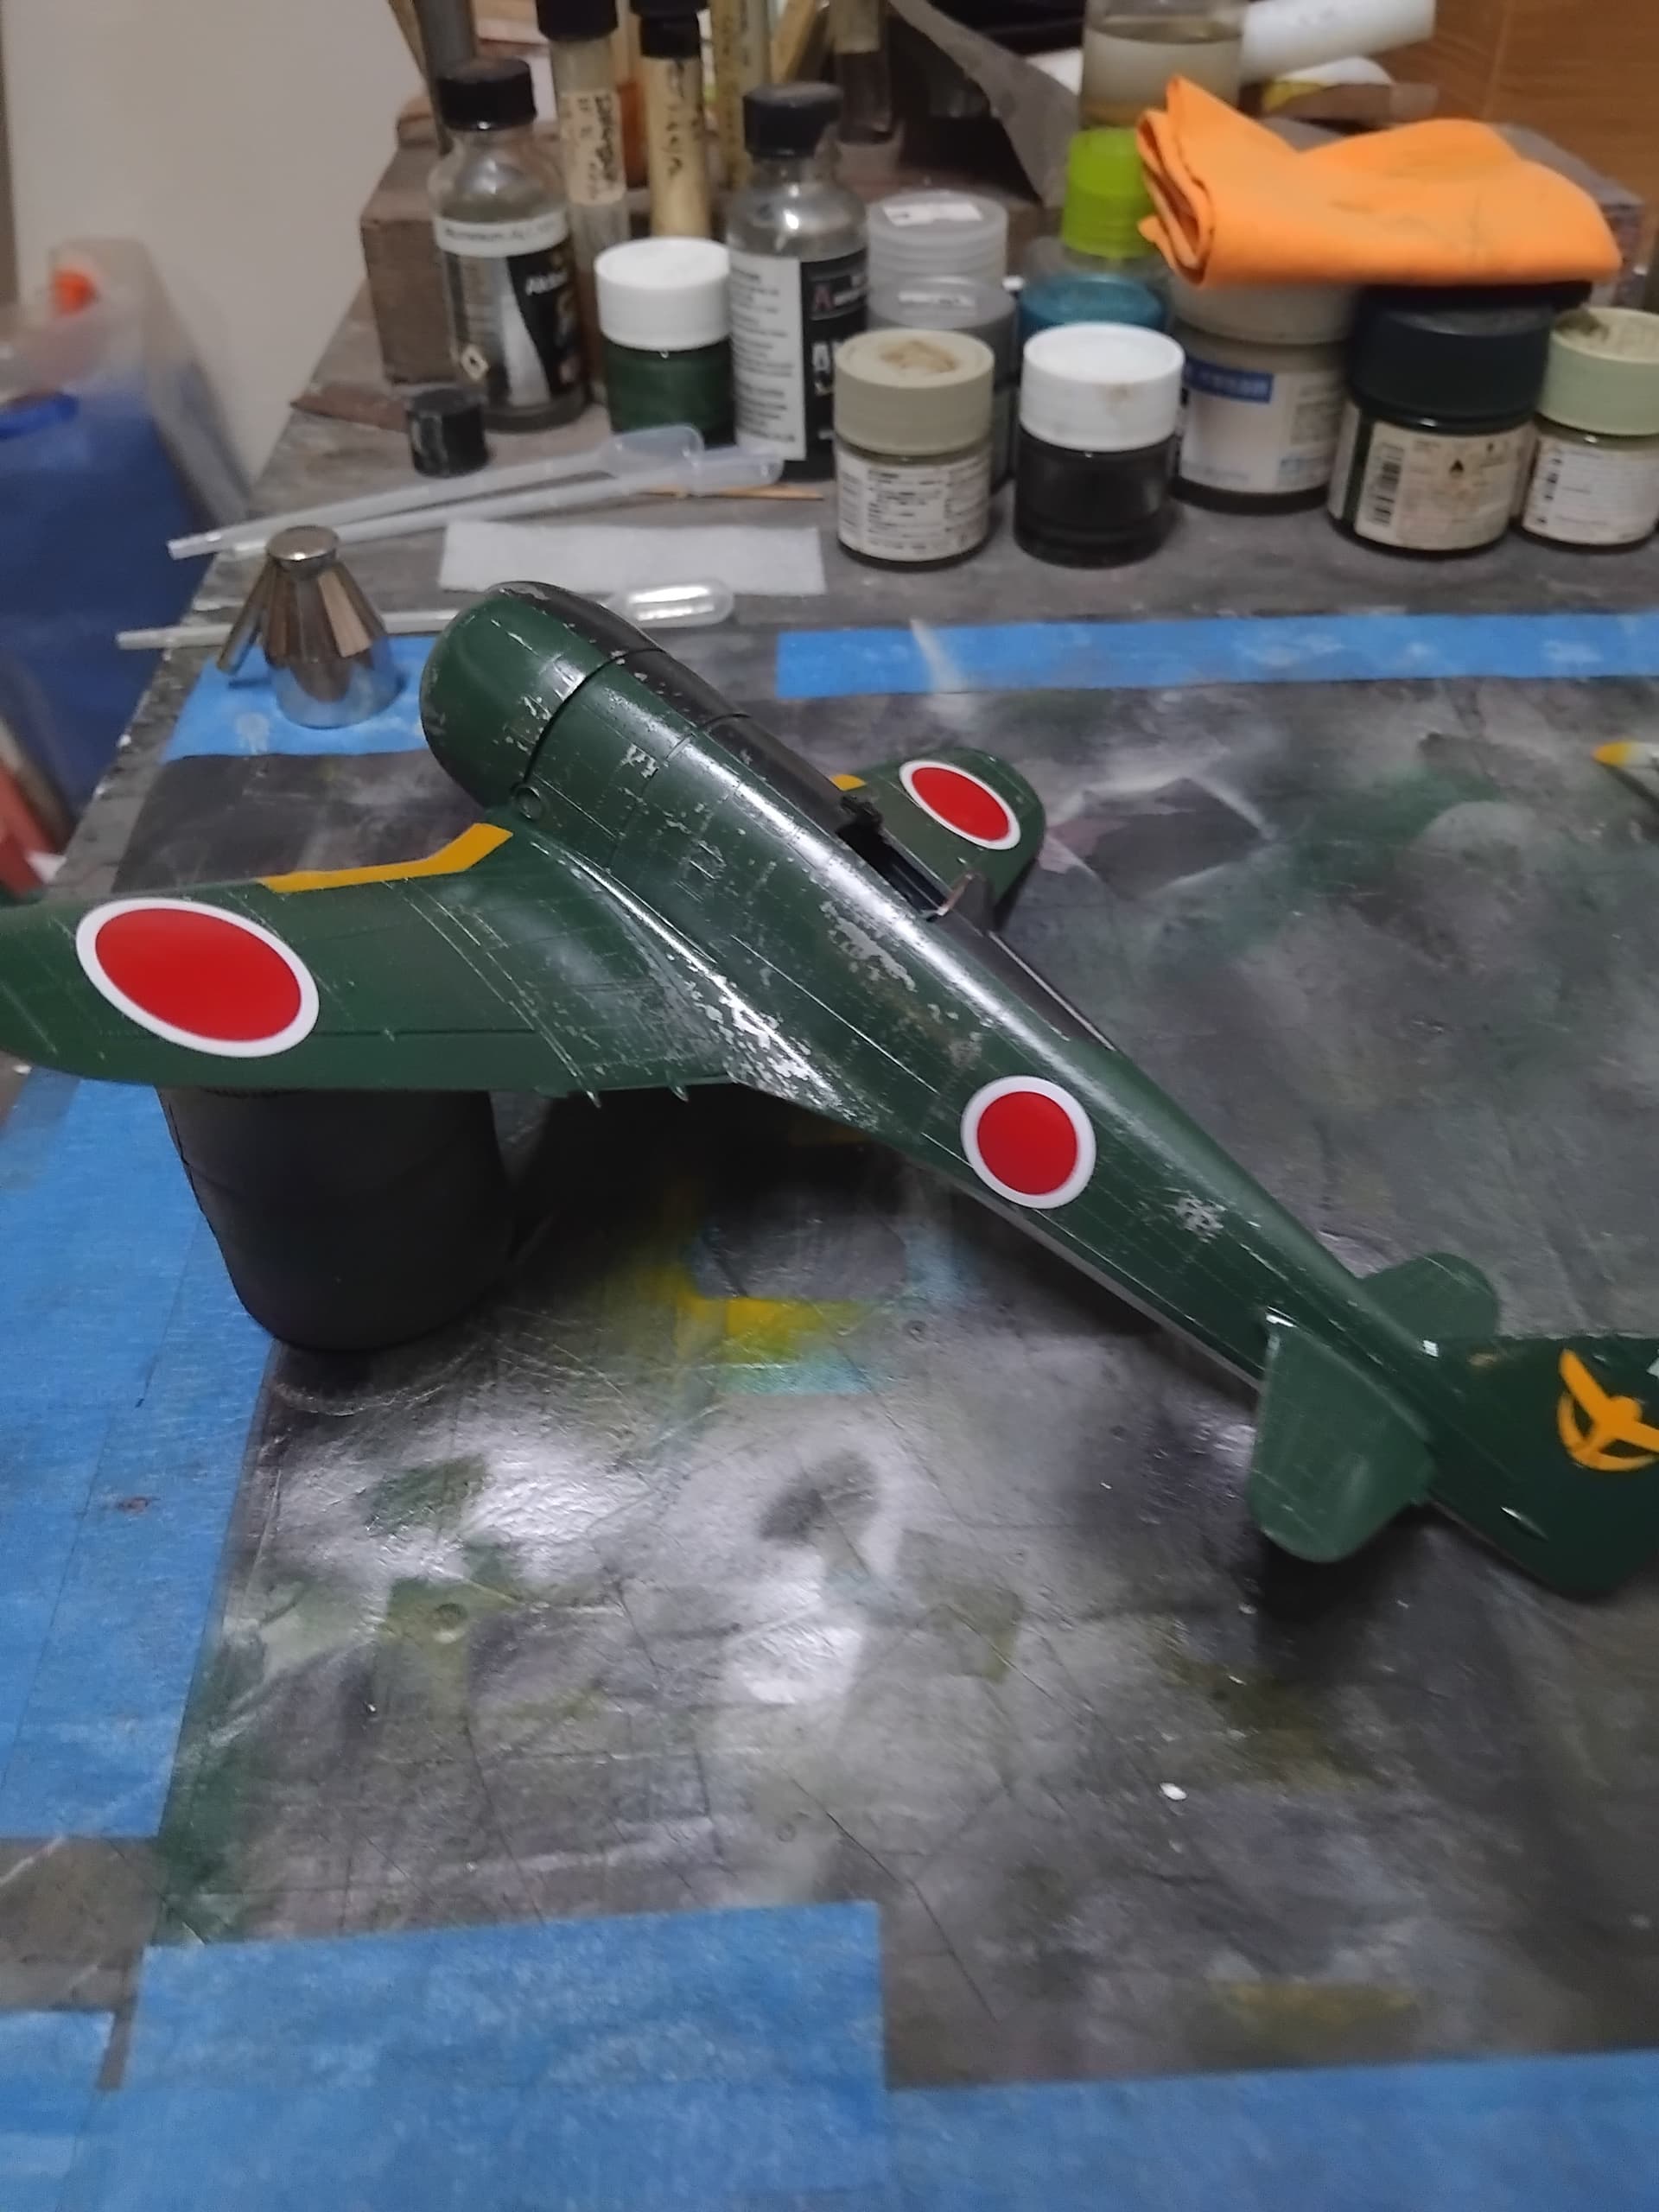
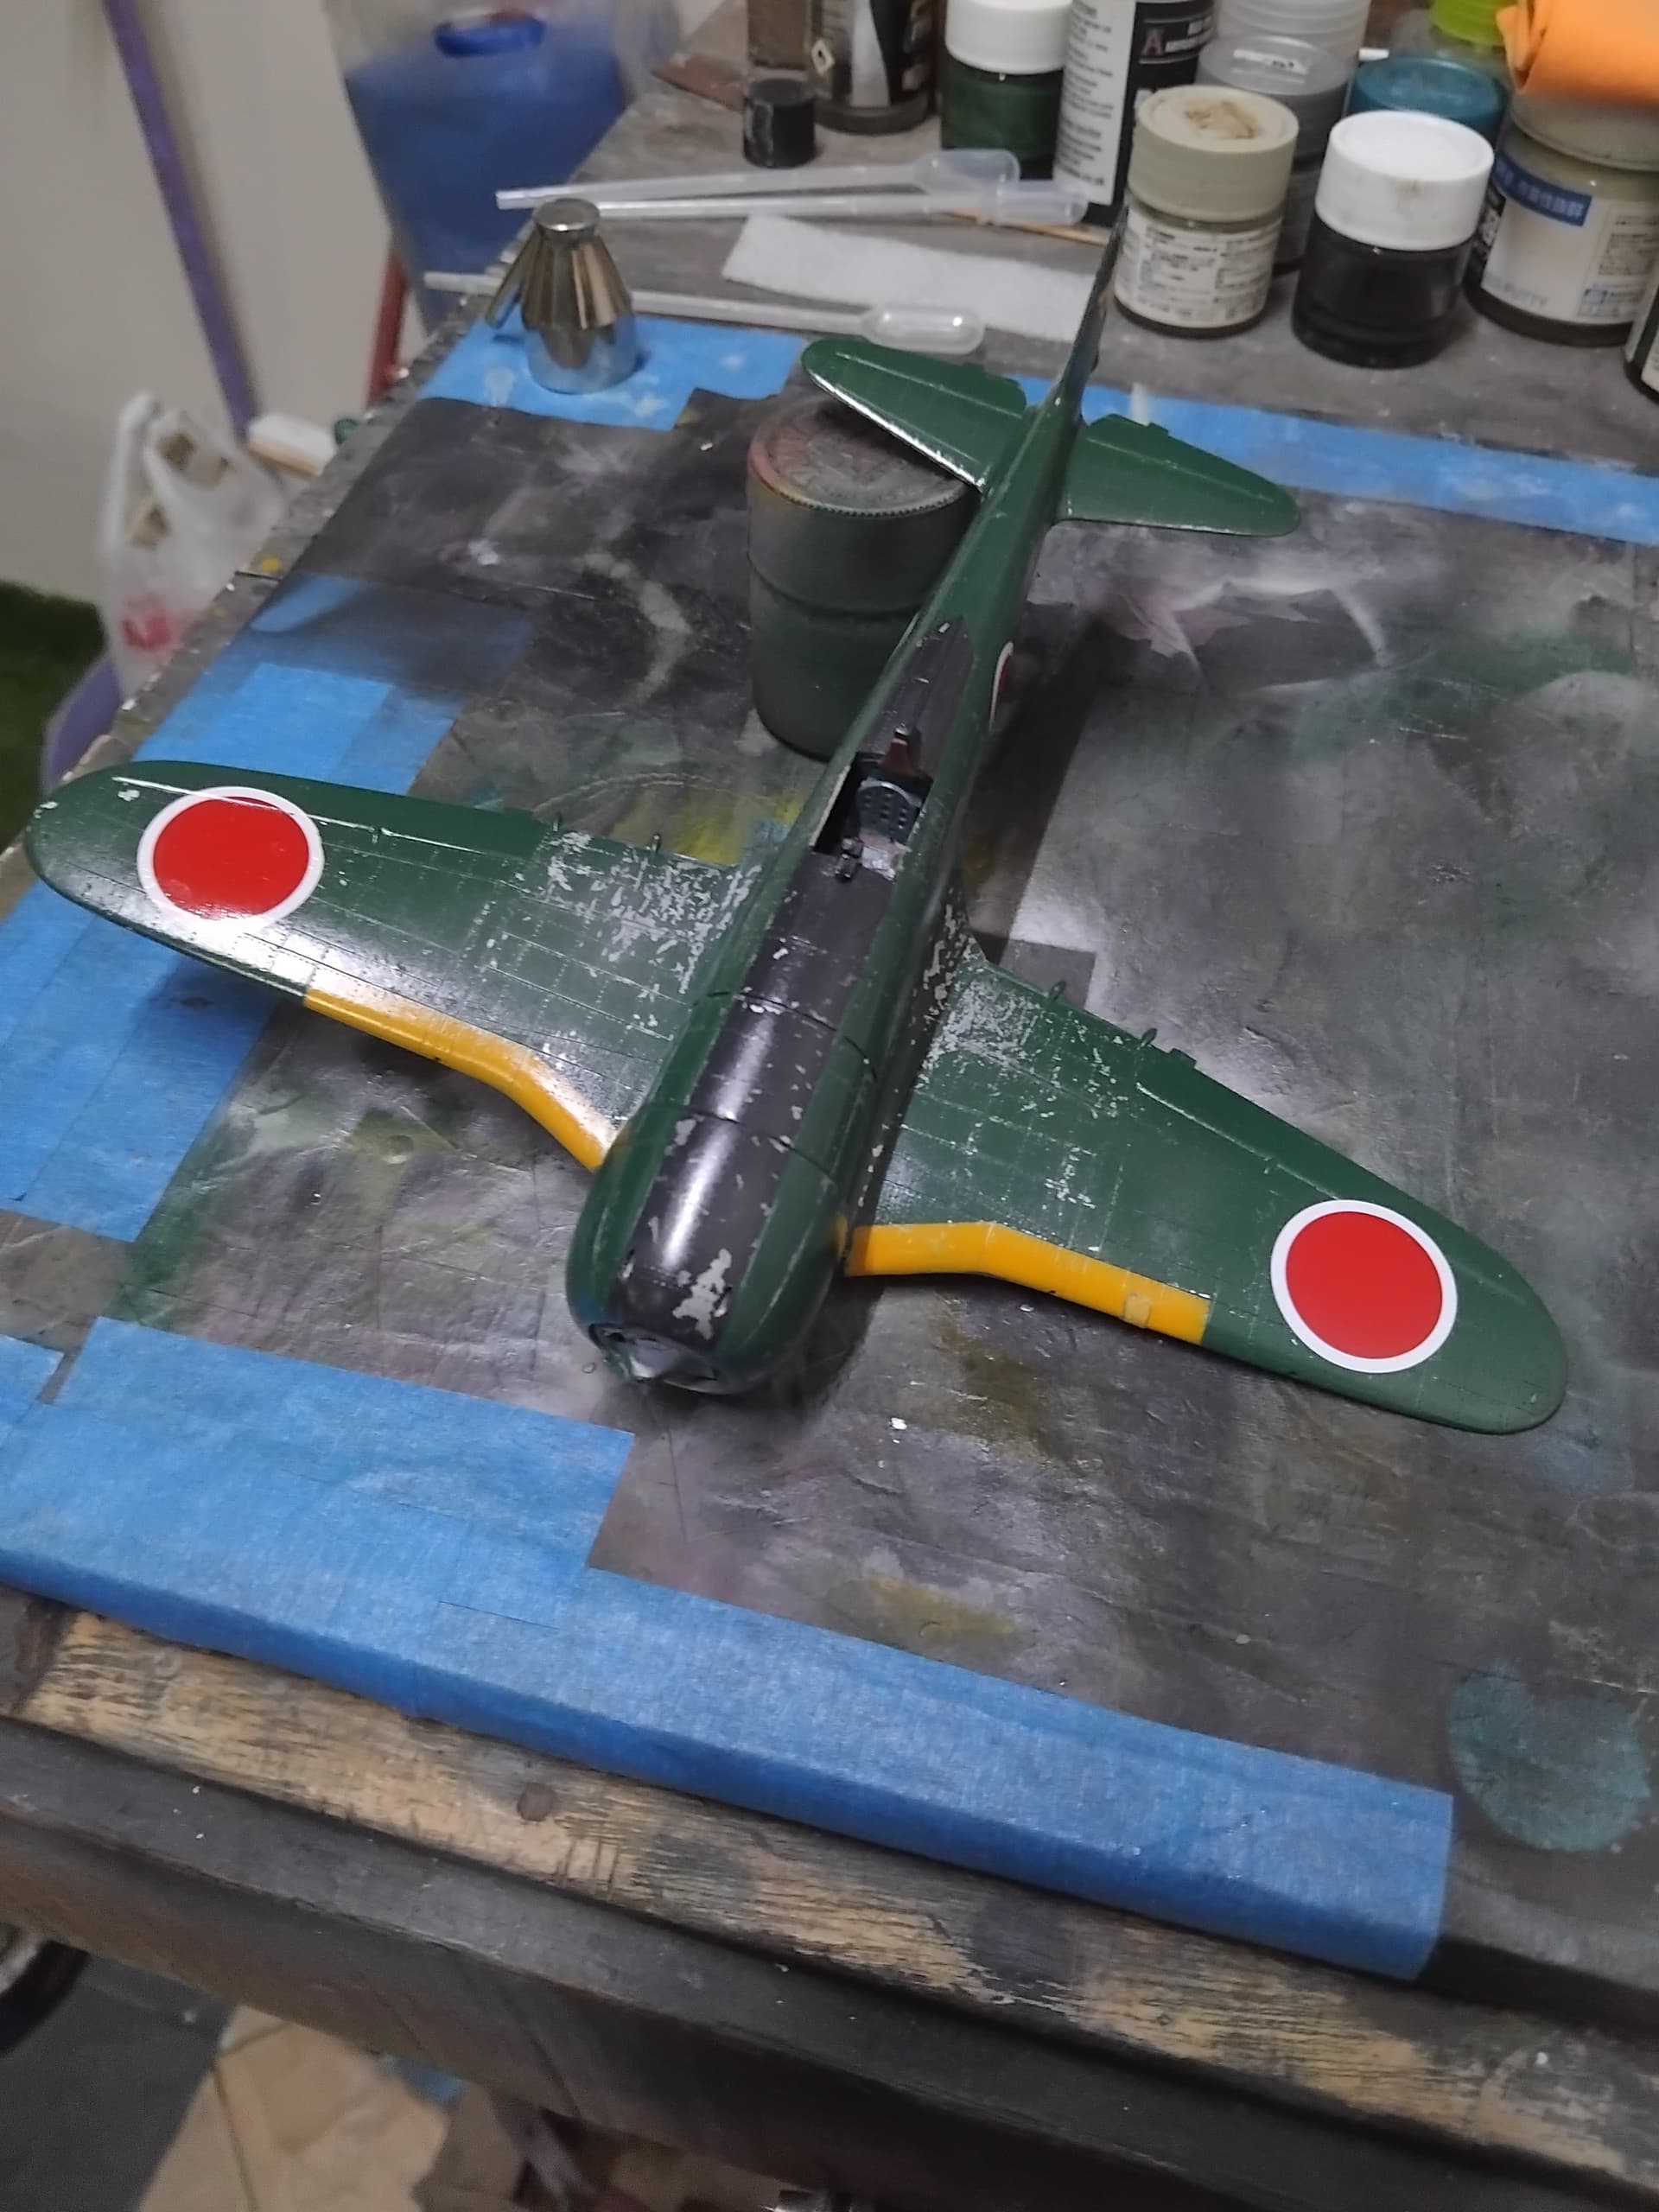
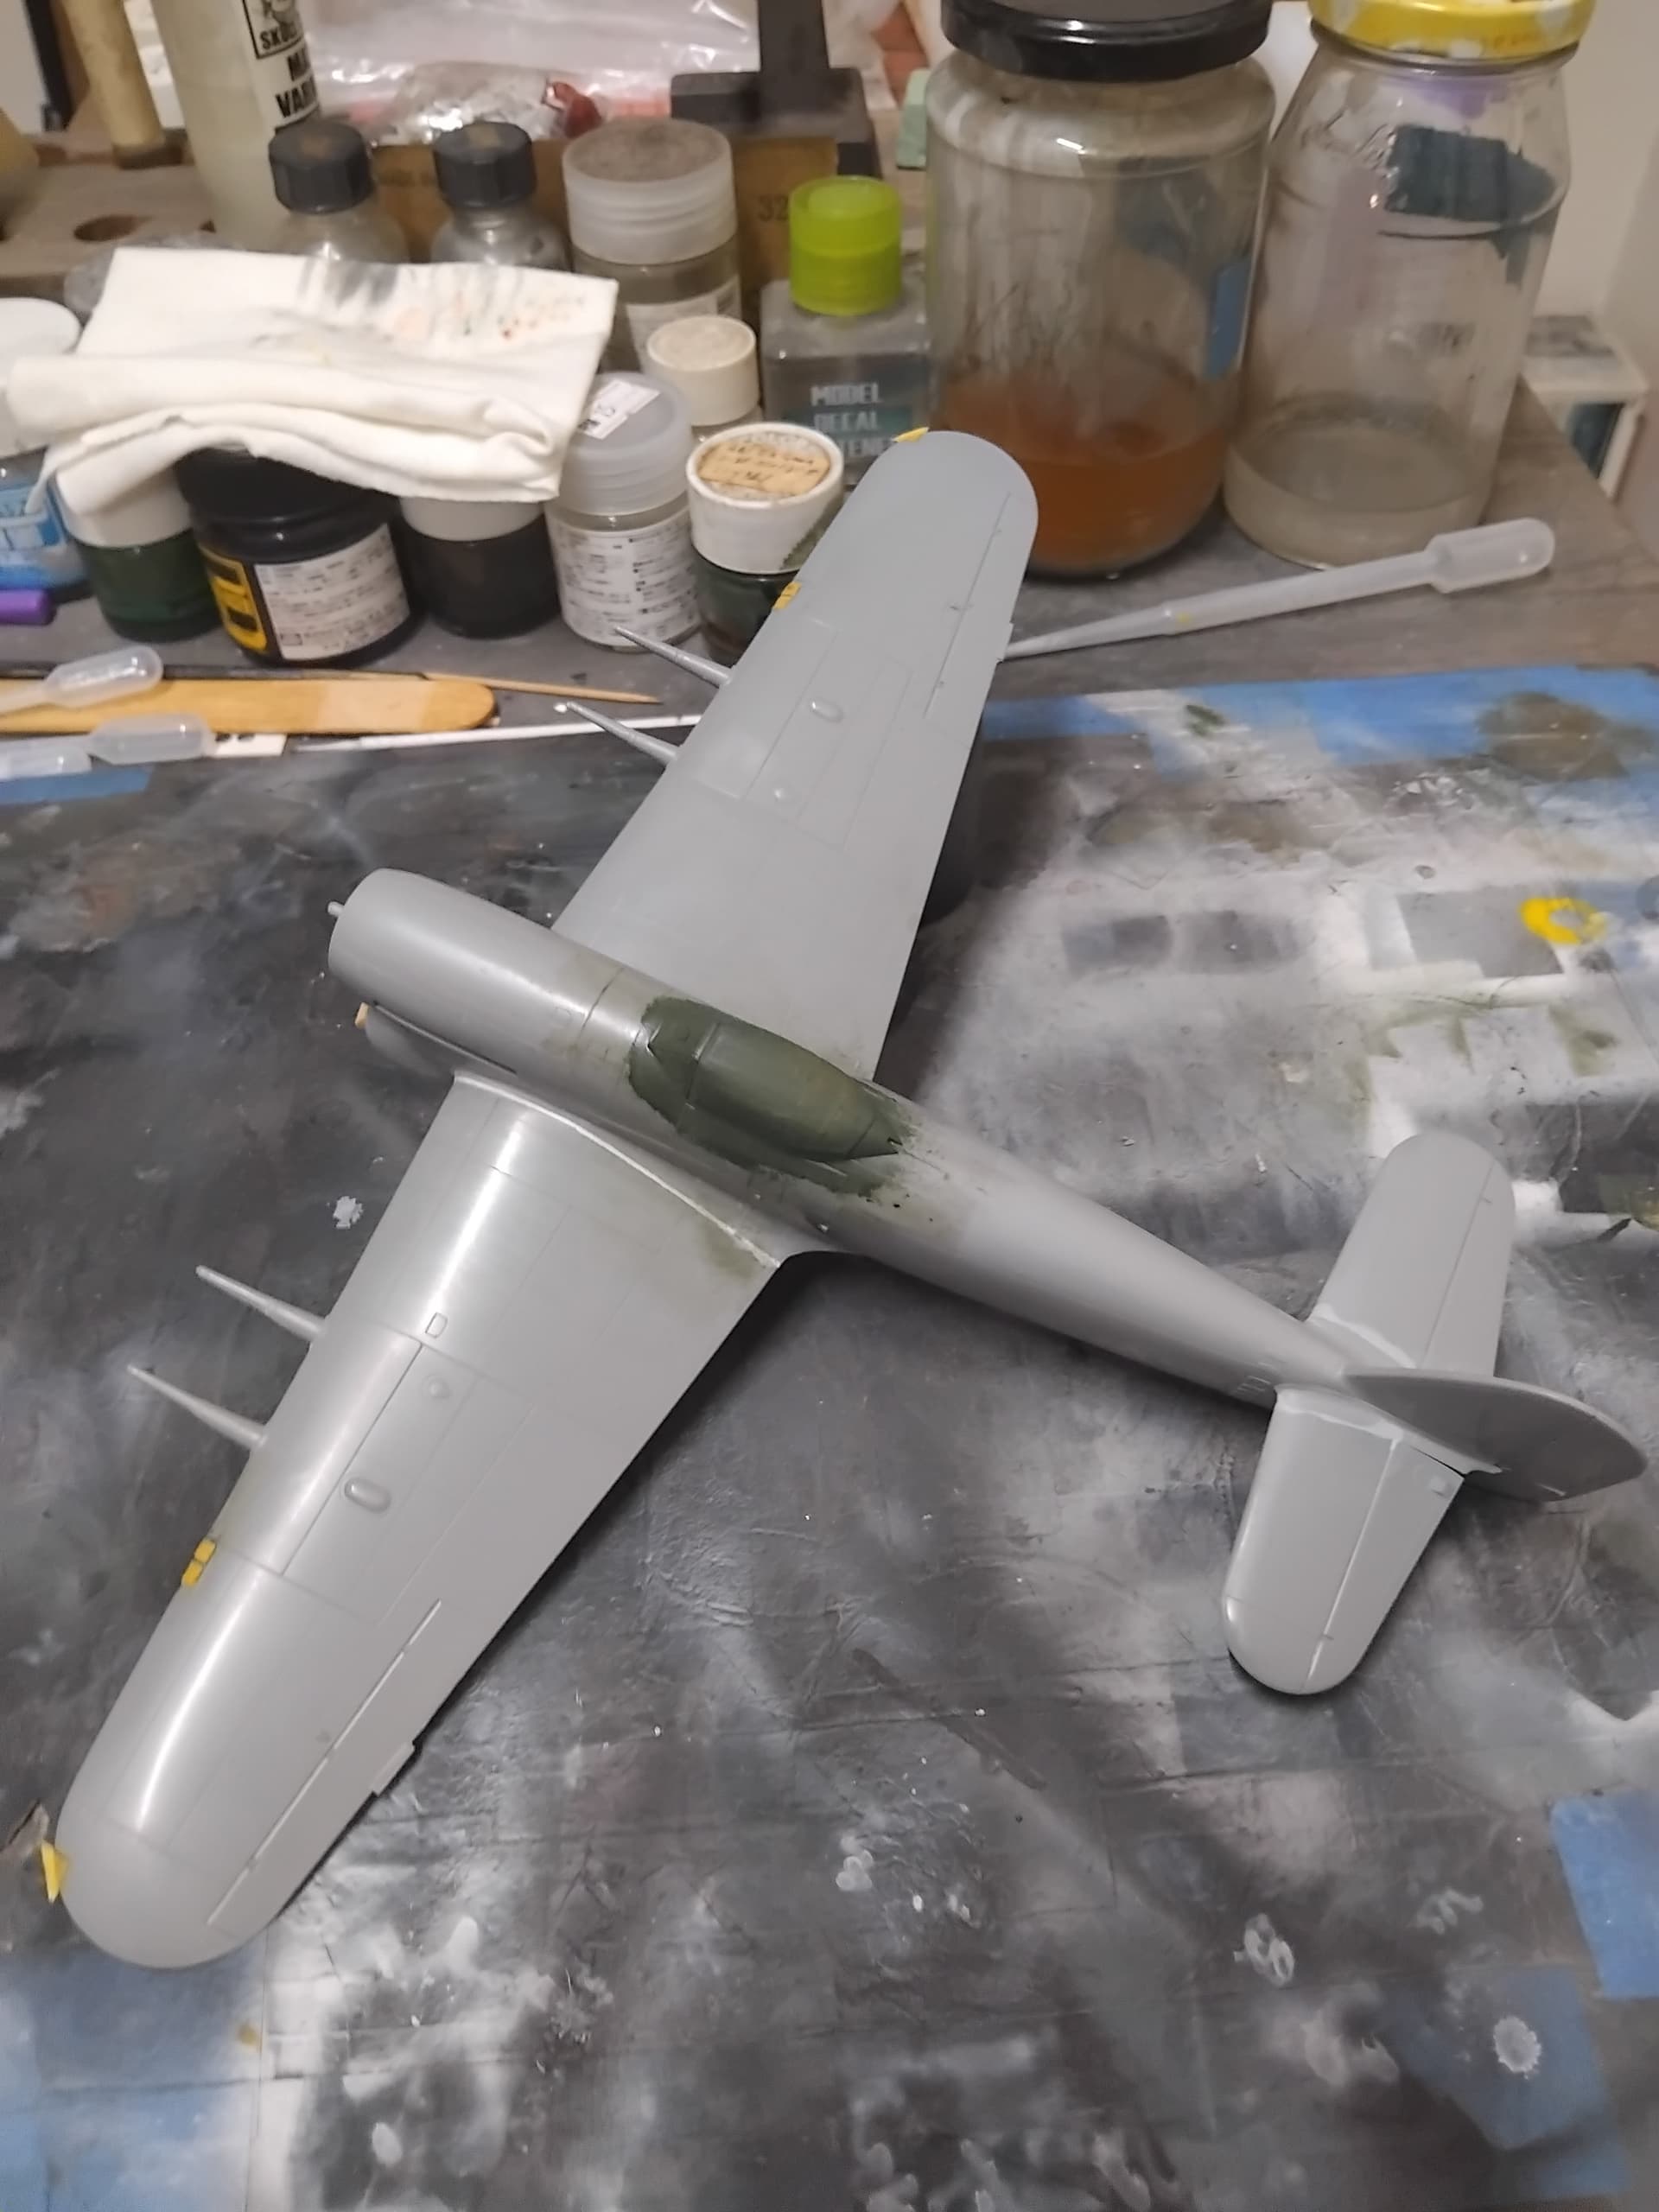
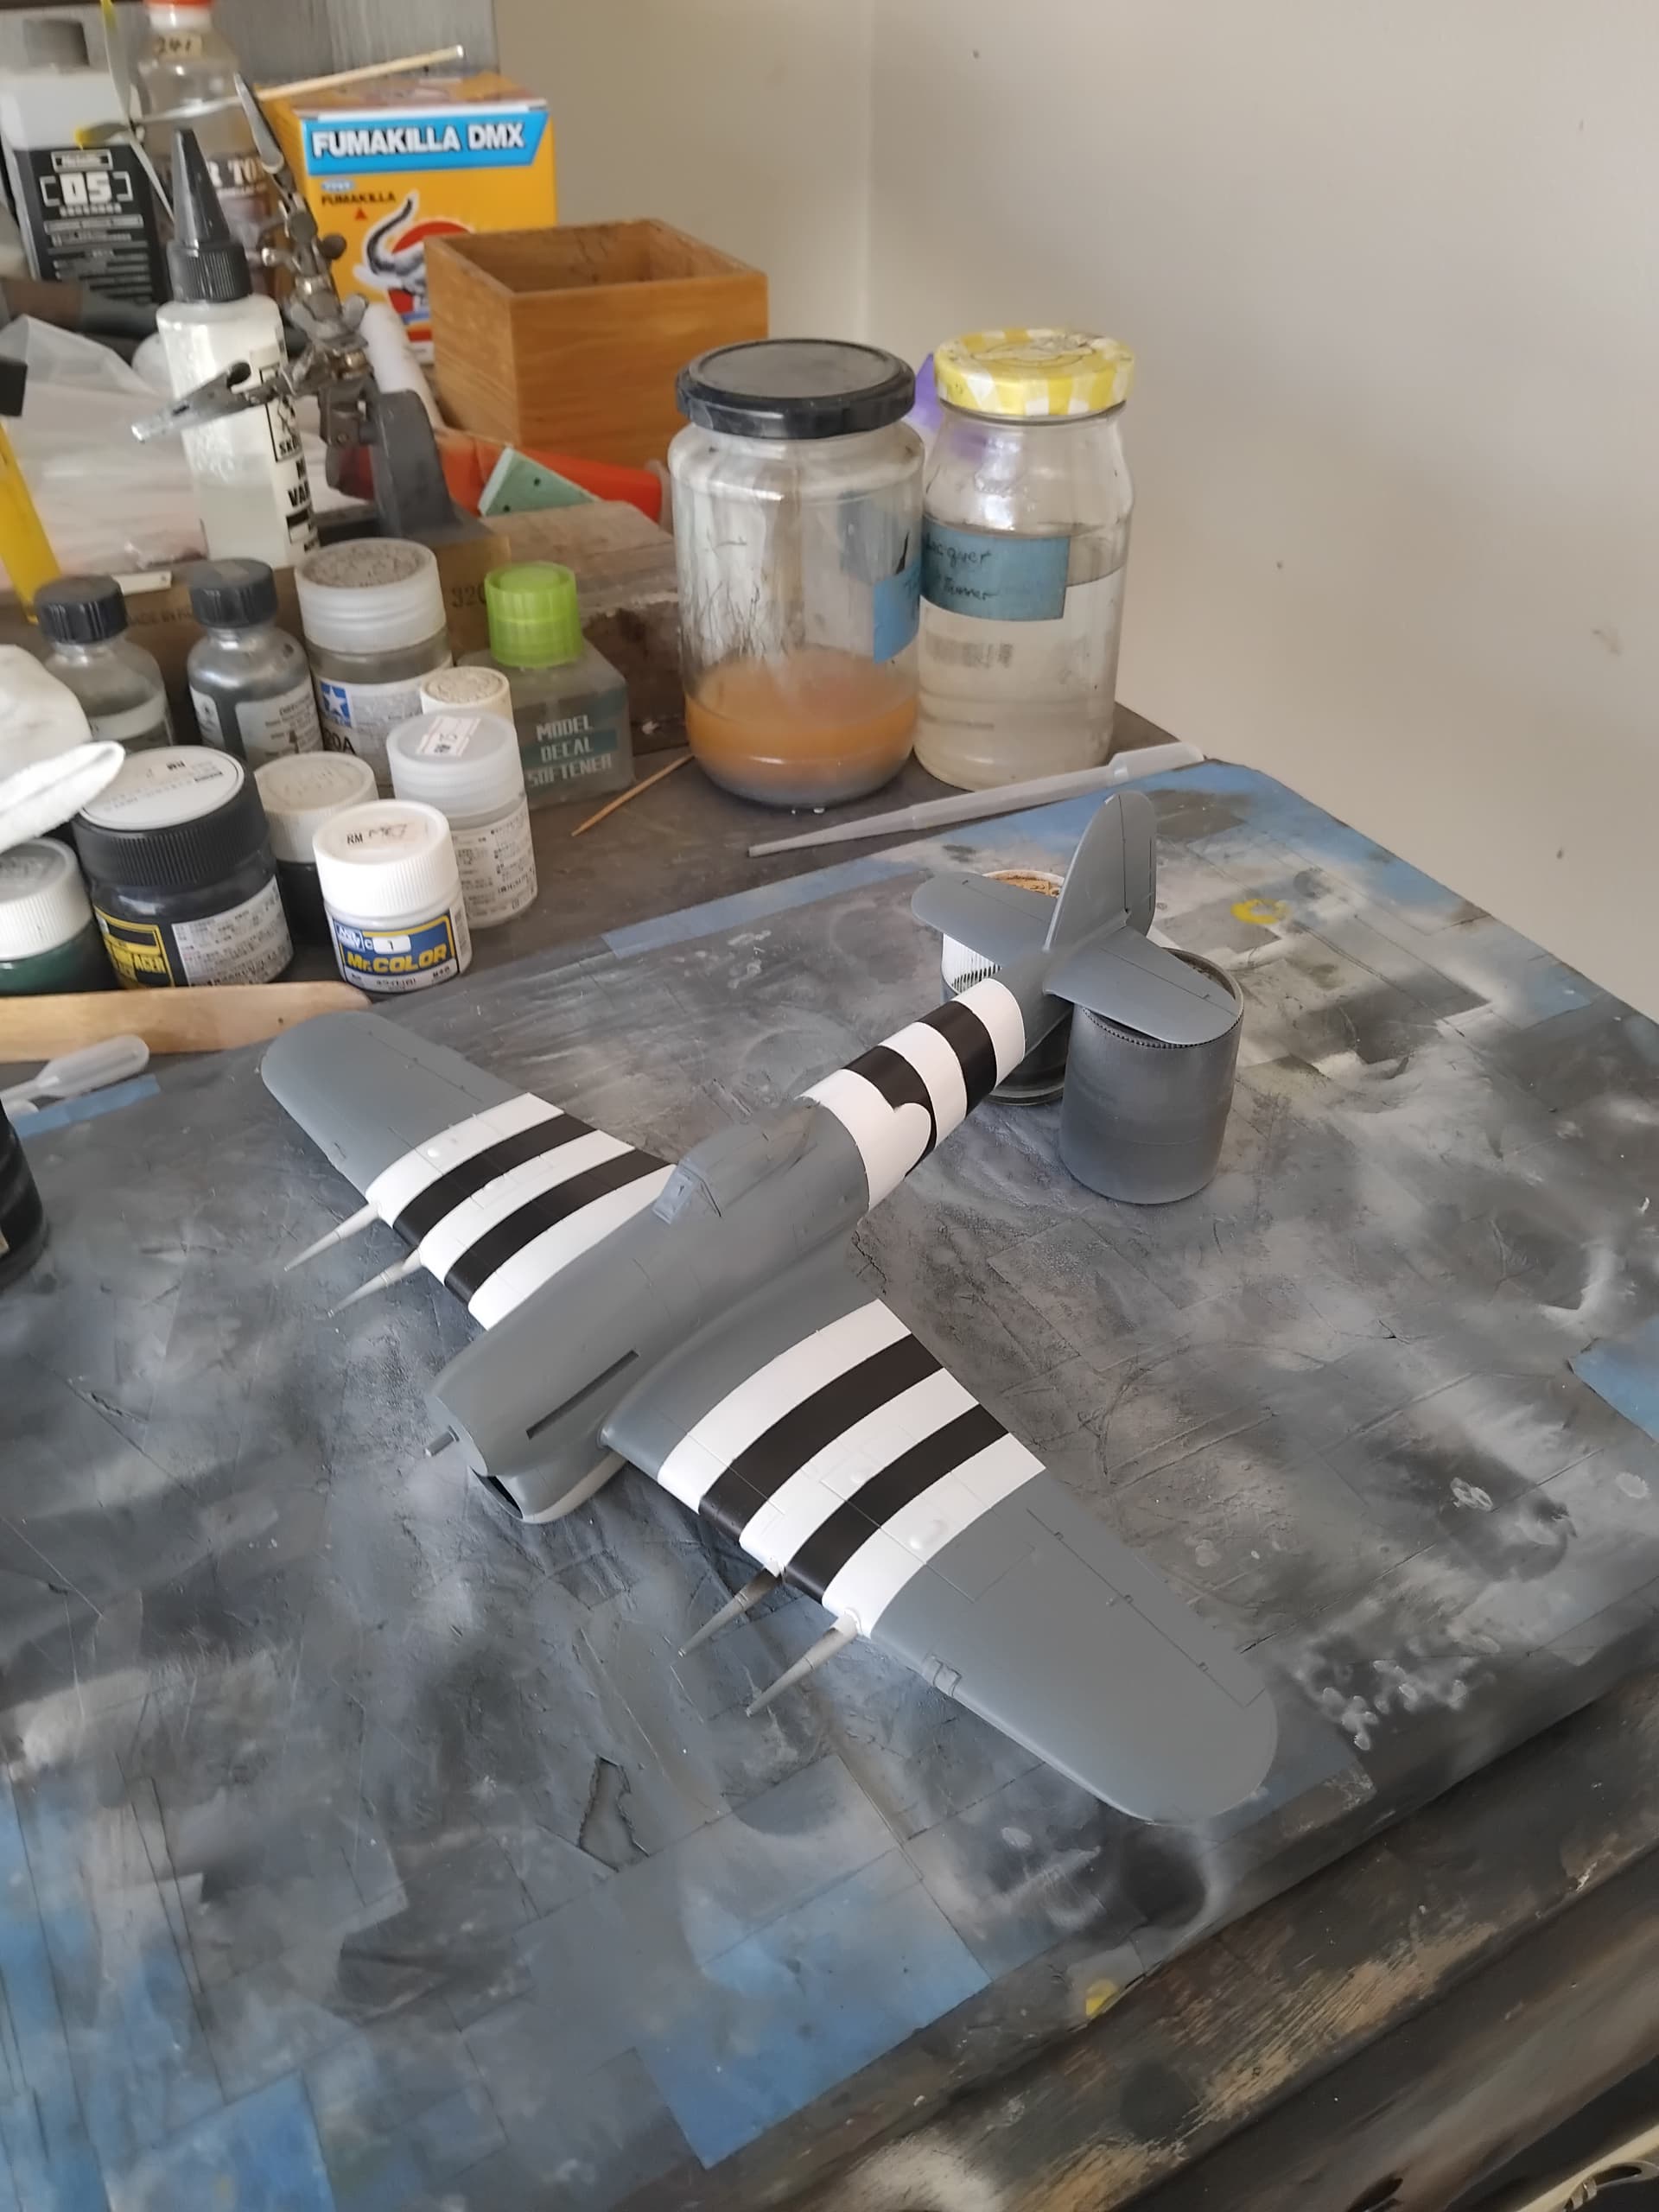
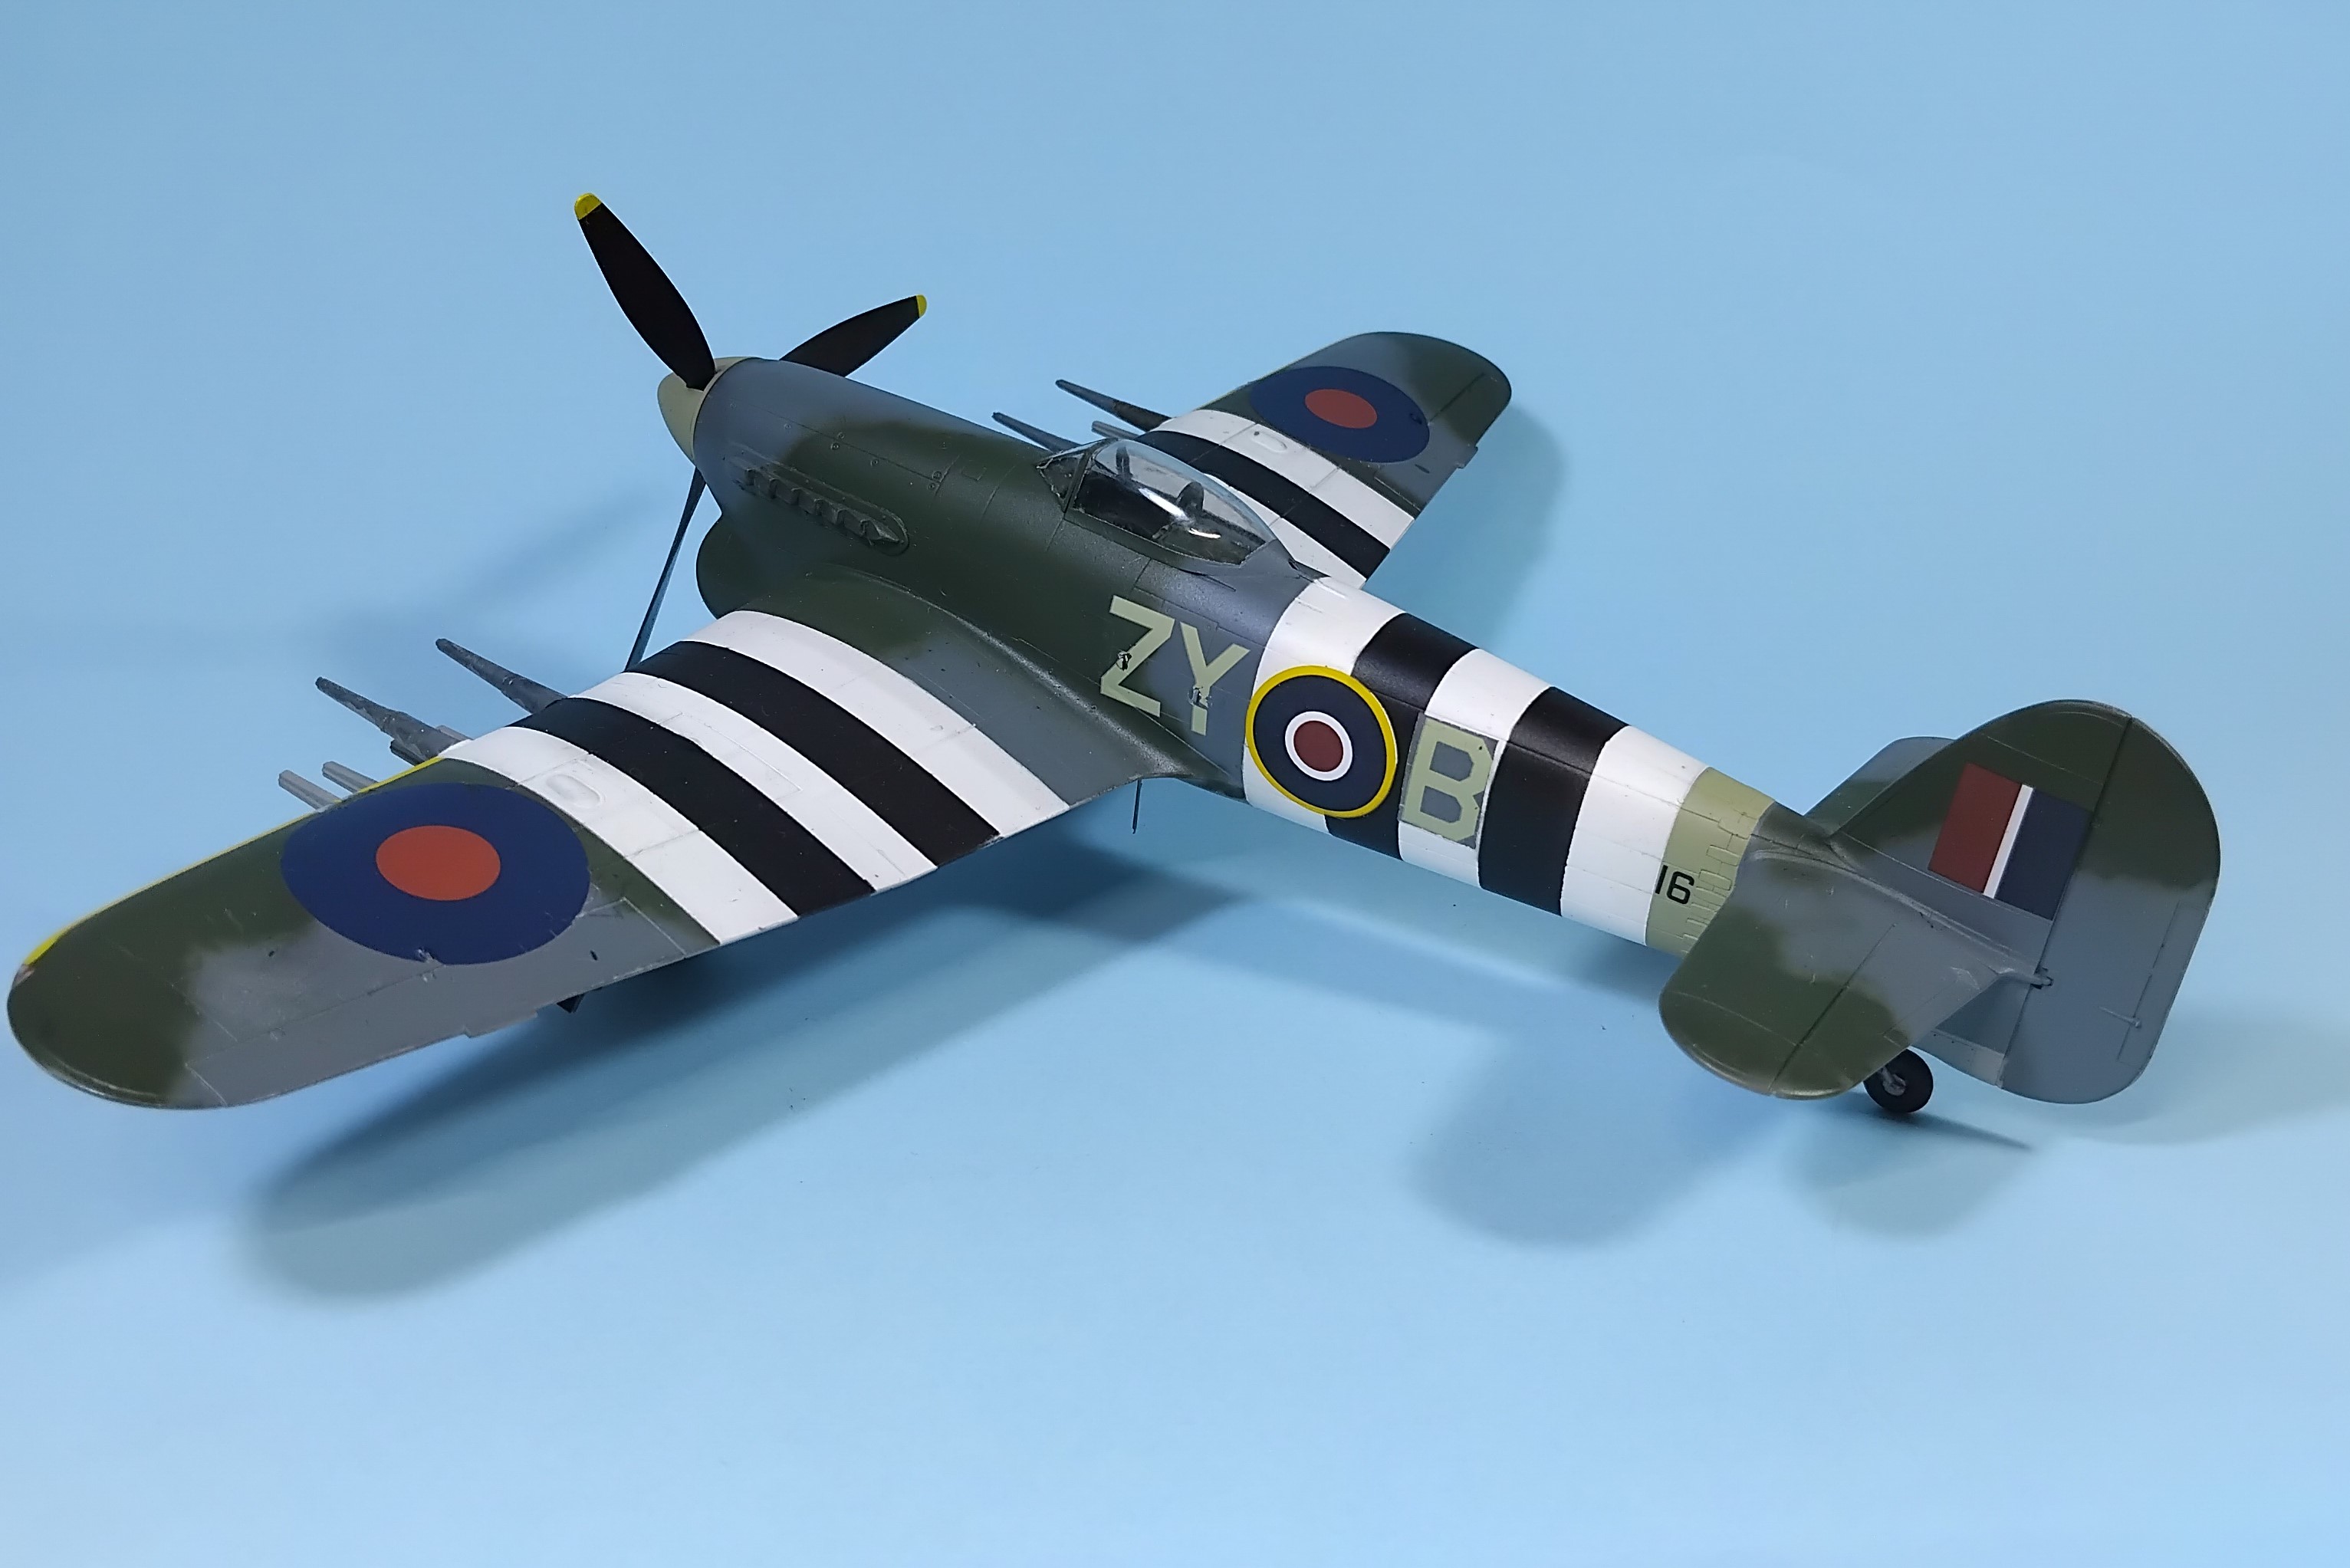
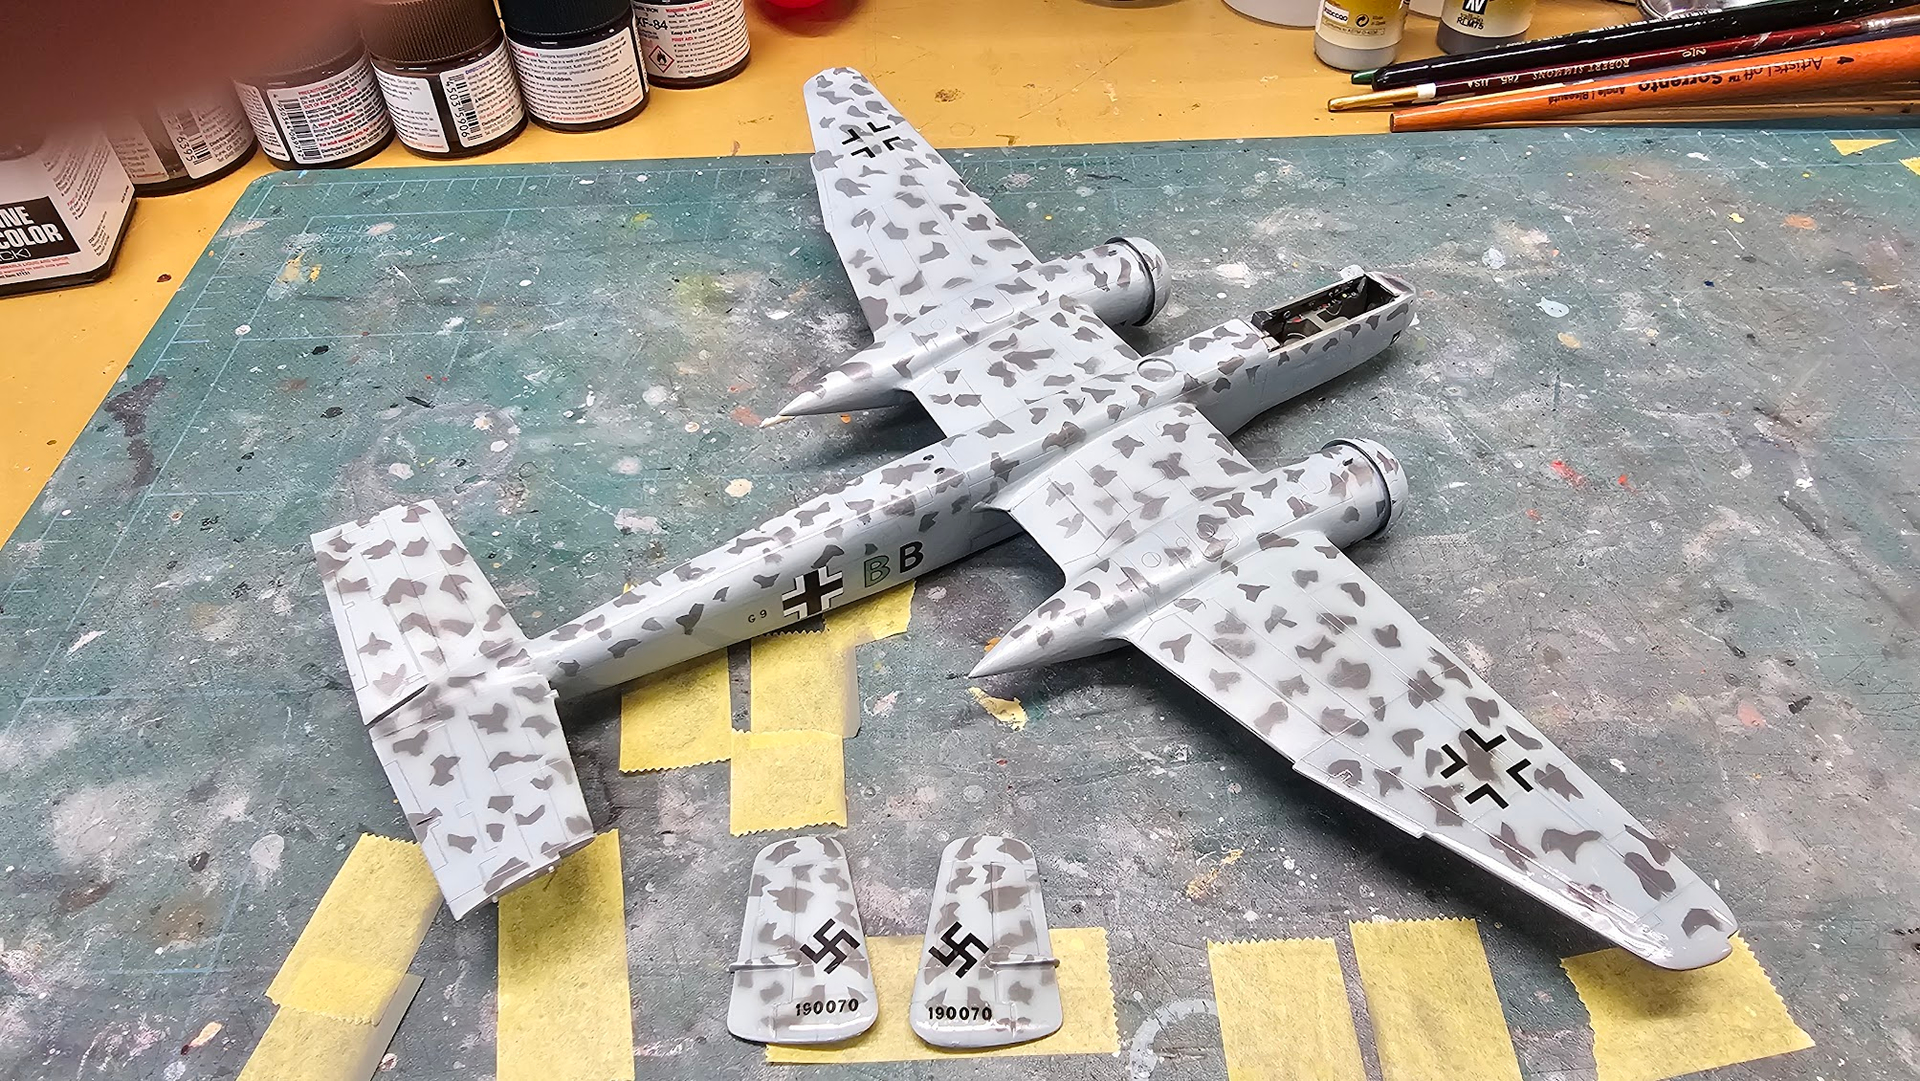
Overall I was pretty satisfied, though I did have to some minor touch ups. Once that was done and everything allowed to thoroughly dry, I masked over the stripes in preparation for the plane’s camo, standard British fare of RAF dark green, Ocean grey, and light sea grey.
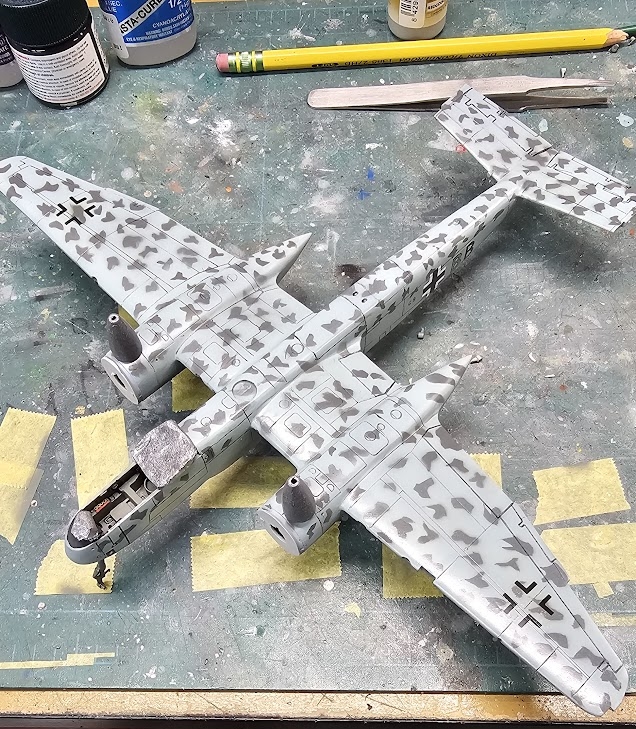
I free handed the camo job, and think it turned out just fine.
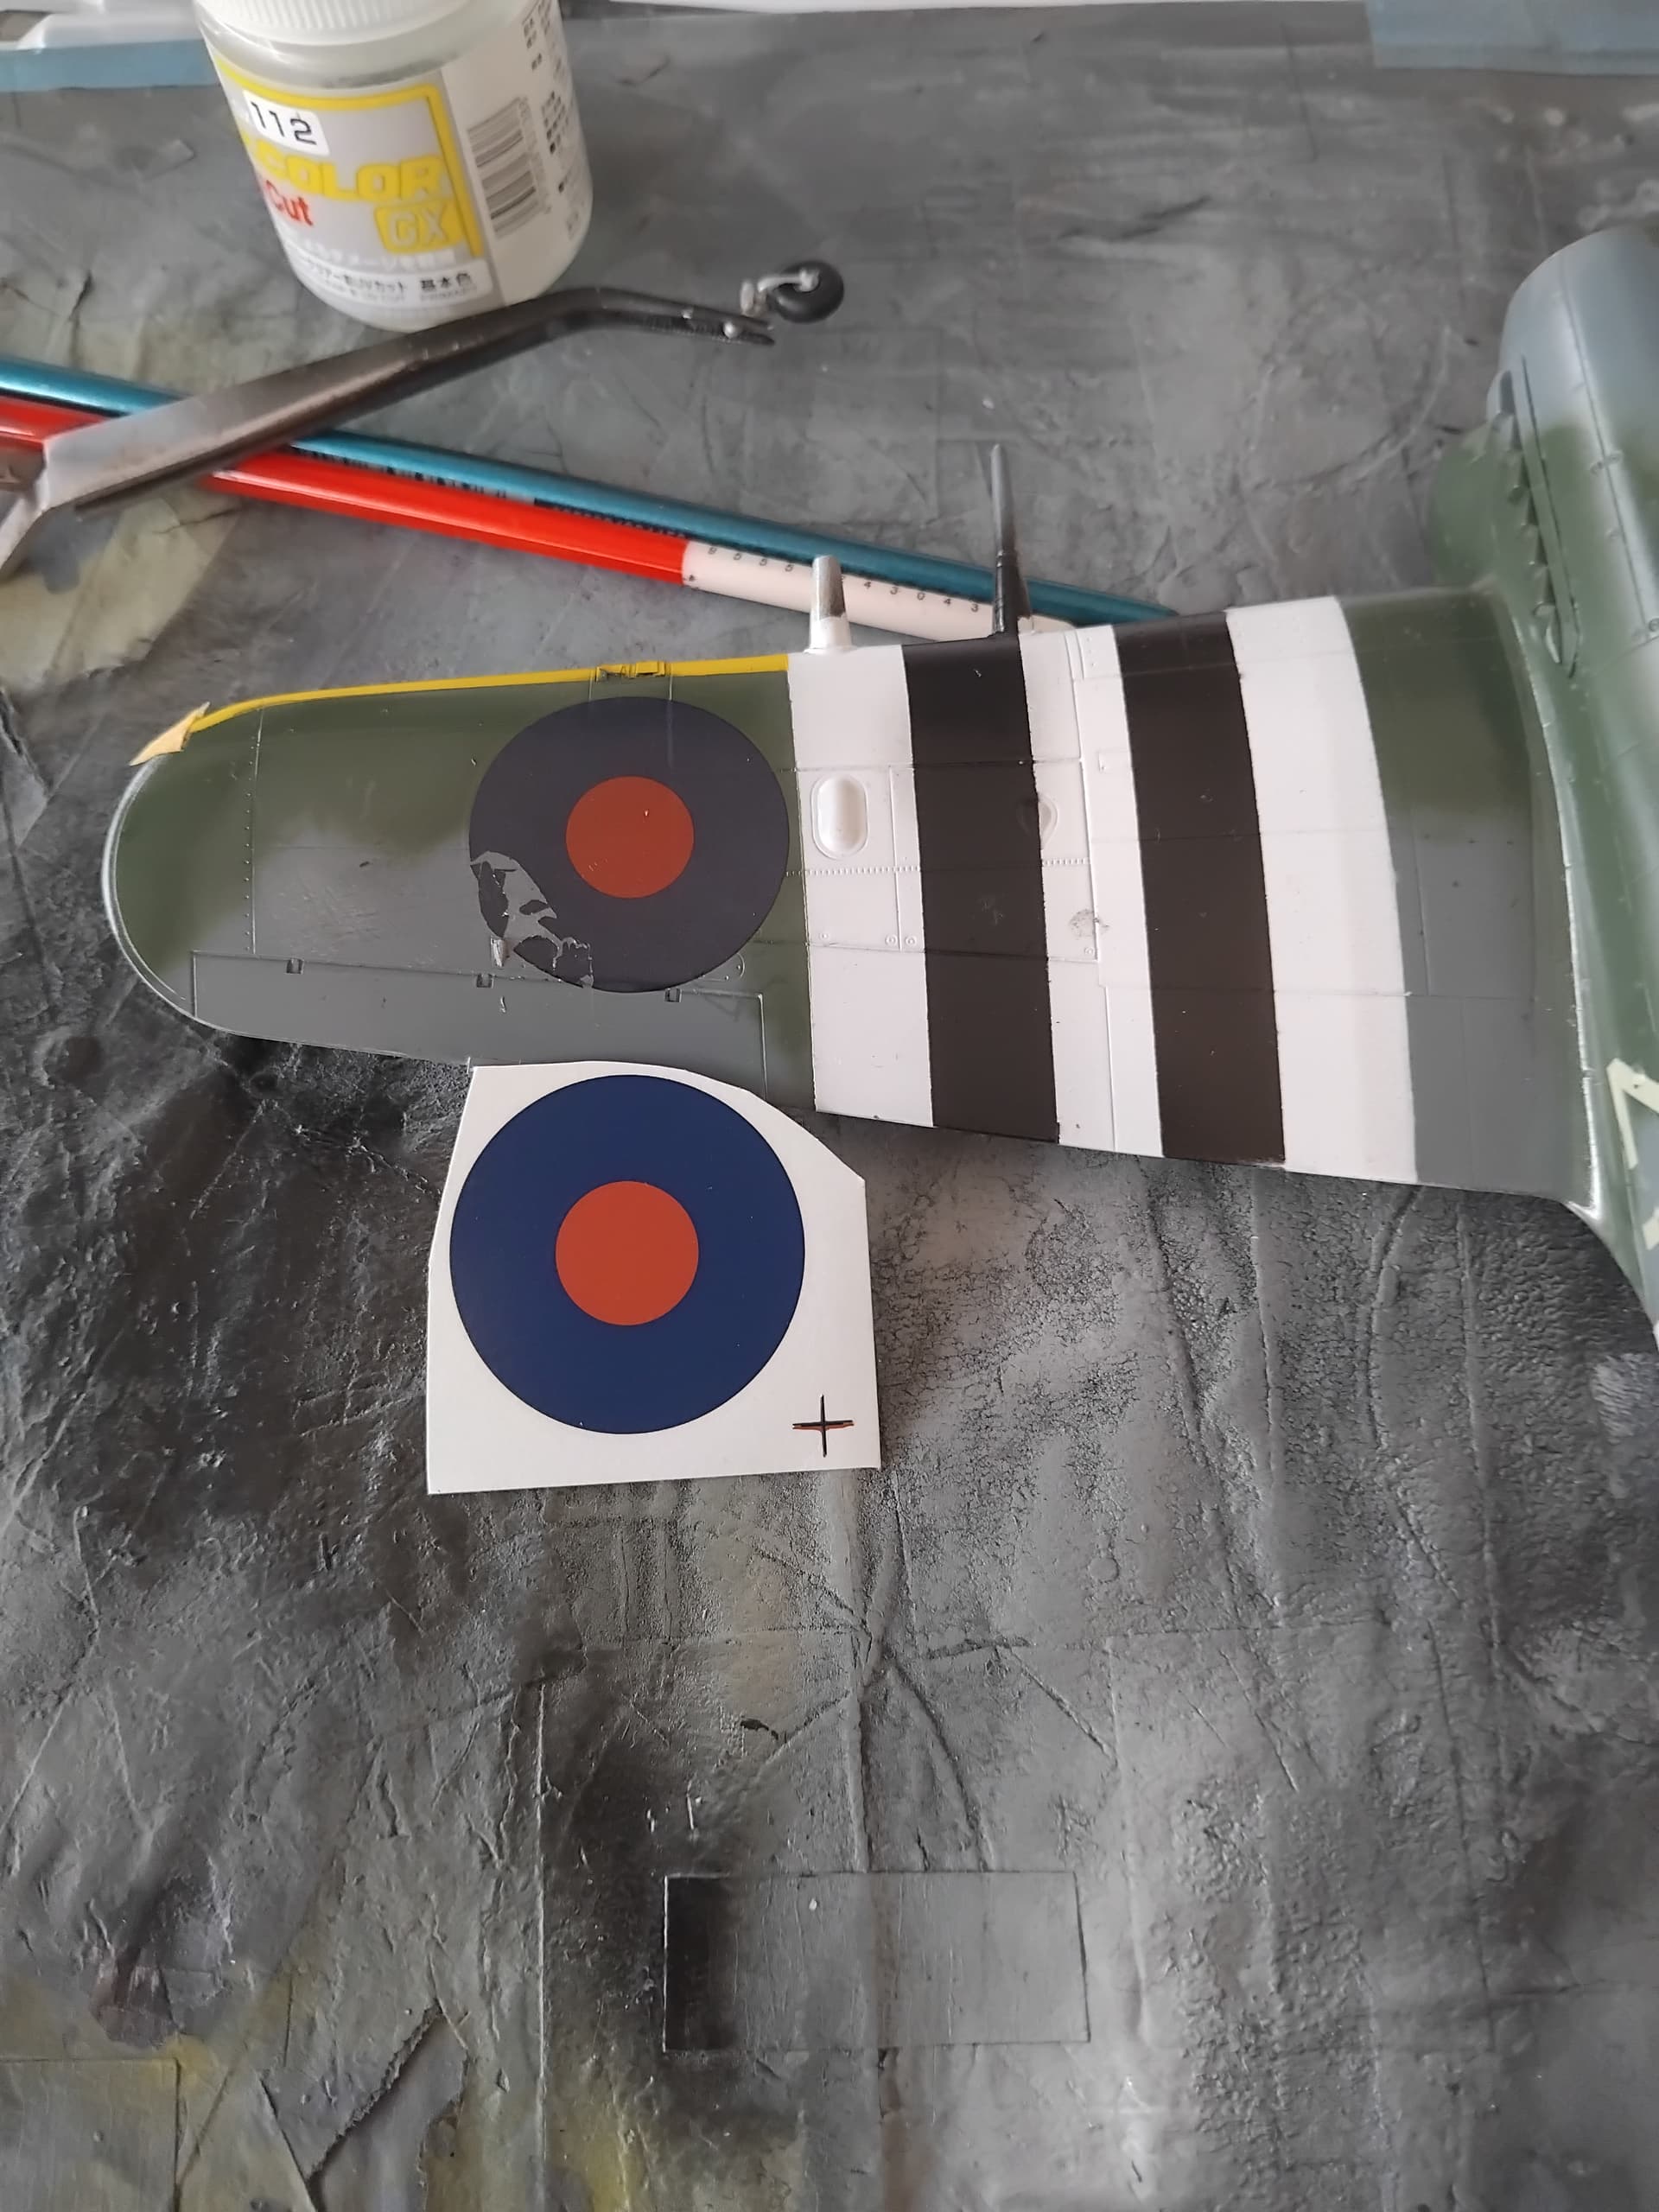
Once satisfied with the paint job, I gave the bird a couple of clear gloss coats in preparation for decals. This was something I was a bit concerned about as the decals were 26 years old. Good thing I braced myself for any shattering experiences.
There was really only one decal that bit me, a highly visible roundel on the port wing. At first I thought of painting it in, but then remembered I had a spare set of roundels hanging out in my decal dungeon! Best part, is that the roundel matched the size. So, I just laid the spare decal over the existing Hasegawa one. Not the best way to go about things, but this bird won’t be doing anything remotely like a show.
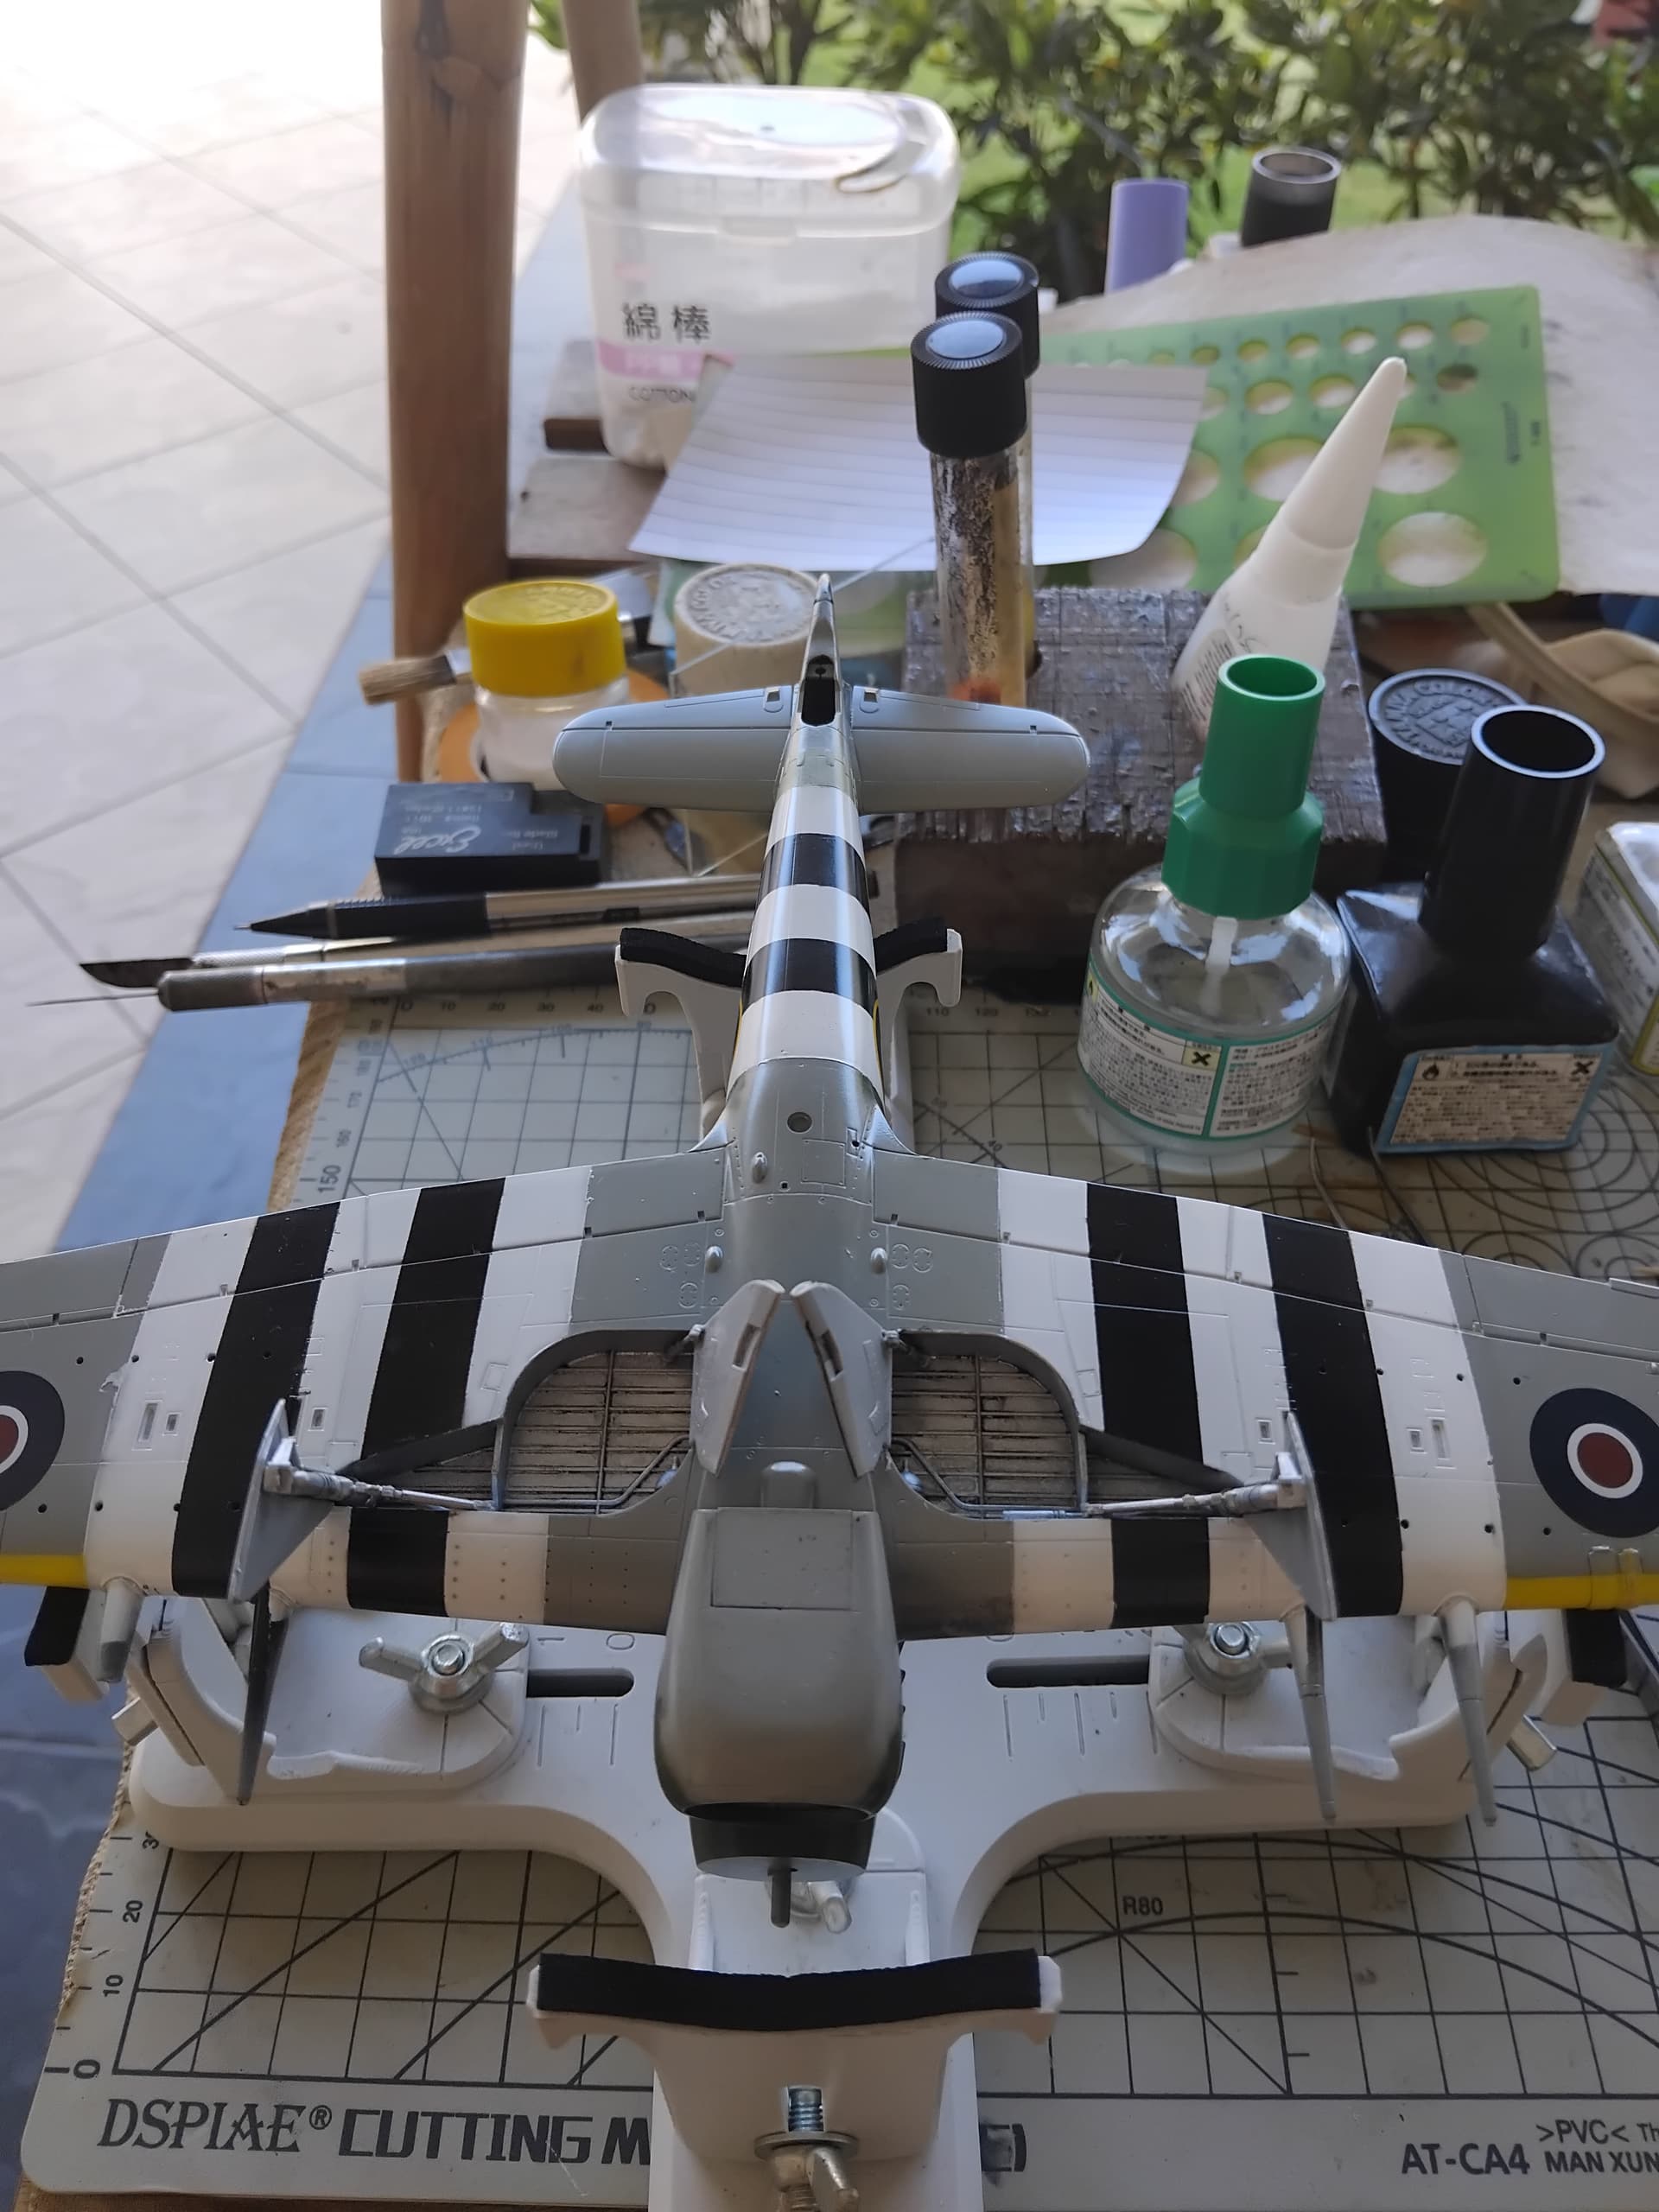
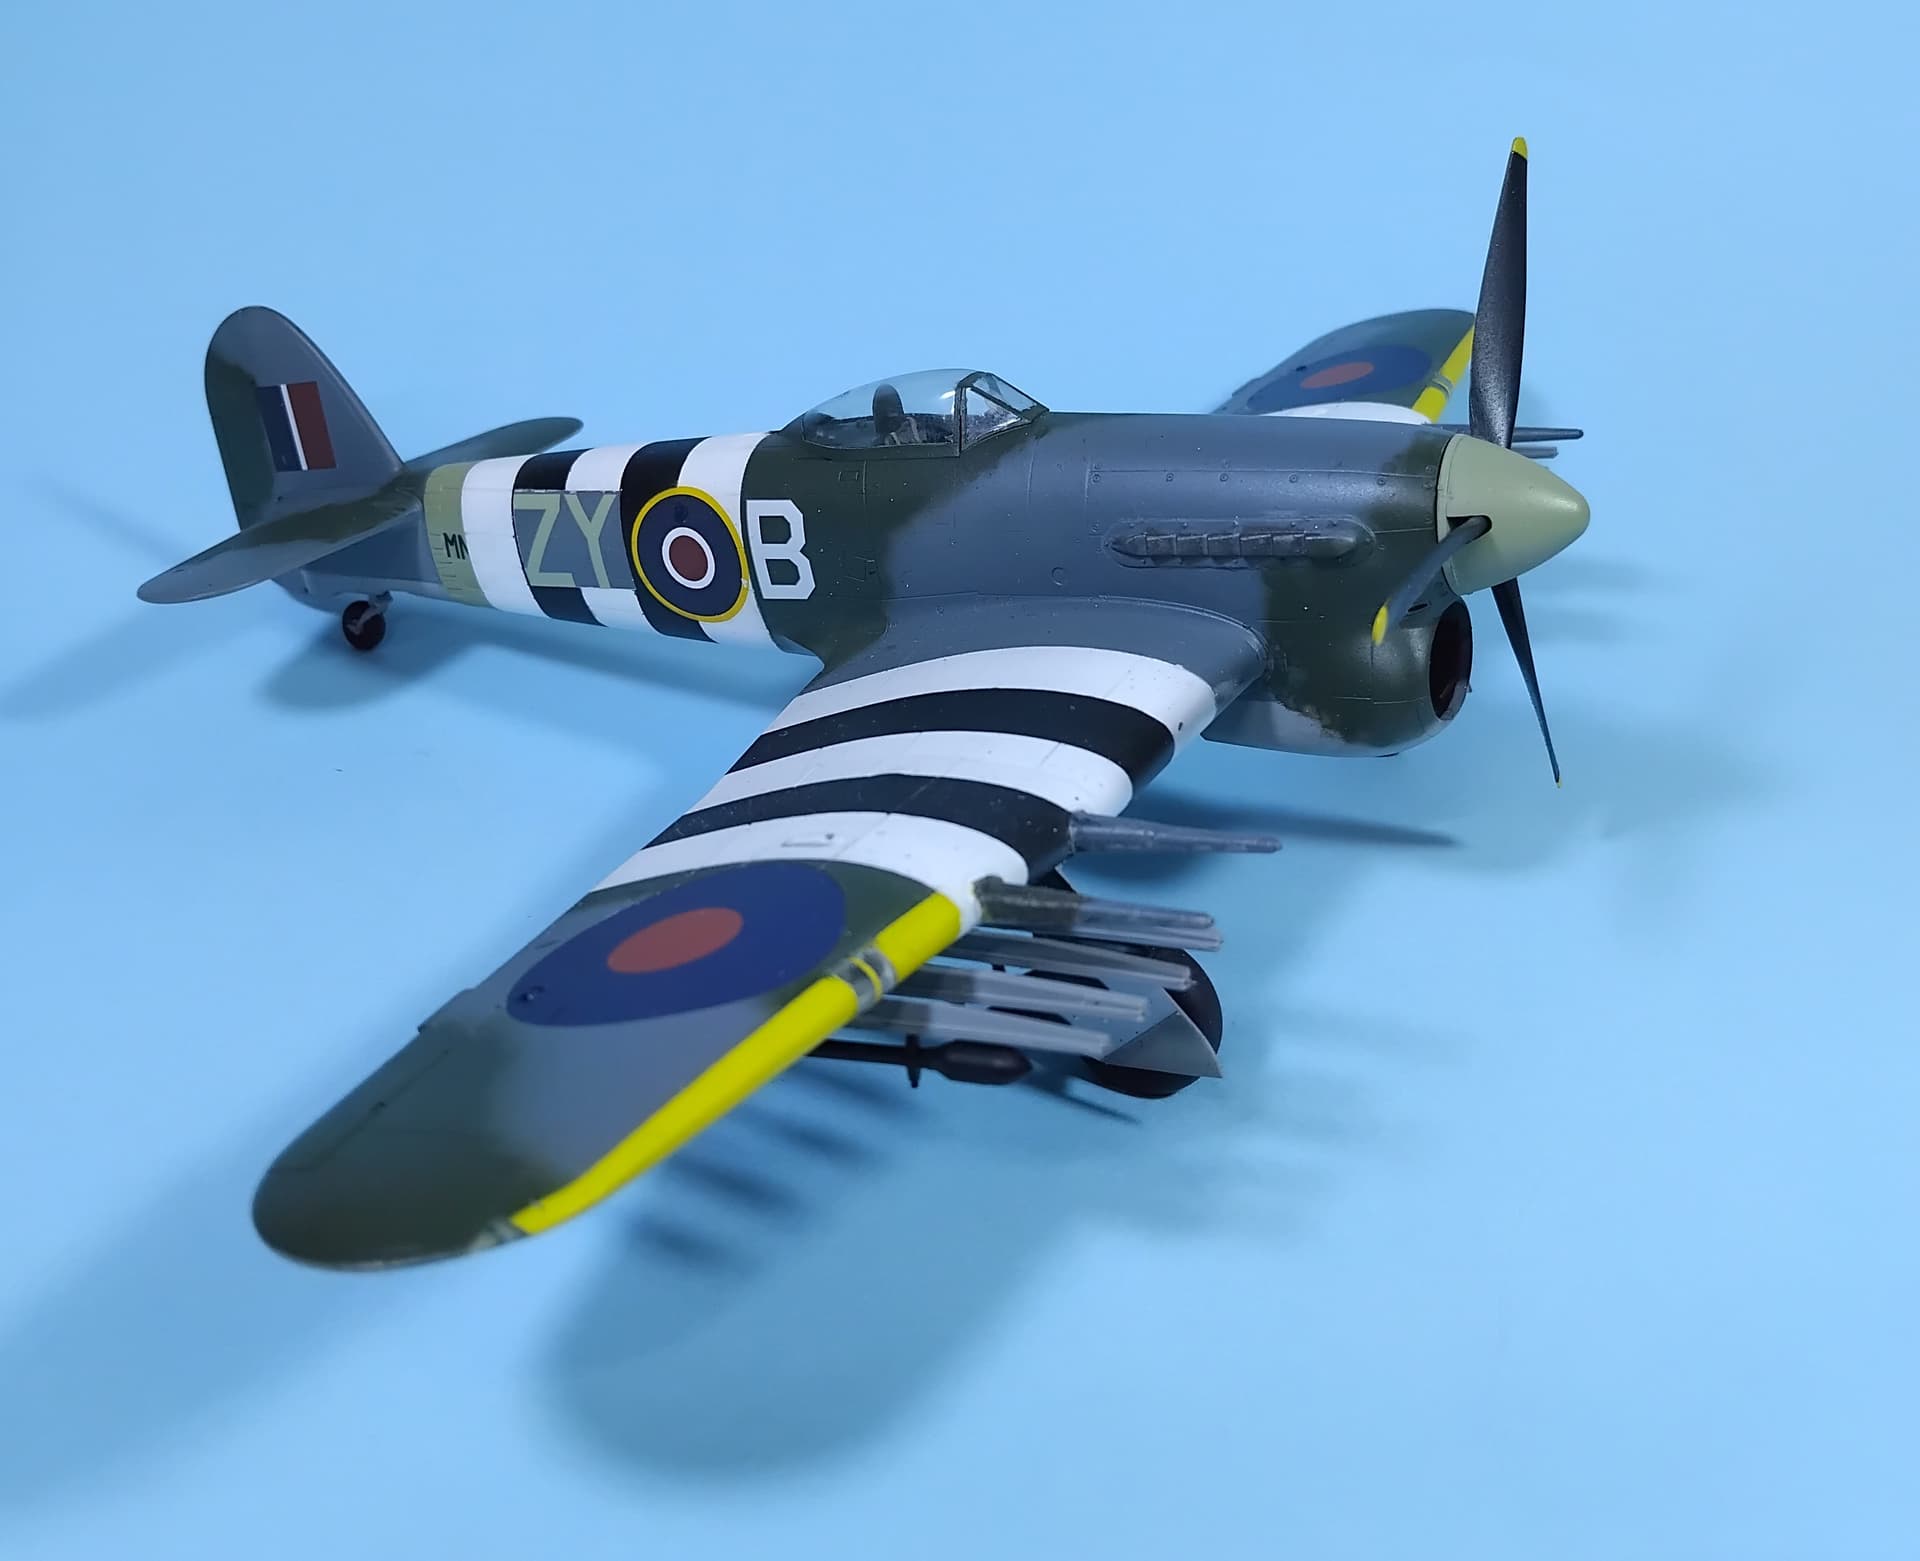
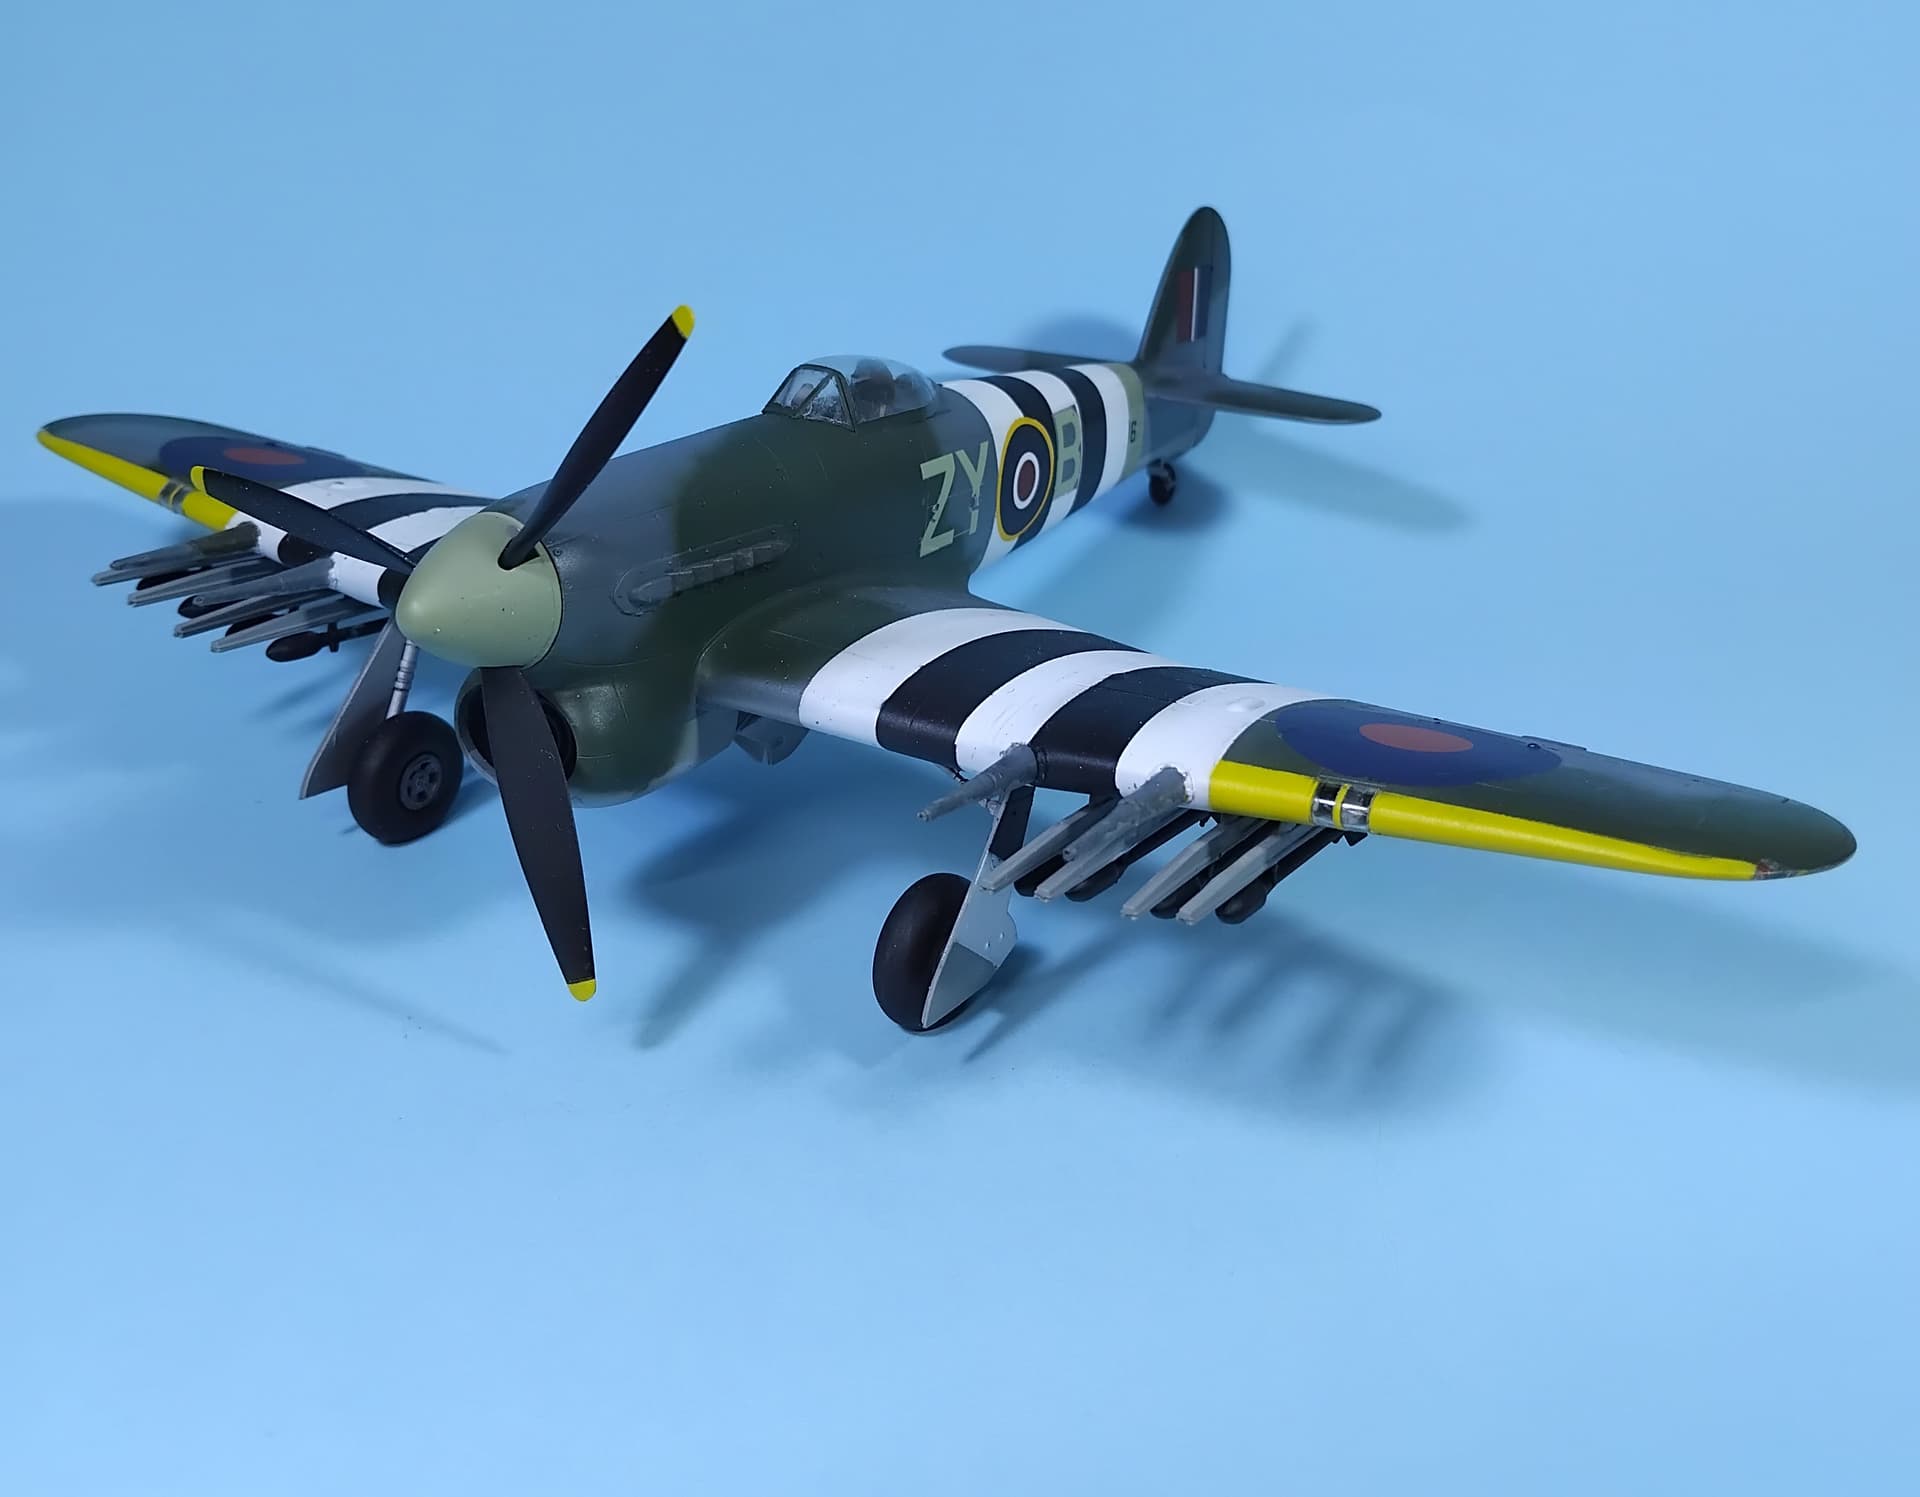
With the decal issue out of the way, I got the landing gear on, which was a breeze. Attaching the rockets was another story. These turned out to be quite fiddly, and after a couple of tries I plunked them into position using superglue. They looked fine to my eyes.
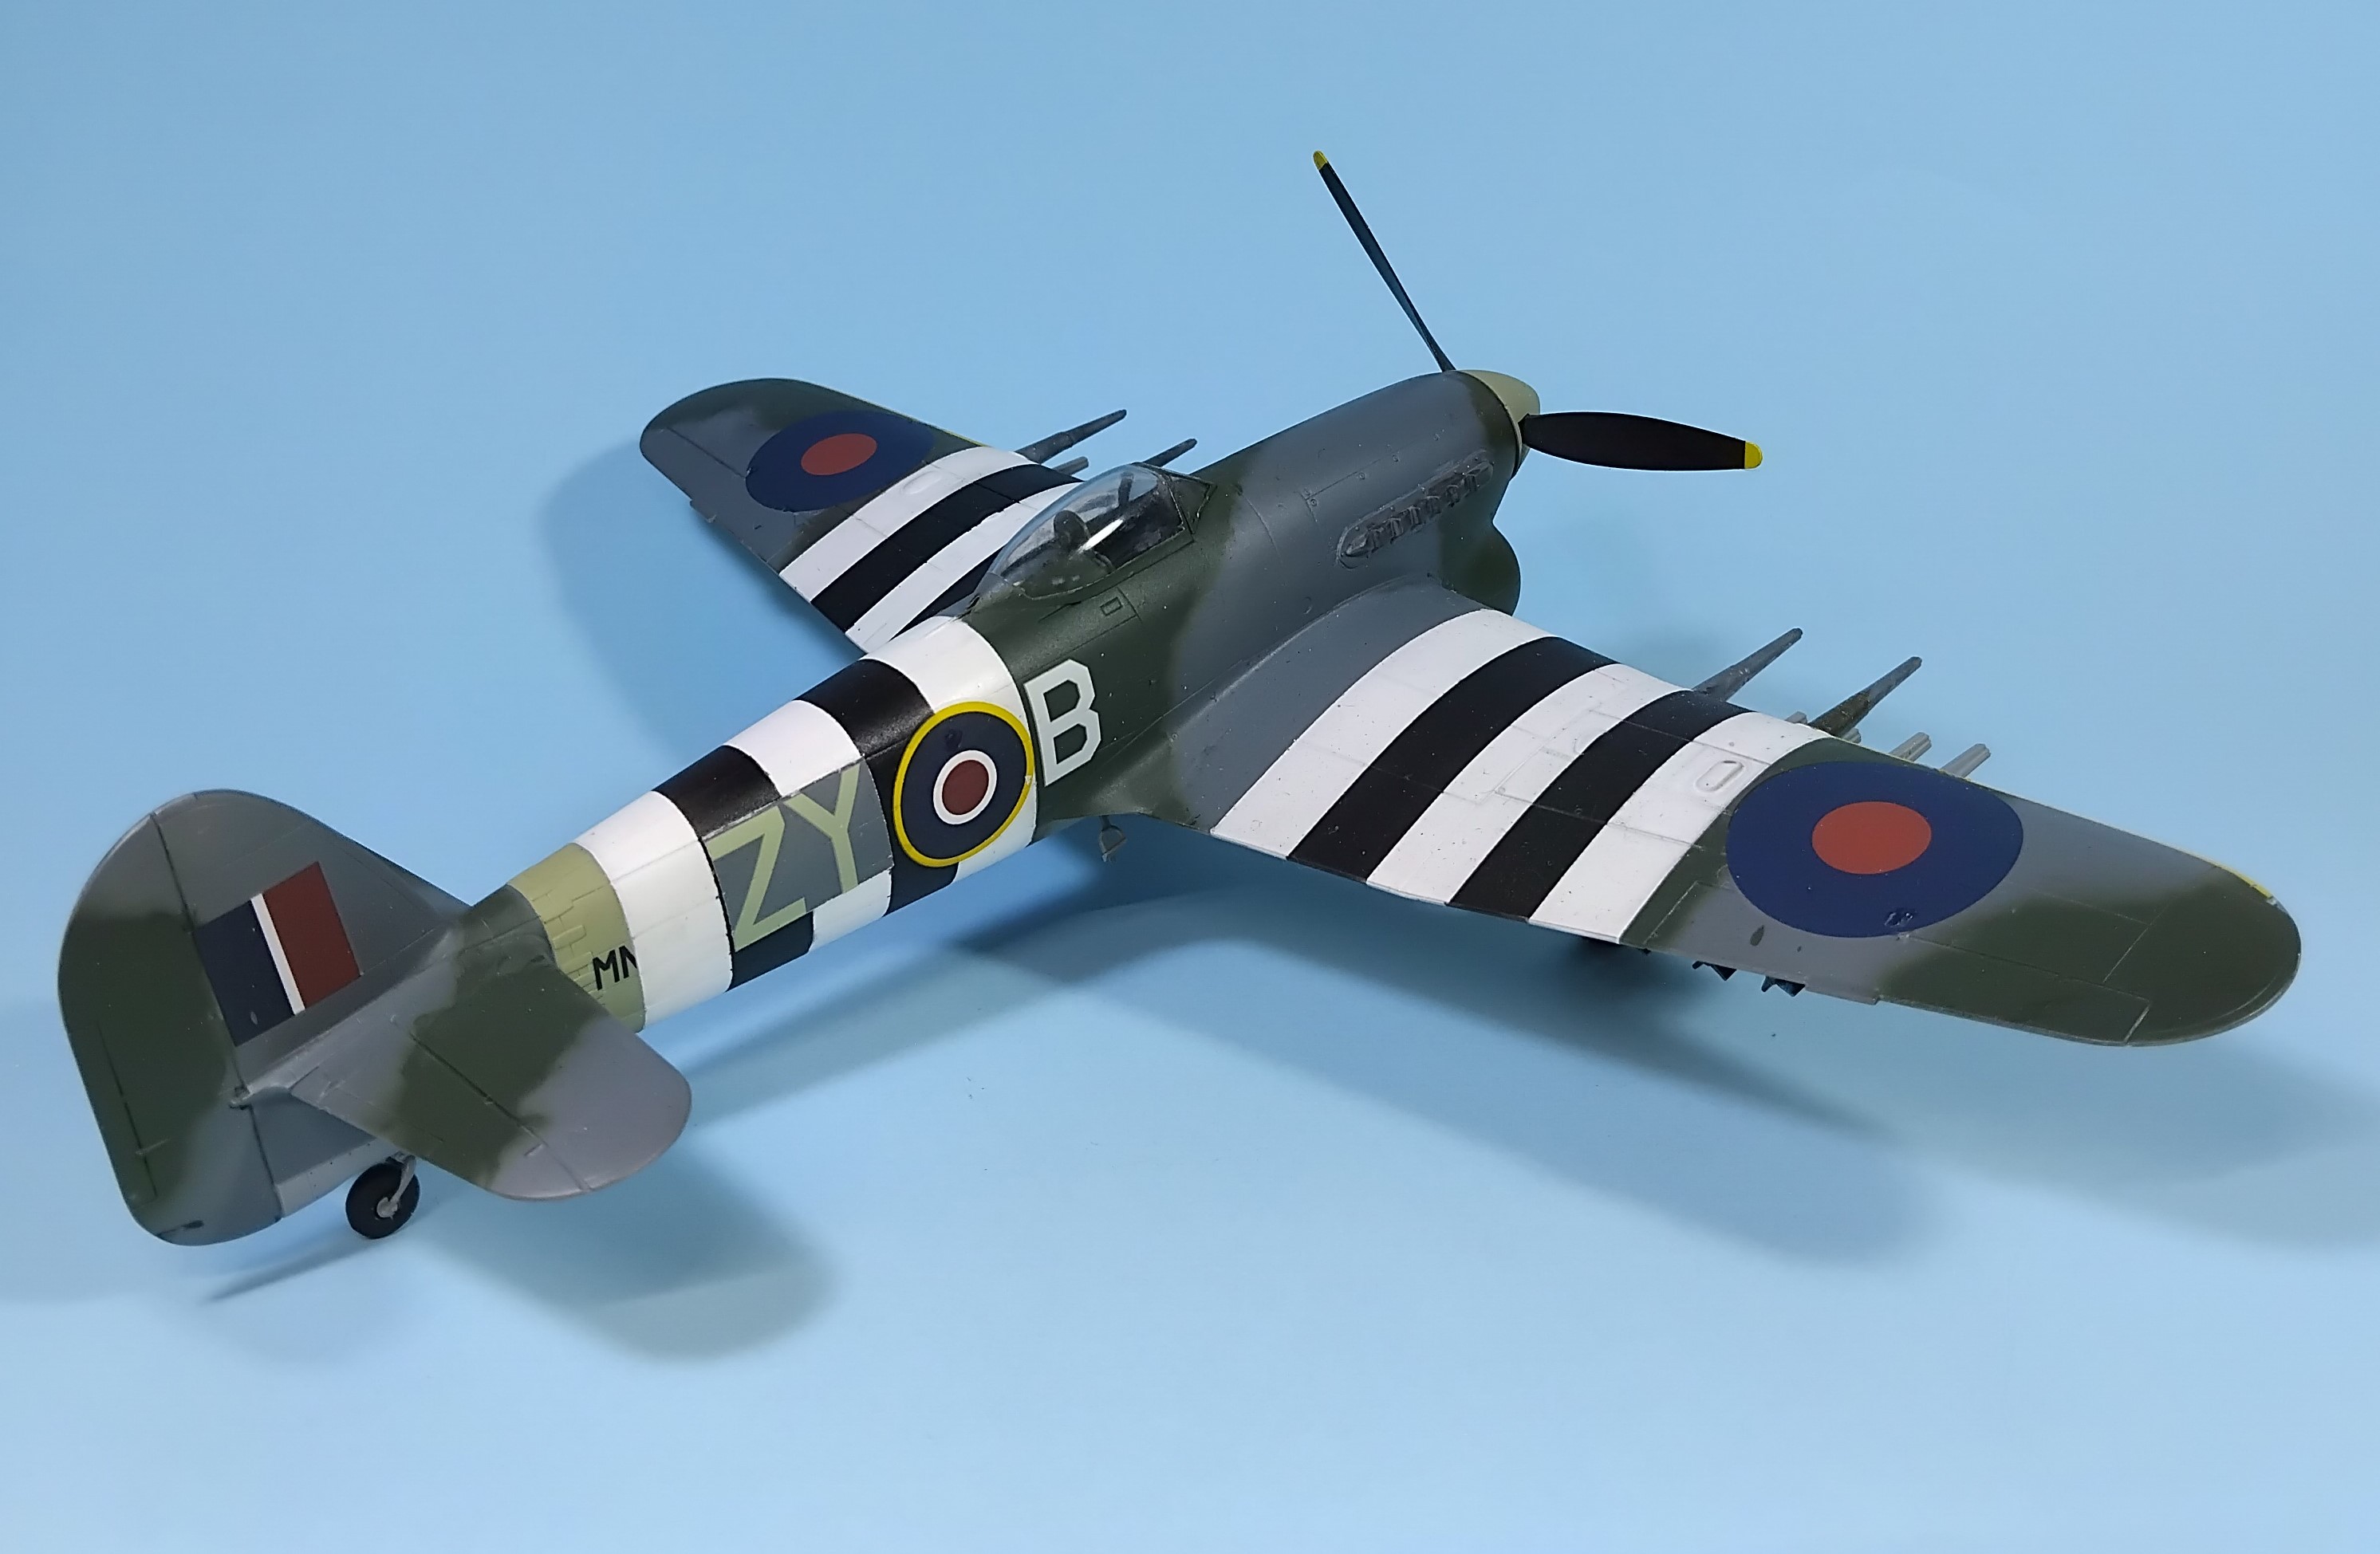
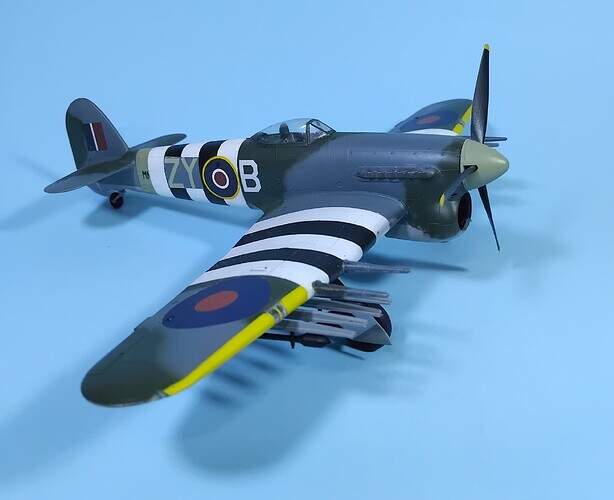
And with that I called her done!
Overall, it’s not a bad kit, though I’d recommend it to modelers with a few prop jobs under their belt, as the fit of the fuselage and the fit of the wings can be challenging. The end result is a really good representation of a Hawker Typhoon Mk IIb! Now there’s room for the Eagle!
Till next time, be safe, wash your hands with soap and water, and above all else have fun!