Paint for my Jag build:-
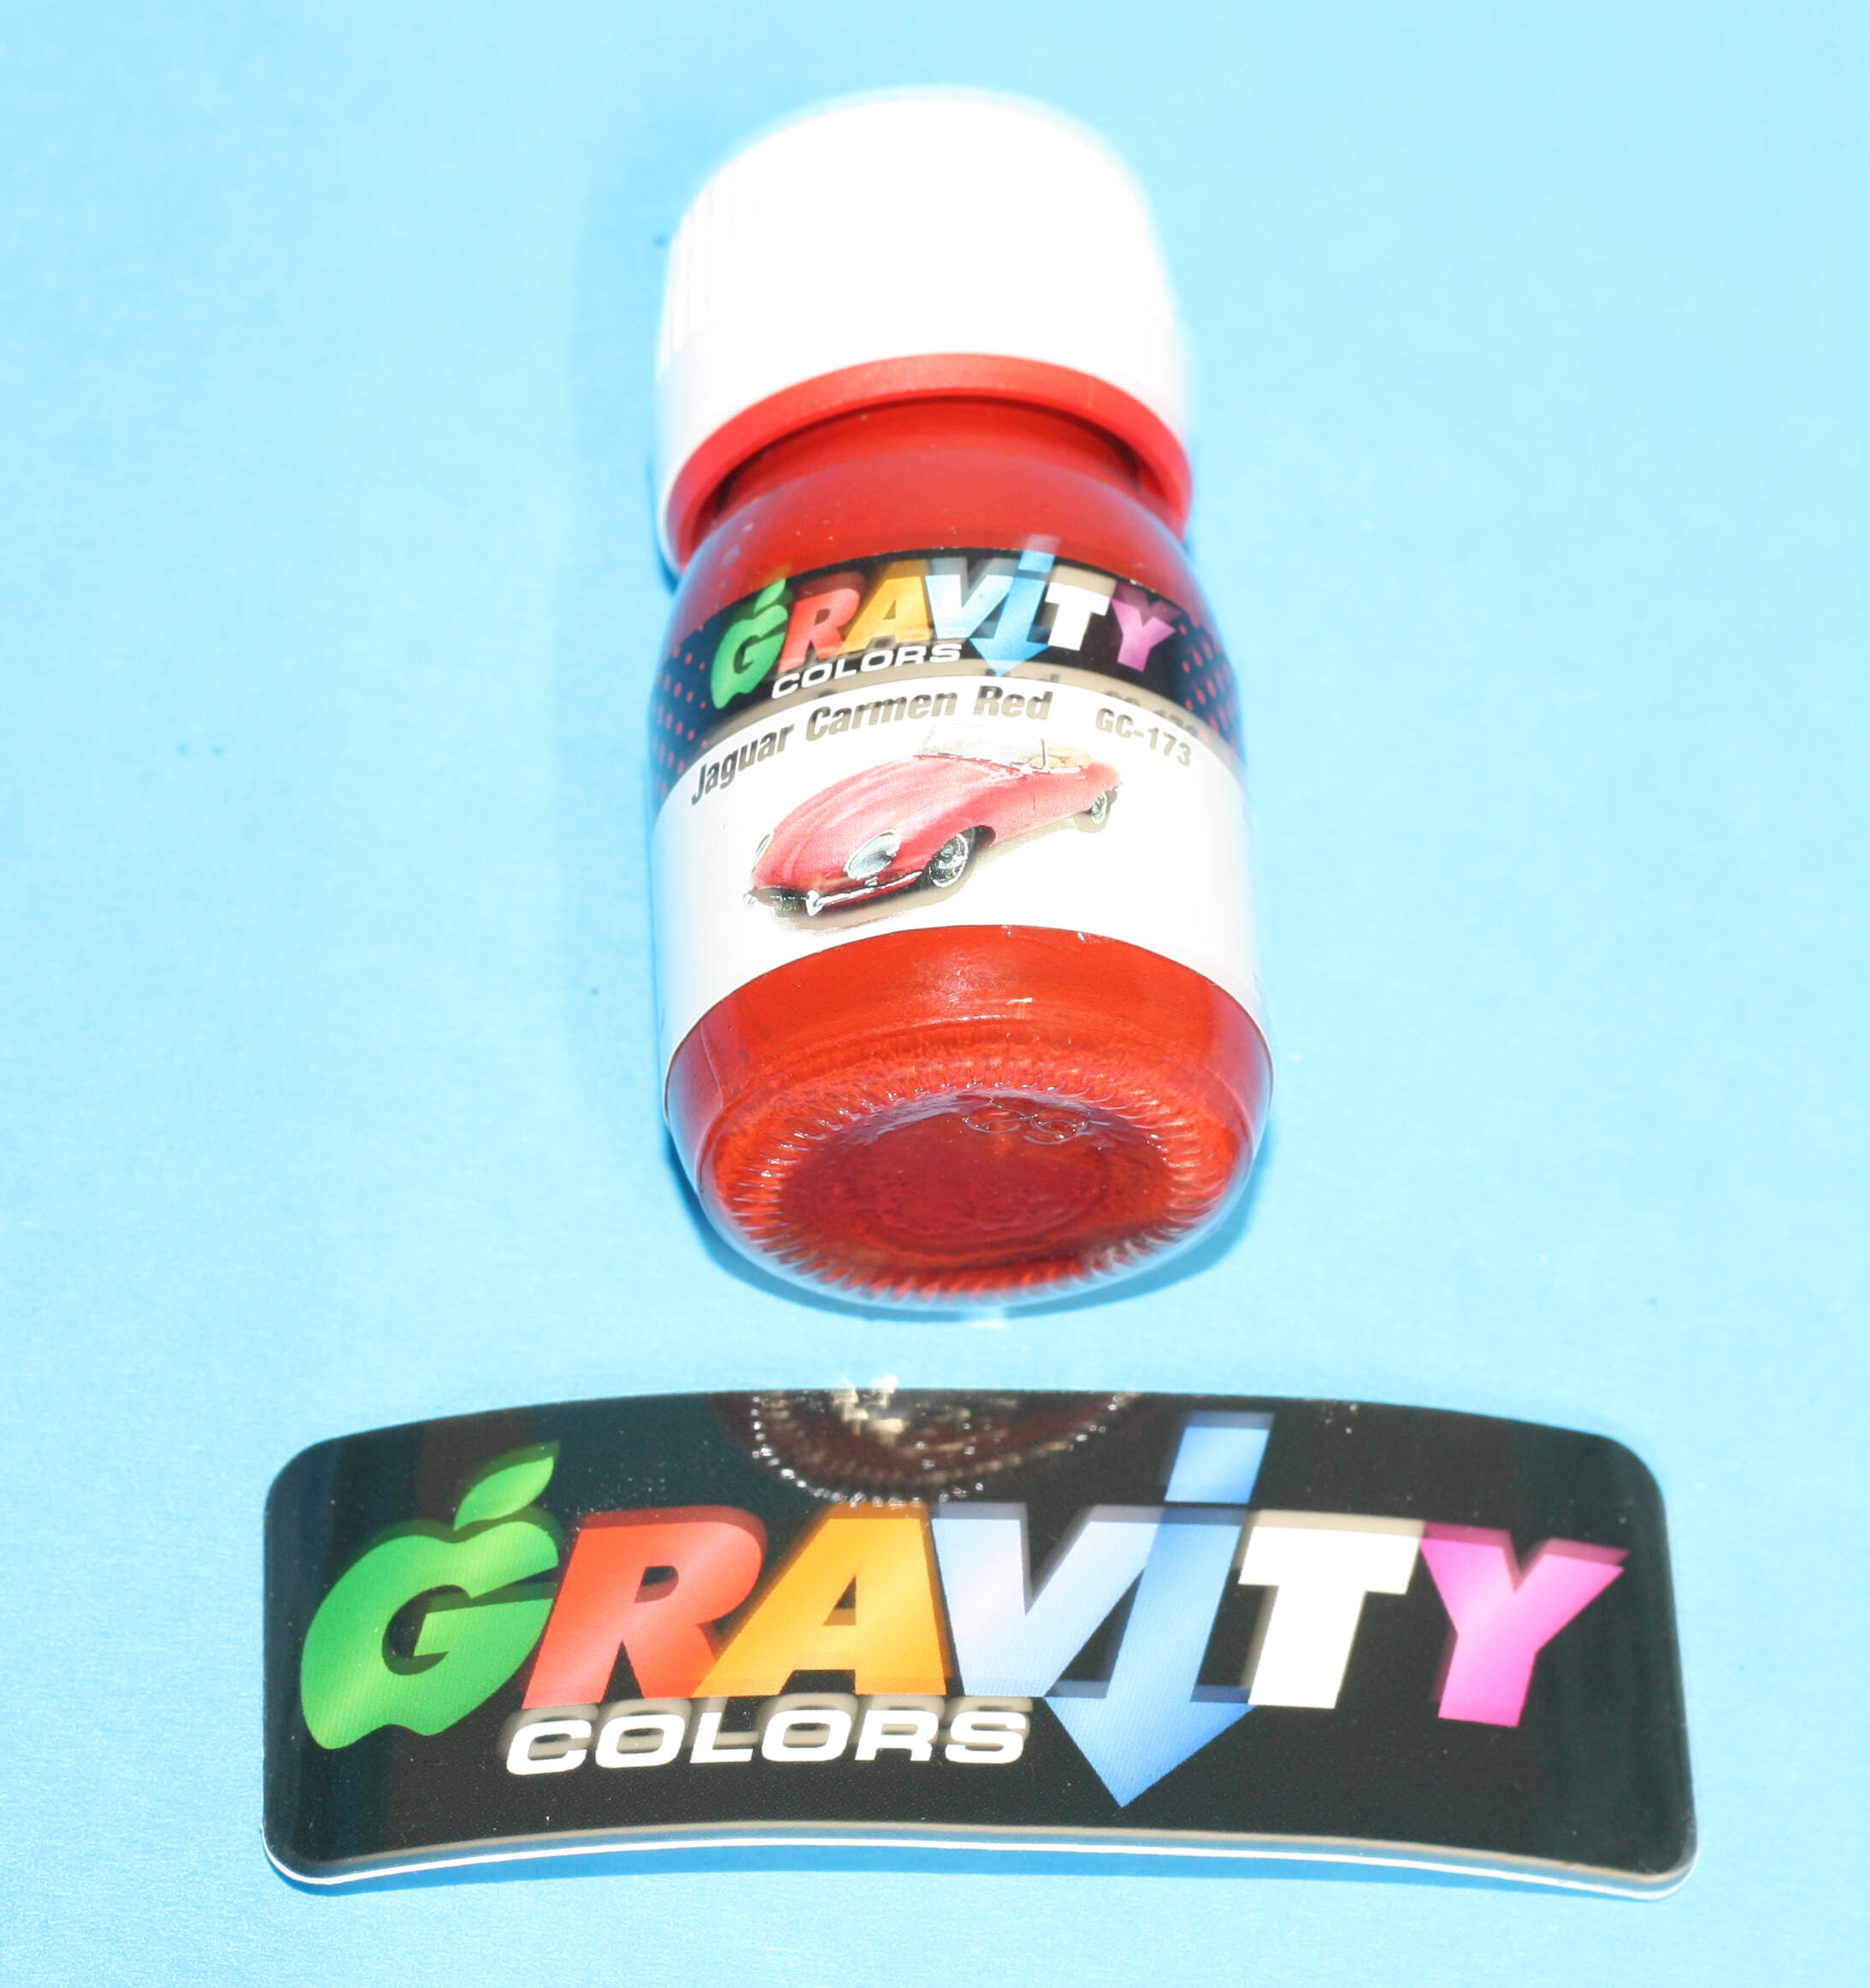

After a bit of searching I have found the colour I like for the Ferrari!
I also assembled the wheels. The spokes and chrome are nice, but there are a couple of small deformations around the outer rim that are a bit annoying. The work required to clean them up would also mean stripping and repainting, and I’m not going there on this build, especially on spoked rims.
Cheers, D
OMG, THAT is going to look sensational. You putting in the large grill fog lights?
D,
Not so sure that’s an original color, but it’s a winner for sure.
As for the wheel issues, in real life those marks on the outer rim of mag and wire wheels is known as curb rash, so as it, it’s pretty true to life. But easy to touch up if you want to.
joel
OK, speaking of original colors, looks like Dodge rebranded a generic red to be TorRed for the 2009 Challenger. I’m not finding a match from the usual suspects. Not sure I want to buy a quart of it from Sherwin Williams or even a rattle can for Wally World. Anyone got suggestions for near matches or alternate sources?
Mark,
Mike at MCW paints has a very extensive US carmakers colors. I checked a few of the 13 pages of Chrysler colors and there’s plenty of Reds. If you can’t locate the correct color just send Mike an email, and he’ll set you right up.
MCW Finishes - Model Paint, Factory Colors, Hobby Shop, Model Paint
joel
First place I checked, didn’t seem to have any Dodge colors past 2000.
I just love using lacquers! You can prime, clean up and paint all in one session!
The engine and other components got MS1500 Black and then a variety of SMS metallics (Stainless Steel, Silver and Super Silver).
The body got MS1500 Grey
I spotted a small ding in the drivers door, and a small mould flaw under the LHS grille opening, and some more clean-up work required on the lower front join.
Back to the sanding sticks and MS500 then another run at the MS1500.
Cheers, D
Mark,
Mike’s online catalog is years still in the making. Just email him, and he’ll let you know the right color to use. Also you can try ScaleFinishes which is based here in the good old USA. They’re paints and clearcoats are my go to these days.
Scalefinishes.com
joel
D,
Ain’t painting with lacquers just grand  I’ll switch colors going darker after giving the 1st color a full hour to dry/cure, but if I need to mask using Tamiya tape, I’ll stay on the side of caution and give it a full day’s curing time. A lessen I’ve learned the hard way more then once.
Nice catch on those two dings. Better to fix now that catch them after the color coat. Believe me, I’m an expert at missing small issues till it becomes a major one.
Playing around with some mixes to get an interior colour I like for the current WIP, came up with 95% German Sand Yellow and 5% Insignia Red. I will flat clear it and give it a thinned oil filter and PLW to give it a bit of worn look.
Body has been puttied, cured and wet sanded and is drying ready for another shot of primer soon.
Cheers, D
D,
Nice shade of a tan leather color. To bad that the seat cushions don’t have any texture to them, but the door cards have texture and definition especially to the pockets.
joel
Finished the main portion of the engine. Pretty straight forward. Only 2 issues.
First the fins on the cylinders were not clean.
The second issue wasn’t a flaw but just the design of the kit. The cam shafts on these engines are direct drive gears, no belts. The cam shaft drive that goes from the main block to the head is covered with a tube. Monogram decided to stop it short of the head.
Last thing I predrilled the for spark plugs, 2 per cylinder. One on top of the head and one on the side in the cooling fins.
Probably tackle the carbs next. I show a mock up of what I am thinking.
Rick
Looking nice everyone.
D, just in case you need to know, Zero paints do a whole set of Ferrari interior leather colour paints. Anyways not complaining as that interior looks ace.
Oh that body colour is Rosso Cordoba
Rick, great work on that engine, from what I’m seeing that is a huge improvement.
Thanks for the tip Luciano, much appreciated. I will be going with what I have on hand for the body on this one, SMS Wine Red I used on the 55 Chevy.
Total agreement here, excellent work fixing up the kit engine Rick!
Cheers, D
Powering along with my build here, everything is going together nicely so far.
Engine and drive train installed. Disc brake calipers painted and discs installed. Rear end painted and dual exhaust/muffler sections installed.
Headers and engine accessories installed.
As always, a few touch-ups to be done and weathering to be added.
Cheers, D
Thanks for the comments guys
Appreciate it
Damian you are screaming along. You will be done before next weekend at this rate
And I was happy slapping a couple pieces of engine together!!!
What is that filler?
Looks like glazing putty


