Your Mustang is looking sweeeeeeeet Joel! Lovely work my friend.
As with the Camaro that Jesper has just started, I love the way that the latest muscle car designs throw back to styling of the early marques instead of just following the latest trends. It’s great to see them pay tribute to the success of the classics in this way.
I will be getting some bench time tonight to put some more work into my Ferrari, what is everybody else doing?
Cheers, D
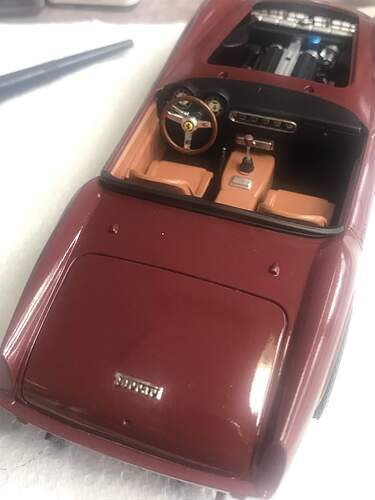
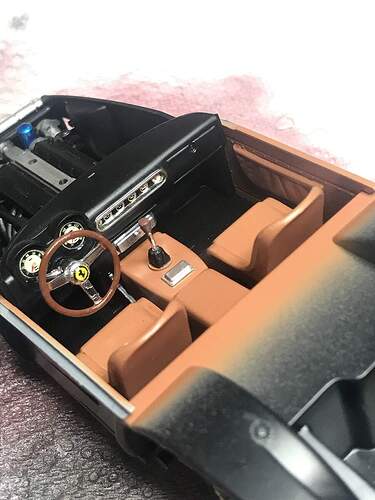
Interior all installed. I will add a bit more PLW and then shoot some flat clear to dull down the seats and inner doors once everything is cured.
Cheers, D
1 Like
D,
Glad to see that you’re finding time to get bench time. New position, house, and family must really be your limiting factors.
Just hang in there till you retire. Of course your Honey To Do list will grow even faster, but you’ll find more bench time as well.
joel
1 Like
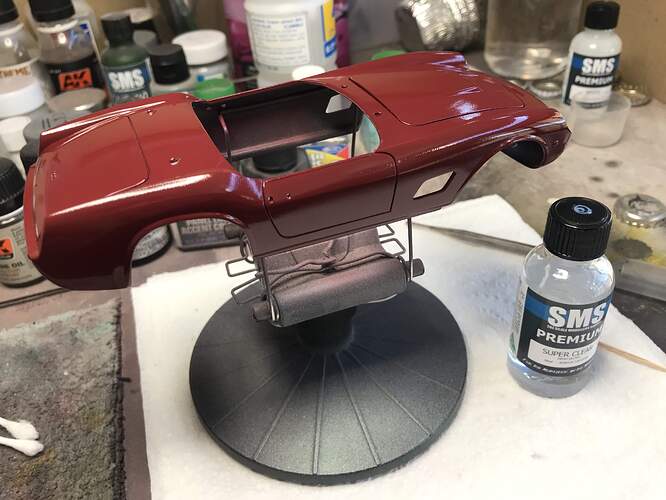
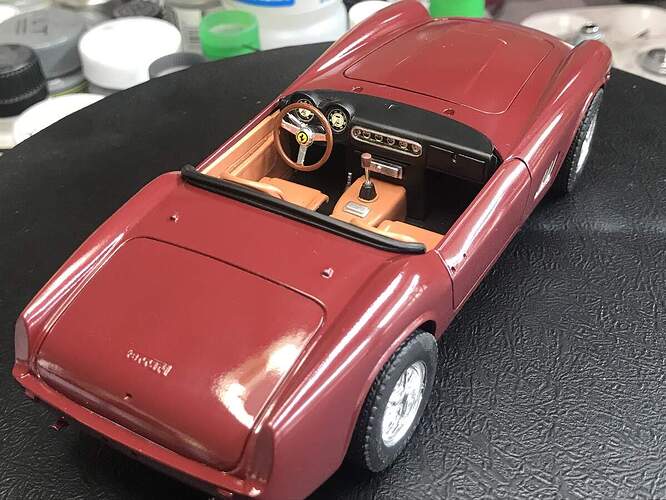
Time for clear coat on the 250 GT.
Another clear coat tomorrow then a wet sand and polish.
Cheers, D
2 Likes
D,
your gloss clear coat is really looking quite amazing.
joel
1 Like
We are now two months in on this Group Build, it would be great to see a few more kits hitting the benches soon guys!
Roll Call and Running Build Updates below:
Cosimodo (Michael) - Ferrari F1 (Monza 1967 Chris Amon) - MFH kit in 1/12 - Engine painted, assembled and detailed
Rick1956 (Rick) - Porsche 904 - Monogram kit in 1/25 - Engine modifications, assembly started
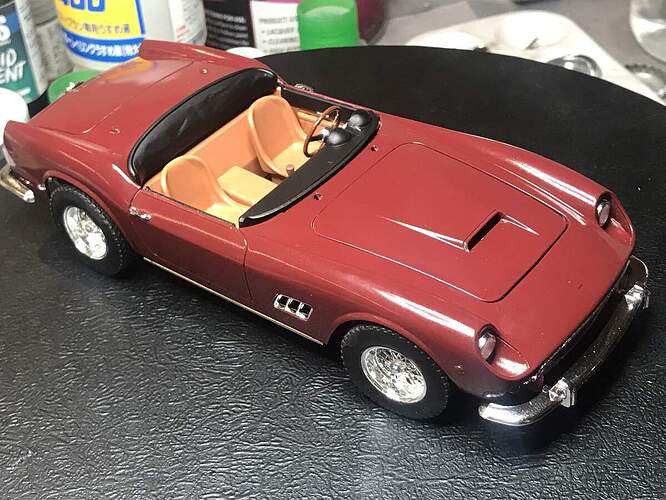
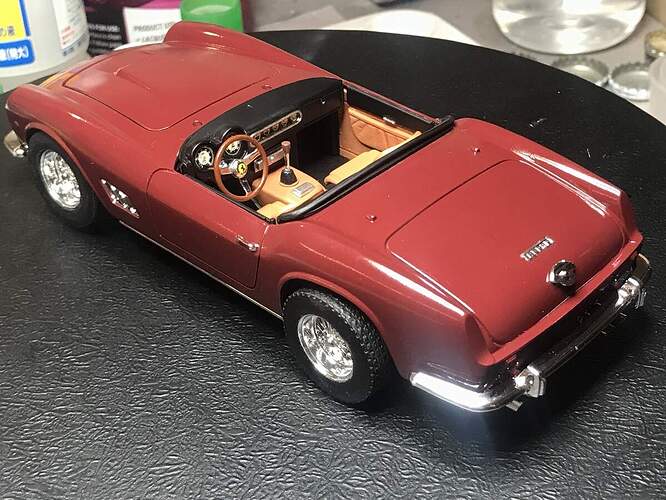
AussieReg (Damian) - Ferrari 250 GT California - Revell kit in 1/24 - Interior completed and installed, body ready for final clear coat and polishing
Joel_W (Joel) - 2020 Ford Mustang GT4 - Tamiya kit in 1/24 with IndyCal decals - 99.9% complete, waiting on tyre decals
Tinbanger (Richard) - Jaguar E-Type - Airfix kit in 1/32
Betheyn (Andy) - Porsche 917K - Fujimi kit in 1/24
Littorio (Luciano) - Alfa Romeo Giulietta Spider 1300 - Italeri kit in 1/24
Forest1000 (David) - Porsche 911 GT3 - Tamiya kit in 1/24
md72 (Mark) - Dodge Challenger (2009) - Revell kit in 1/25
Cheers, D
1 Like
As D said, it sure would be nice to see a few more of the builds started since we’re at the 2 month mark, as well as continued updates one the ones already started.
joel
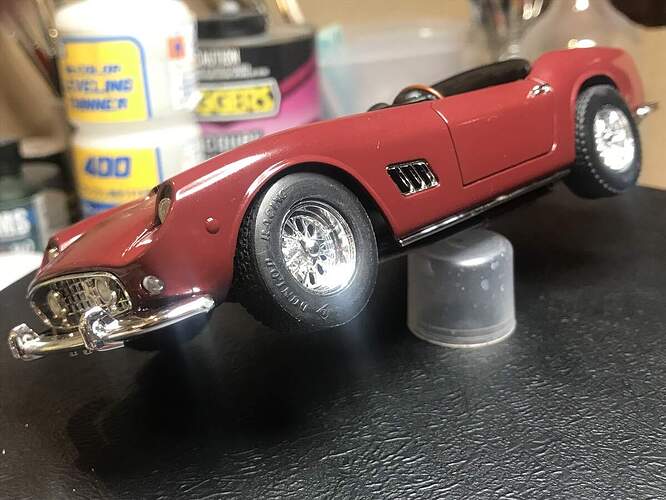
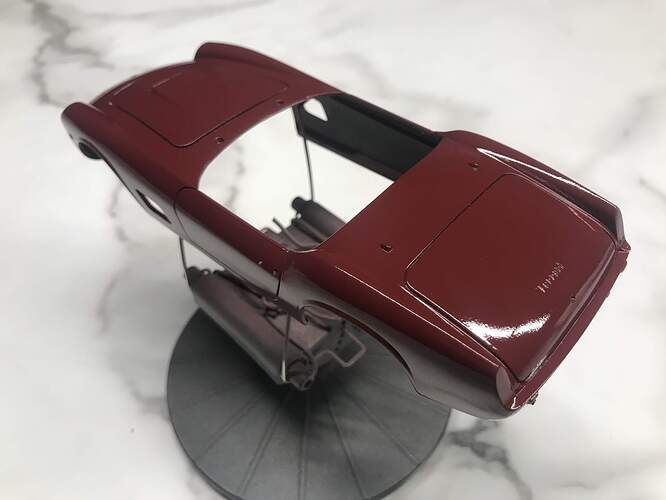
Started final assembly on the Ferrari, the body was frustrating me with some of the seam lines ghosting through again so I put a final coat of clear on and let it cure for a couple of days. Time to move on.
Cheers, D
3 Likes
Hi D,
This car is turning into (uhh, you are building…  ) an absolute beauty! Really a pleasure to see
Cheers
Nick
Your California is looking superb Damian. Nice burgundy colour to go with that Shiraz you’ve been drinking!
cheers
Michael
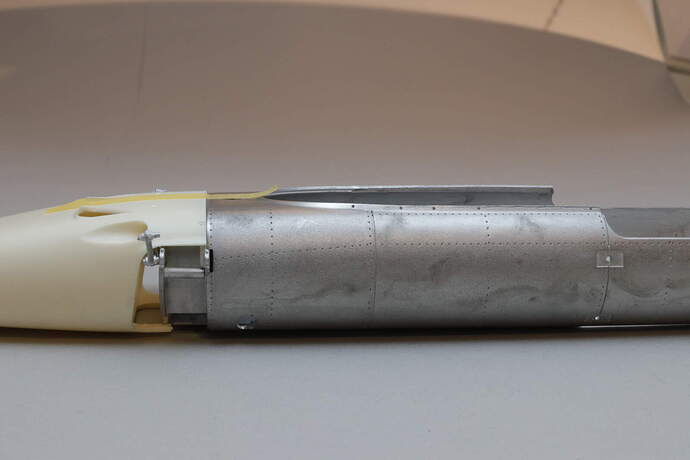
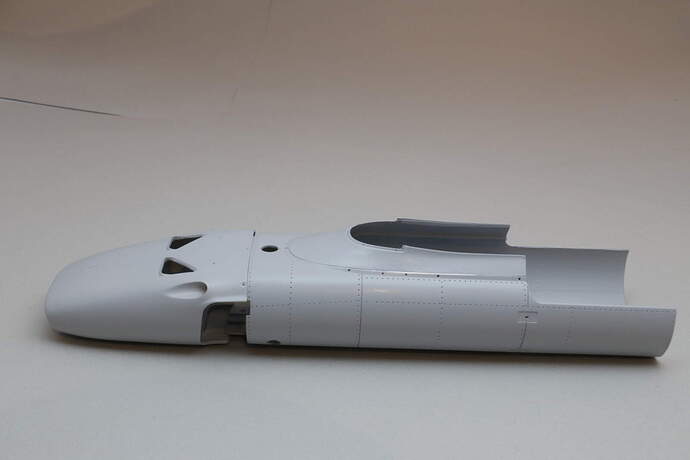
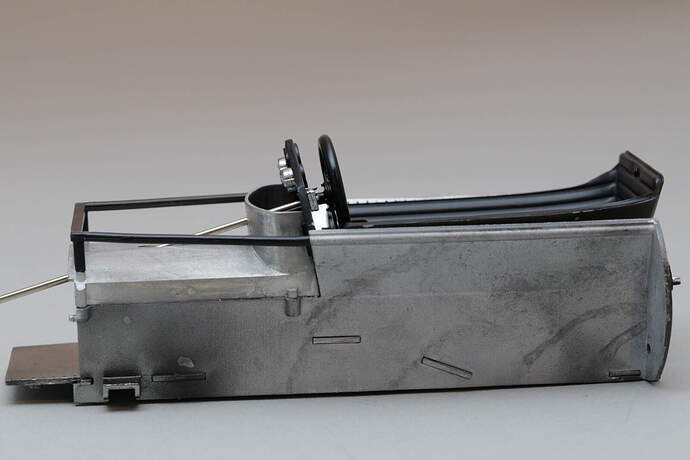
While D.'s Ferrari is almost done my is stuck with an exhaust issue that I have been skirting. The pipes don’t line up right and since they’re solid metal I haven’t taken the step to dismantle and fix properly. But meantime everything moves on. All the rest of the parts are painted and just waiting for assembly. The biggie is the body which is about half way through its process at the moment of moving from bare metal/resin to red.
This is what I started with, the white metal body needing some attention.
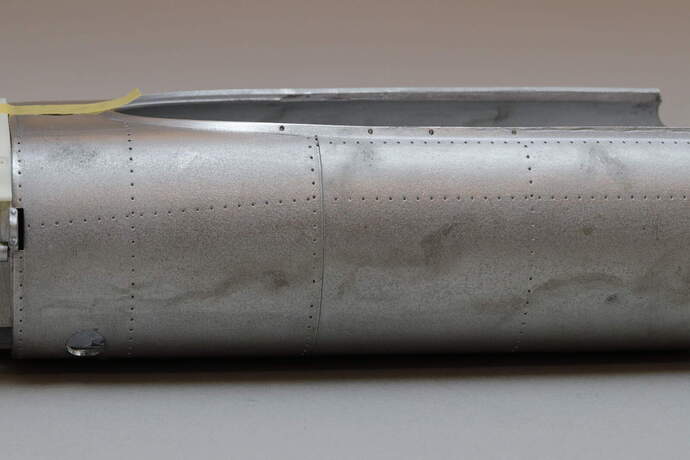
and closer in
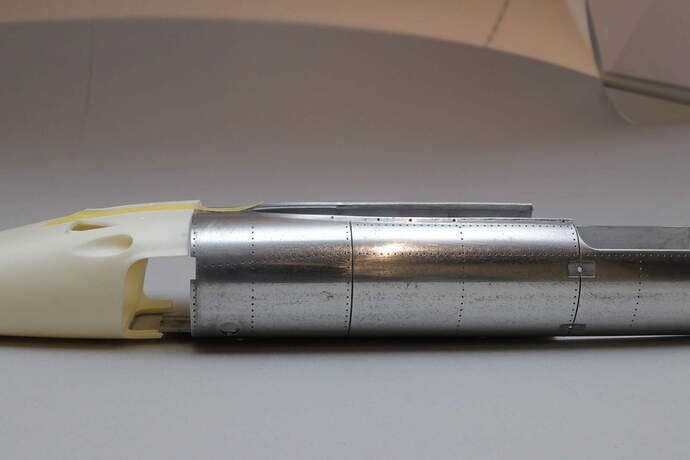
and some elbow grease to polish out some of the roughness
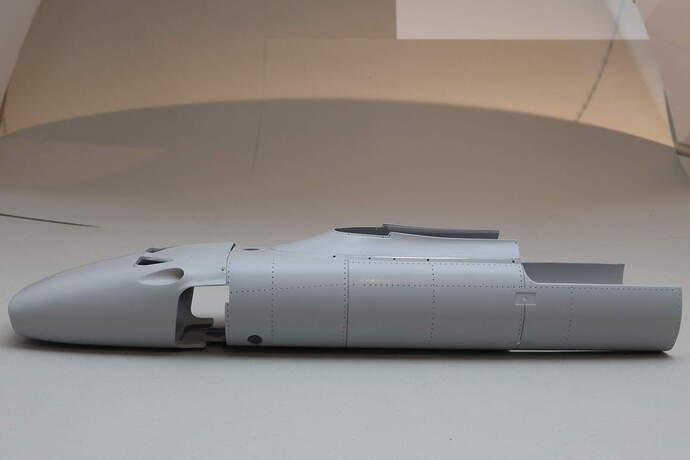
and Tamiya primer to smooth it out. It got several coats and sanding
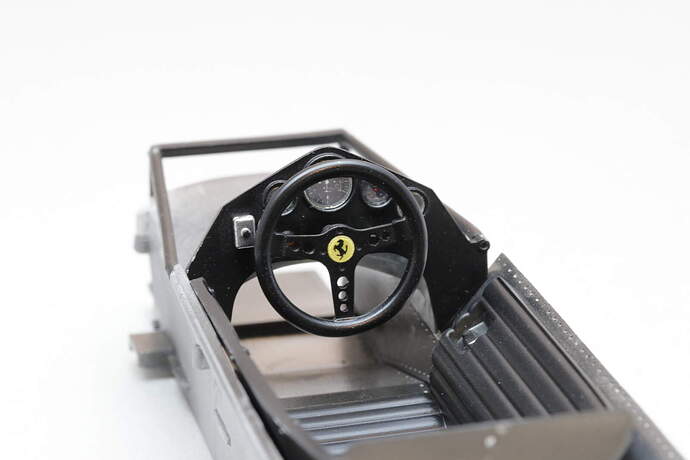
the cockpit slides into this once the engine is attached. The dash still needs some cables.
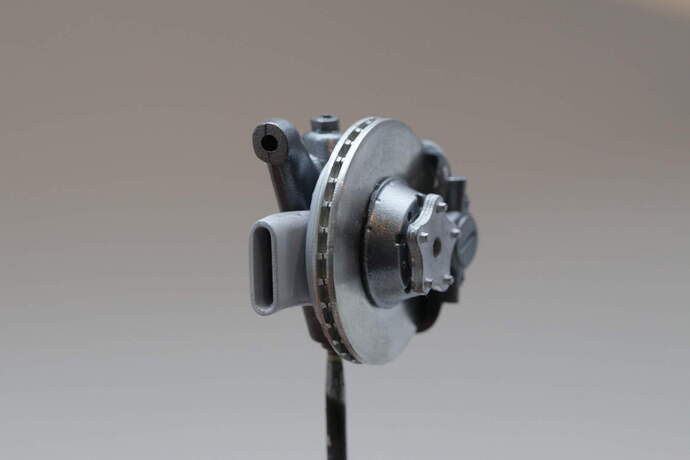
and other pieces that are just waiting for assembly - caliper detail
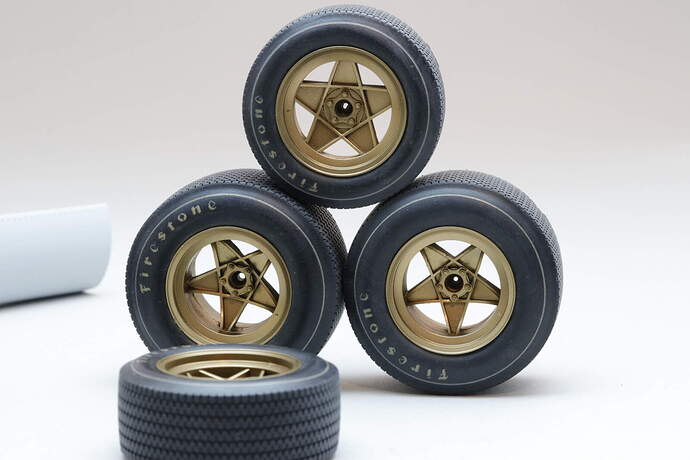
and wheels with there Firestone markings
So progress is being made - the exhausts yet again set off for another day
cheers
Michael
3 Likes
Thanks for the feedback guys, much appreciated as always.
Michael, great job getting the metal/resin bodywork smoothed and blended. The primer coat looks really good and I can’t wait to see the famous Italian Red coats going on. The cockpit and those wheels look amazing too, I love the gold star rims and the fine detail.
Cheers, D
D,
Your Ferrari 250 GT is looking darn good. I enlarged the pictures and I couldn’t spot that seam issue. Just one quick question, how are you planning on highlighting the Ferrari emblem on the truck as I’m assuming that it’s chrome?
joel
Nick,
It’s great to see that you’re back with us. I for one have missed your presence here.
joel
Michael,
Sorry to read about the exhaust header issues. Figures that it has to be a V12. Since the pipes are metal, can’t you gently nudge them into position?
Great job on getting the metal body ready for priming, as that’s some shine you got there. Primer coats looks smooth and consistent between the plastic nose and the metal body.
Cockpit gauges and wheel really look the part. The “glass” faces on the instruments really look like glass.
The start of the brake assembly is just a tease to what the finished ones will be like.
joel
Thanks Joel! There is a decal for the rear “Ferrari” but it looks more grey than chrome. I will use a fine brush and dry-brush the raised detail with Vallejo Metal Color Chrome which is water-based. It is easy to remove any errors with a damp toothpick.
I will make sure to get some before and after shots.
Cheers, D
Well my iPhone is playing games and I can’t seem to open the in-progress images, but here’s the end result from about 15 minutes work. A couple of coats dry-brushed using a cut-down fine brush, the edges cleaned up with a damp toothpick, 10 minutes to cure then a tiny drop of black PLW for definition and once again clean around the edges but this time with a fine Q-tip dampened with white spirits.
Viewed really close it’s a bit uneven, but at normal viewing distance it does the job!
Cheers, D
2 Likes
D,
Even enlarging the picture, the dry brushing on the Ferrari looks darn good to me.
joel
1 Like
Thanks Joel. I prefer to do it that way than wrestle with decals that don’t look like chrome anyway!
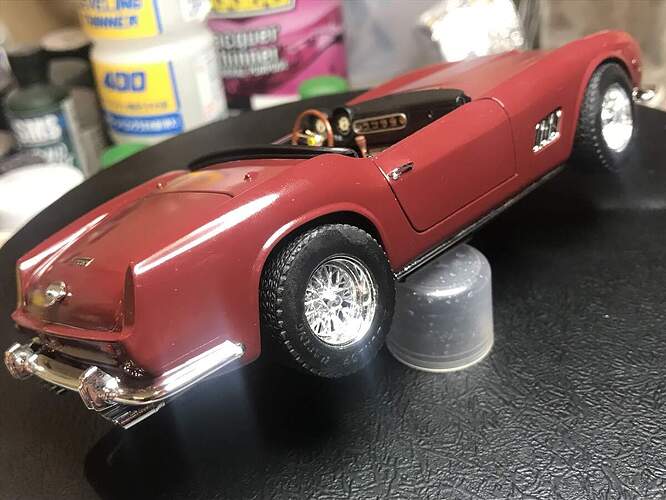
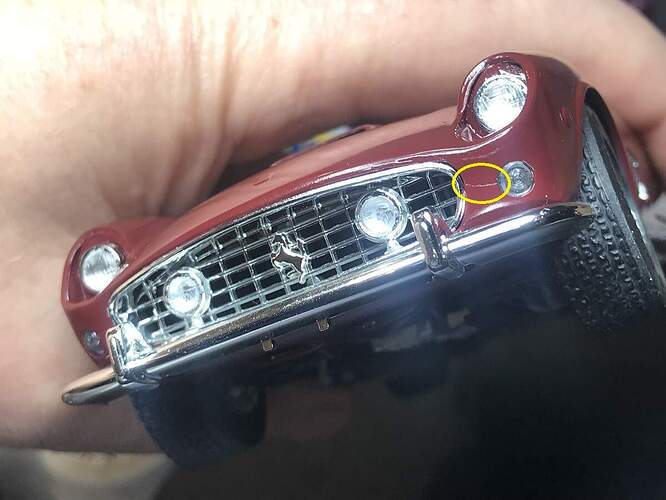
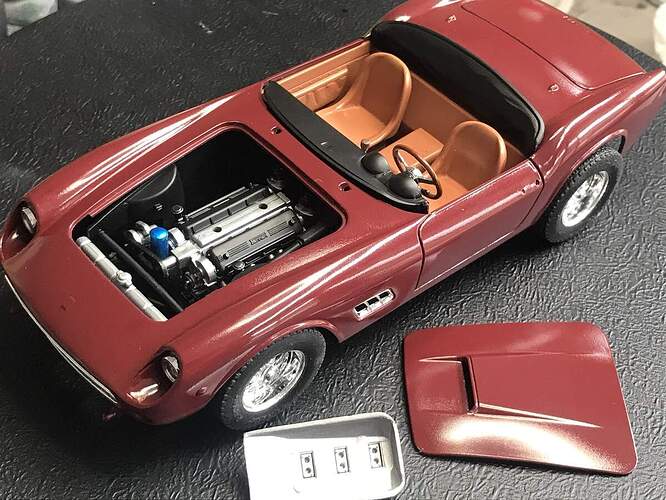
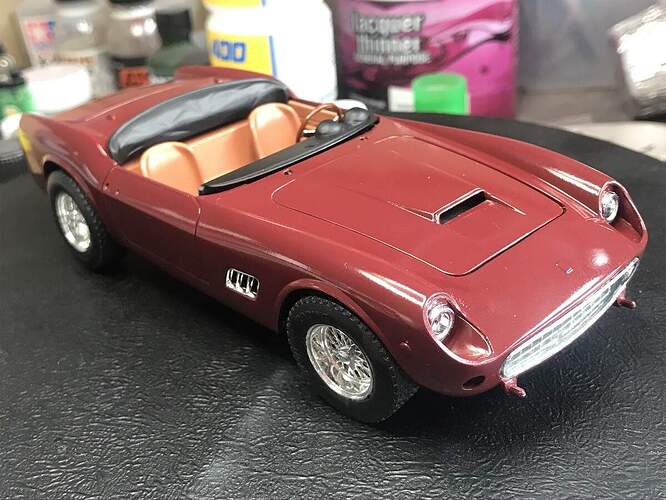
More detail additions tonight. The tail end got the chrome exhaust tips, bumper and boot catch. The sides got the lower trims and door handles. The noisy end got parking lights, driving lights headlight lenses and bumper. The interior got the upper door trims. Getting very close to the finish line now.
I have circled the seamline that just won’t go away in the image below. I thought I had it sorted but the constant handling and layers of lacquer paint have drawn it out again. There is a similar but less prominent one on the opposite side as well. They are staying there now!
In a classic “WTF were they thinking?” moment, I found a nasty ejector pin mark right in the centre of the rear-view mirror! Seriously? It has been sanded off now, so I need to re-chrome the mirror face. I will try this using a Molotow pen and see how it looks.
Stay safe and model on folks!
Cheers, D
3 Likes
Looking good Damian. Amazing how often things like seam lines come back to haunt us. Something about plastic - it 's always fighting back!
cheers
Michael
1 Like

 ) an absolute beauty! Really a pleasure to see