Thanks David. Yeah I saw a couple of sets but they all had you sawing up the kit rotors, which I was slightly hesitant to do, will bite the bullet next time though!
Forgot to add that the absence of interior detail for the sensor ball was slightly disappointing too, but not too difficult to remedy.
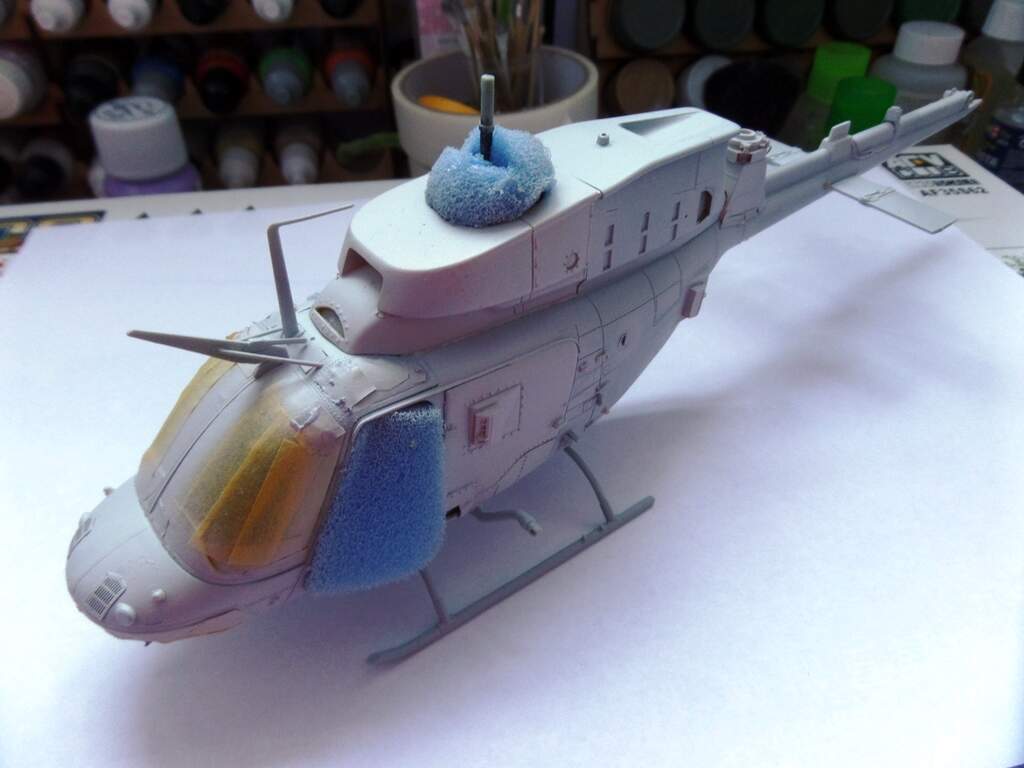
I was just wondering what clear tamiya spray paint i should use on the Kiowa’s upper glass, should i use the acrylic in the jar or the spray can and which side should i spray the inside of the glass or the outside?
I’ve never had to do canopies before as this is my first aircraft in about 40 years. I’ve masked mine and it will stay on until all painting and weathering is done. I have heard that dipping them in clear makes them look good however, that’s an issue if it’s already fitted.
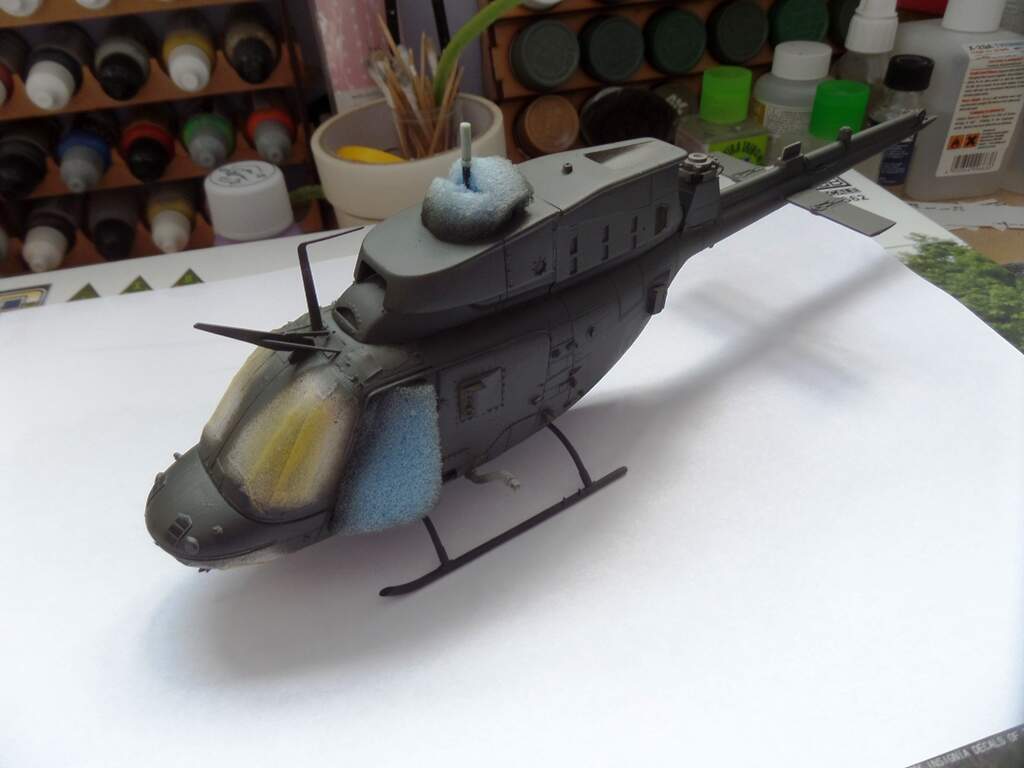
And again a brief update. Fuselage primed and also painted. I used Model Master 34031 US Helo Drab and have to admit it is a lot darker than I anticipated. Looking at real airframes however some of them do appear very dark. I would imagine with weathering it will lighten up some. First time spraying enamel and Model Master paints for me and I must admit it went on a treat, really smooth flow and zero problems with the airbrush.
Floyd left his clear. As former driver that’s good enough for me but I have also seen green so players choice it seems. I would think only the top side is needed.
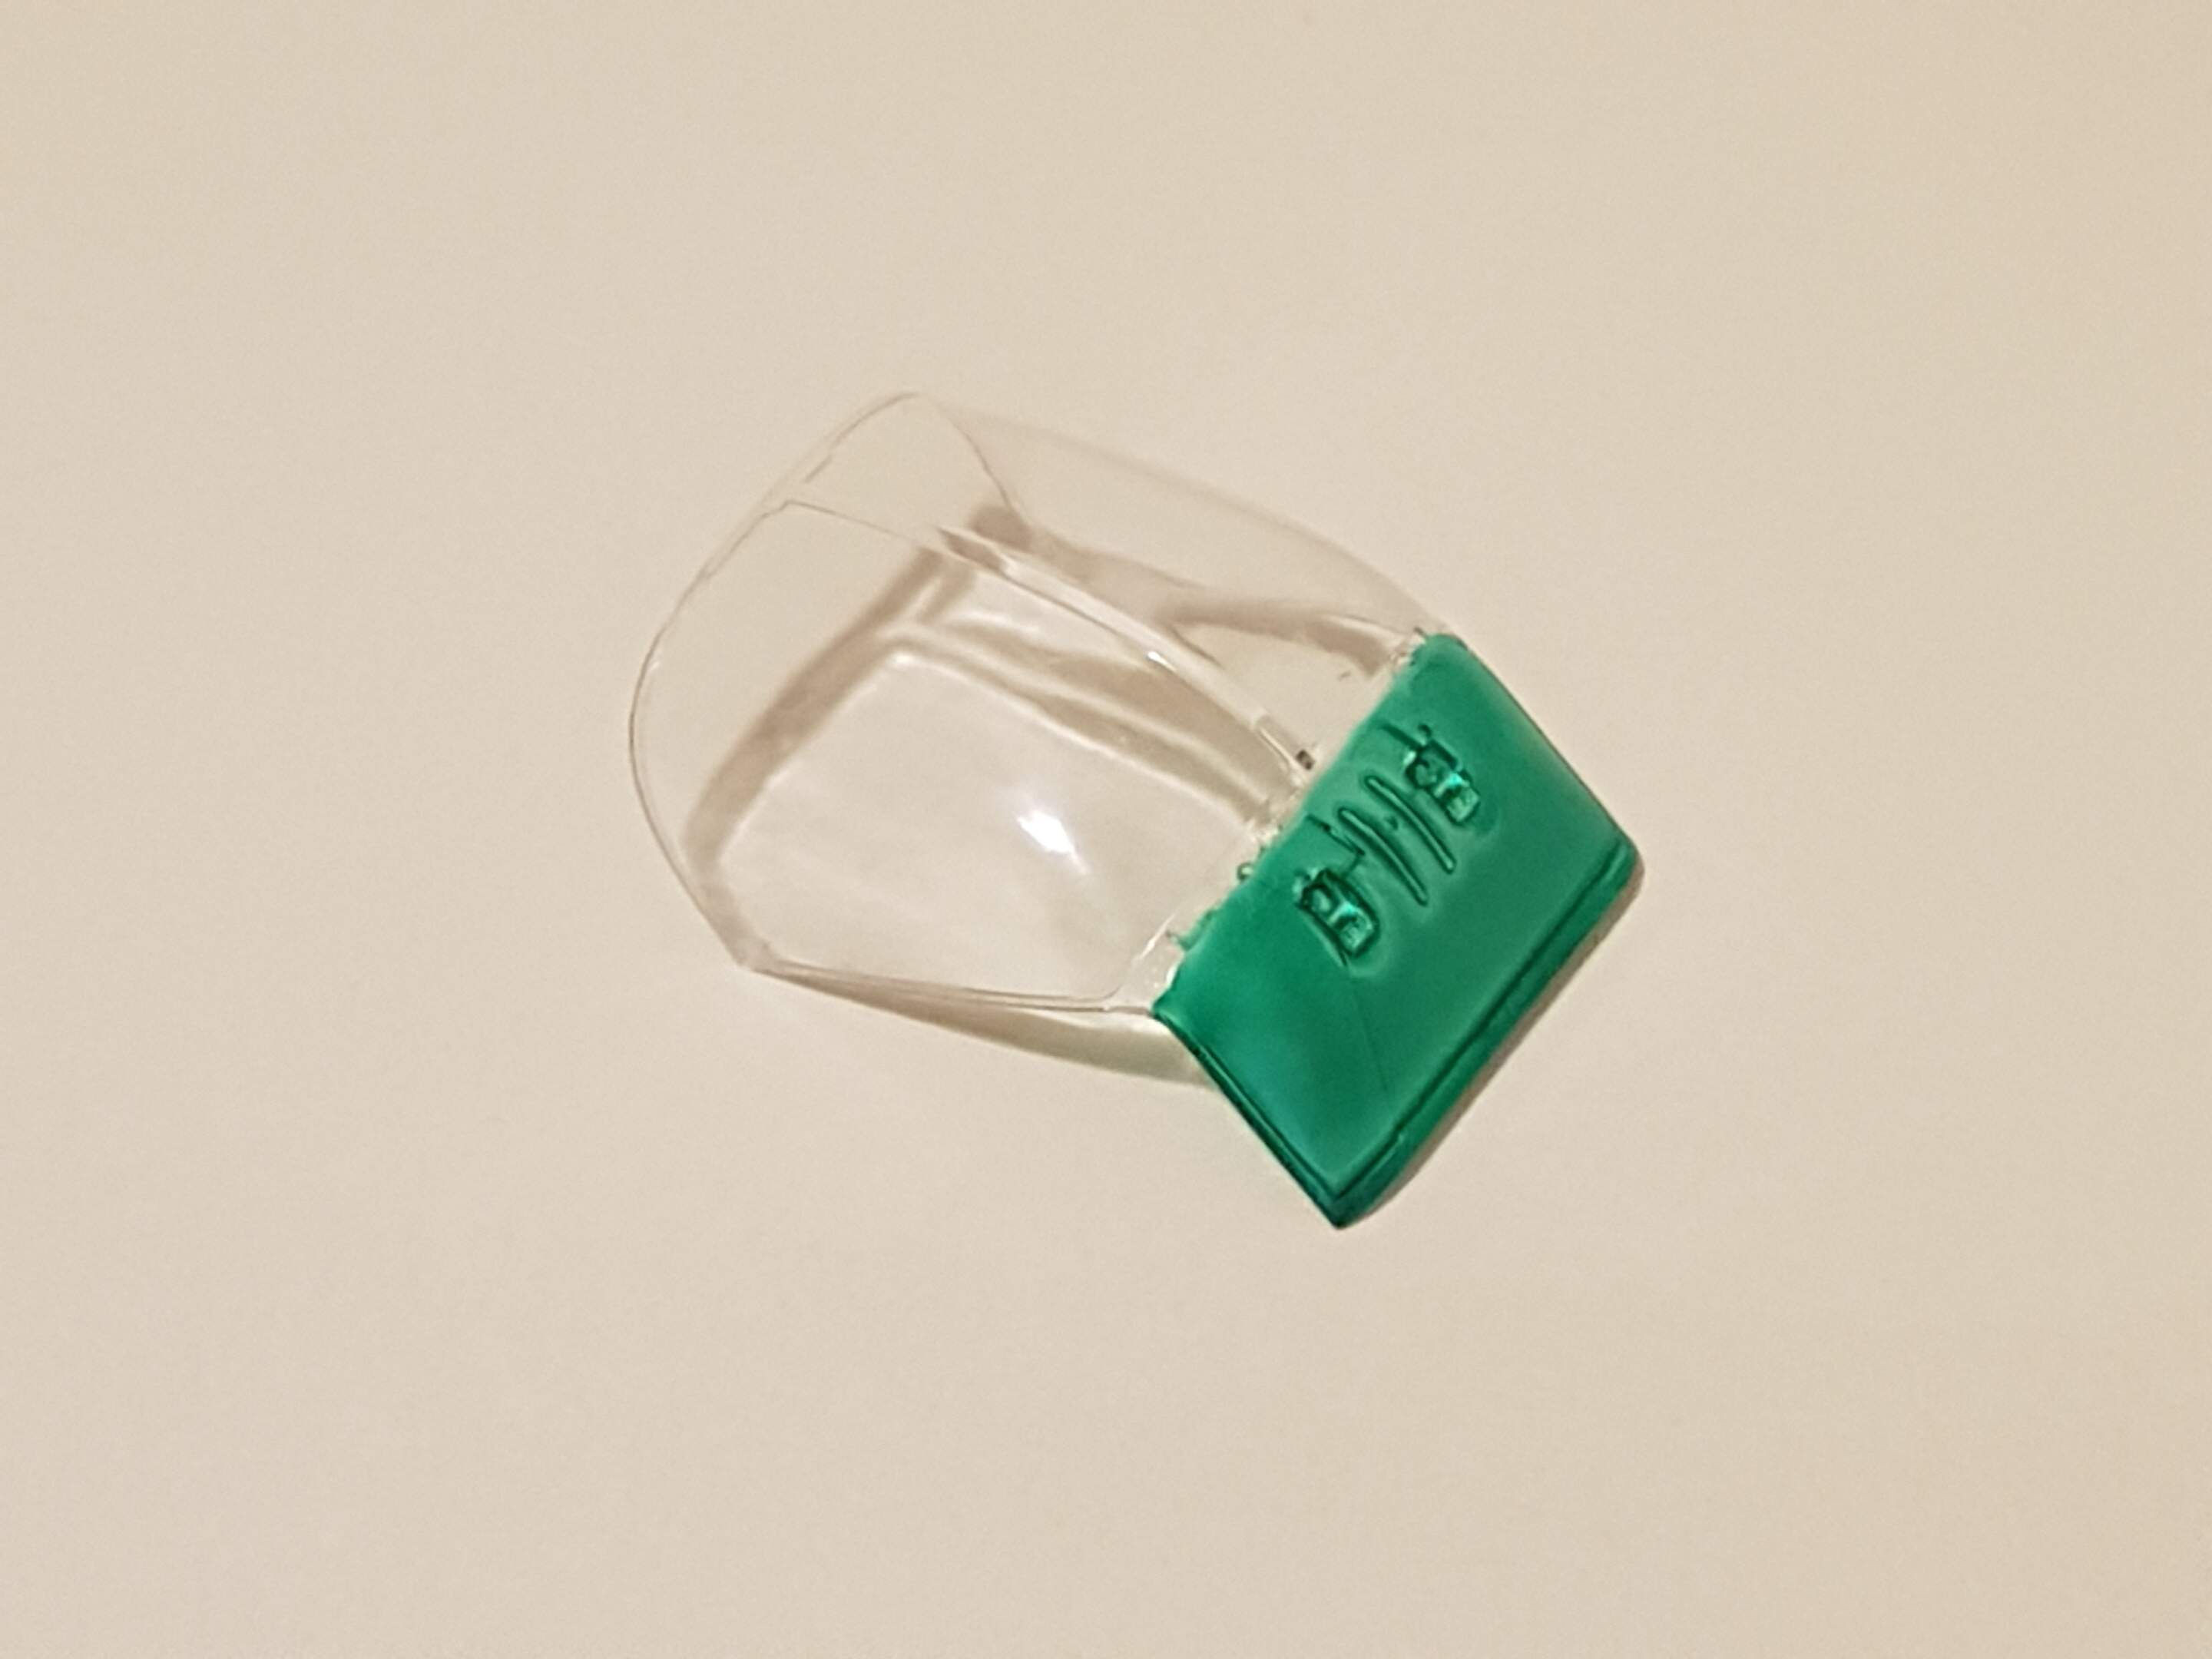
well I managed to get some time in to mask the cockpit glass and I sprayed it with tamiya spray can clear green and BOOM it’s fogged over.
I had treated the glass to floor polish as recommended and the green section has fogged over. the masking tape has also left white marks which are refusing to come off as well…bit of a disaster.
I will just have to carry on with the build… next time I’m using acrylic paints although I have heard of people using coloured acetate sheet to do the job.
Progress Shots;
The tail rotor shaft had a head on it, unfortunately the hole was the same diameter as the mounting hole so it wouldn’t stay in place. Glued a section of tubing on the end, sanded it down, drilled out the hole a bit and got a good fit.
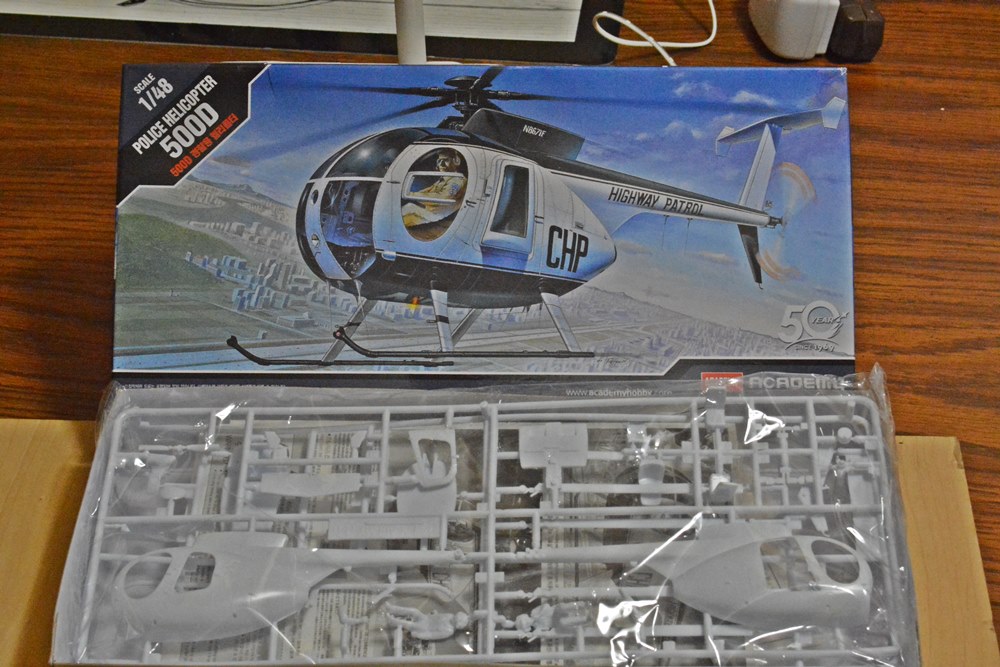
The instructions say to place 20 grams of weight into the nose. For the unmetrified, that’s a lot of weight, nearly an ounce. Try as I might, I only got 8 grams of Liquid Gravity and super glue into to nose area.
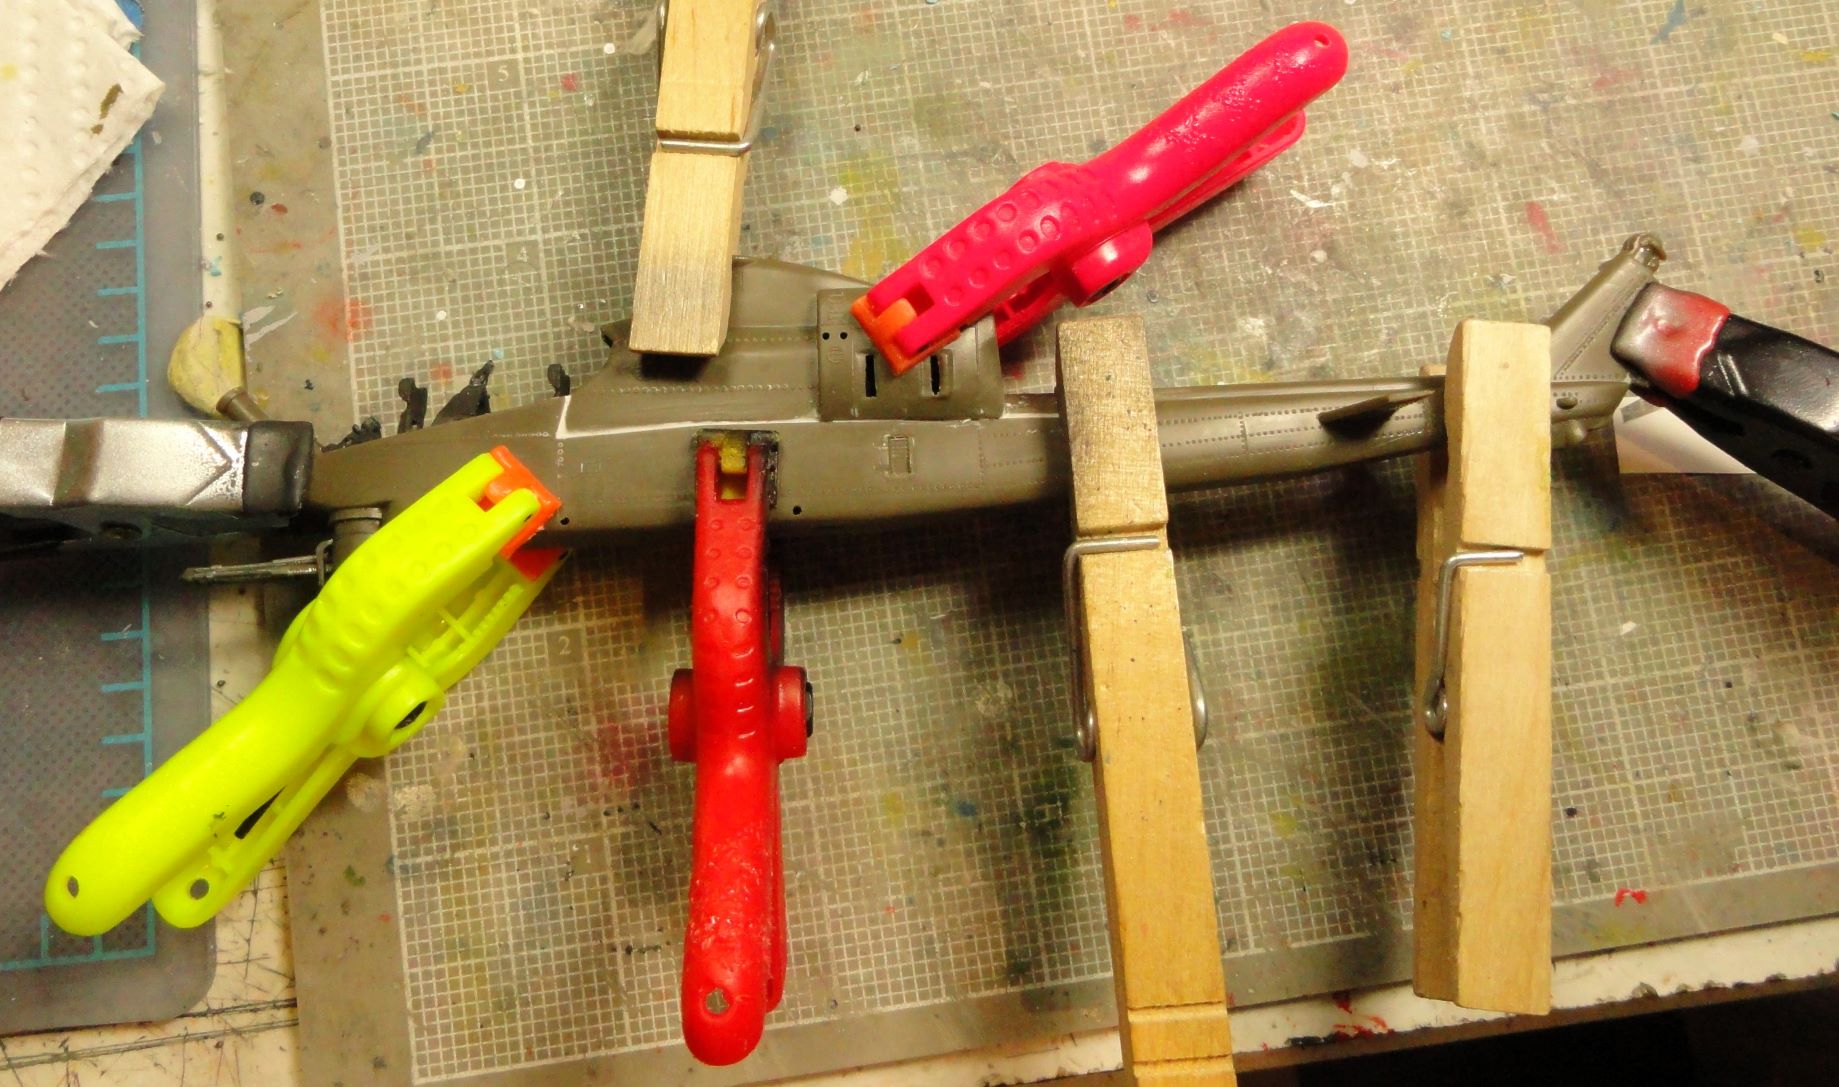
I have never used clamps and clothes bins before but you have to do what you have to do. Some areas one can store weight is under the gunner and gun turret. If you want the gun fixed it can left off along with the elevators til the fuselage halves are glued together to make that process easier.
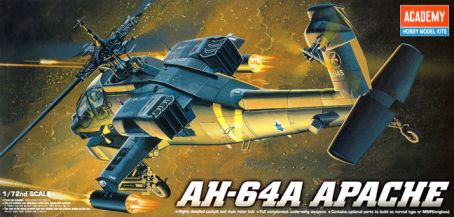
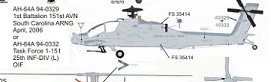
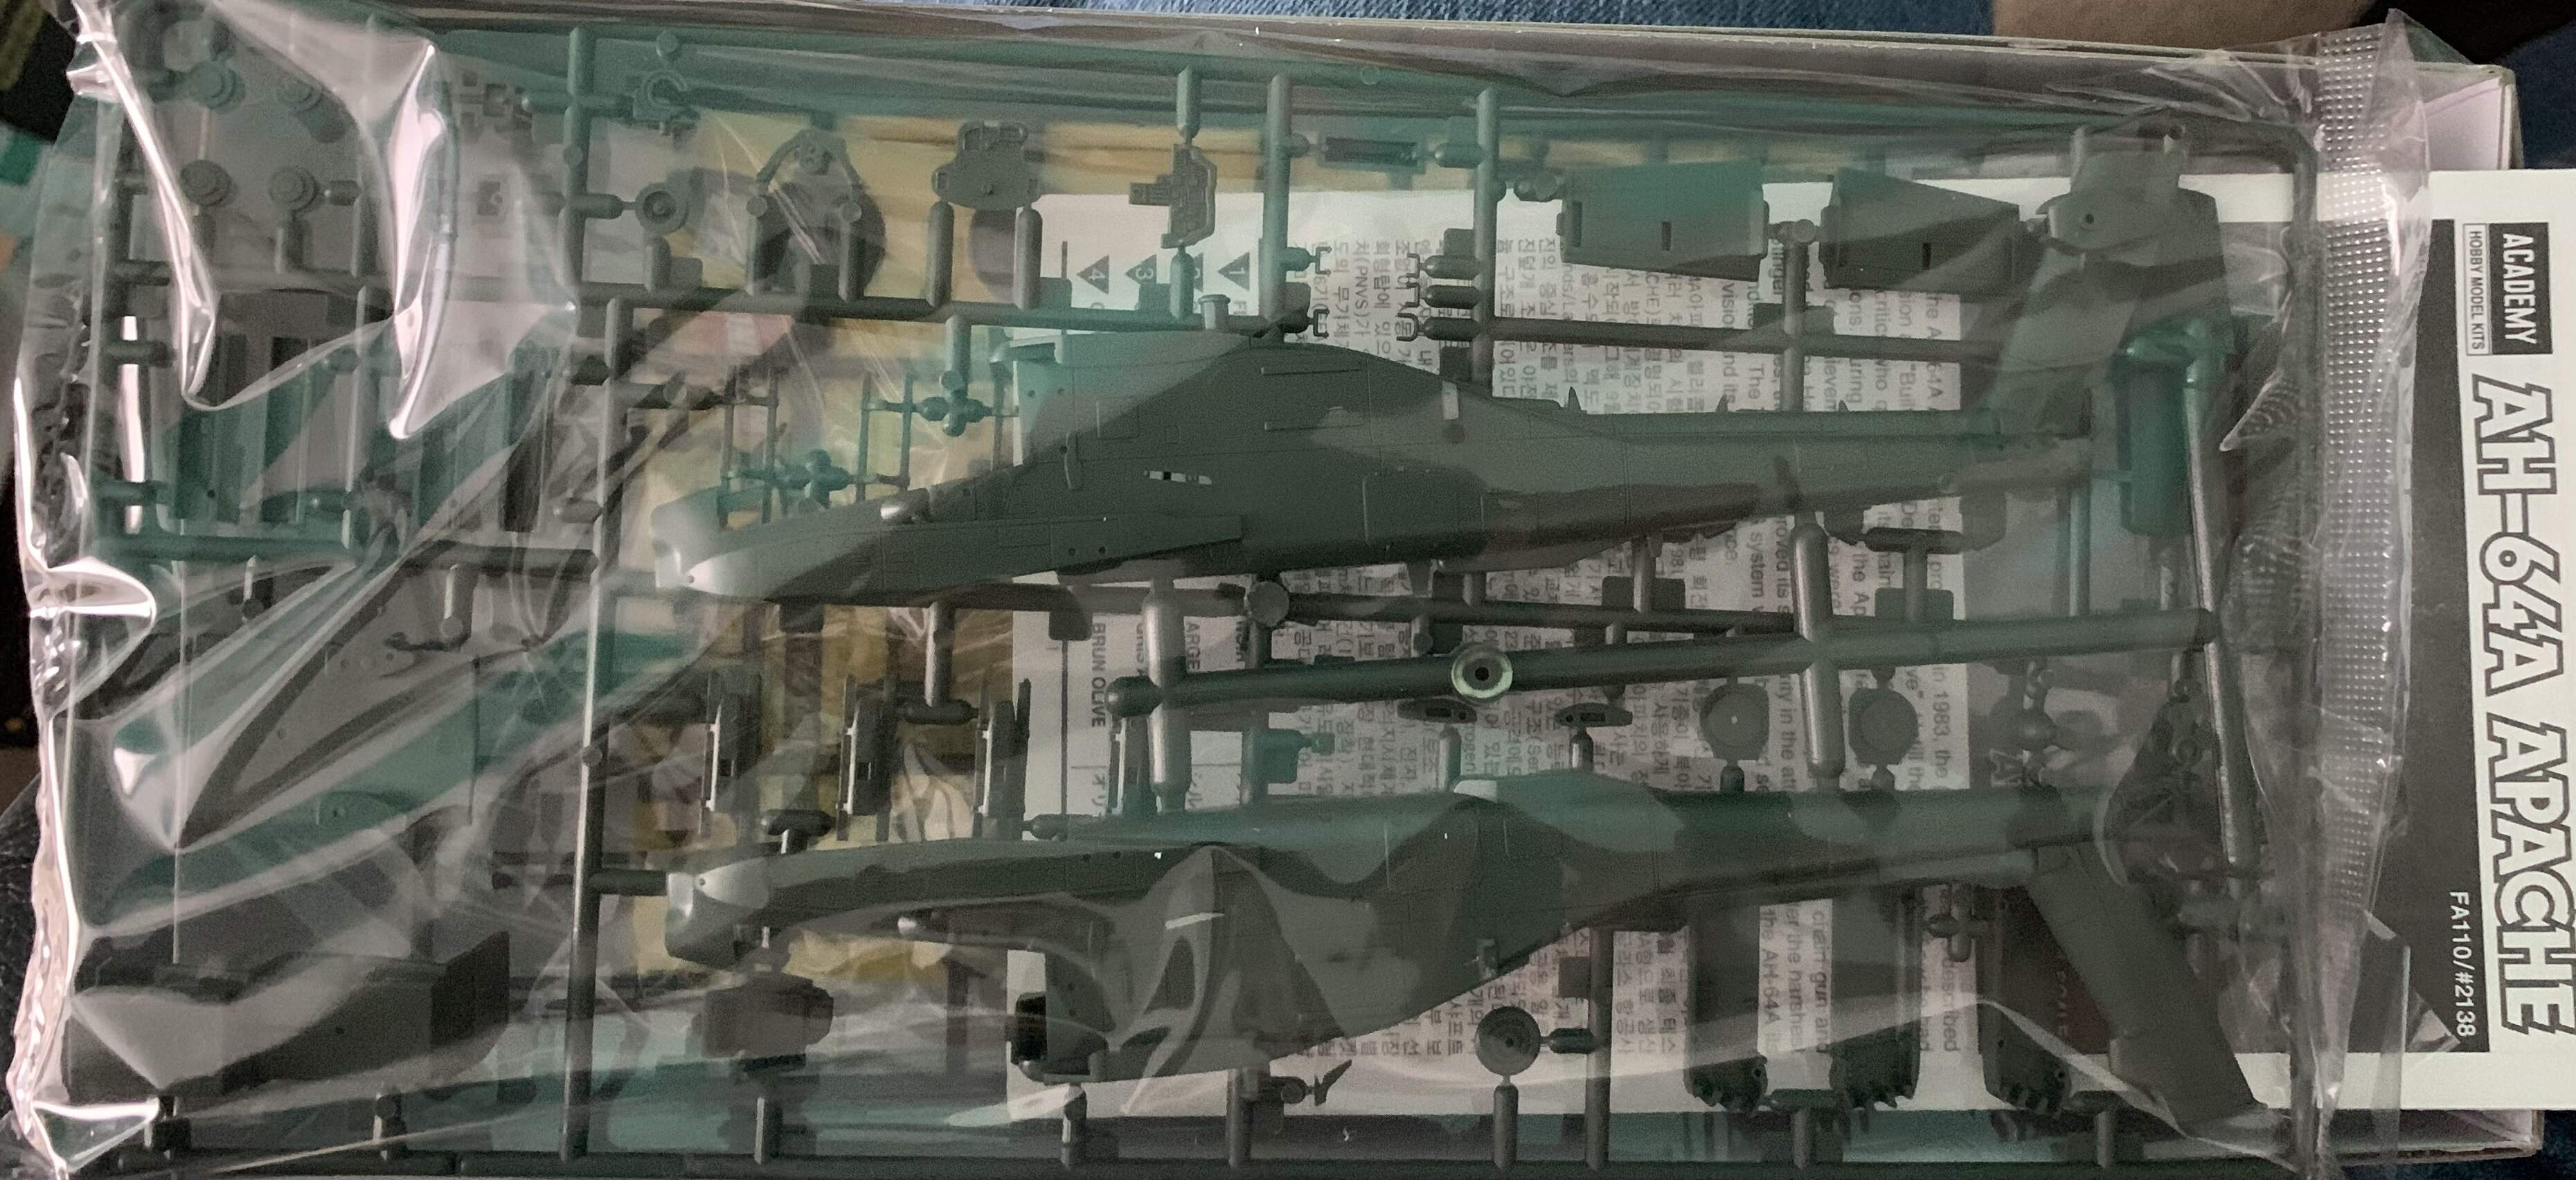
Being we are running out of time and I have been slack with this campaign, I have to switch from the 1/72 Fujimi Phrog (still plan to build) to the 1/72 Academy AH-64A to build as the grey South Carolina ANG bird with Wolfpak decals.
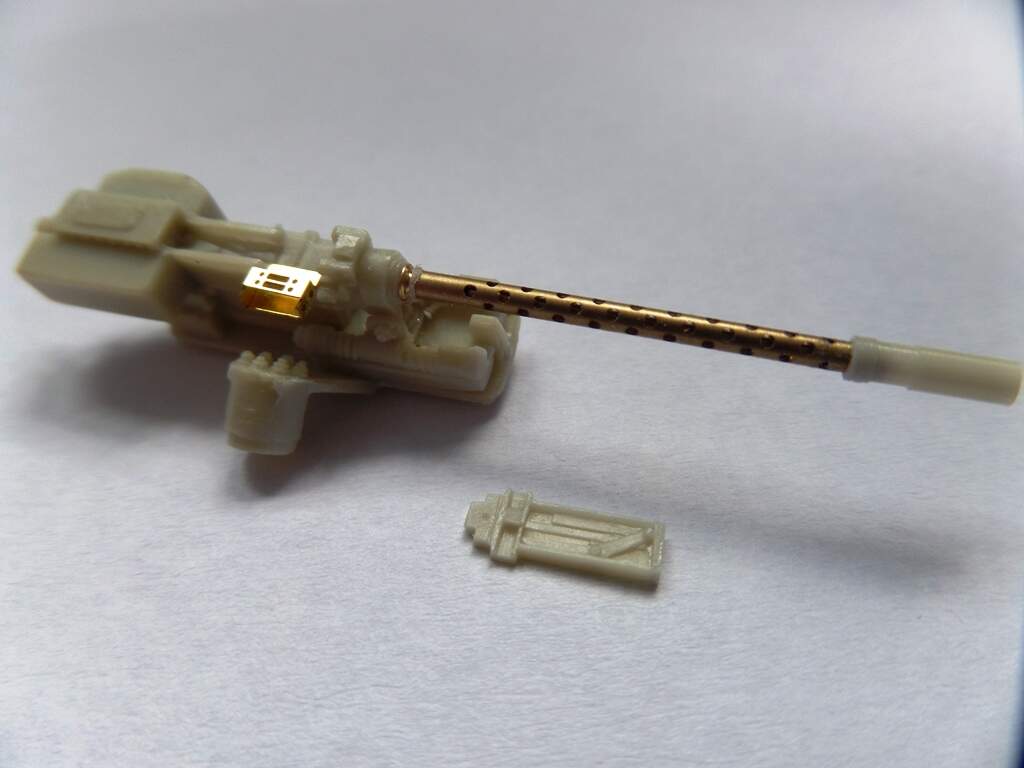
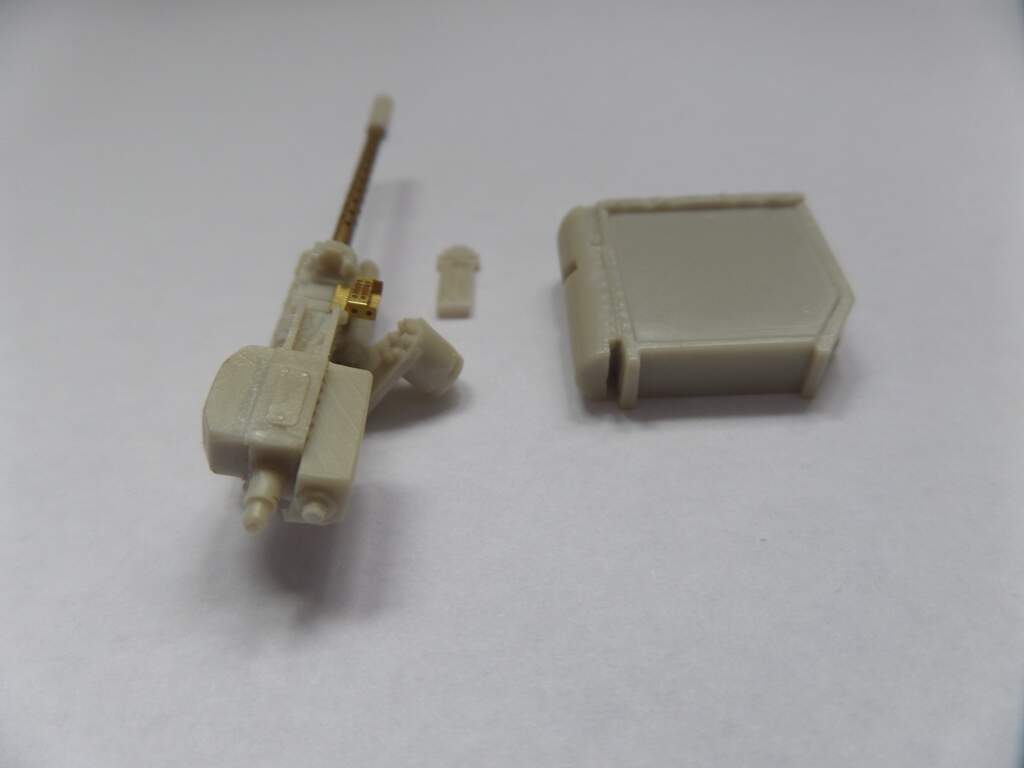
Small update while I wait for the decals I have printed to dry. Here is Armycasts M3 built up. There is even feed mech detail on the inside of the topcover if you wanted to pose it as being loaded/unloaded. An excellent level of detail all around really.
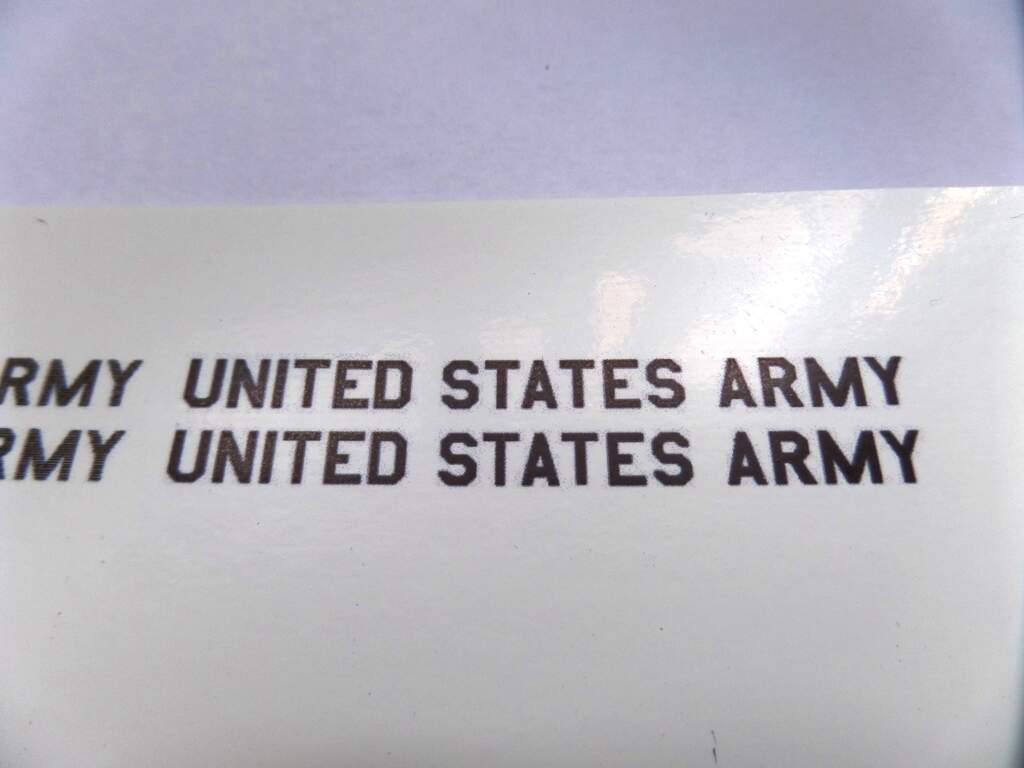
and as I had my camera out, the decals. The AFV Club kit is a Taiwanese bird and so doesn’t have this decal and since I’m fitting an M3 and have fitted airbags and will fit door armour I’m doing it as a US aircraft. Admittedly they look a little rough when photographed this close but they look fine when viewed with the Mk1 eyeball.
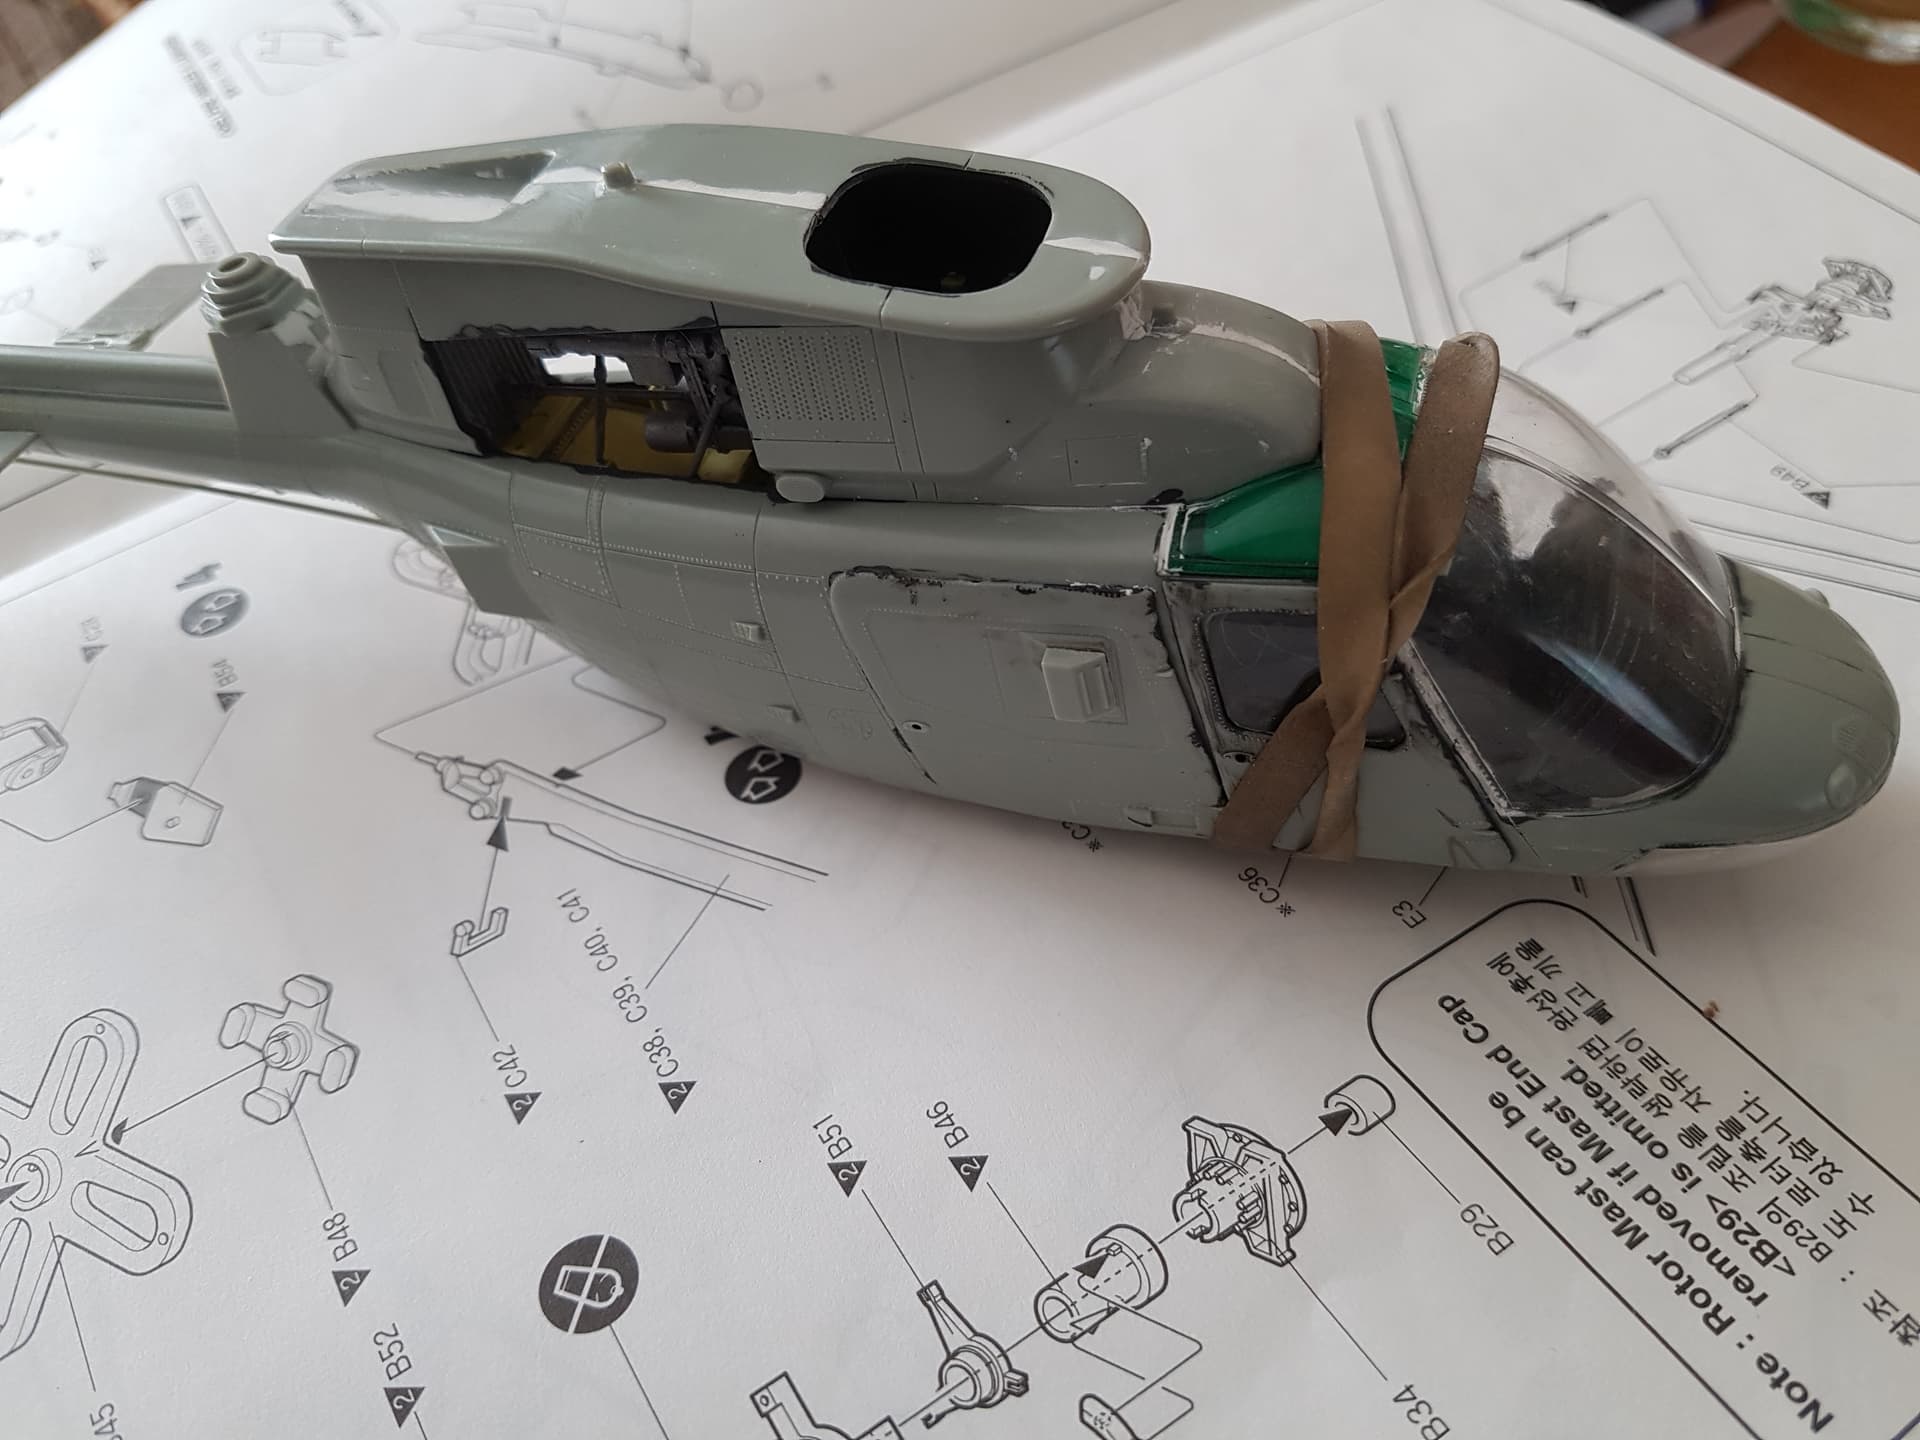
finally managed to get back into this kit after the green clear paint fogging the canopy. I have now glued it in place along with doors, I just hope I can finish in time.


 never seen or heard of that happening before.