Yep, i have tried that with humbrol enamel, and it works
David, you’re a bit further along with yours than I am with that Lynx!
I’m away for a week but will get straight back onto it when I’m back. Hopefully I’ll make the deadline.
See you all soon.
1 Like
thanks Stephen,
I finished up the rotor head today but the crew doors have come loose so I will need to glue them again and clamp them.
2 steps forward, 1 step back all the way.
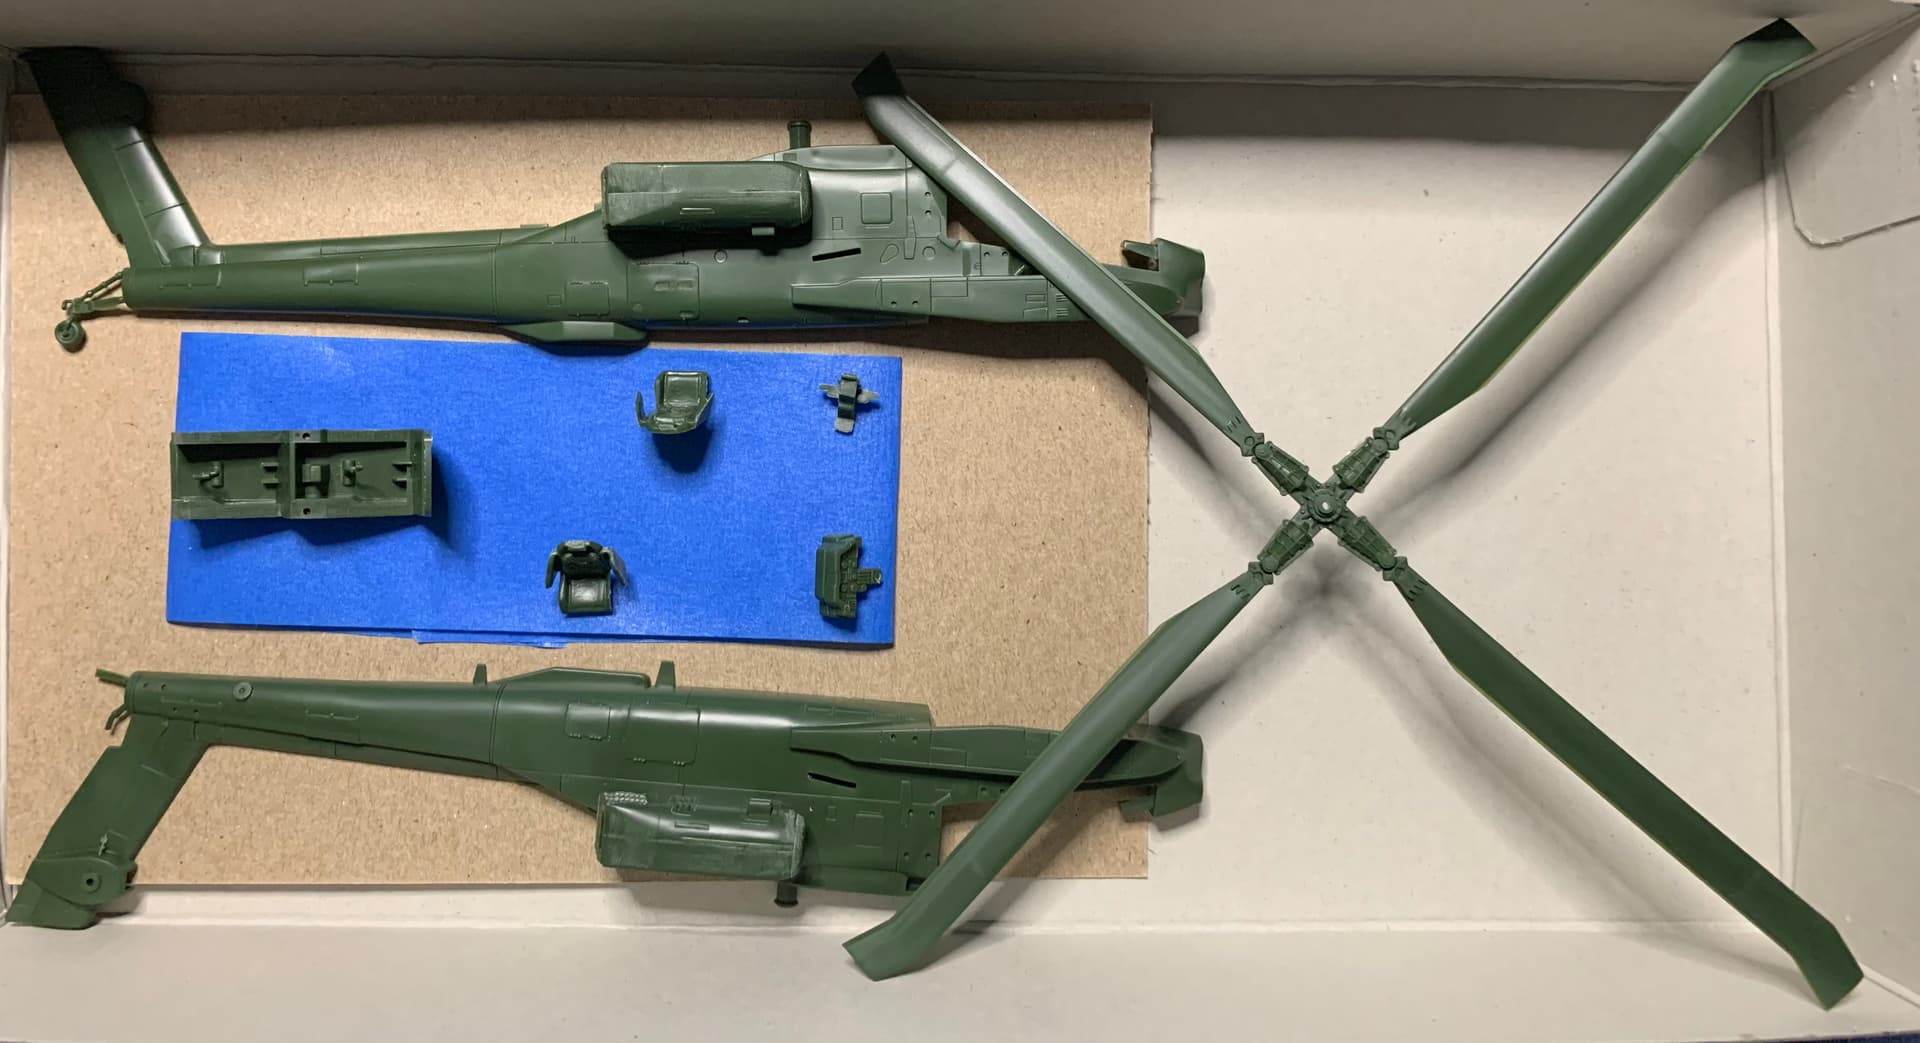
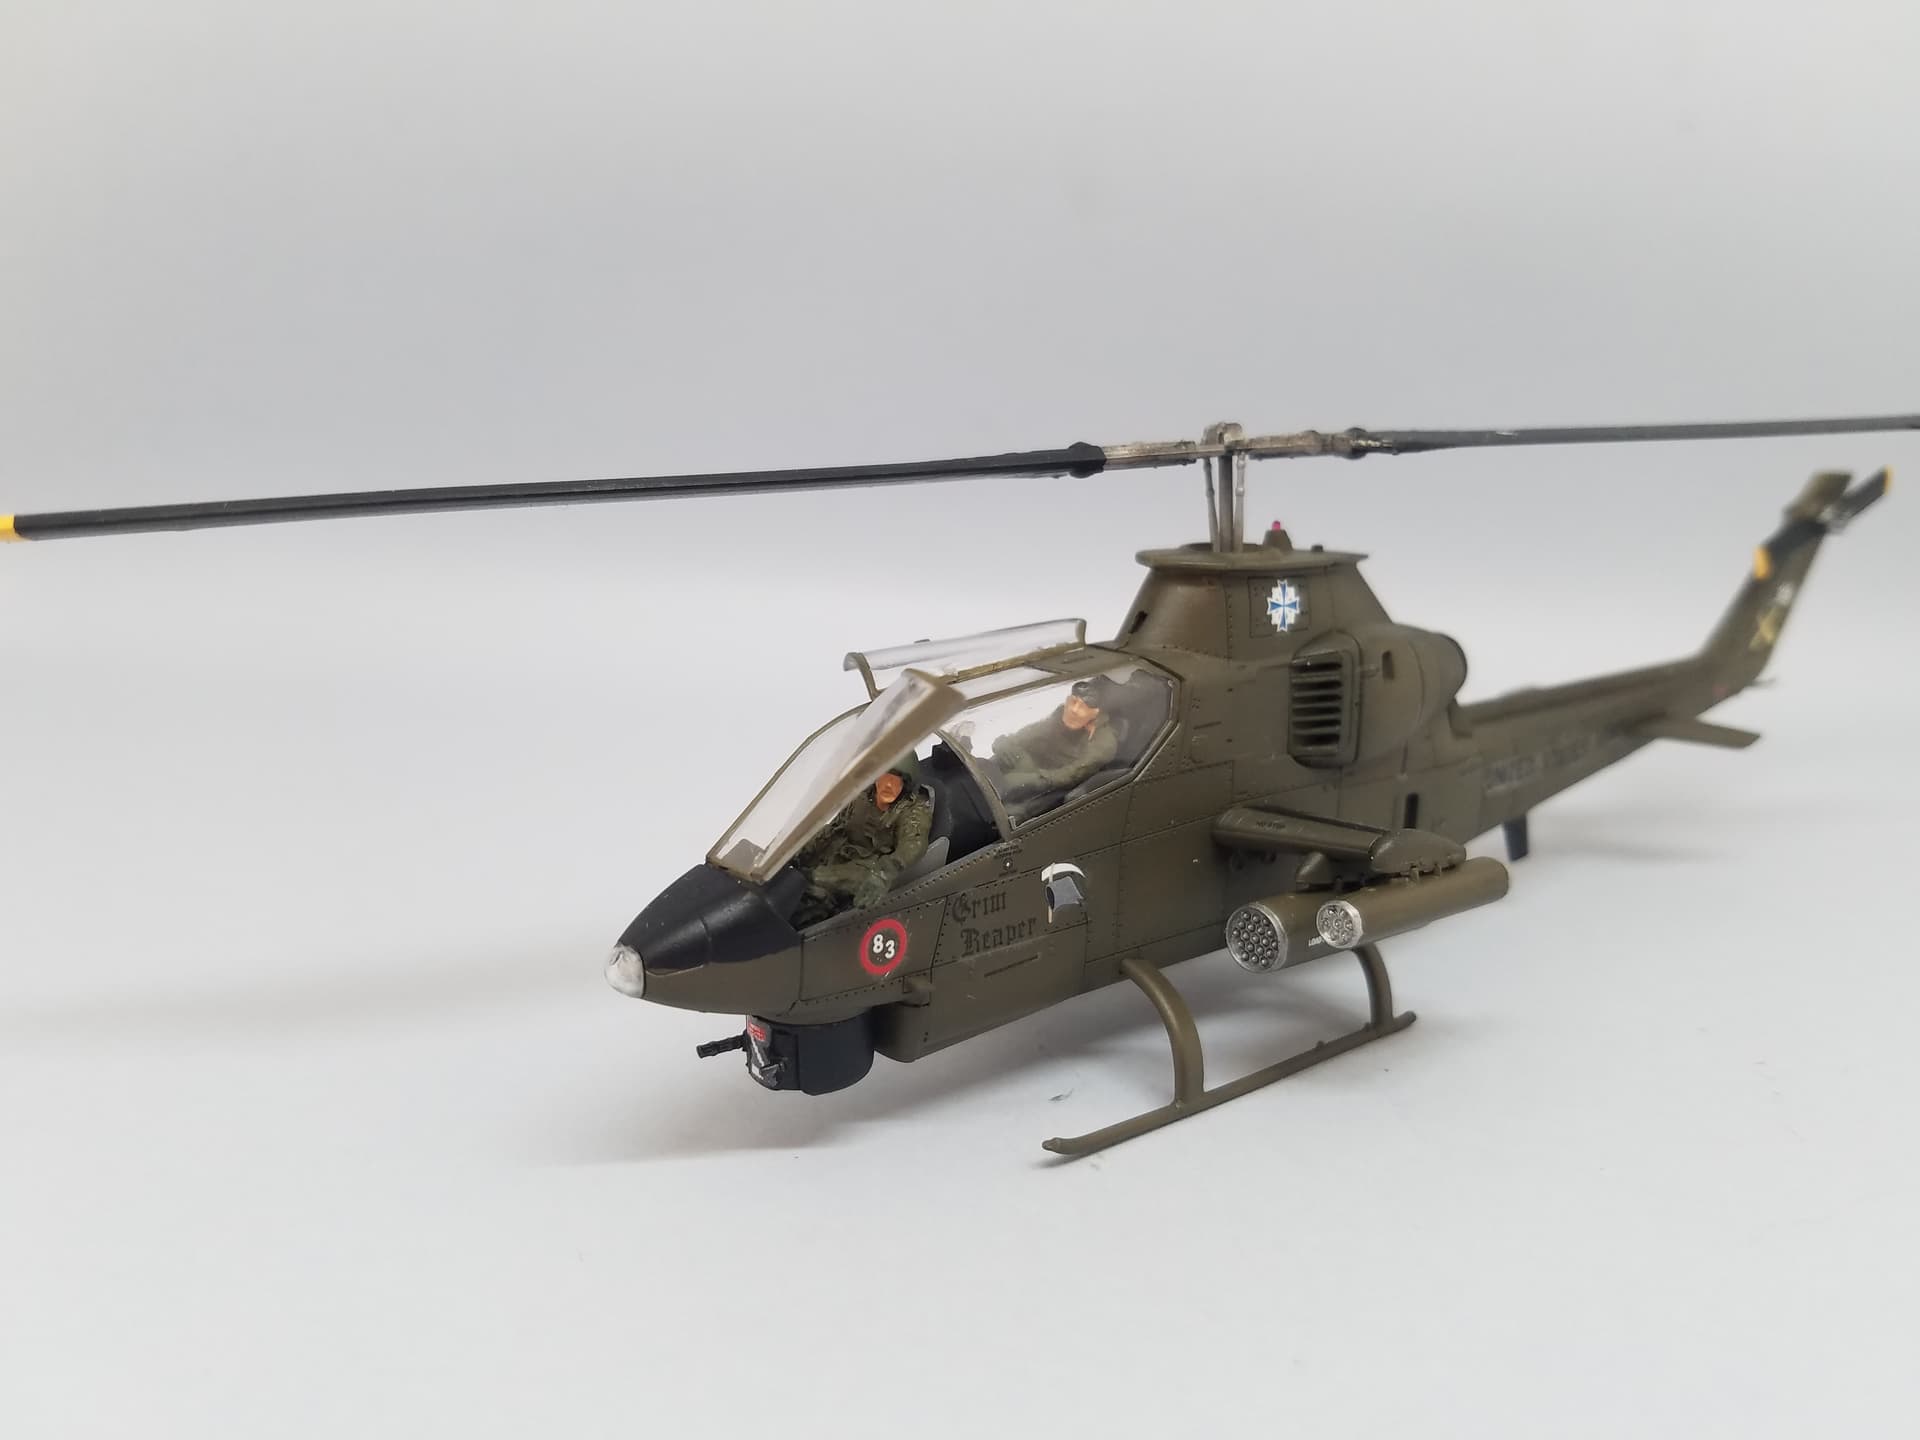
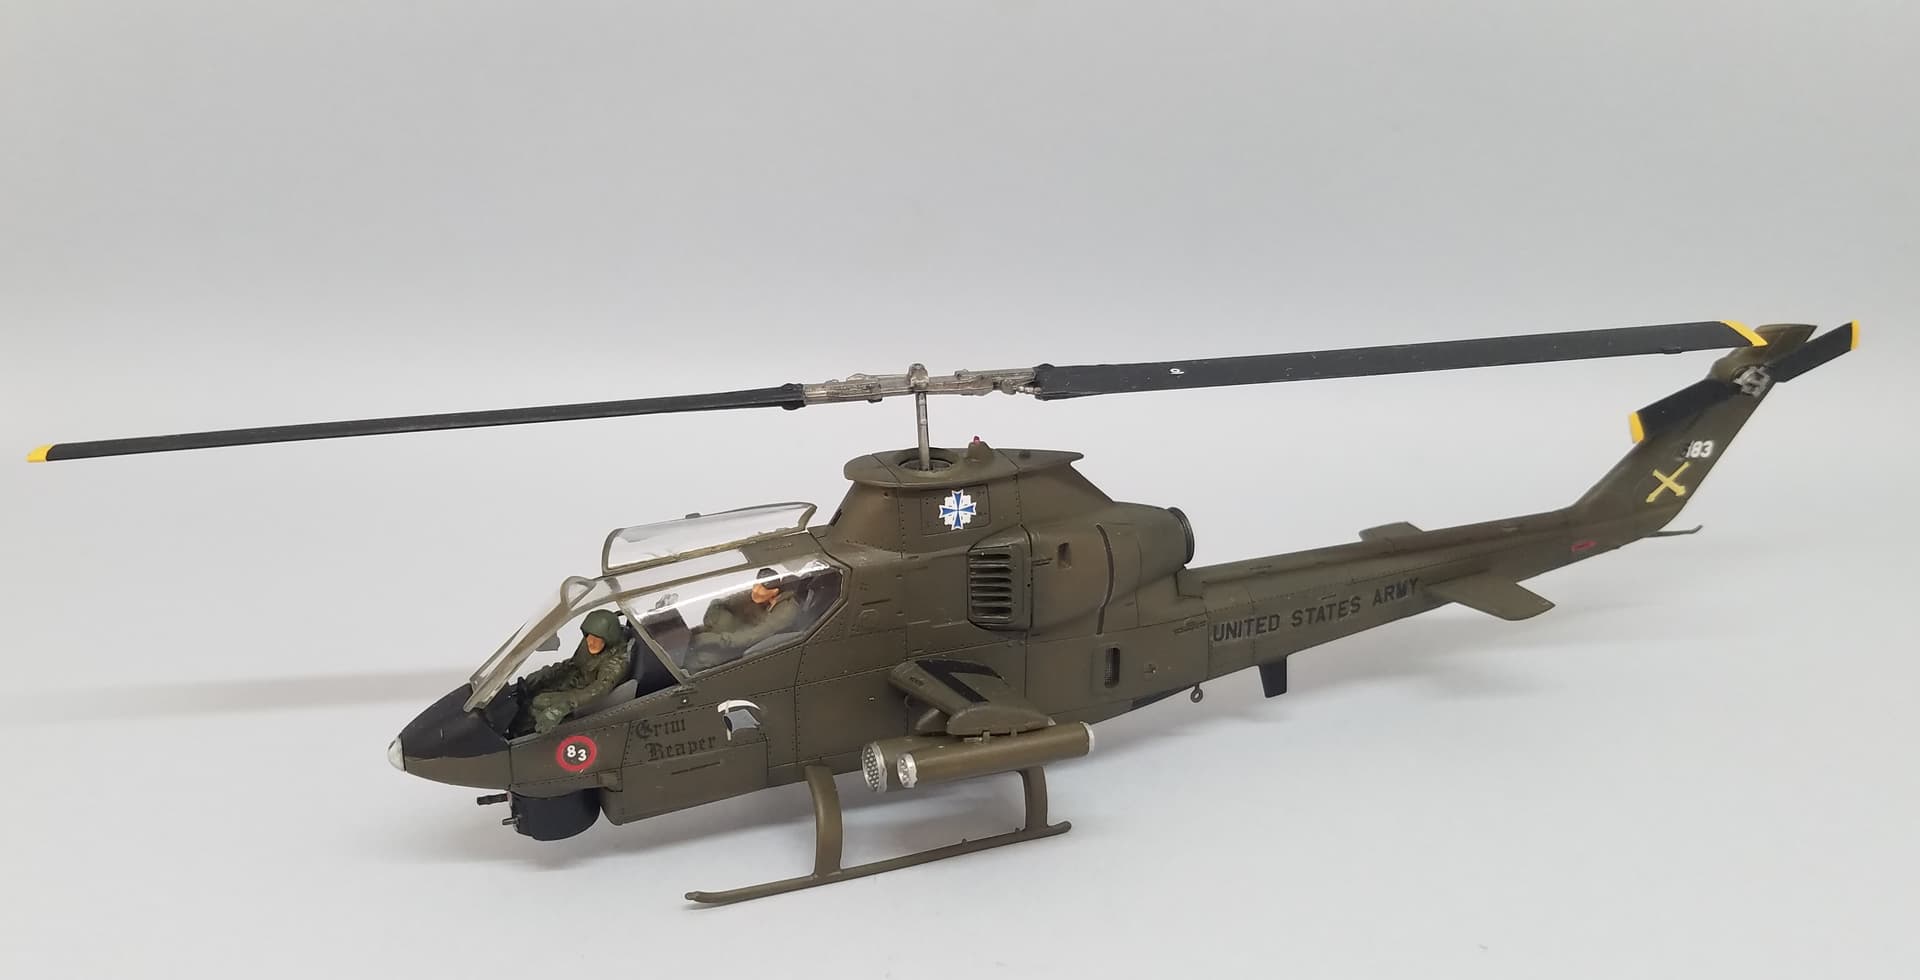
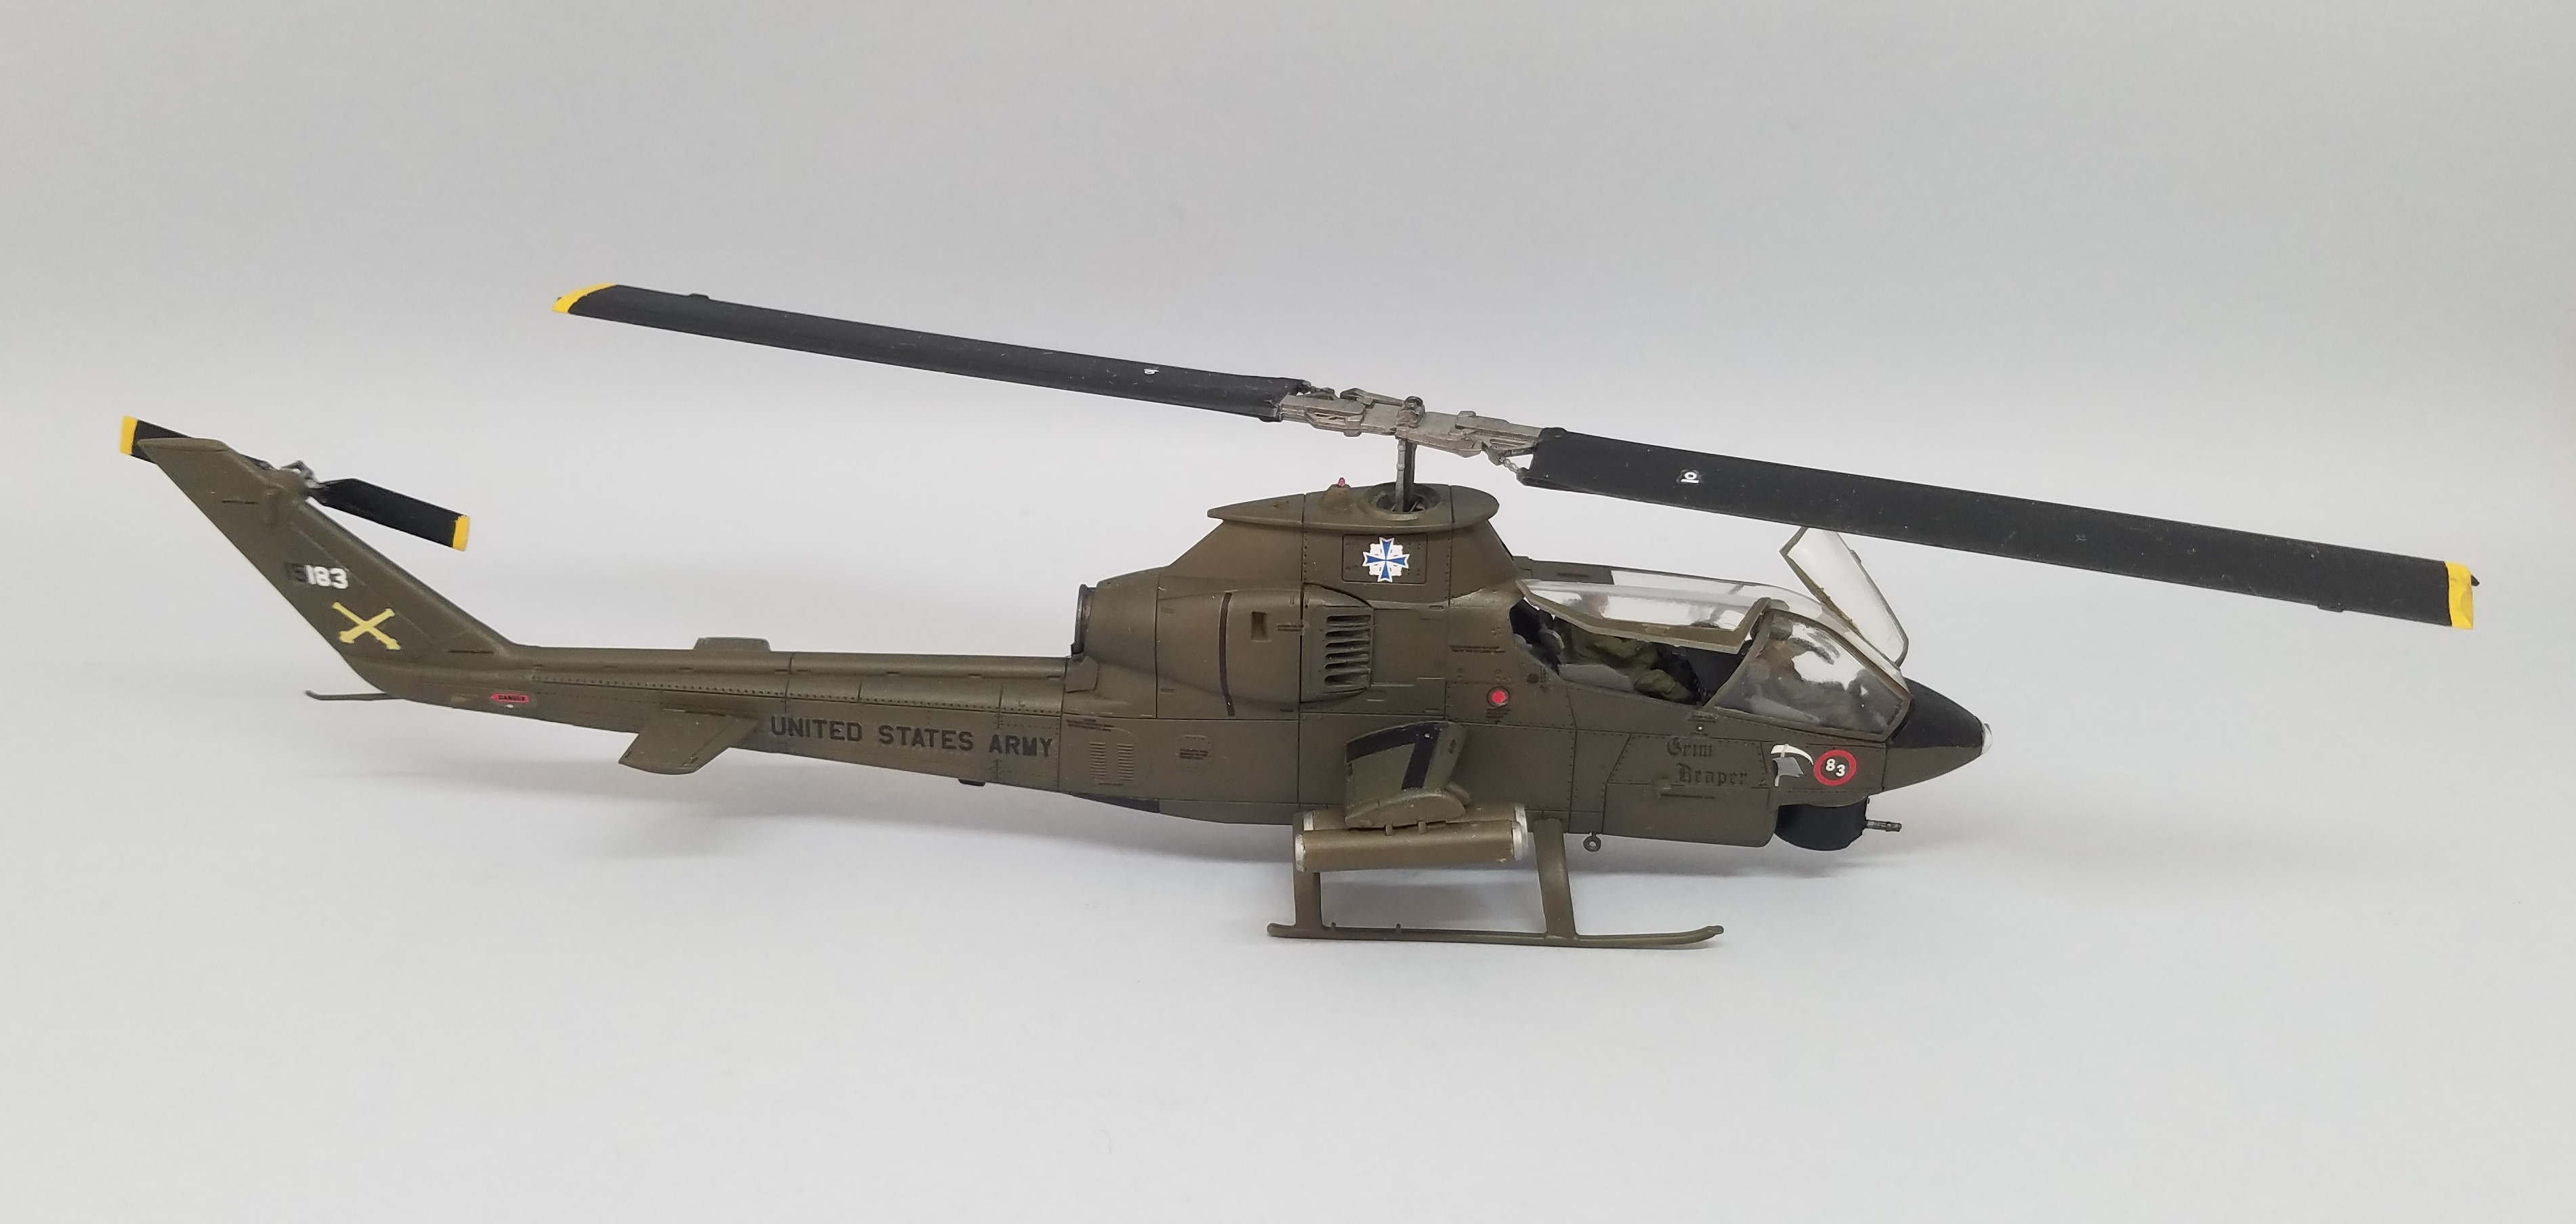
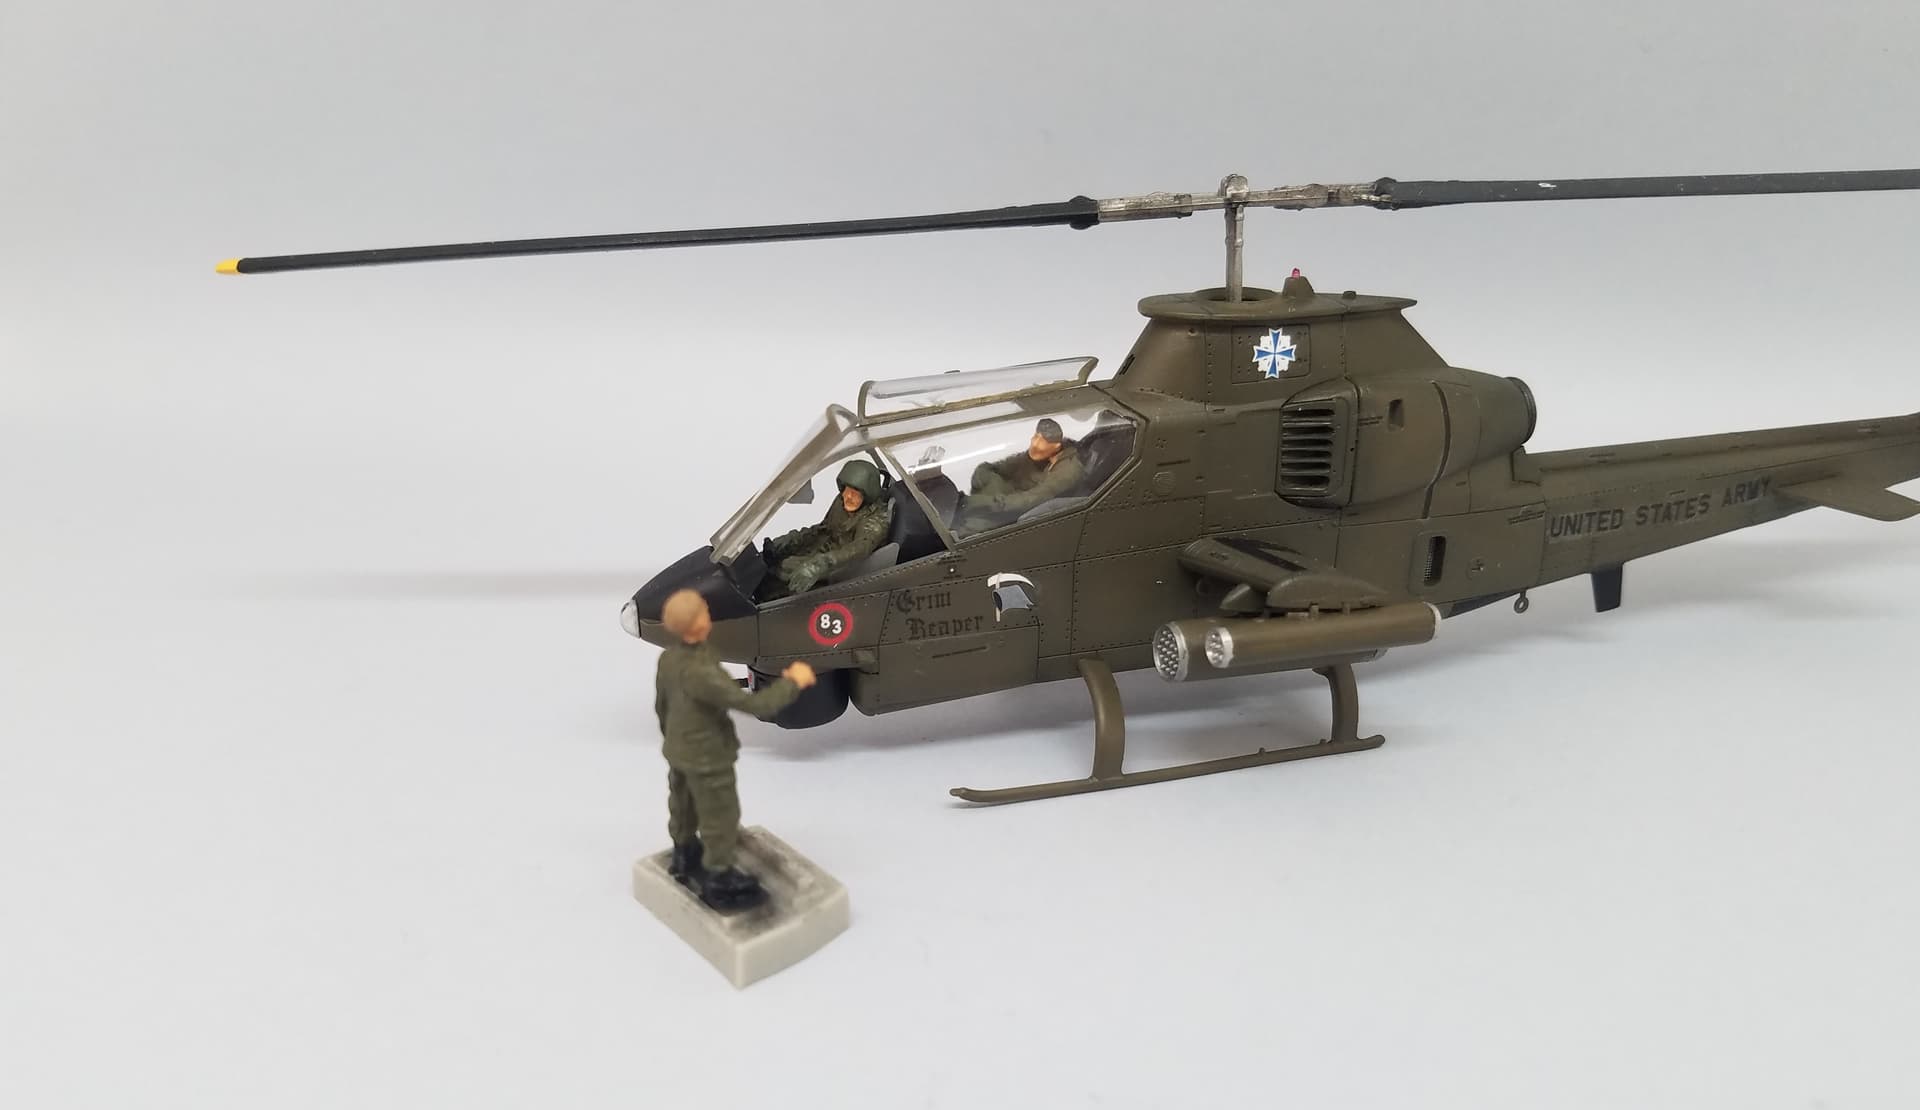
My Ah-1G is finished !
What an interesting build. Special hobby made a beautiful Cobra and i think others will follows.
To my eyes, the only “black” spot is the canopy. I fought for hours to get the different parts to fit, only to realize that the instructions are poorly designed on this point.

9 Likes
Very cool Cobra!!
Ok everyone… I have been working on my Hughs 500D police chopper, I have the rotor assembled and masked for painting… the white base color airbrushed on perfectly… a first with white for me… and I will be starting on masking the clear parts…
In the meantime here is a teaser photo… the cockpit area is finished… very basic I know but I think it looks nice…
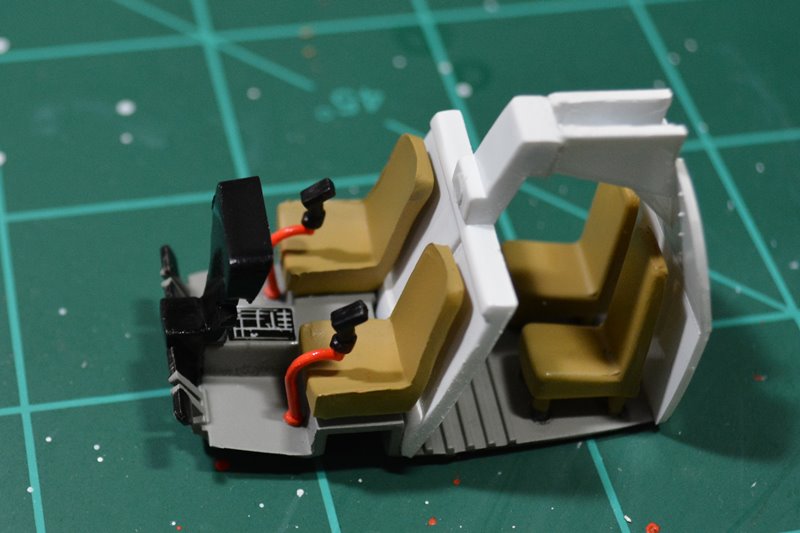
ok now back to work…
later
Delbert
5 Likes
@iwatajim and @FlyingSauerkraut - Great jobs on your Cobras! Well done, congrats! 
1 Like
Slow progress is still going in the right direction… It’s looking nice David.
@Johnnych01 just put a blast of primer paint over it.
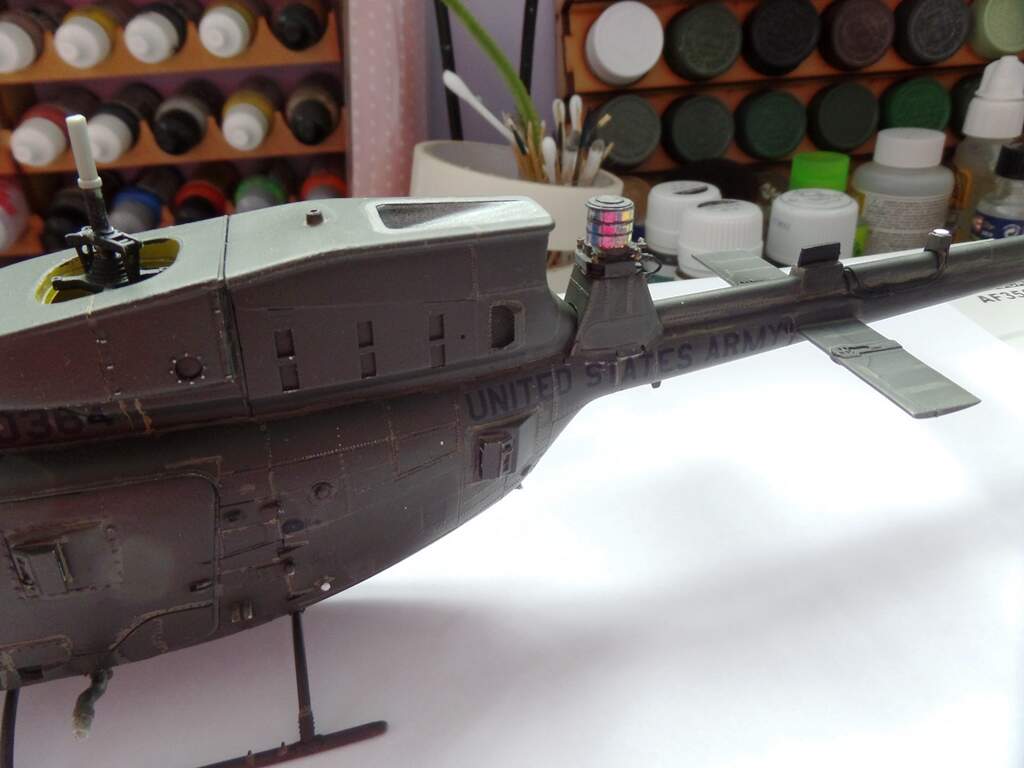
It’s coming along there, in some ways you are further ahead than I am. I’ve painted all of the different assemblies and will weather and then start putting them together. I’ve decaled it, some of the decals I printed myself as some weren’t included on the AFV kit and others were extremely fragile. There is some silvering from the printed decals but it’s not that noticeable to the naked eye and I’m hoping the dull coat will sort it out.
6 Likes
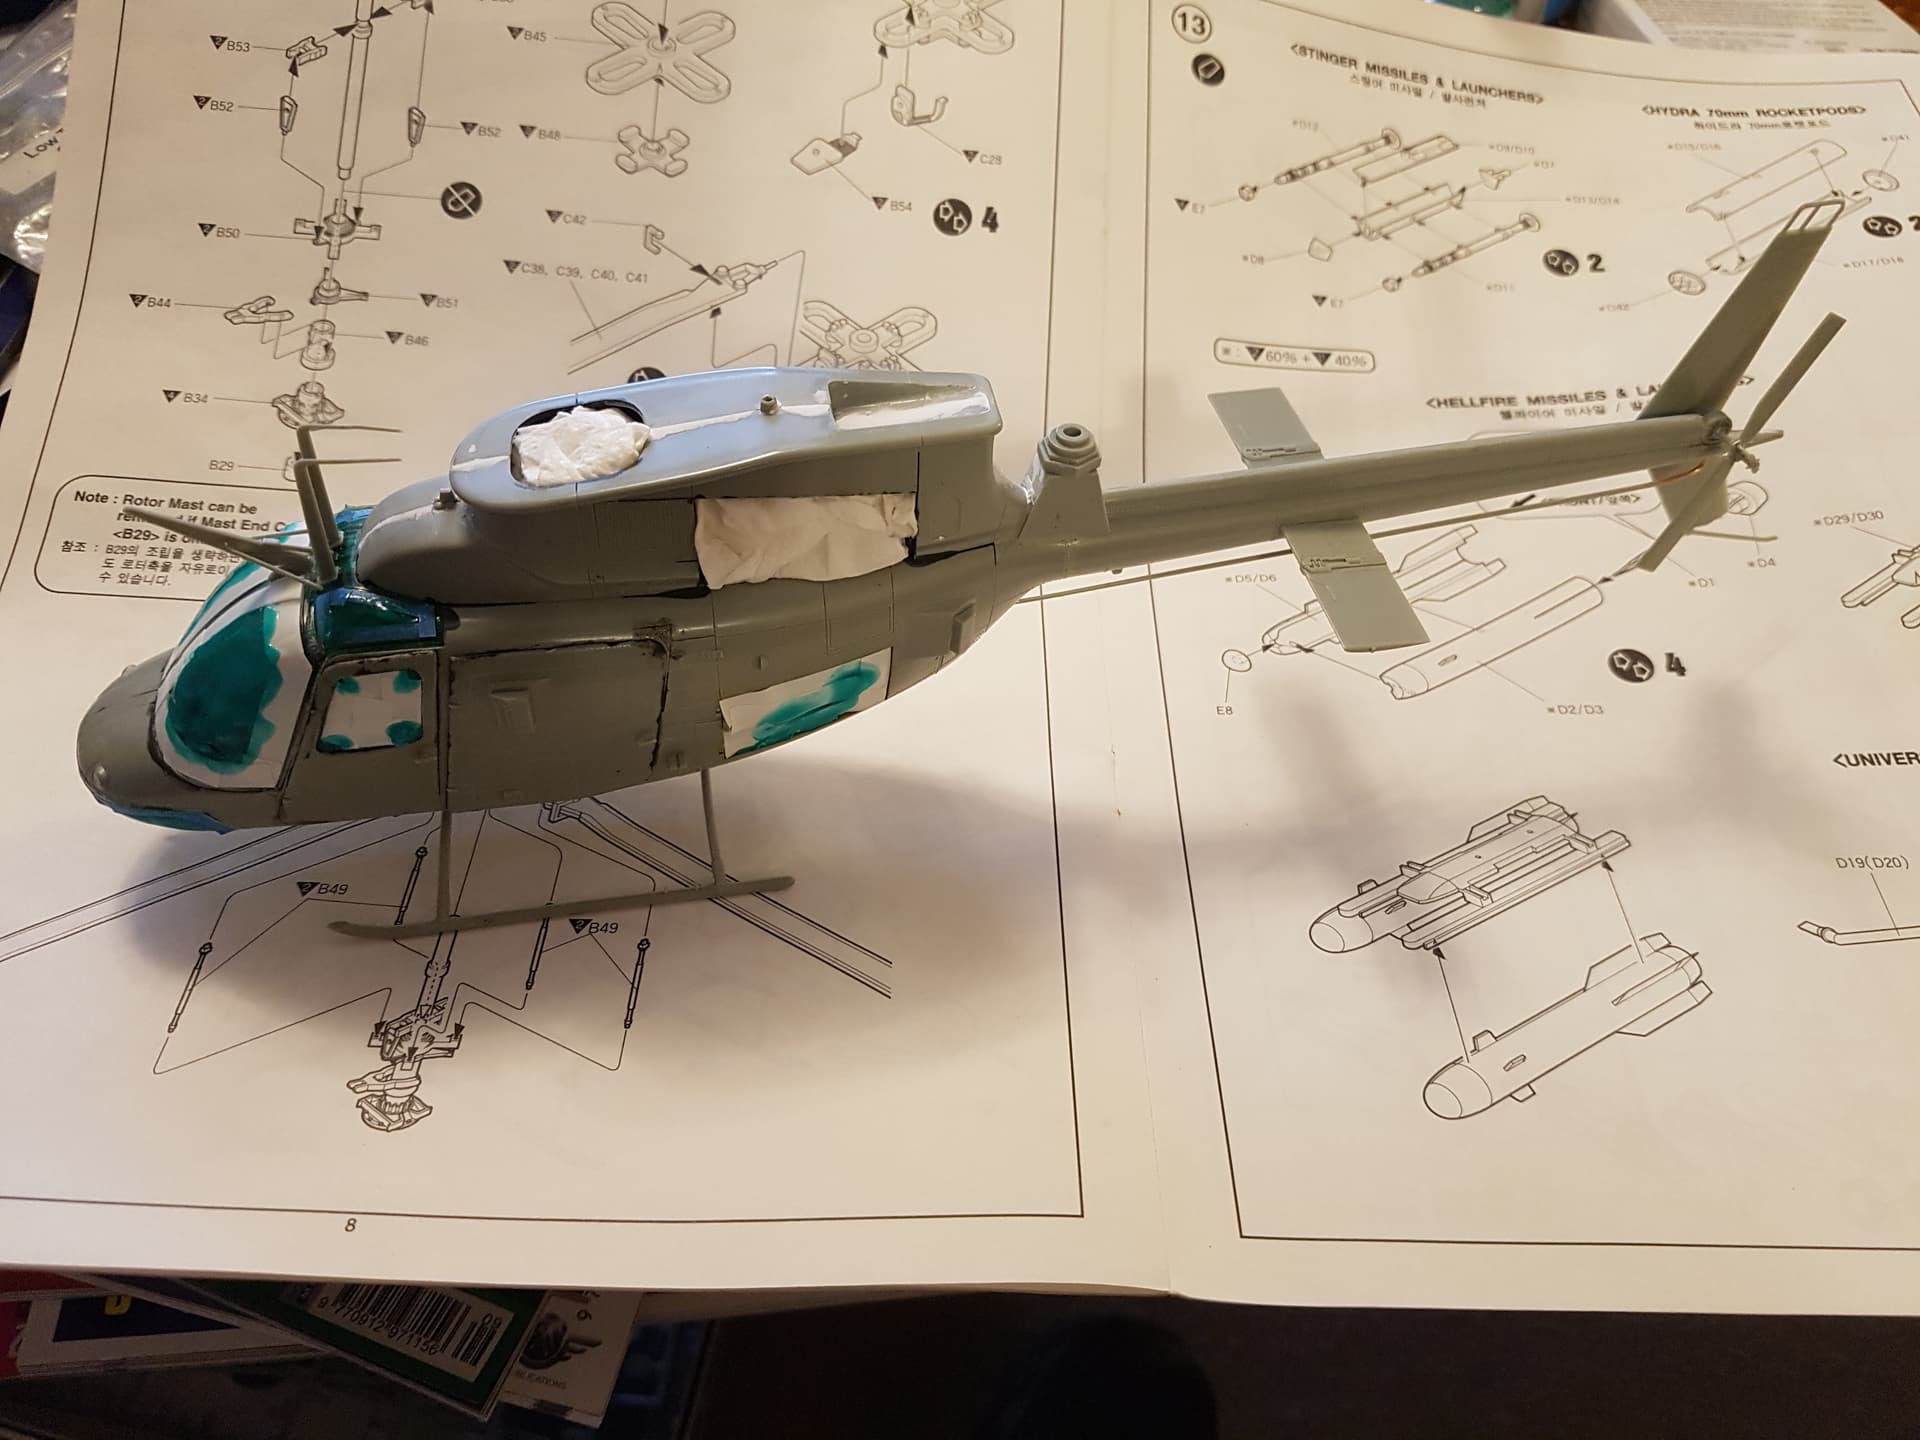
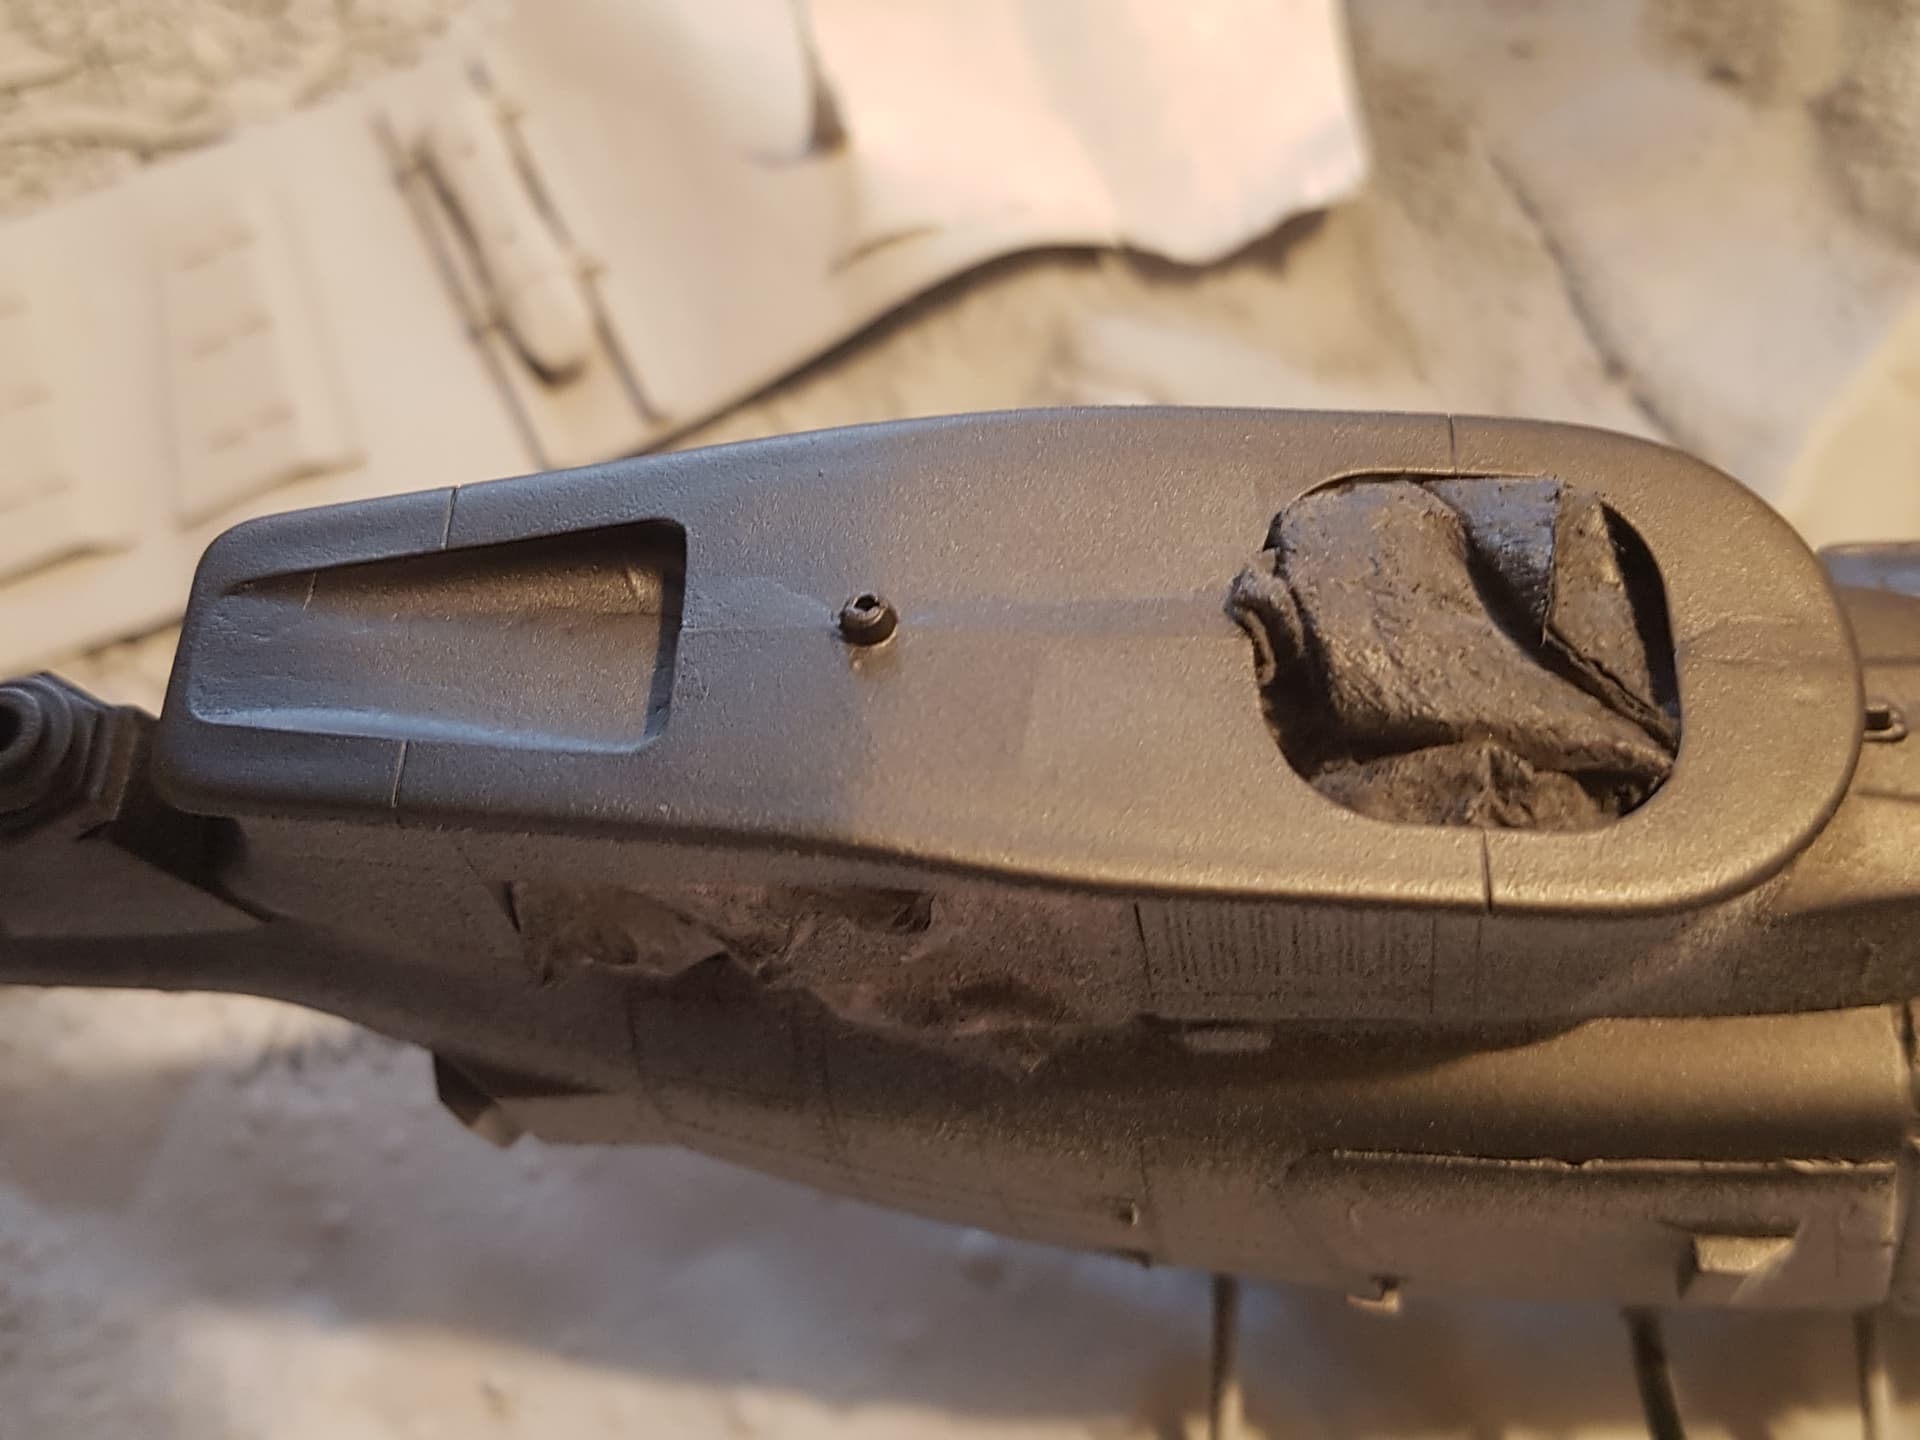
ok, what am I doing wrong here?
having given the kit two coats of car primer, using two different colours, grey then black, I can still see where the putty lines are even though I’m positive I have sanded it all flat.
3 Likes
I had the same problem but I think my issue was due to this being the first aircraft I’ve built for 40 years and they are a lot less forgiving than armour kits. I just had to keep hitting mine with more filler until I got it to where I wanted it.
1 Like
@Maximus8425 I’ve hit it again with the sanding sticks/paper and re sprayed it and I will look at it later on but you could be right as aircraft are something that I don’t usually build.
Yup, aircraft seams can be a b!tch to get hidden. It can take several iterations of putty and sanding to make them disappear. Keep plugging away at it.
1 Like
Dang, that looks great! I’m afraid my AH-1T will only be a pale imitation.
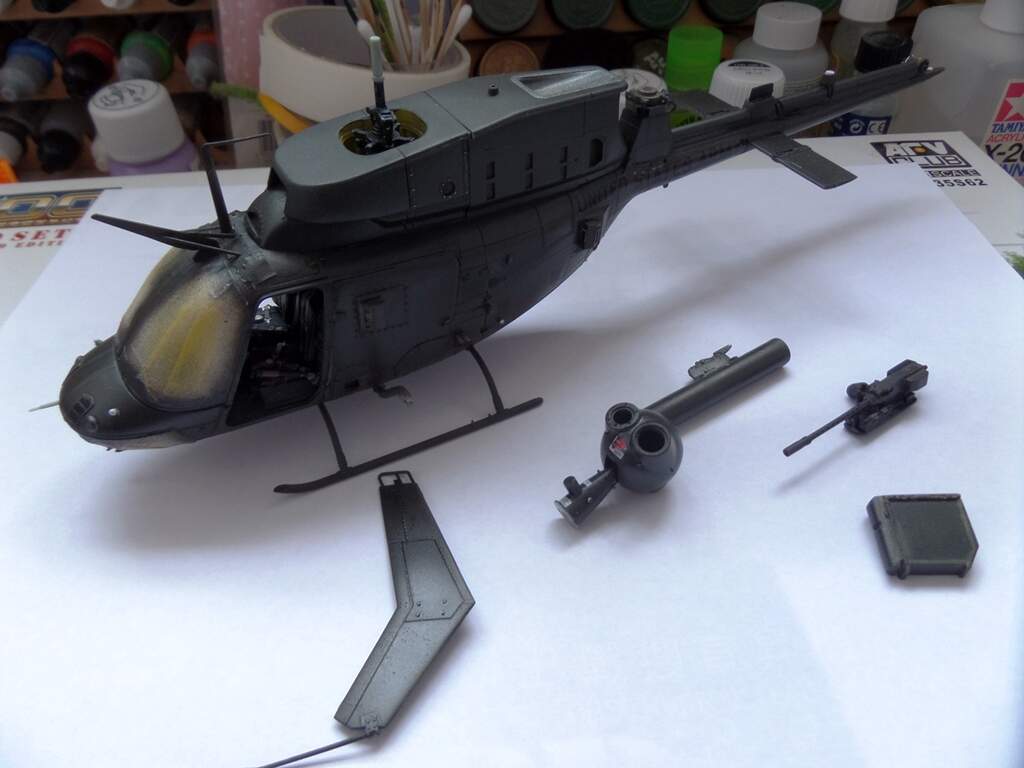
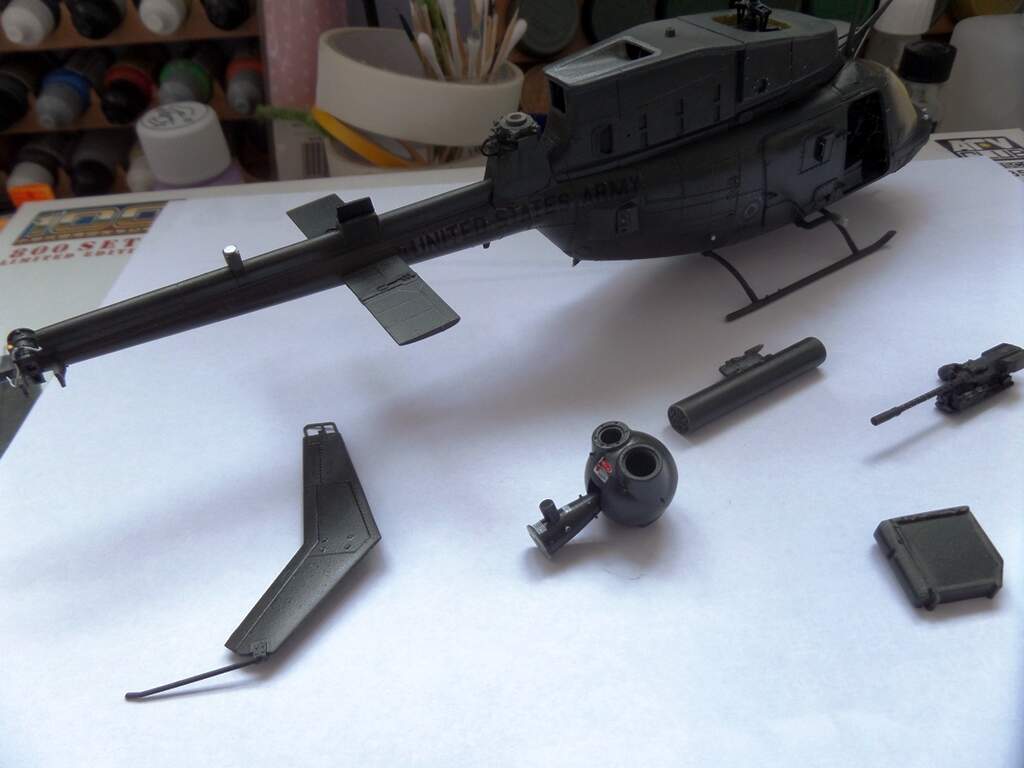
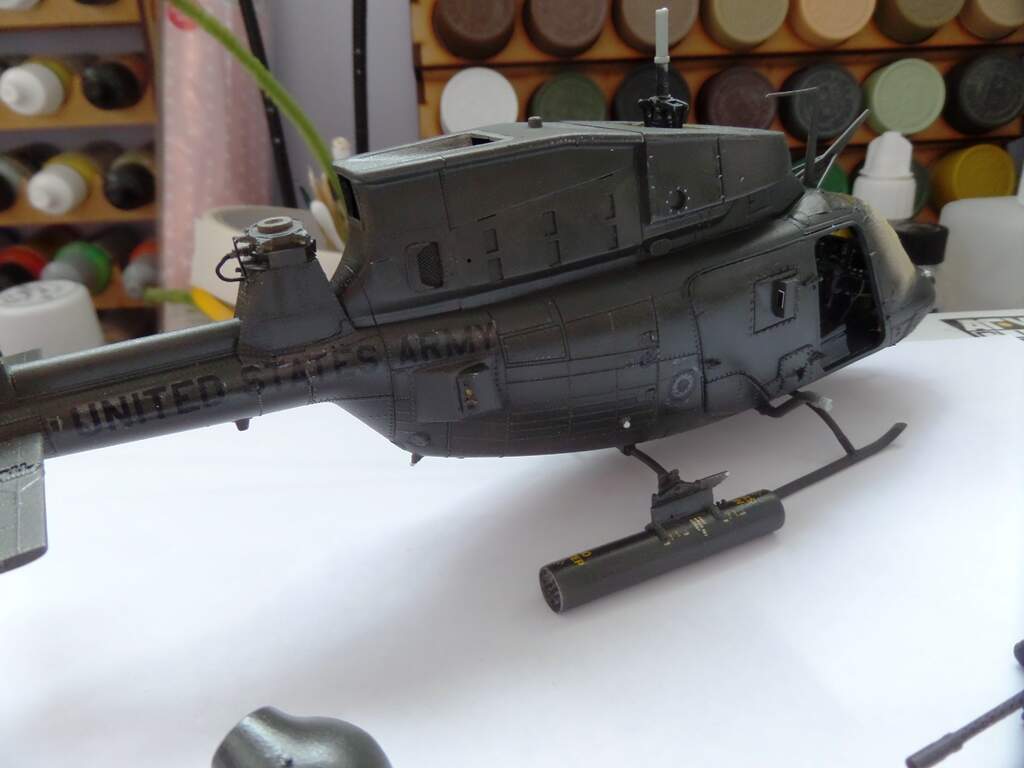
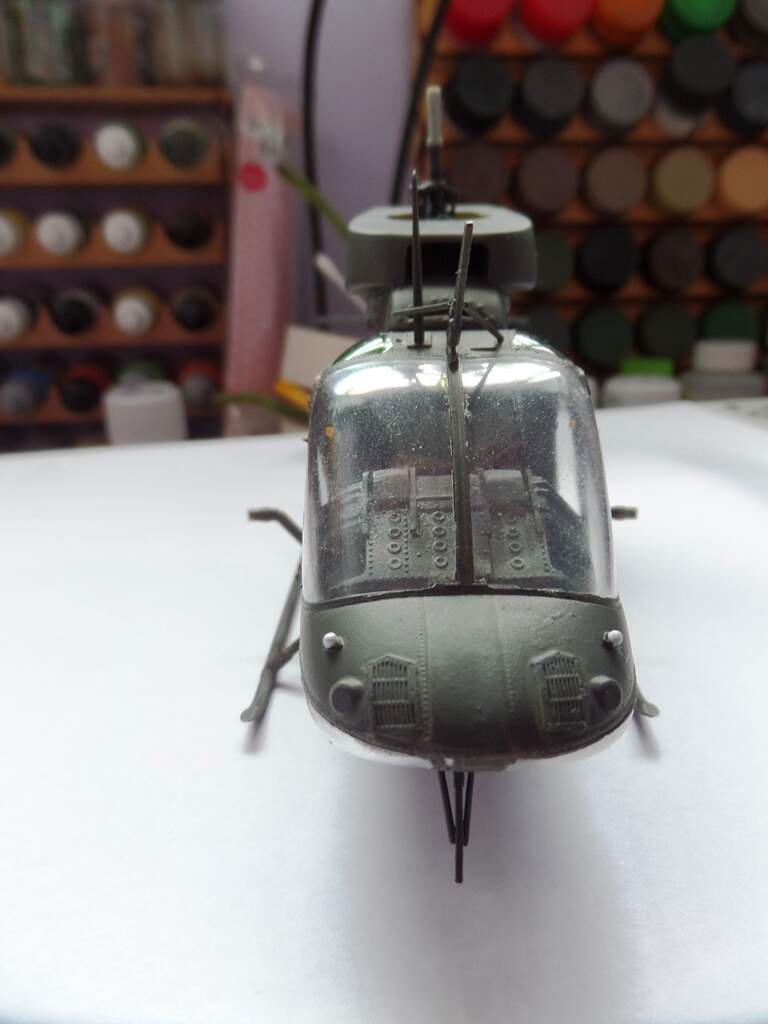
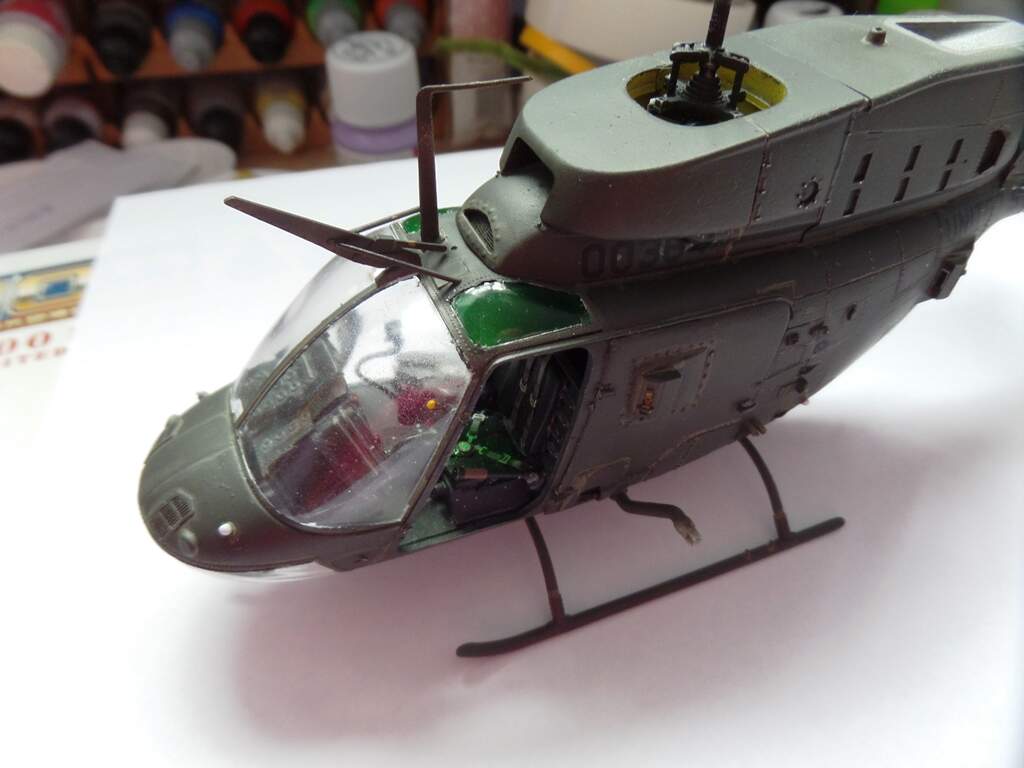
I dull coated the model with micro flat and it went extremely gloss with a rough texture! That went in the bin and I reverted back to my usual Vallejo matt medium. Not sure if that’s how it’s meant to be used but it produces an extremely flat level surface with no effort needed whatsoever. Took the masking off the canopy which I think will need polishing. The IR countermeasures turret is just placed on there at the moment to see what it’s like. I’ll be starting to do the door armour next before adding the small assemblies such as rotors, vertical stabiliser, M3, M260 rocket pod and MMS.

7 Likes
Looking nice there mate. How do you go about polishing out the clear bits ?
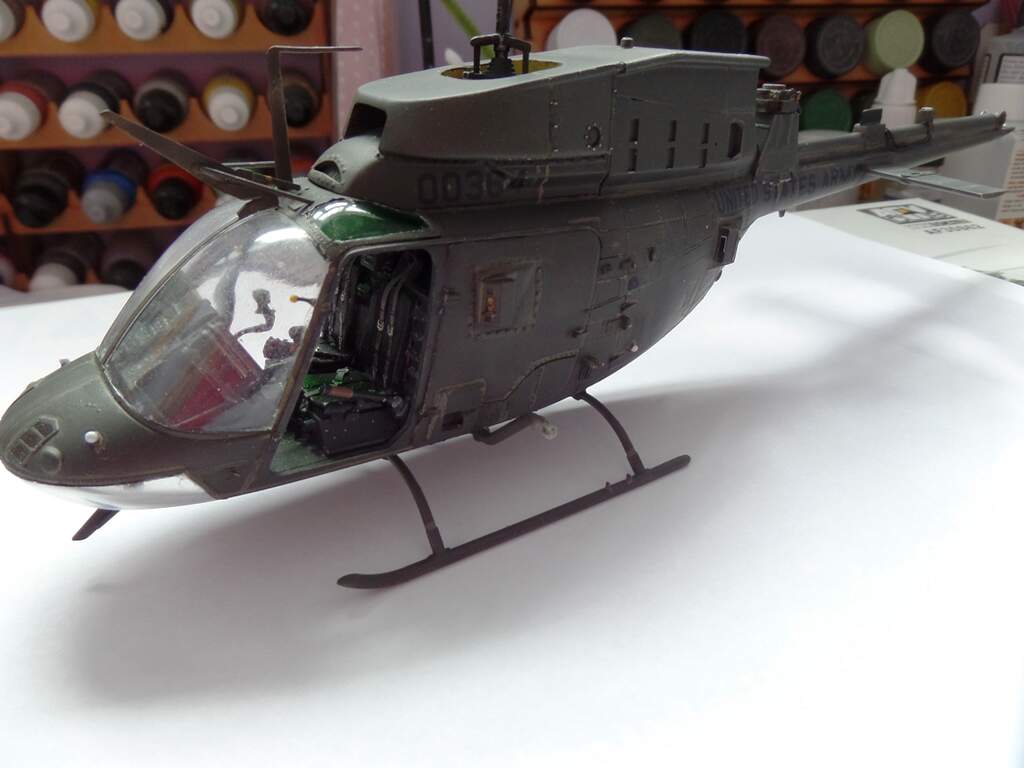
Micro sanding sticks, but I’m scared of making a complete hash of it. I had a sad on when the micro flat turned out not to be, but luckily all is well with good old Vallejo. I am pleased with how the green sections of the canopy turned out.