Hi all
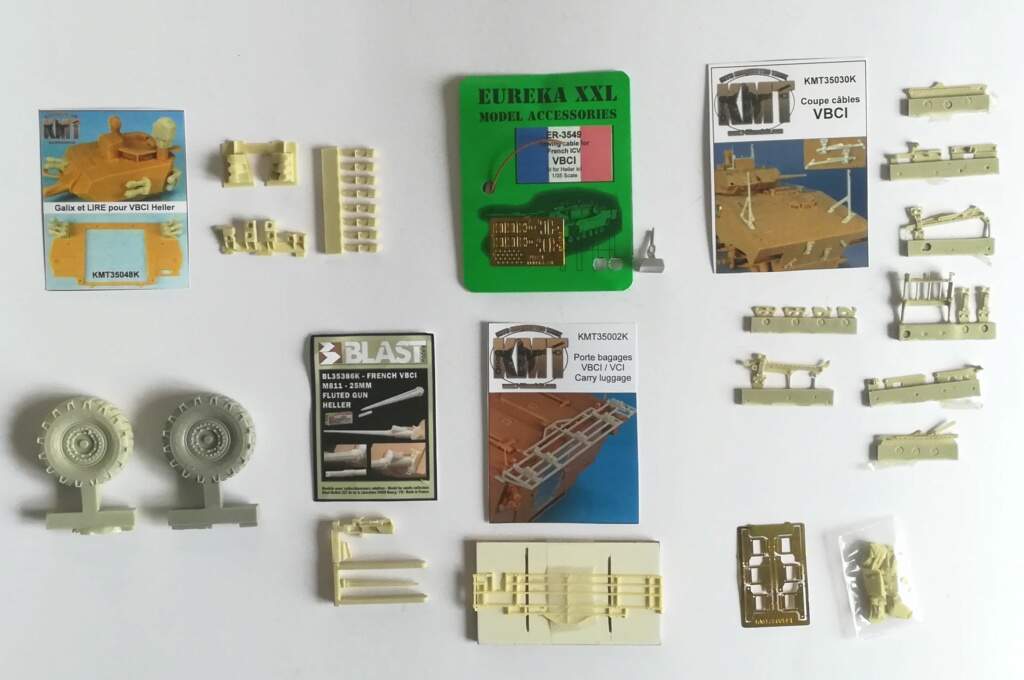
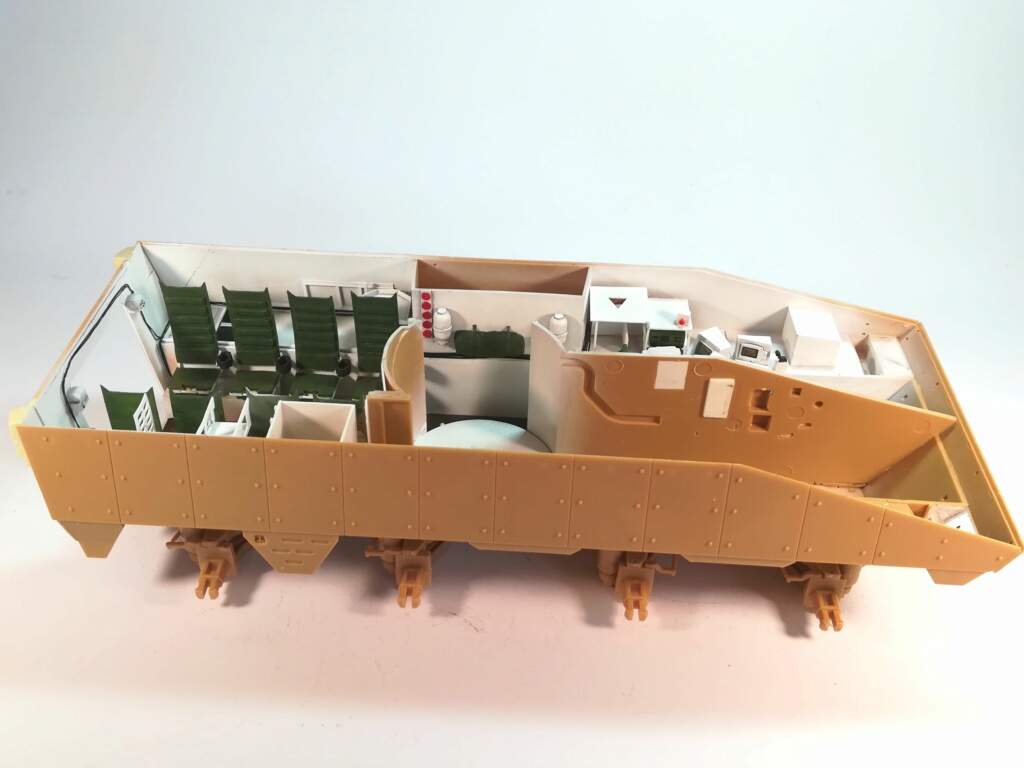
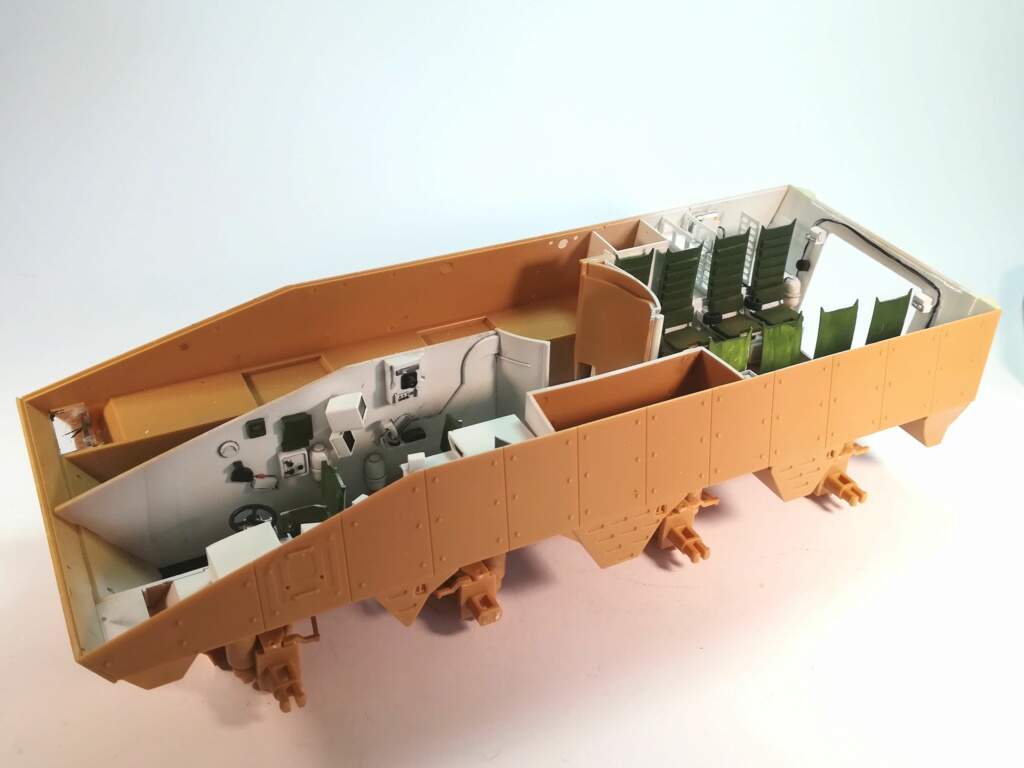
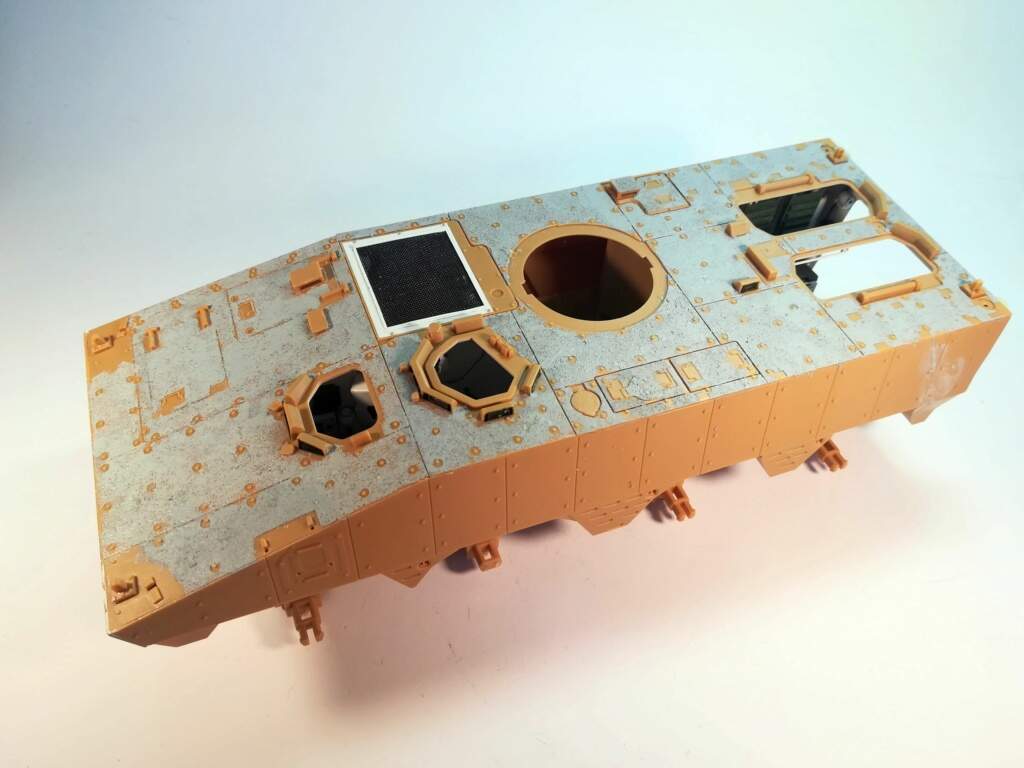
a while ago I decided to begin the VBCI I had in the stash. The hull is nearly complete as is the turret. I present the various steps already achieved. I’ll continue to show the progress when I have time to work on this one.
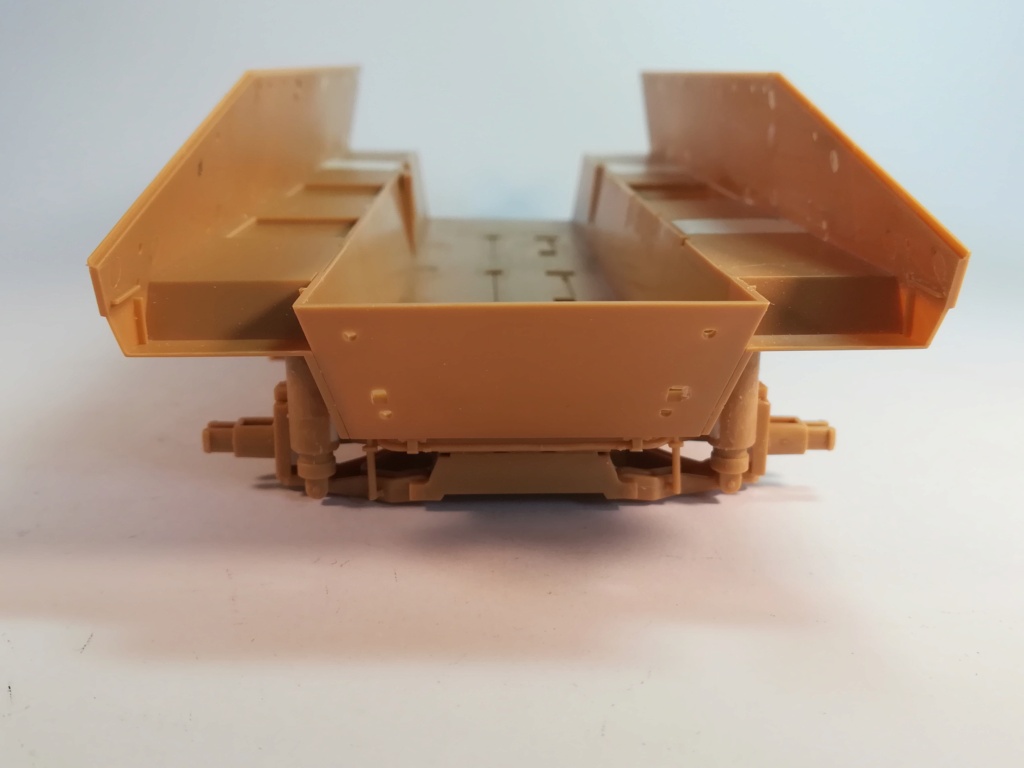
I have a bunch of AM stuff to add and I’ve added as much details as I could depending on the references I have. I want to show it with the rear ramp lowered and most of the hatches open.
I have done some work so far but the process will be a long one.
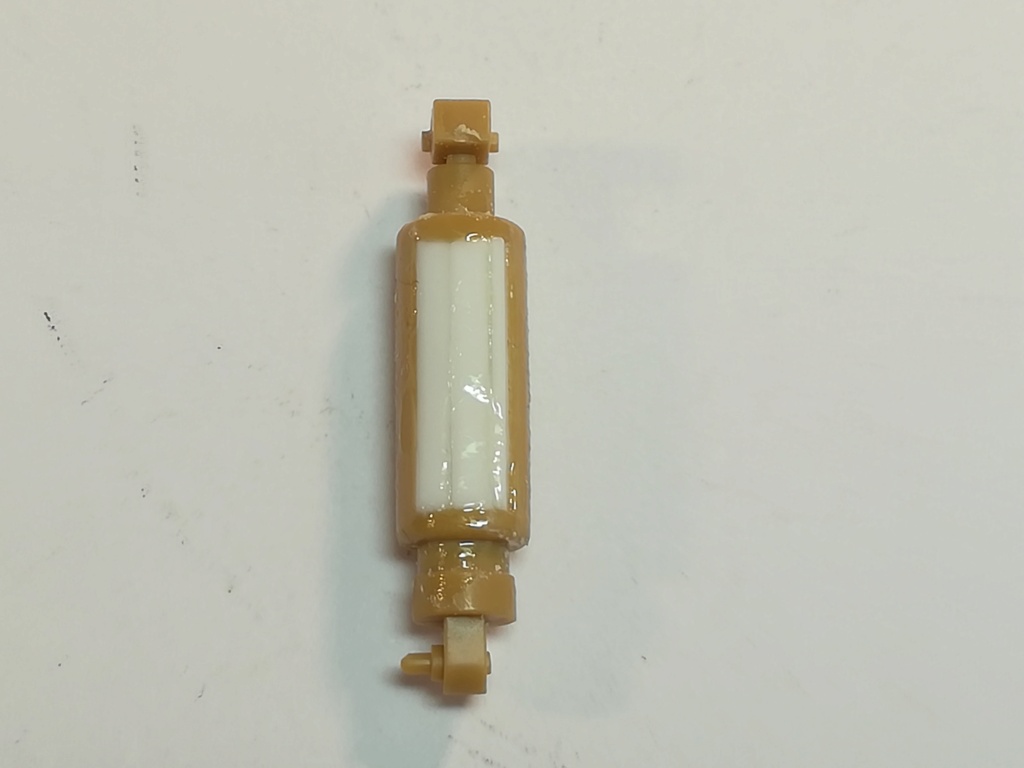
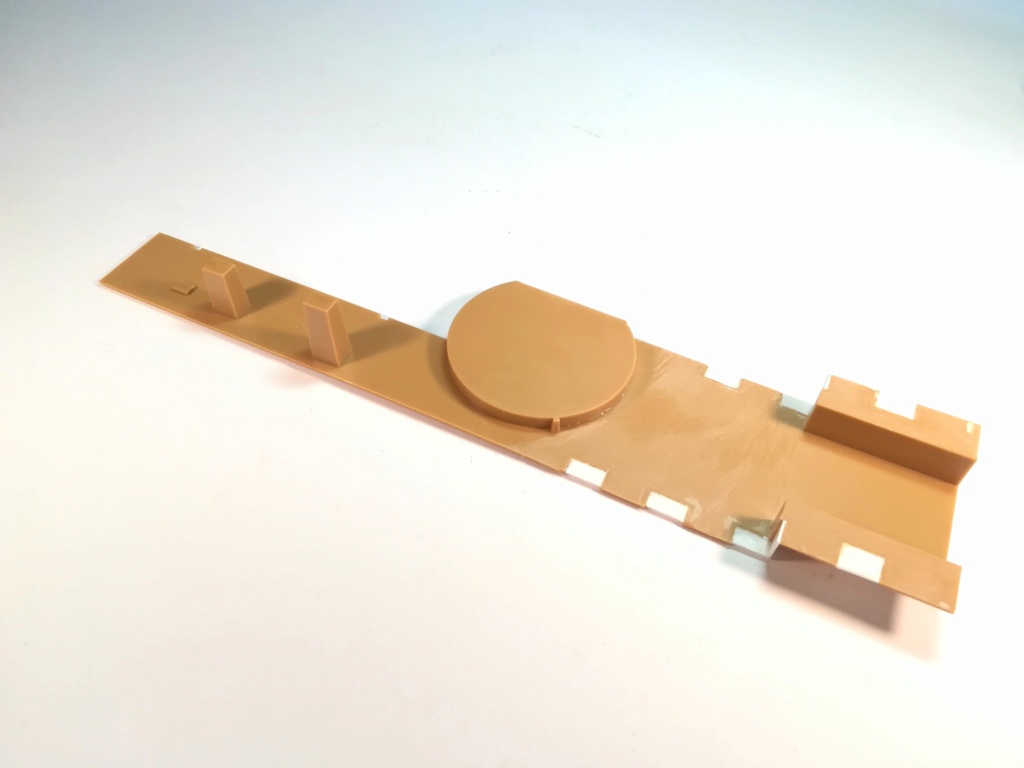
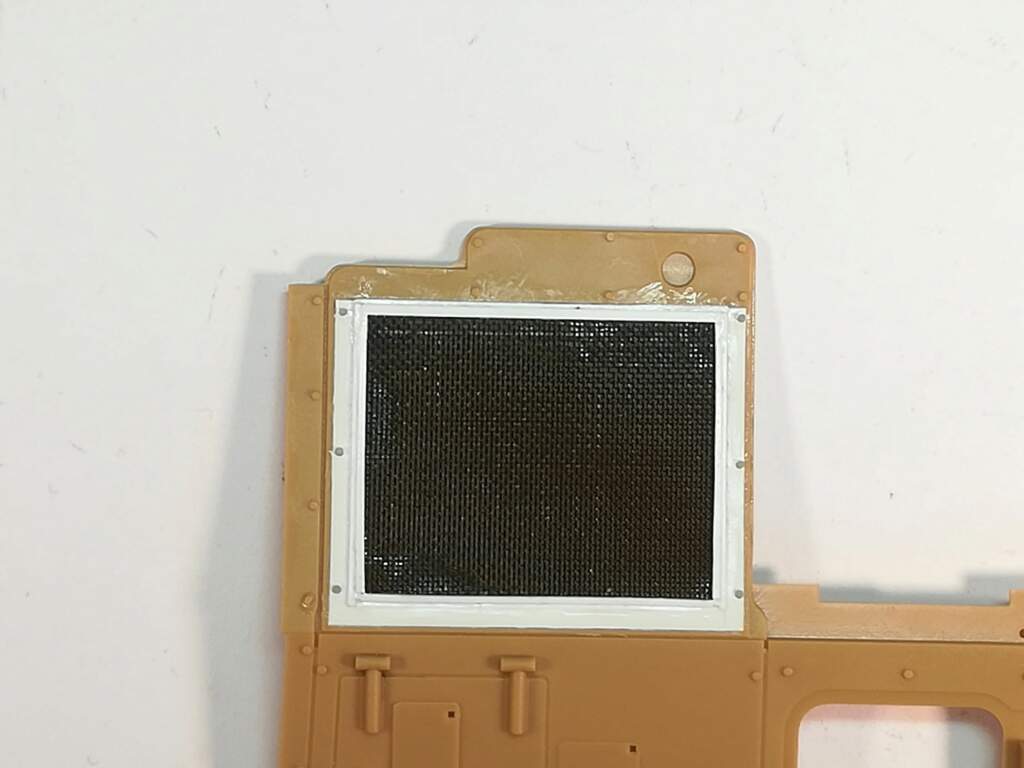
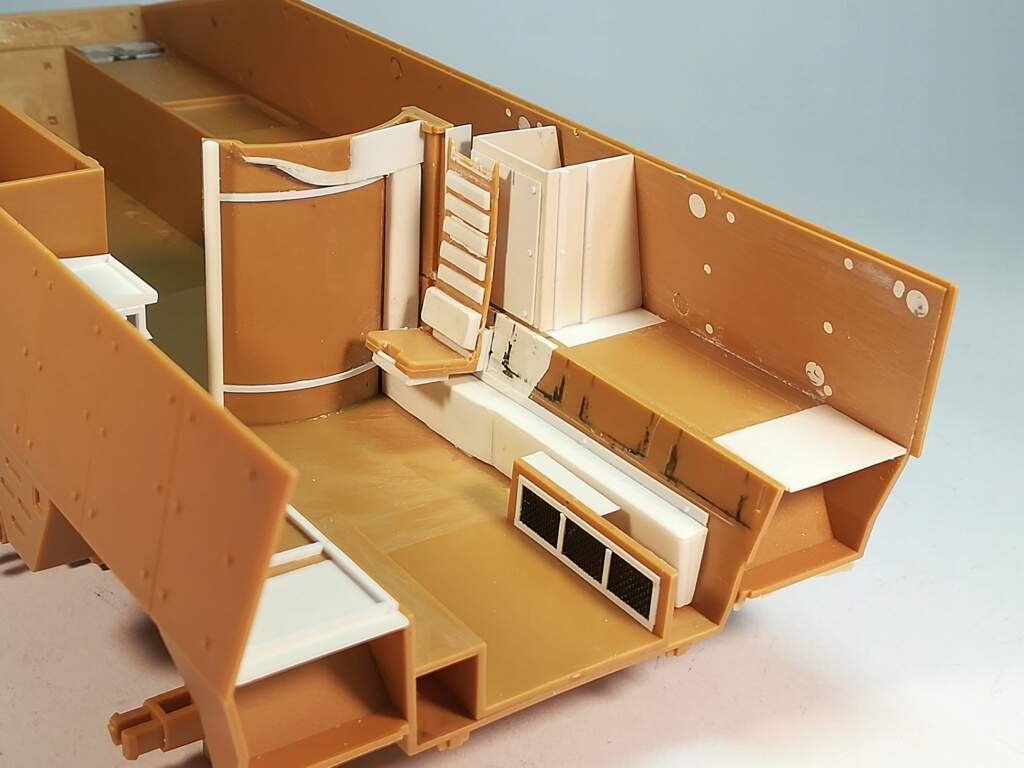
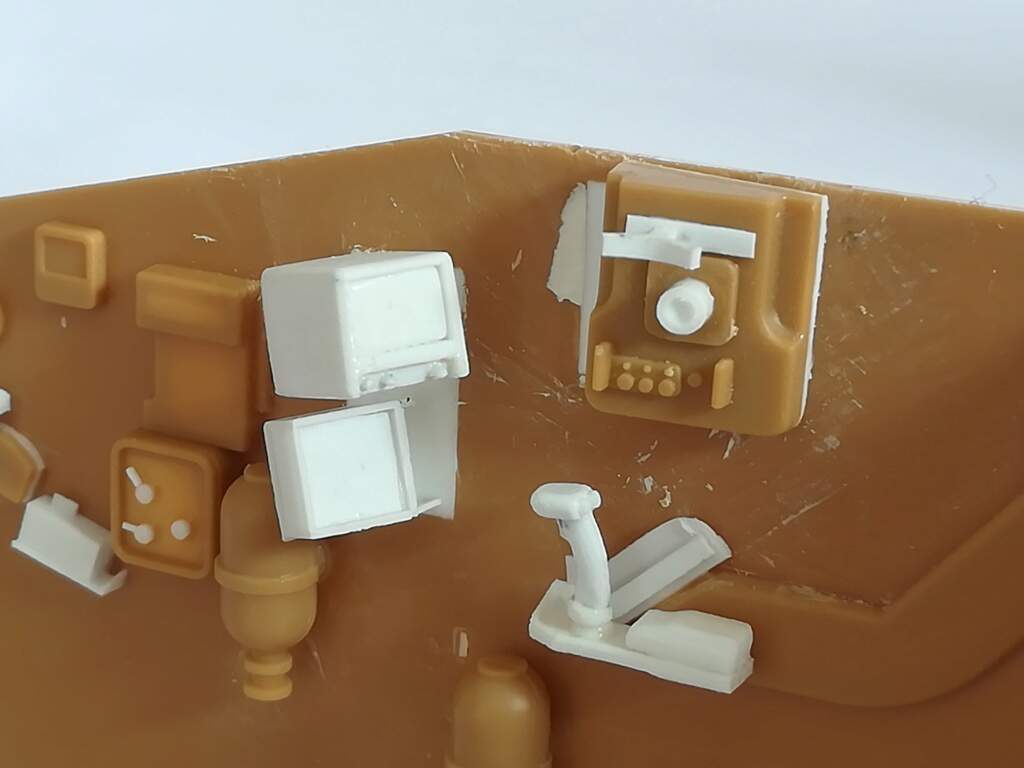
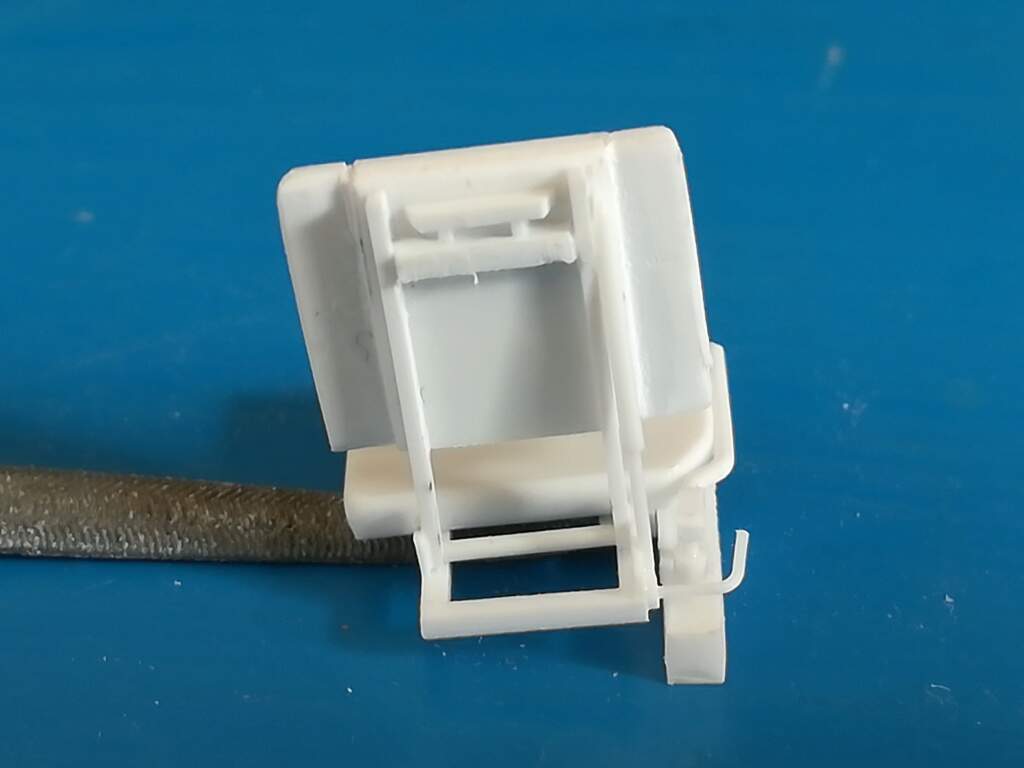
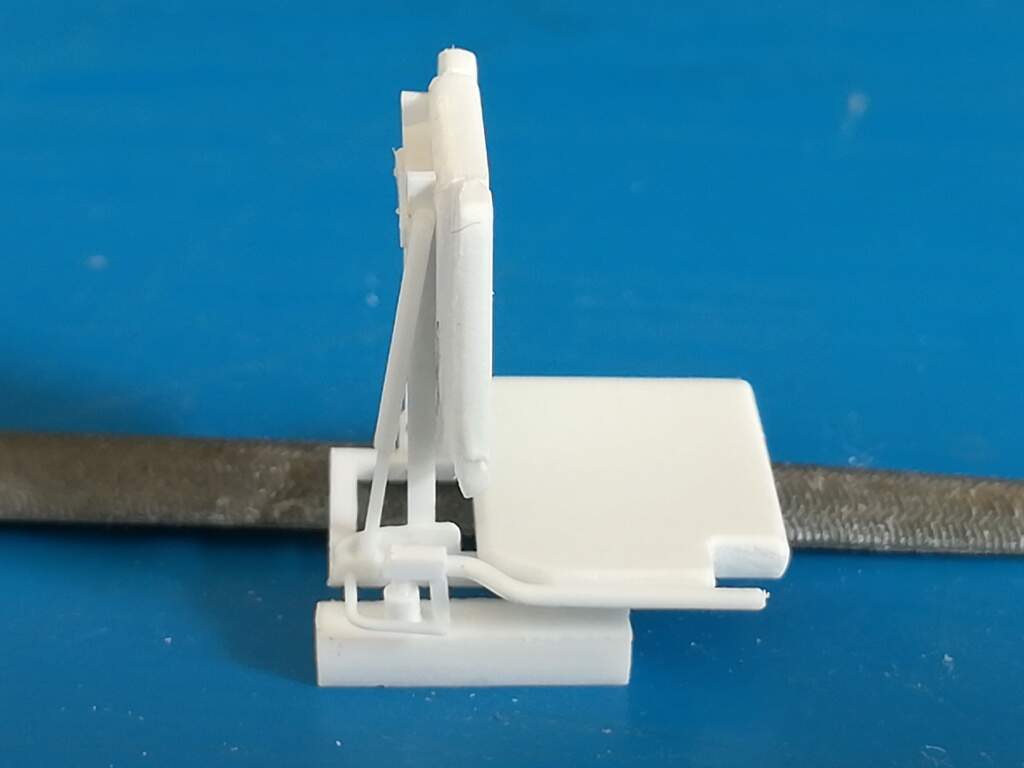
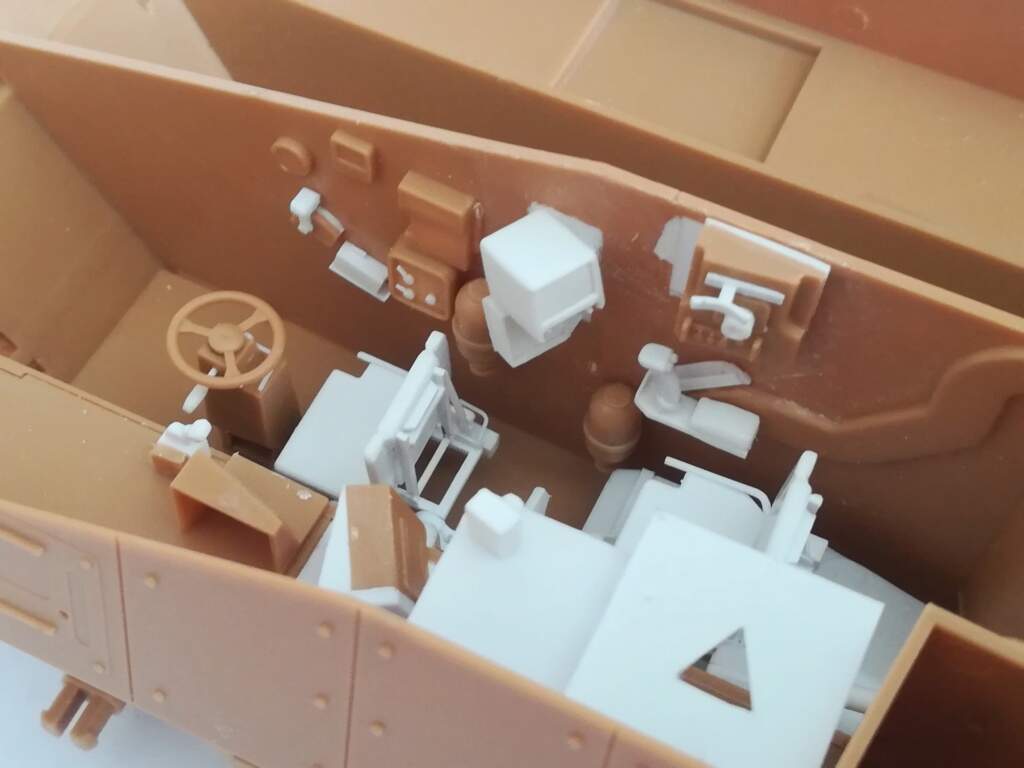
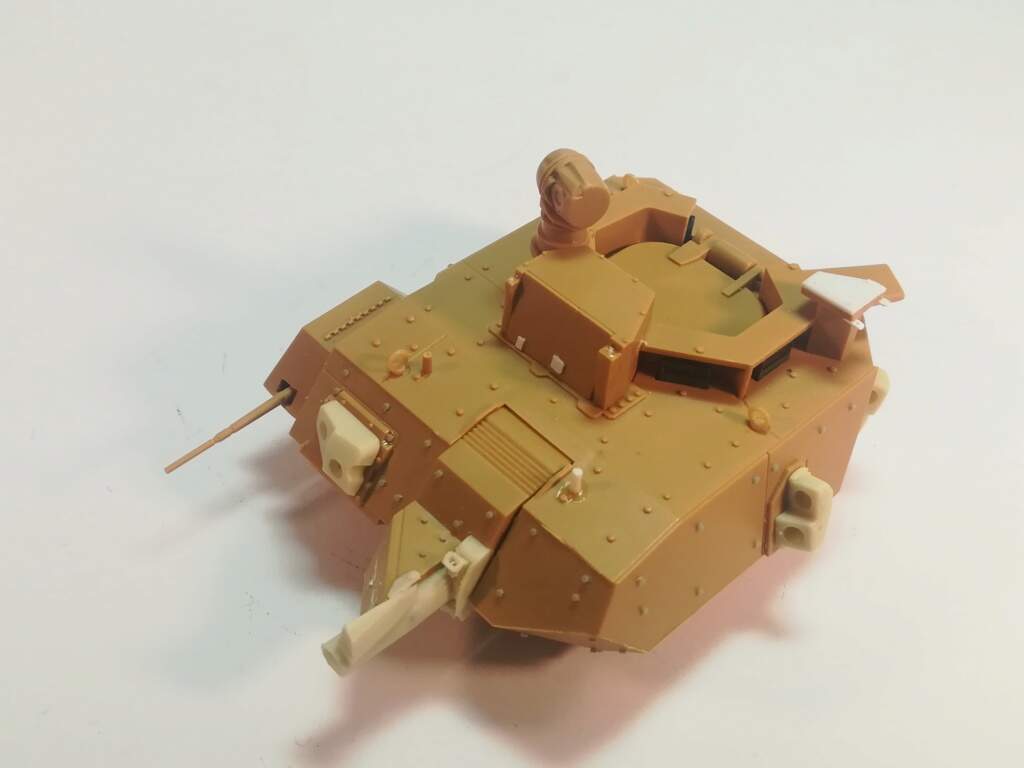
I managed to detail a bit more the area around the right ramp actioner (is this correct?). I also modified the turret shield but to be fully accurate I should have replaced nearly the whole thing with a perforated round metal sheet. Way too much for my skills.
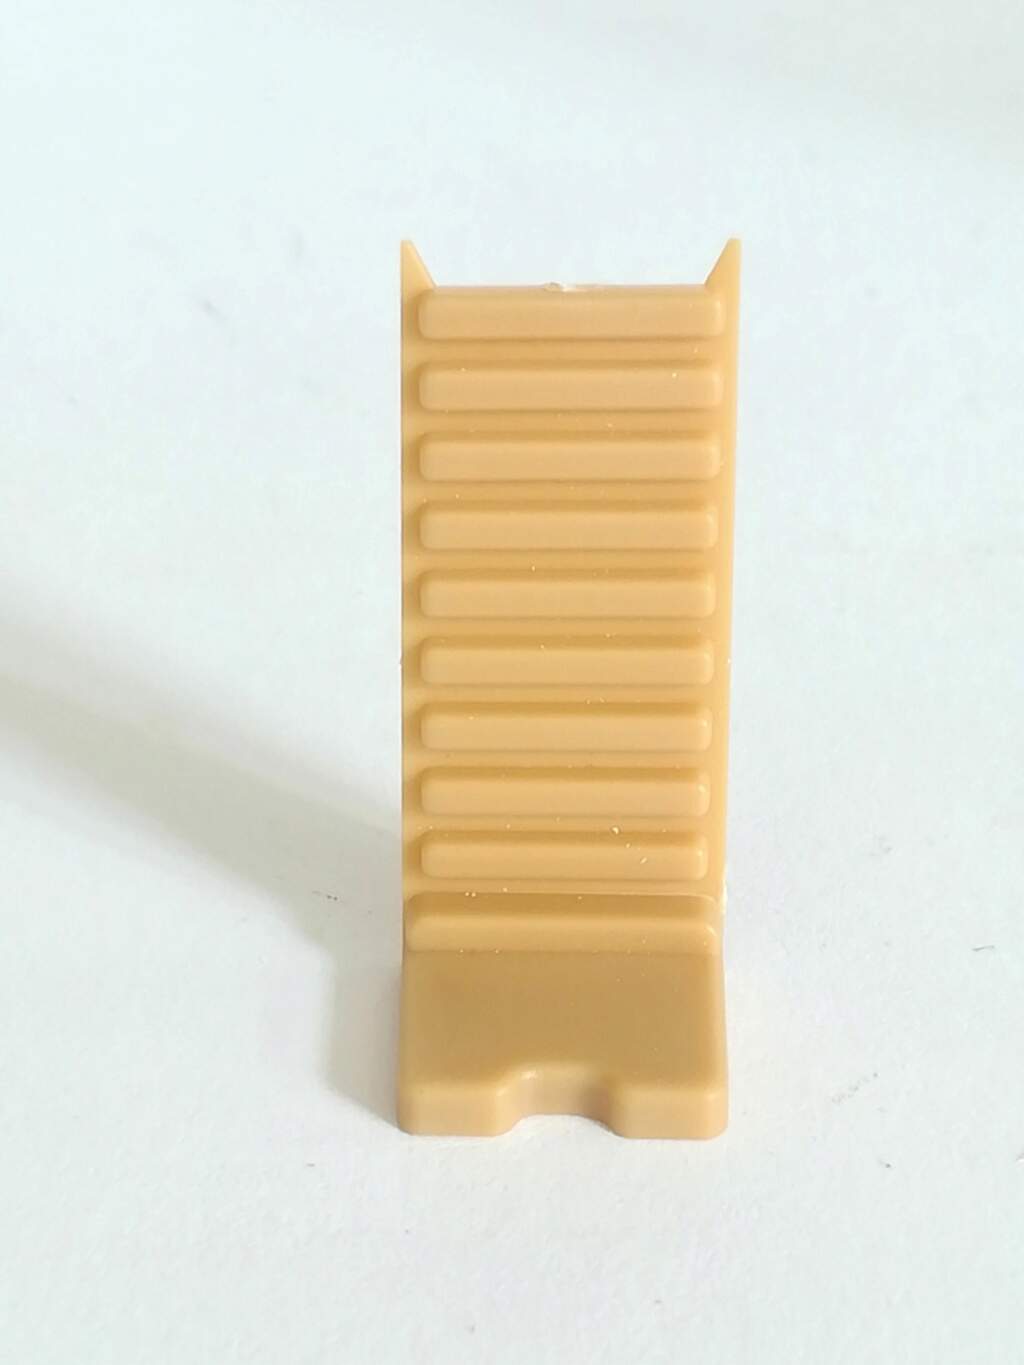
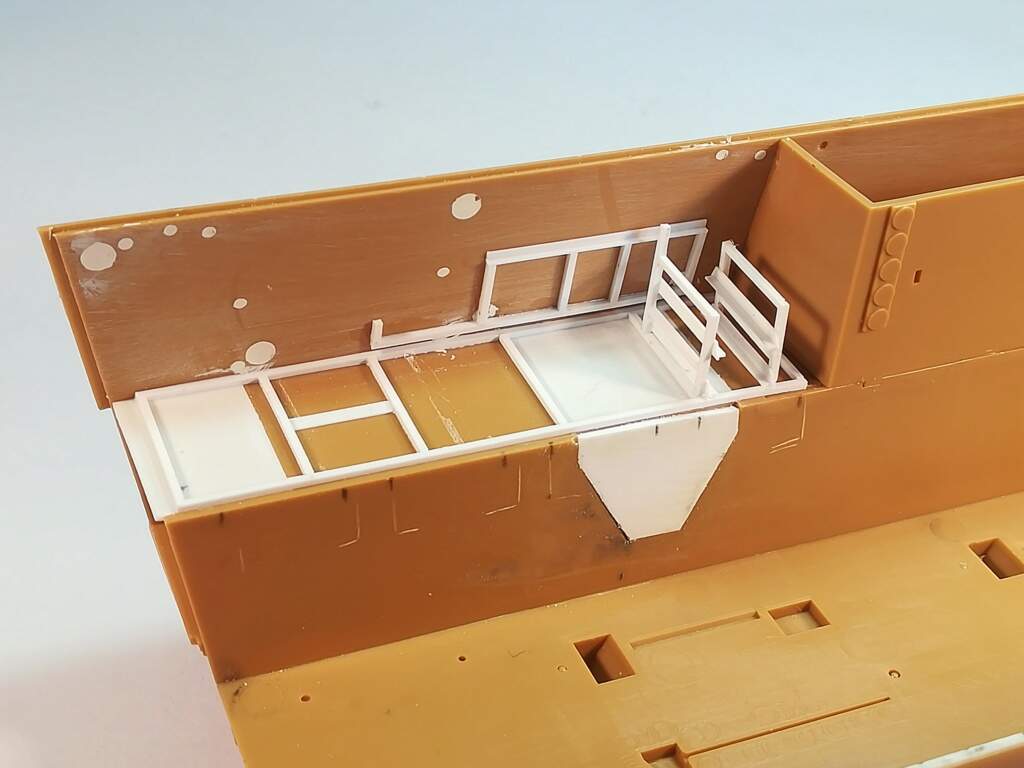
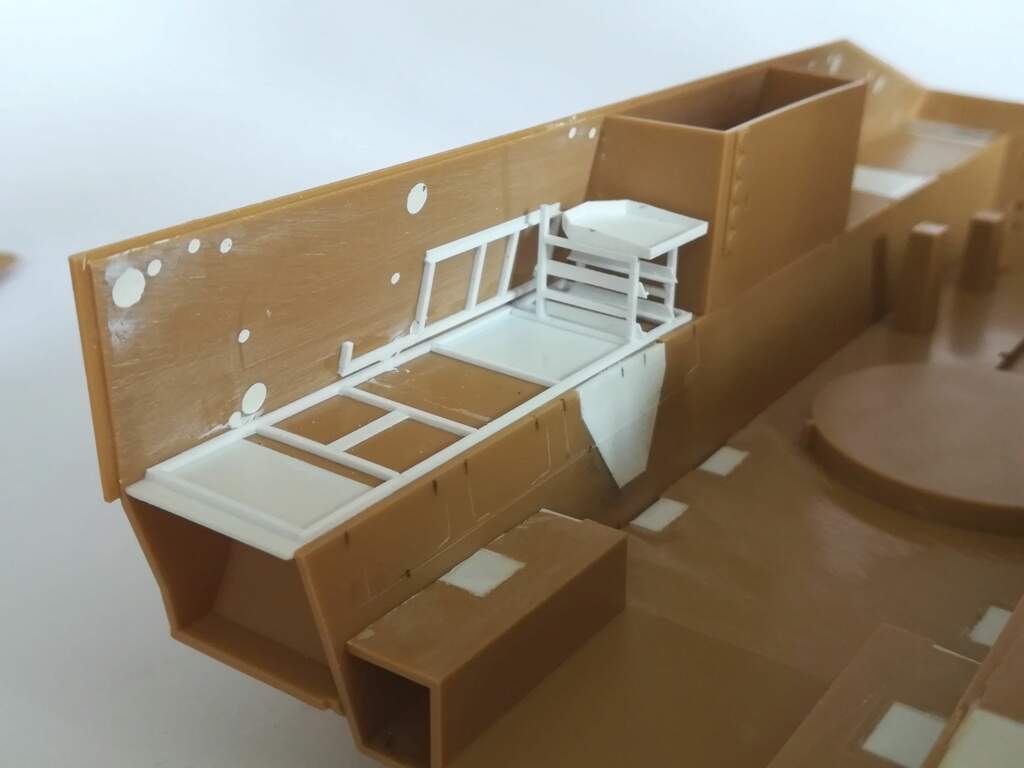
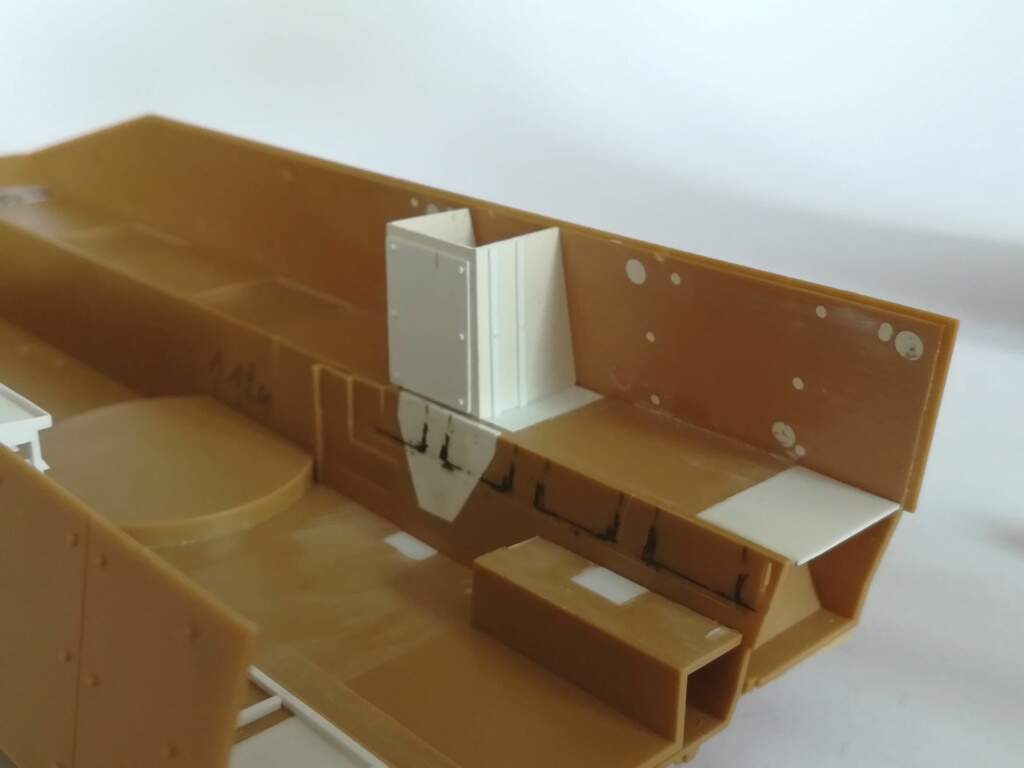
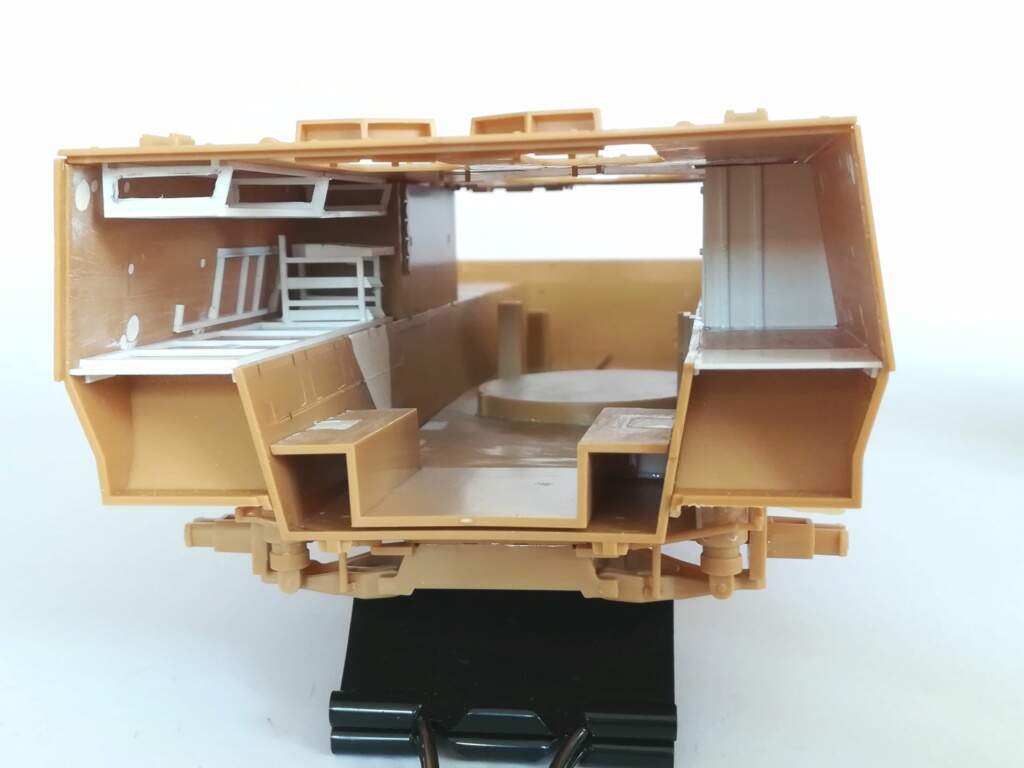
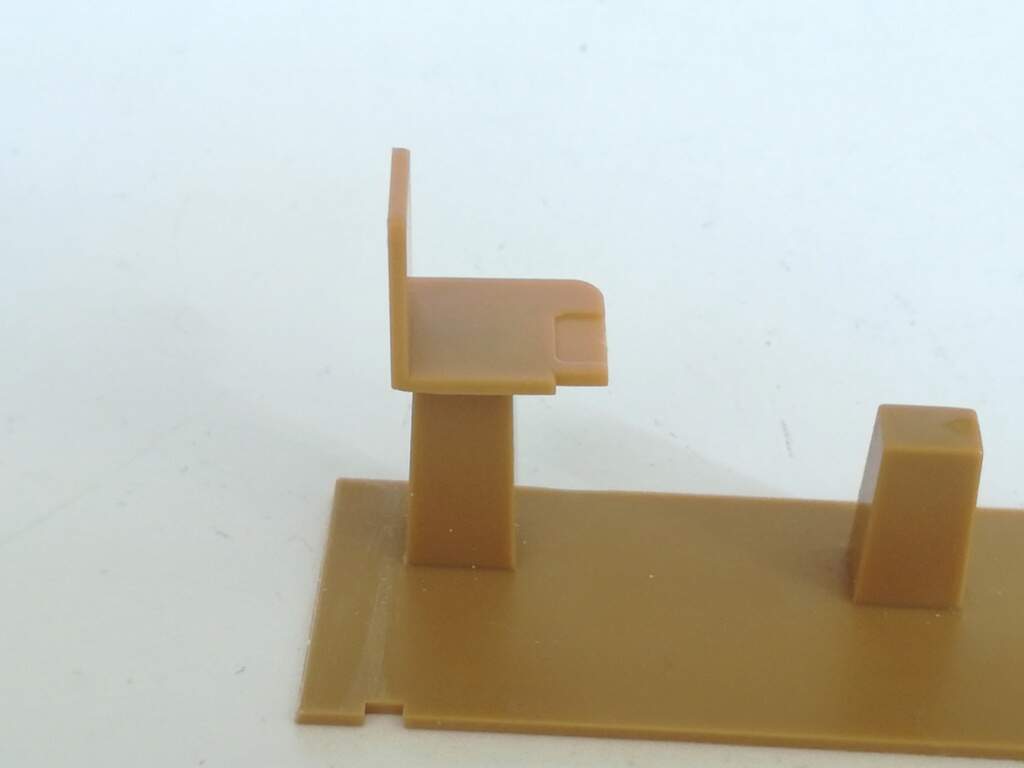
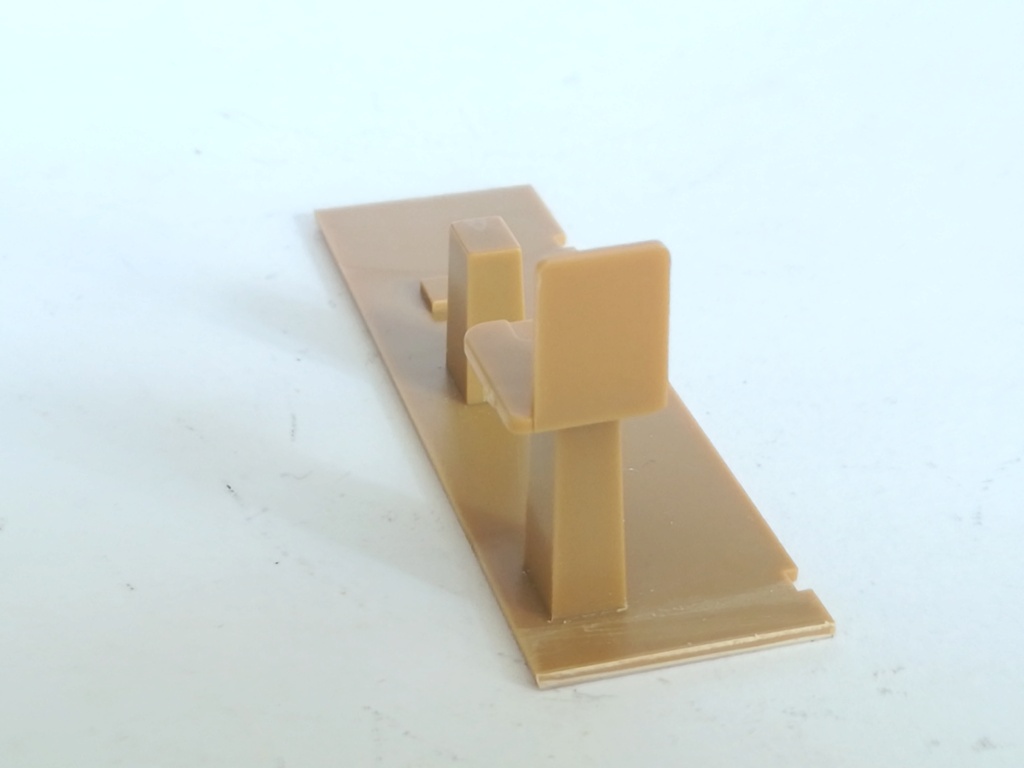
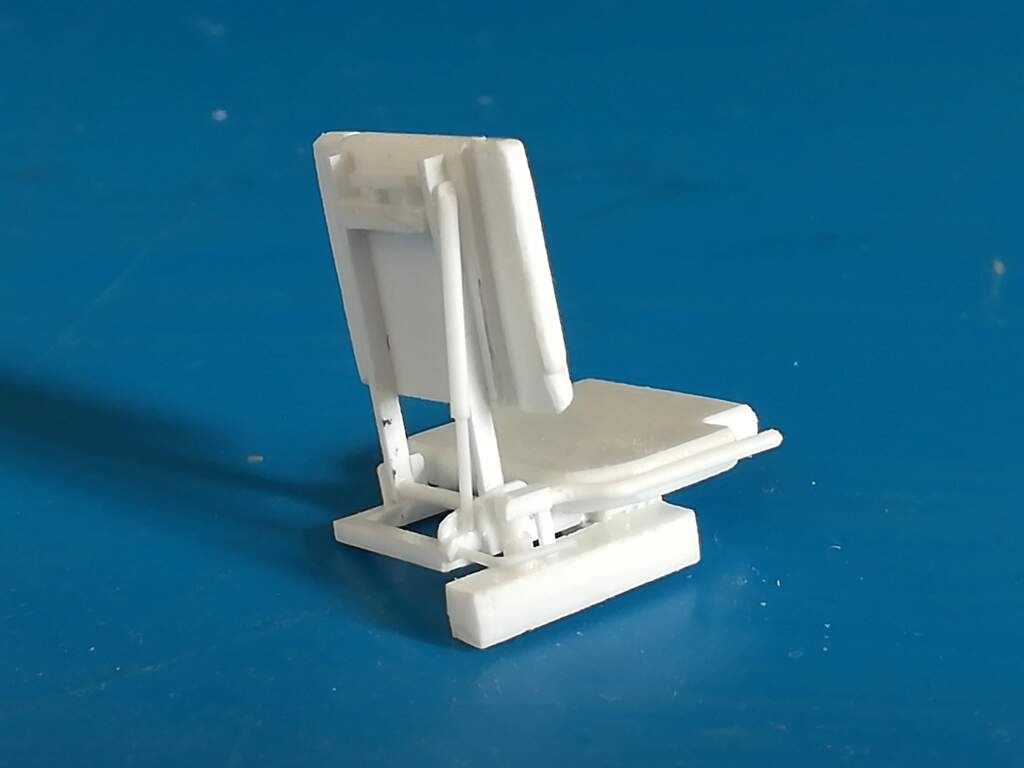
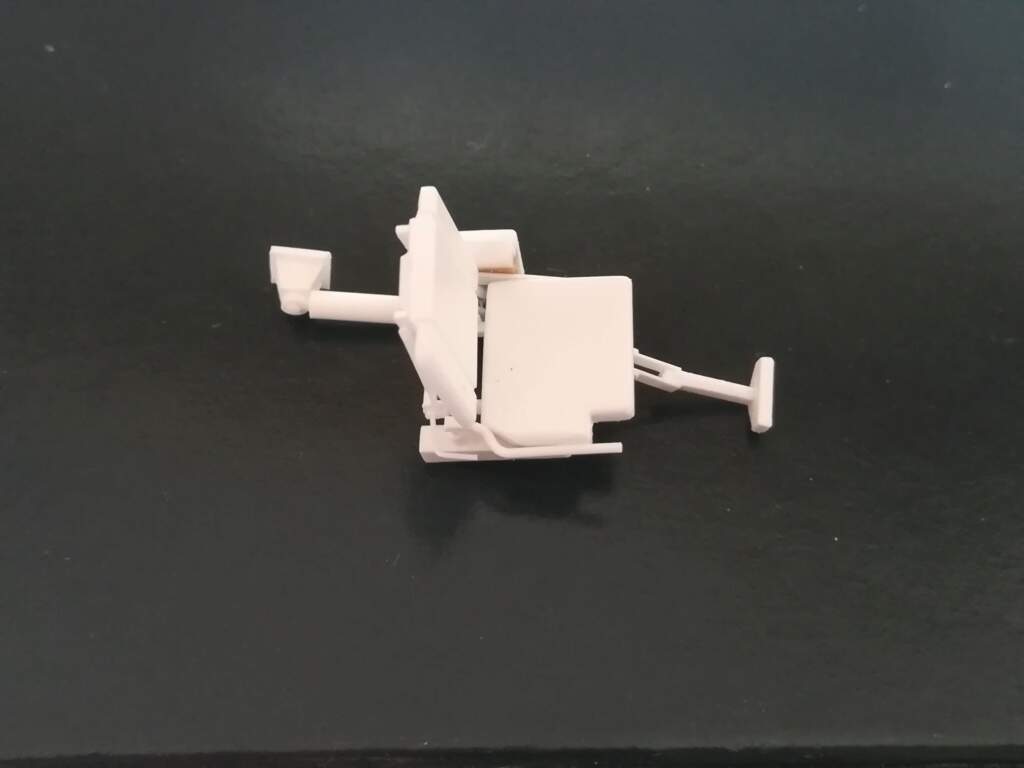
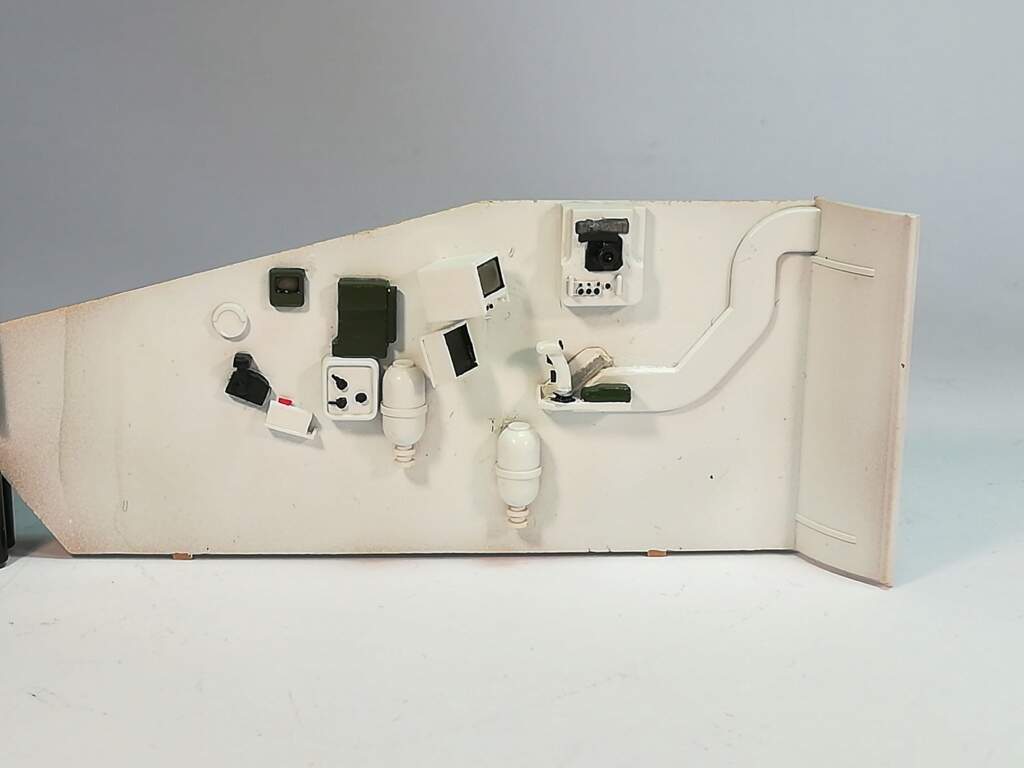
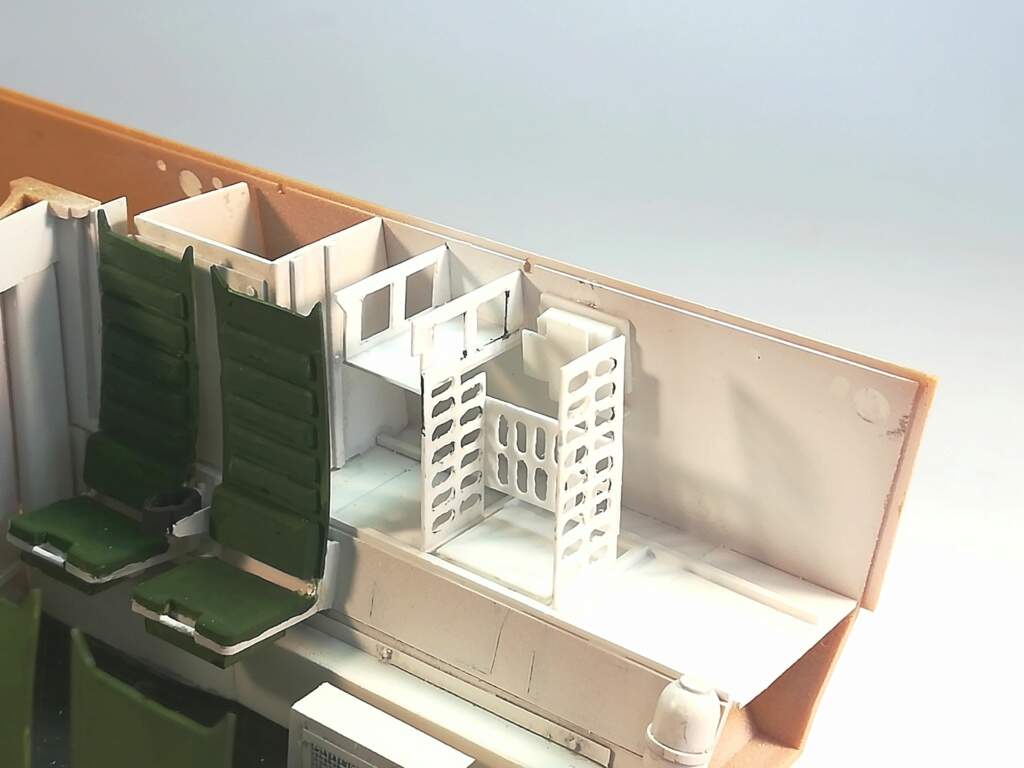
New seats for the driver and the commander must be done. I still need to add the foot-rest under the commander’s seat and the most difficult i.e. the supports bolted to the hull side and the associated jack.
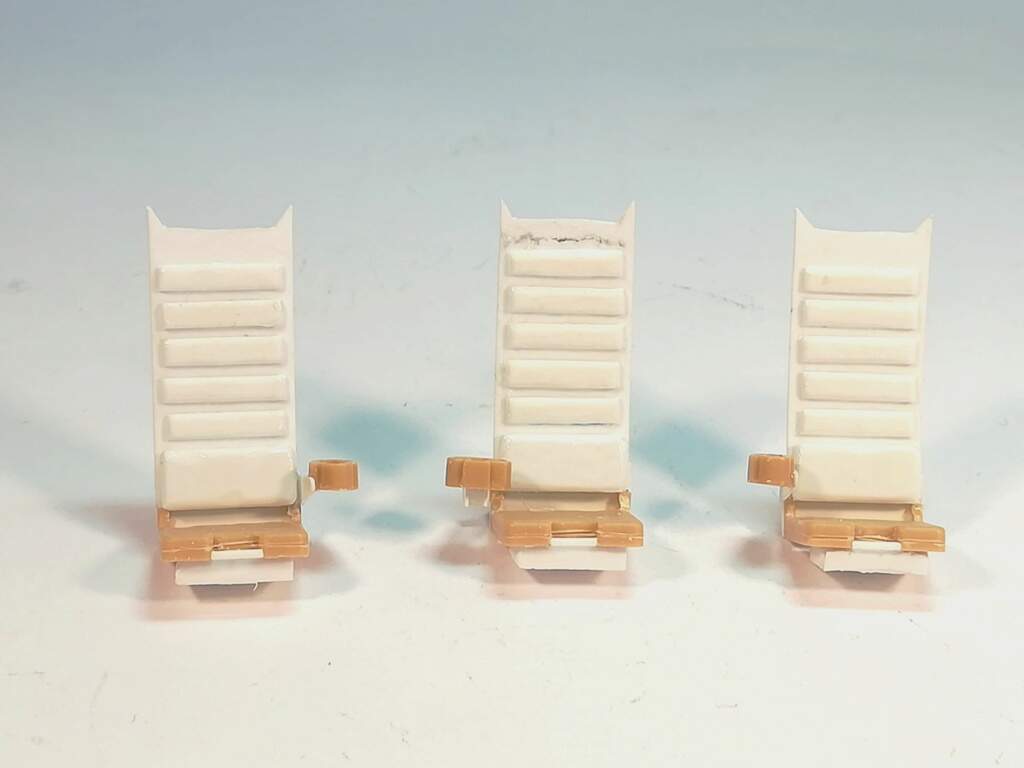
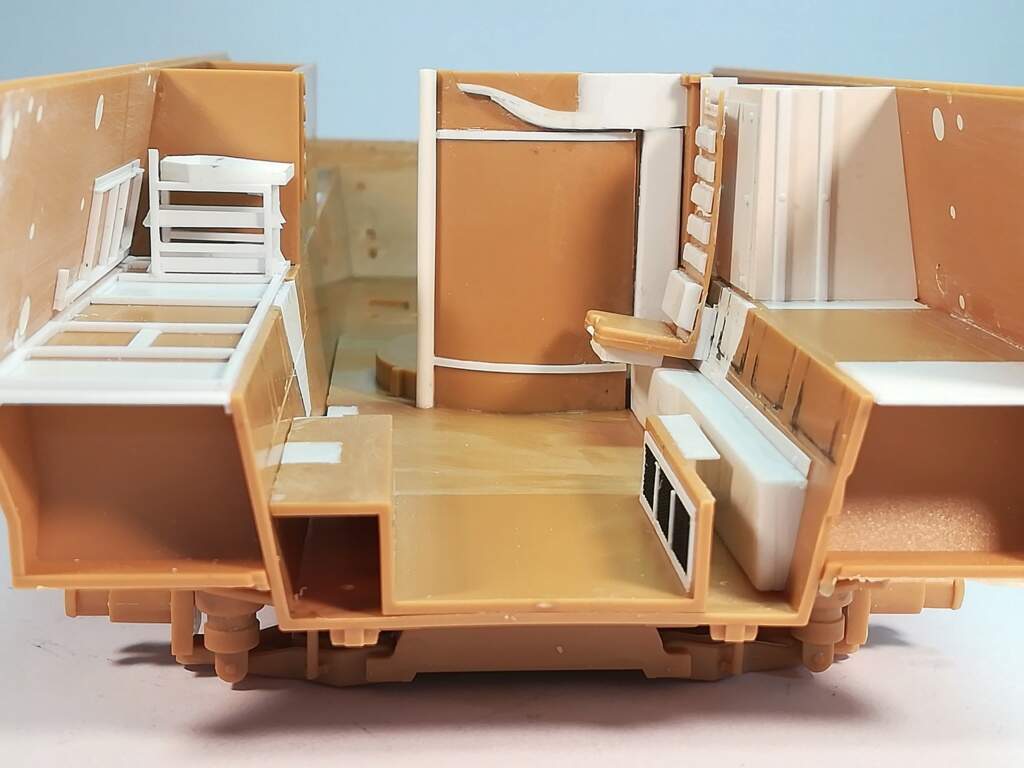
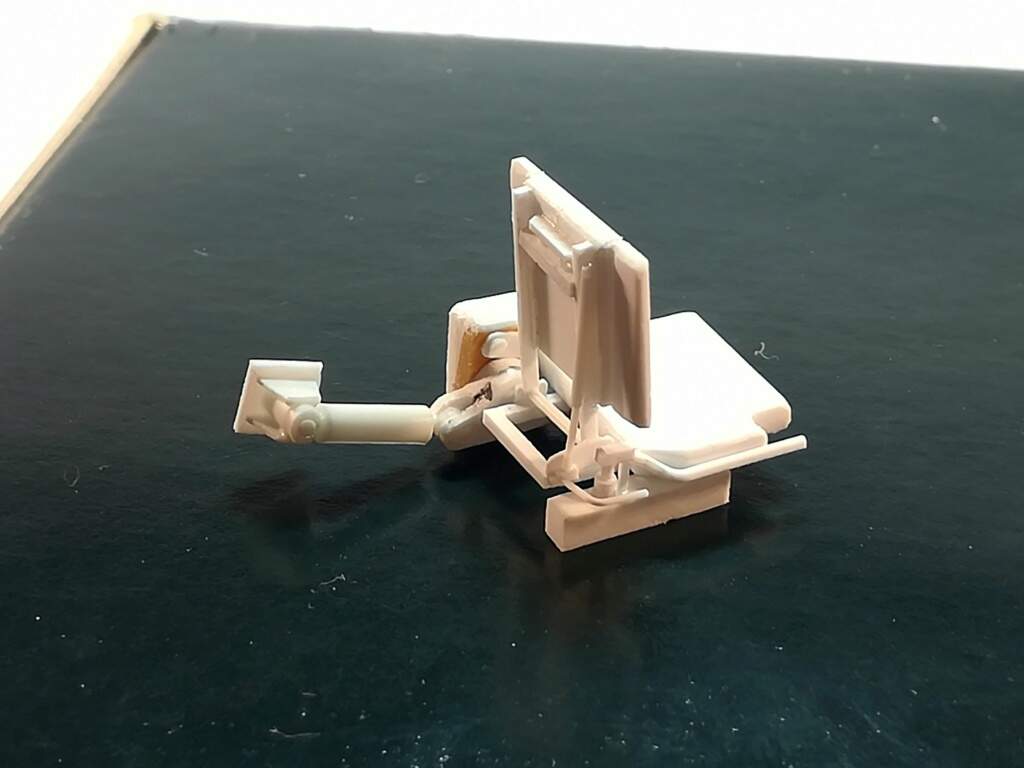
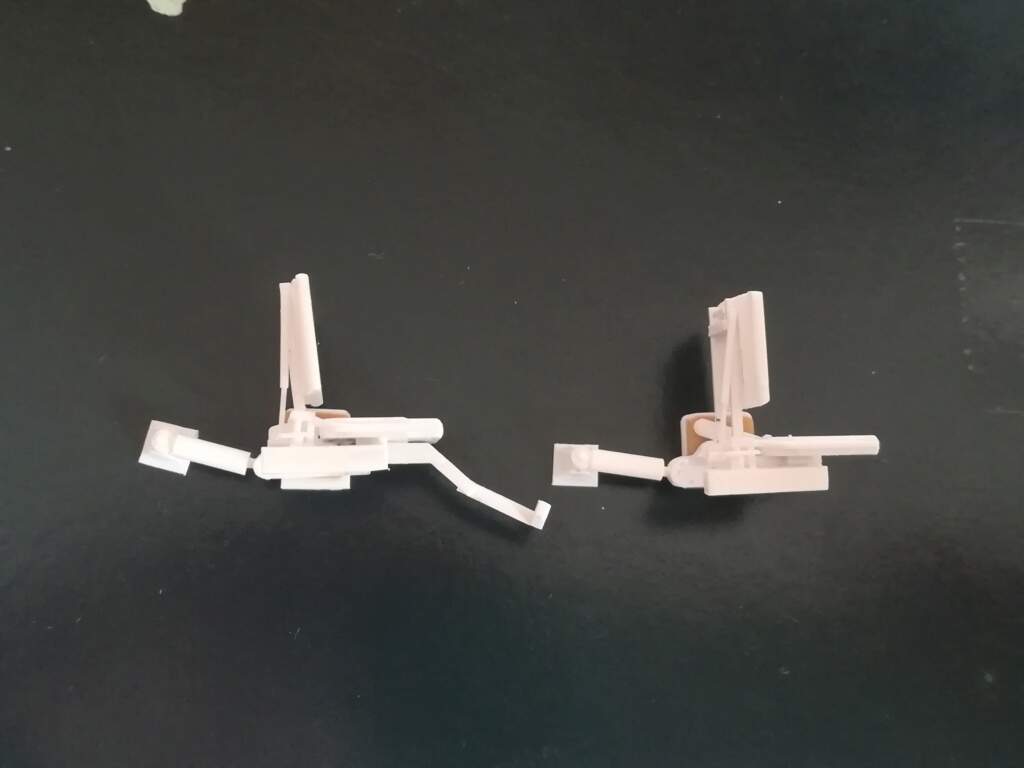
Commander and driver stations done. I’ll paint separately the sub-assemblies before gluing the engine wall.
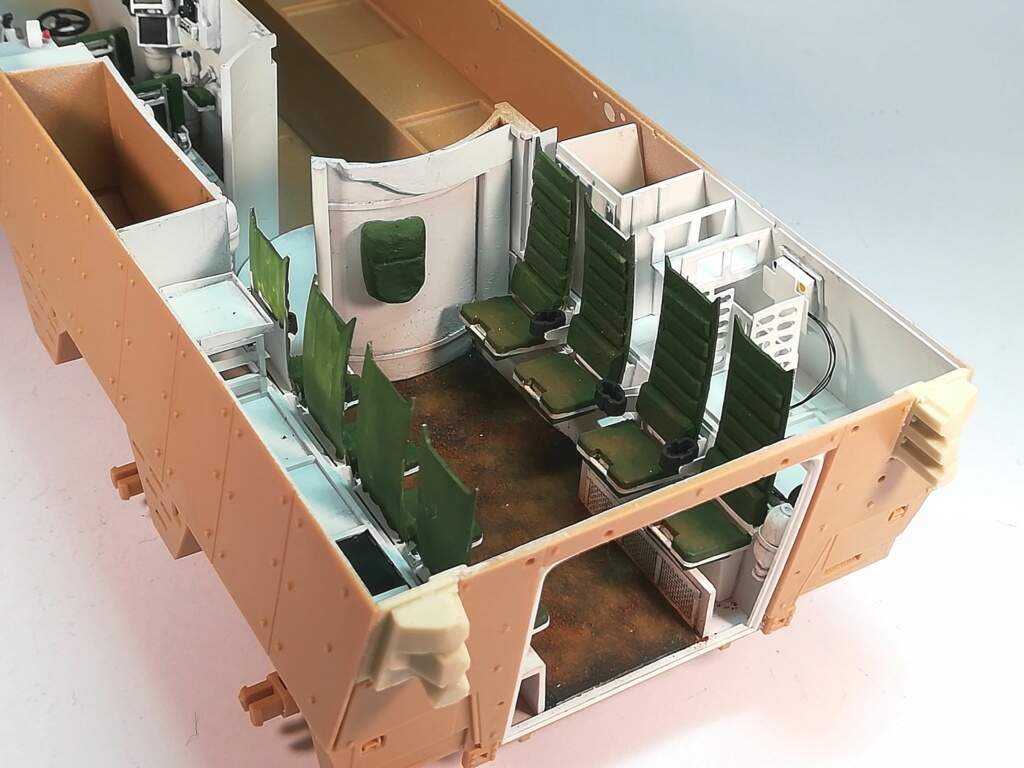
The seats are fitted with blu-tac for the photos.
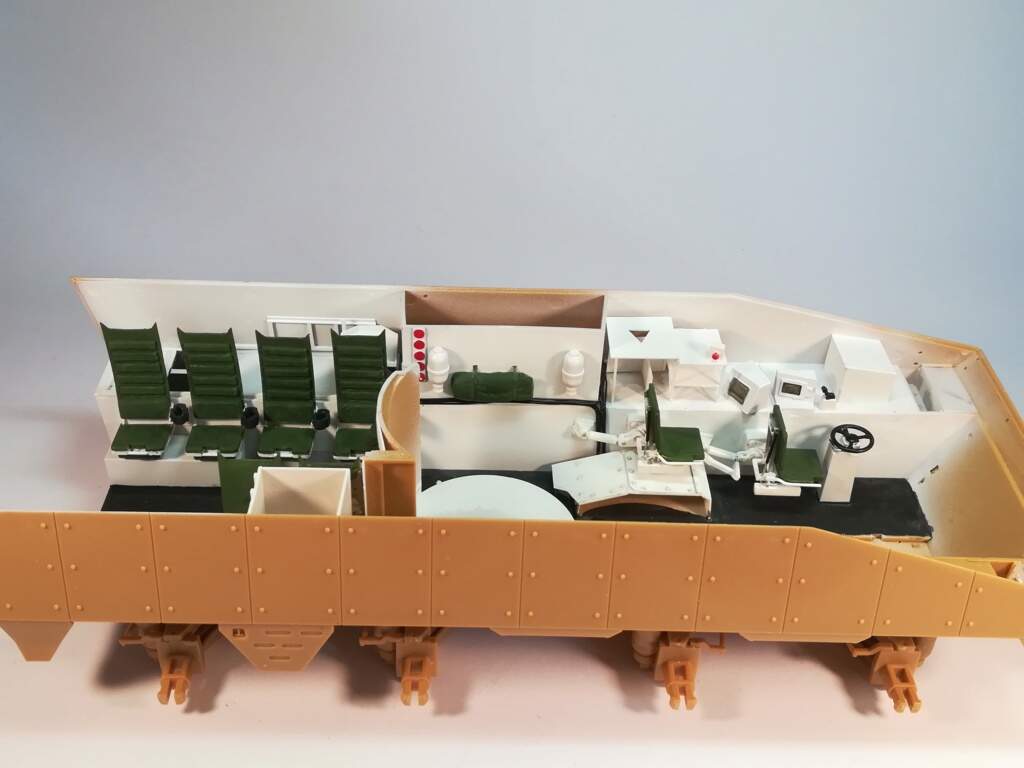
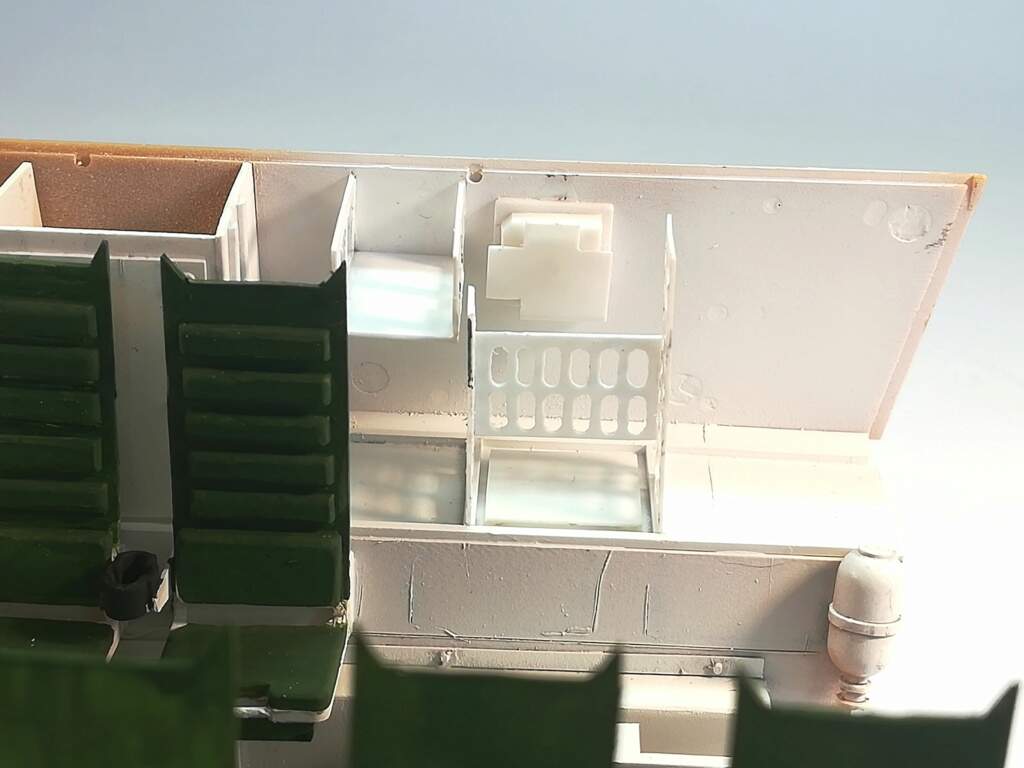
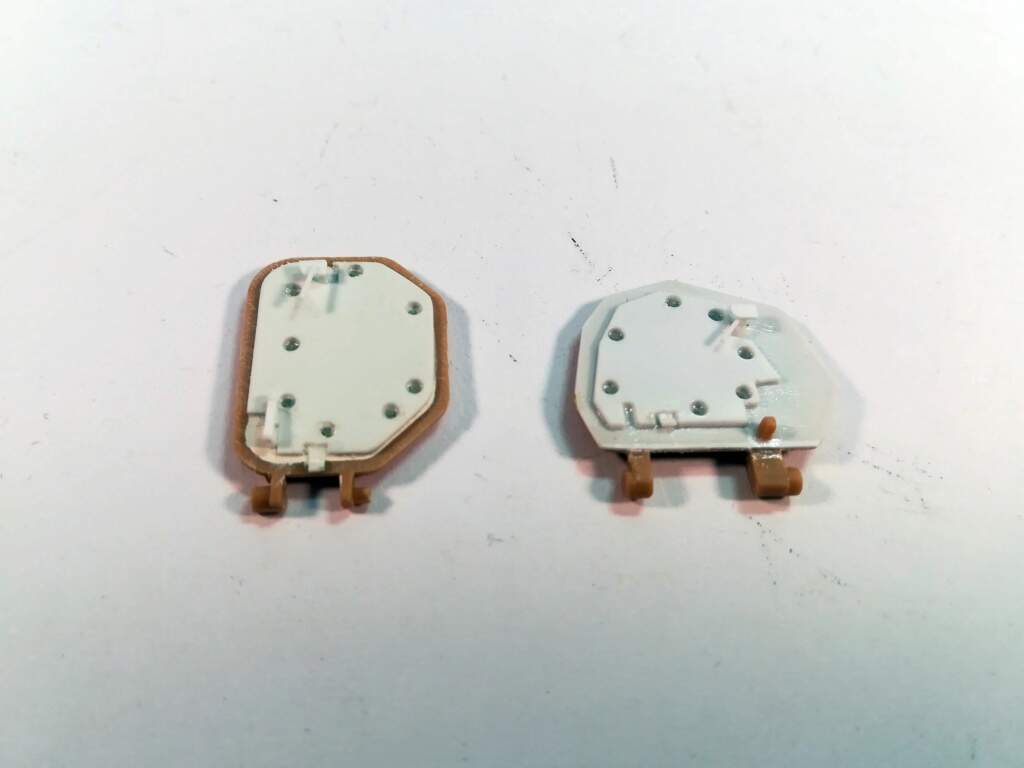
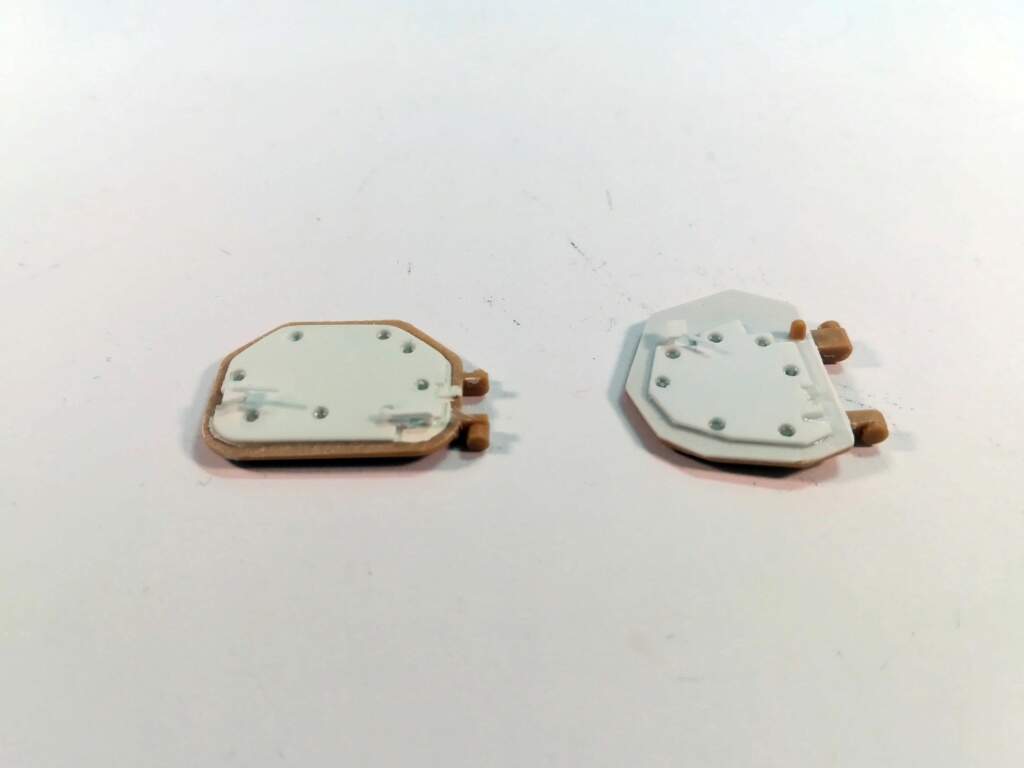
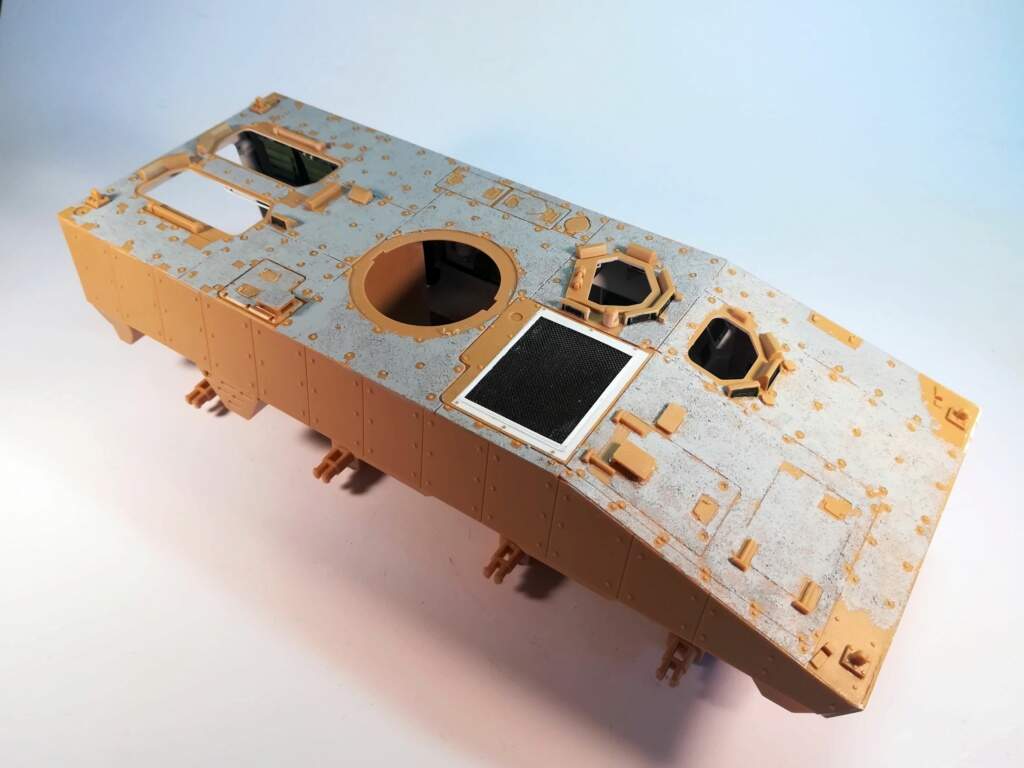
I sprayed the base coat of white on to the various parts. When they are dry I’ll start painting the details.
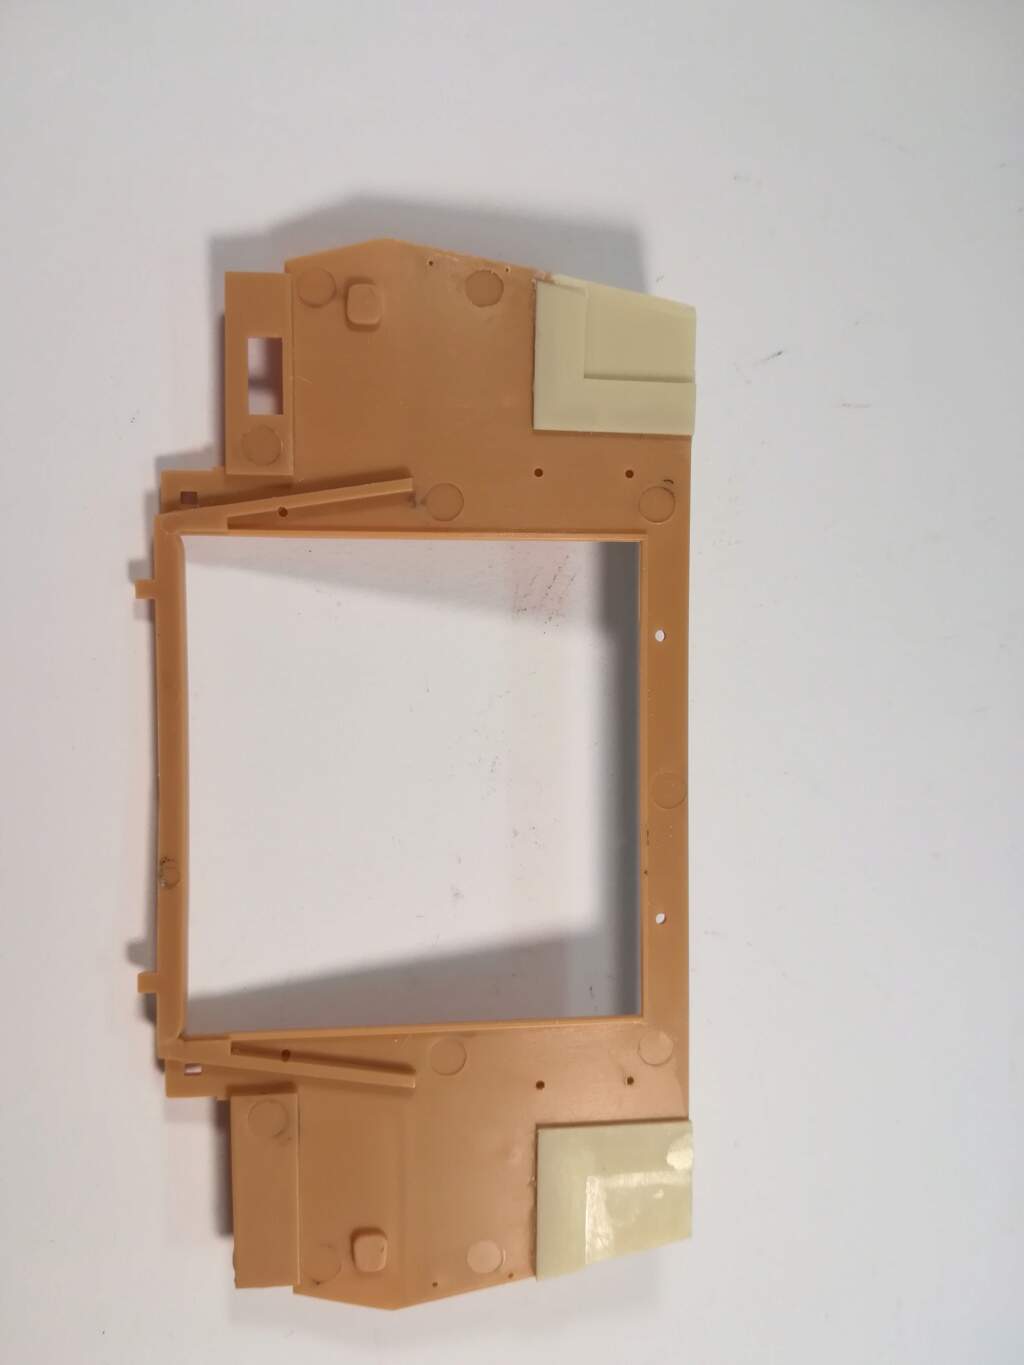
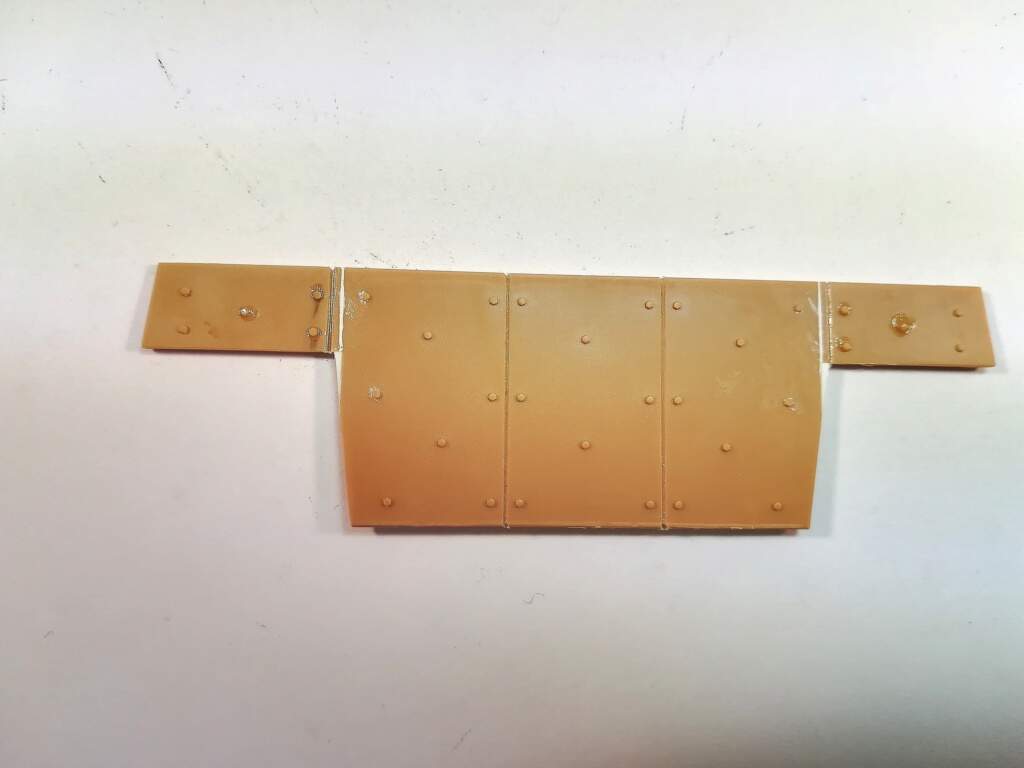
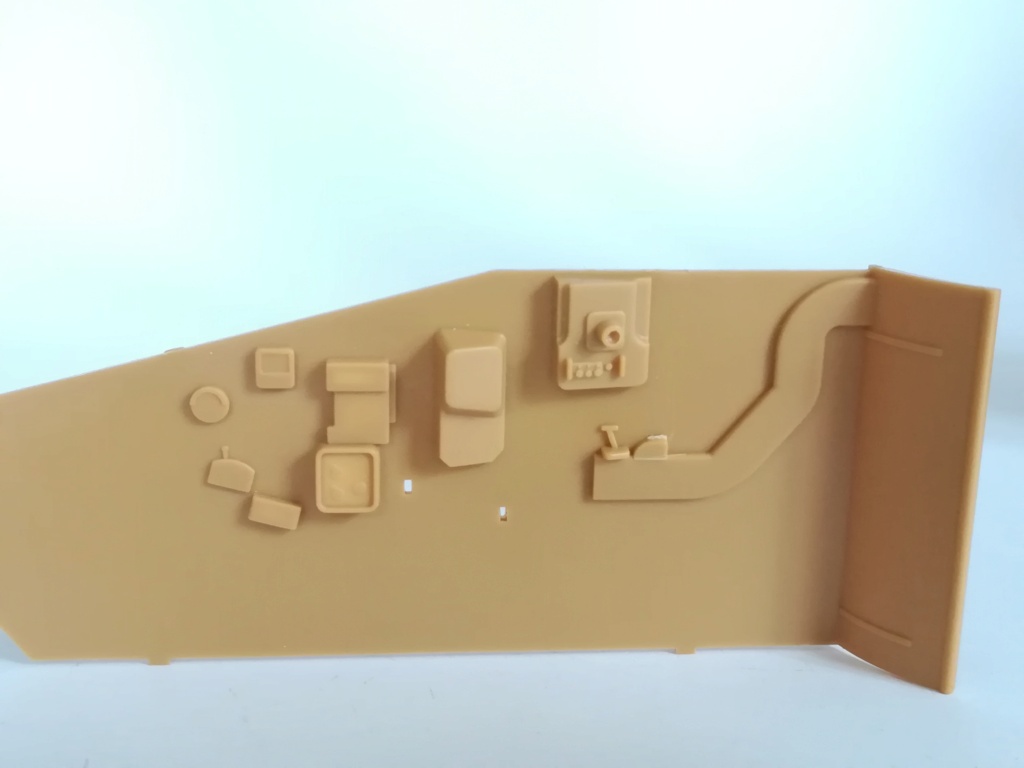
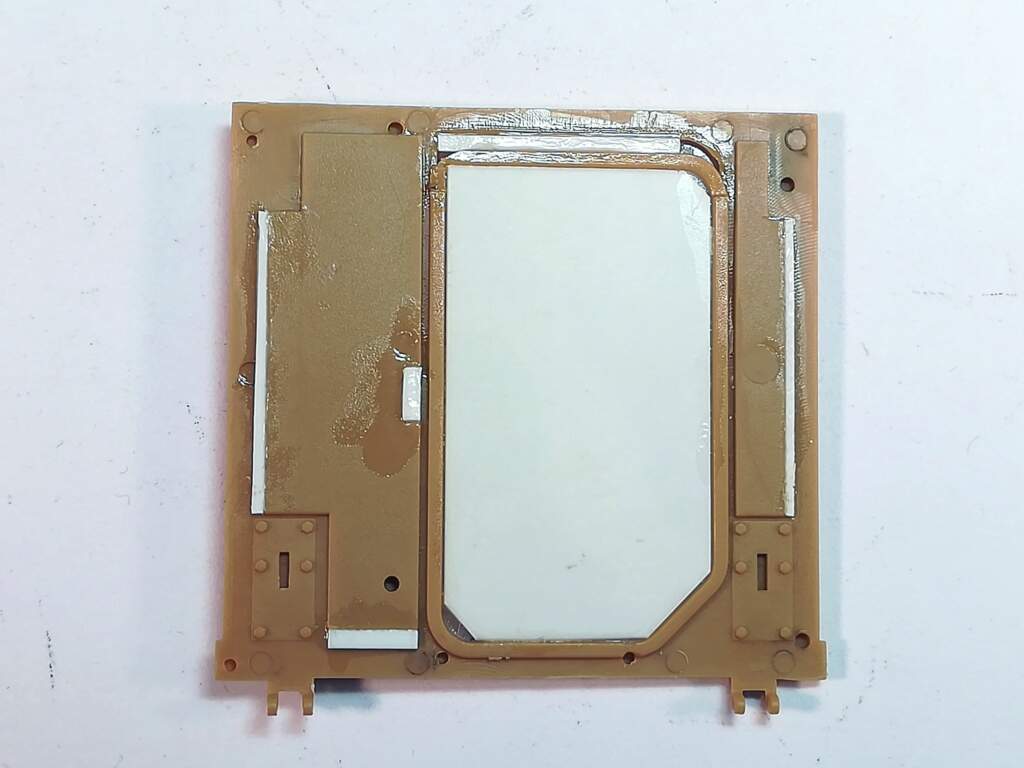
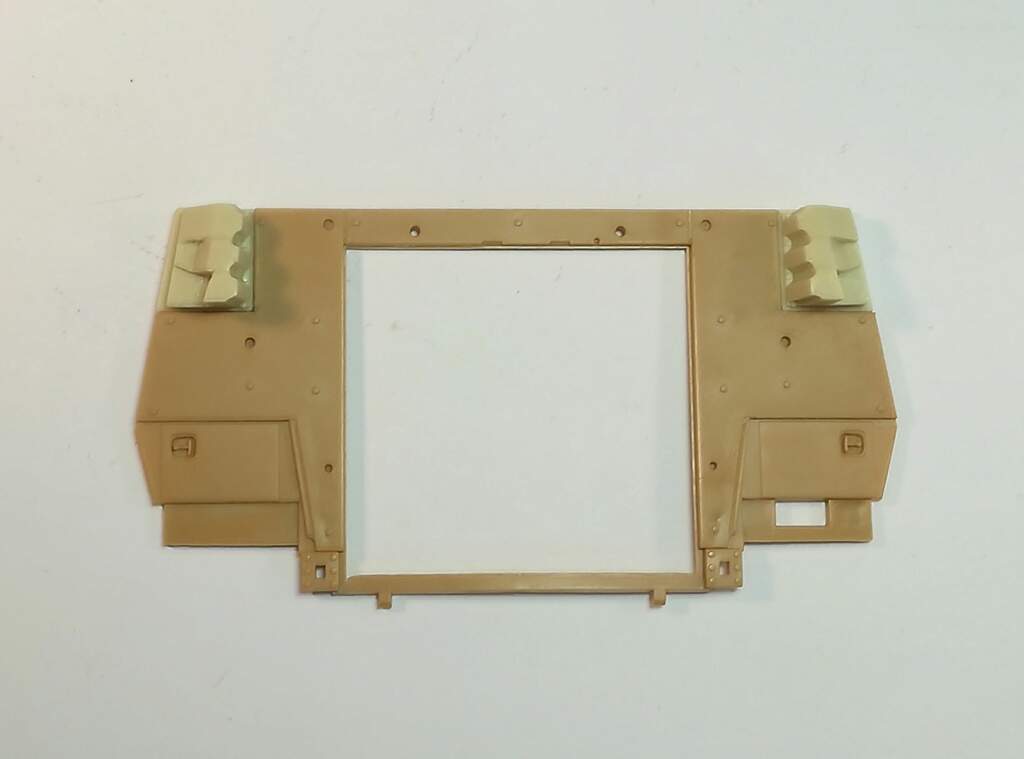
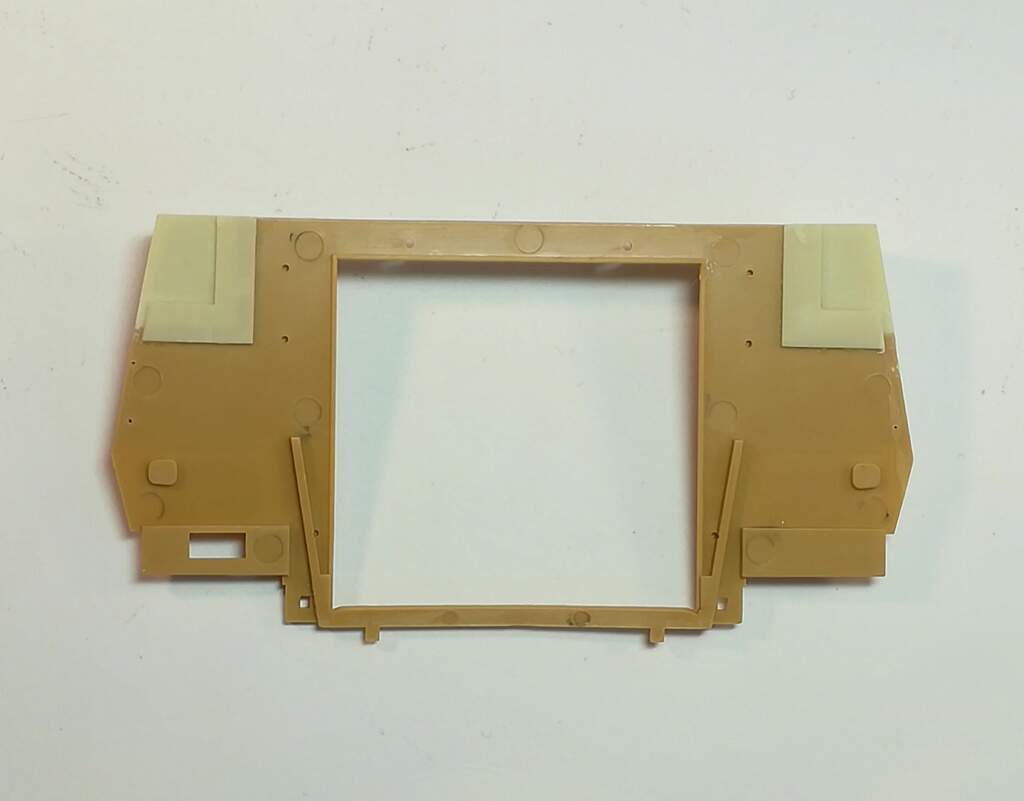
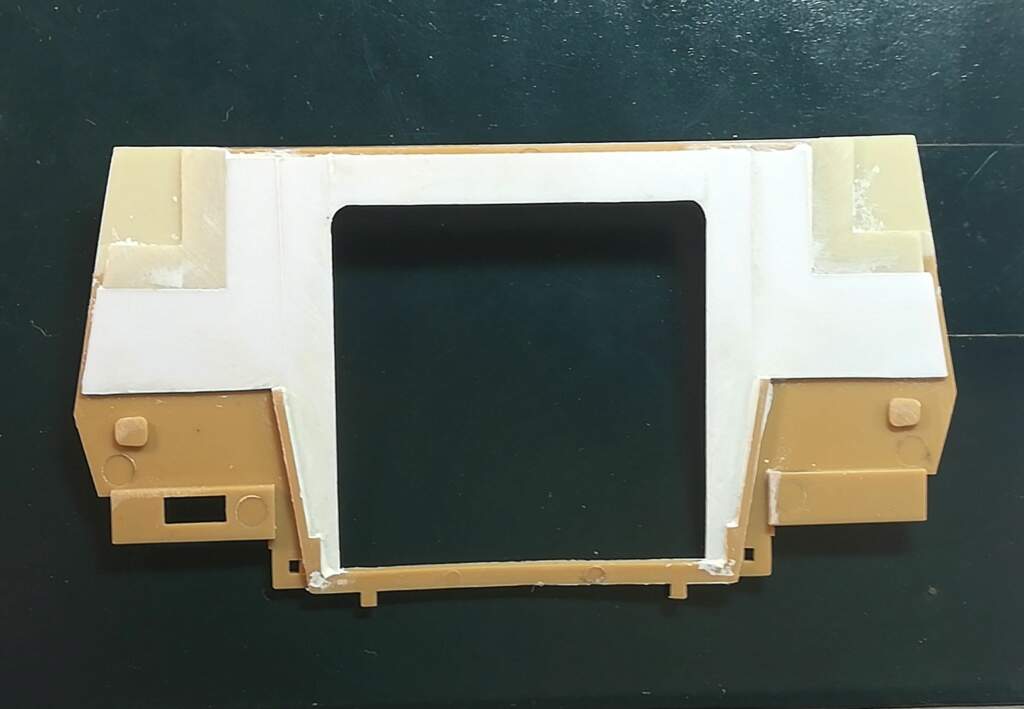
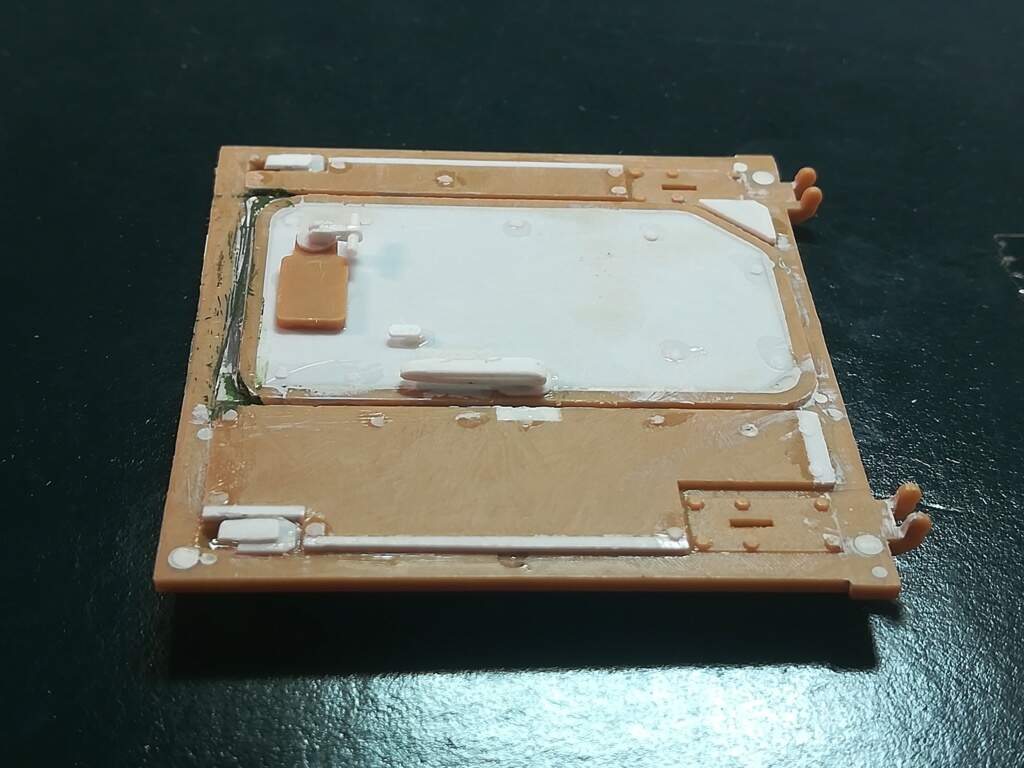
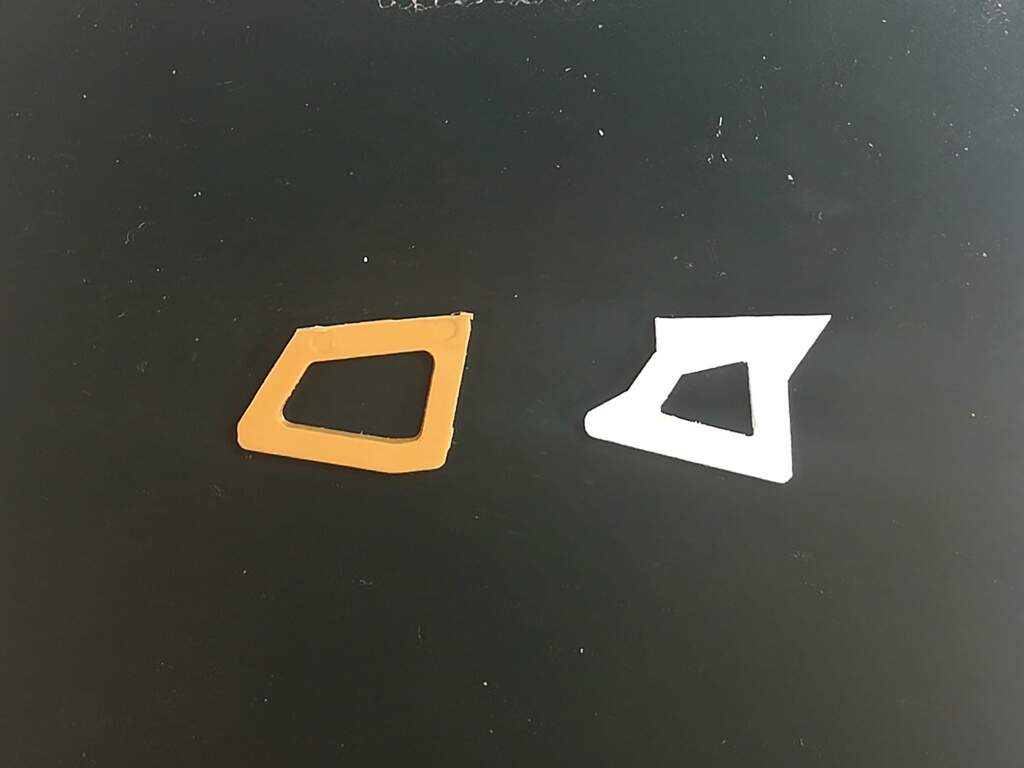
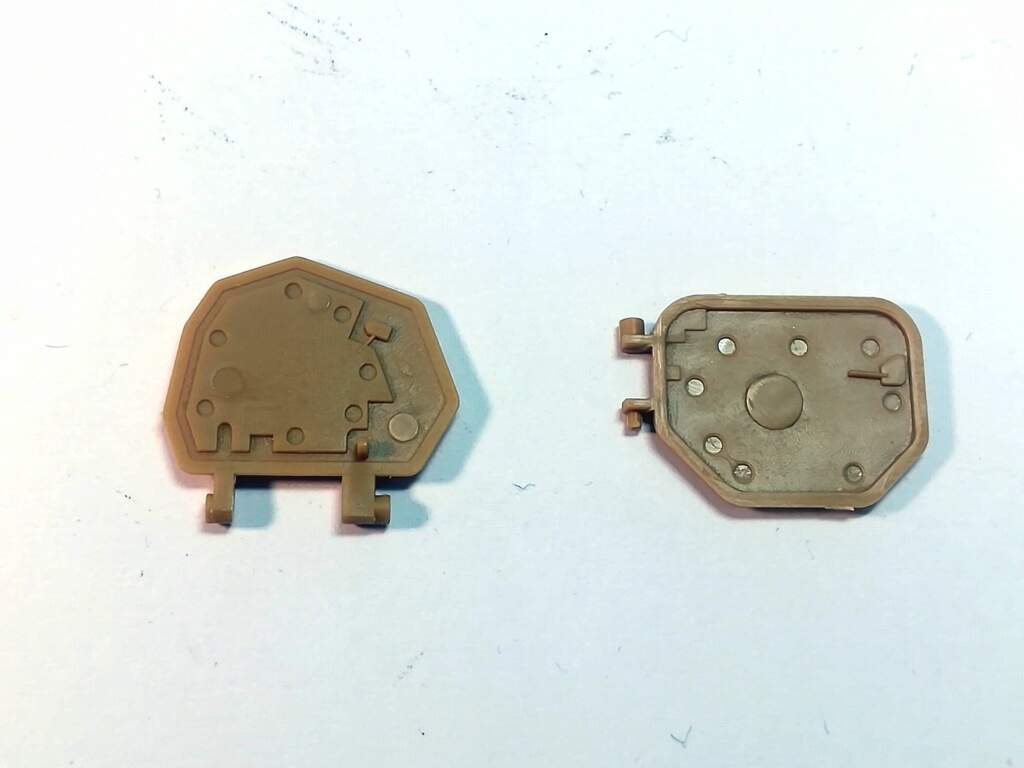
Another flaw of the kit is the rear ramp inner face. The padding patches are wrong in their dimensions, one is missing and will be added later on. I fixed the wrong shape of the door inner face too.
I’ll use putty to fill the various gaps and holes. Hopefully the result will be close enough to the actual ramp.
Some progress made on the turret. I still need toadd the Galix tubes with or without the grenades loaded (I still haven’t made my decision). The caps securing cables are missing and will be added.
That’s some stunning scratch building for that Olivier, you have added so much to it, it’s like a completely different kit. I’m glad most of the hatches will be open, you couldn’t hide all that attention to detail … It would be a crime. Will be following this one for sure
It’s great to see such fine details going into this kit. The commander and driver stations are extremely good and the troop compartment is also brilliantly kitted out. Very fine scratch-building Olivier.
It’s really amazing and I can’t stop looking at photos.
Do you have any unique techniques for gluing detailed interiors without melting the excellent details?
Thank you all the comments.
Akio, I don’t think I have any special technique. I just sparingly use extra thin cement from Tamiya to secure the parts at the beginning. And if needed I add some more glue.
Thank you.
I’ll be away from the workbench for the week. In the meantime I’ll continue getting reference pictures for some obscure details I would like to add. Fortunately I came across a walkaround with a clear picture of the commander hatch hole which perfectly shows how it opens.
Next challenge will be detailing the large troop compartment roof hatches.