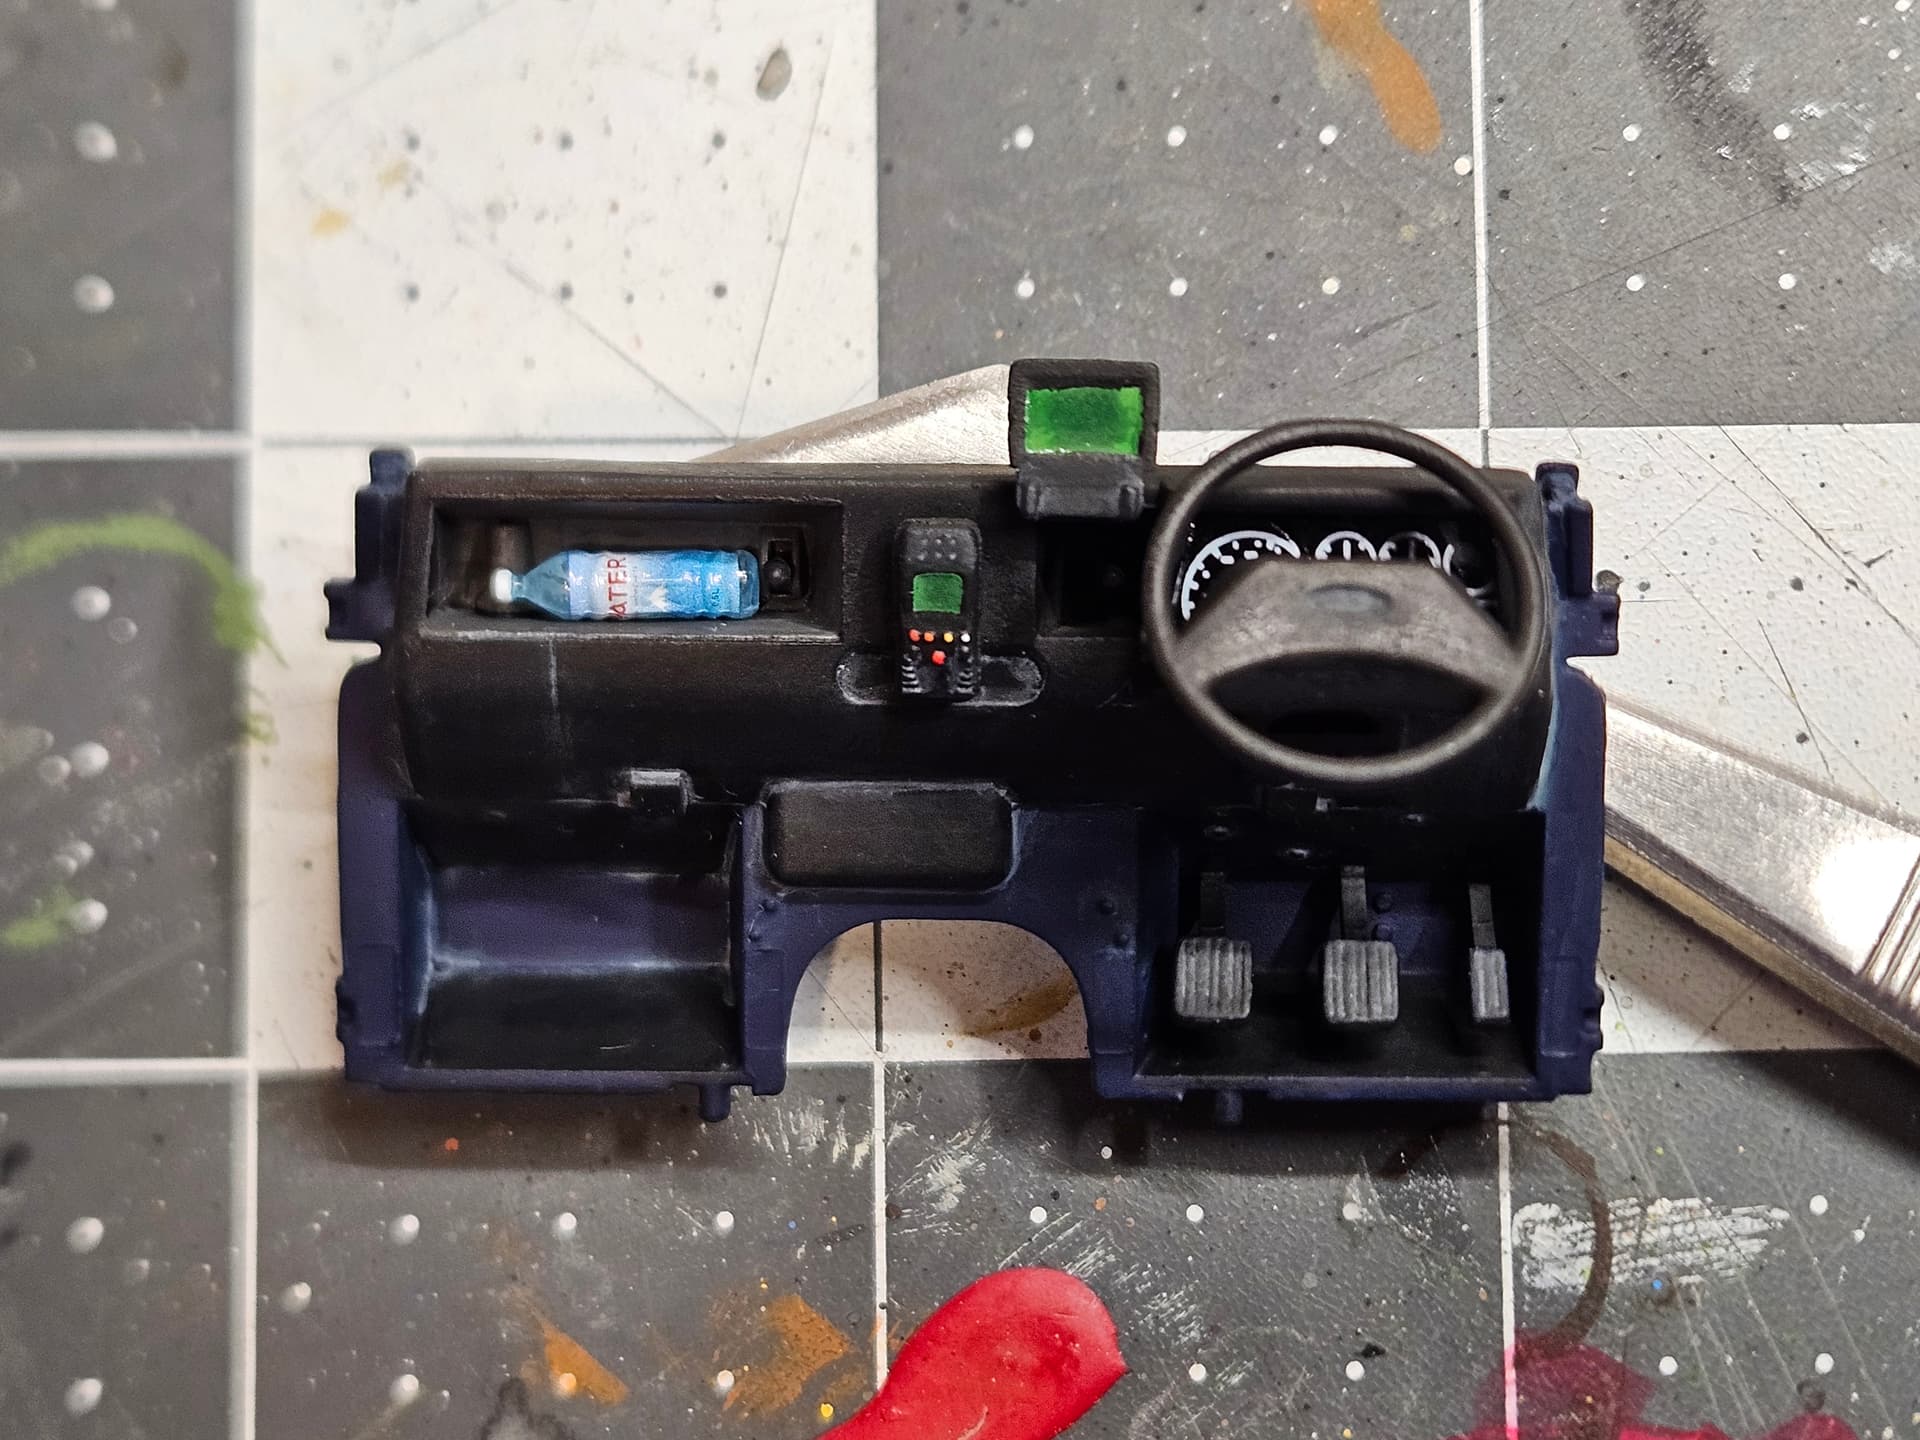
Working my way through. I just finished the front part of the cab. I’m not impressed with the decal for the odometer and gauges behind the wheel: the thing fell apart way too easily while being manipulated; and it was also not well cut to dimensions…
Since the colors are so dark, I wanted to lighten up the “mood” with some colors here and there, hence the yellow/orange/red buttons on the radio, the green screens, and the water bottle from AK Interactive set #18. I also used grey panel liner, and while I’m okay with the result, I realized that cleaning up with enamel thinner also removes the acrylic paint. Should I use a matte varnish before using an enamel product on top of acrylic?
Also, should I apply a dry brushing of sort?
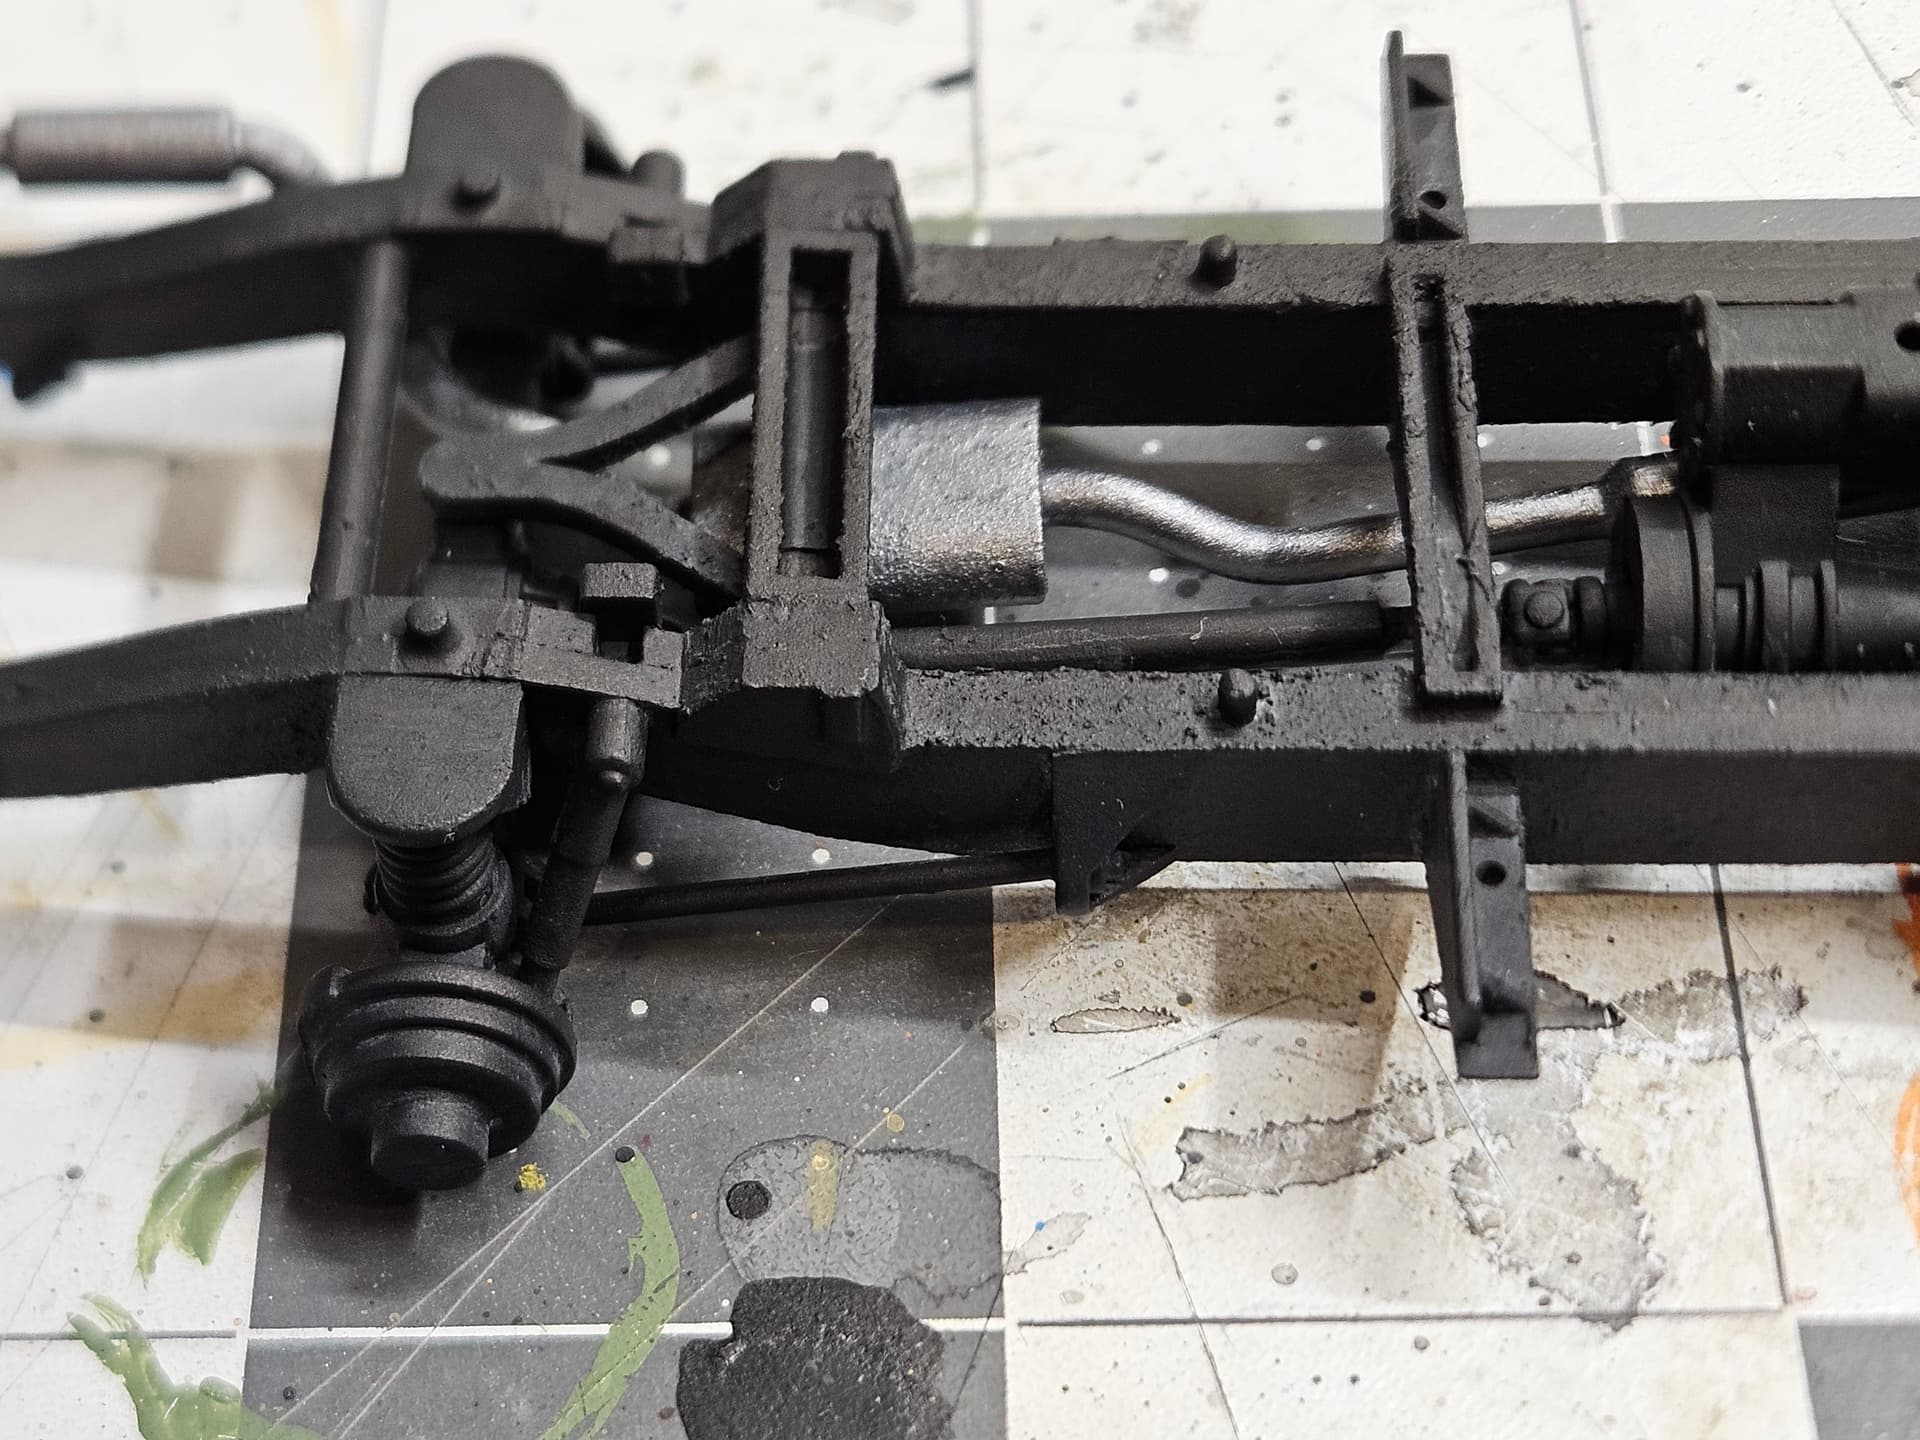
I used flat black primer&paint from Rustoleum on the chassis, and I really like the rendering of the texture applied with putty in the previous step!
3 Likes
I don’t think you need to dry brush the cabin- it looks excellent the way you have done it. And yes before using an enamel product you should use a varnish- Matt varnish will allow the enamel weathering to adhere to the paint in a fairly even spread as it is very slightly coarse but it will not be quite as easy to remove it if you get it in an area you don’t want- quick removal would be the key. A satin or gloss varnish will give a smooth finish which will allow an enamel product, such as a panel line wash, to flow easily around details and into recessed areas and it should (depending on the product) allow you to remove it a bit easier.
4 Likes
Thanks Karl! I’ll follow your advice for the rest of the cab and will apply gloss varnish beforehand.
And thanks for the feedback! I won’t dry brush 
2 Likes
@18bravo you were quite right: putting the fenders and the rest of the body together ended up being quite finicky… I damaged the paint a bit (nothing too bad) and will have to leave the doors opened since those don’t line up well with the cab.
3 Likes
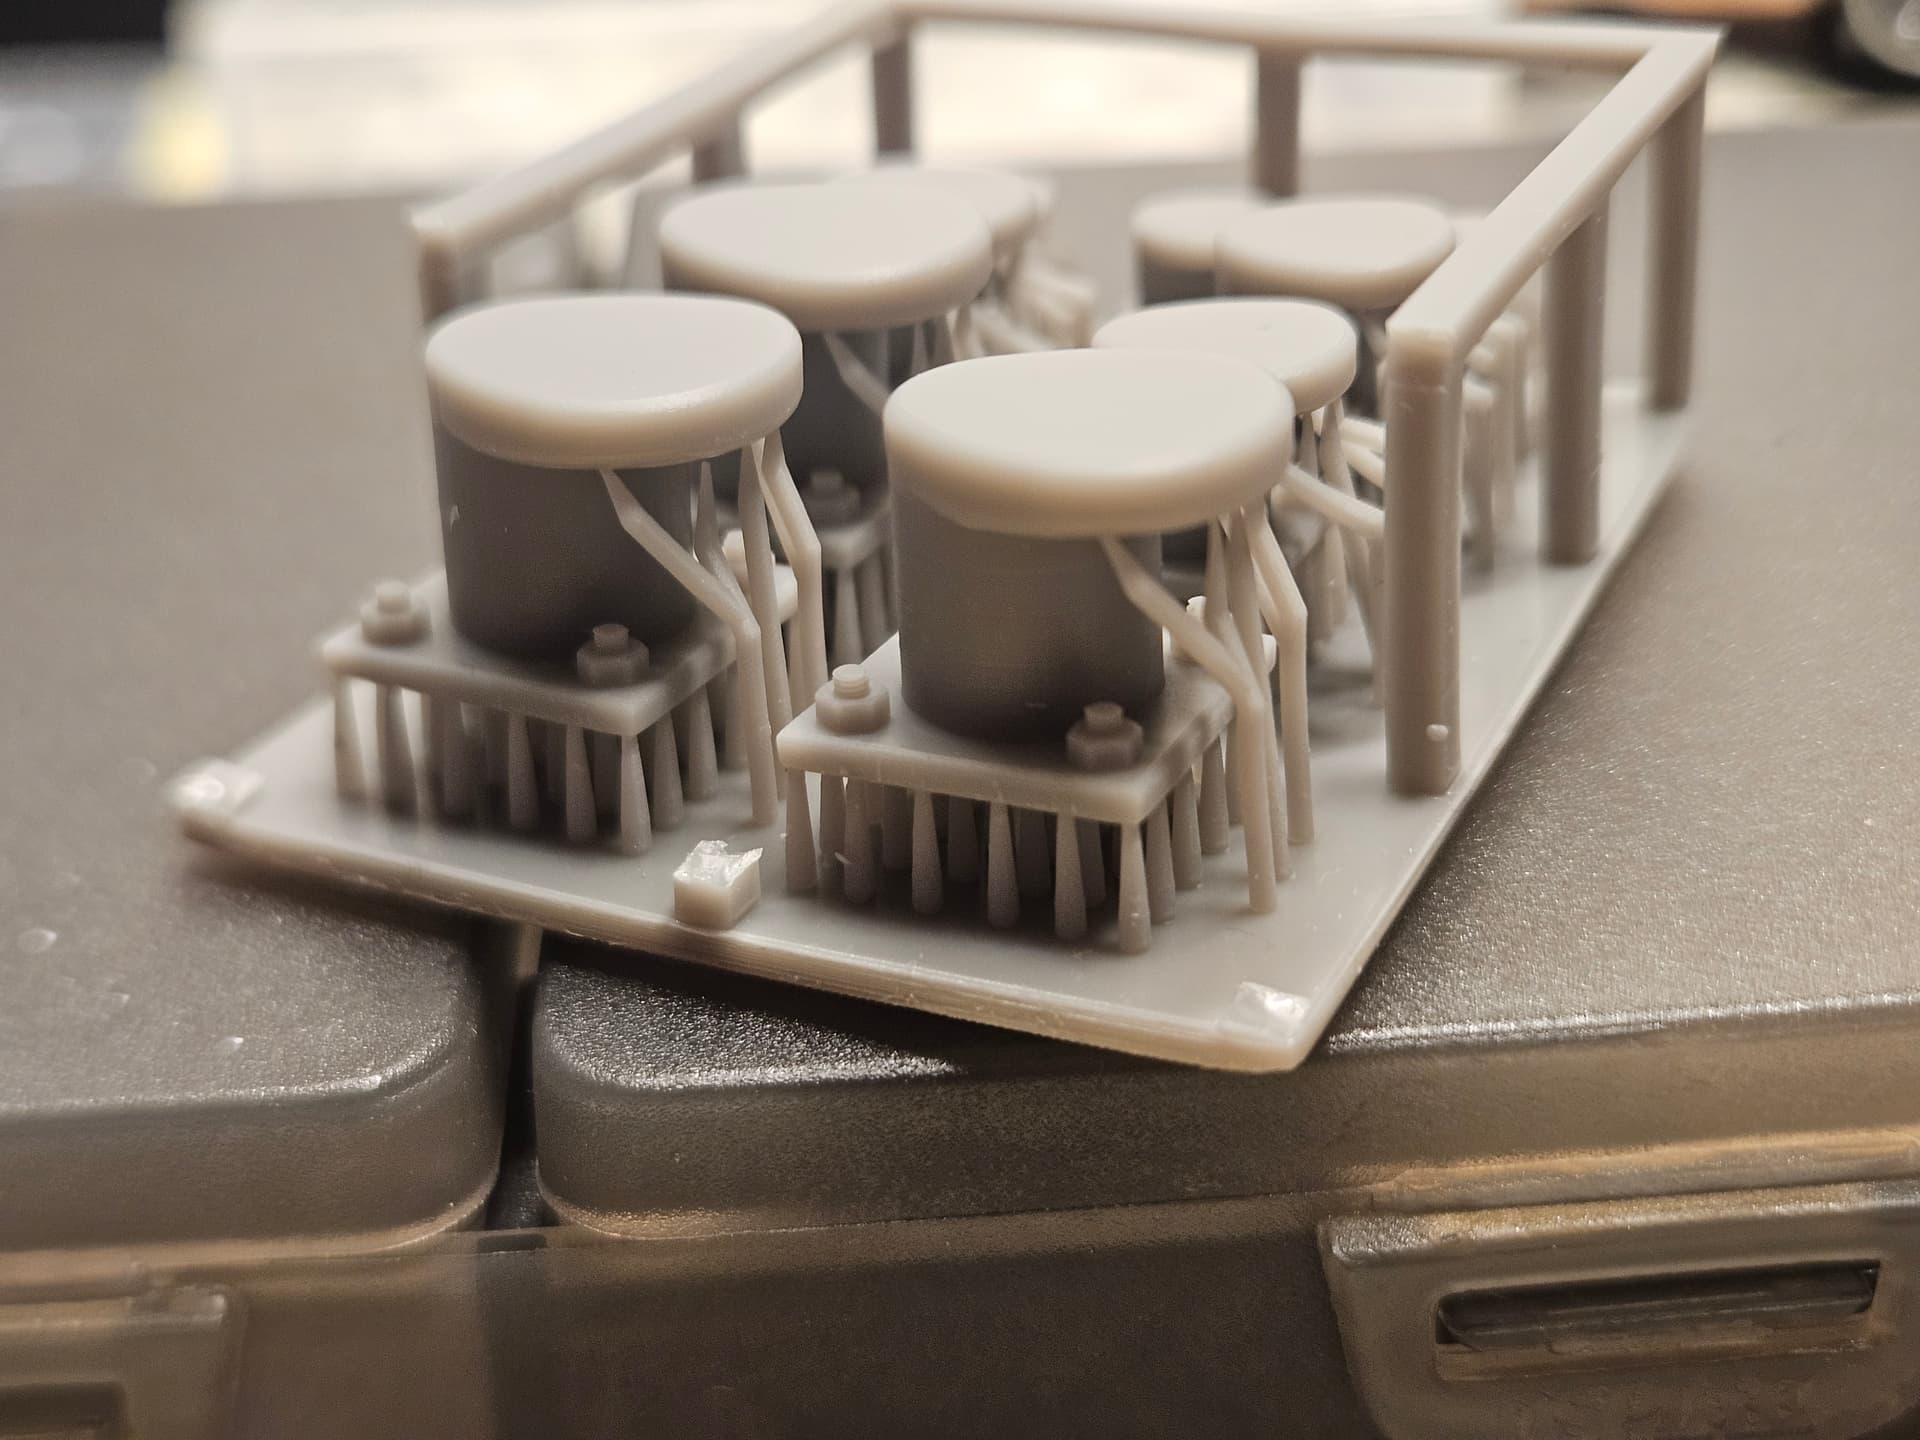
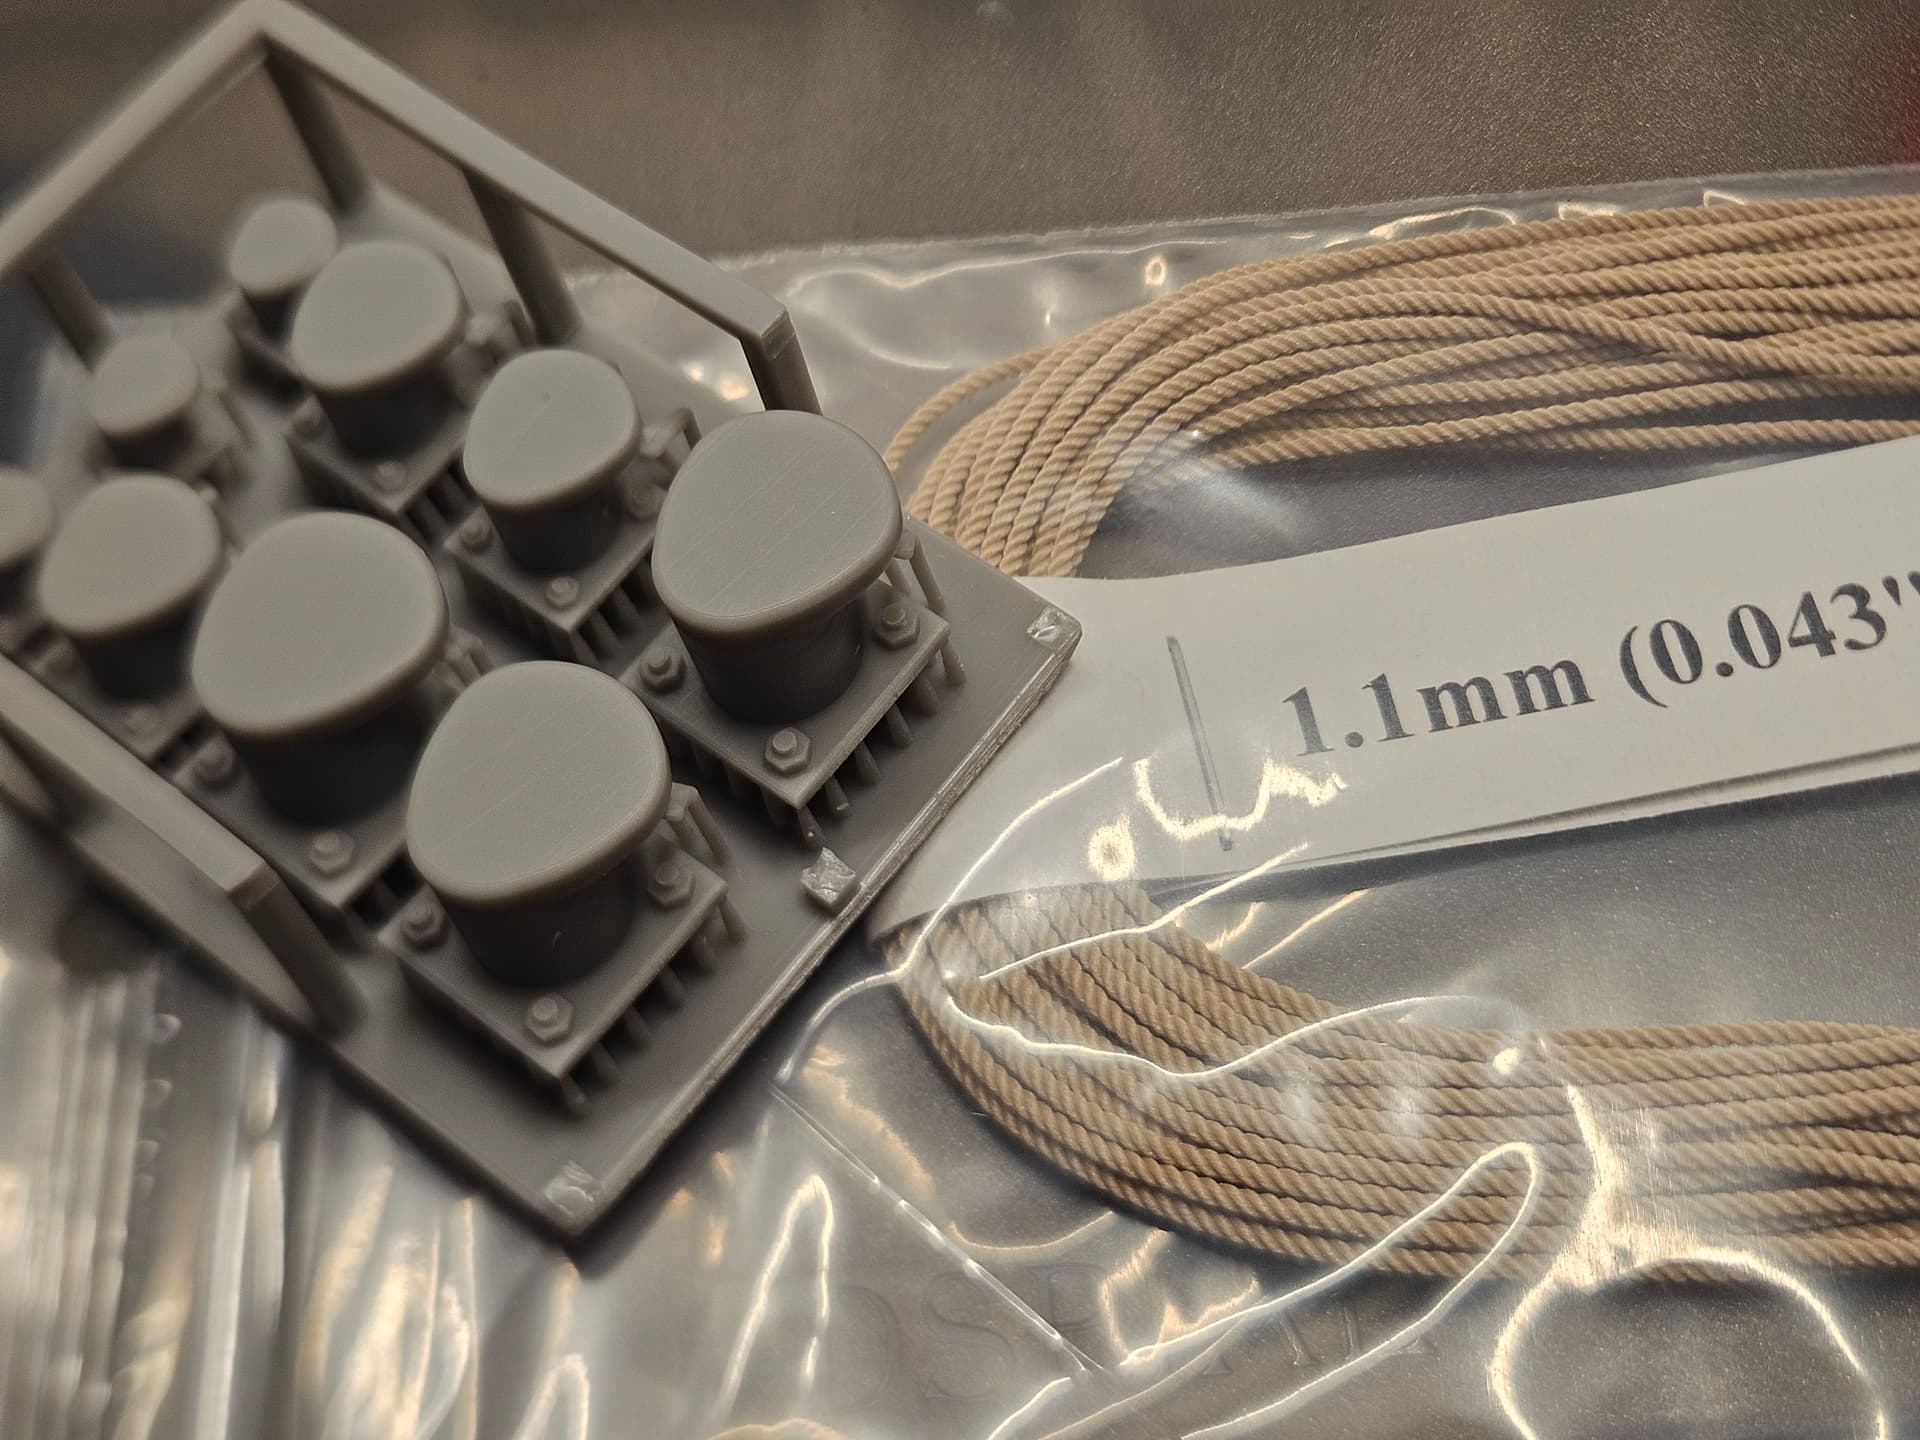
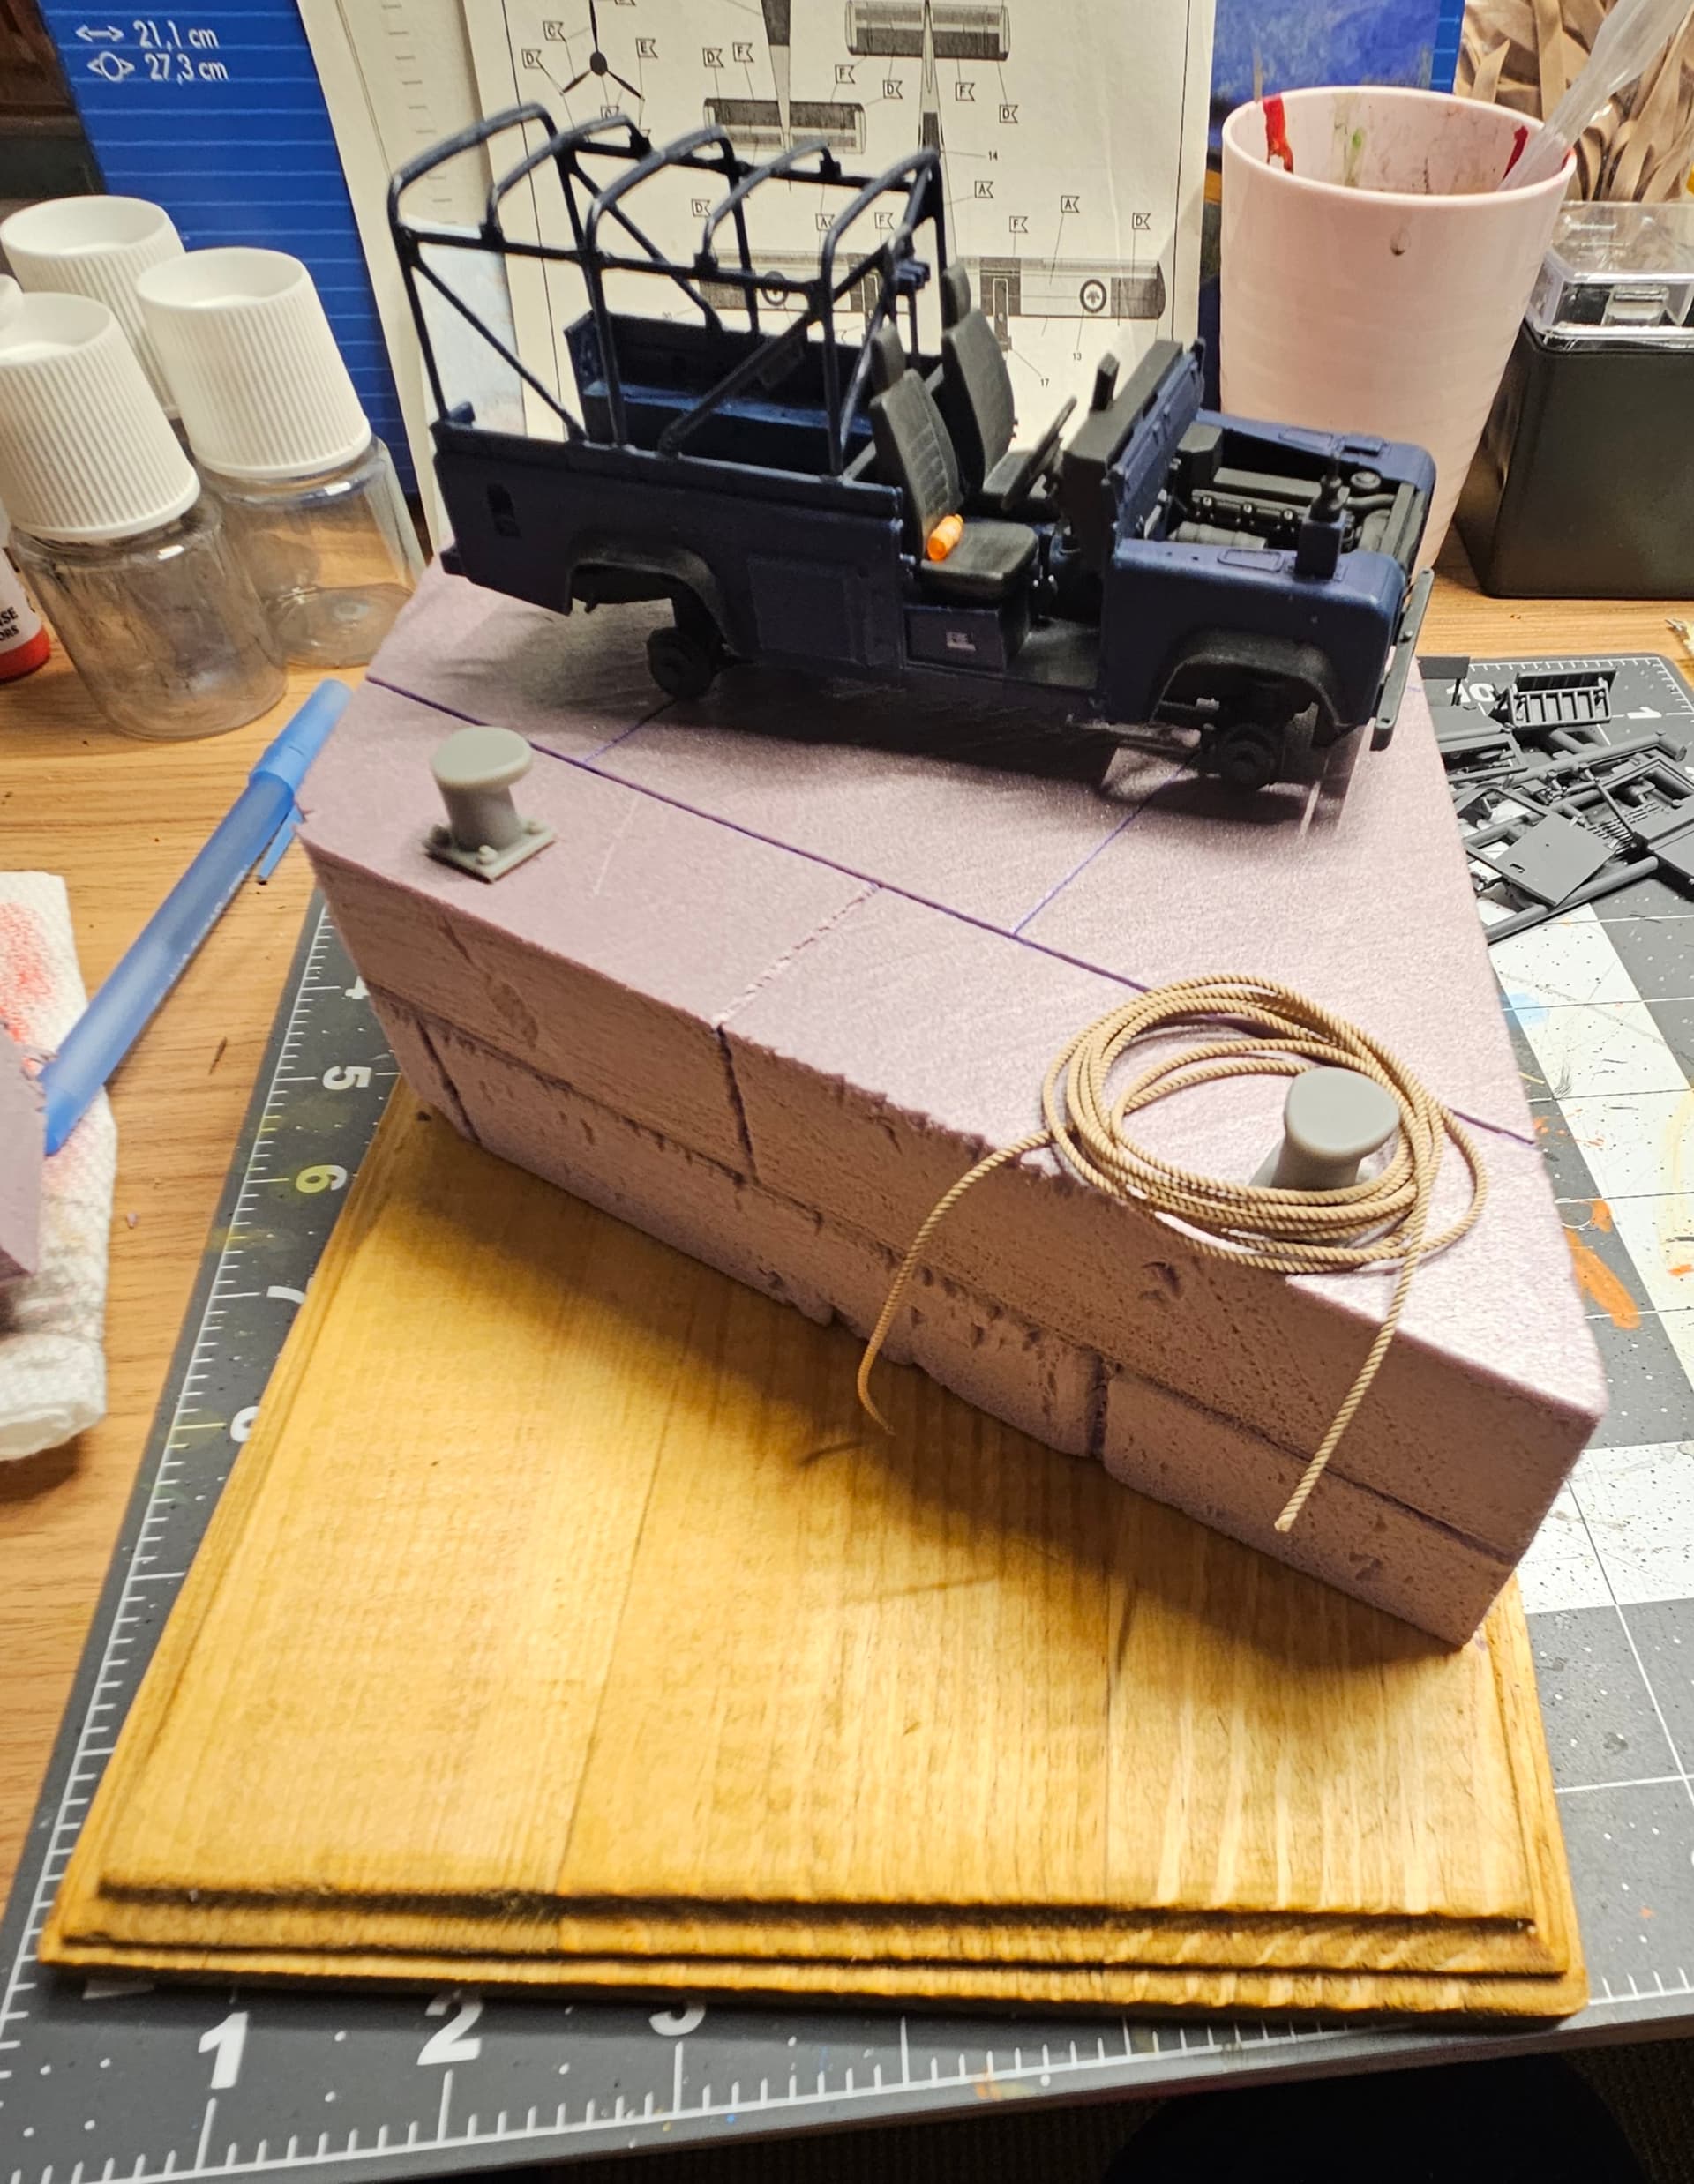
I just received a set of 3d-printed mooring bollards from DioModels for my vignette. Very good quality! That should pair very well with the marine rope I got from Ropes of Scale.
6 Likes
I love when the vision starts to materialize!
11 Likes
Indeed Francois- it is nice to get an idea of how it will look. Looks just the perfect size for the Landy.
4 Likes
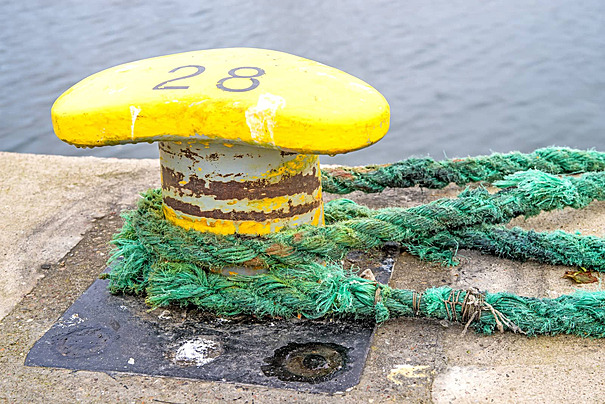
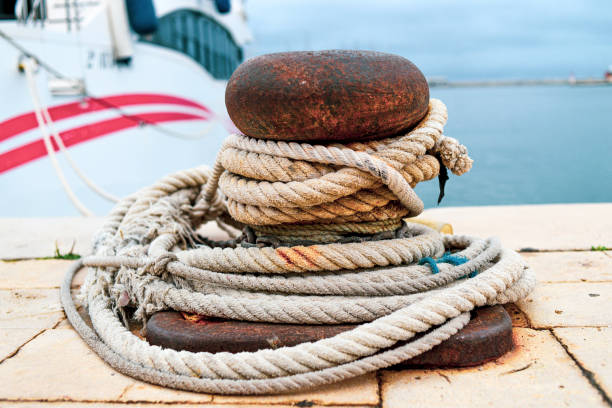
Nice work all around ! I hope there is nothing important on the other end of the mooring line shown in the bollard photo above - looks like the line is about to part !
3 Likes
Thanks!
Yeah, the rope is rather worn out! I’ll try to give the rope i have more of a used effect; I’ll see how that goes!
2 Likes
When two or more rope loops are on one bollard the professional practice is to thread the upper loop in from below through the lower loop before hooking it over the bollard. By doing this it is possible to remove either one without removing the other (which may be under a lot of tension).
In the photo above I assume that boat ropes belong to the same vessel (or whatever it is) and that they can remove them in the order from top to bottom.
If the ropes go off in different directions it could be assumed that they belong to different vessels.
https://www.youtube.com/shorts/Zcrdod1OAb4 proper English
https://www.youtube.com/shorts/xWTRSqBCS3E Indian English (enjoy  )
)
Mooring lines on a larger ship can kill:
https://www.youtube.com/shorts/Q3FcXQ4pbMA
A friend of mine heard a steel hawser snap and slap along the ships side (he was inside), there was a 20 meter long dent in the ships side where the steel wire had slammed into it. Those lines will cut a human in two halves …
3 Likes
Thanks Rob for sharing those resources. I can only imagine the tension in those ropes.
I’m not sure how I want to install the rope, but it will most likely look like something messy, like this:
4 Likes
Lol! Thought the coastguard could show up and lecture those Sunday boaters on how lazy their ropework is!
3 Likes
Printed my first decals ever today (left side of the page). I made sure to print duplicates in case things go sideways.
Since I had space left, I also printed some graffitis that I’d like to use in upcoming projects. We’ll see how that works!
9 Likes
Some progress on the base (I’m enjoying it more than advancing on the model at the moment…).
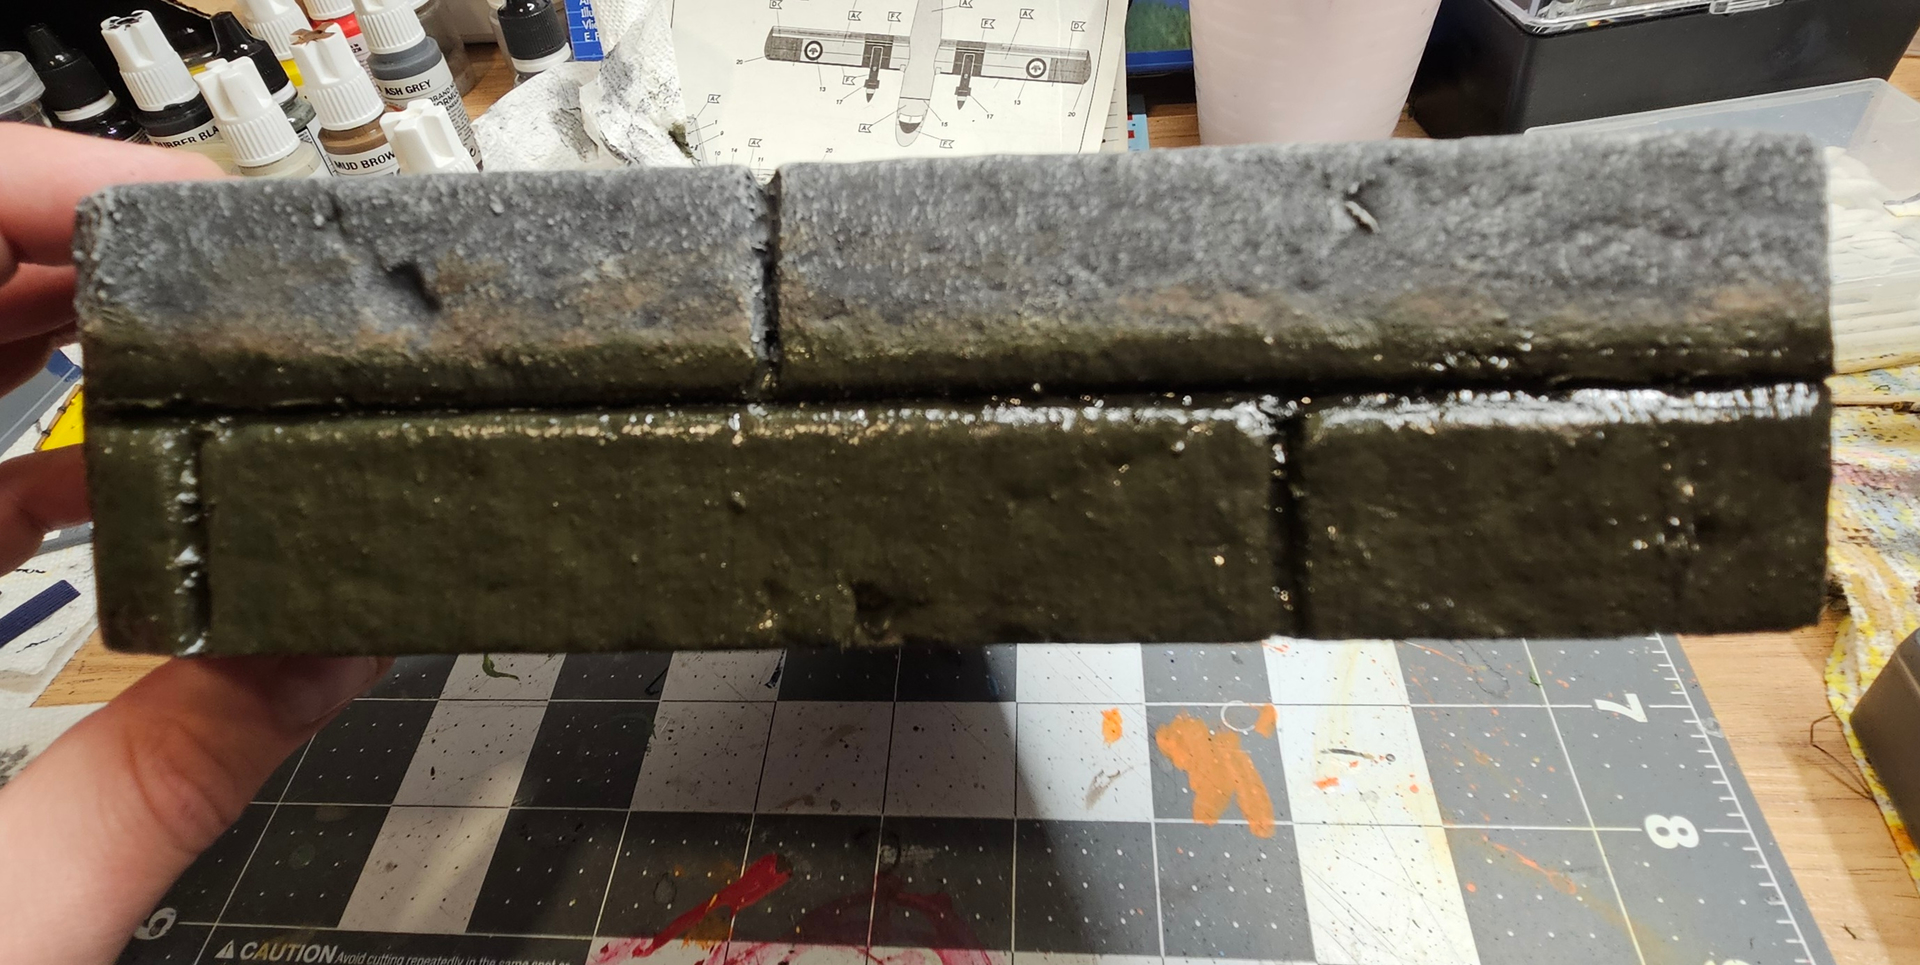
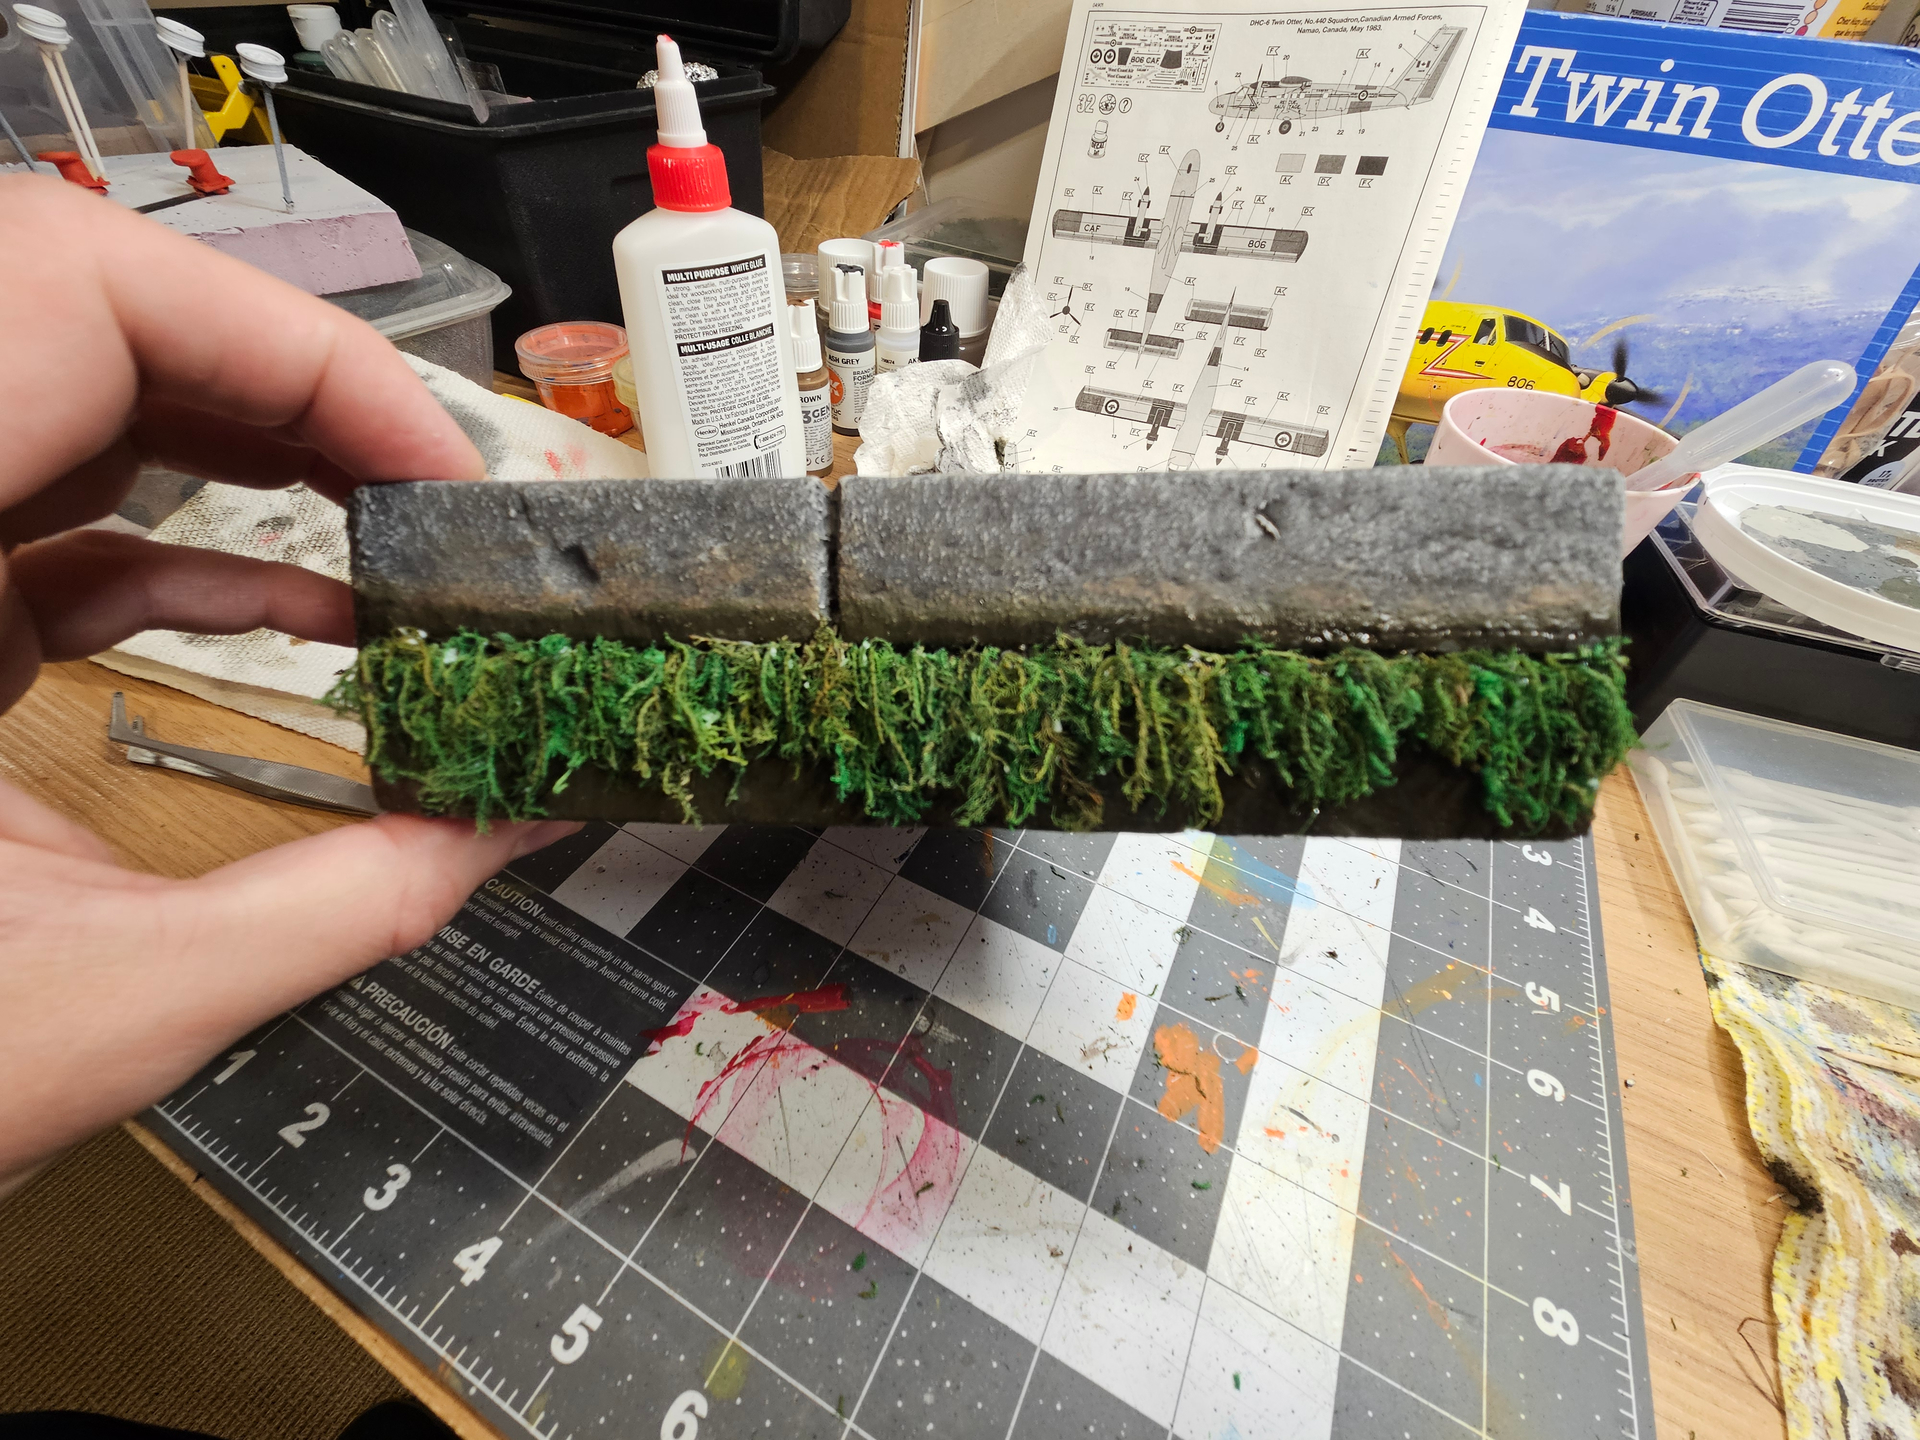
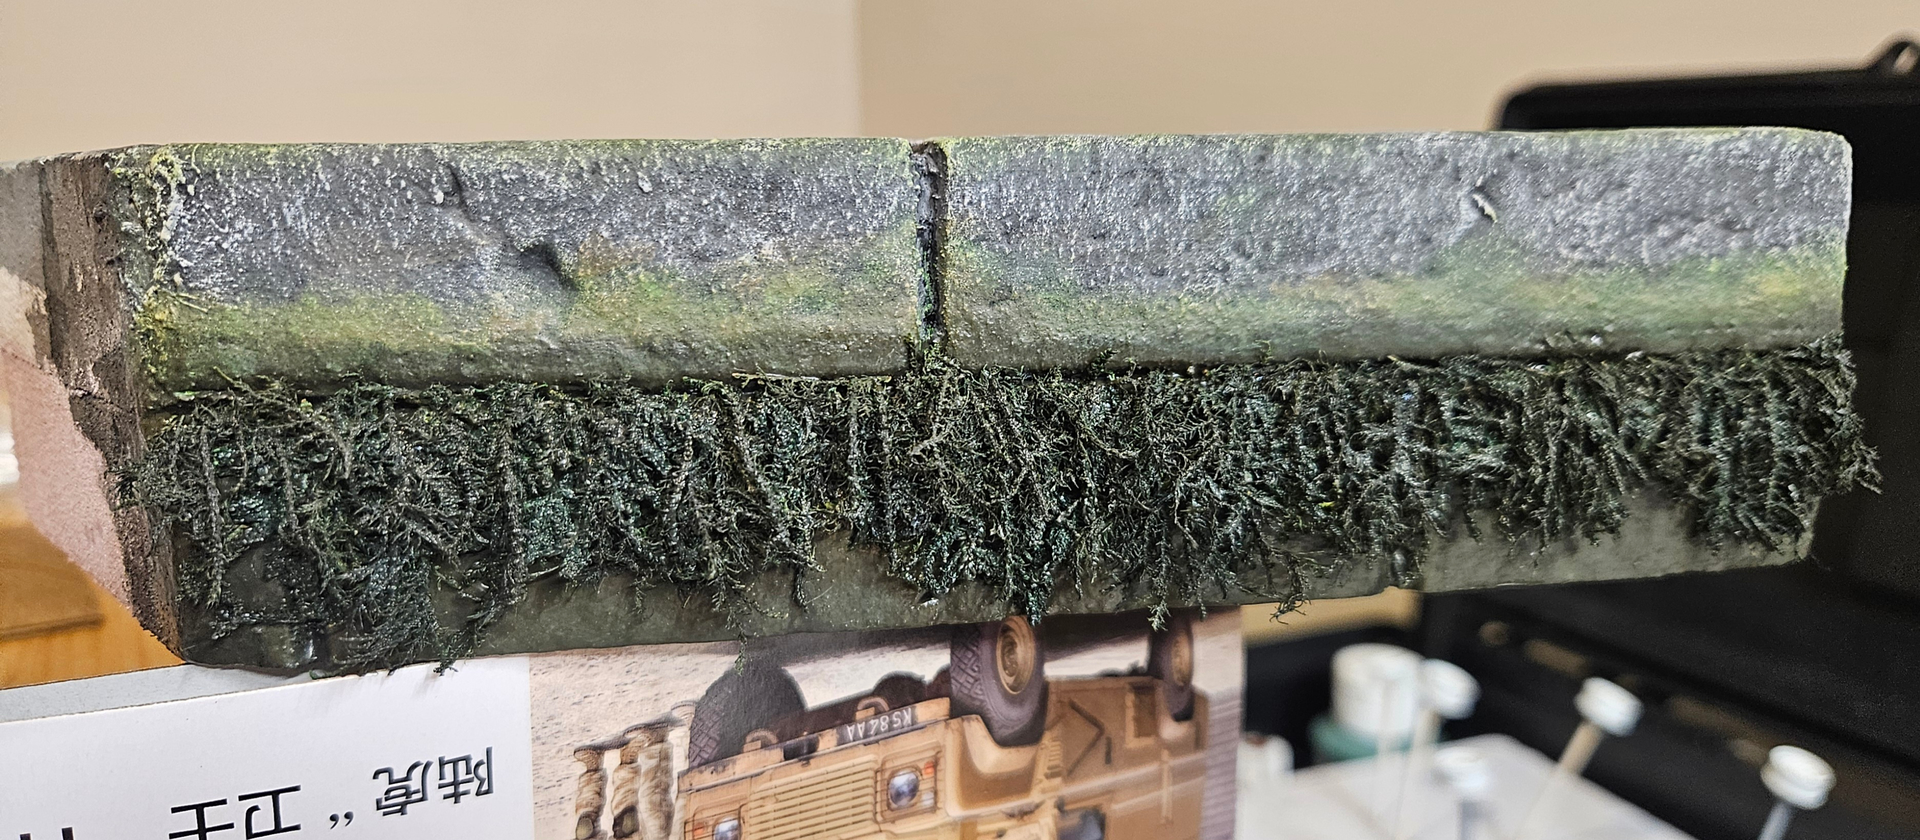
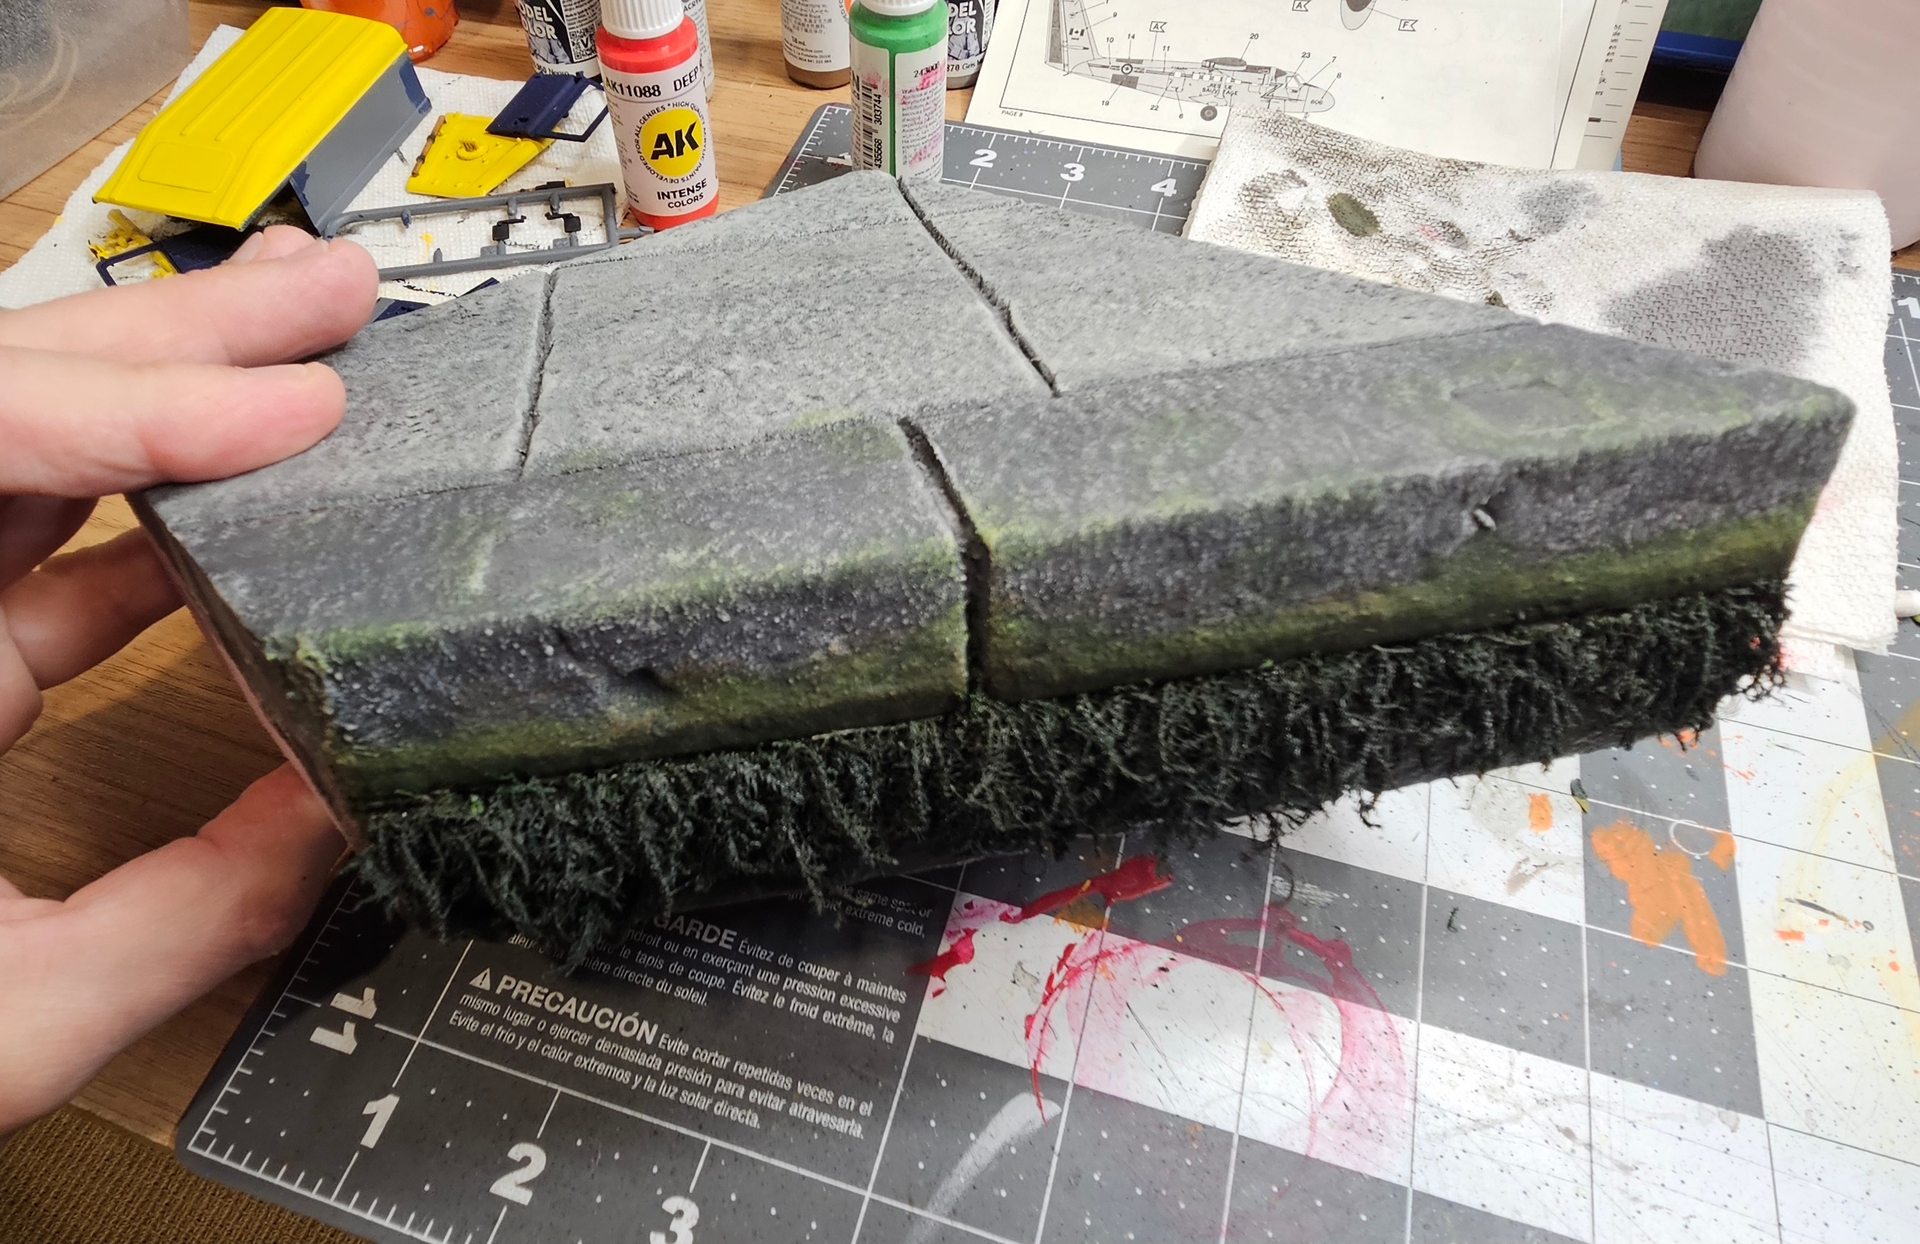
I wanted the dock to look older, like it has seen more than one tide! So, it needed seaweed! The process was as follow:
- Sponge-paint 2/3 of the sea wall of the dock with AK mud brown
- Sponge-paint on top with Vallejo Environment Moss and Lichen effect, leaving the upper limit in mud brown
- Oil filter with black, brown, and ocre
- Gloss varnish
- Application of a couple layers of dry natural moss with PVA glue
- Brush paint (2 layers) of a highly diluted mix of Valllejo Moss&Lichen, black, mud brown, and gloss varnish
- Sponge-paint a thing layer of AK Color Pencil green at the top of the tide line, and a bit of the concrete block.
I wish I had thought of adding a thin layer of crushed moss first before adding the longer pieces of moss. But, hey, one learns by doing.
So, yeah or neah? See pictures below for the steps and the final result. I’m really happy with it!
11 Likes
Yeah!
I don’t have much experience of the British seaside, or any saltwater seasides for that matter, but it looks good to me.

2 Likes
Superb looking dockside- you have captured the look of an older stone dockside very accurately.
2 Likes
Thank you for the kind words!
3 Likes
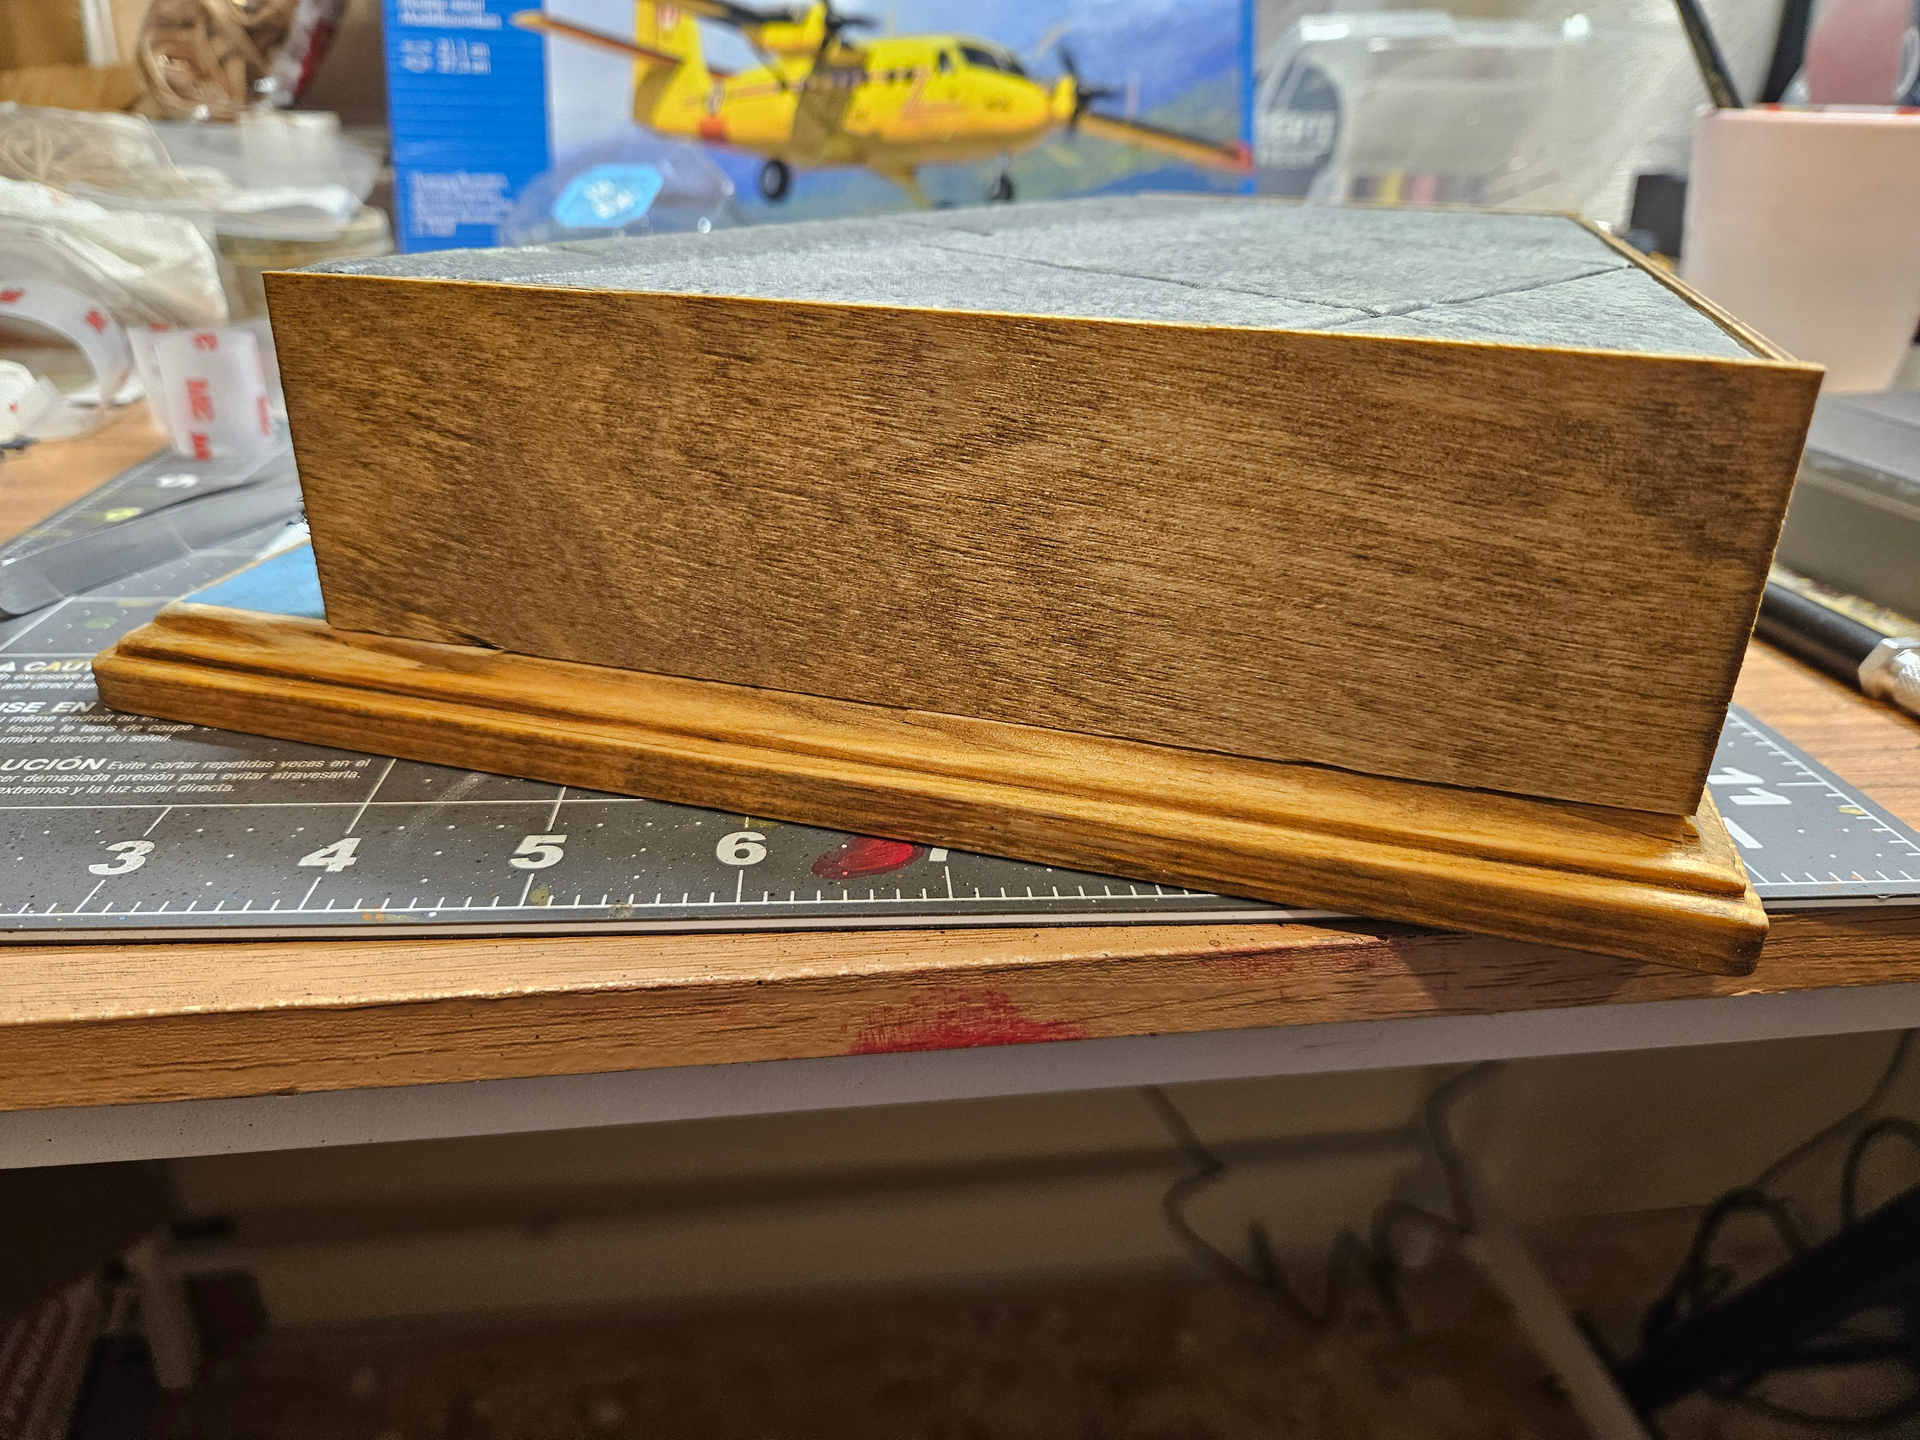
Things were going too well, and my inexperience has finally caught up to me! !@$%#
I miscalculated the sides by a smidge, and with the double-side tape, I have misalignment and gaps…
Also, while both the wood for the base and the sides were labeled as plywood, I’m getting a different color after applying the stain.
See the pics below. I’m looking for advice as to how to fix those issues, or at least hide them.
2 Likes
A brushed metal piece of angle at each corner. Available at a lot of smaller places like ACE. Or brass even - with some nice acorn head screws. Stick a tiny sliver down from the top and cut flush. You’ll probably never notice it.
5 Likes