So I could use sagged railing lengths folded down?


1 Like
So I could use sagged railing lengths folded down?

Right, but if the railings are folded down gravity would sag the lines toward the ocean surface rather than toward the ship’s centerline (as they will with etched railings intended to be mounted upright). Each line of each section between the stanchions would have to be rotated individually downward 90 degrees. Lots of work!
1 Like
This version of the kit has a whole bunch of attacking Commando’s. I’m thinking mini-dio with the help of some scenes from the animated video posted above. It"s either lay the railings horizontally, or leave them off altogether - neither is really accurate - and you can’t have them standing, either!
1 Like
Looking great Tim,
The level of detail for 1/700th is splendid. I am finding the Konigsberg more an more irresistible.
Cheers
Si.
2 Likes
RedDuster
Looking great Tim,The level of detail for 1/700th is splendid. I am finding the Konigsberg more an more irresistible.
Cheers
Si.
Thanks Si. This has been my first experience with Flyhawk, and up to now I have been seriously impressed with both the detail and fit. However…

I had previously prepared Campbeltown’s 20mm mounts with their etched brass shields. Focused on cleaning them up, repositioning some of the barrels to different elevations and fitting the shields, it somehow didn’t register when test fitting them that they were slightly too big for the tubs:

Now, with the barrel limiting rails in place, the discrepancy is obvious and guns won’t fit into their tubs at all!
![]()
2 Likes
Well…ain’t that a beyotch! I noticed that too on mine. The gunner would have to stand outside the tub!  You may have to cheat a bit by locating the gun pedestal closer to the edge of the splinter shield.
1 Like
Well…ain’t that a beyotch! I noticed that too on mine. The gunner would have to stand outside the tub!
You may have to cheat a bit by locating the gun pedestal closer to the edge of the splinter shield.
I tried moving the pedestals forward, but unfortunately that doesn’t quite work either. Doh! It is seriously annoying that Flyhawk’s guns don’t fit – especially since in other respects I just love this kit!
So… what to do about it? The tubs can’t be enlarged, so it is the guns themselves that need to be adjusted. Those I’d modified to maximum elevation actually did fit into the tubs, but now that I see it this won’t work either because they are just crammed in there and they would obviously not have been useable. I considered removing the shoulder braces or cutting sections from the middles to shorten them, but these solutions would have ruined the guns proportions.

Unable to think of any better options, I’ve reluctantly decided to modify my “out of the box” approach for this model and use correctly scaled aftermarket guns. I have on hand some 1/700 scale 20mm Oerlikon mounts from White Ensign Models which should serve.
![]()
6 Likes
3DModelParts make these: 1/700 Un-Shielded Single 20-mm Oerlikon Cannons (Pedestal Mount) - 30 pcs - 3DModelParts They may not look too good in these photos, but they are magnified 10+x. I’ve used them on Warspite and they look good:
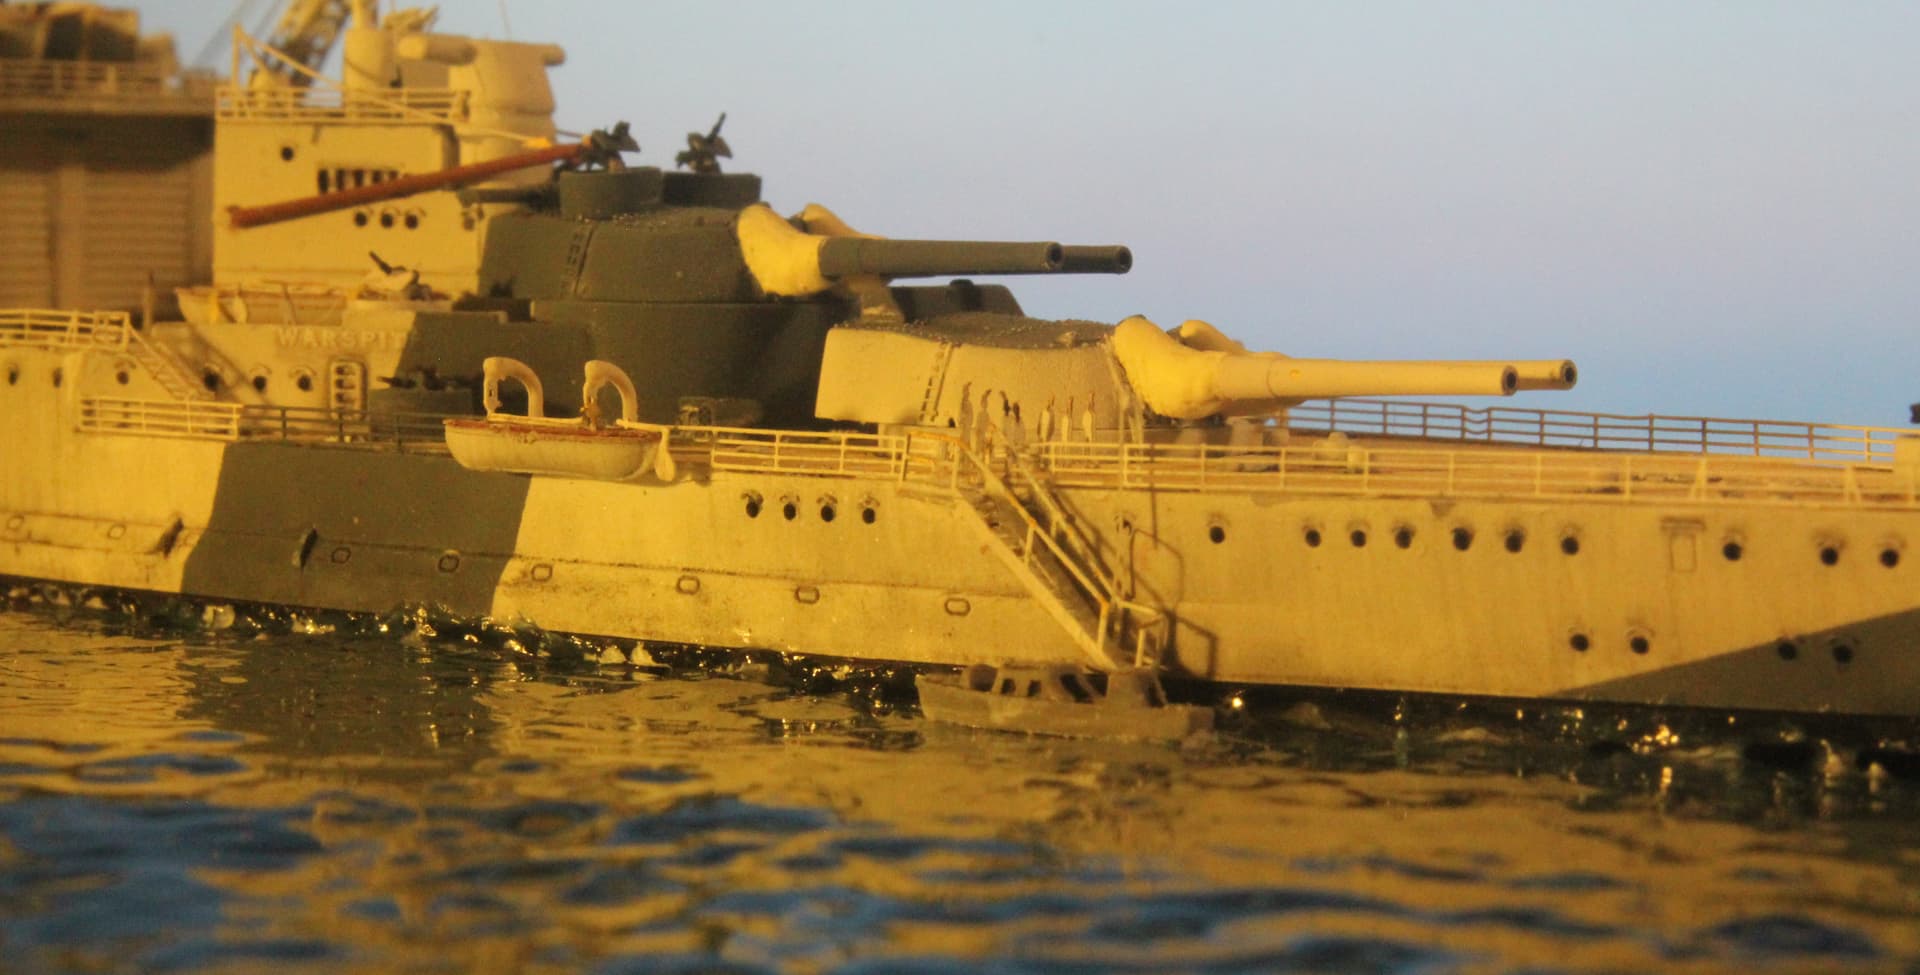
They are well detailed and fit well in the gun tubs. (I added PE shields to the guns; they came without)
2 Likes
Thanks for the suggestion, Leo, and nice Warspite! The 3D 20mm Oerlikon parts do look good, but I already have the White Ensign set on hand and I’m going to attack them this weekend.
2 Likes
Hi Tim,
The level of detail in this OOB build is just incredible, I keep doing double-takes every time a finger makes an appearance, as the kit otherwise looks much larger. This has been a most enjoyable build to follow, and I’m looking forward to the final reveal. Shame about the over-sized AA pieces, but I’m sure you will power through with the replacements!
Marty
3 Likes
Hi Tim! Shame about the 20mm… I think you’ve chosen the correct approach in choosing the WEM set to replace the kit parts👍
2 Likes
Hi Tim,
The level of detail in this OOB build is just incredible, I keep doing double-takes every time a finger makes an appearance, as the kit otherwise looks much larger. This has been a most enjoyable build to follow, and I’m looking forward to the final reveal. Shame about the over-sized AA pieces, but I’m sure you will power through with the replacements!Marty

Hi Tim! Shame about the 20mm… I think you’ve chosen the correct approach in choosing the WEM set to replace the kit parts👍
Marty and Russ, thanks!

The White Ensign Models etched guns are nice, but they are twin mounts.

To make singles of them I bent them in the middle to double the barrels and the bodies and leaving a space between the shoulder braces at the rear. The tiny assemblies were then temporarily glued to a toothpick for painting. Here the braces are already painted pink, and the gun on the right has the barrel and body painted black as well.

The paint on the finished guns flows between the thin halves to give the flat etch a nice three-dimensional look.


Set on top of the kit gun pedestals and with the kit brass shields mounted, the guns on the aft deckhouse and on the ‘midships “bandstand” are ready for action!
8 Likes
Well done Tim and they are certainly an improvement.
2 Likes
Great work Tim, huge improvement over the out of scale kit parts but then again I can sort of understand the kit parts as the moulds can only go so far with the plastic.
2 Likes
Profile - RDT1953 - KitMaker Network
Well done Tim and they are certainly an improvement.
LittorioBritish Bulldog
Great work Tim, huge improvement over the out of scale kit parts but then again I can sort of understand the kit parts as the moulds can only go so far with the plastic.
Richard and Luciano, thanks. I suppose Flyhawk did the best they could with their injection molded 20mm guns, but the finer etched parts do look better than the kit versions close up -

Although I must admit, at more normal viewing distances the tiny things do tend to disappear a bit into the surrounding detail -

And I still have those even smaller .50 caliber guns to replace…
![]()
6 Likes
Tim,
fantastic work - and due to the size issues with your 20 mm guns I still call it OOB 
I’m just catching up. She looks absolutely stunning, and I like the color!
Cheers
Jan
2 Likes
JJ1973Patron
Tim,
fantastic work - and due to the size issues with your 20 mm guns I still call it OOB
I’m just catching up. She looks absolutely stunning, and I like the color!Cheers
Jan
Thanks Jan! I’d have liked to keep to the out-of-the-box rule for this build, but those 20mm guns just didn’t work - and neither did the .50cal guns (which the kit didn’t include, but I couldn’t resist adding). I’m still determined to keep the scratchbuilding to a minimum, though!

Having replaced the eight kit 20mms with the more petite WEM photoetched parts, the two .50 caliber guns I’d converted from the kit’s spare 20mms had to be replaced as well.


I made up new .50s from the same WEM etched 20mm parts but with the shoulder braces cut away and the barrels slightly shortened. Temporarily attached to a toothpick for painting, here they are next to one of the 20mm guns, and behind them are their two mounts (plus a spare – these miniscule things are so easy to lose!)


I’m not at all fond of redoing work, but at least the new .50s are more in-scale than my initial attempts. Also, the arm-type pedestals are more faithful to the original .50 cal Mk 3 mounts than the thick conical types of my first version – so I guess the extra effort wasn’t altogether wasted!
7 Likes
Nice progress Tim,
The WEM 20mm look good, like the 50 cals too.
Cheers
Si
2 Likes
Nice job on those 20’s, and I would probably do similar if I had a WEM set…but I still have plenty of 3DModelParts 20’s to use up.
2 Likes
Nice progress Tim,
The WEM 20mm look good, like the 50 cals too.
Cheers
Si
Nice job on those 20’s, and I would probably do similar if I had a WEM set…but I still have plenty of 3DModelParts 20’s to use up.
Thanks guys - I’m glad to be done with those tiny guns! Maybe 3D printed ones next time… ![]()
By the way, take a look at those objects along Campbeltown’s deck edge in front of the bridge:


Flyhawk included them on the model and they appear in photographs of the ship, but none of my references, Profile Warship 5 HMS Campbeltown (USS Buchanan) Flush Decker Destroyer 1918-1942 by John Wingate DSC, or Anatomy of the Ship The Destroyer Campbeltown by Al Ross,
Operation Chariot: The St Nazaire Raid 1942 by Jean-Charles Stasi, depict or make any mention of them…does anyone know what they were?
6 Likes