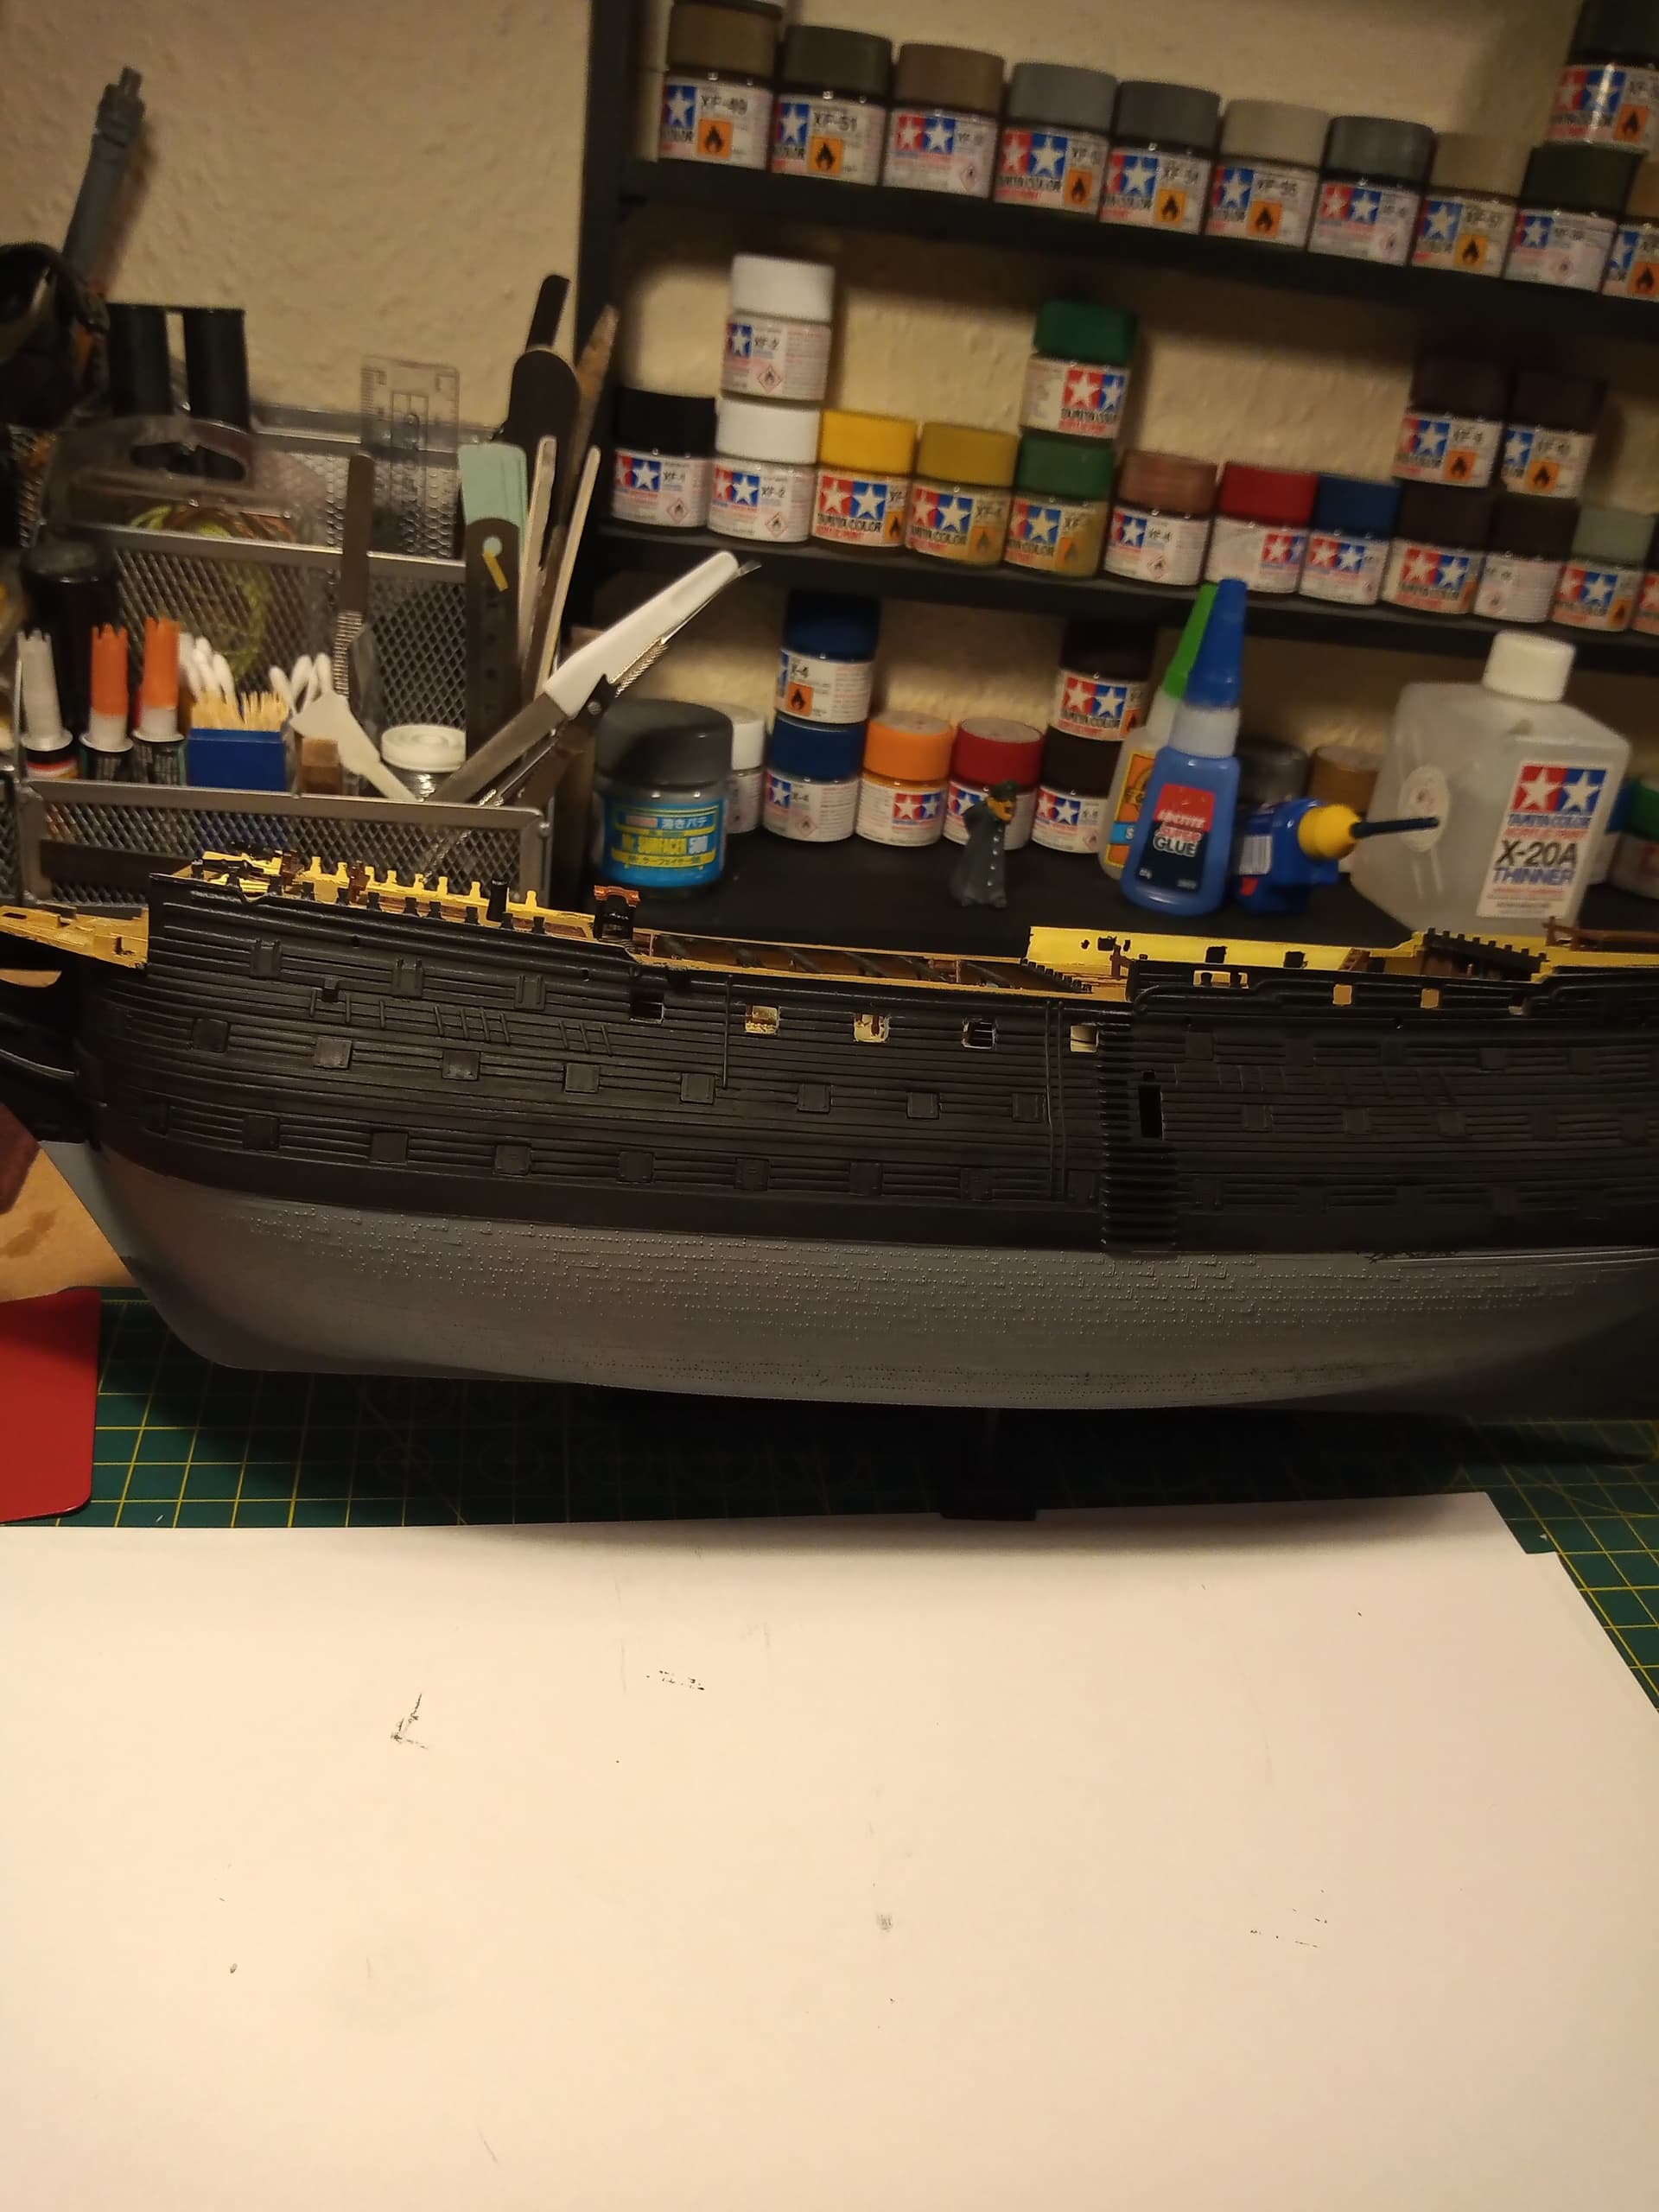
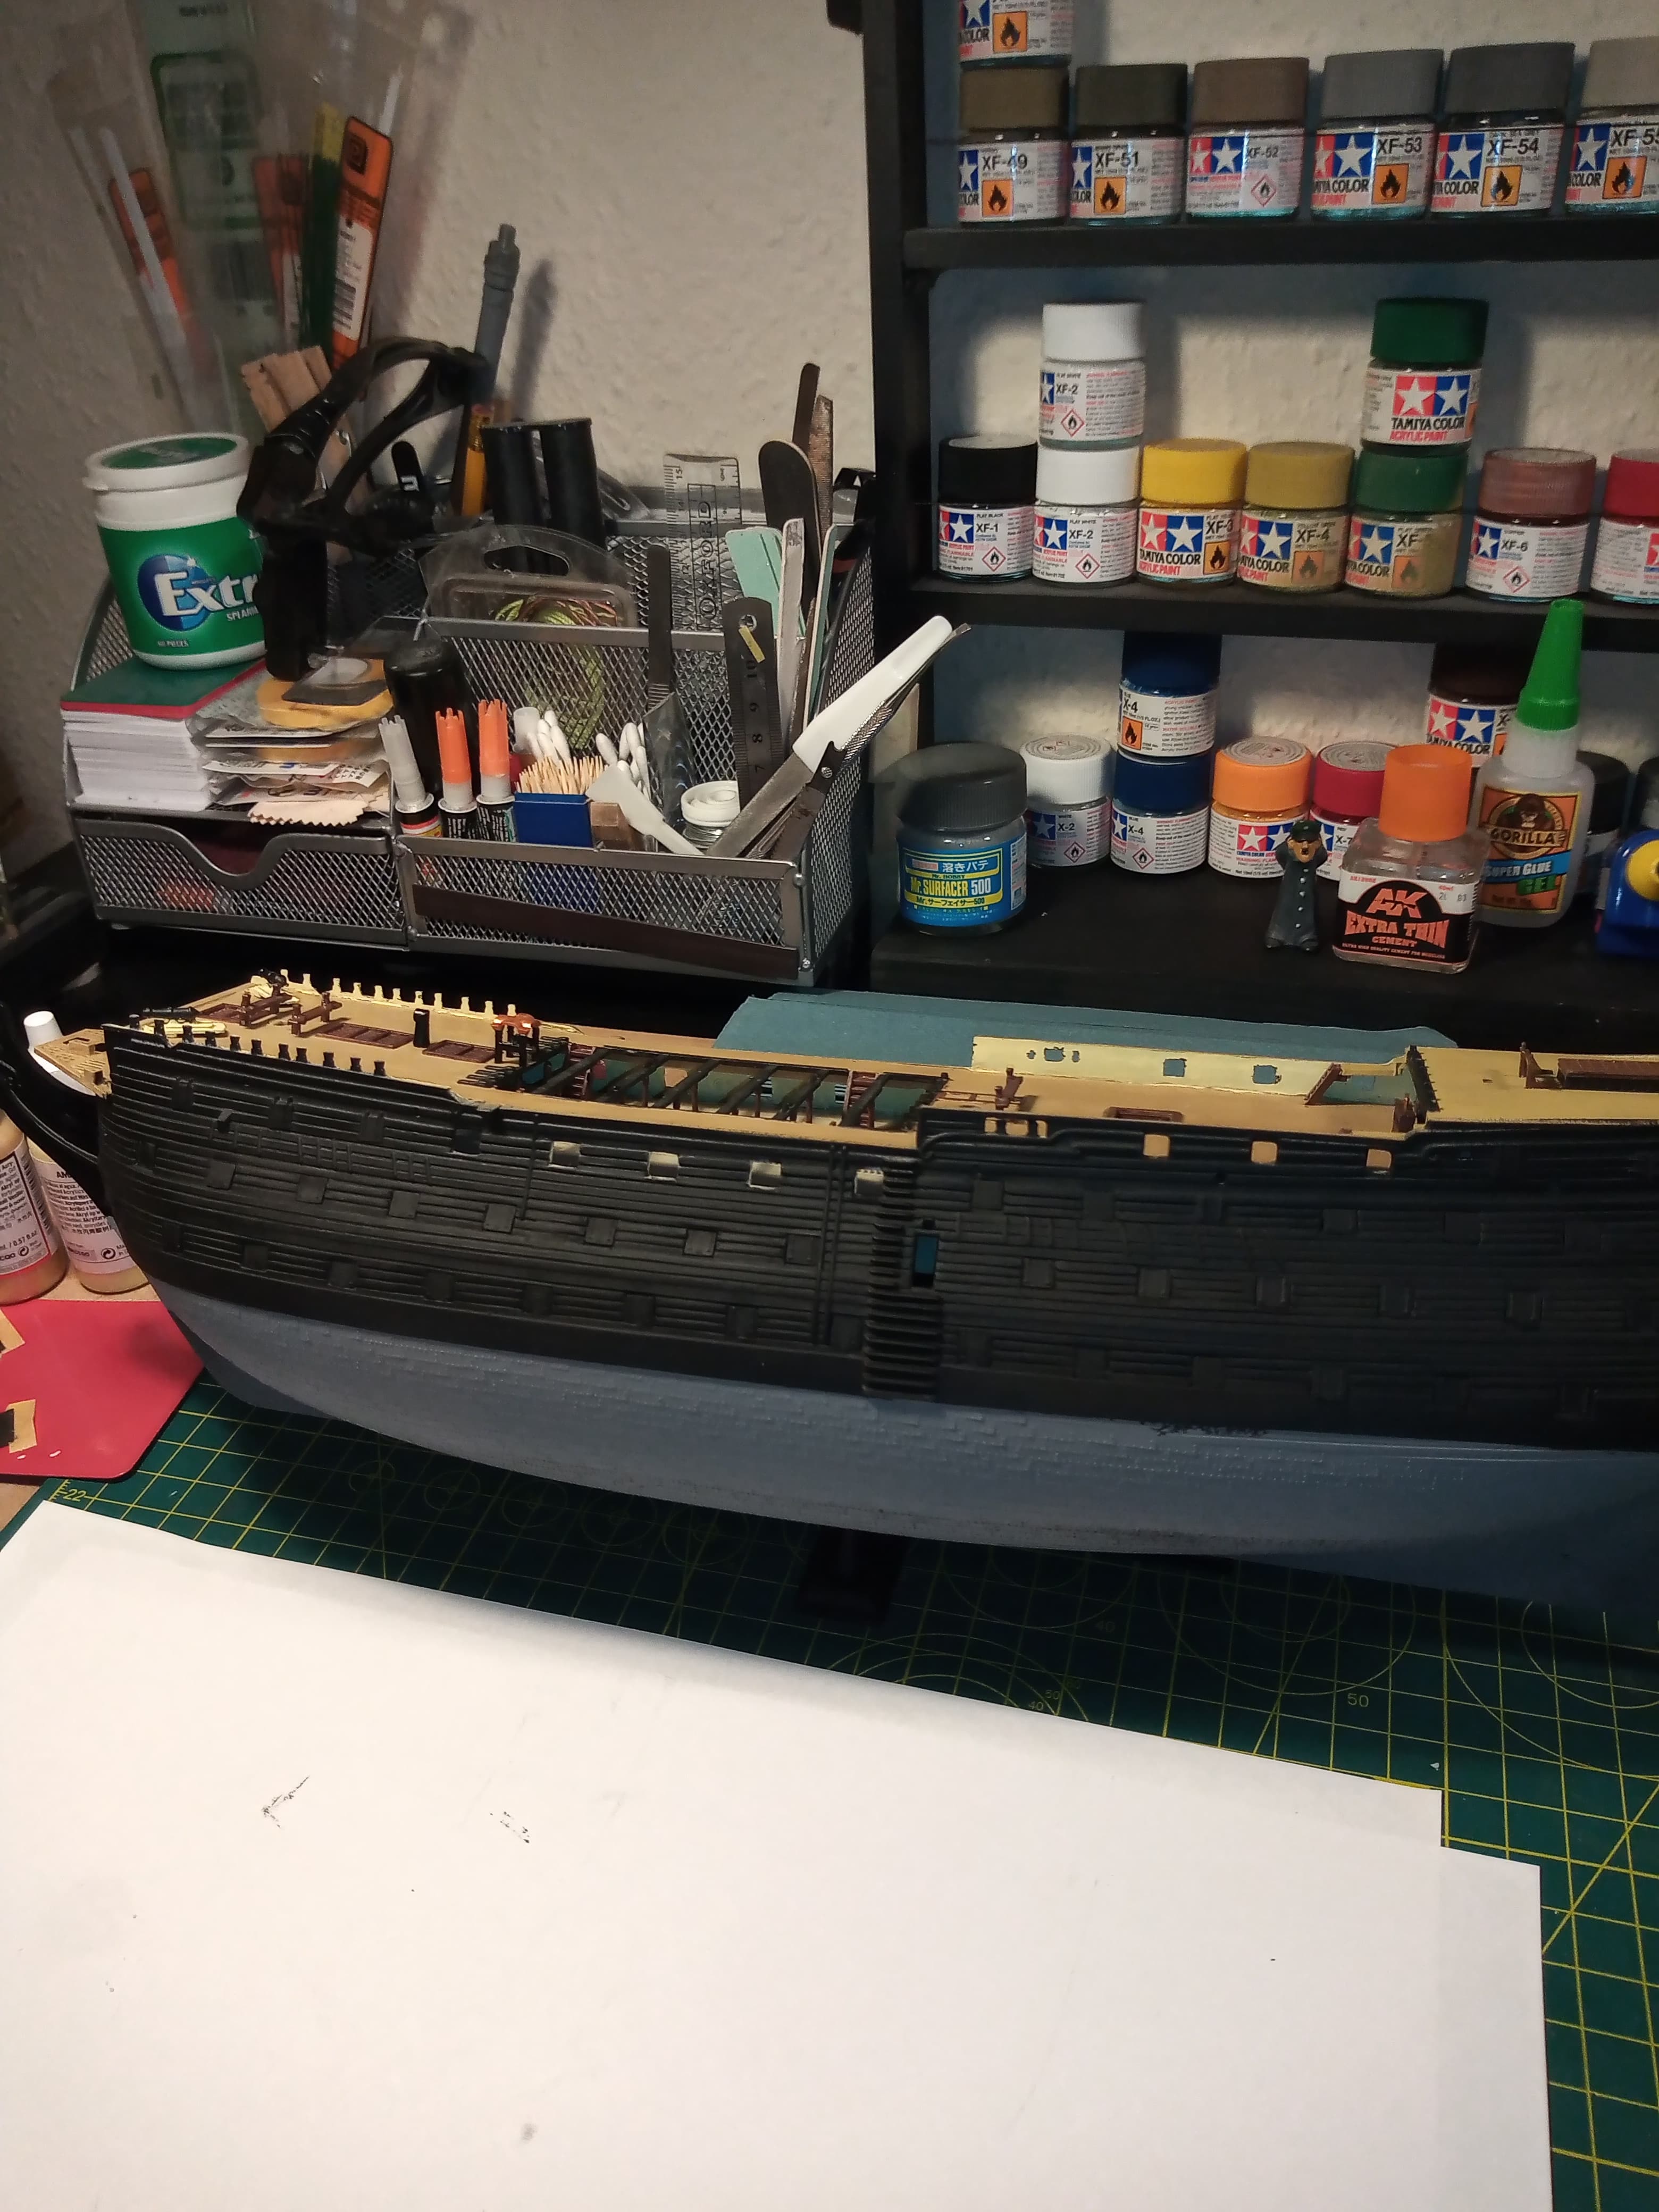
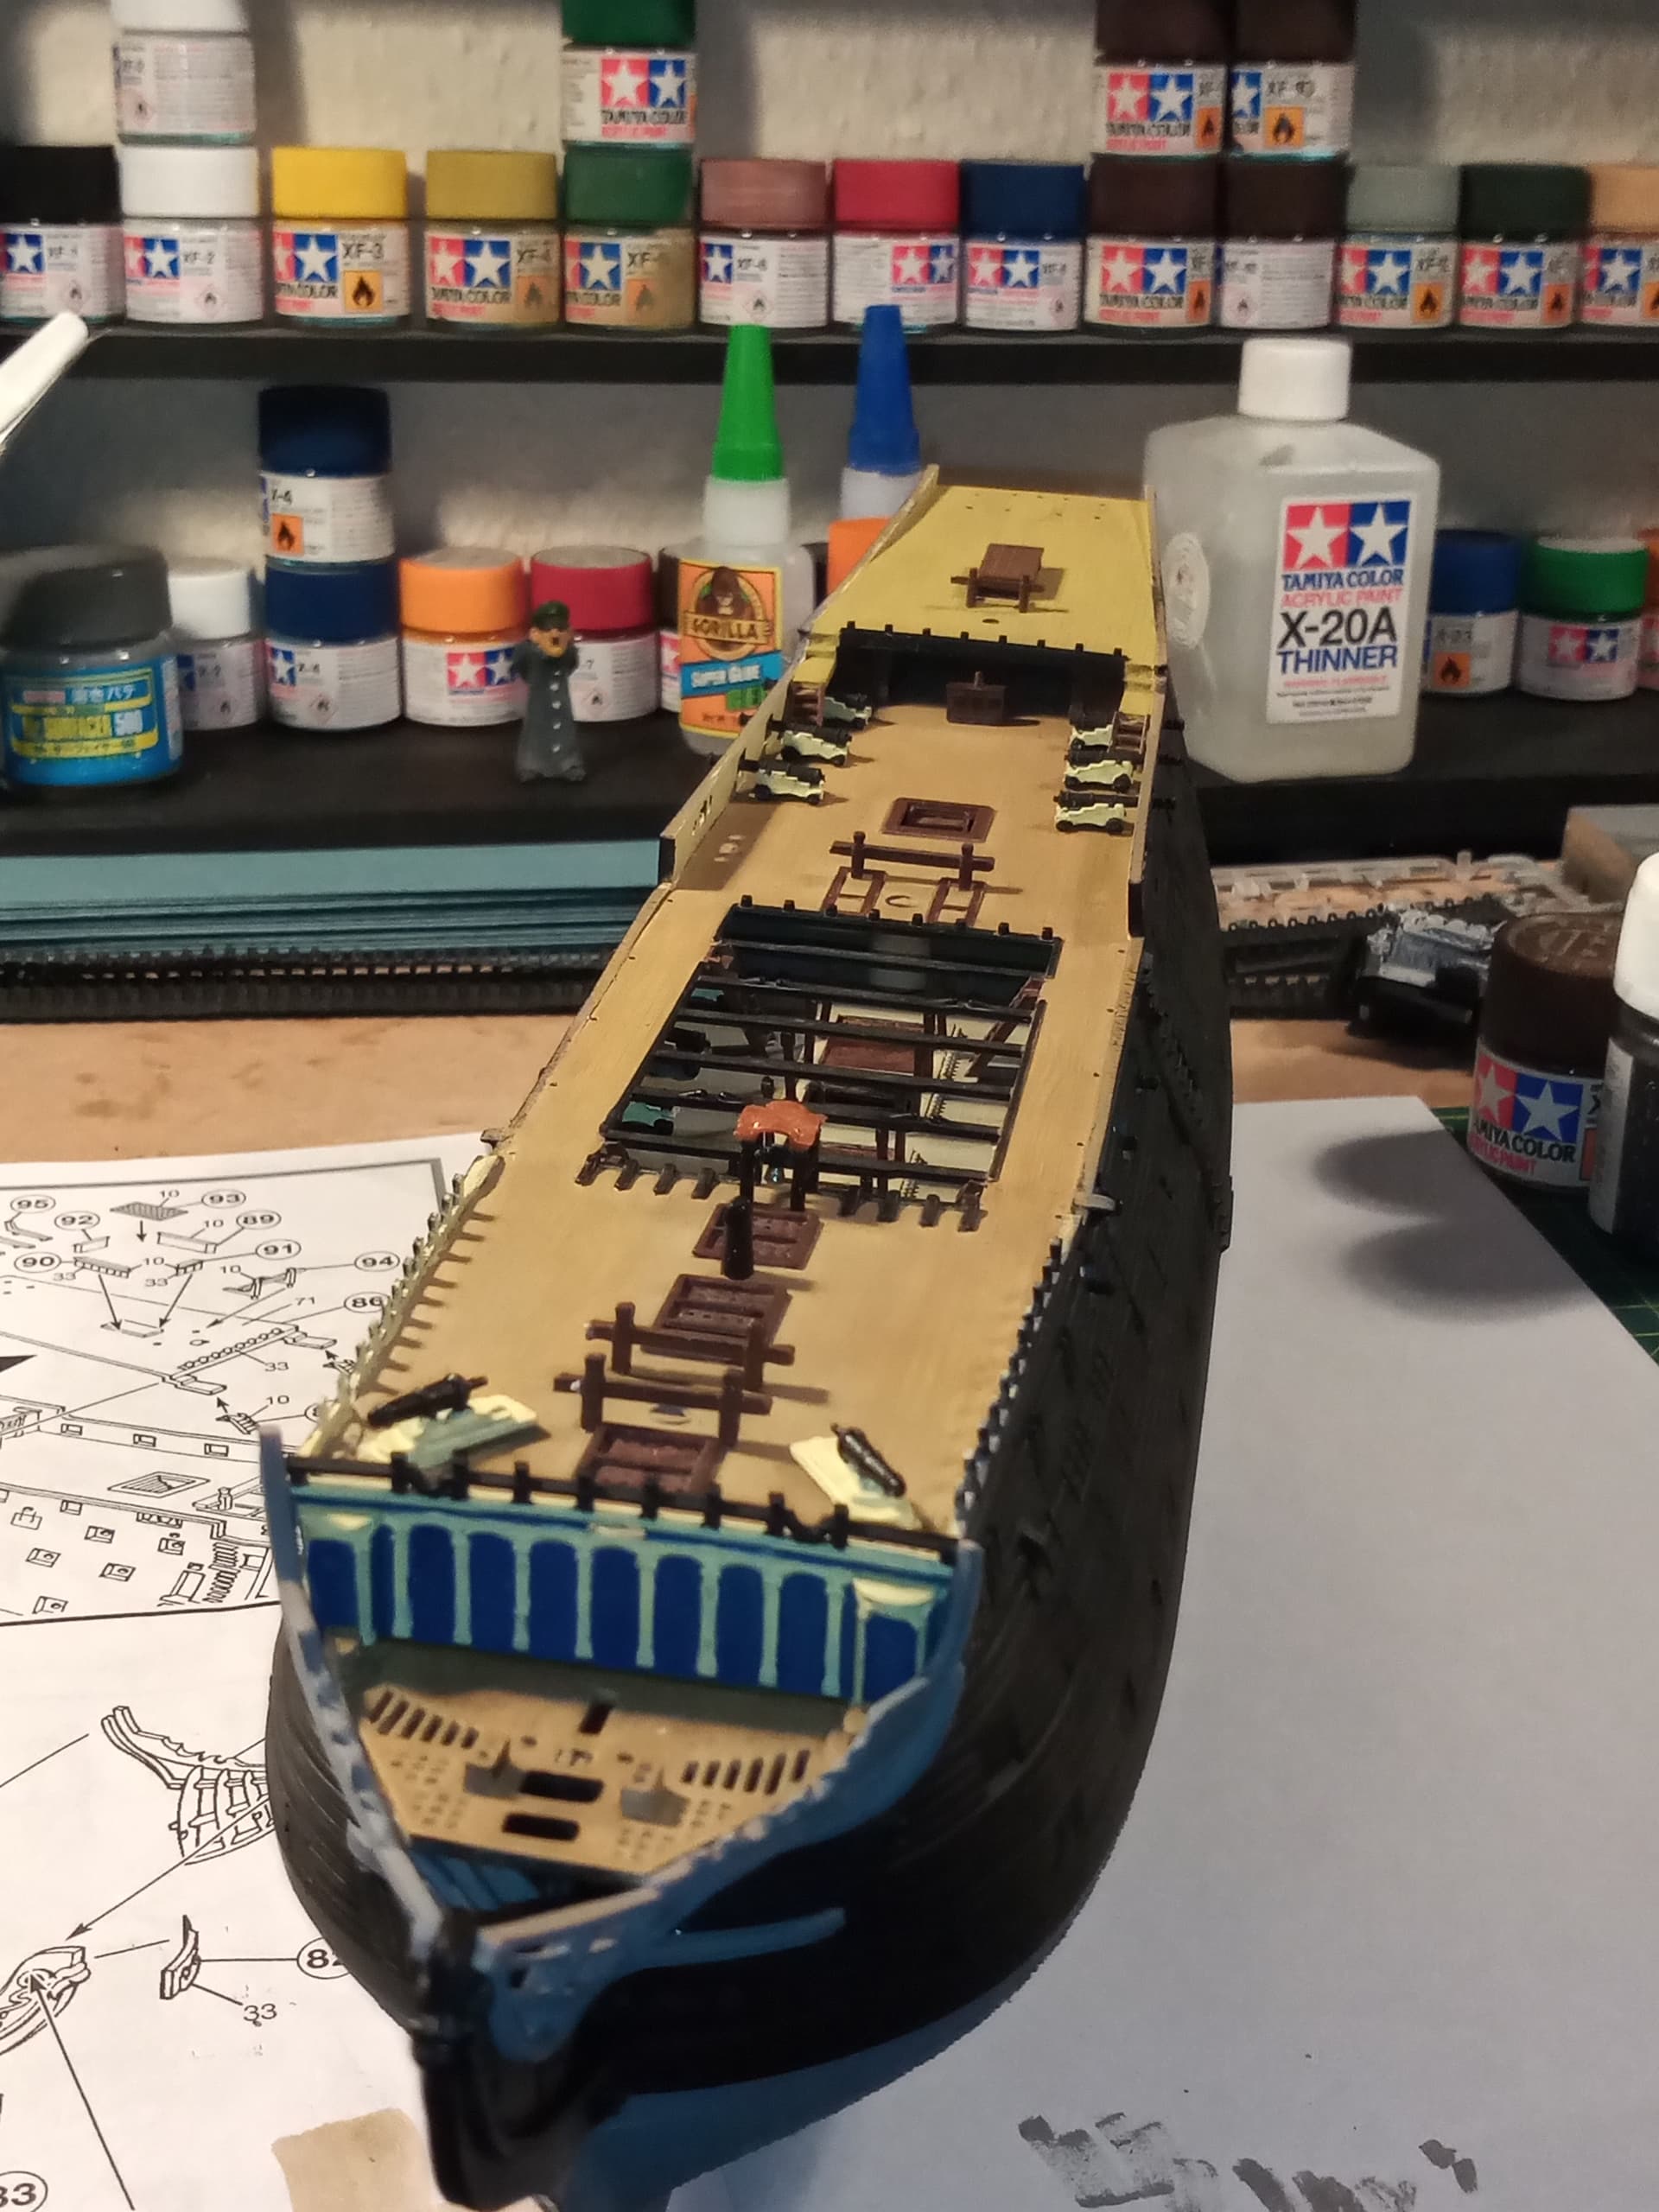
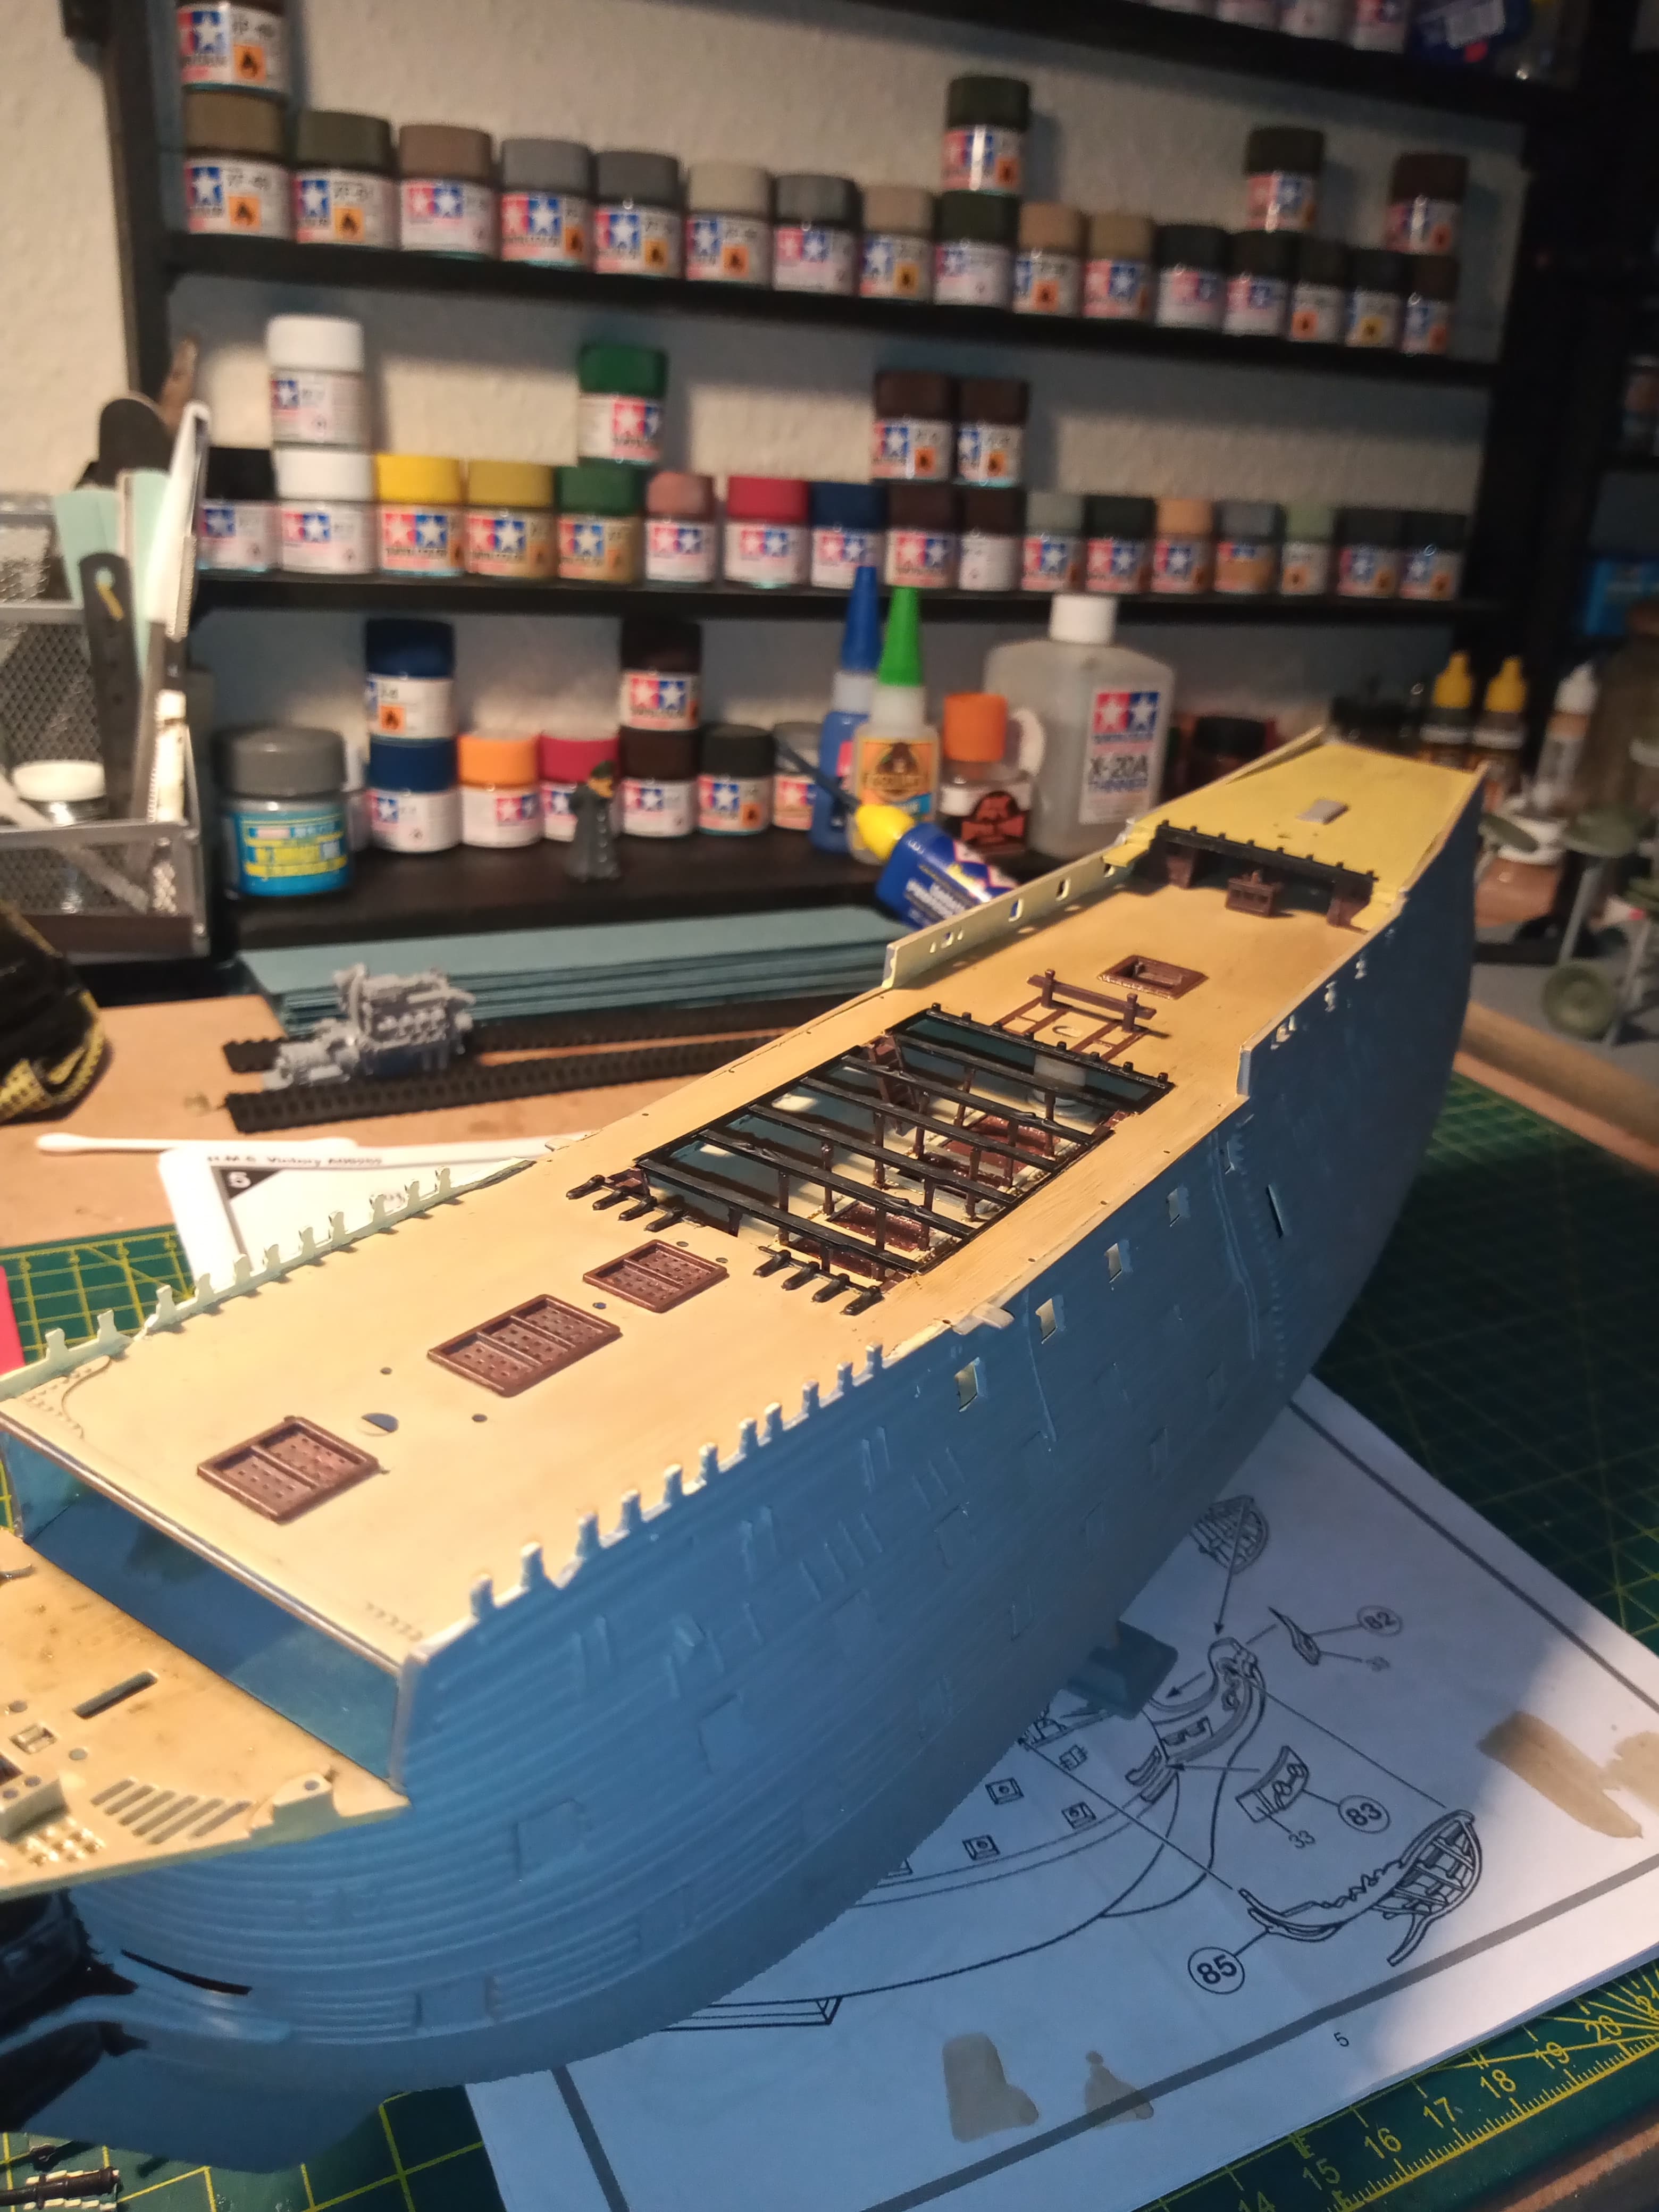
I also put down a thinned brown wash over the decks…
And I have to be brutally honest…I painted the poop deck ( yes saying it makes me laugh haha) the wrong shade… And even SWMBO noticed and asked why it was a different colour… I just said it was new replacement decking and she bought it without questioning it lol… So it’s staying that colour now
After this you should move on to the Airfix “Golden Hind”, not as many guns, but the painting scheme is mental with little triangles all over the hull, in about five different colours. BTW, I doubt this is 20+ years old, more like 50+; I remember it when I was a kid! My “Golden Hind” sat in the stash for 20 years, the kit was bought for my middle daughter when she was 6 - it was her choice! But about step 3 on the instructions was painting the hull, this put her off completely. I finished it 20 years later, she was impressed, she’s now 29!
I’ve got the Golden Hind (reboxed as the Mayflower!) and stalled 20 years ago after building the hull. I still have the masts and rigging somewhere, but the painted hull looks kinda cool as-is on a shelf. Probably nothing like the real Mayflower though…
Hi John, I don’t know if it’s too late to offer a thought, but you could grind the plastic from the backside of the part to free open the windows MUHAHAHAHAHA. Yes, that does work… just adding to that madness. LOVE the build. I built the Revell half a dozen years ago.
Only just caught up with this one John; keep at it - already looking the biz.
One of the highlights of my somewhat chequered military career was attending a dining out on HMS Victory; the history and atmosphere was almost overhwelming.
I have been on the USS Missouri and stood on the spot WW 2 ended. I was humbled
In my journey through life there are two other ships I wish to visit.
First is the USS Constitution. Like the HMS Victory it is steeped in my countries history.
The second would be the HMS Victory, one of the grandest warships of all time.
Greg, yes I will be doing the bottom in copper. The overall finish will be as it was for years and is now down in Portsmouth. I been on her a few times and it is a pretty amazing tub to look around. Lots of atmosphere in there… The tour is also very good as you get it done by a serving Navy CPO, who pretty much goes through everything including all the old sayings and how they originated etc, like 3 square meals a day, no room to swing a cat, freezing the b***s off a brass monkey… Etc etc
Did someone say copper? Scroll down at this site and you will see what color my ship’s copper bottom looked like after many years in the water, Click on the photos for a bigger view.
Yeah, I know copper will tarnish very quickly… However, my HMS Victory will have just been re-coppered after a spell in dry dock…so it will be nice and shiney
It was for me as well initially, but Airfix do supply a nice little jig for all the main rigging sections on the masts, so hopefully that will ease the pain.
Lovely info Danie and thanks for that and the links. Very informative. It is always great getting these little snippets of info, and once I read the part about the “Heads” I had a little bit of recall from one of the visits I have had to Victory and the Navy tour guide explaining about phrases and how they originated …


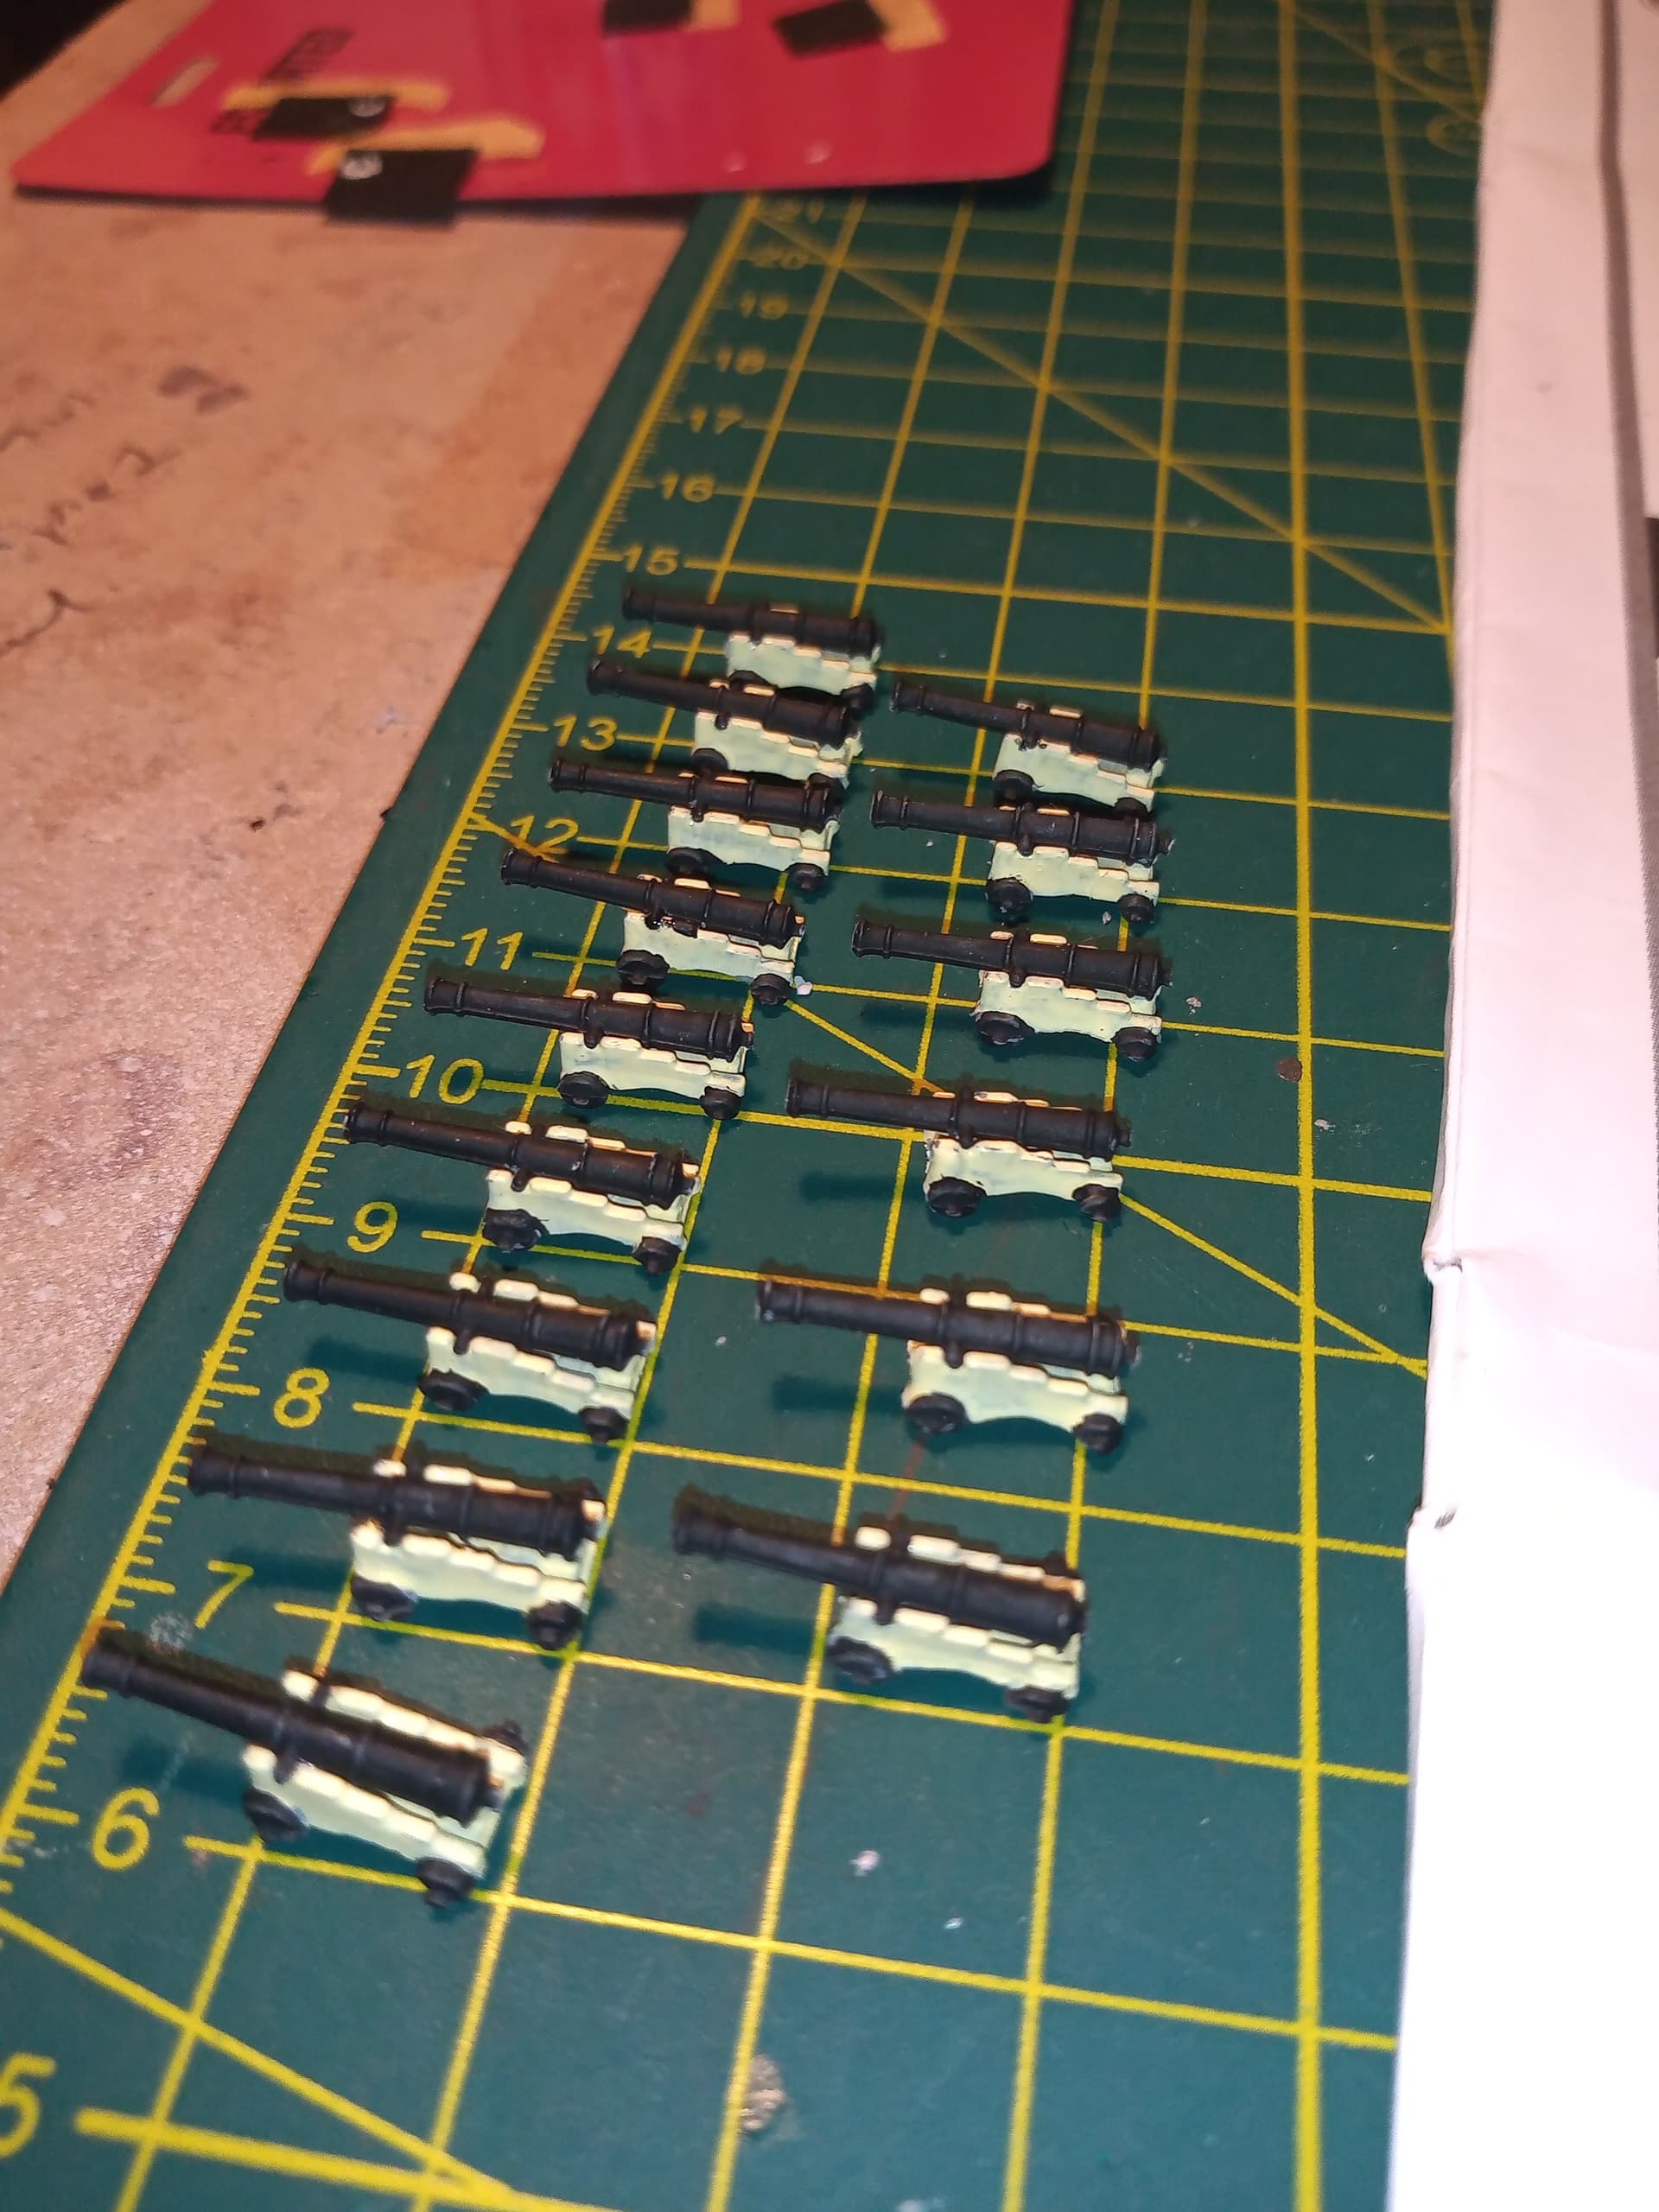


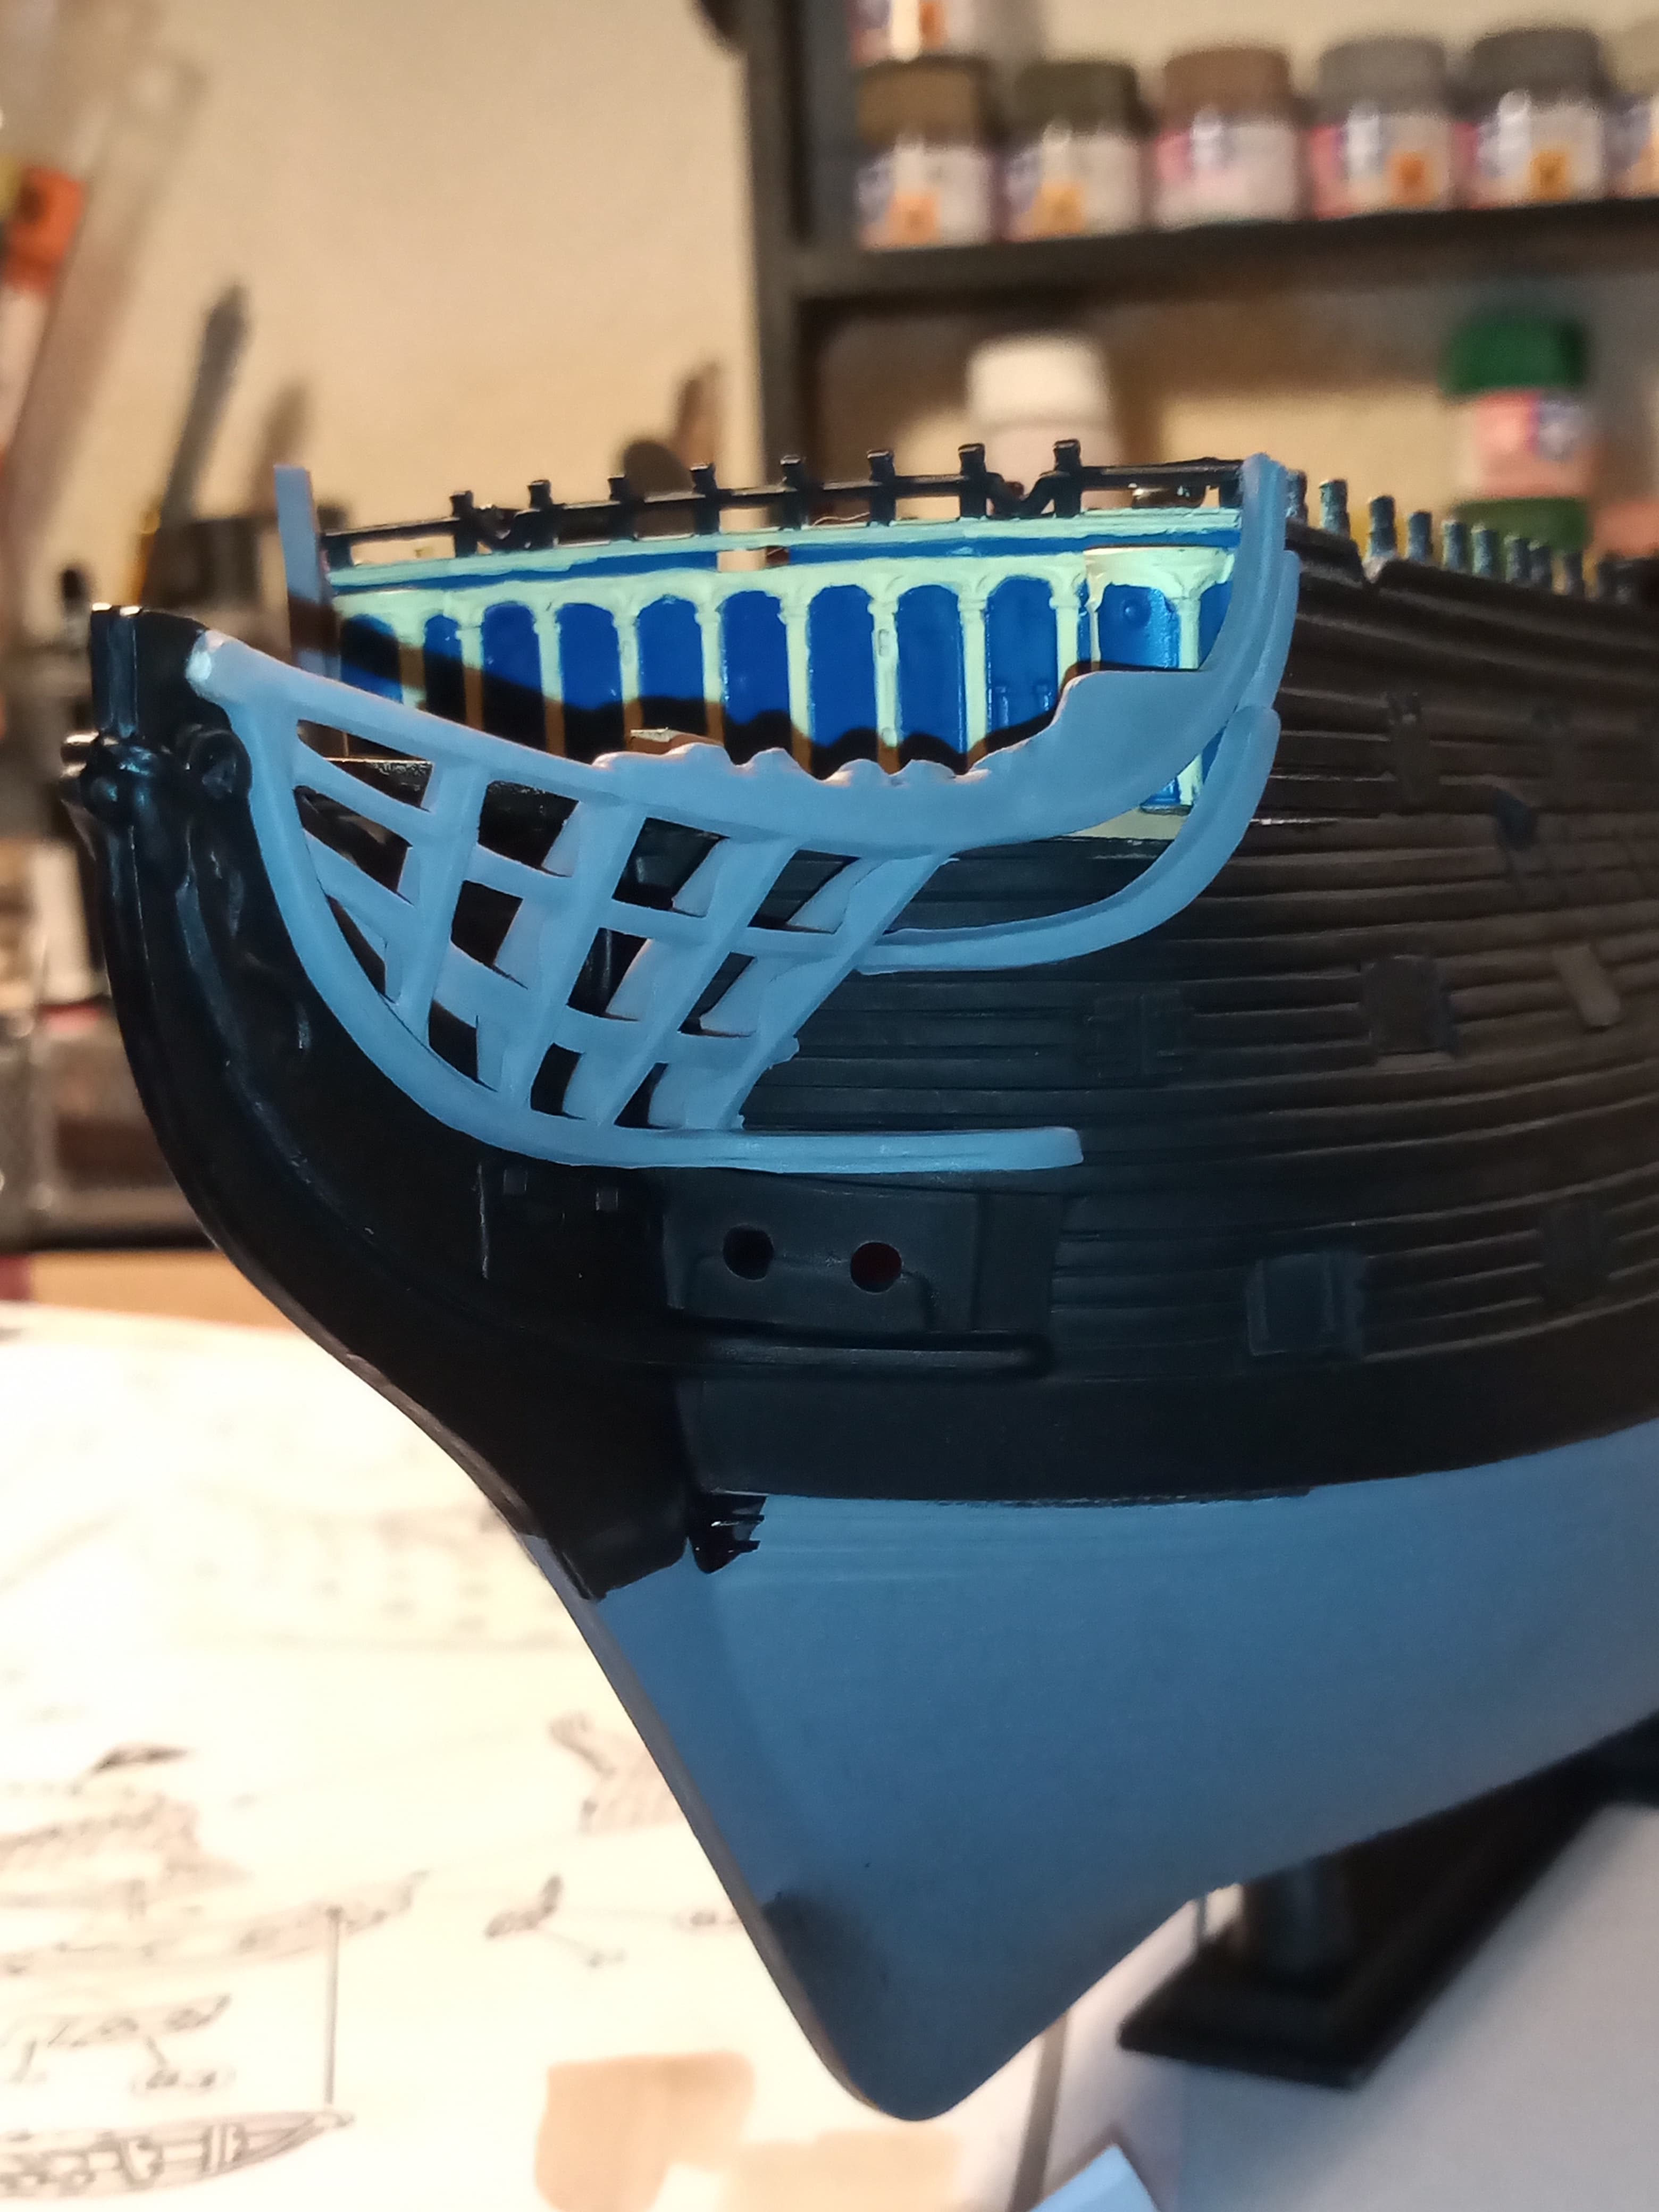
 … no …none of the 16 will be getting drilled out lol … and thats why all the other gun ports are firmly closed up !!