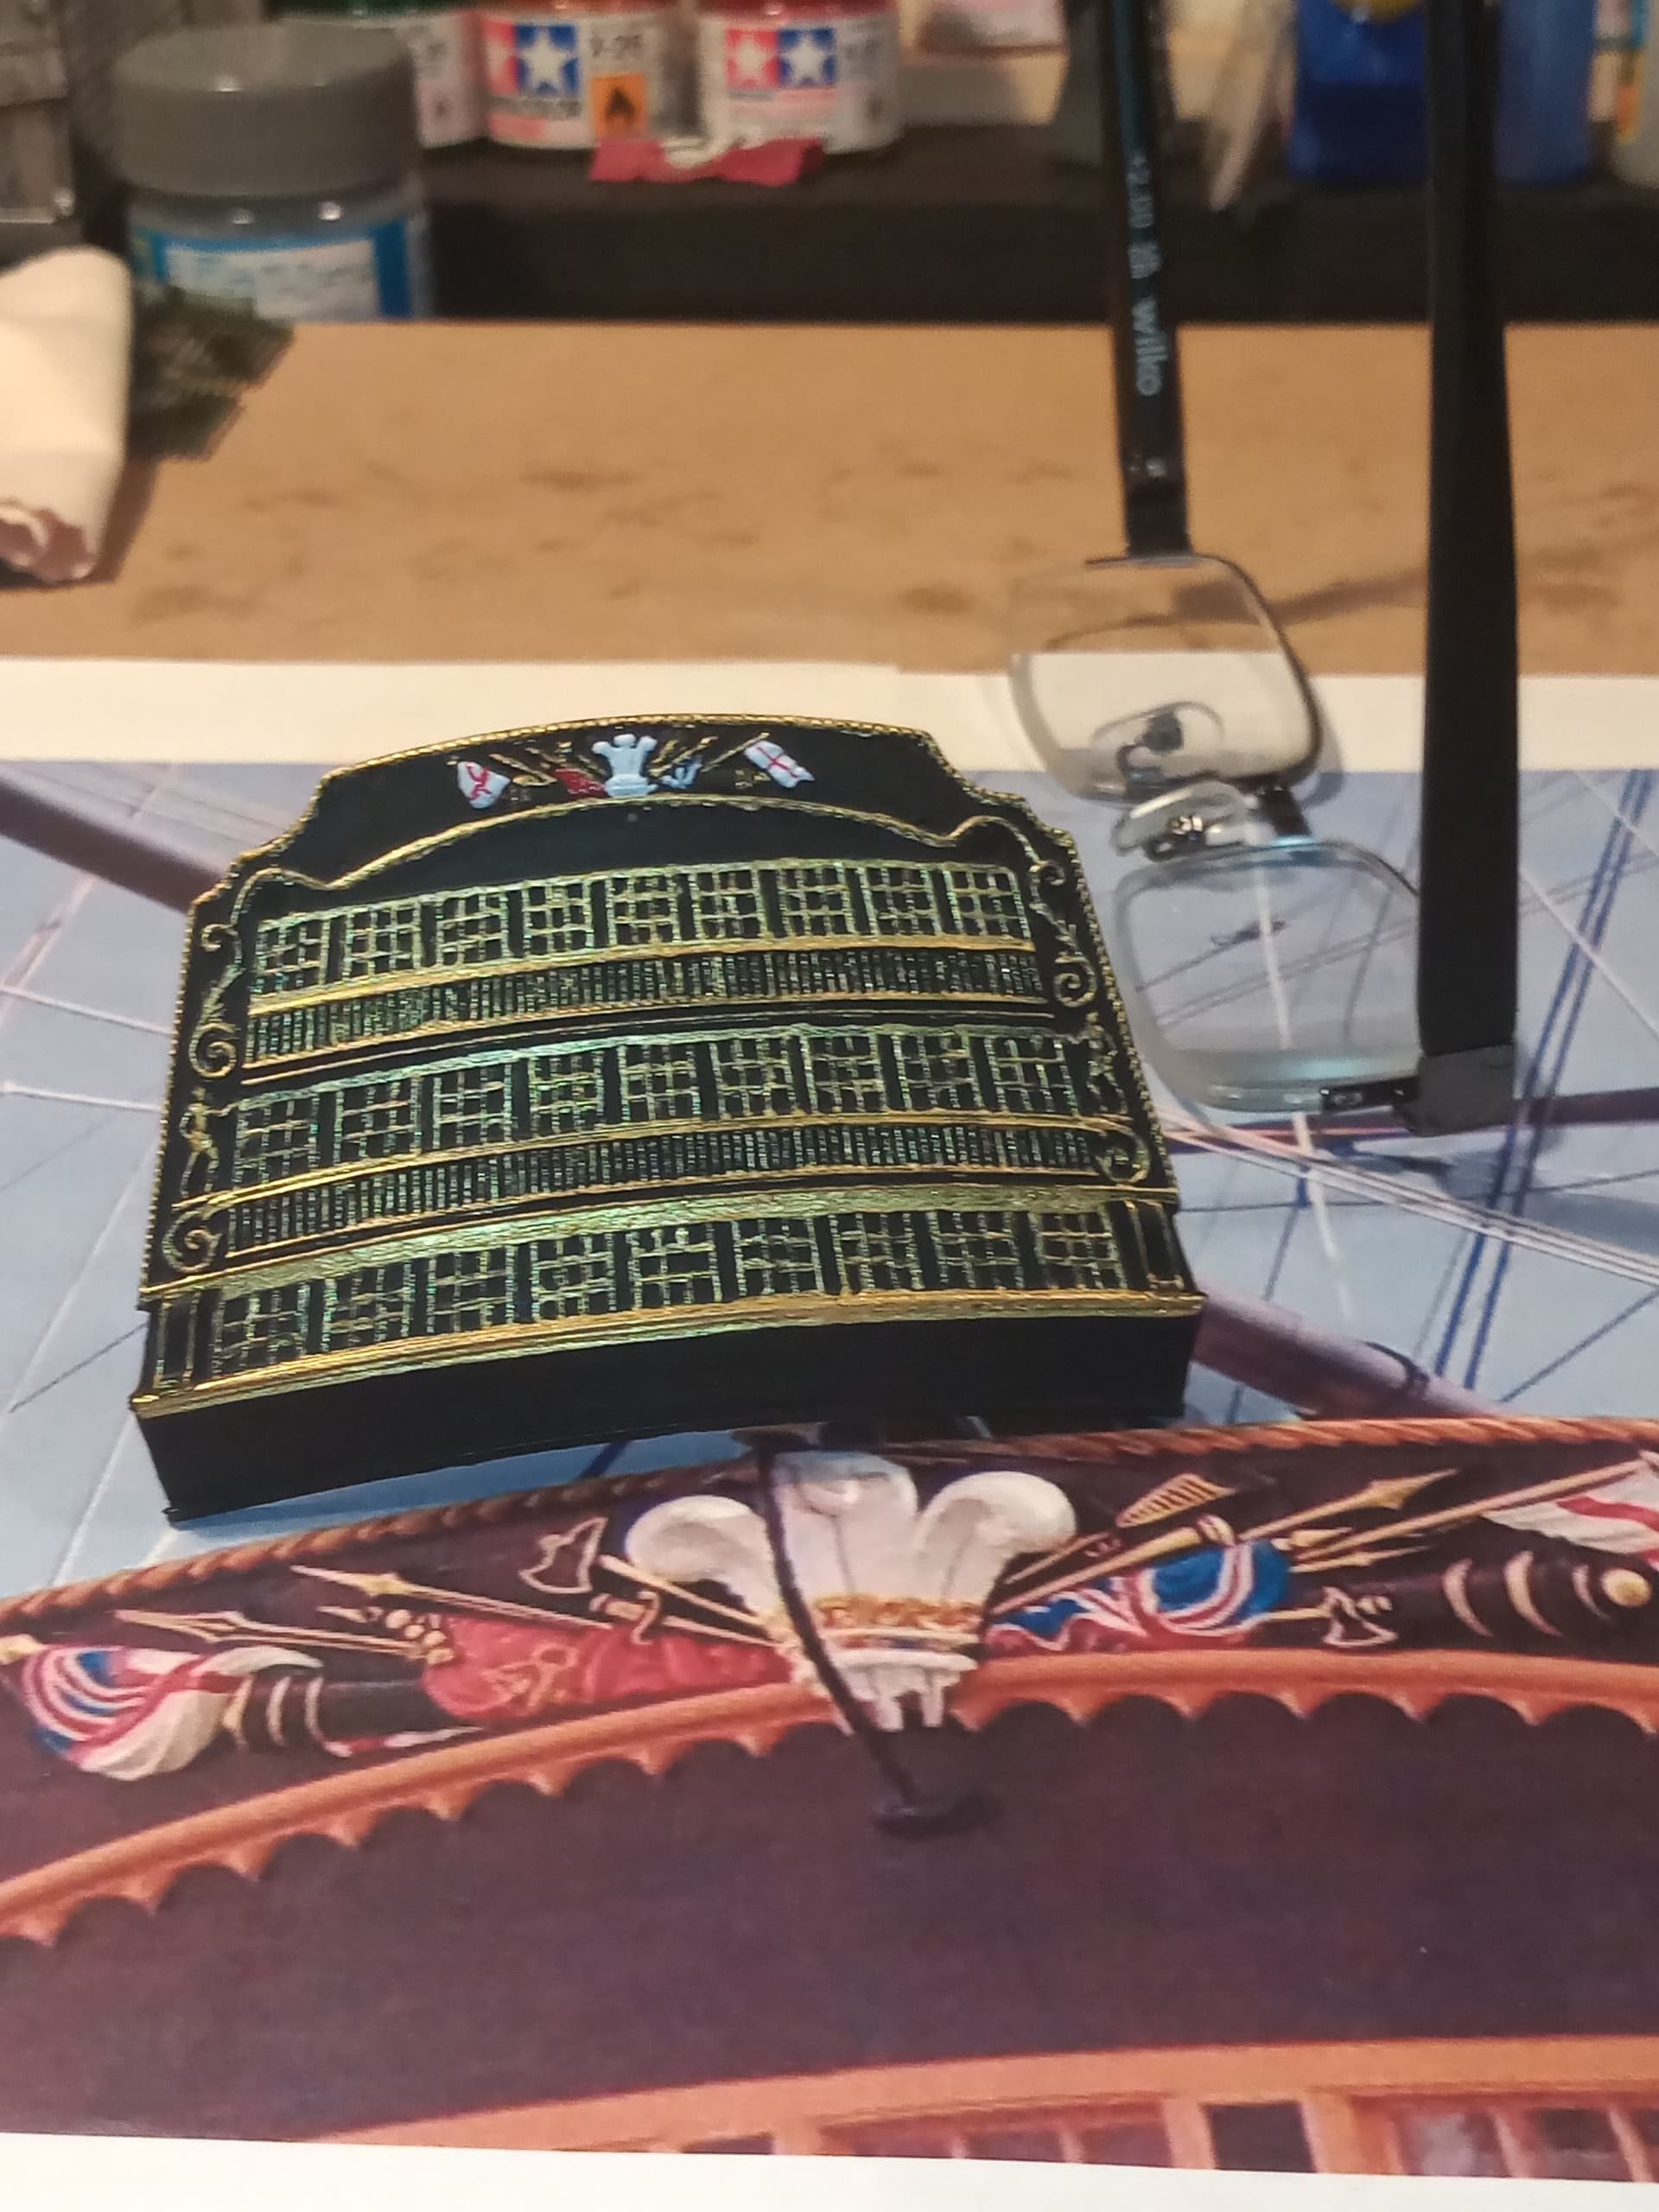
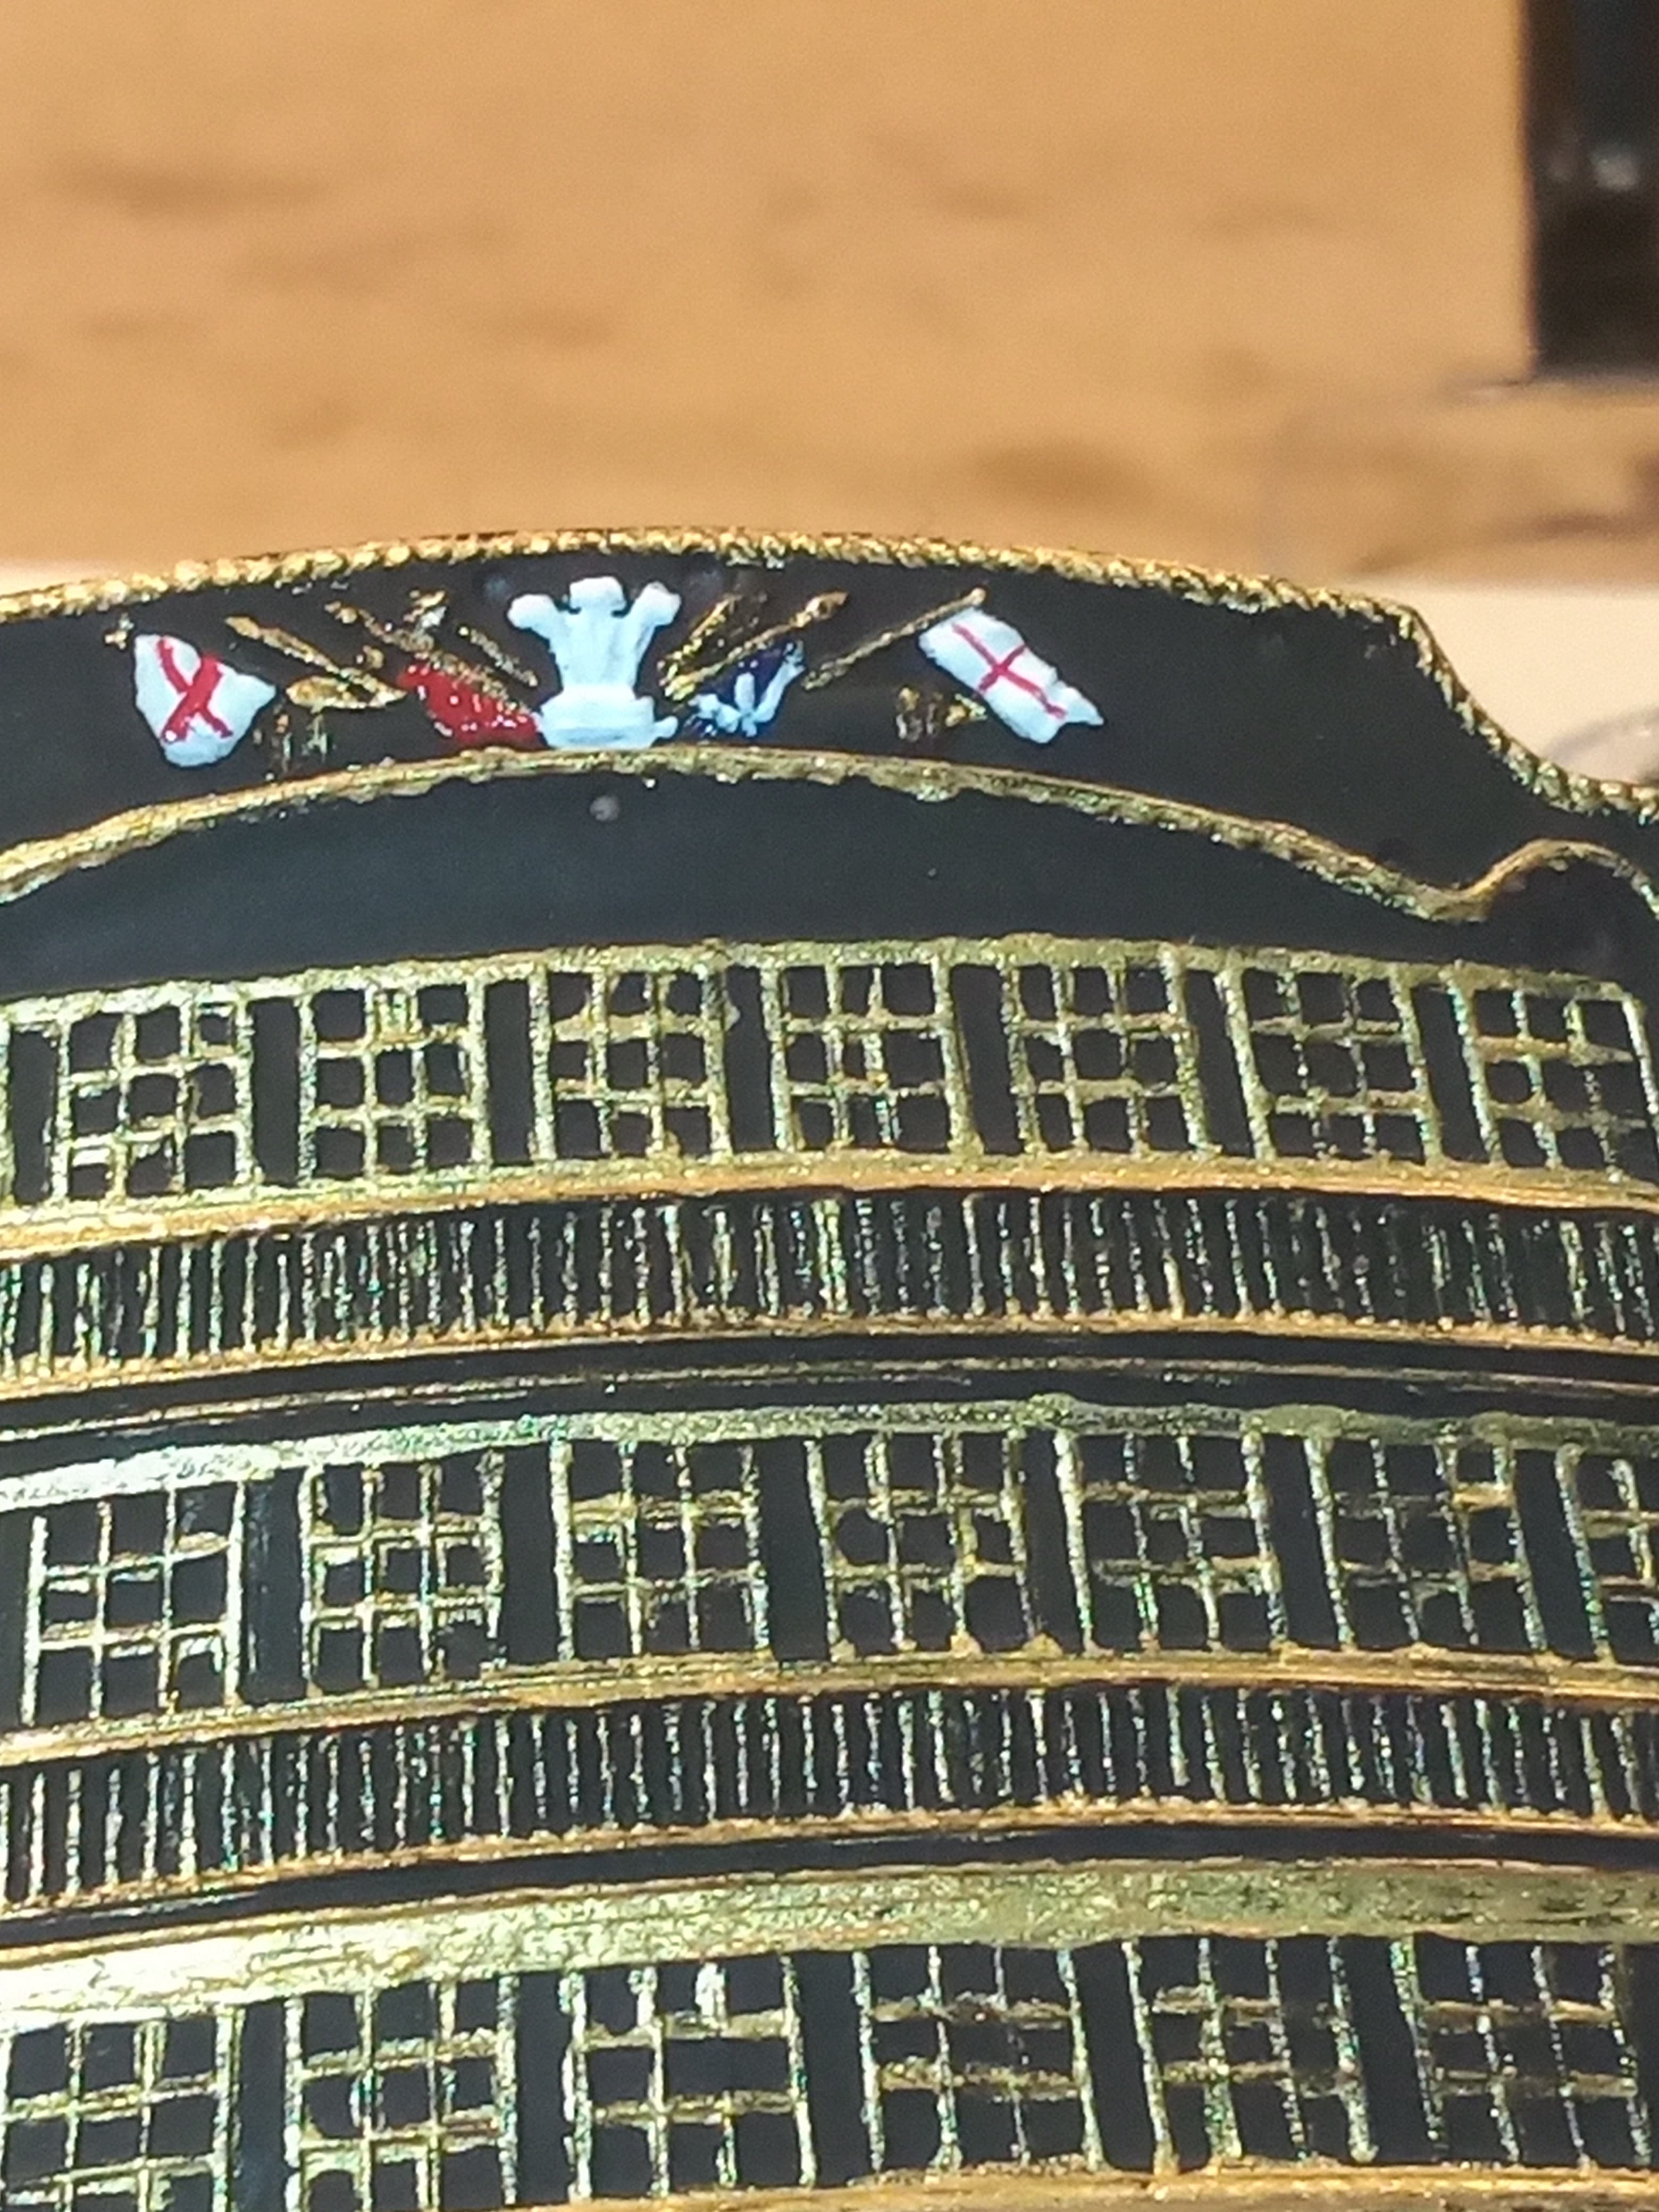
Tried to do a bit more detail painting on the top part of the rear section.
Have managed St George’s cross, the red cross on the Navy Ensign, and the visible white bars on the Union Flag.
This is actually quite painstaking doing this very tiny detailing…
I have done the best possible with the Union Flag and when you look at the whole thing, you sort of see it there, or at least a representation of it…
Have done the blue quarter of the Union Flag on the Navy Ensign… Will try the white bars tomorrow… Not sure how I will do that… Or the red ones after as they are even thinner …
Anyway…
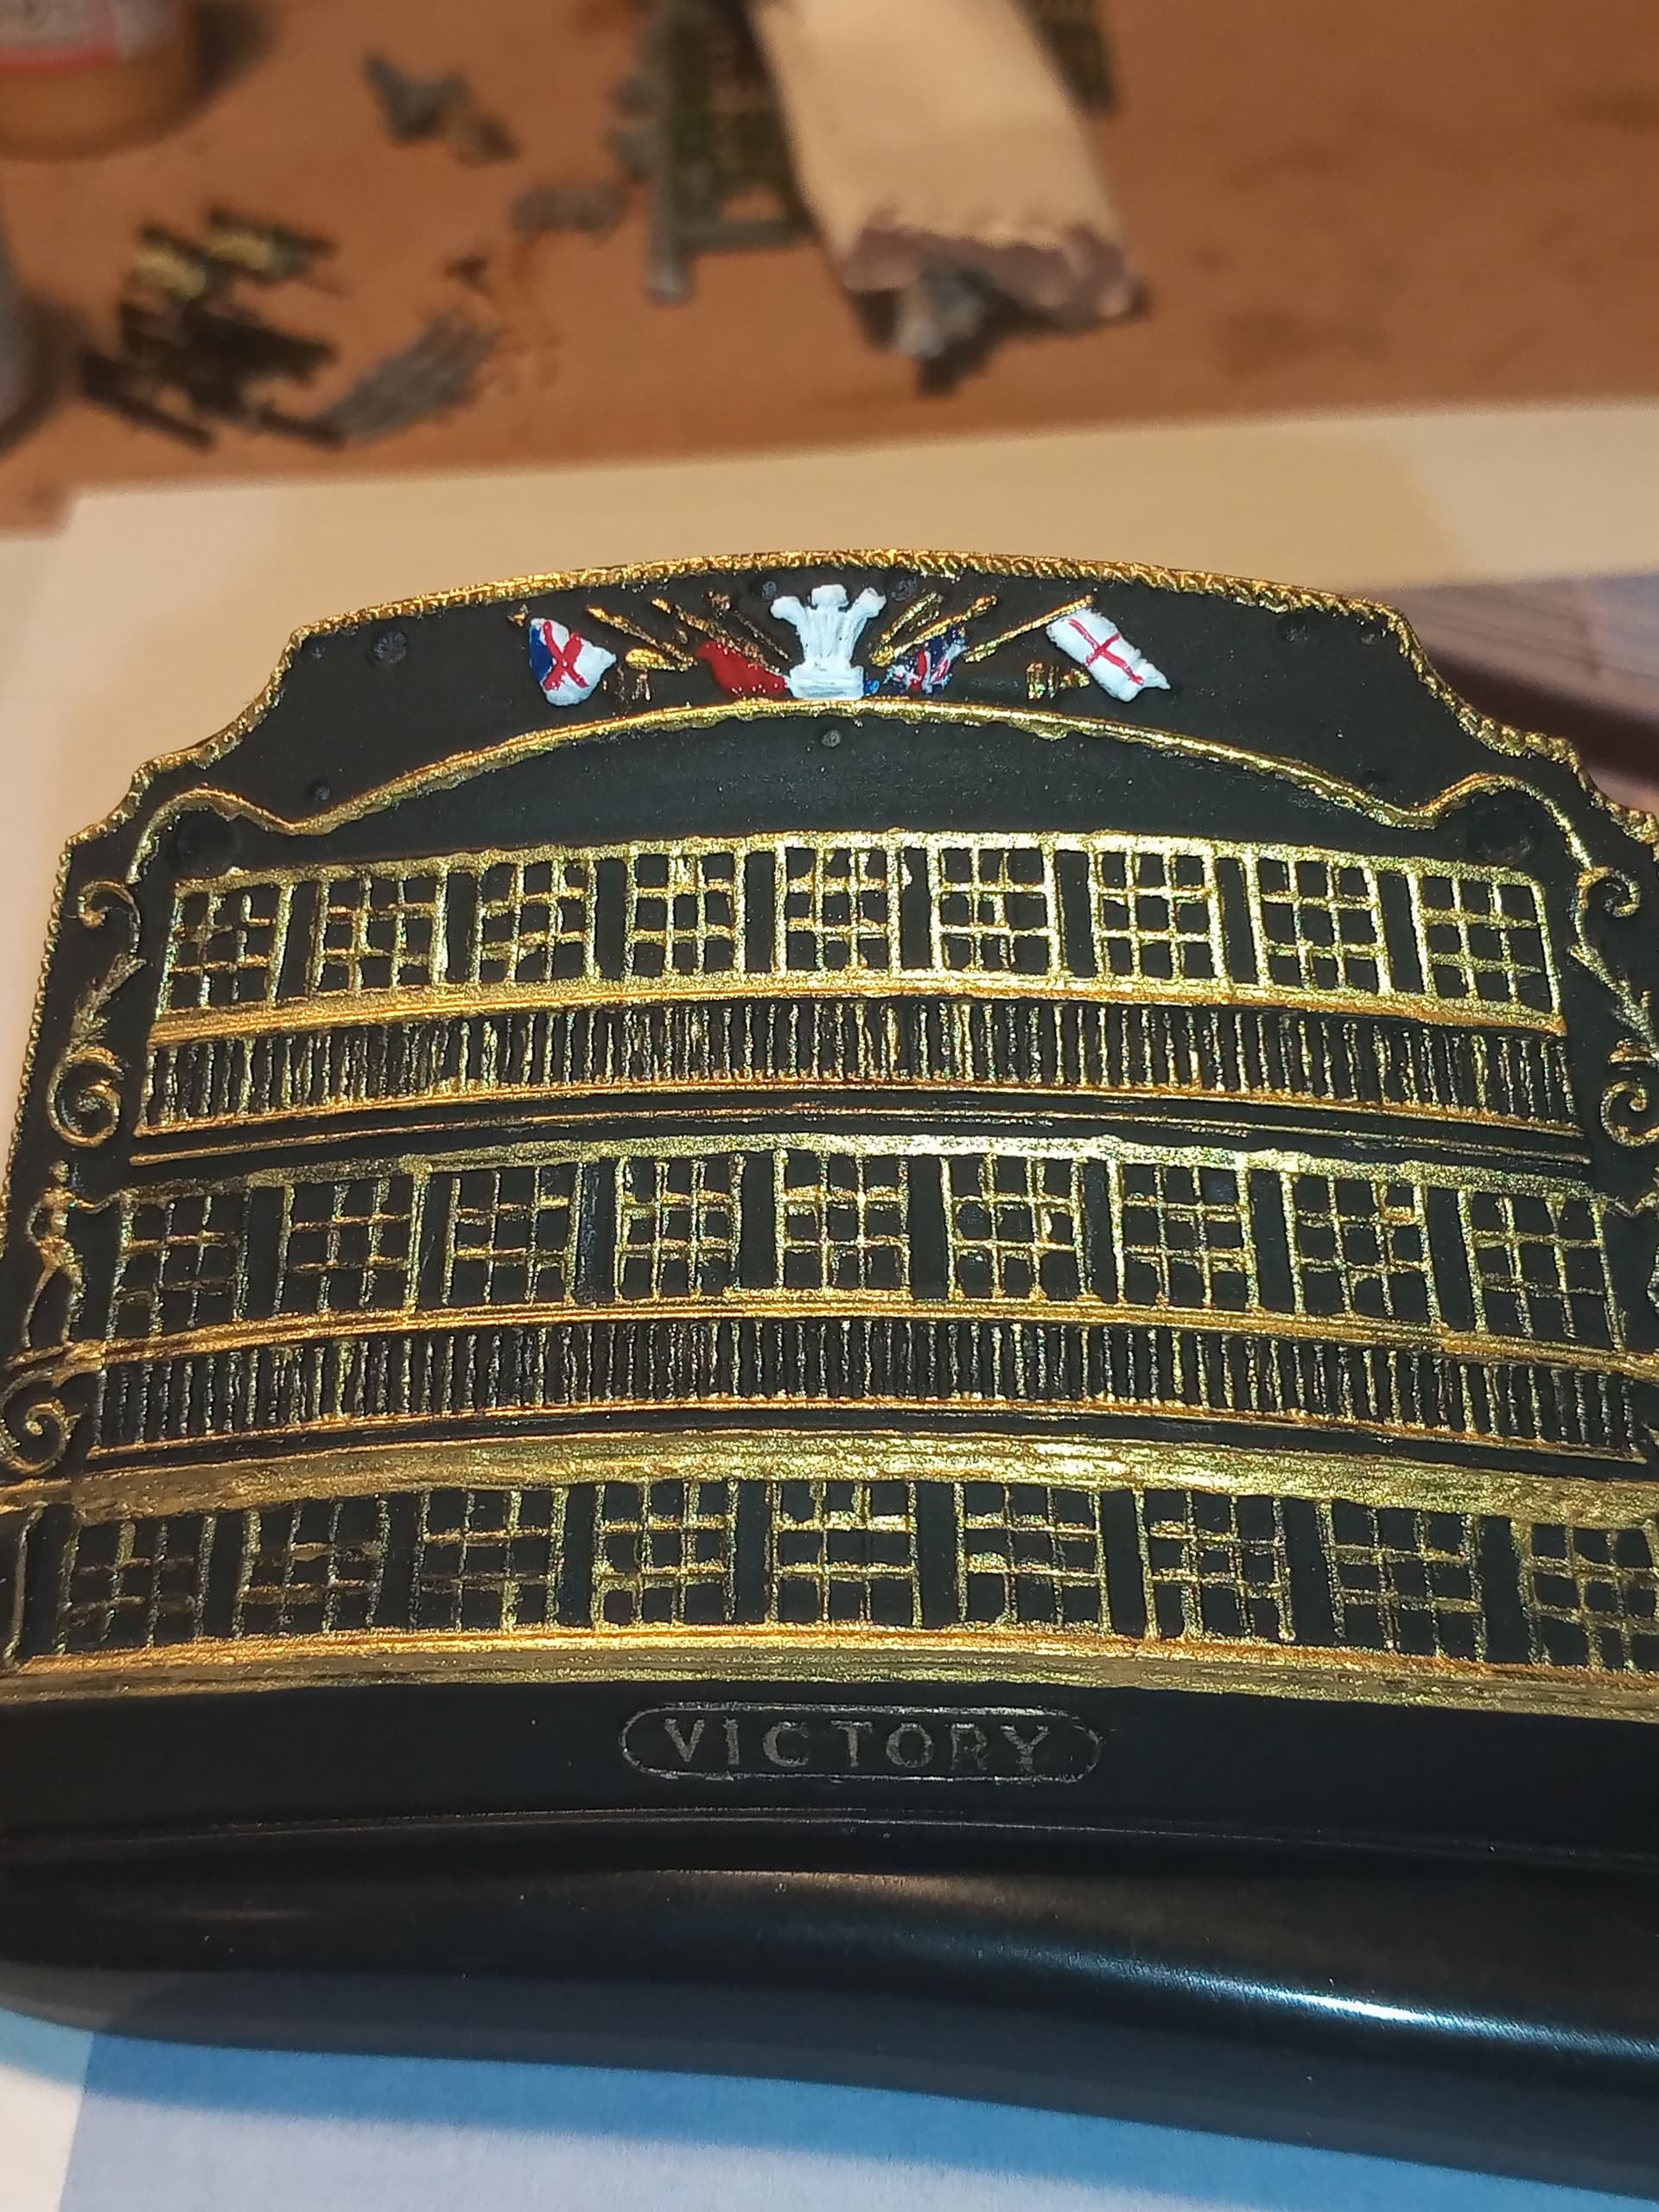
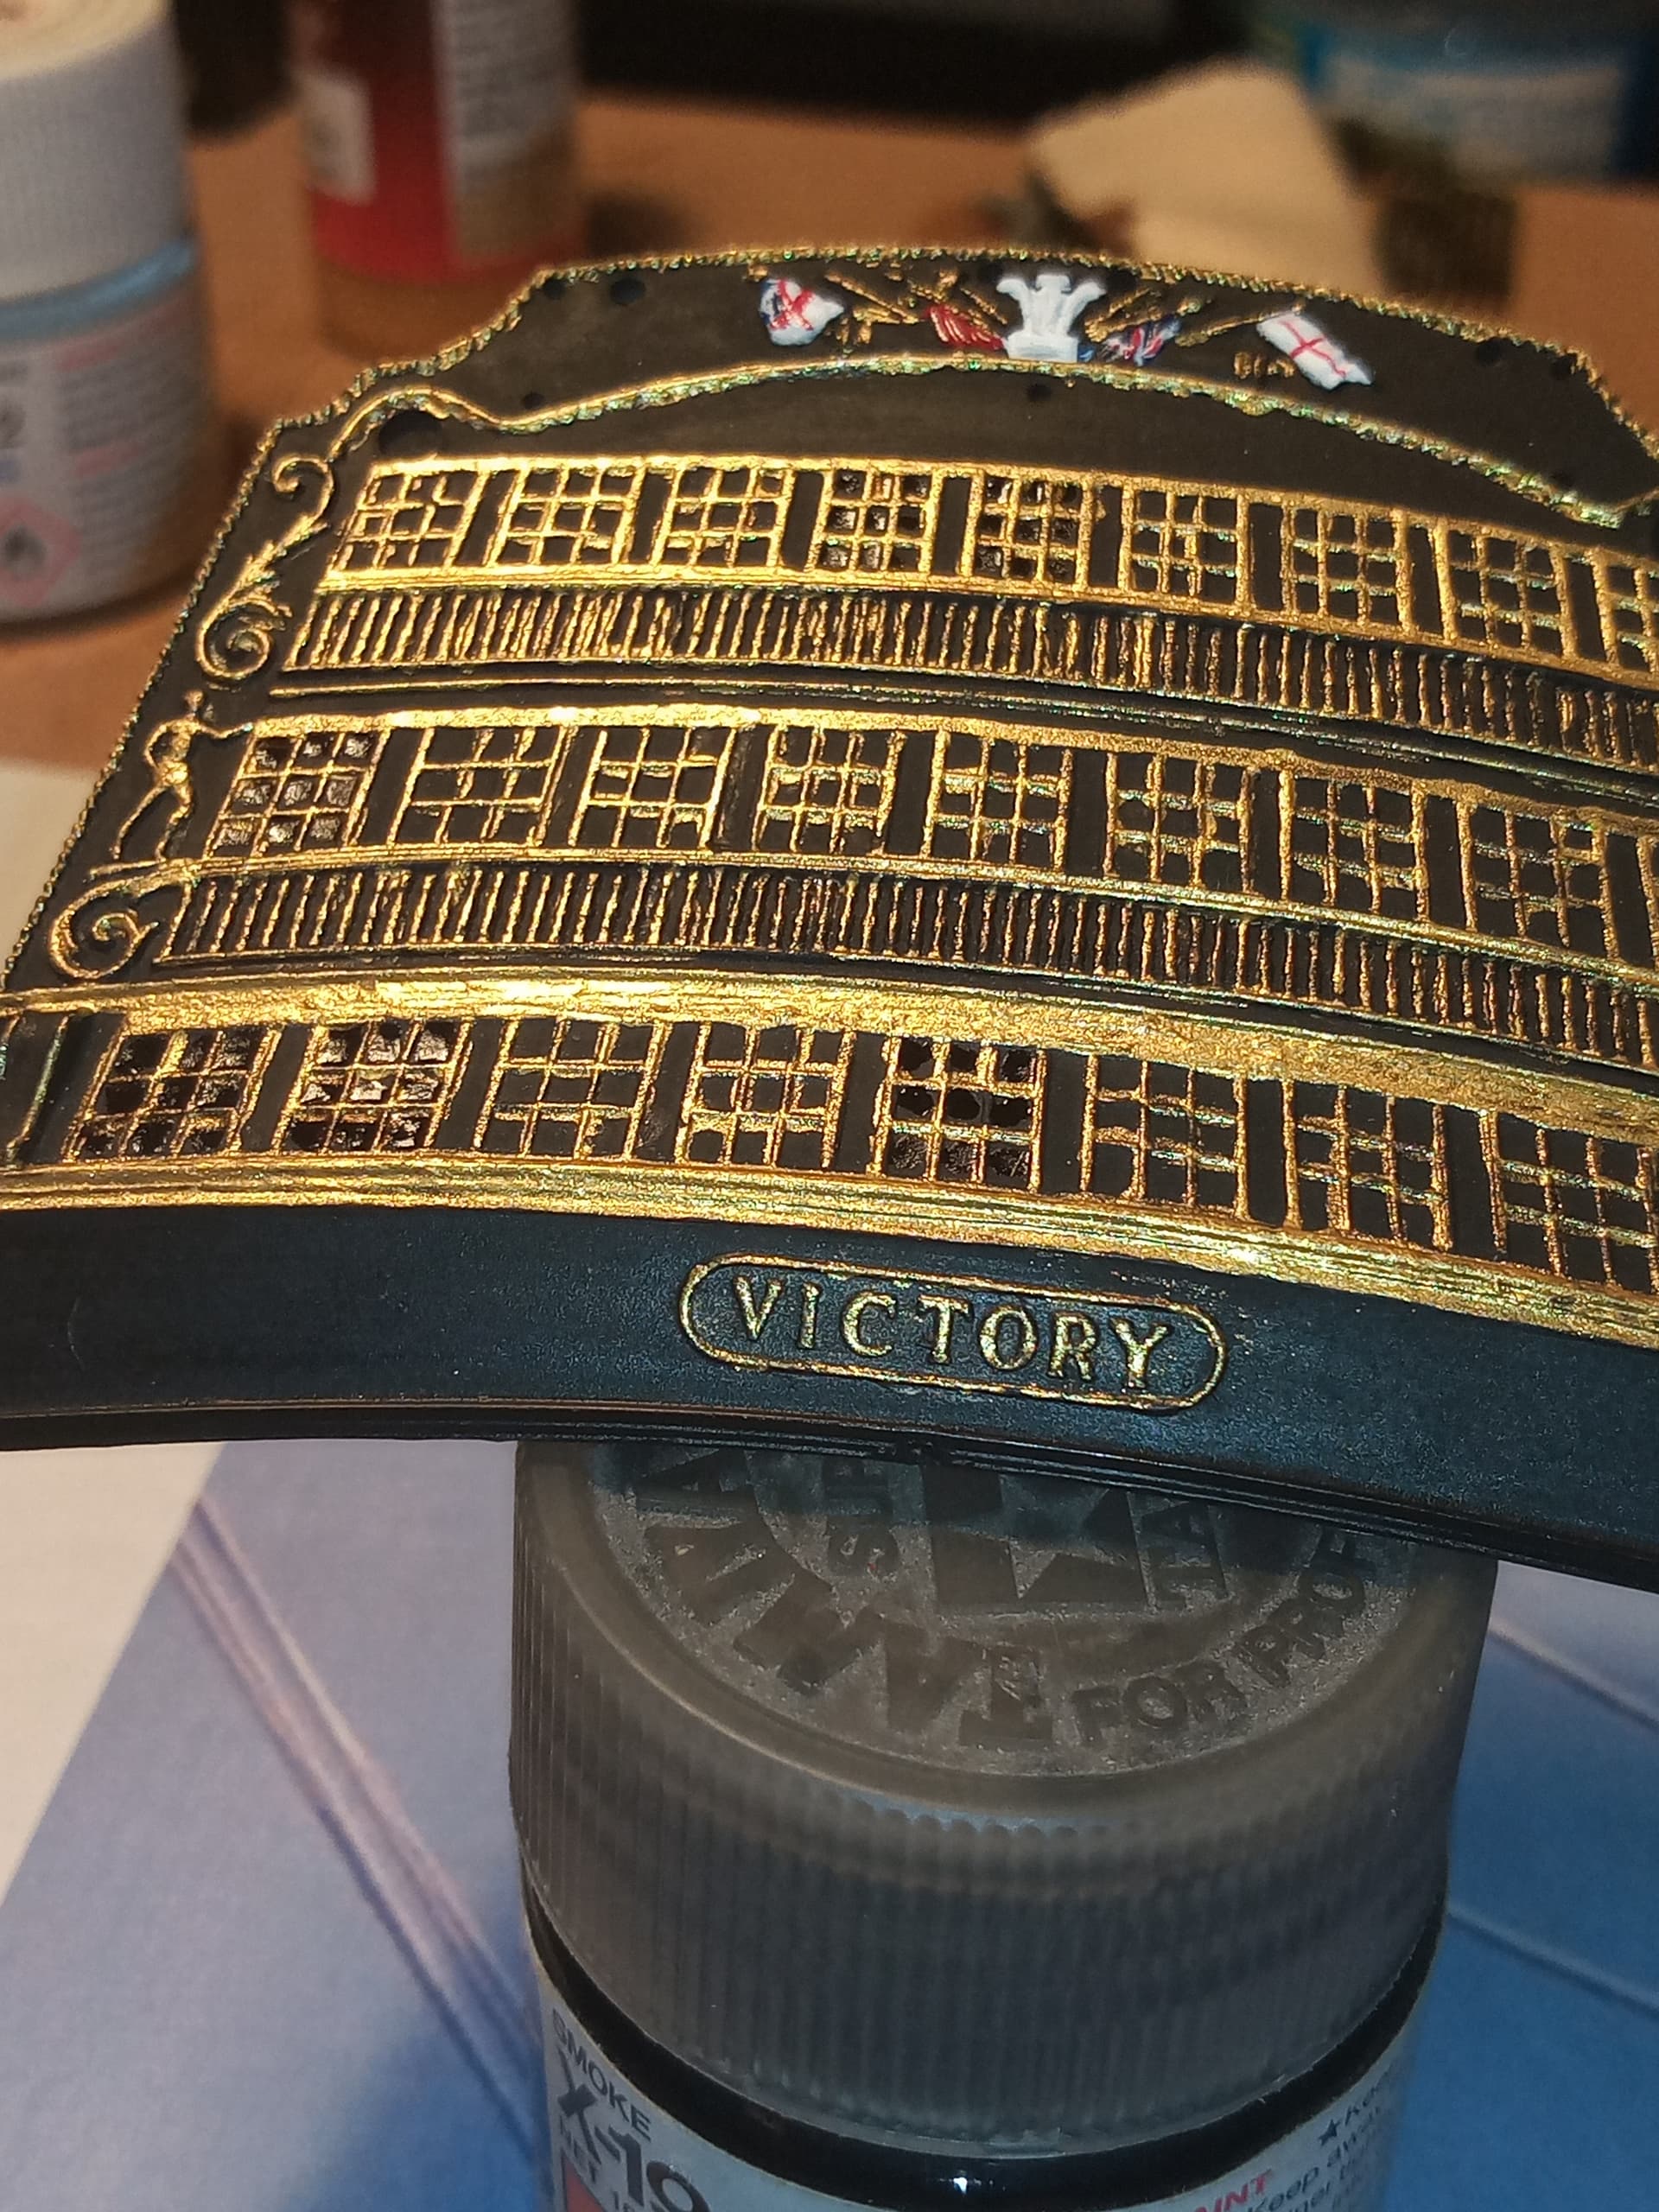
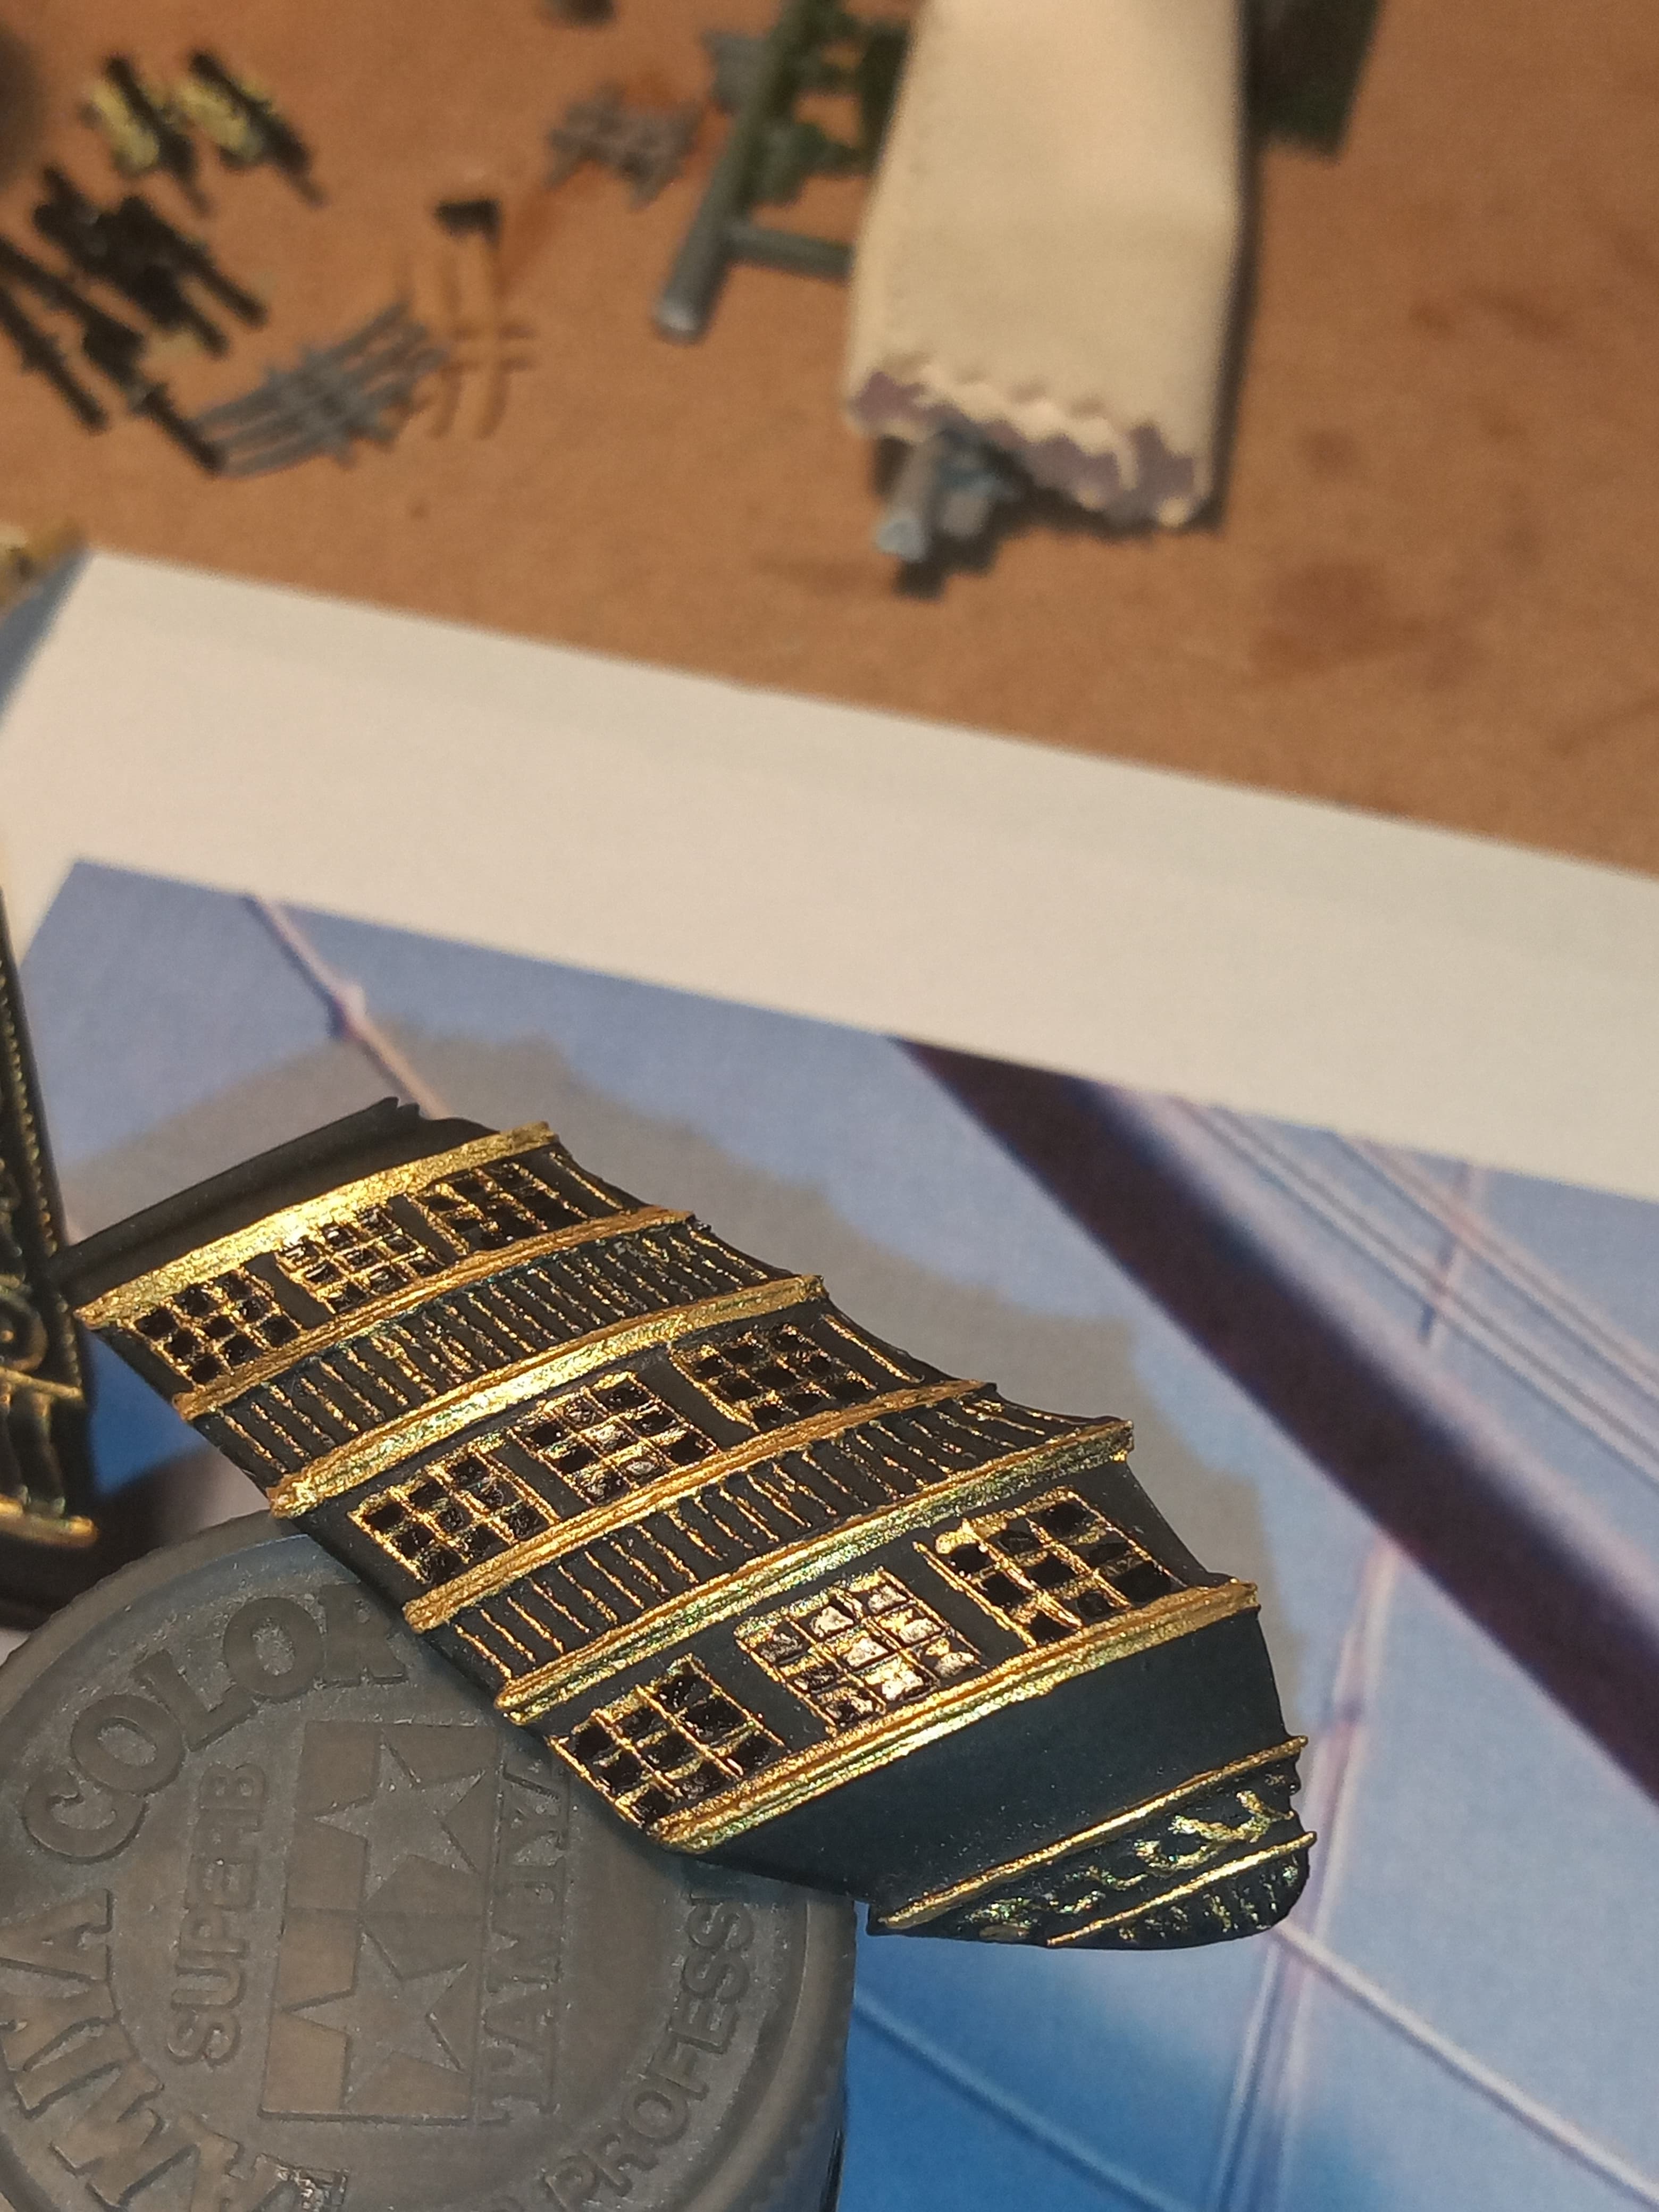
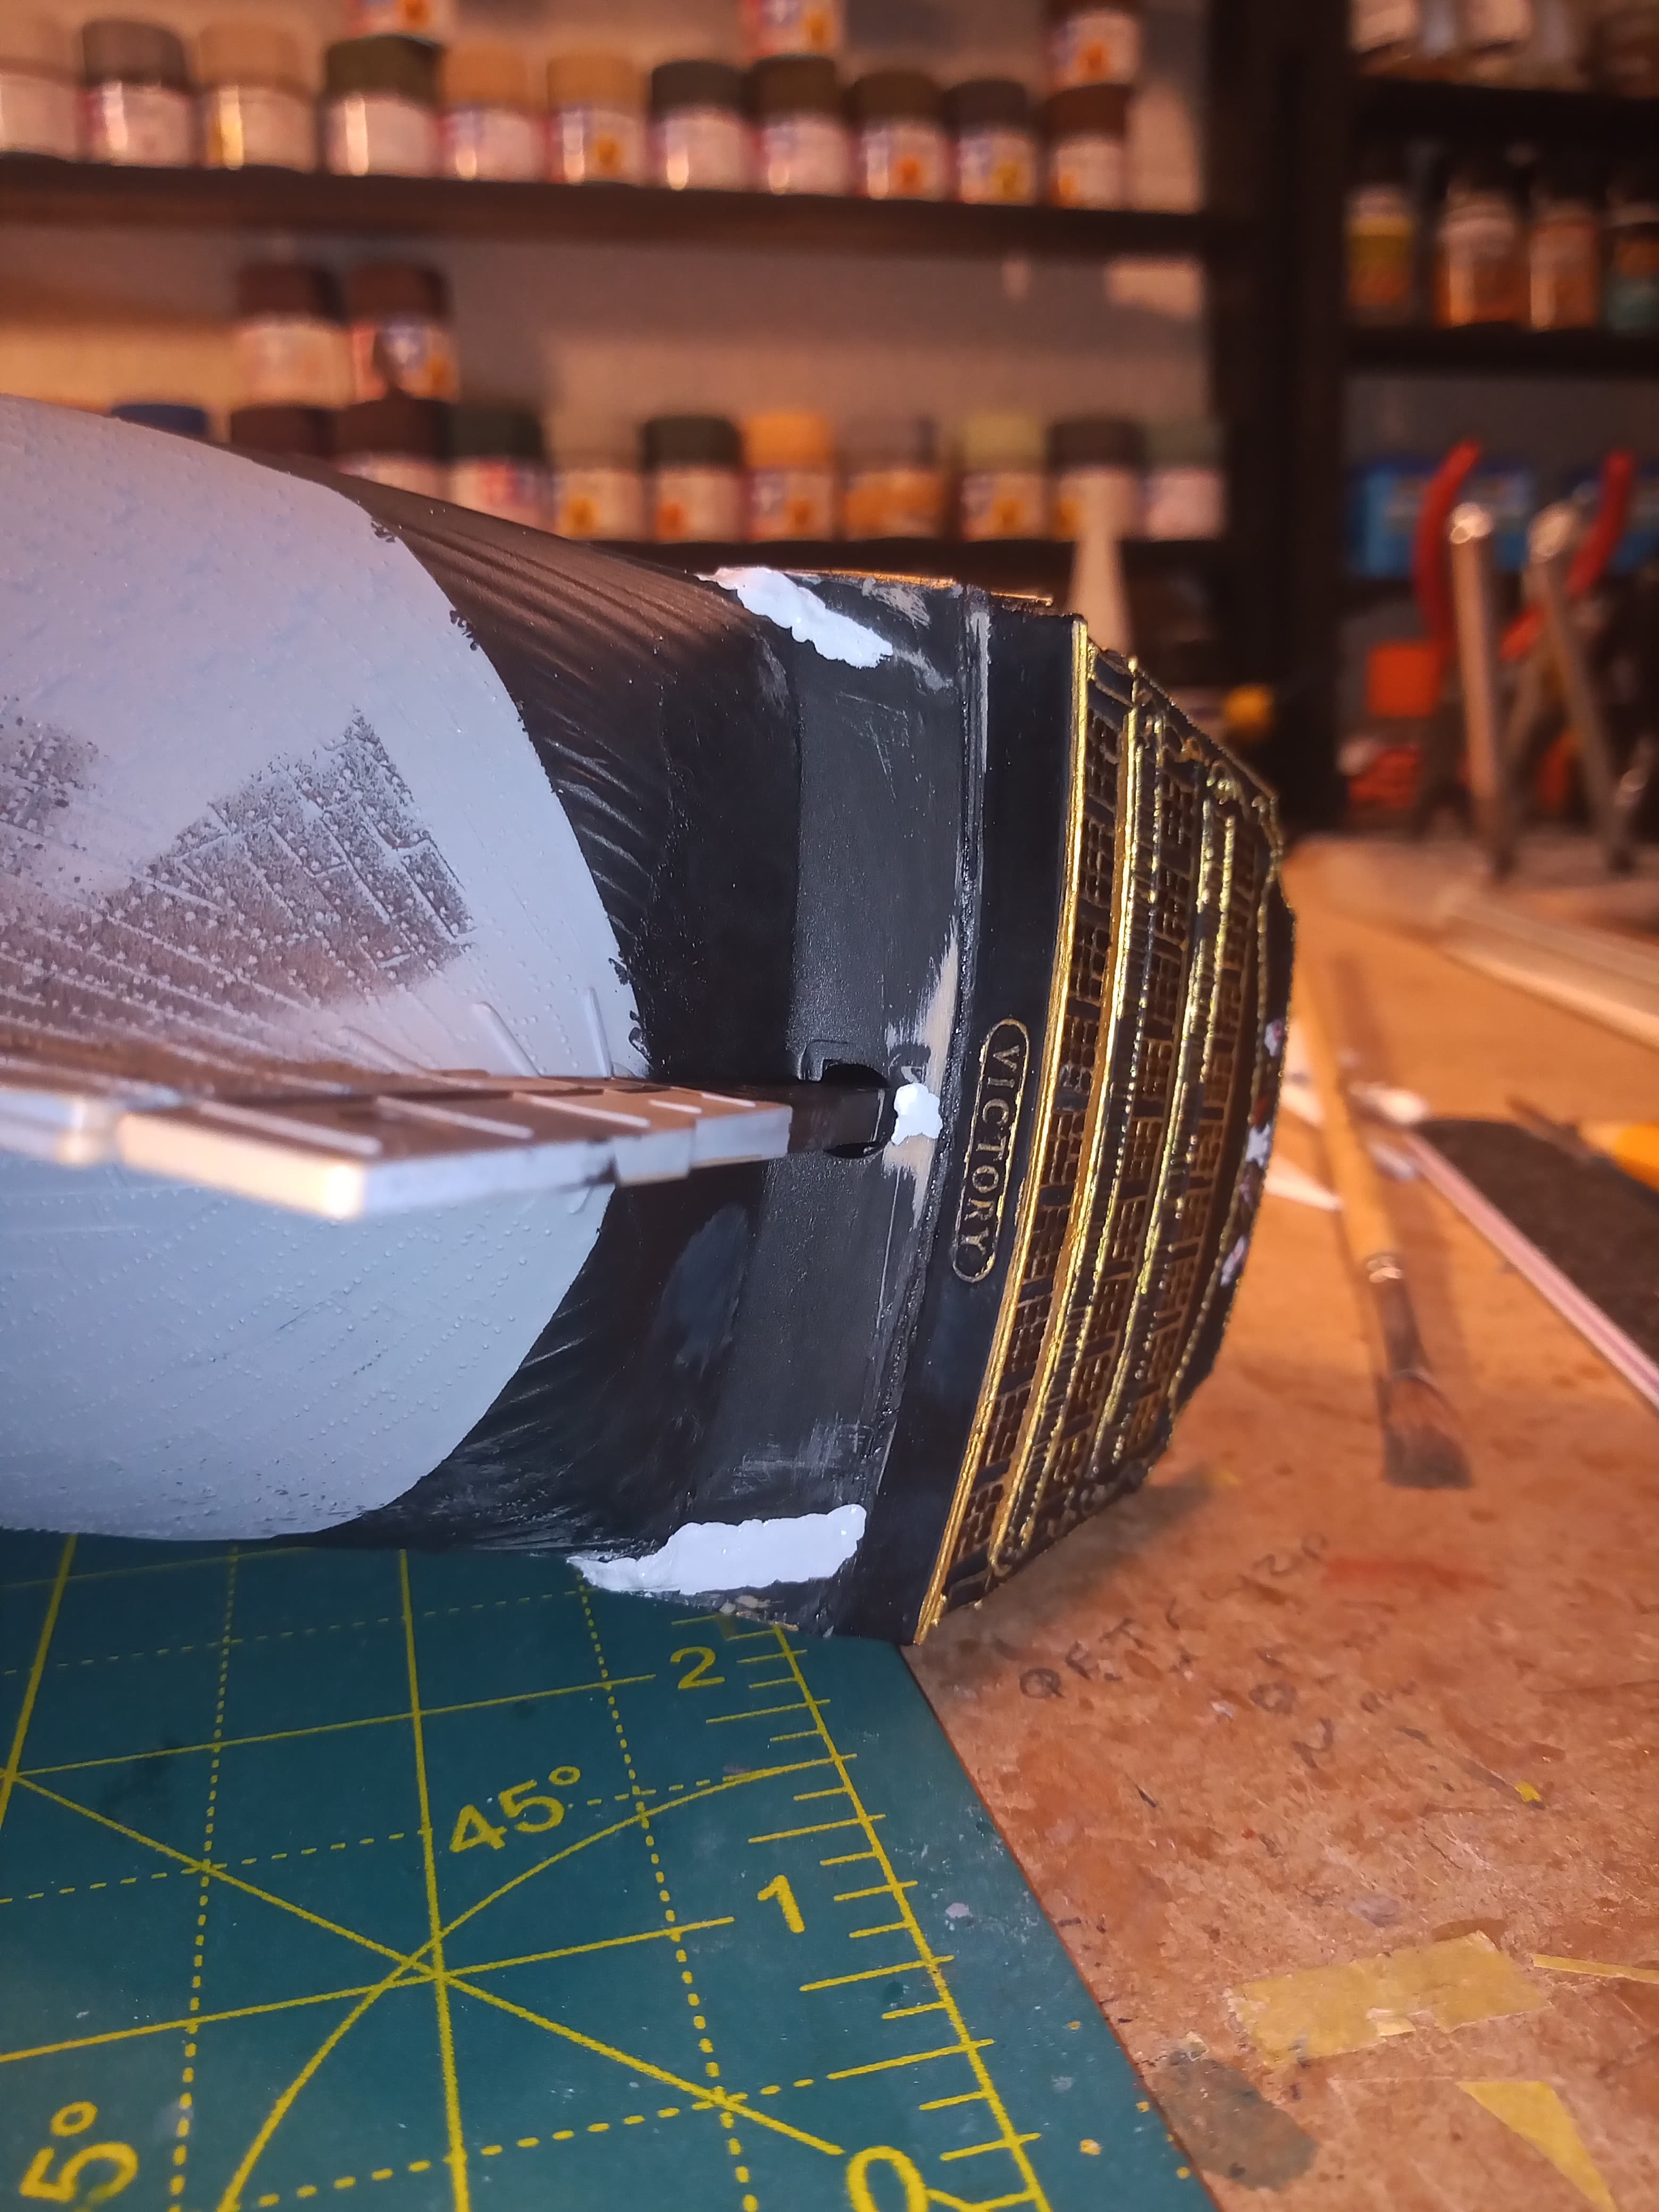
Also did the Victory name plate, which after making a complete hash of it, turned into being almost ok with a bit of touch painting tomorrow…
I did the gold initially, but with a brush that was to big and the gold went everywhere…I went to make a coffee and came back and decided to over paint that section in black again and then once I’d done that I accidentally smudged the black, but it actually only removed the black on the raised area’s and left the gold under it on the letters and the surround, so I did the whole thing and it very nearly looks ok… So will touch up a few areas tomorrow and fingers crossed it will be ok… Strange how things happen… But I’ll take it
You’re doing great John, possibly too late now but just for the windows I wondered yesterday about painting them all gold first, then dropping a smidge of…well not black actually…into each box. If the gold’s enamel & the smidges were thinnish acrylic, when dry a damp cloth could gently take it off the raised frames…? As for not-black, some windows (or all?) could be silvery & others very dark grey maybe? Or maybe all dark grey with a gloss coat on top which would do the reflecting? Sorry, just thinking aloud
Thanks Tim. And yeah, I totally get that about the windows. If I had thought about it a bit more beforehand, I would probably have done (or tried) a more reflective finish on the actual panes of glass, or maybe Tamiya X19 smoke. It did get mentioned I think when I had posted the images of when I did it but even by then, the horse had bolted and I couldnt face going back and doing it all again. I might have a little play about when I get a bit done and try the smoke finish on a few pane to see what it looks like. Ships are a big learning curve from a dedicated Tankie lol
You can say that again! Thinking more about the windows, I can’t remember what I was making years ago (something similar) but found a droplet of dark paint on a fine brush, sufficient to actually bulge proud of the frame, ended up drying exactly right & hardly needed any clean-up. I get why they needed light into the officers’ cabins, but one close broadside from an enemy ship would (I’d imagine?) shatter all of them so they must have carried loads of spares & putty! Anyhow loving your work
And not to mention the thousands of flying shards that would ruin your day … saying that, I seem to remember internal wooden shutters or heavy drapes on the windows, so may be they would be closed up before any engagements ? Unless I imaged them … which is entirely possible lol
Amazing attention to detail John, the whole stern of the ship is a lesson in painting patience to us all, all that gold framing and the flag painting would have driven me mad…my hat is off to you my friend, .
I’m sat here with underpants on my head and a pencil up each nostril going wibble lol… There’s will be another update later though … And thanks for the support… It was painful at times… Lol
Well thanks to Tim @Dioramartin who knew full well once he sowed the seed about the glass panes that I would have to do something… Damn him and his afternoon naps !!!
I used Tamiya XF19 smoke, and I am pretty happy with the results. The images here don’t really do them justice, but they have a nice reflective glint now.
Even though it’s just a dry fit, they look pretty true and straight from all angles so that’s a bonus, but I figured if there was a bit of bend in any of them, I could sort that out when I fix the rigging in place…
Tim has a lot to be blamed for John, . That aside, you’re doing an amazing job on all that fine detail painting, . All the challenges will be worth it when you finally get to display it on that circa 1800s Portsmouth dockside diorama that you’re planning to do next…think of all that DAS engraving and water pouring you get to practice on, .
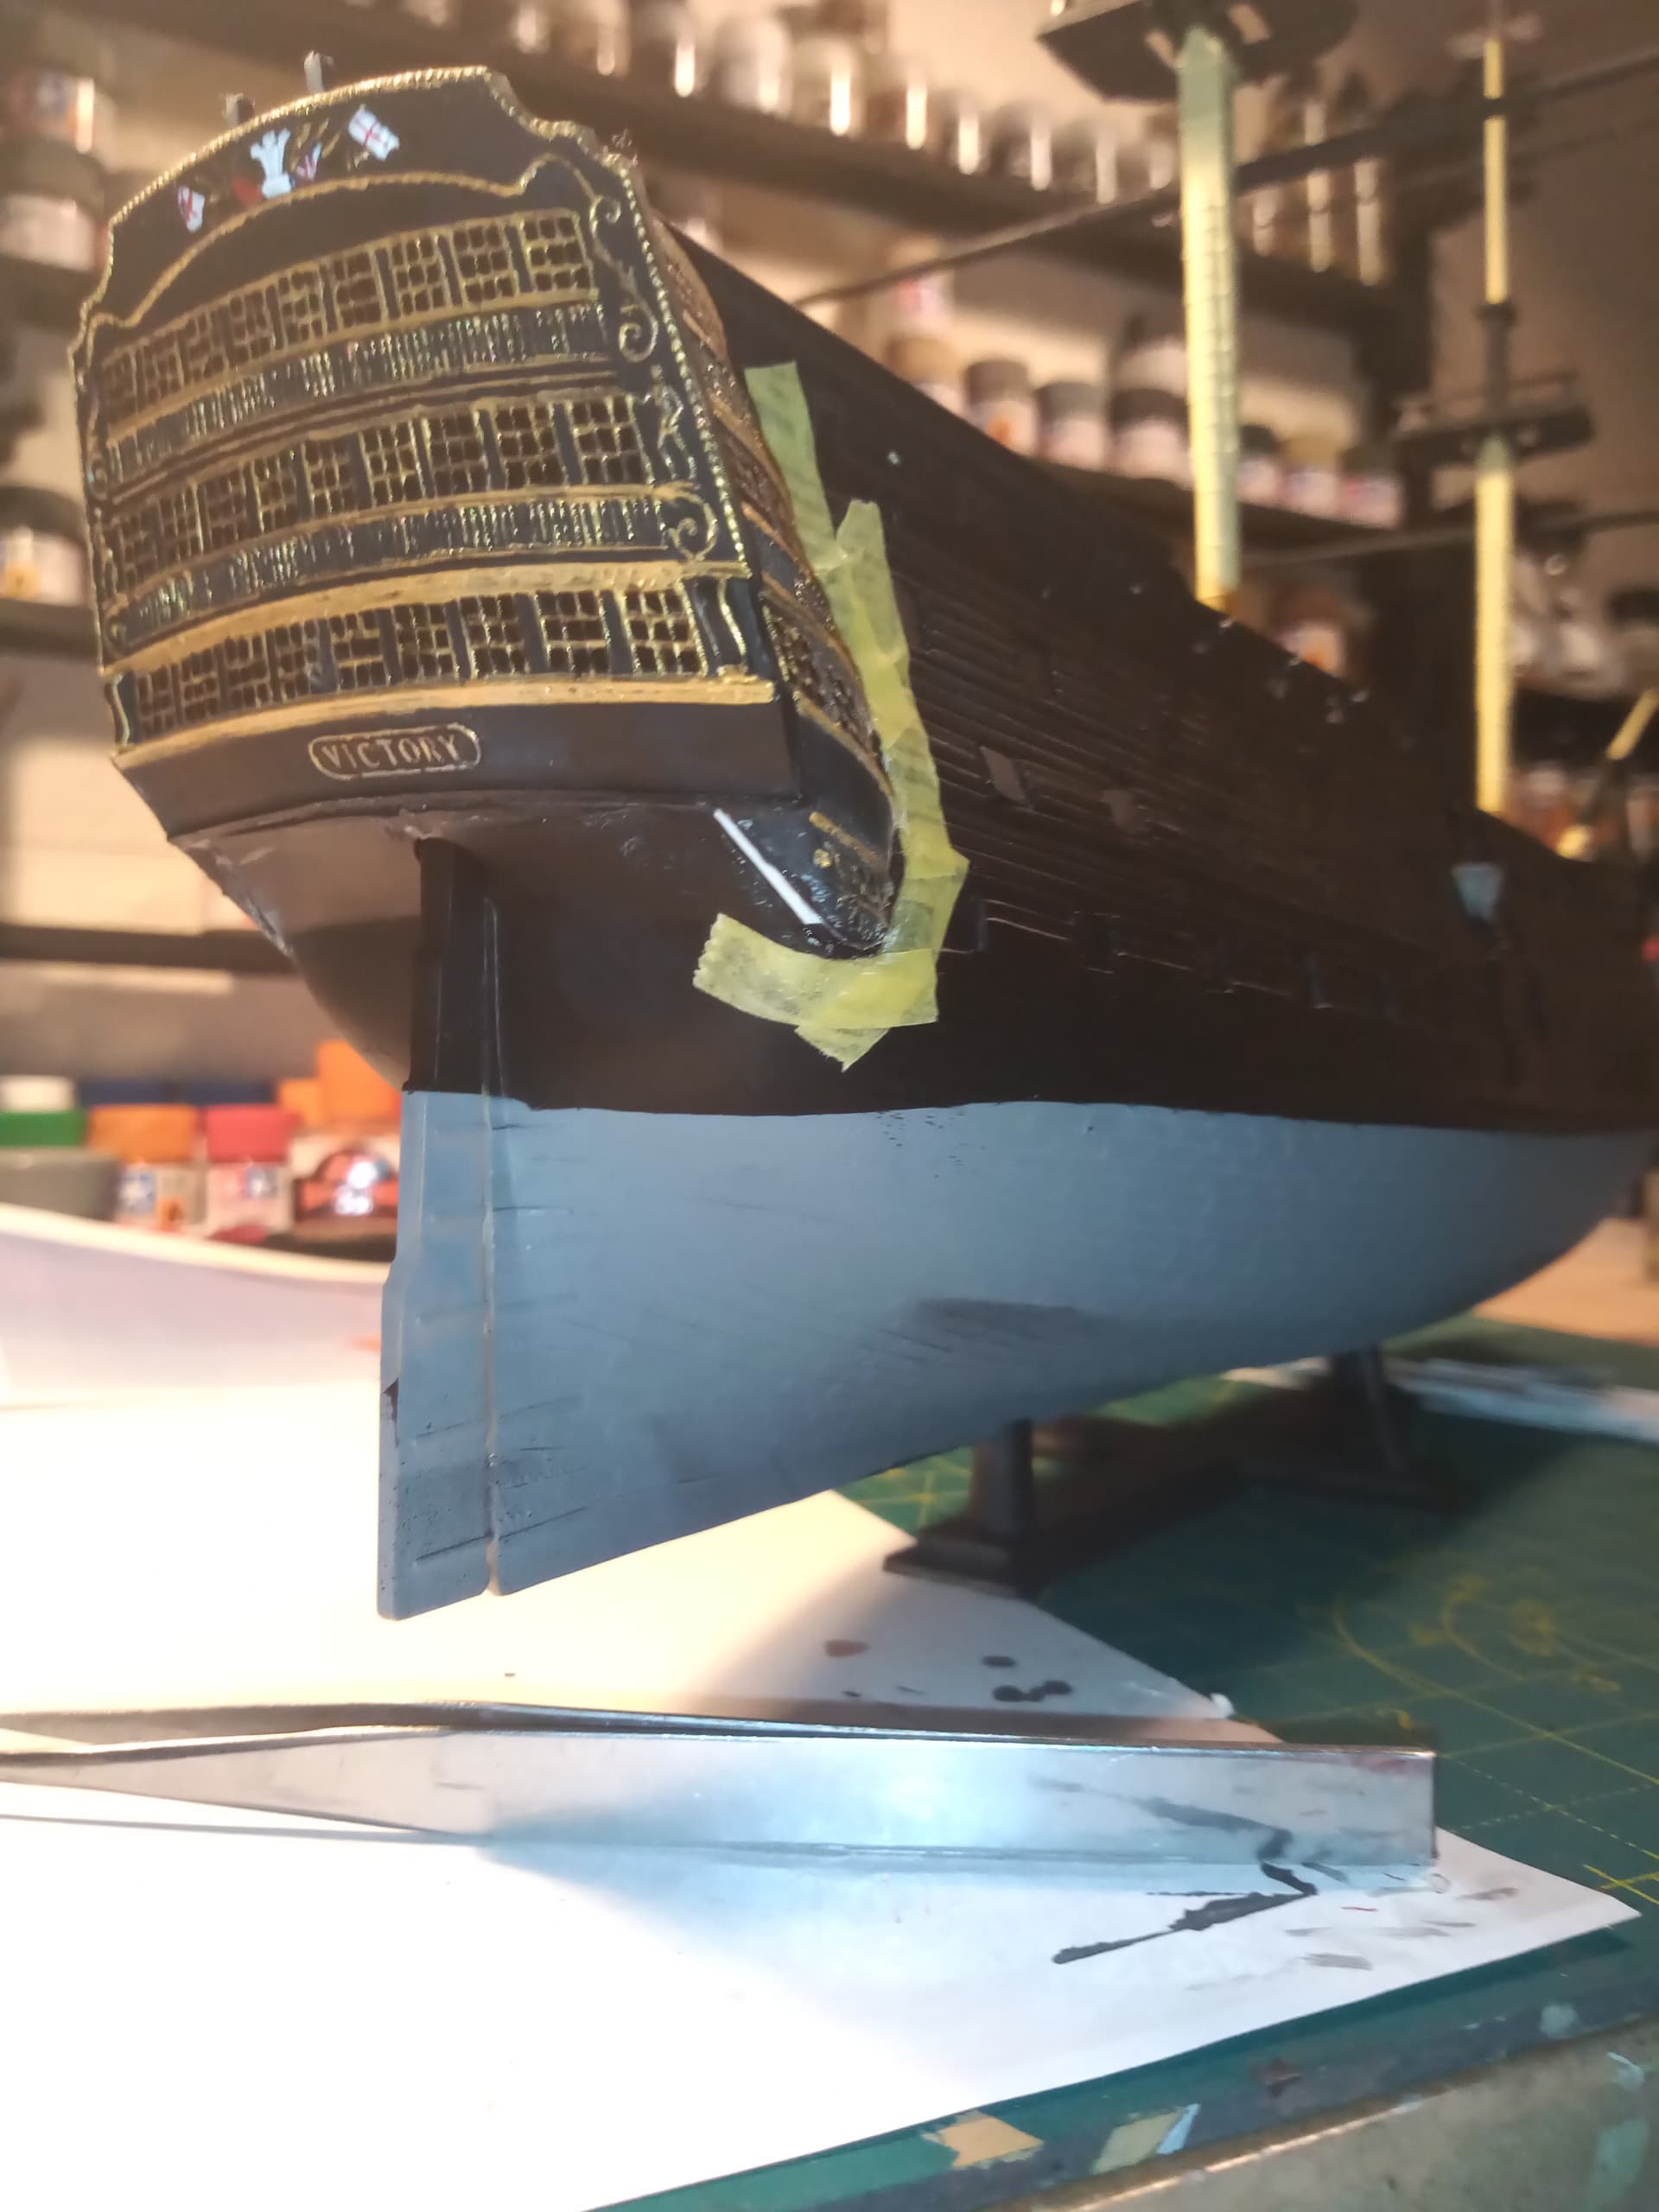
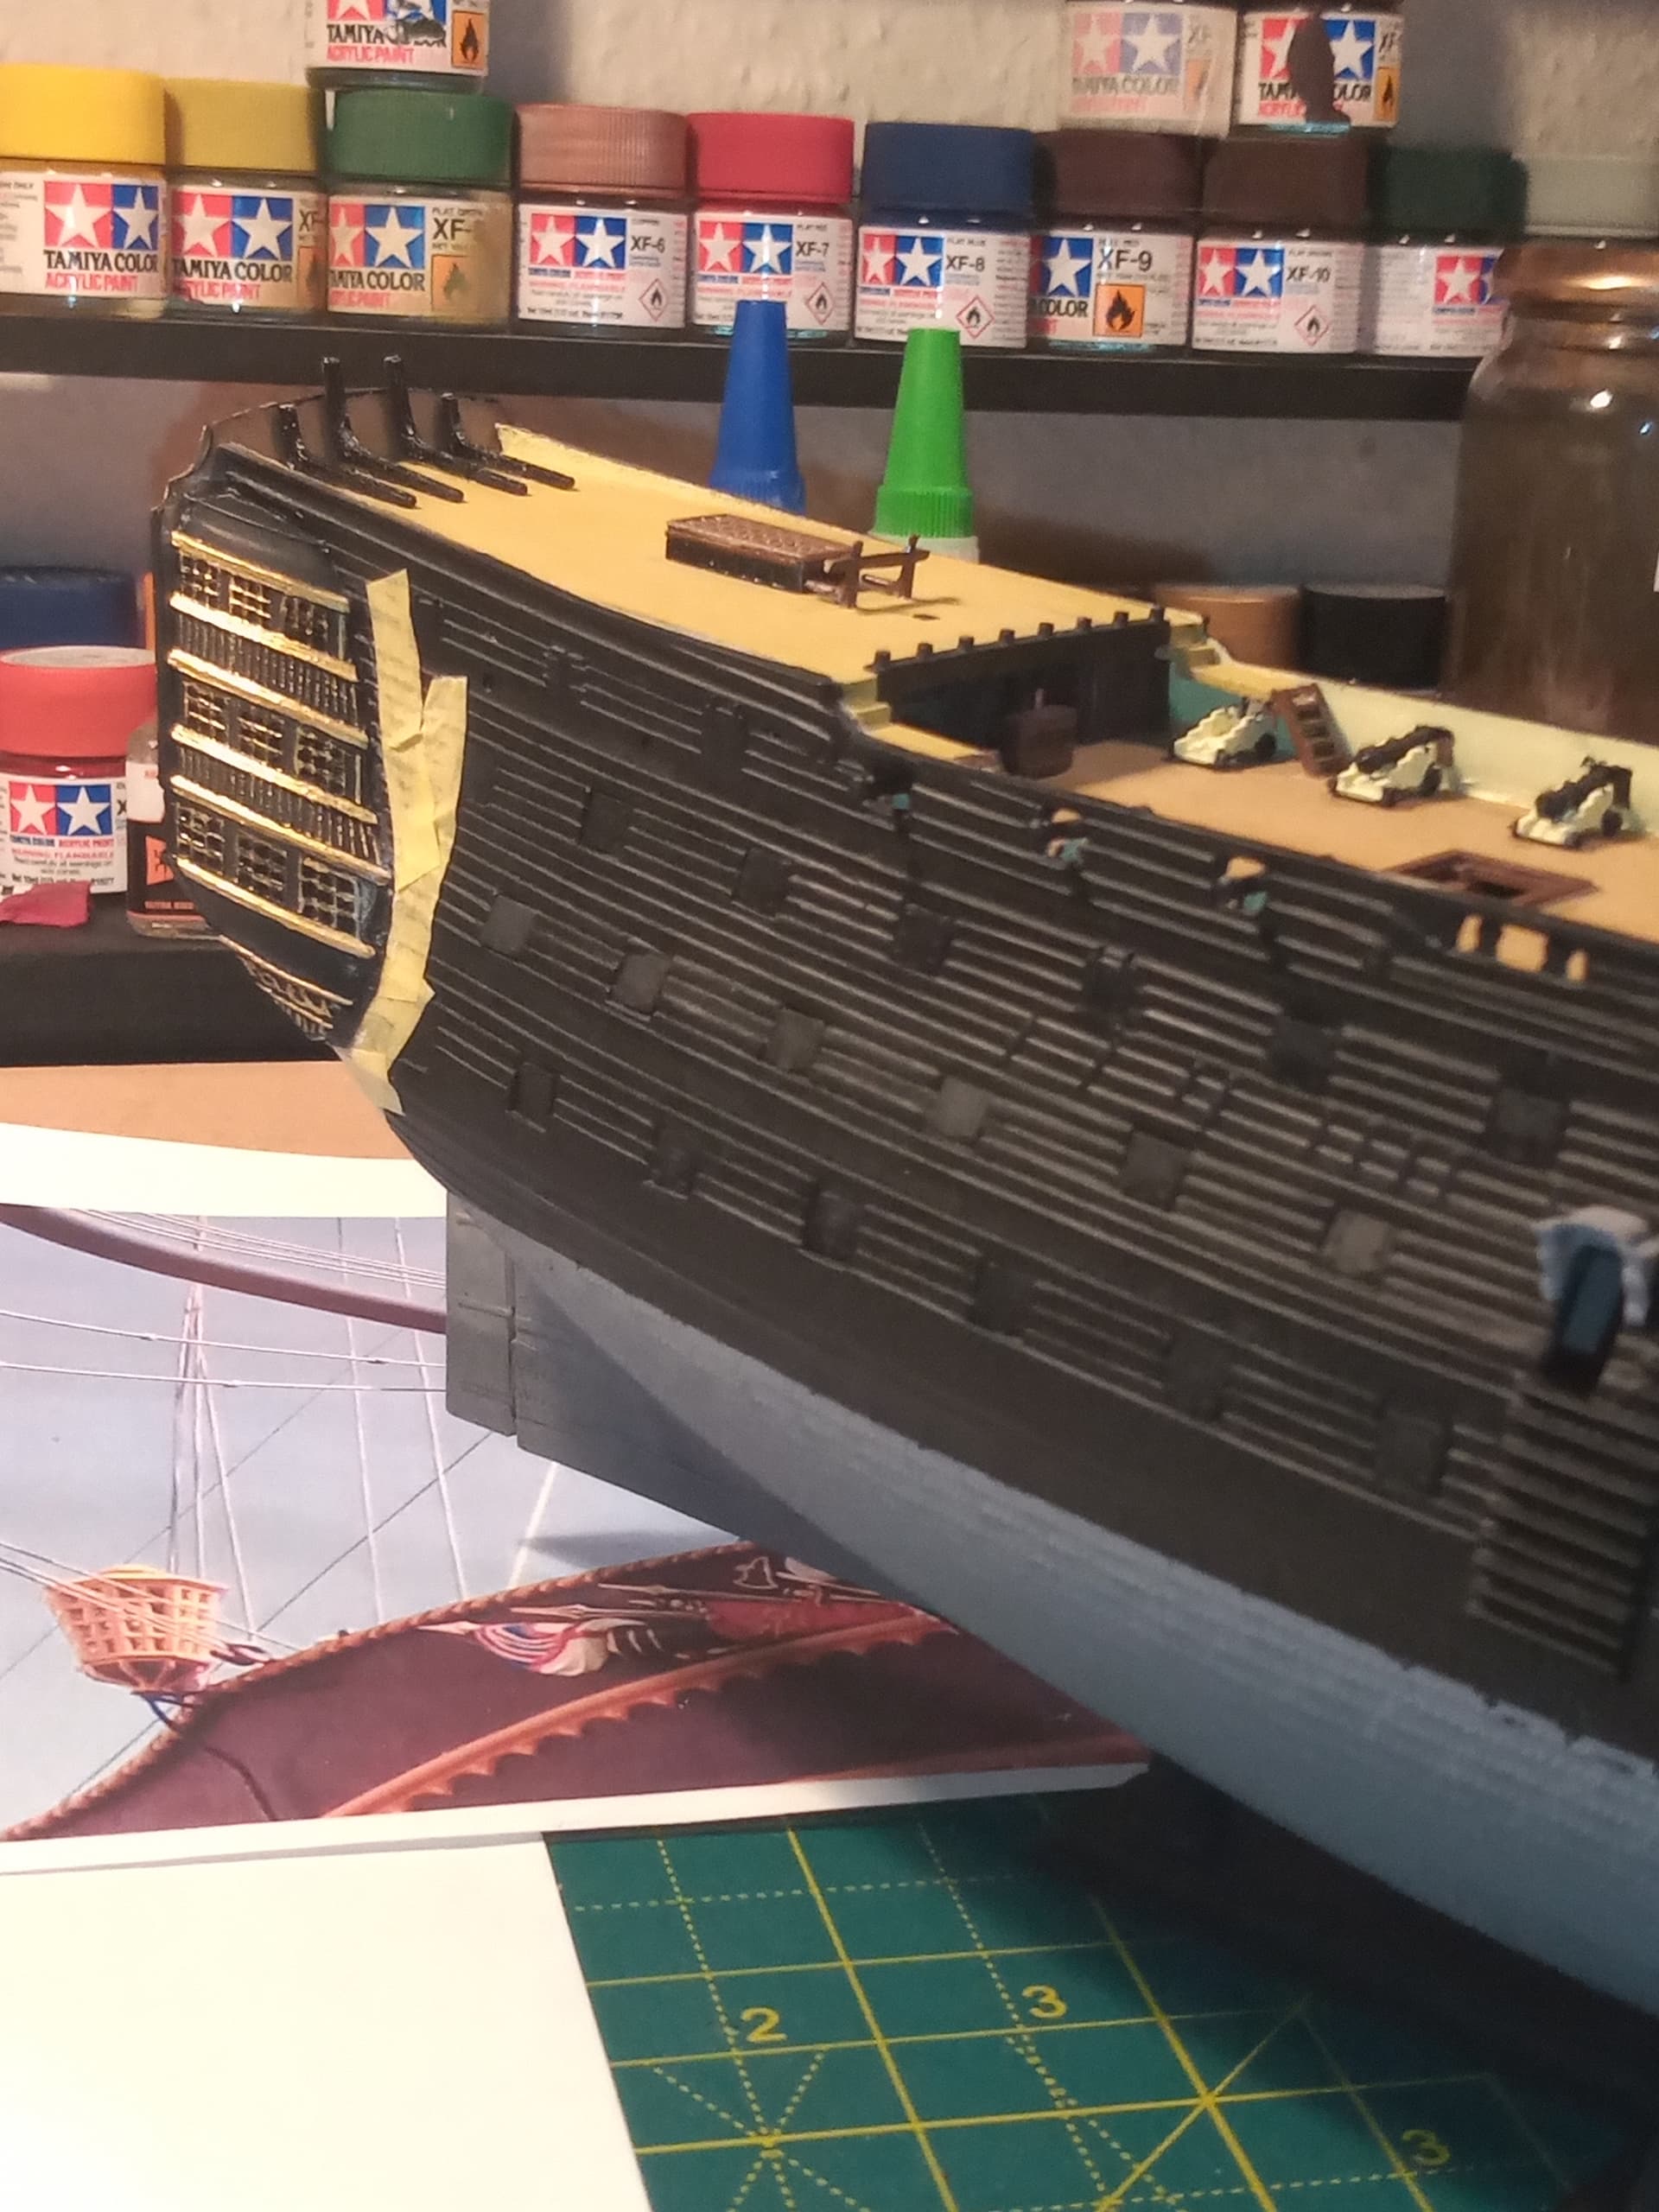
Well, a few ups and downs with Victory…
I put the stern section on, and the wing sections left and right.
During the dry fit of the wings, I found out that both sides didn’t line up true and both sides had some serious gaps and issues.
If you fit flush against the hull, there was a large over hang from the stern which isn’t there on the real one, so I had to put them on at slight angles to bring out the rear, which in turn made the gap at the bottom even bigger on the bottom right.
I have semi sorted that with some thin plastic strip and super glue gel smoothed over it.
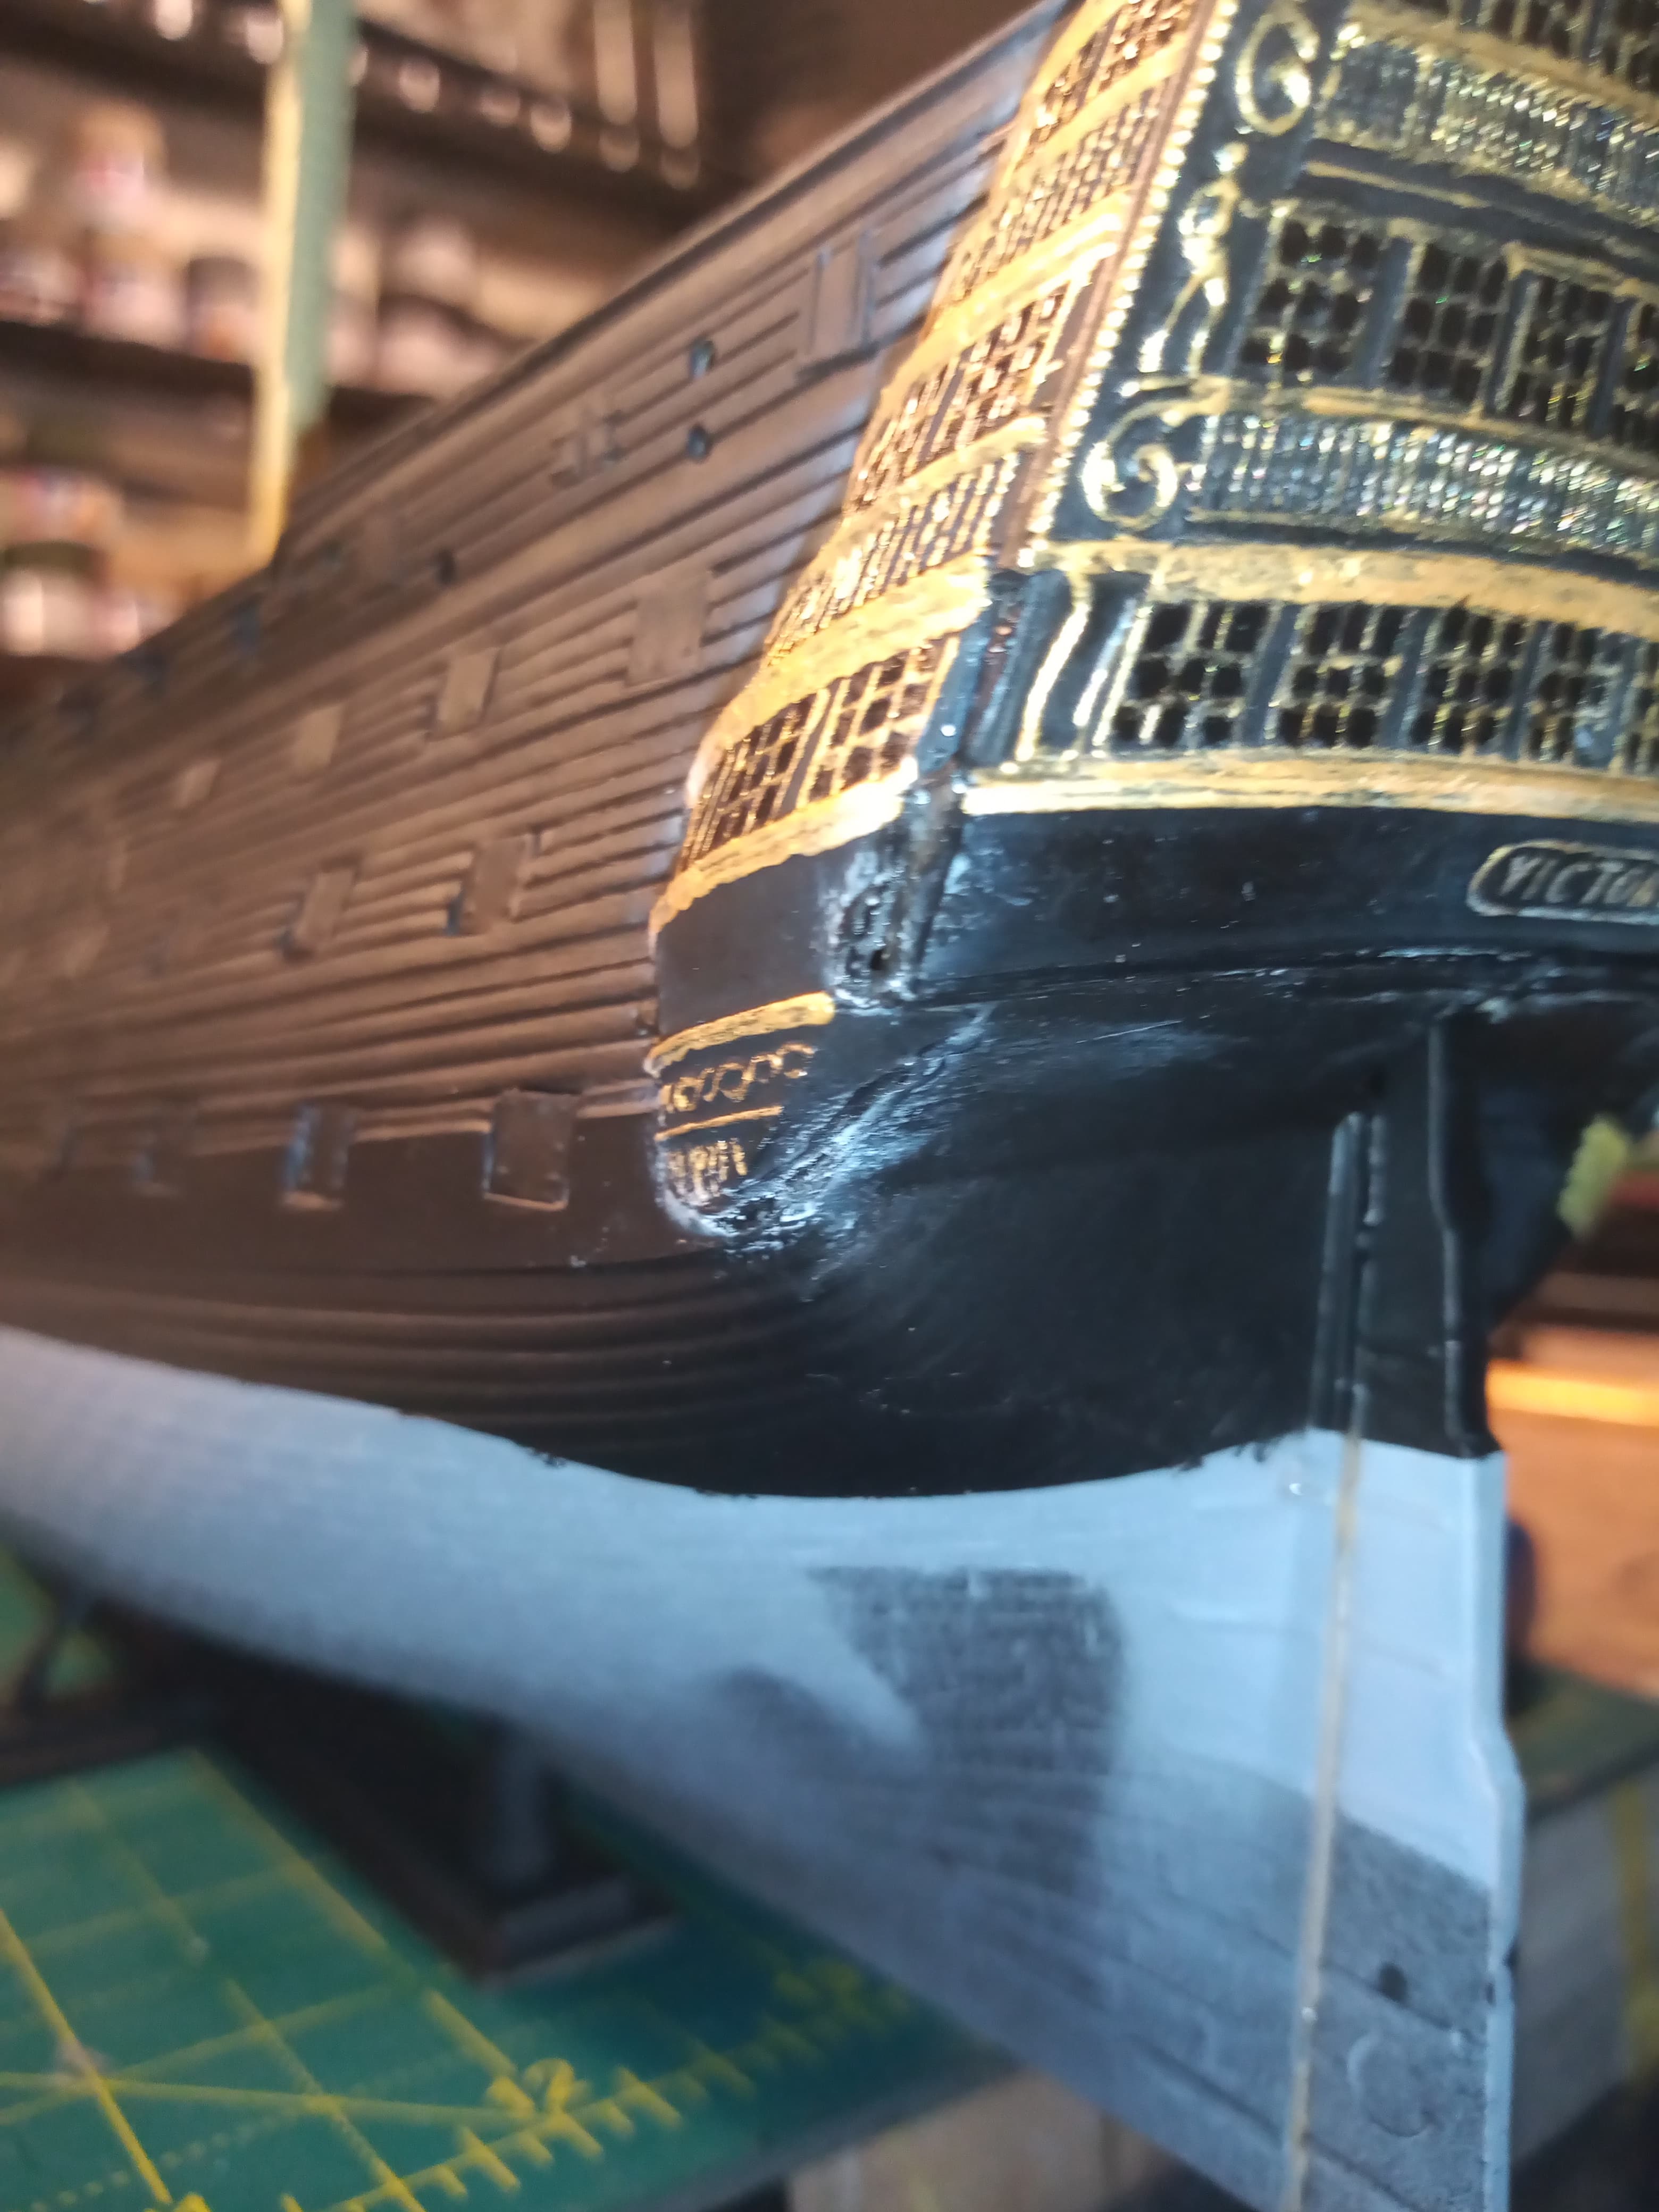
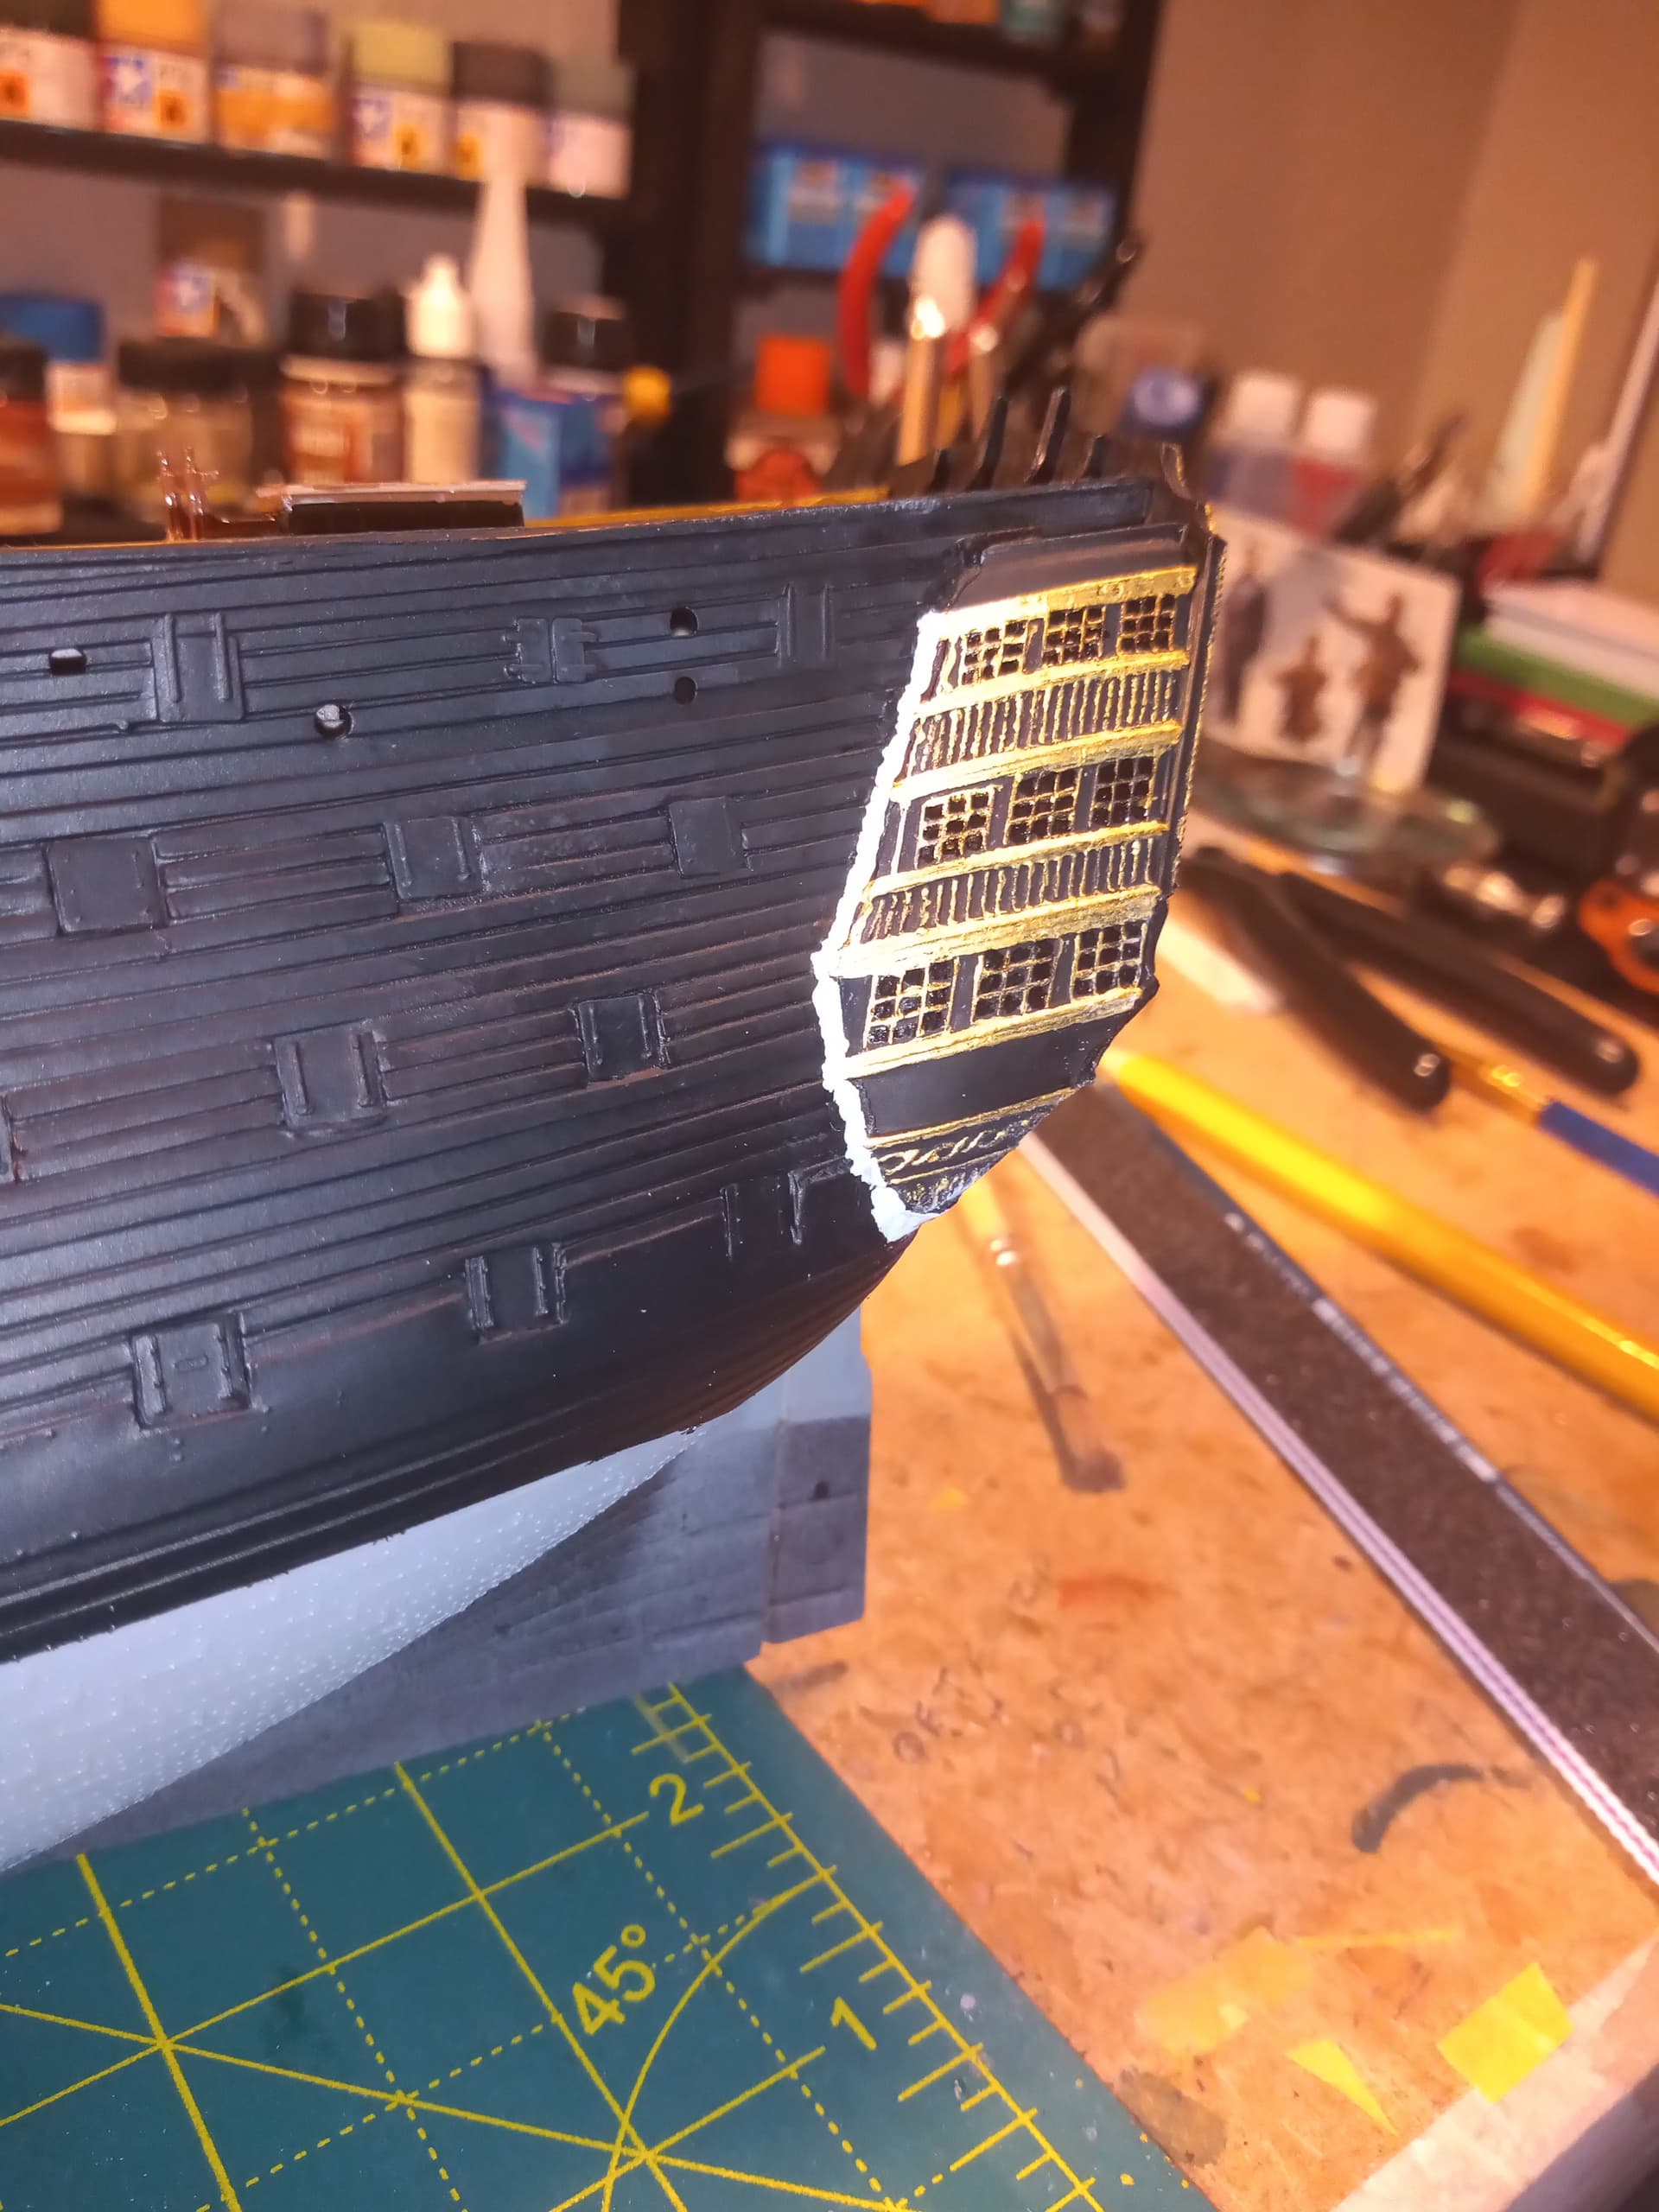
Similar issue on the left, however
this gap is just on the corner and slightly on the lower join. Again super glue gel was used to fill that and then some liquid Cyno to finish it.
Because of the angle it had to be fitted there were also gaps on both forward edges … Super glue gel again to fix.
Although this is pain, it is good the stern is now on, but it will take a fair bit of clean up and paint touch ups all round those areas.
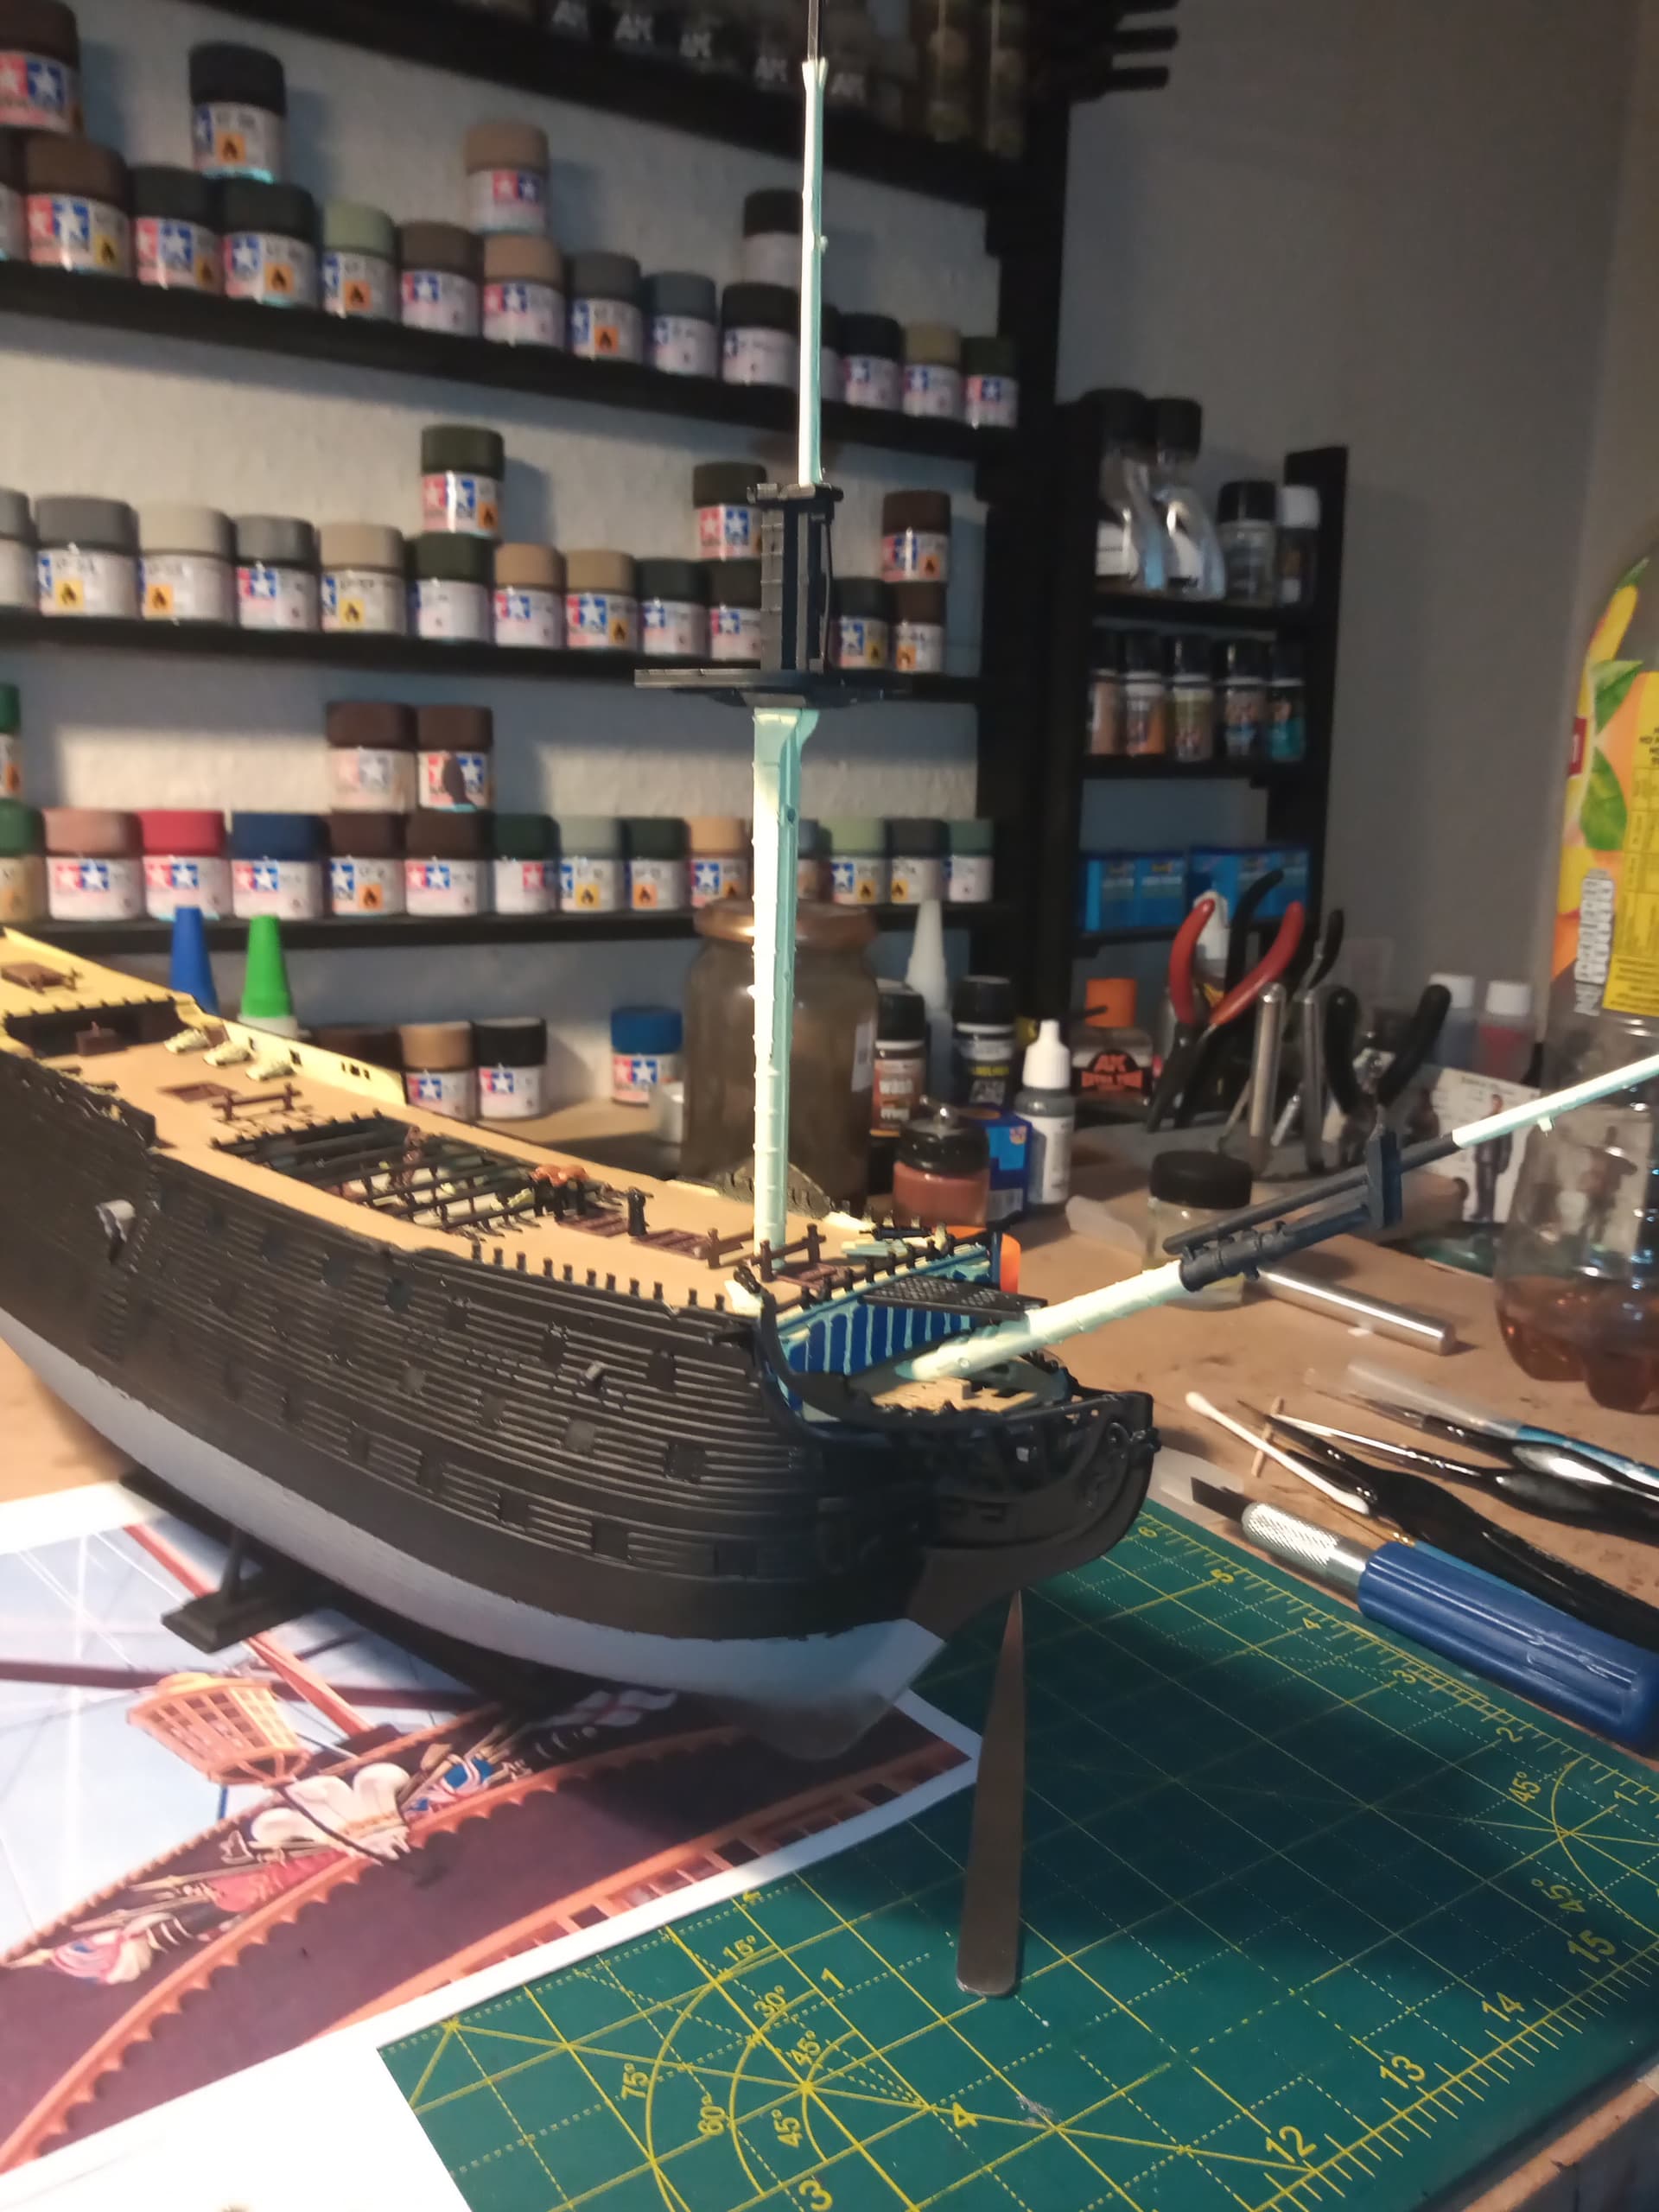
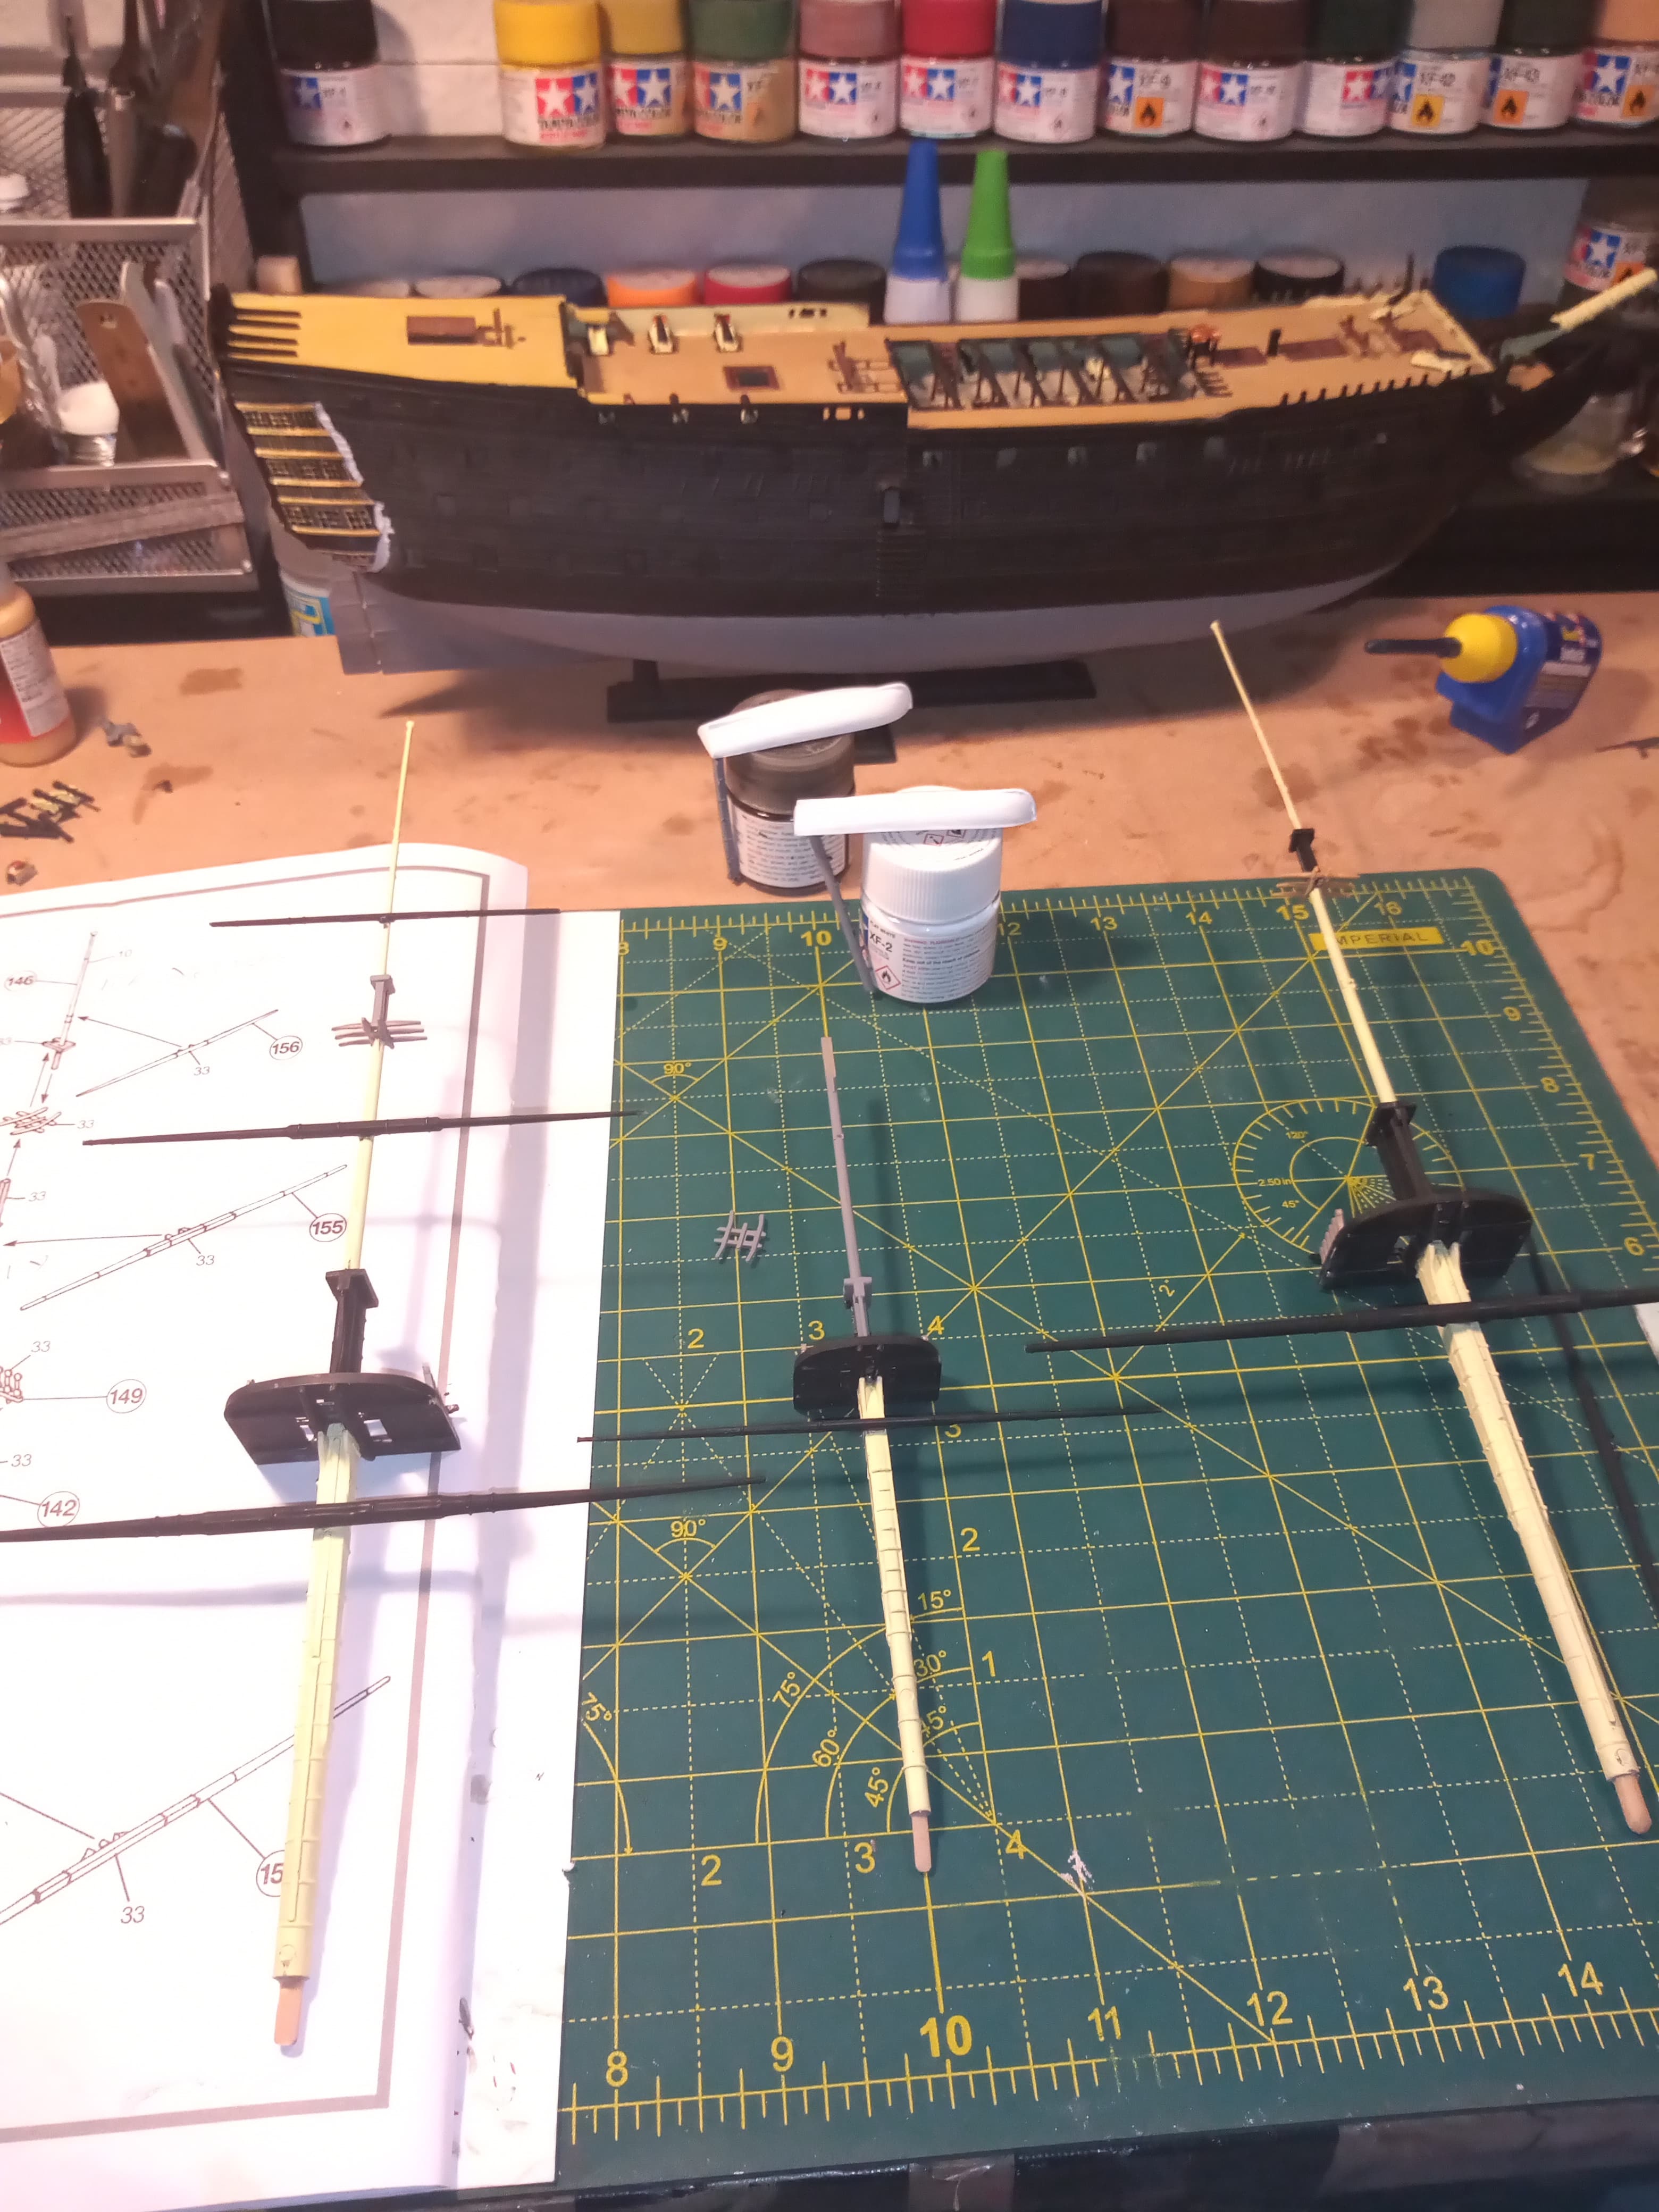
Have begun assembly of the masts. The front one is almost done apart from a few smaller bit on the lower 2 crossbeams (not sure of correct name) and the middle mast has been partially done. I’m taking a while with these as I want to make sure they are as straight and level up and down as they can possibly be. They are just dry fitted at the mo.
All 3 are pretty straight so am happy with that. The middle mast pulls ever so slightly to the Port, so when it’s fitted for real, I will tighten it up with some rigging lines to bring it back over …
Looks like things are coming along quite grandly. I had some similar fitting issues with my HMS Victory (I’m building (still!) the Heller version) regarding the sternpiece and the wings, but I don’t recall having big gaps or anything. And like you, I spent countless hours trying to get all the painting done on the sternpiece. Maybe if, as you said in a previous post, I sit around with some underpants on my head, things might go faster!