Lol… Cheers Tim @timmyp … To be fair to the kit, it’s old and you probably have to cut it a bit of slack. For its age, it does have some nice detail and that makes up for the flash, zillion sink marks, and warping worse than Star Trek Enterprise going into a wormhole
I am actually really enjoying building it … It would of been nice to add more intricate detail, but my tall ship knowledge is lacking to much, and I don’t think the nerves could take it… I just looked at the rigging instructions … Time for underpants on the head and pencils up the nose again lol…
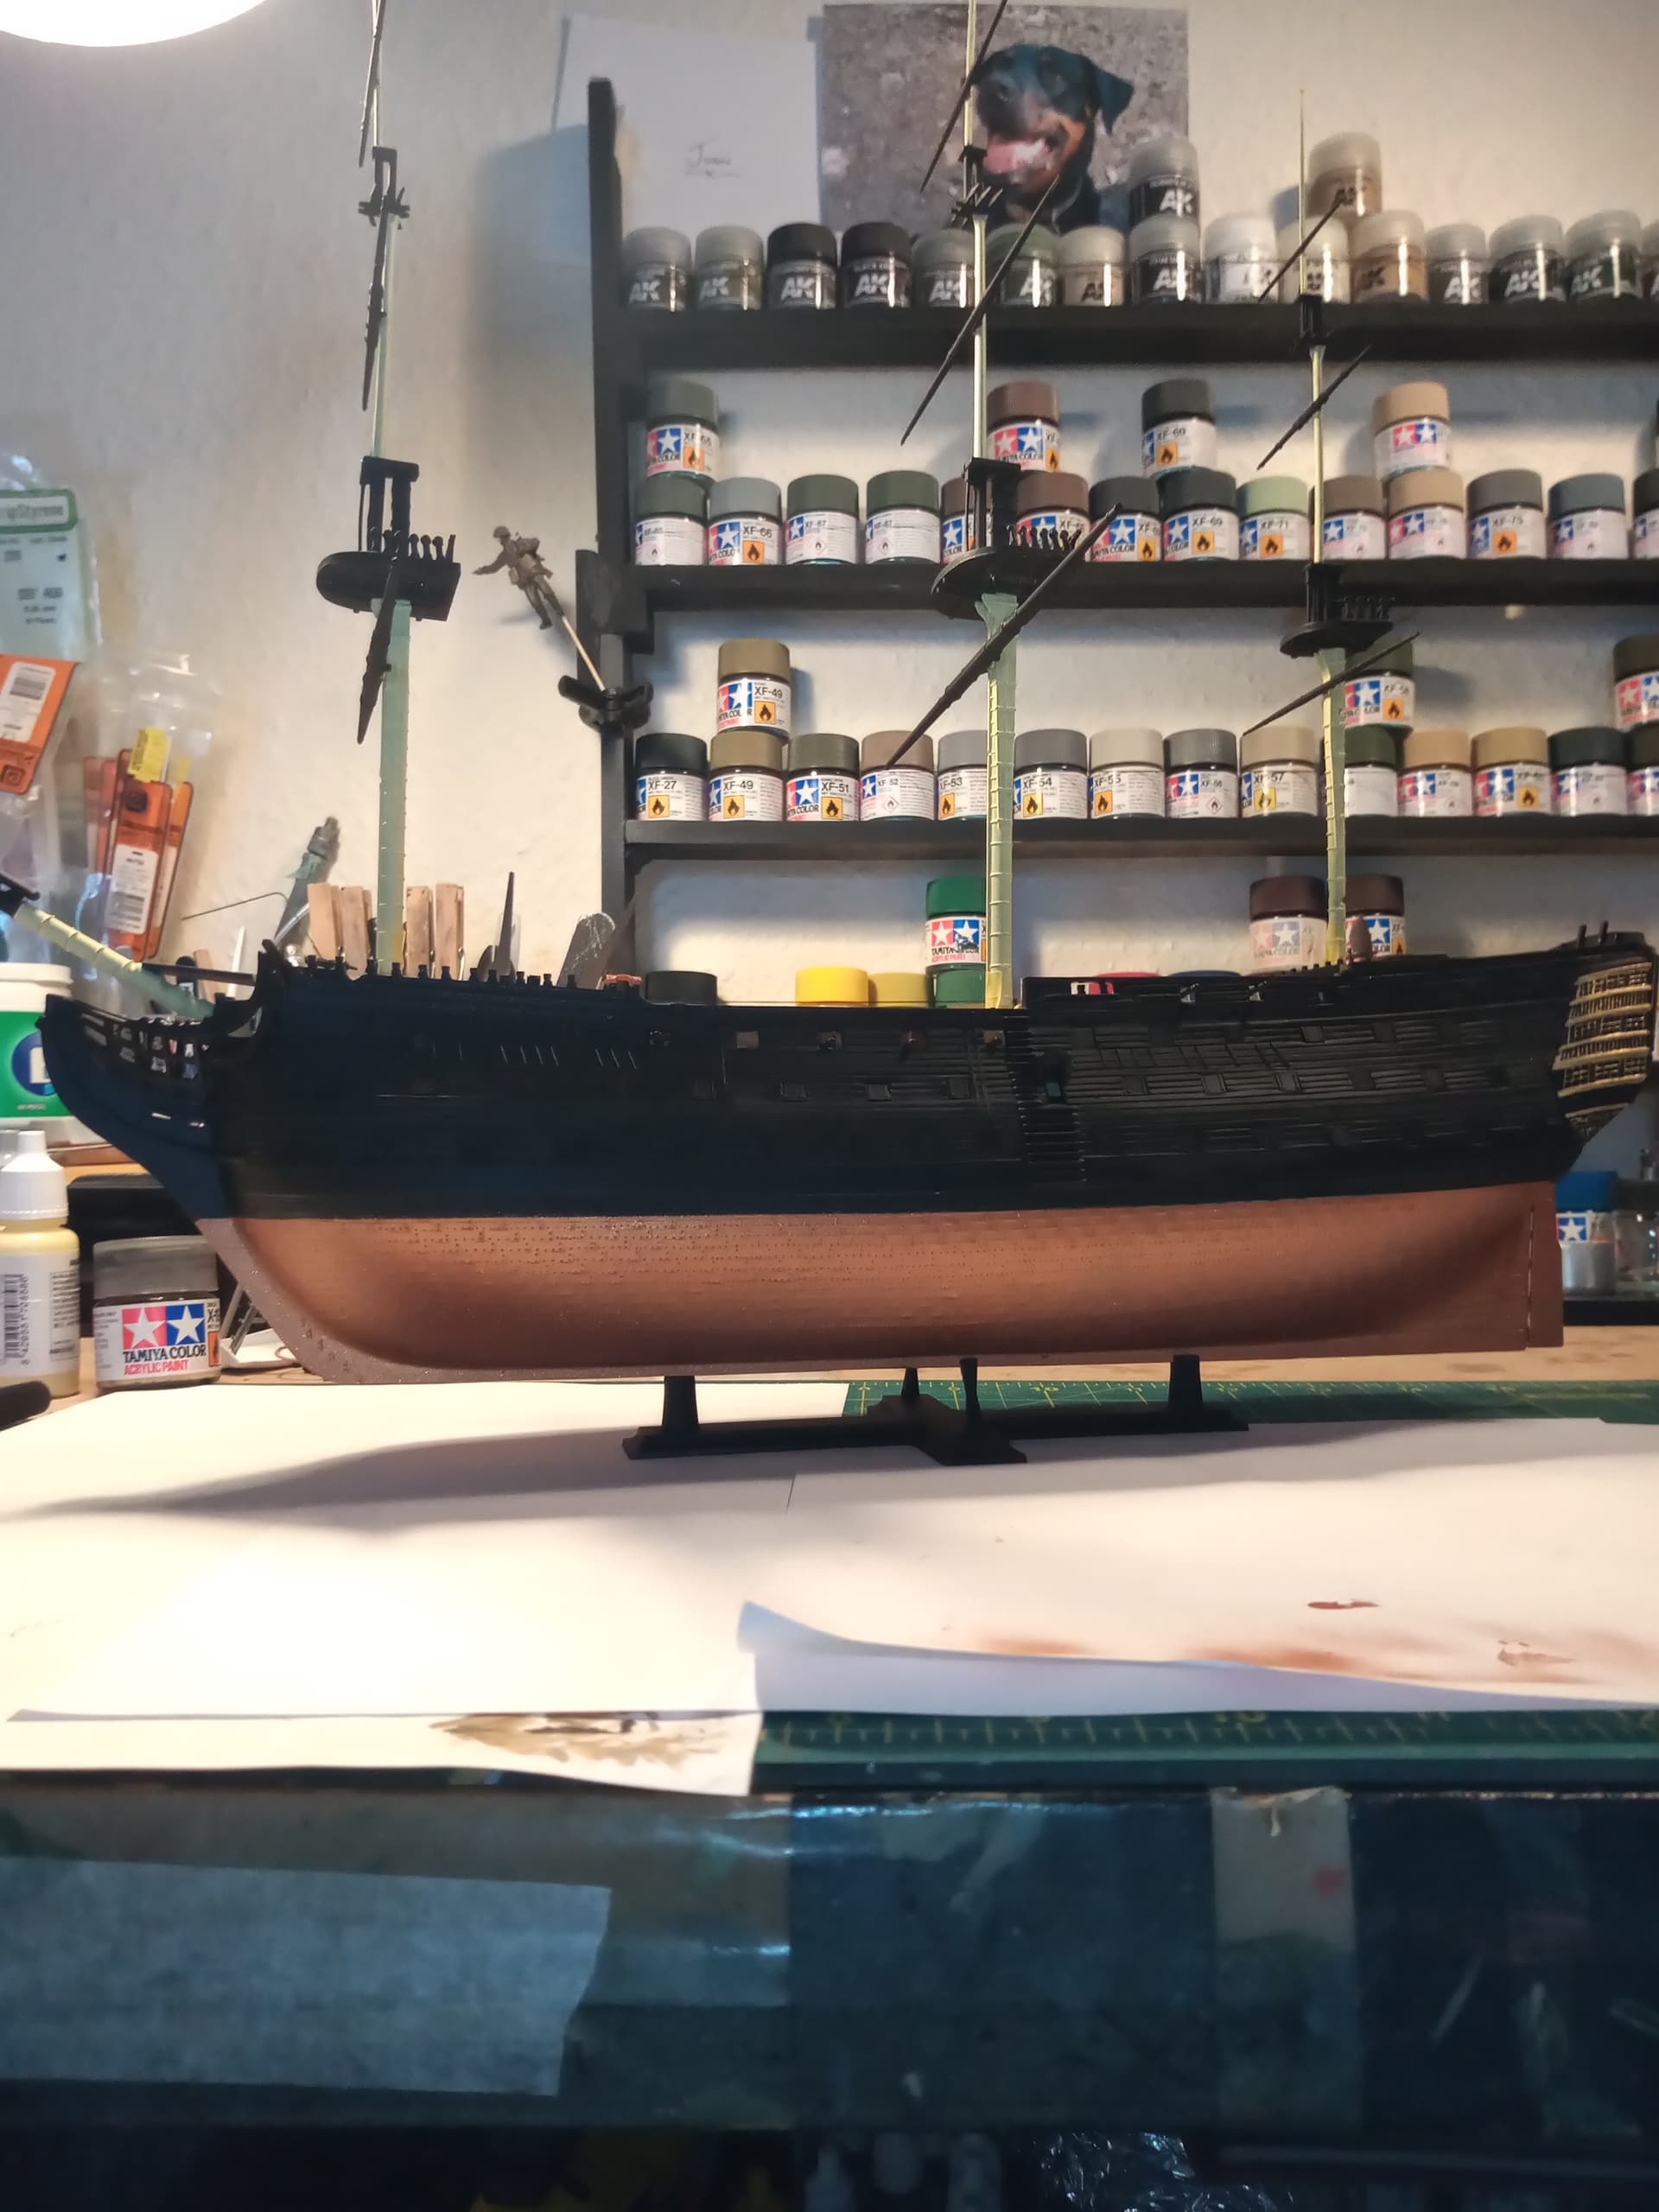
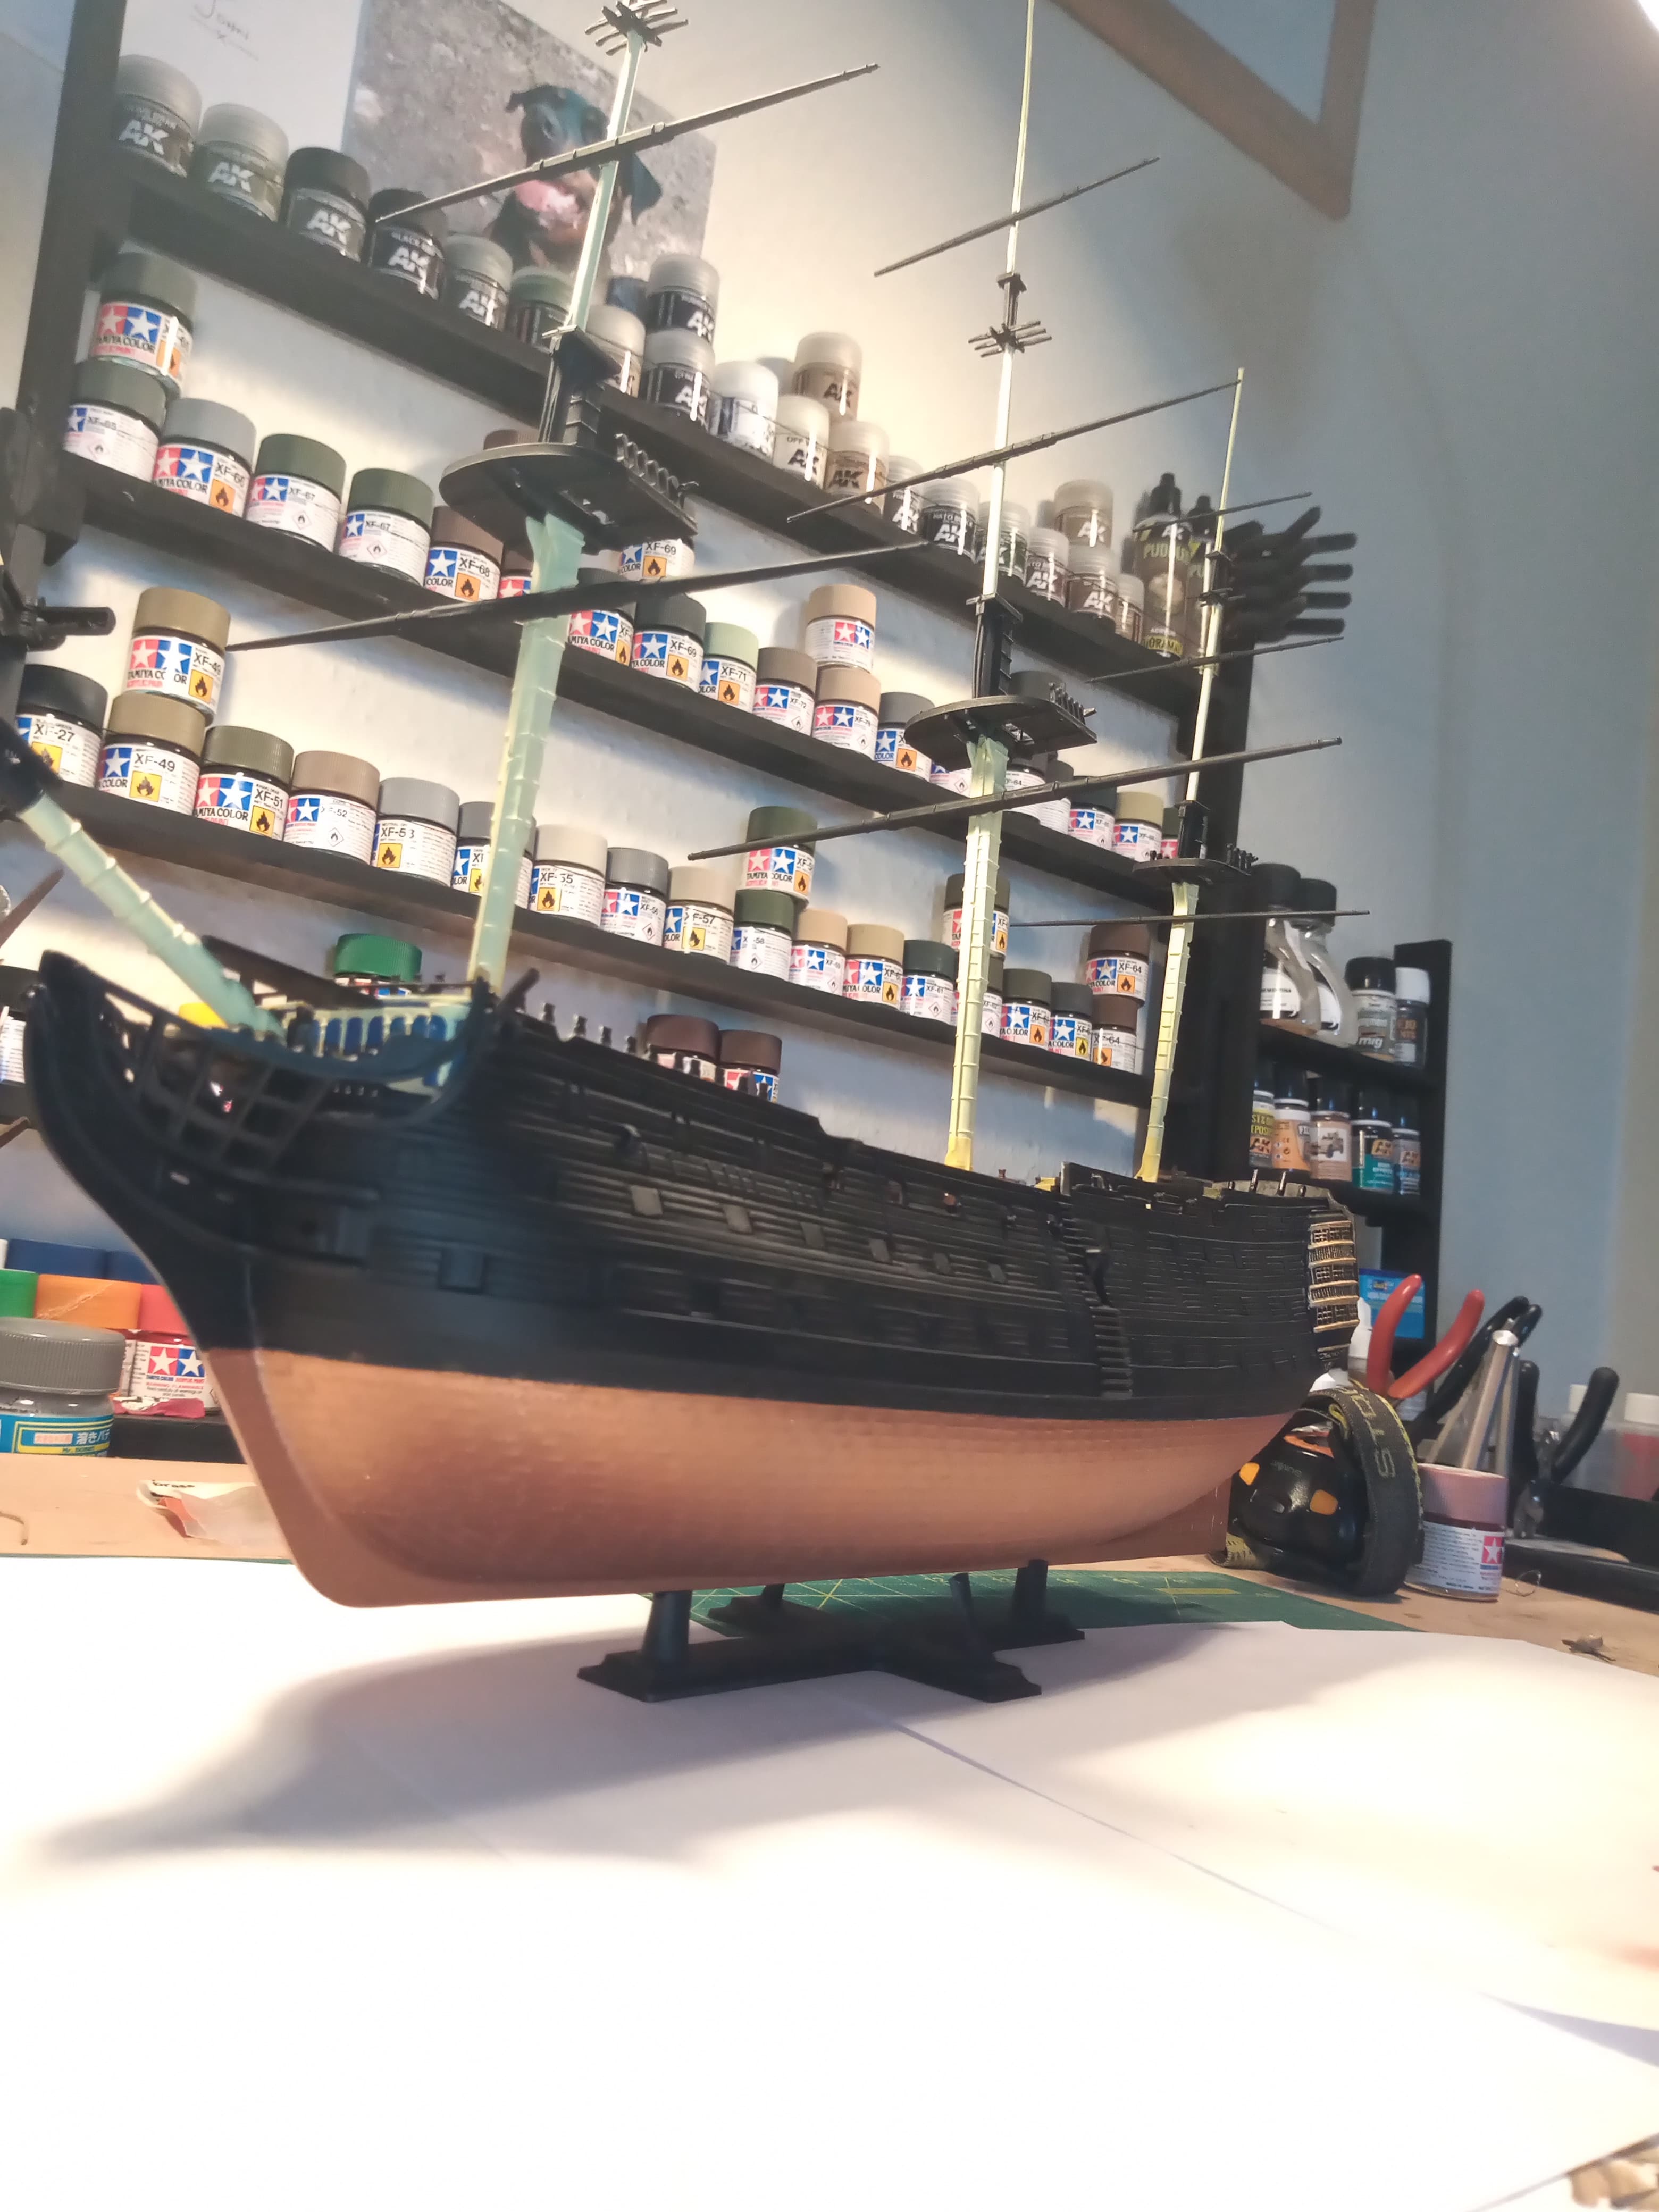
I need to work out a plan of action for painting. Once the stern area is done with the touch paint and Mr Surfacer done I want to get as much fitted on the hull except the masts, and then start on the copper bottom and the striped horizontal areas…
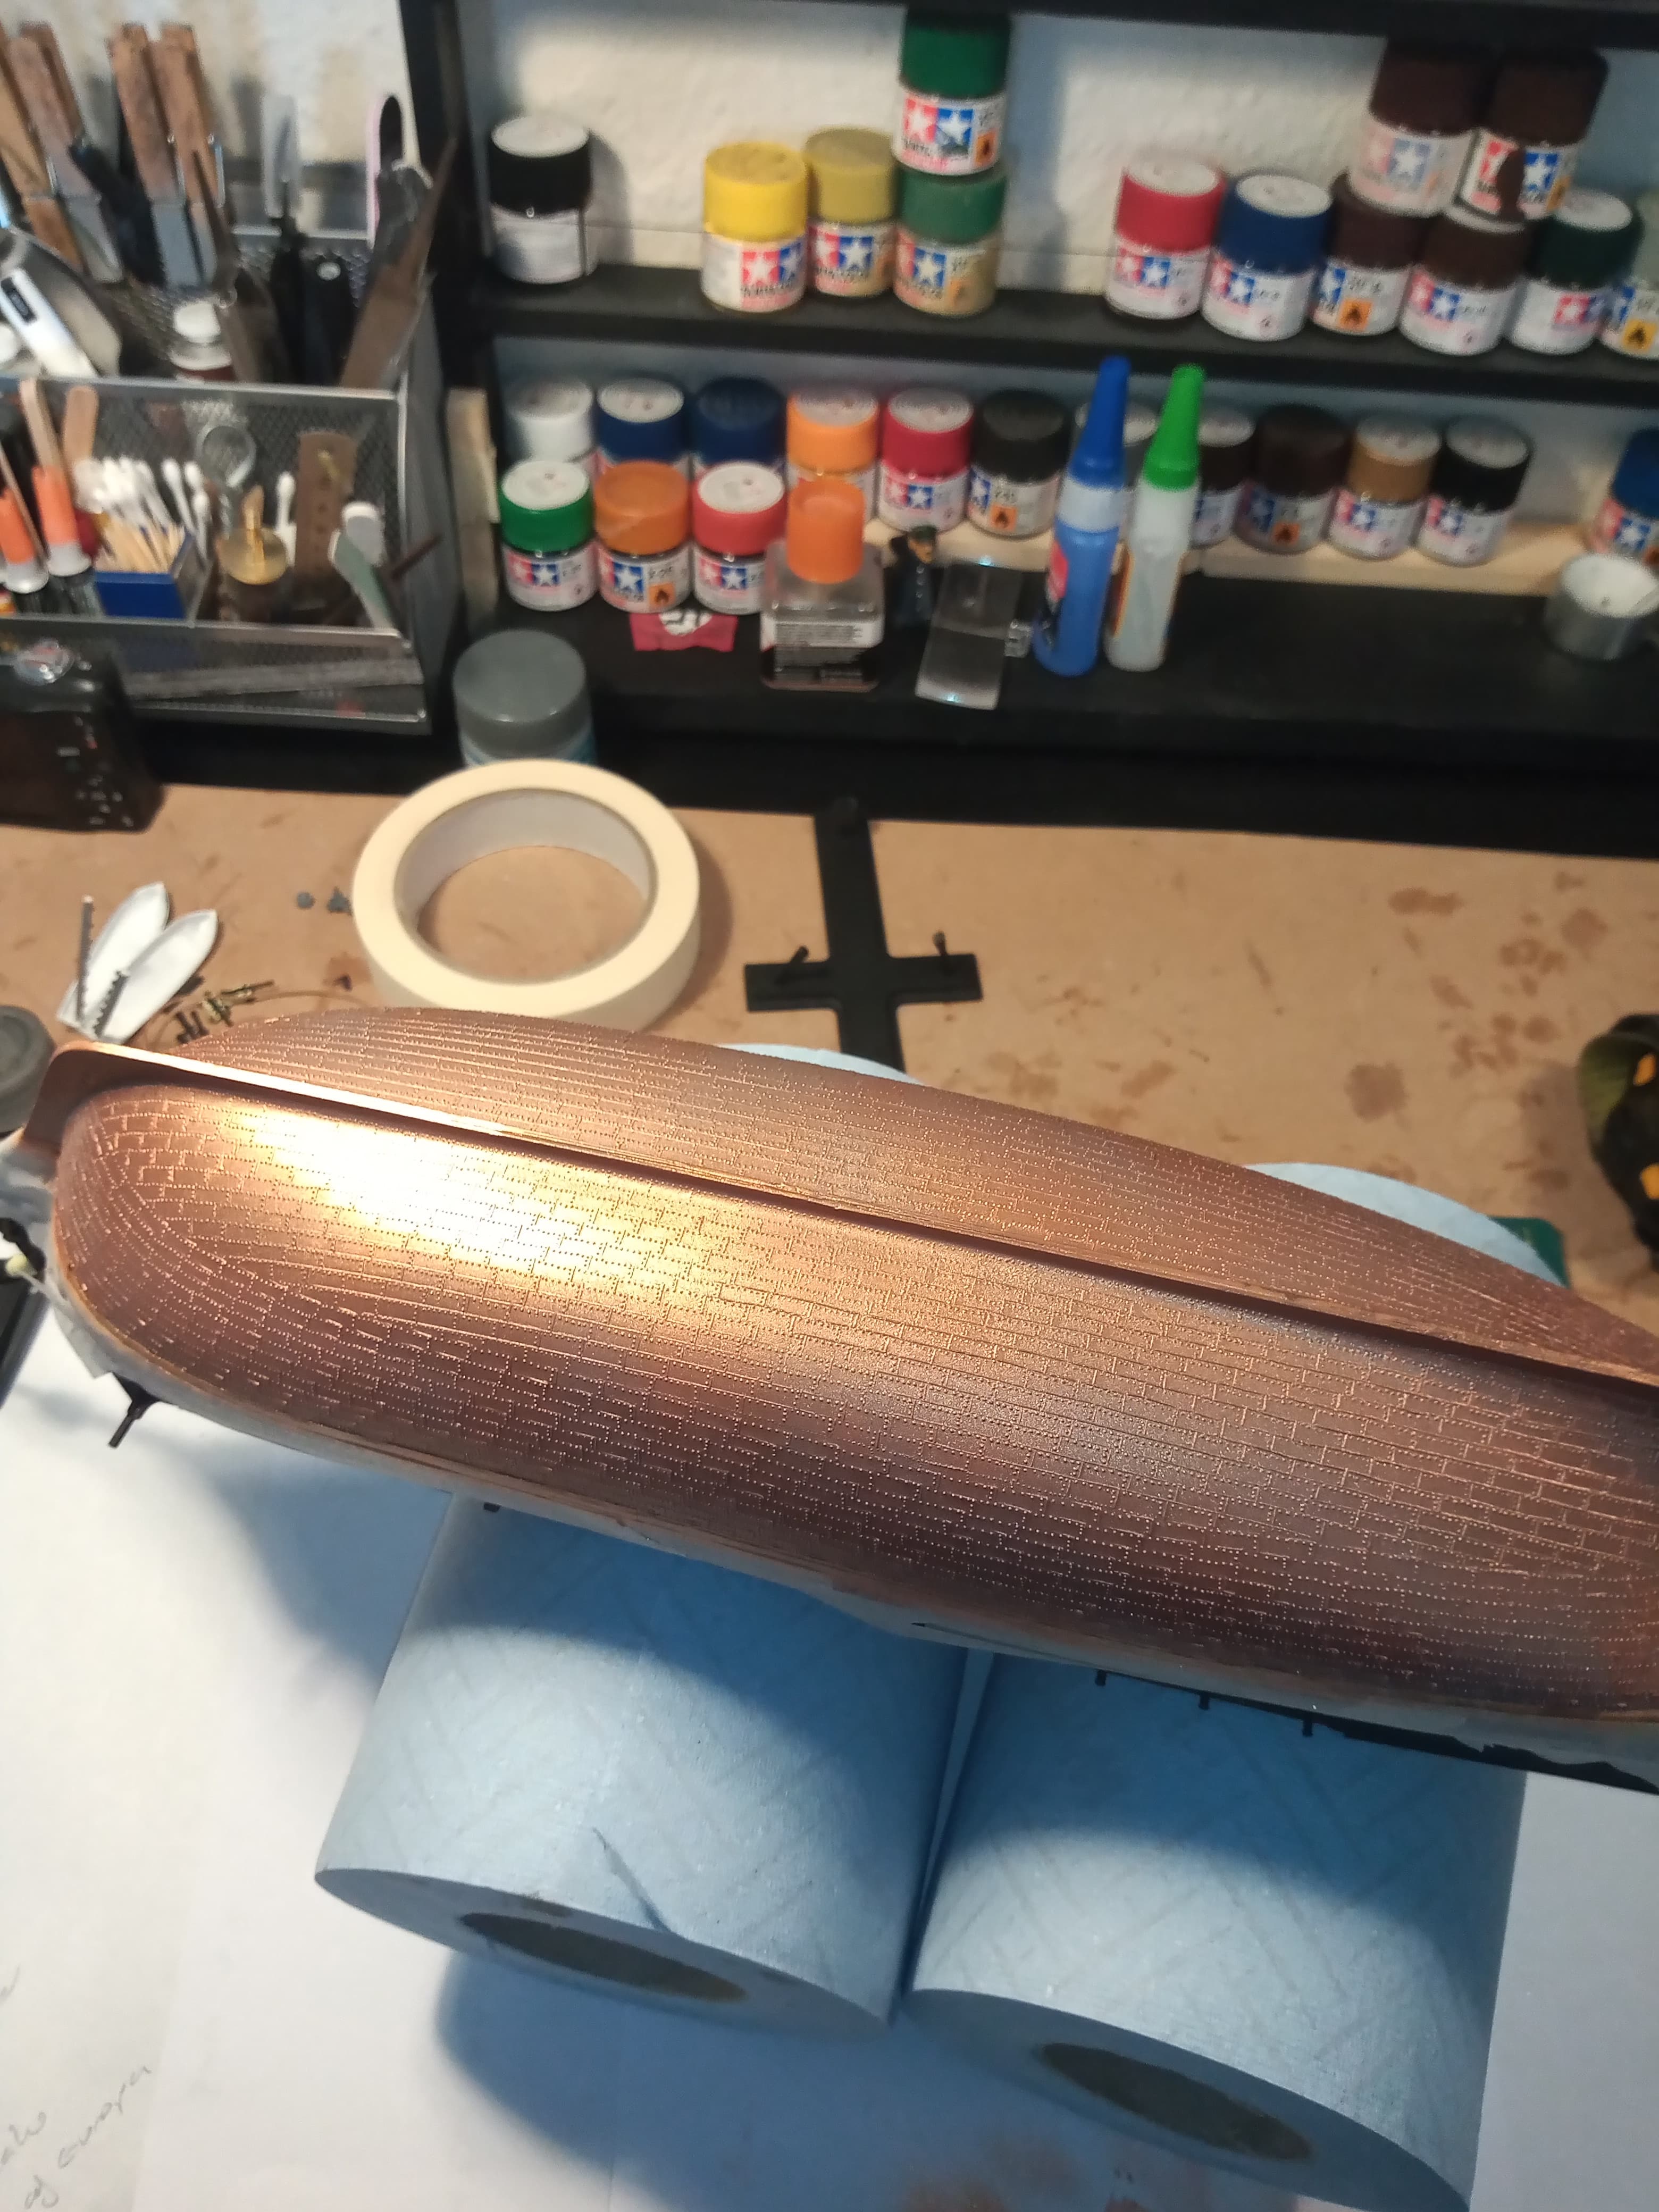
This is the first coat, and before I even started the initial mix blocked the airbrush… So I had to degunge that, then remix with more thinner and about 6 drops of retarder… Sprayed fine after that, but I may of added a bit to much thinner as the base coat of primer and some of the black over spray is still visible under it towards the rudder area and front.
Have remixed the stuff I had left over, slightly paint heavy this time for the 2nd coat…
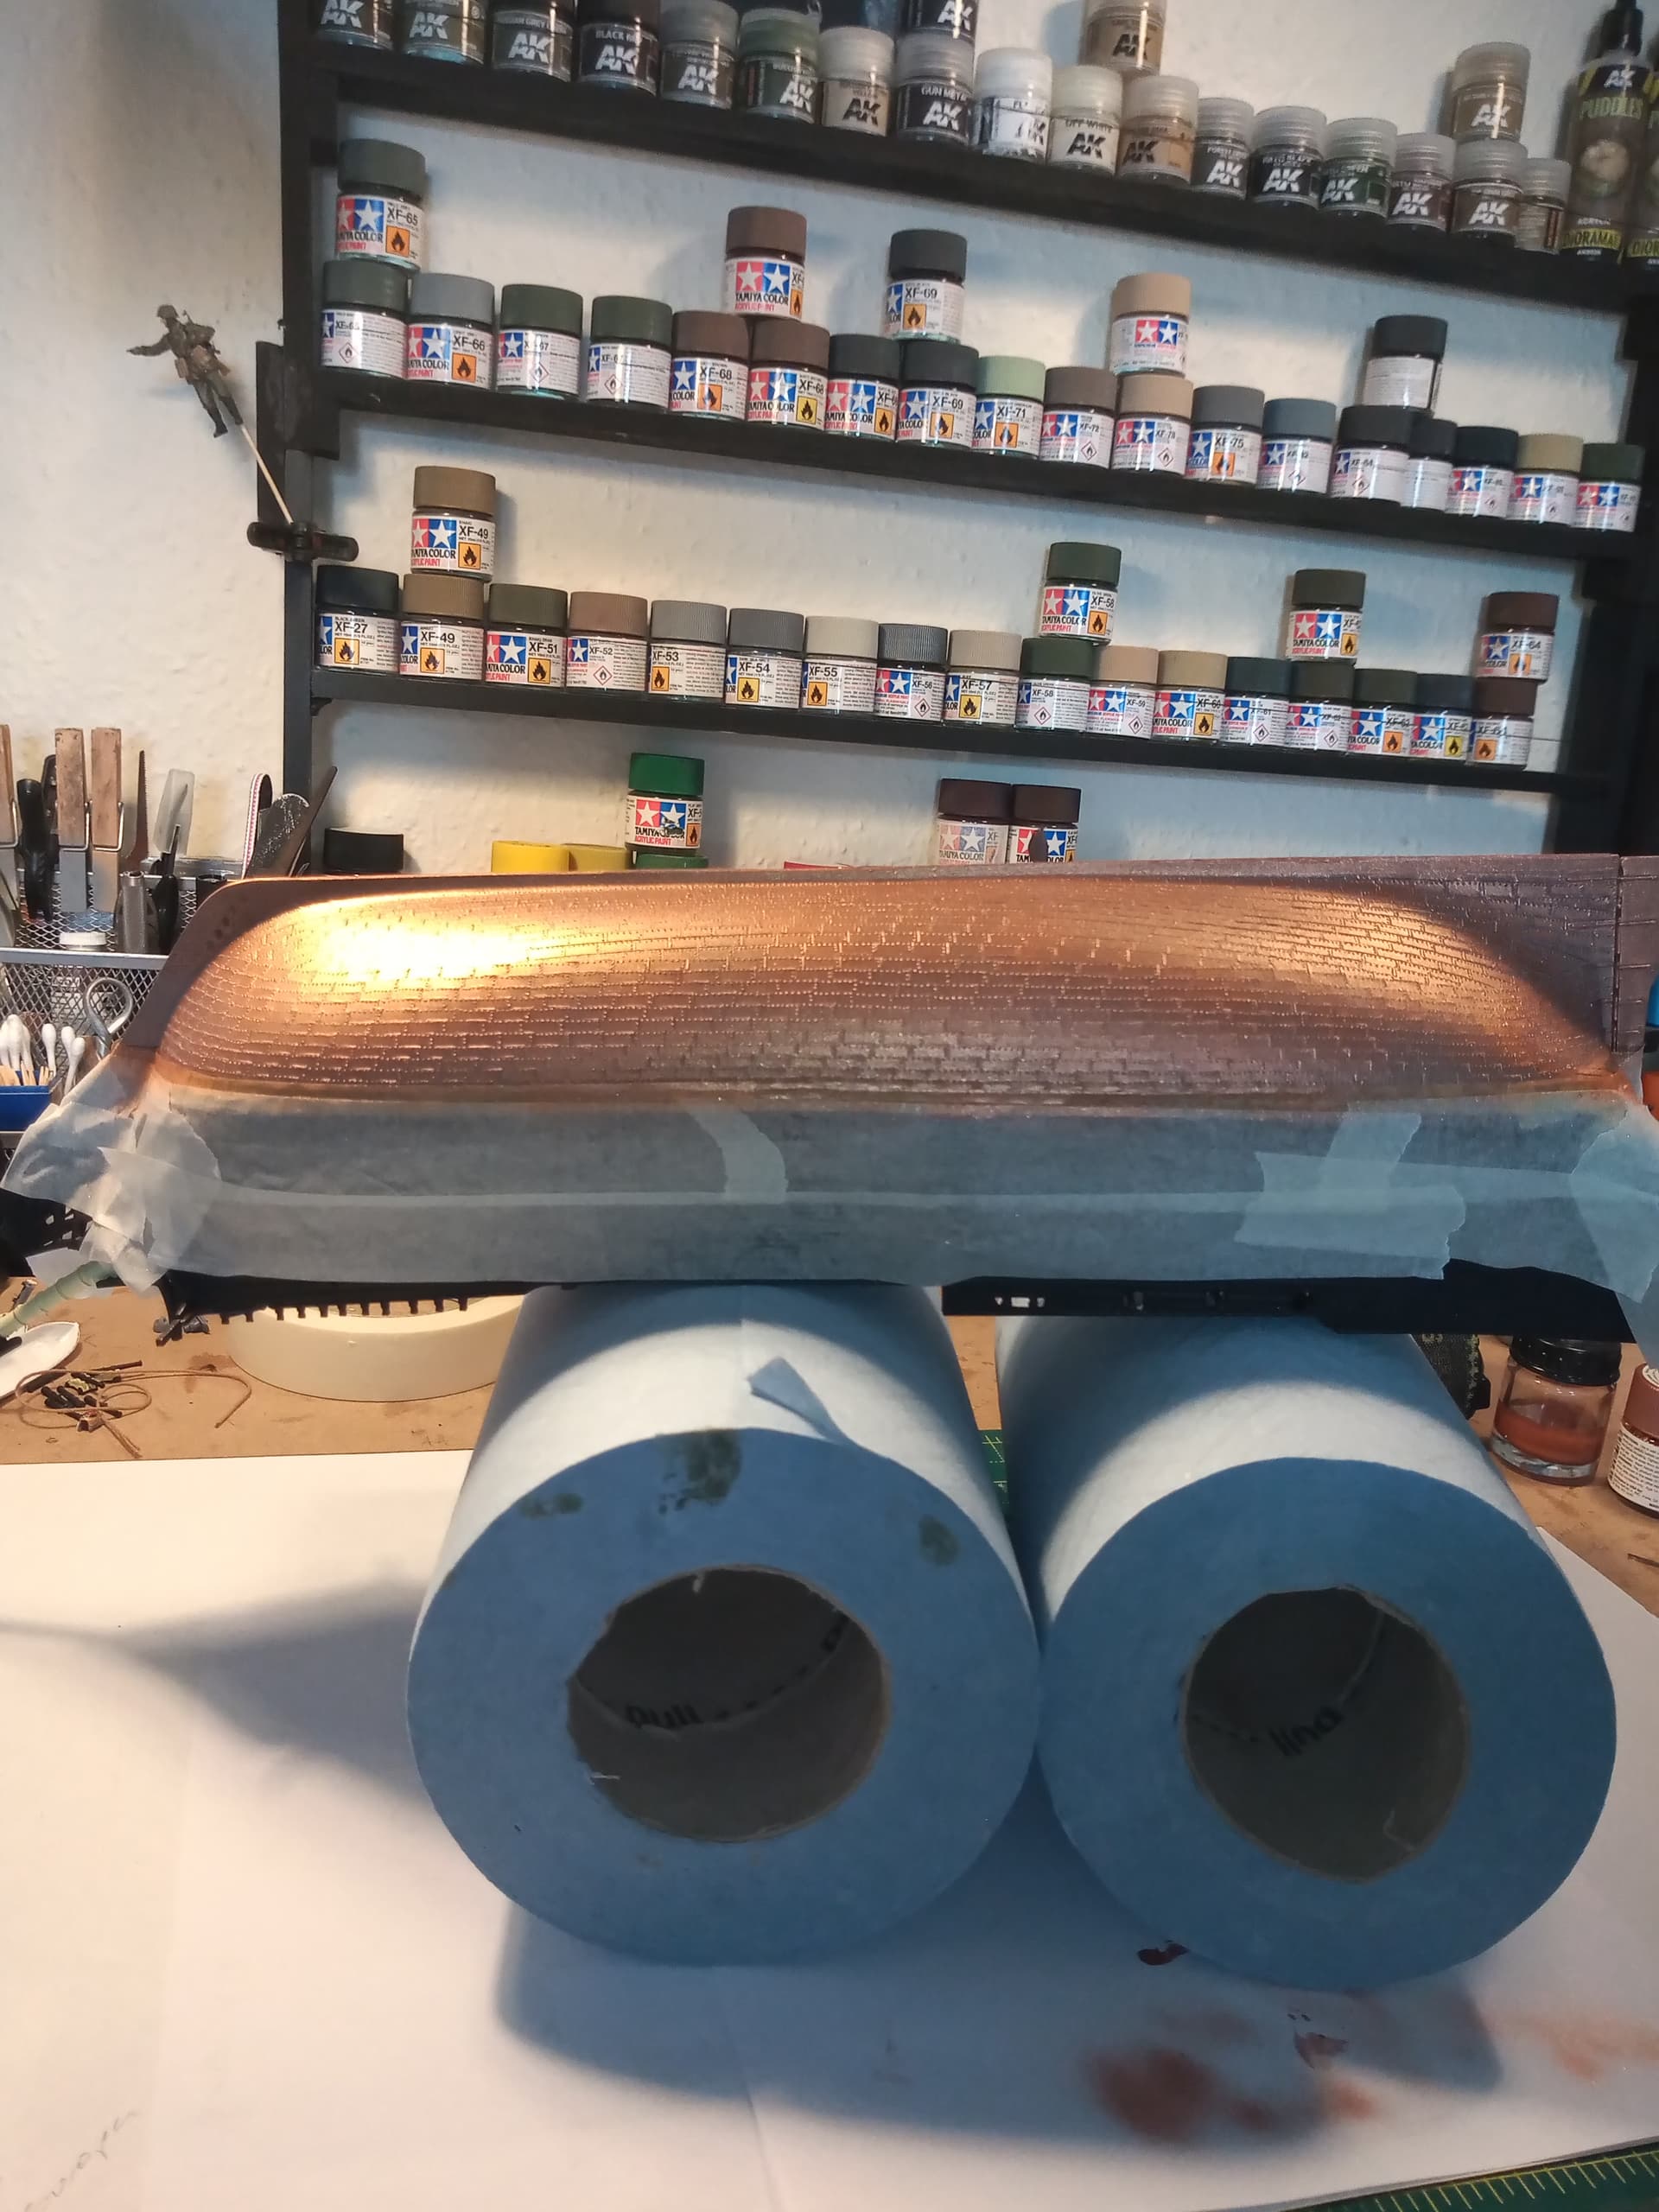
Note for anyone spraying copper or similar metallic who hasn’t done it before… Mask all the areas lol… The black areas towards the top I didn’t mask all have a very feint glitter effect now. It will easily paint out, but it was avoidable… 2nd coat to follow later today …
This time I masked everything… Just to err on the side of caution.
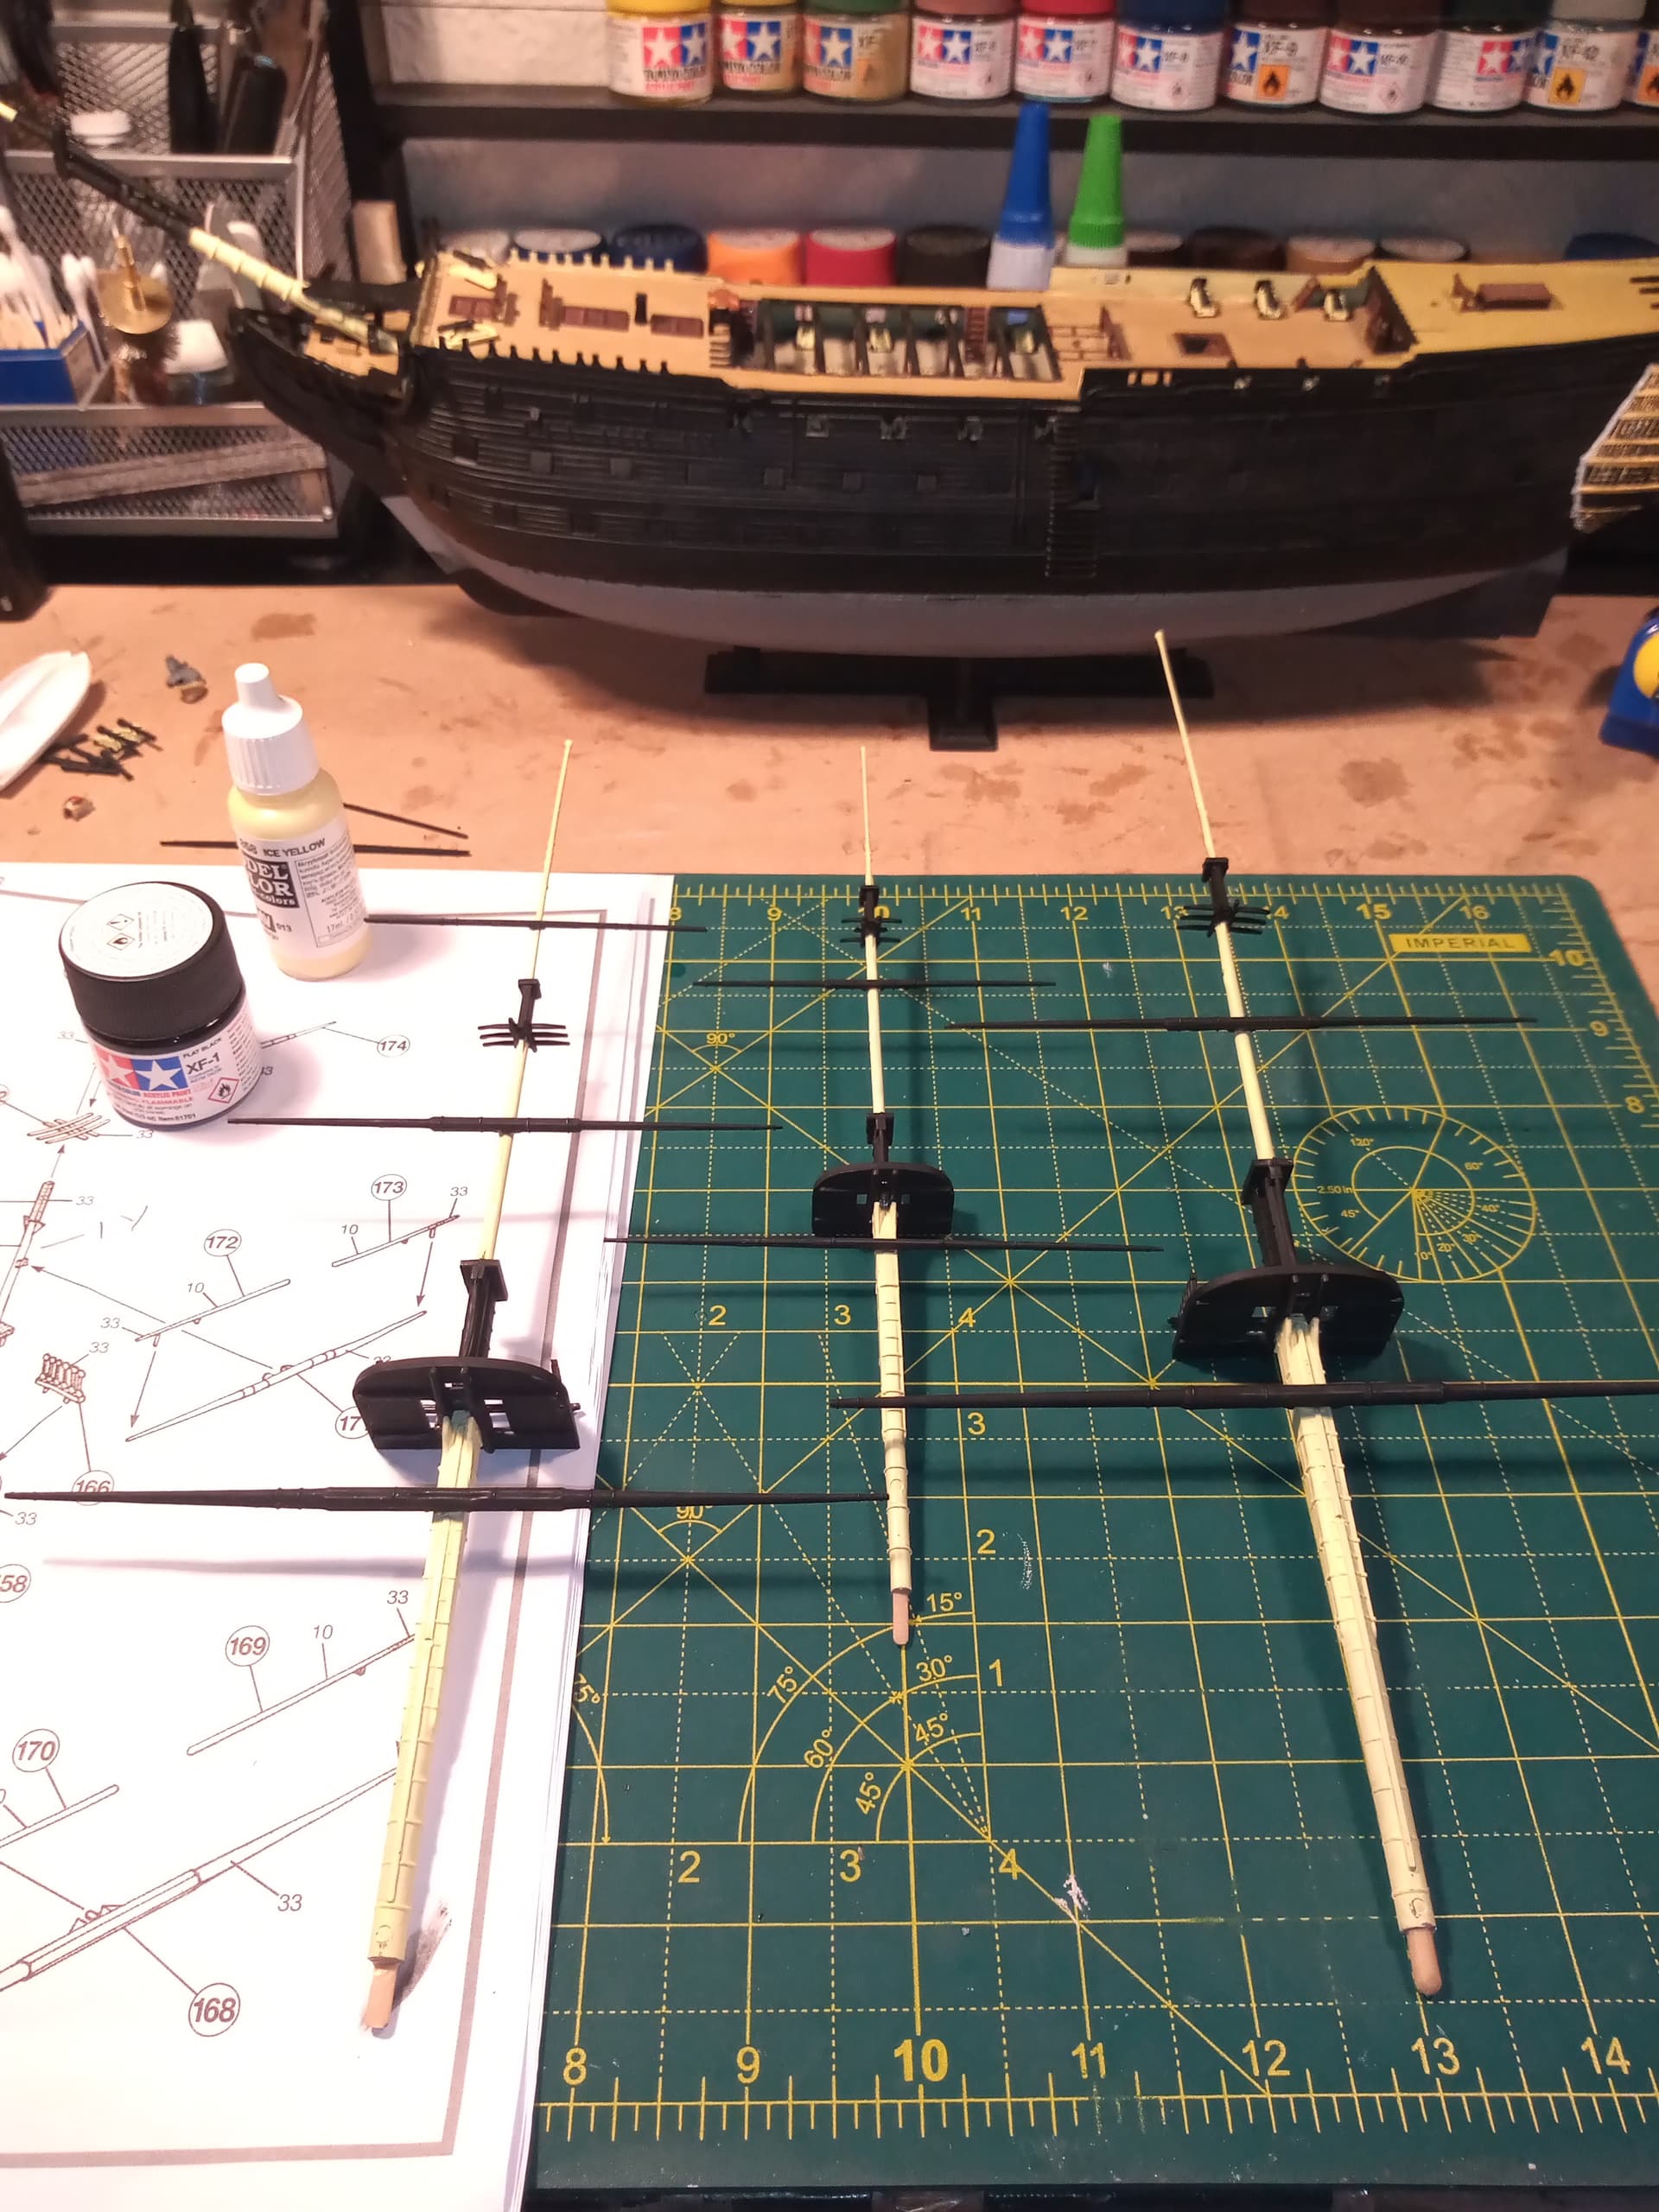
The 3 masts are just dry fit to give the overall impression and there is a bit of touch up required along the copper/black line which I will do by brush later.
I was going to try and mask both sides but one is enough for tonight. I will tidy it all up tomorrow then spray that port side and see how it looks…
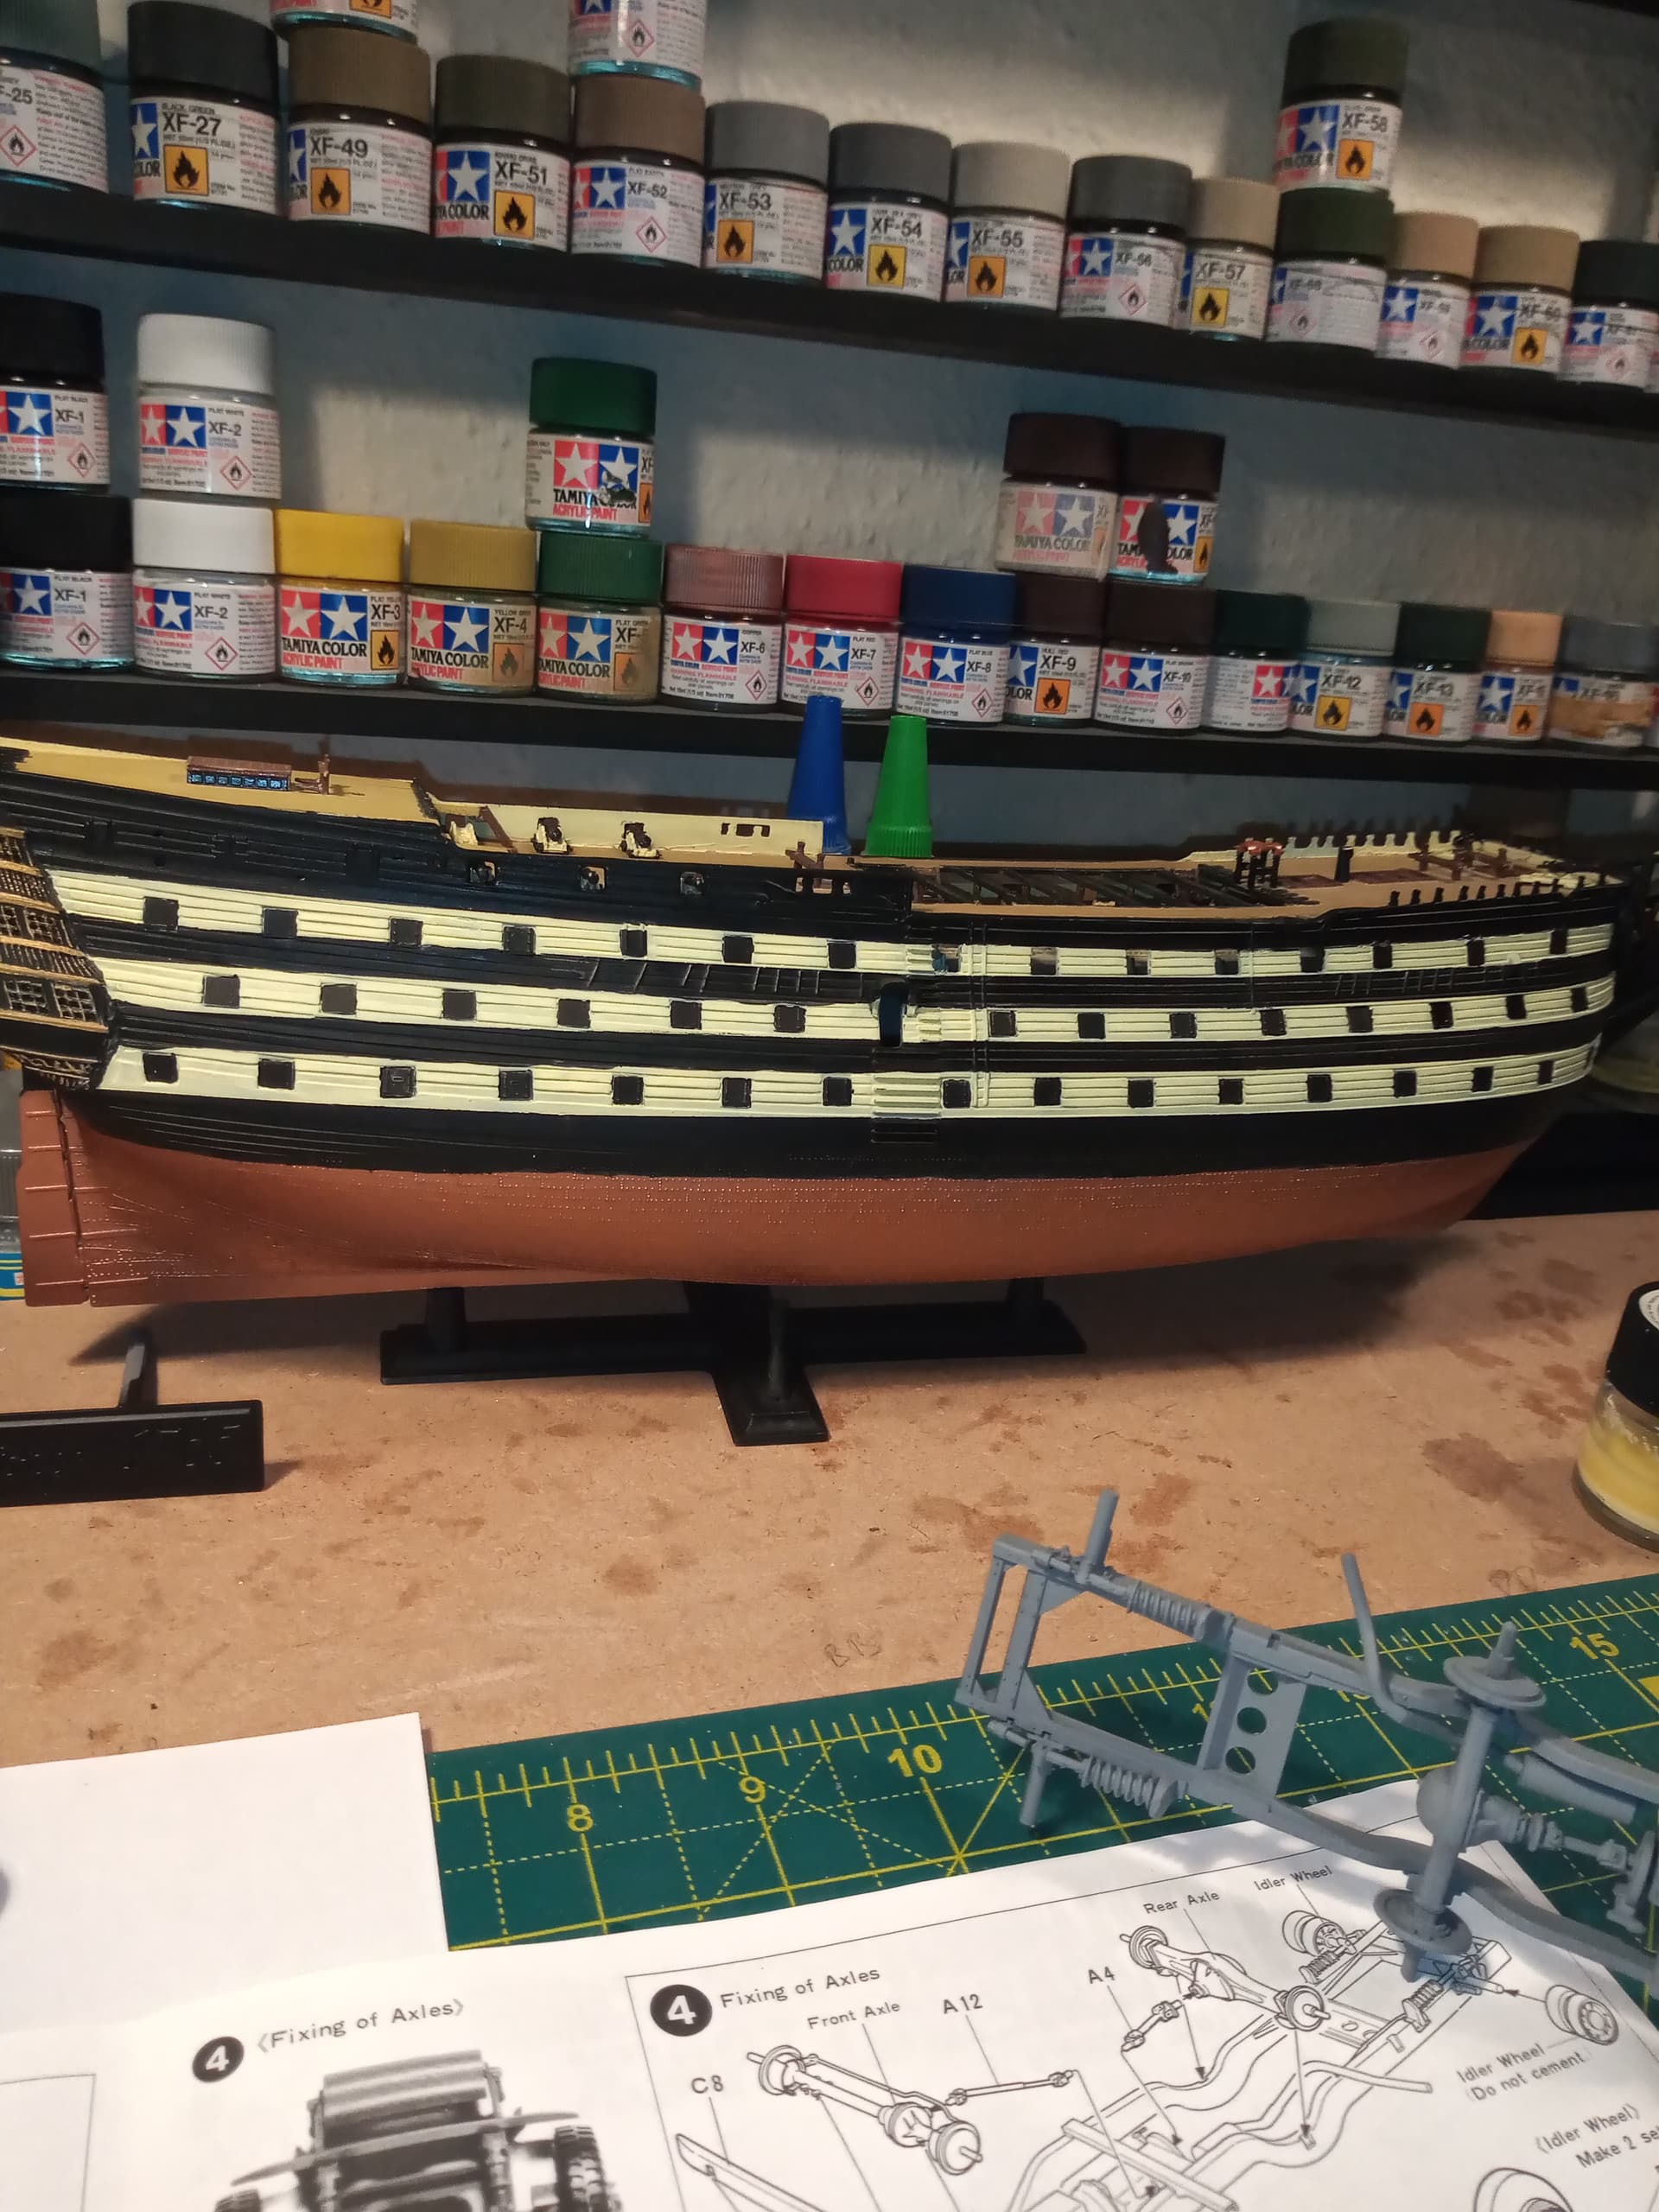
Edit. I was going to mask the gun ports but insanity was calling out down that road after I’d only done 6. I will just paint the hatches black at the end.
Looking excellent John, apart from the rigging these are the hard yards. Maybe you have A Plan but just in case – yellow over black could end in tears but if you spray silver first (yes, silver) the yellow should go on first time.
I thought it would be worse as it was a water mix so I am happy with the outcome.
Tim @Dioramartin I totally forgot the silver, I will definitely do the other side
The overspray and bleed throughs will be nice and easy to fix, will just need a steady hand, so I’ll have 5 or 6 JD and cokes prior lol.
Will start the clean up tomorrow after end of my duty stint.
Looks fantastic John. Great read - I’d missed this thread but have enjoyed getting up to date.
My Uncle built a few all wood ships and I have often contemplated a model with a mast myself, but the thought of all the masking for painting, and frigging with the rigging, just did not… wait for it…wait for it…
I think this will be my first and last masted adventure. Now I have a method for the side band masking I am not to worried by that now, the rigging will be the mare. Airfix do provide a nice jig for the mast rope ladders ? (not sure what its called) which looks fairly easy to use, but its the bits of individual rope rigging between masts and spars etc that will take time.
I wont be doing it exactly with every single piece present, but I will do enough to make it look busy and real.
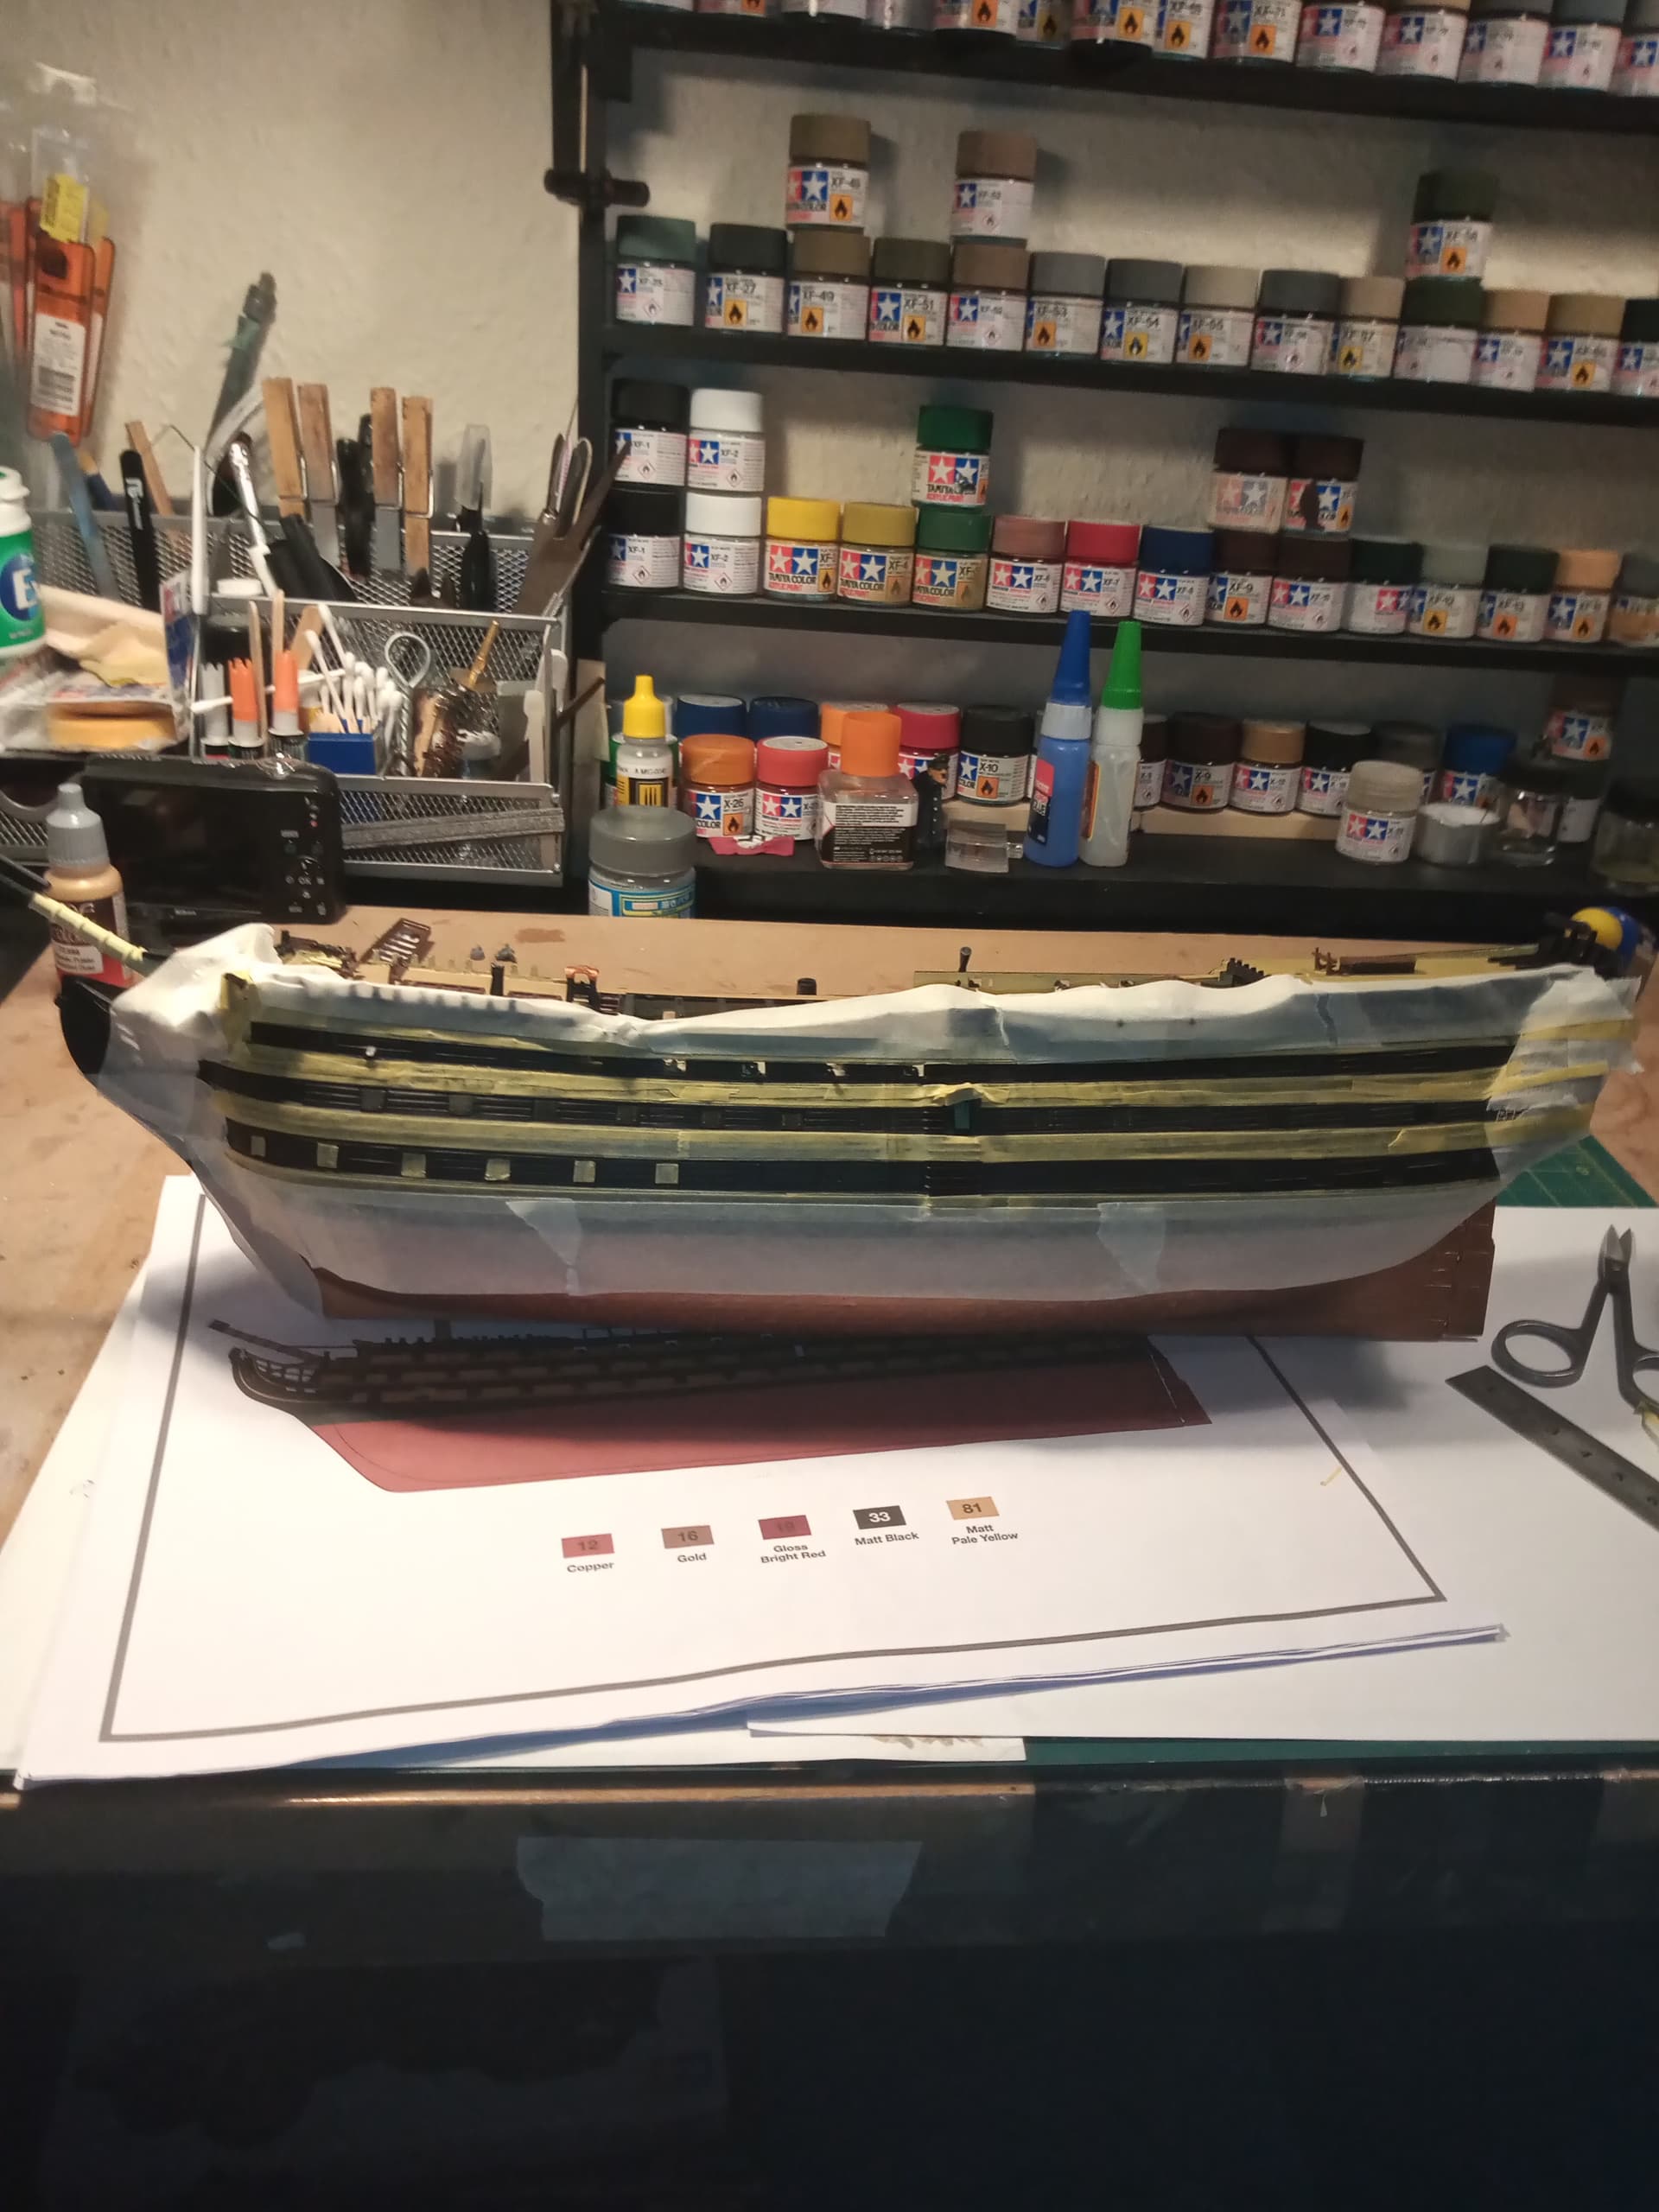
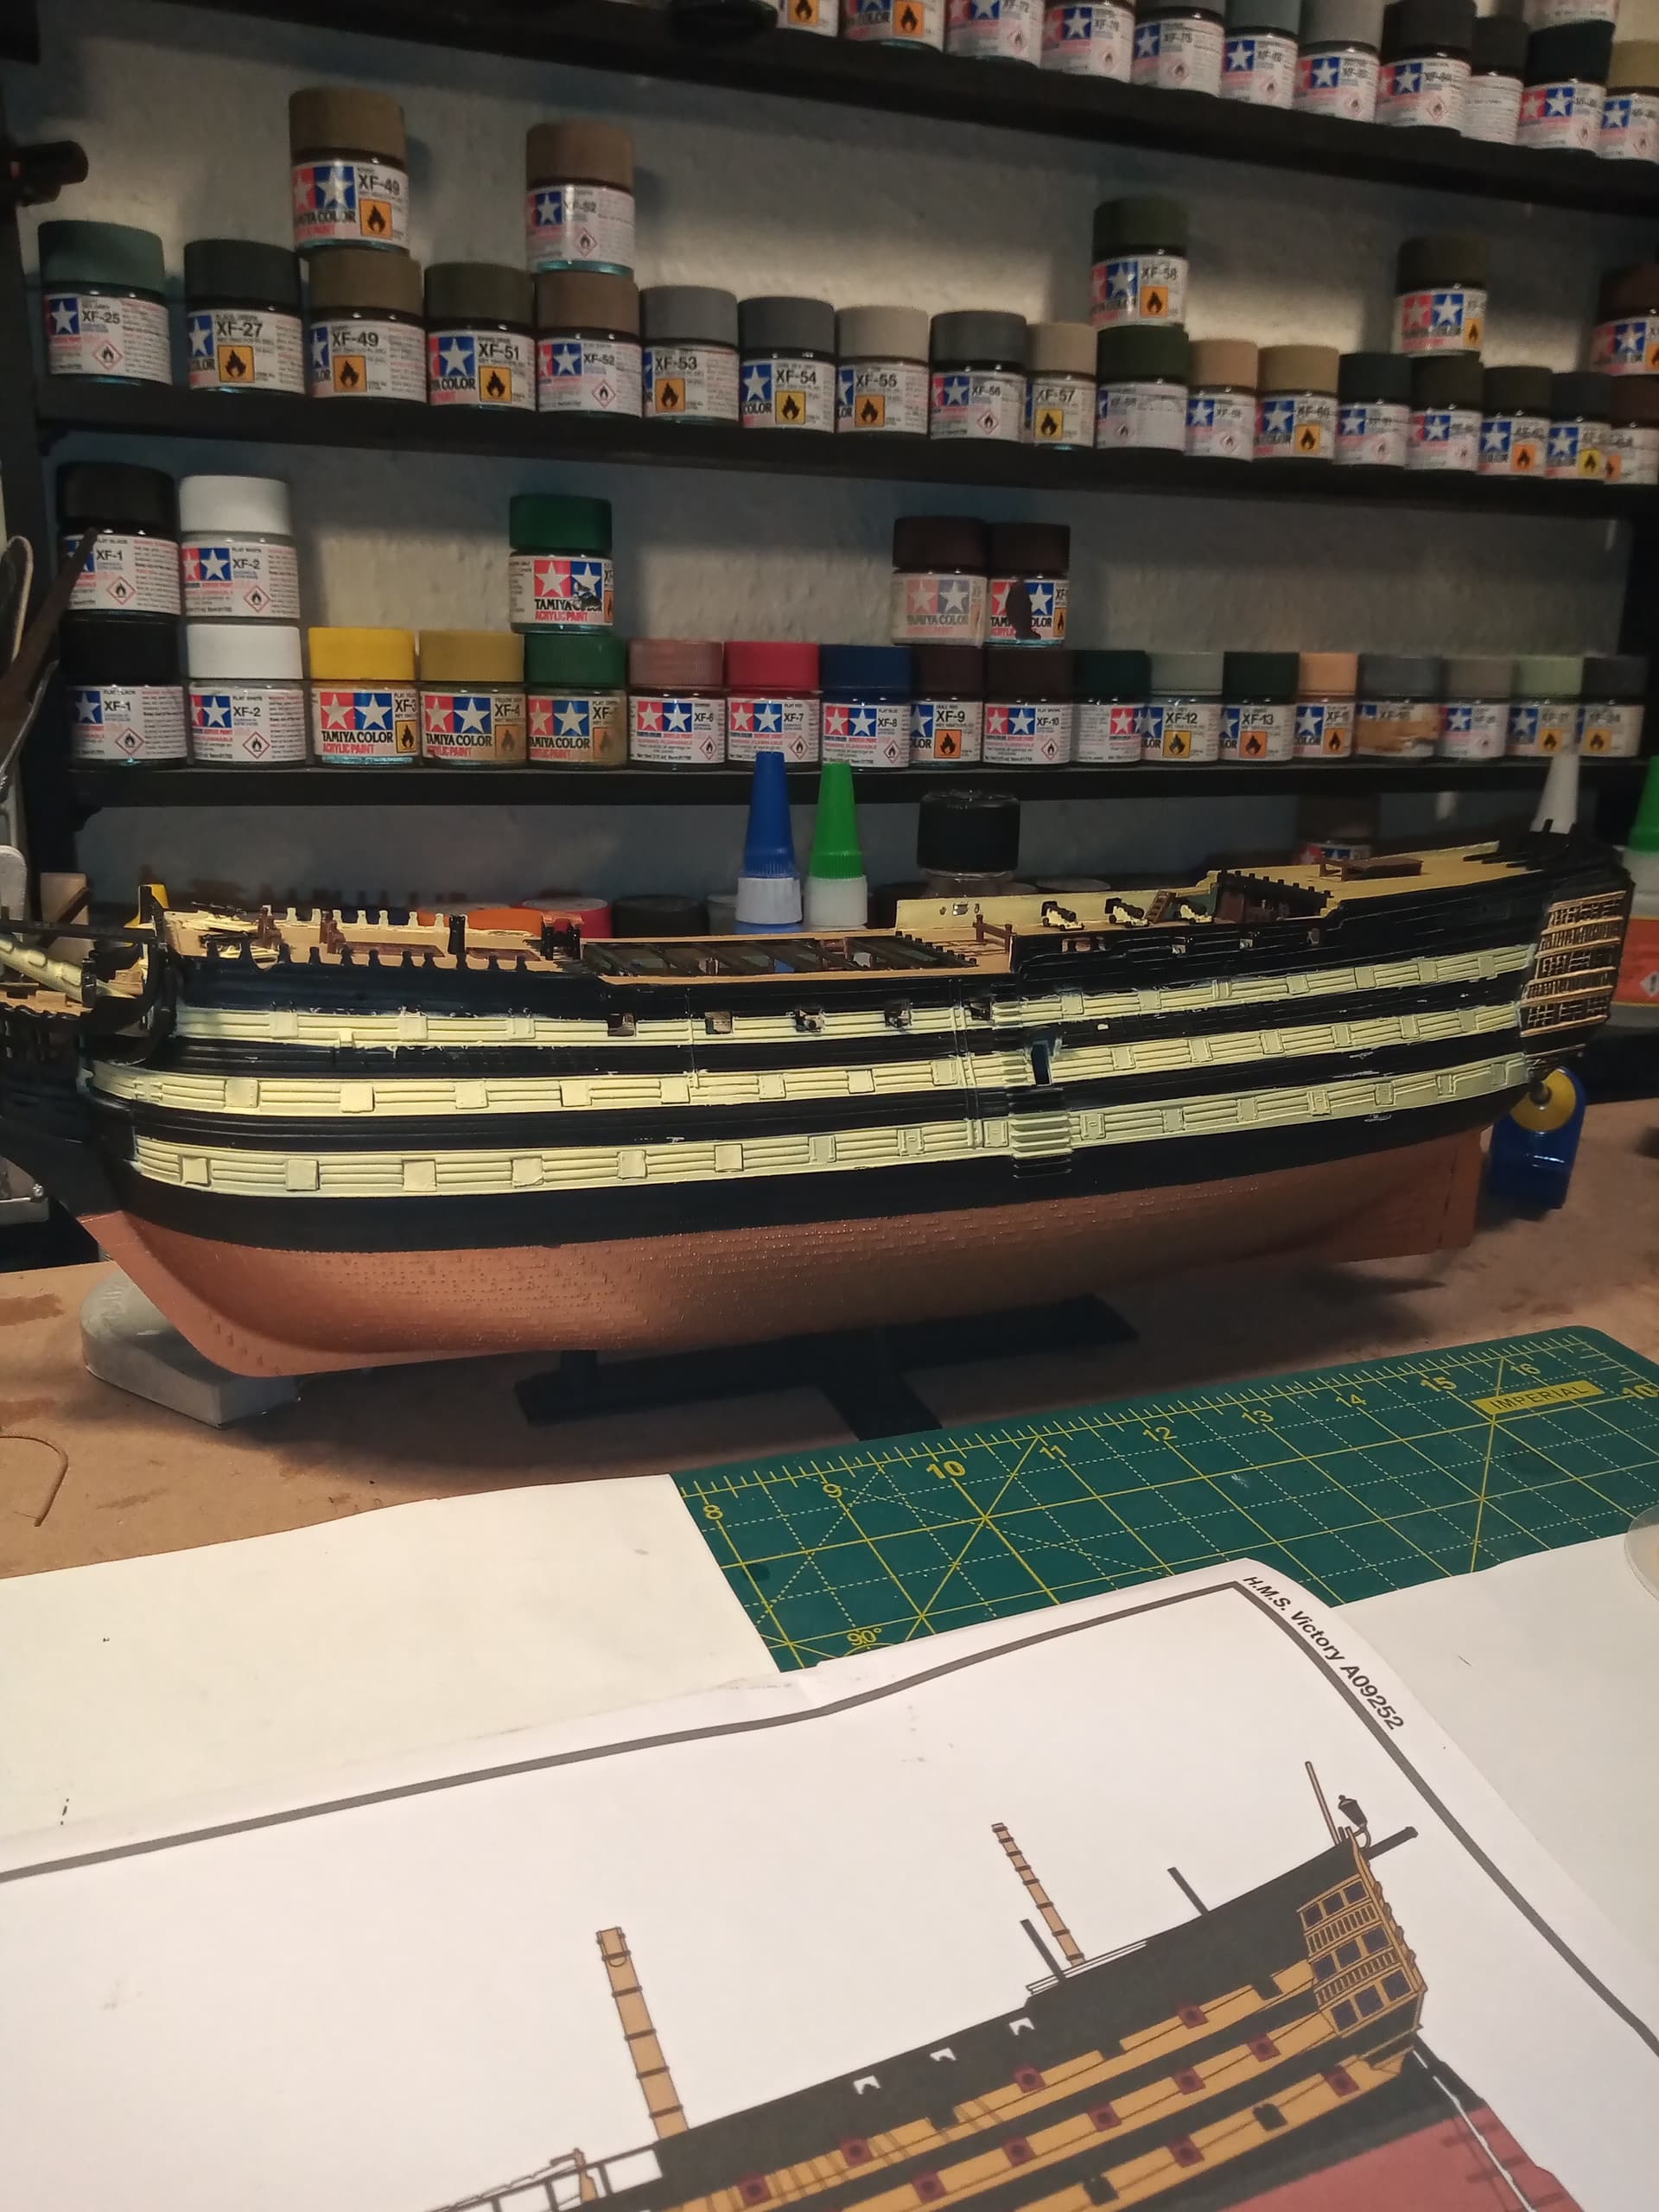
Next is touch painting the yellow bands to get them as uniform as possible. I know it looks a bit rough along some lines, but I’m pretty confident the gentle touch paint will bring it altogether.
I will also need to redo a few gold areas on the wings to bring them back up.
Still shed loads to do, but I am actually enjoying this …
I have knocked a few parts off though… Out of the 18 cannons, I have managed to knock off 6 cannons from the carriages, and 3 complete cannons and carriages and a few other bits as well .
Looks like things are coming quite well, John. I hand-painted the hull and the black and yellow striping. The hard part was figuring out exactly where and how the color bands followed the hull, but Heller molded some very faint lines into the hull, so that helped. And yes, I’ve knocked loose multiple cannon barrels & carriages (knocked another carriage loose today, in fact). Must be an occupational hazard.
Thanks Tim @timmyp , The bands were a bit of a mare. The actual hull and the paint guide don’t totally correspond so I have had to use some common sense, the mk1 eyeball and a dose of artistic measure to try and get them all to tie in and look ok. It won’t be perfect, in fact far from it, but it will just about pass muster for my needs.
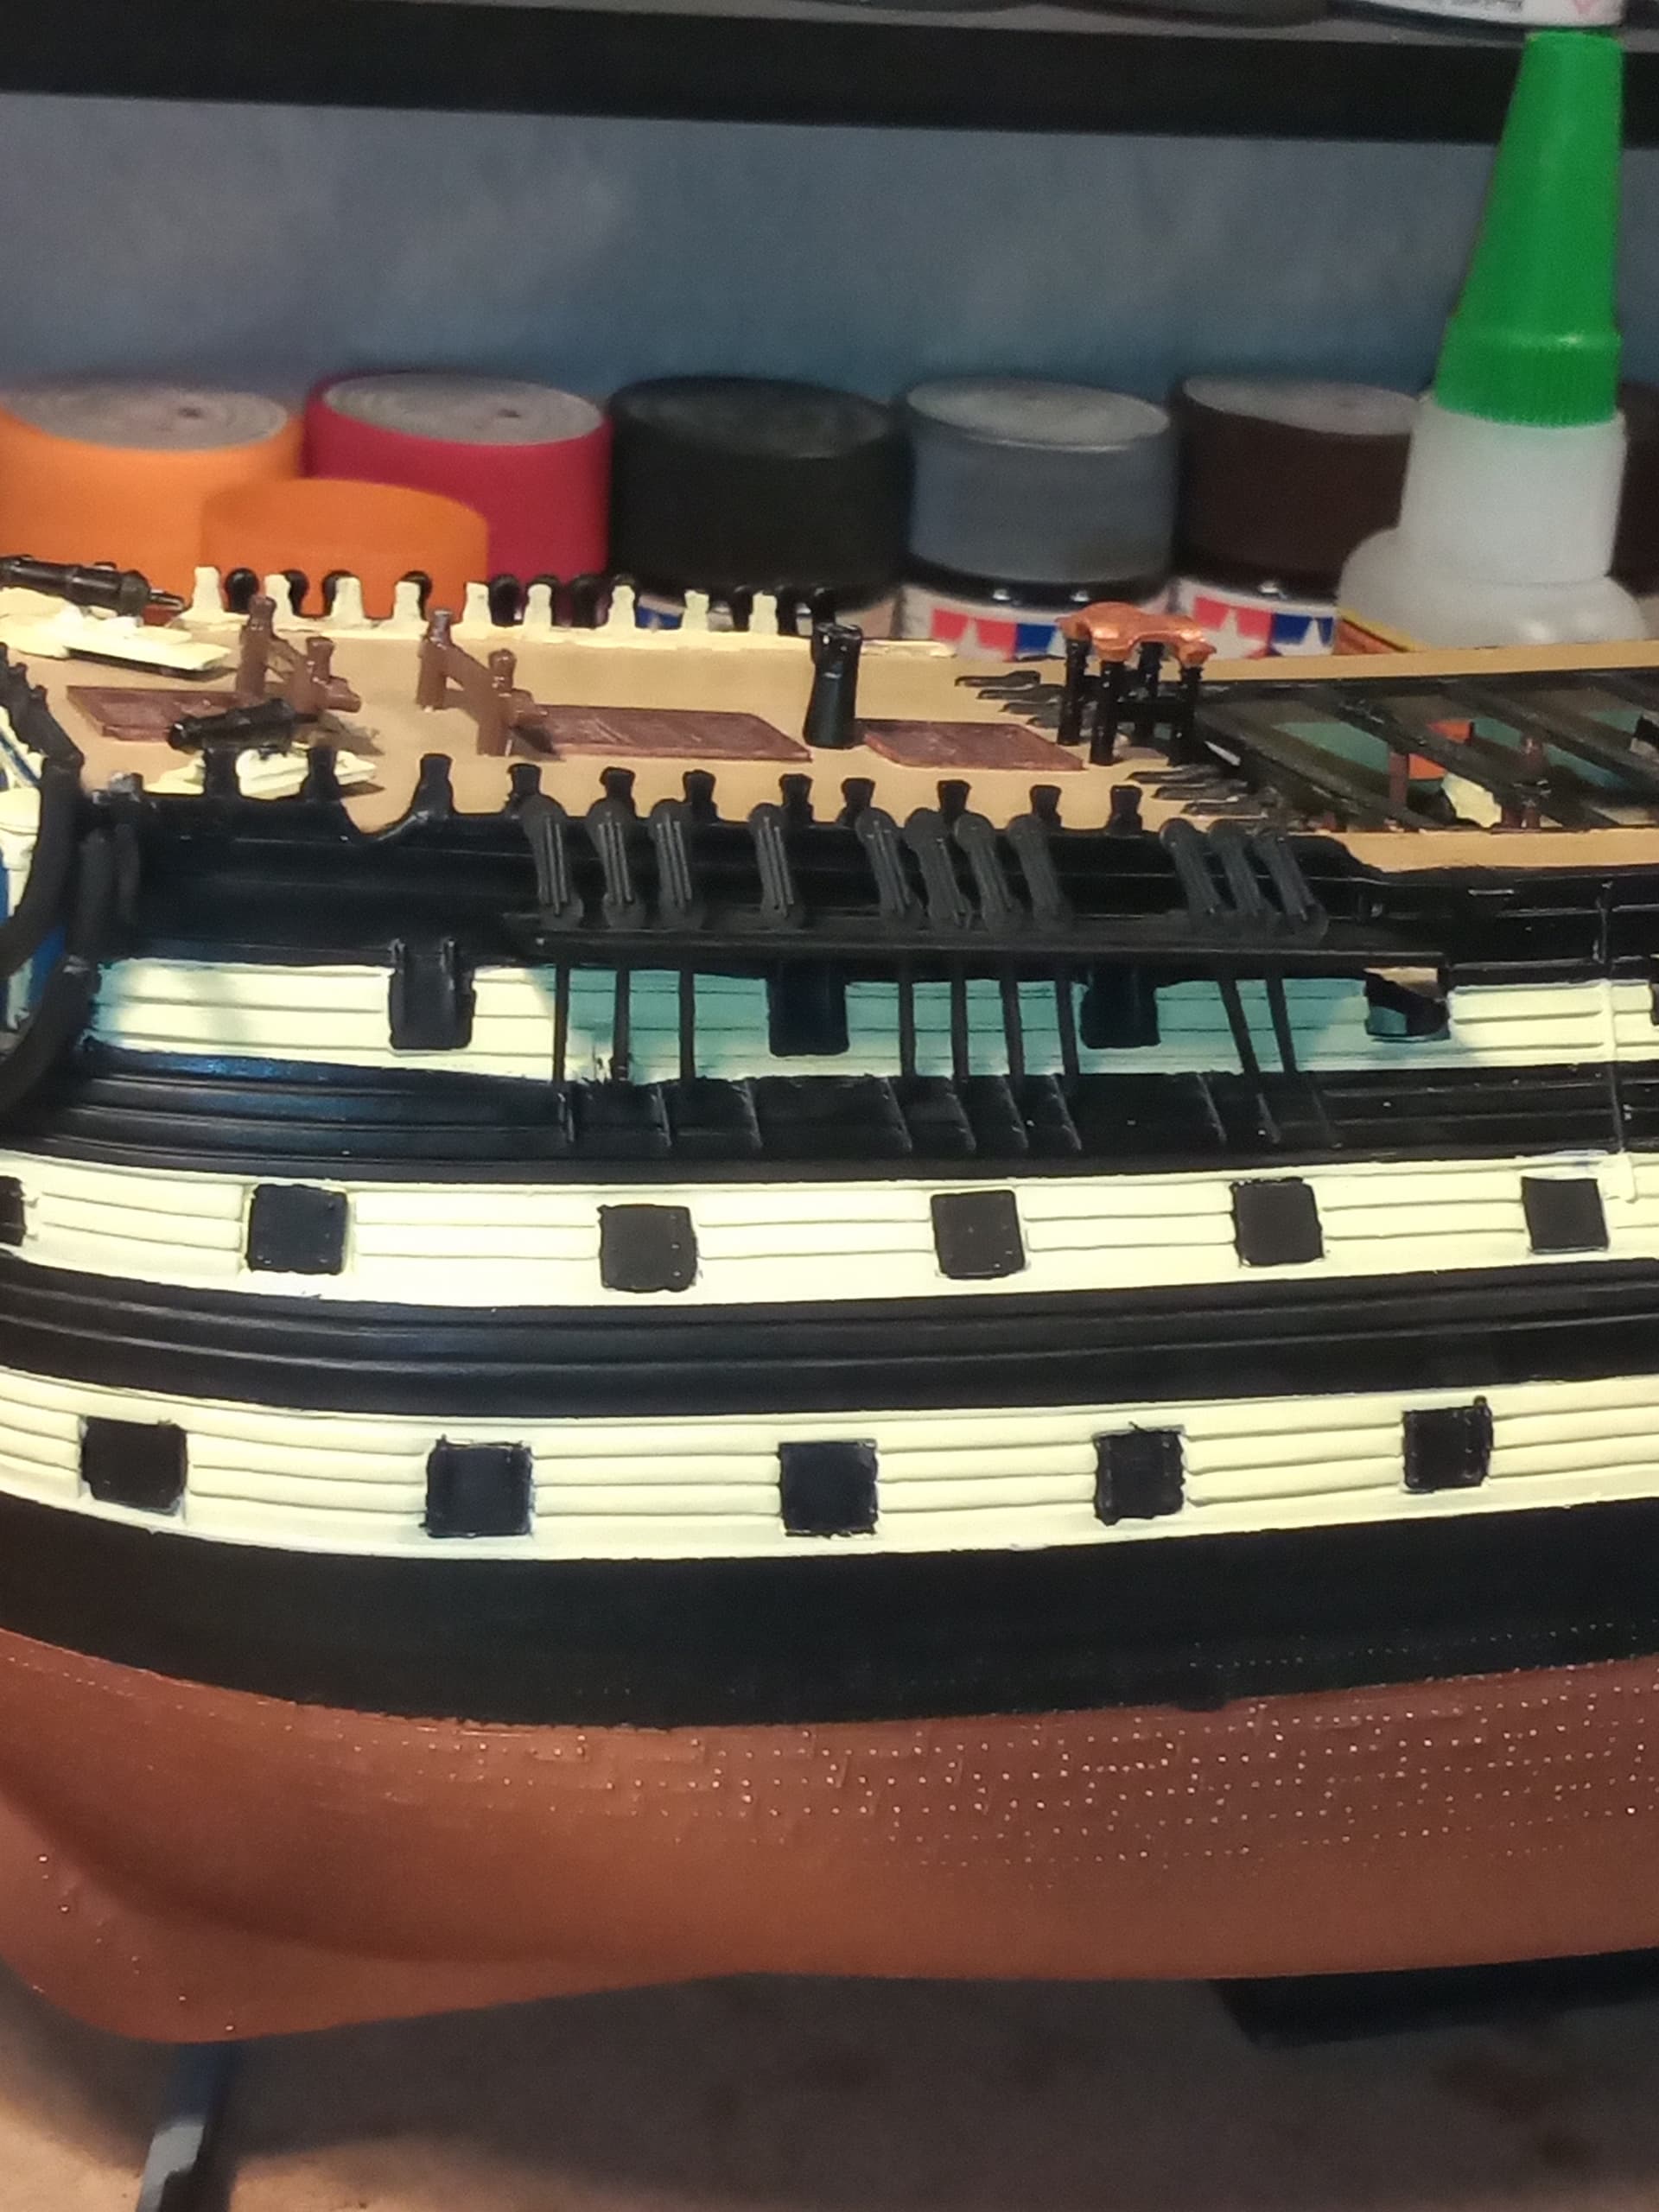
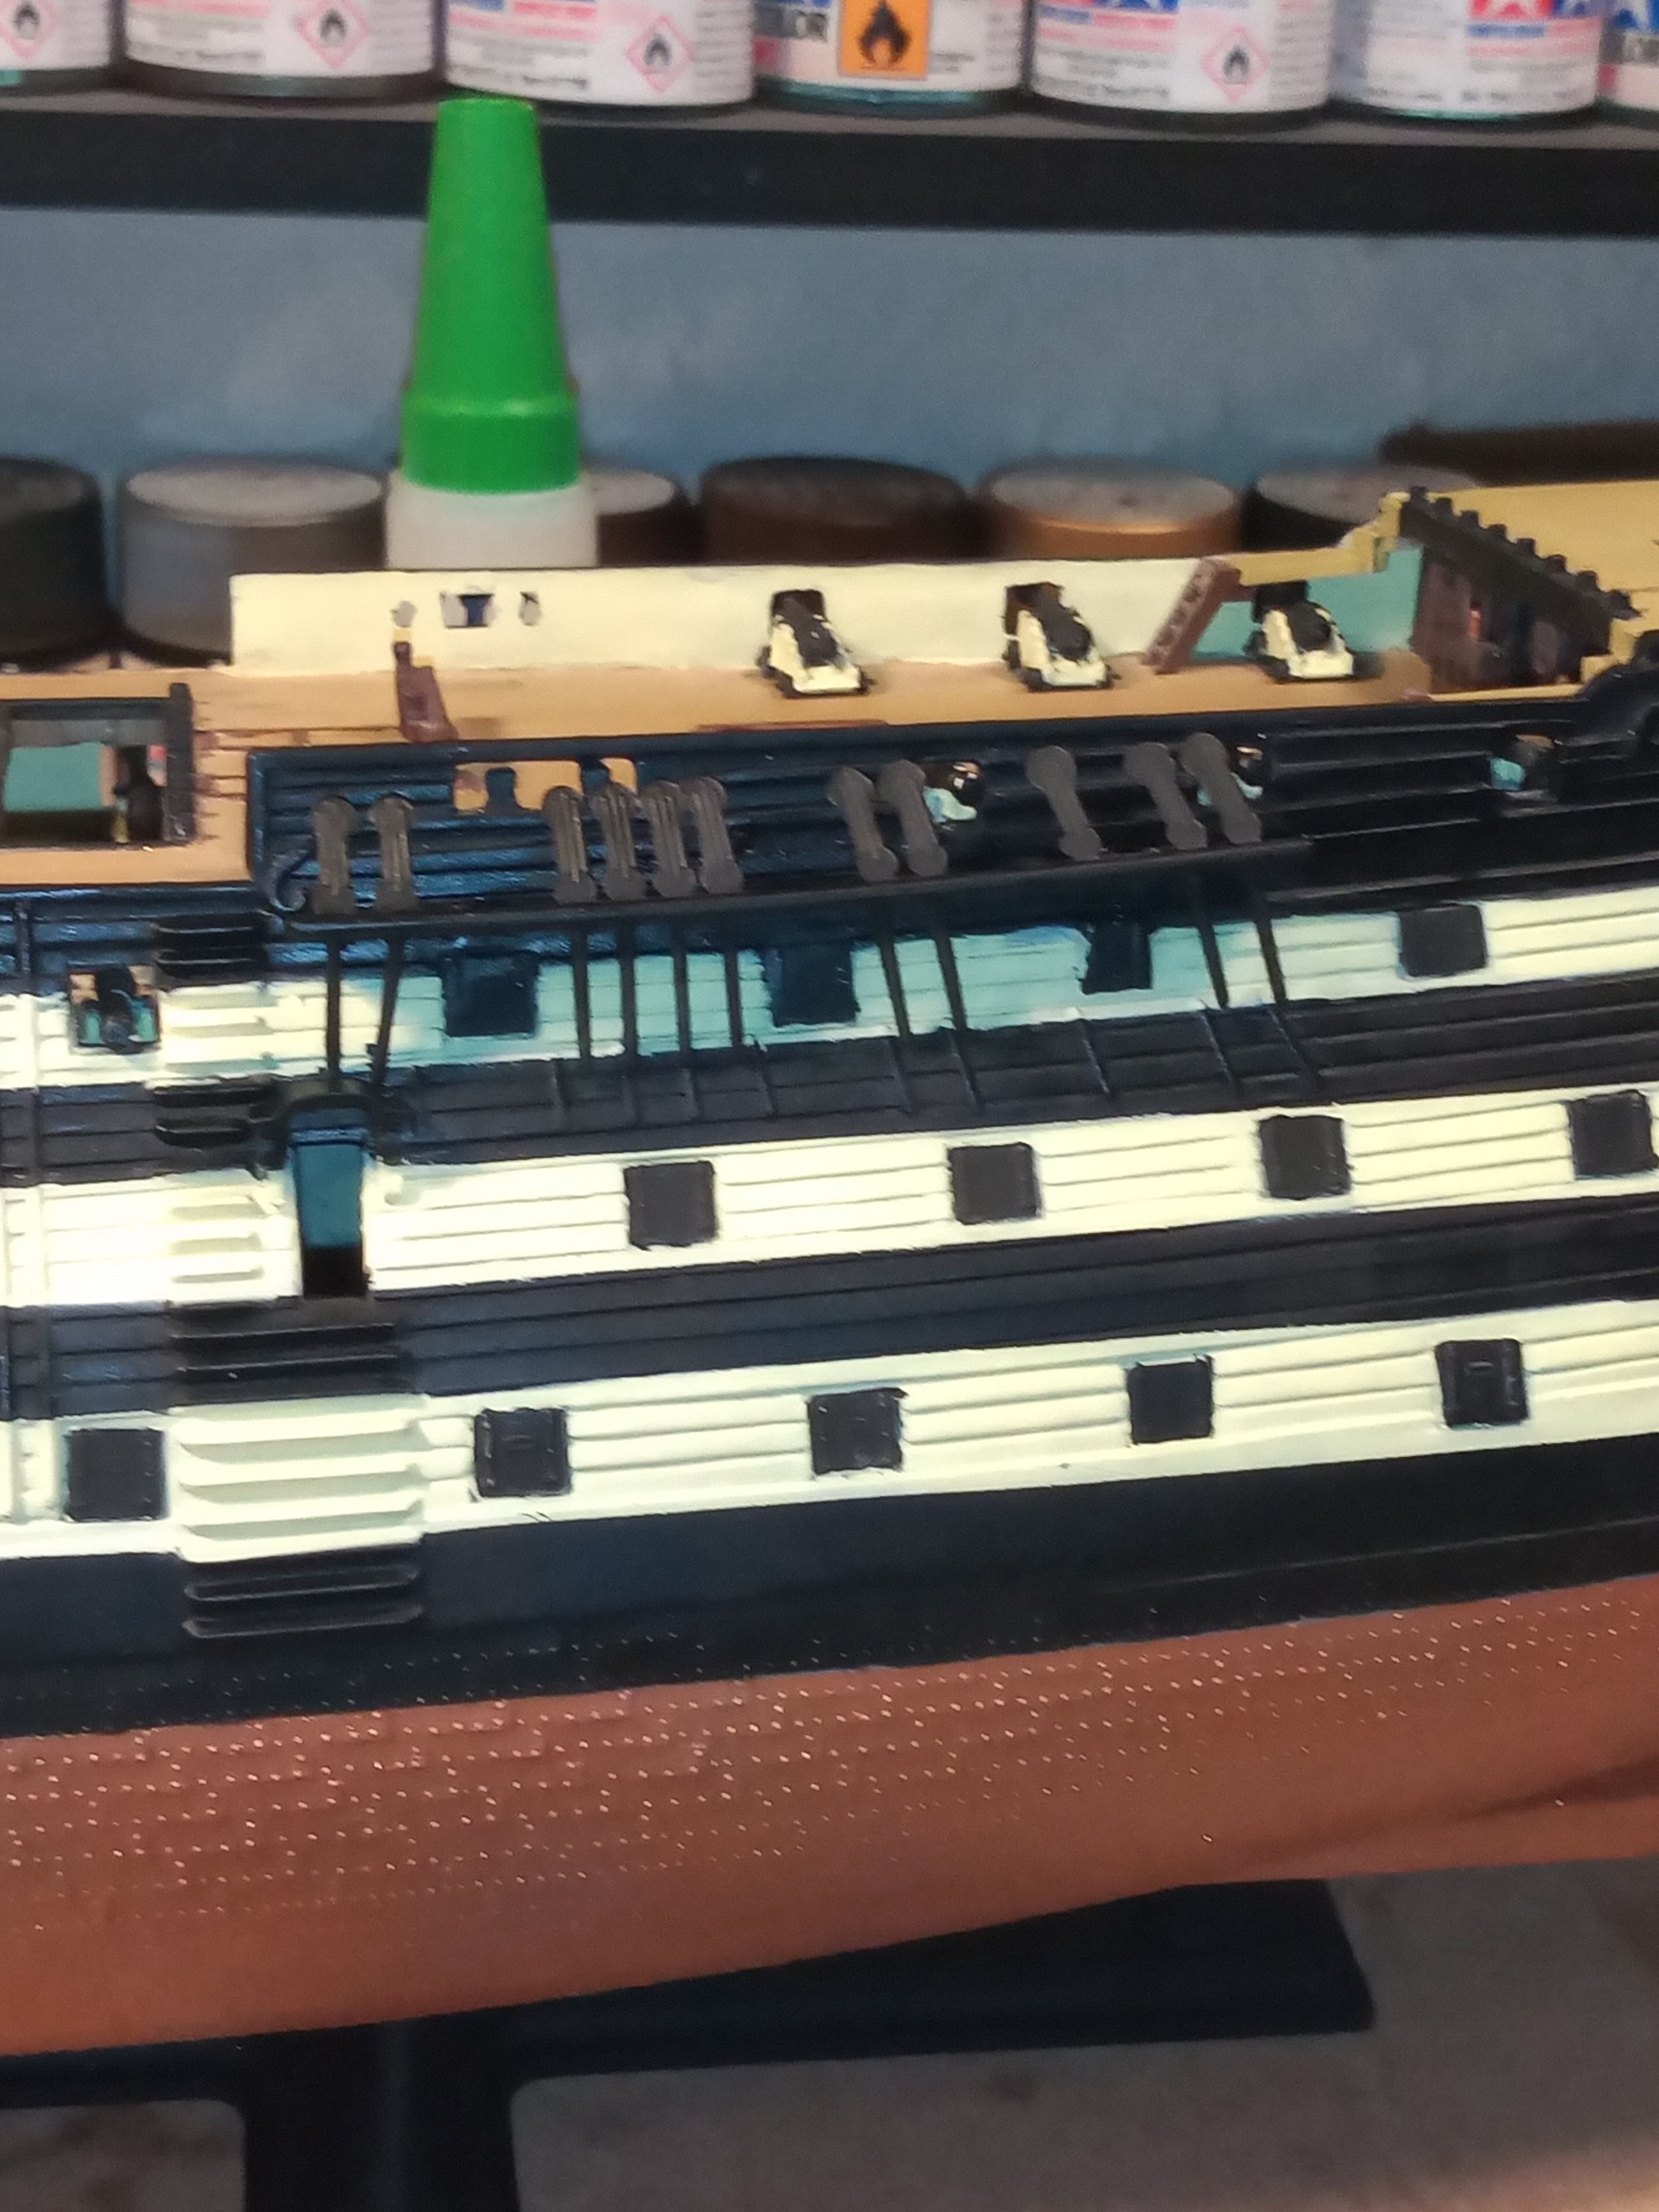
Started on the external hull details that need to go on. Have put on and painted all these … I know on the real thing and on Tim’s, they are actual ropes and wooden blocks etc and they are the bottom part of the rat lines and shroud roping ?
Anyway, they are all on now.
Hiya John! Things are looking good there. You’re lucky the deadeyes have the lanyards already molded in one piece - that will save you about 4000 hours of construction time! Oh, and that’s what they’re called - deadeyes, and come as a pair (an upper deadeye and a lower deadeye), with the rope between the deadeyes being called a lanyard.
I’m surprised your hull colors came out as black and white - was that by design, or just the way all the different paints you used turned out?
Yeah, I’ve got a similar problem with things not lining up, but I just work around it and keep moving forward.