Sorry I haven’t commented sooner John, but just been catching up with your build. The Victory is one of my favourite vessels and I have to say that I think you’re doing her proud, .
You’re certainly a braver man than I gunga din, all that masking and fine detailing is truly impressive, .
No probs G, I know you both have had a lot on your plates recently. Hope things are now a bit more steady…
It’s going to be far from perfect, but it will have the look I hope… A bit of presence about it.
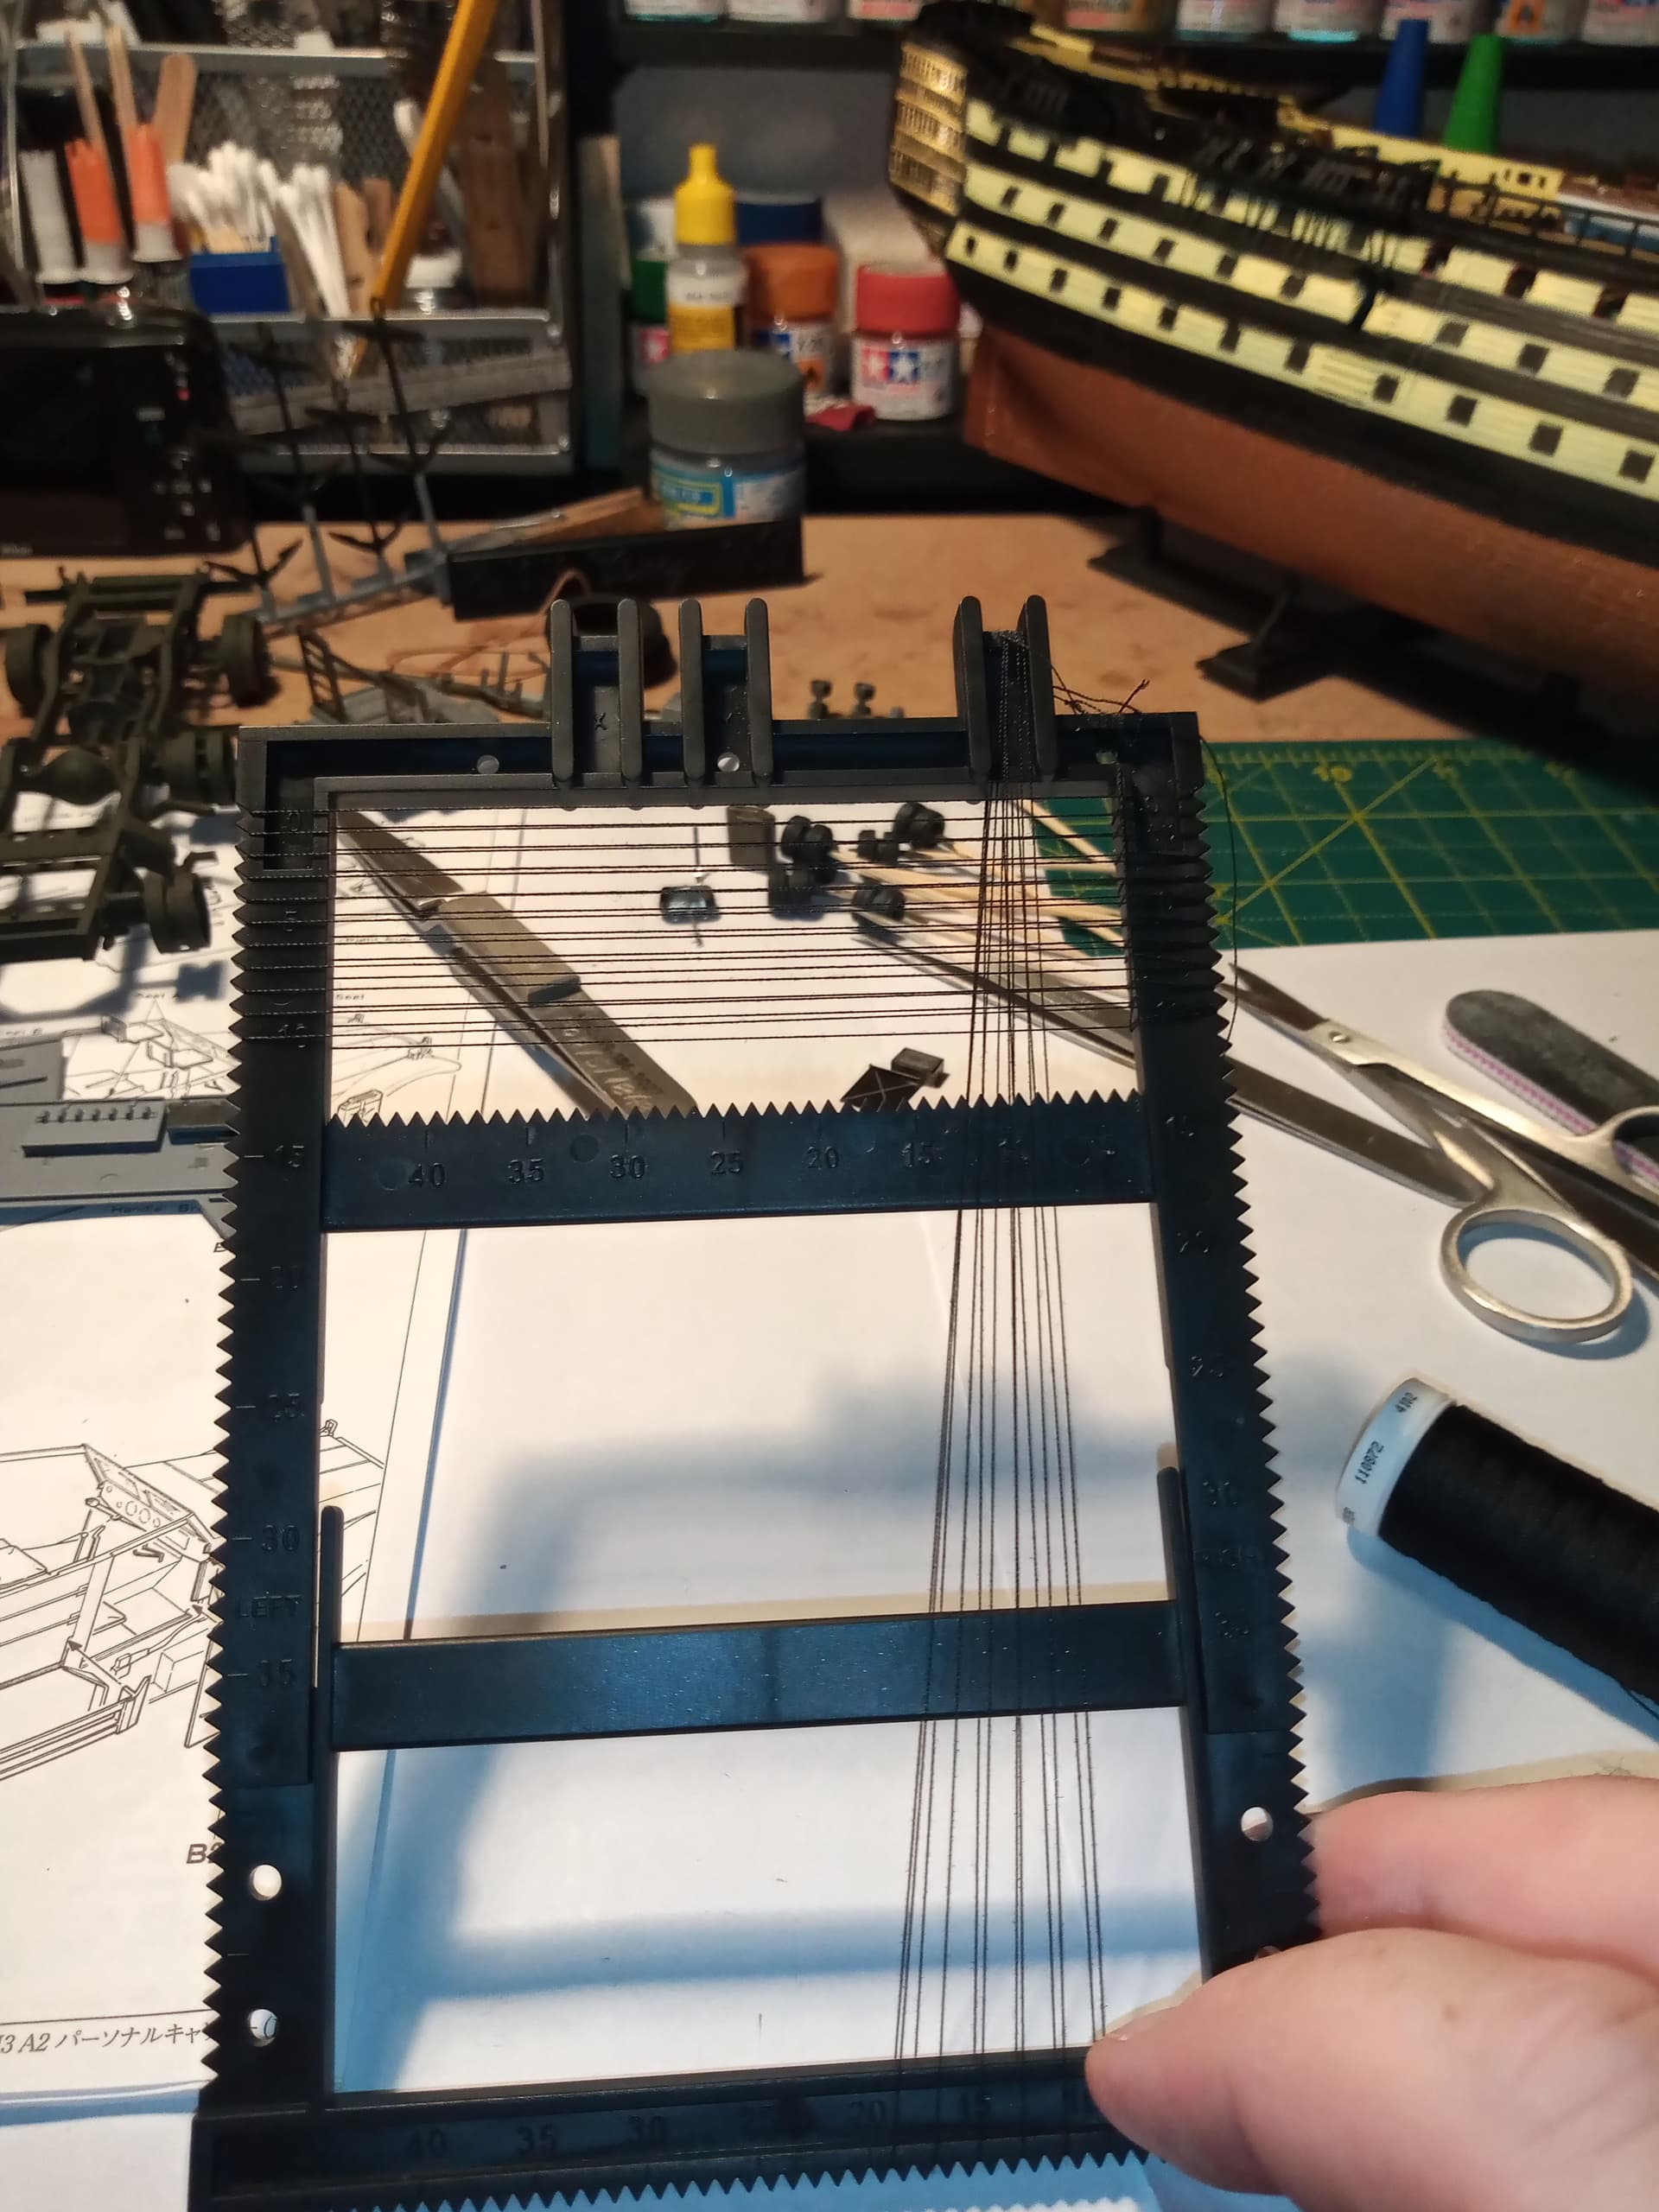
Going to have a go at doing one section of the ratlines and shrouds later using the jig Airfix provide… Hopefully it won’t break me lol
I’m getting a bit out of step with how I had things planned, and decided to look at the masts to get those finished.
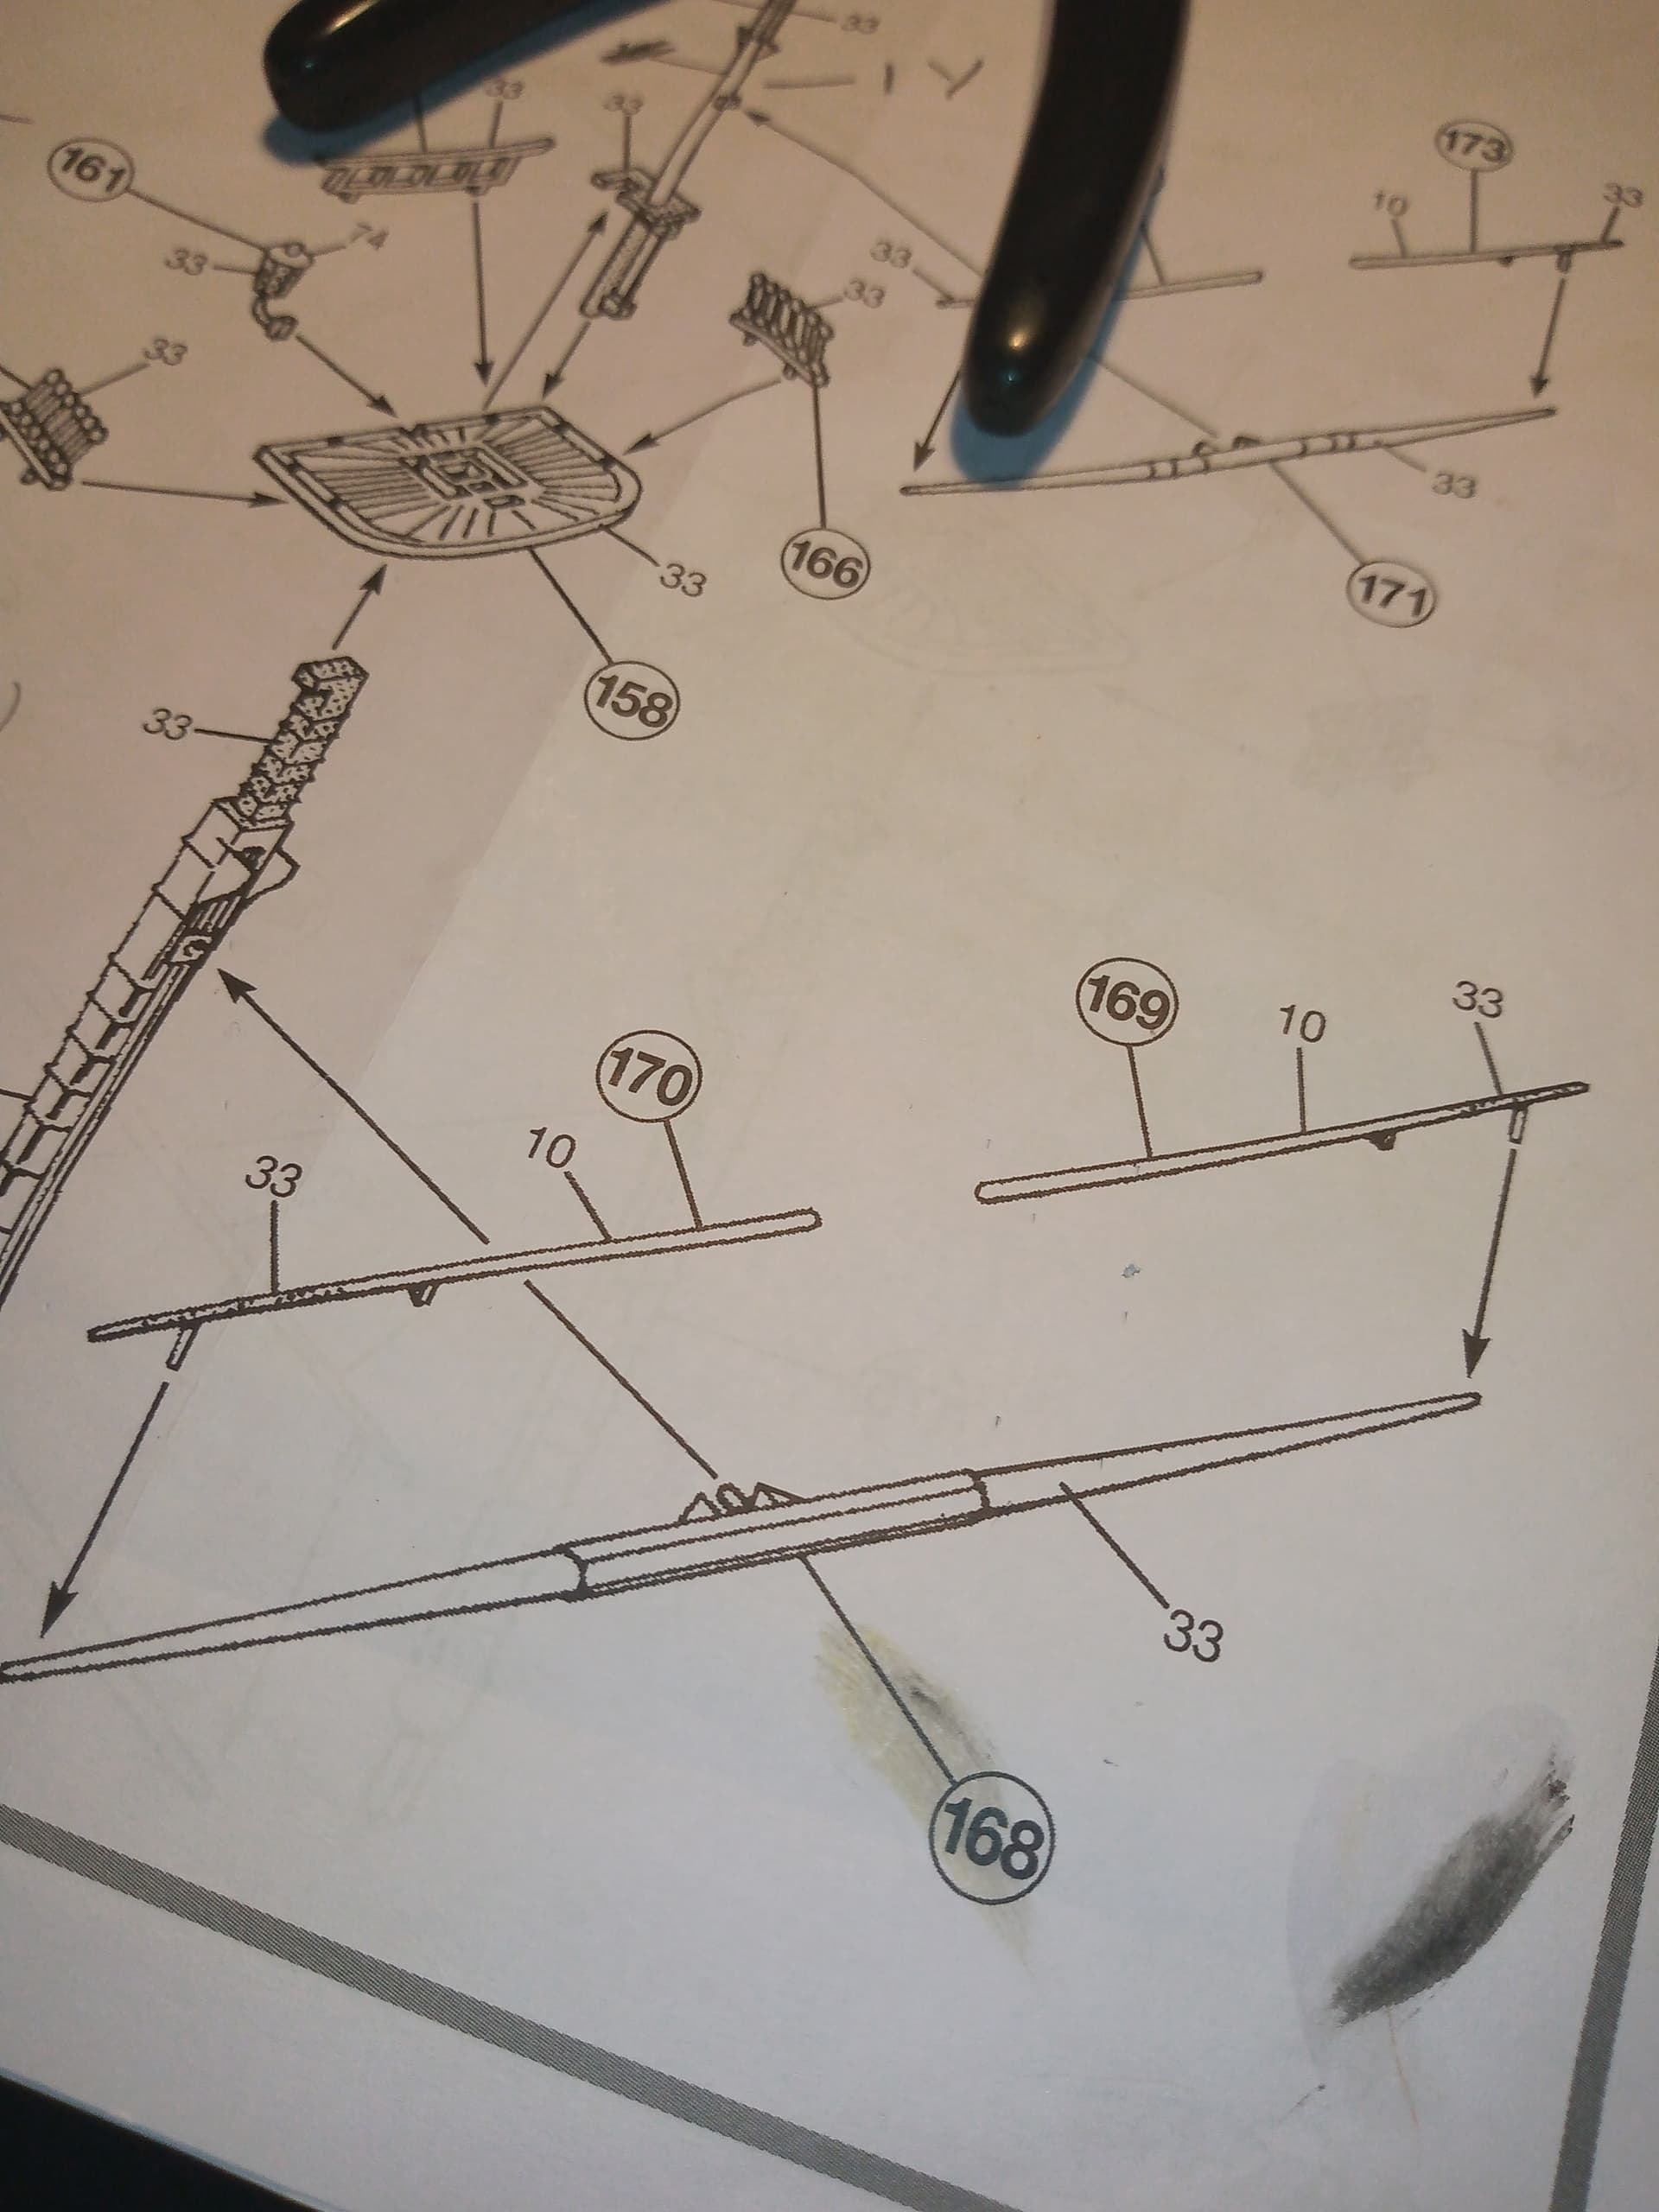
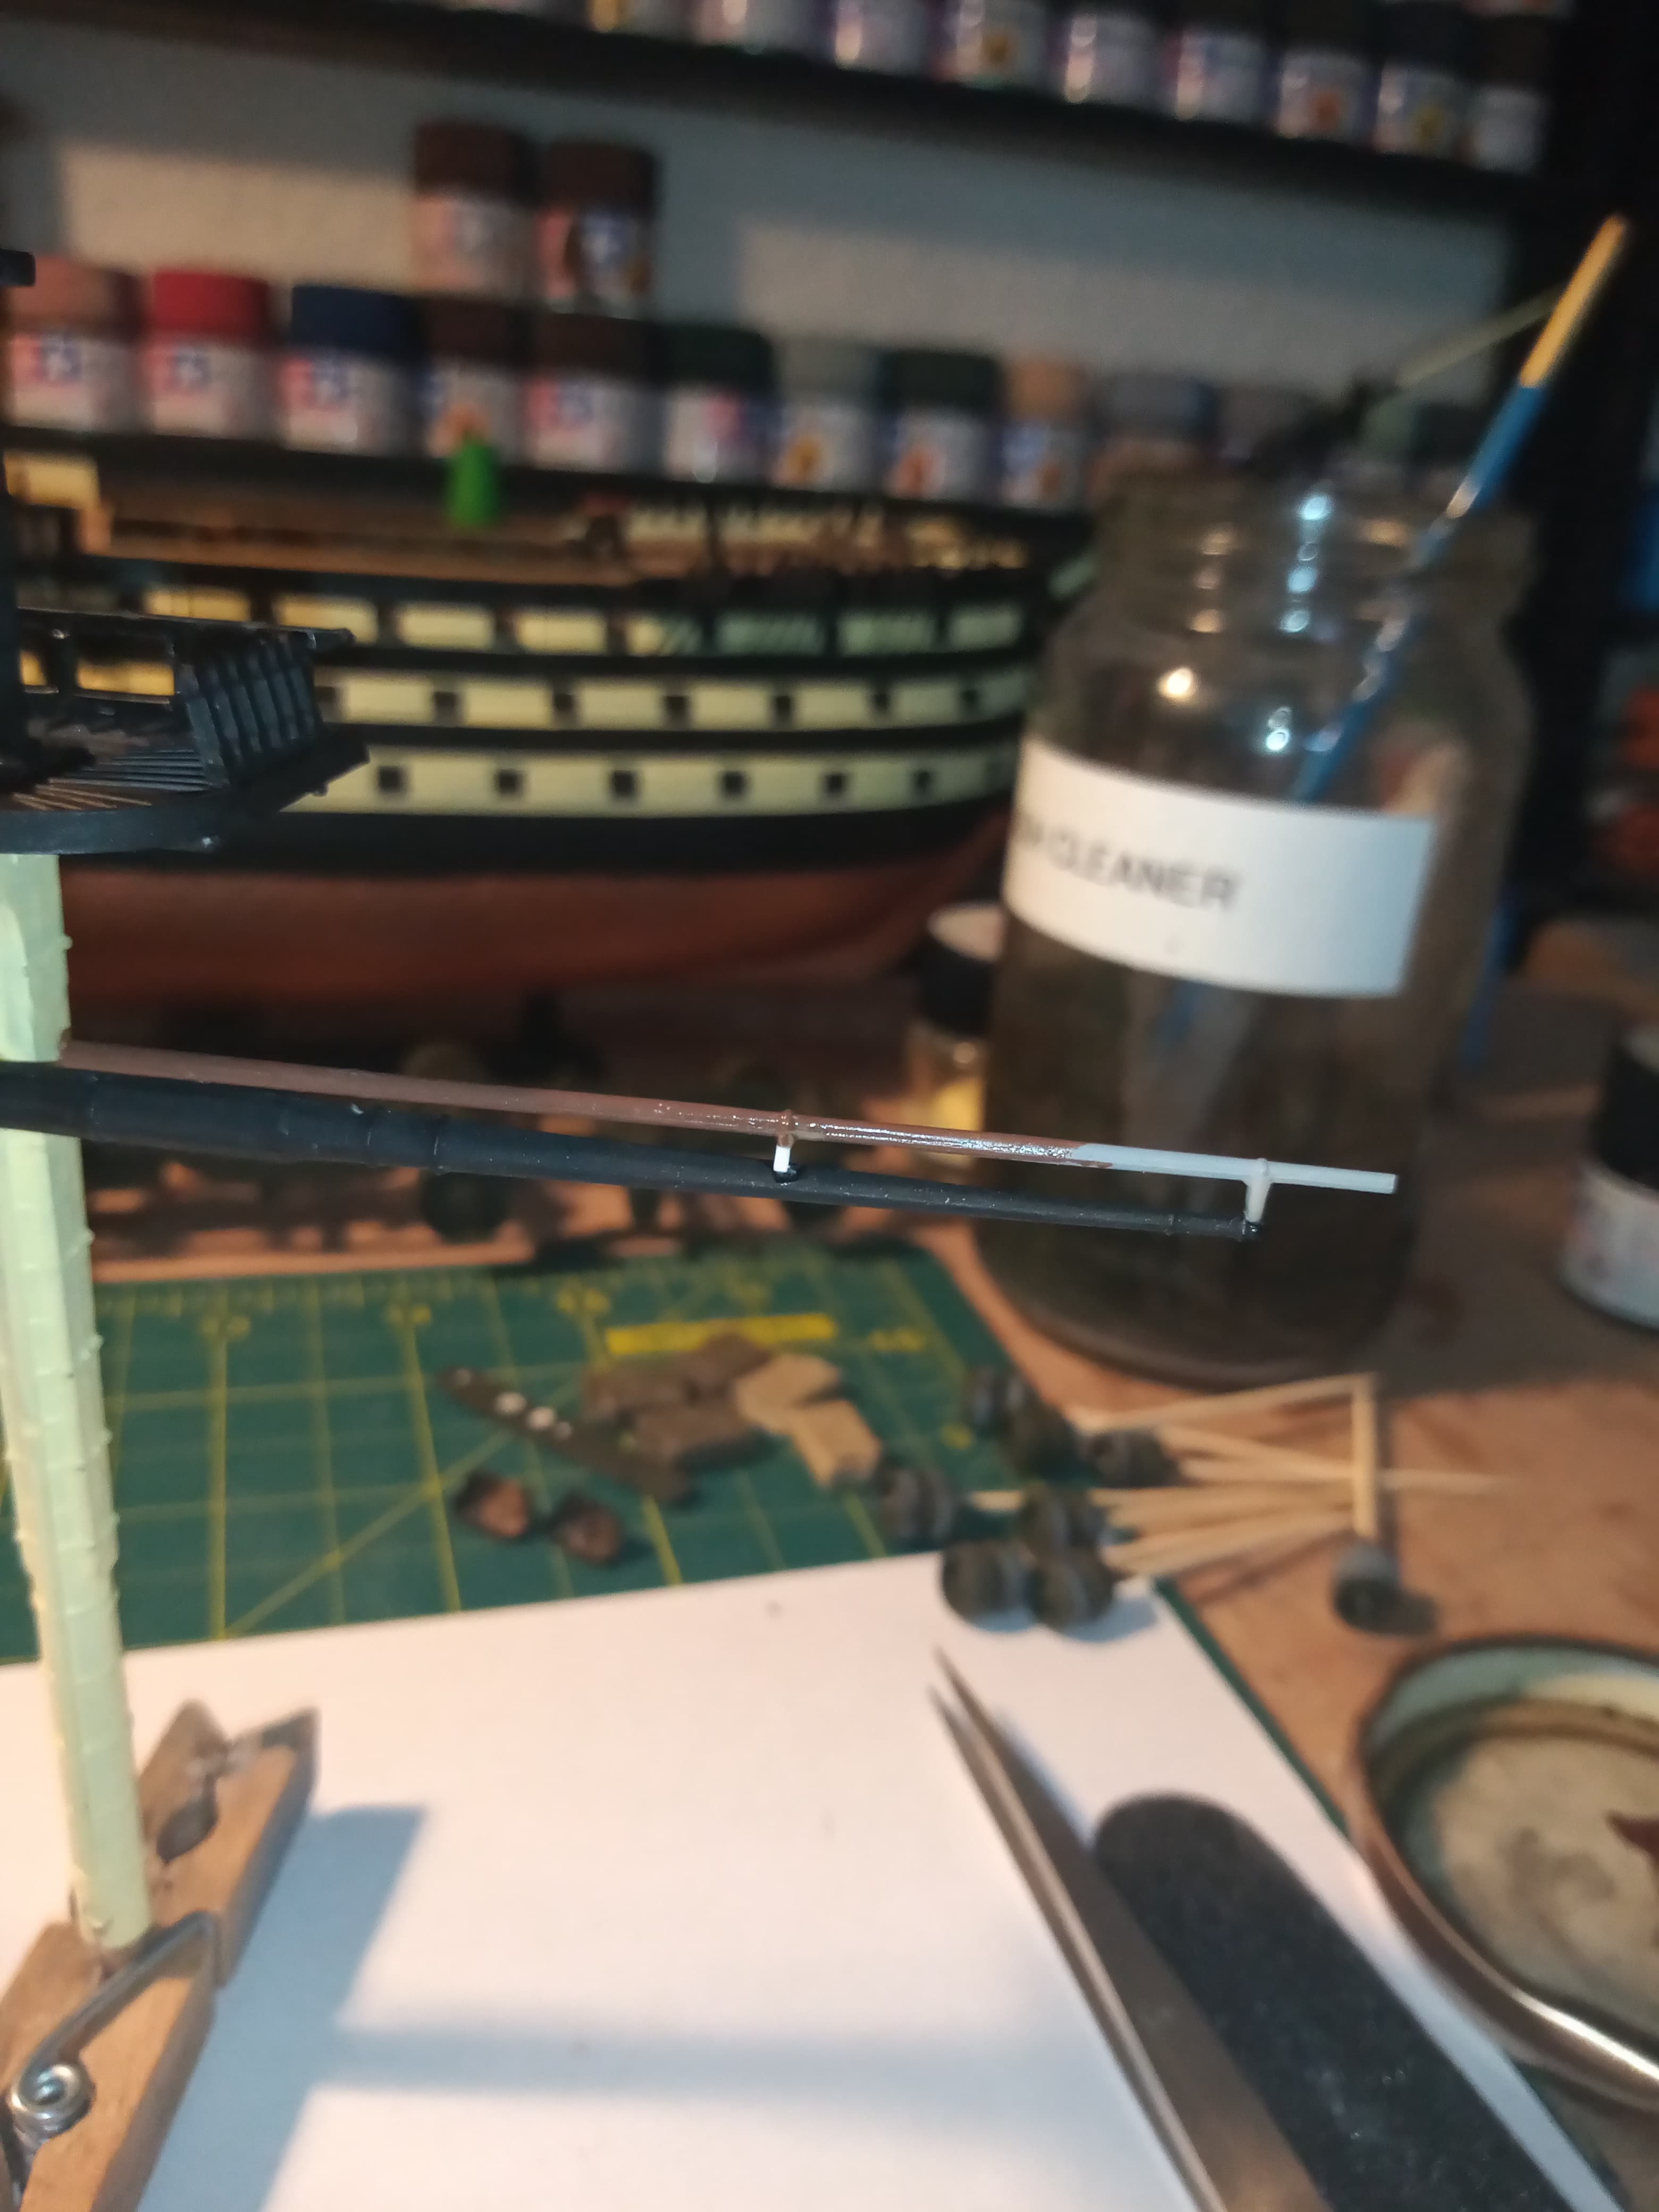
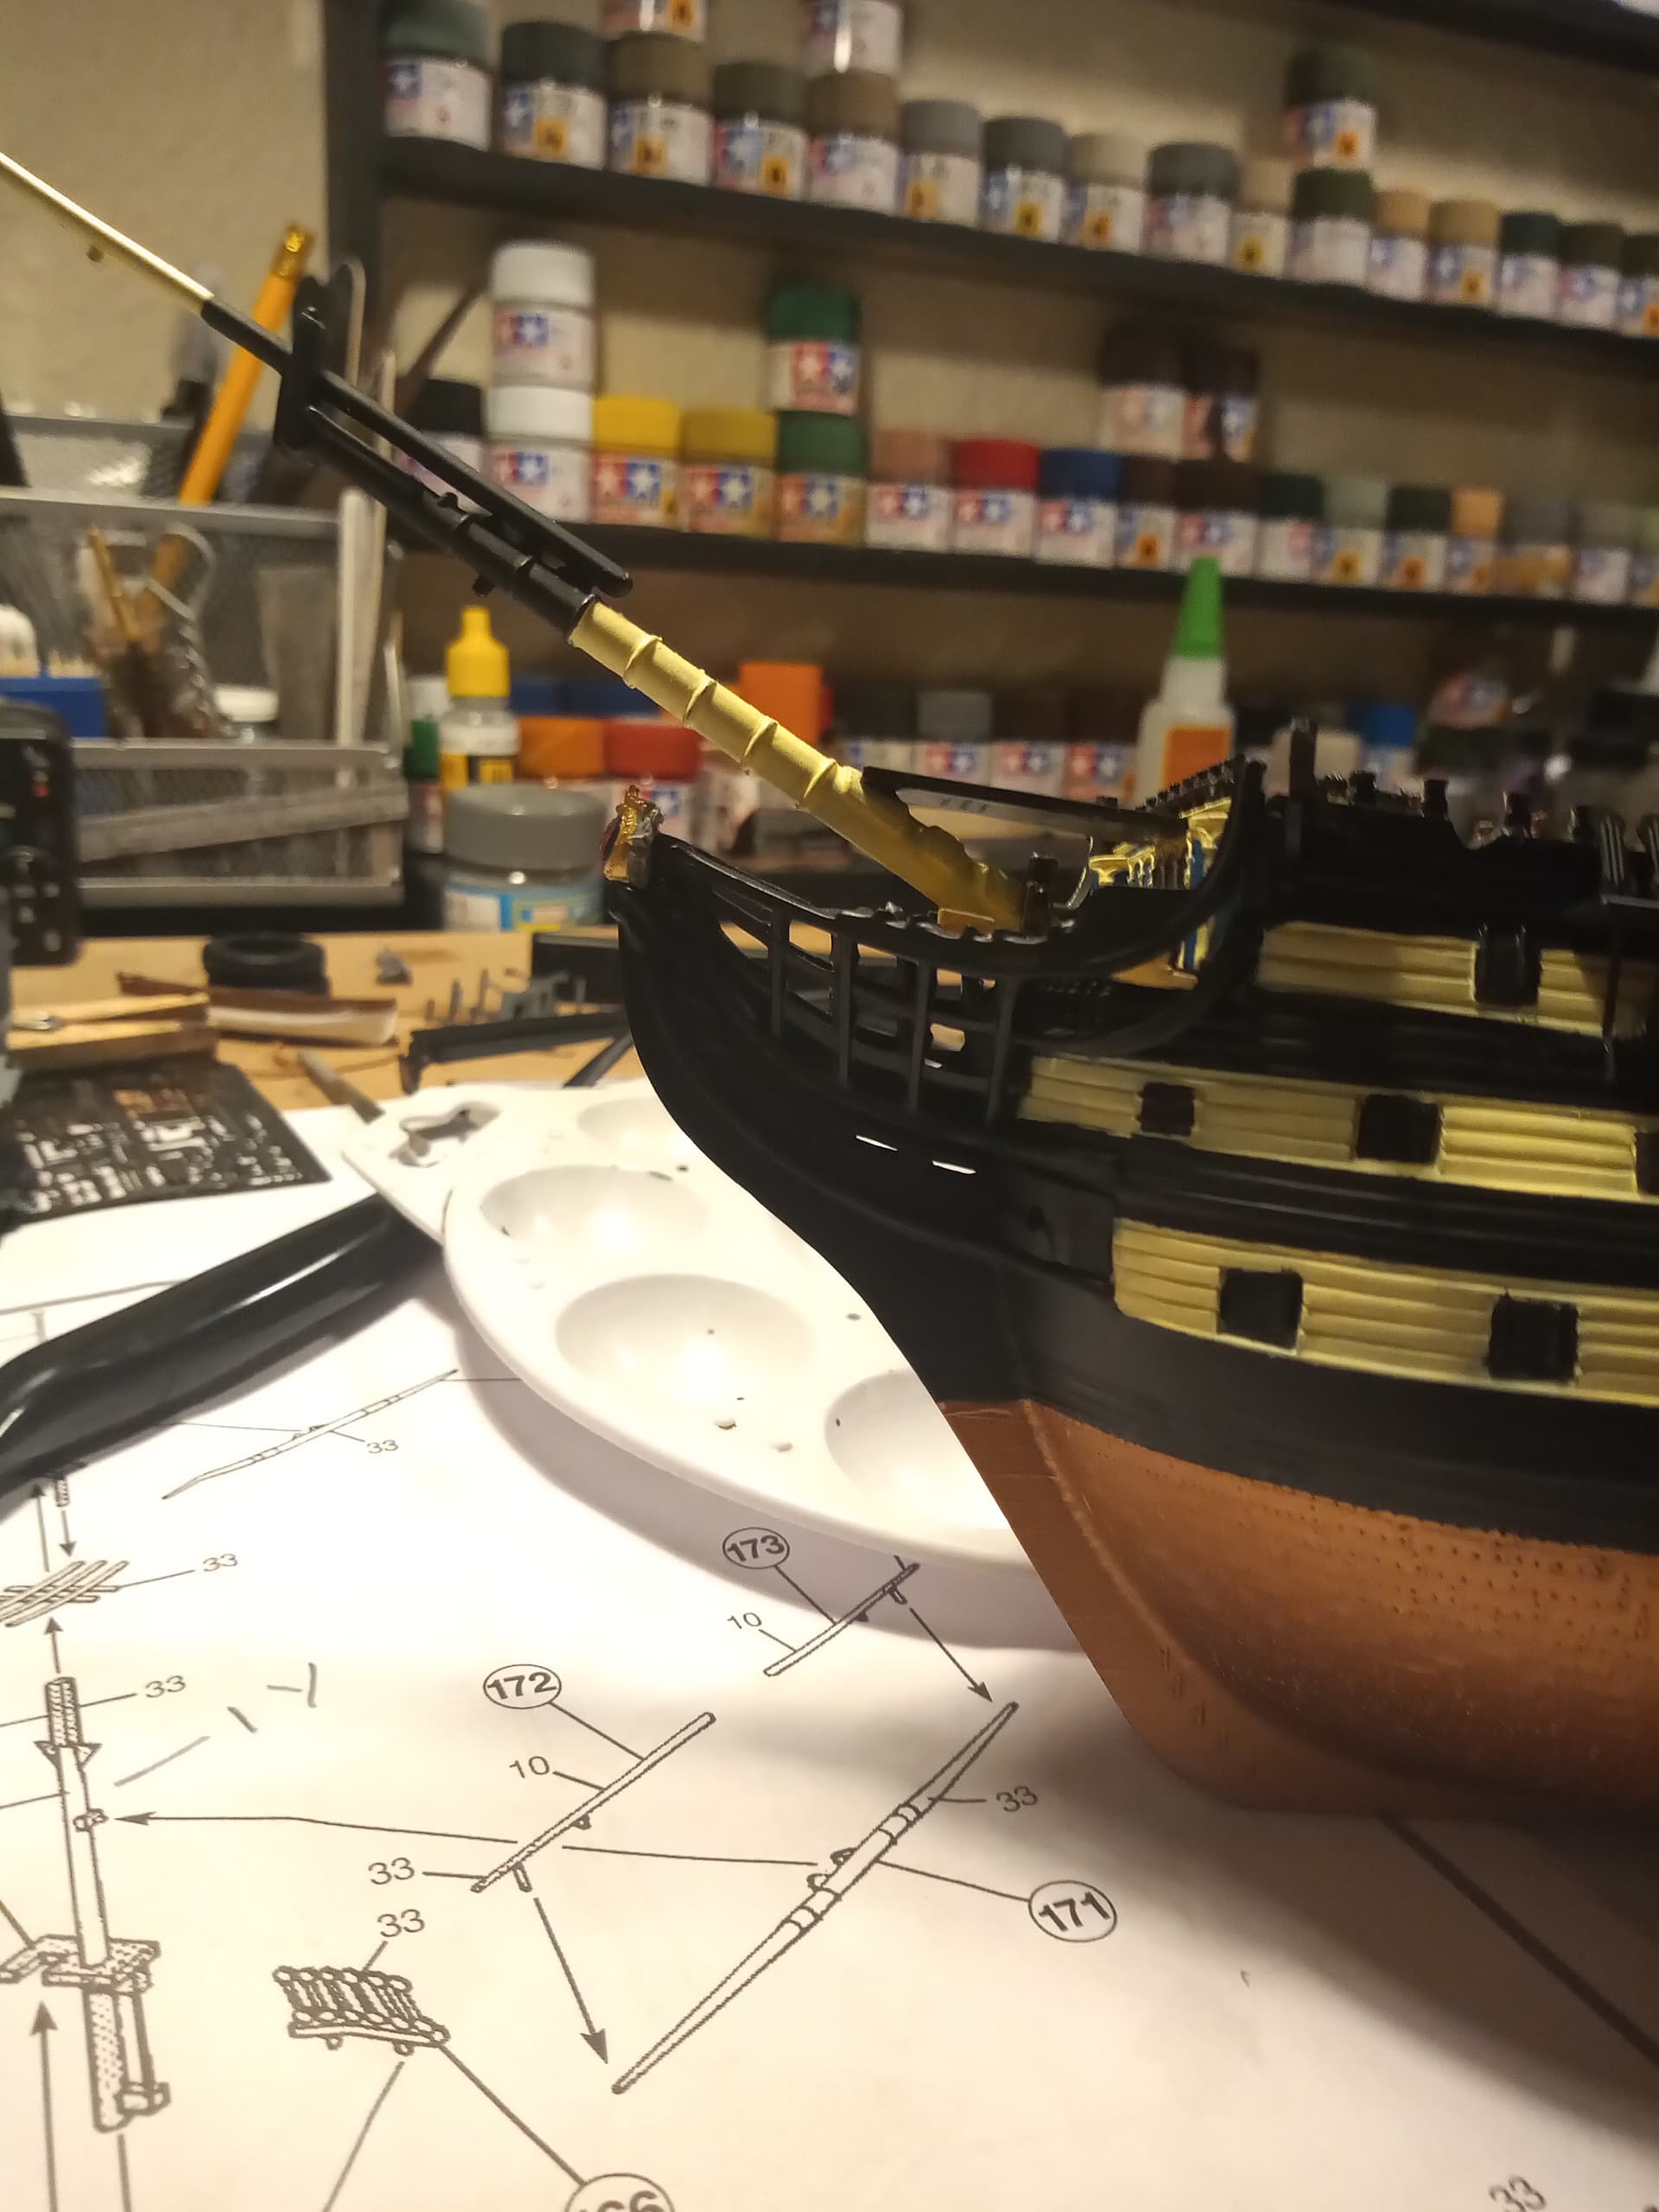
On the horizontal beams (are they spars ) they have a further Spar ? That sits on top of the main one. It’s not one continuous length, it’s one per side.
Anyway, on the upper bits they have 2 small lengths at the ends which sit on the main spar?
169 and 170 onto 168 below.
So, when I initially fitted them, nothing matched and they didn’t sit right, so I ended up having to cut very small bits of plastic rod to act as gap fillers.
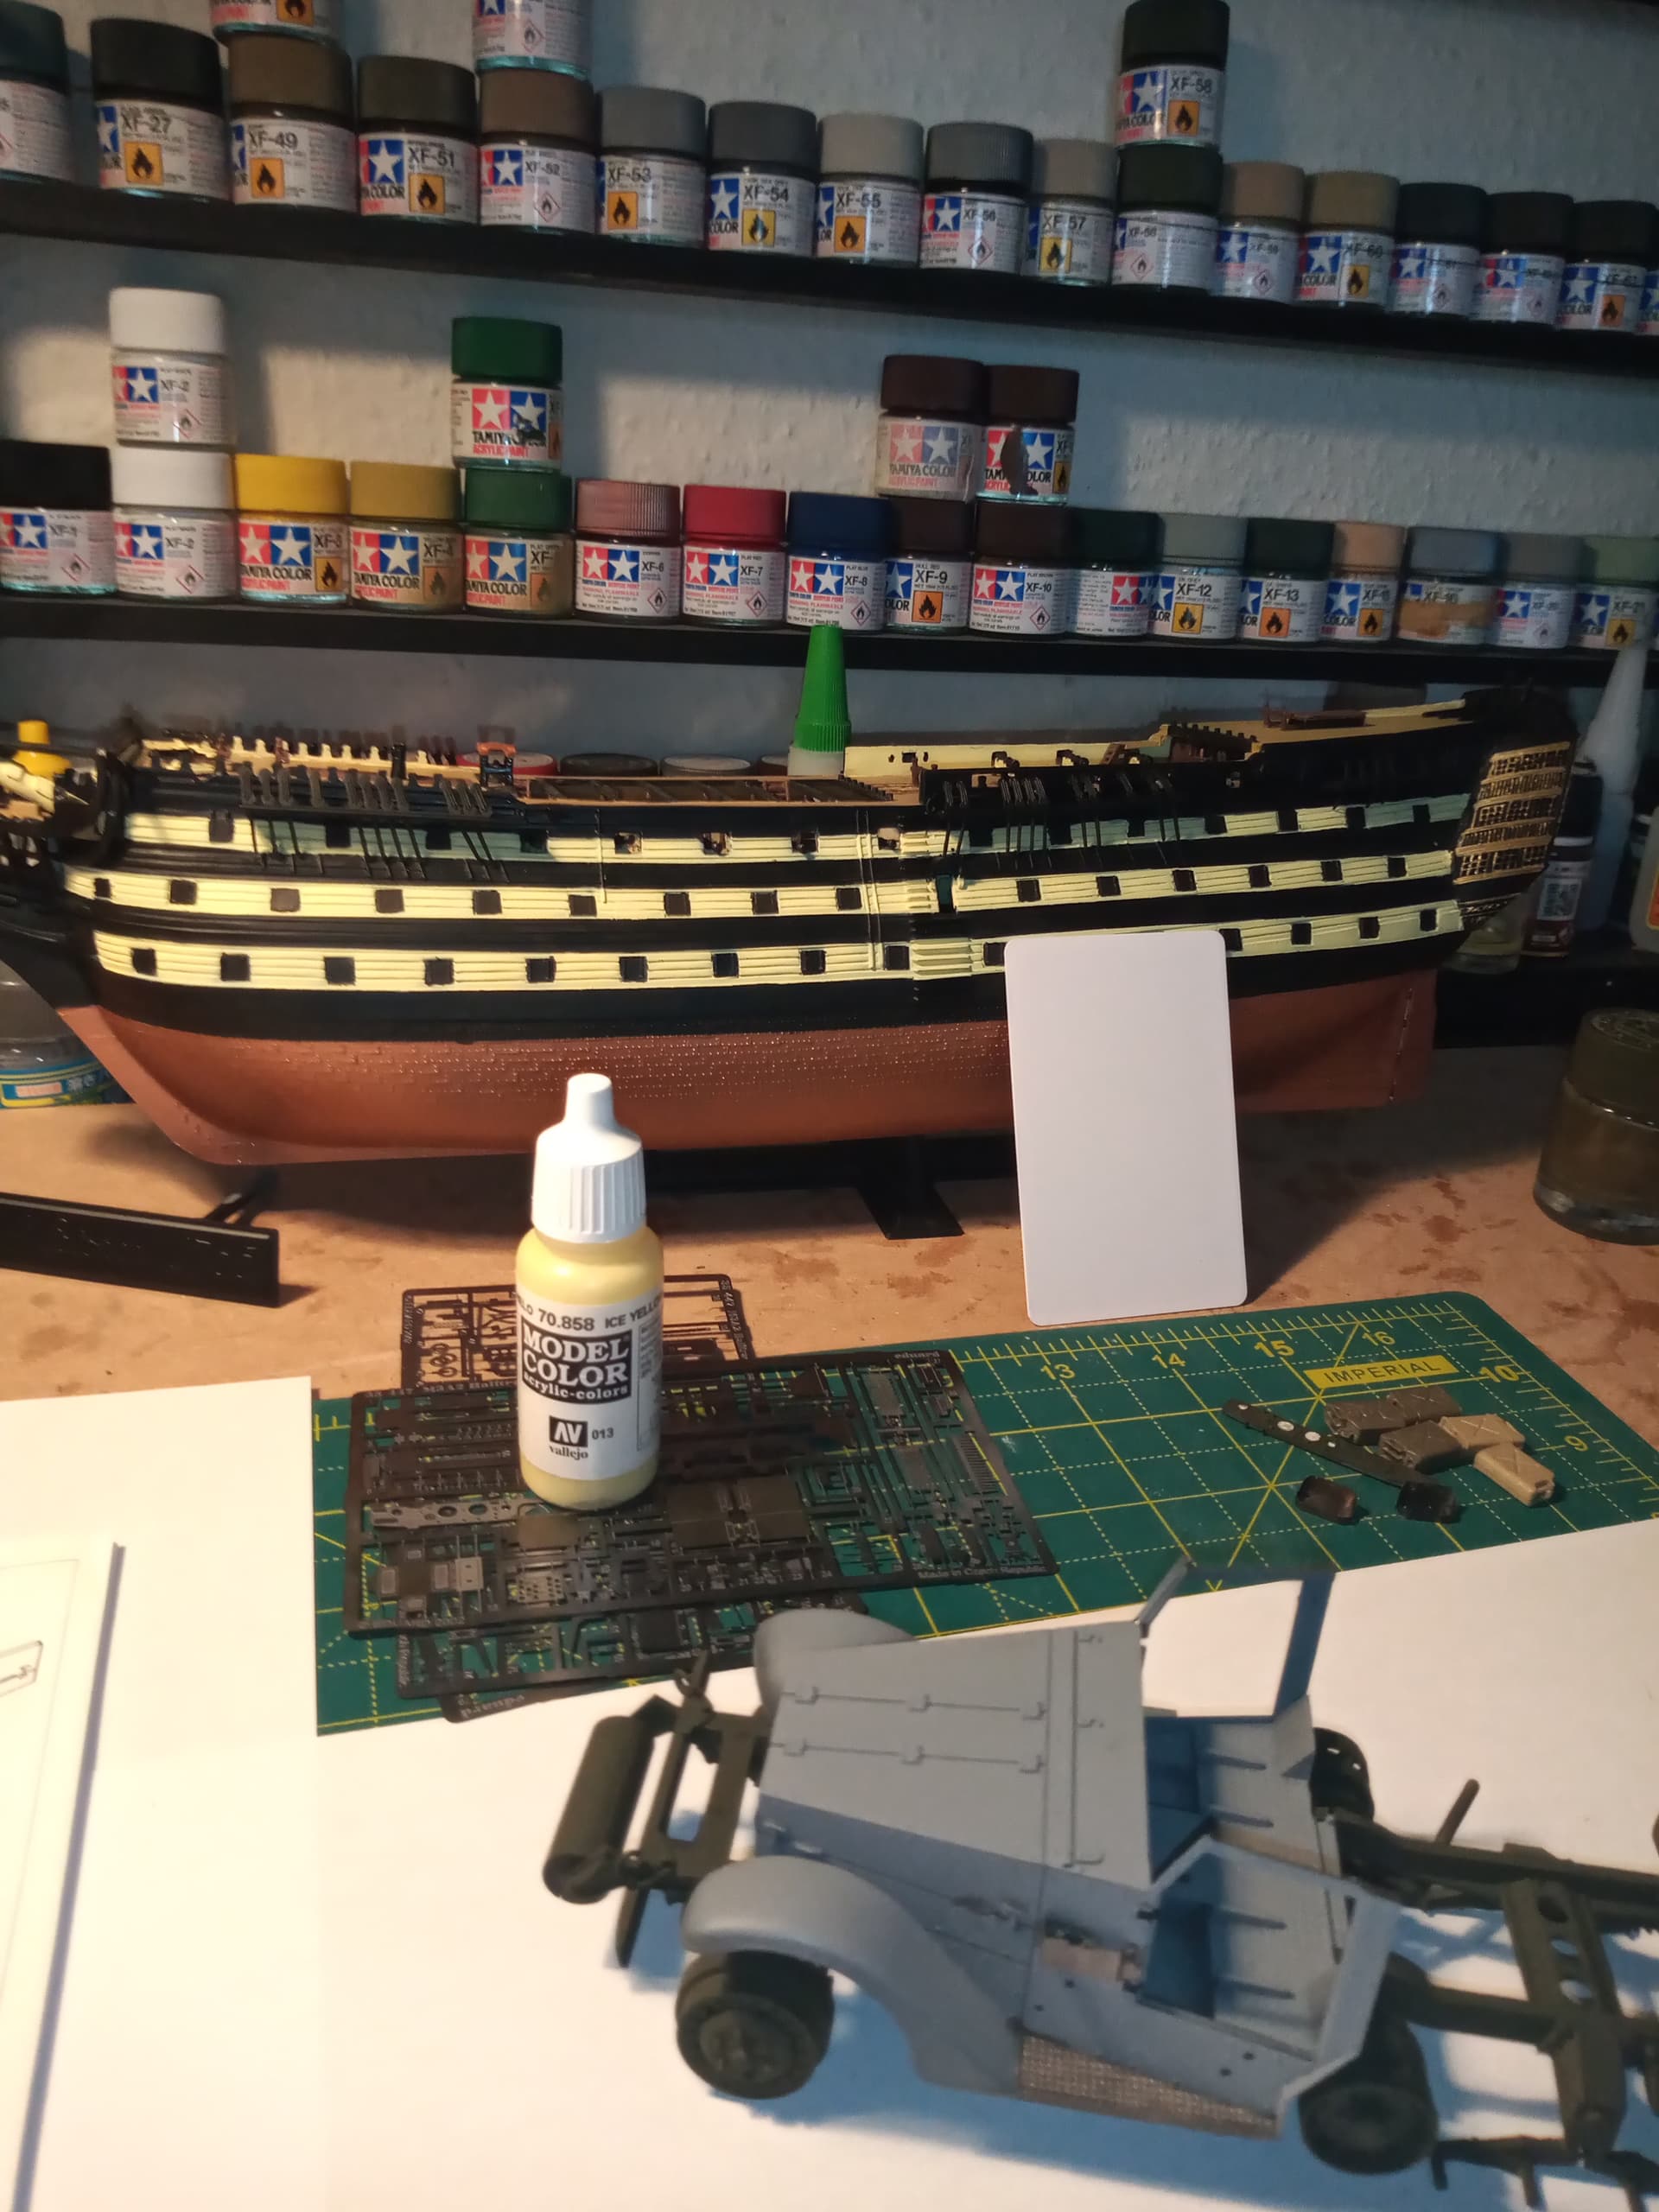
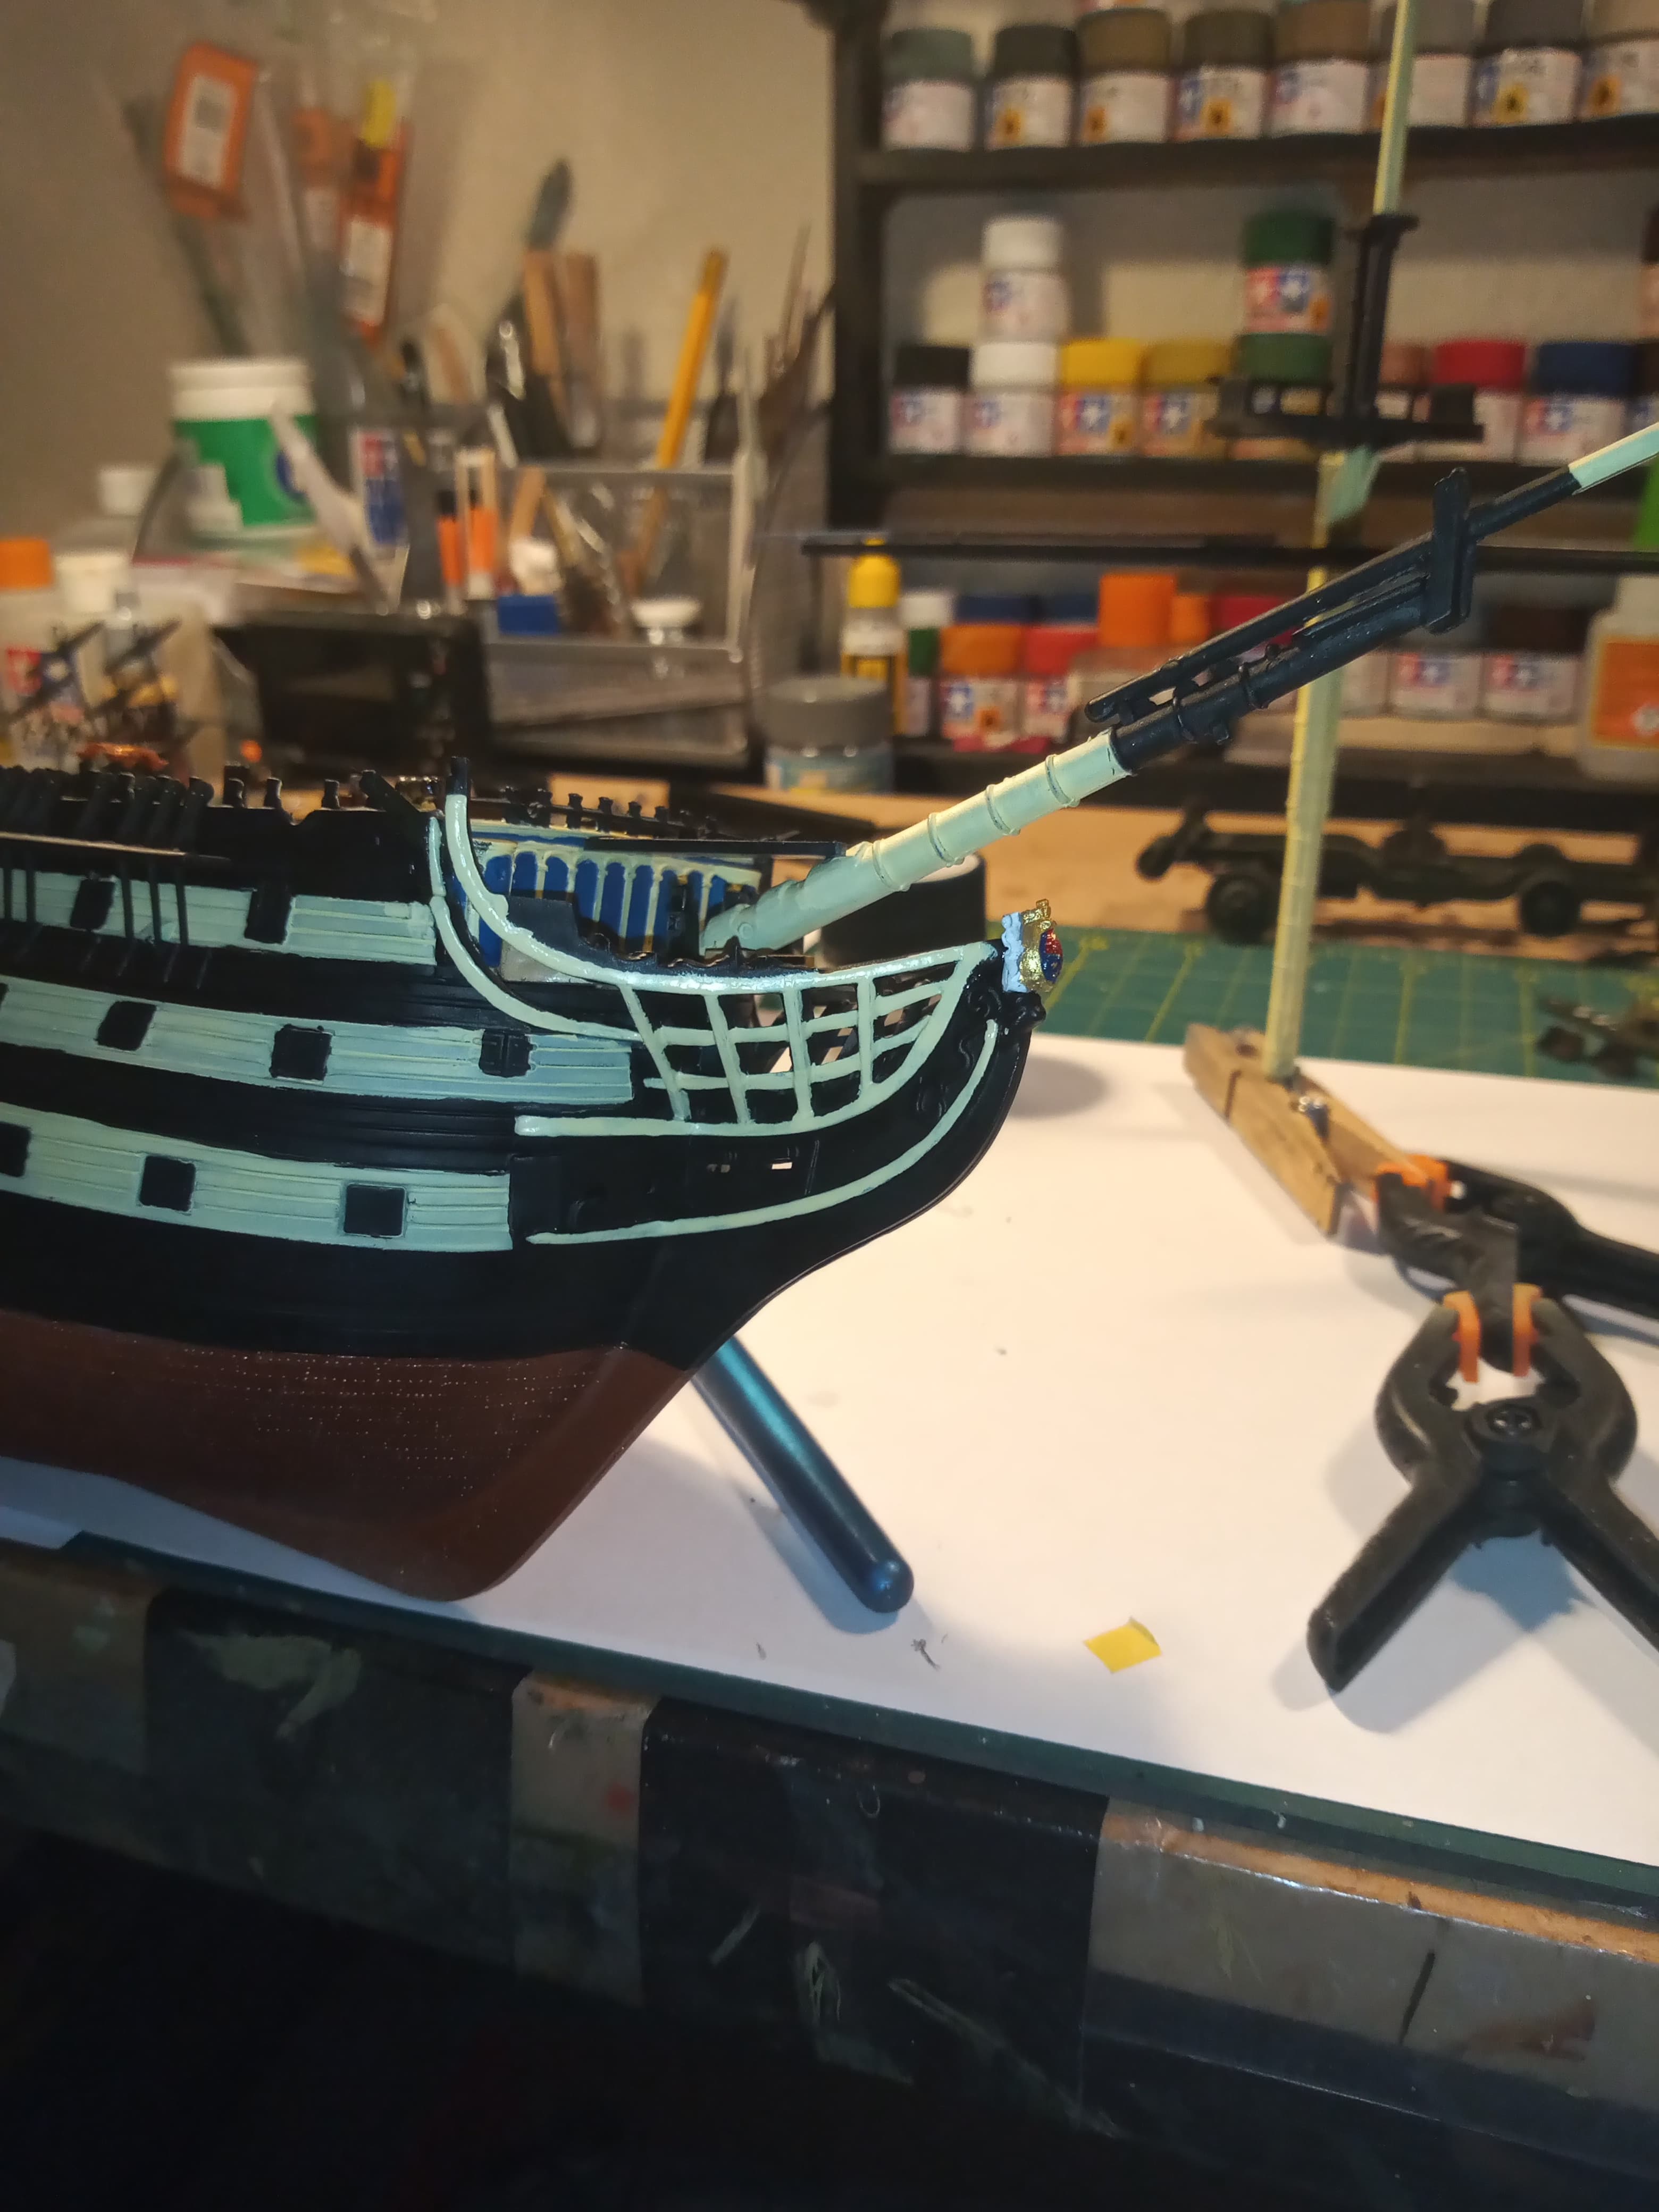
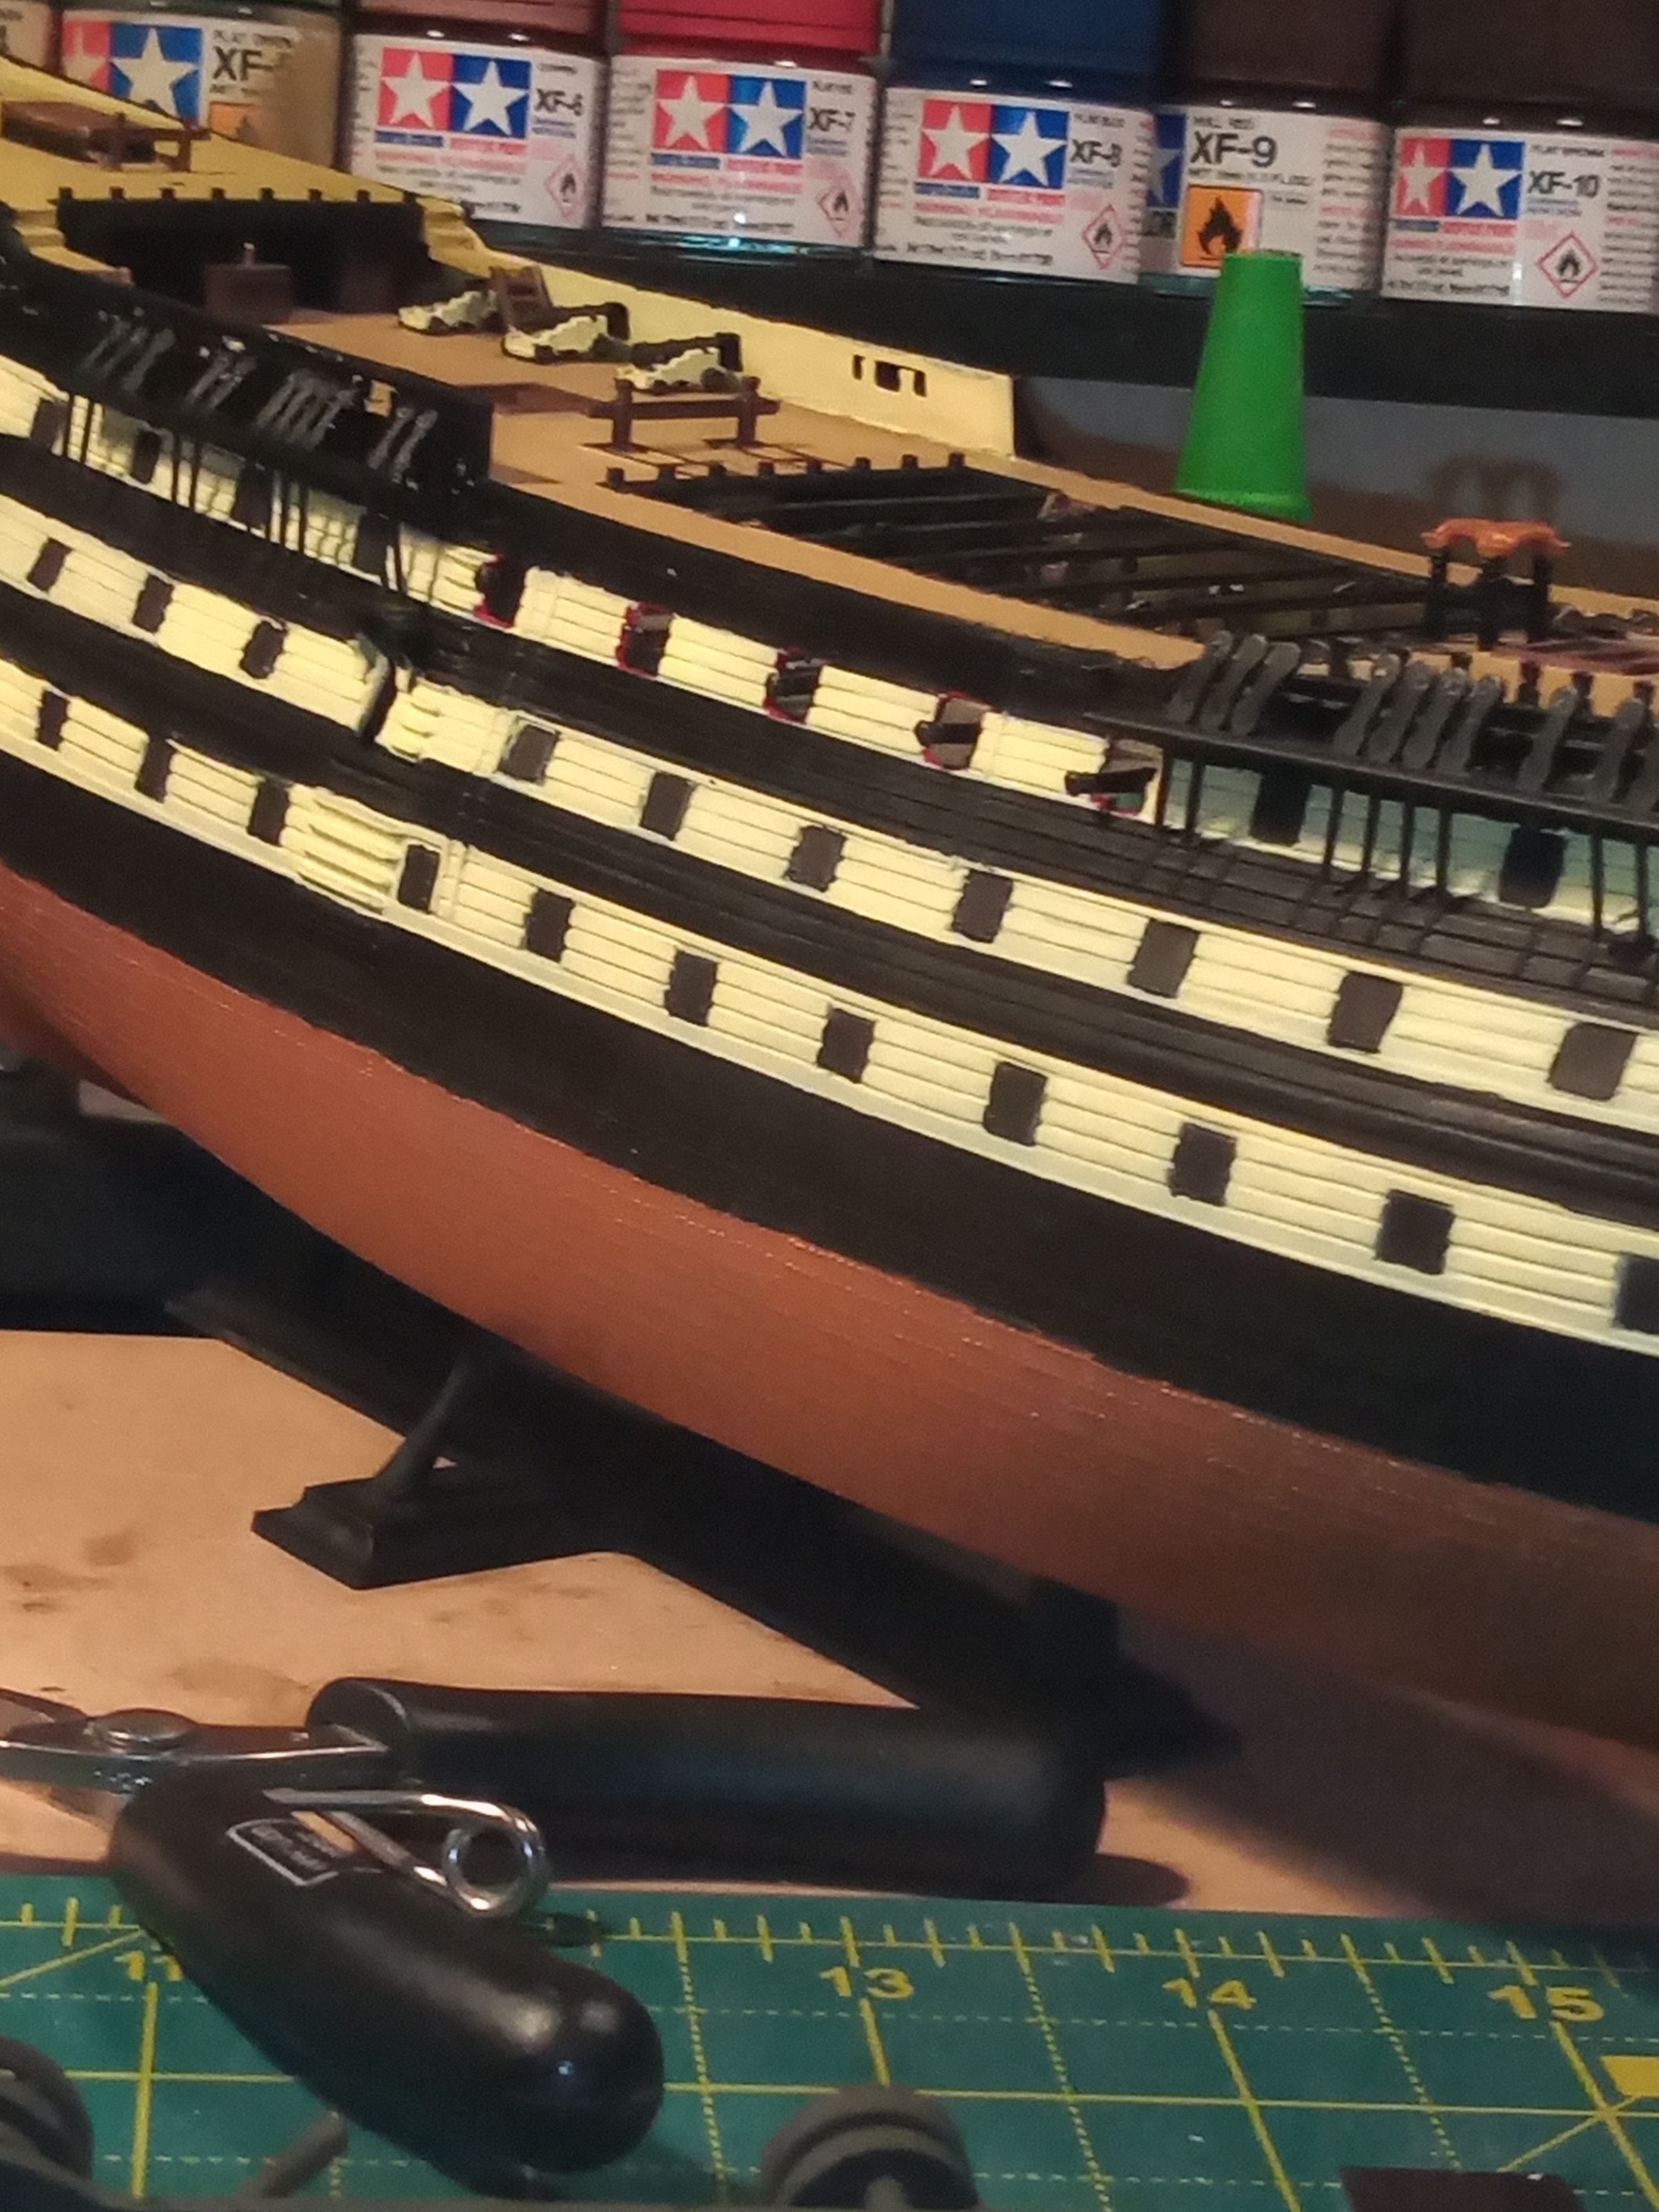
So, out with the Ice yellow again… It was actually pretty stress free, nice steady hand and I had both sides done in 15 minutes. Just need to let it dry and address a couple of spots that need some black going over again.
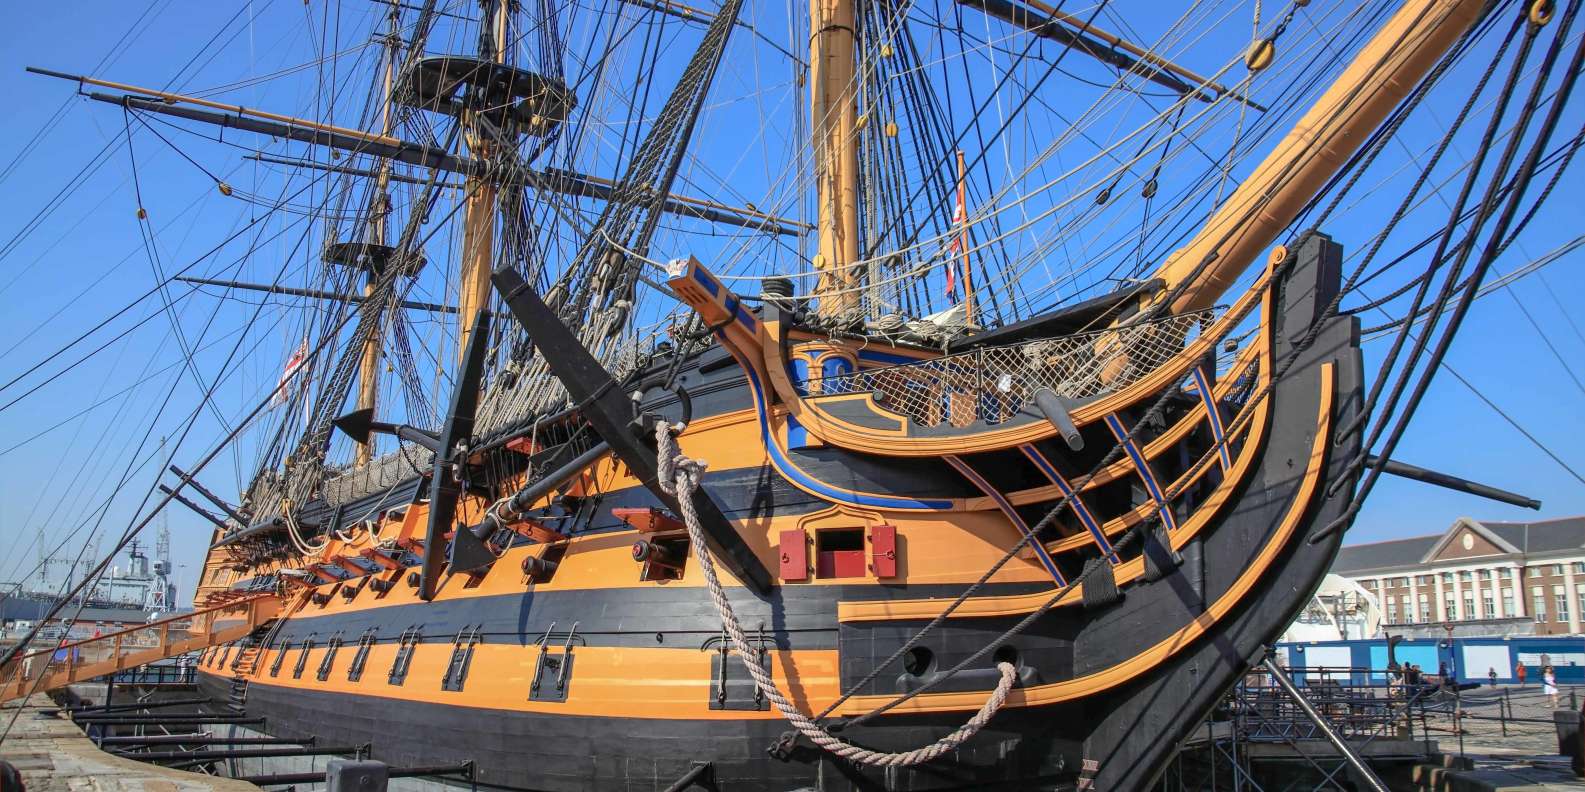
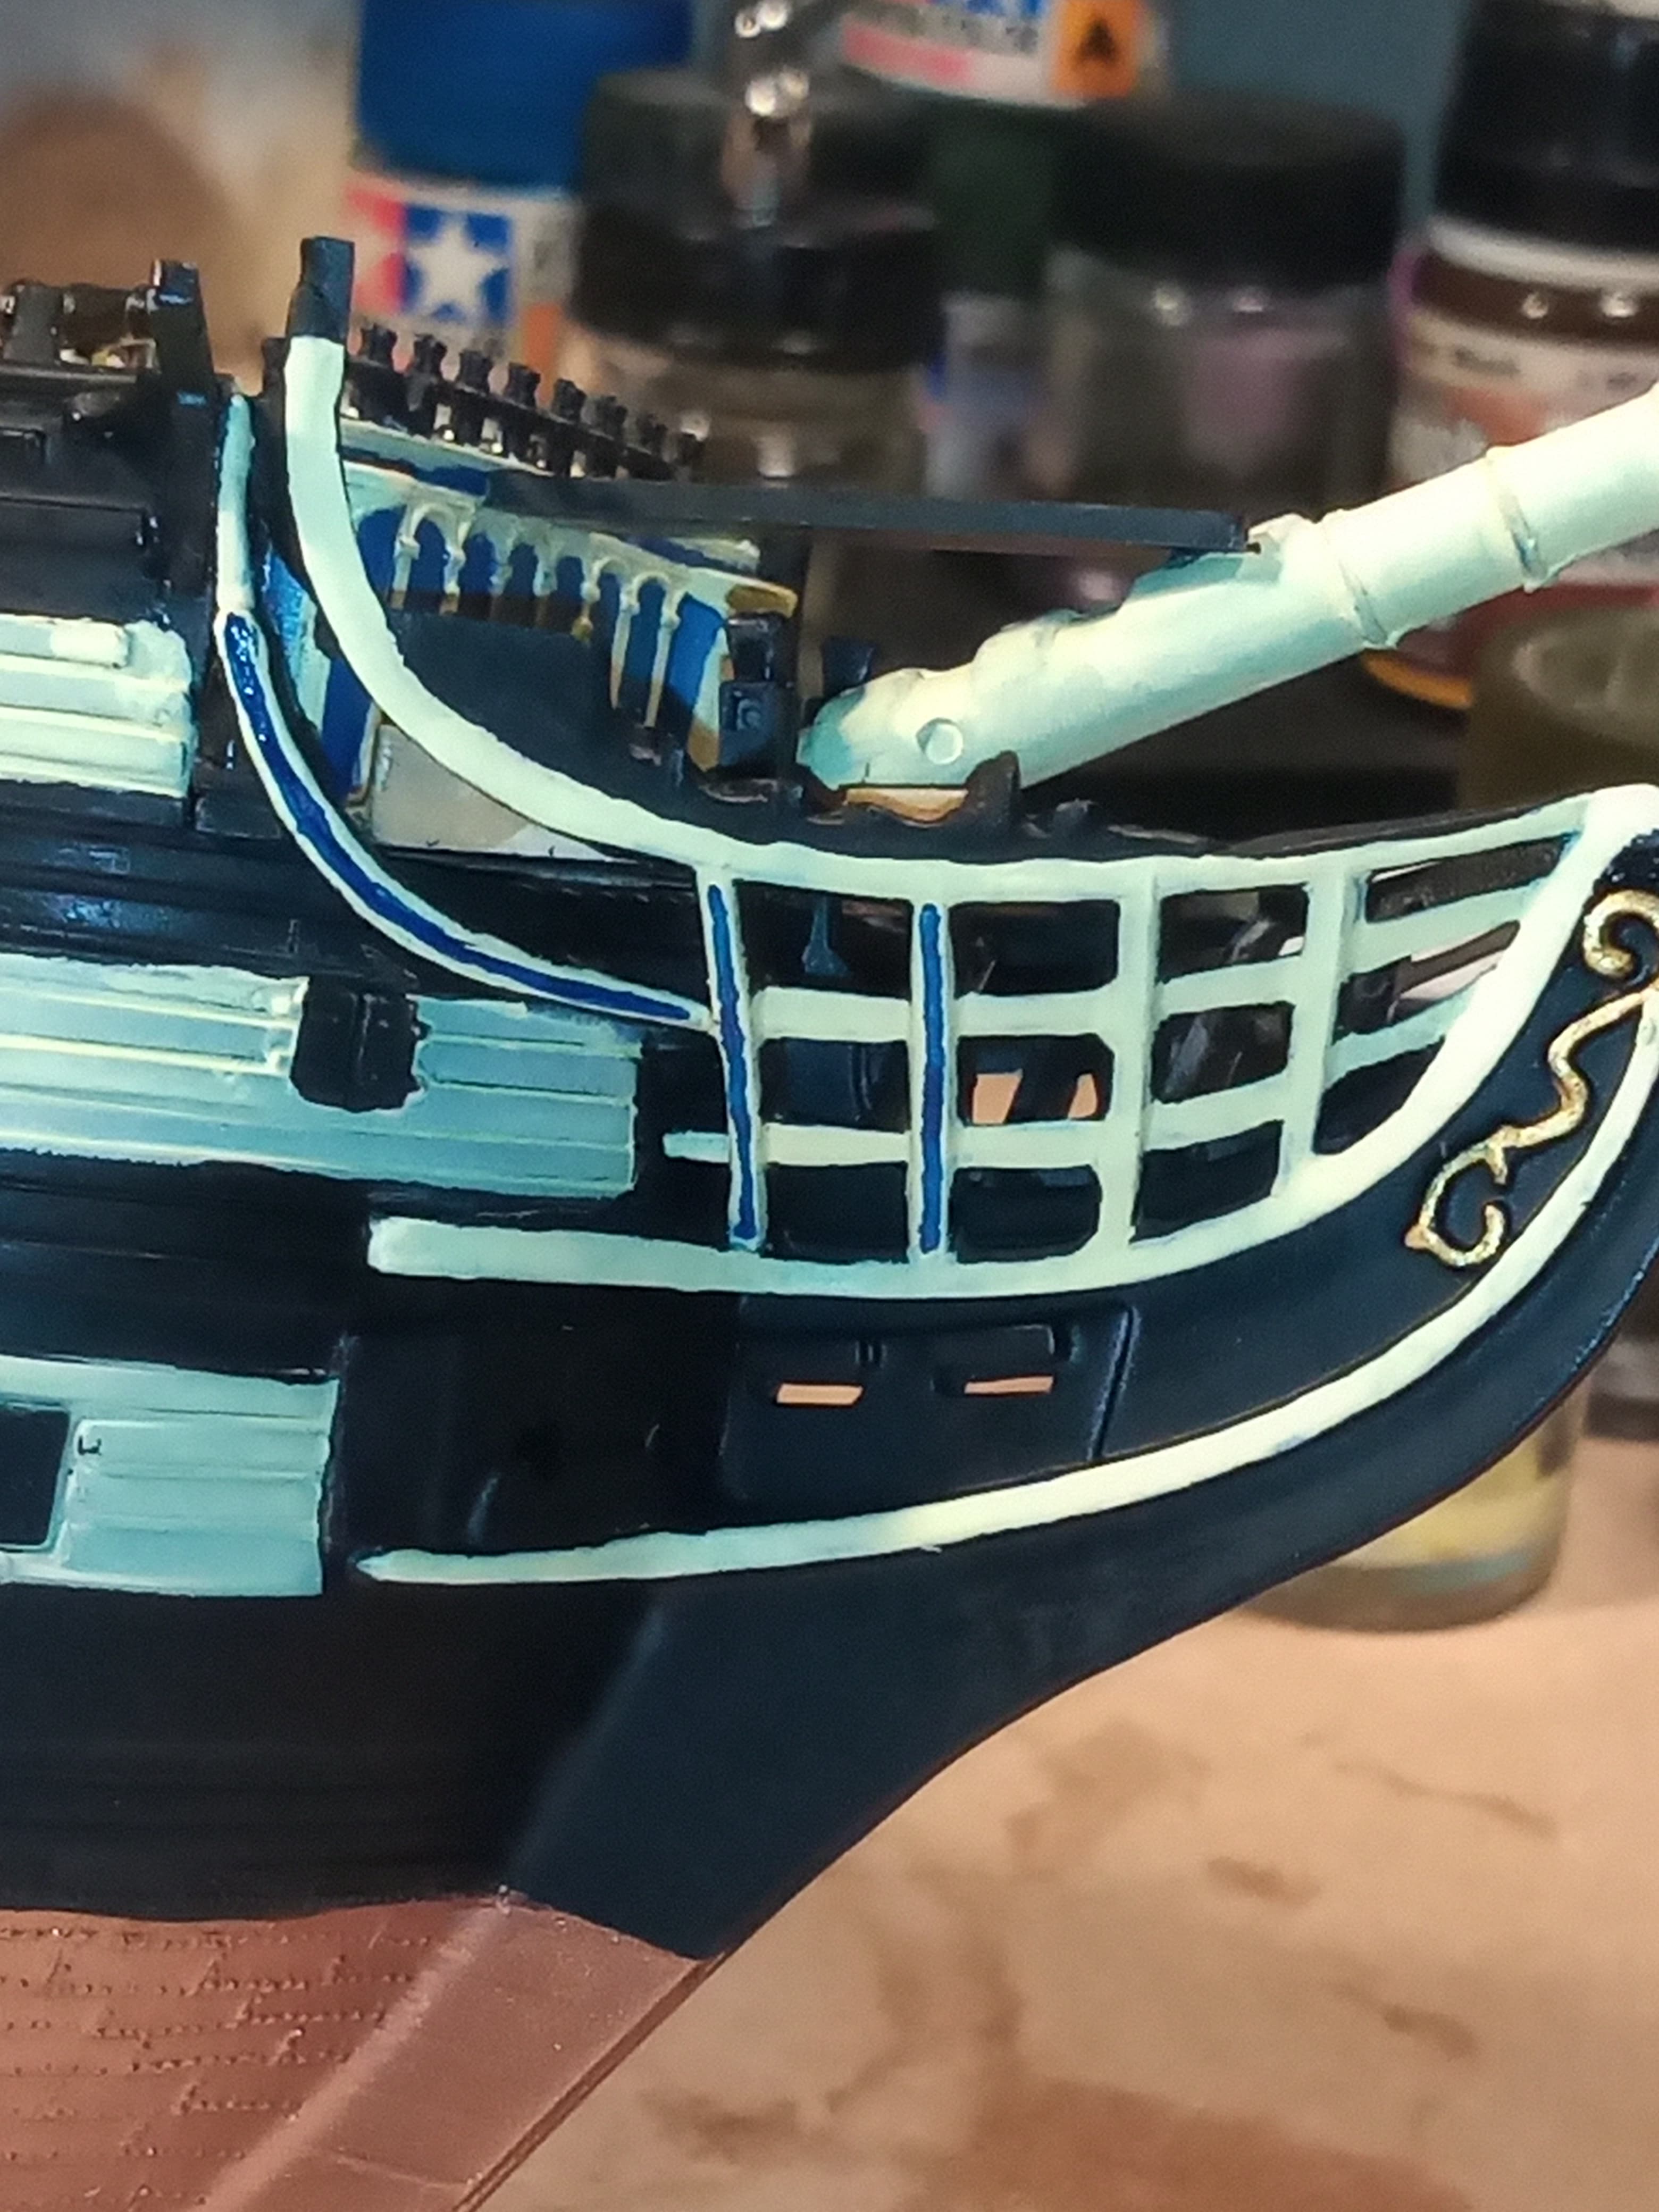
On the pics I have been looking at of her in Pompey dockyard, these yellow beams have a blue line going along a good few of them… I think I had better give it ago as it looks nice with that colour against the yellow.
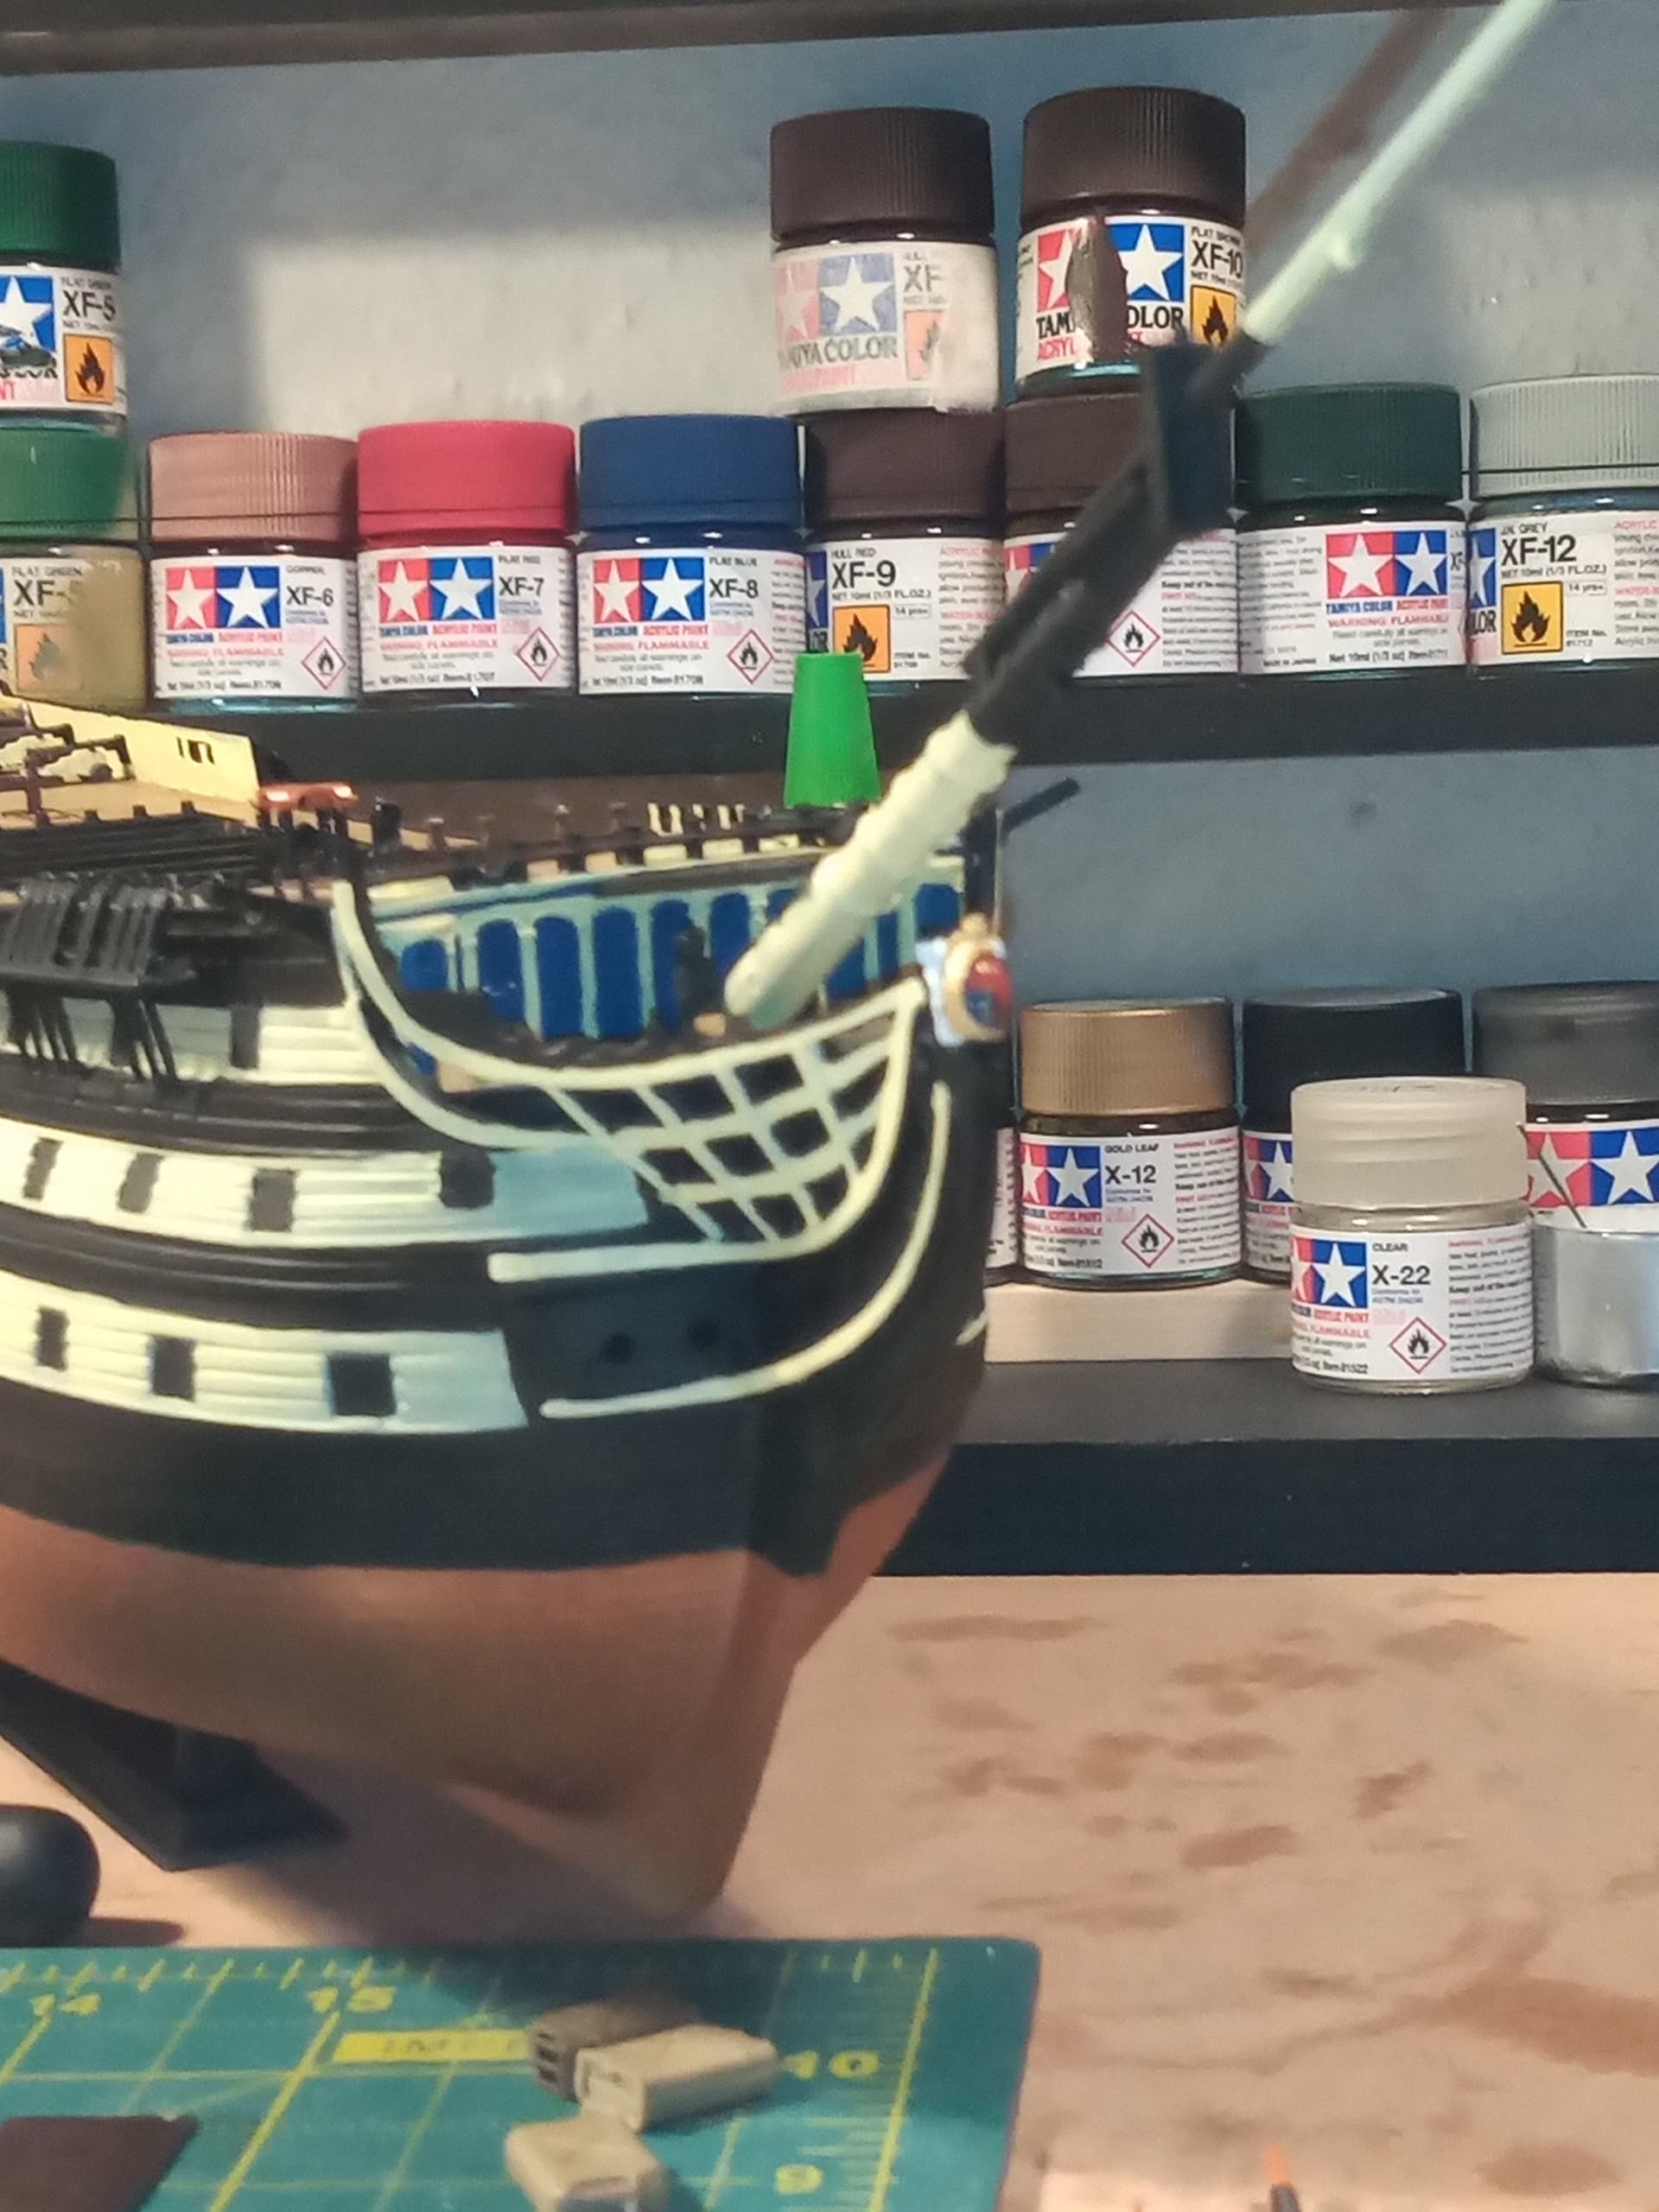
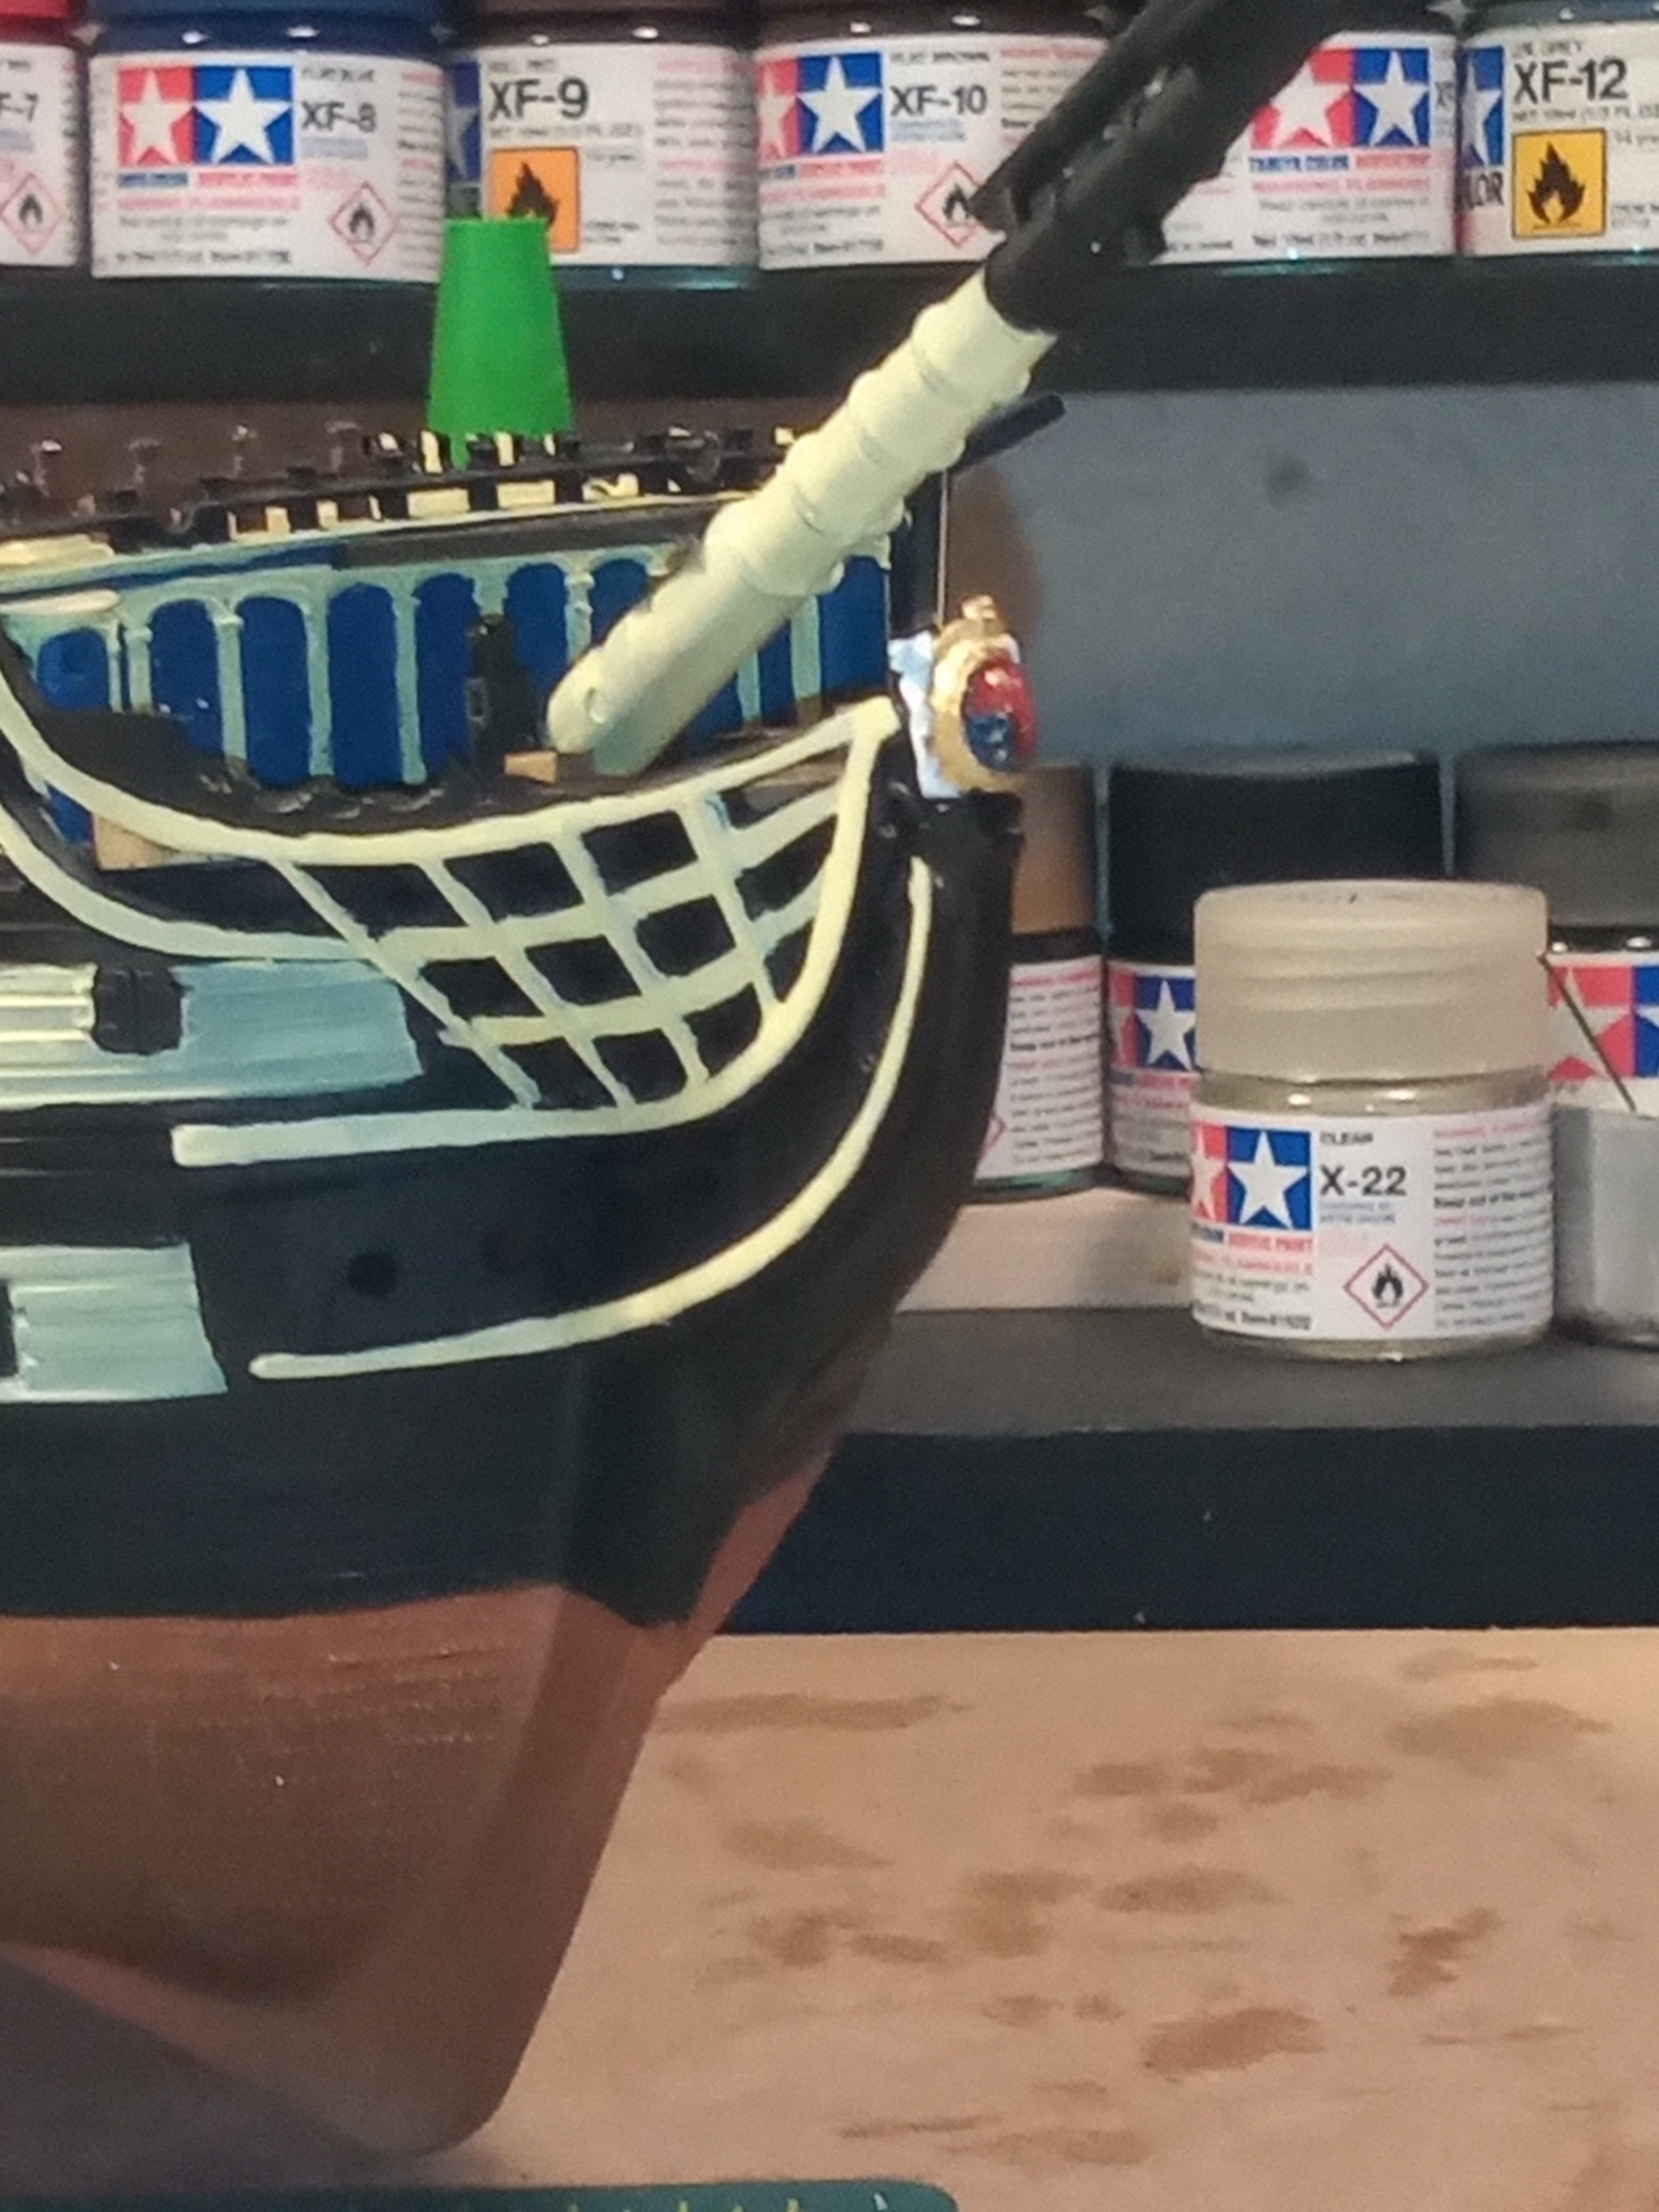
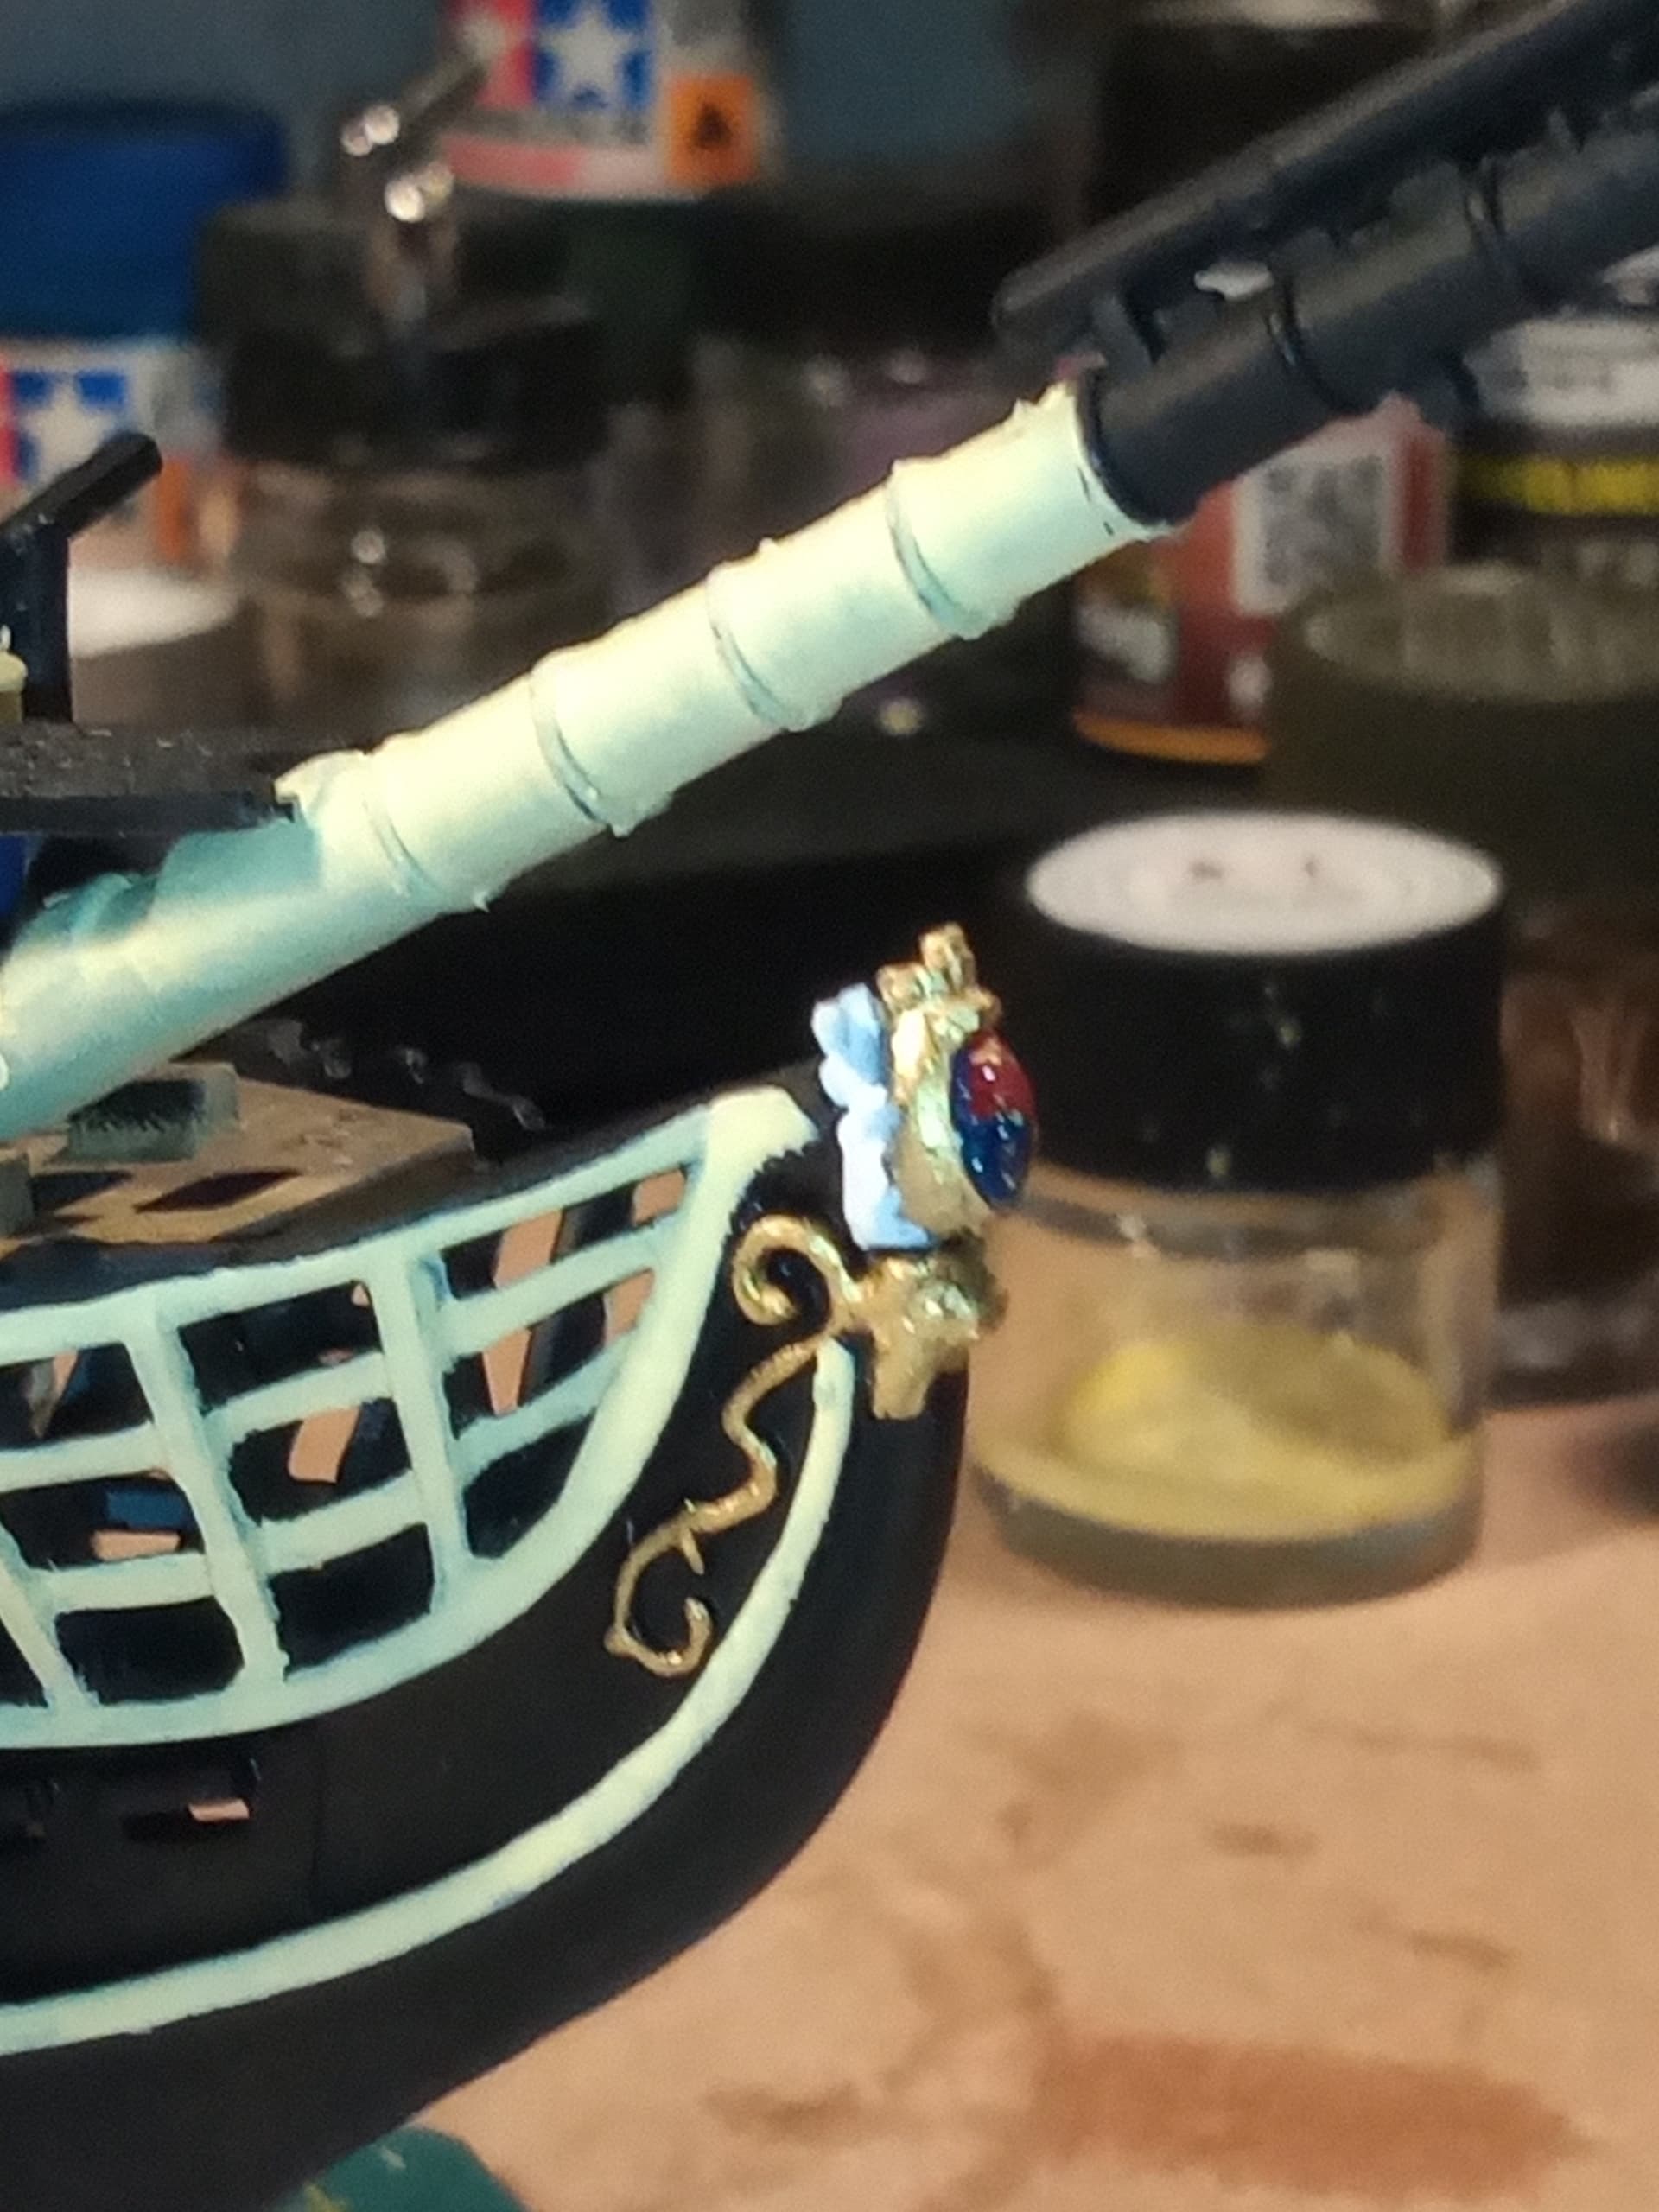
Also need to finish off around the figurehead.
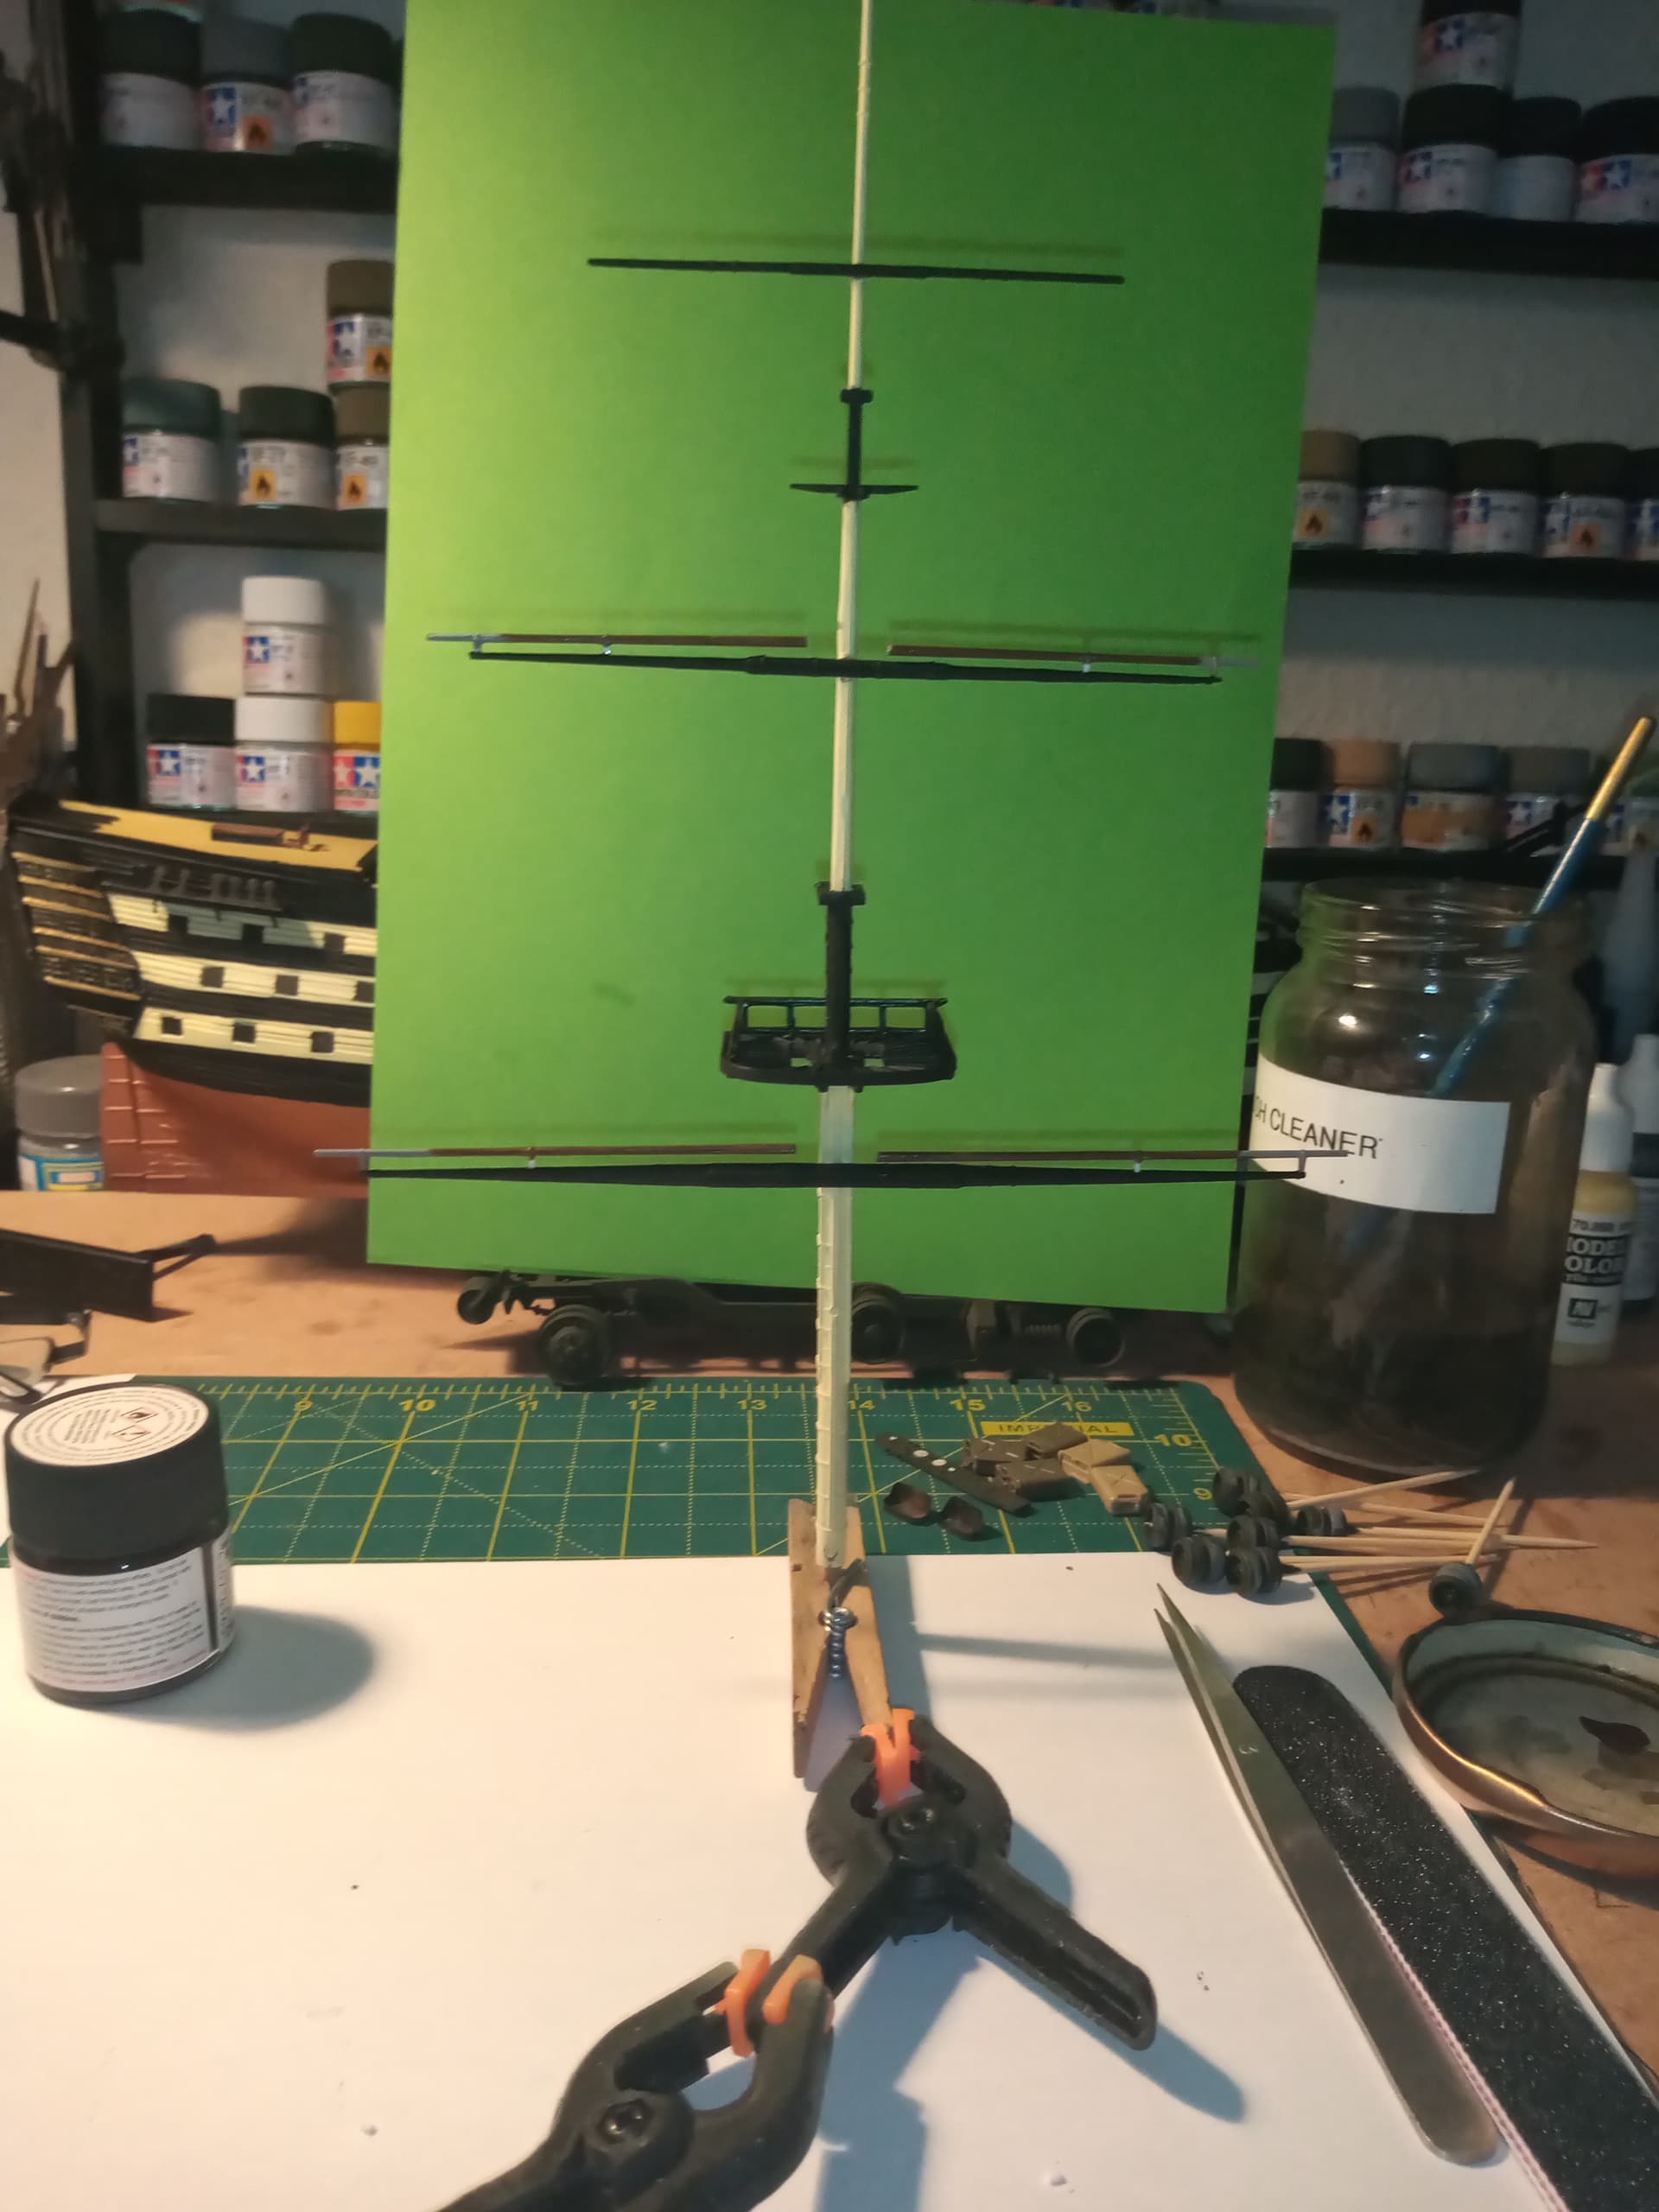
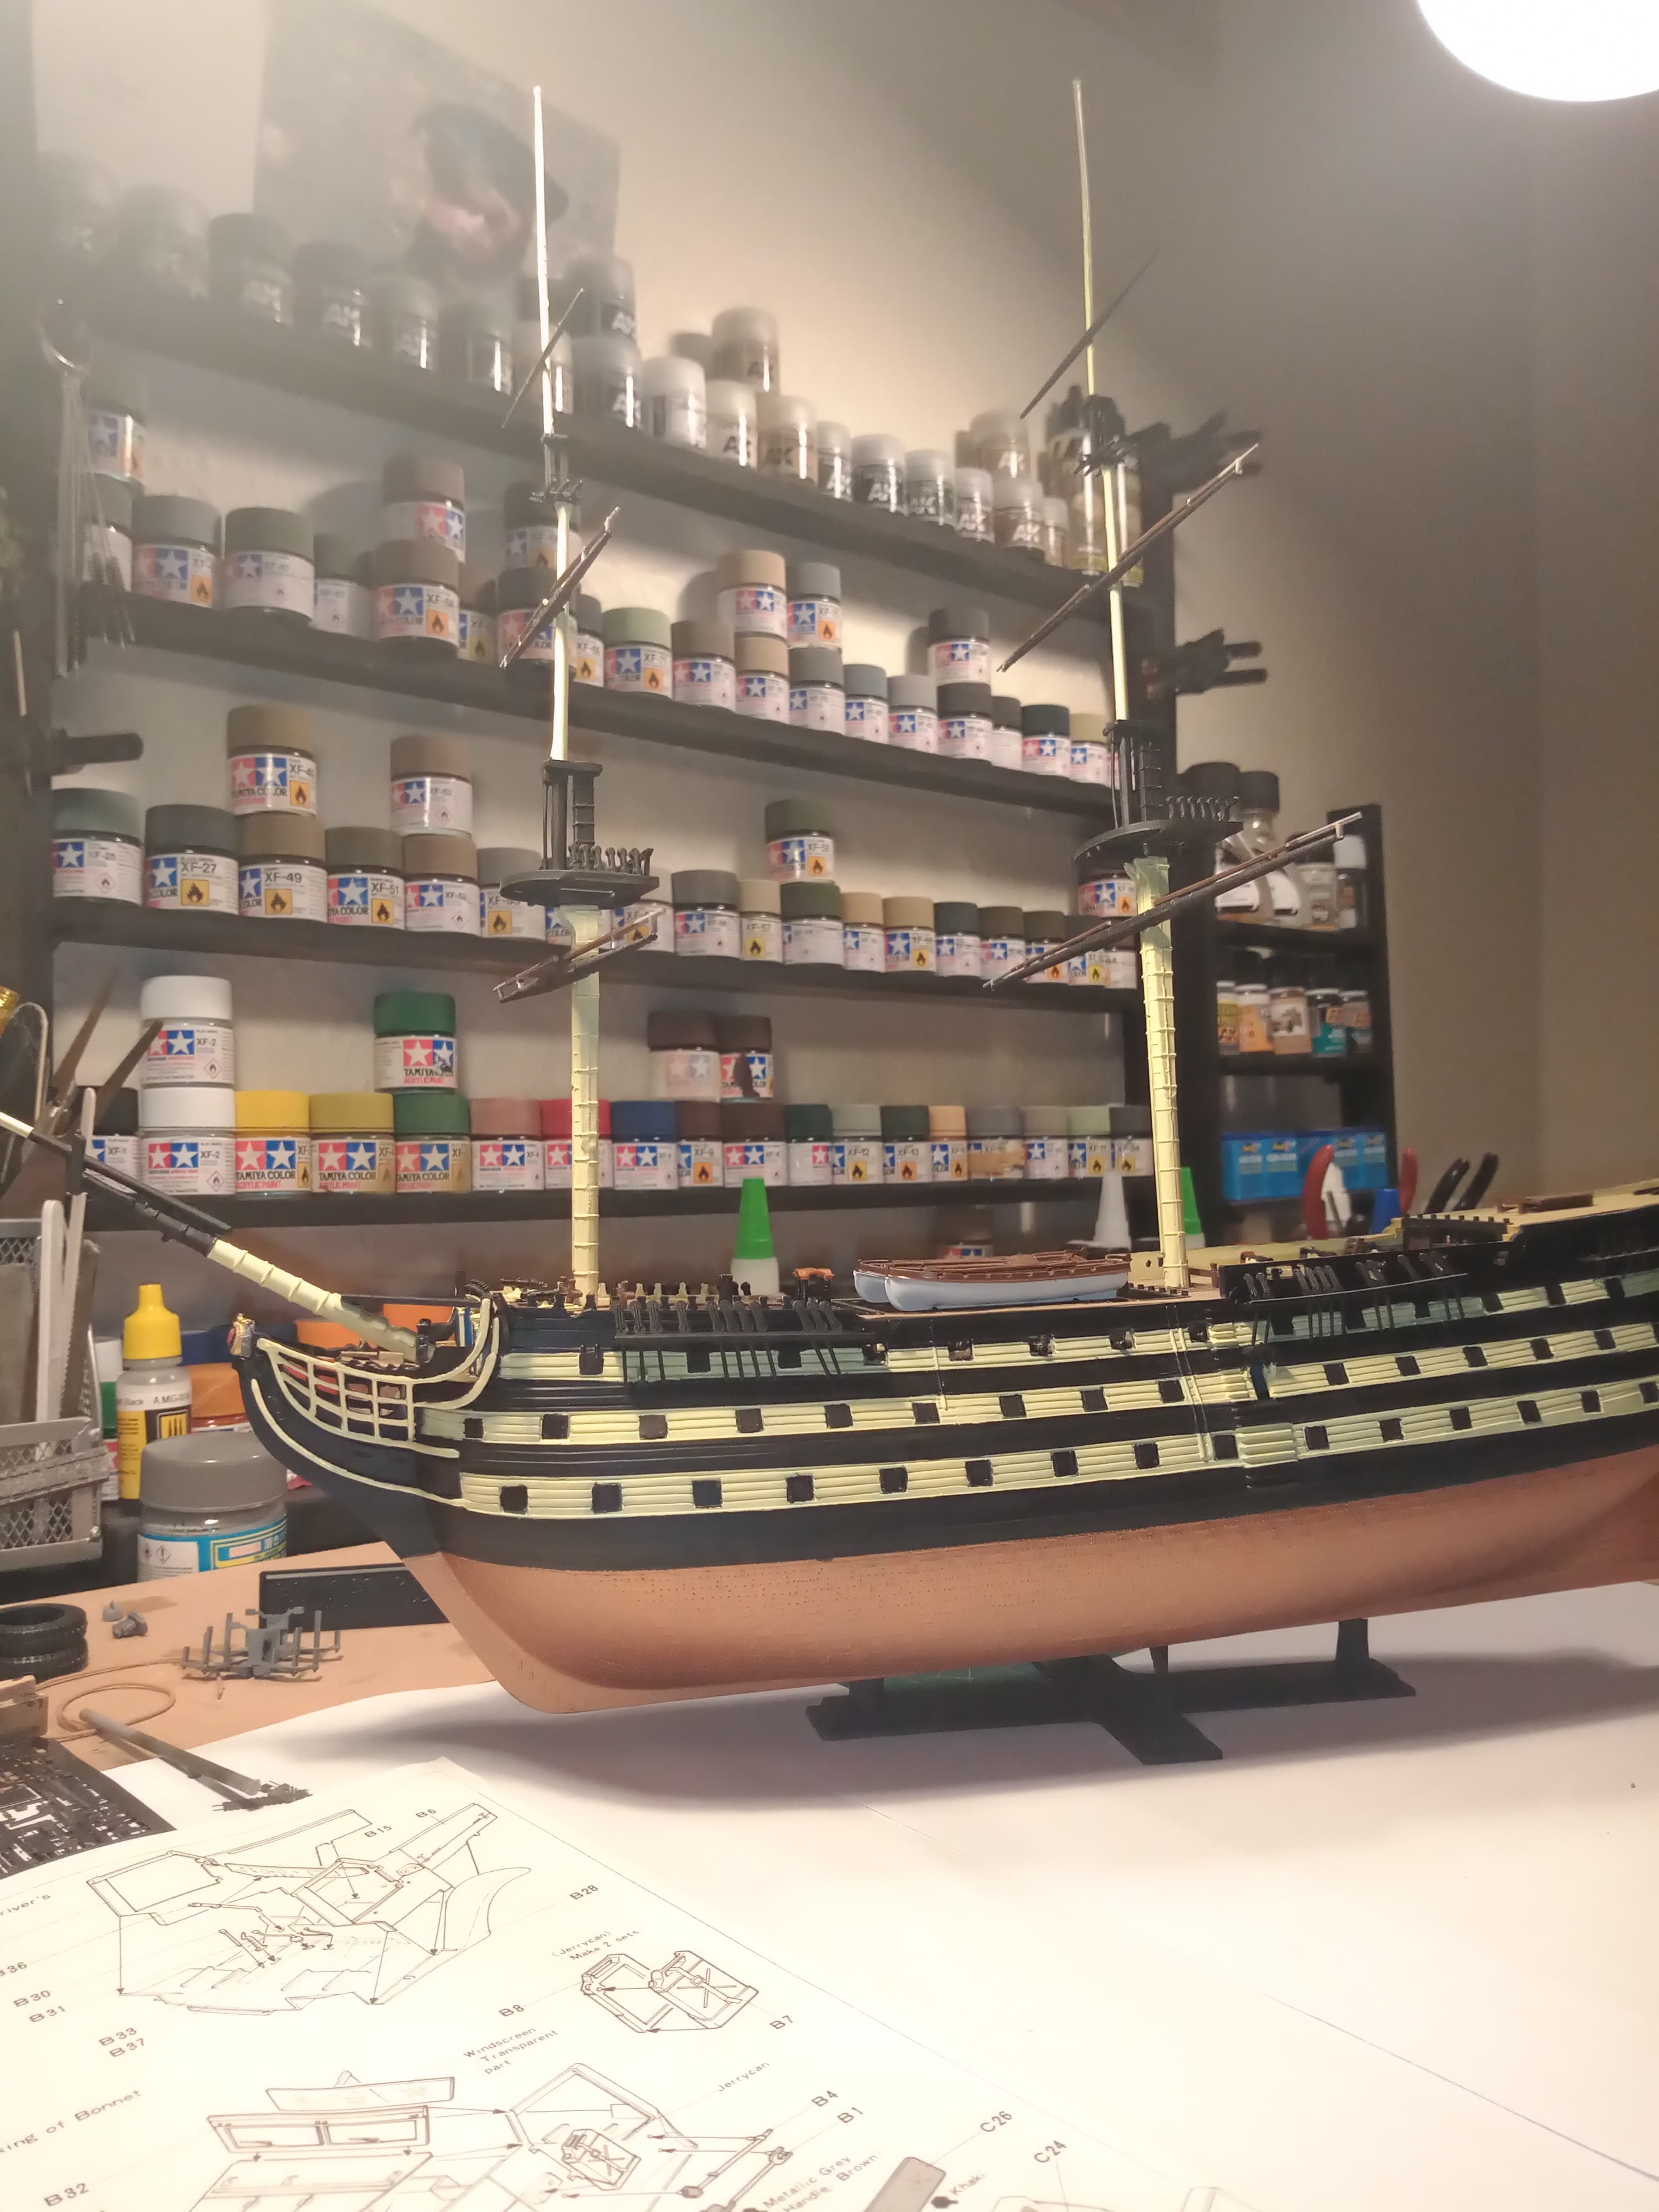
And the front 2 mast dry fitted. They still need some brown touch painting.
Still need to do the raised gold work below it on both sides.
Also did the red inners on the 5 upper gun openings on both sides. The problem here was the moulding detail on the surrounds…it doesn’t go all the way to the edge of the square opening, it sort of rounds off before, so the red isn’t as stand out as I hoped. If I had gone any harder, it would of bled out onto the yellow.
What you call spars (which is a correct term) are technically “yardarms”, as in, “I’m going to hang you from the yardarm!”. The shorter spars that sit on top of the yardarm are known as “studding sail booms”, or “stunsail booms”. These were spars that would have a separate sail attached to them, then hoisted aloft, to give a larger sail area, which would catch more wind.
I haven’t put my studding sail booms on yet, as I wanted to get the rigging done with as little interference from any other parts. Heller doesn’t indicate much (if any) rigging on the booms, so it’s just a matter of time until I install them. Your repair job looks perfect!
I call the thing you’re working on here “the basket” - because it reminds me of the weaving on a basket. I think Danie had explained, in a prior post, what all those things are called.
Thanks Tim, and now you mention that about Danie, it does ring a bell… Thanks again for all the jargon explanations. I should of remembered more from my actual trips to Victory lol … Shame on me …
The gold detail around the figurehead was done. Not as much as the real thing so I was limited to what I could work with. The real thing is a lot more intricate.
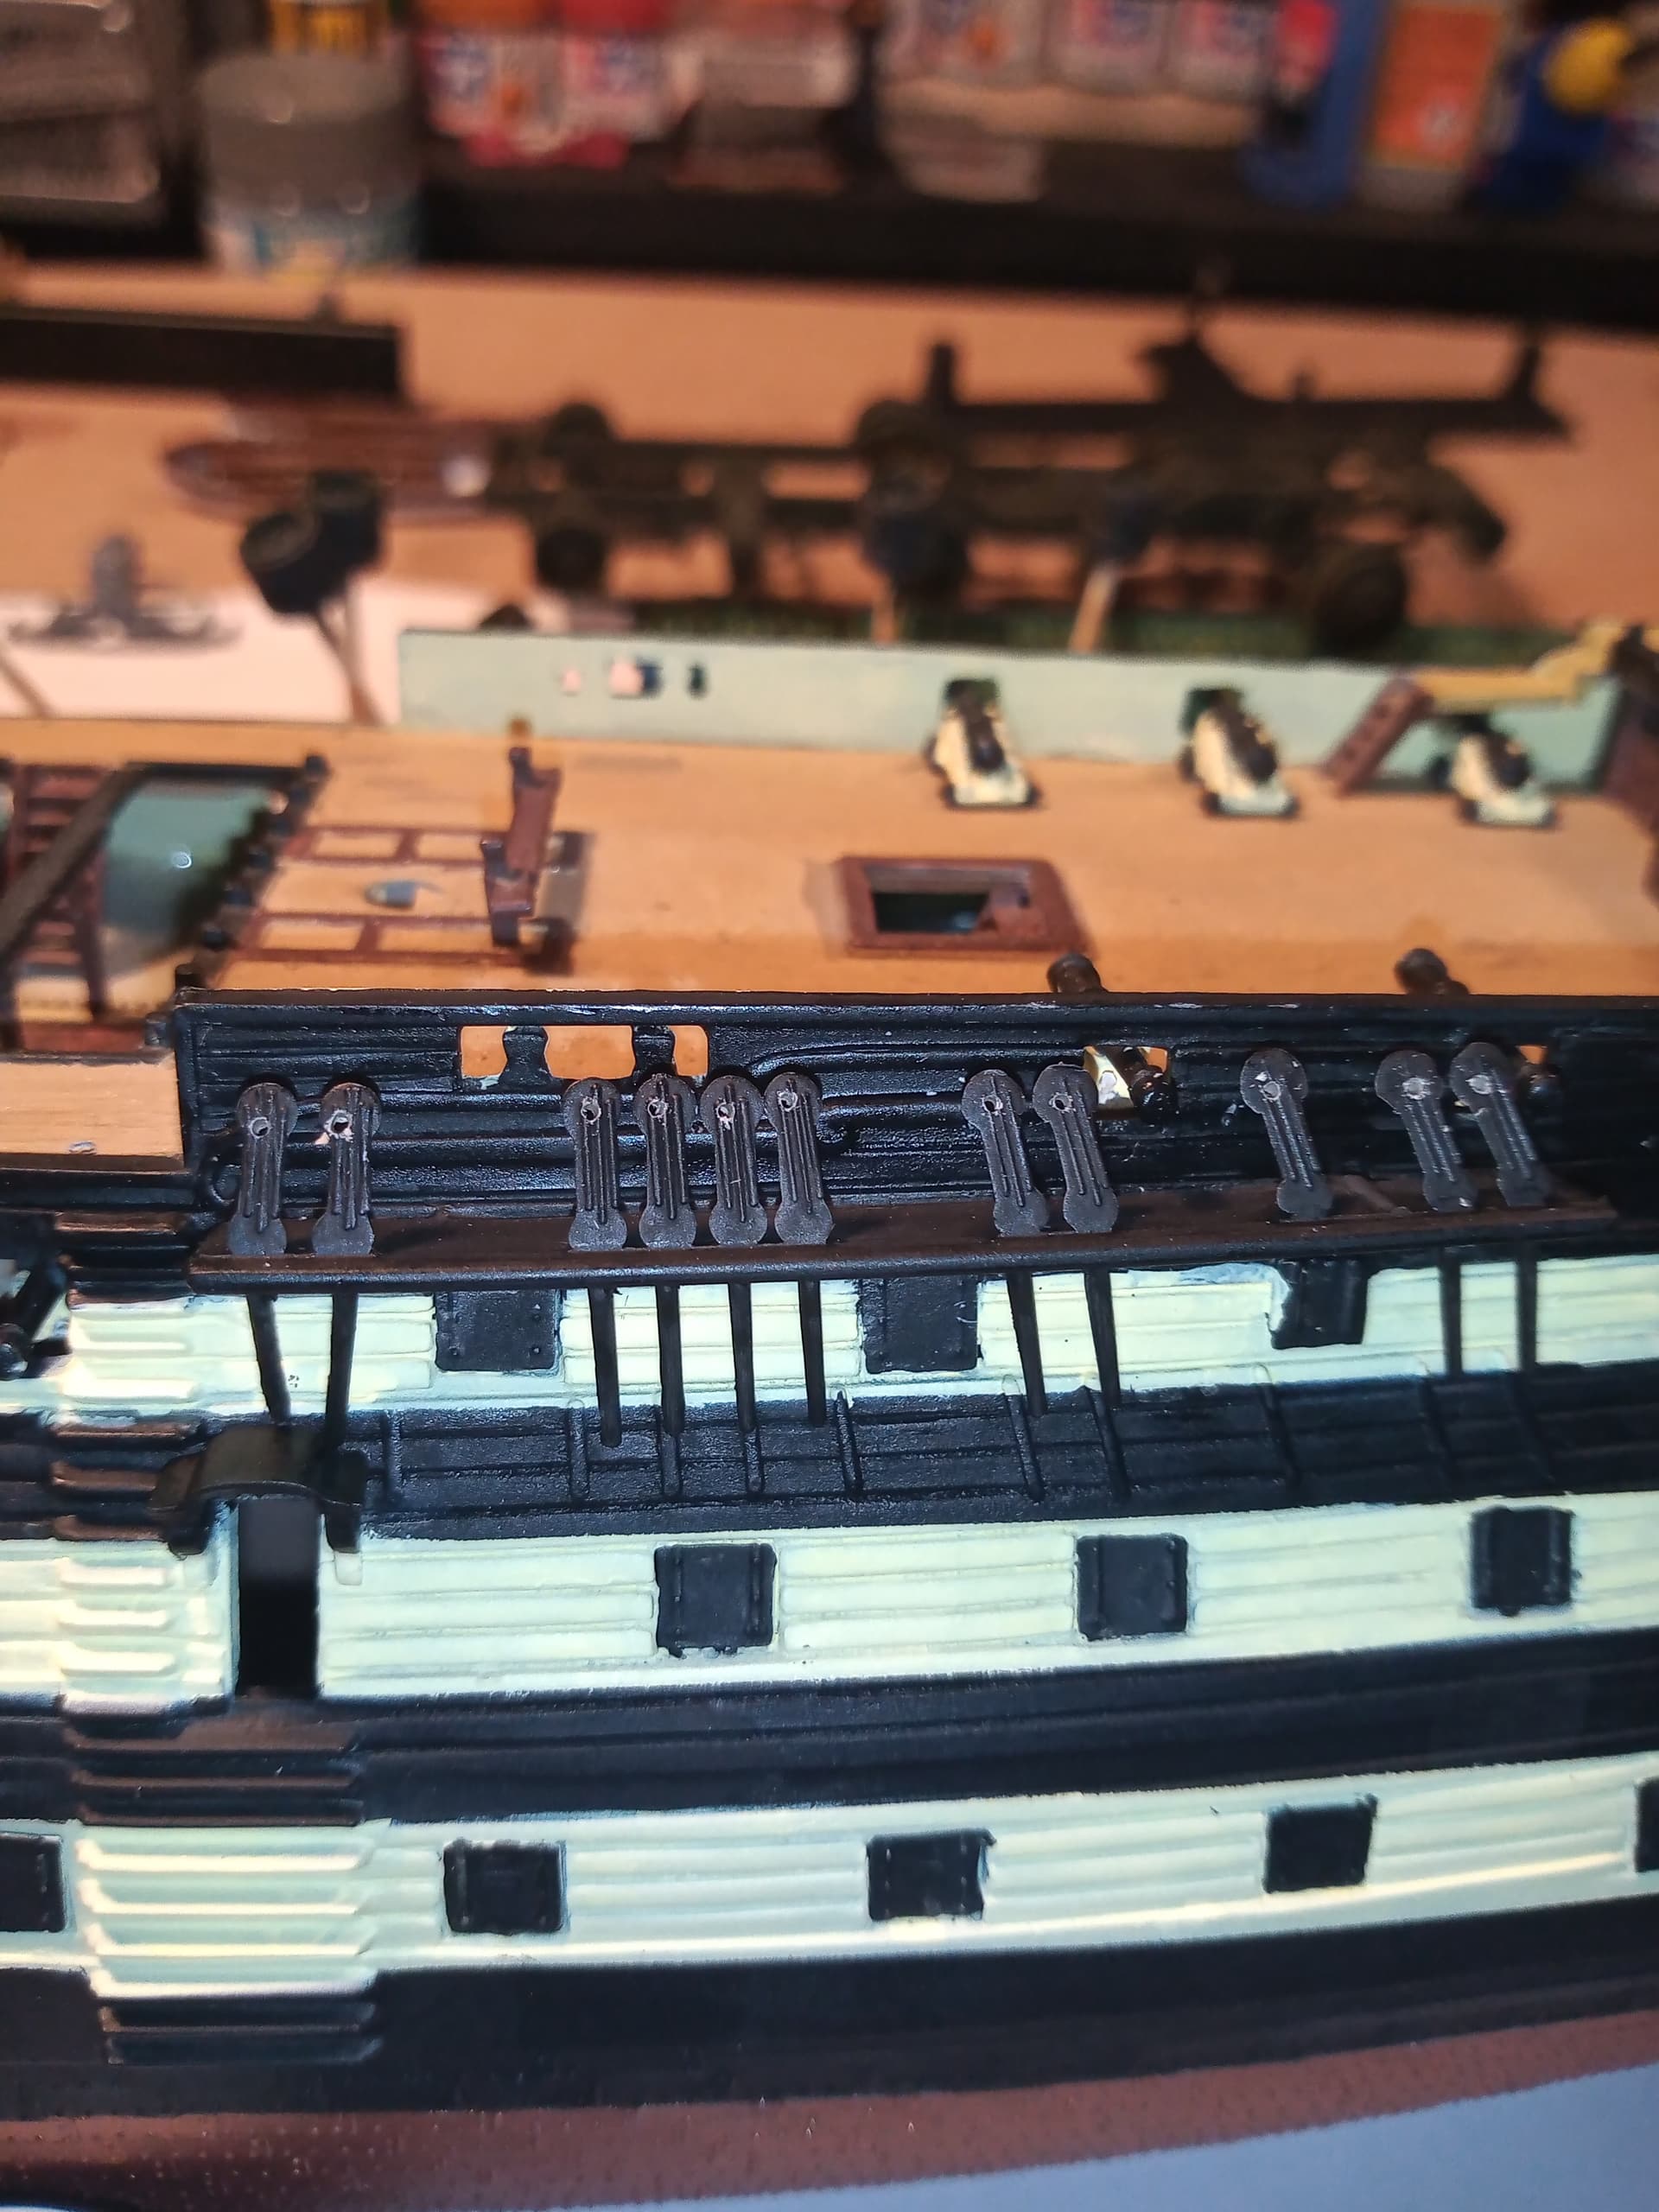
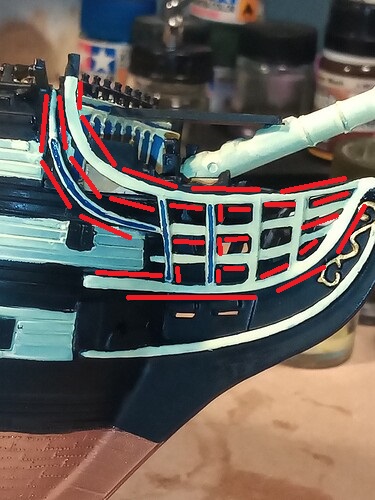
Have started on the blue inserts. The issue here is none of the beams that make it up are uniform. Some thicker, some thinner, some bend a bit etc etc. I’ve only done a few on the starboard side as I want to get a feel of how easy or hard it will be
Again, fairly content with how they look initially. I am not to worried about the not so straight lines as I was more concerned about getting the blue down. My thought process is, get the blue down and finely touch up with the yellow to bring the straighter edges back…fingers crossed.
That does make sense Peter, if all the beams were perfect as per the real ones. It just doesnt make sense to try that on these though. The red lined areas of beams ( all of them) are just not fit for it - each one is either bent, uneven, poorly edged, rounded edged, adverse cambered … I think if you tried to mask it, you would end up having so much bleed through it would take longer to rectify it
You need to hook up, go down, loop round a side bar, all the way underneath, up and around then back over to the first side bar and loop round that onto the next horizontal…
Trust me. It is not fun…
The big bonus is it will give you totally uniform lines and a mirror image for left and right sides …
Oh, and to keep the shape and give it all some rigidity, they recommend that once done, you use a coat of humbrol clear over it to I suppose set it all…
Re the blue stripes issue…& I’m assuming you’re sure they were there if this is Trafalgar 1805 (?)…I had a similar problem with something way back. If you keep unused decal sheets, maybe you could cut the necessary strips from some blue decal with a fresh blade & use softner/setter? I used to make 1/24 cars & still have some very handy areas & stripes of various coloured decals. The curved strips’s trickier but maybe you kept your skool geometry set, can’t recall now what that squirly shaped Perspex thing was called but it would do the job.
To be honest Tim, I will not be deep diving into the various paint jobs and finishes on Victory to much. They changed a fair bit I imagine over the decades from then till now. I look at mainly ref pics from as she is now in Portsmouth over the last decade or so, and even they change from time to time.
There is so much that could be done with time and better knowledge, but I will just be happy with a passable representation of Victory … and done just enough to keep SWMBO happy …
Front mast shroud and ratline rigging is down. I used Tamiya clear instead of humbrol to coat it, can’t imagine it will make a difference…
Will let it fully harden before I even think about removing it from the jig. Will do a pic or 2 tomorrow once it’s set overnight