Hi all
here is my current project. The box contains a number of Trumpeter T-62 sprues (mainly for the roadwheels and the tracks), 2 HB Merkava 3D sprues and of course the appropriate Achzarit sprues and the hull halves.
The level of detail is correct, the attachment points to the sprues are a bit thick and a lot of mold lines need a thorough cleaning.
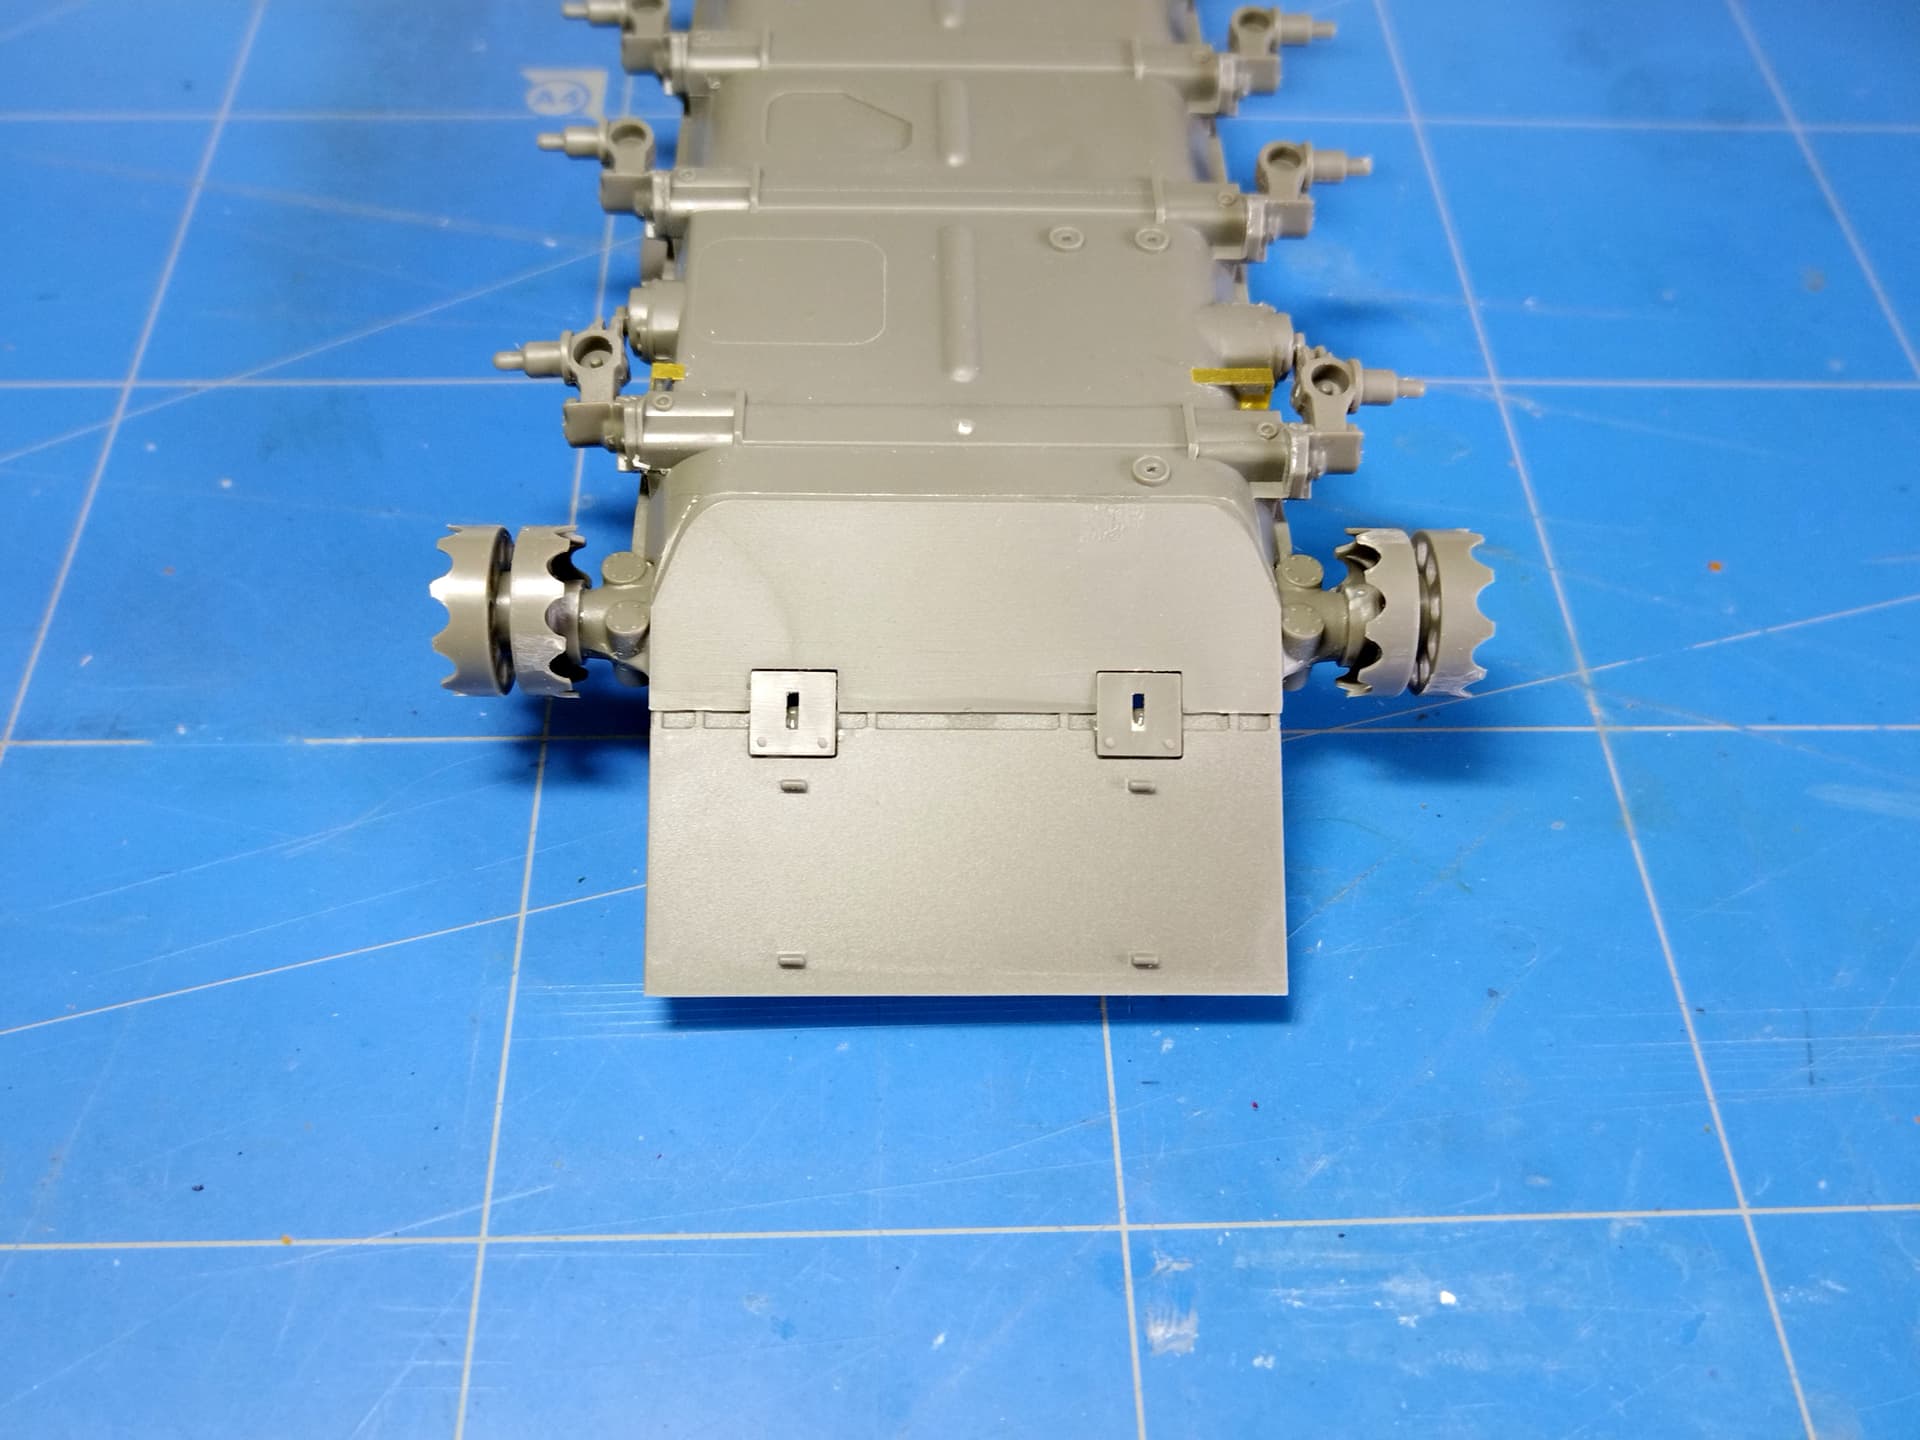
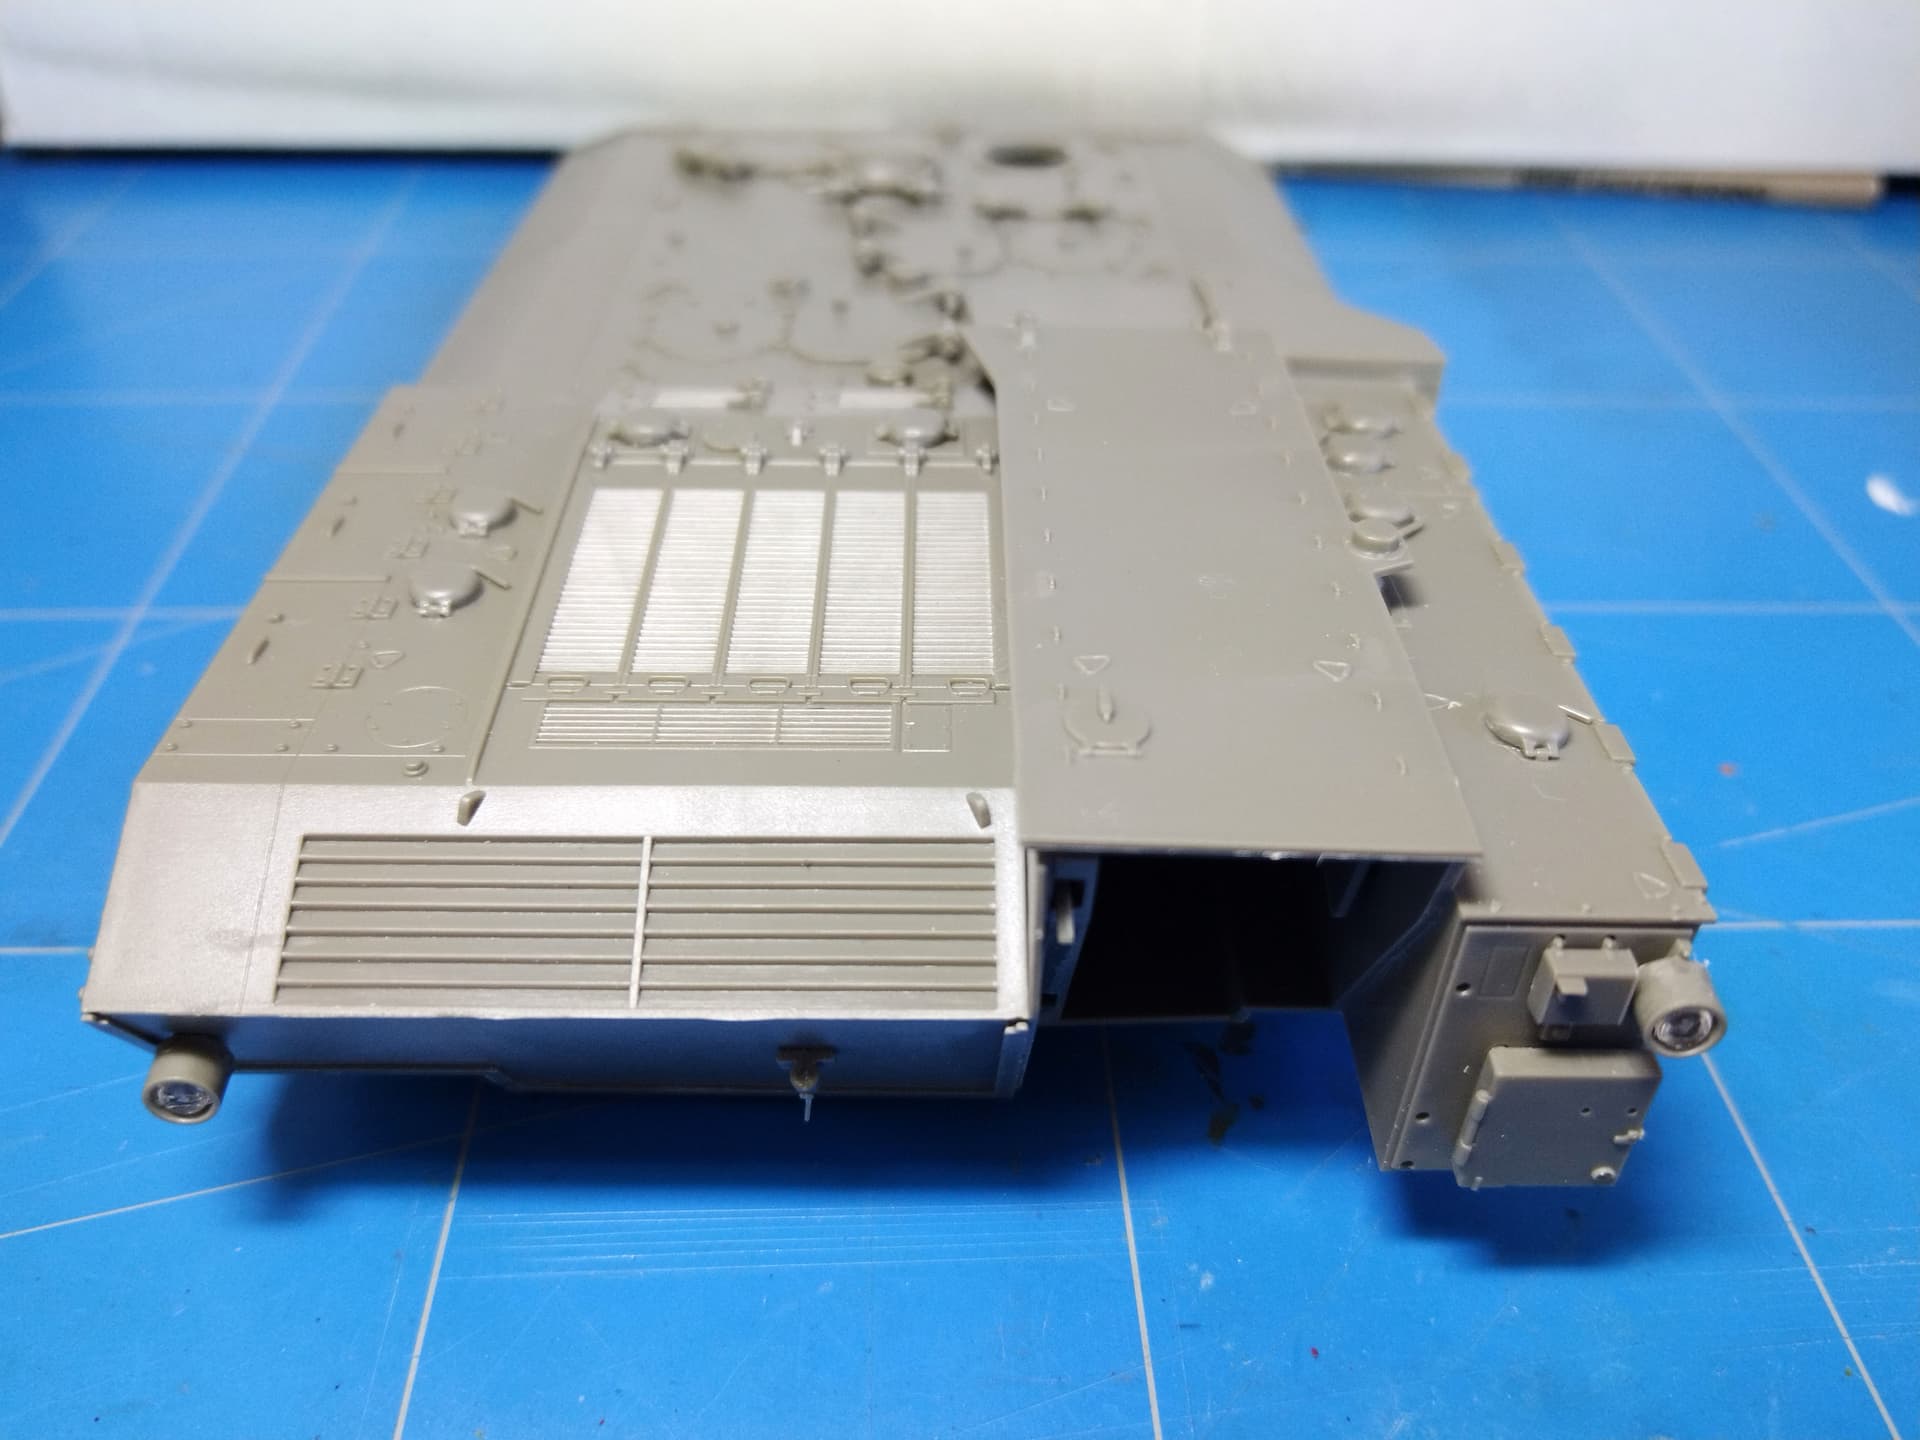
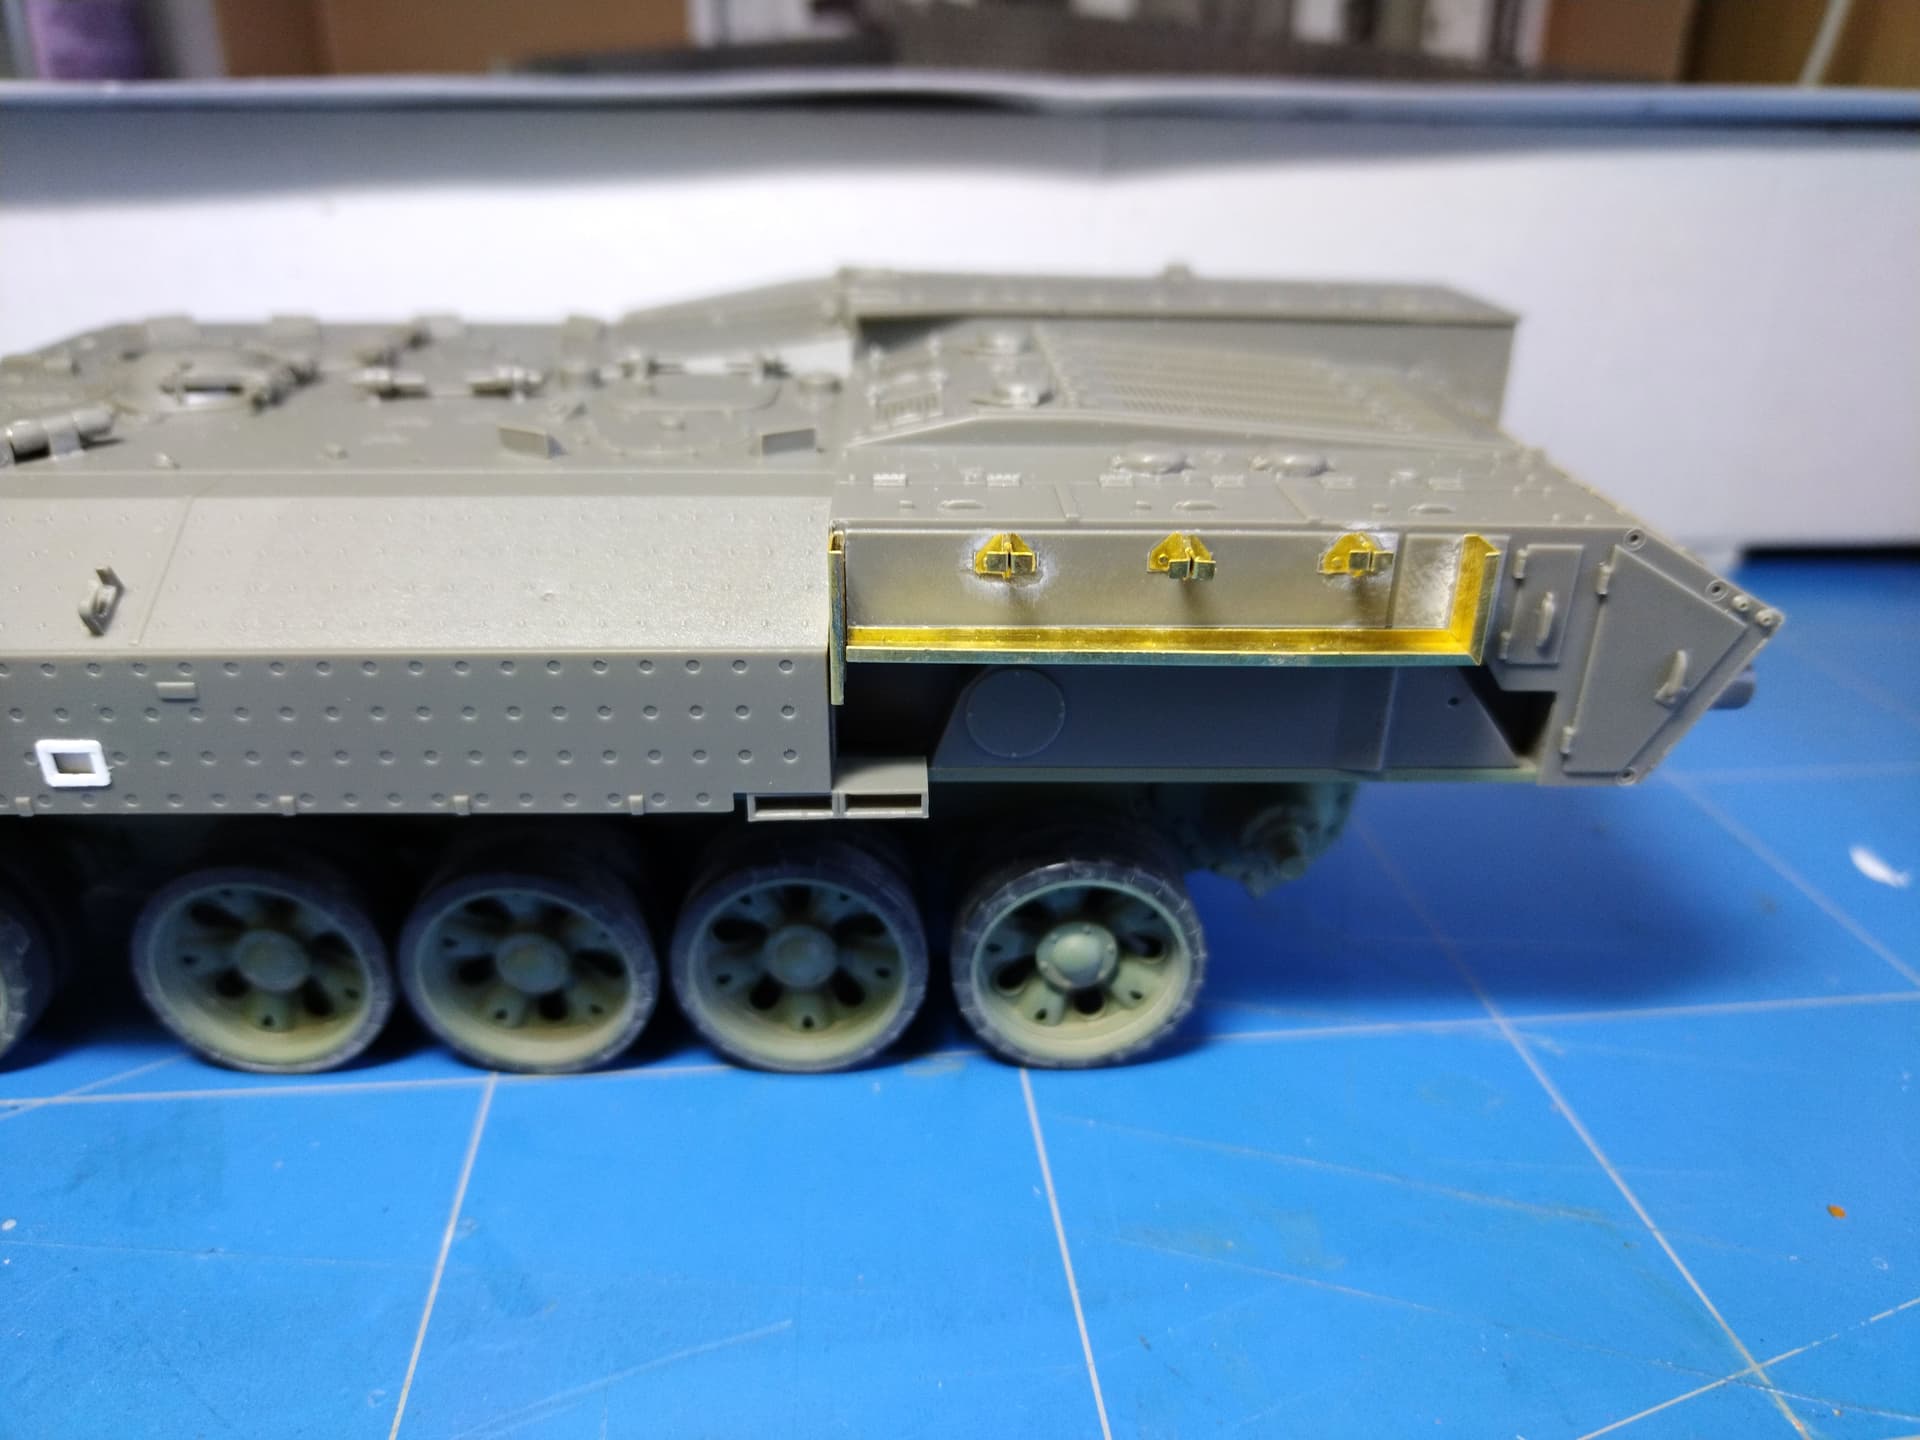
Even though HB give an open rear corridor there is no interior to show. So I’ll build the corridor close. Two PE plates supplement the plastic parts.
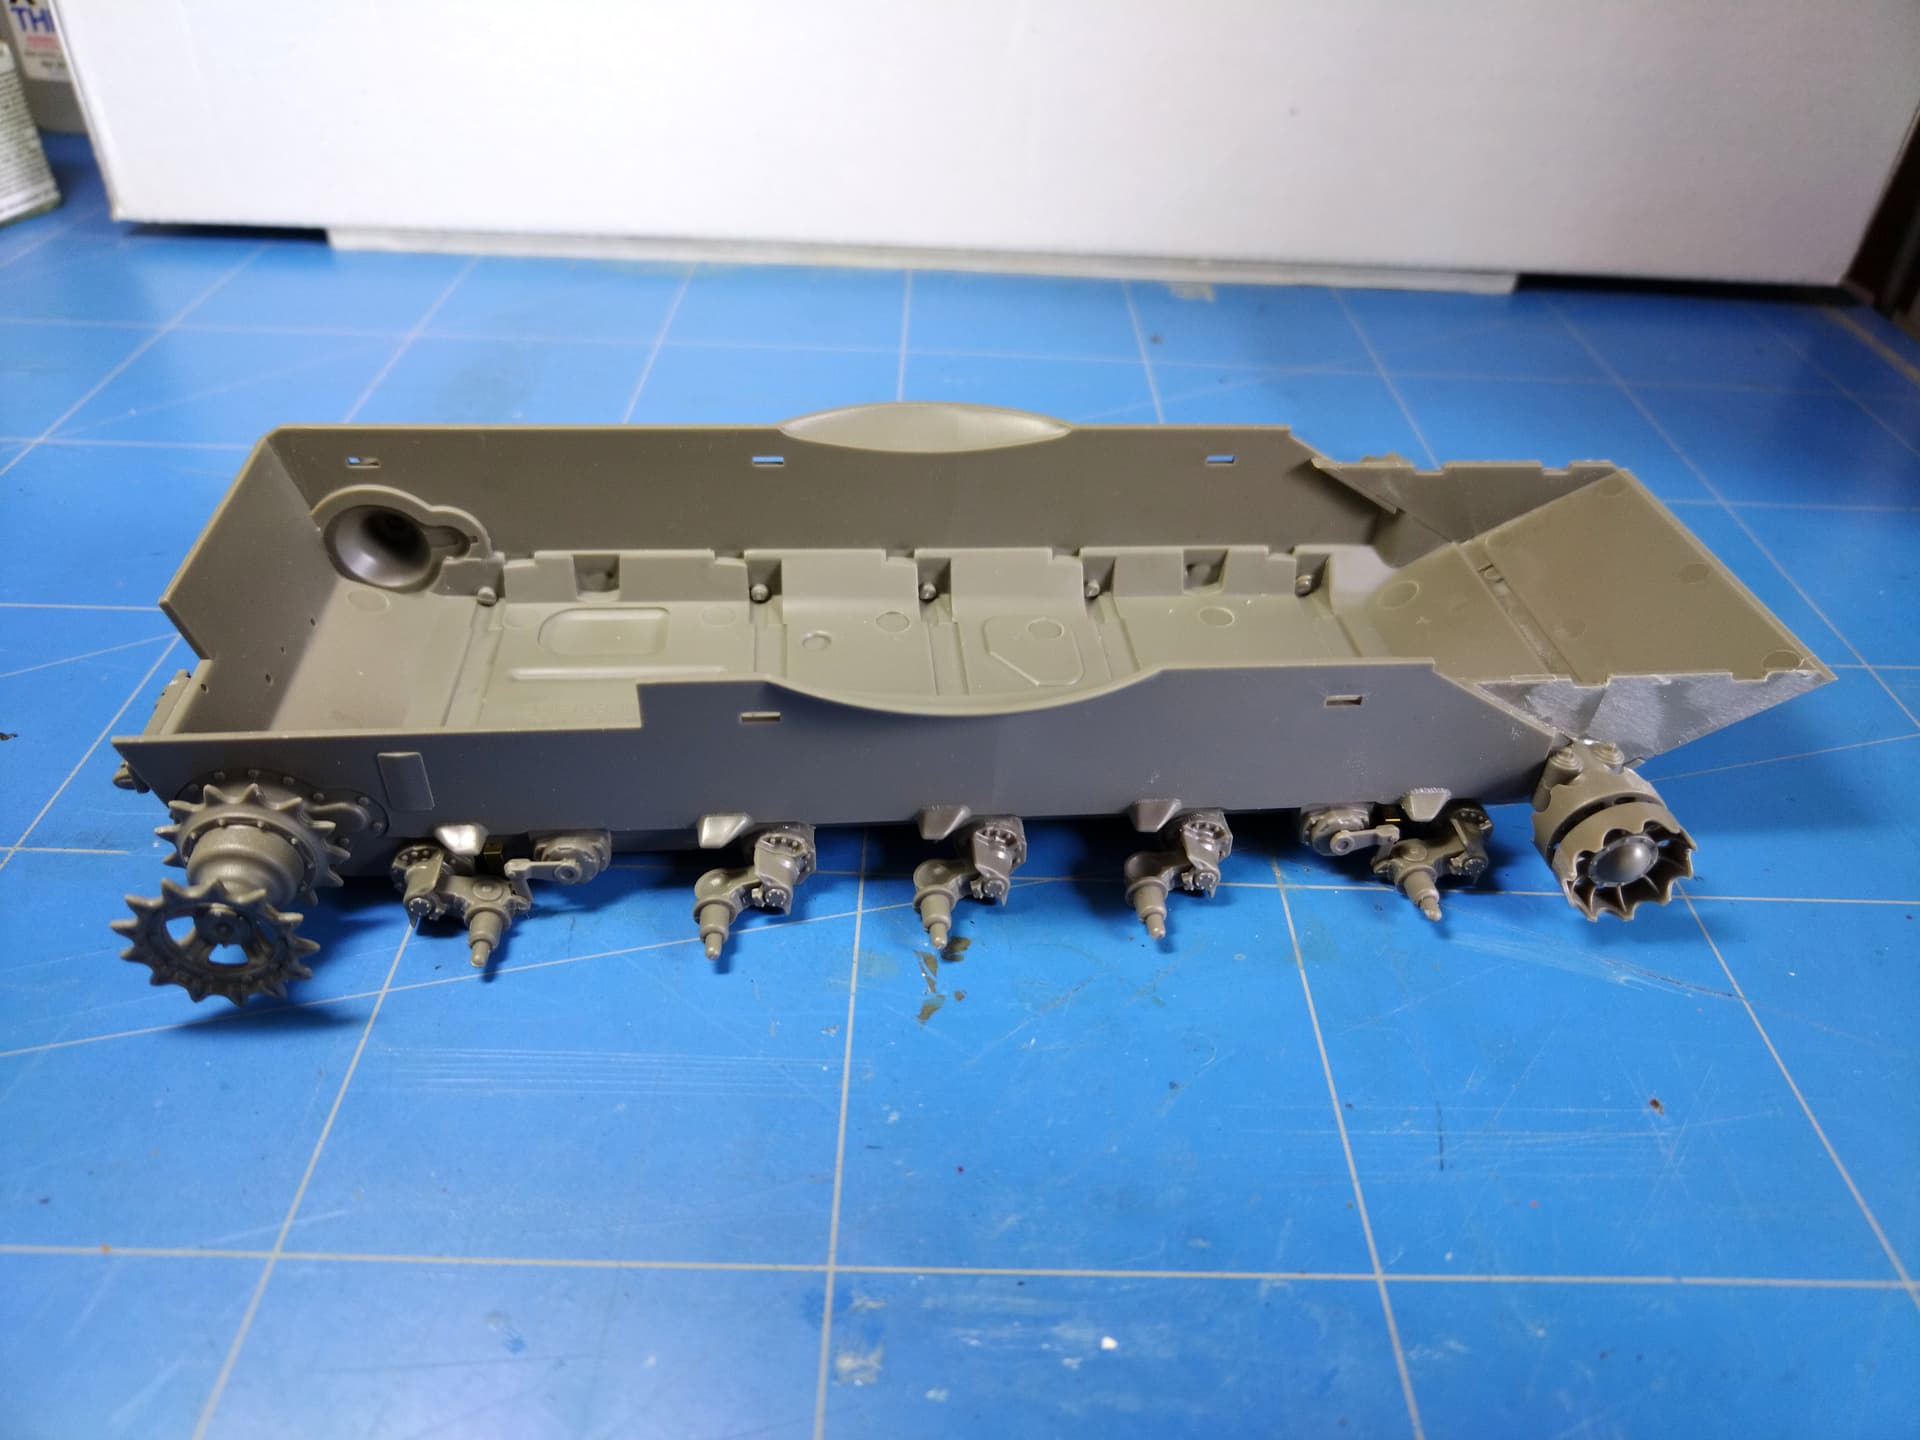
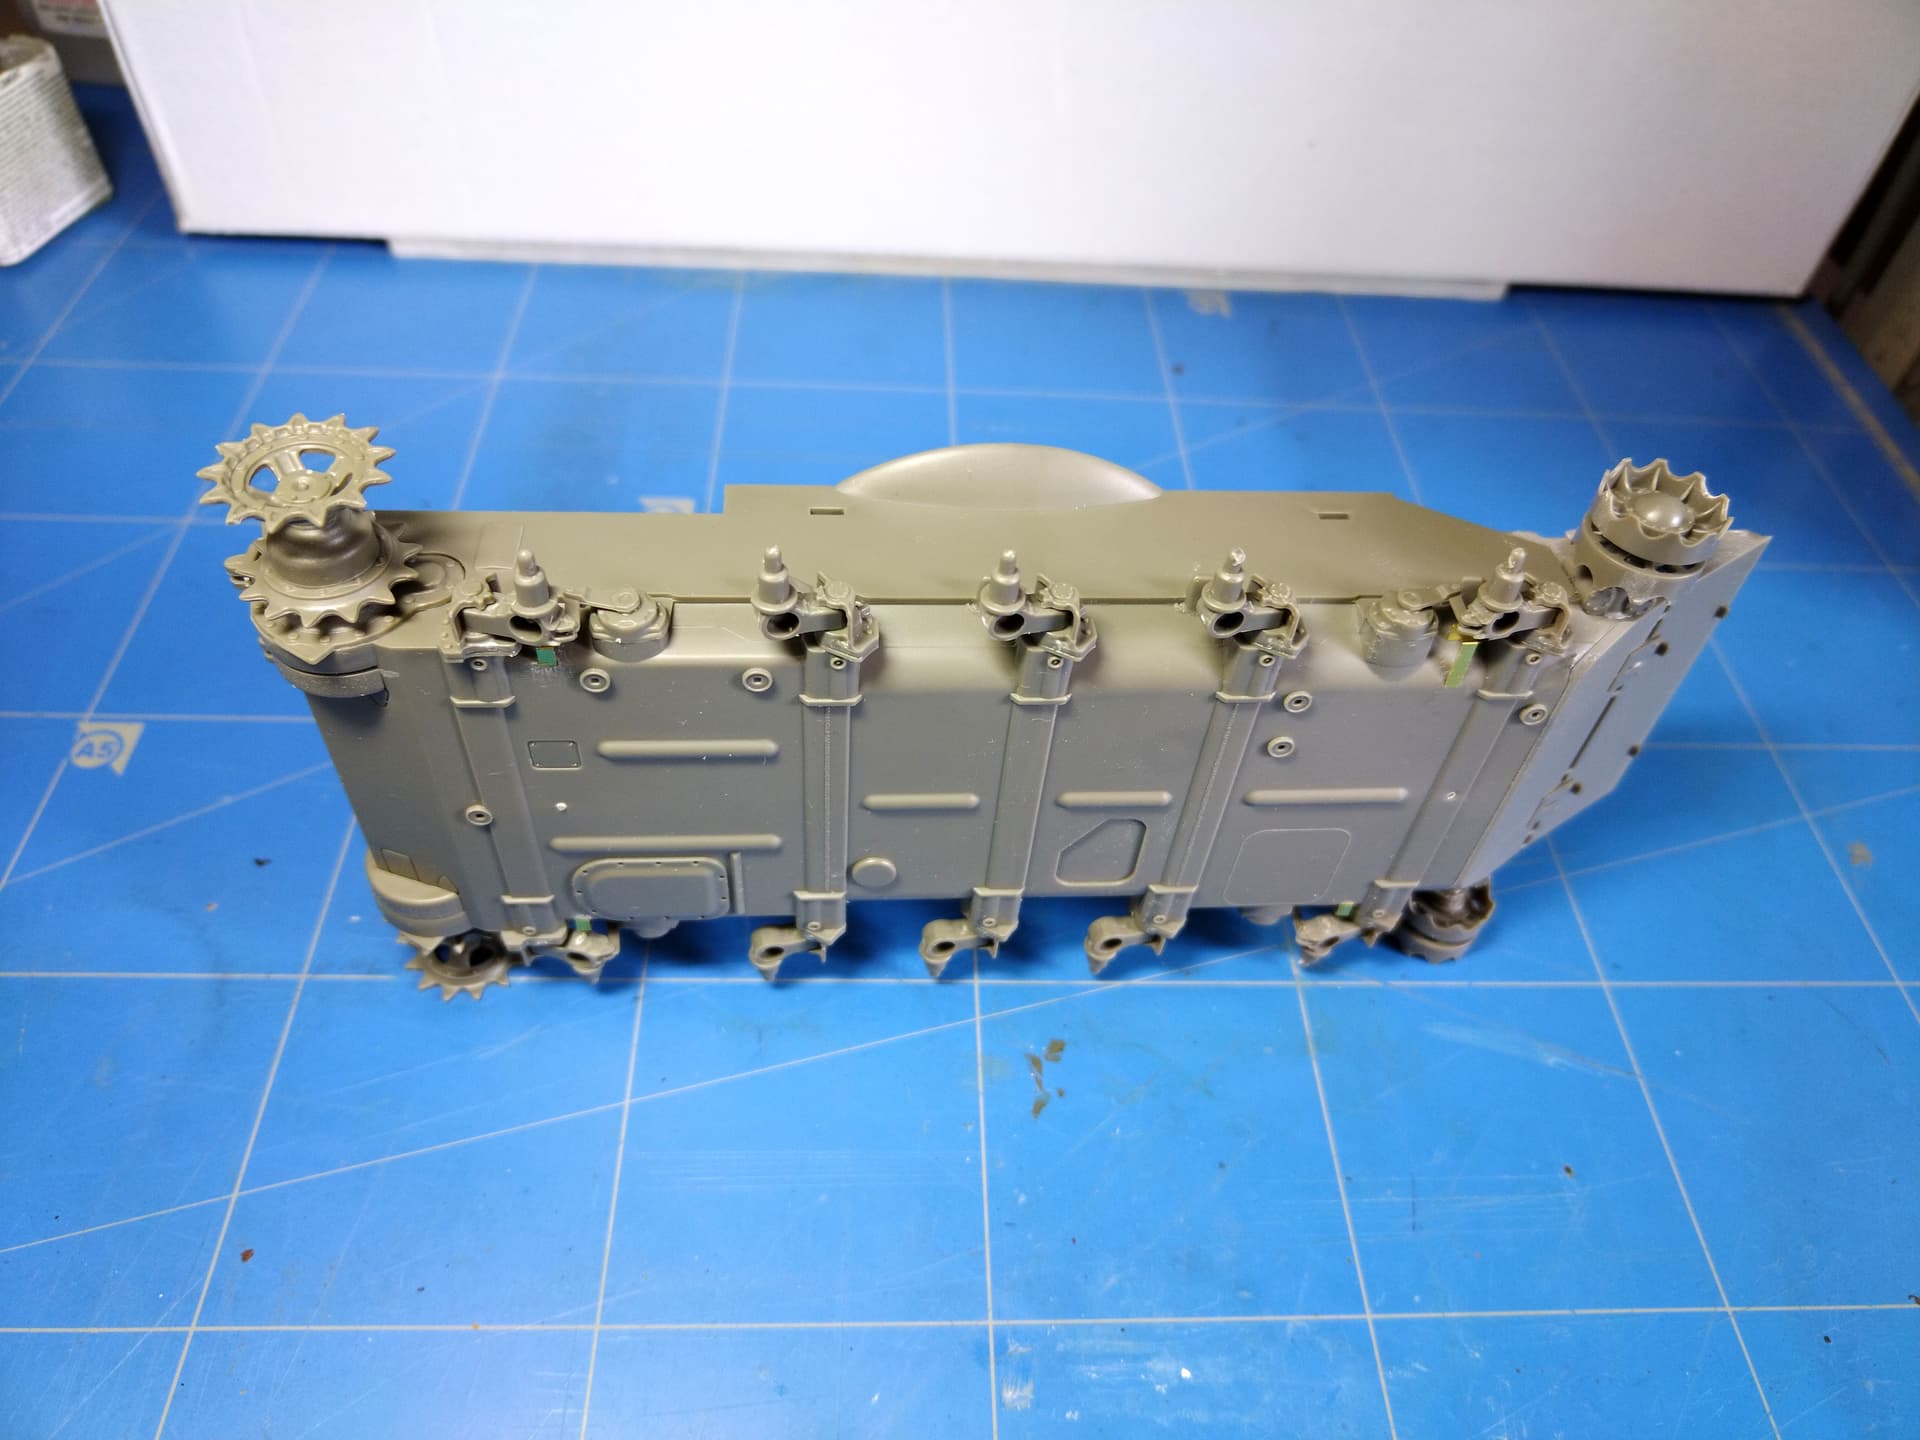
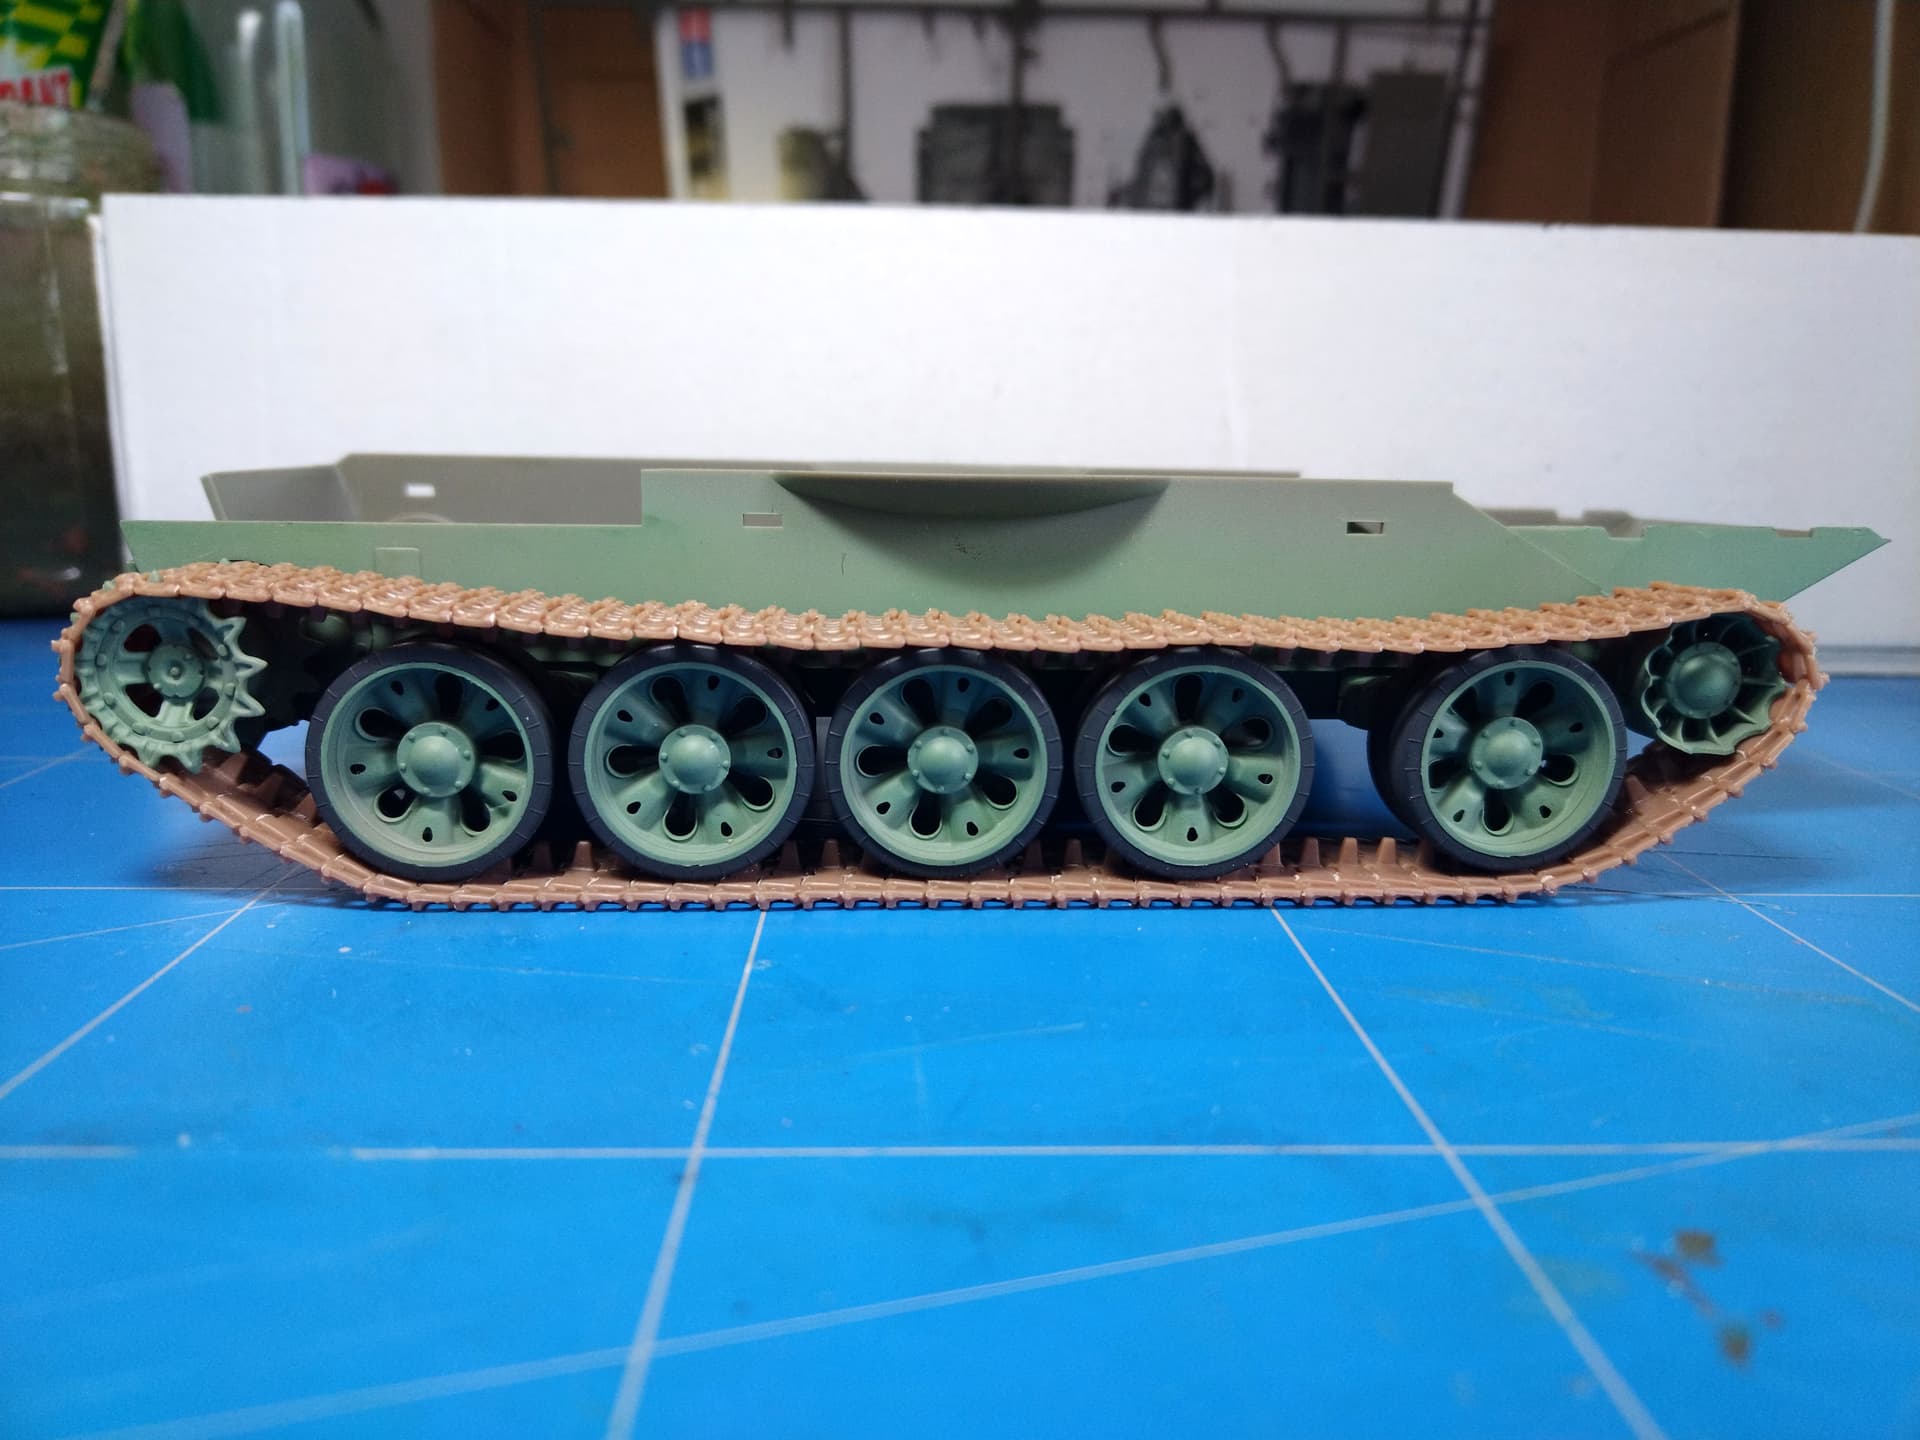
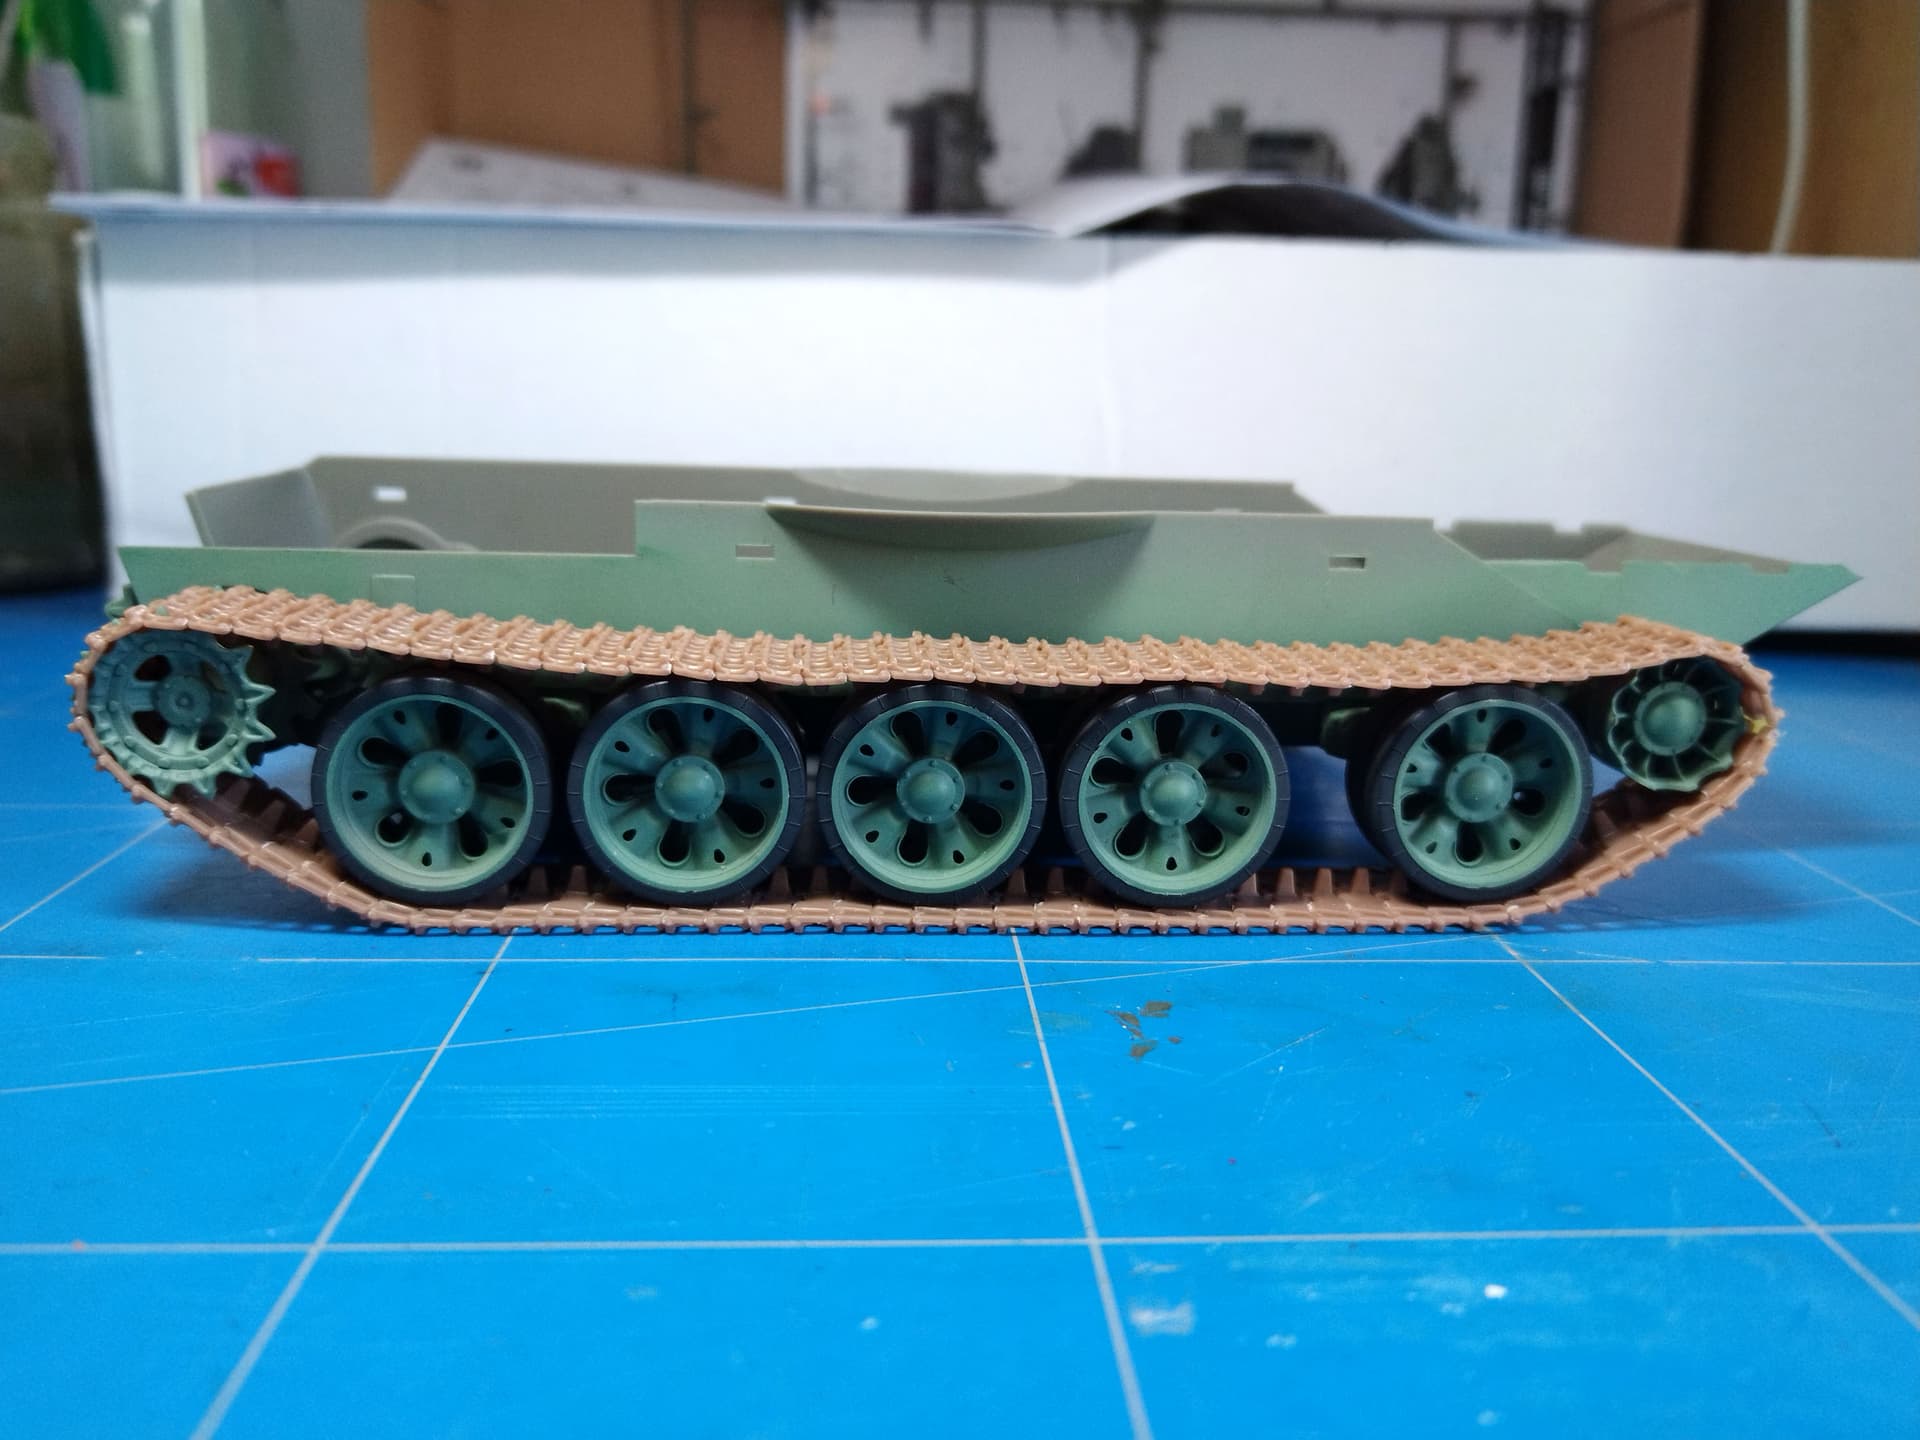
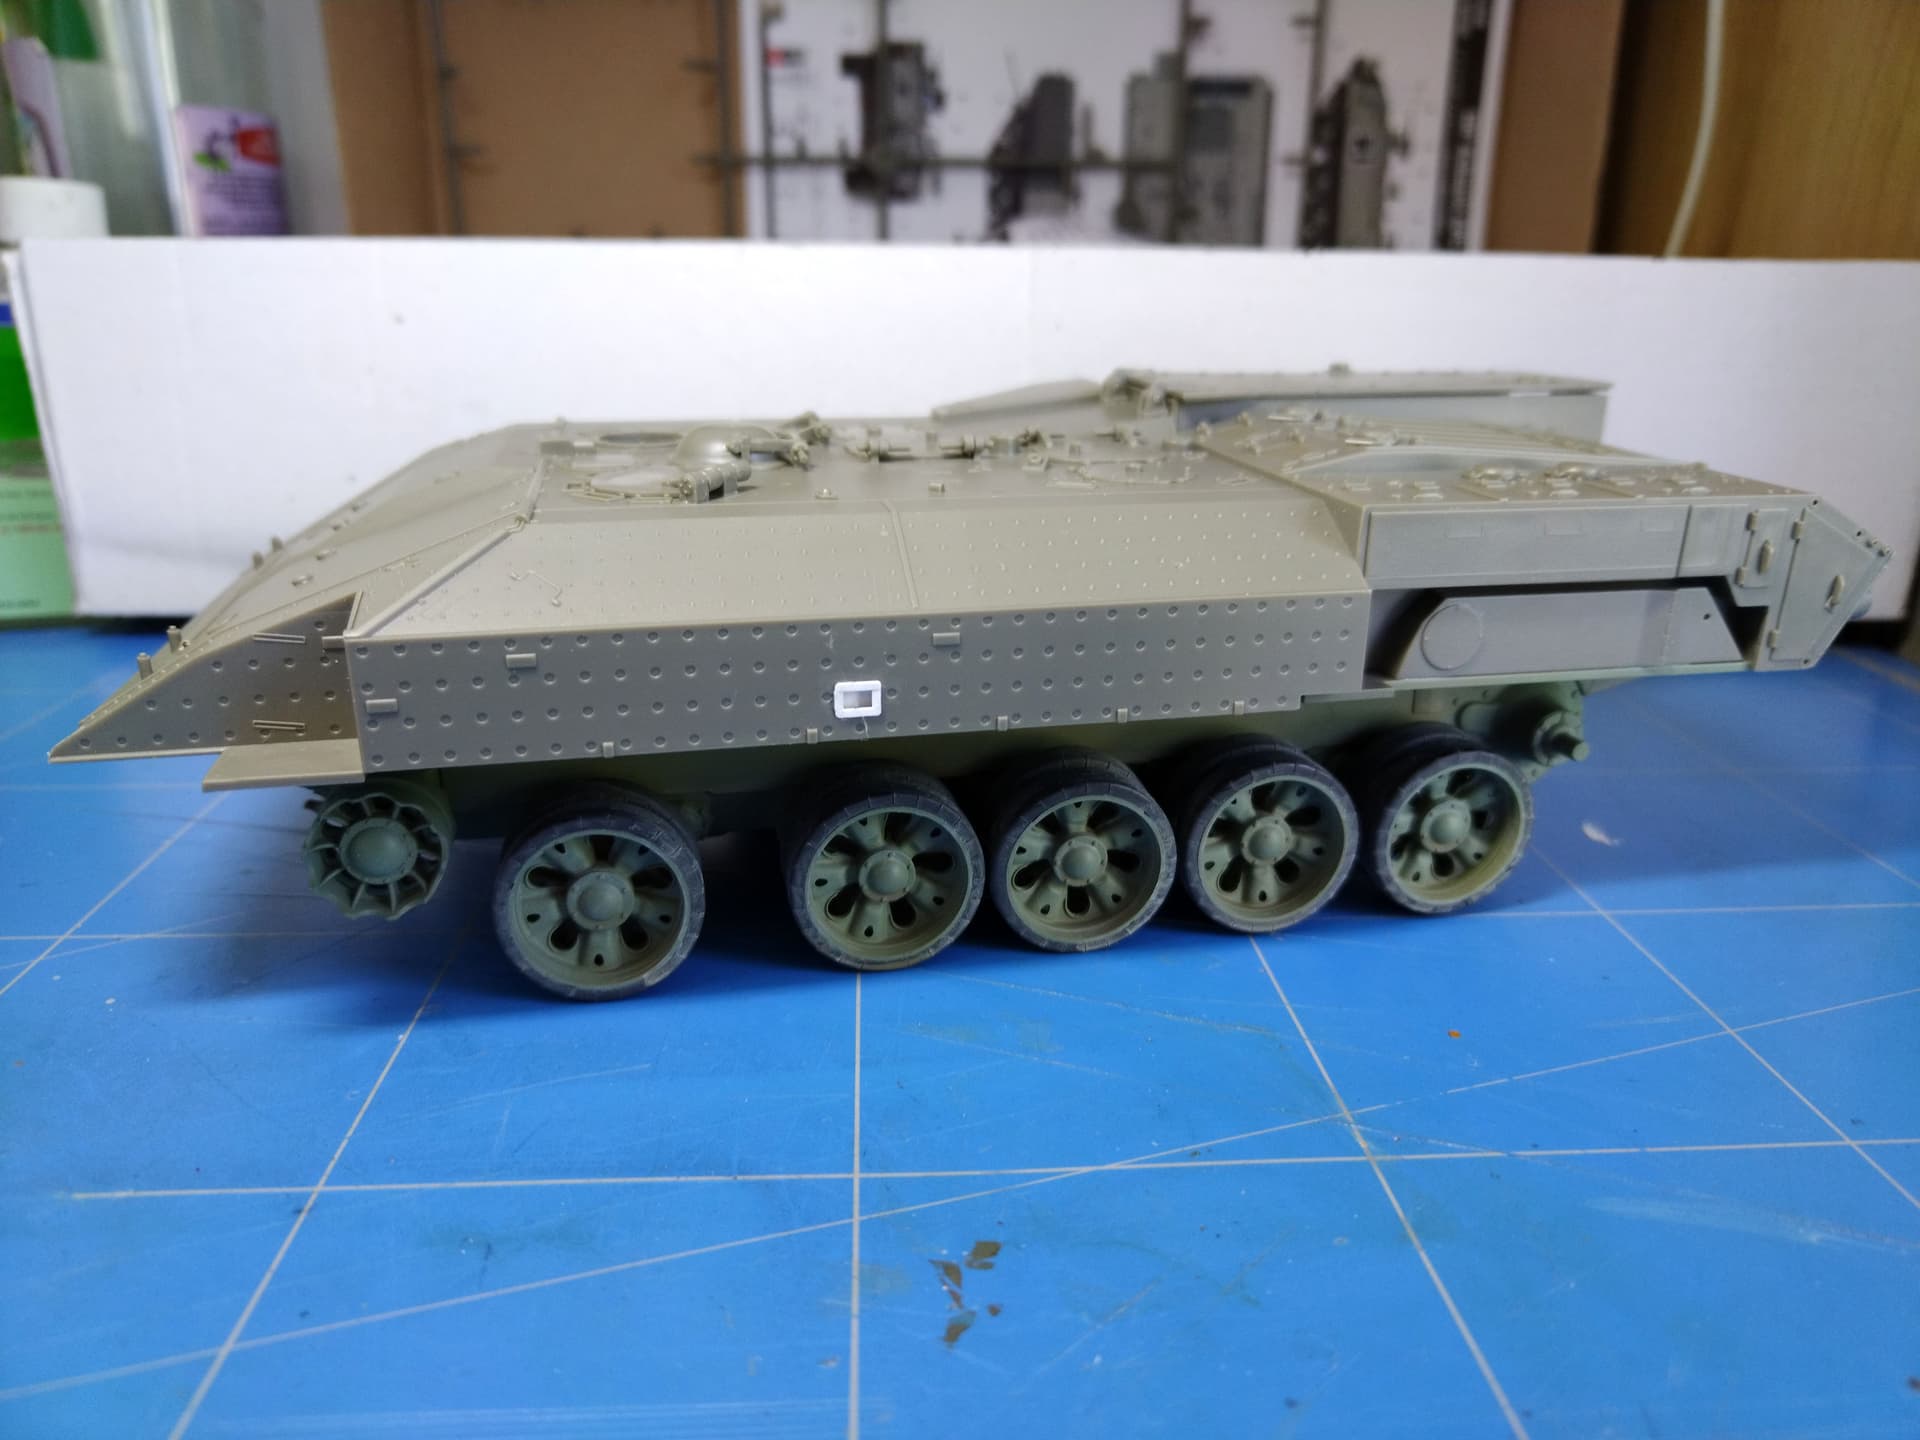
So far I have built the suspension. Then I’ll assemble the tracks and glue them prior to adding the “fenders” because the access should be tricky afterwards.
The parts have been sprayed with Prince August IDF green (pictures later).
Today I assembled one track, 87 links instead of 88 as stated in the instructions. The cleaning of the links is a bit tedious as you have 2 attachment points and 2 bits of styrene to remove.
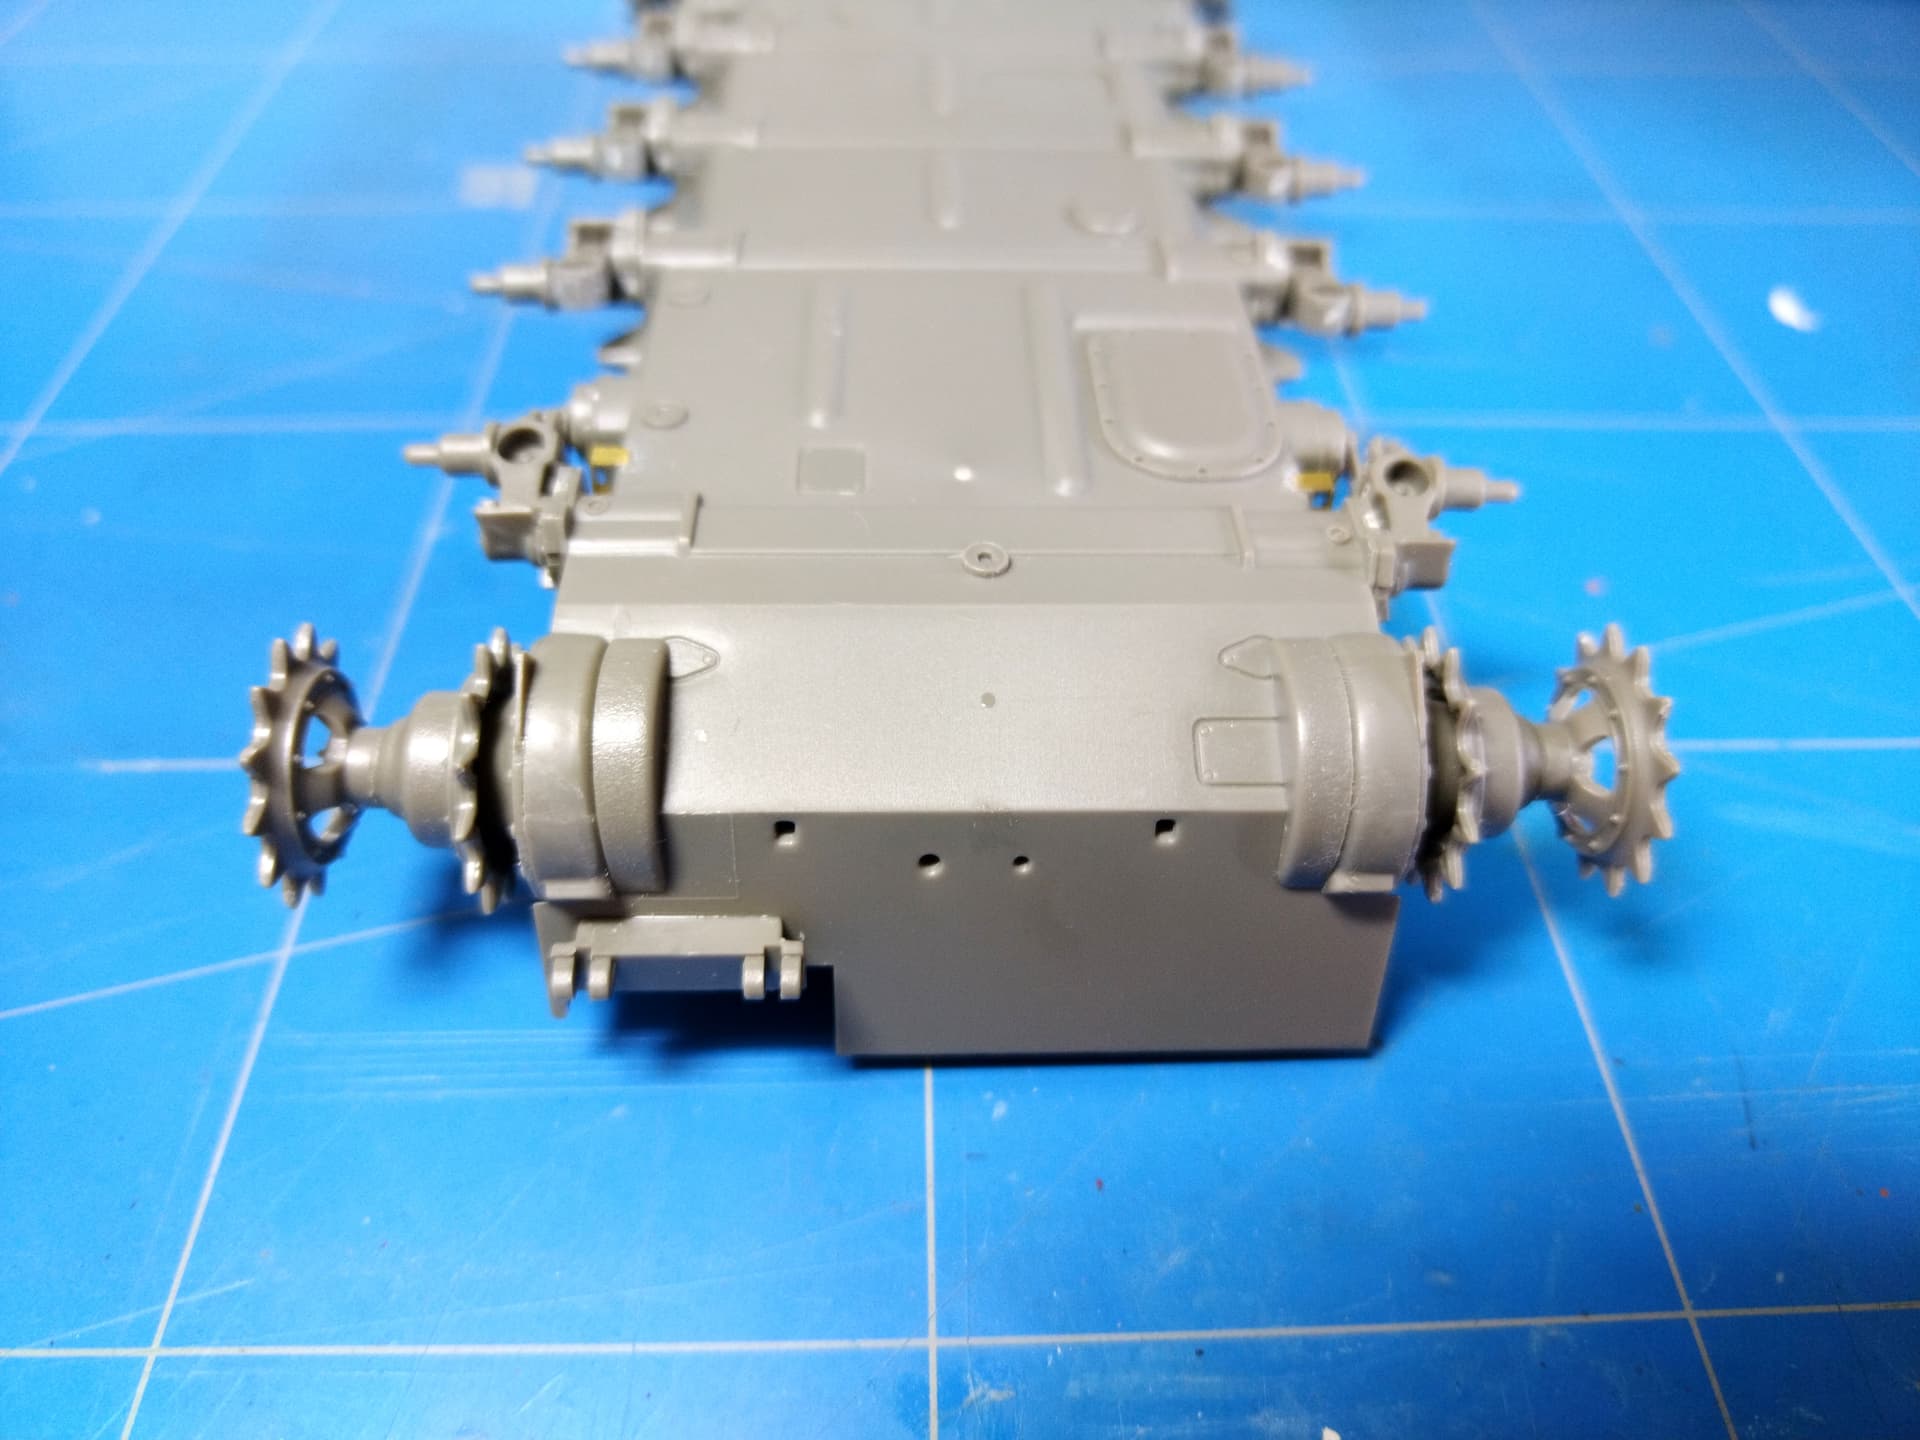
The roadwheels and sprockets are not glued unlike the idlers. This should help remove the tracks for painting.
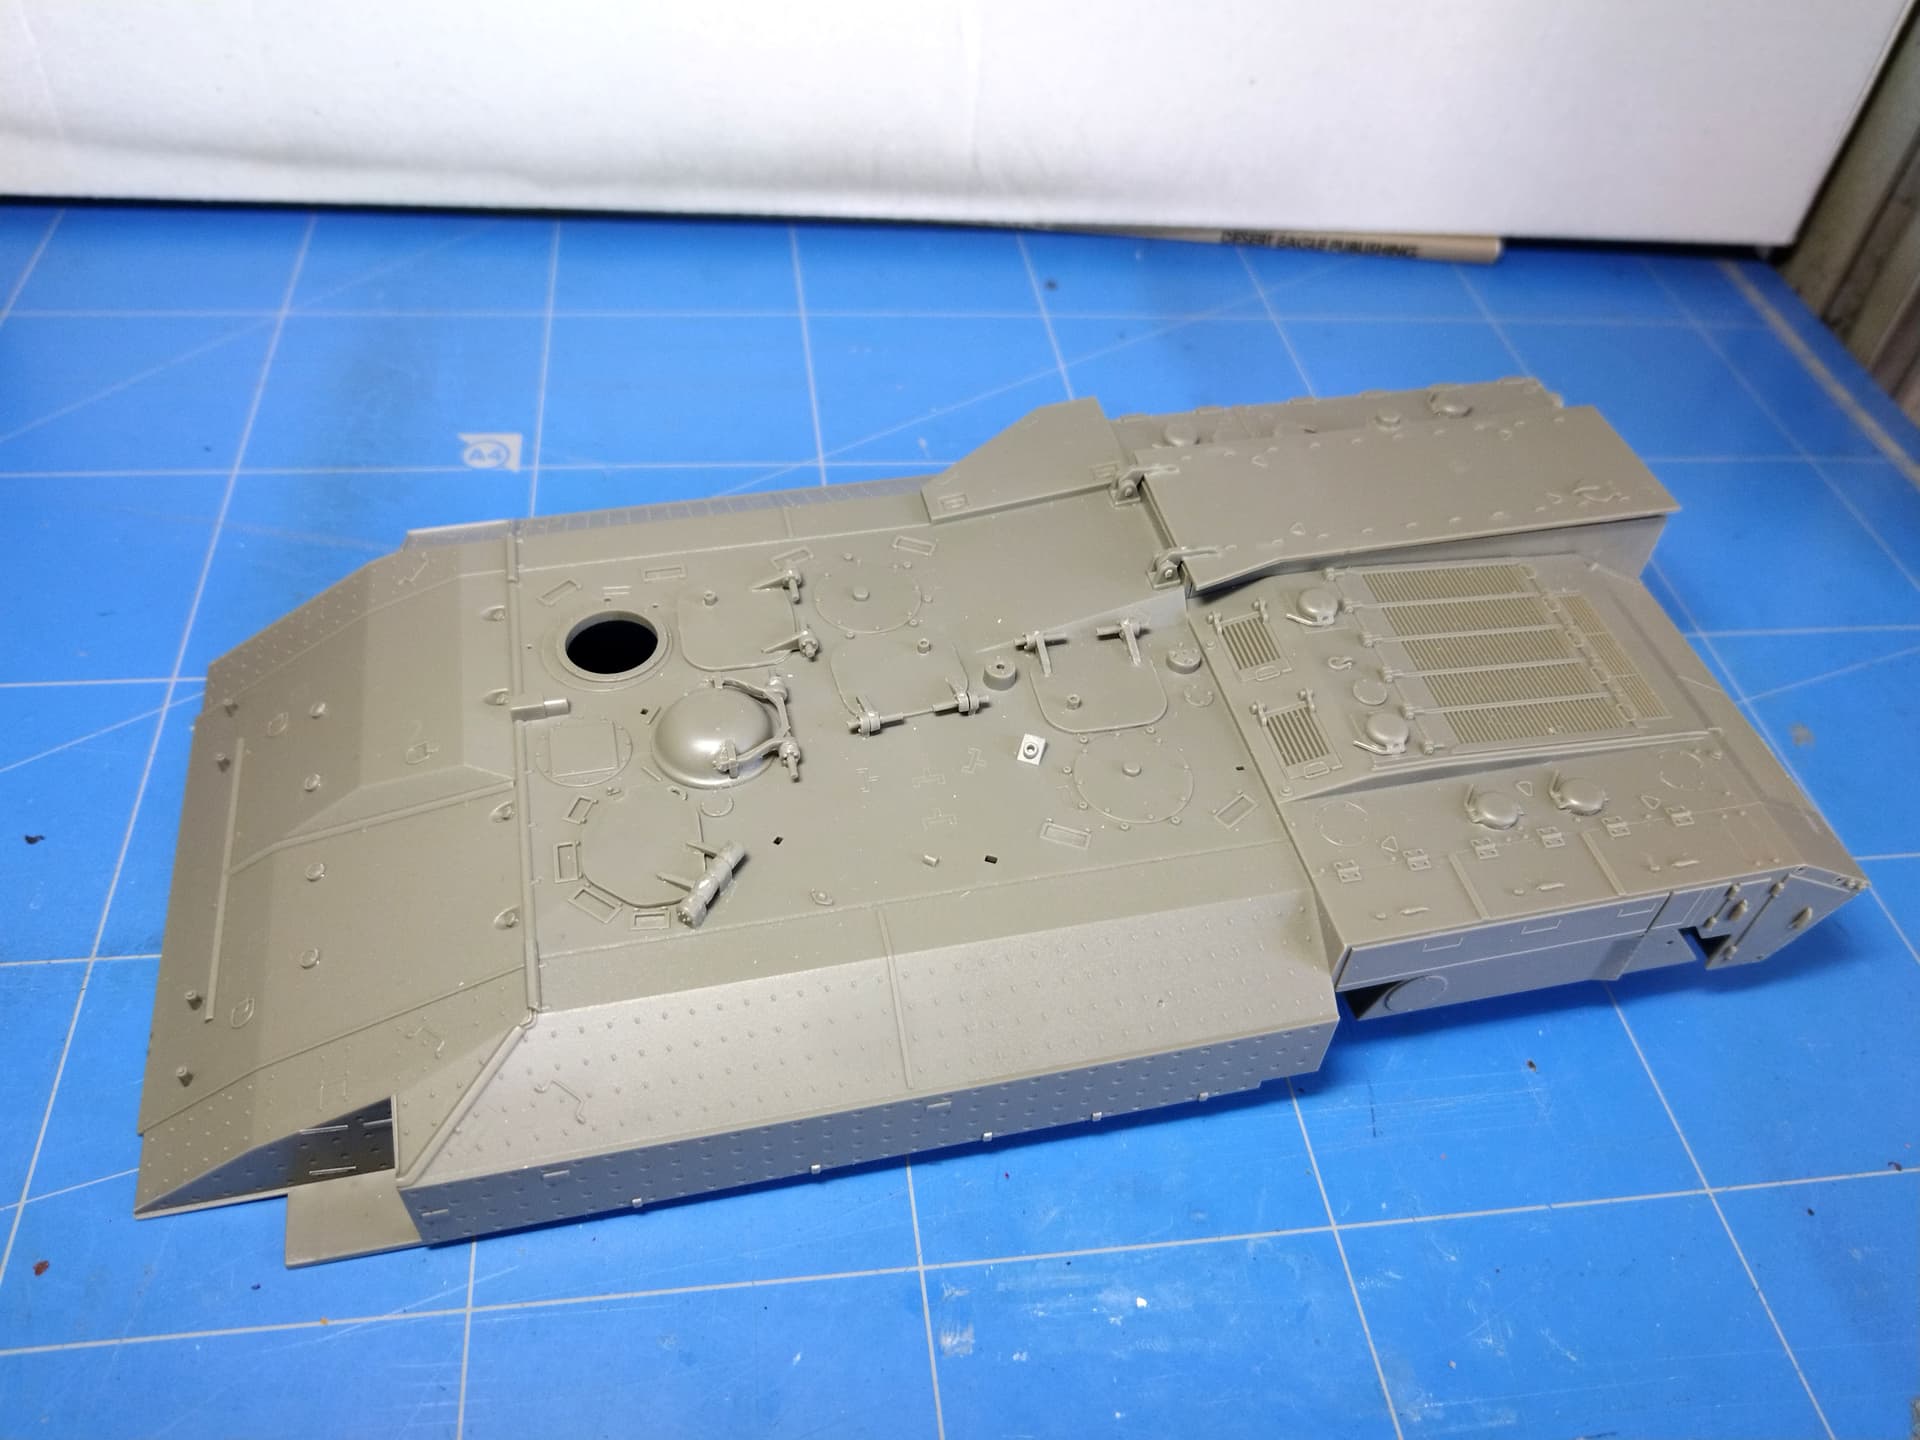
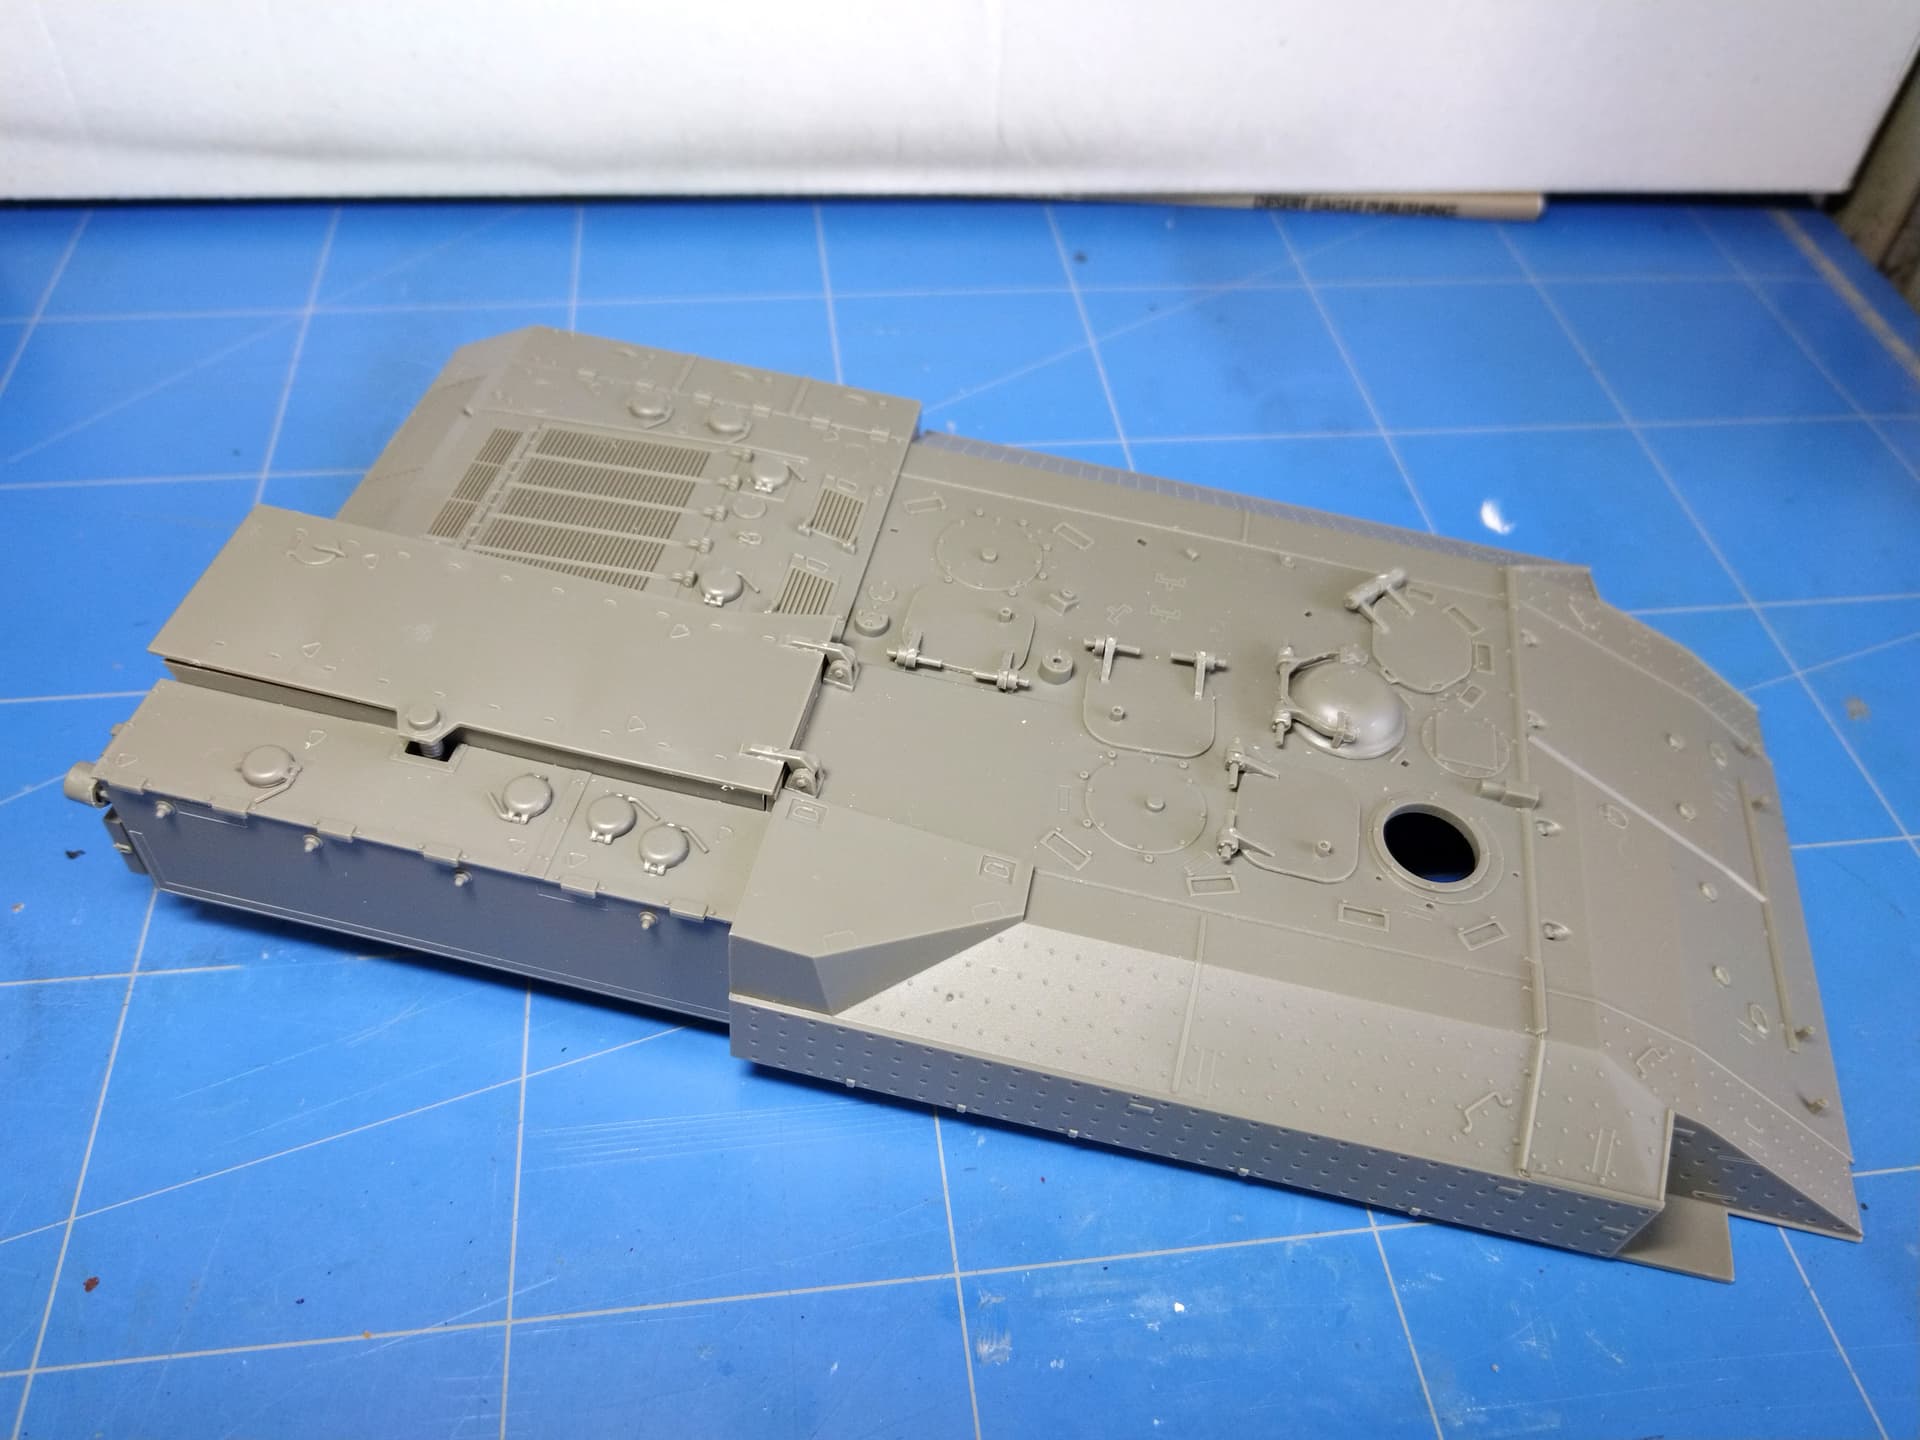
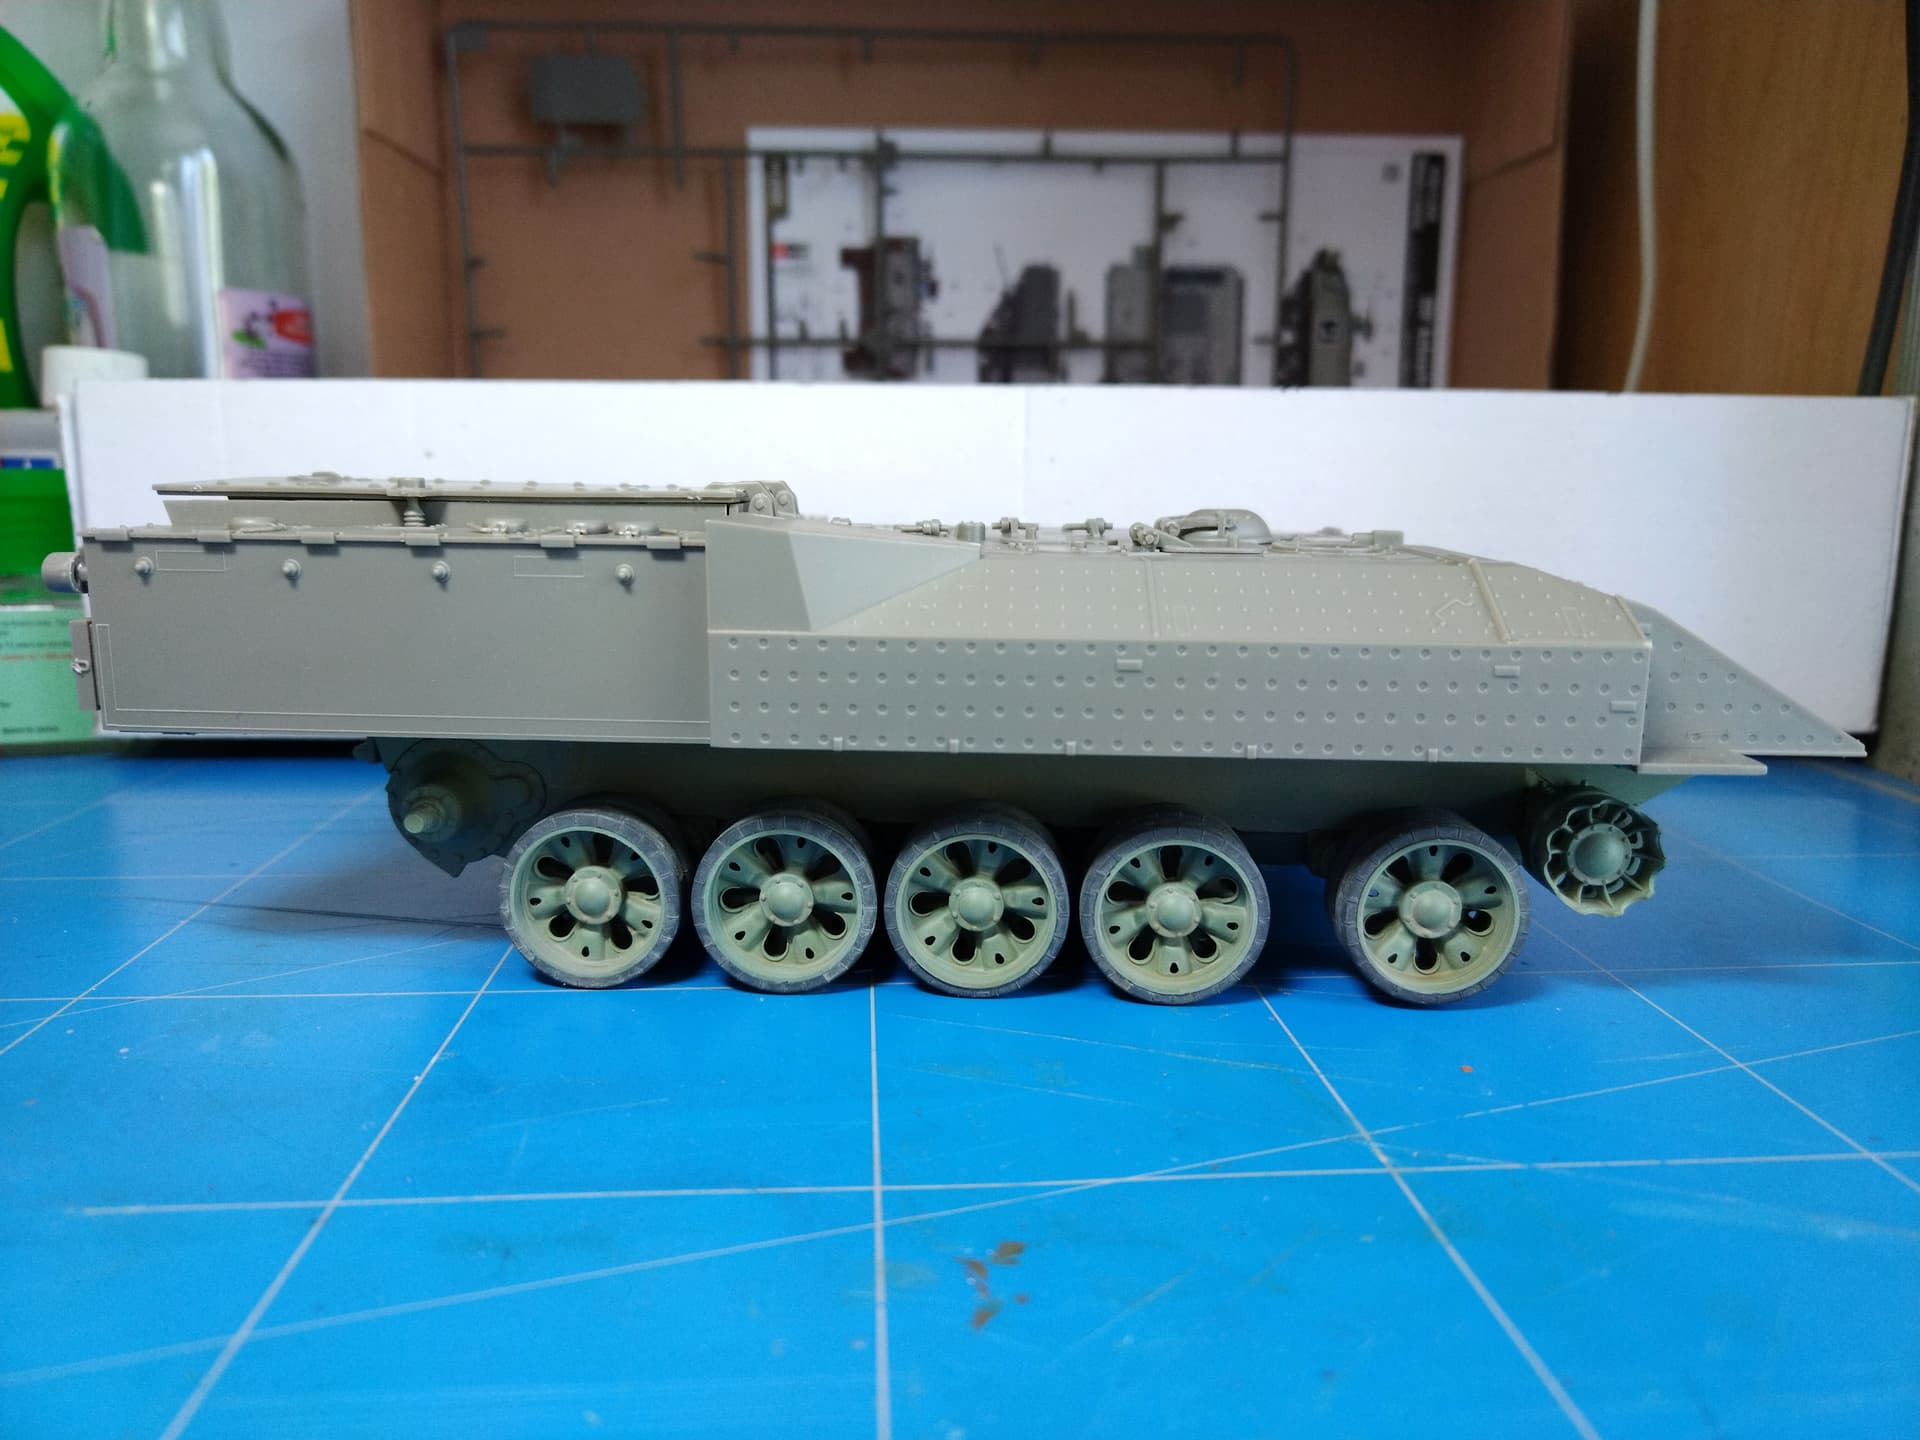
The upper hull has a lot of details to add. For the moment I only put the hatches (still moveable) and the various tanks fillers covers. The corridor roof is moveable however it will closed in the end.
Today’s progress.
The upper hull has been fitted as it does not prevent the good installation of the tracks.
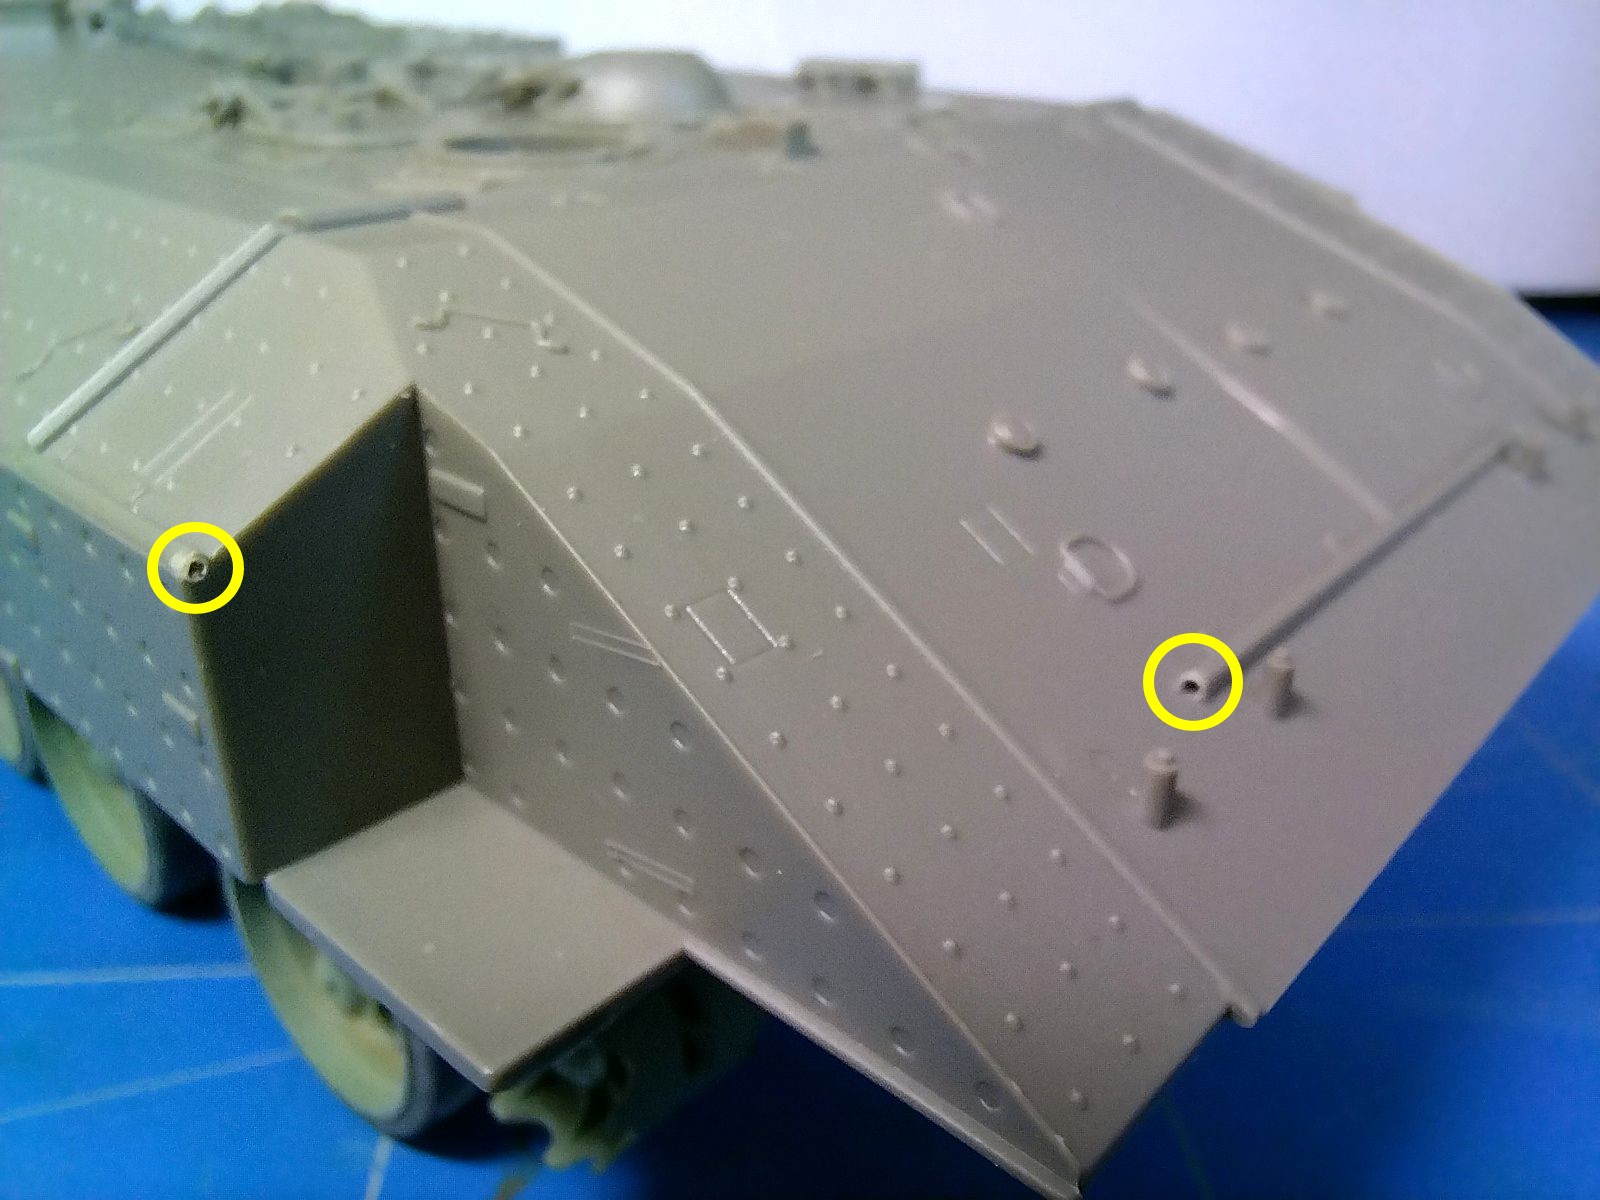
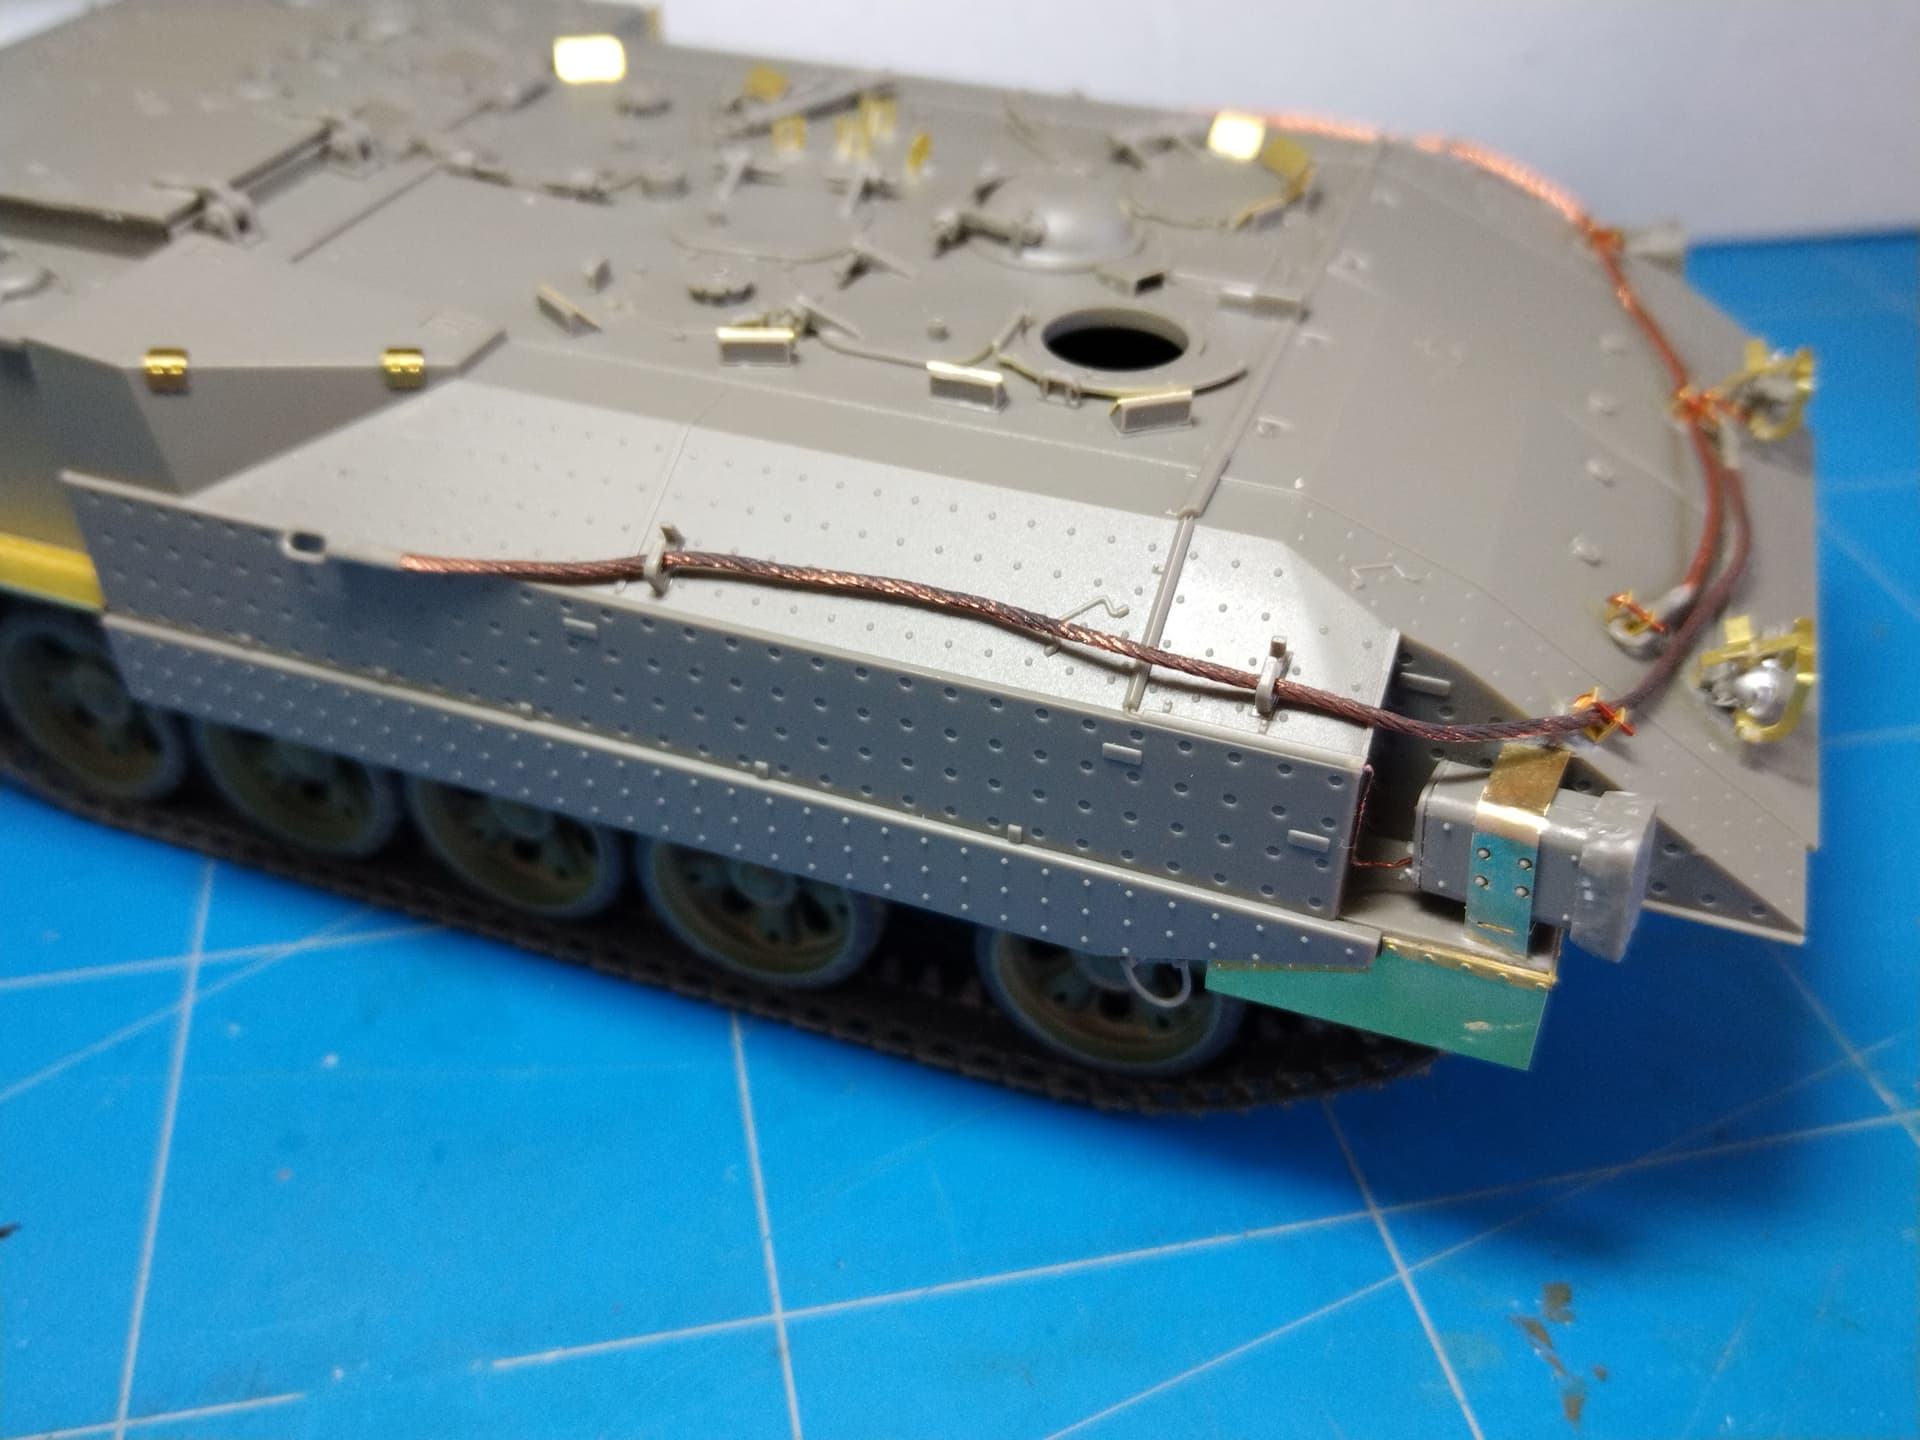
On the left side I’ve added what I believe is the location of a fire extinguisher pull. I also have hollowed the conduits for the wires of the headlights and smoke dischargers.
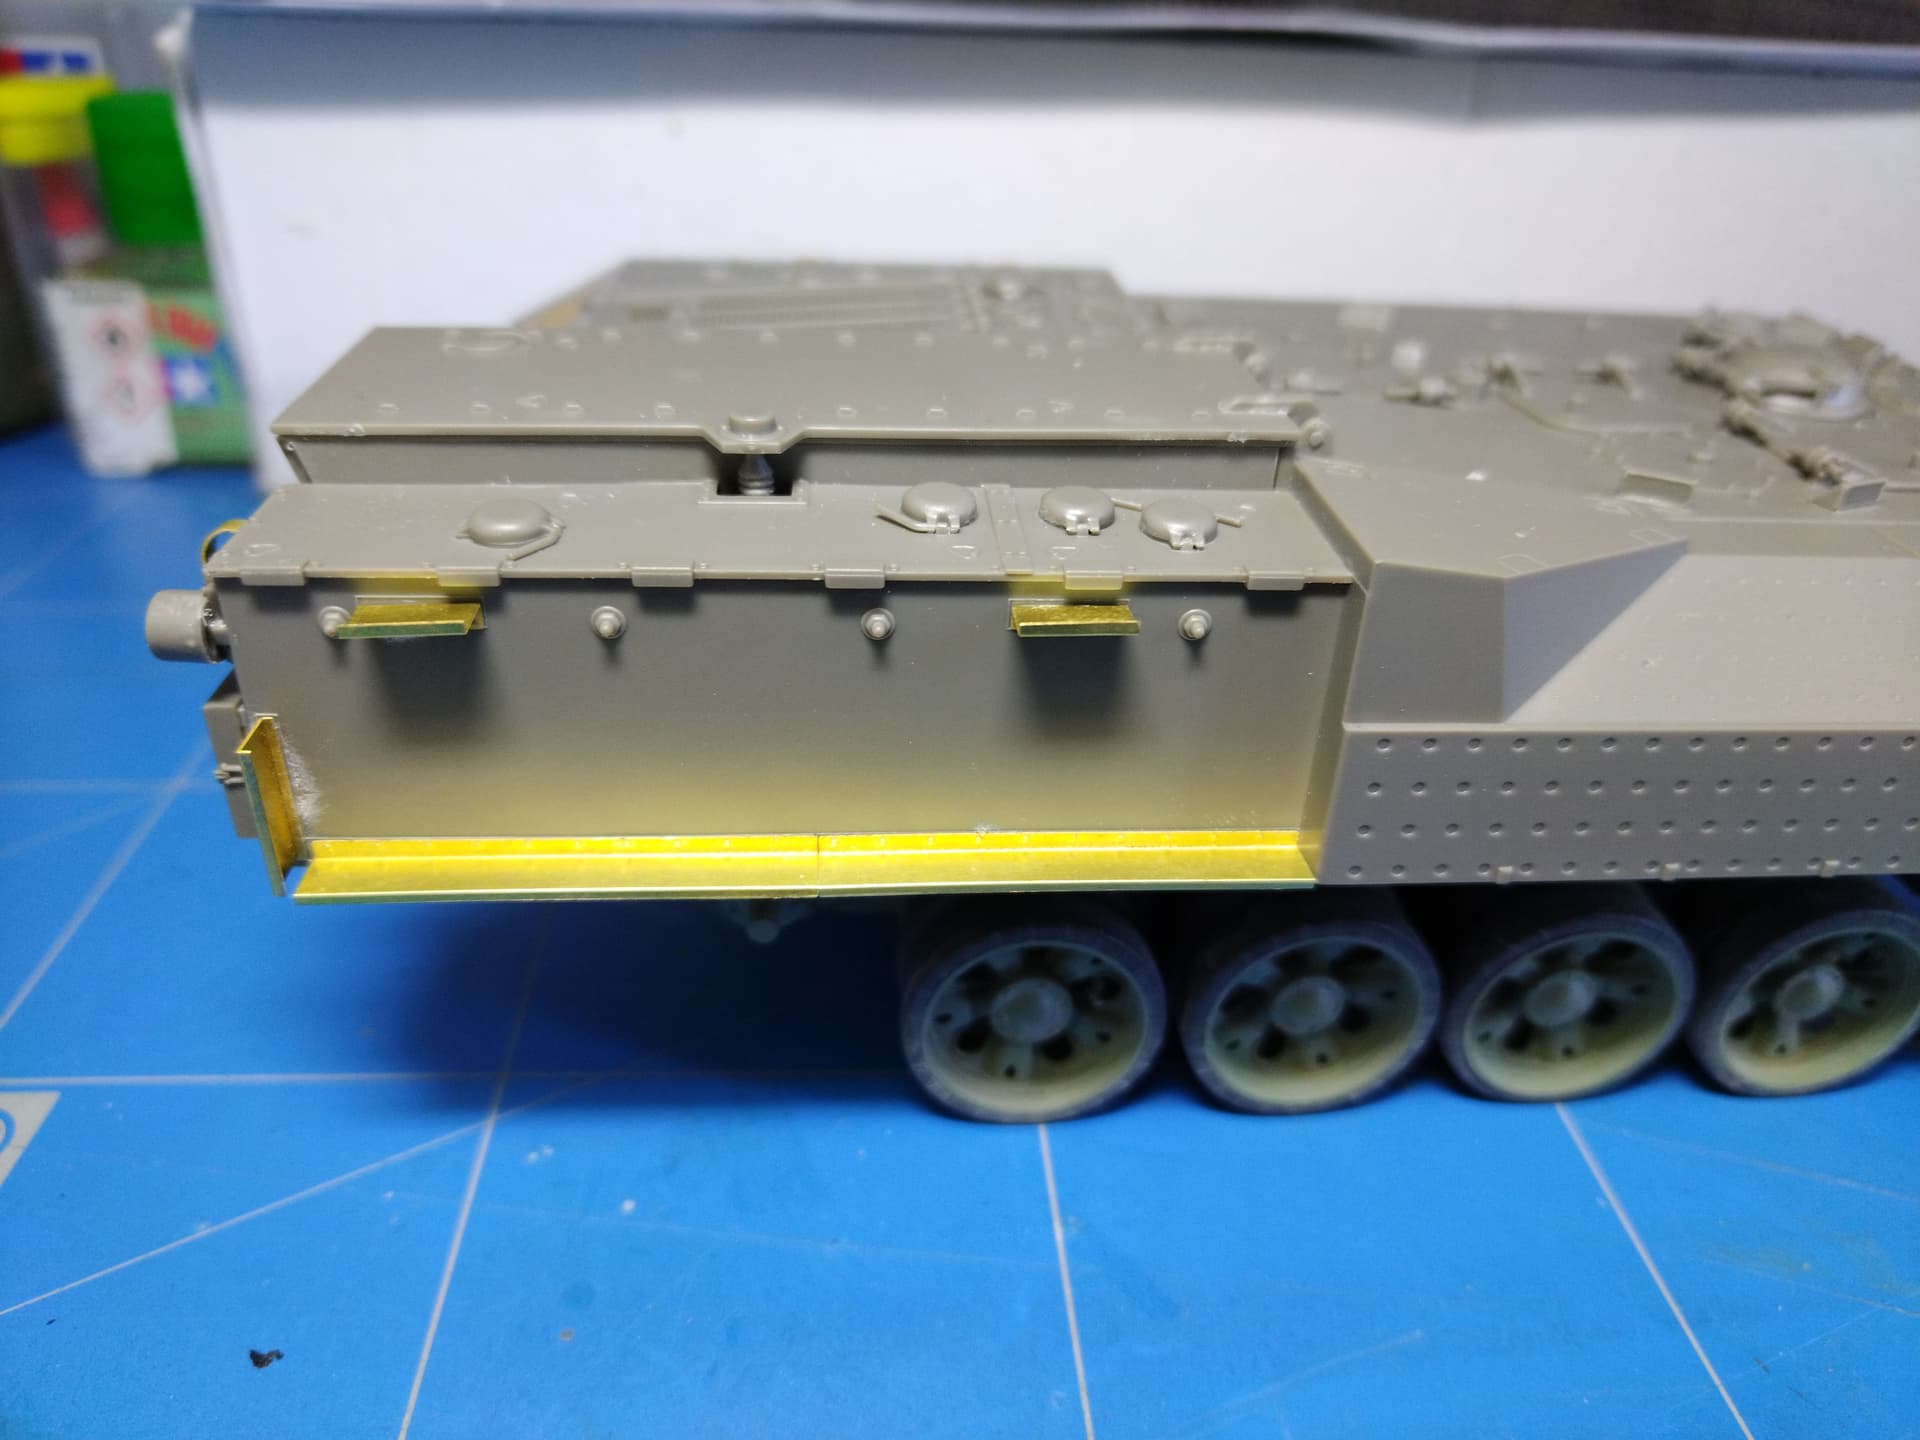
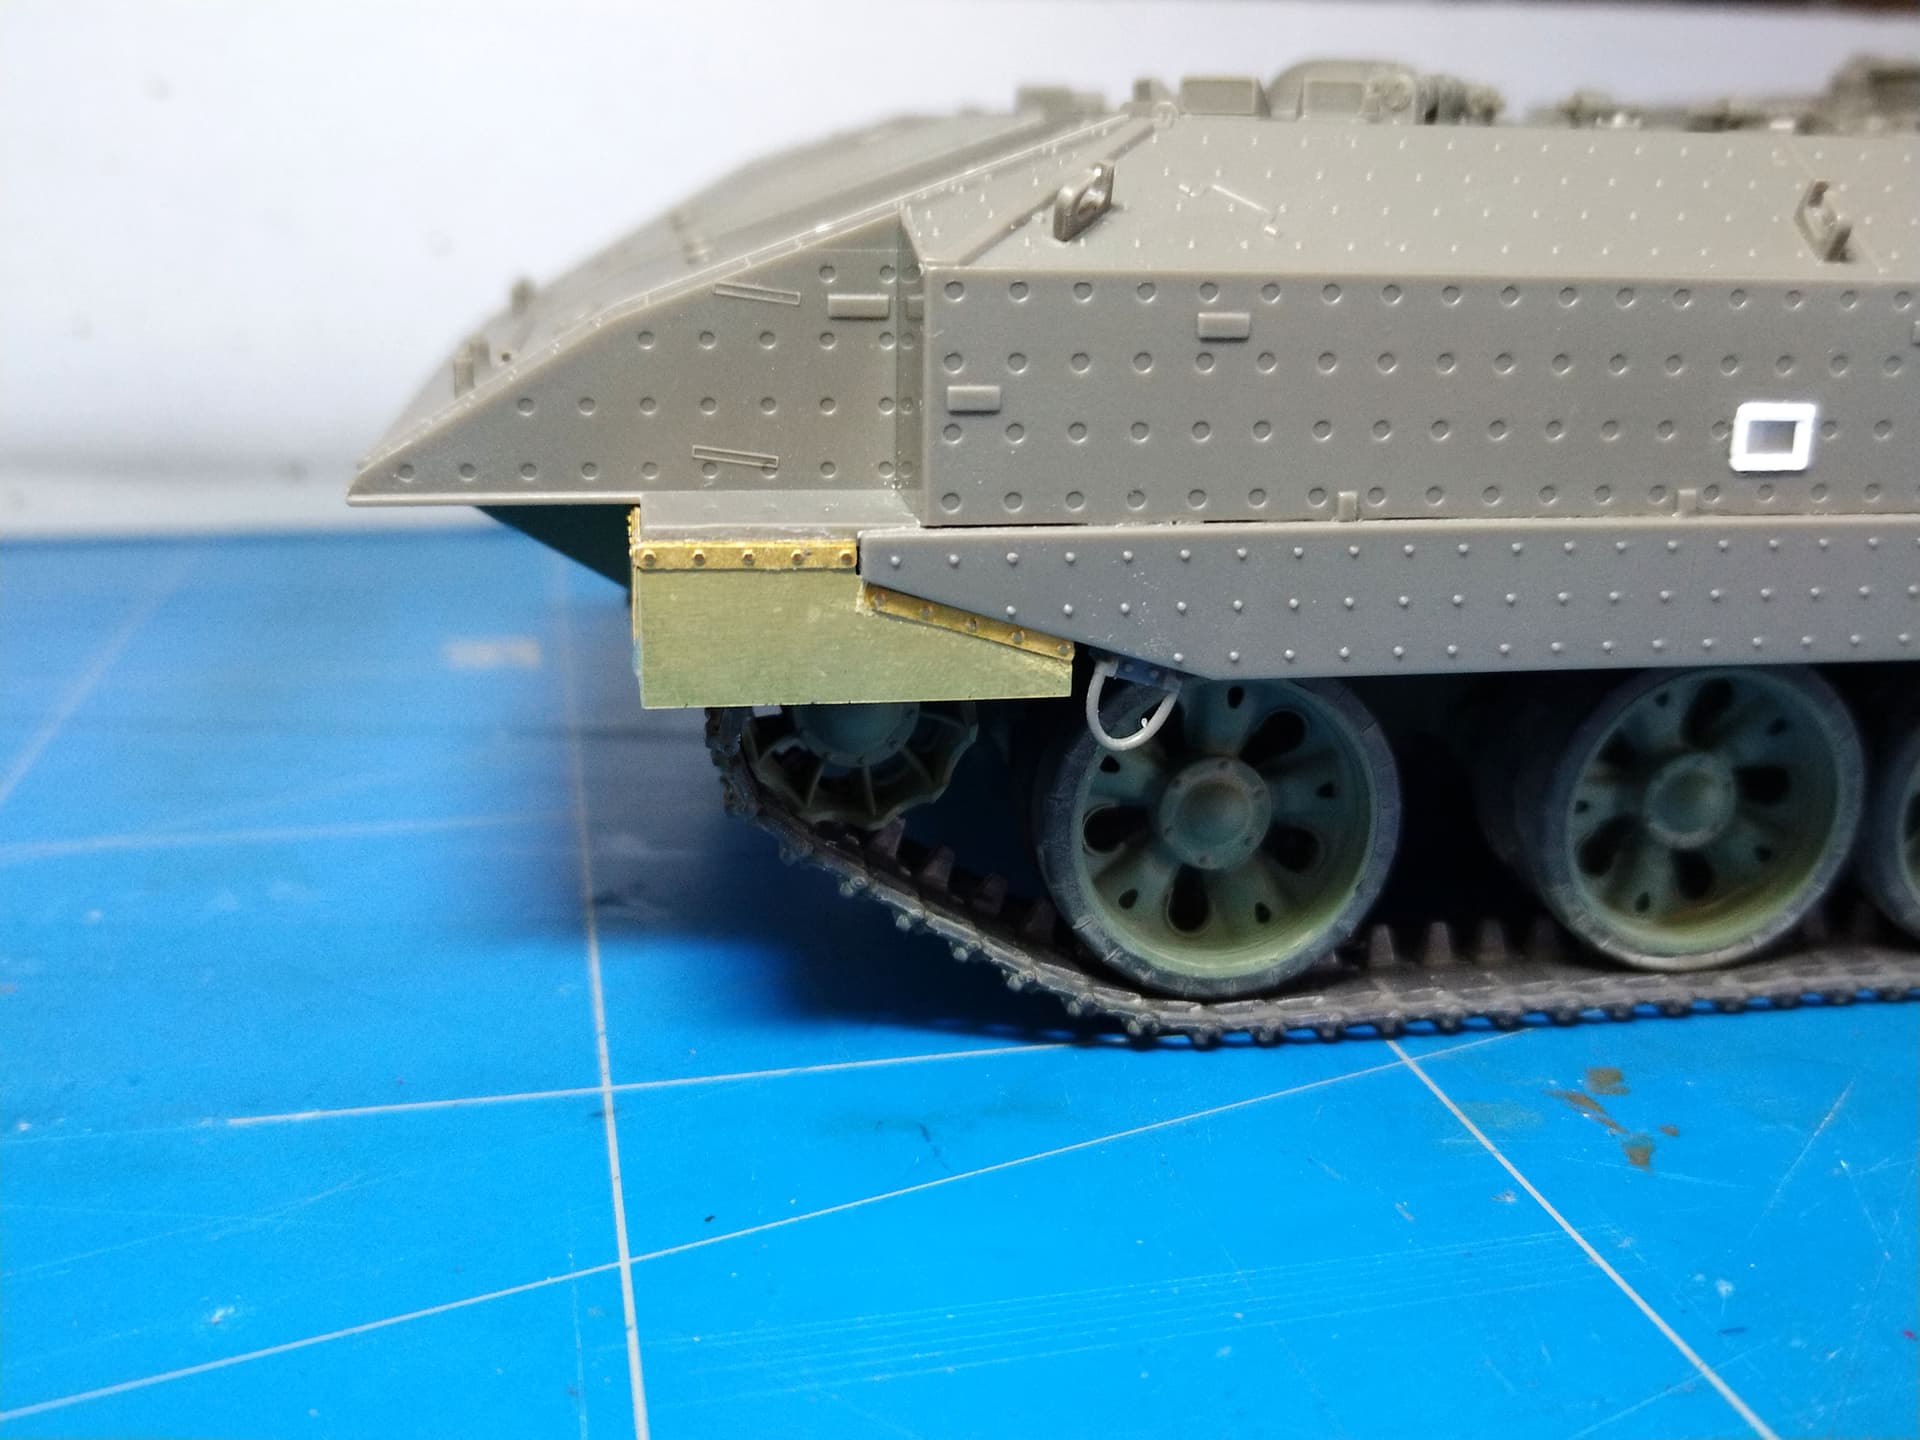
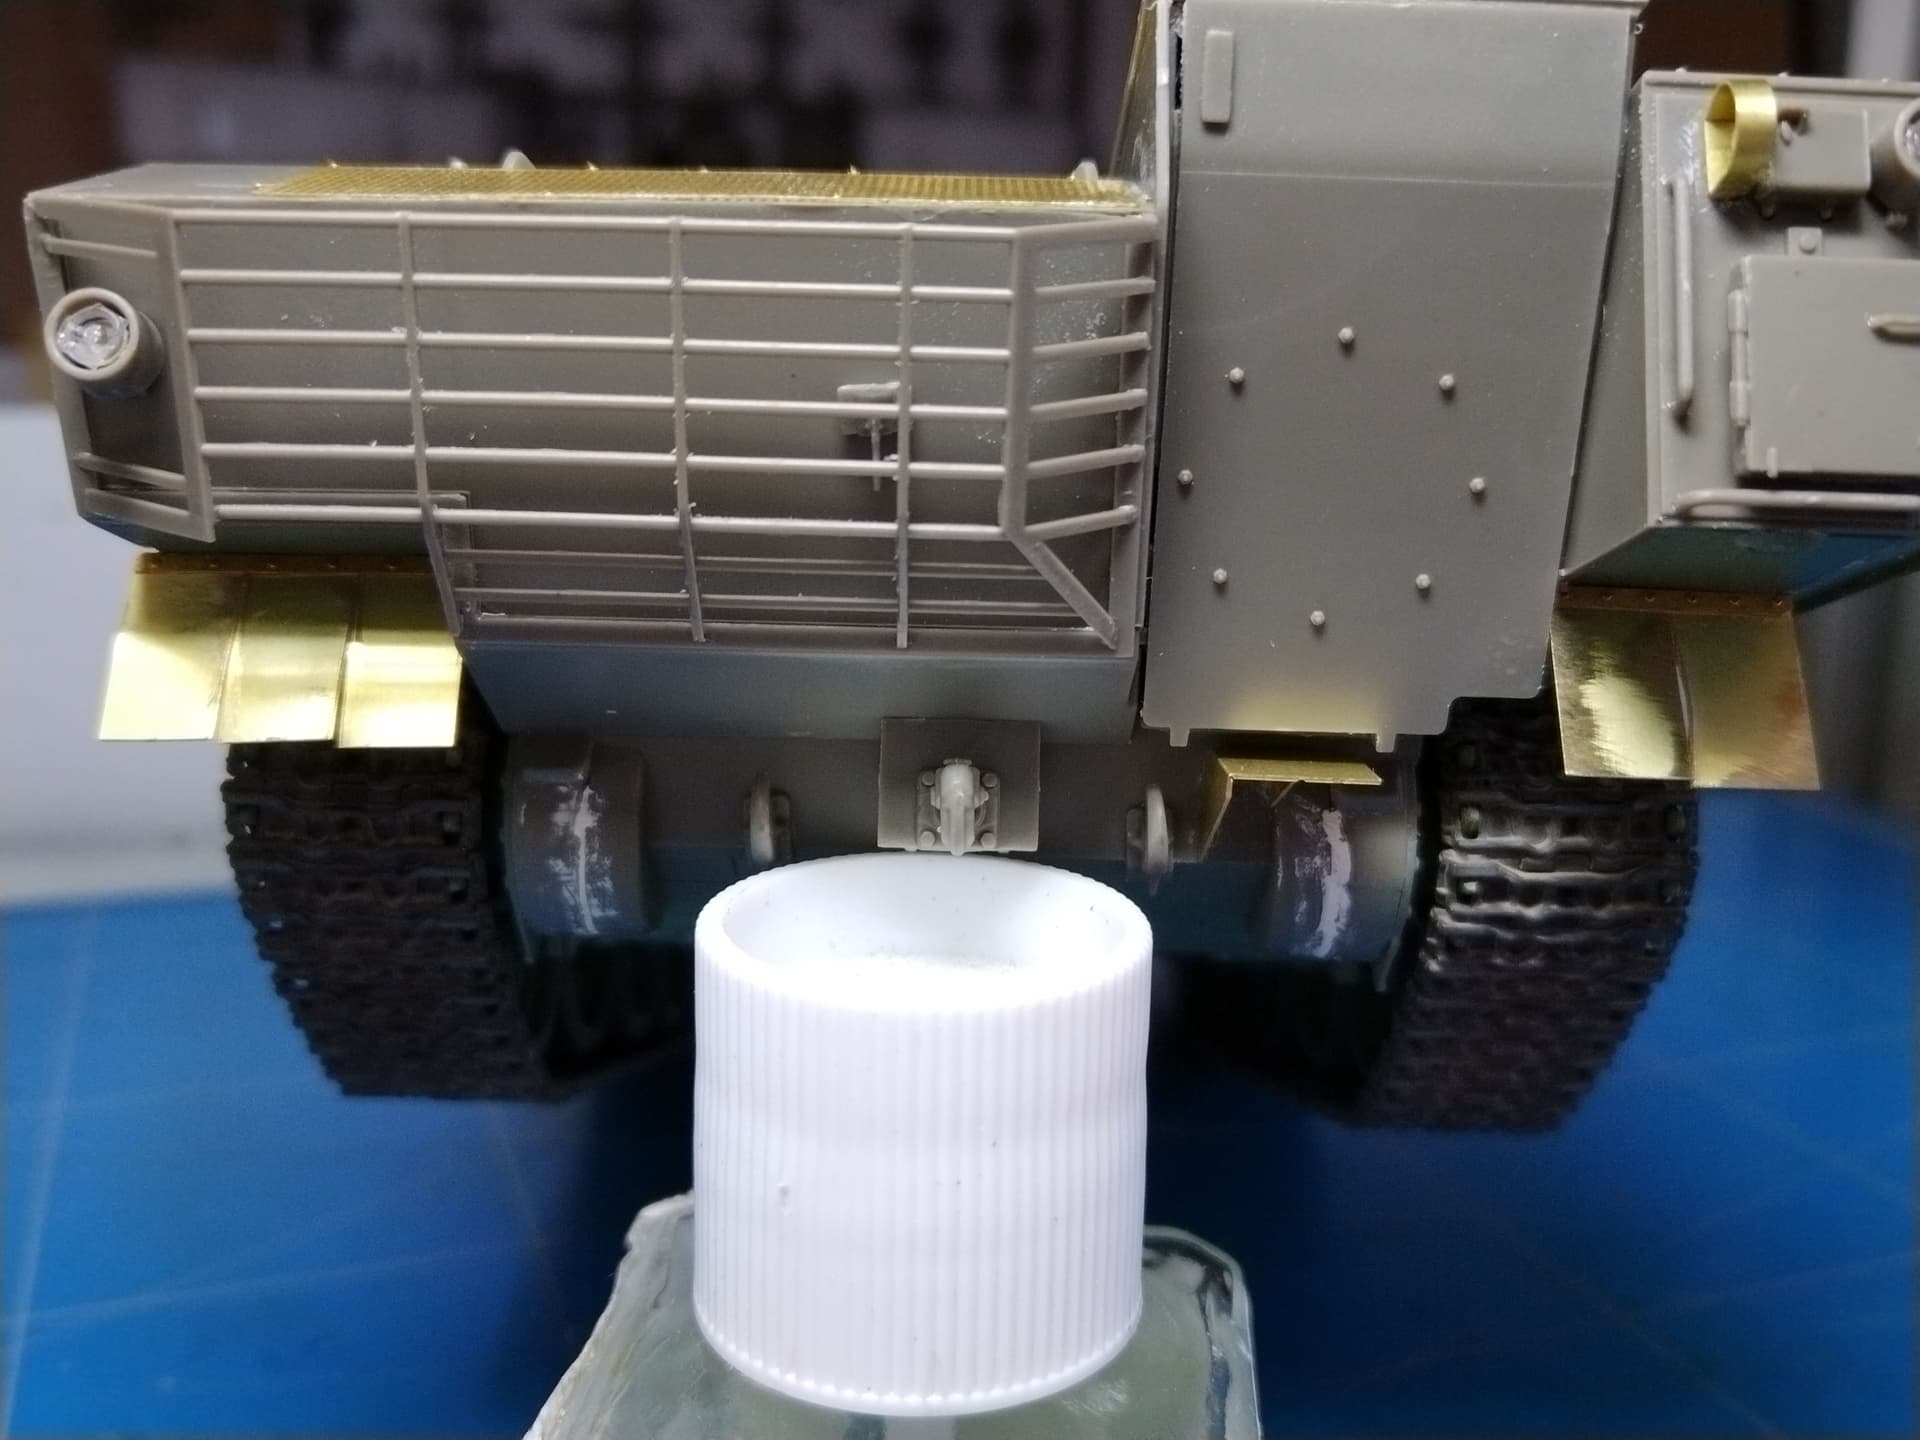
Thanks for the kind comments. Yesterday I started adding some PE parts. Many of them are quite stiff and a pain to bend. I cut all the mudflaps so they look more realistic. Before adding them I had to put the tracks on after a basic weathering.
On a sidenote gluing the ramp was an issue probably because I didn’t properly align some parts of the corridor at a previous step.
Here is the result of 2 days of hard work
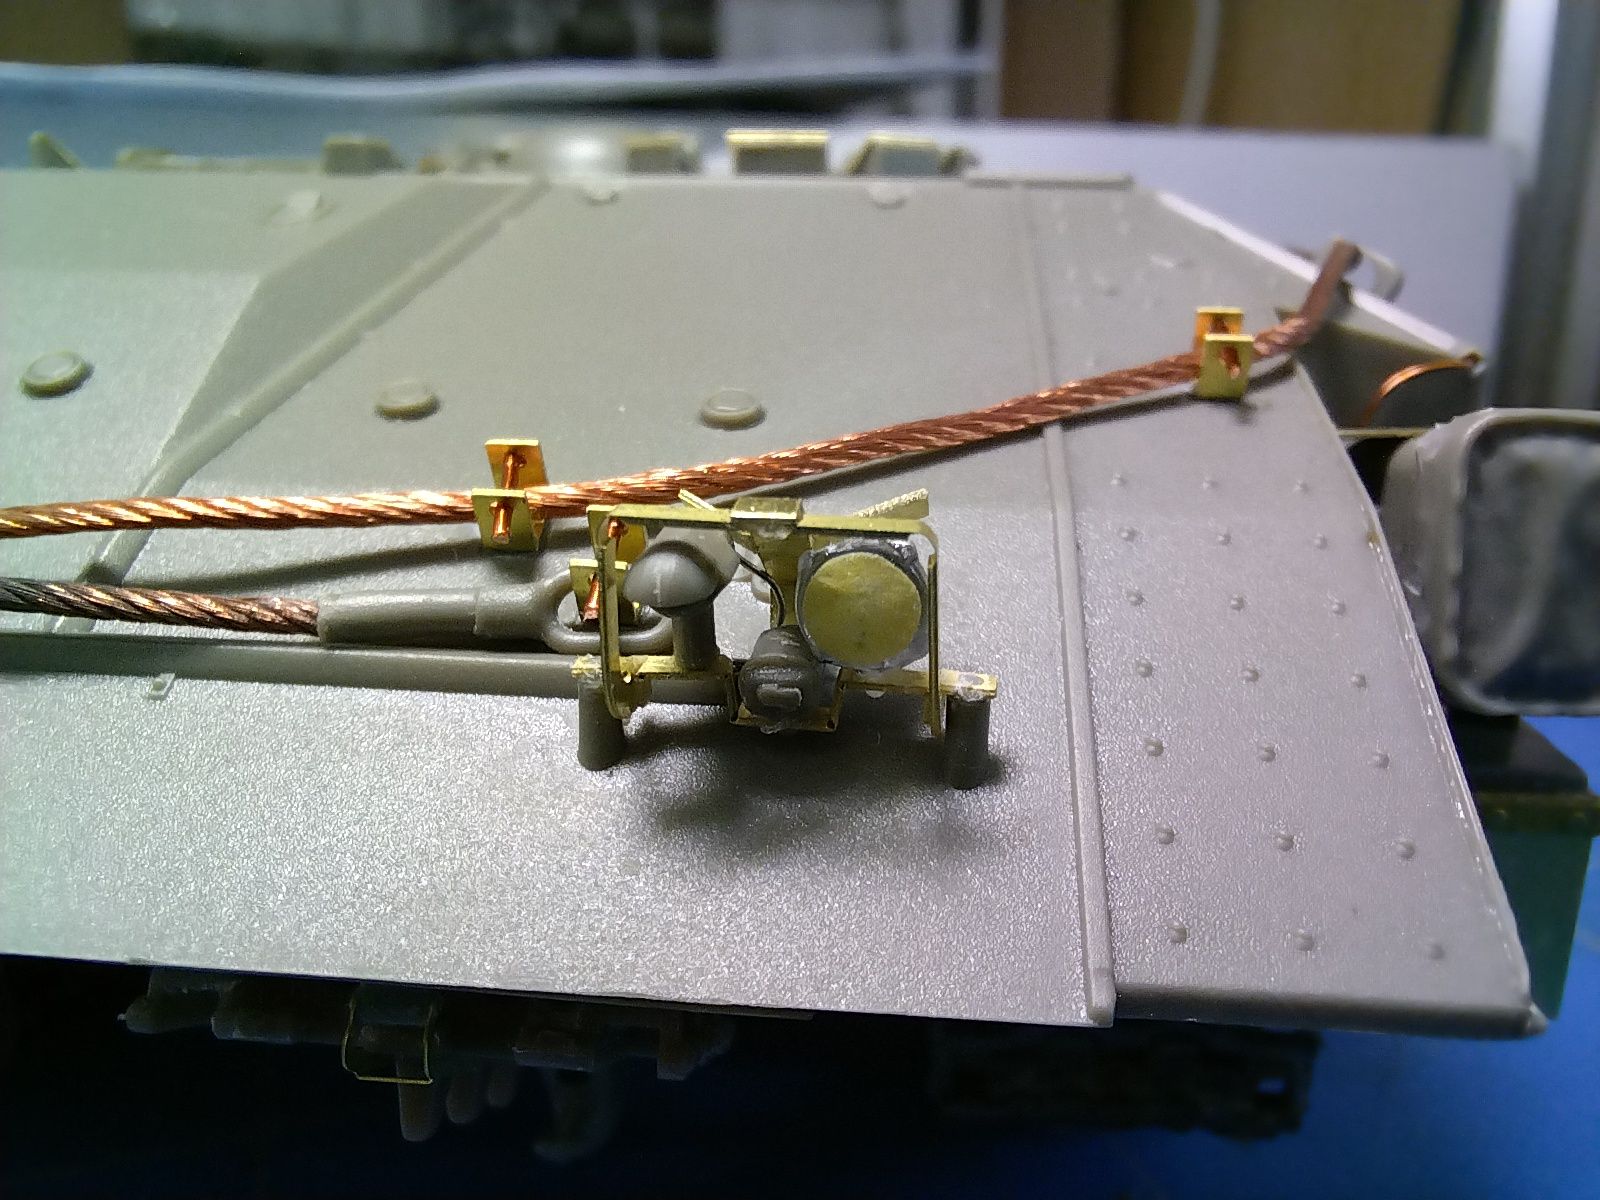
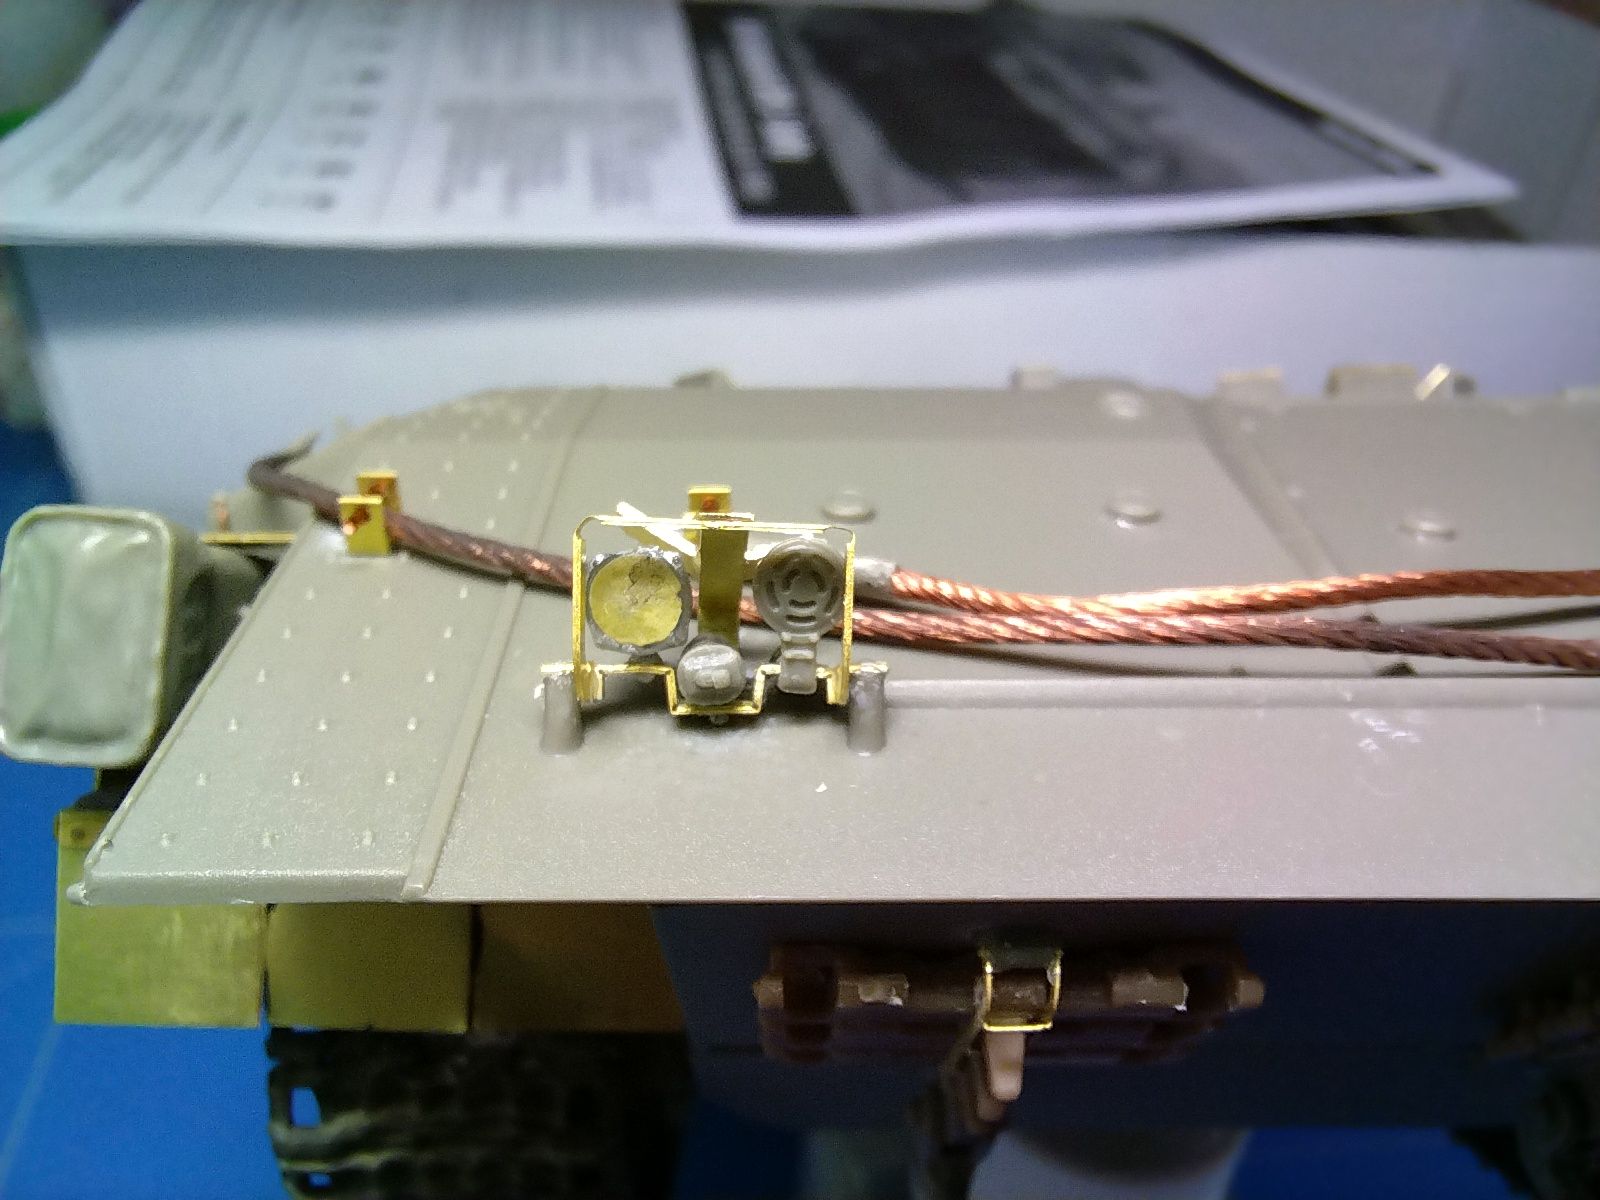
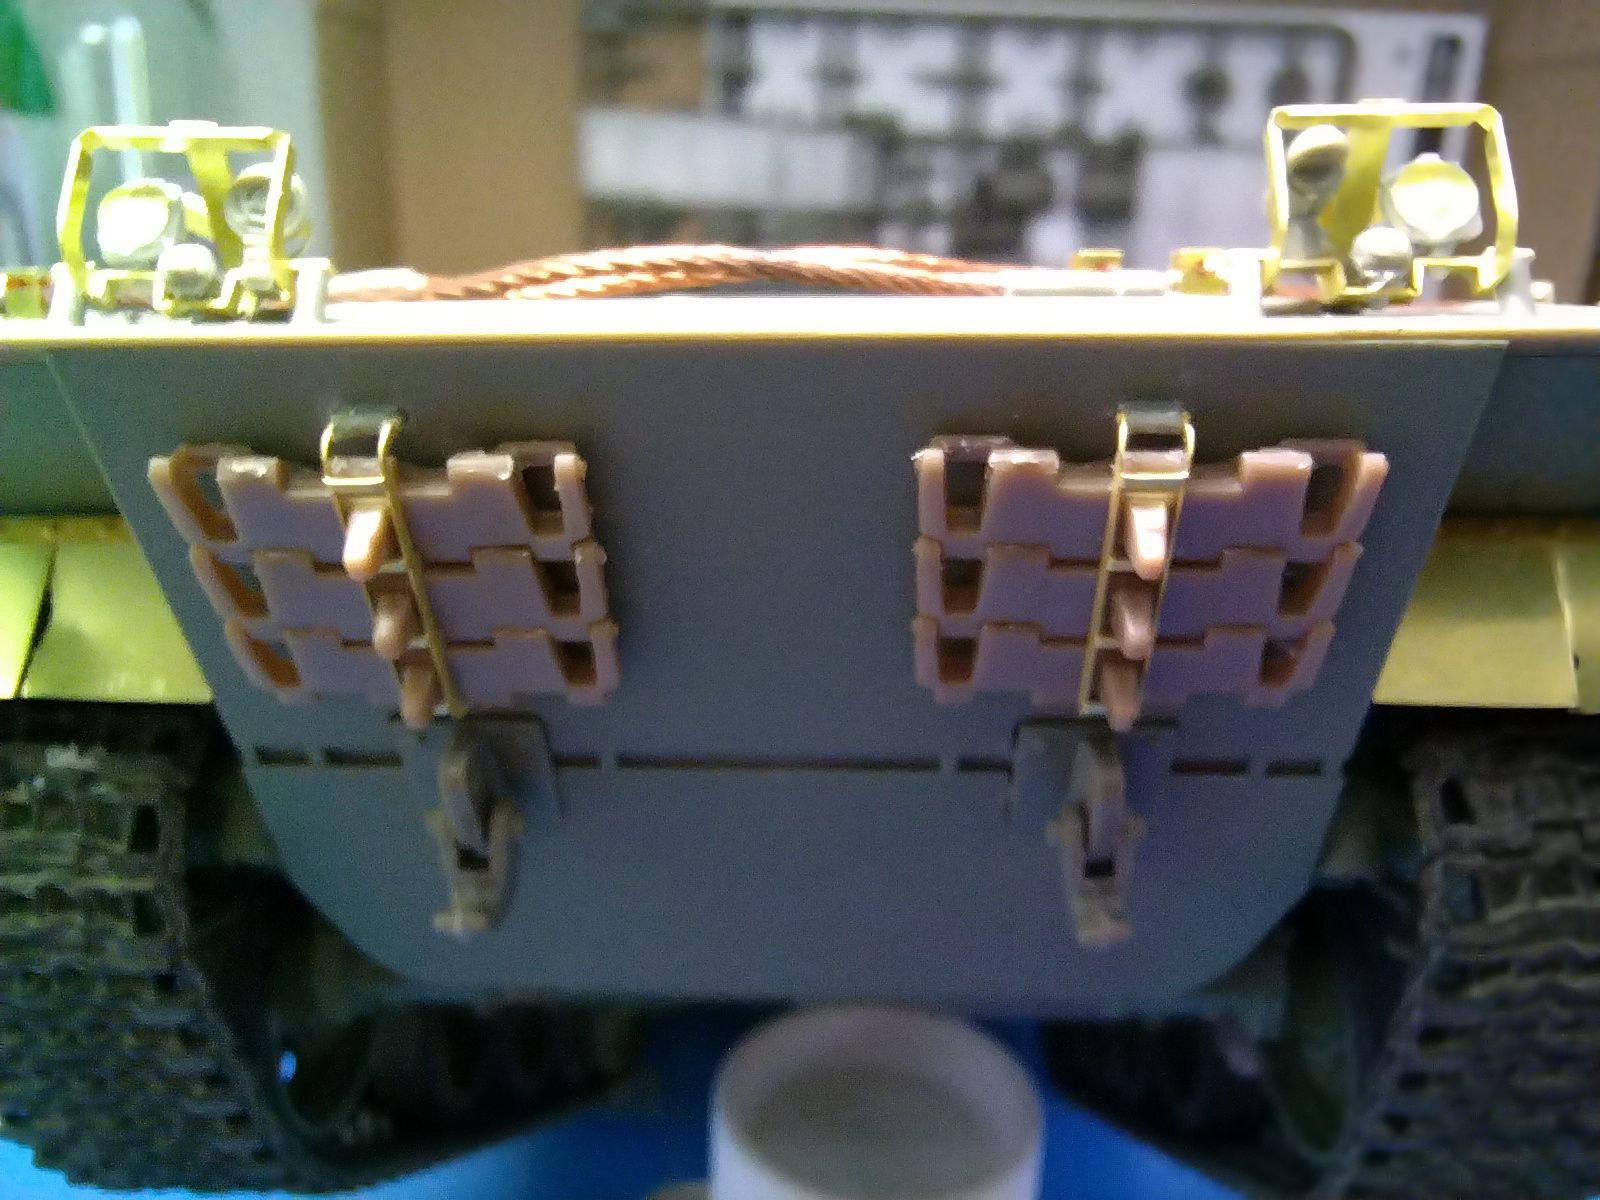
Slow progress on the PE side. A lot of parts have been added on top of the roof. I also made the tow ropes from the twisted metal length in the box and the plastic eyes. The latter are too small compared to reference pictures. The only spare parts I had were way too large so I decided to go the Hobby Boss way. The cable length is supposed to be 15 cm which is correct on the right side but not on the left one. This side needs 15.5 cm. I guess you can use the same length on both cables. However HB gives you just enough cable so don’t spoil it.
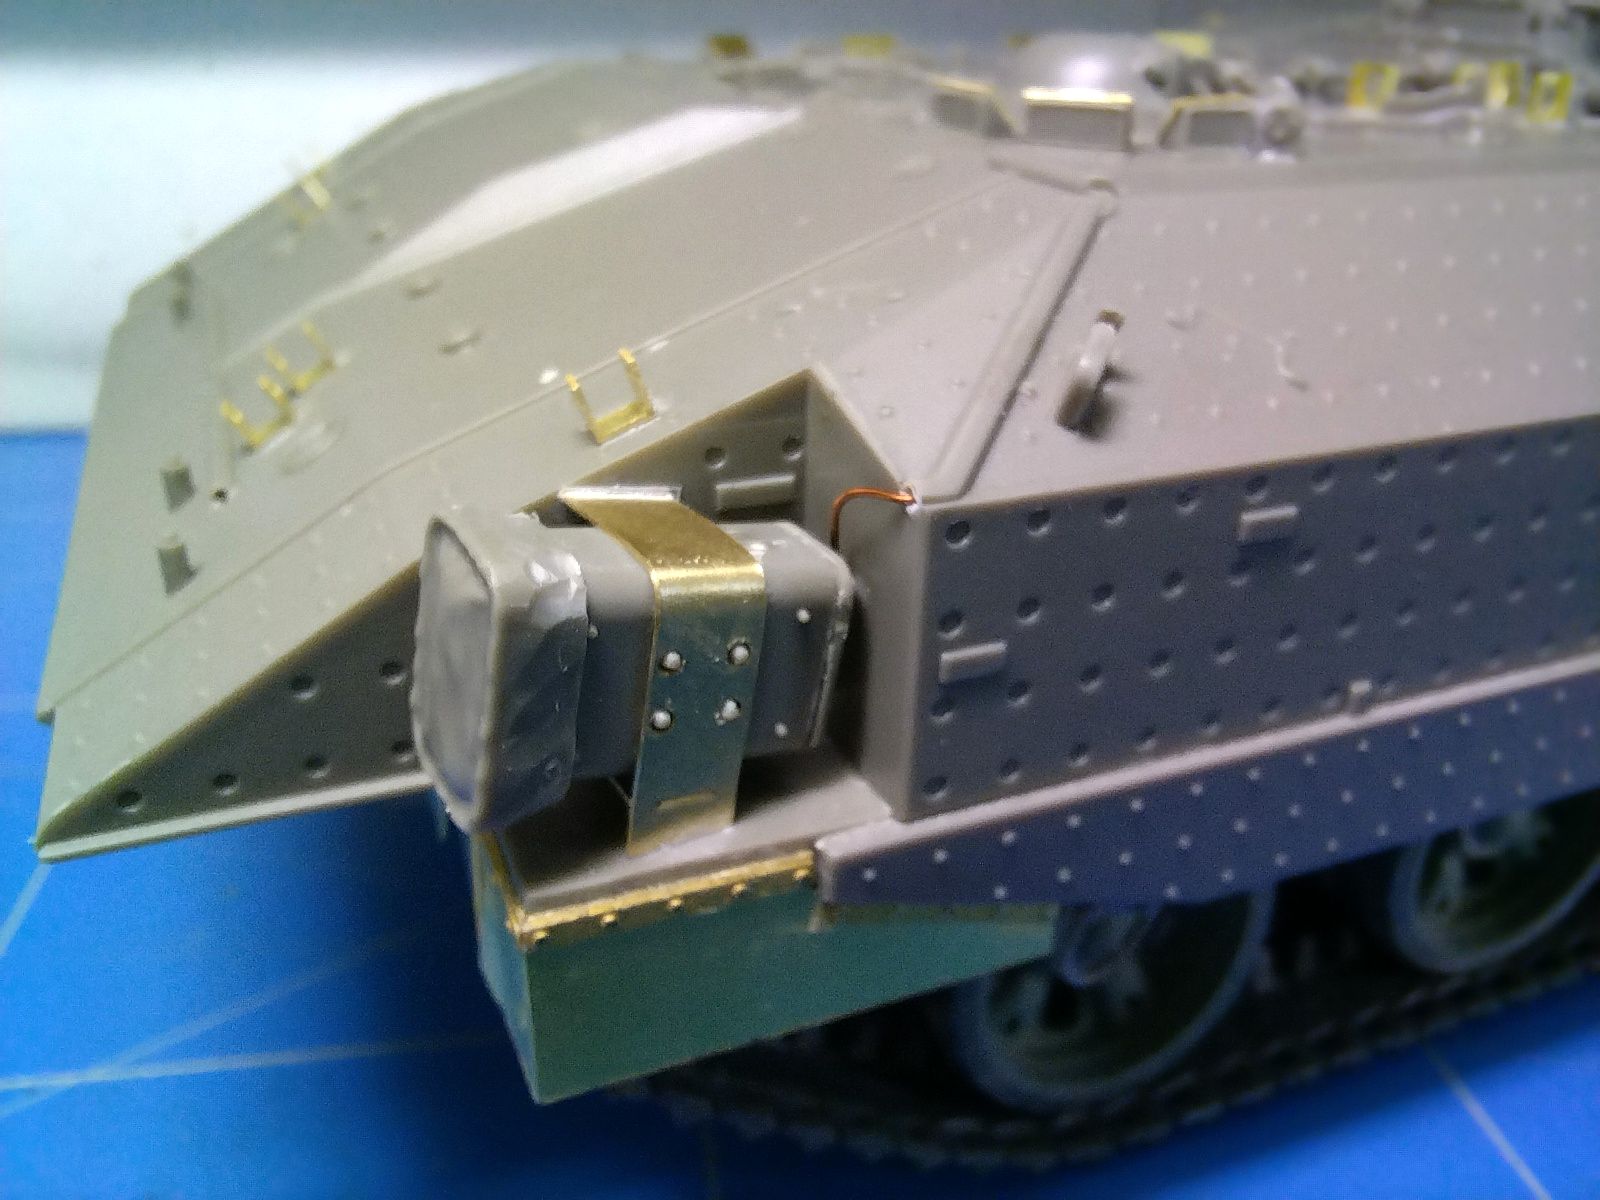
I also tackled one smoke-grenades launcher. This requires a bit of extra work. First of all HB doesn’t tell you how to glue the back plate with the power cord and a handle. In the Desert Eagle book I managed to find 2 pictures partly showing the plates. So on the left hull side launcher the power cord is on the upper left corner and on the right hull side one it is on the lower right corner. Bending the protection was not that easy because I didn’t want to anneal the part to keep its stiffness.
The launcher canvas cover rear edge is way too thick (same thickness as the roof hatches). So I thin them the most as possible. I also added the power cord.
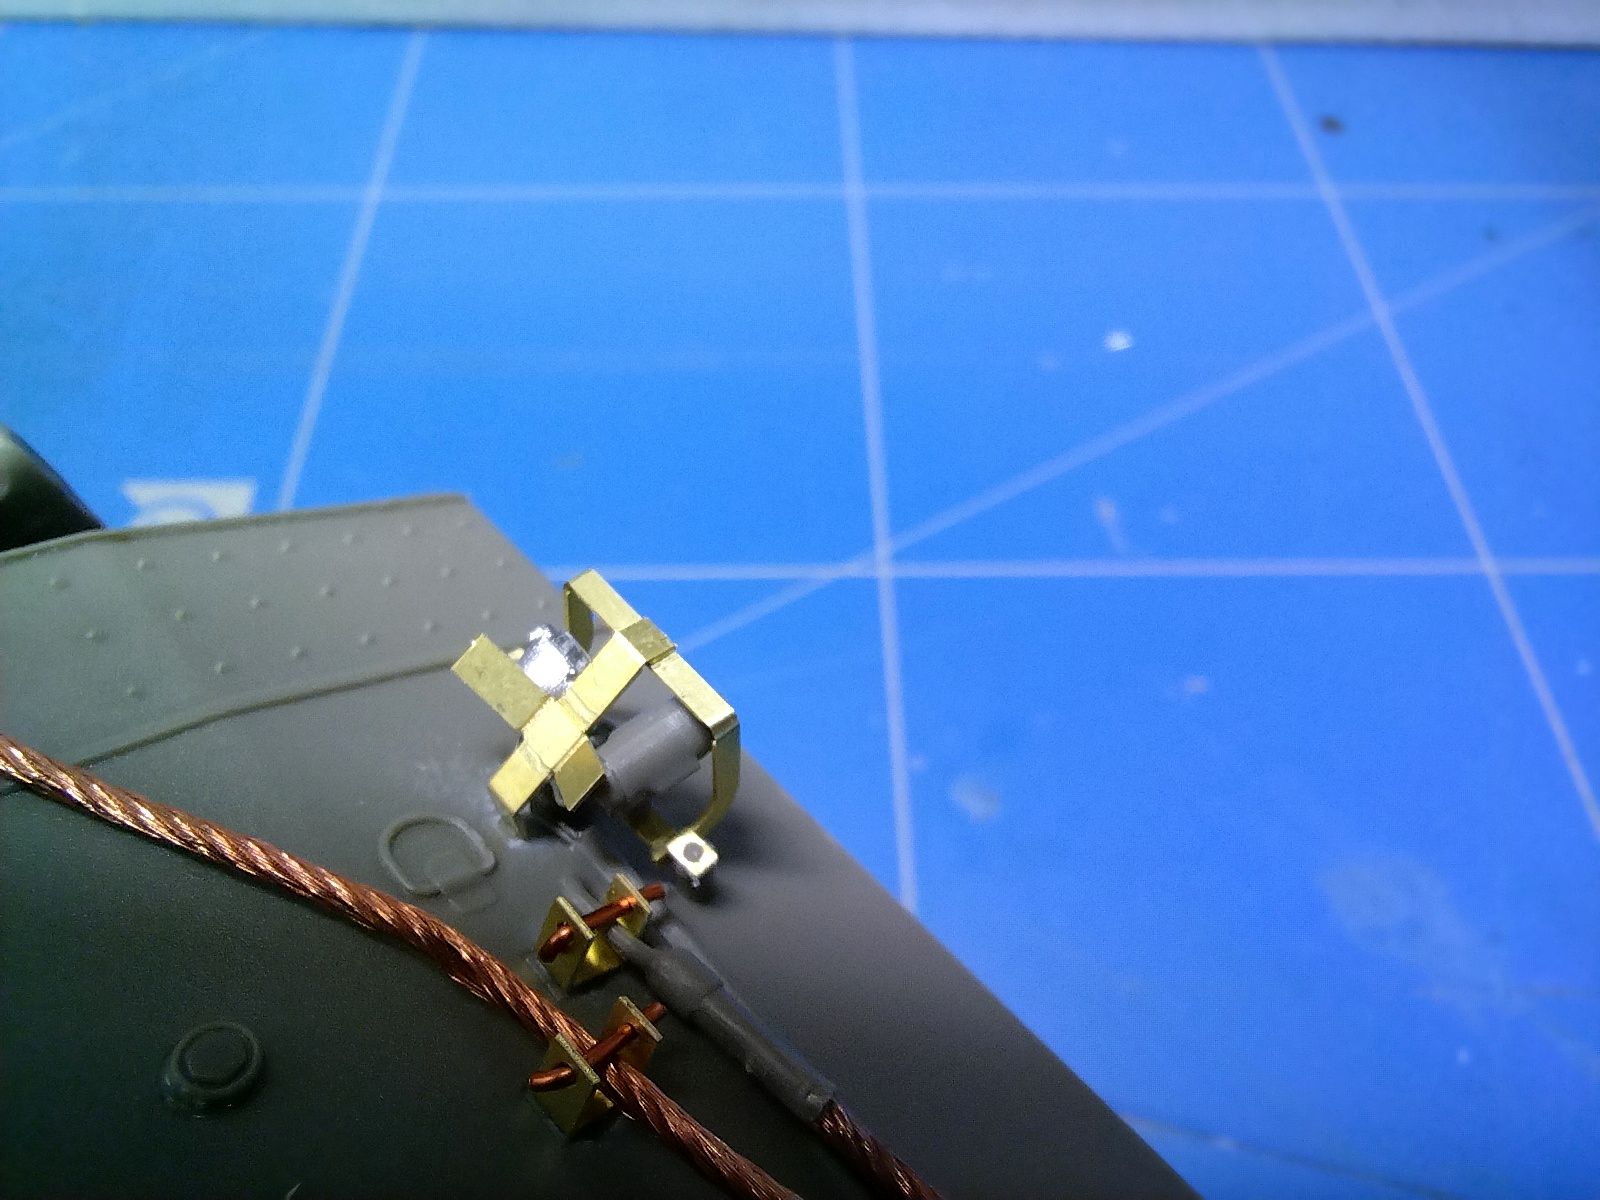
More PE to glue today. I assembled the second smoke-grenades launcher and I managed to assemble the both headlight clusters. This was time consuming because I’ve decided to add the wiring. The PE parts making a cross at the rear are too long. So you have to cut them so they look like the real ones. I didn’t measure how much you need to cut. Approximately the “vertical” bar was cut by 1.5 mm at the top and 1 mm at the bottom. The horizontal one was cut by 2 mm on the longer side and 1 mm on the shorter one.
The tow ropes have been installed but will be removed for painting. The locking pins are from brass wire included in the box.