I have another idea. Cut the pin T1 in a position where it is hidden inside the mount, so that you can separate it and pull it out, leave the cable ends attached on it. Magnets could work as well, leaving the middle piece of T1 glued between the adapter arms and using magnets to attach the ends of the pins in the mounting holes.
2 Likes
That appears to build up exactly the same as Meng’s. You have GOT to make sure the tensioning cables are the correct length, don’t trust the kit instructions!
2 Likes
I never trust the kit instructions as regards with cables lengths. I don’t understand why the manufacturers can’t give correct lengths.
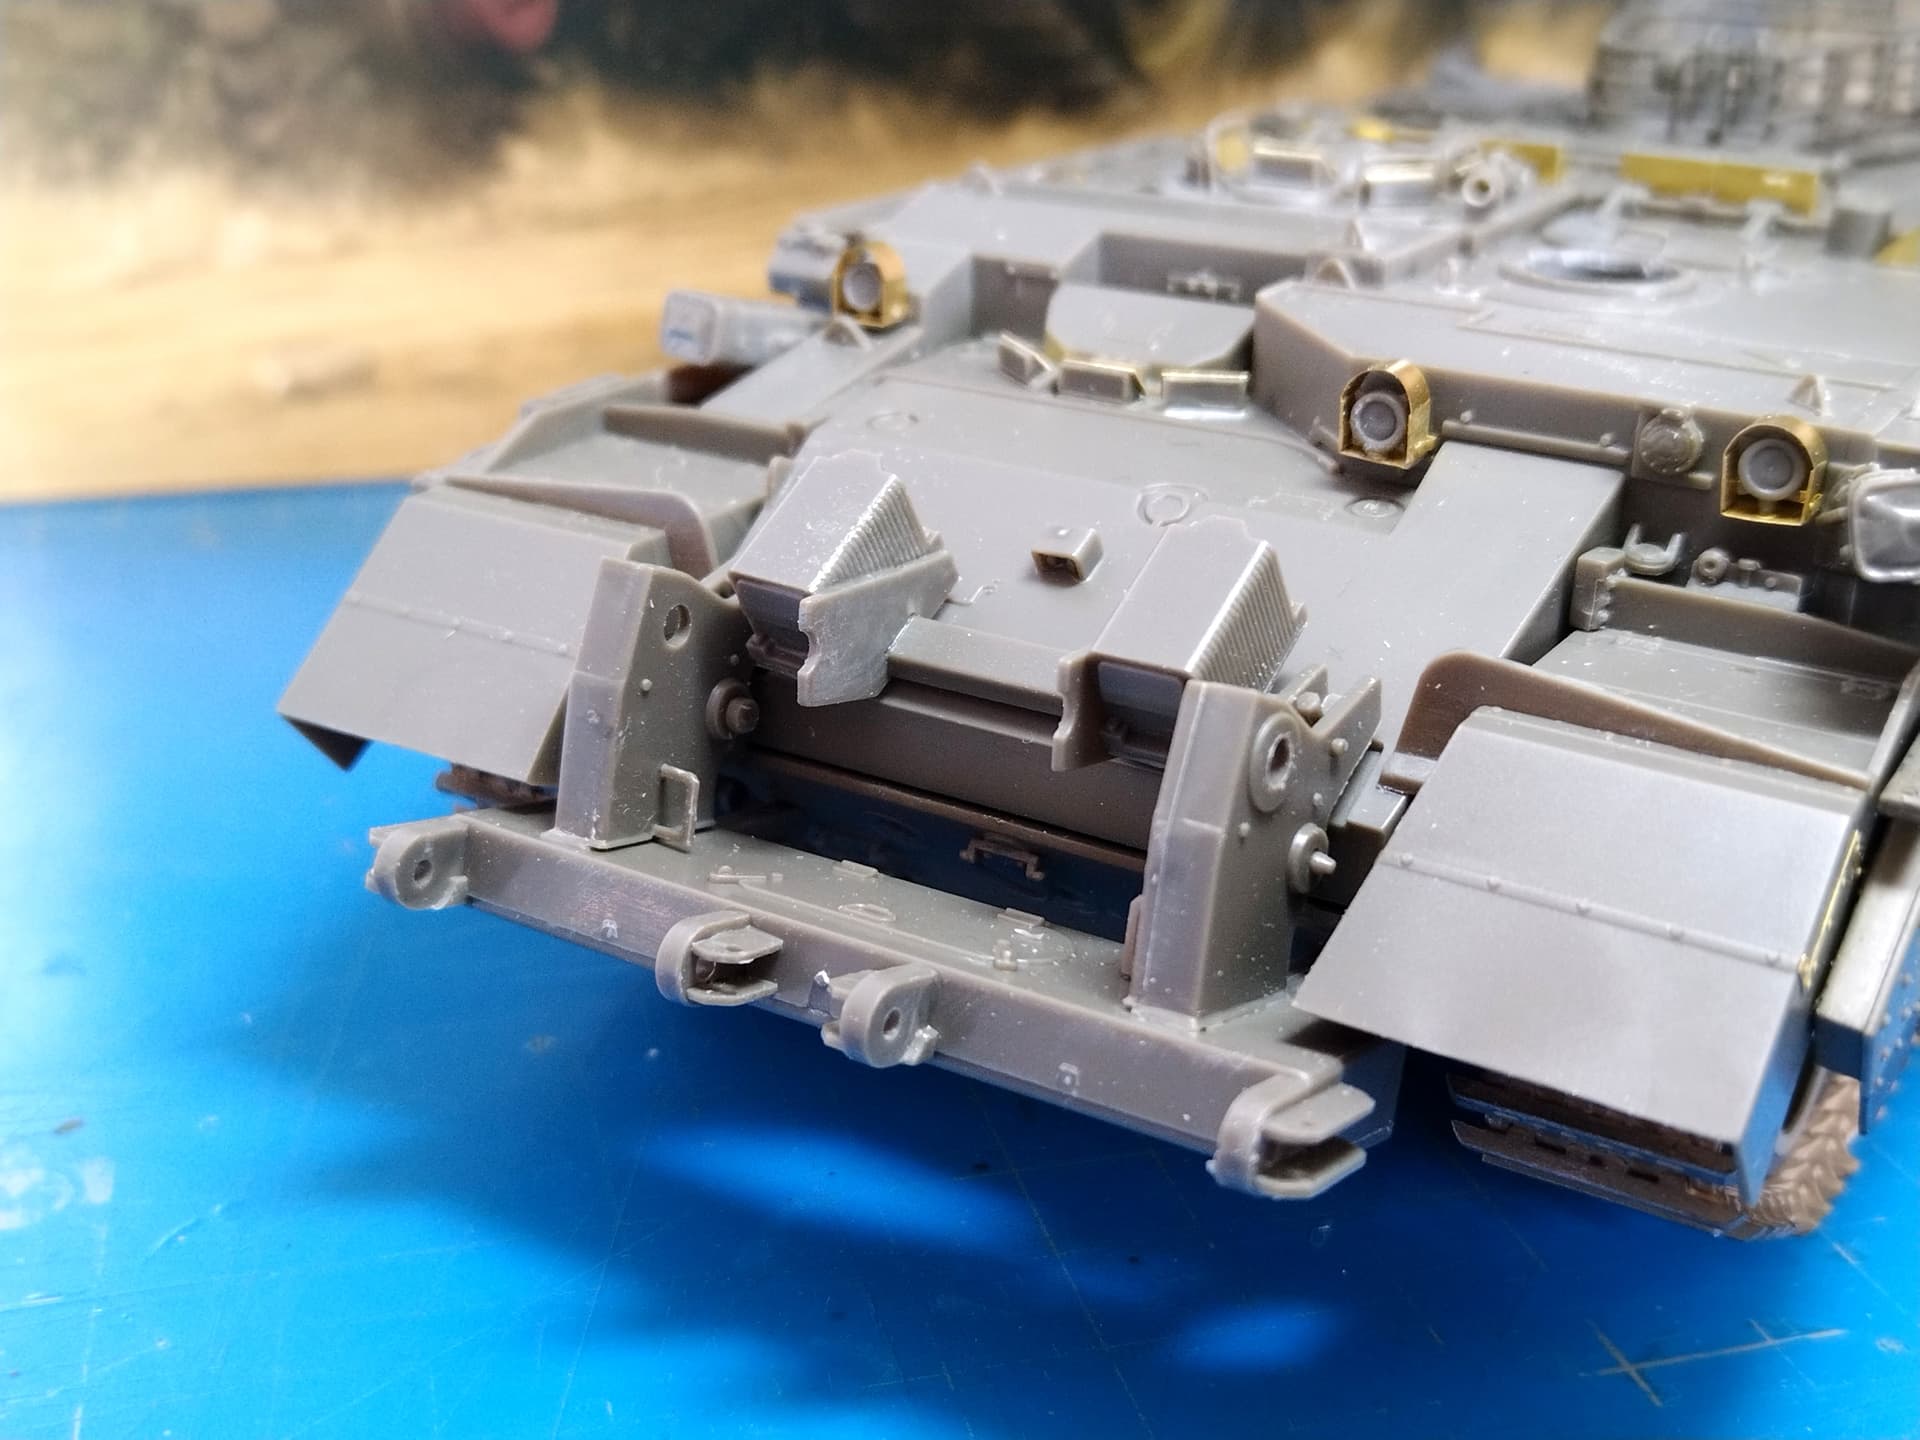
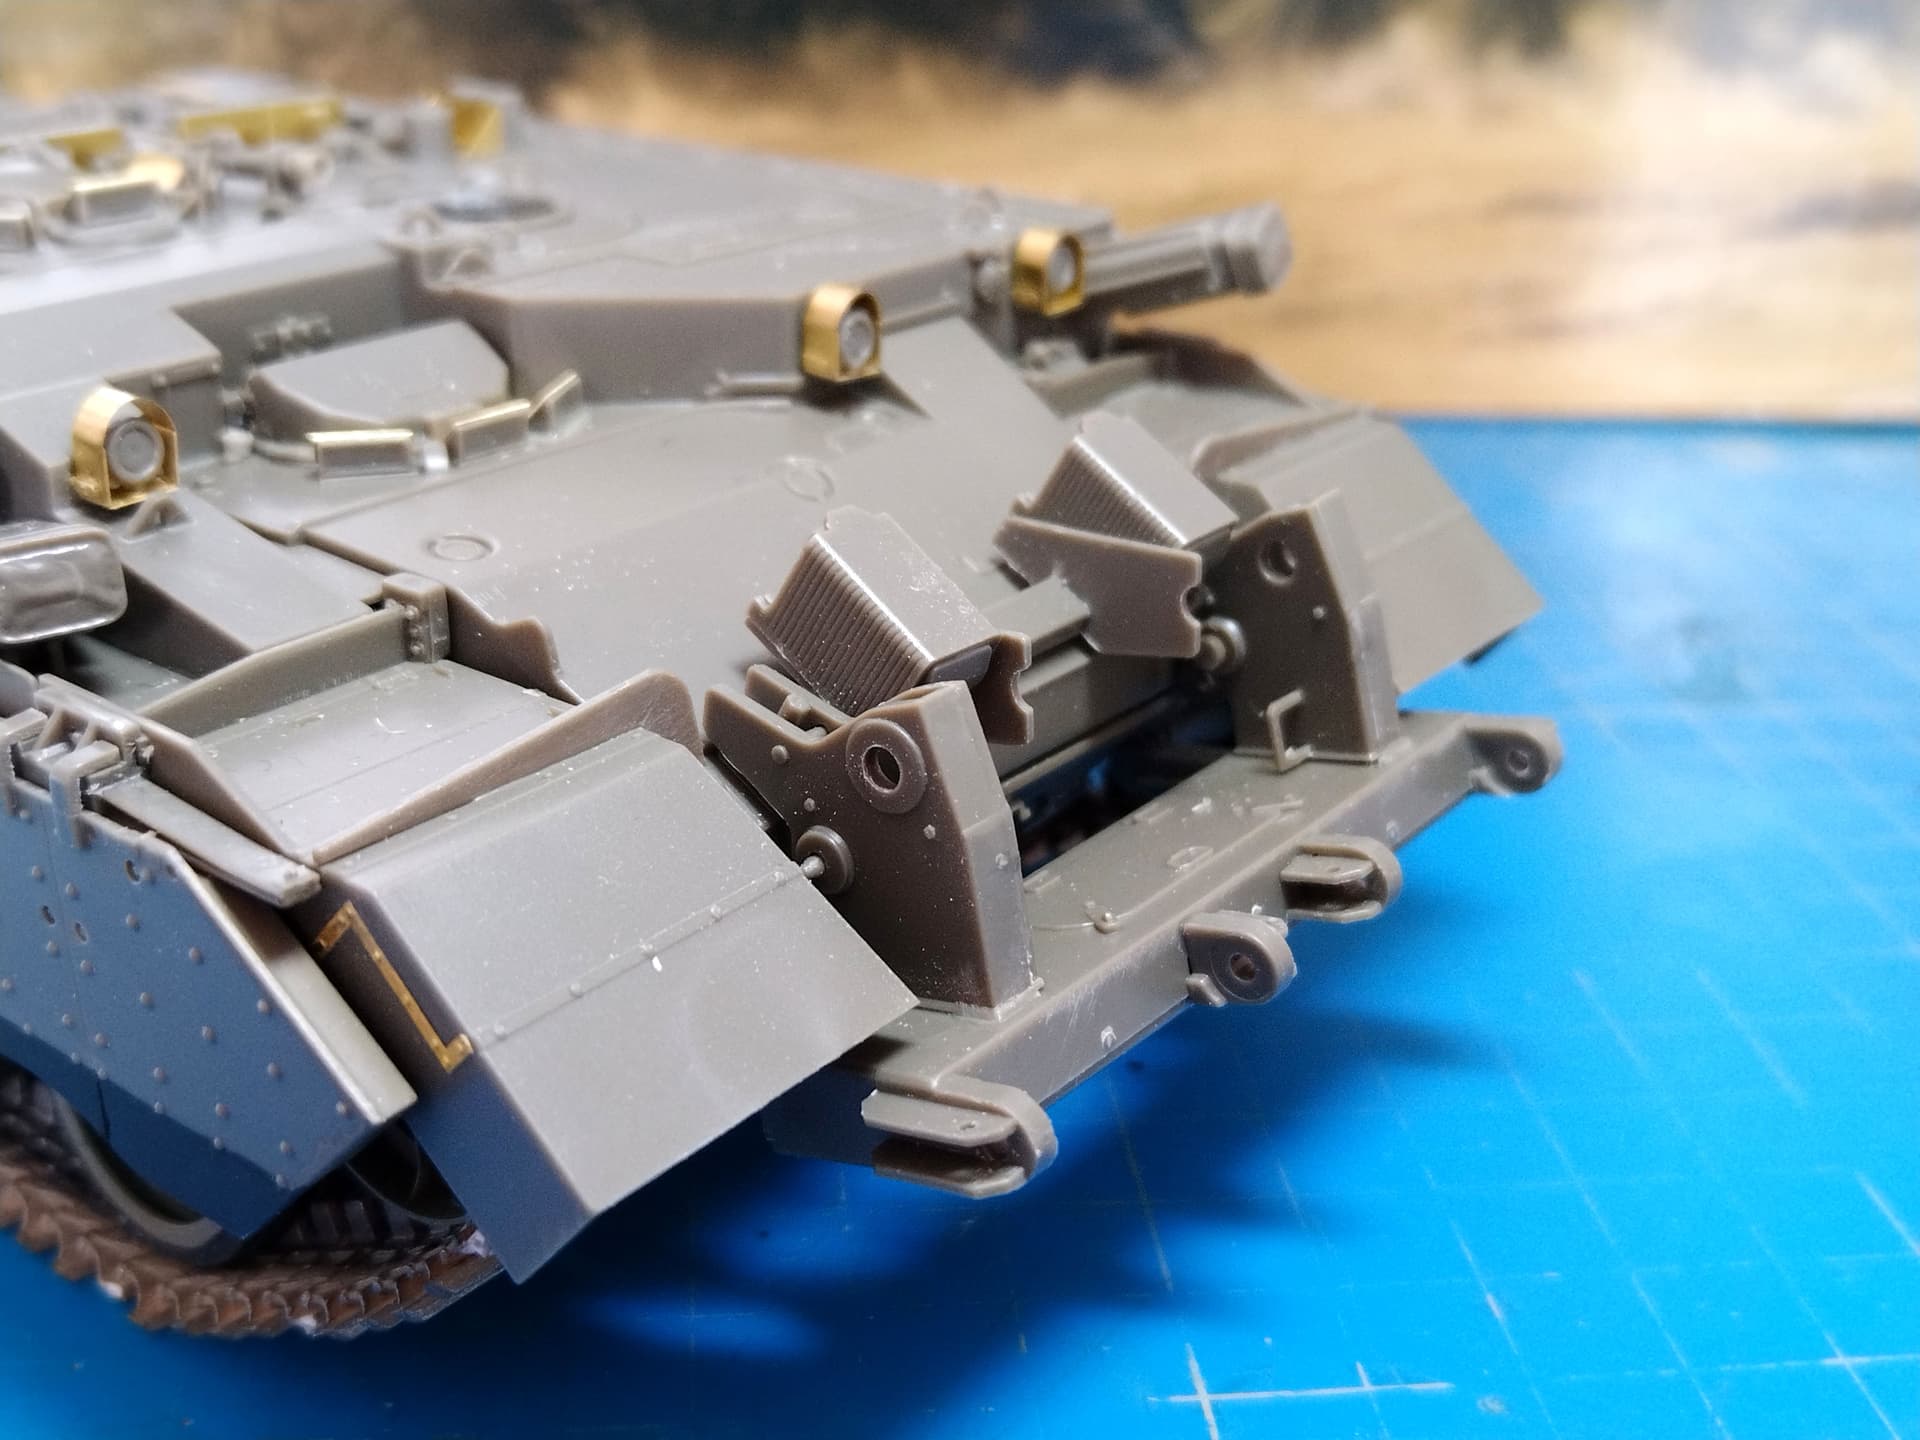
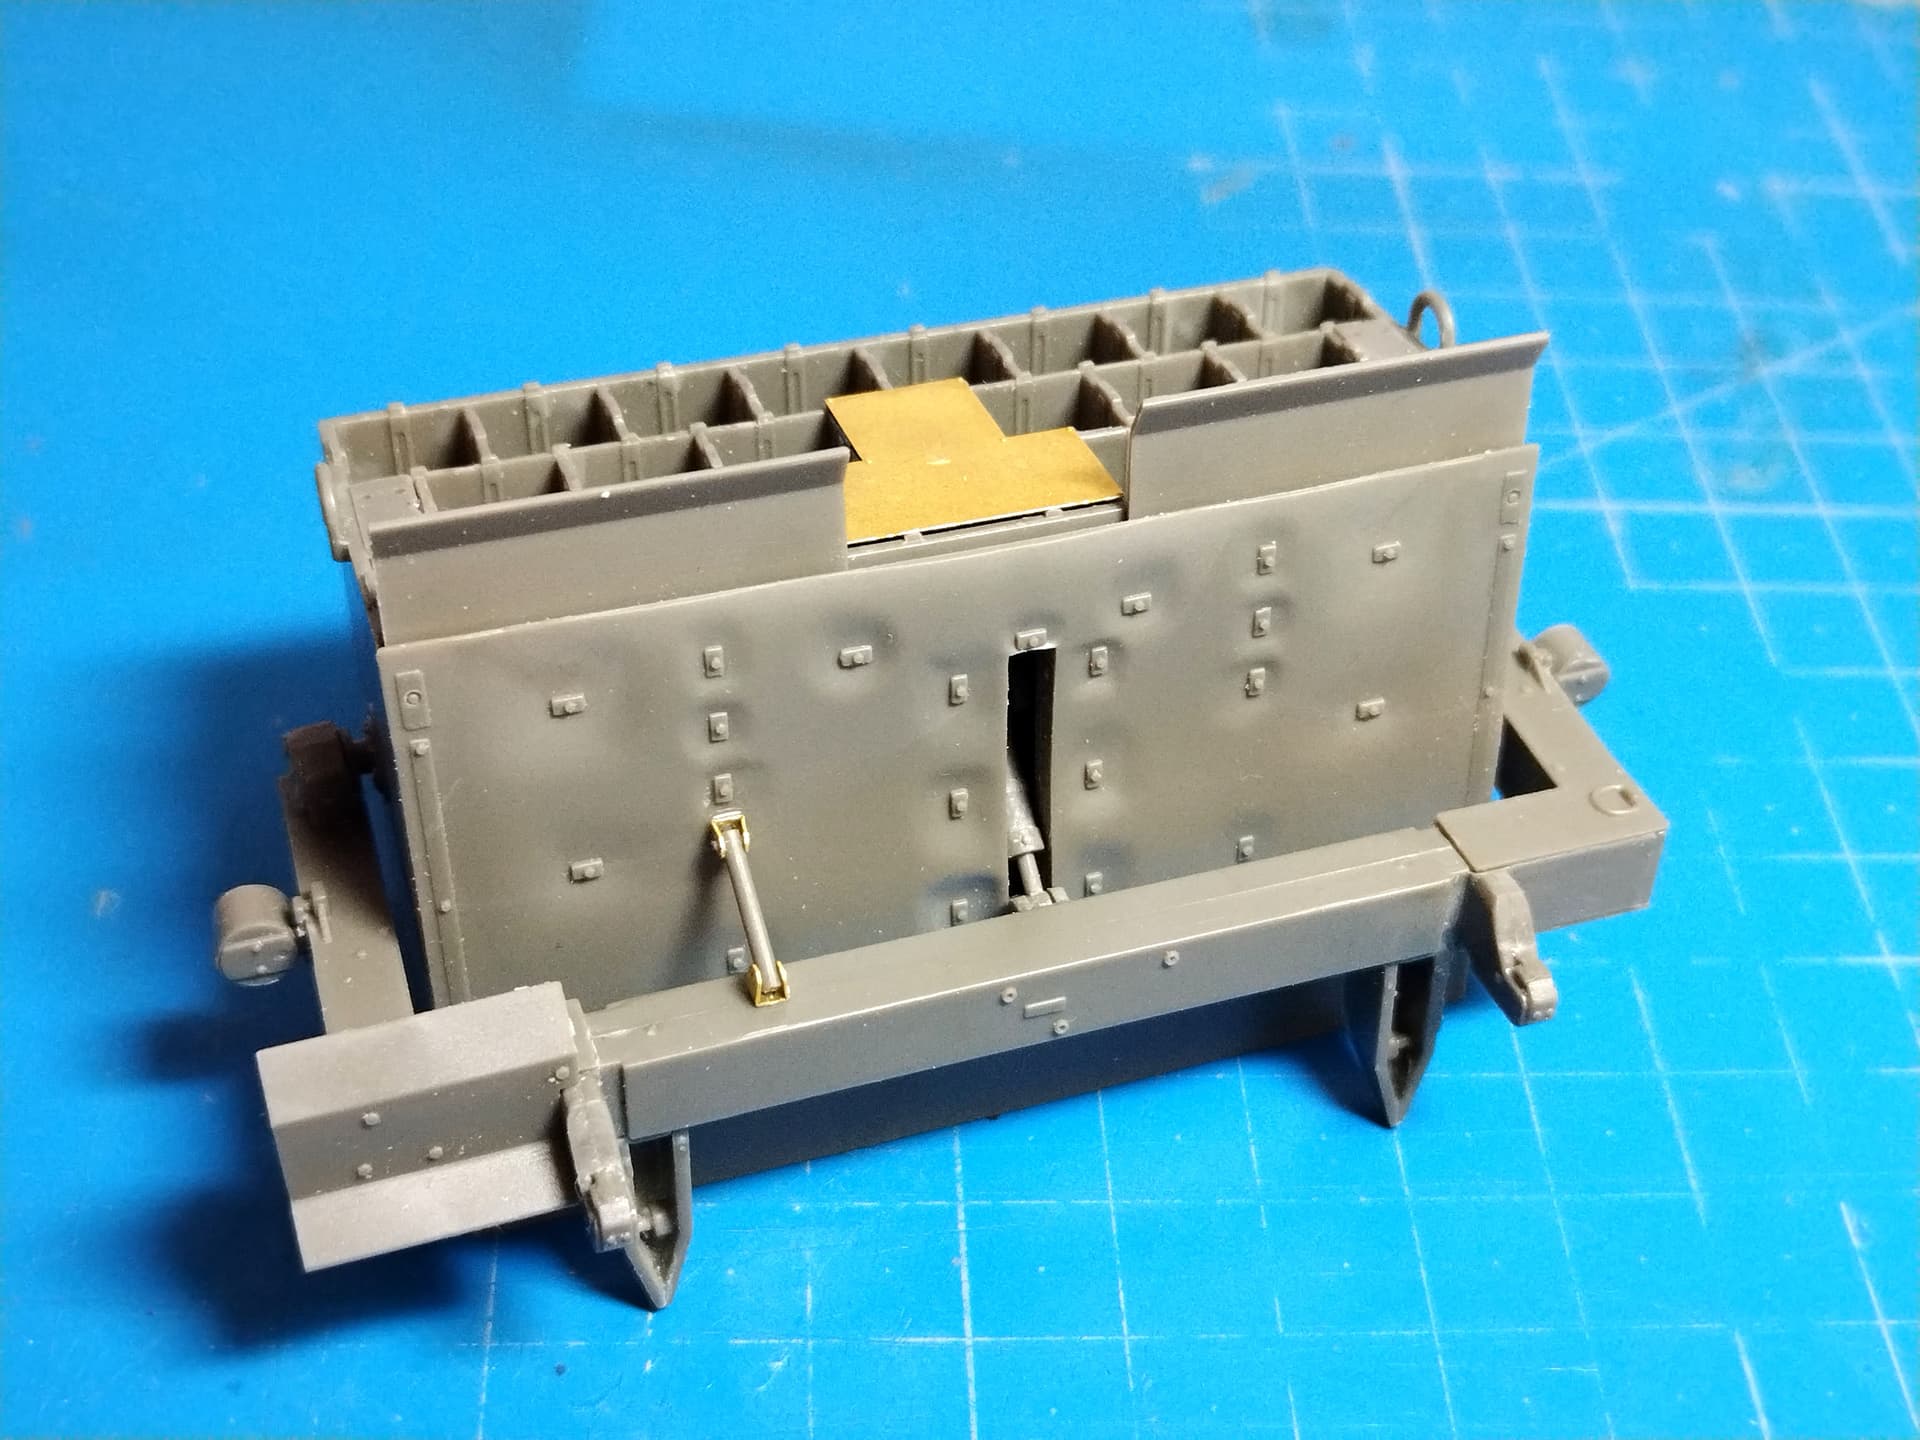
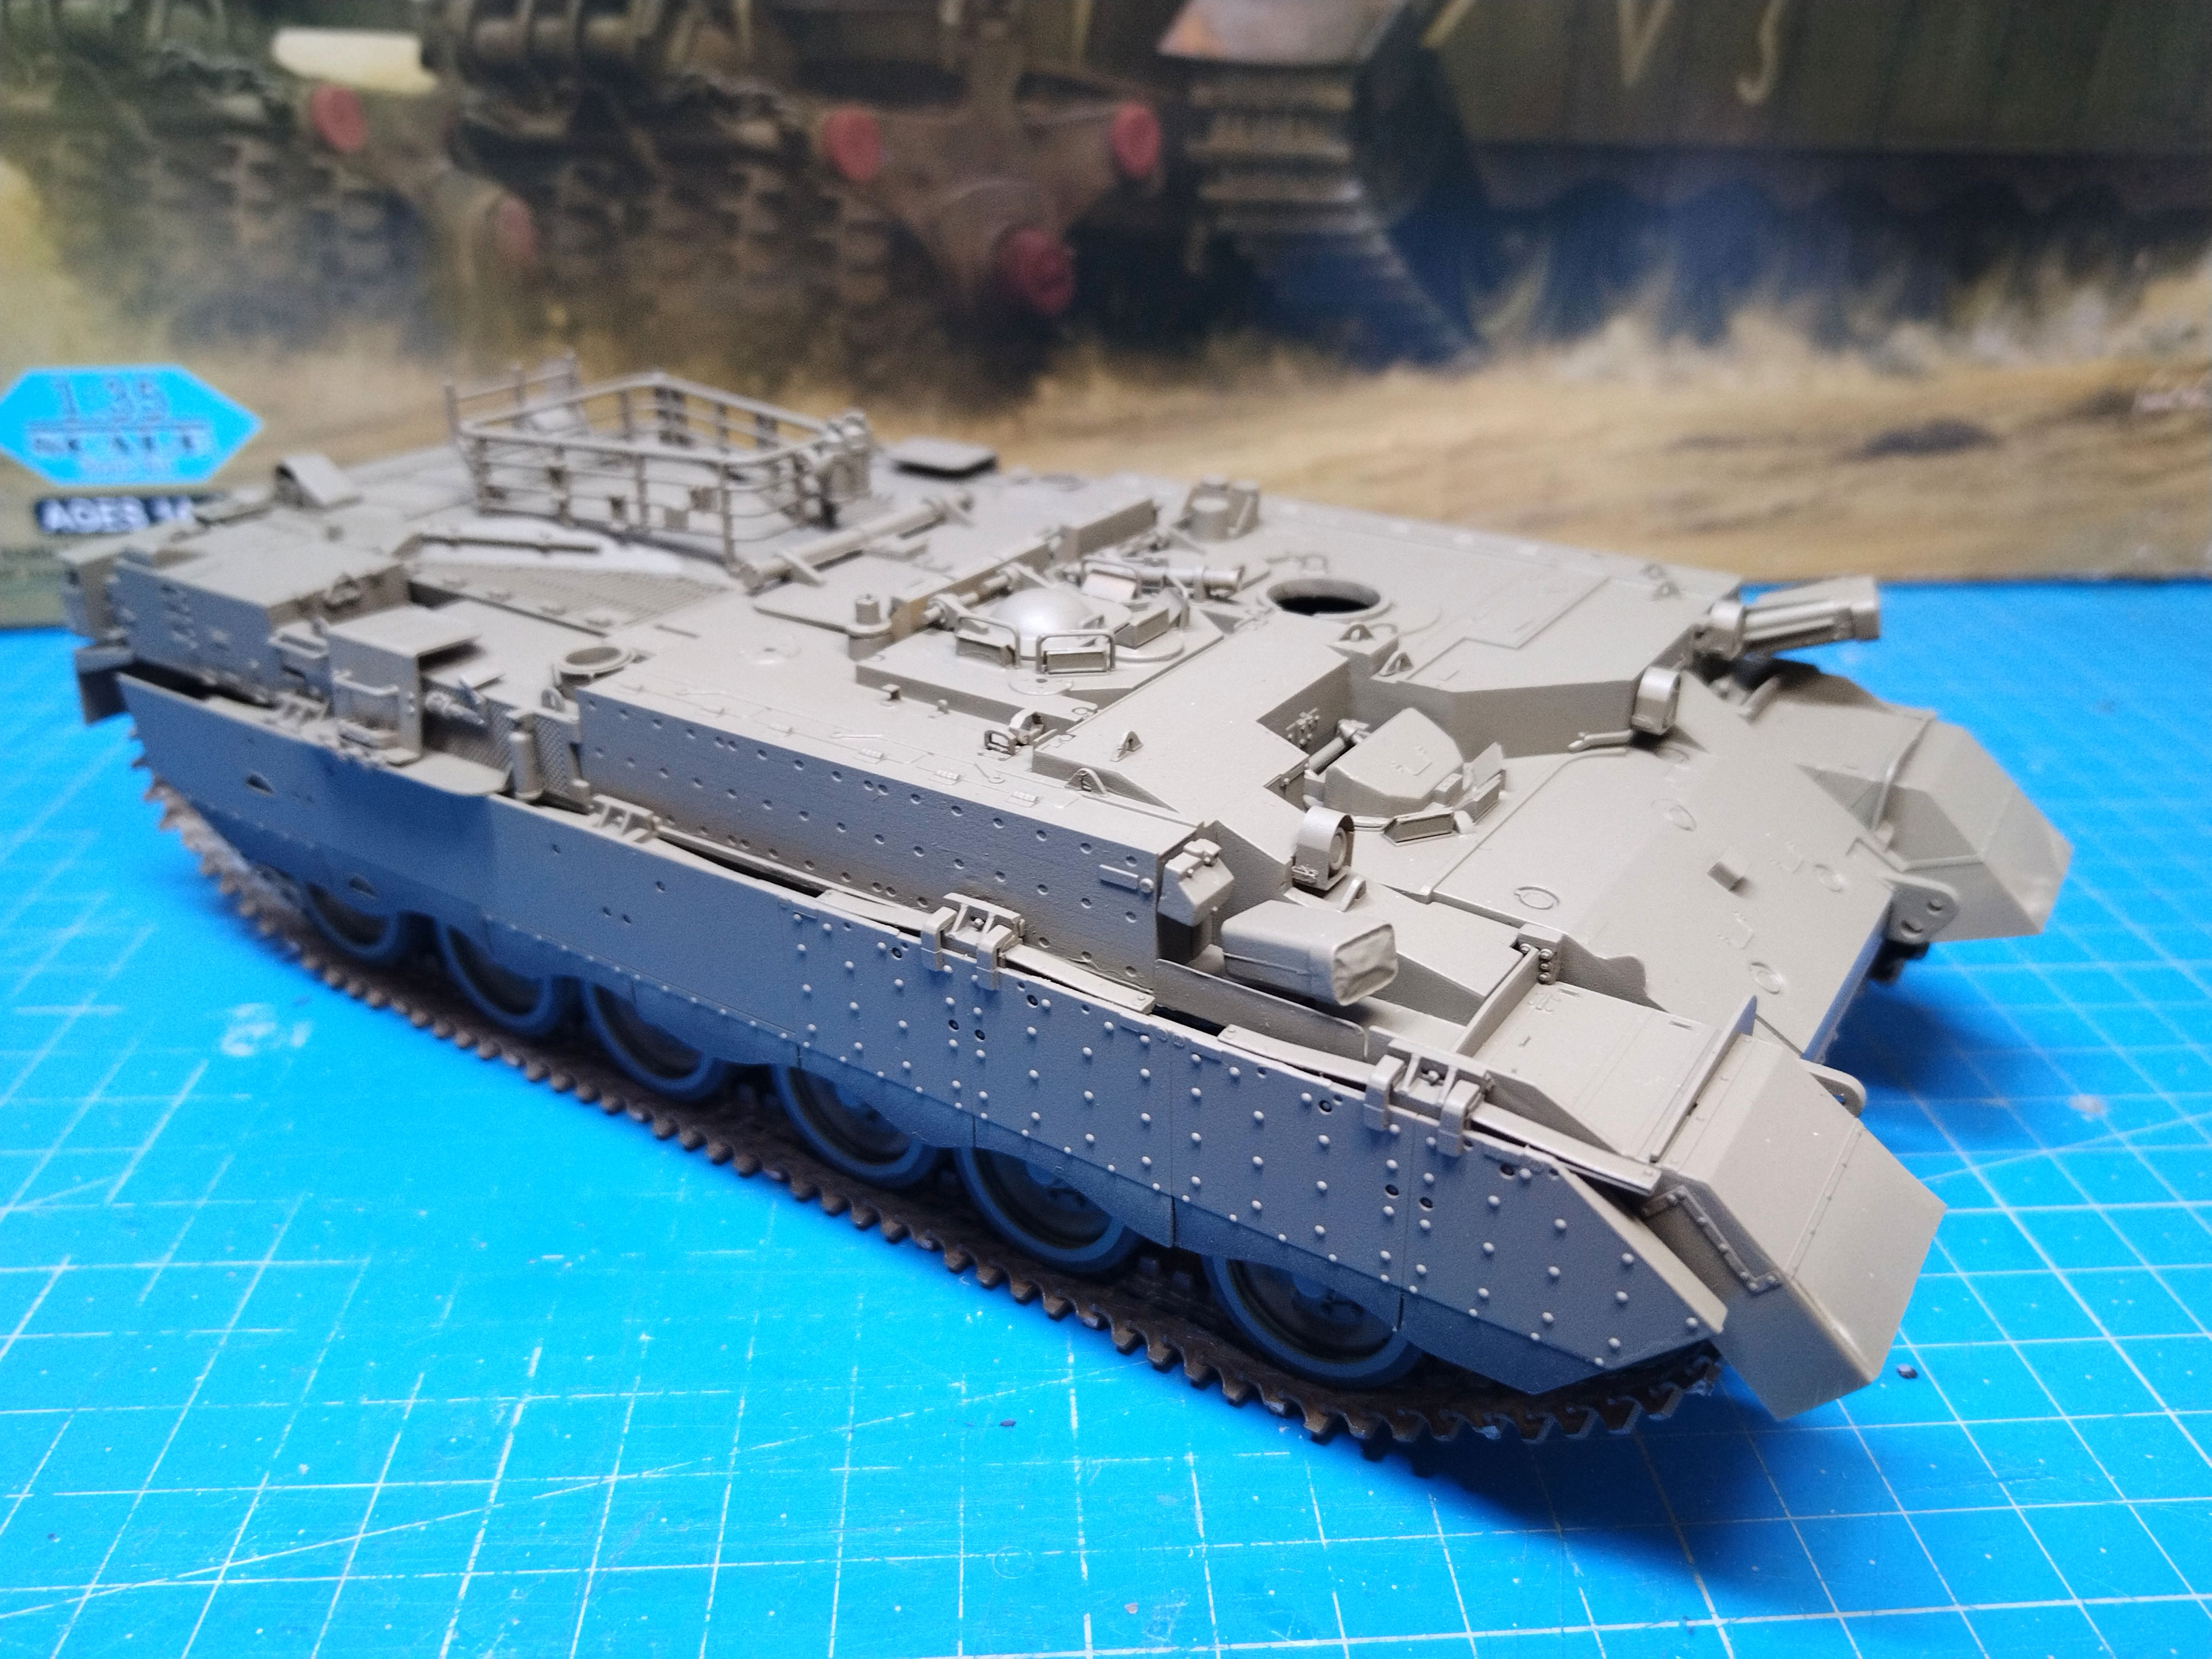
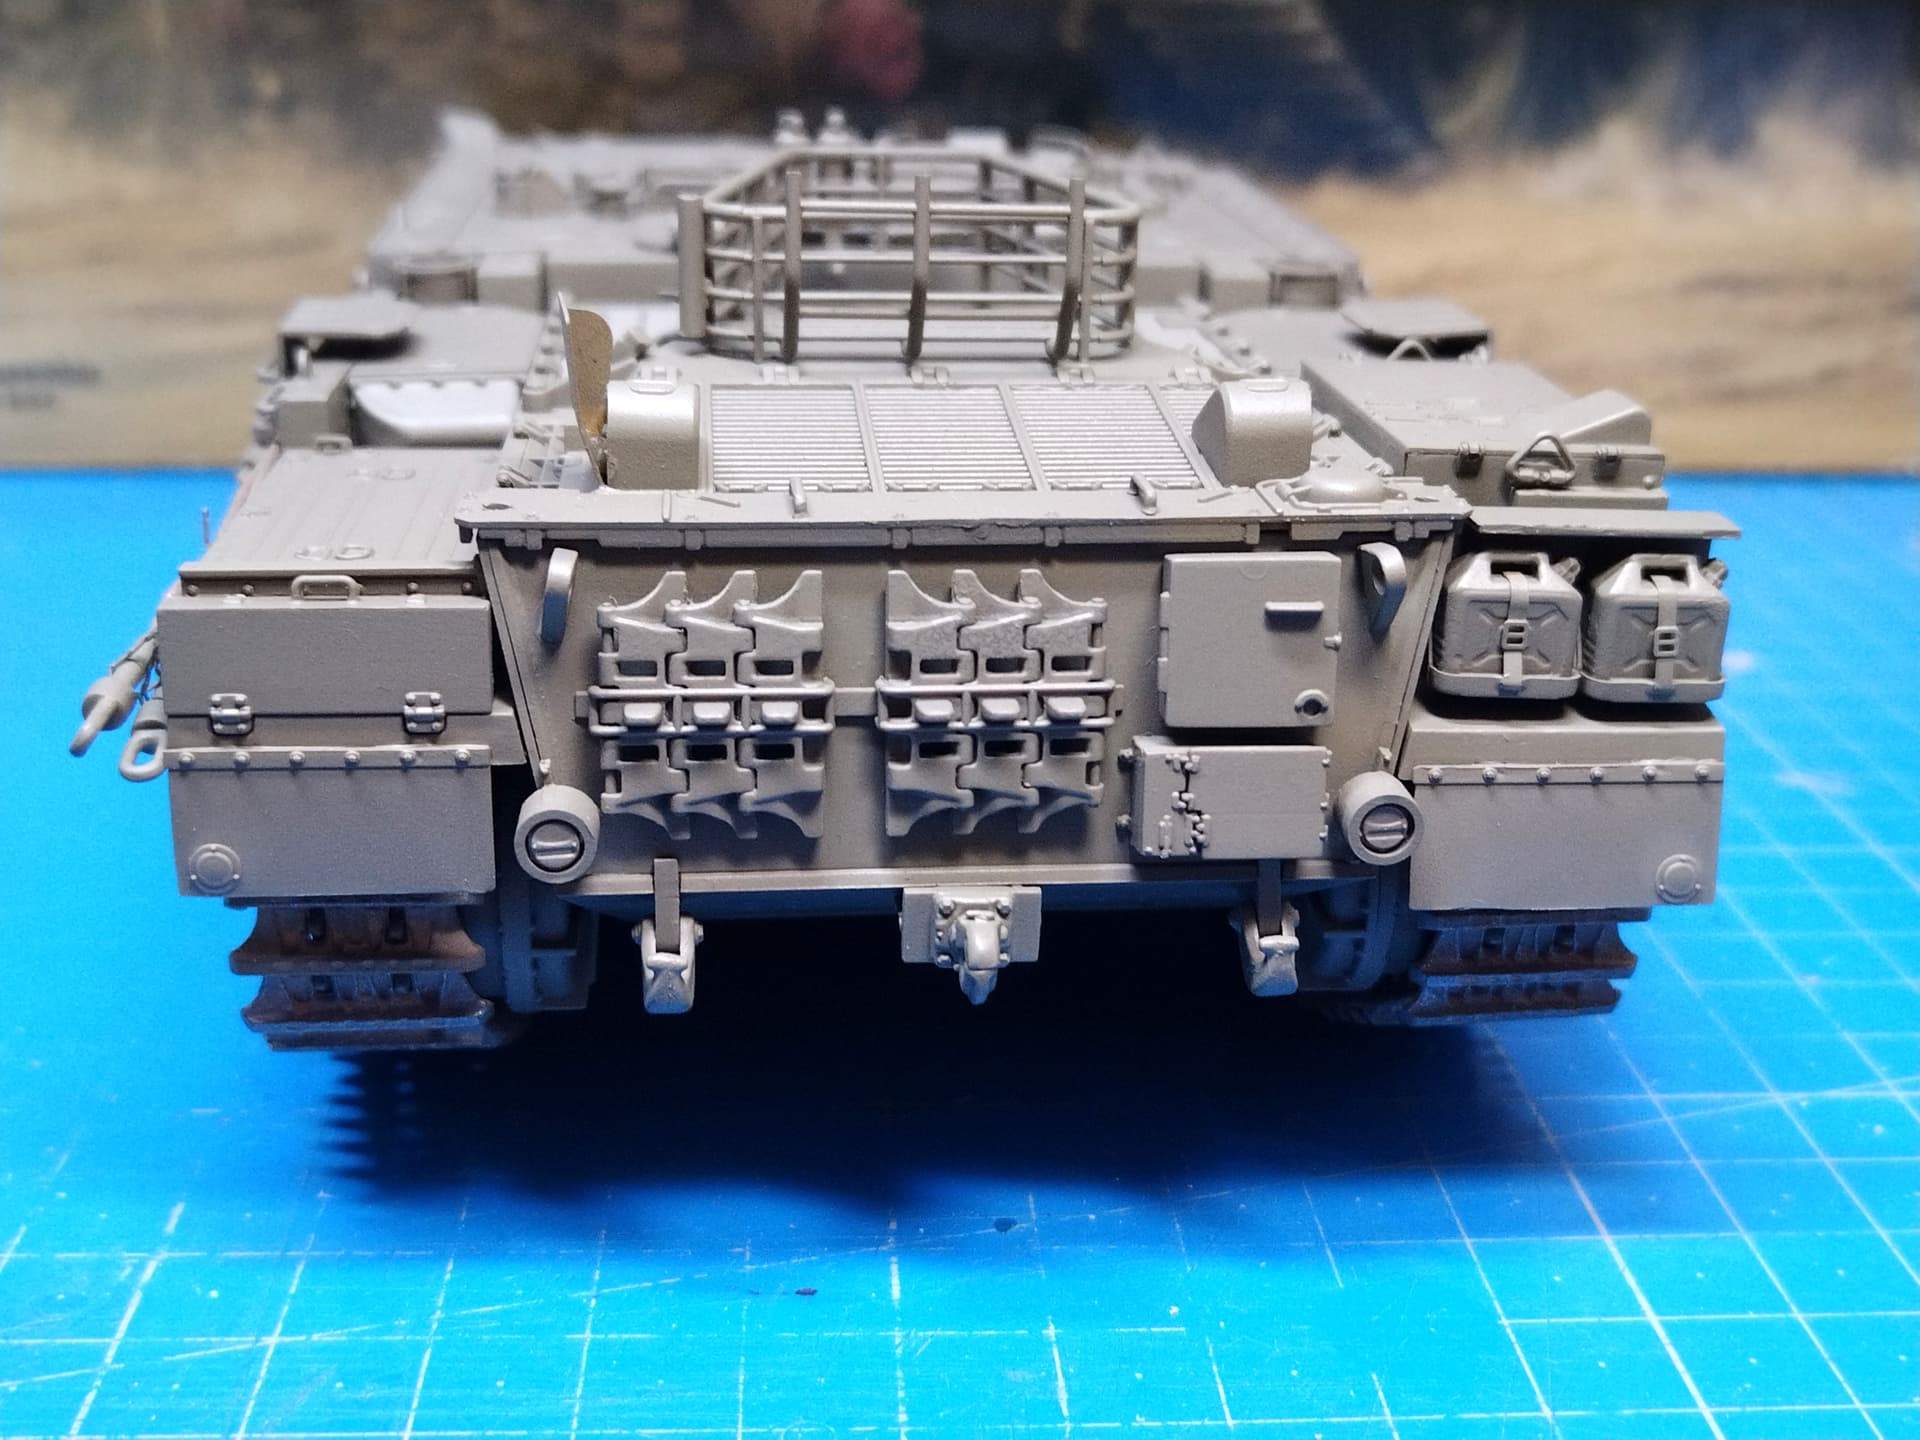
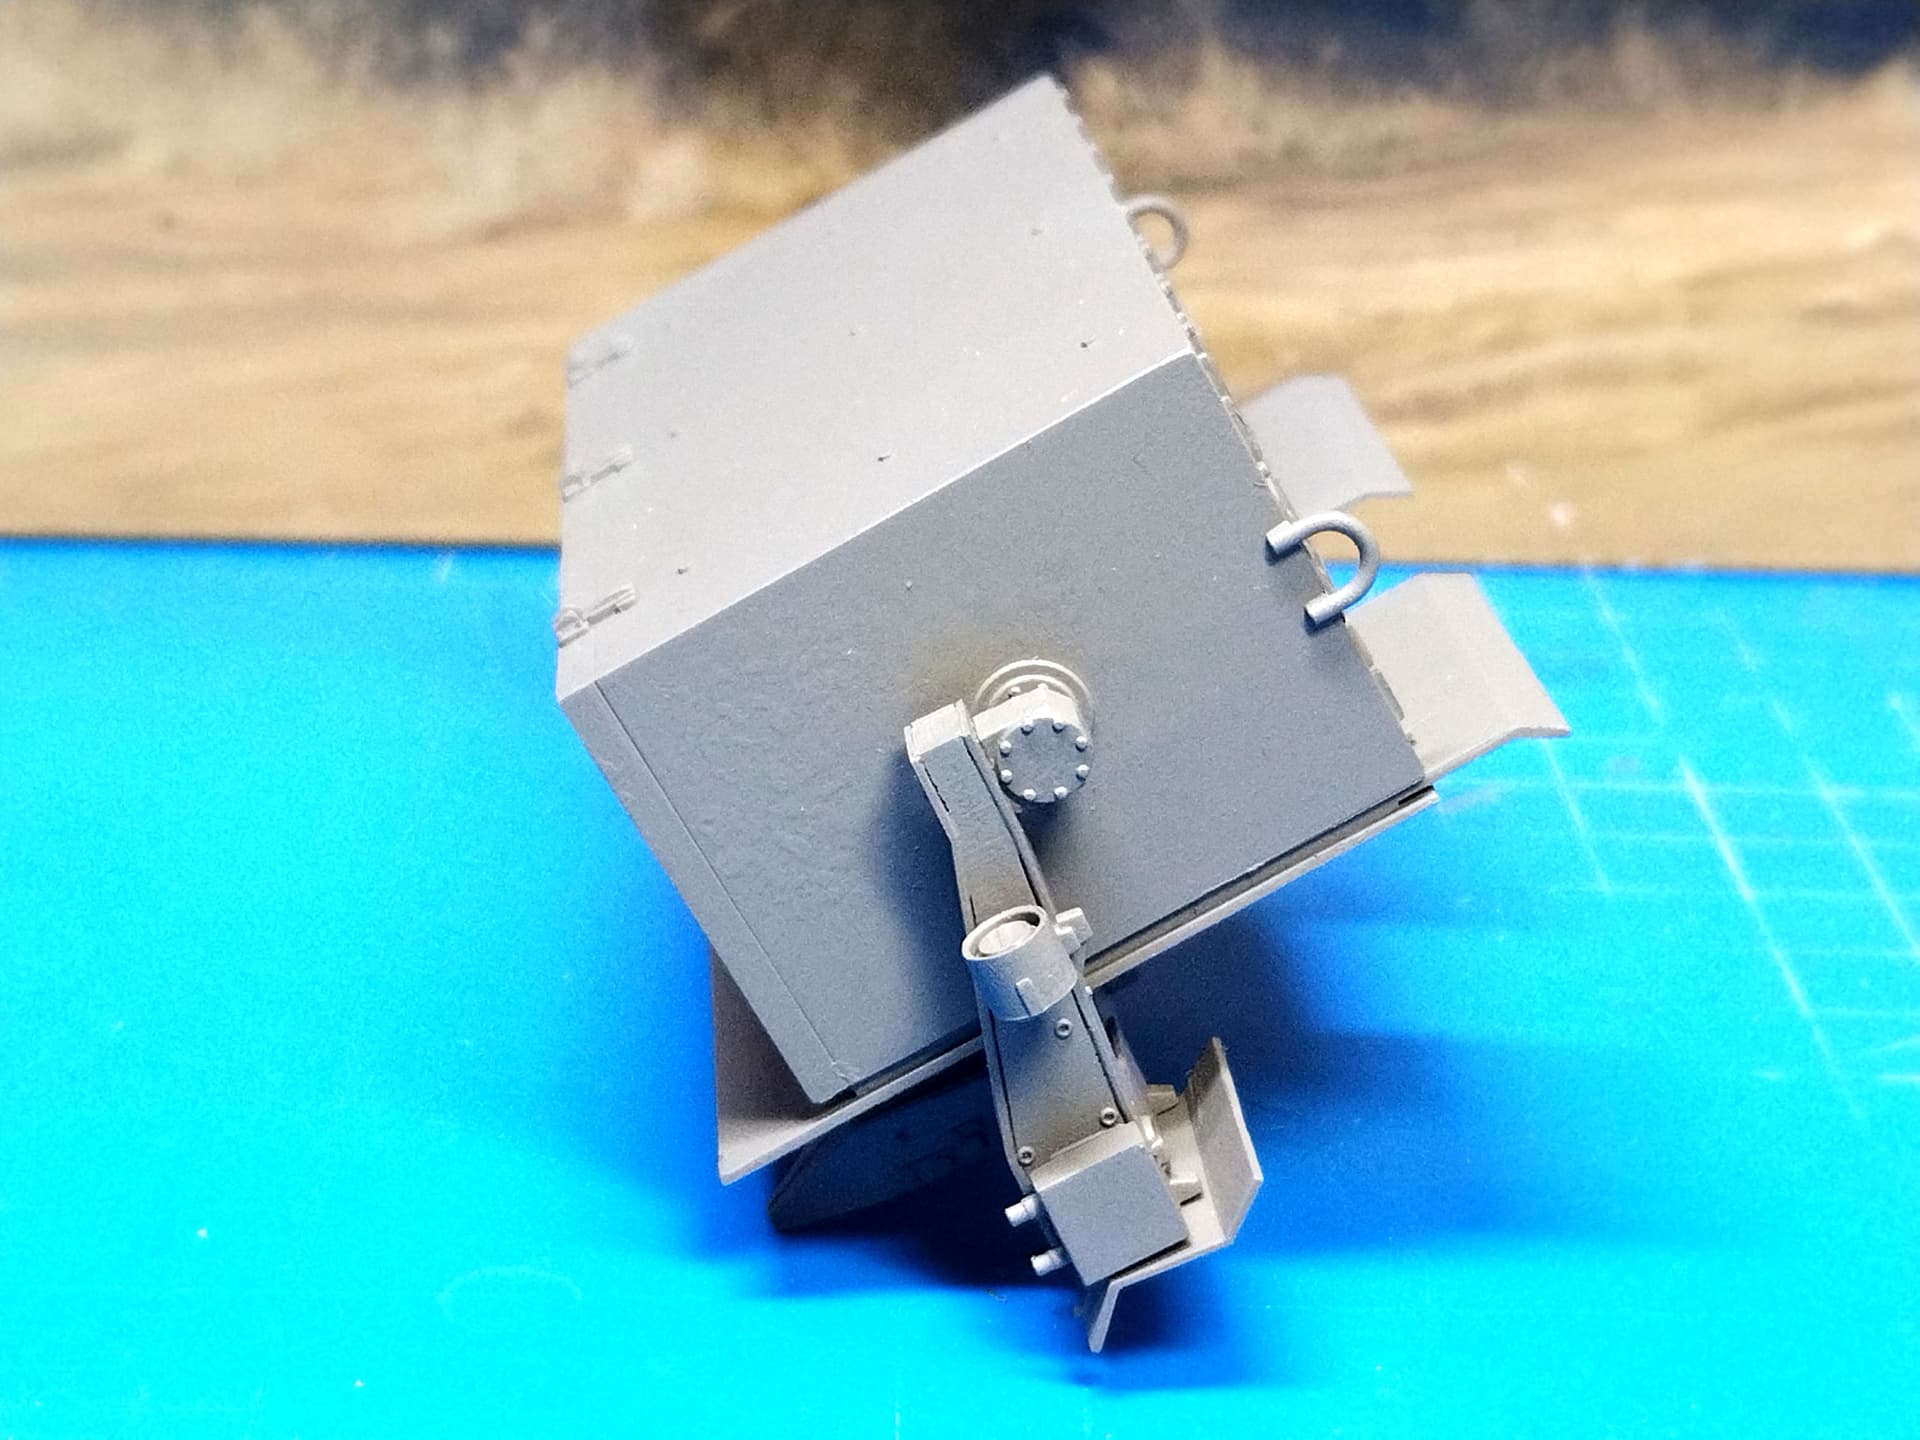
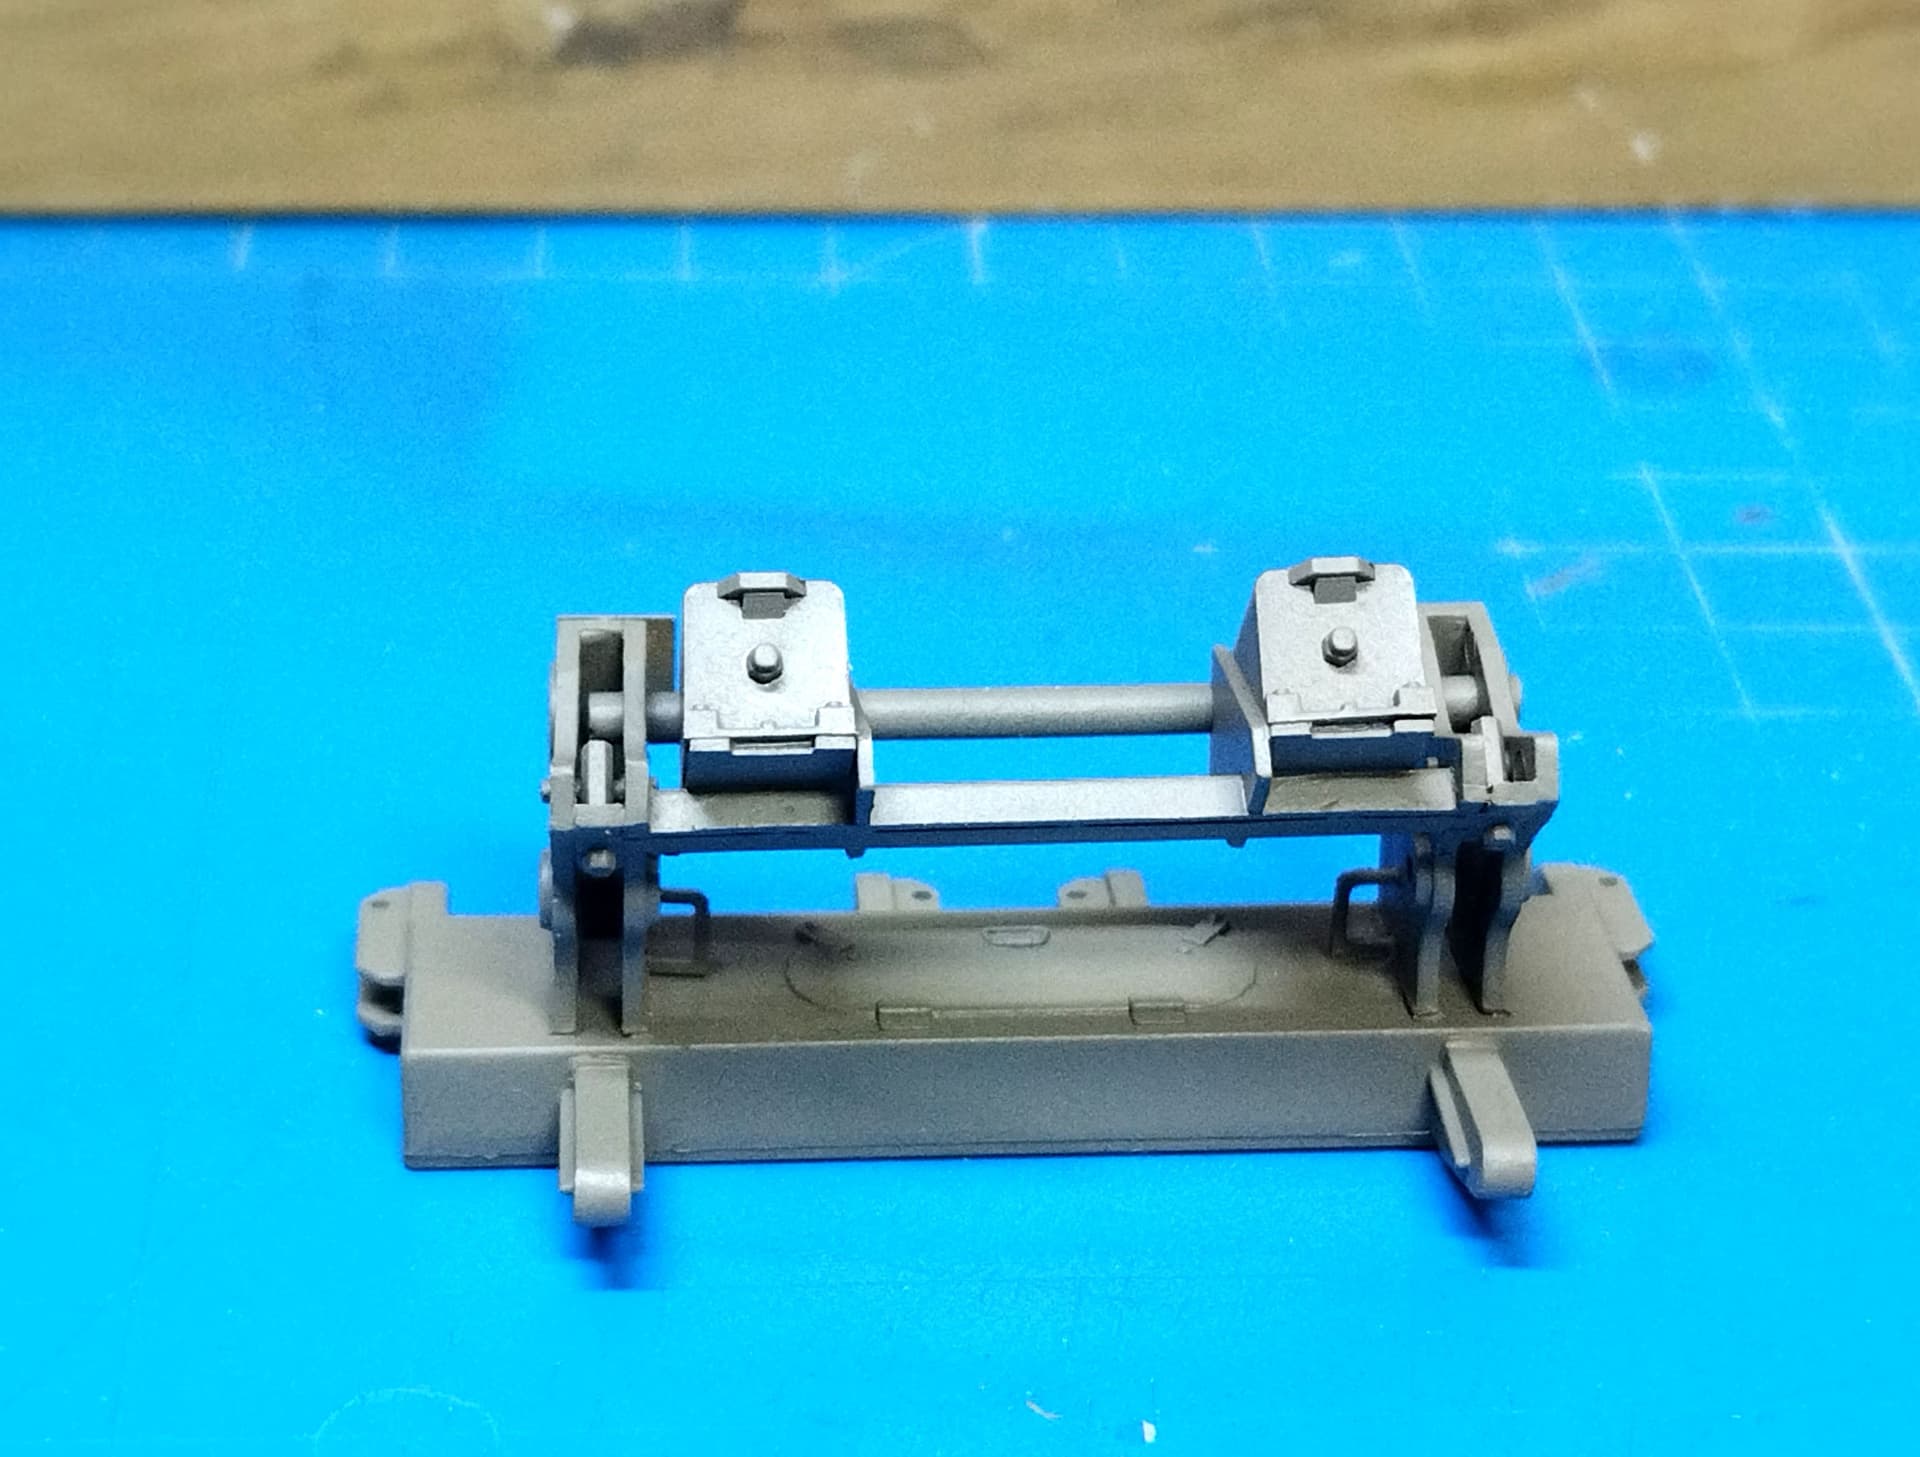
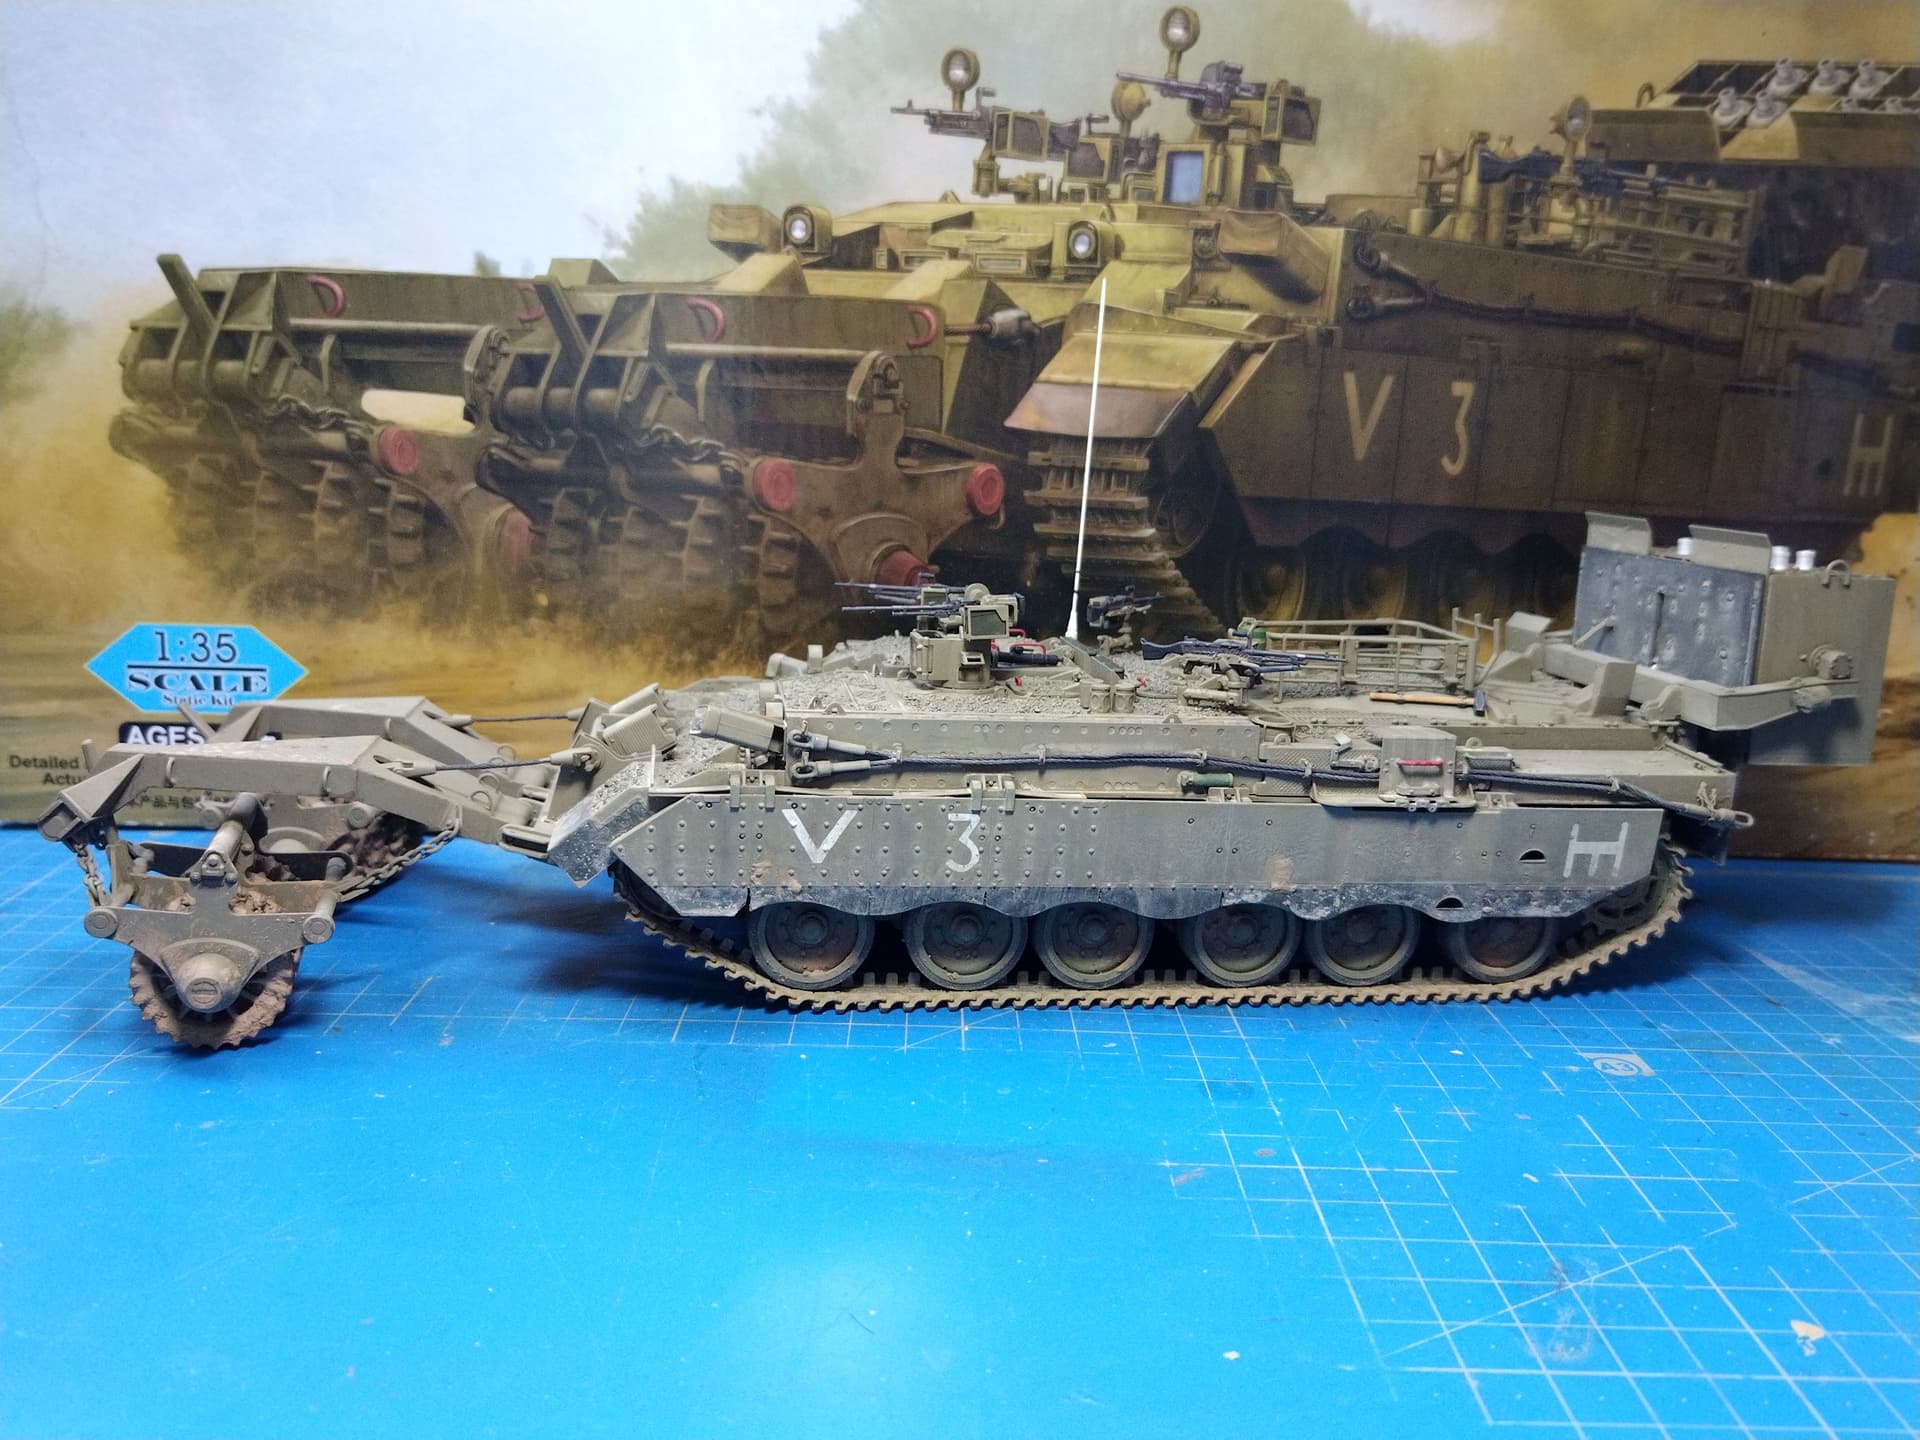
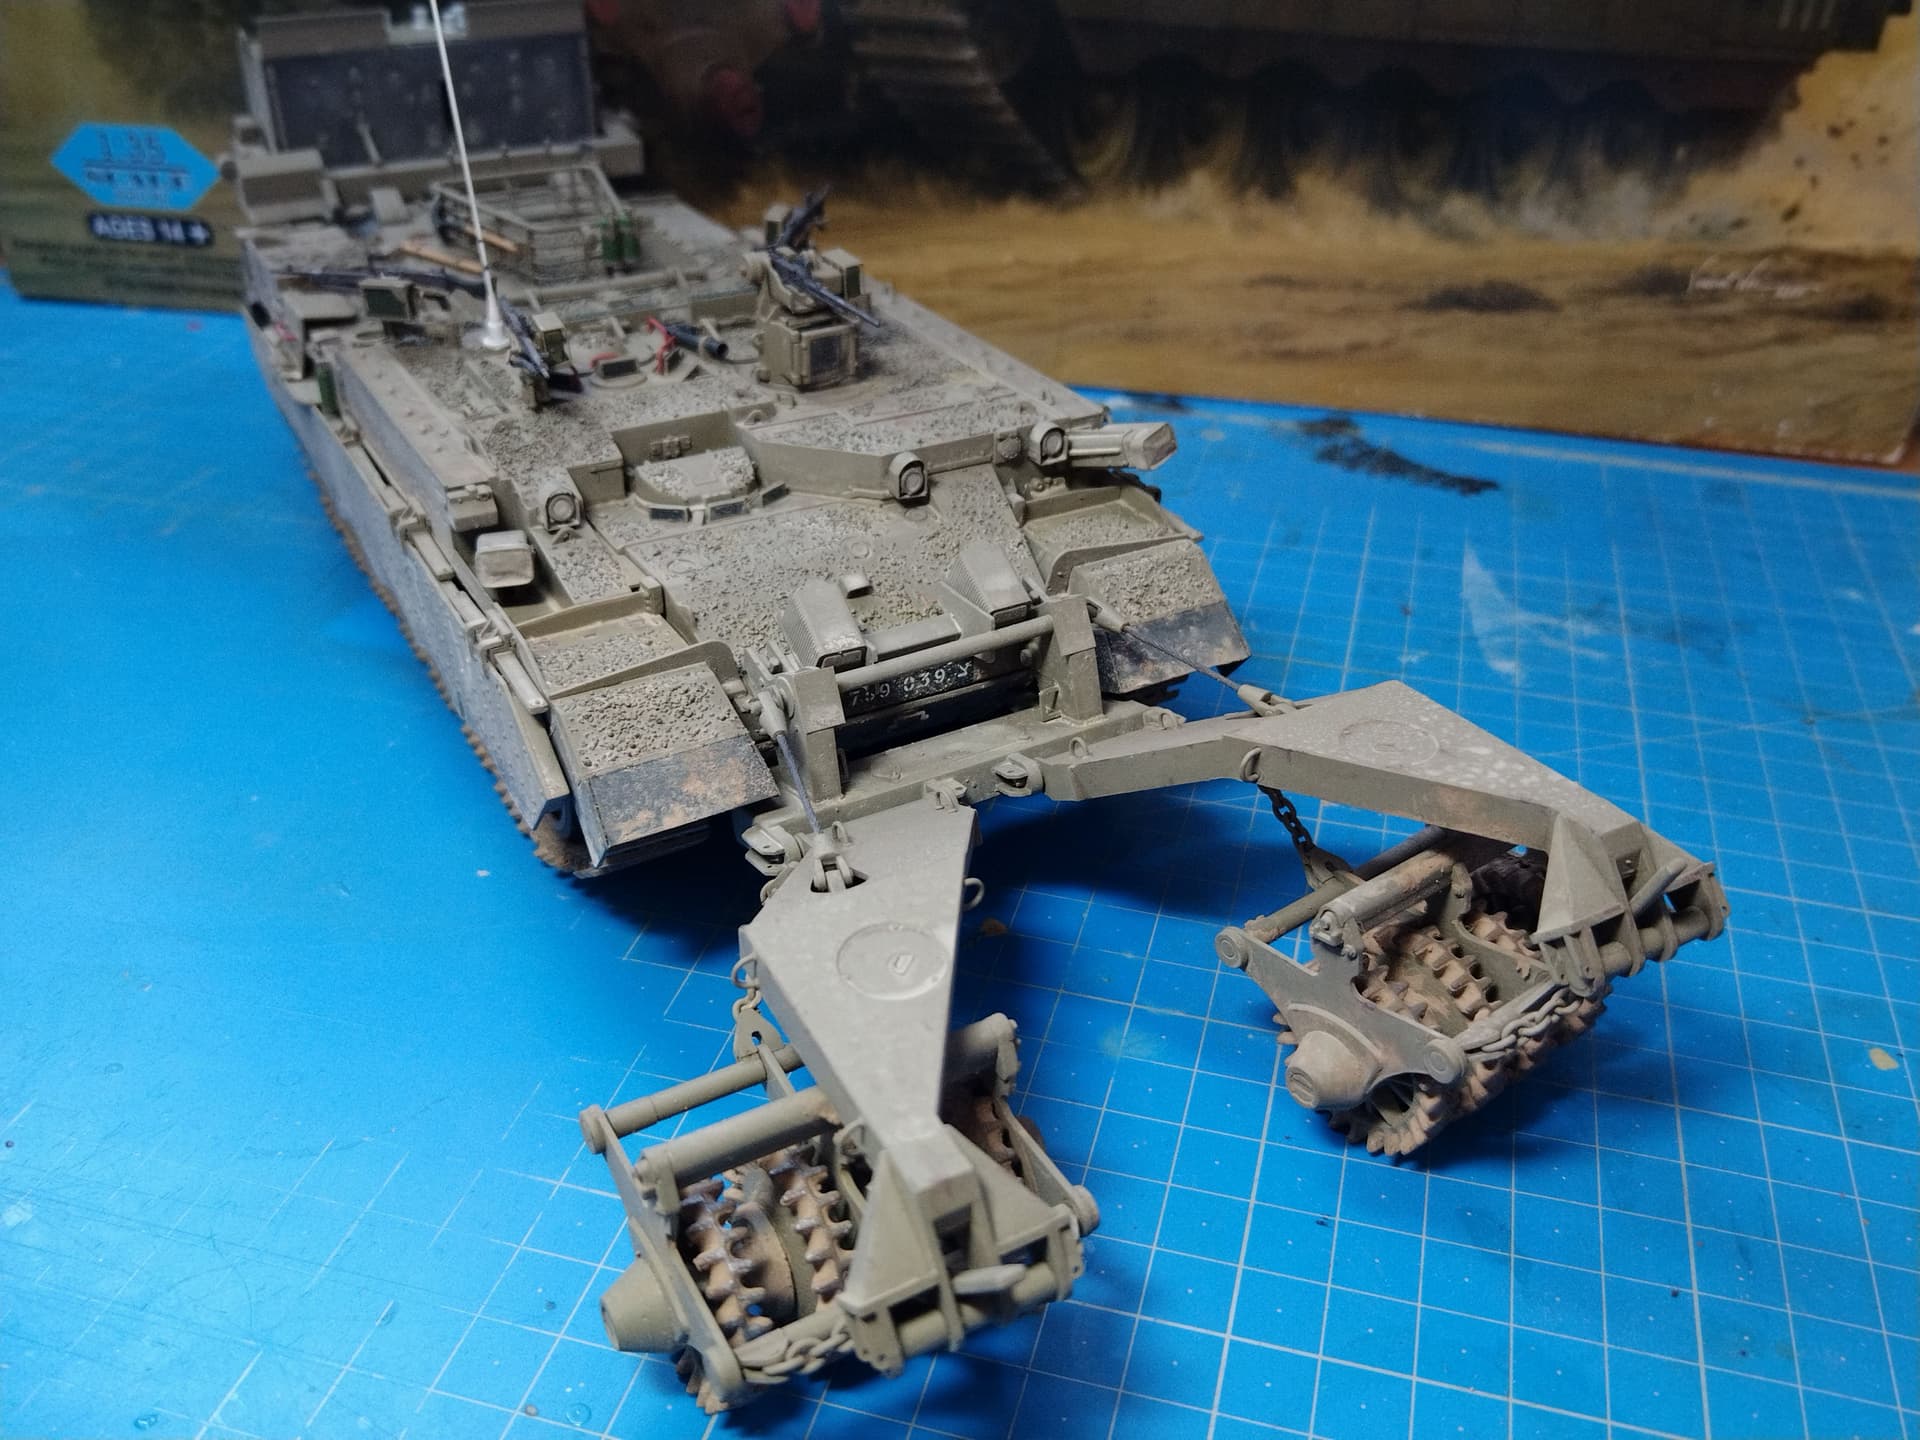
I’ve just finished the adapter. Unlike what the instructions tell I didn’t glue the adapter to the towing eyes. The pins are removable so the adapter can be removed.
I don’t know if this is the best way to keep the Nochri system removable.
I still have to find a solution to have the tensioning cables removable. That way it would be easier to remove the rollers. And probably it would be more logical to let the adapter attached to the hull.
Olivier
2 Likes
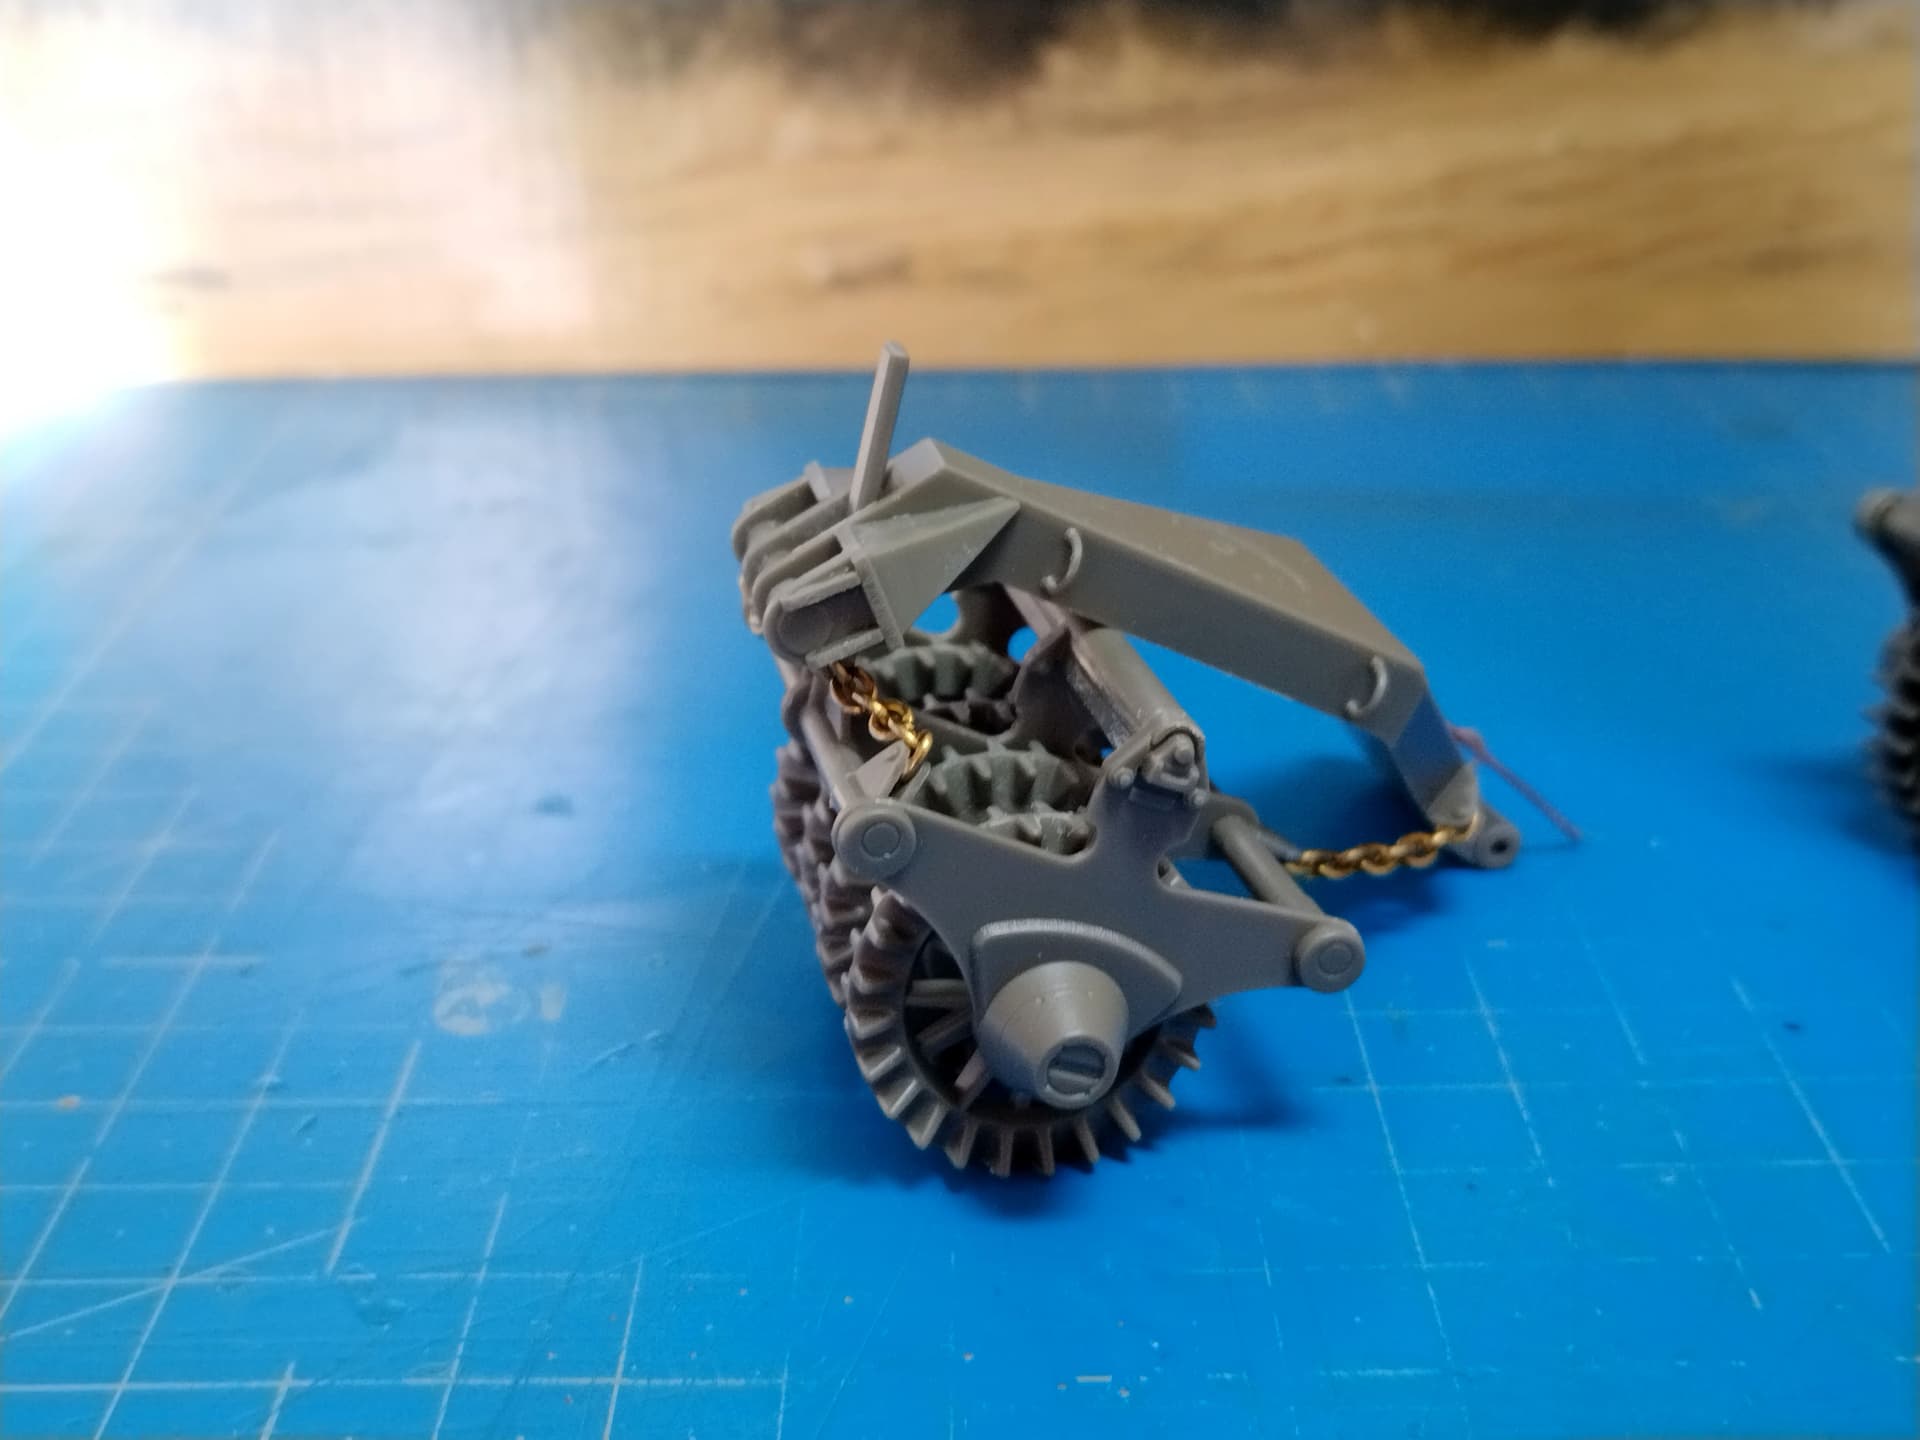
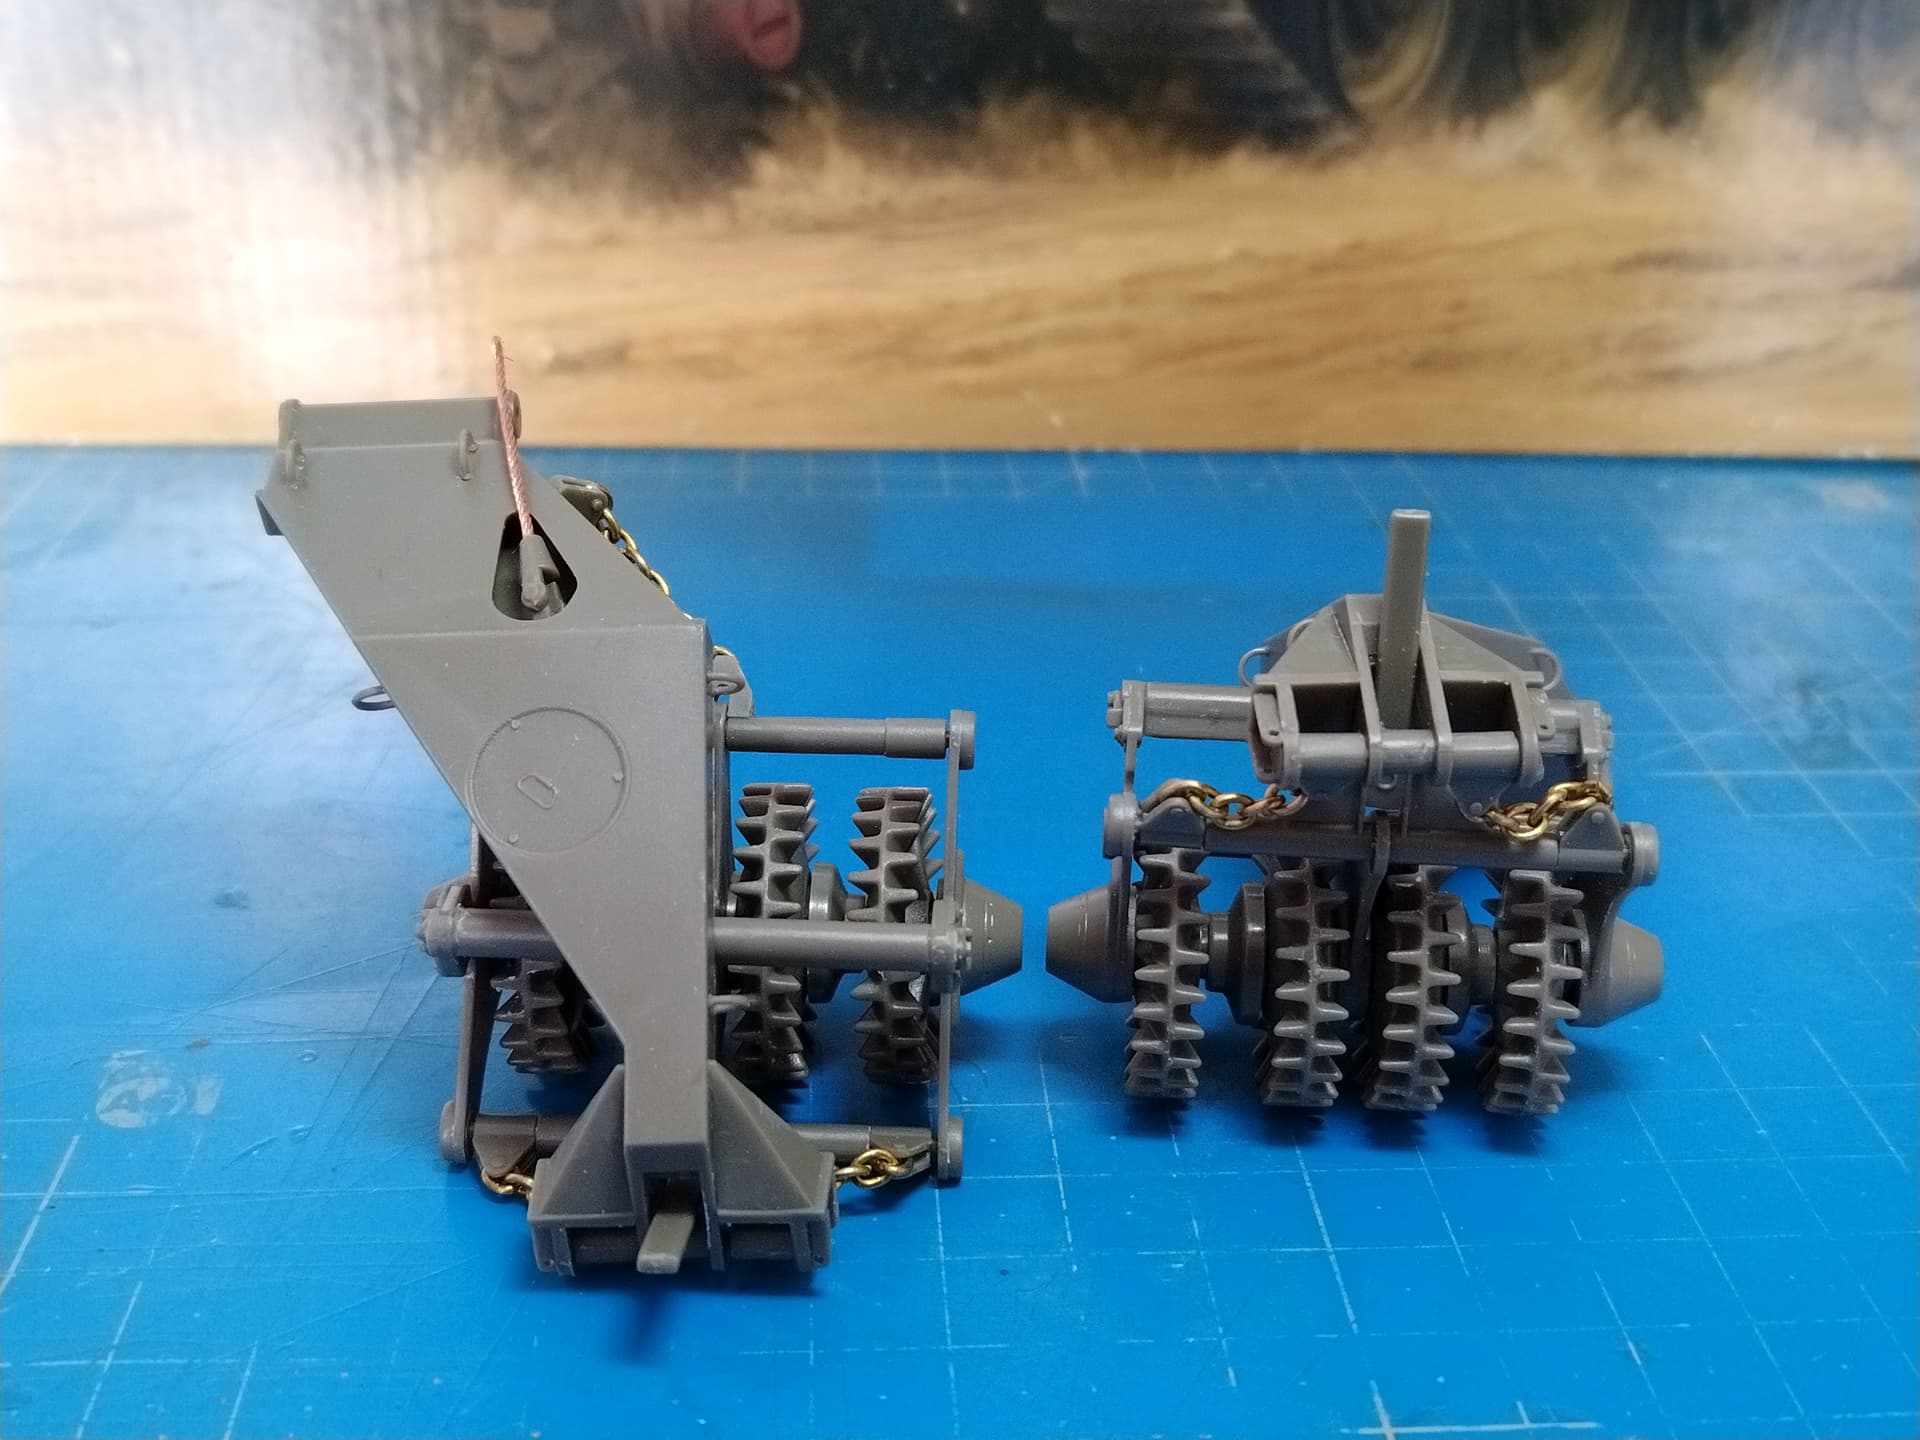
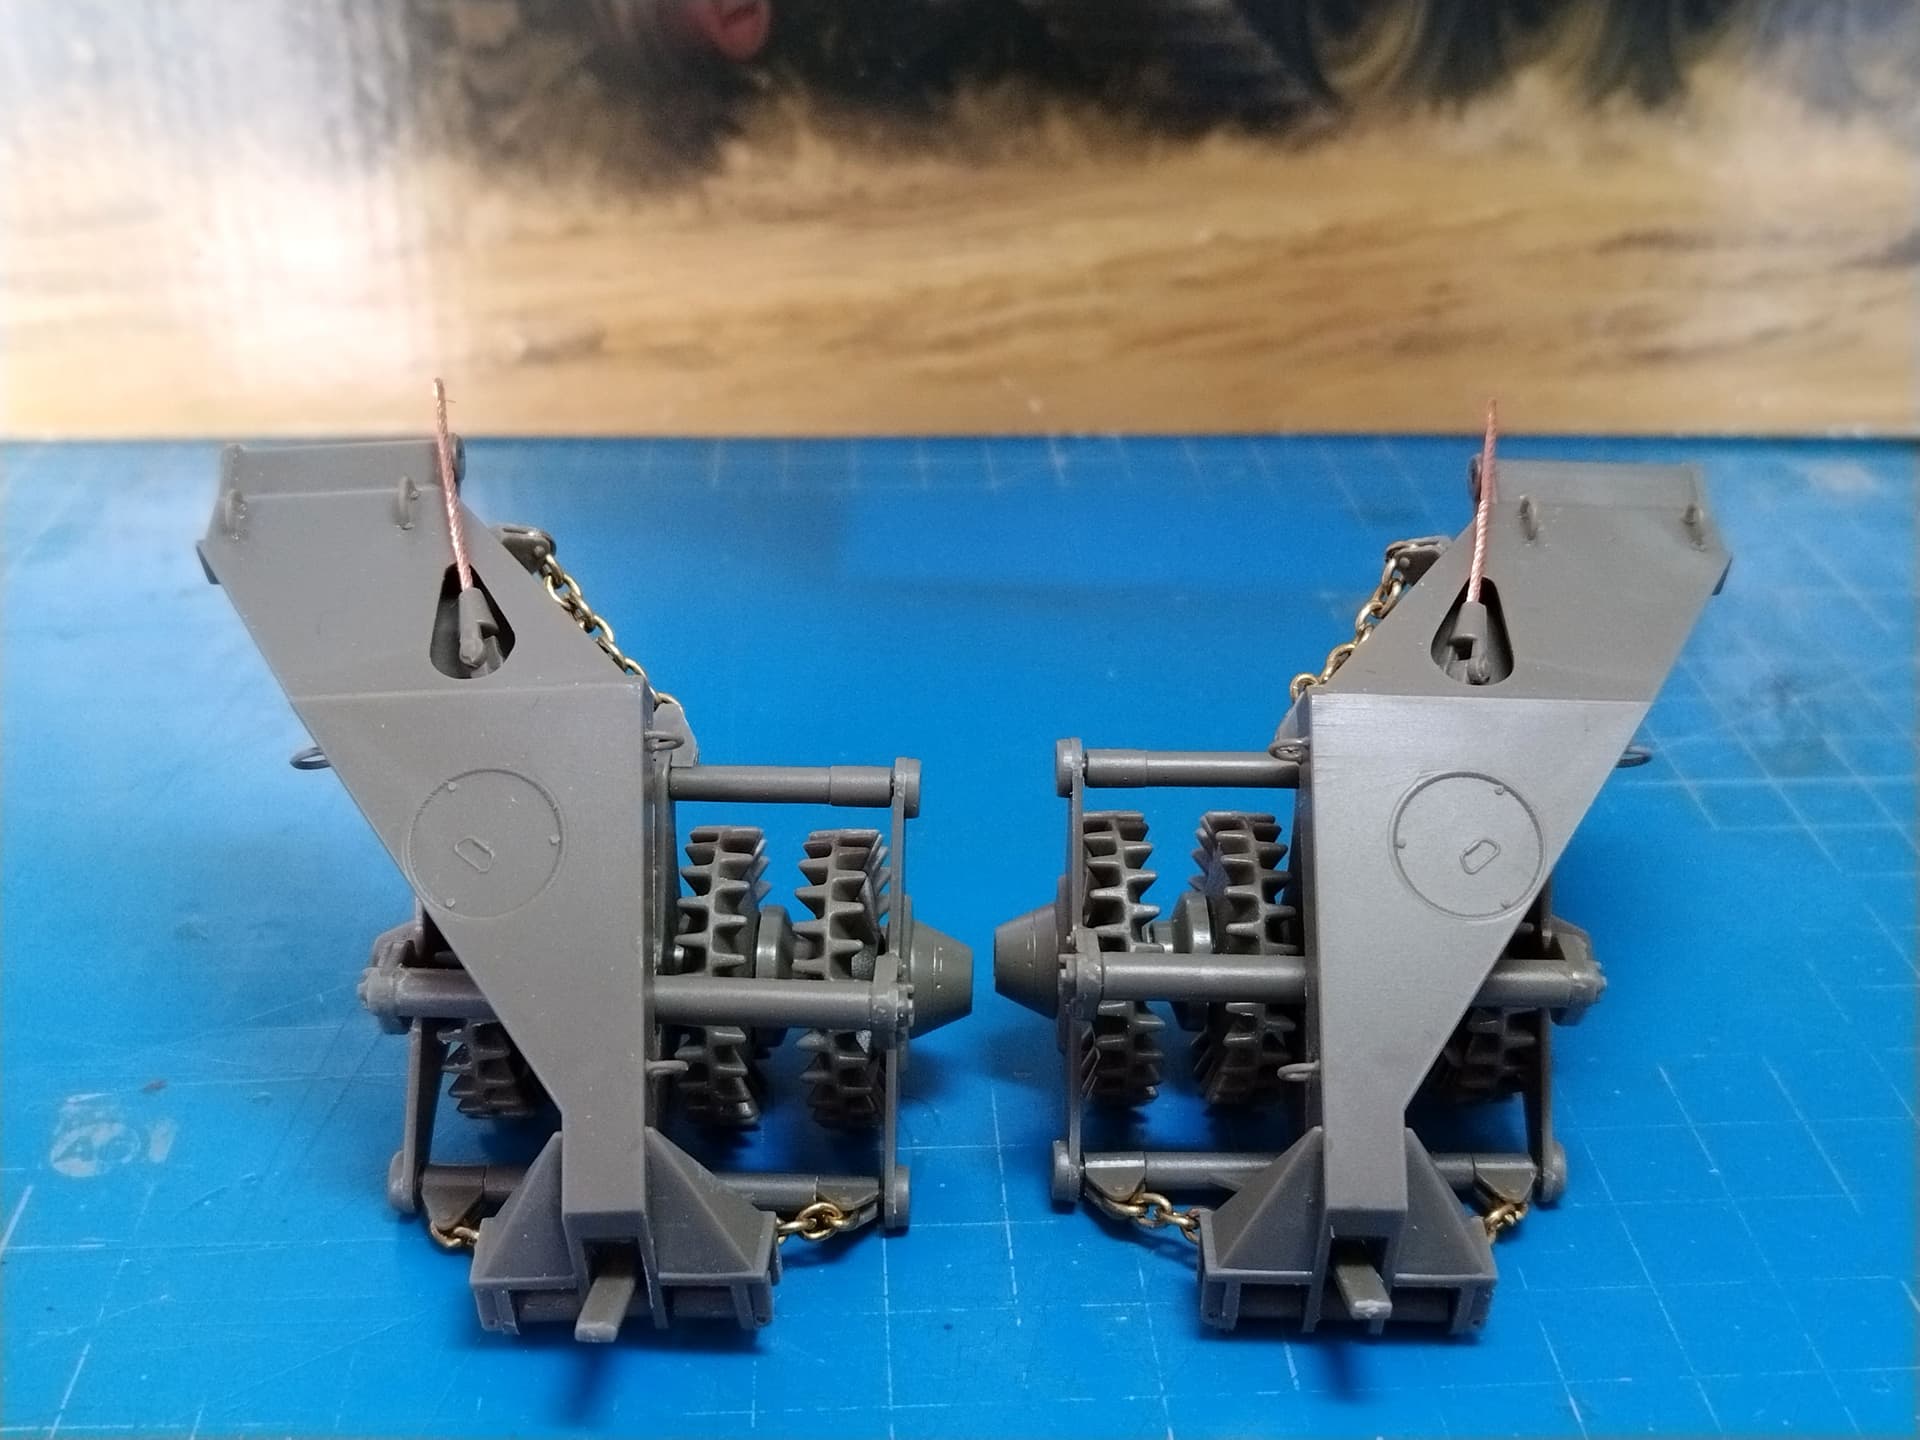
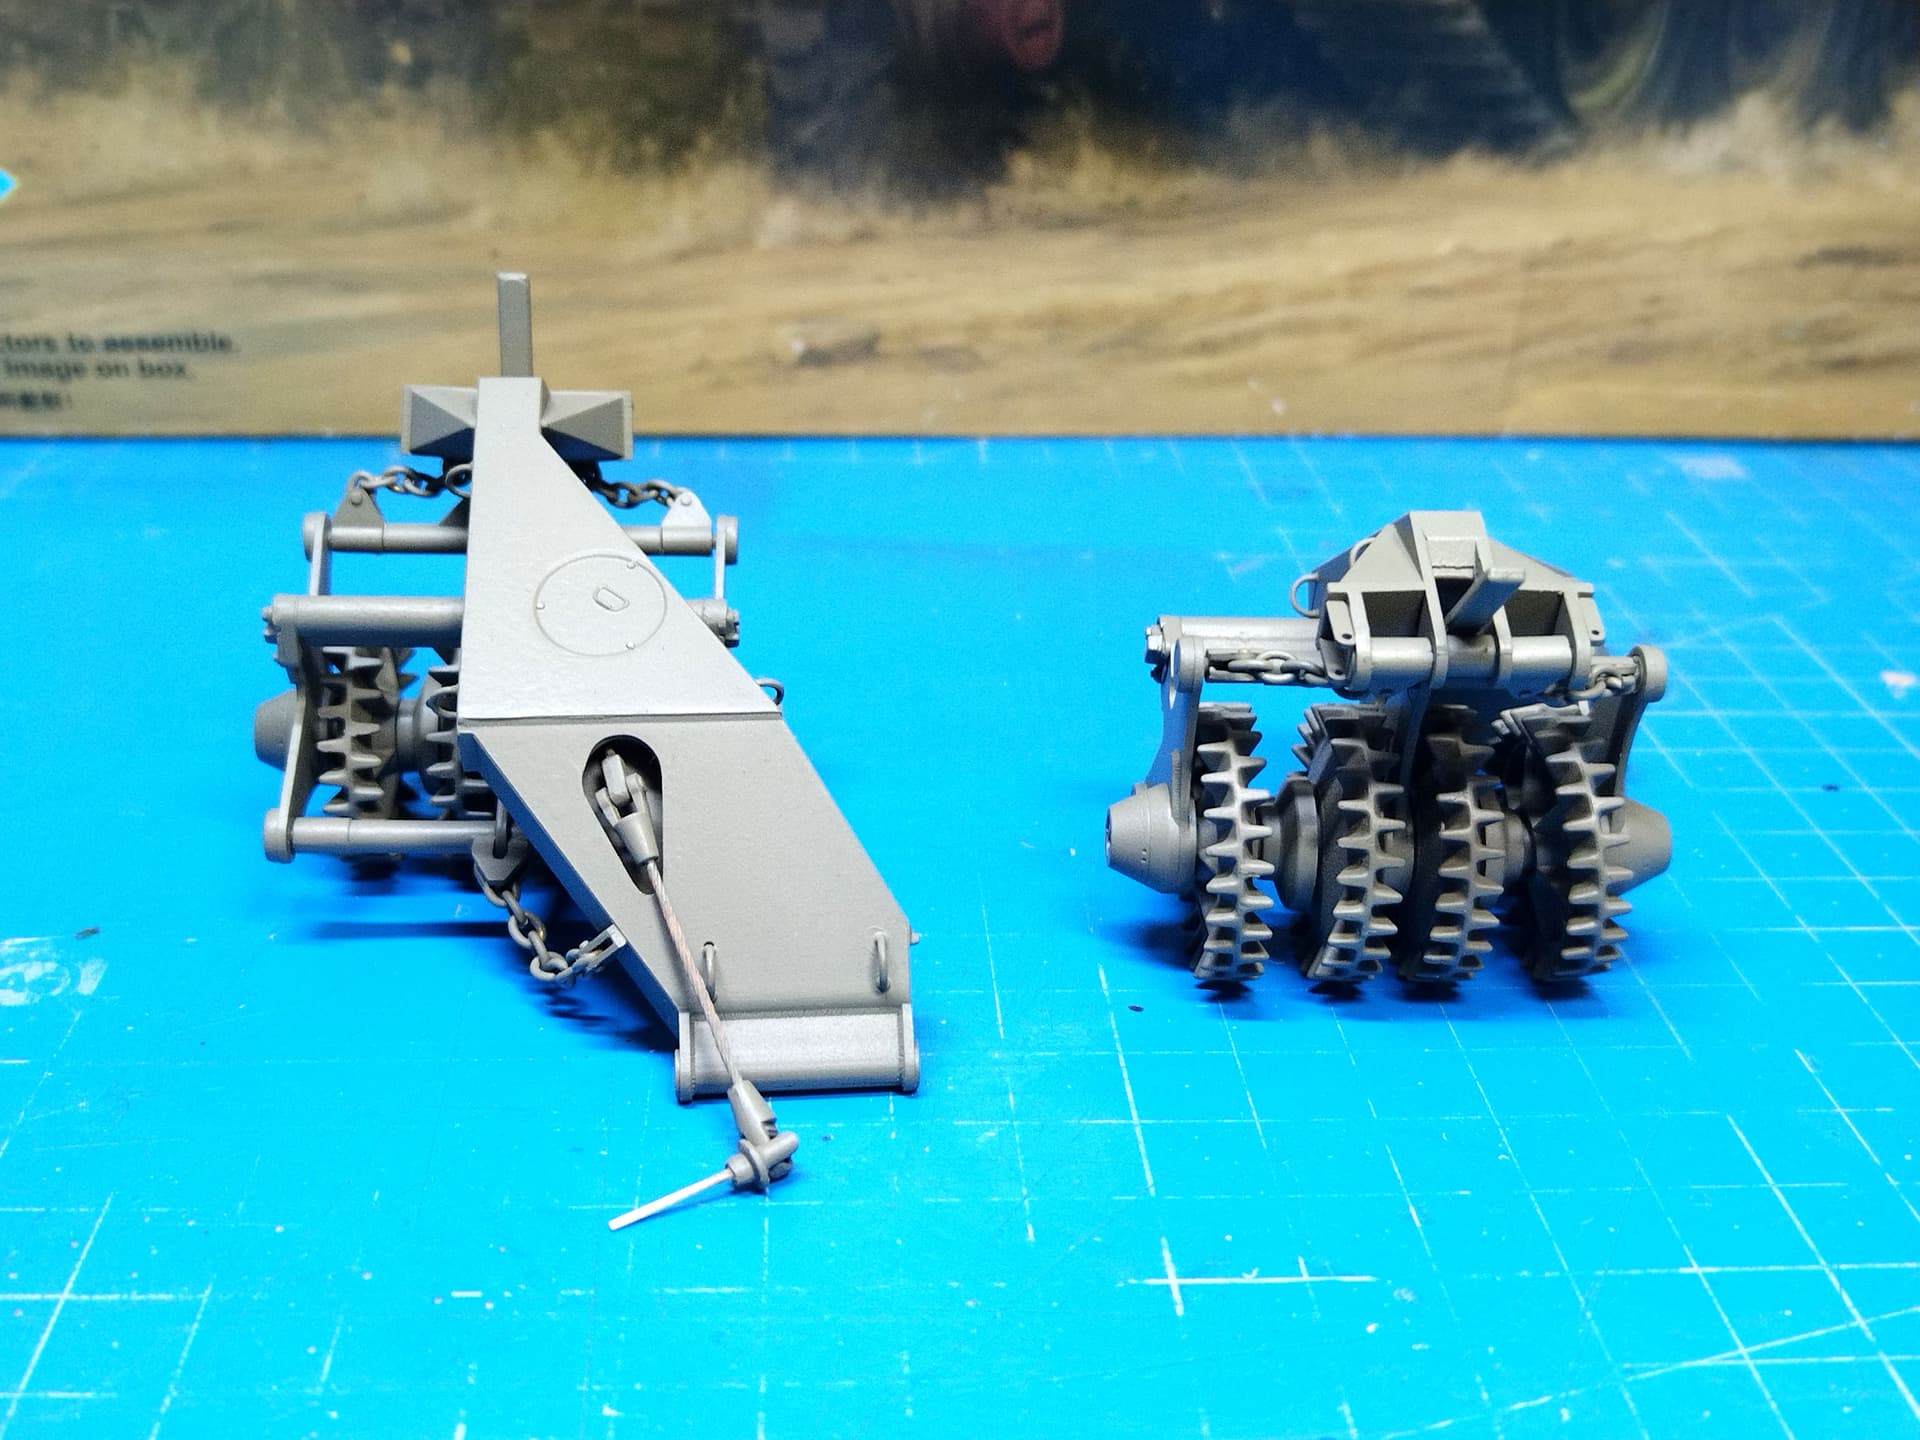
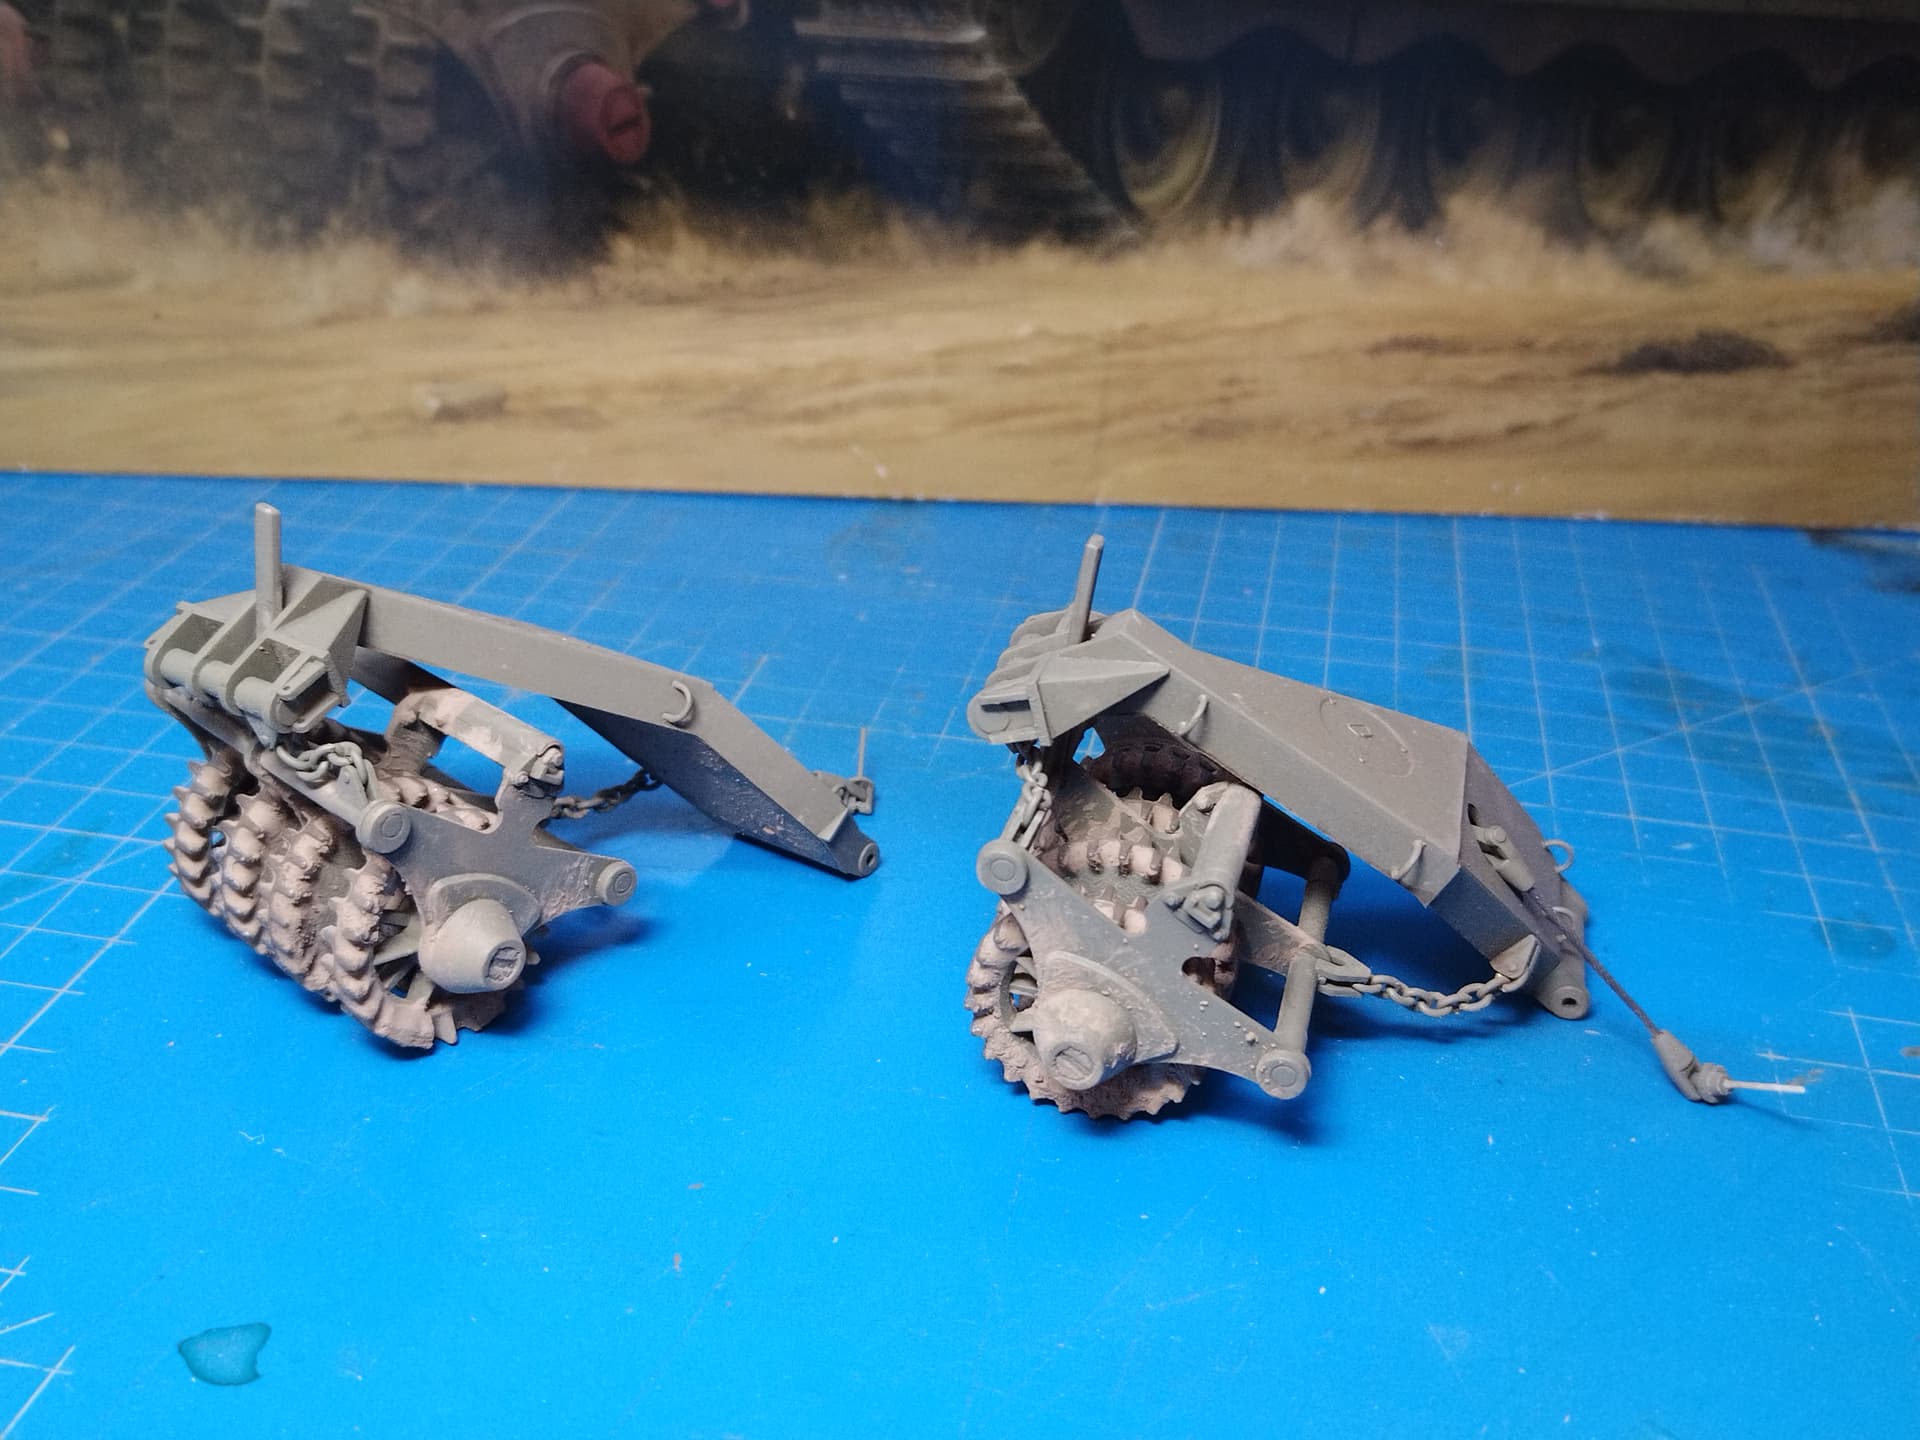
Some more work on the Nochri. It’s a bit time consuming as you need to thoroughly clean the parts to get a good fit.
I measured the retaining cable length after having temporarily attached the rollers. My result is 26,5 mm instead of 25 mm given by the instructions.
The adapter is removable. The rollers are still removable put apart the upper ends of the cables.
The next issue to solve is to make the latter removable too. I think that drilling out the bar T1 deep enough to accommodate a length of styrene rod added to the part where the cable eye is secured could work.
Initially I thought of just modifying the pins in the kit parts. But they are so tiny that the assembly could not be sturdy enough.
Here are some pictures.
Olivier
7 Likes
Meng will tell you its 32mm for the exact same equipment configuration! I estimated 27mm but that was a pure guess.
1 Like
So you’re close to my result. I took into account the depth of the holes in which you have to insert the cable ends. Meng parts could be hollowed deeper. However 5 mm are obviously excessive.
Olivier
1 Like
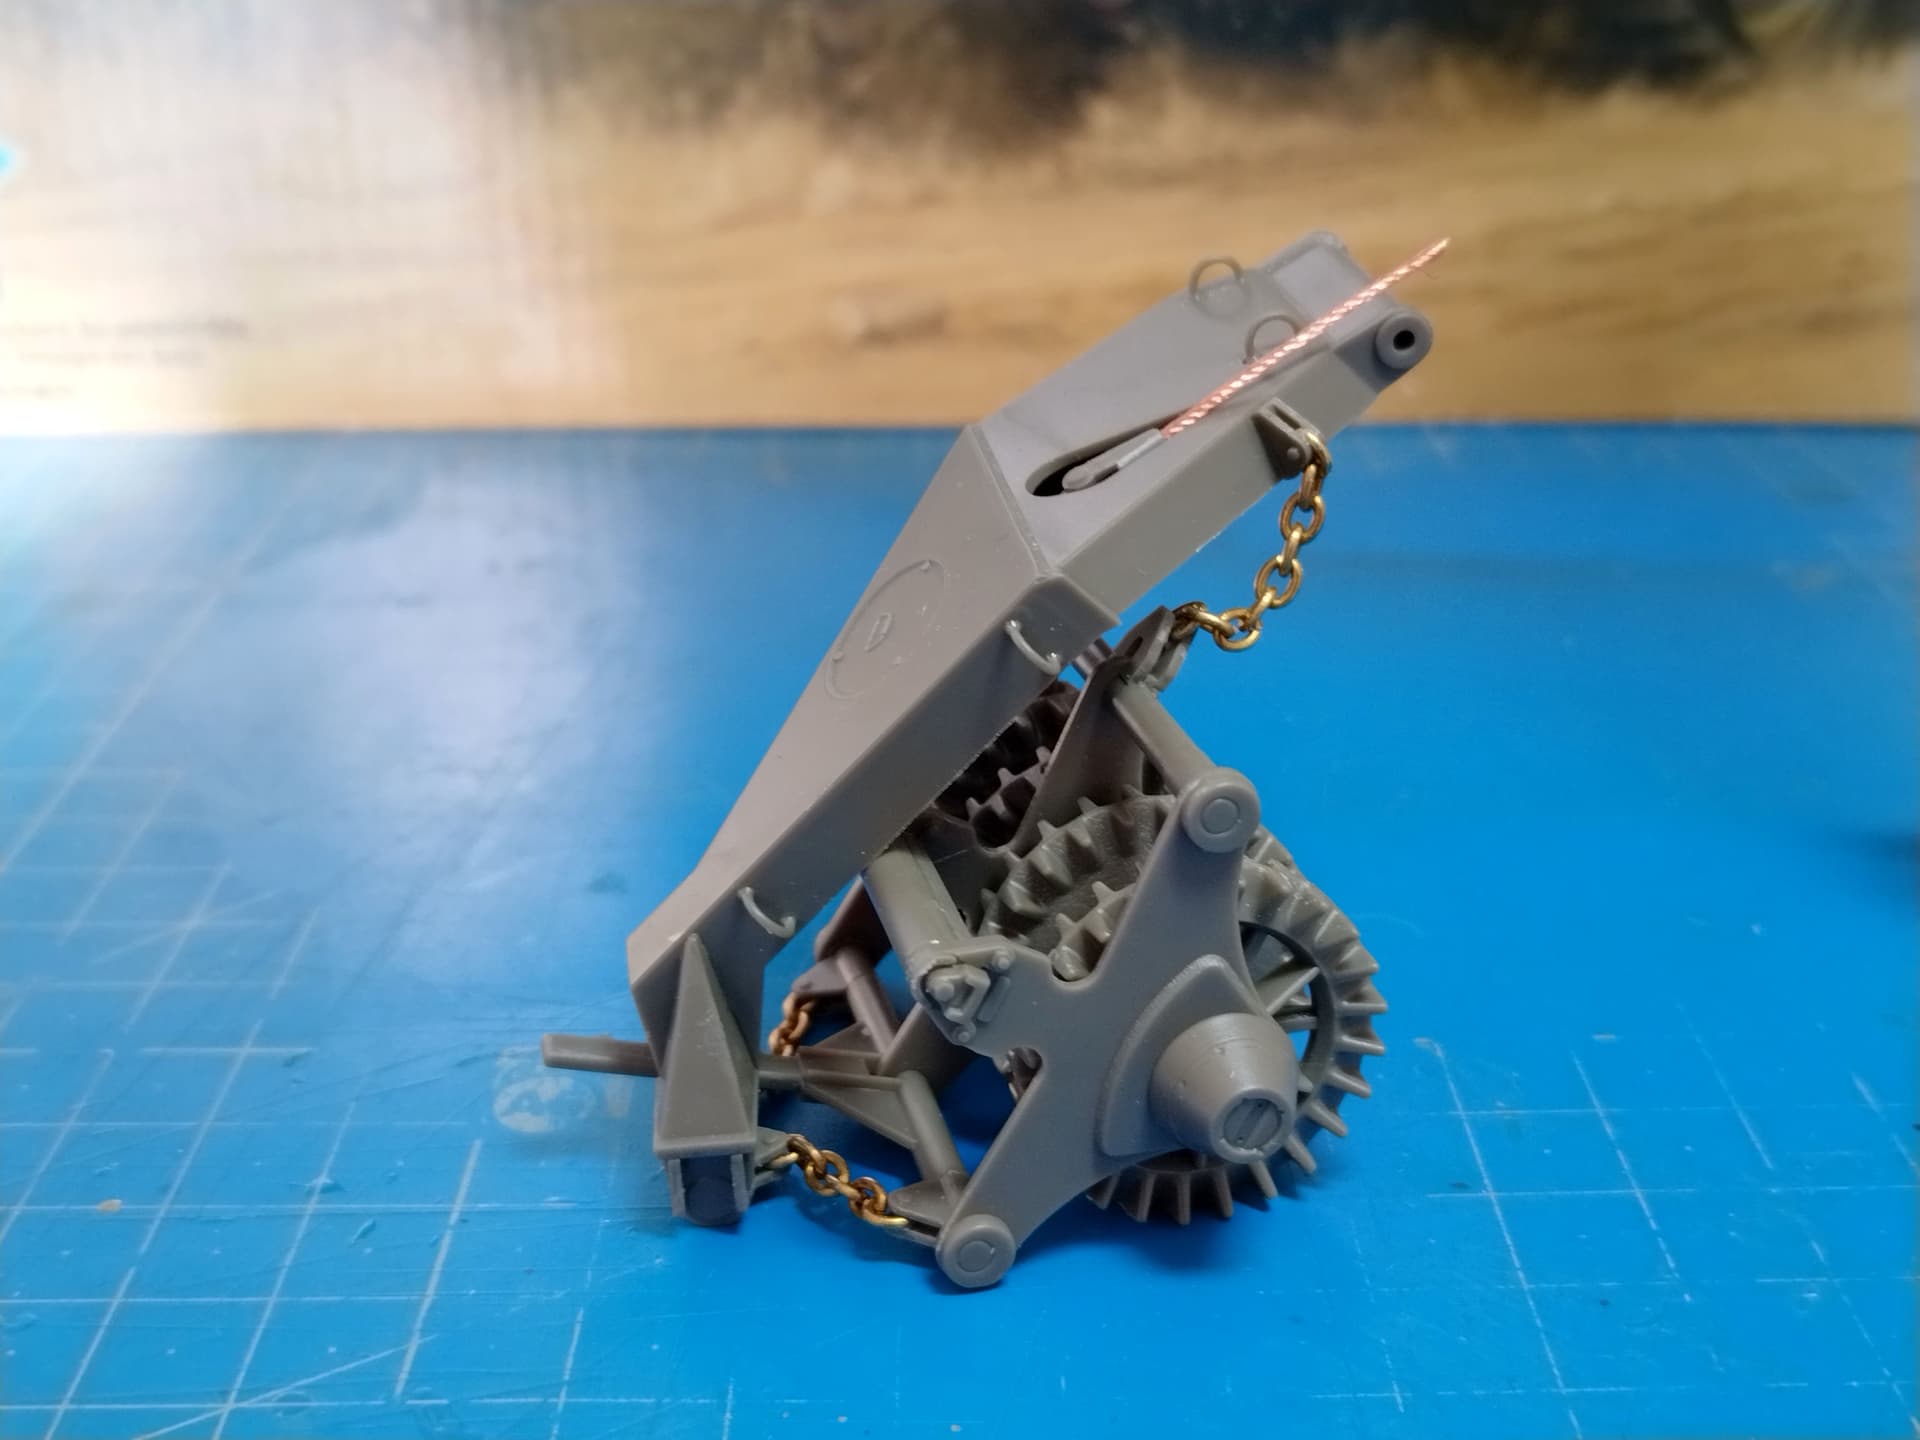
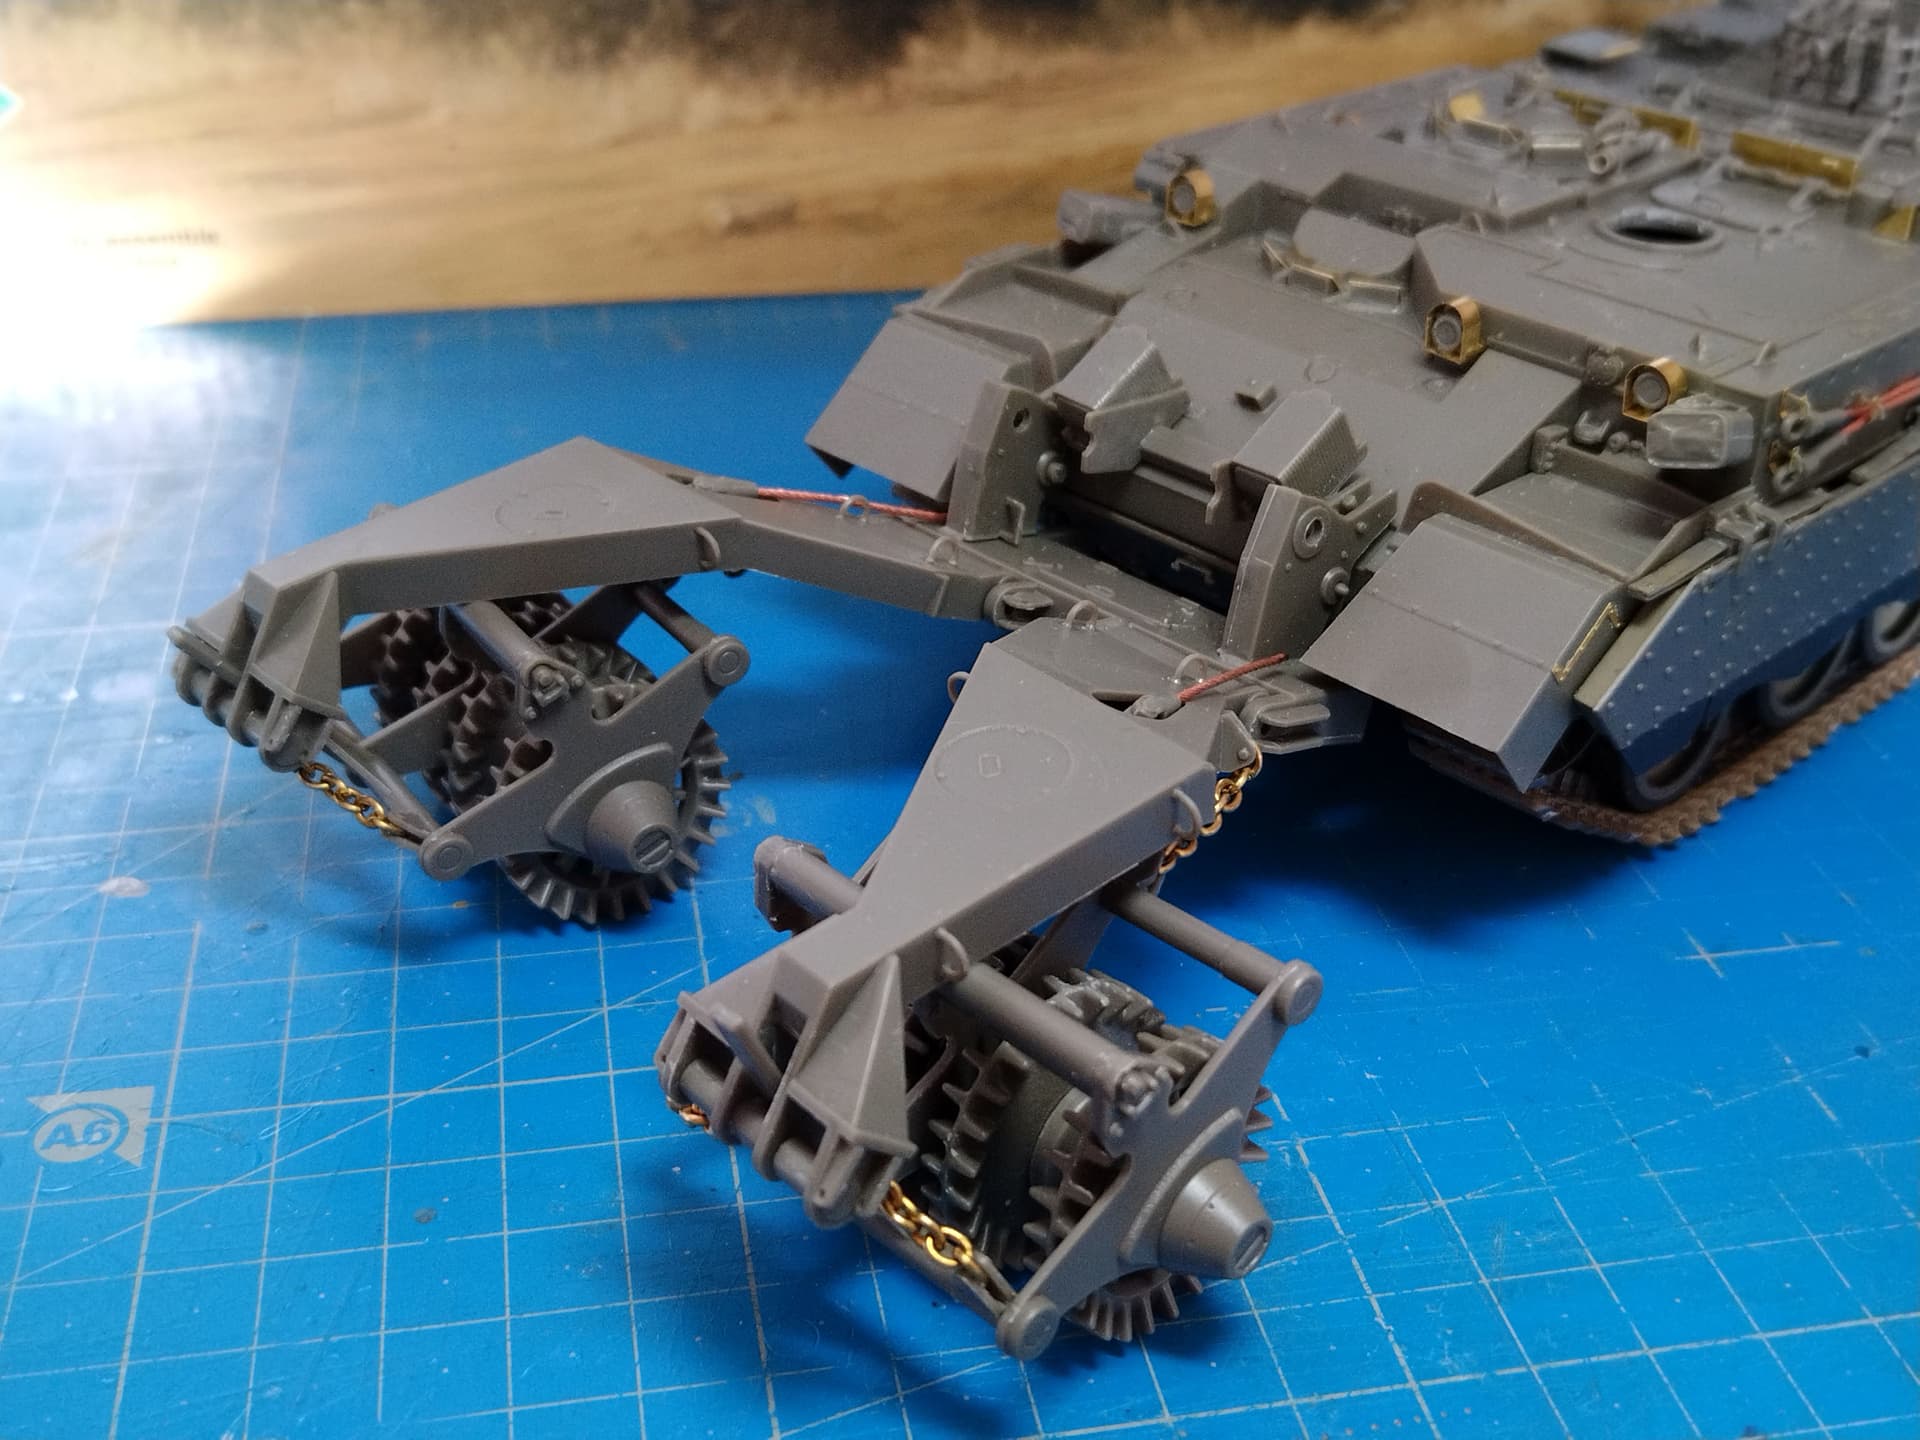
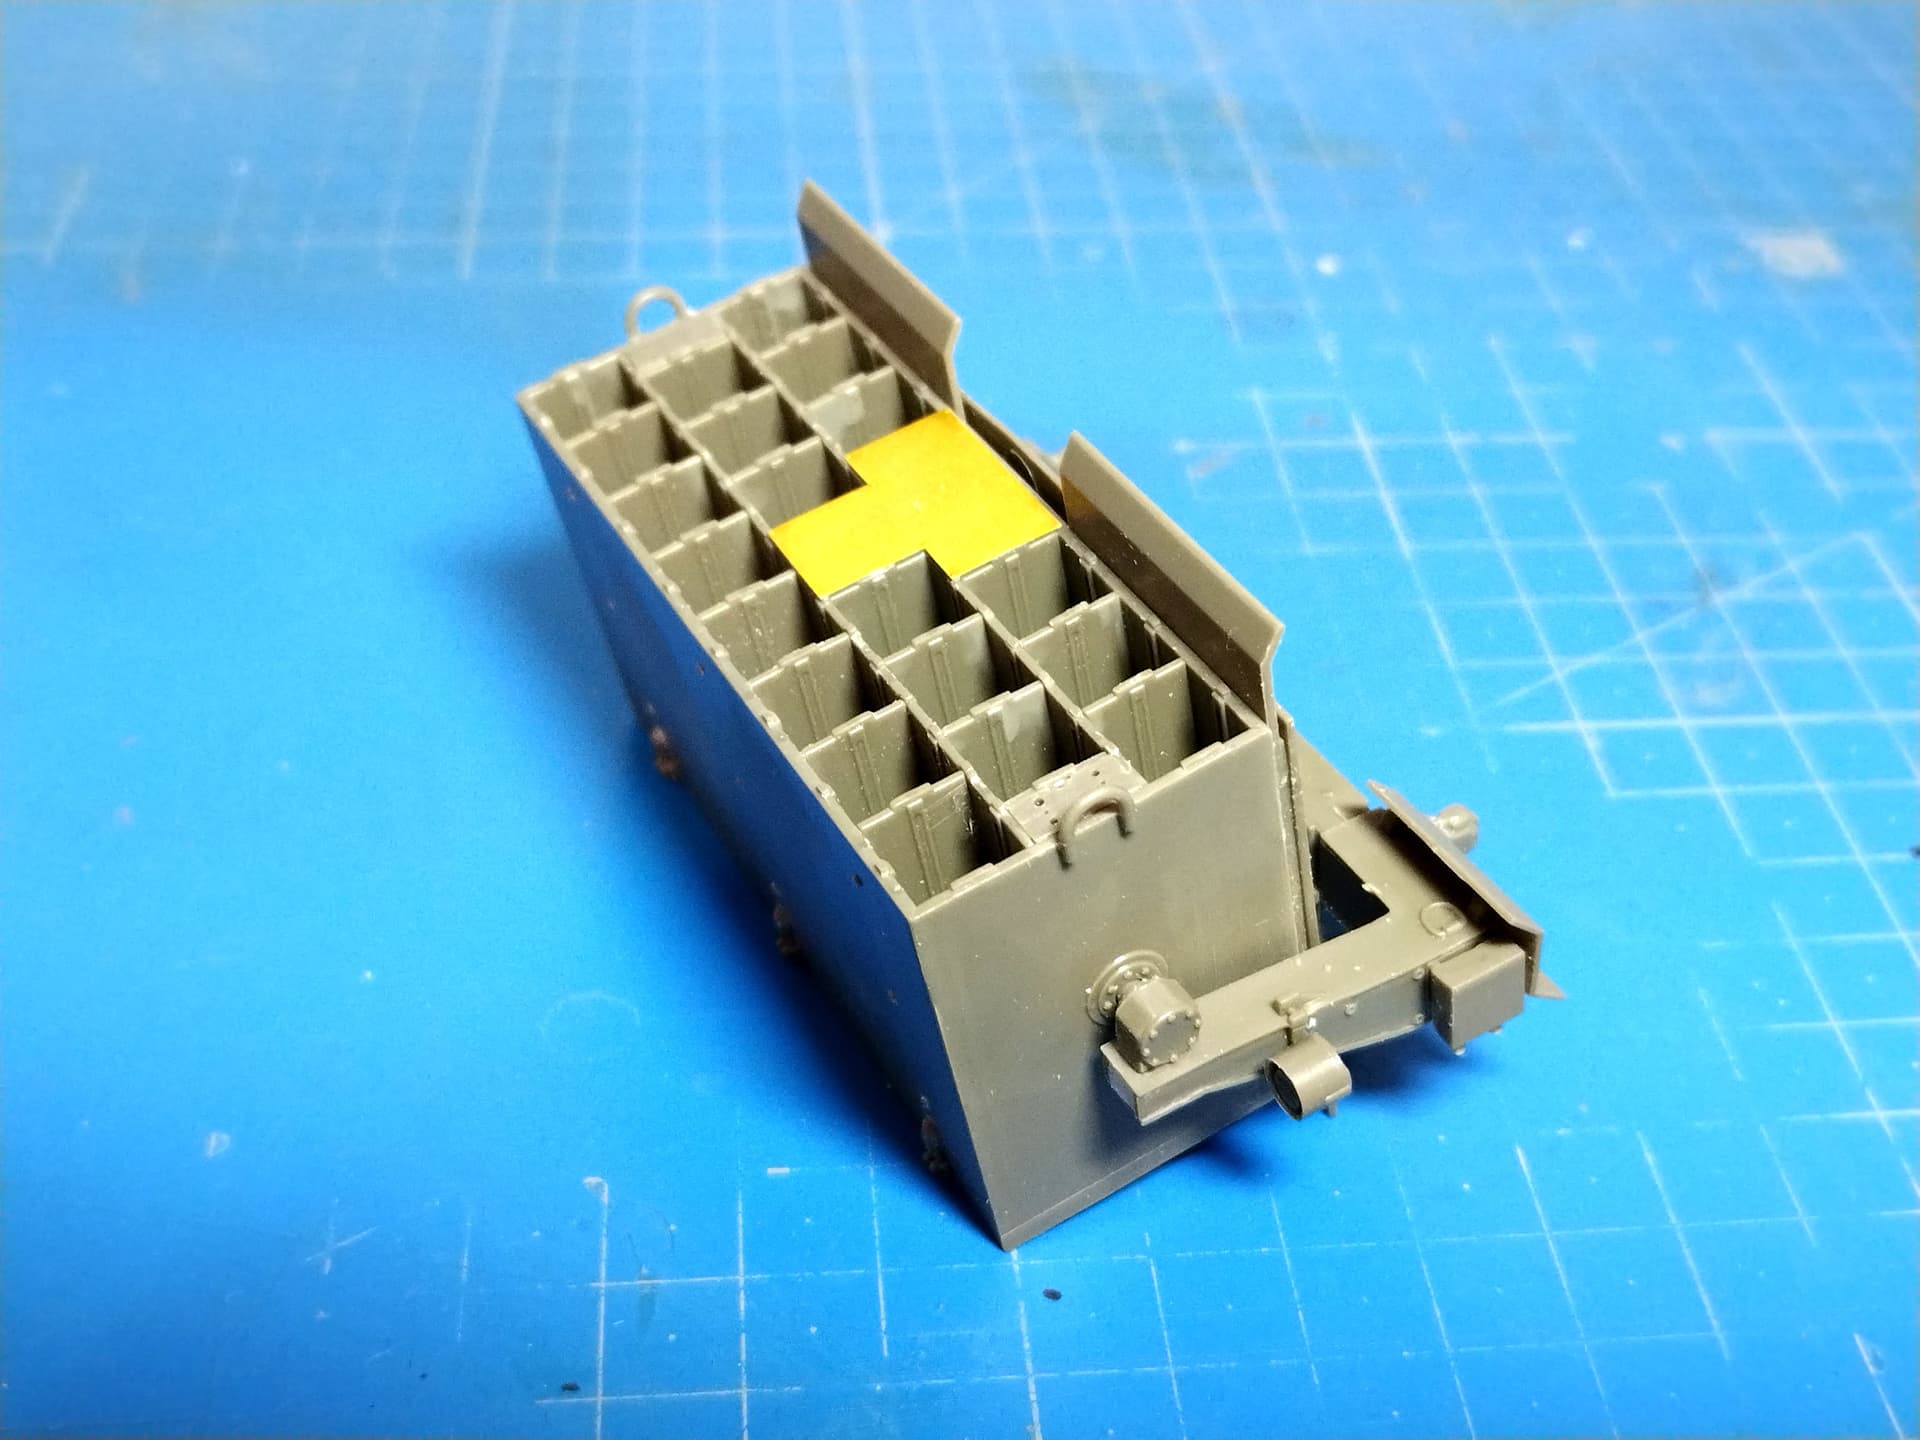
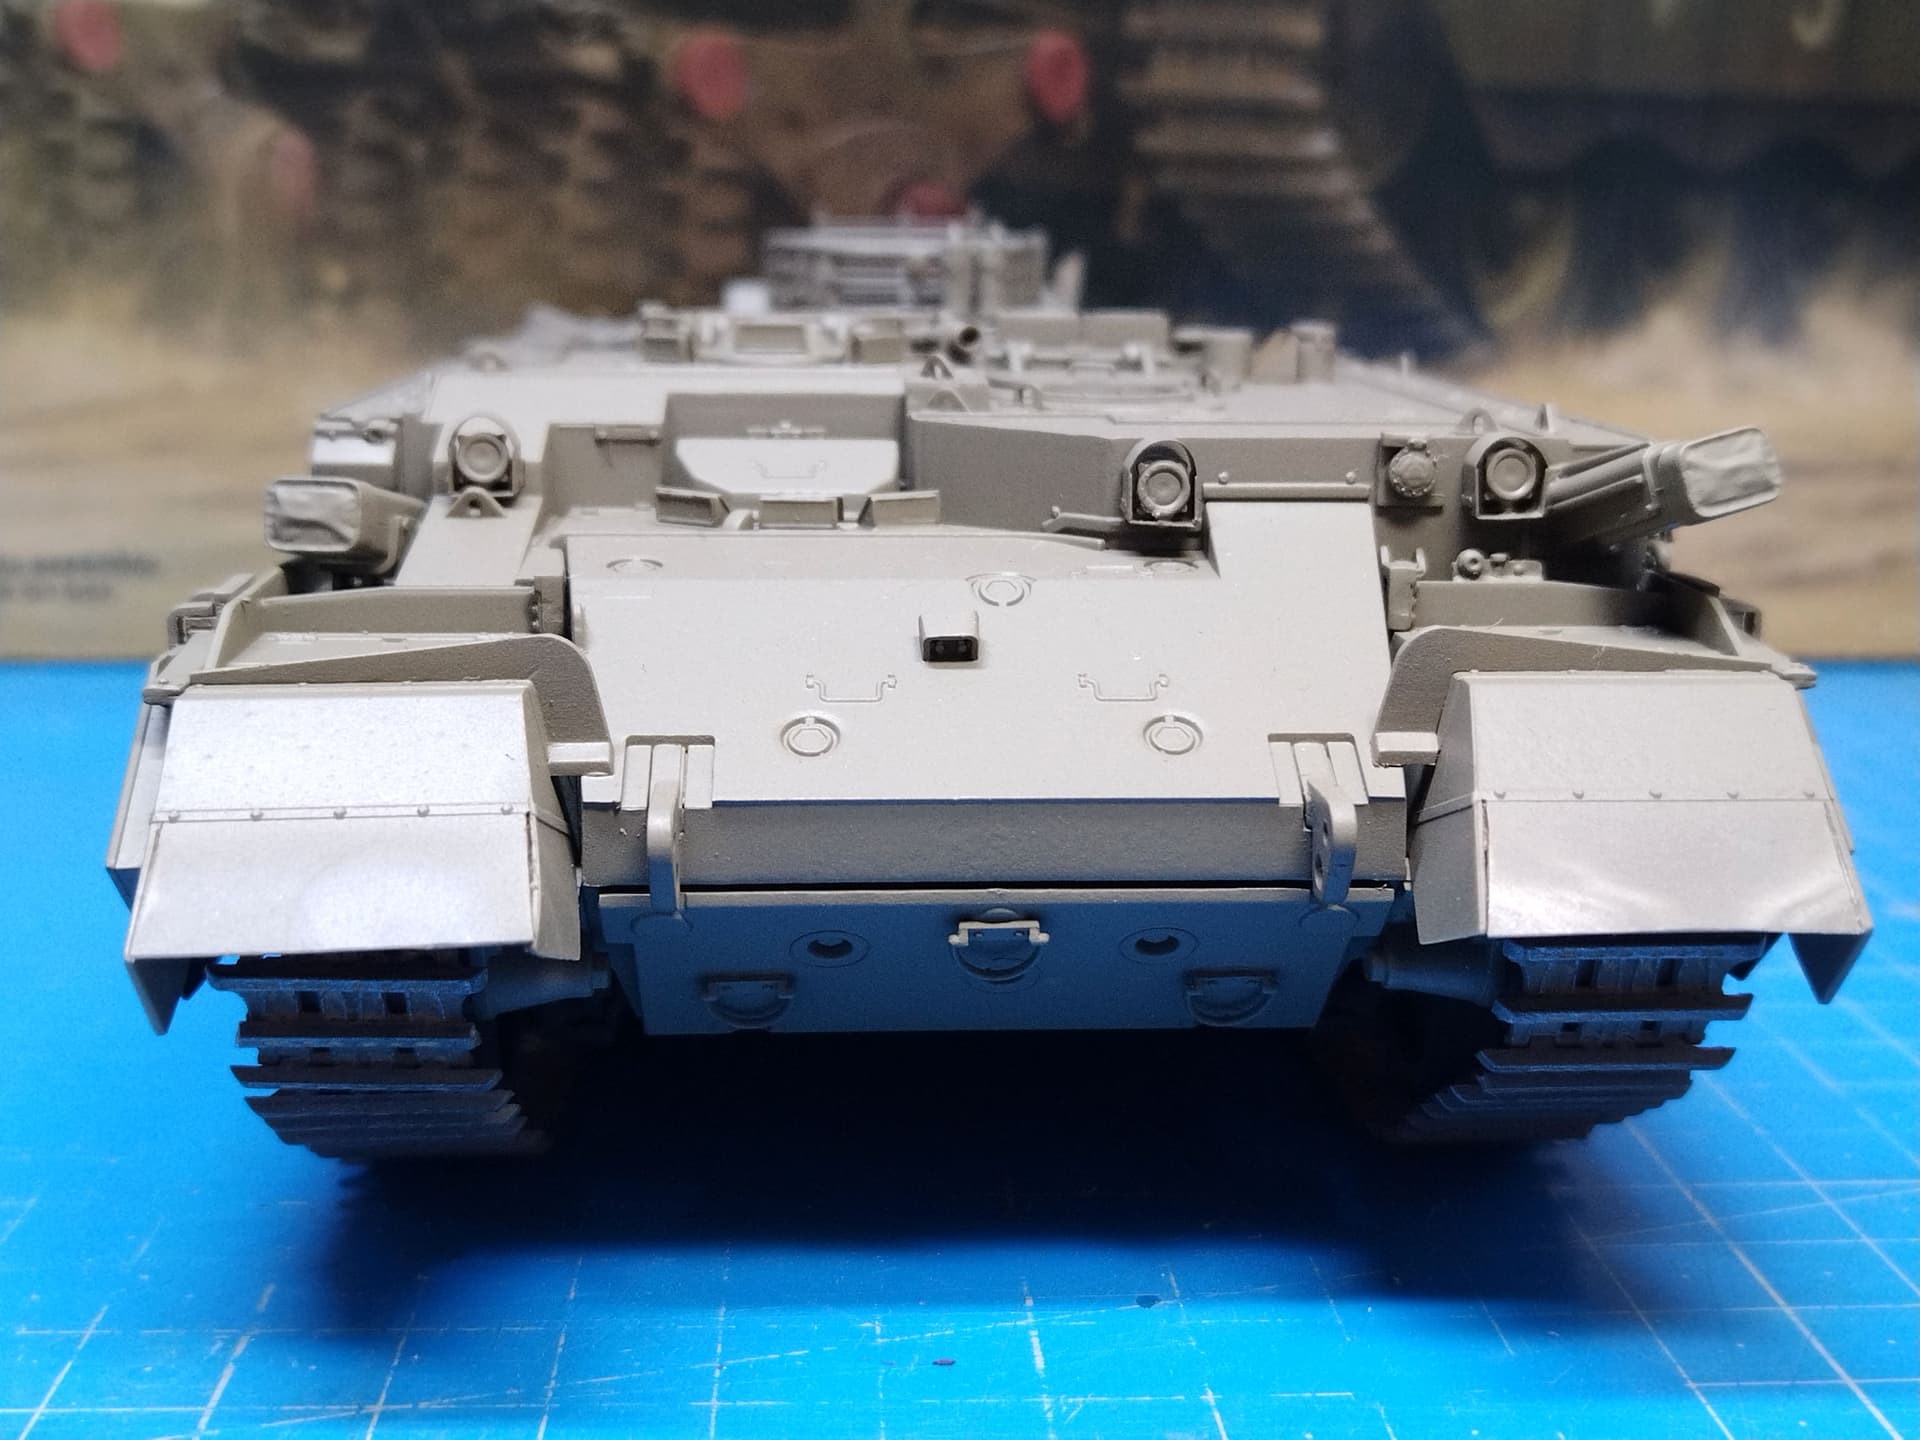
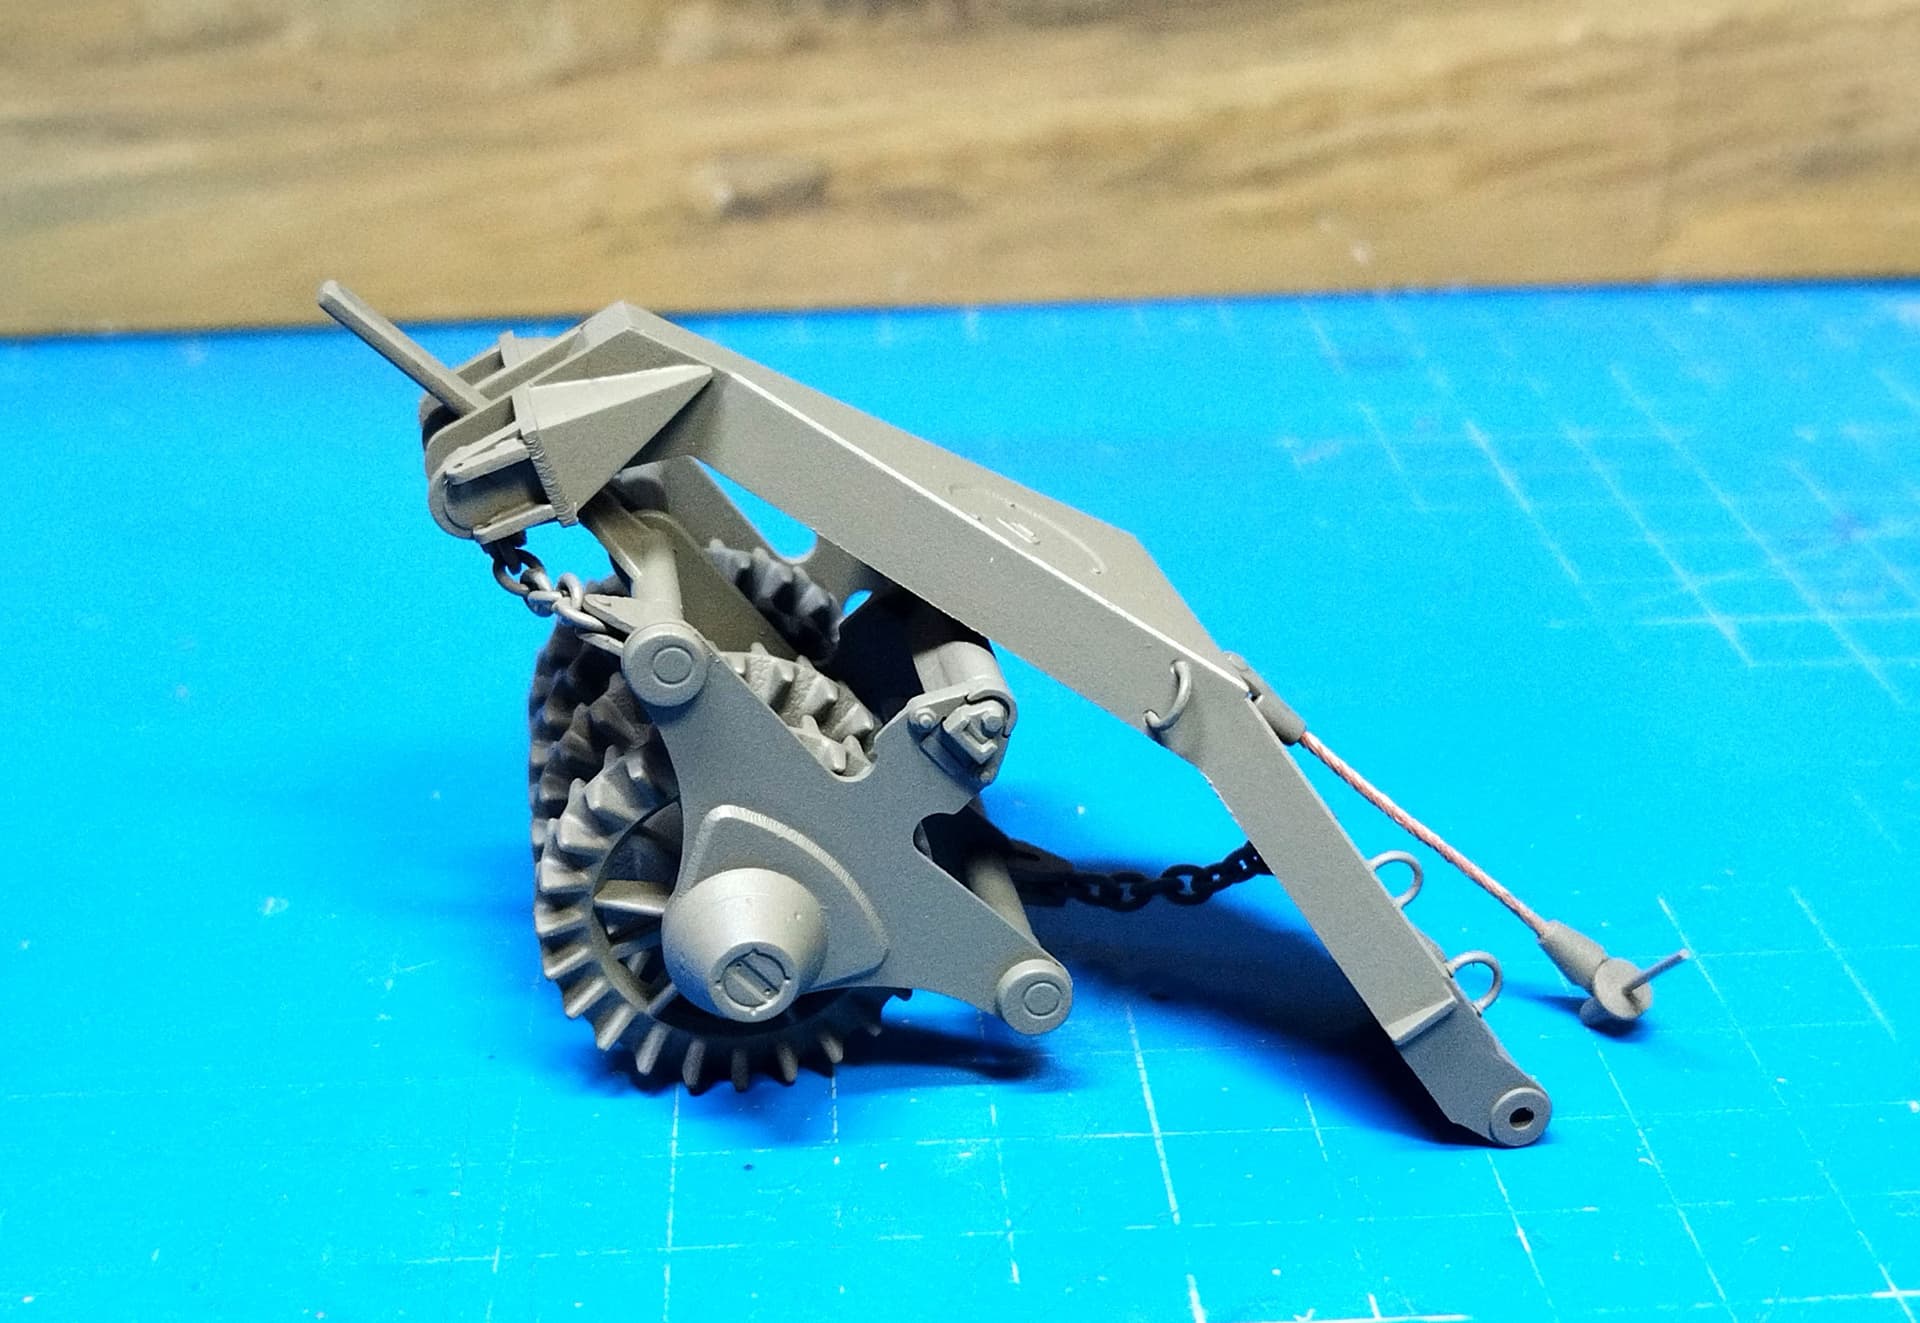
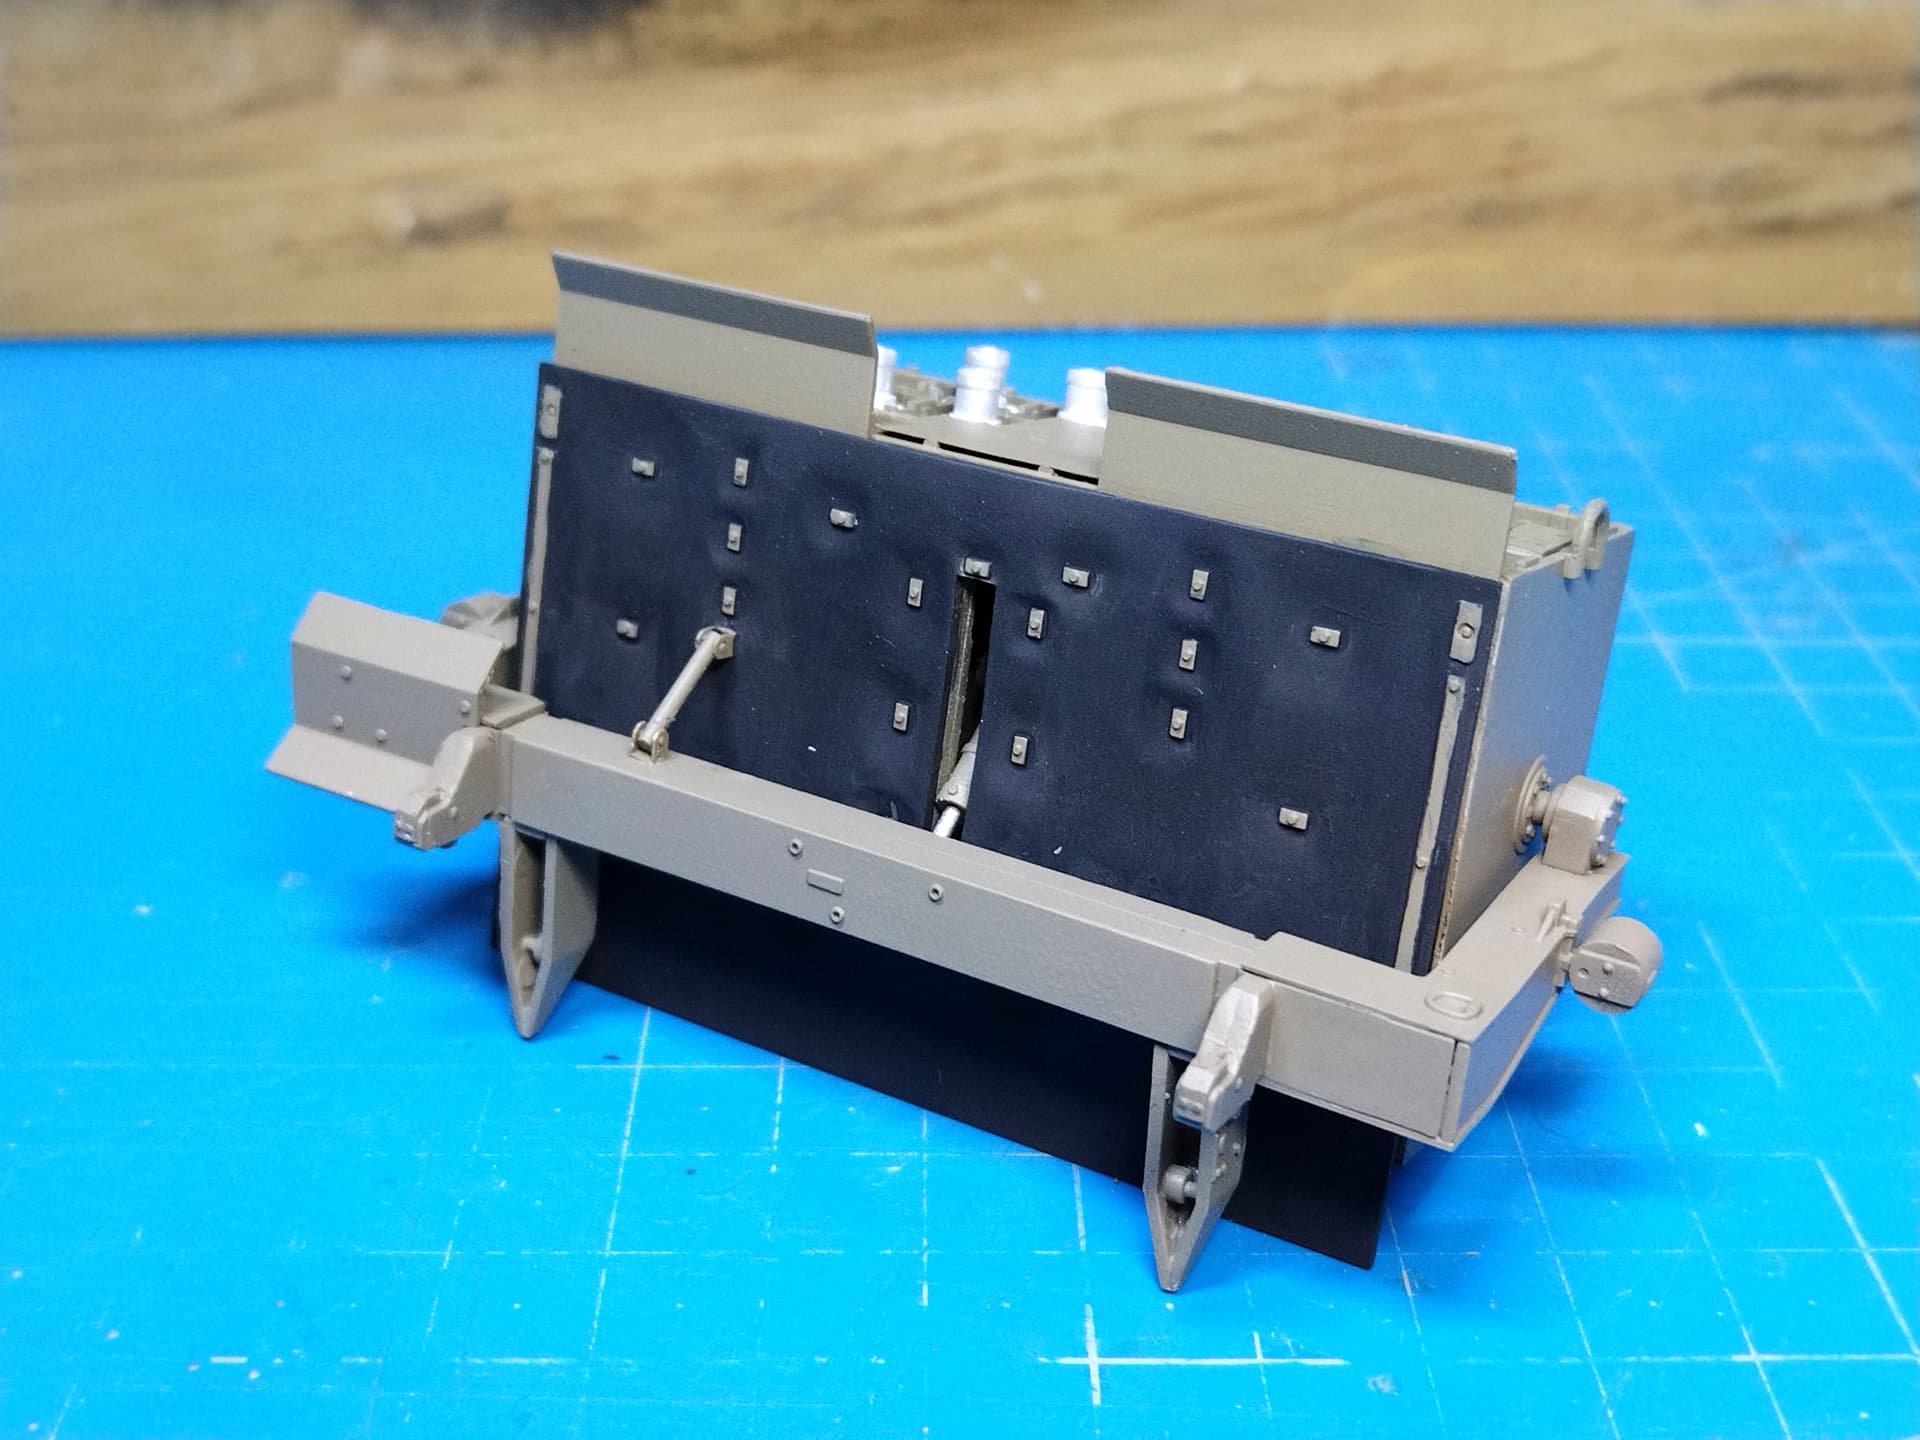
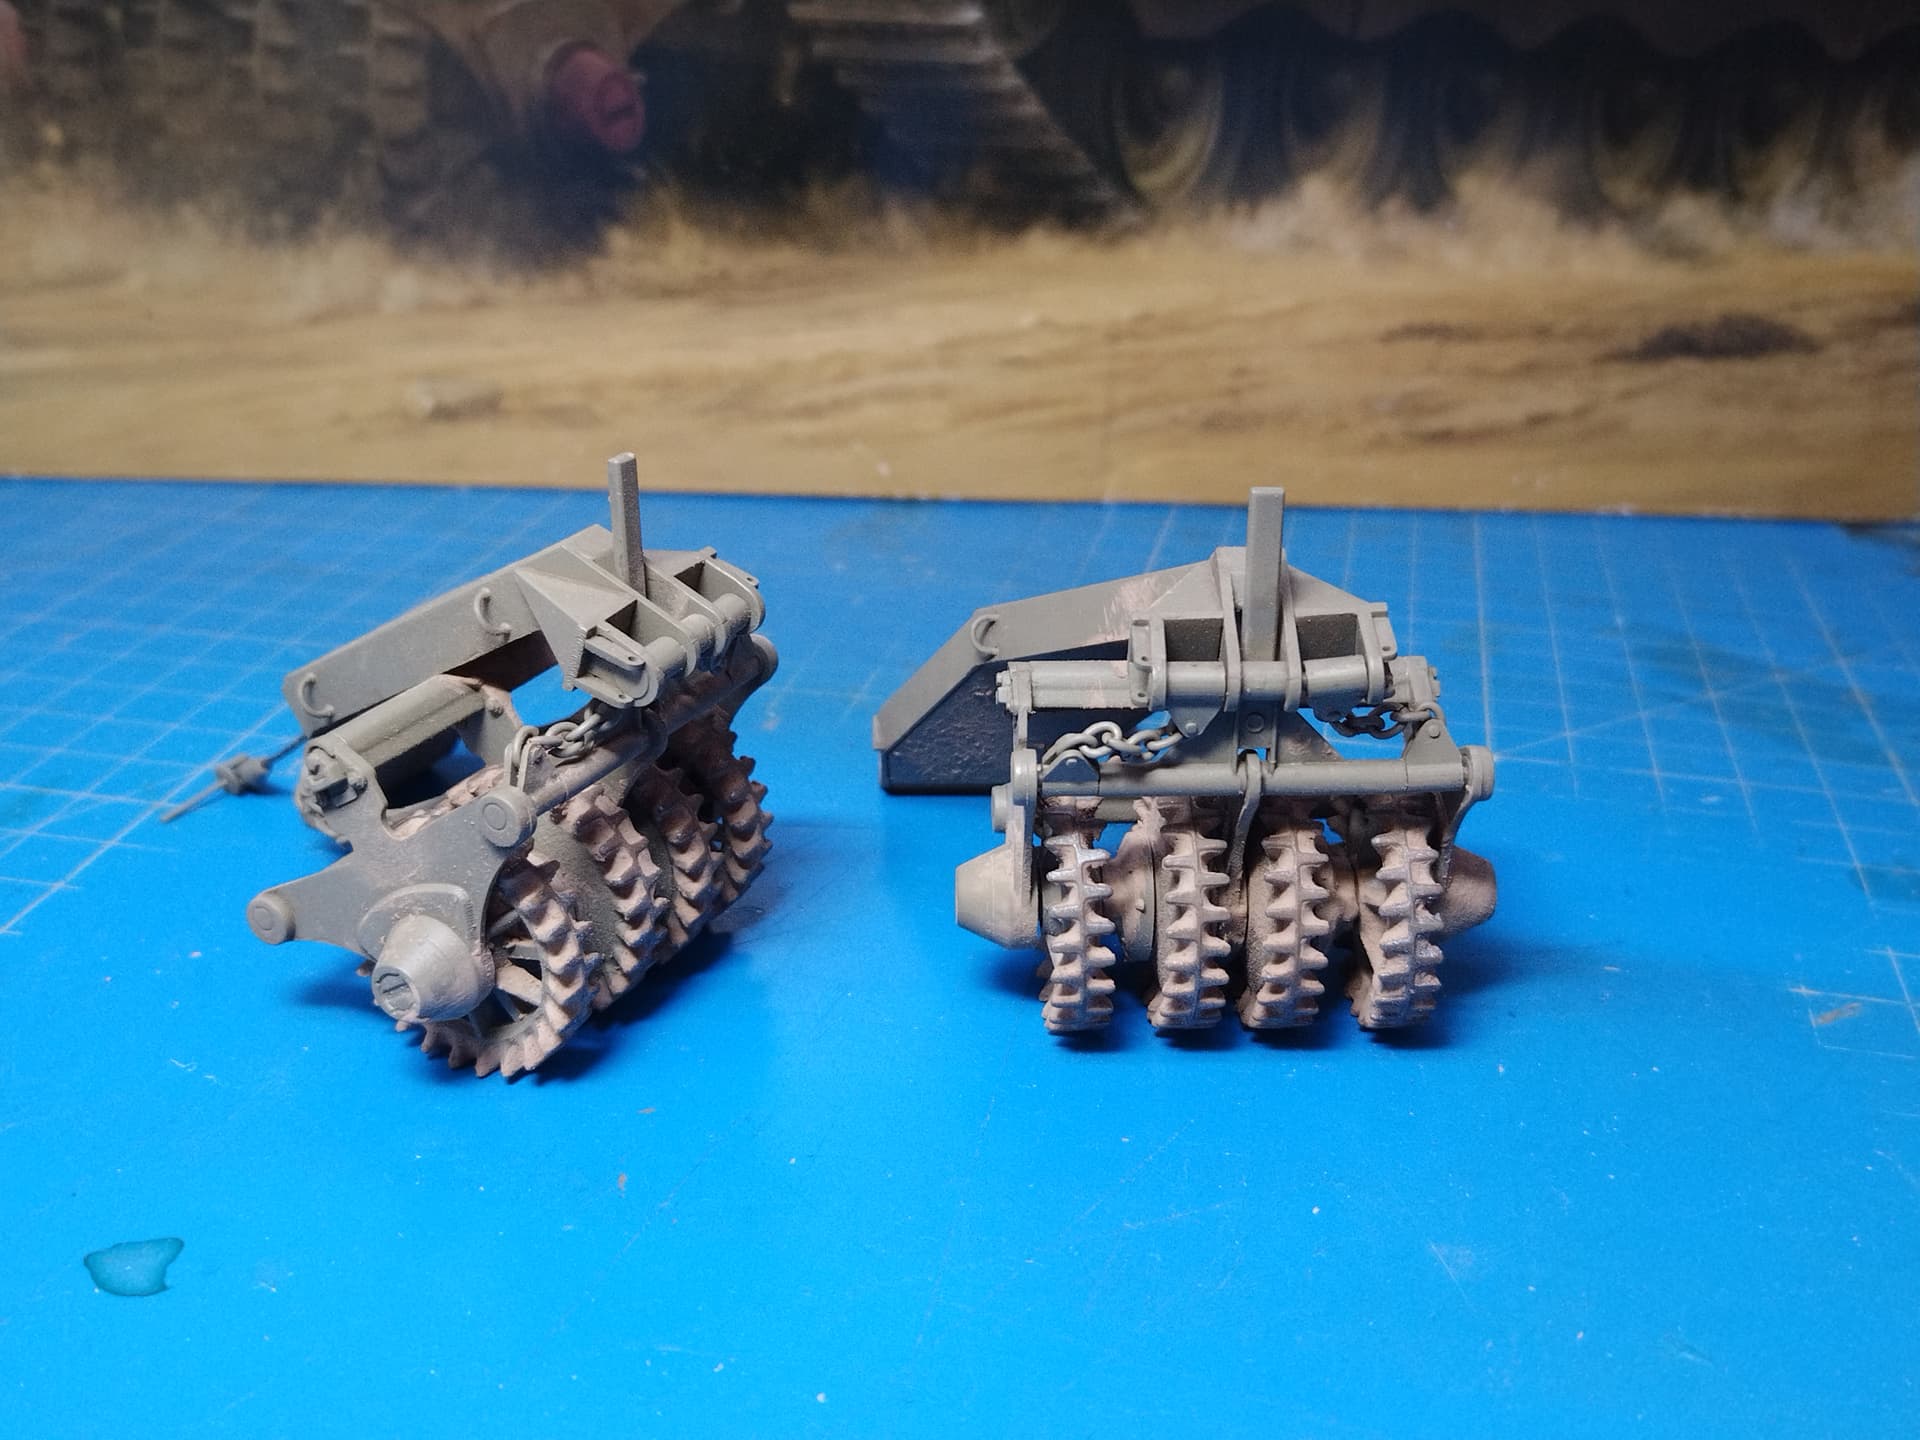
I did a blank test with the 26.5 mm cables and they proved a bit too long. I cut 2 mm and this is OK.
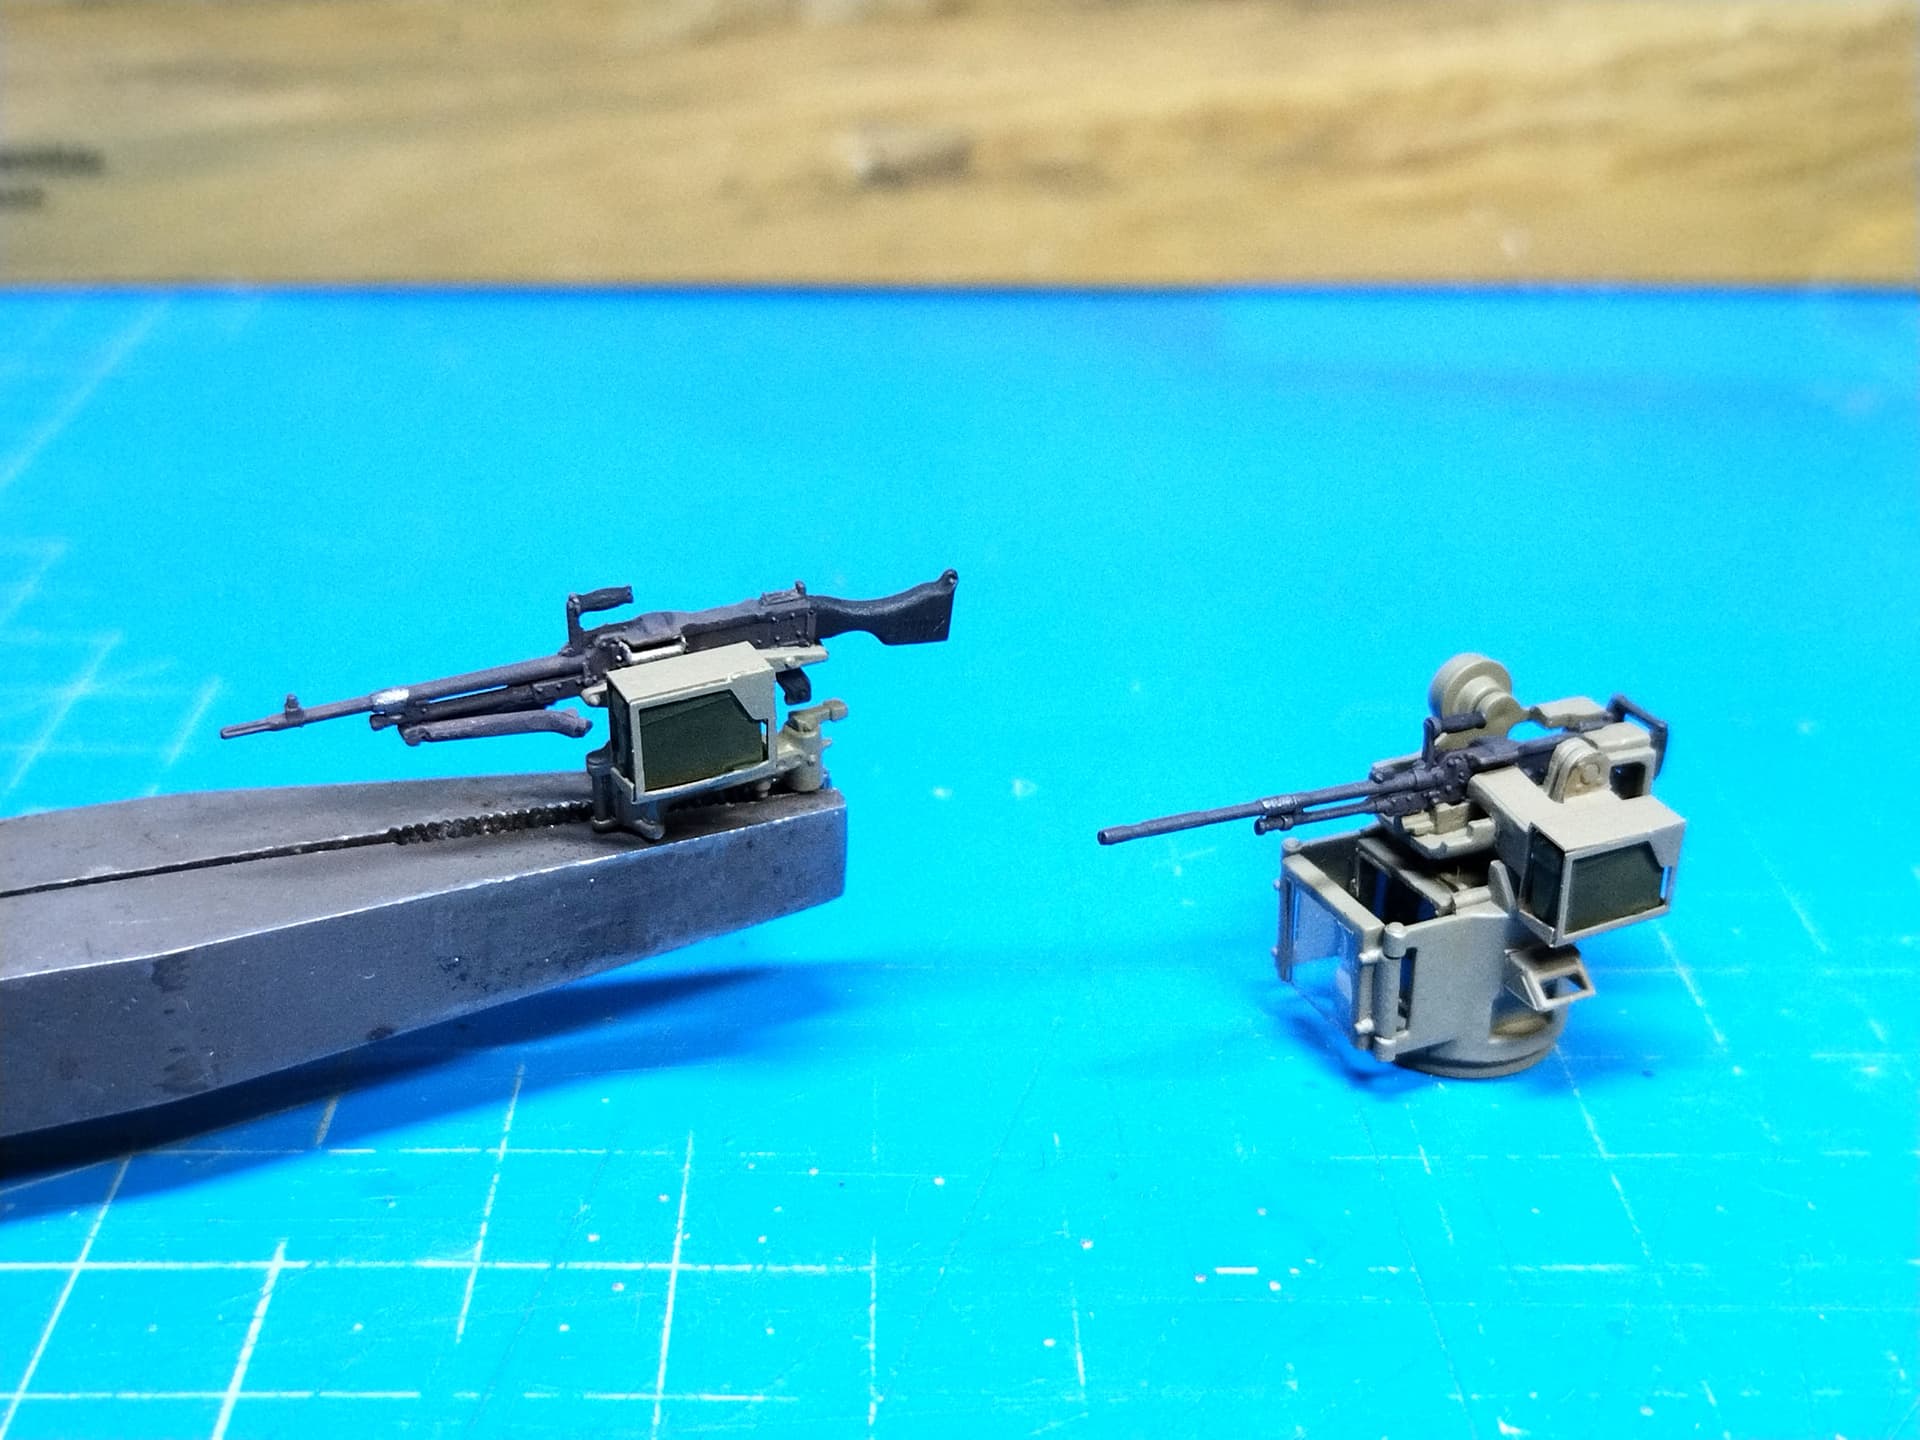
I managed to modify the system to make the cables removable by cutting the ends of the large bar, drilling the bar itself and adding a bit of styrene rod to the inner face of the cables supports.
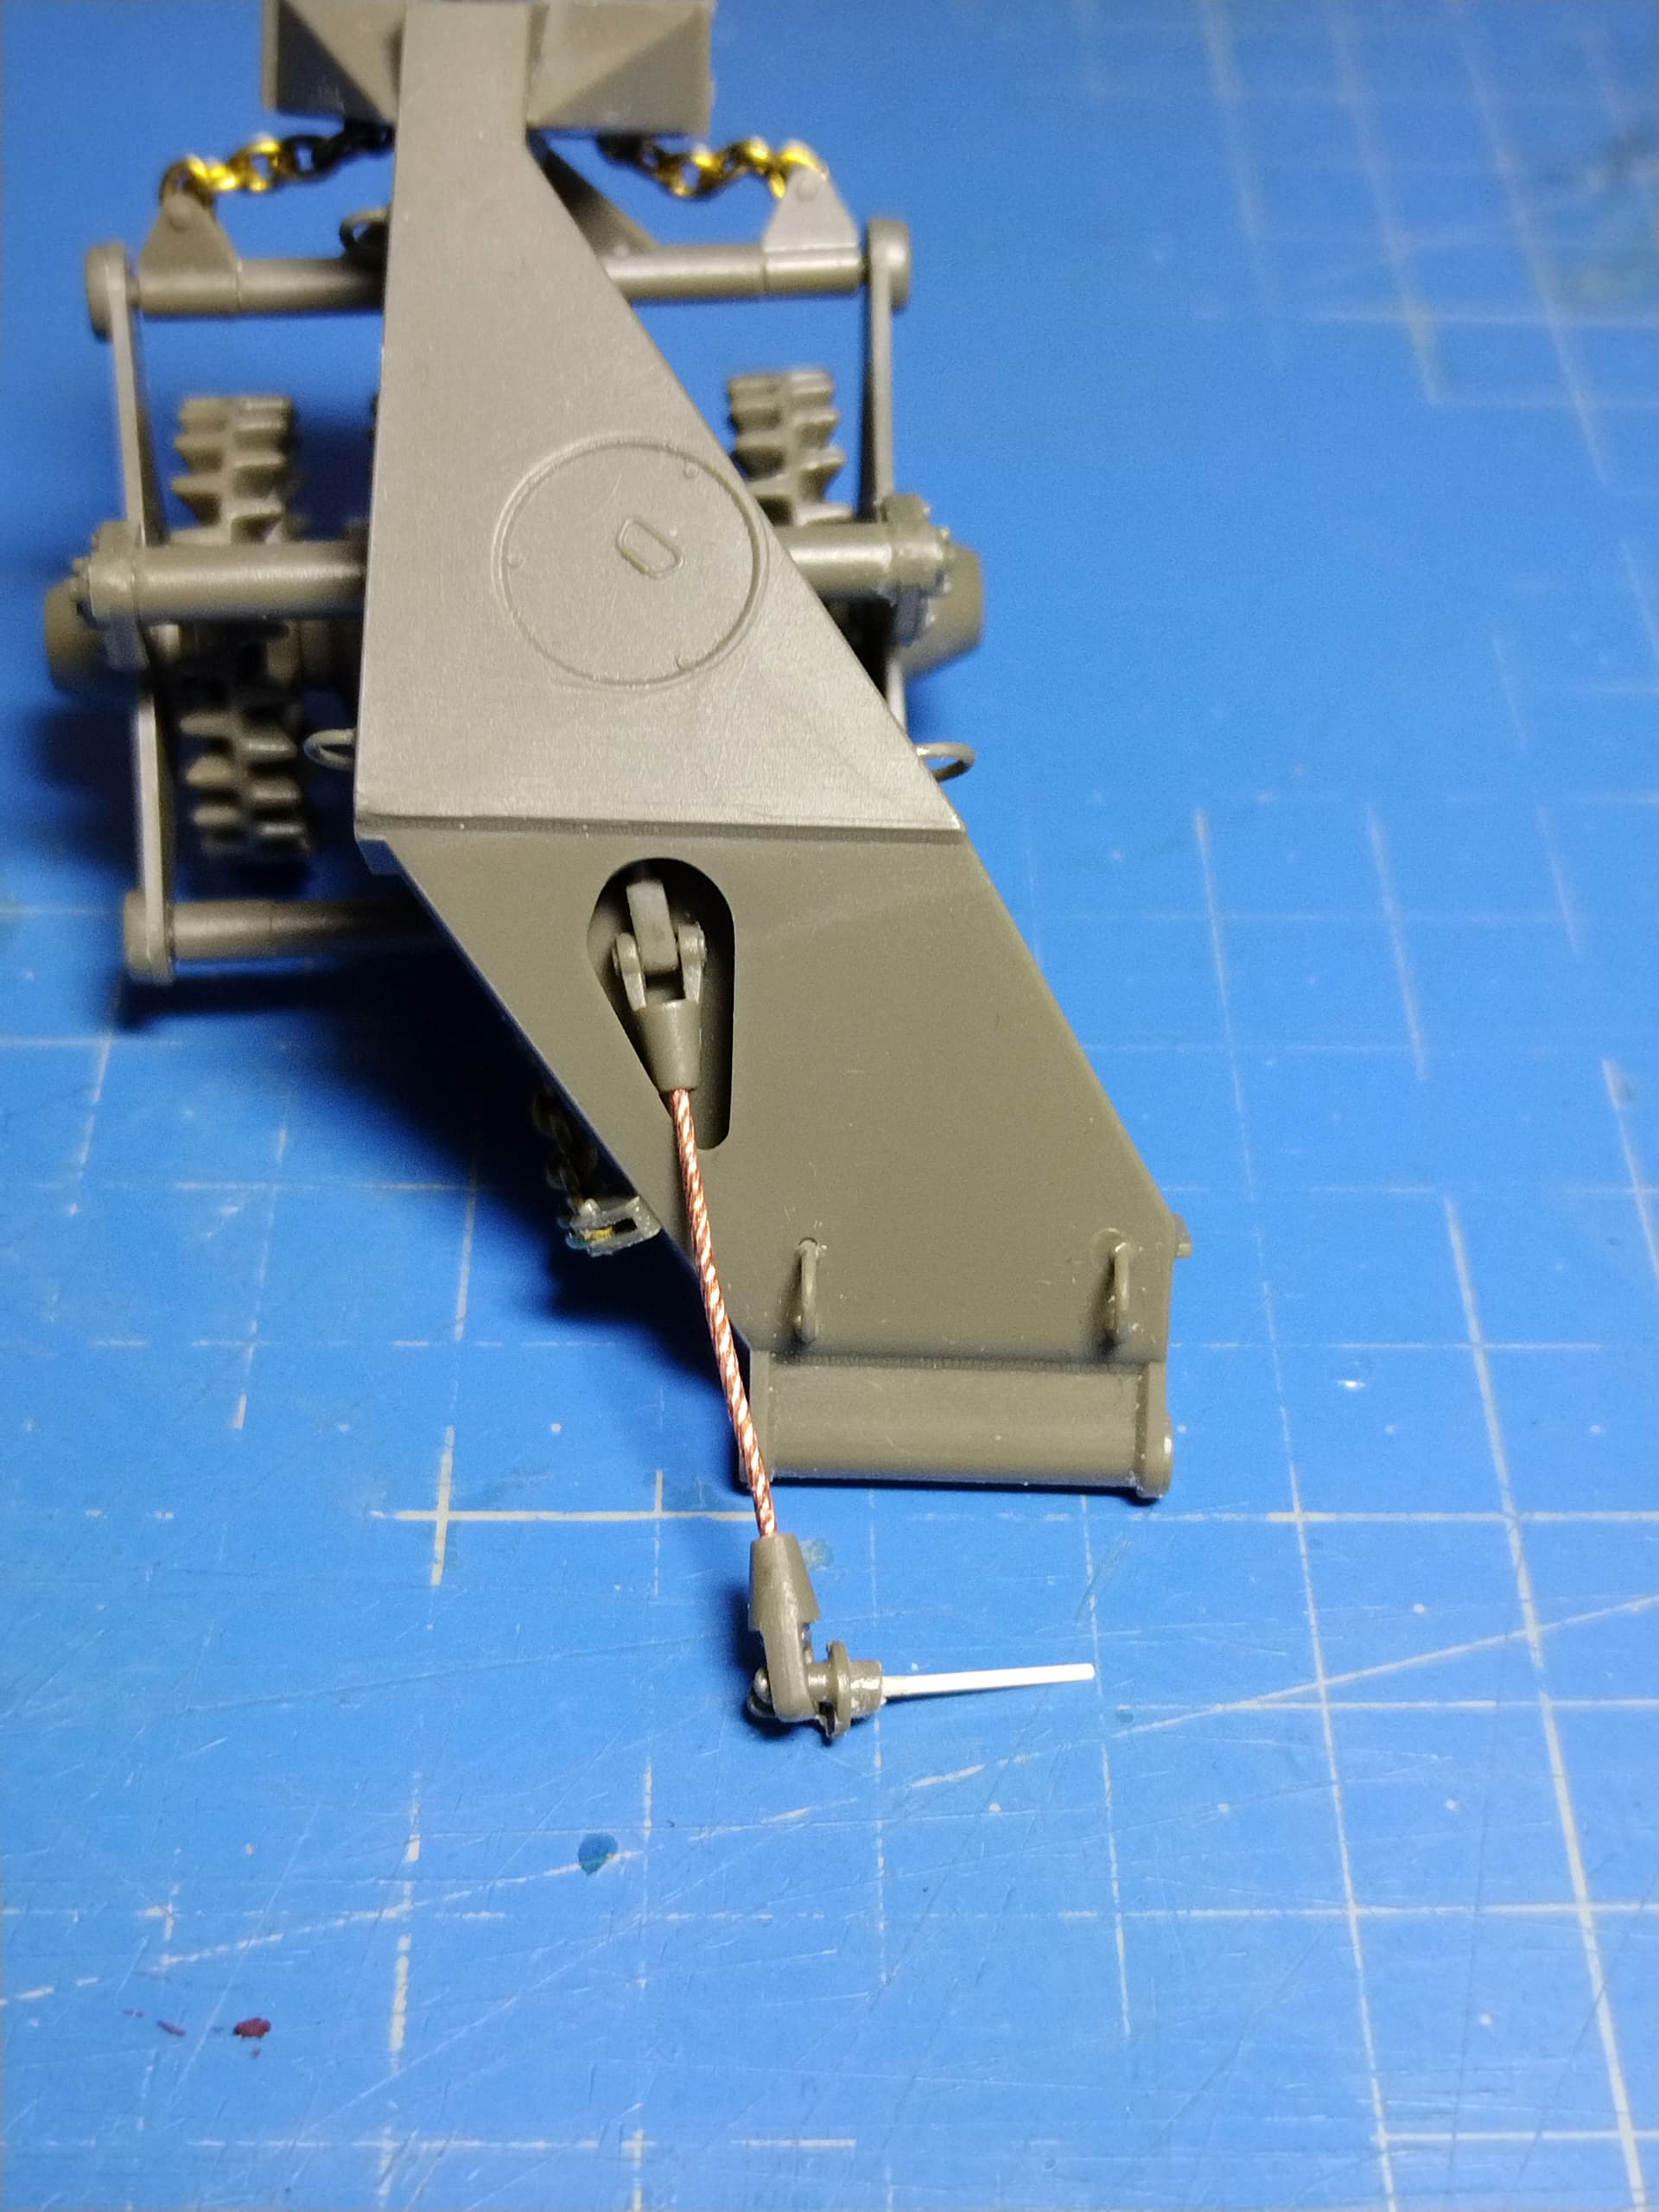

It works. If this is finally not sturdy enough I still can replace the styrene rods by metal ones.
Olivier
7 Likes

3 Likes
Very clever ![]()
2 Likes
Nice work
2 Likes
Thank you all. I already have attached and remove the adapter several times with no issue. I’ll avoid playing too much with the rollers though.
Now it’s time to move to the Carpet system.
I intend to start it at my club session tonight.
Olivier
2 Likes
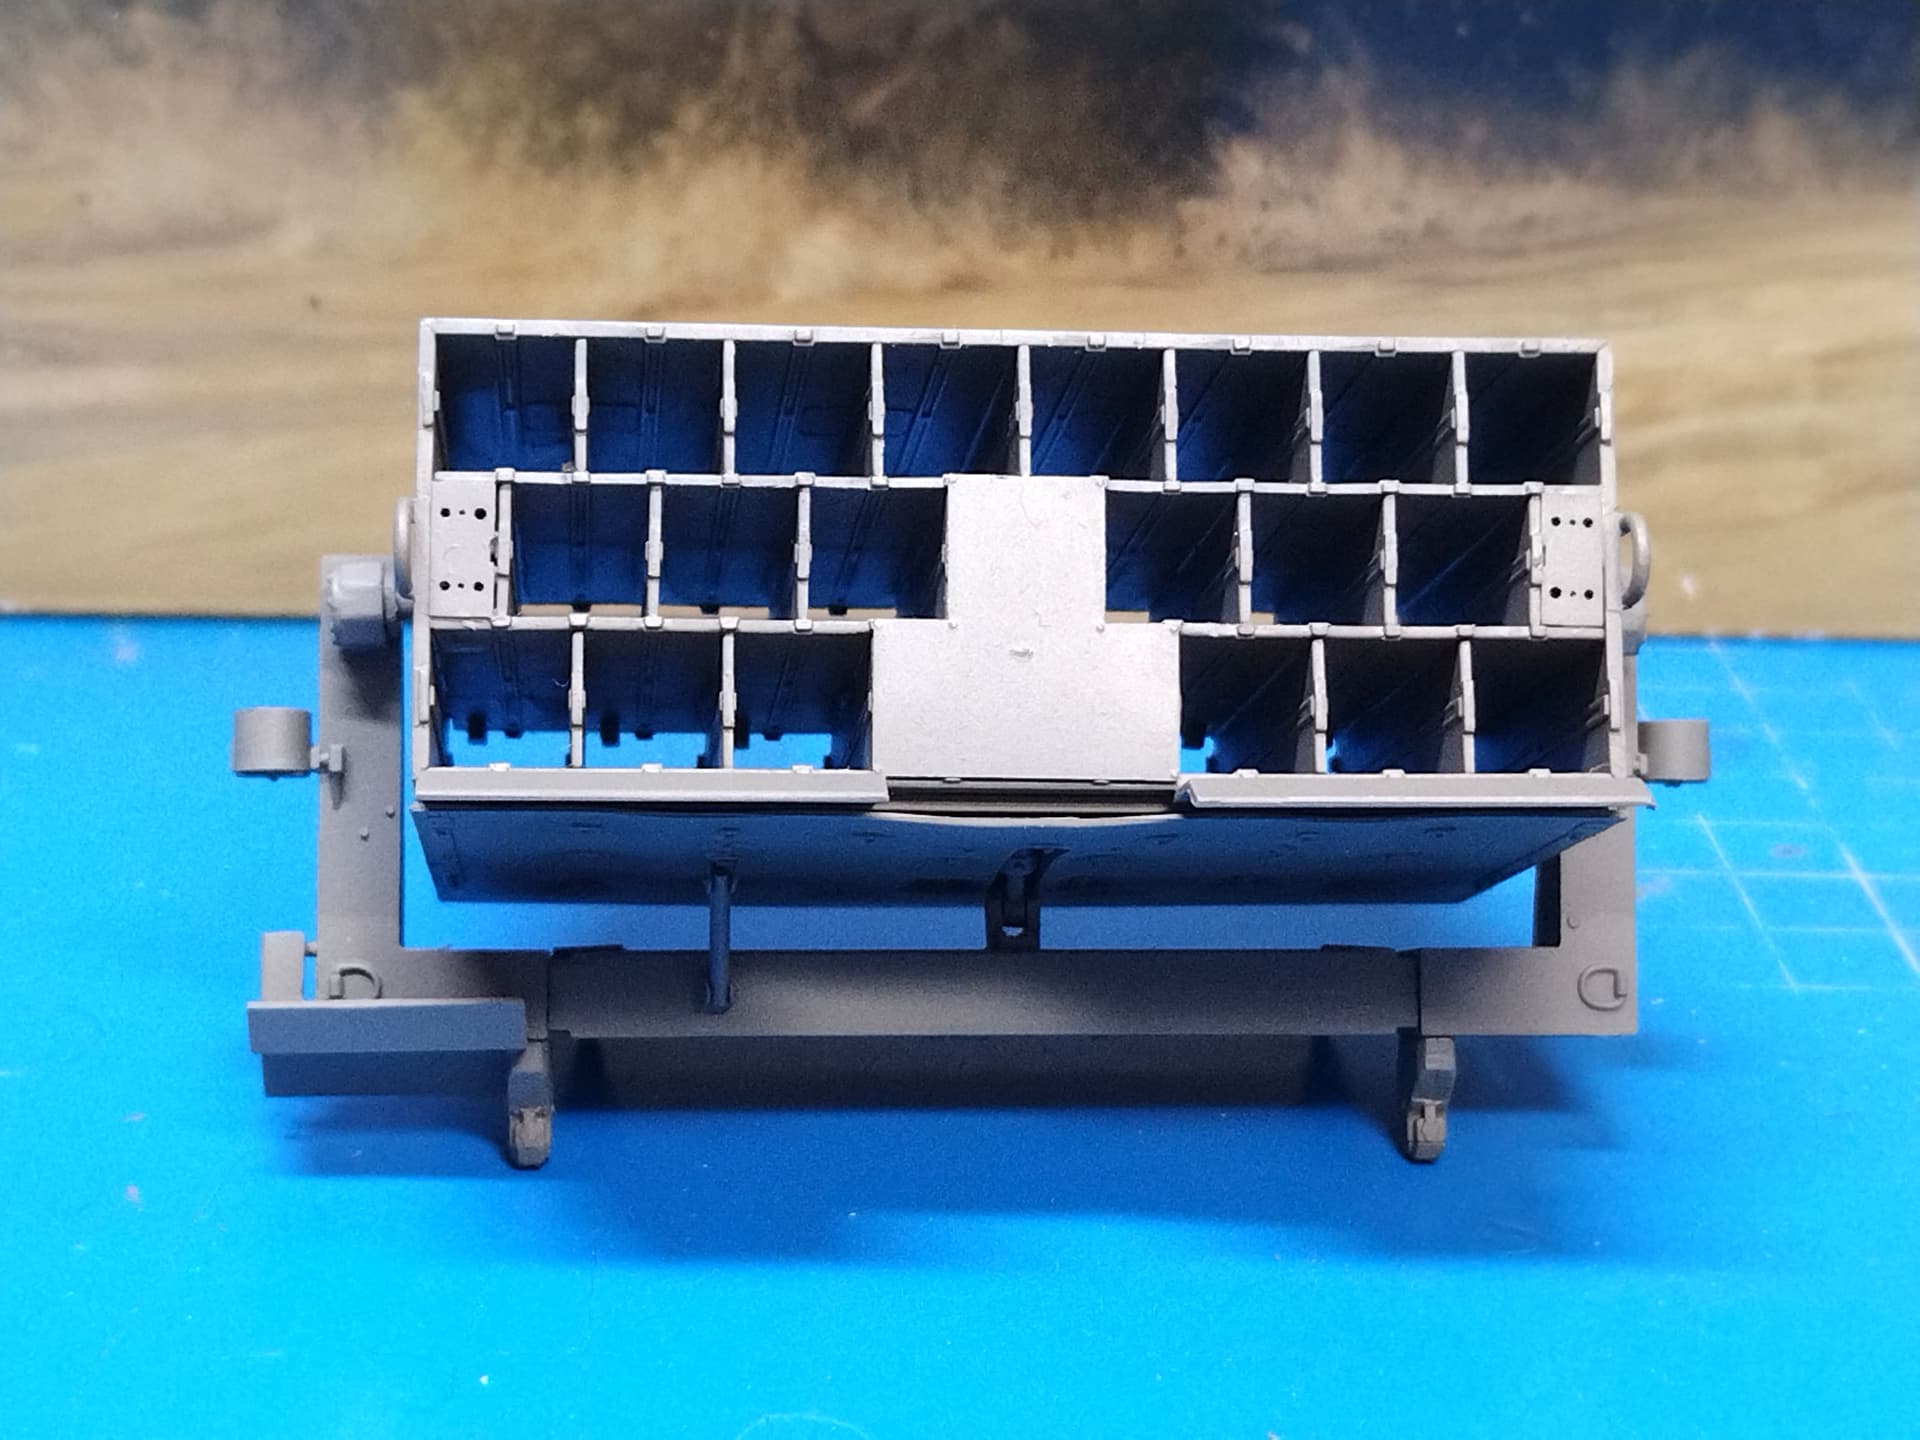
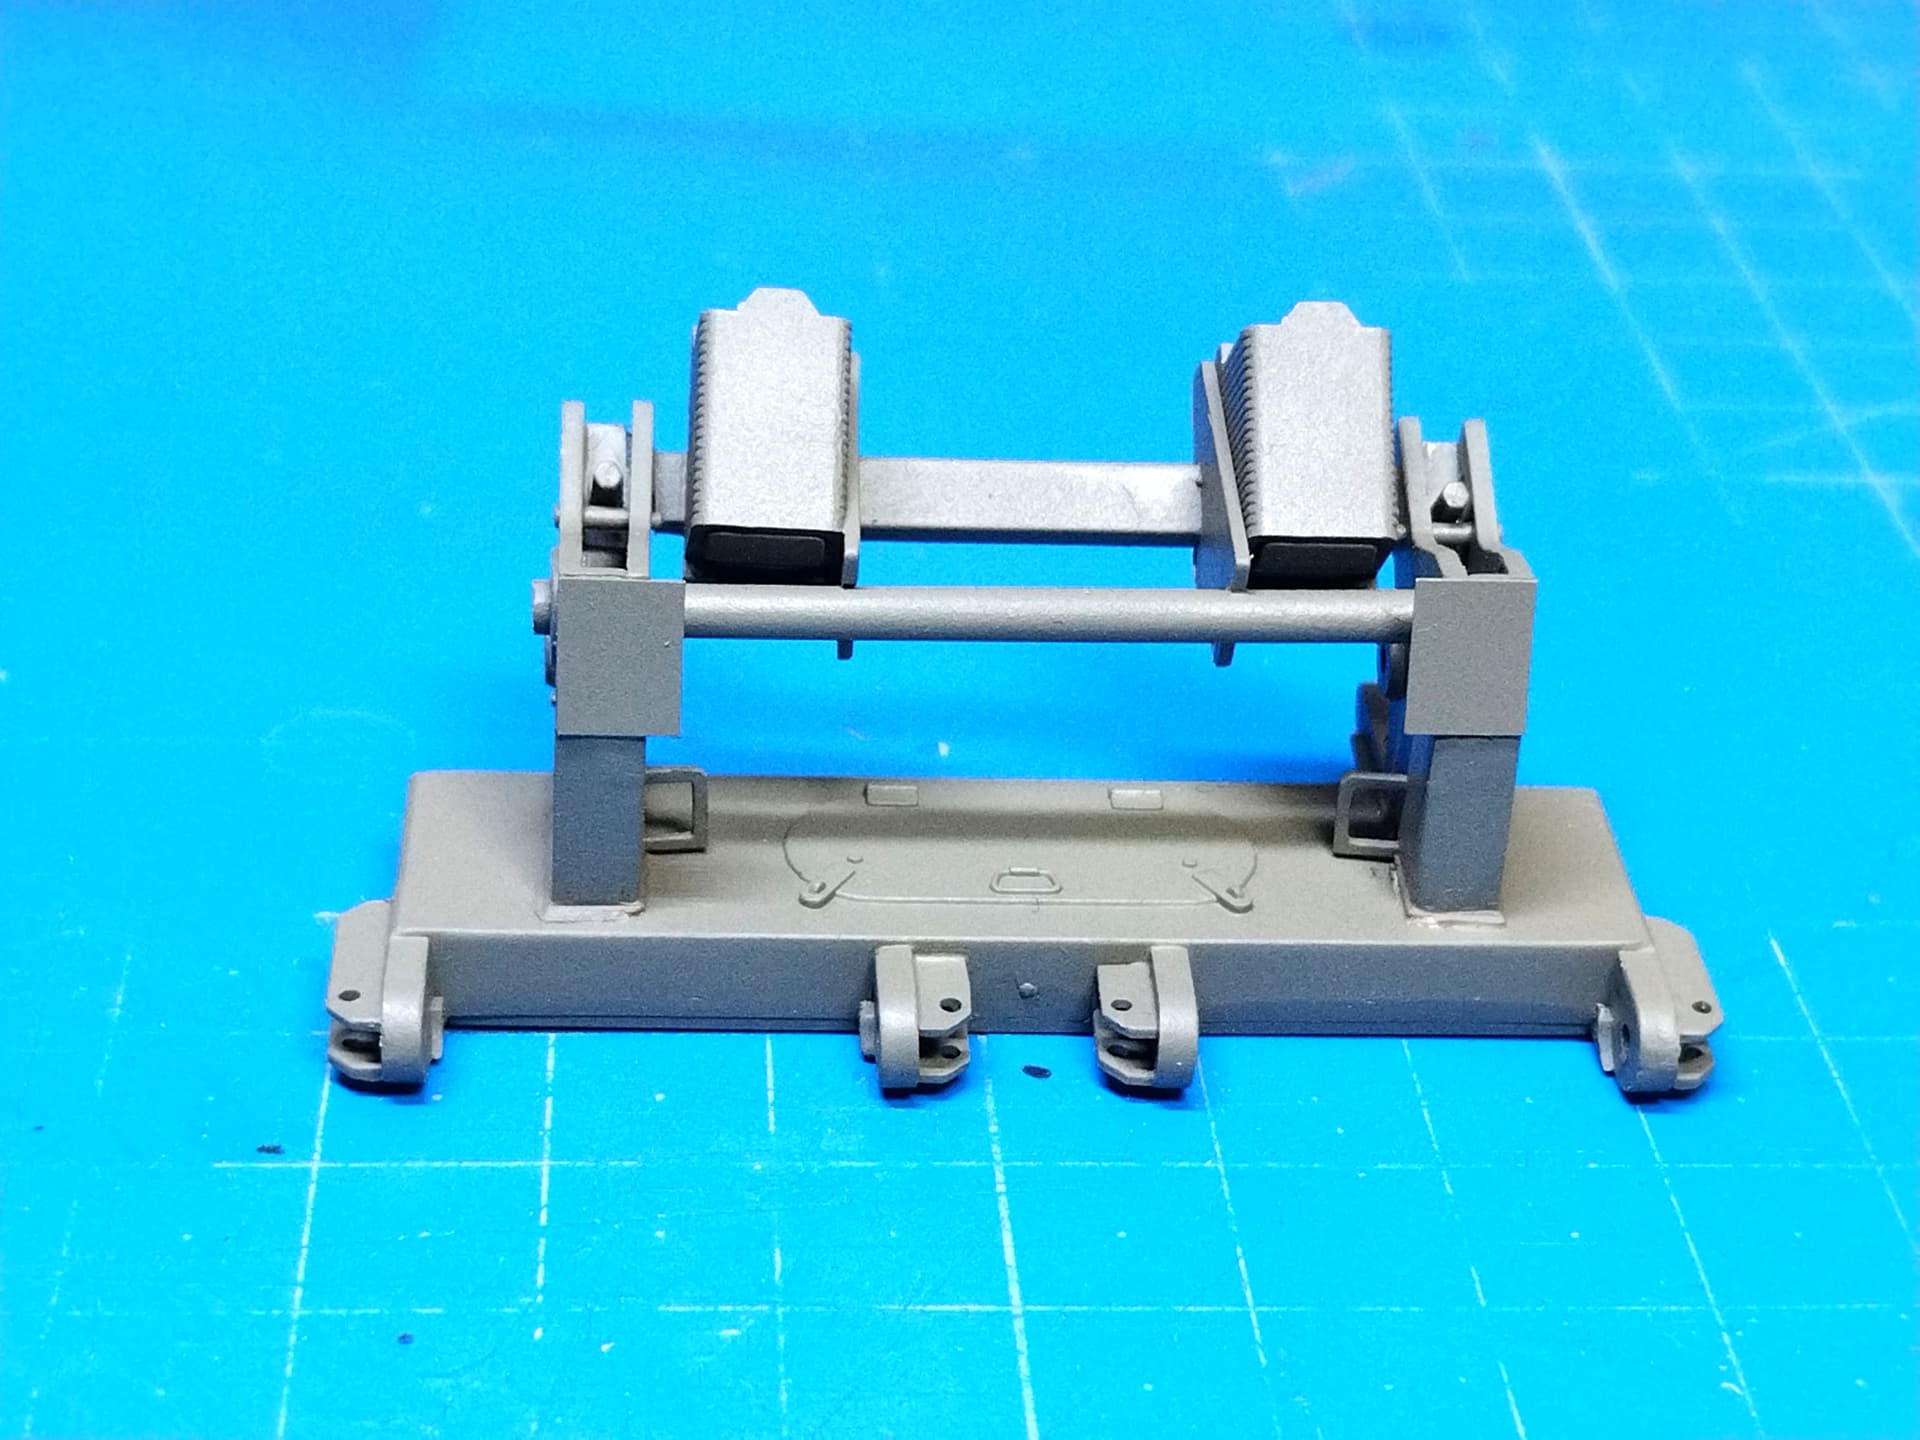
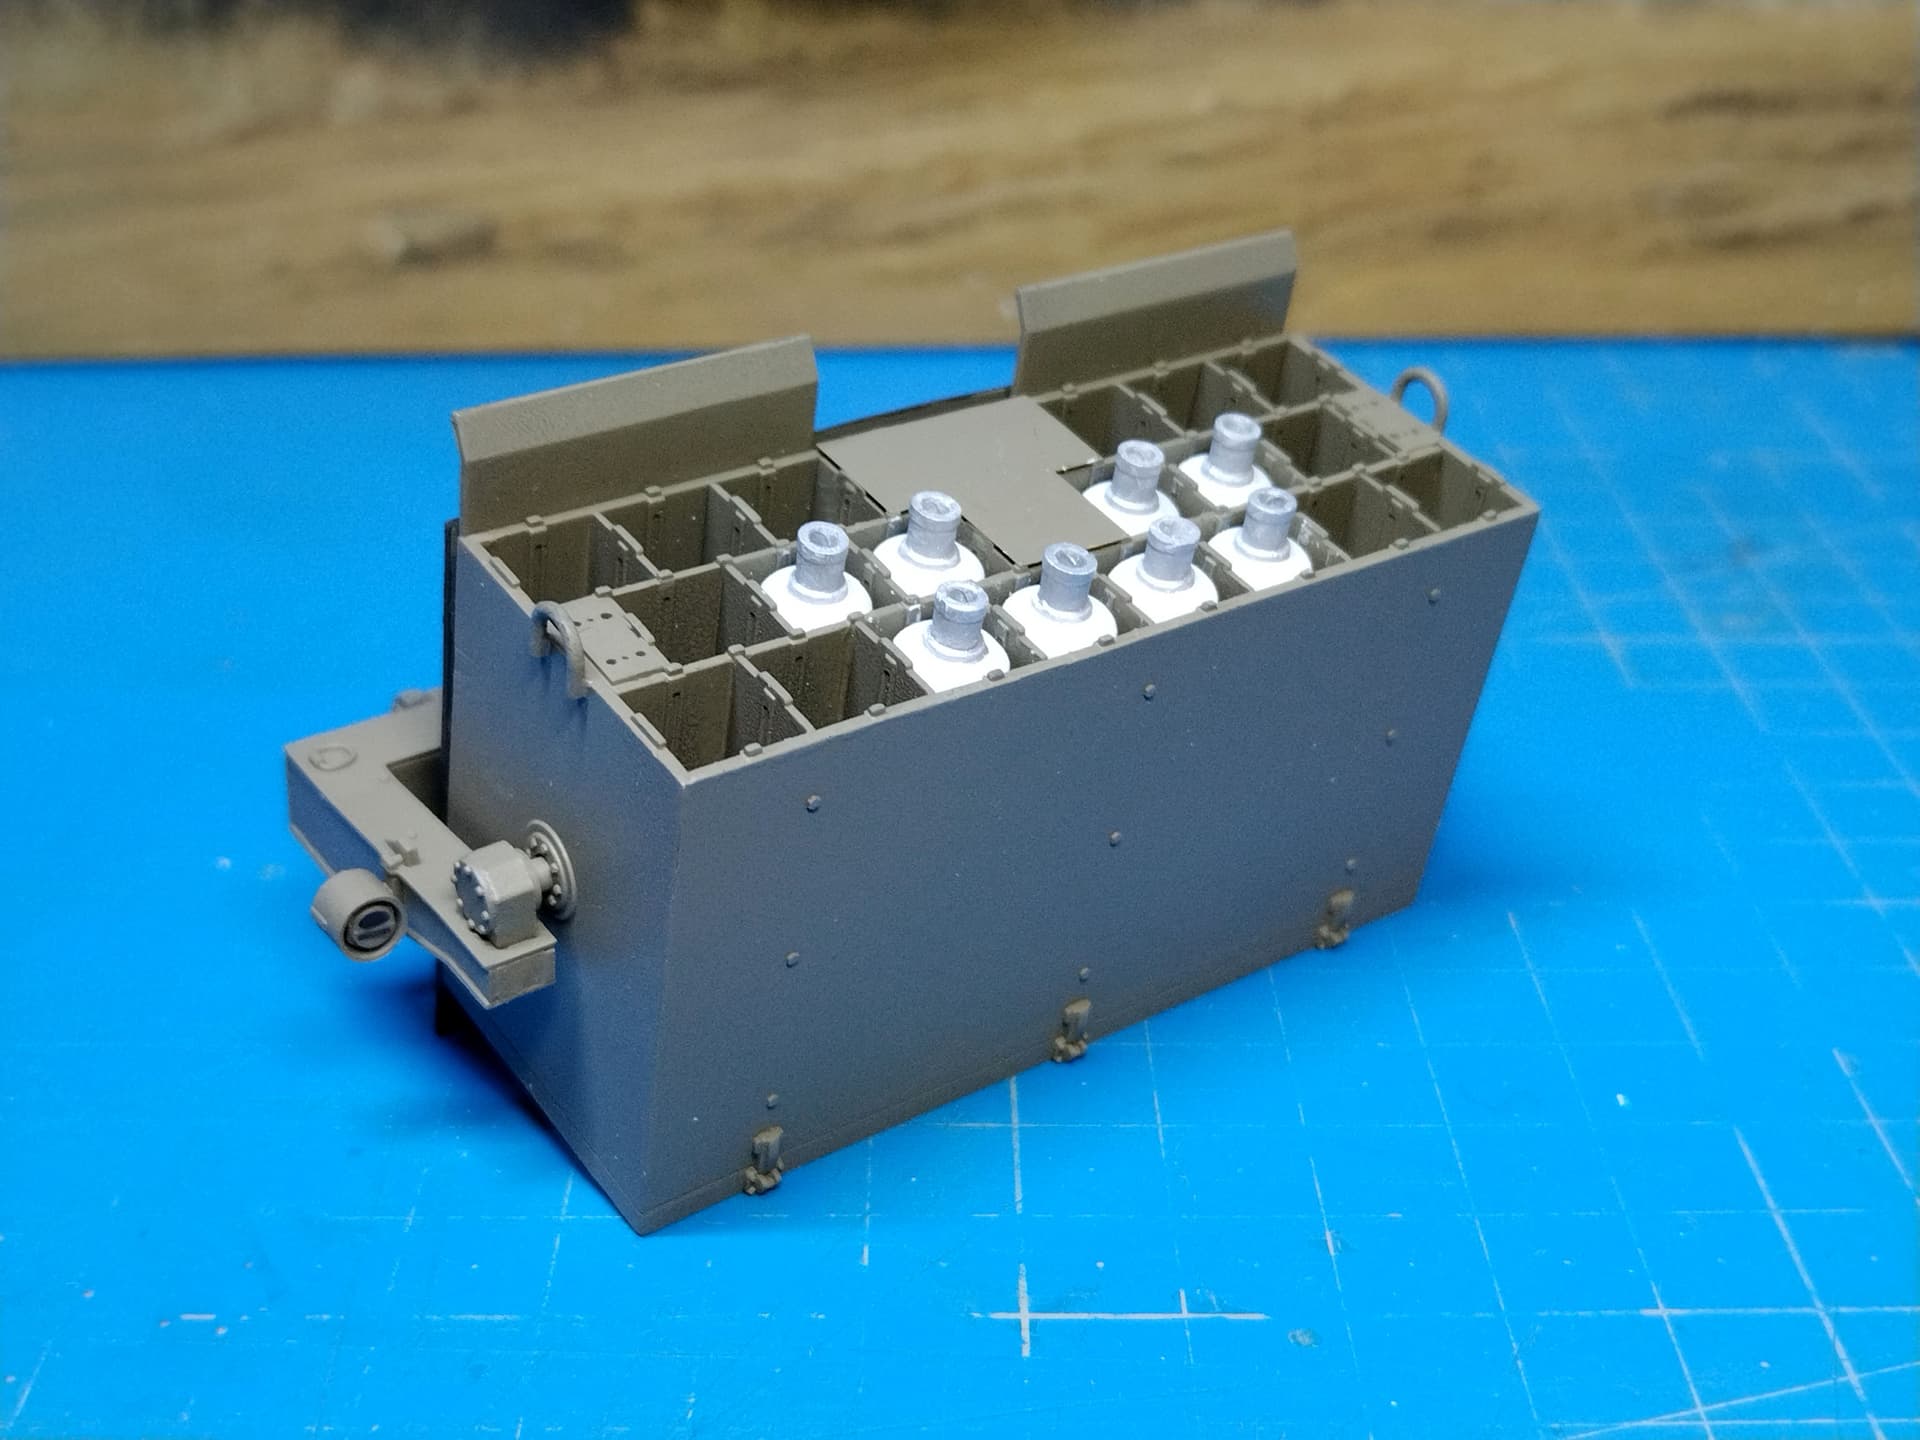
I finally assembled the Carpet launcher. I still need to assemble the 8 rockets.
If you don’t thoroughly clean the parts the fit is poor. The inner walls have fins to insert into the main body. You do have to shorten all of them so the fit is neat.
At the end of the support arms I needed to add a piece of plastic card to hide the poor junction.
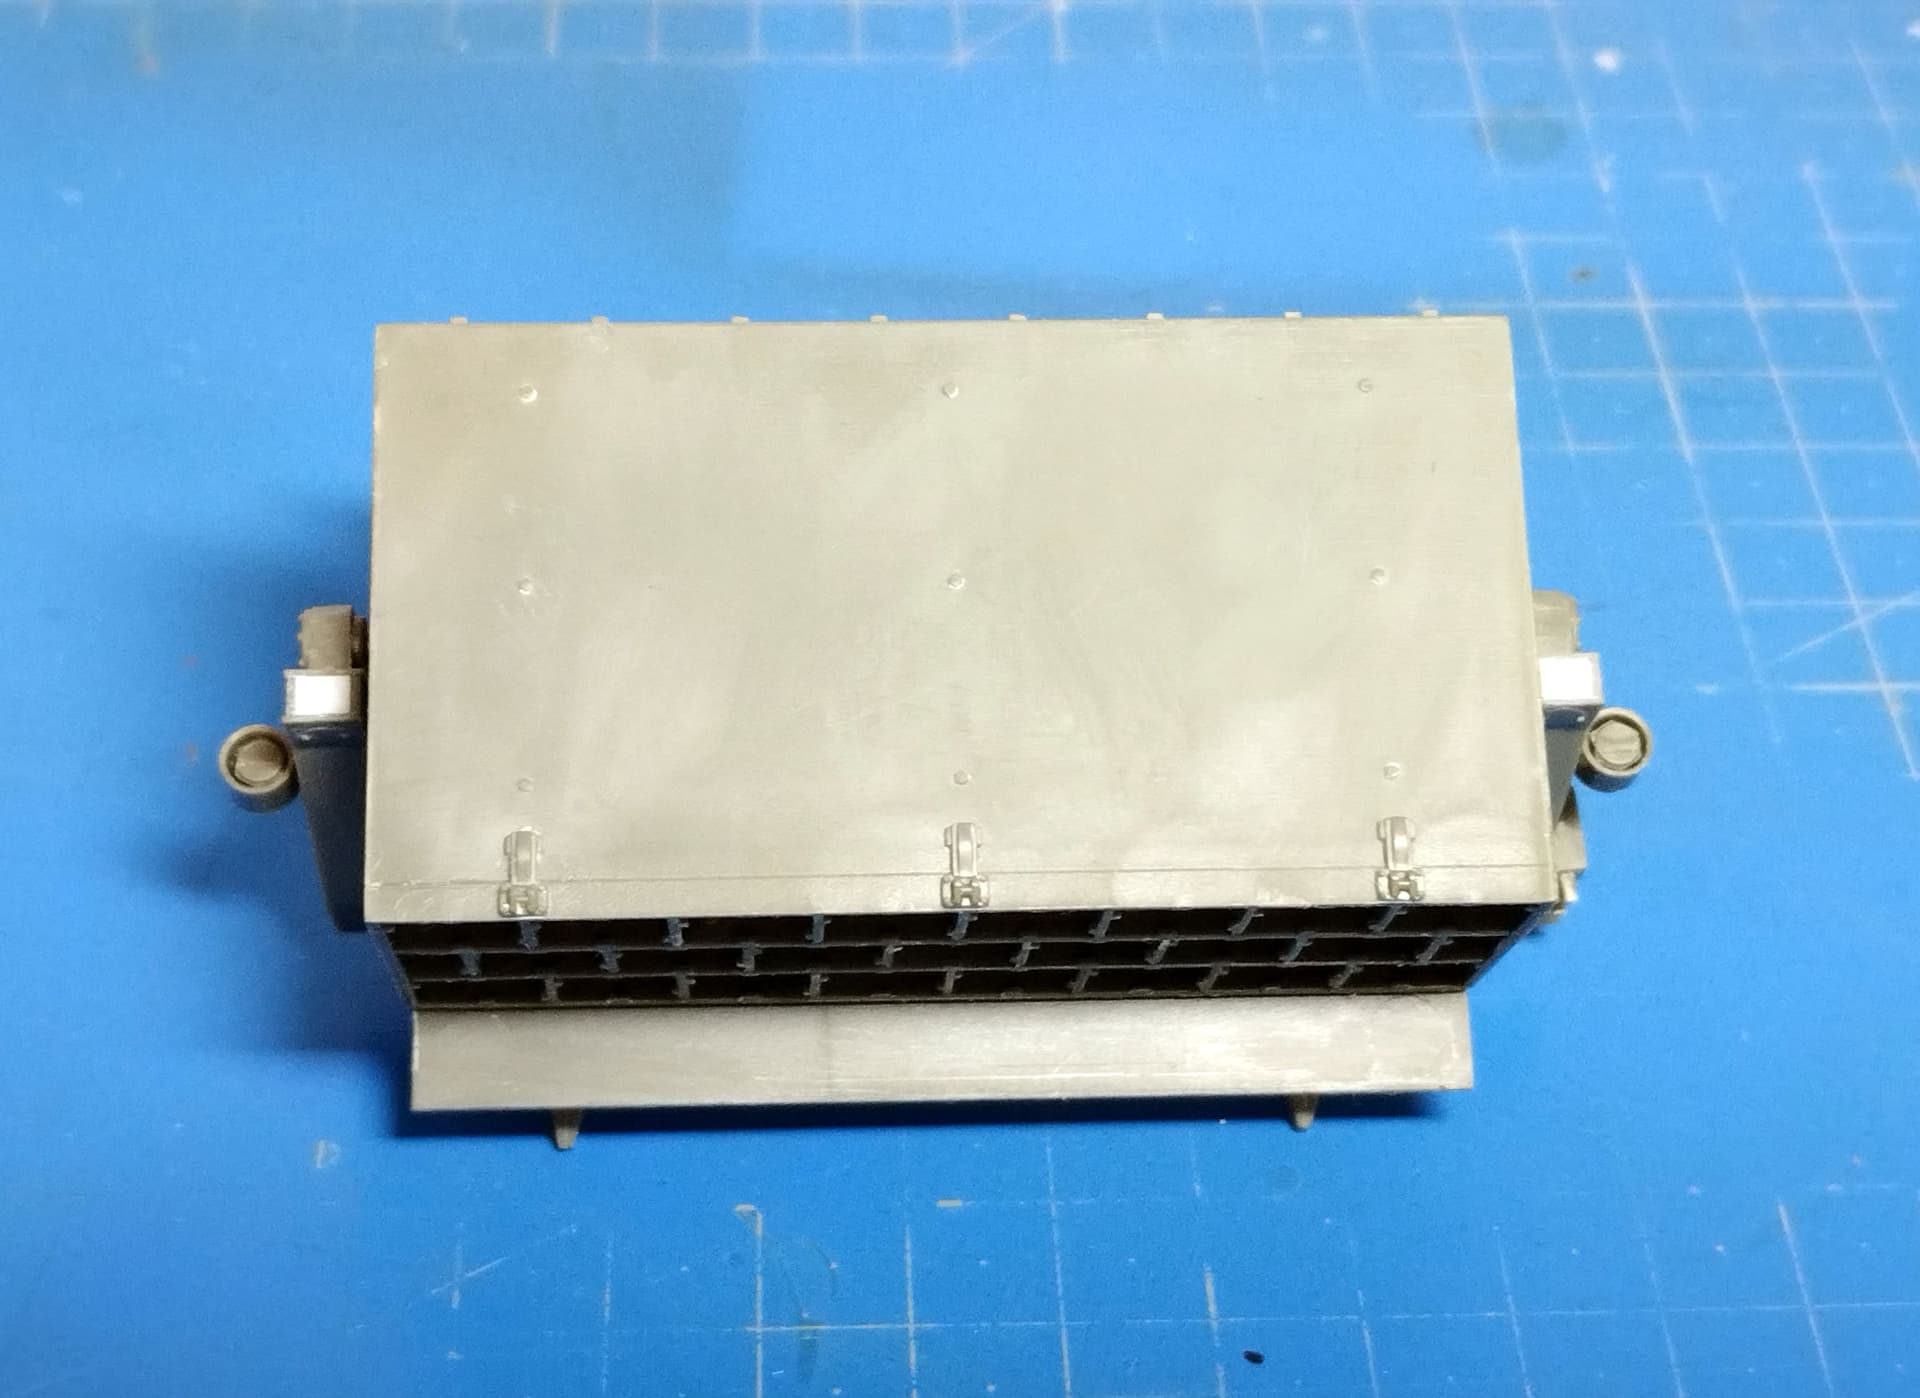
Olivier
11 Likes
Nicely built up Olivier…will it be movable or you having it fixed ?
1 Like
Thank you Johnny. Unfortunately it is fixed. There is a link on the left between the launcher and the support which prevents the launcher from moving.
Olivier
2 Likes
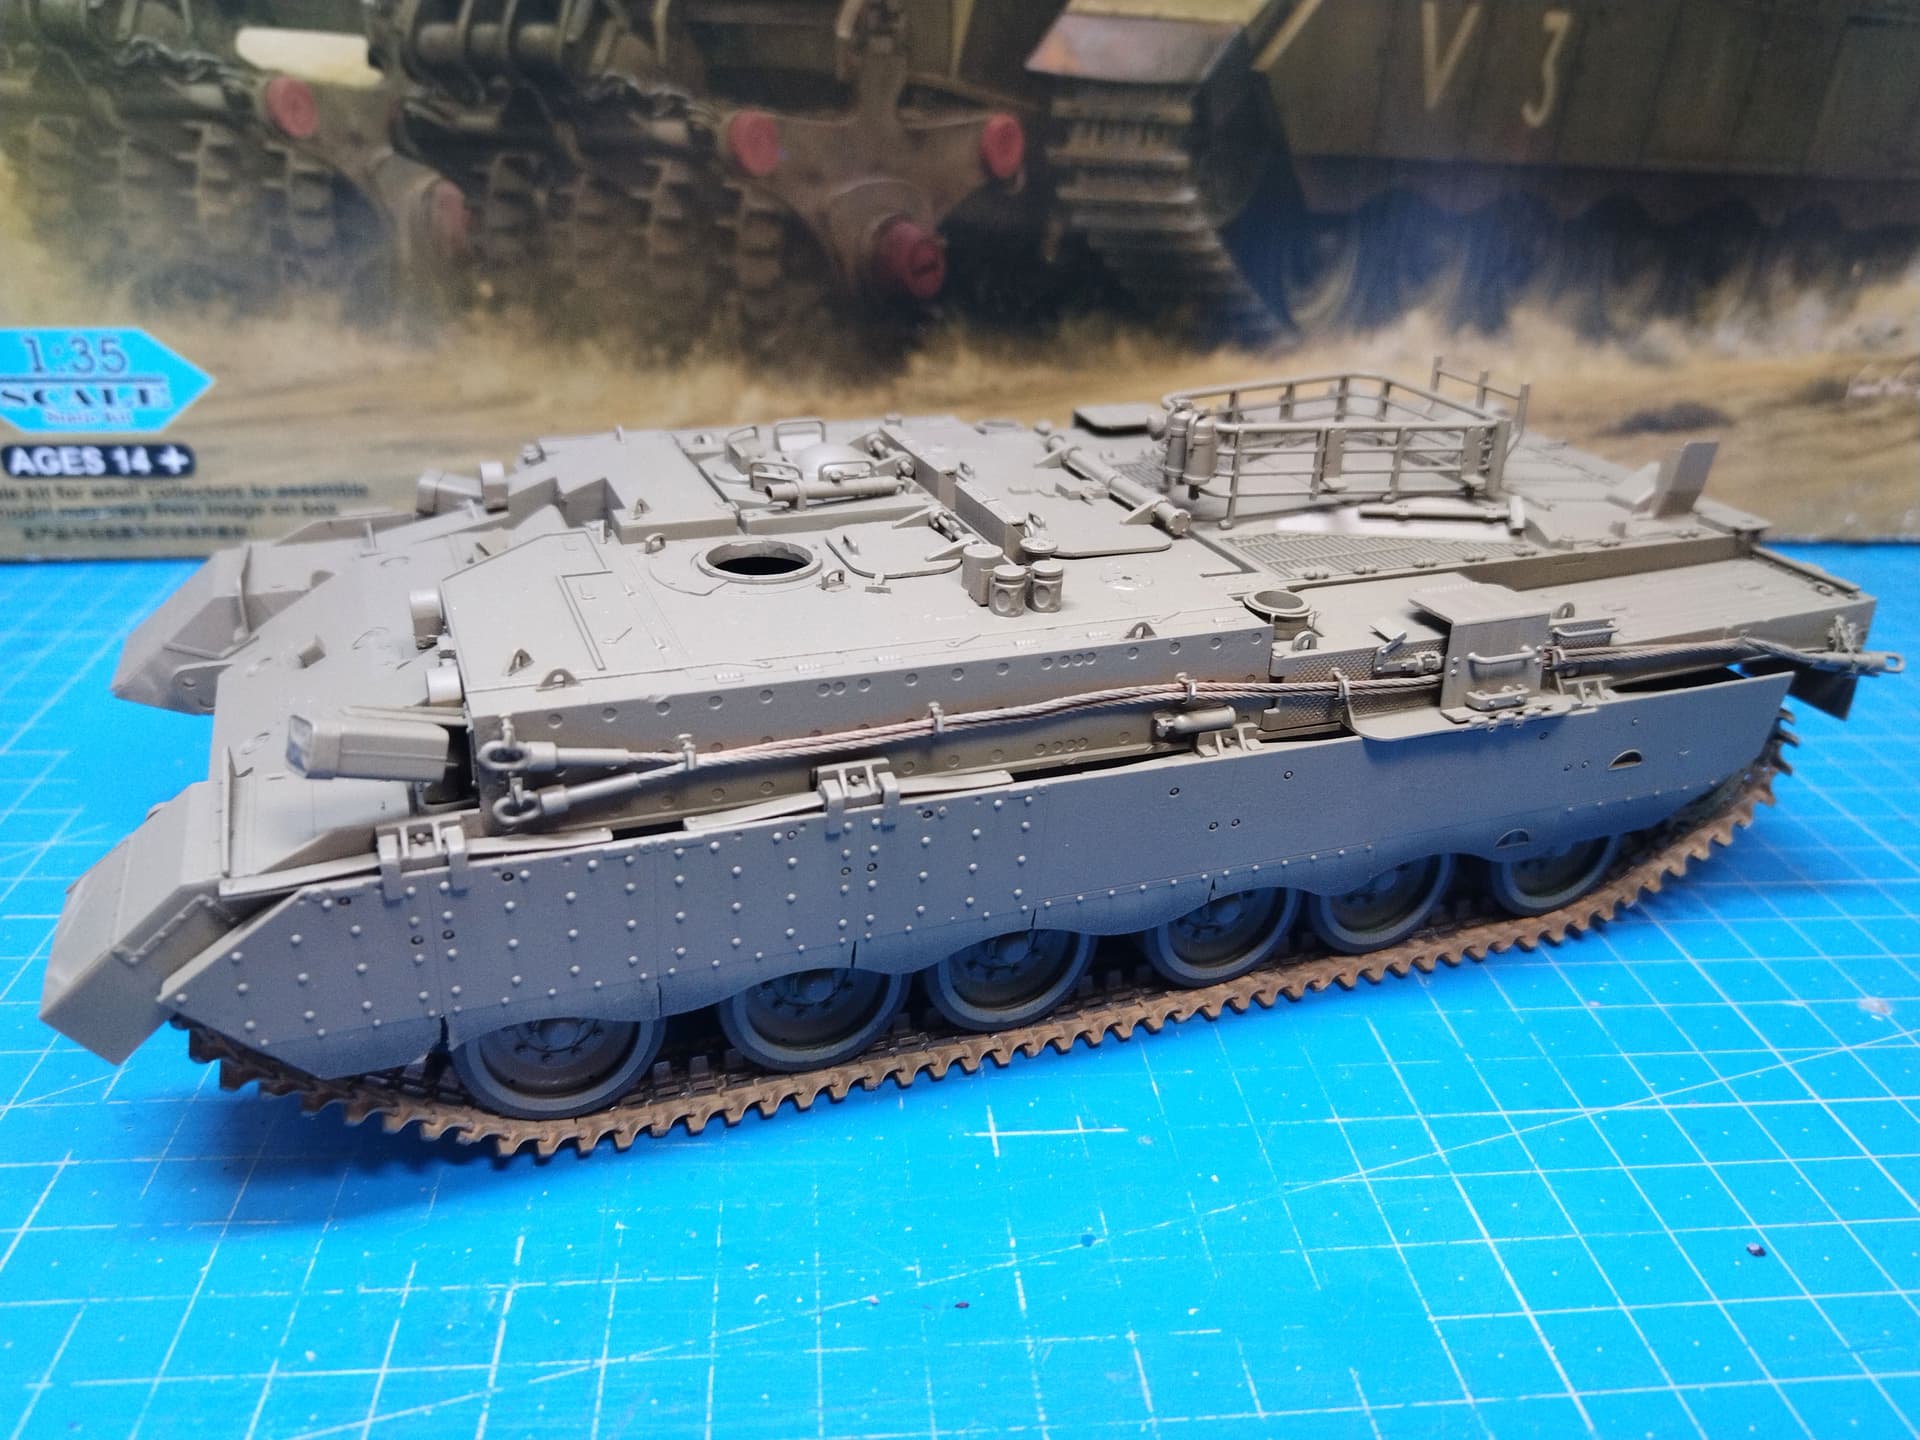
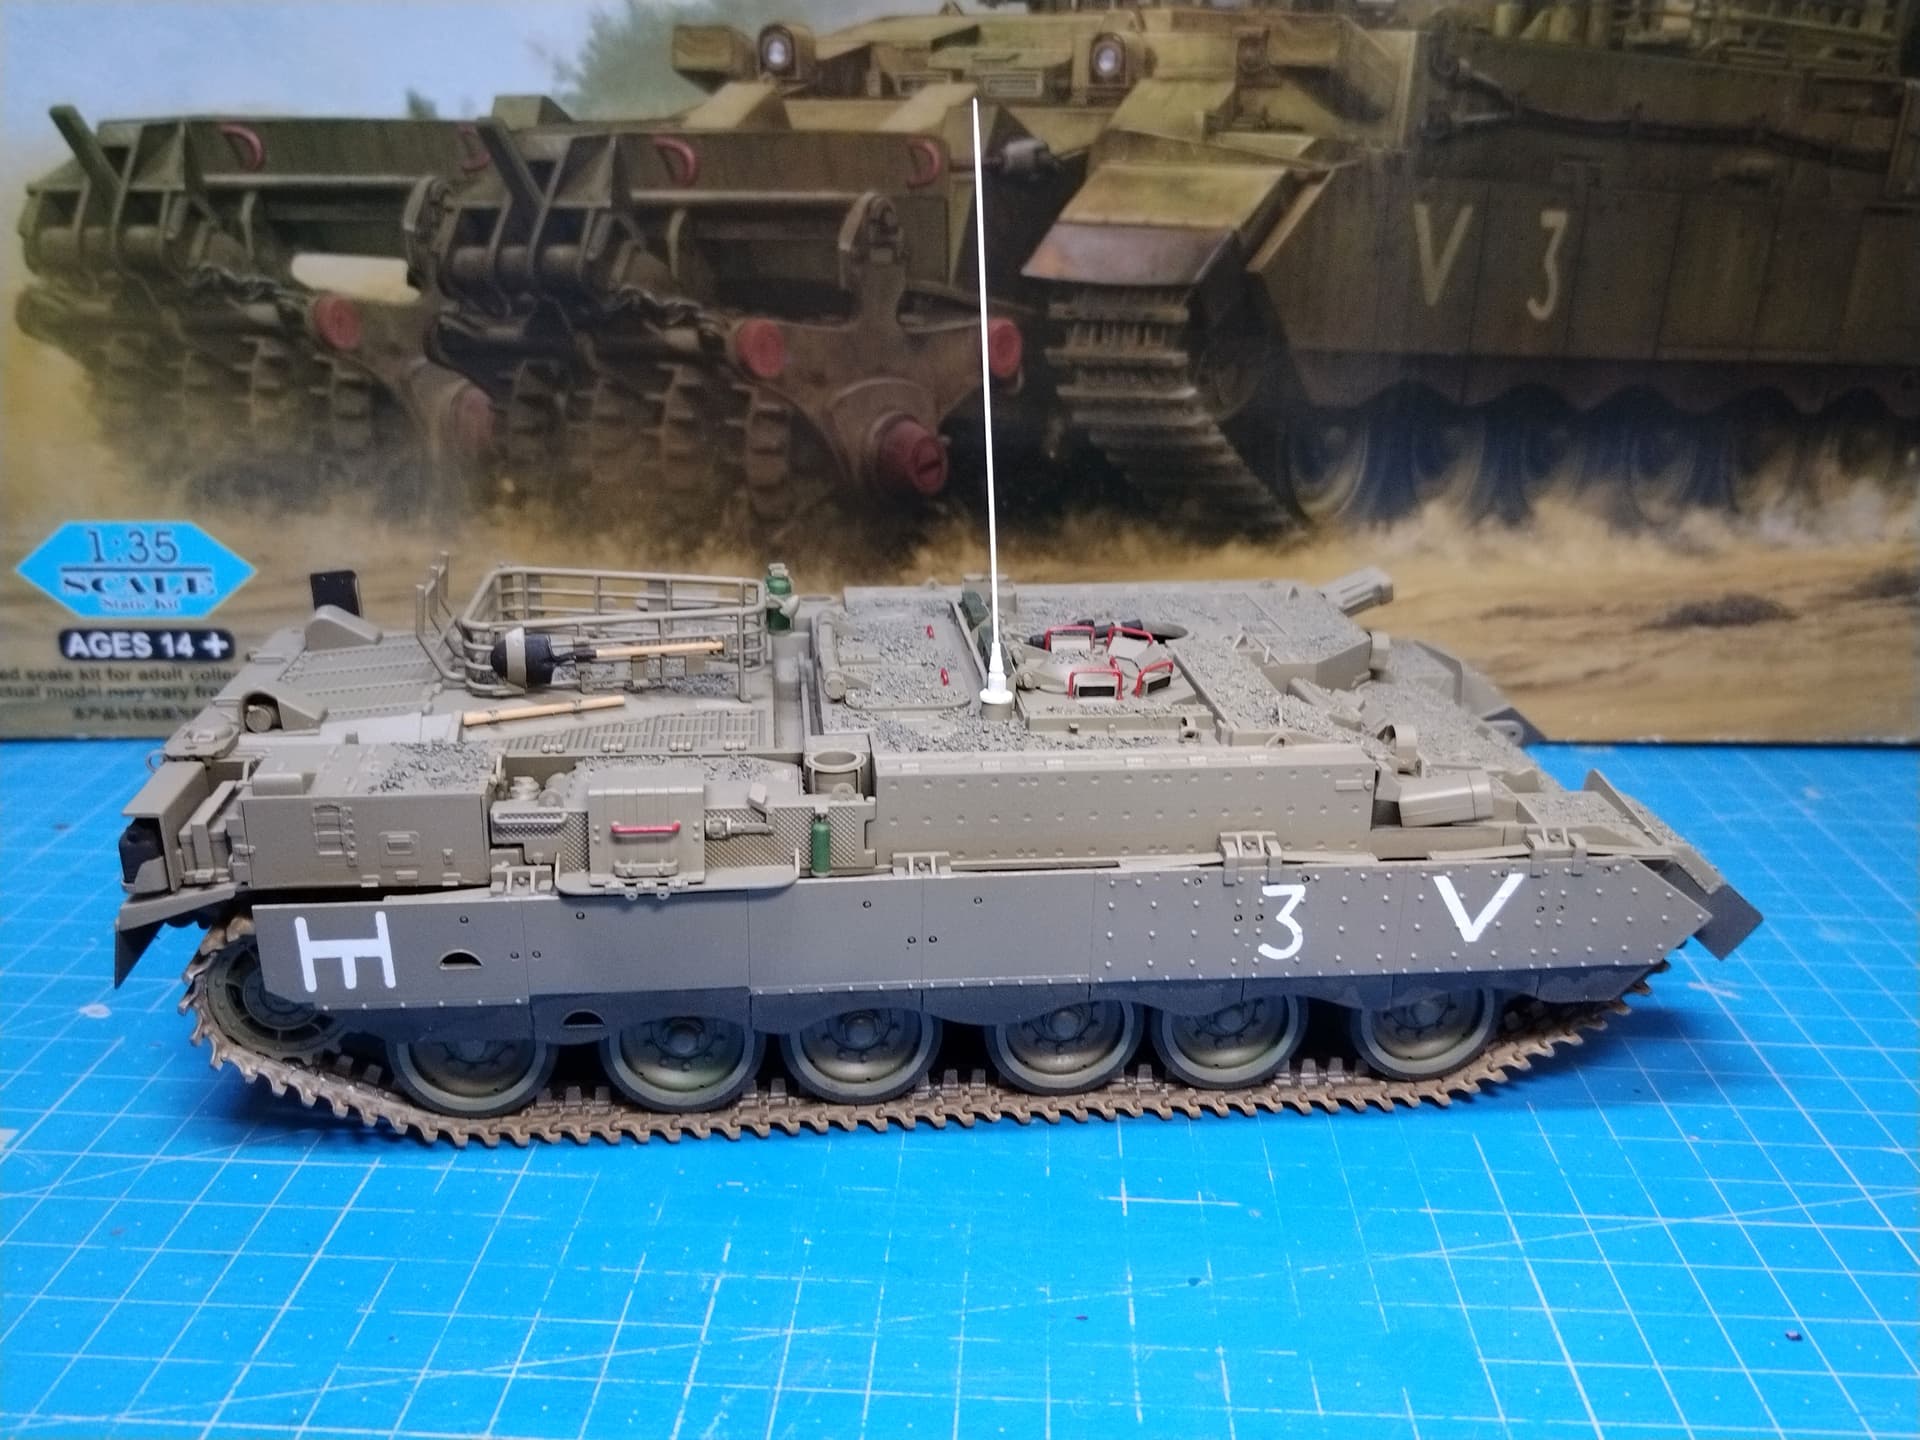
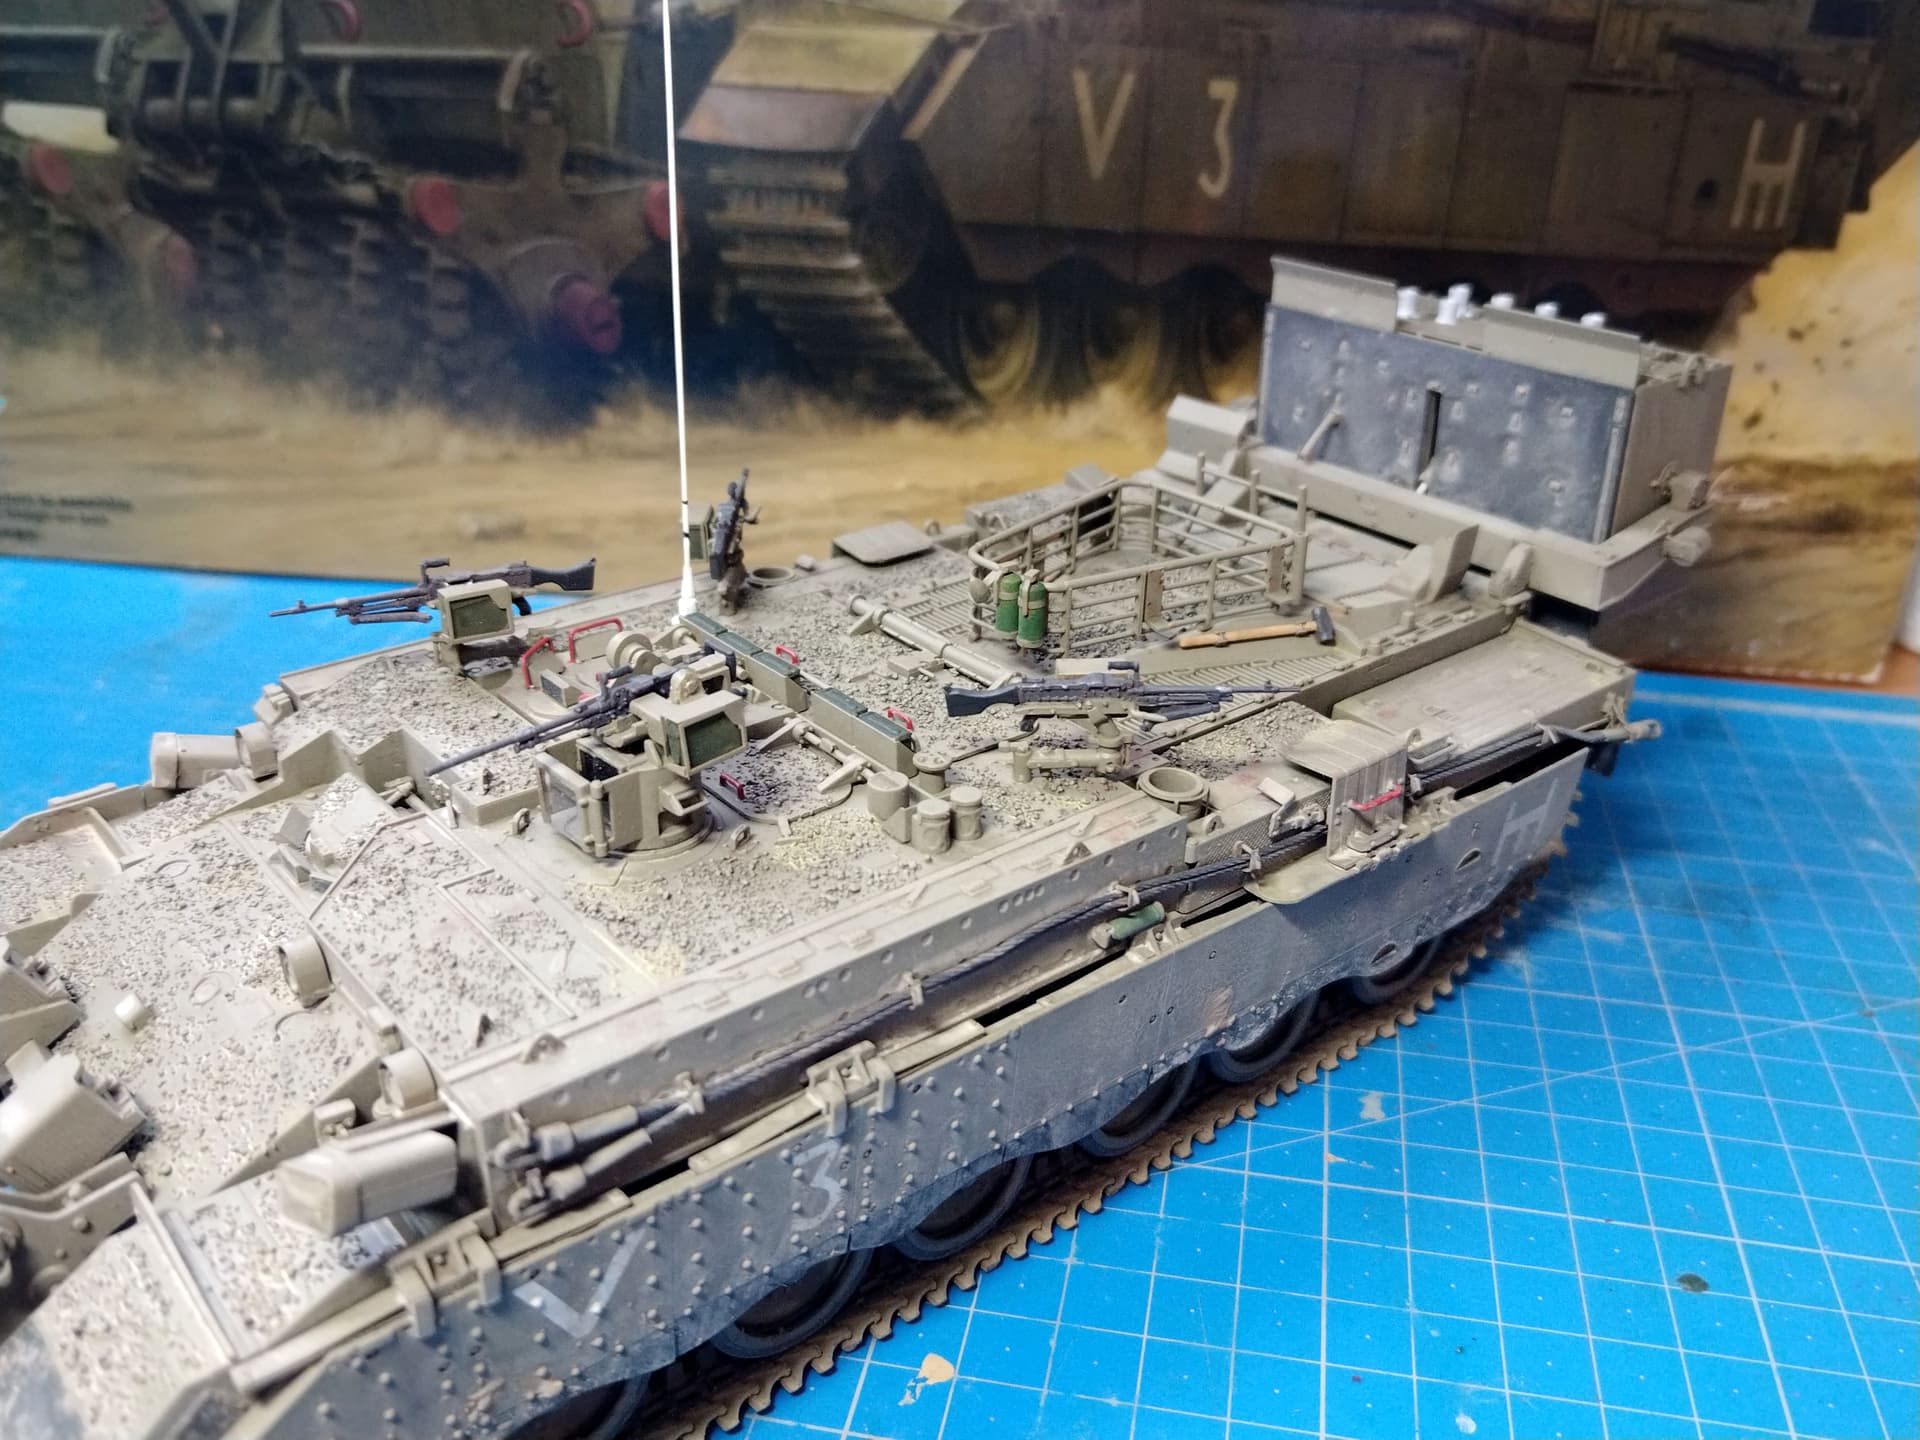
Painting step started today.
I’ve sprayed a coat of Ammo Real IDF Sinai Grey. I have to paint the rare colorful details before I can start the weathering. I’ll keep the Carpet and the Nochri apart as long as possible for a better handling.
Olivier
10 Likes
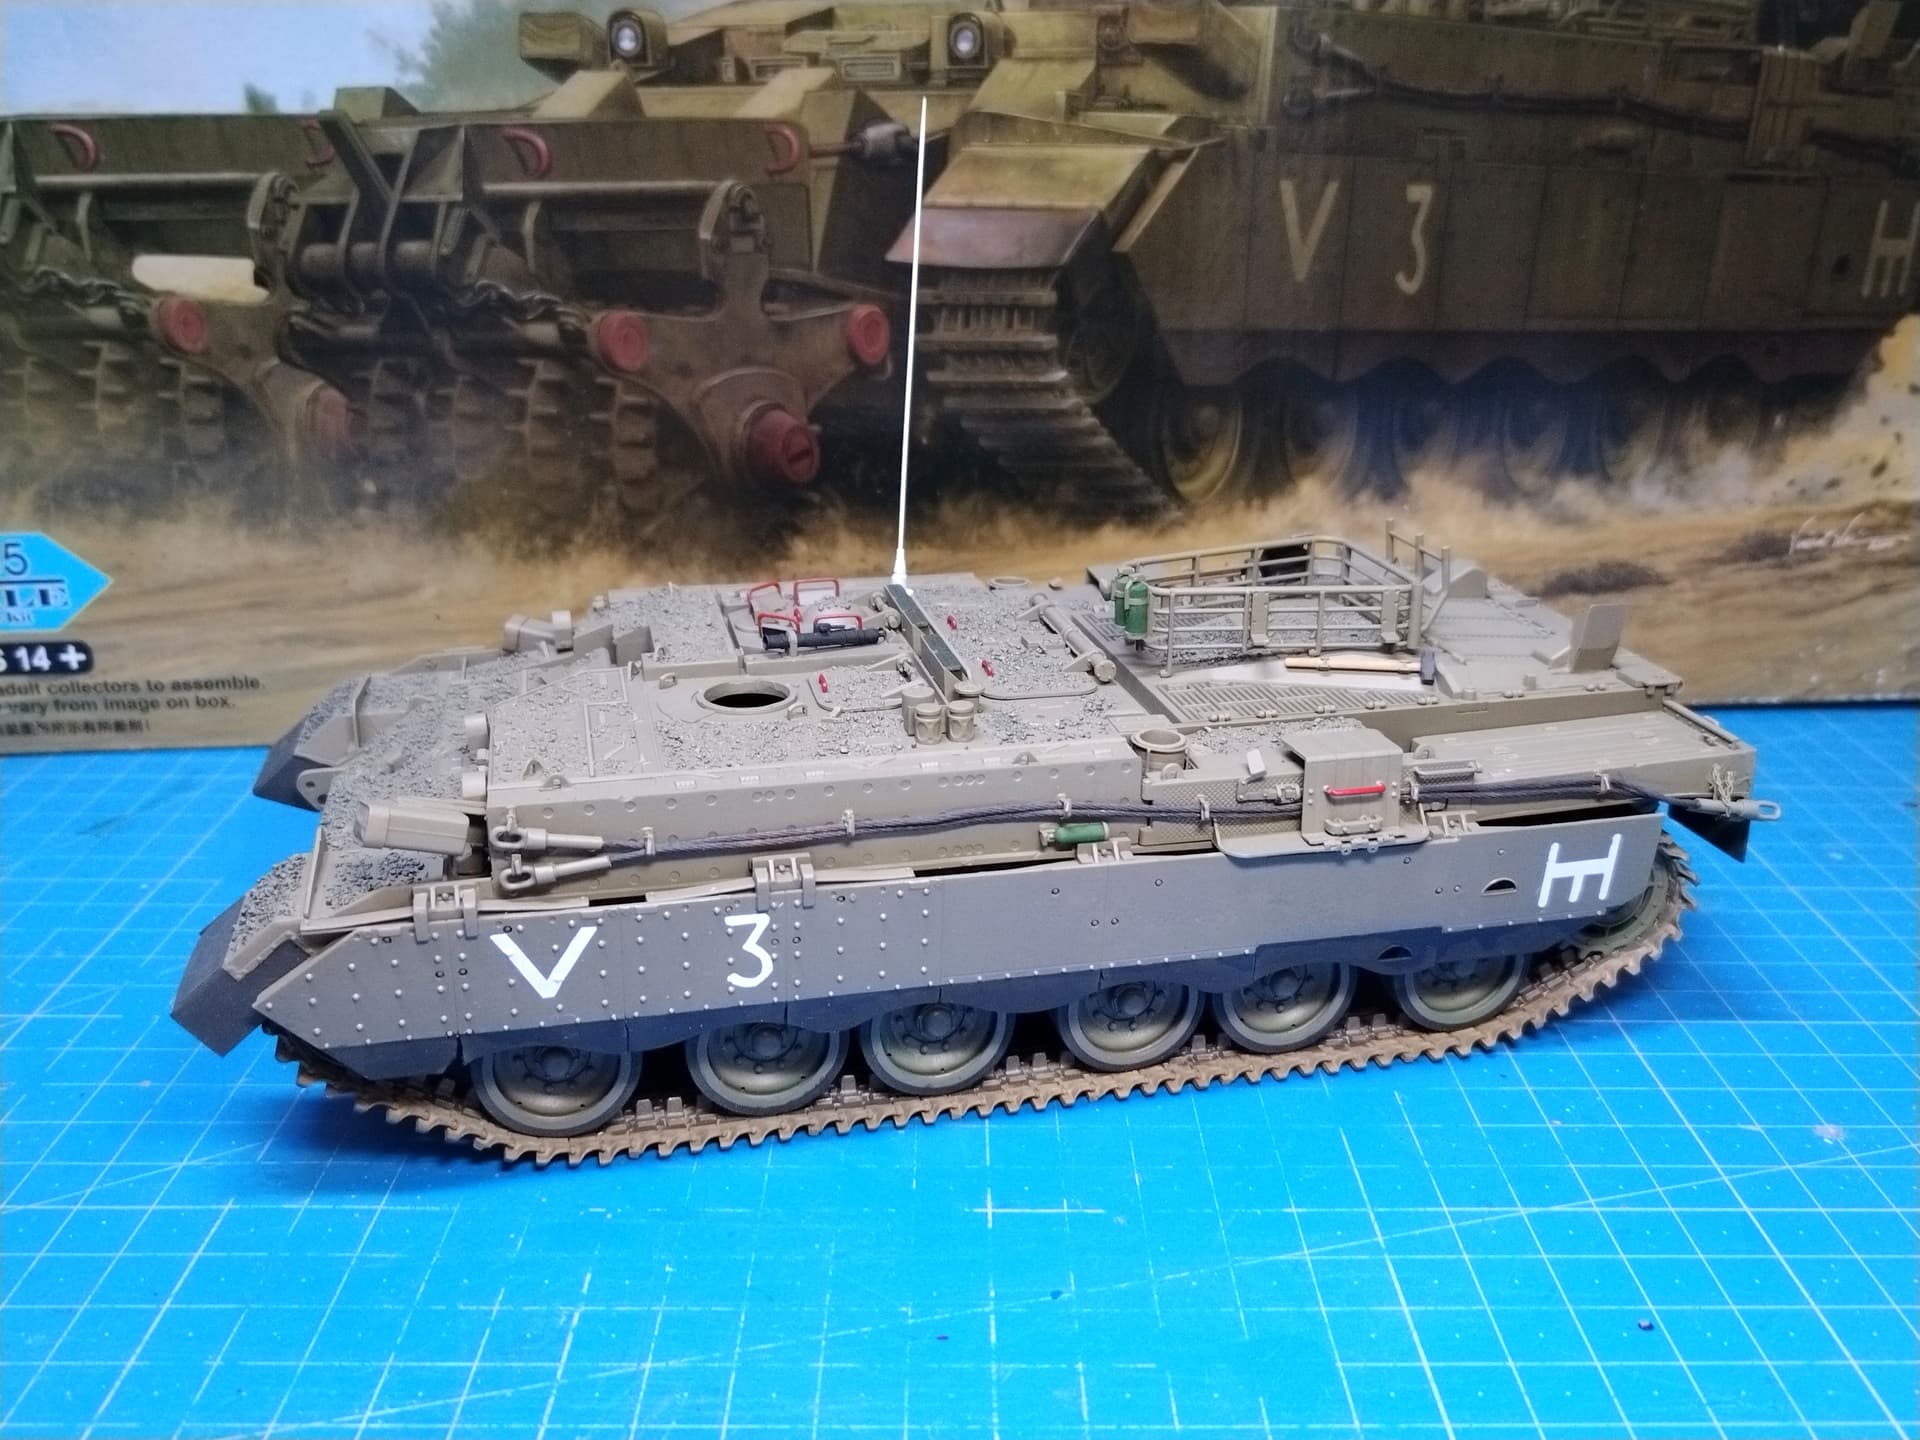
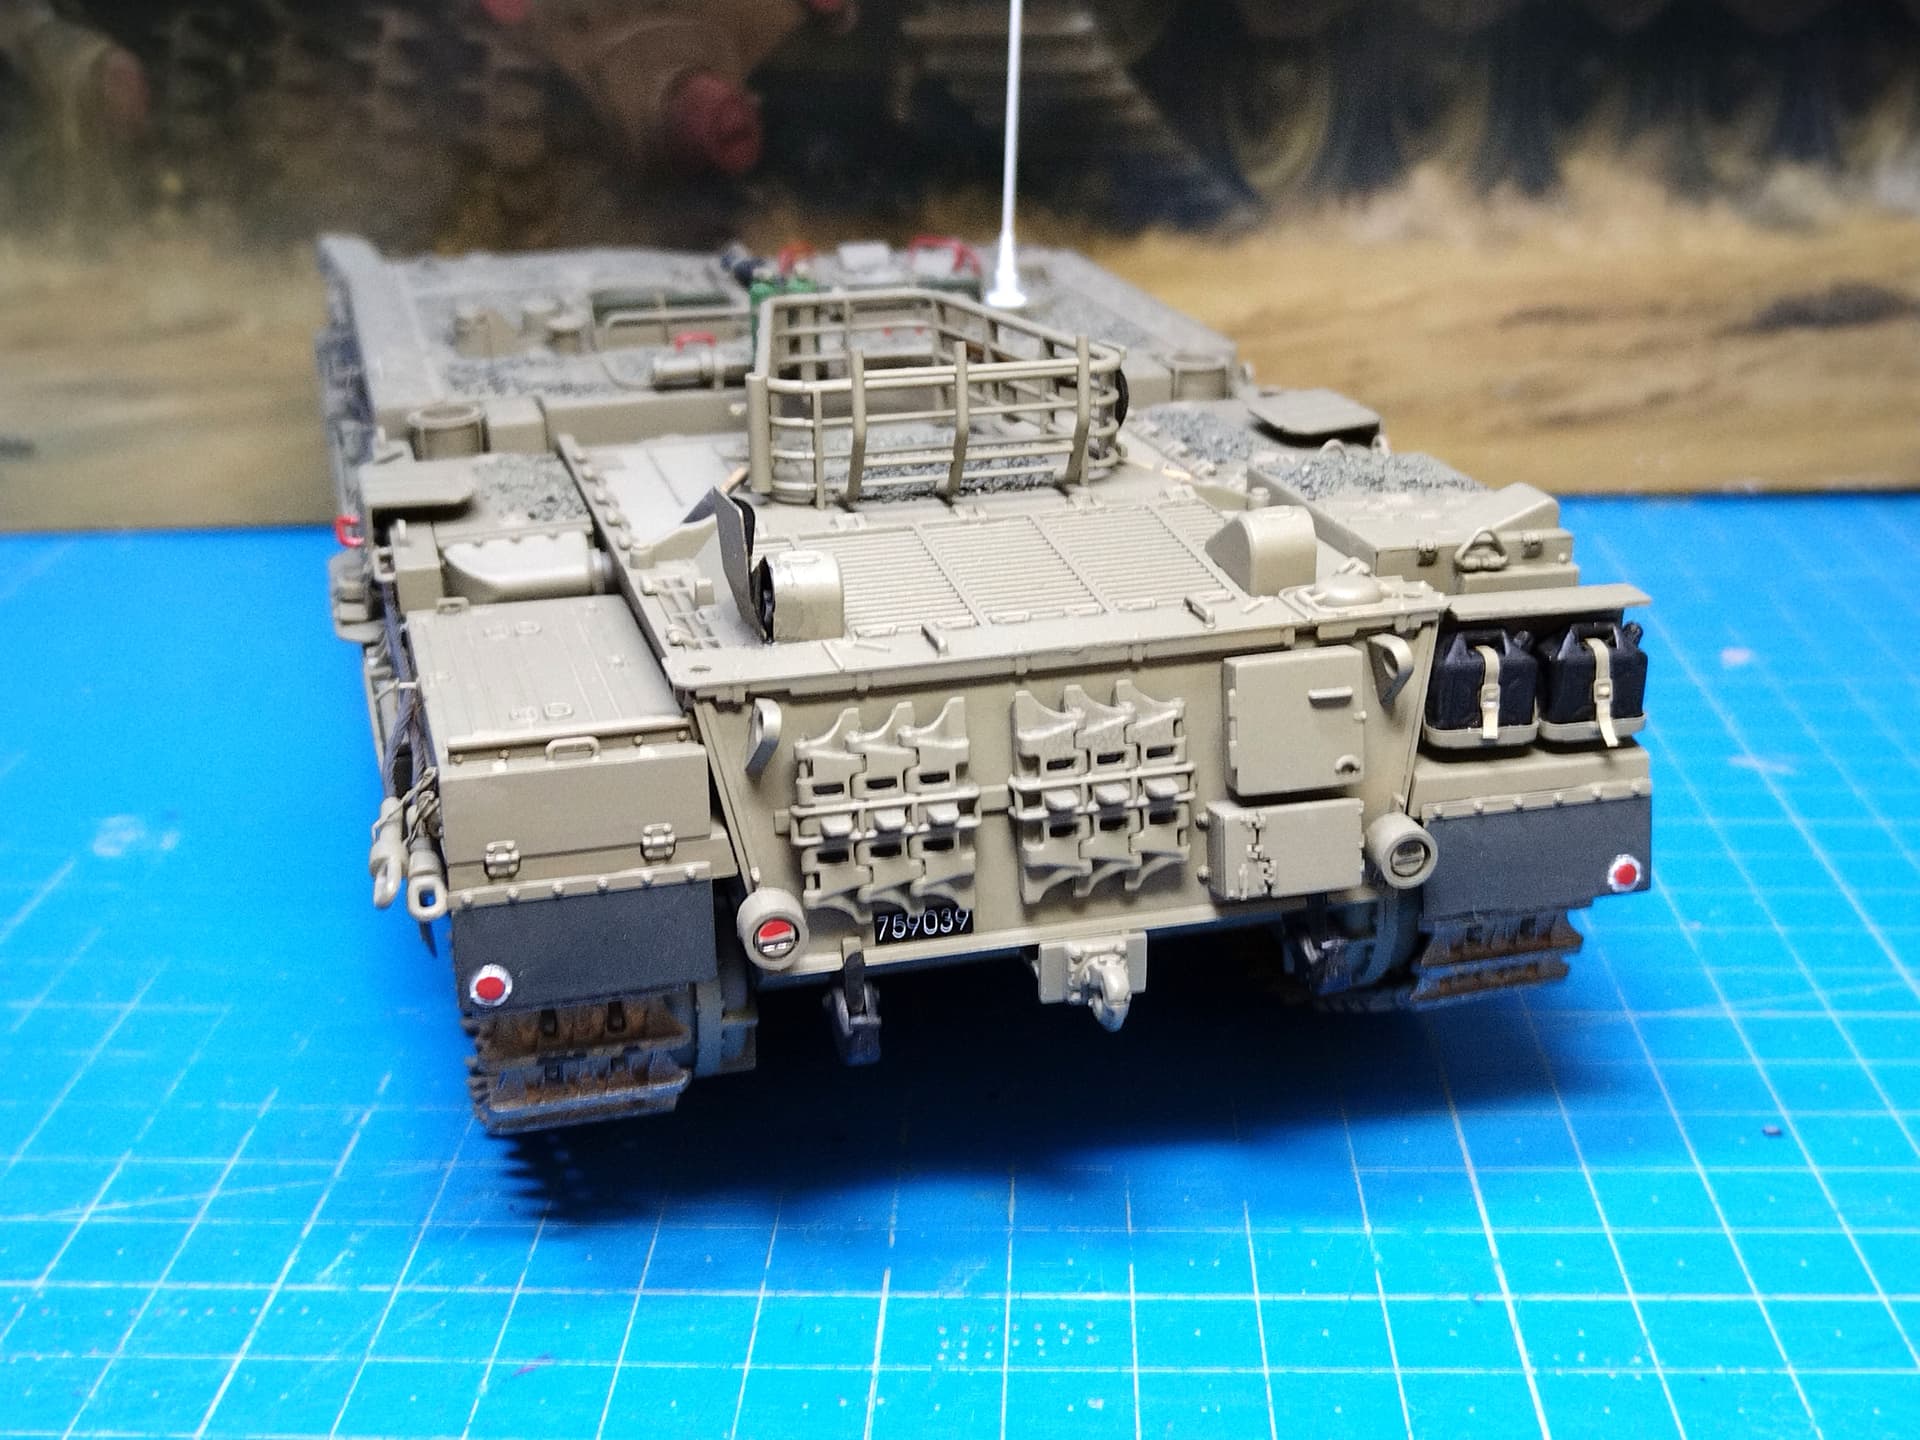
Base paint is complete and the decals are on. Hobby Boss give you plenty of markings with no instructions to use them. Only one vehicle is depicted on the instructions sheet and the registration plates are not shown.
I also inserted the rockets into the launcher. To have them sit properly at the bottom of the compartments you need to remove a kind of connector inside the launcher. It’s a bit weird.
Now it’s time to start the weathering. Definitely not my favorite part of the hobby!
Olivier
13 Likes
Thats moved along really nicely Olivier. Whole thing is looking very impressive.
3 Likes
It is Johnny and I still haven’t attached the rollers! Will do a test fit in the afternoon.
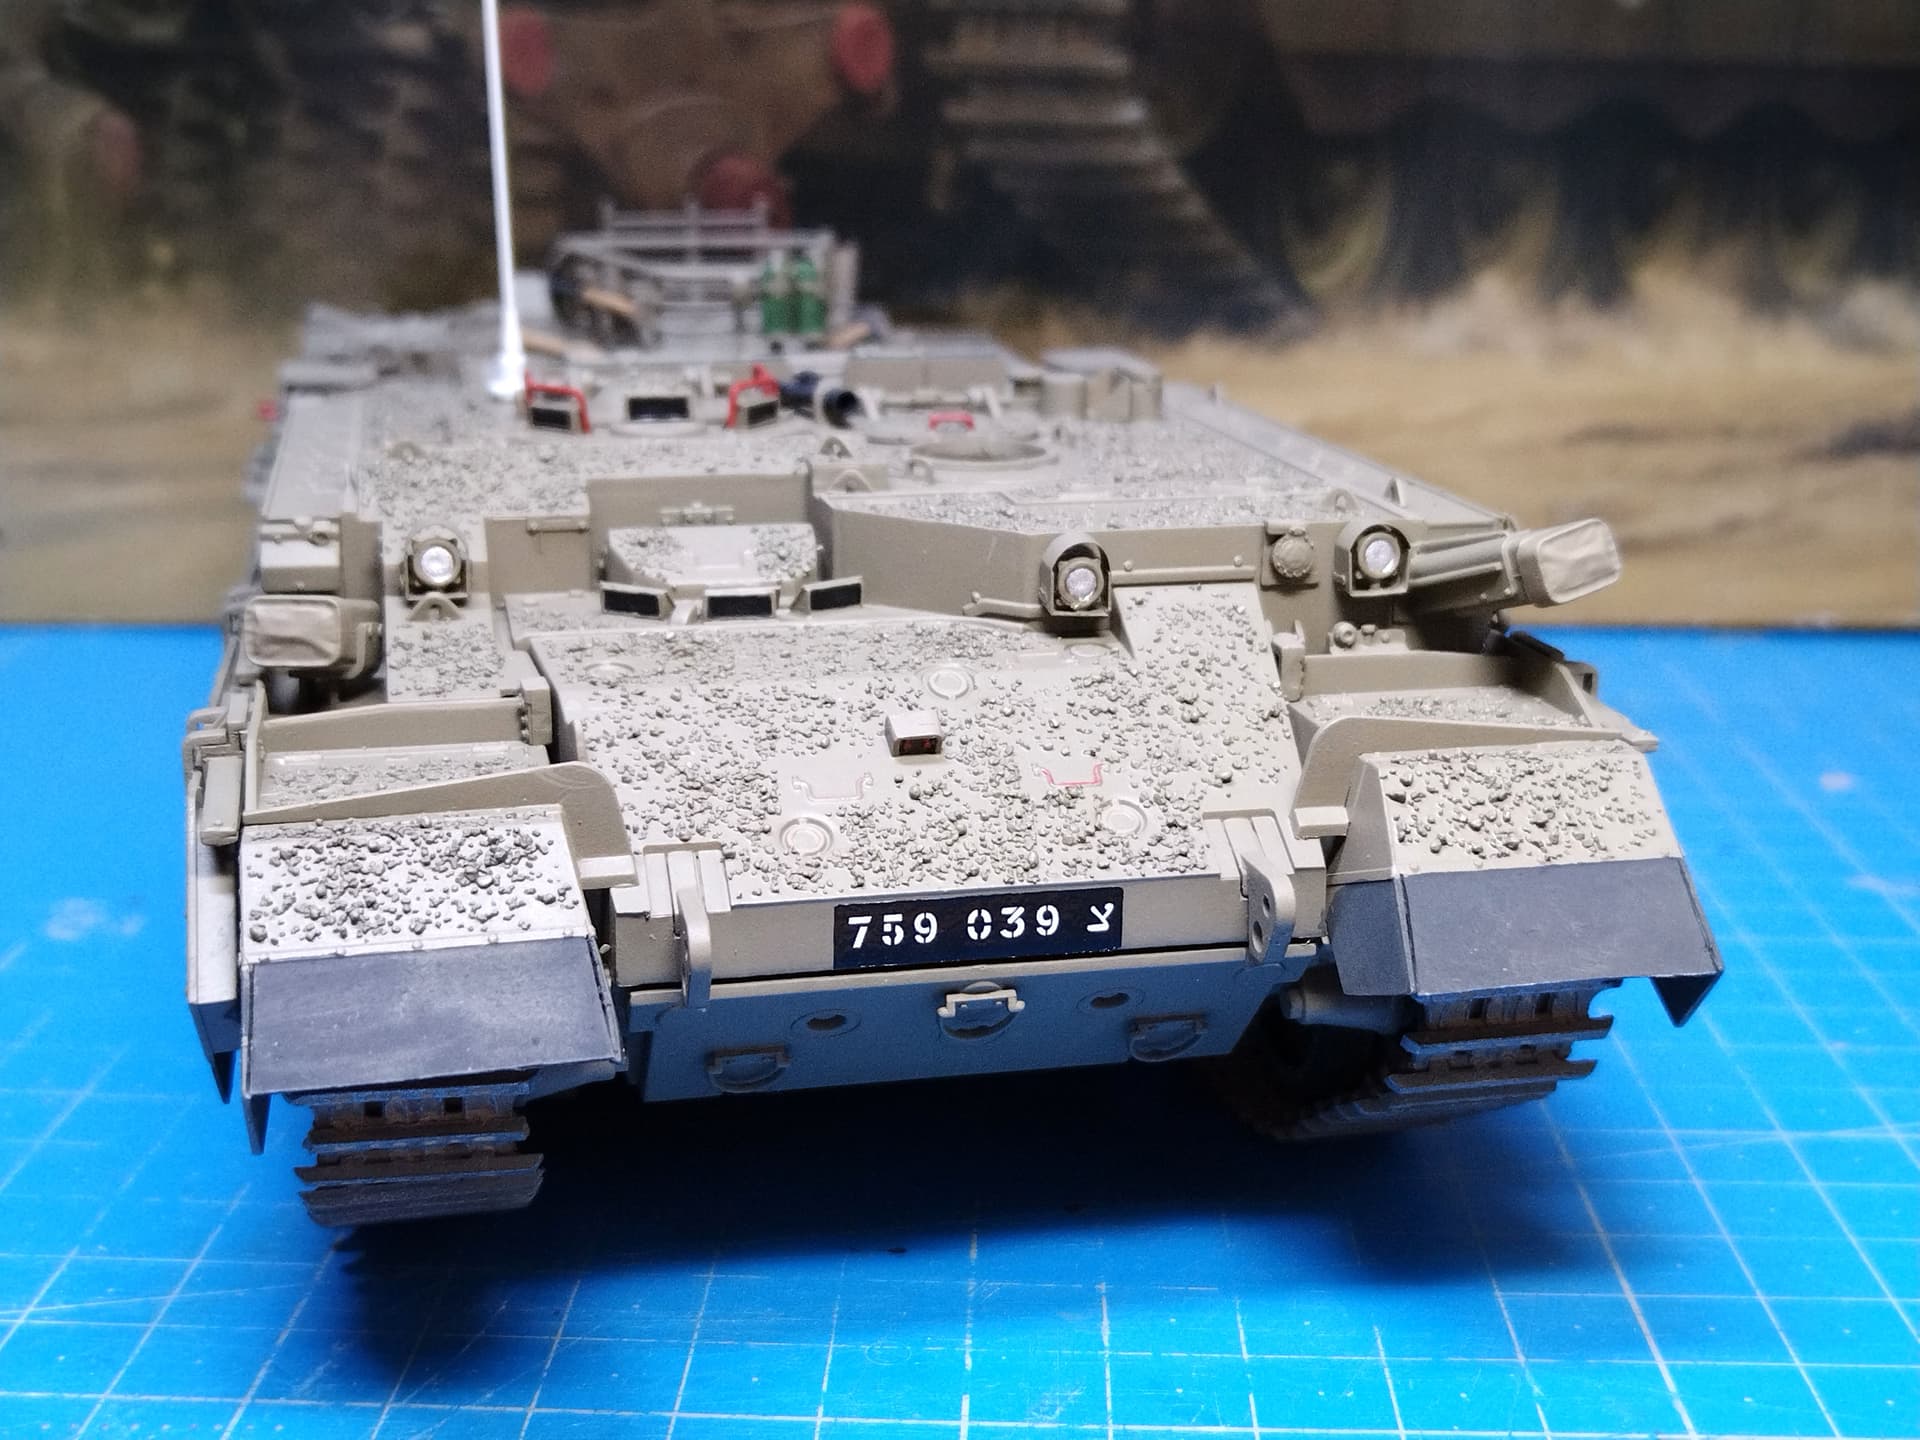
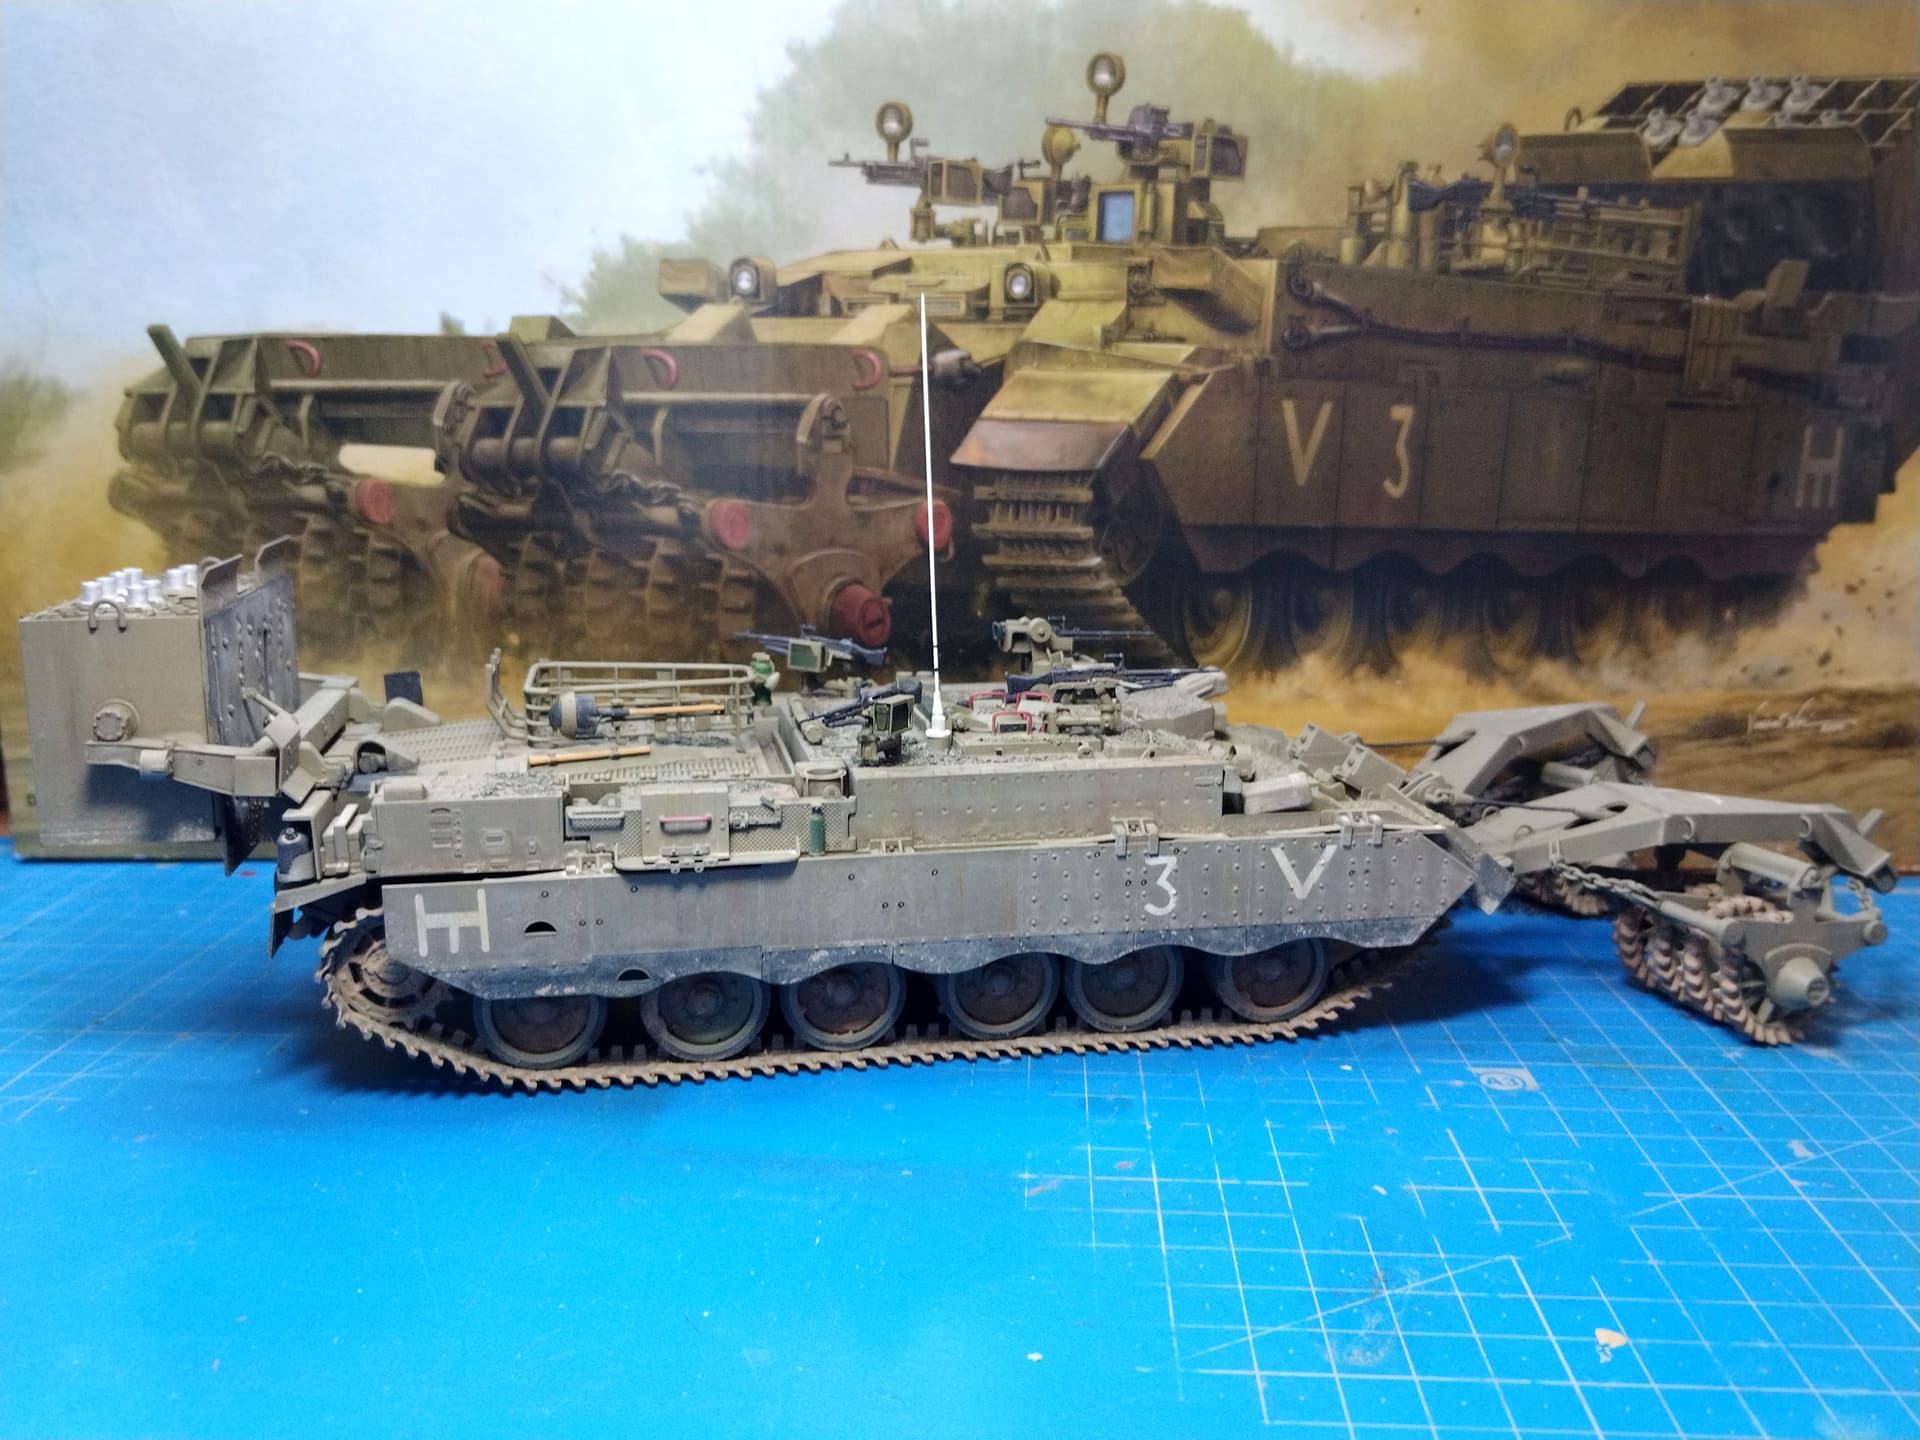
I’ve moved a bit on the weathering.
First I rolled the rollers in a mud bath.
Then I applied a dark brown wash all over the vehicle and used the oil dots method to create a more attractive (hopefully) and worn look.
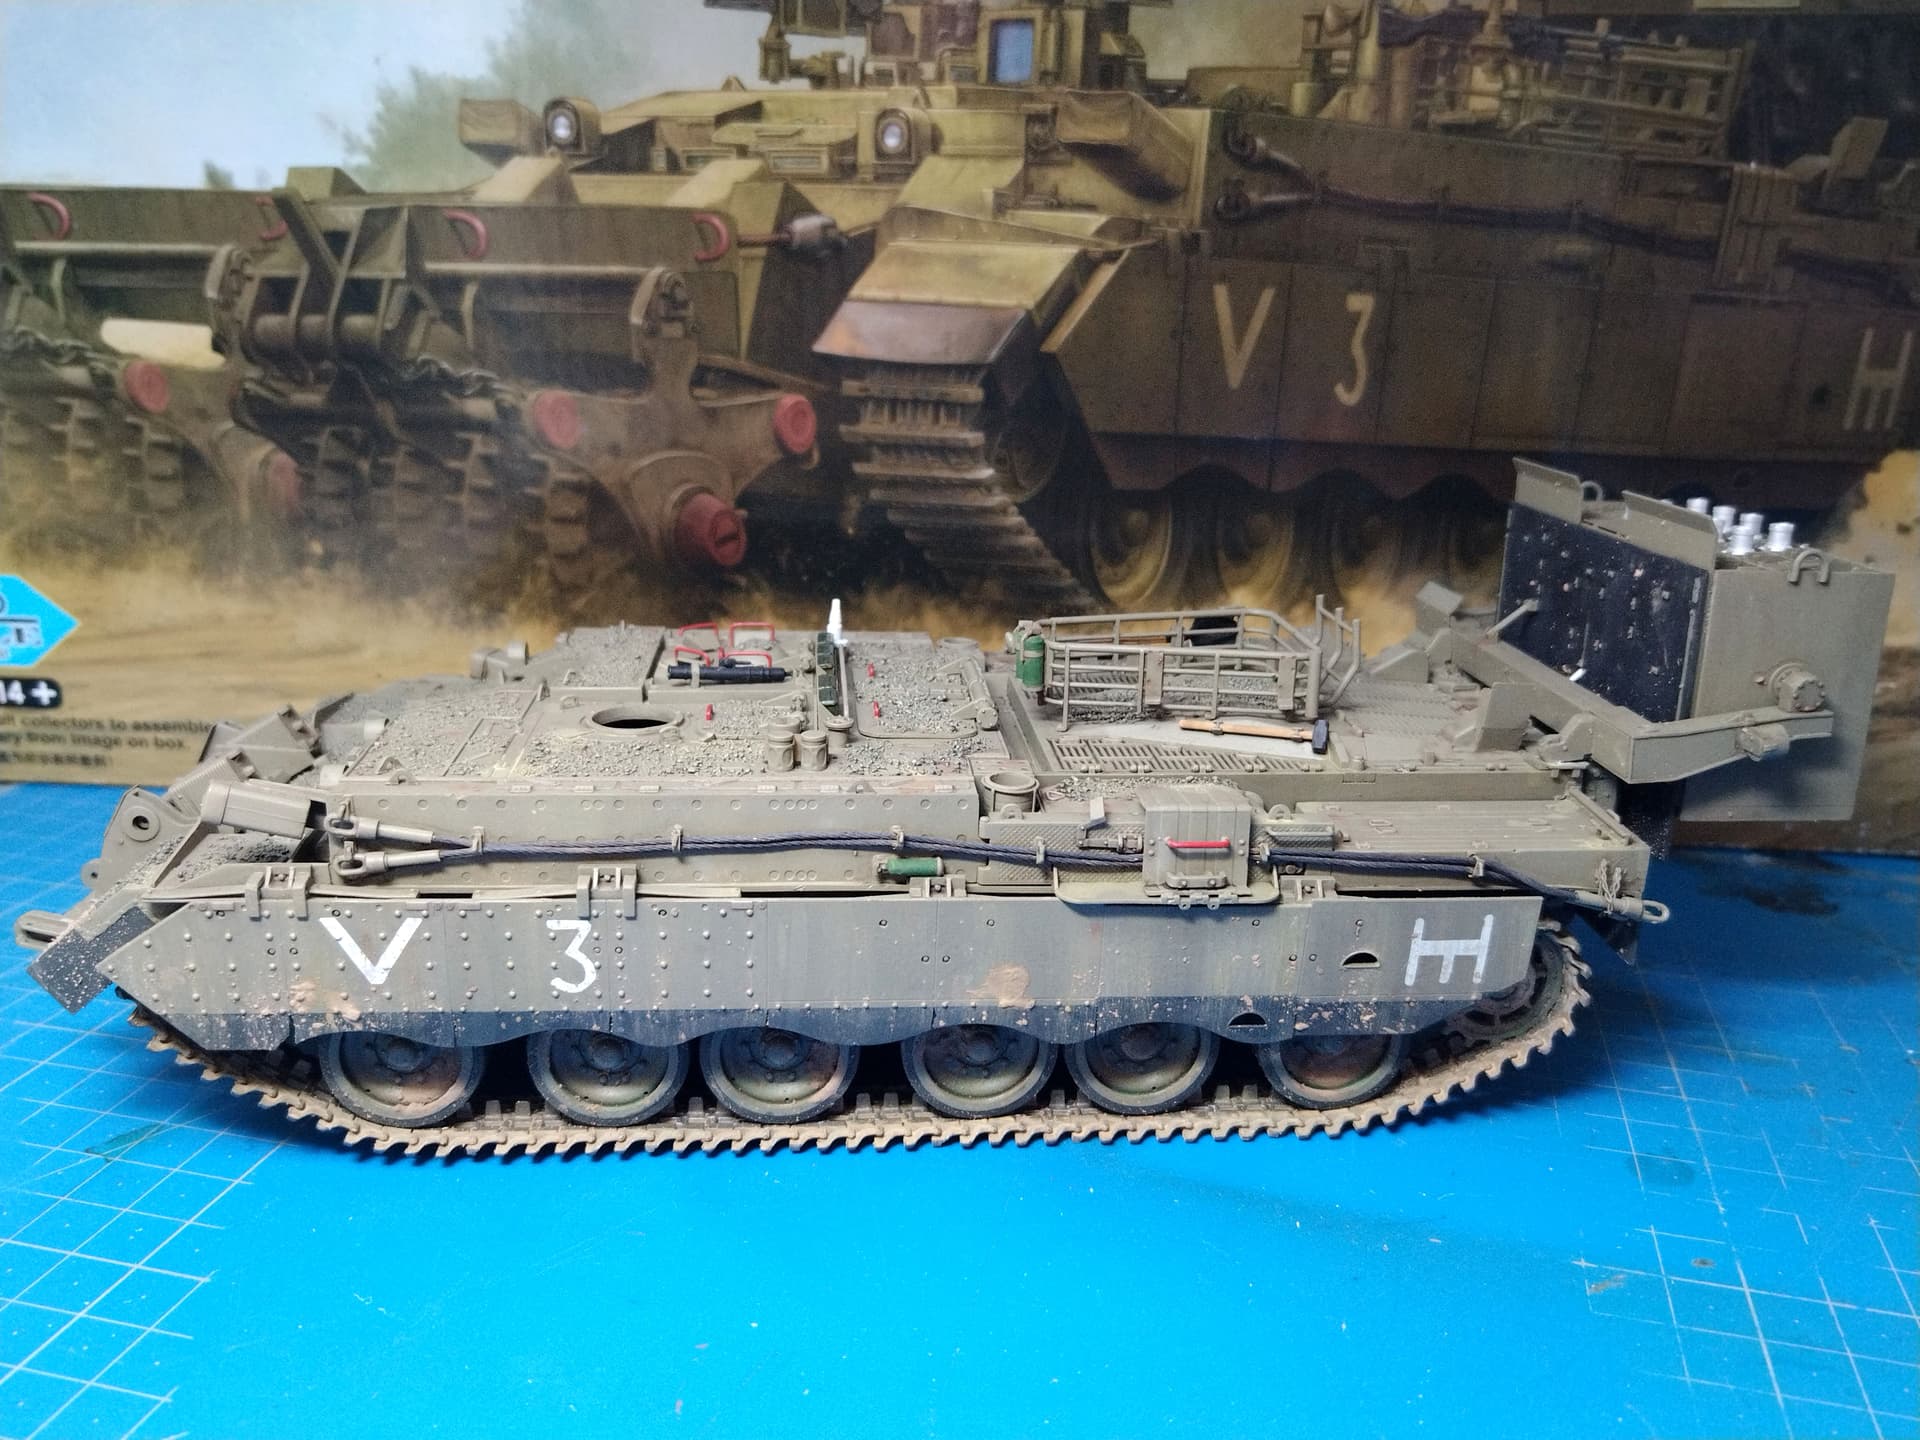
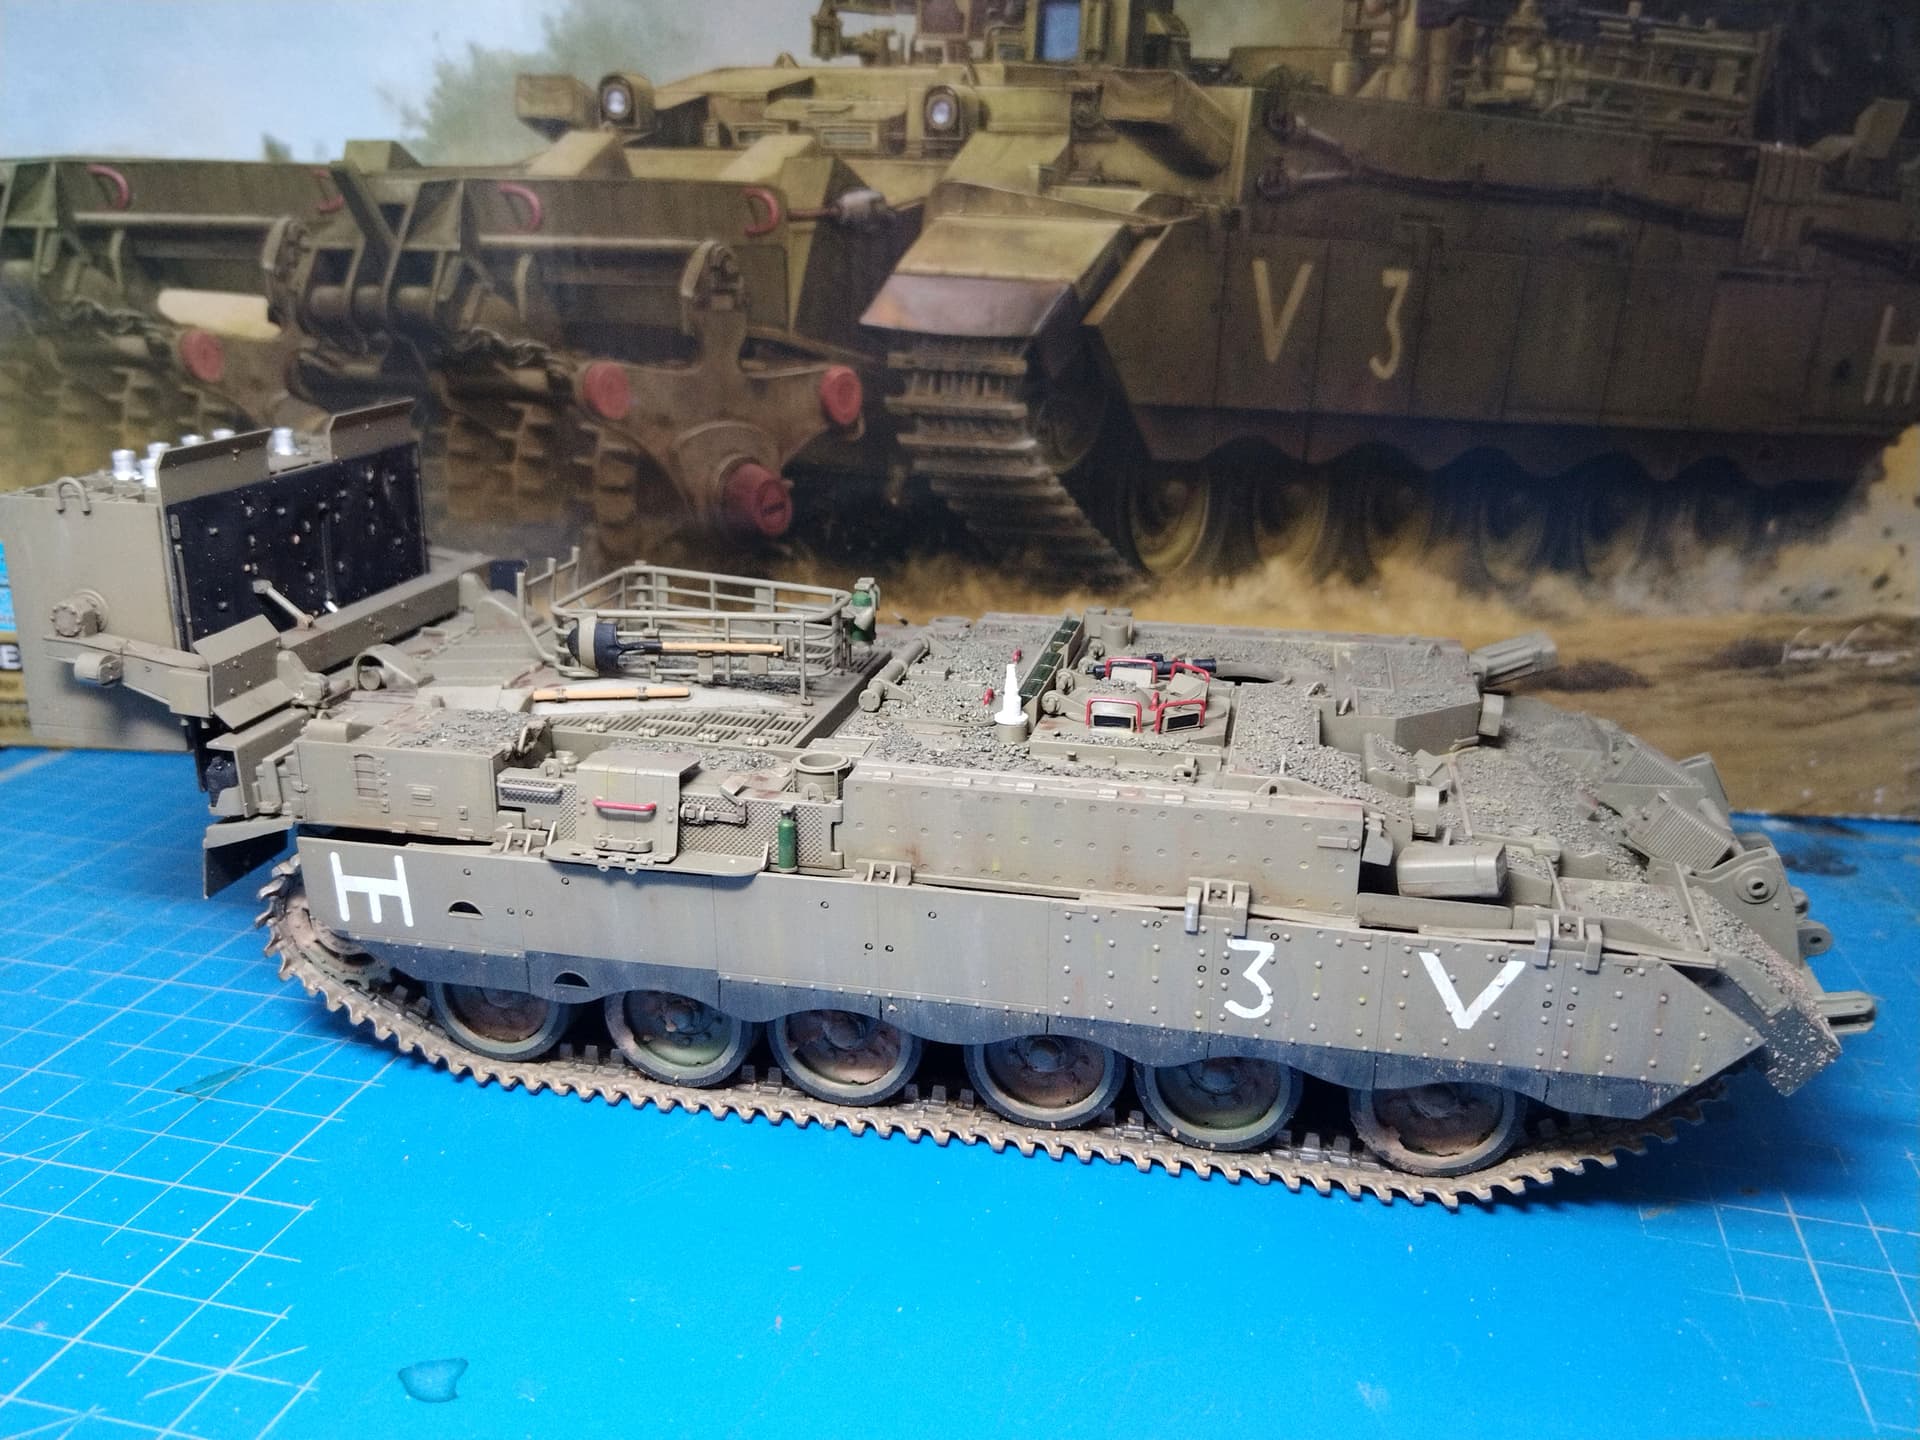
Olivier
10 Likes
Looking great! Give the rear part of the right side skirt some attention, it looks too clean compared to the rest.
Do not forget the exhausts

5 Likes
Nikos,
the right exhaust was not weathered when I took the pictures.
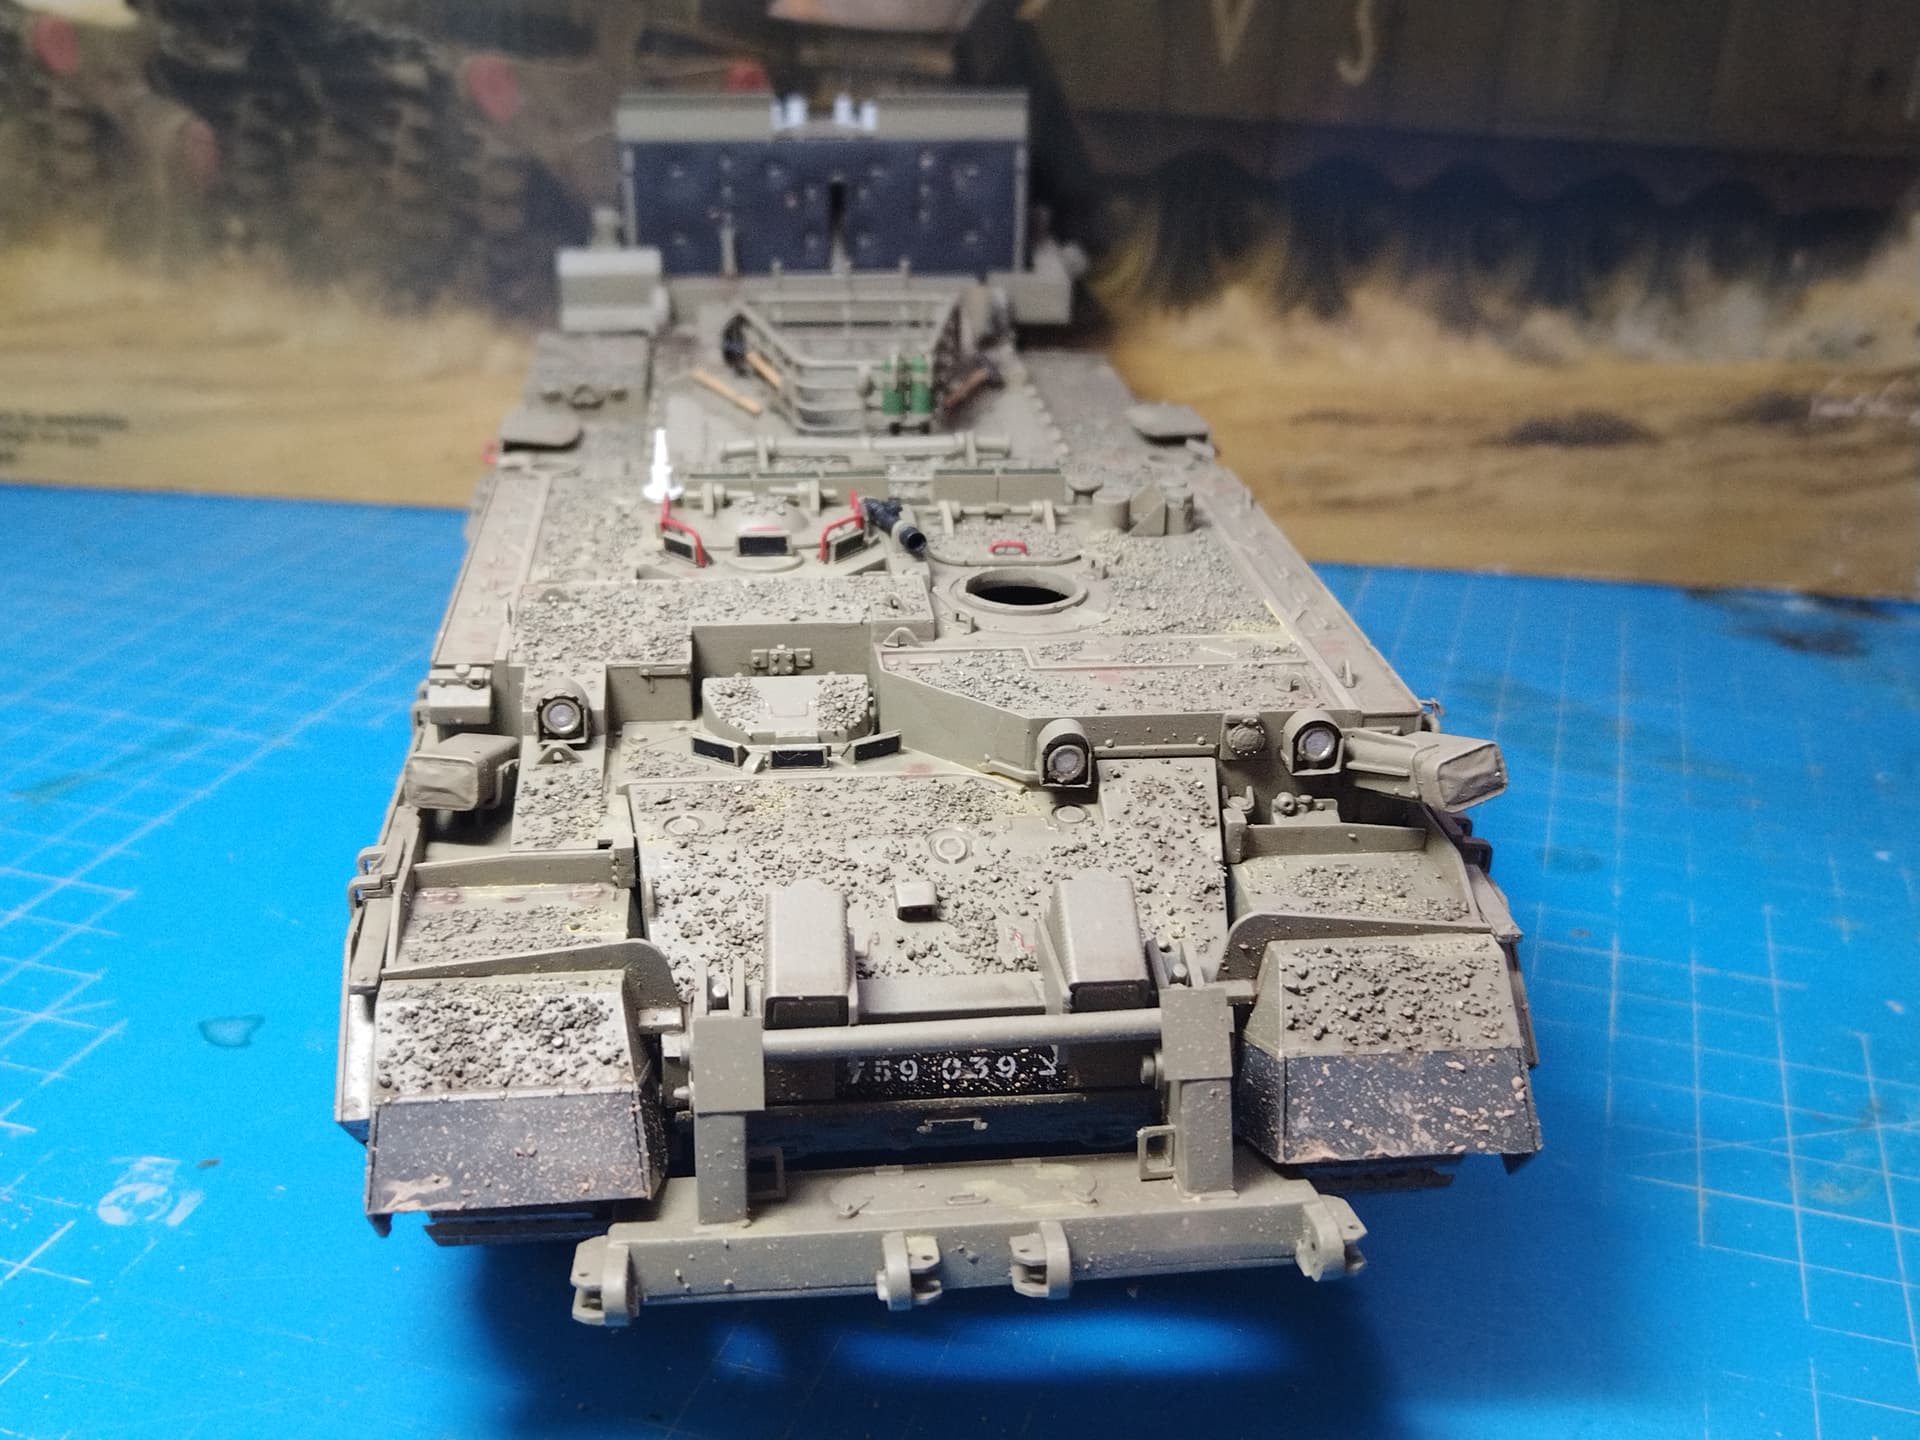
I’ve added some soot with black pigments as well as more dirt all over the vehicle.
I’ve attached the rollers and during the process my removable rollers solution failed. One of the styrene axes broke. So either I replace the axes with metal ones or I glued the rollers.
Because of its length, it’s becoming hard to take pictures of the vehicle fully equipped.
Olivier
12 Likes