Hi all
I’ve finally started this kit as my entry in a French forum GB. The kit includes the Nochri mine roller and the Carpet system. I’ll use the Carpet for sure but I’m still hesitating about the roller. I’ll certainly build it but I could let it apart. Time will say.
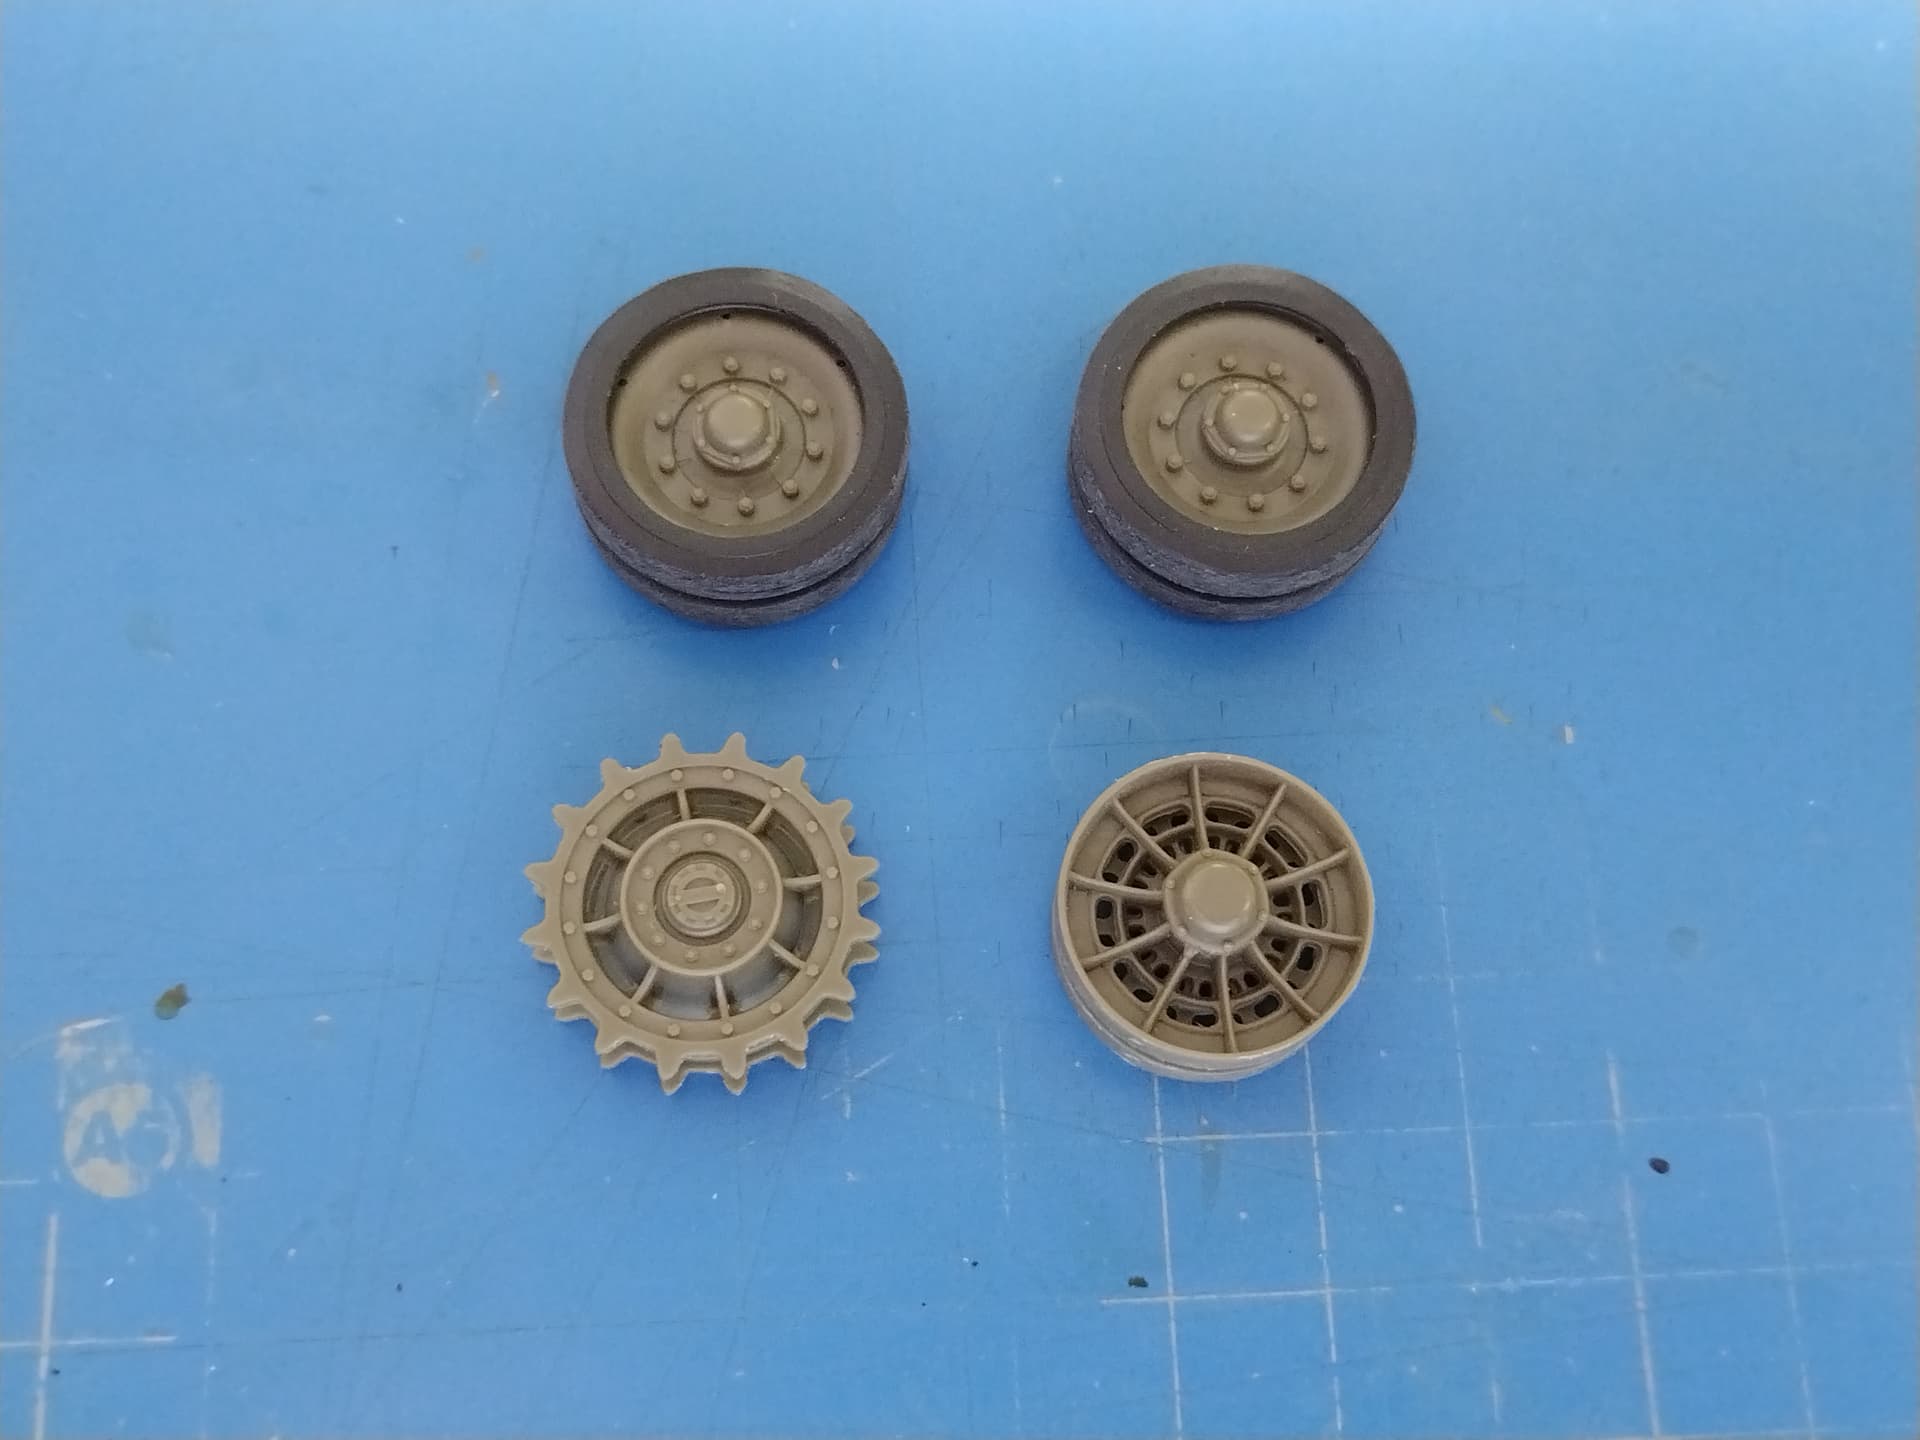
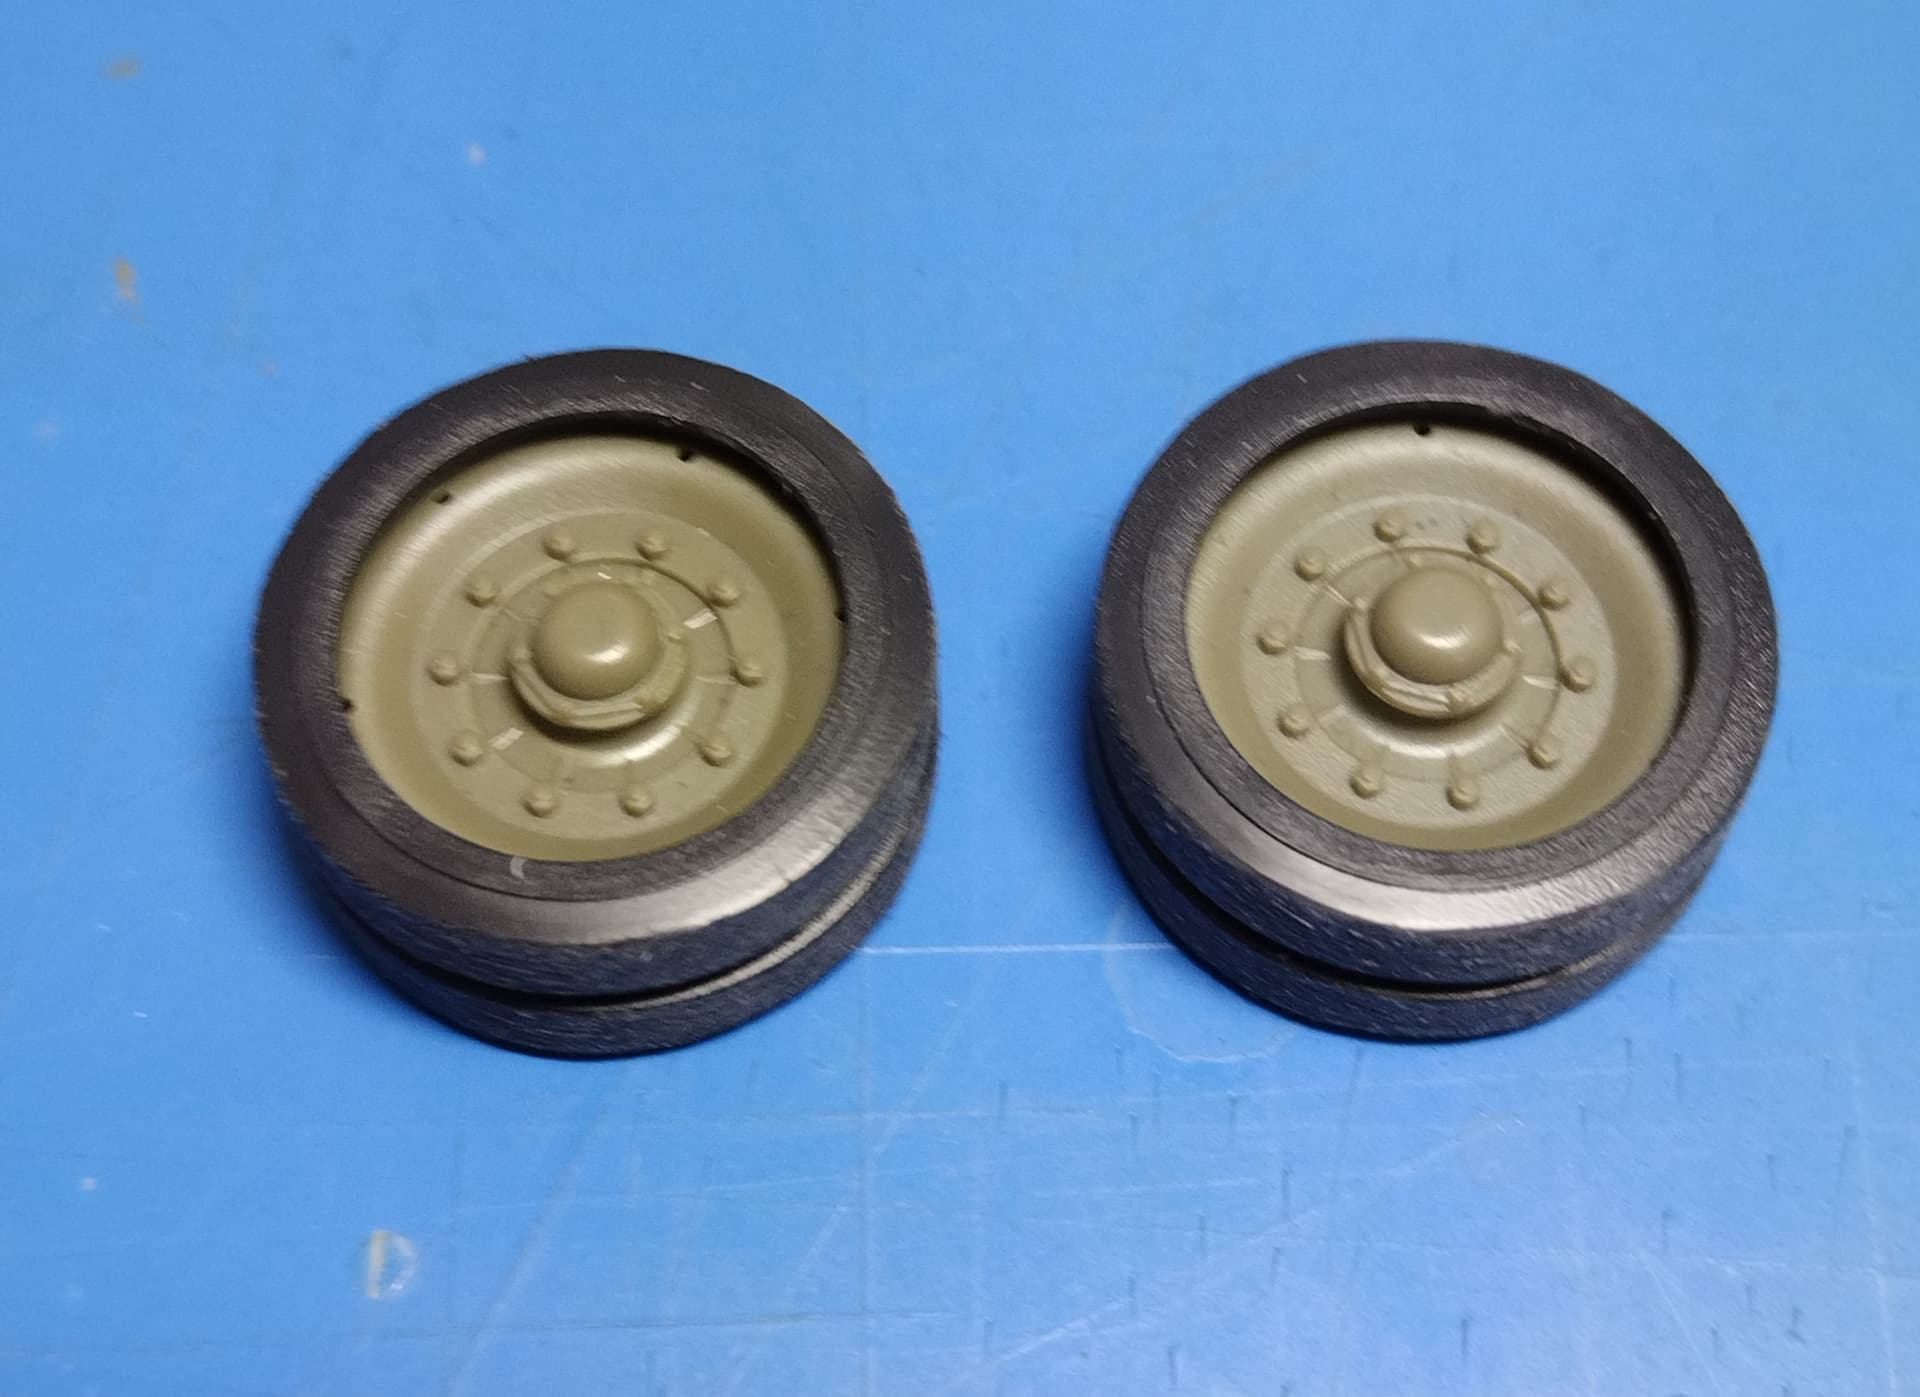
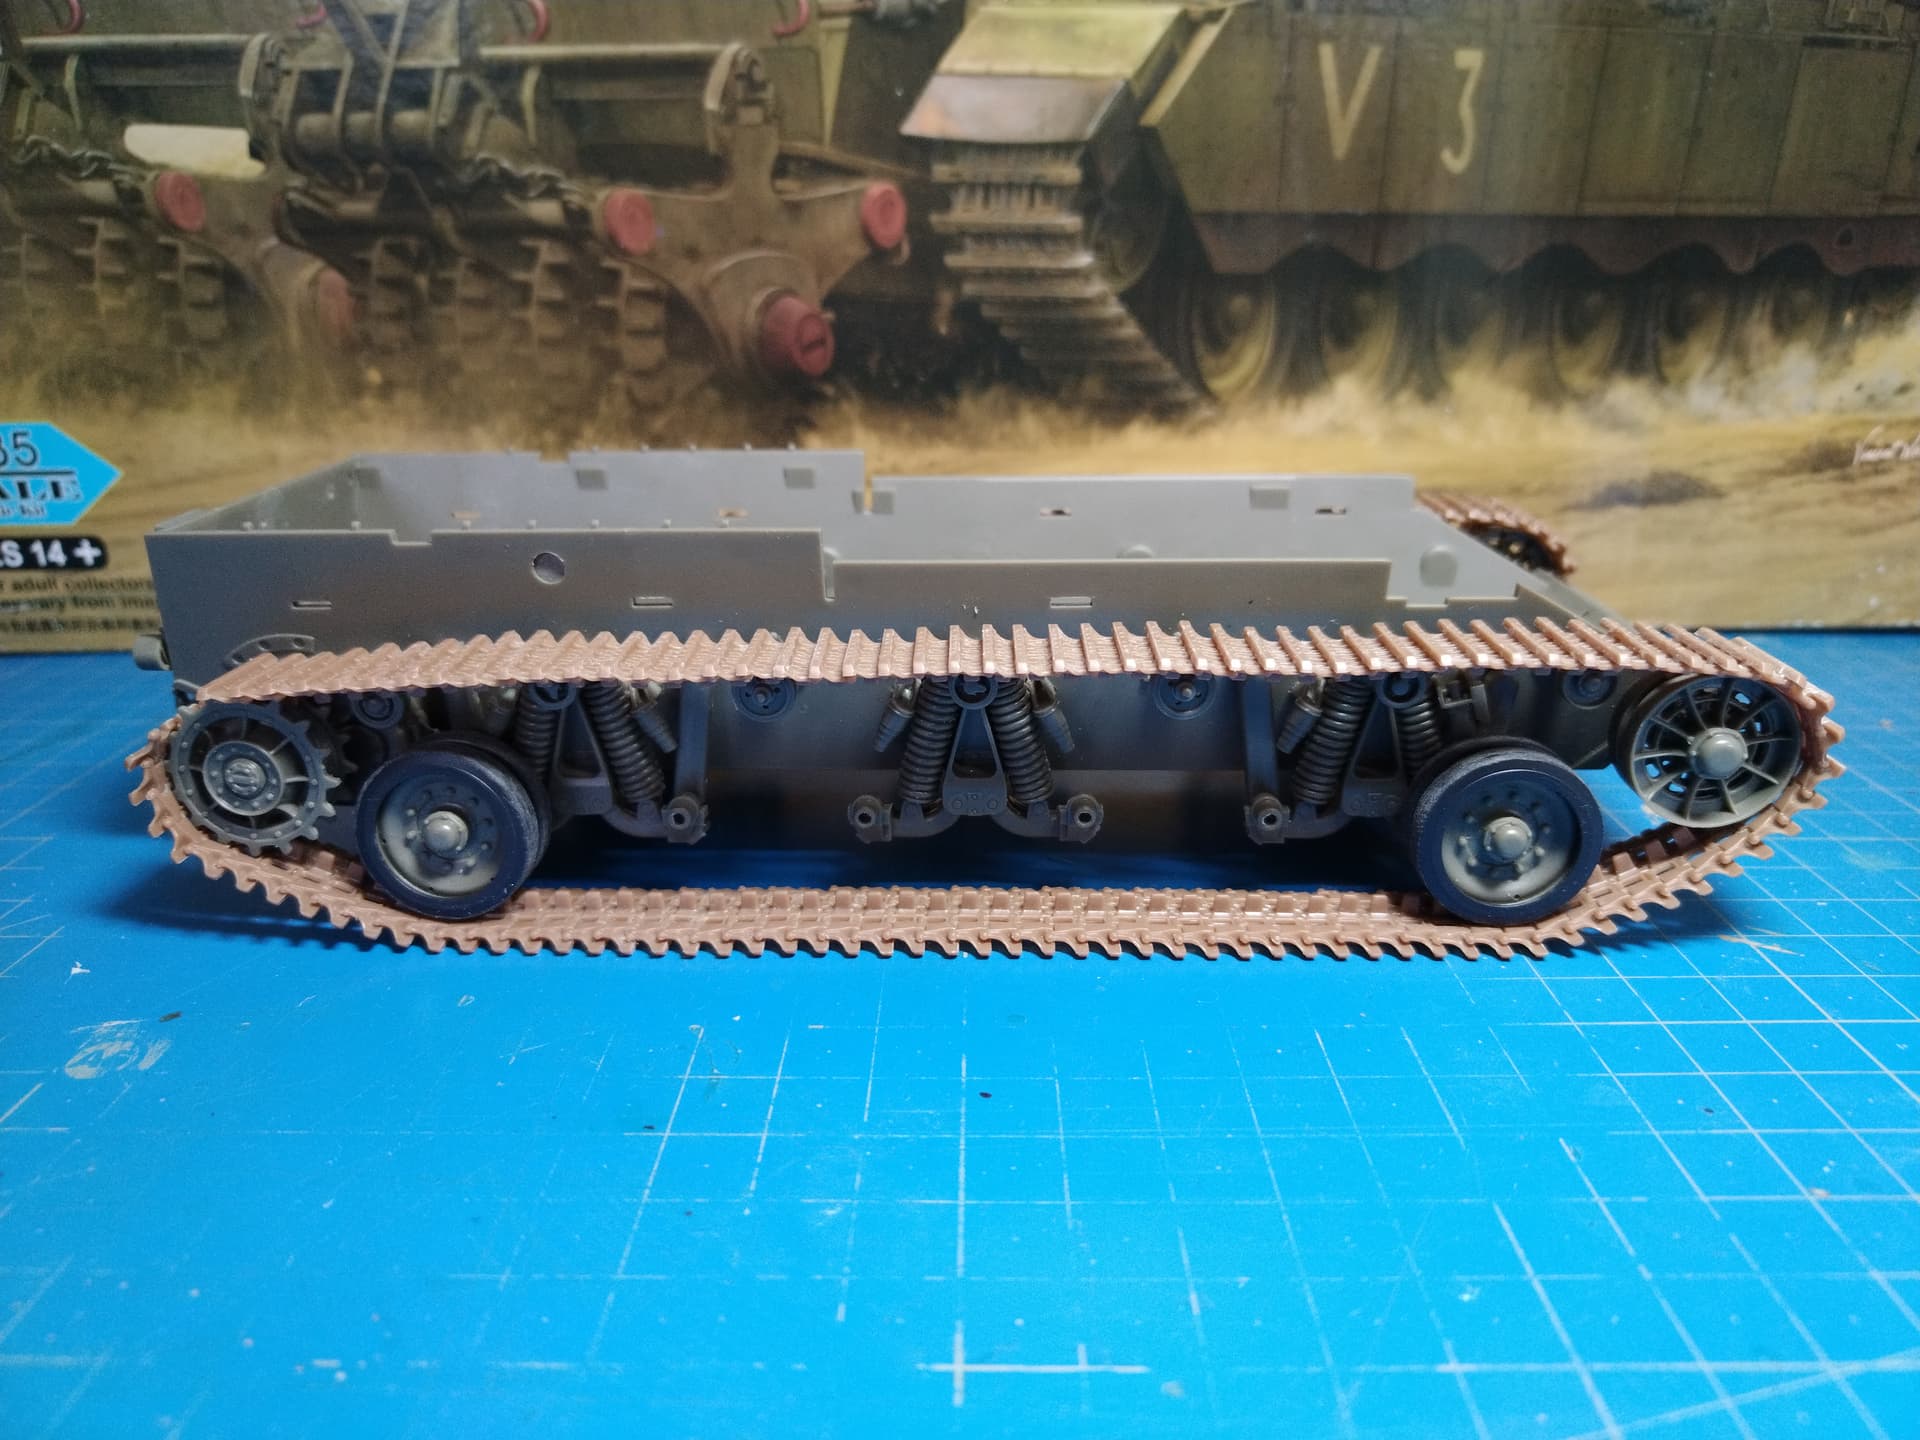
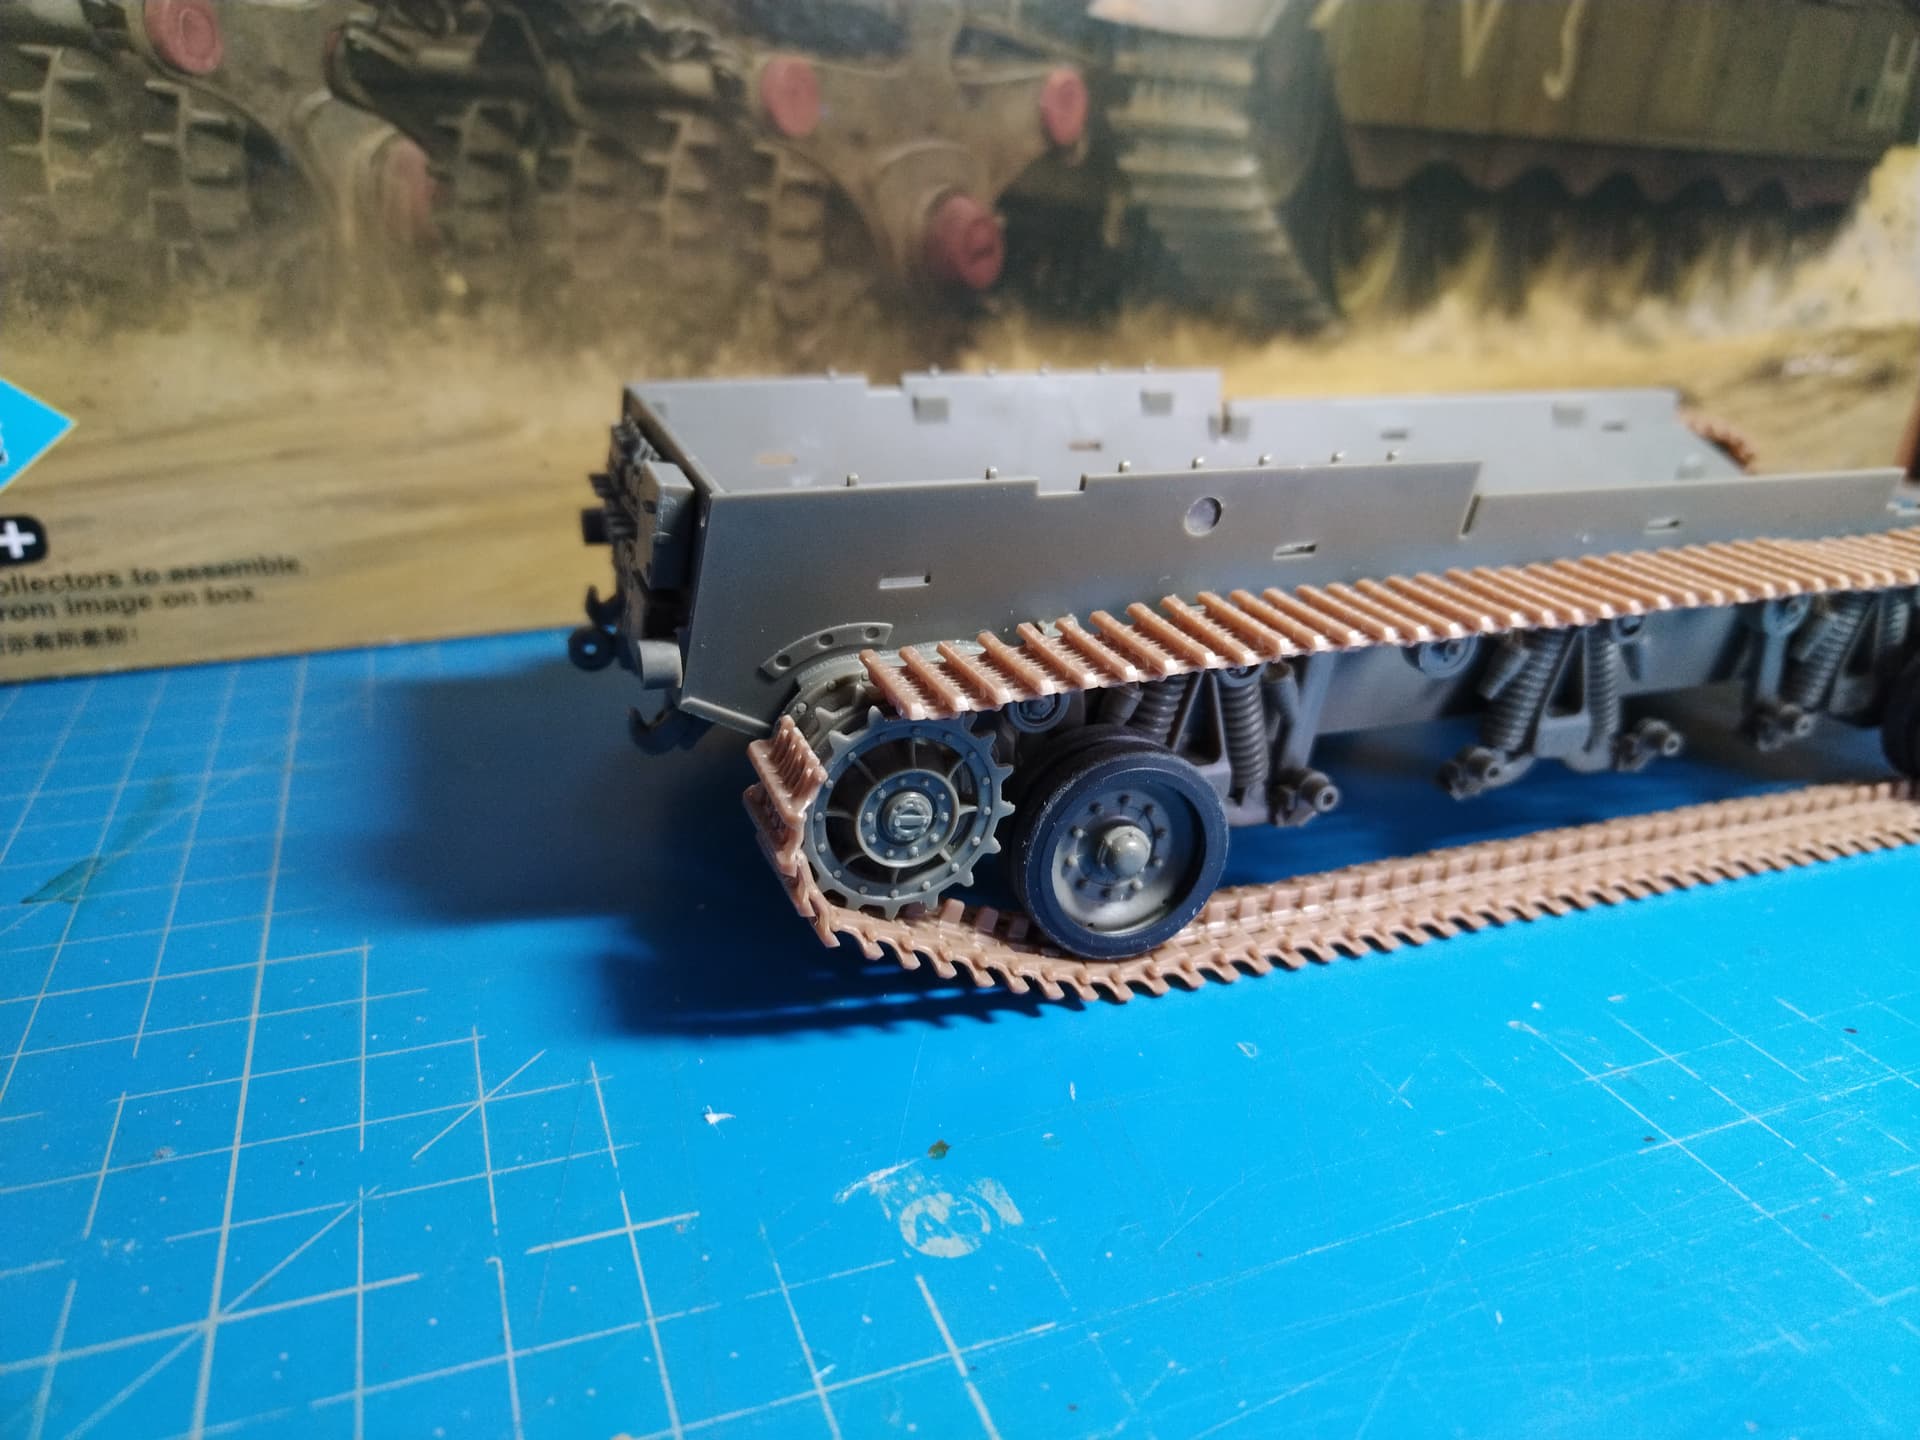
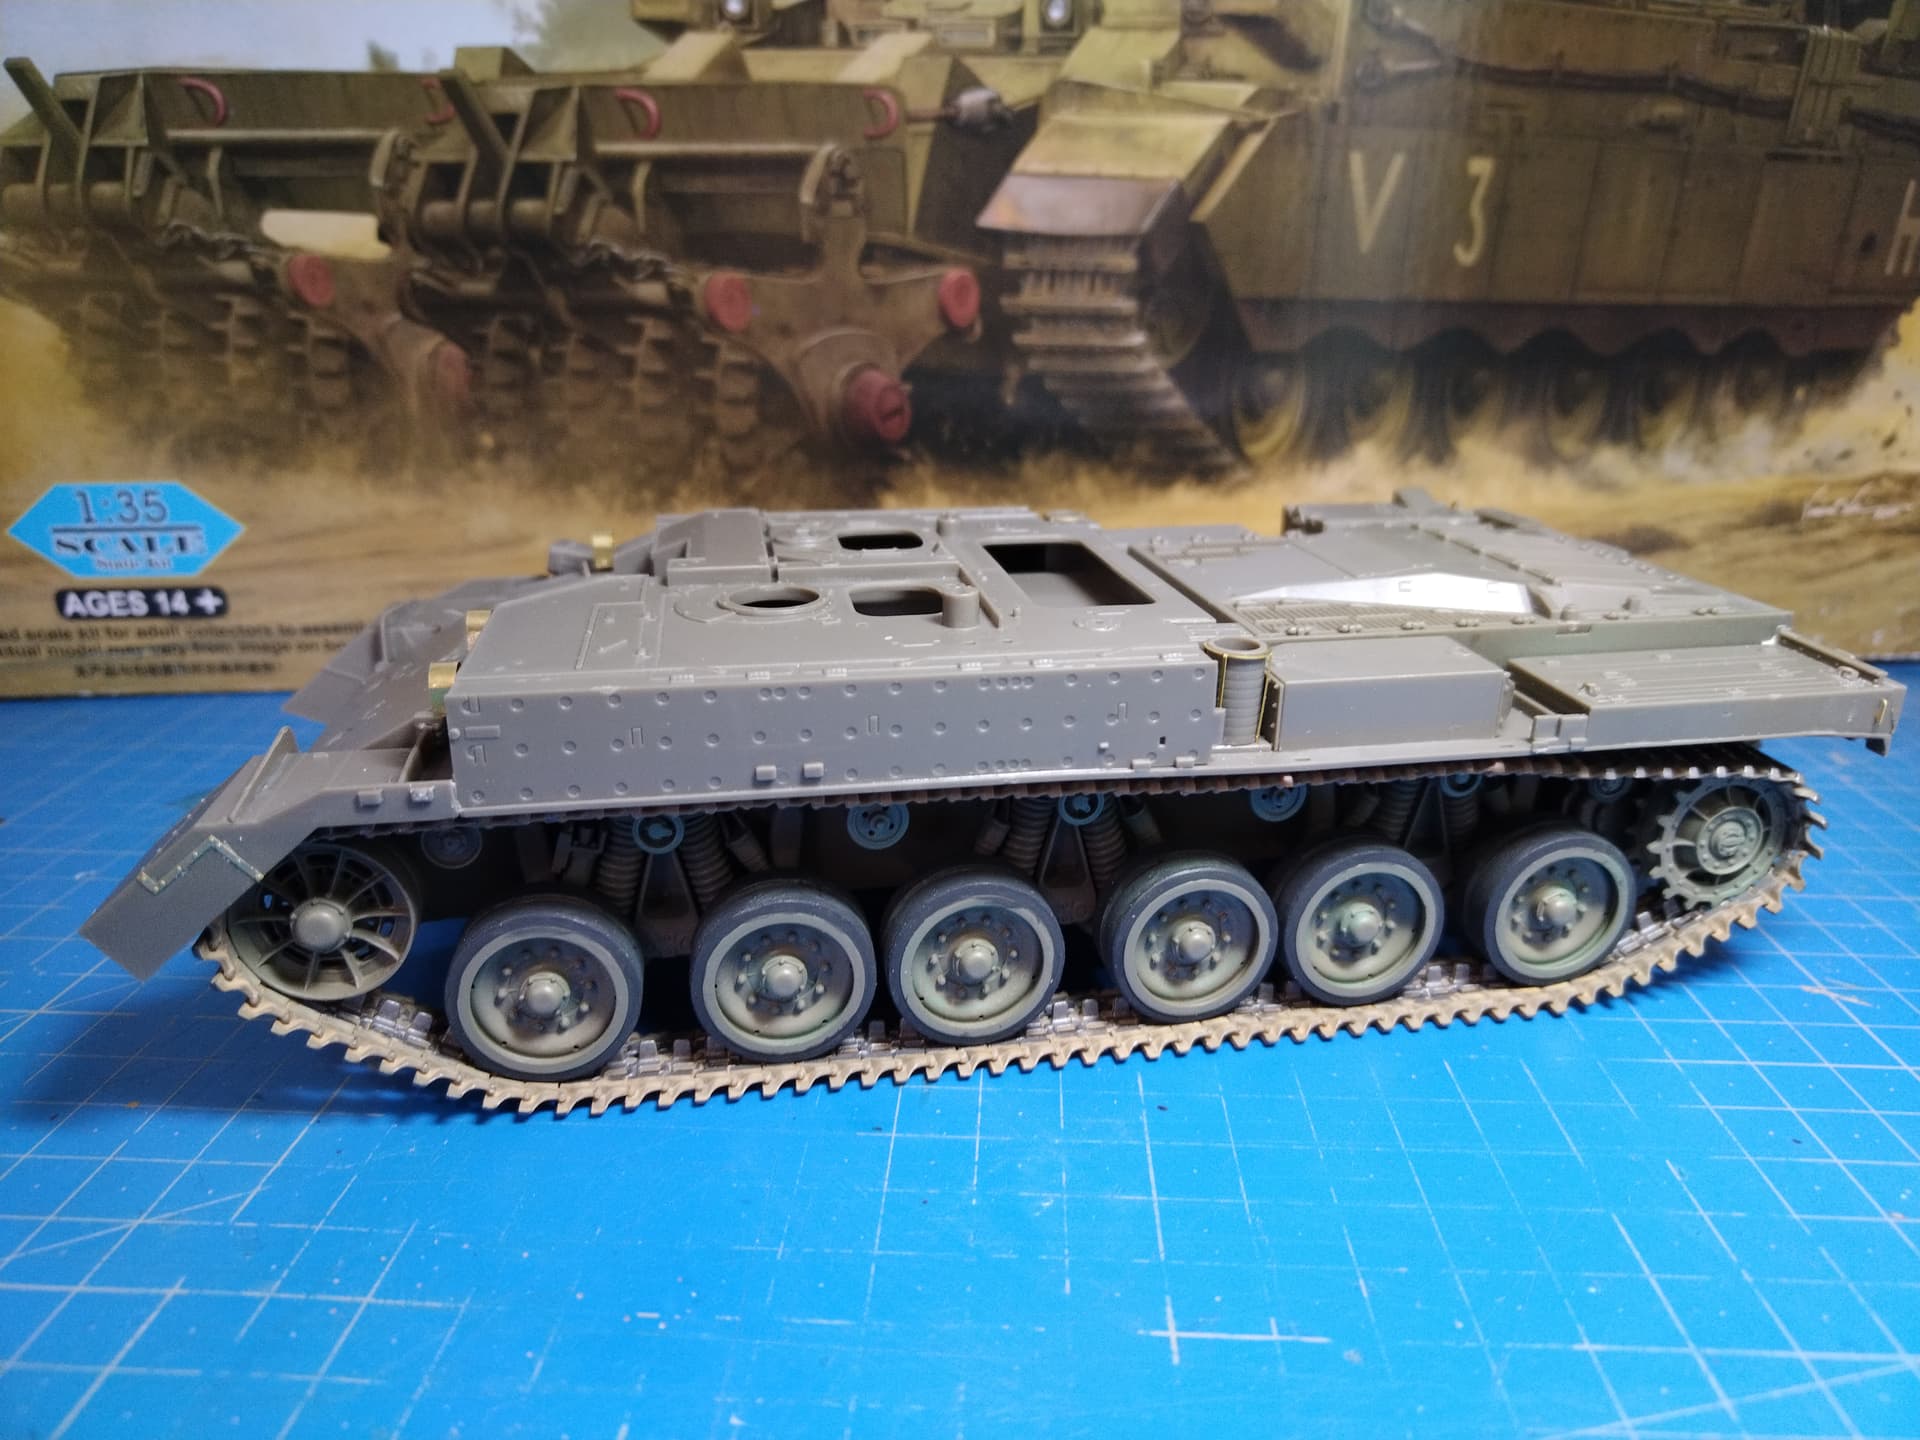
The assembly begins with the roadwheels, idlers and sprockets. The roadwheels have separate rubber tires which are molded in a black plastic and include the outer part of the metal rim. However the grooves have been omitted by HB.
Two types of roadwheels are provided in the box: with 3 or 6 holes. I’ve decided to mix the both types in a 9-3 combination.
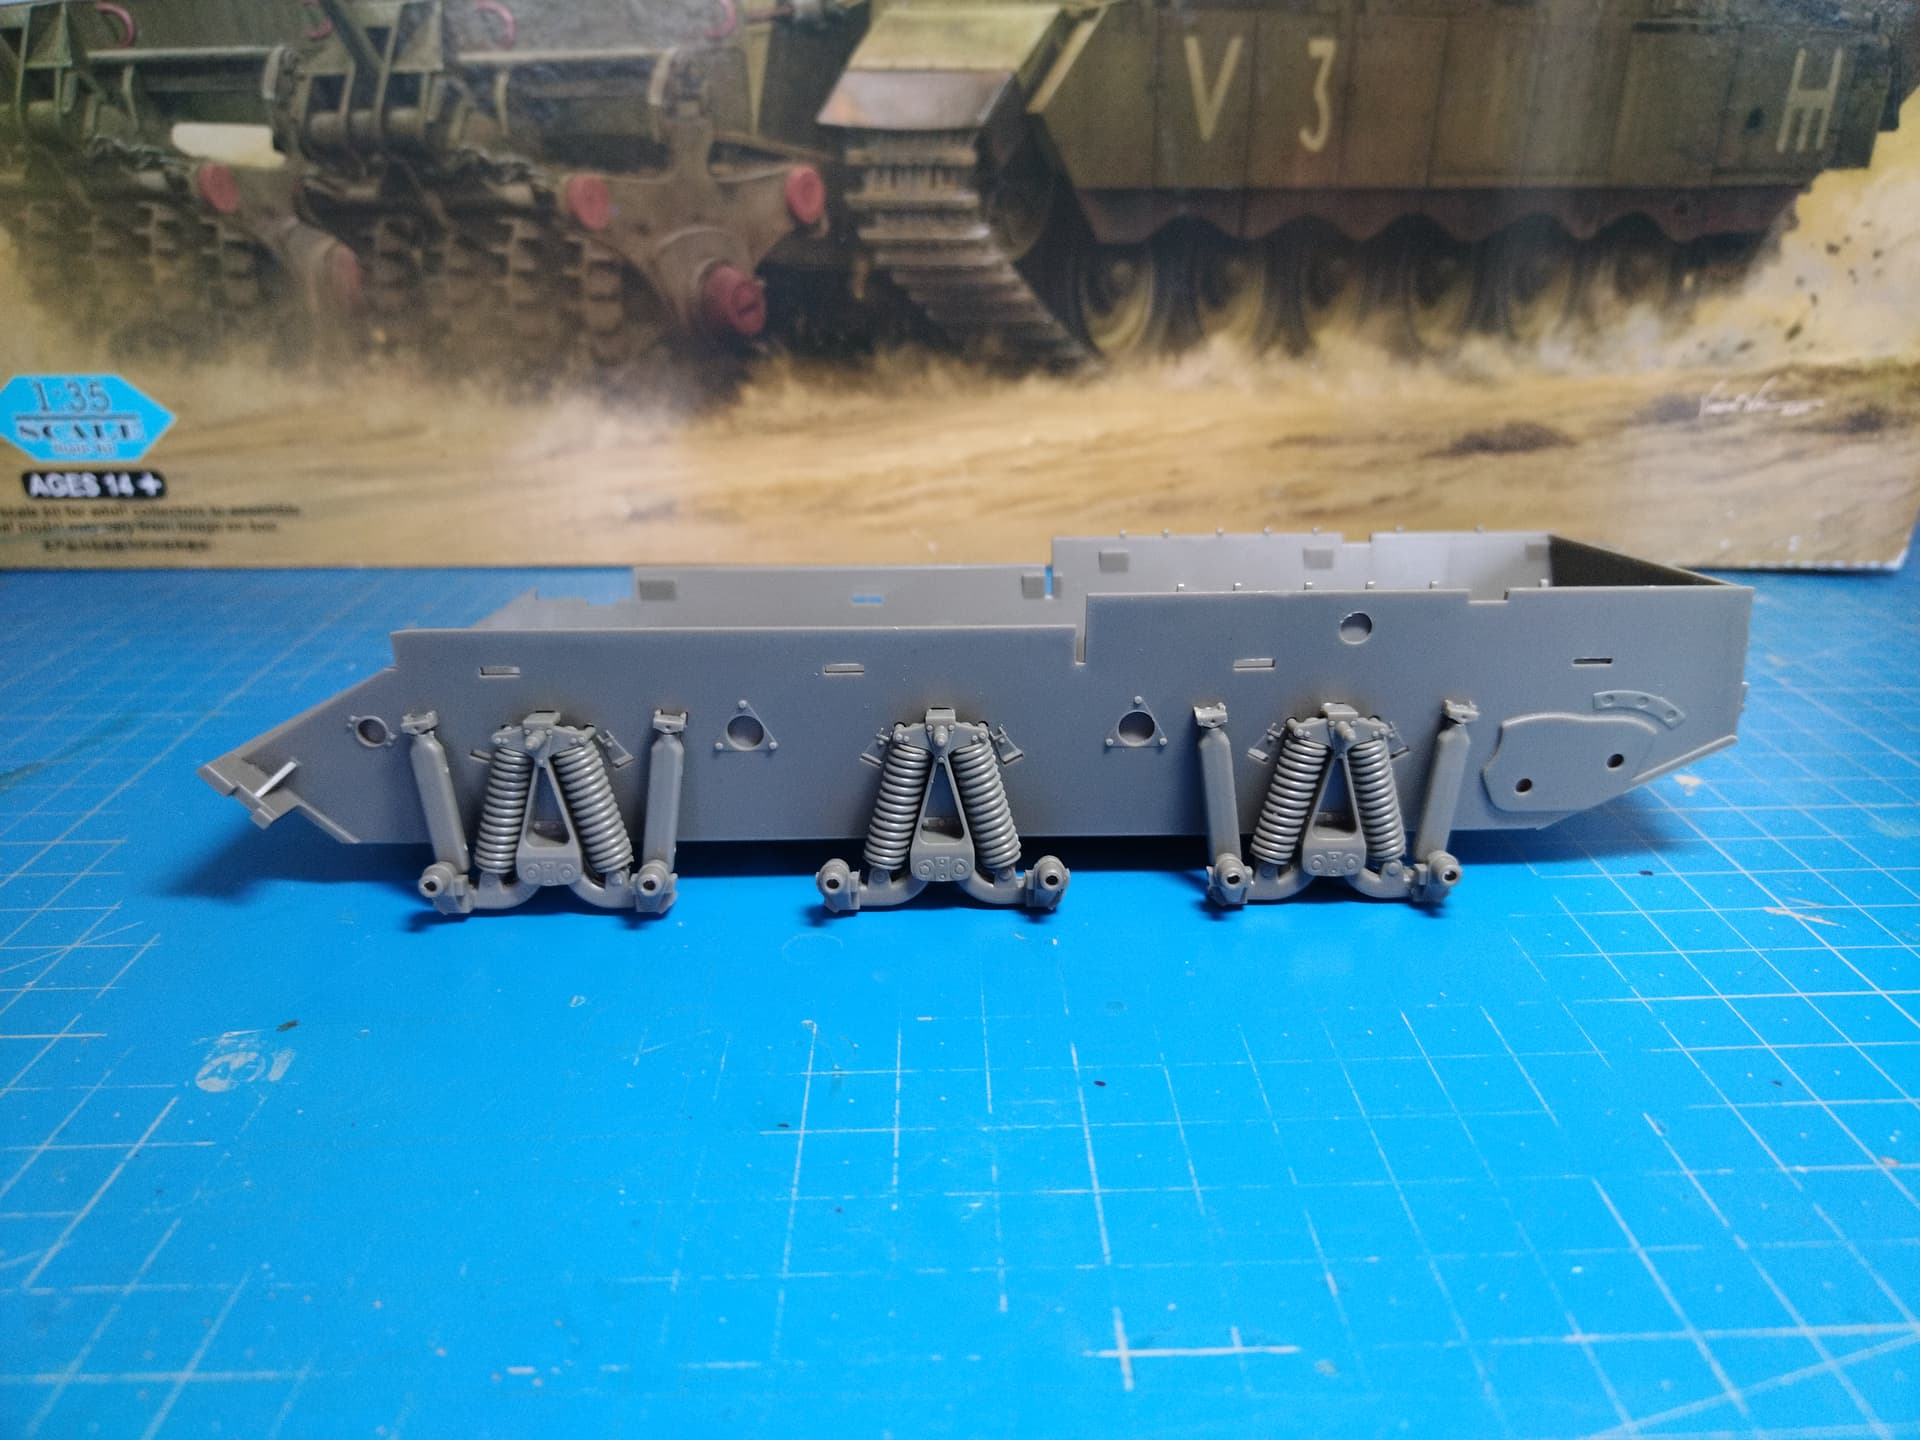
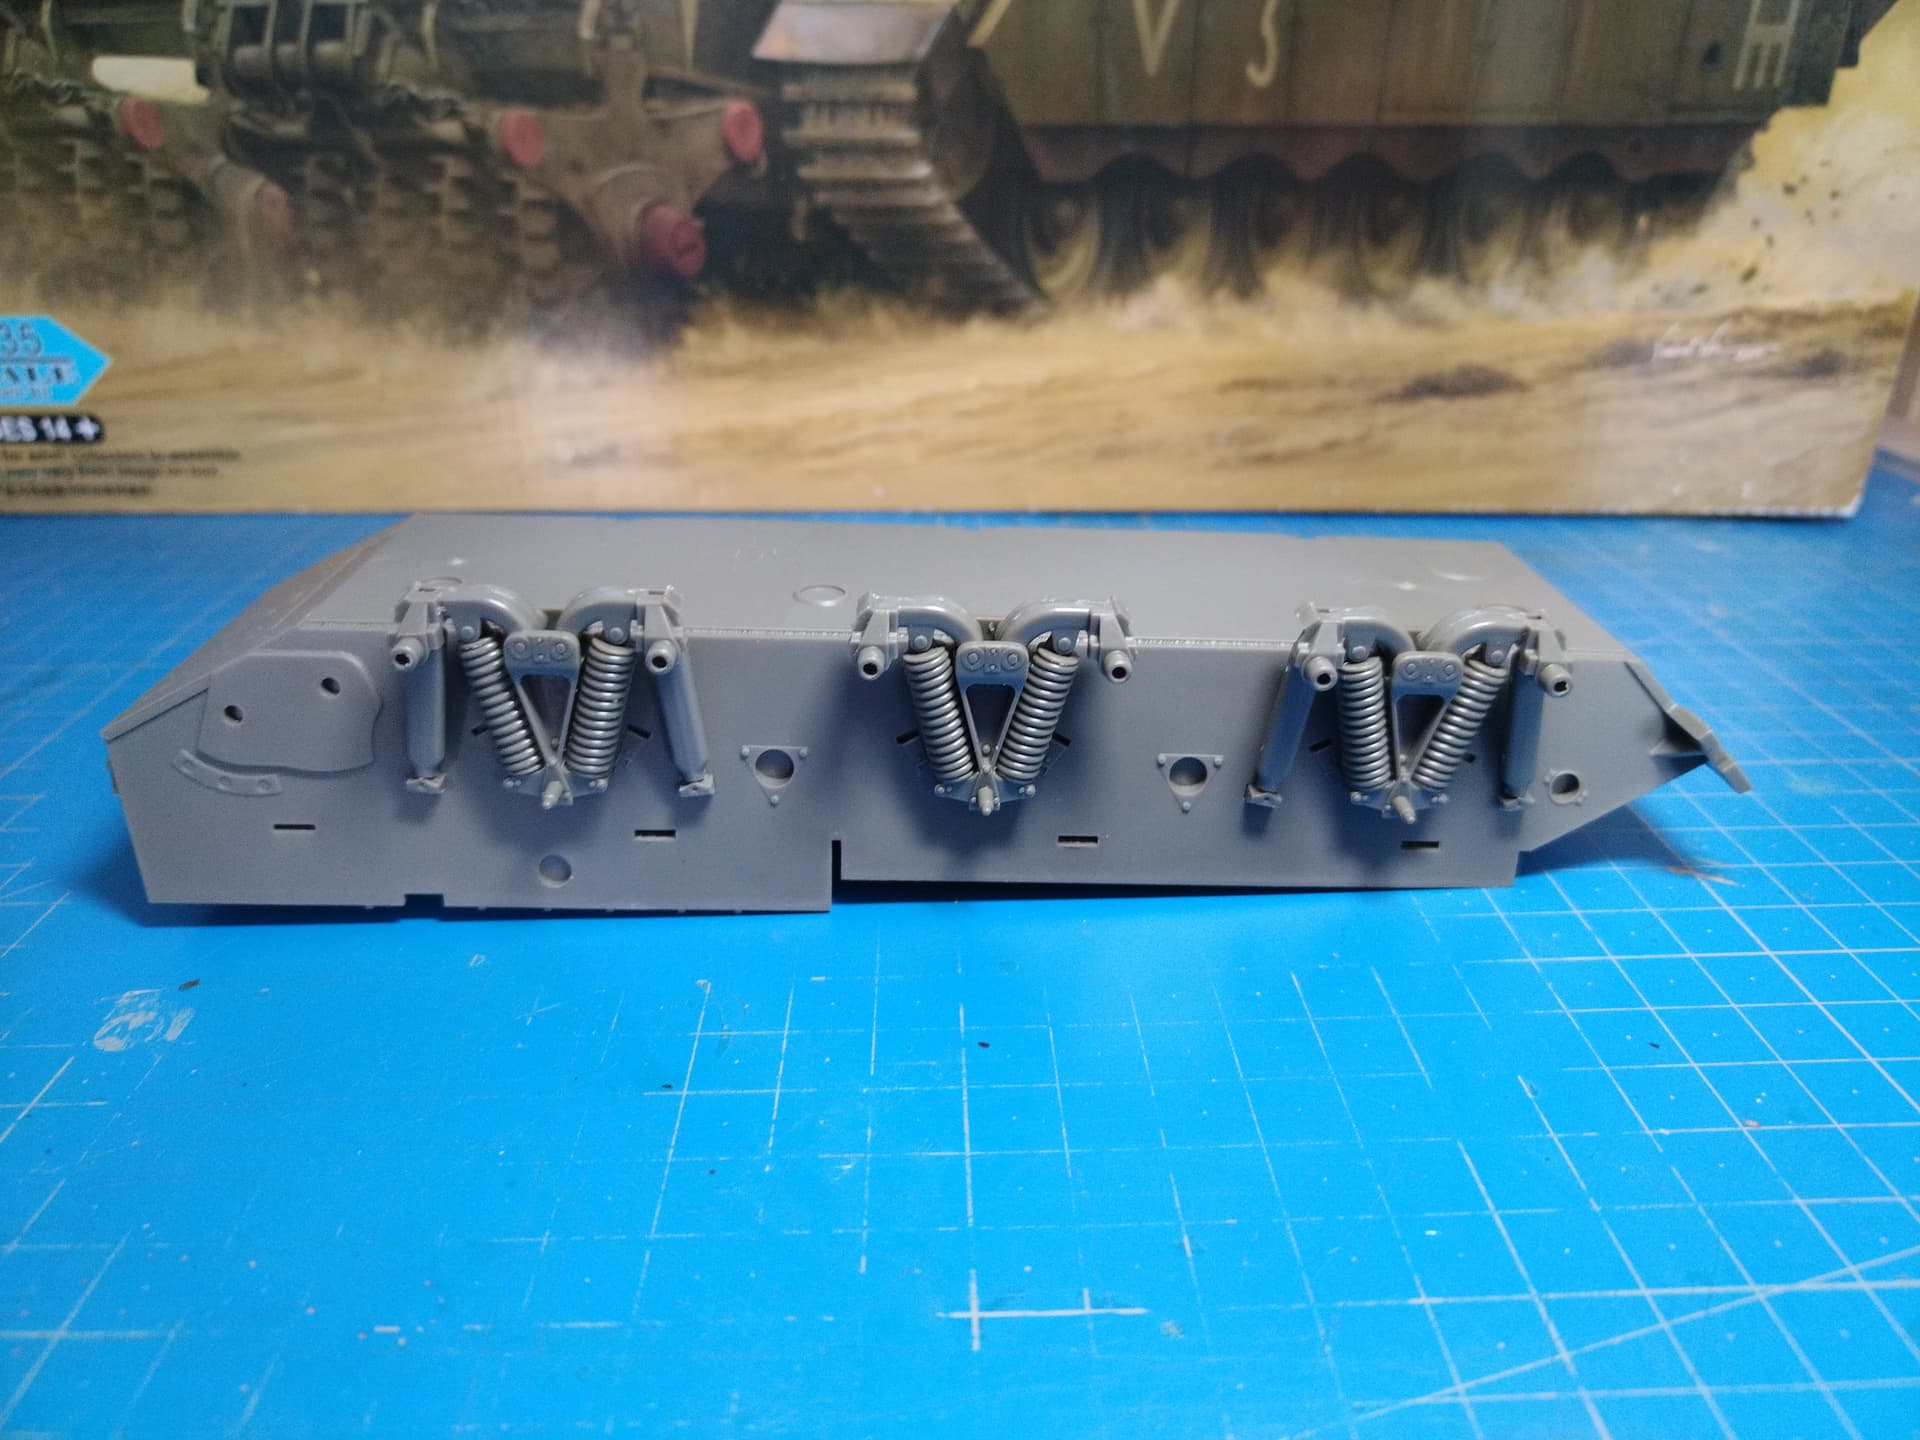
One side of the suspension has been assembled too. It’s a bit tedious and you need to take care of the direction of the springs. Unlike what the instructions tell you I didn’t glue the various mobile parts until the springs were ready to be installed. Once they are in place it is easy to glue and secure the assemblies.
Nice start. You build the same configuration as mine. I thought about add only a roller adapter, but left that idea and mount only Carpet launcher. I like the look of the front of Puma
I noticed that in my Box the Sprue E is missing. It is a little set back, as I am not able to trace down the seller, and with Trumpeter there is no replacement Service for free… It will cost me 20 Dollars…
That’s a bad surprise. However the parts on this sprue are not that difficult to make from styrene sheet if you can’t source the sprue.
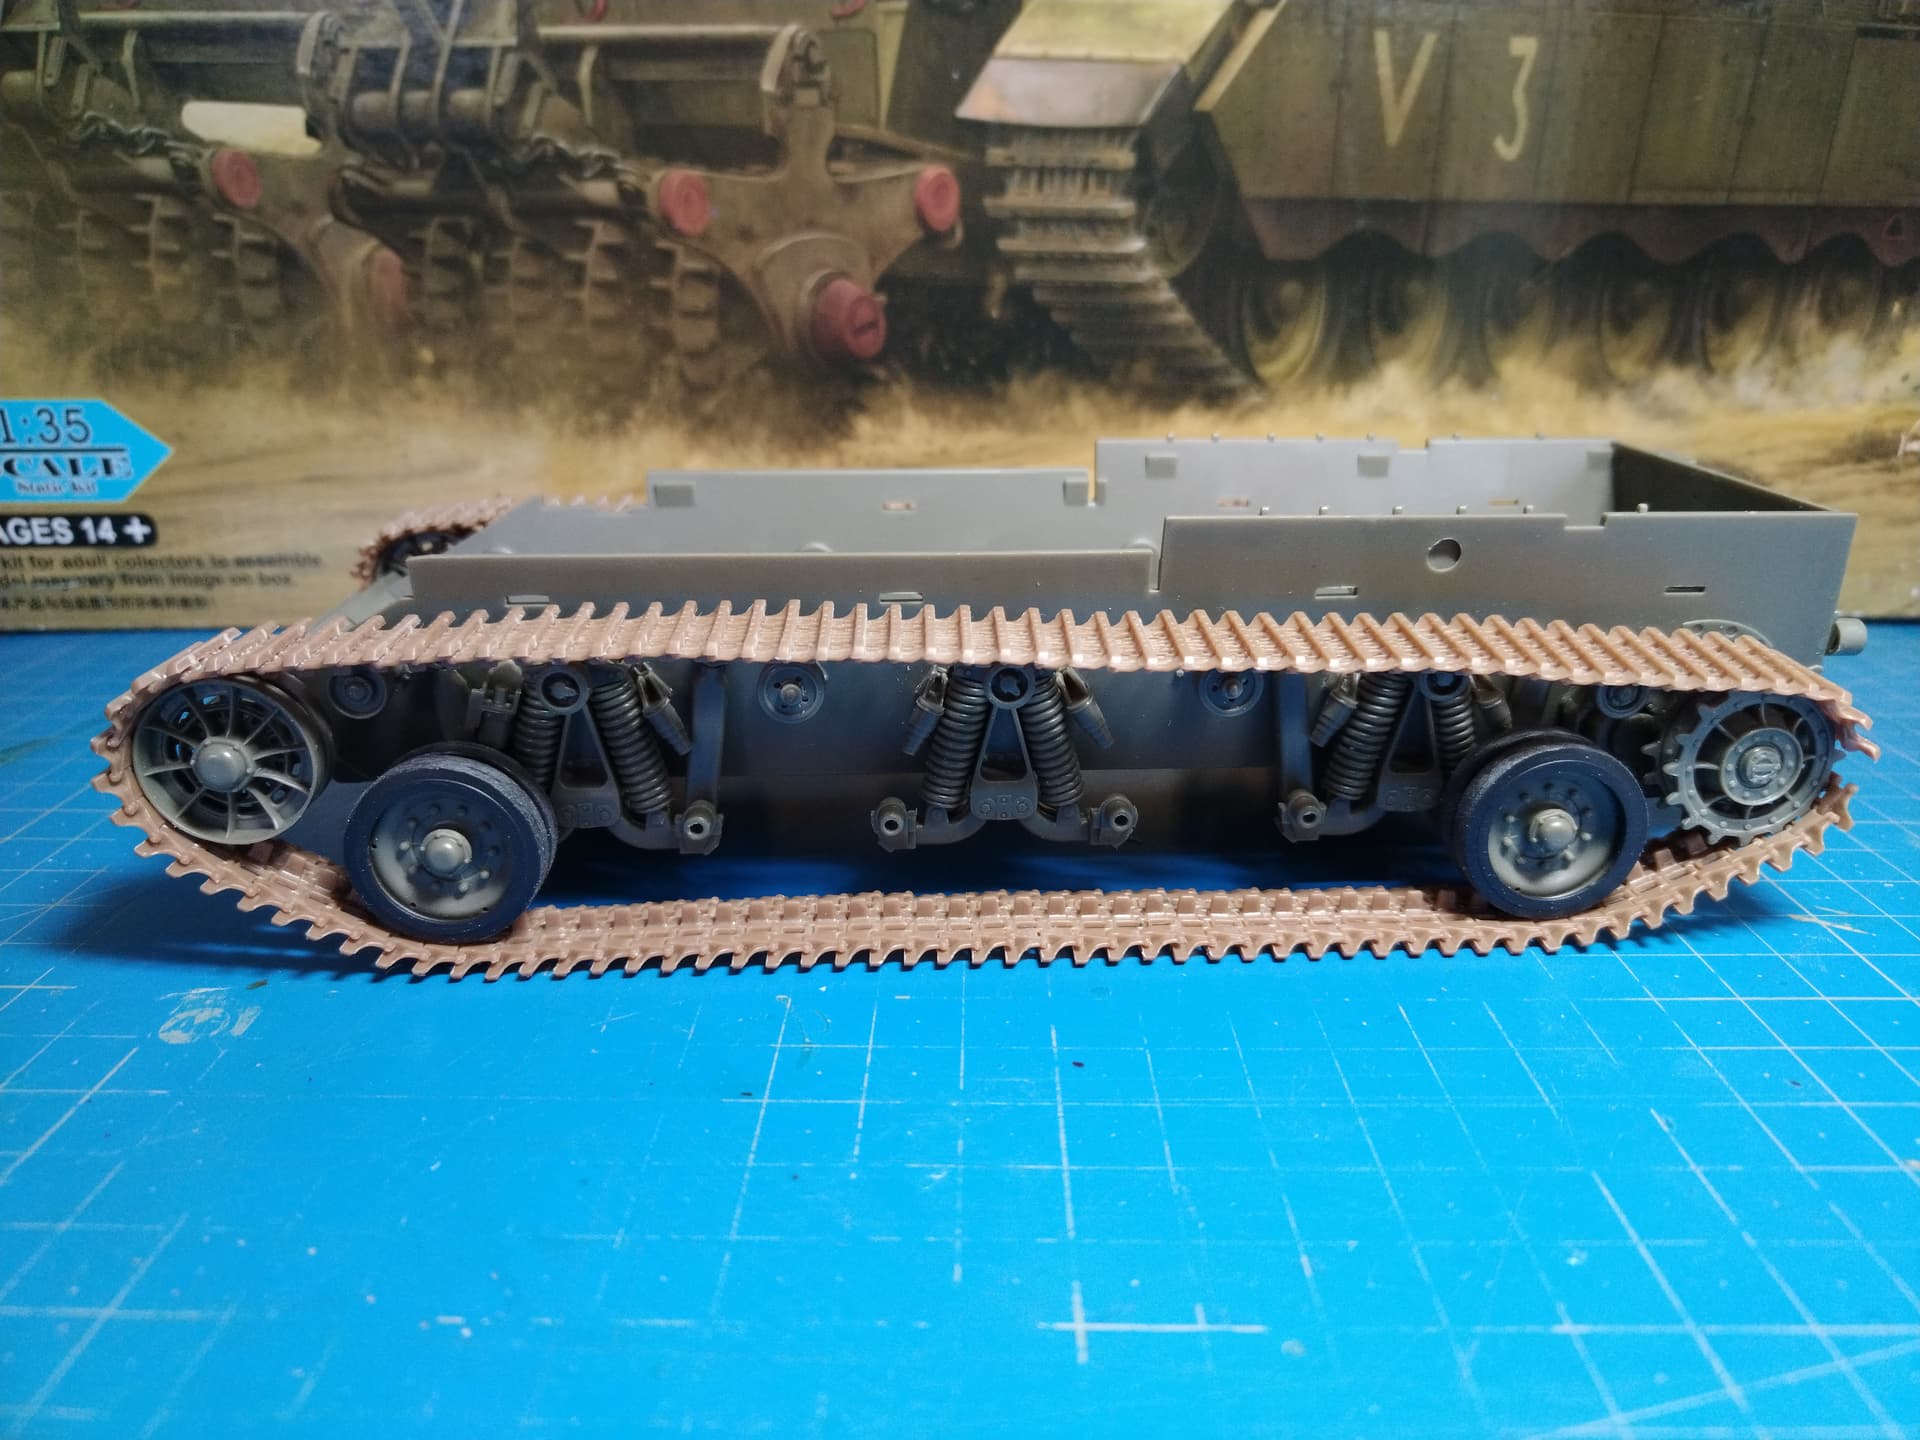
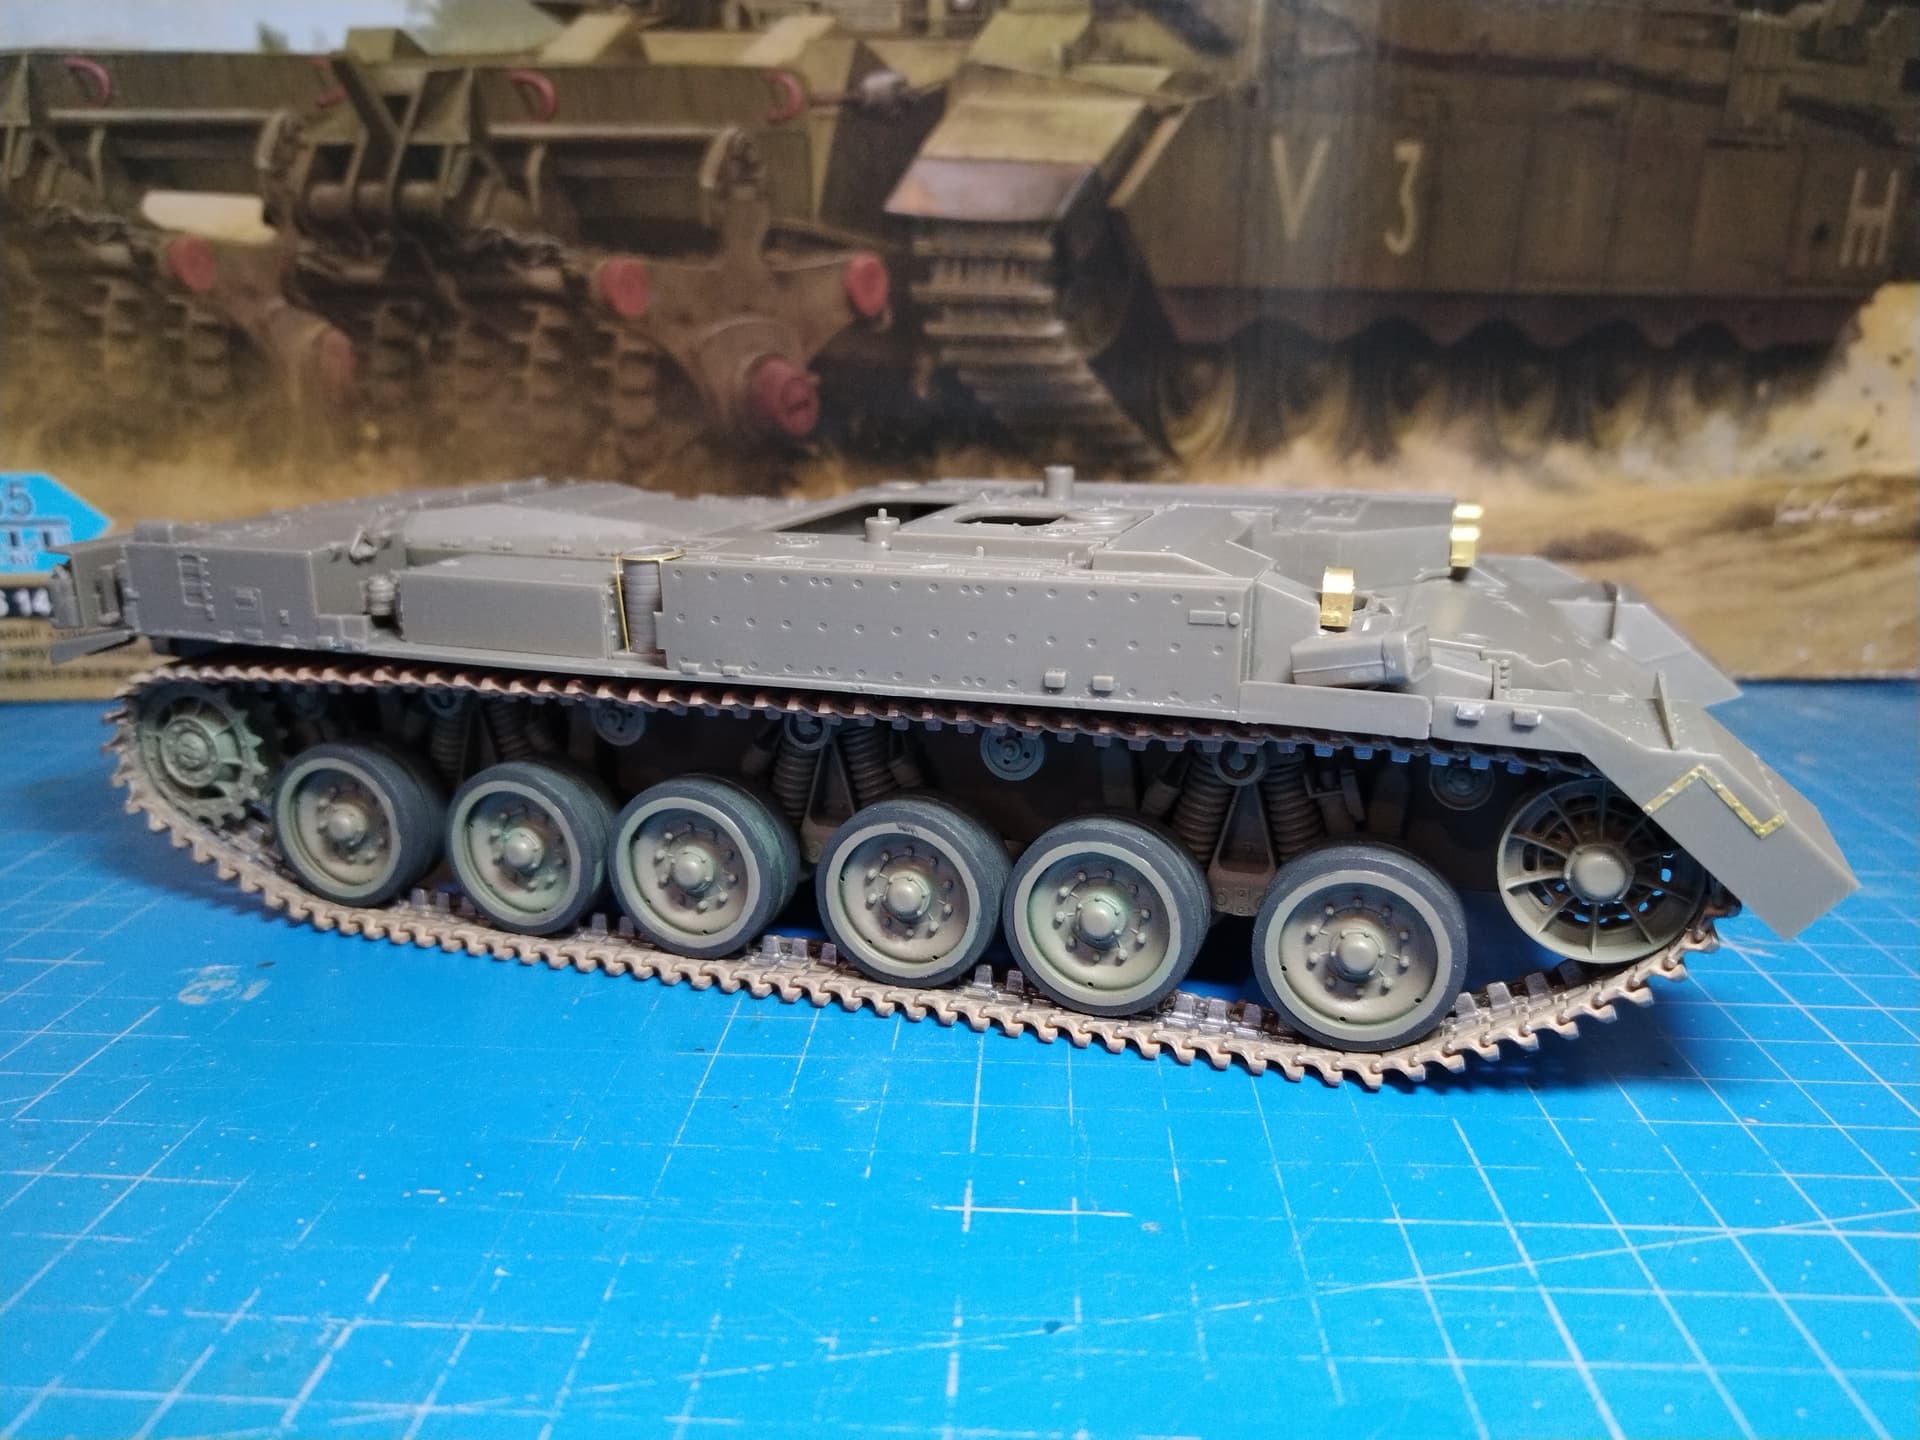
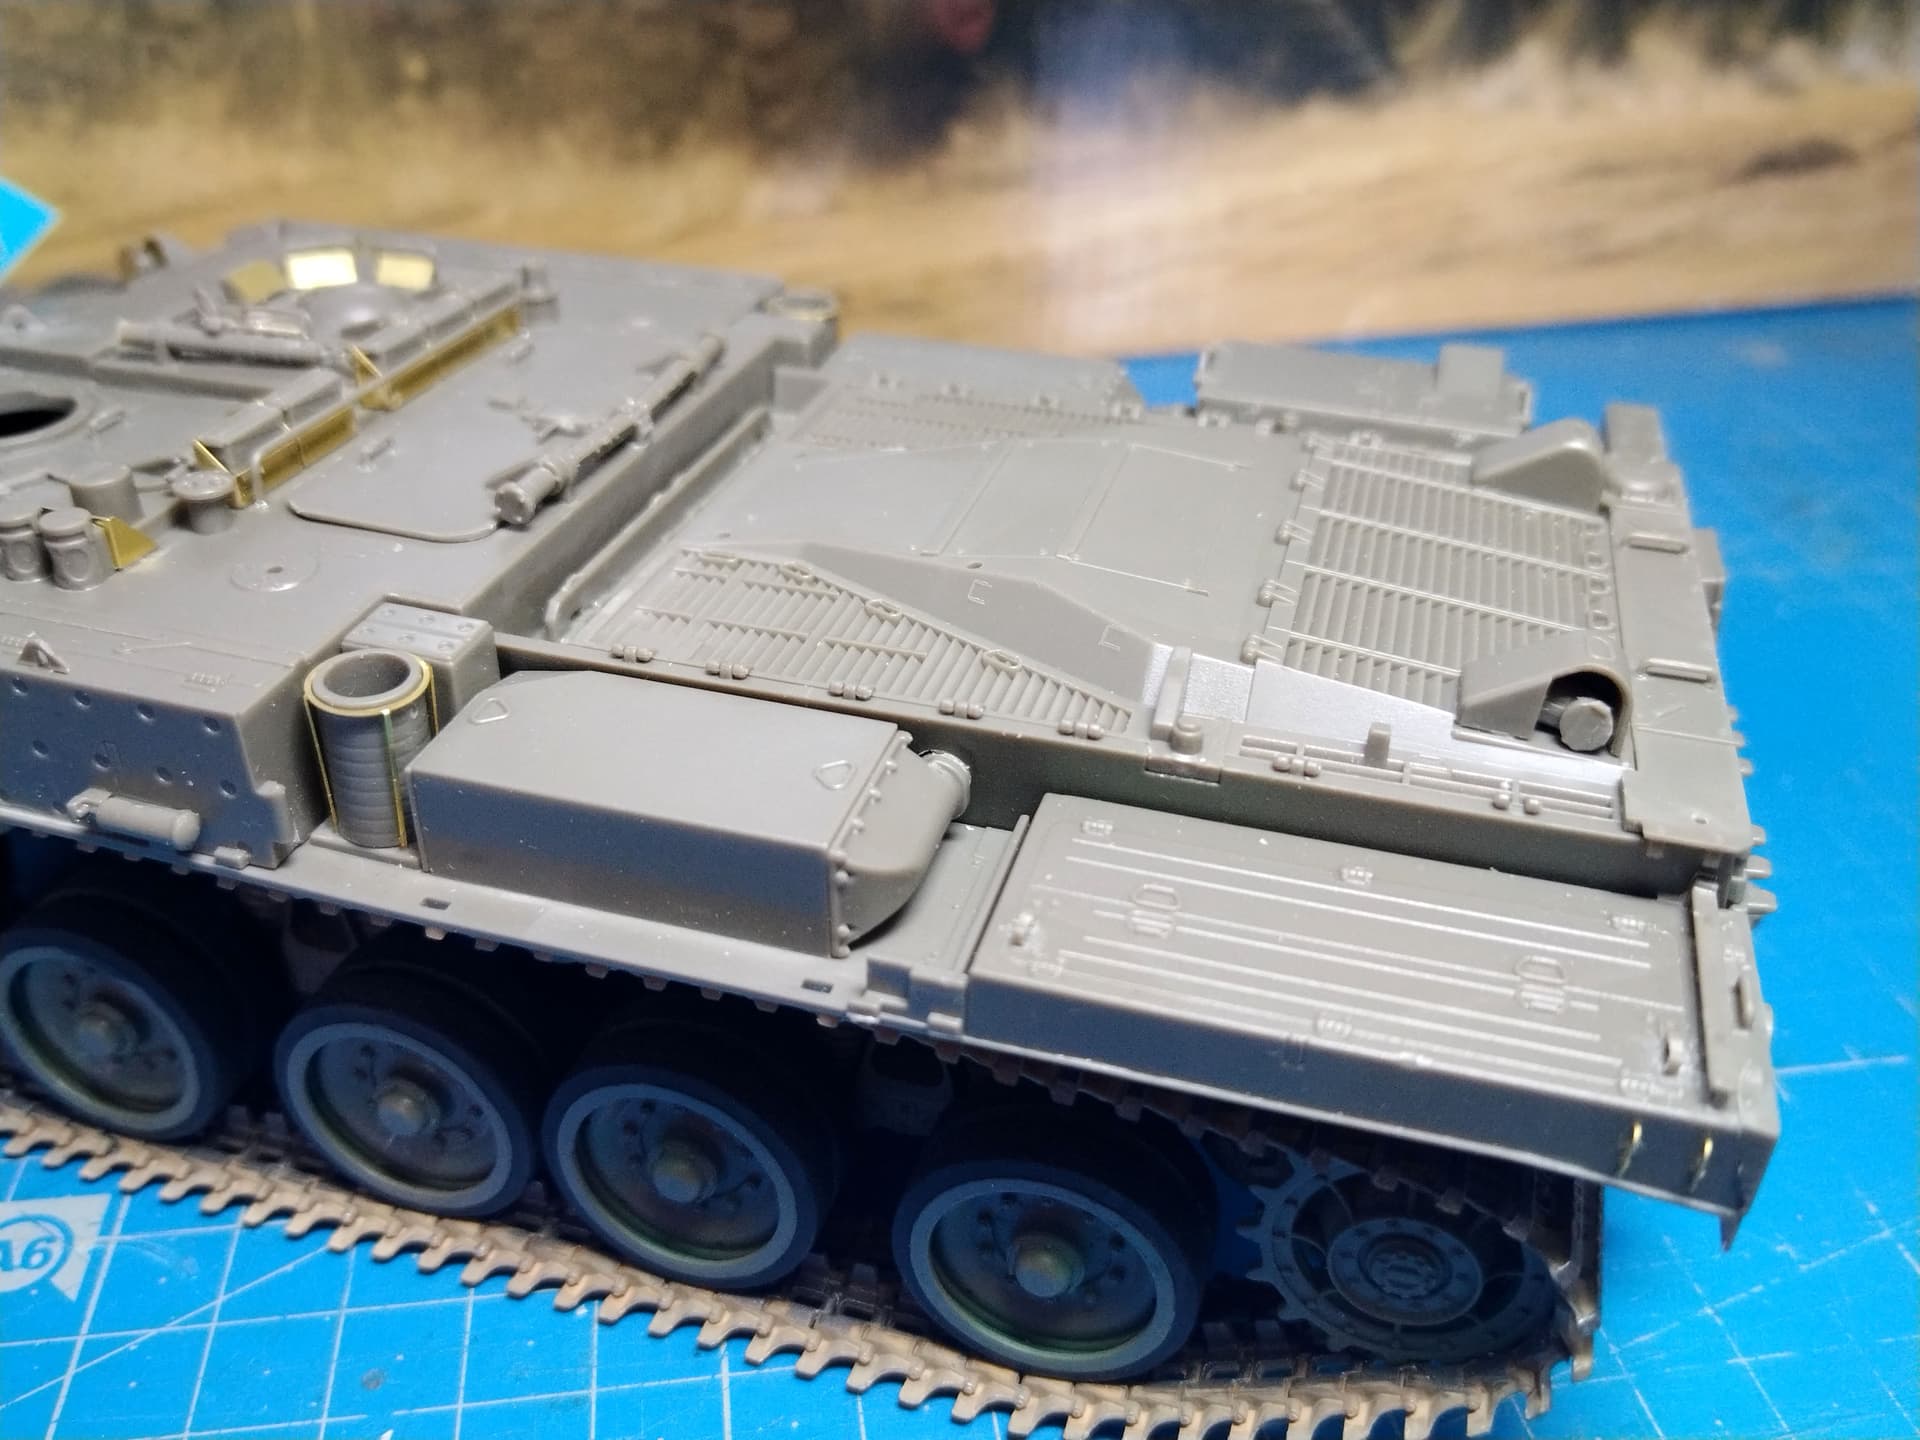
I have progressed a bit with the running gear near completion and some other bits assembled. The two tracks are assembled which was boring to say the least. 105 links are needed for each track. The fit between the links is very tight so I assembled them without forcing them. I brushed some extra thin Tamiya glue between the links and let it work for a few seconds. Then only I forced the links together.
Once the tracks were assembled I “wrapped” them around the running gear starting from the sprockets. Surprisingly one track is one link too short while the second one is two links too short. This is not a big deal as you have enough links in the box.
I just don’t get these crappy link and length/individual links provided by the kit manufacturers. Invariably, they’re fiddly and hugely time consuming.
For this kit, i’ve bought the Quick links set. About half an hour and you’re done.
I was about to use an old pair of vinyl tracks I had in the stash. Considering what it visible with the side skirts it could have been a good option as well.
I guess it was not painful enough
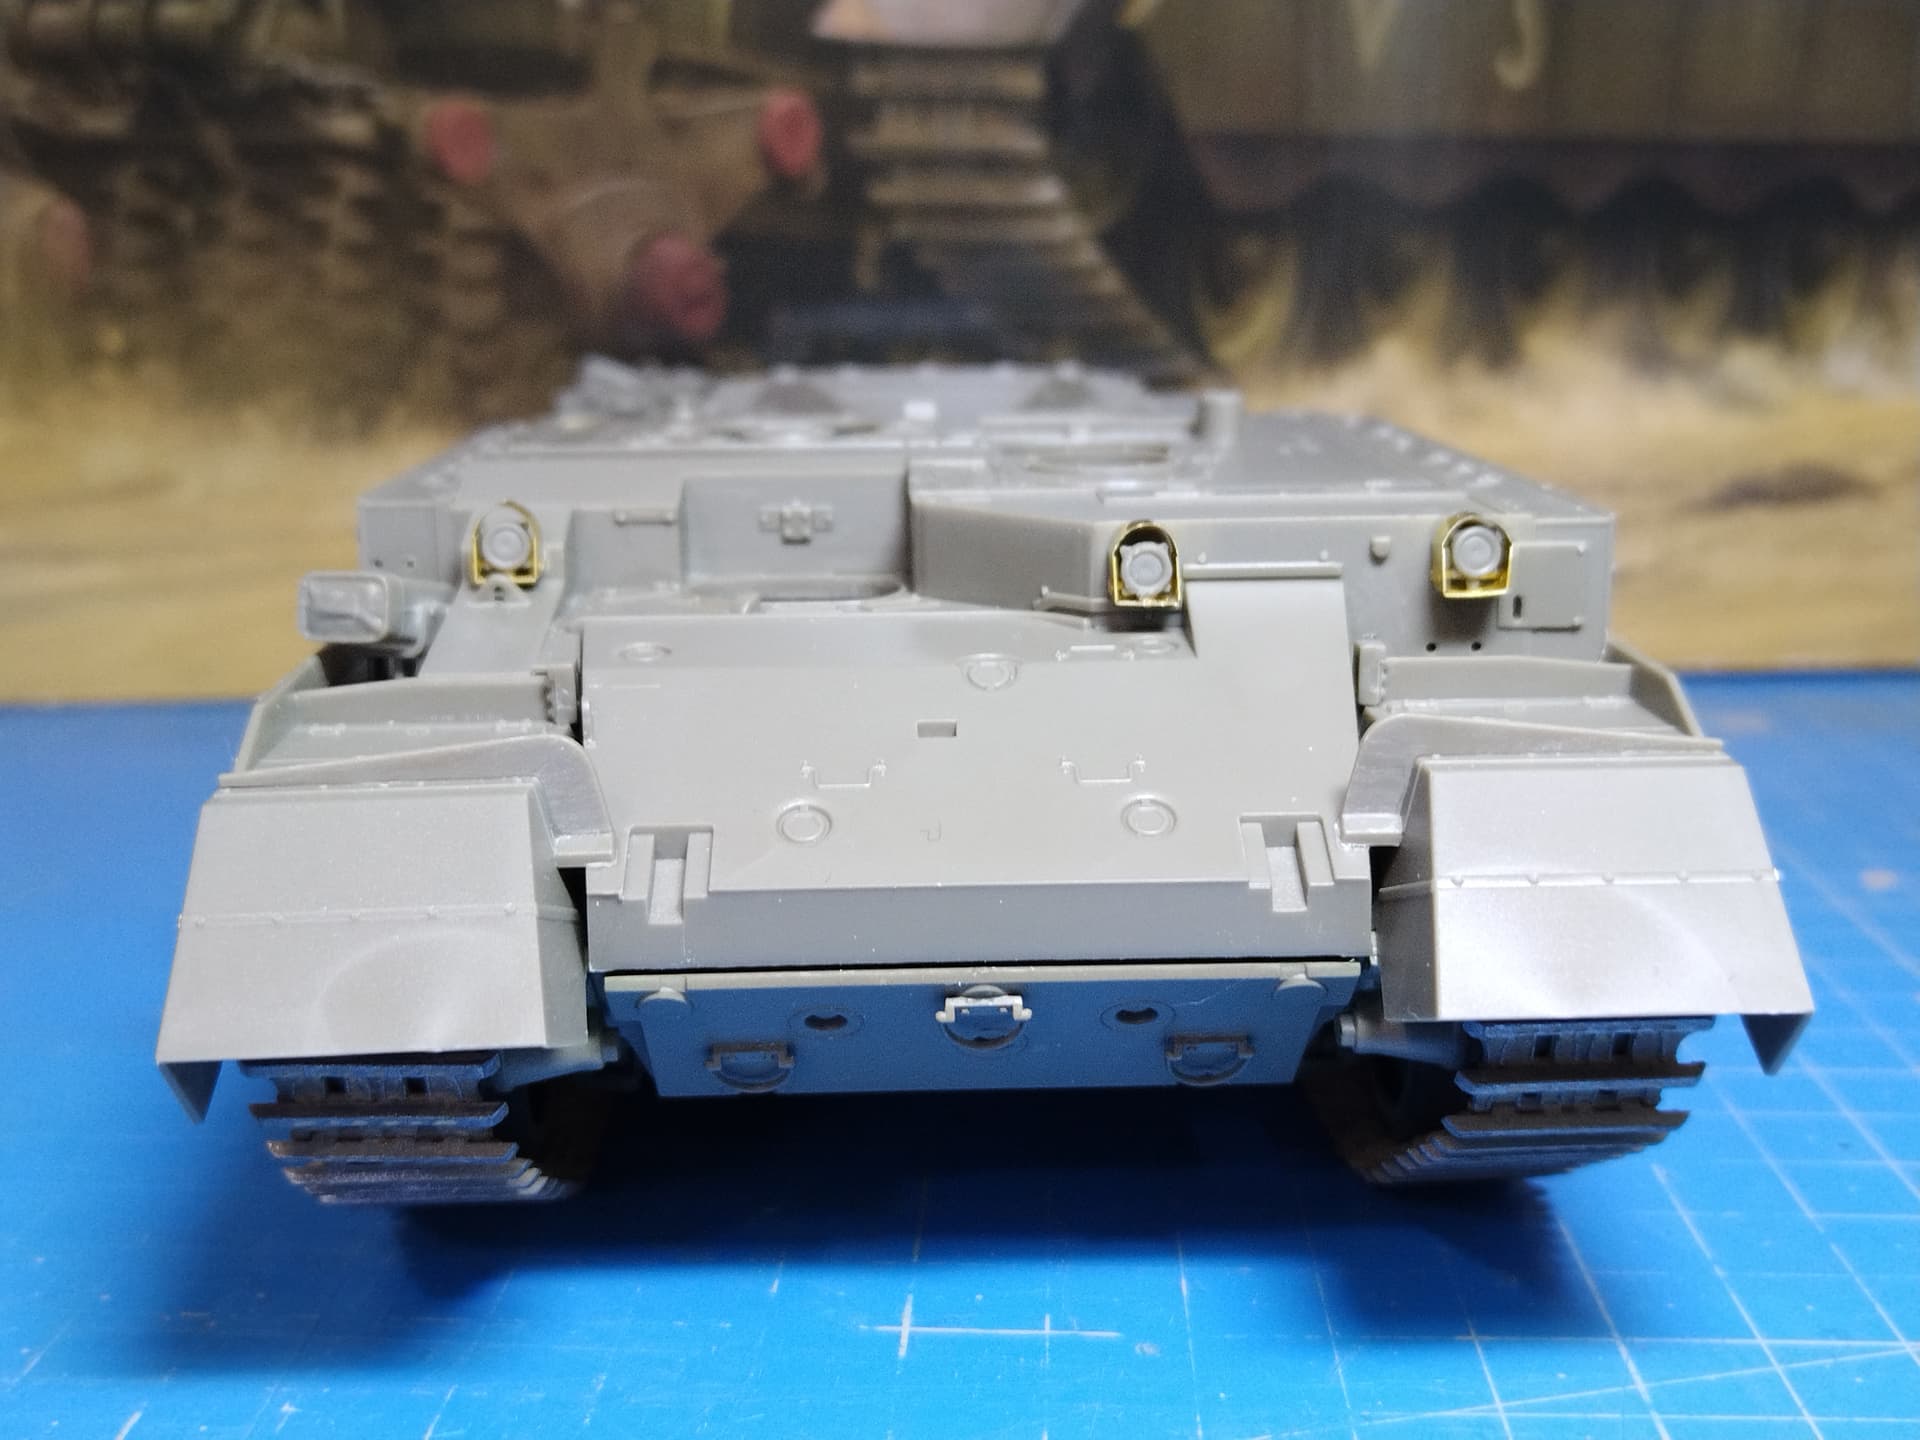
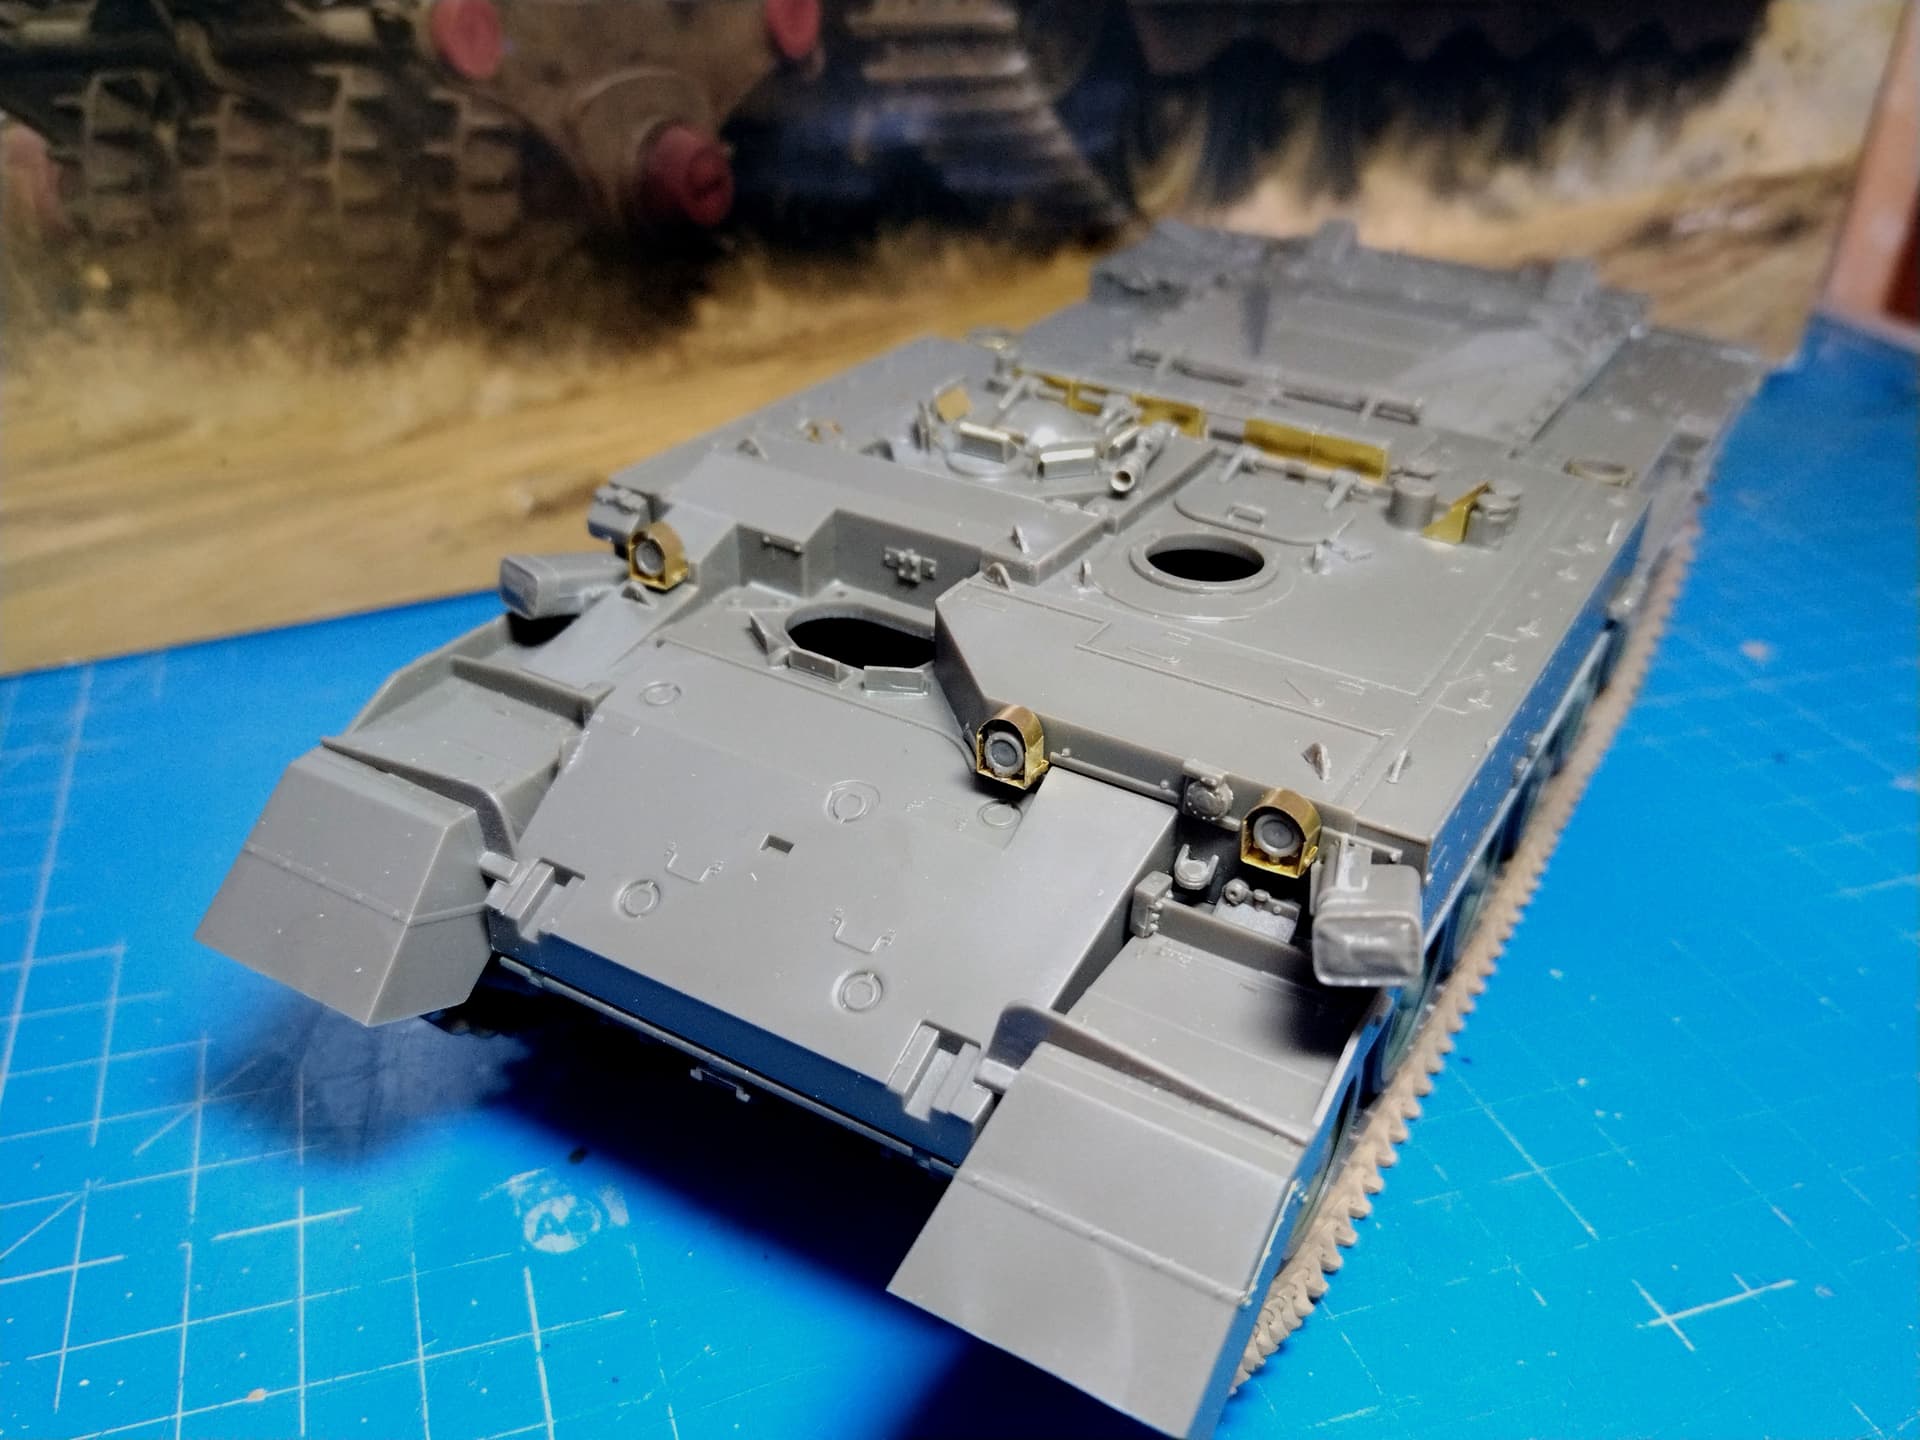
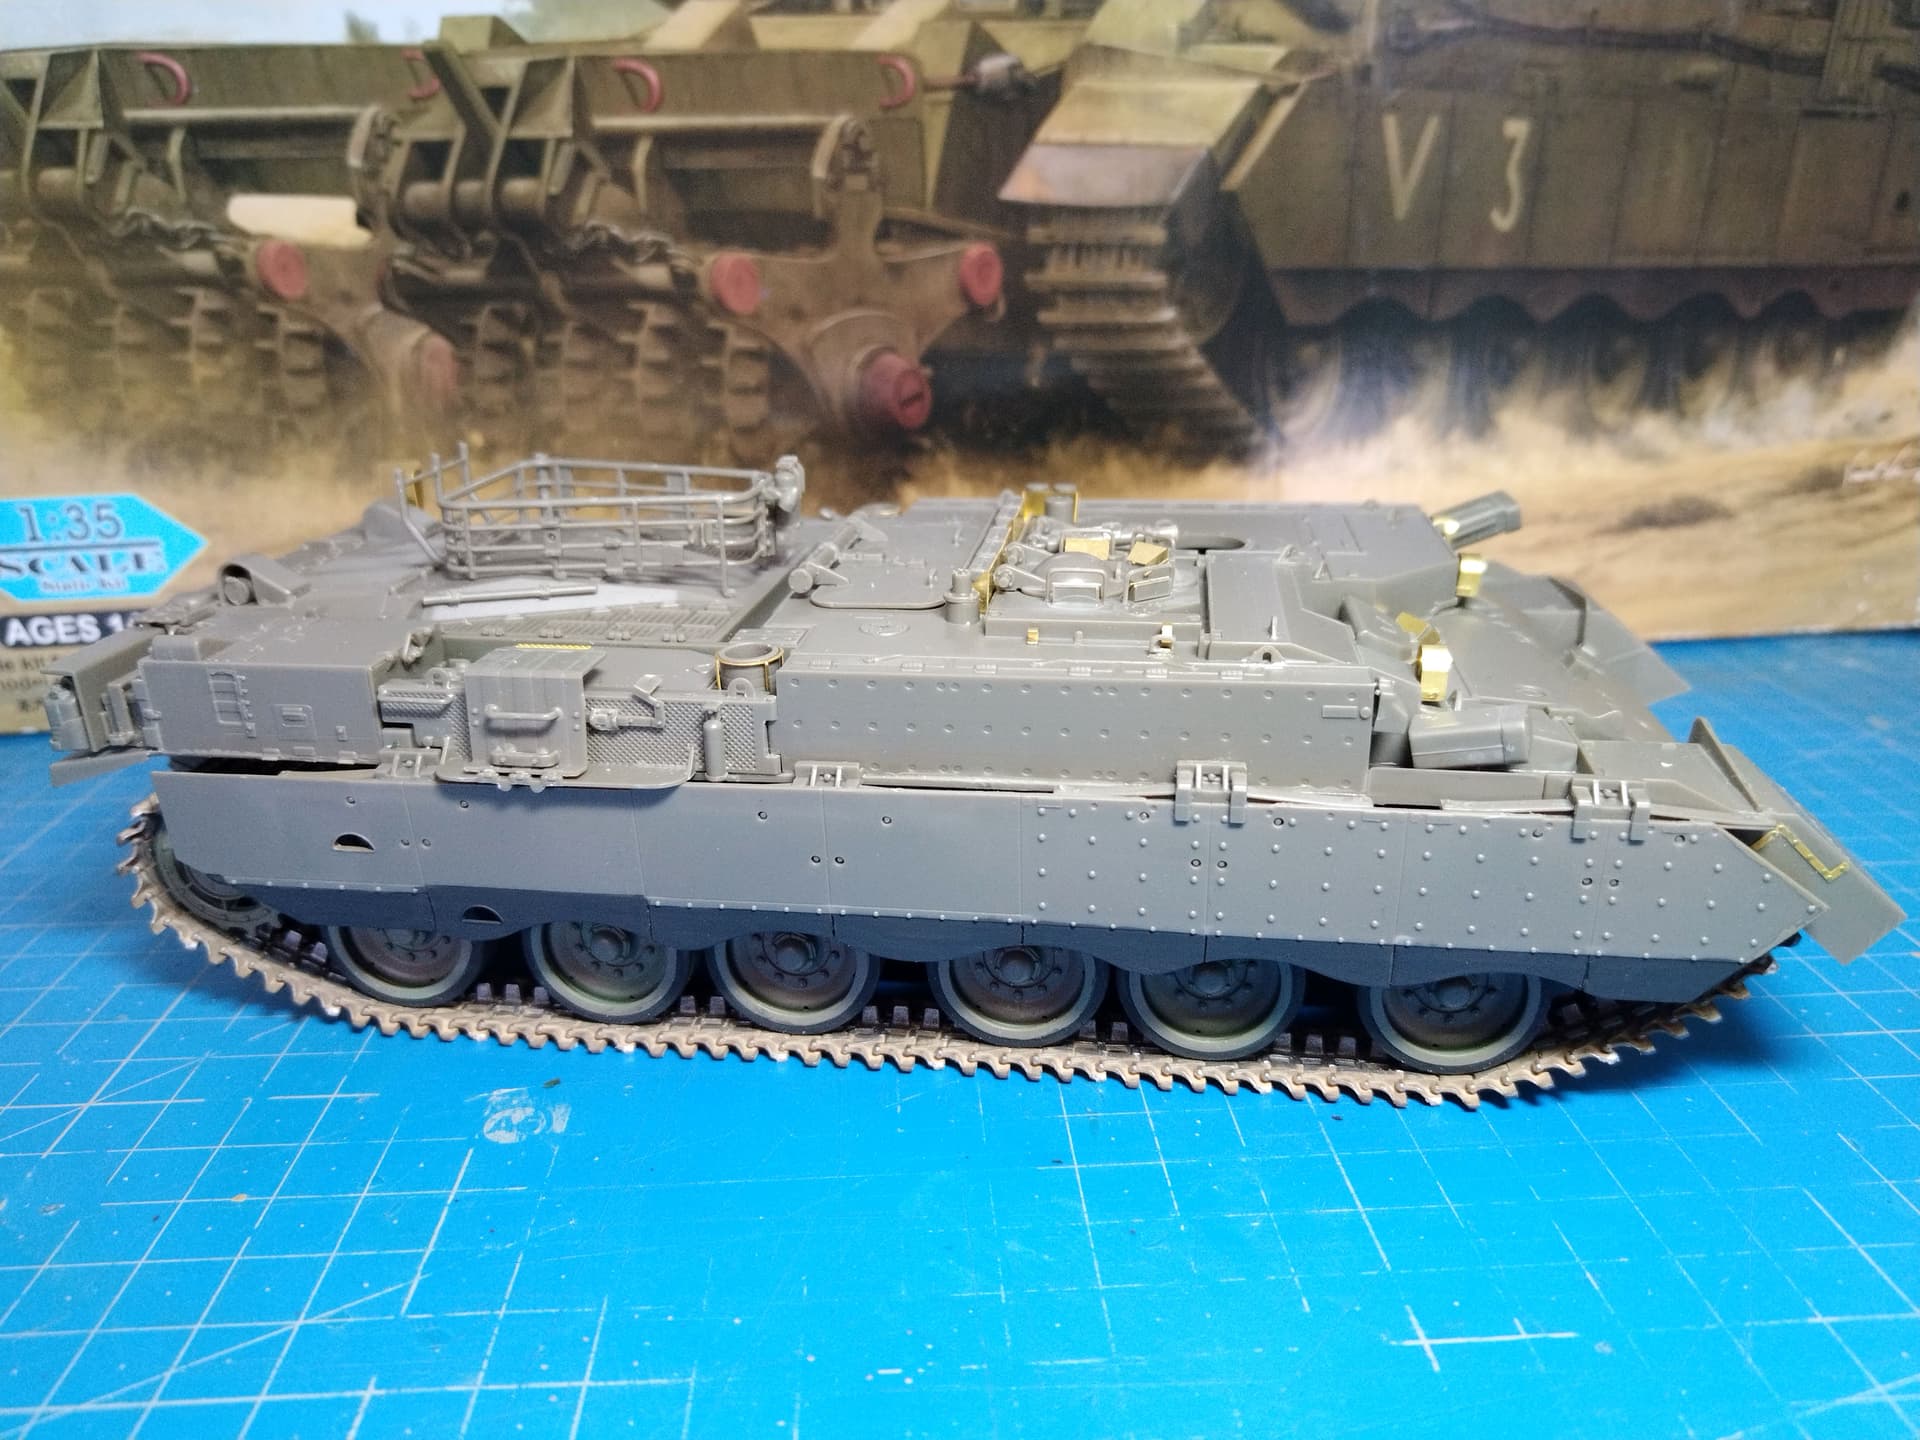
Before I take a short break next week, I have made some progress on the superstructure.
It comes with a large part covering the whole lower hull on which you have to glue the casemate.
Hobby Boss want you to glue the various details on both parts then glue the subassemblies together and finally glue the large assembly on top of the hull.
I thought it could turn into a nightmare to handle such a large part full of small details prone to break while I would try to insert the assembly onto the hull.
So I first glued the larger part to the hull. Then I glued the casemate and finally added the details. I discovered soon it was not the best option. If you intend to do like me I advise you add the small details at the front of the casemate sides. This is way easier.
Great update Olivier, it looks impressive as it is now … I really love the way the IDF re-purpose something and get another 20 years or even longer use out of it … Genius
Olivier, maybee you could cut the end of 1 track link every 5 or 6 (i don’t remember) links. IDF do that since a long time to their Centurion old tracks for an easy replacing.
Olivier, perhaps you could remove a track link after five or six (I can’t recall how many links there are). IDF has been doing that for a while now to easily replace their Centurion outdated tracks.
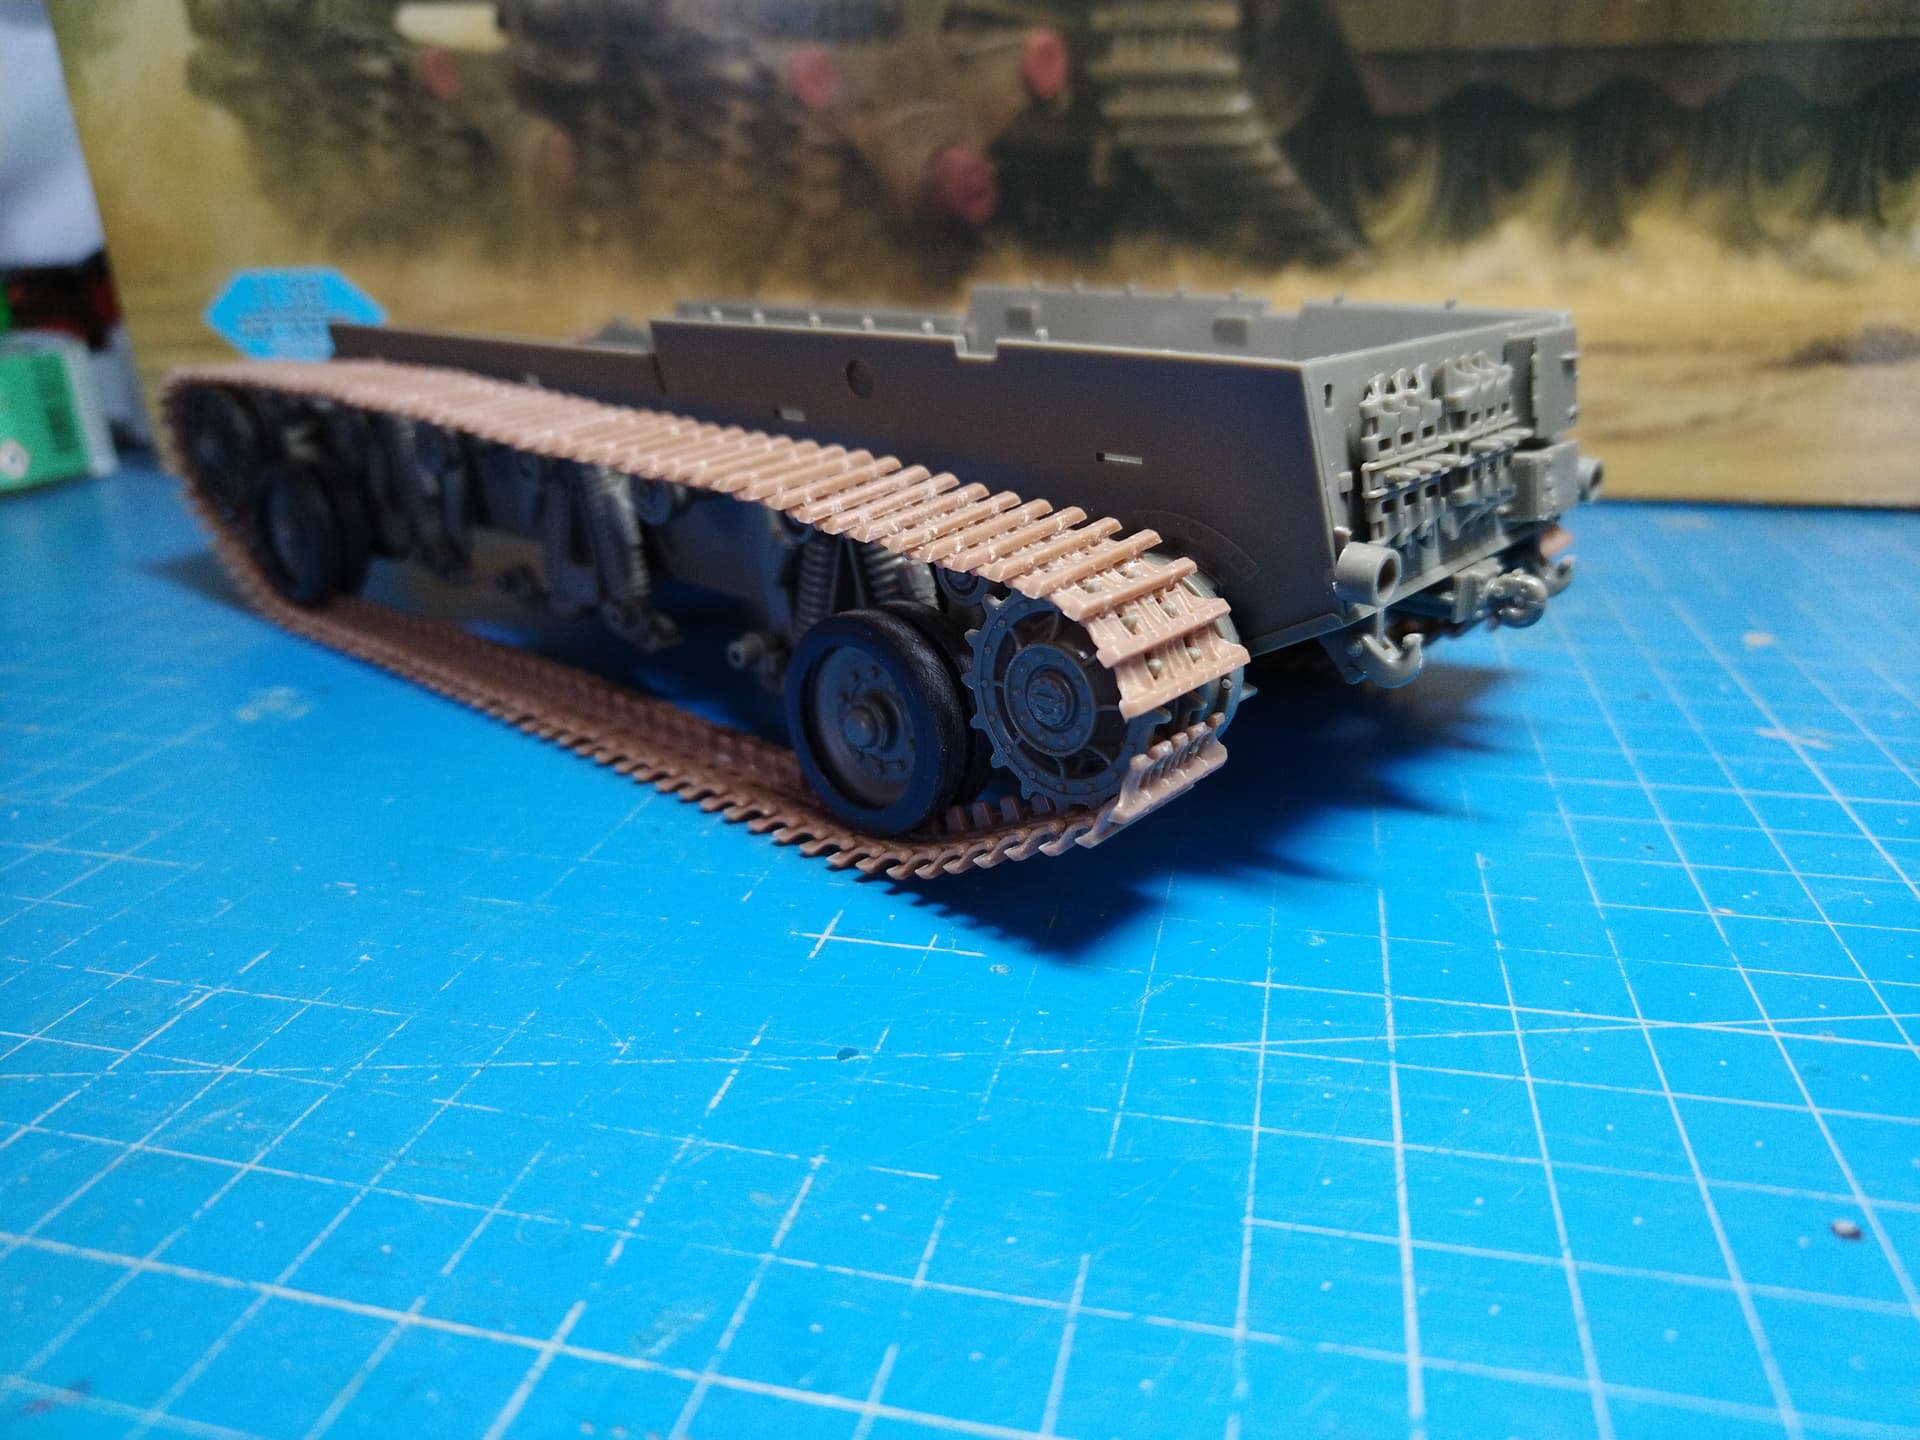
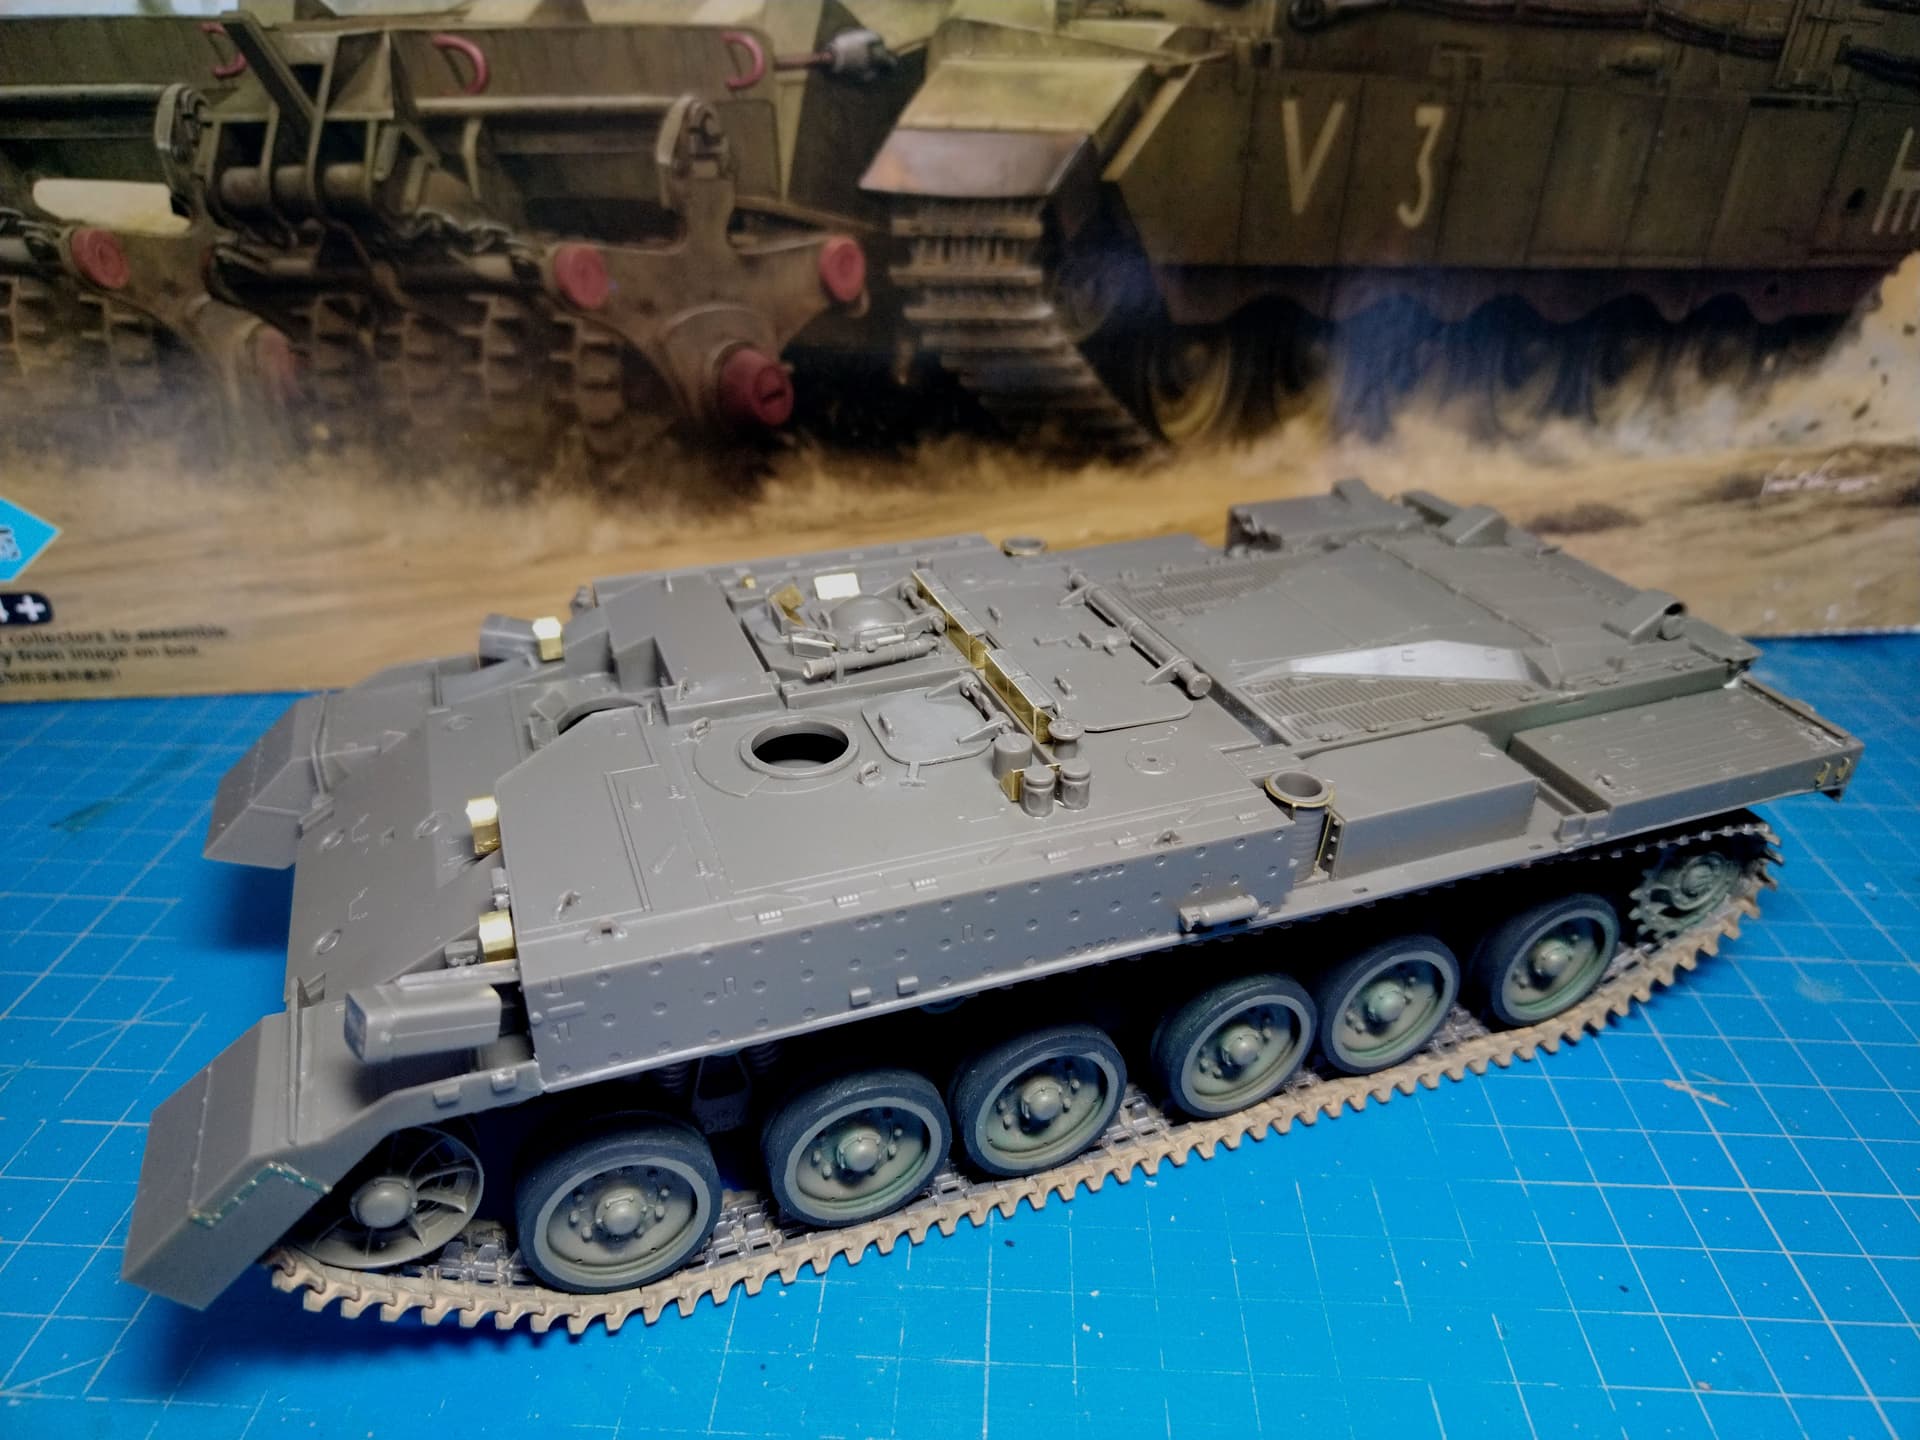
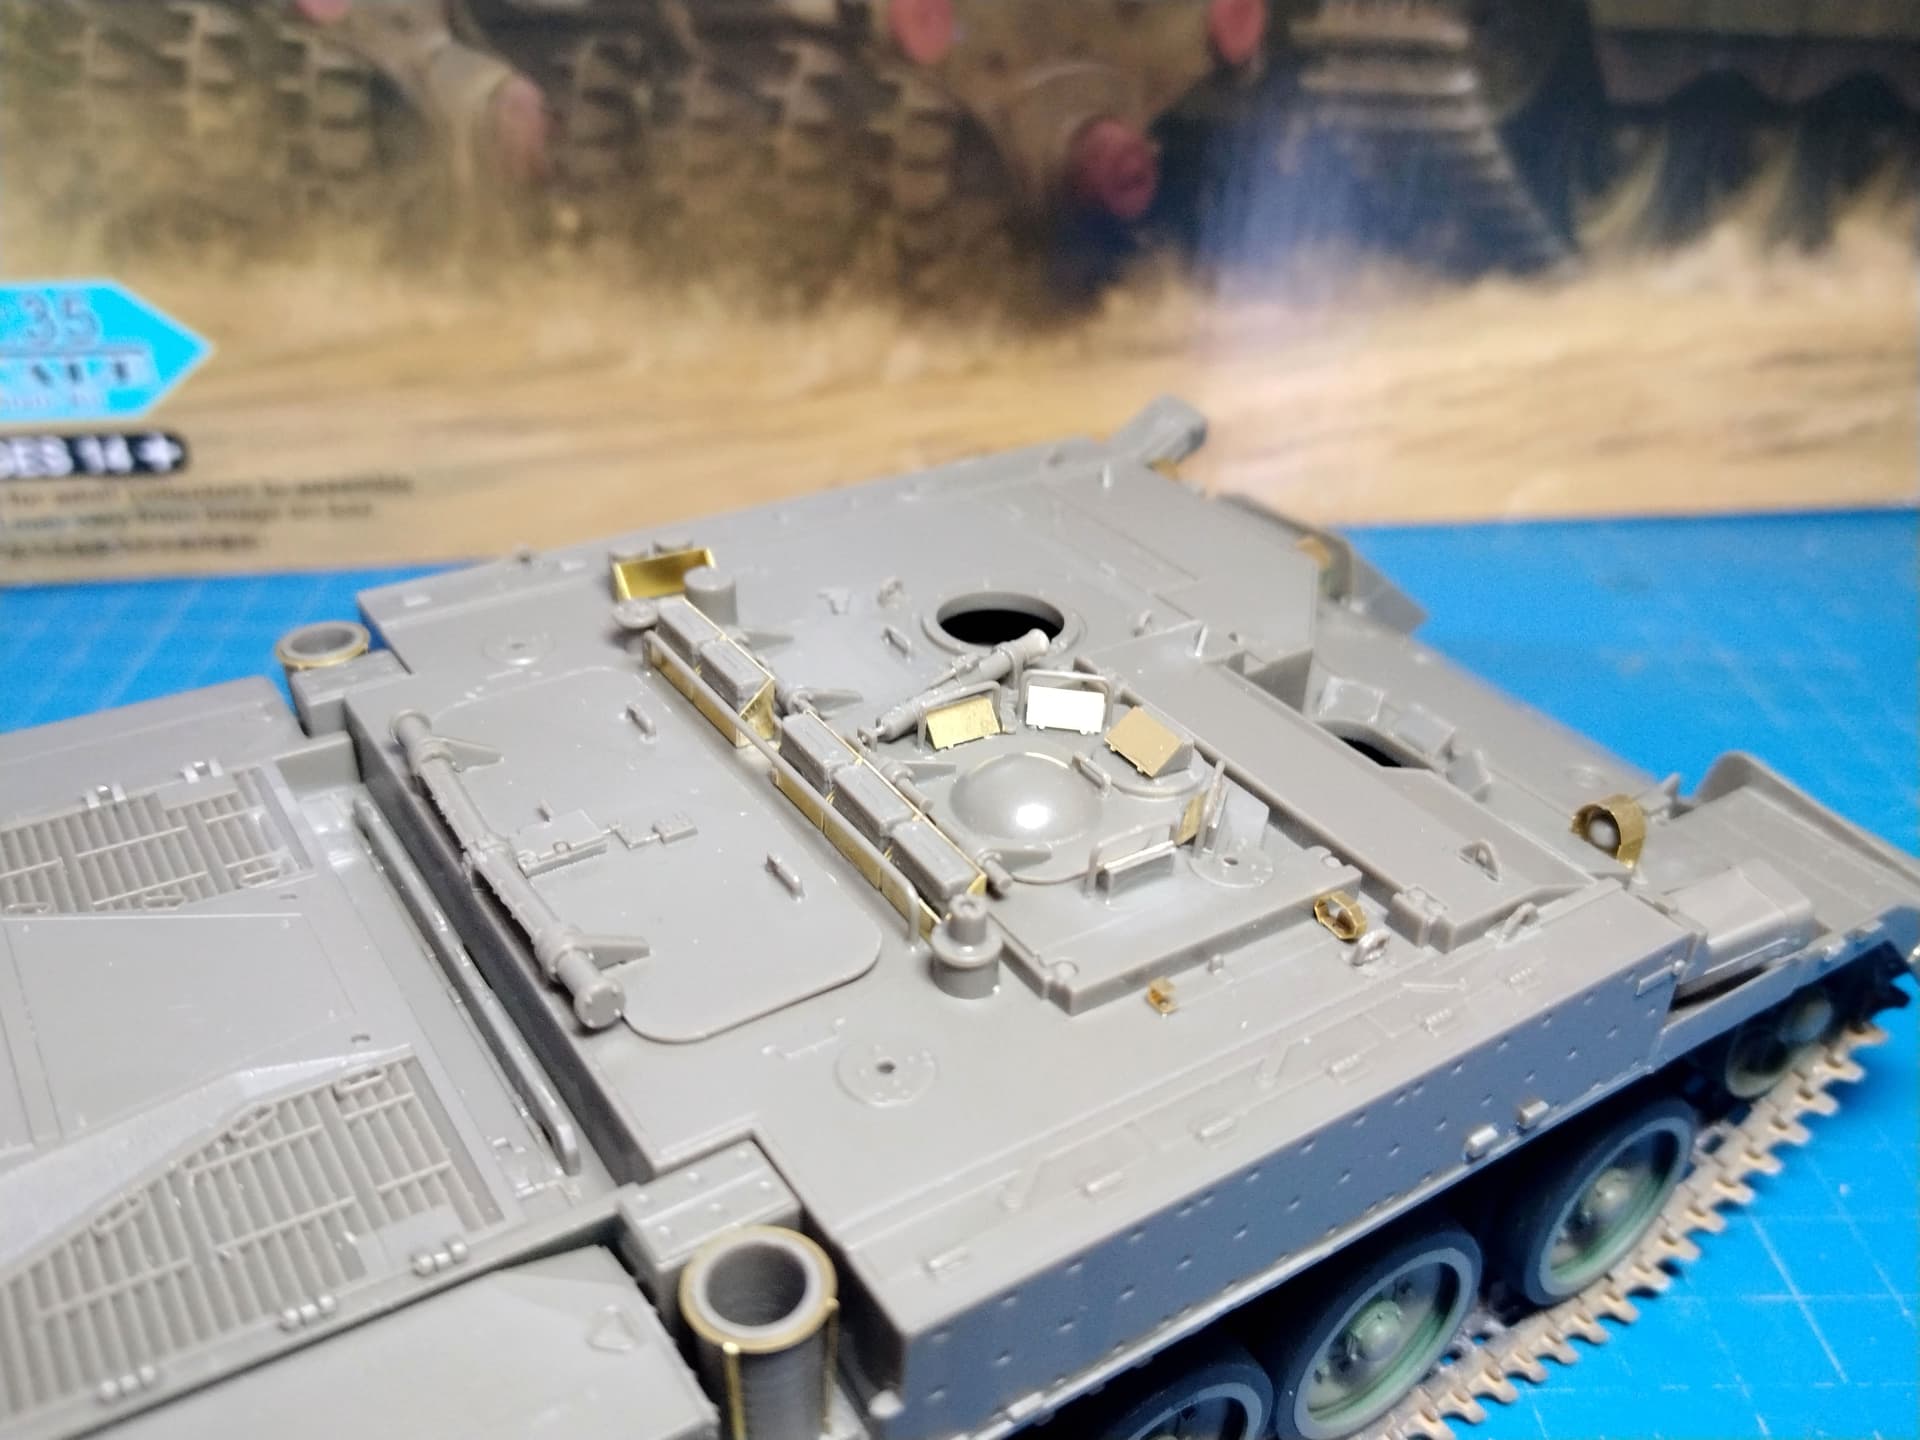
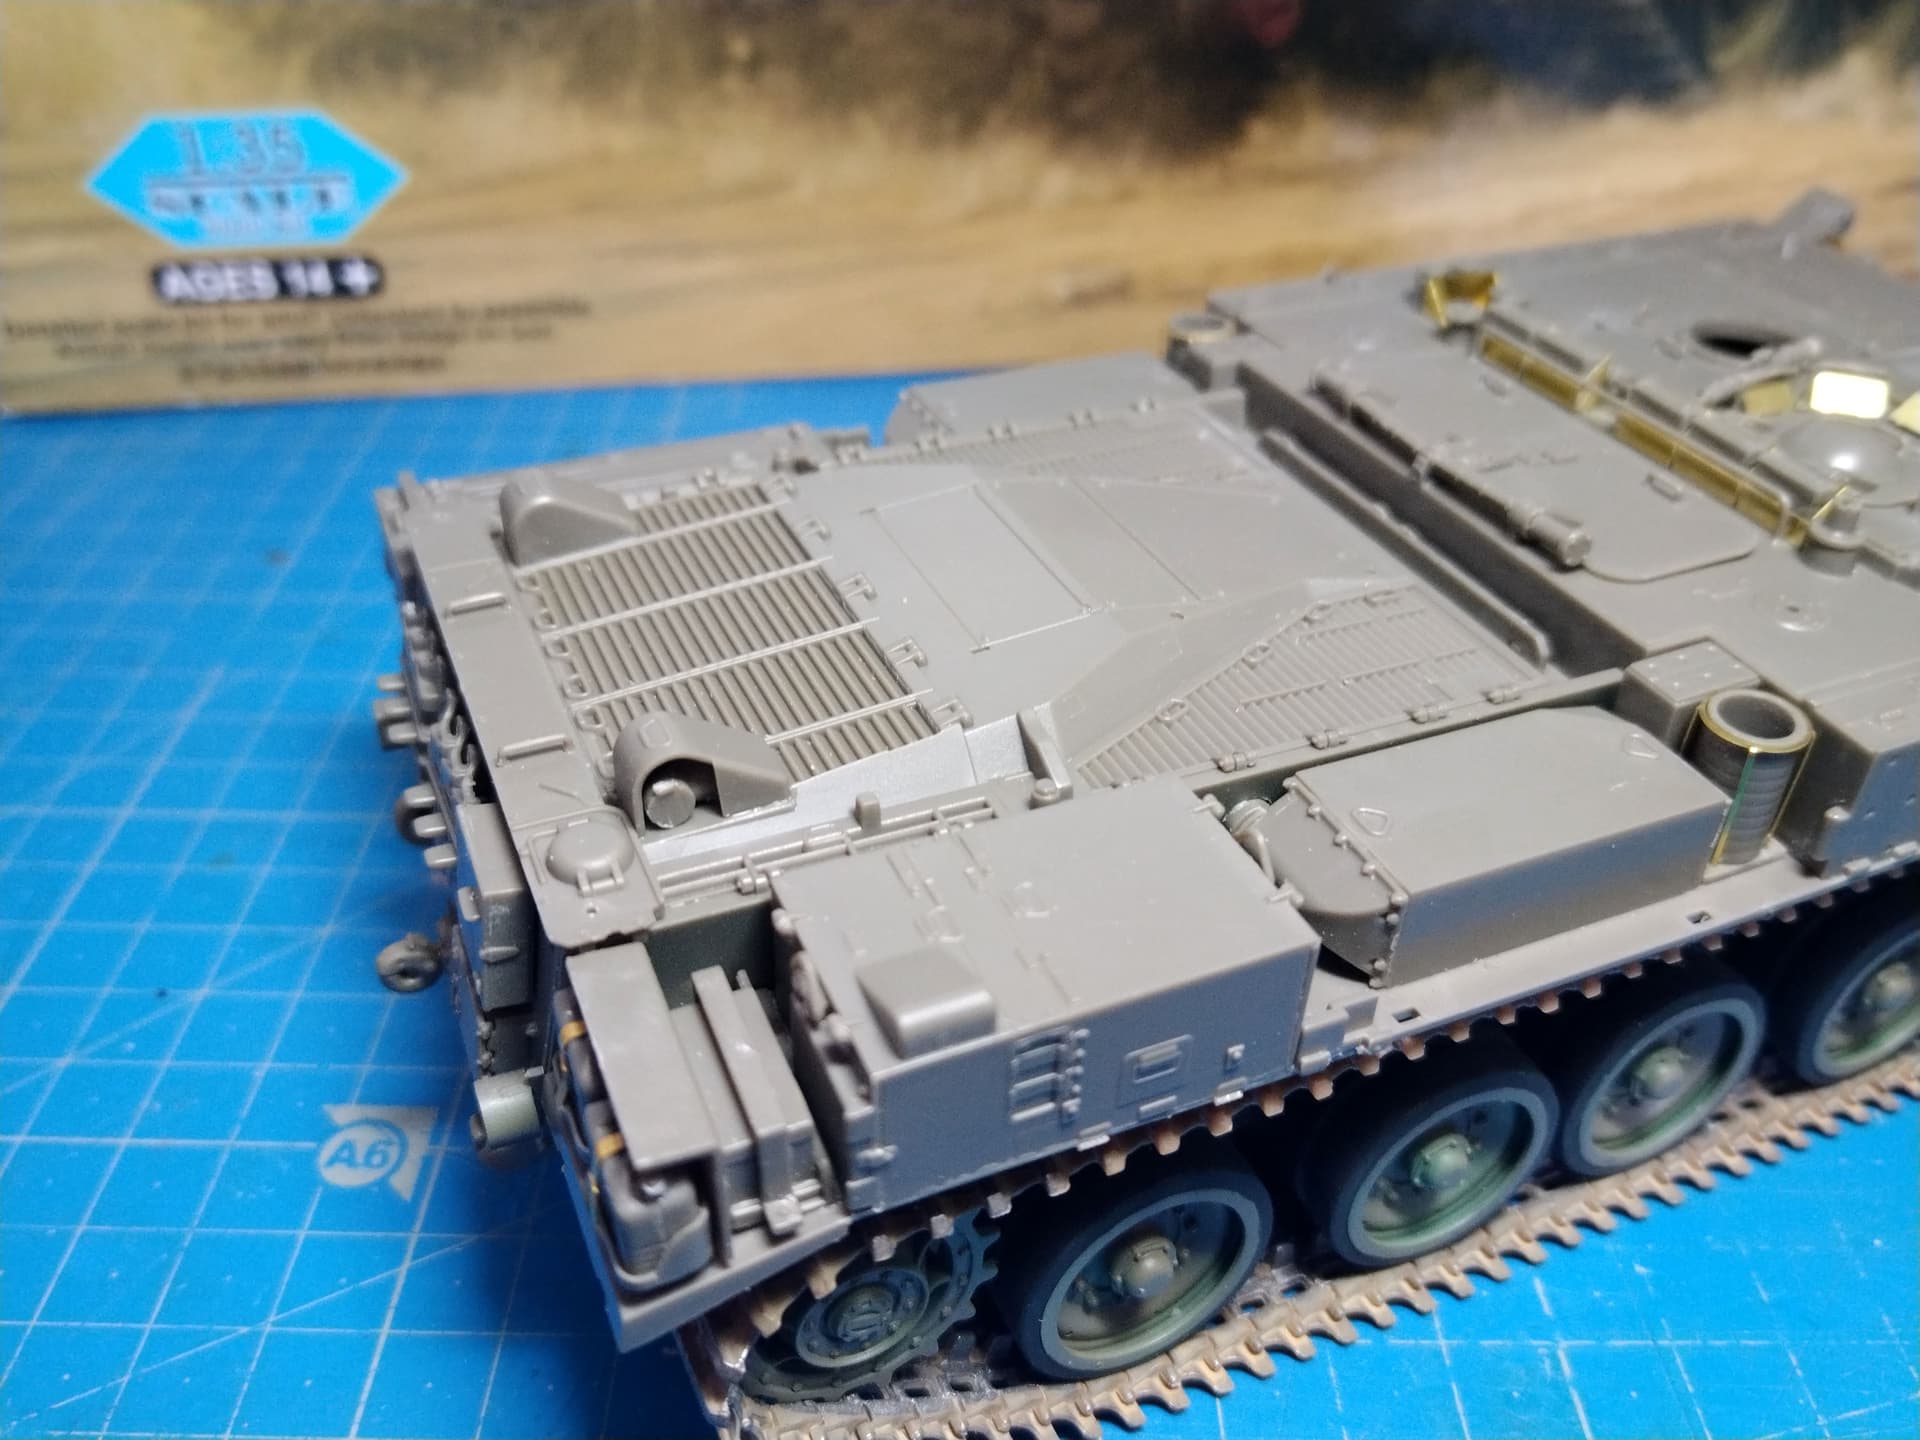
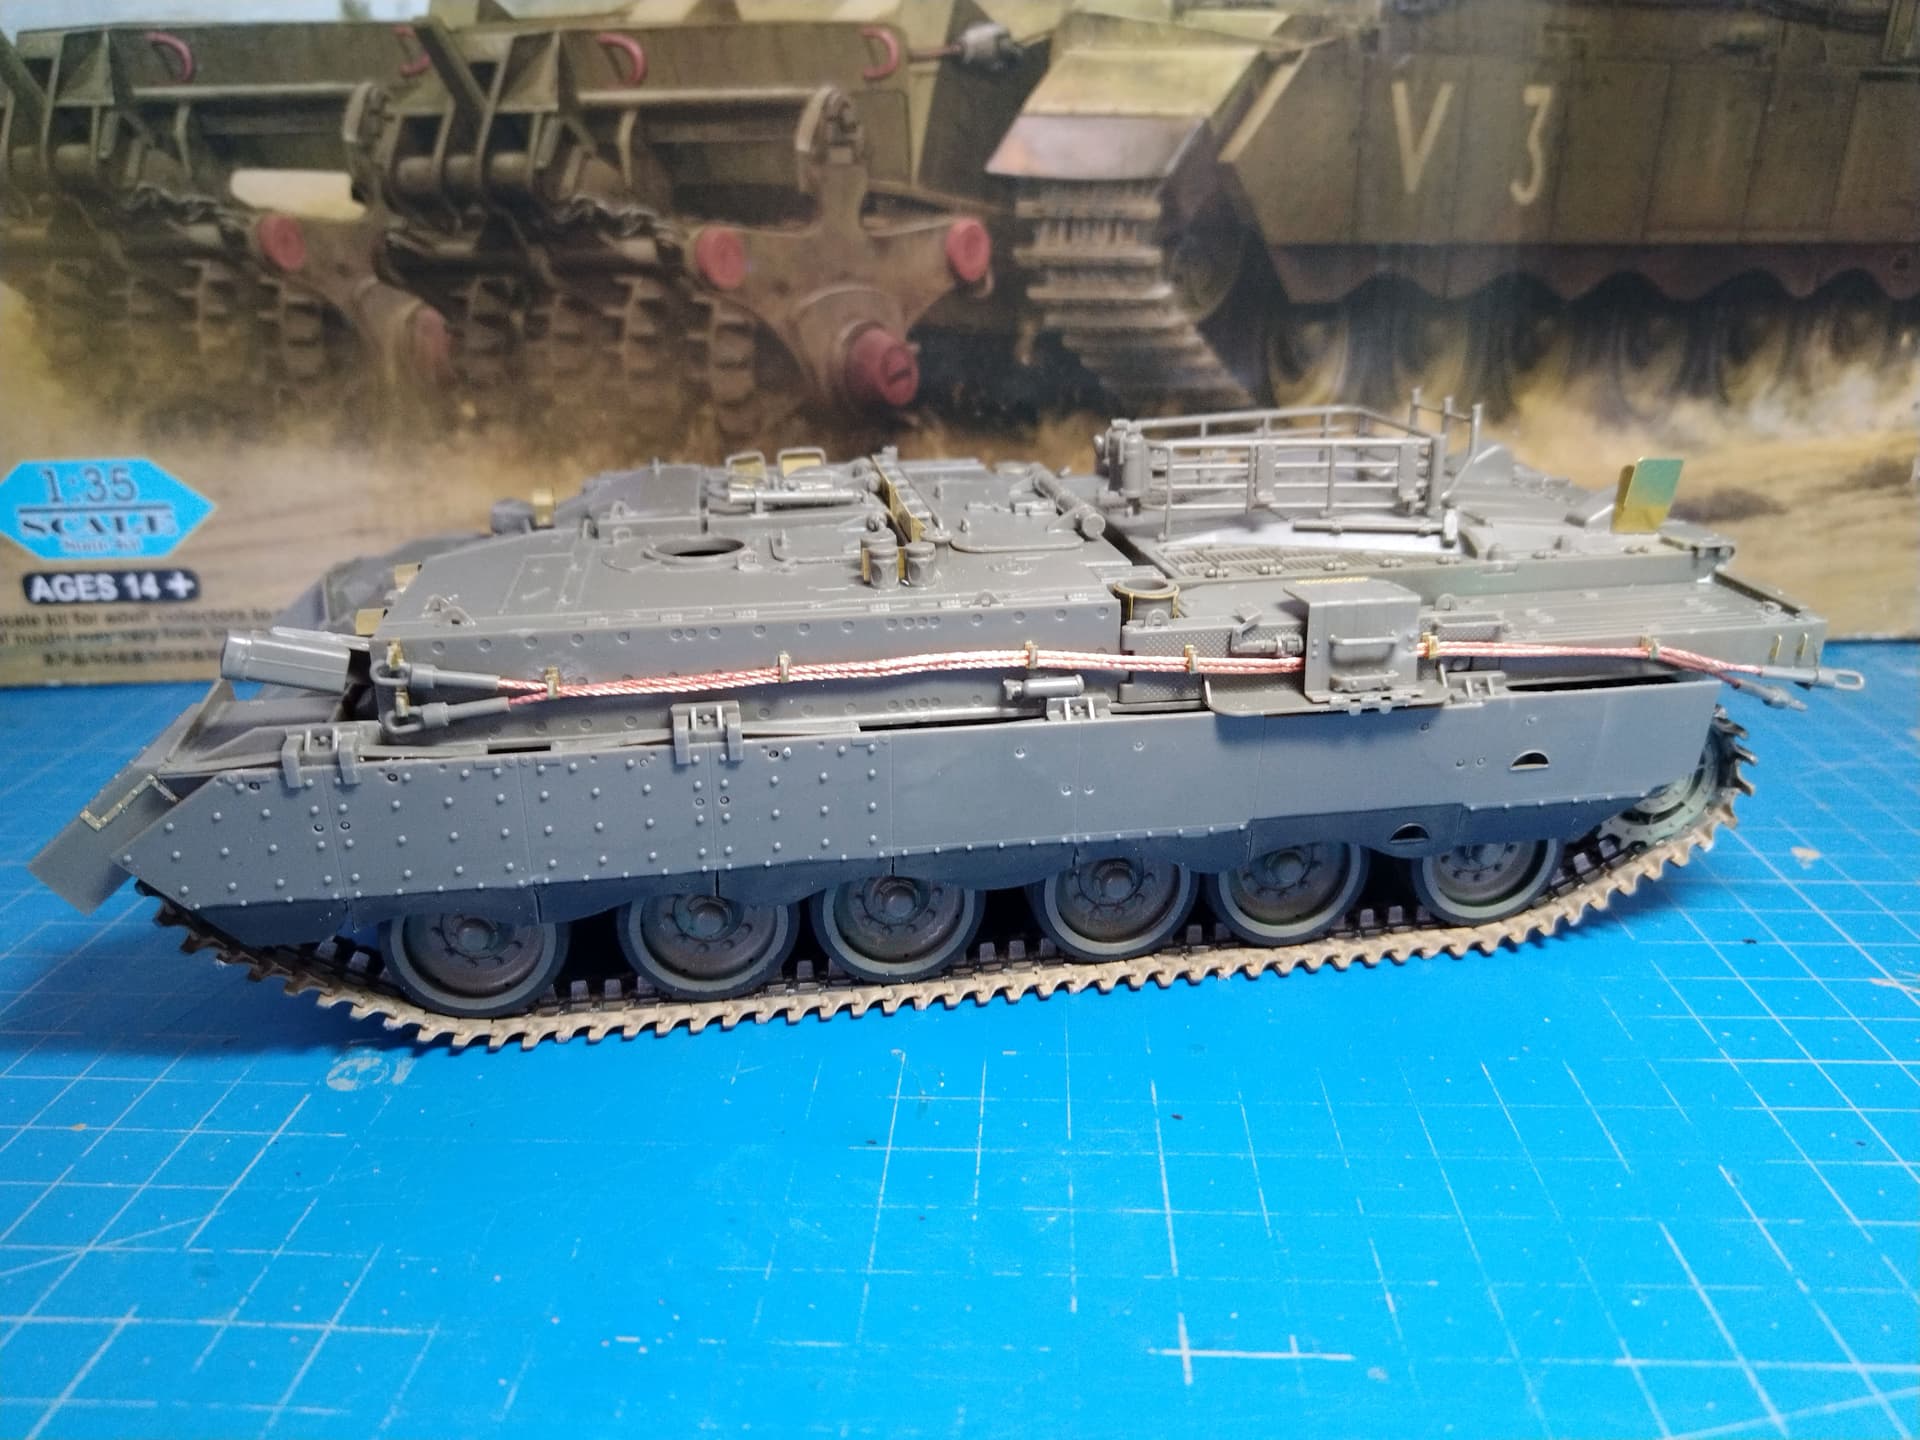
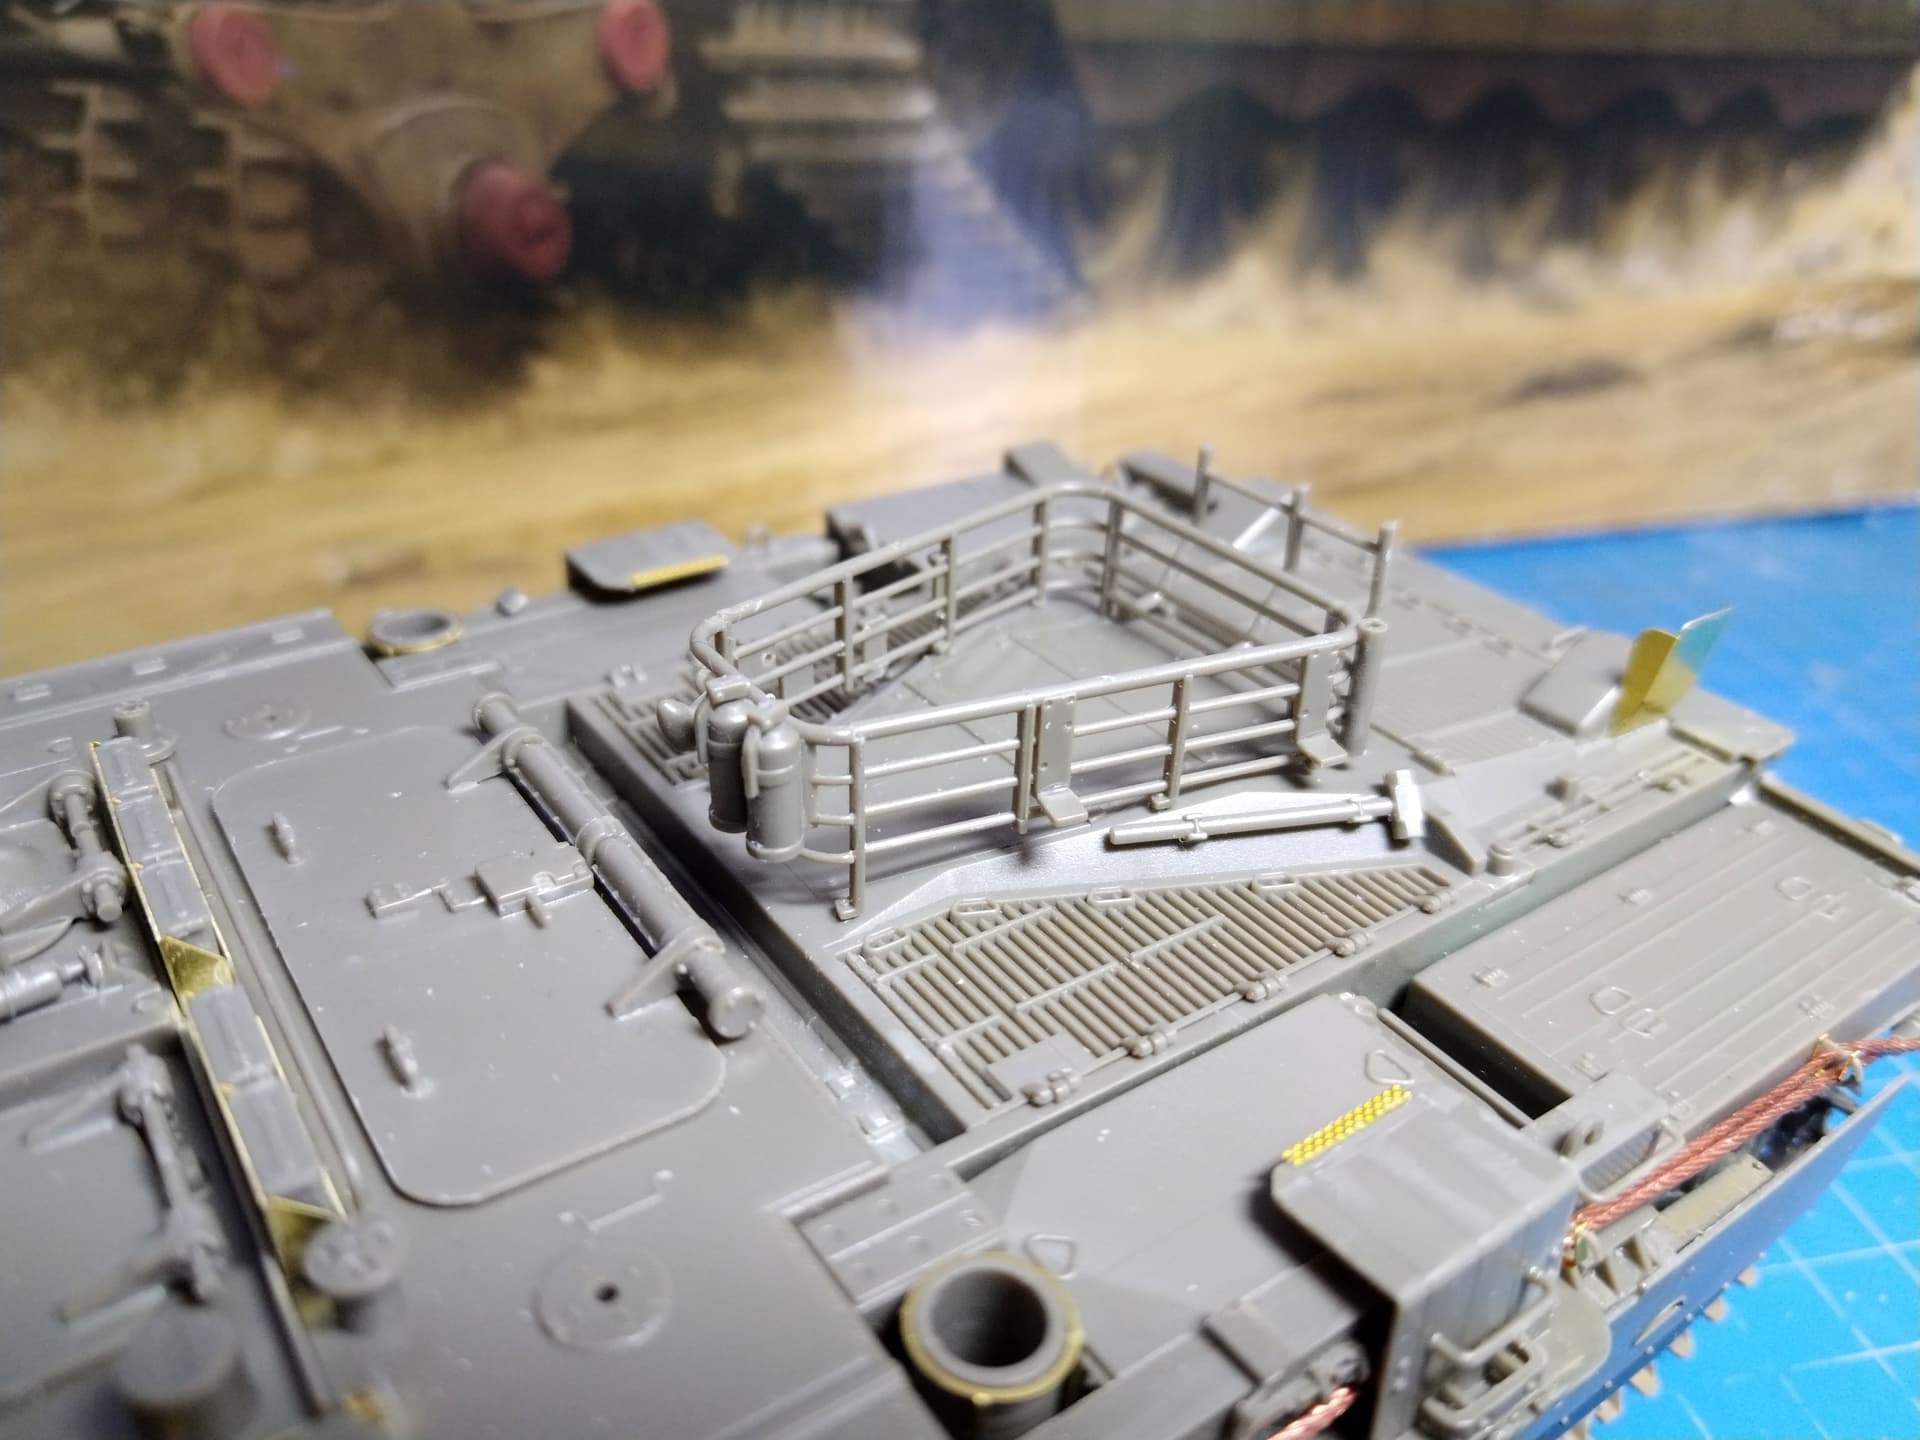
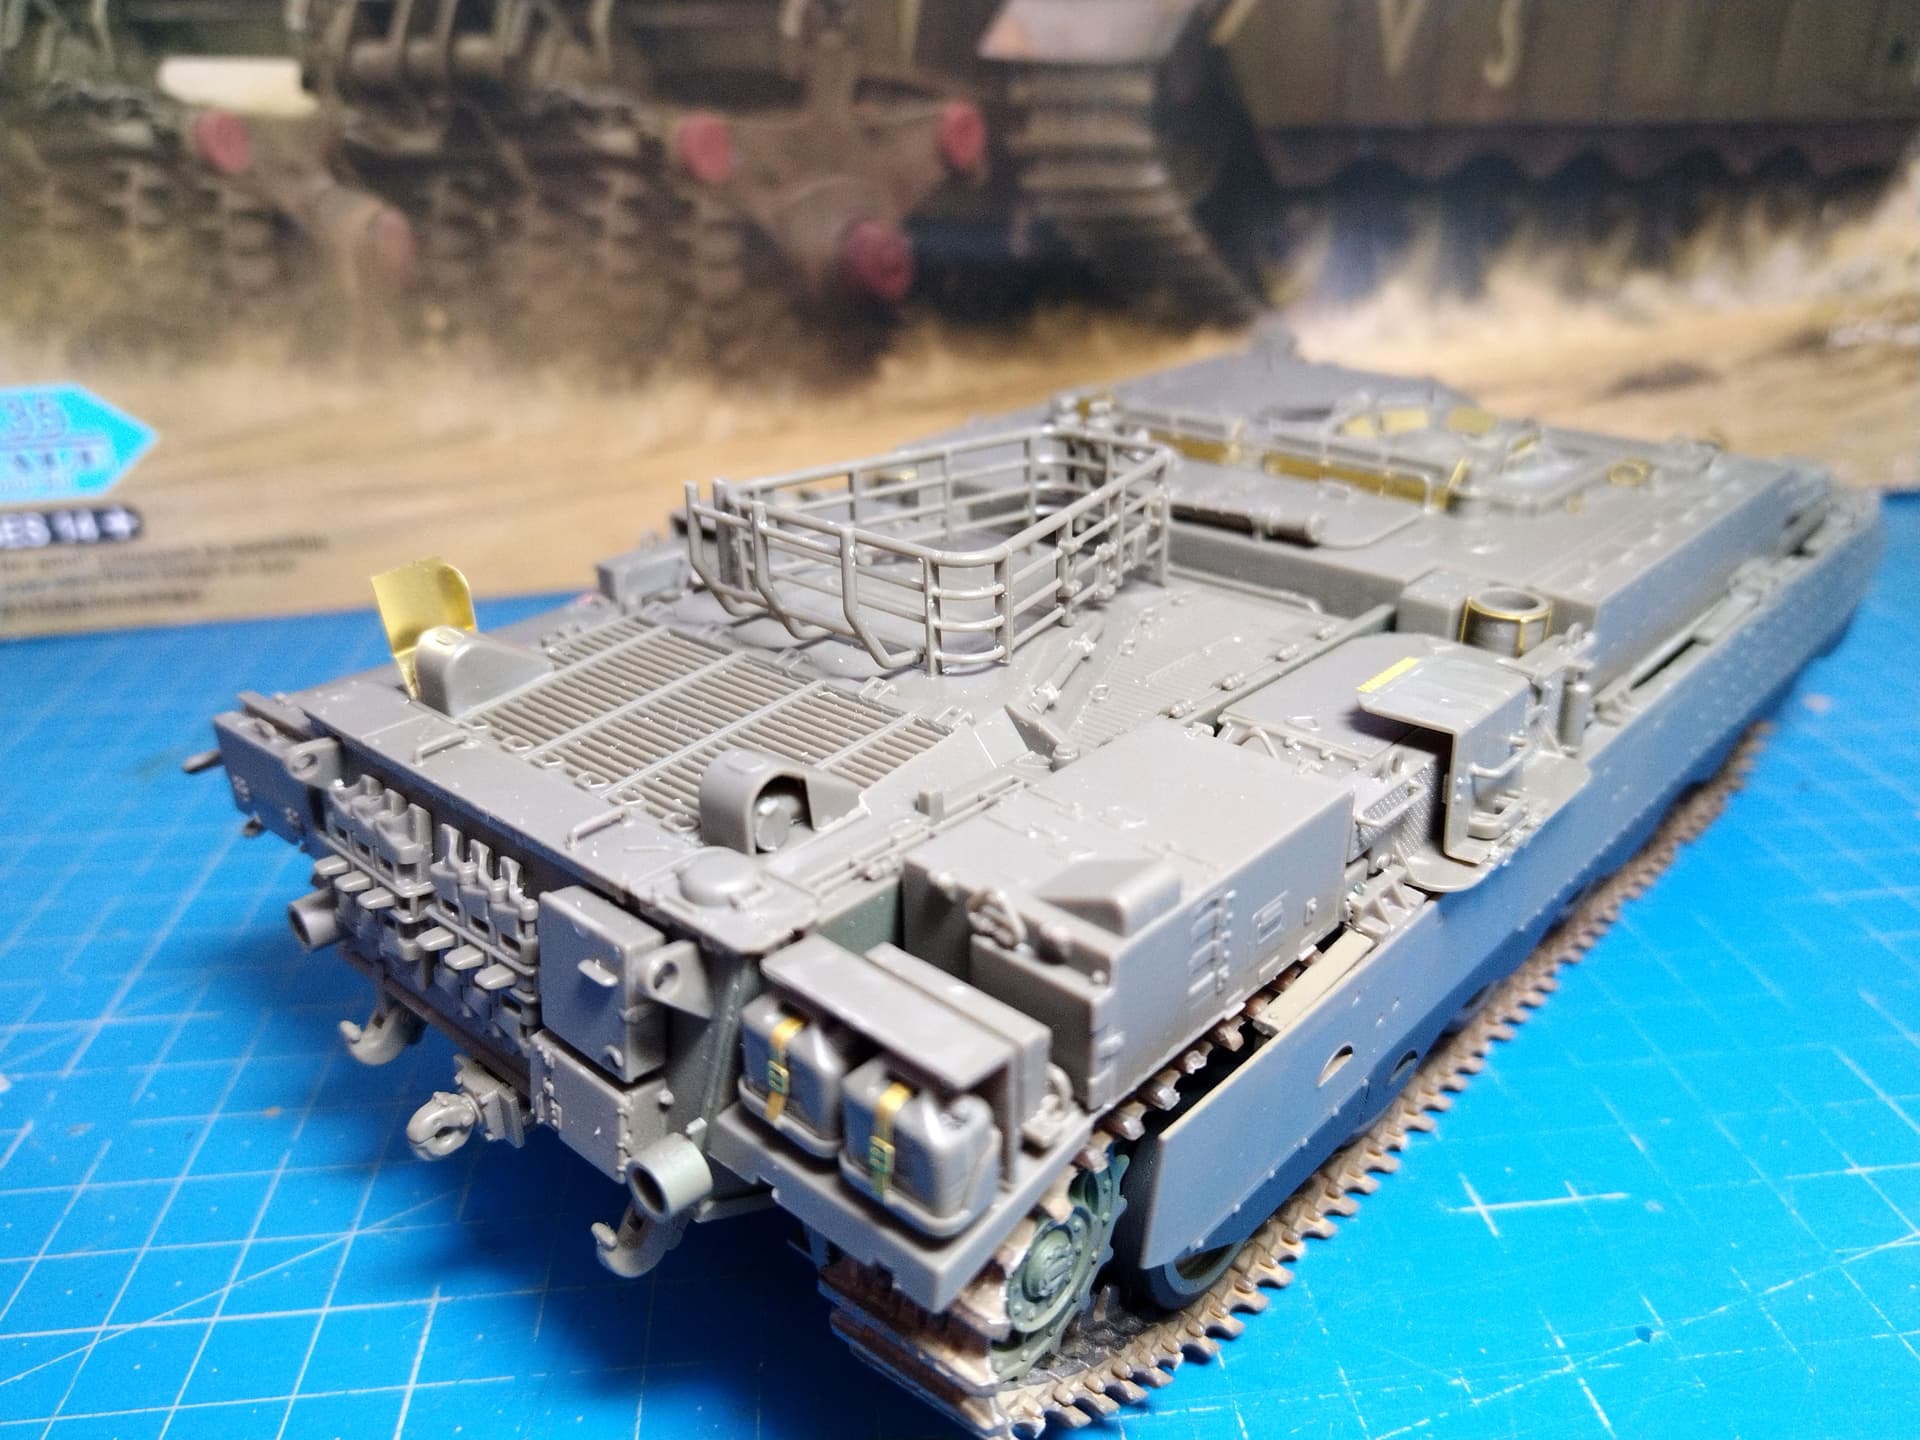
The basket on the engine deck has been assembled directly onto the deck and not separately as required by the instructions. This way is easier to get the 4 elements assembled and aligned.
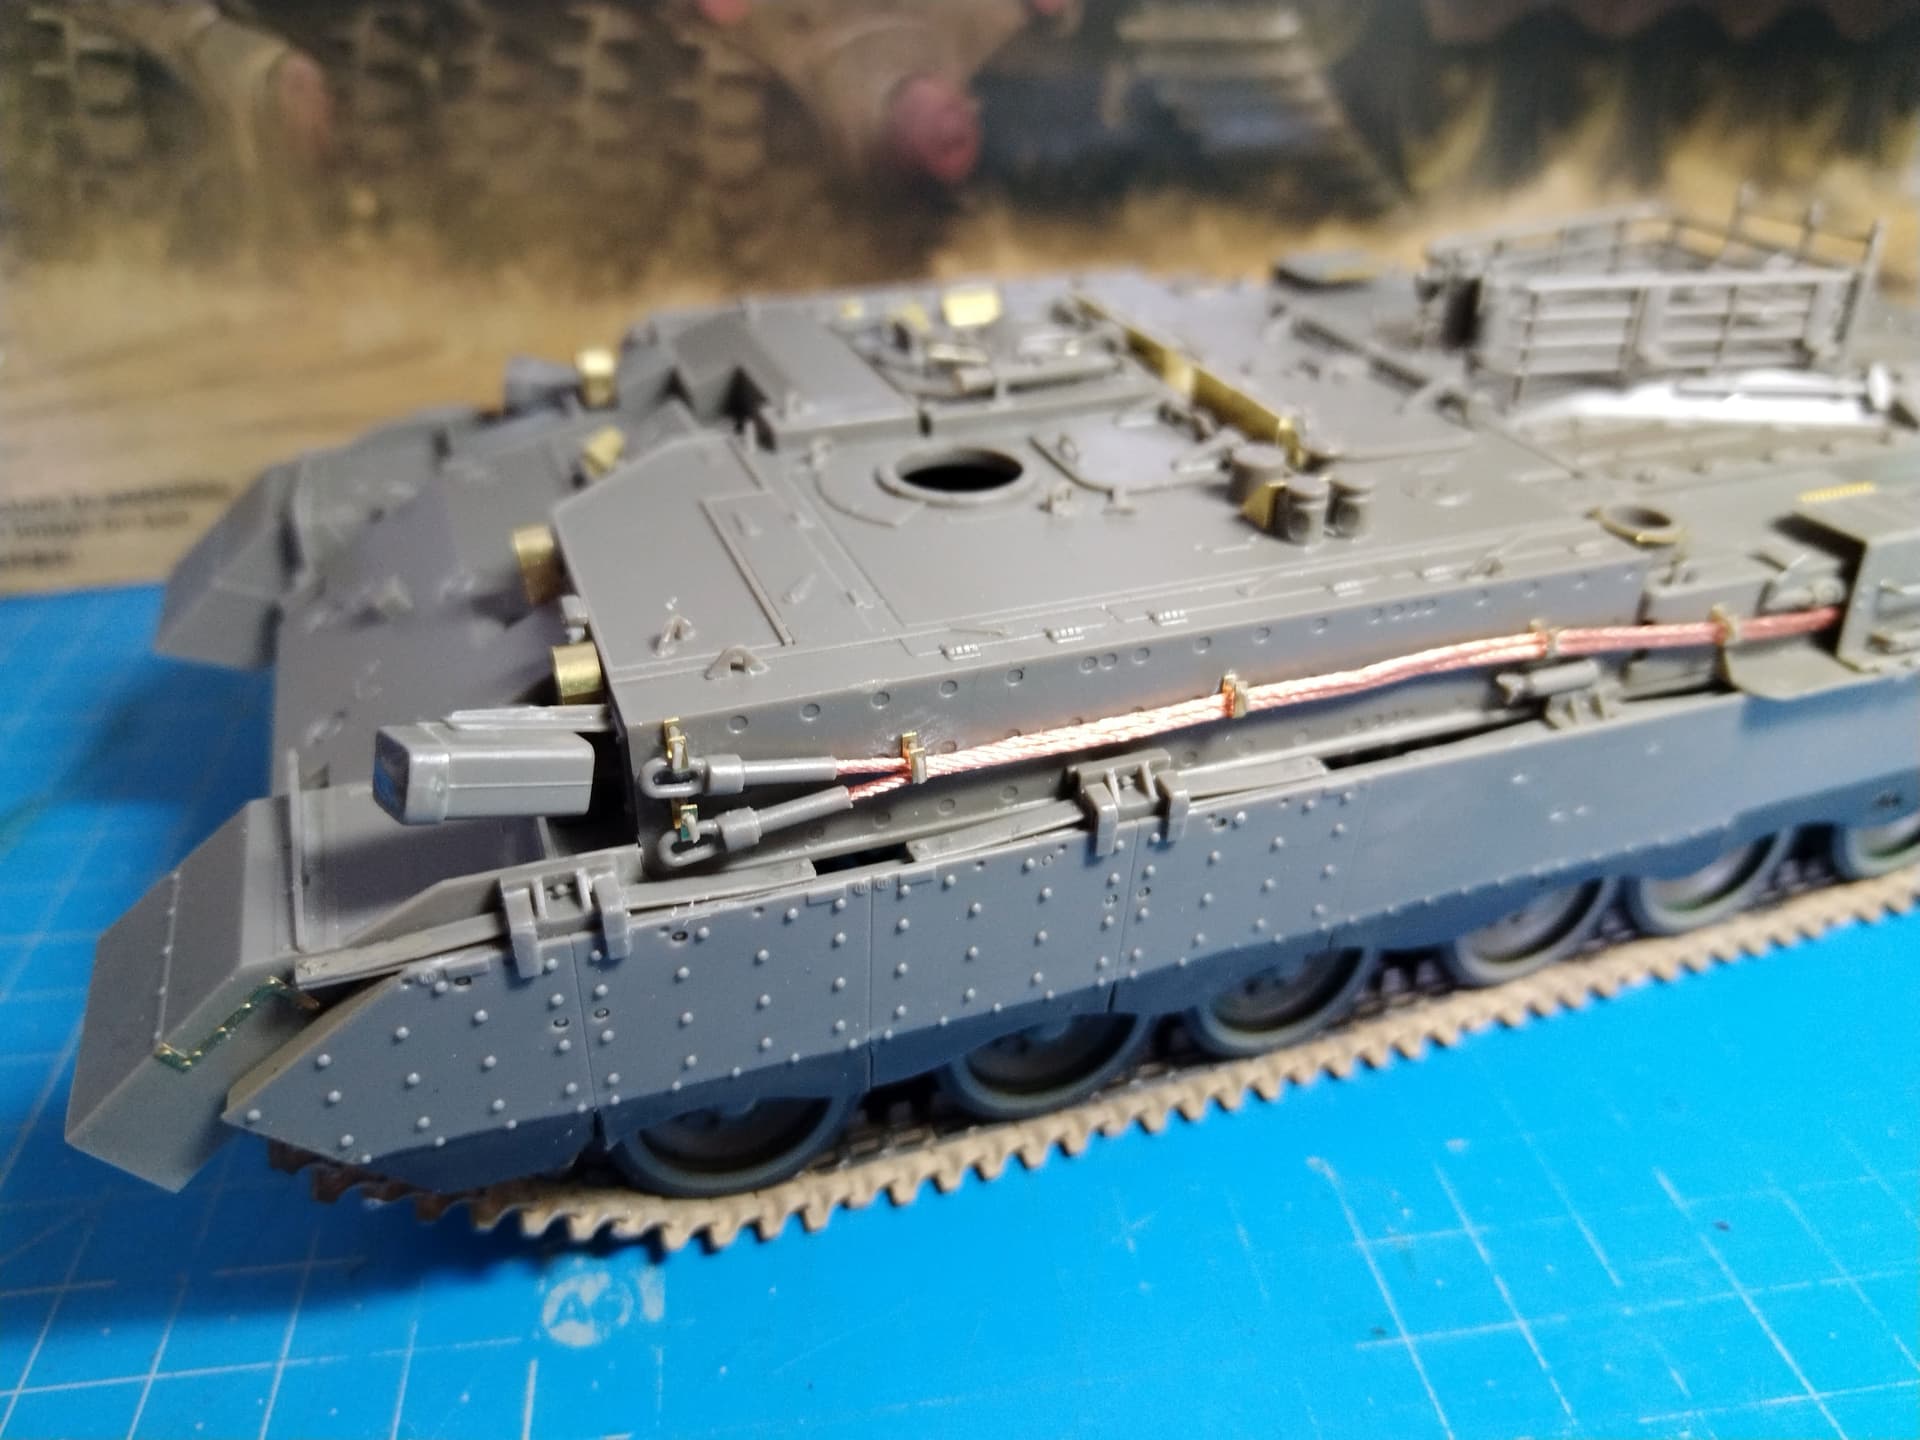
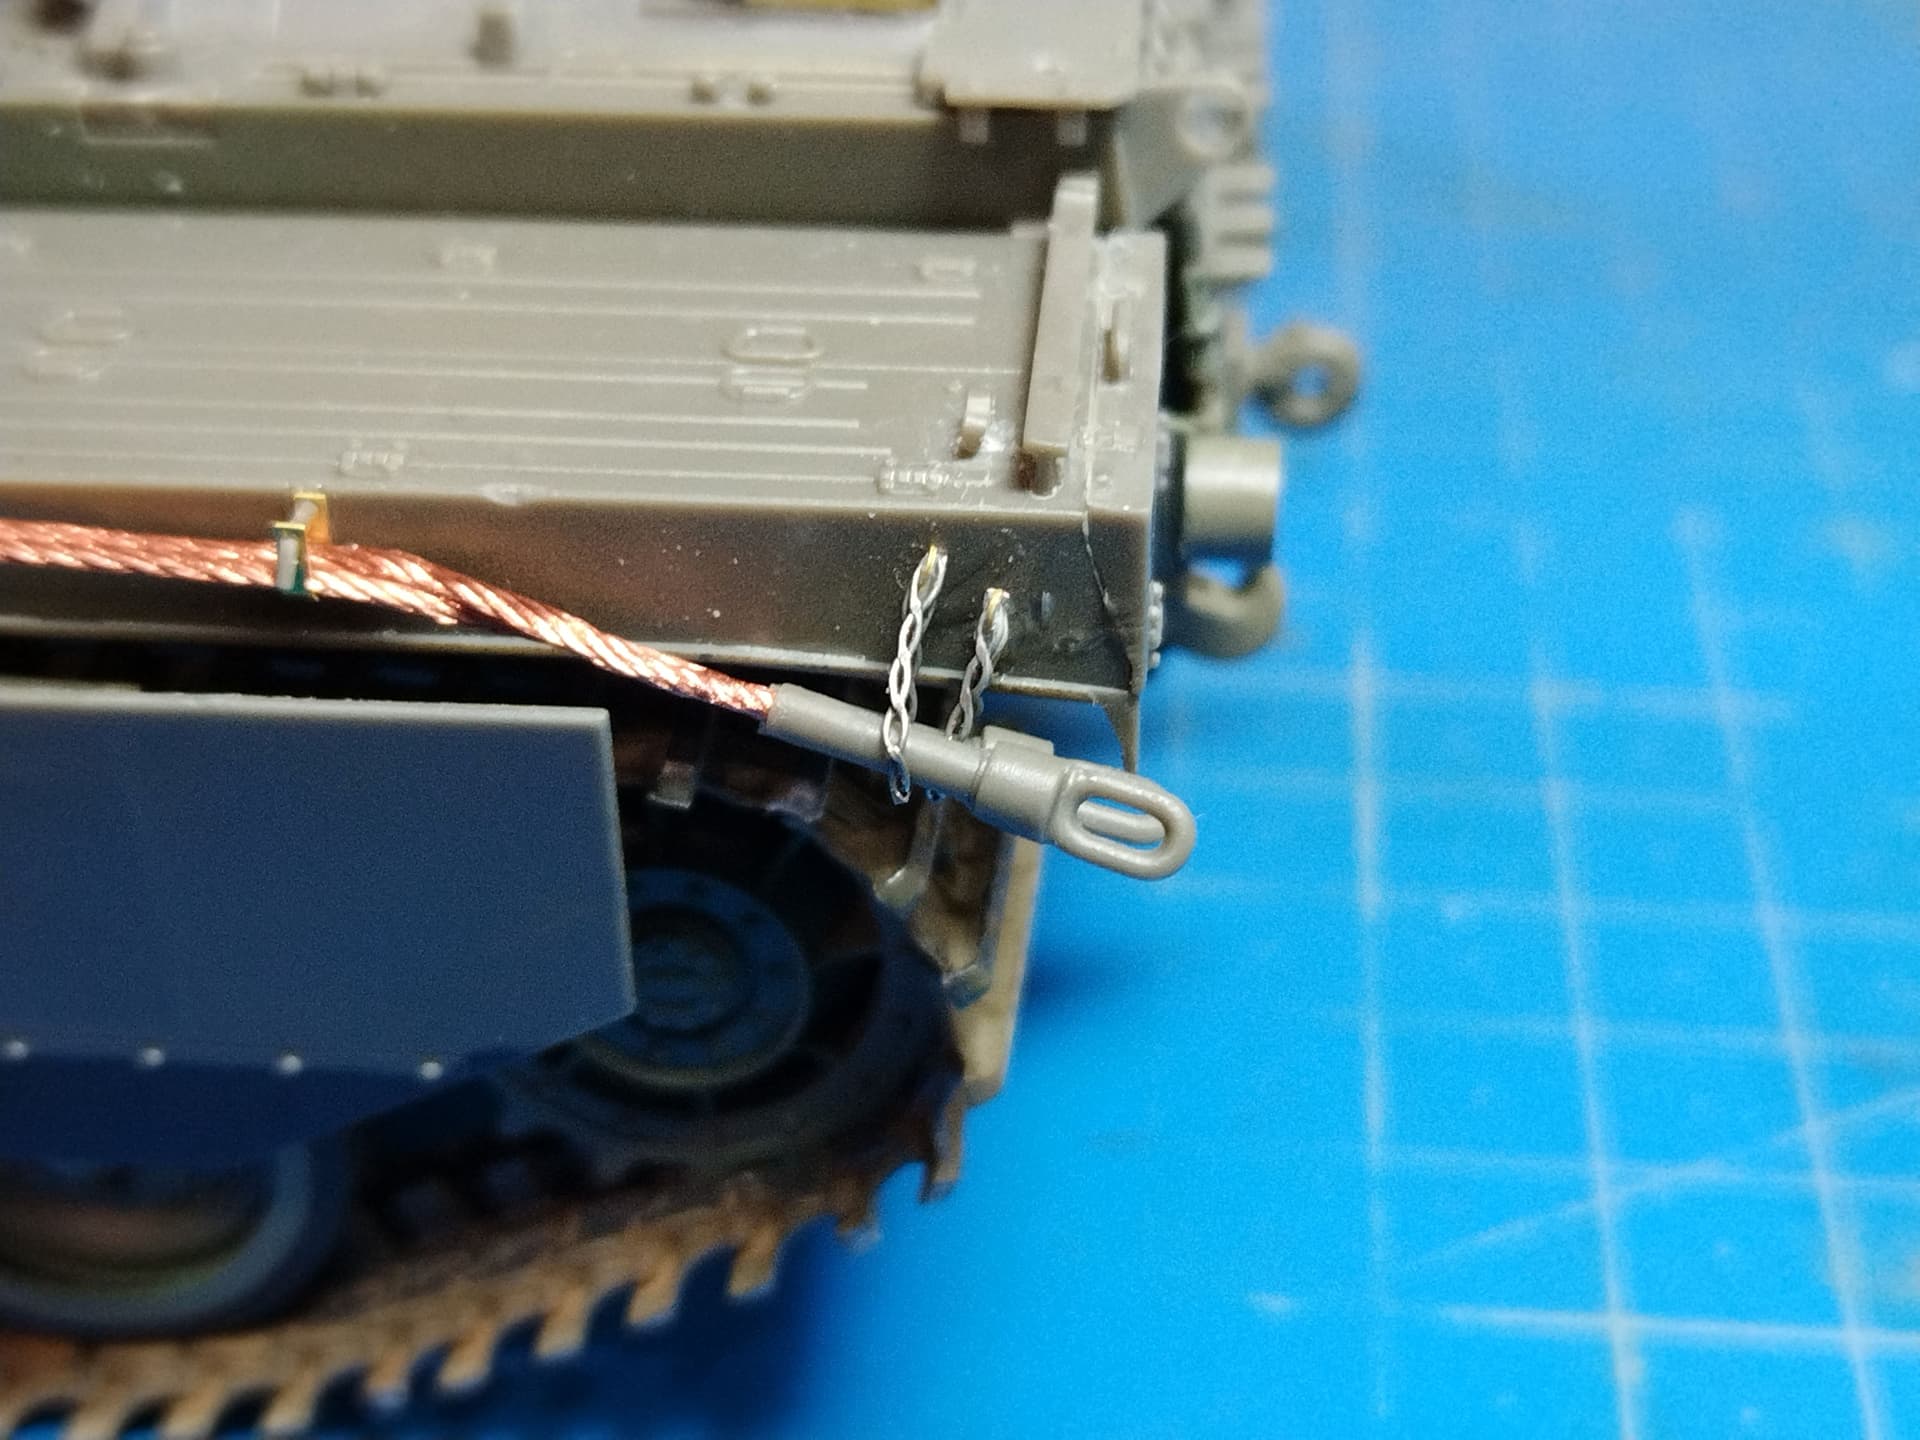
The cables holders are long to prepare and glue. The locking pins need to be thinned a bit. One could replace them with some styrene rods. The rear ends of the cables are not secured on the real vehicle. They are just retained by some chains which I still have to make from thin wire.
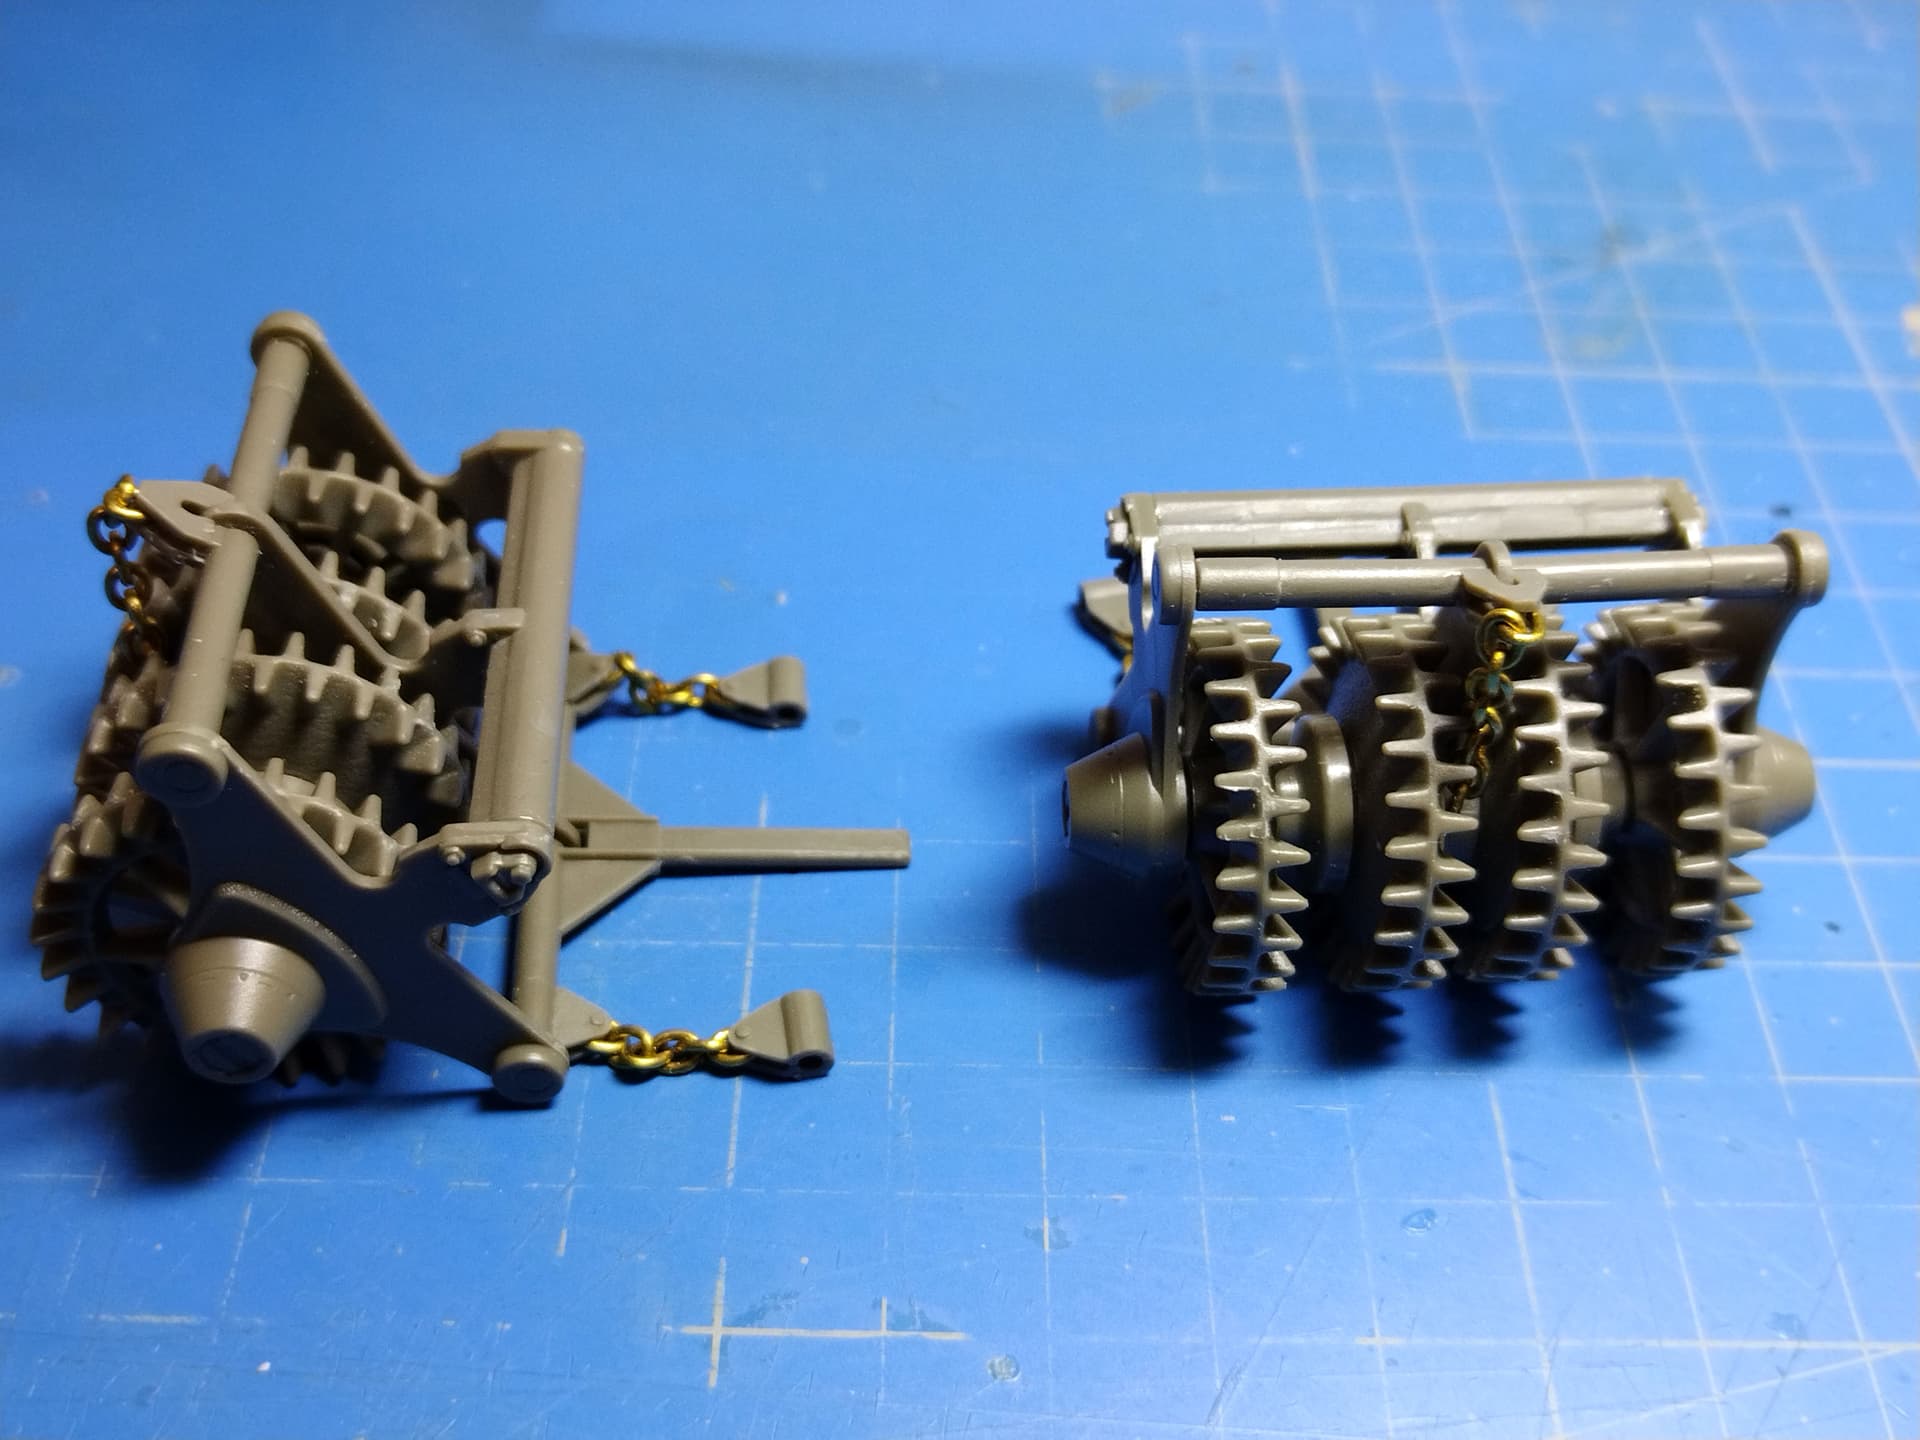
I finally changed my mind and started the Nochri. My current intent is to assemble the adapter and fit it to the hull and let it without the sets of rollers. For these I would like to keep them removable so I can carry the model without them fitted and only add them when needed for a model show for instance. So I still need to figure out how to make the retaining cables removable.
Here are the rollers and the small chains which prevent the tow cables eyes to get caught into the track.
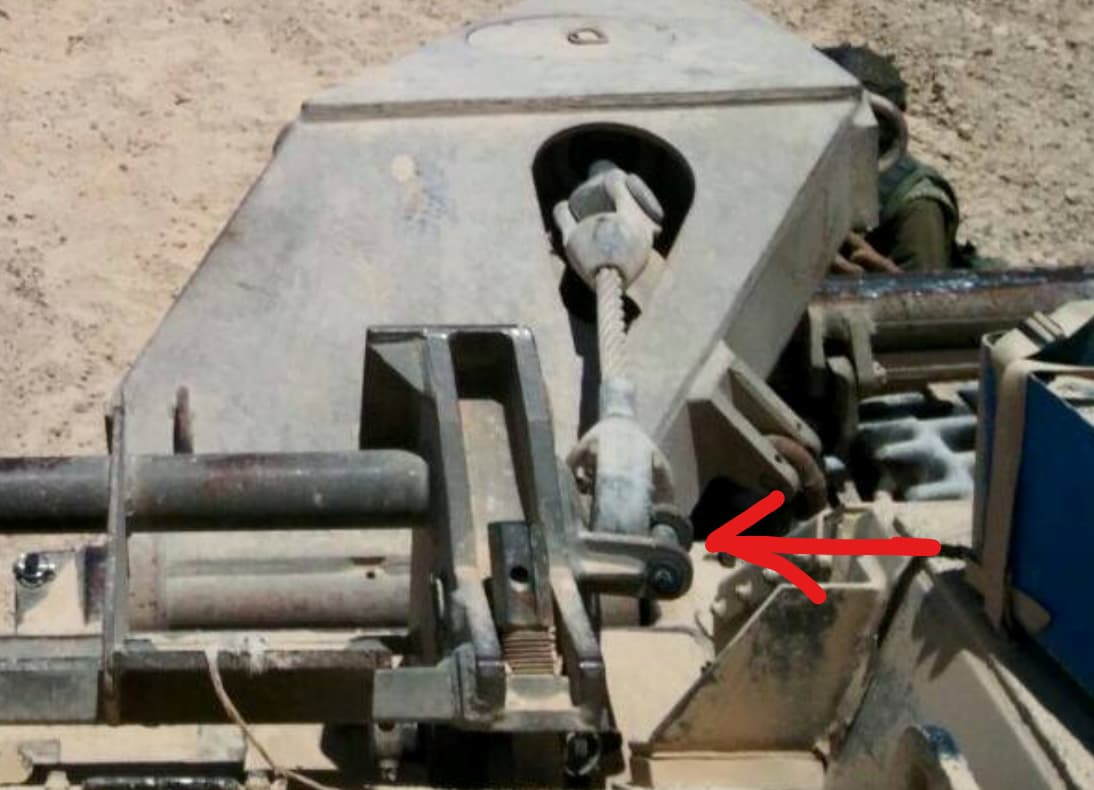
Make the retaining pin removable on the adapter. The cables have fixed length and tension. You can mount the Nochri on the adapter, make the cables (if you use acrylic thread you can use superglue to make them stiff) and put the pin in place.
Nikos
That’s was my plan. The real issue is making the pin removable. The kit part is molded with the part in which it is inserted. It will need some surgery.