I know. I’m really trying not to go the HL route. But it would be nice for anyone to actually make the M1064 in full styrene, just like Academy did with the M163A1.
2 Likes
Actually, they do not. Reynier is talking about the current M1064A3 120mm Mortar Carrier. There is a conversion set for it by M.R. Modellbau that is very nice. I have used it to build one for a customer and have another in the stash to build for myself…eventually.
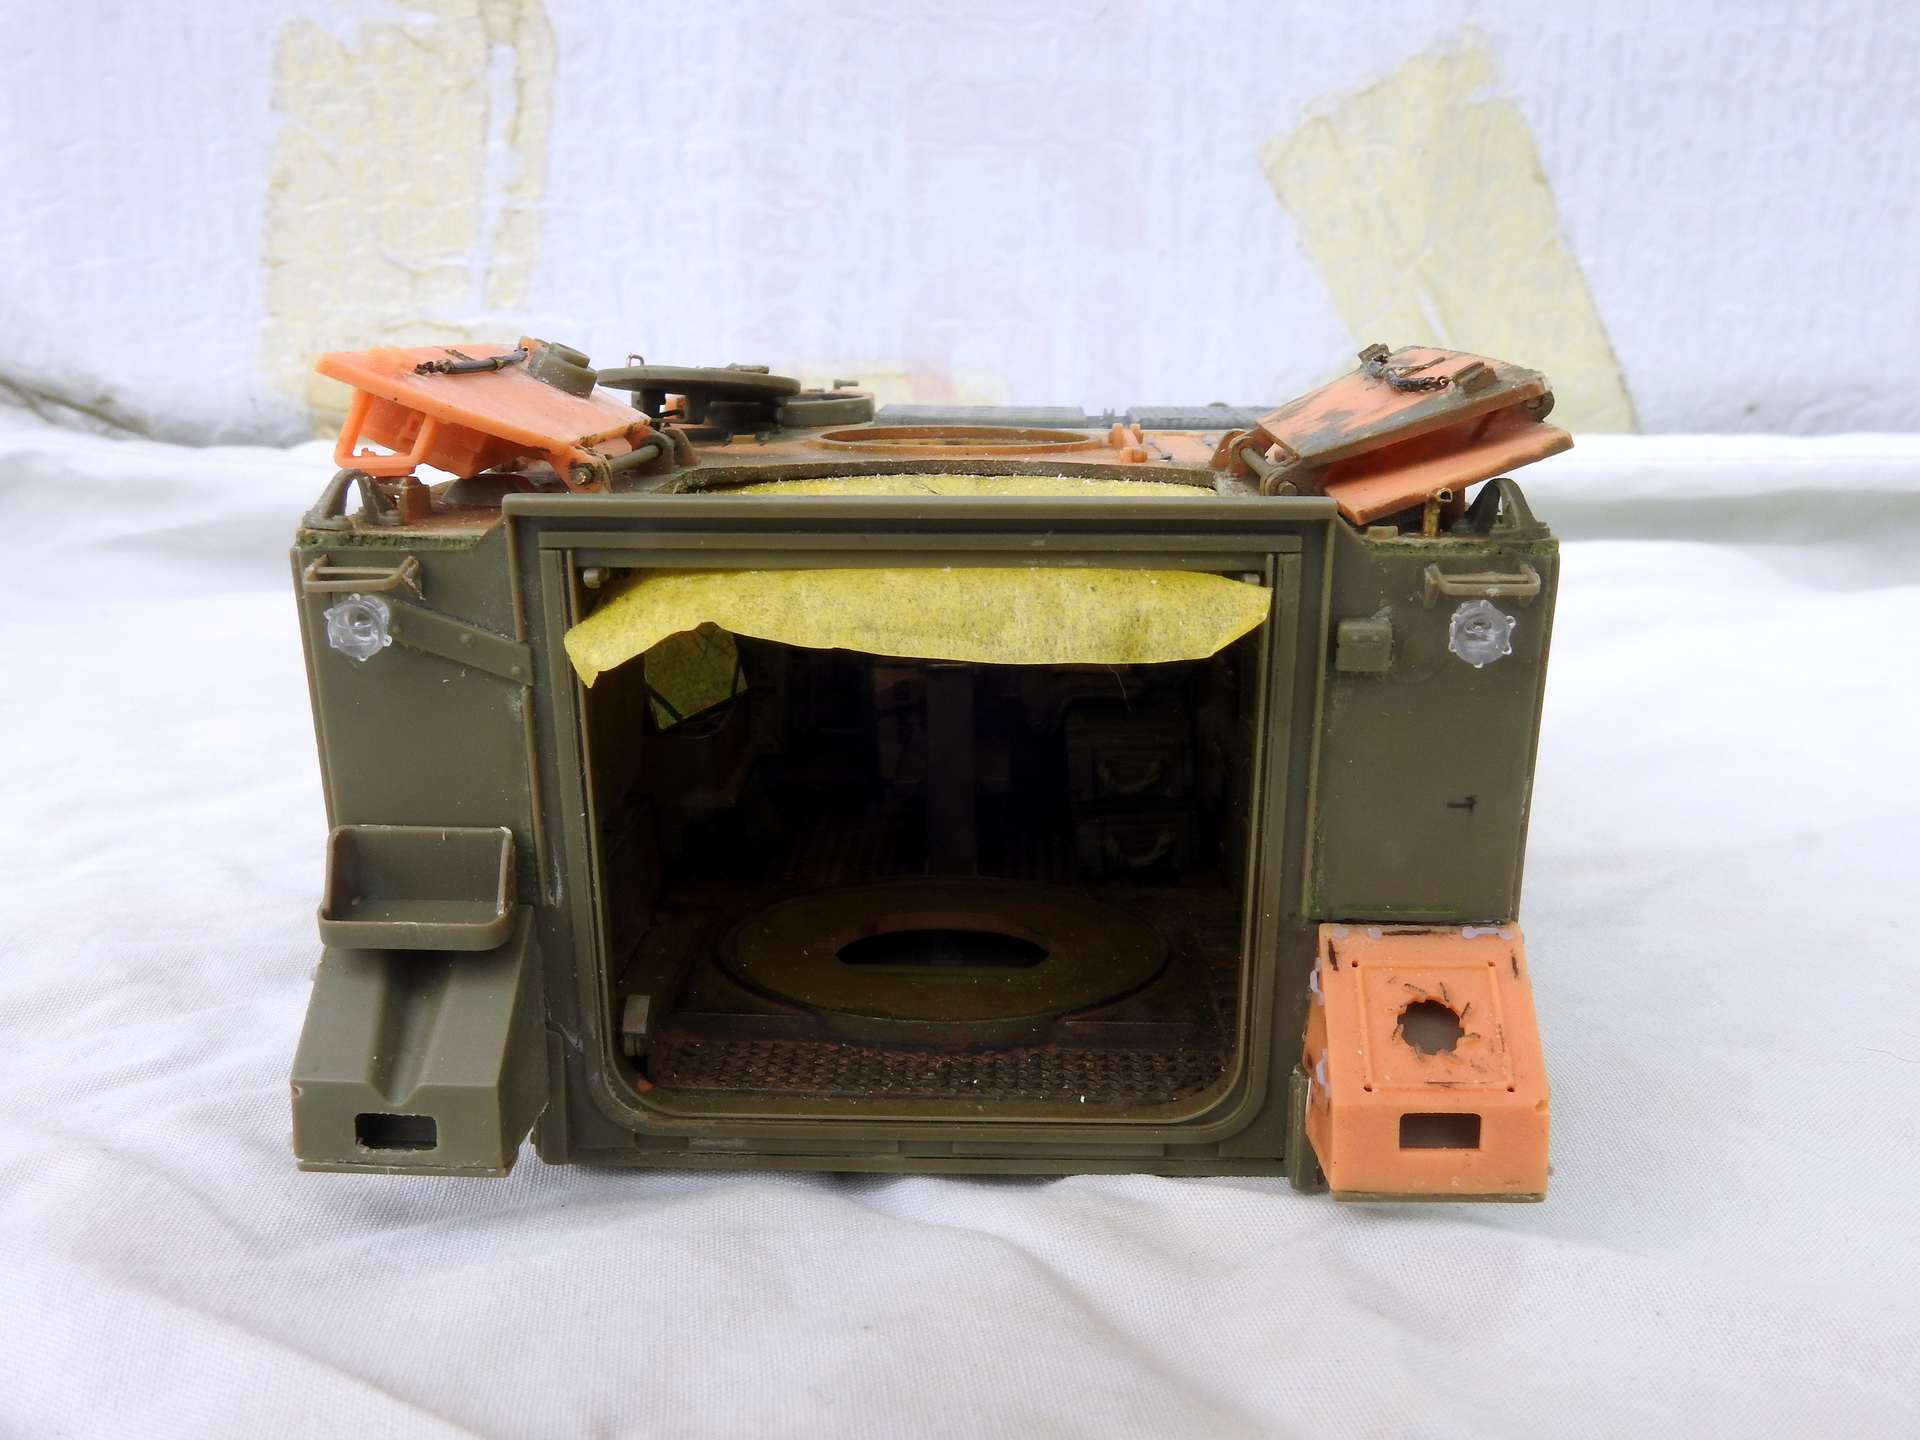
Also, do you plan to have the driver’s hatch closed as you left all the details (power control box, IP, etc…) out of the driver’s side sponson (to his left)?
1 Like
Bingo! I’m focusing on the current tracked mortar carrier.
1 Like
Yea I hear you, but if it is the only one…
Overall this has not been a difficult kit just some fit issues which weren’t really major. HL are in the process of doing International MK3 truck and I have for years wanted one of these so they have sold one already.
I used the FC Model Trend set to build my FSV and that kit had issues the main one being a totally stuffed turret mounting plate, took me four goes to get that to something close and also other parts seemed over scale, but when I started it it was the only one on the market then 2/3s of the way through a better (well it looks better on the site) one came out. Now tossing up if to get that.
a link to the FC build FC Model Trends 1/35 FSV on an AFV Club M113A1 LRV - #18 by dmiles
1 Like
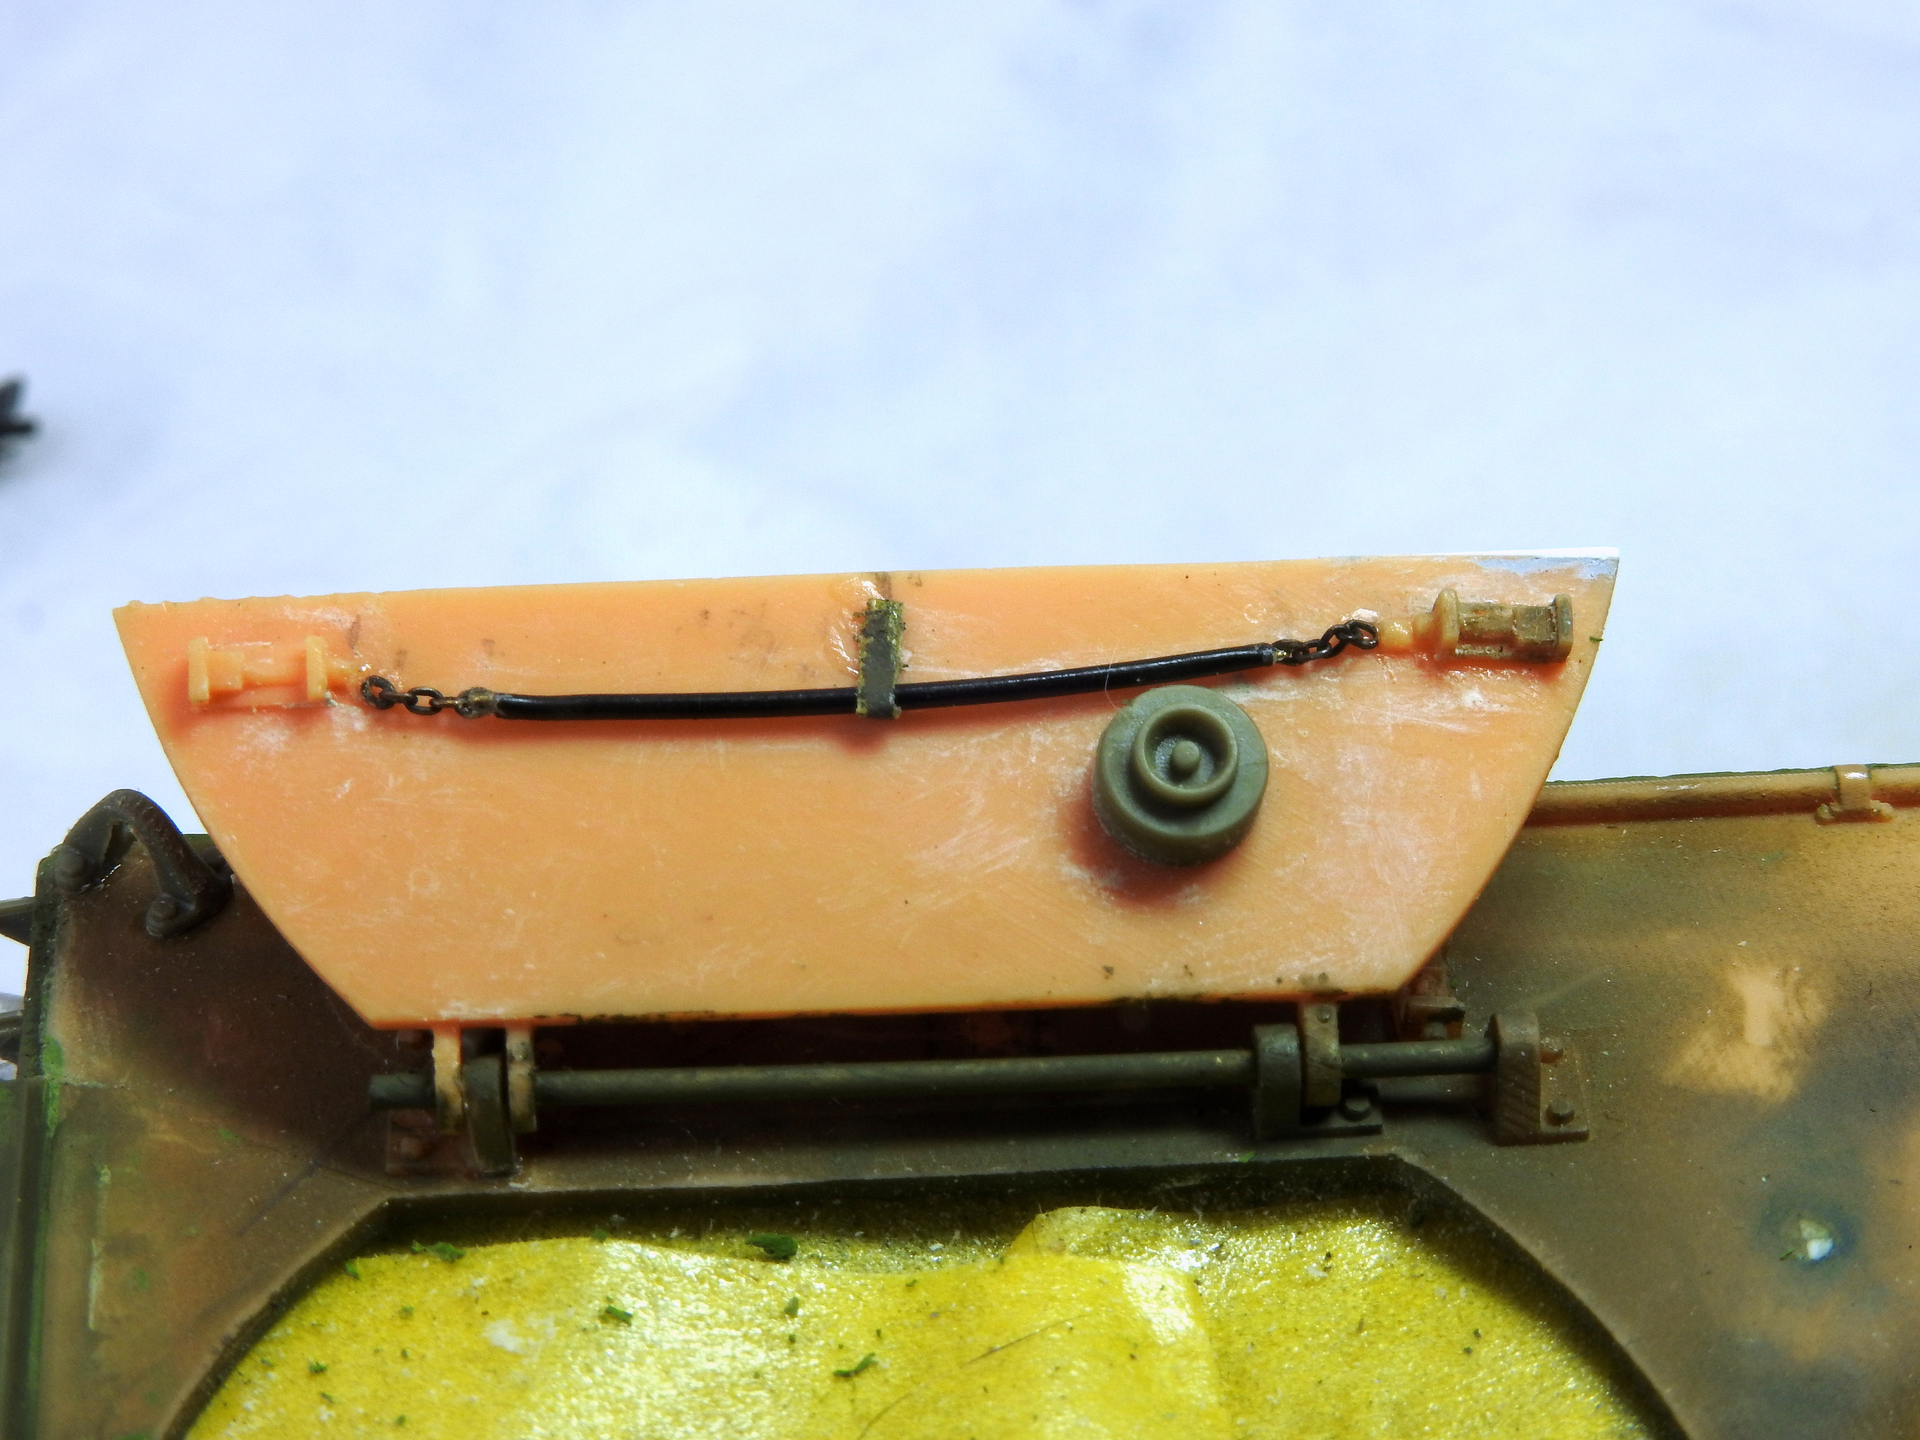
plan on it open not concerned about that detail, as you would have noted I didn’t do the cabling either and you will also note the speedo dial is missing, lost it when I mounted the instrument panel.
1 Like
Obviously, you don’t. Yes, Hobby Link has the only conversion for an M106A1, and it is really nice. I recommend all their products. We are not talking about the M106, but the current M1064A3 120mm Mortar Carrier. Read my post above about the M.R. Modellbau conversion for it.
1 Like
thanks
1 Like
Hobby Link Vietnam’s M125 mortar and AFV Club M113A1 ACAV
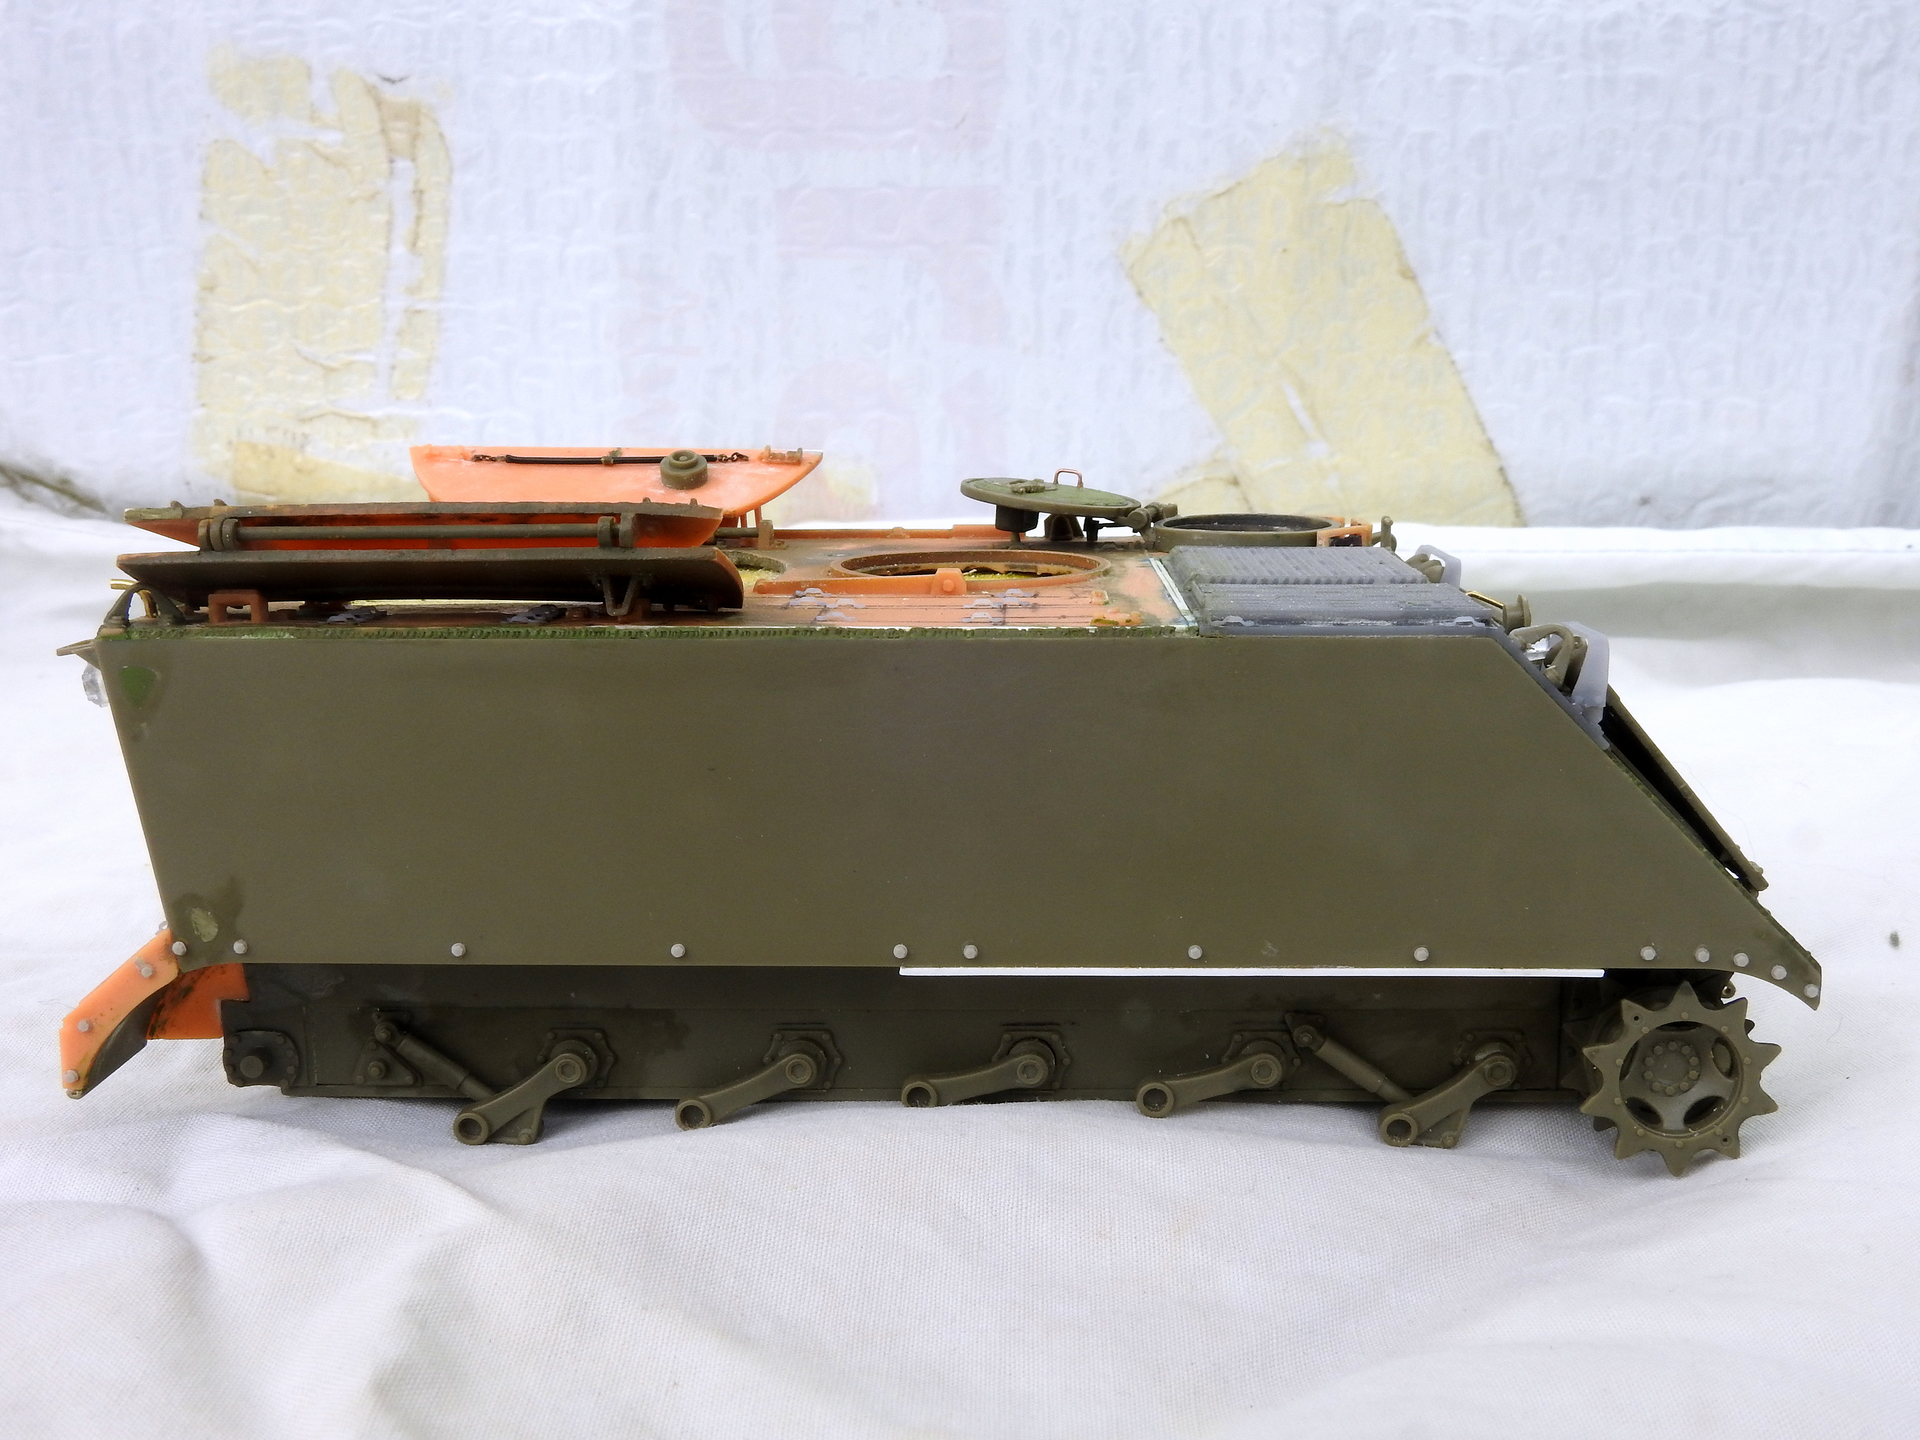
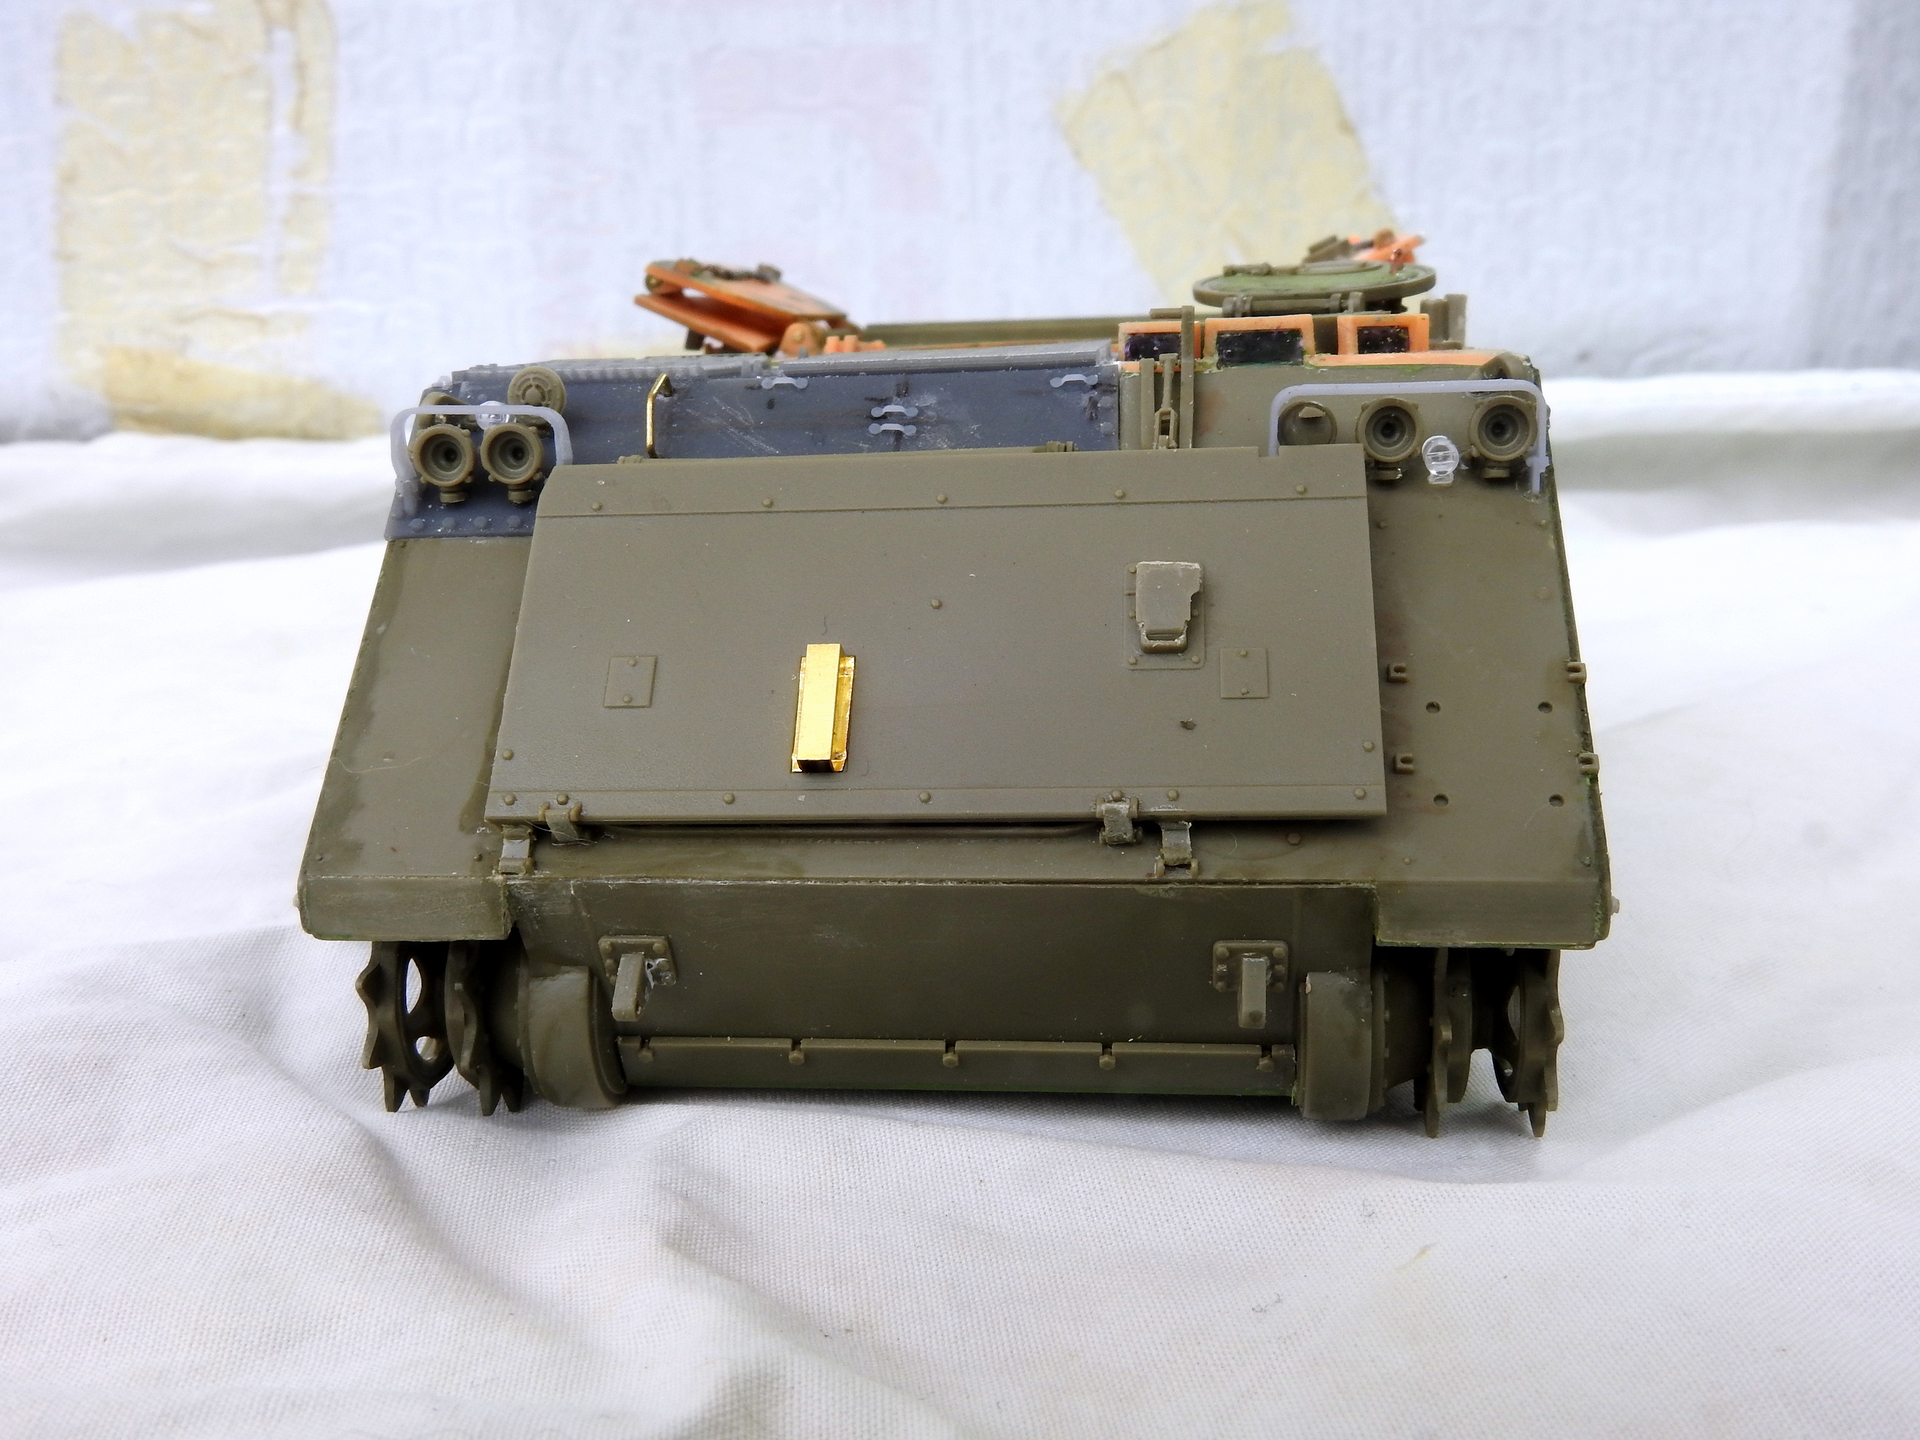
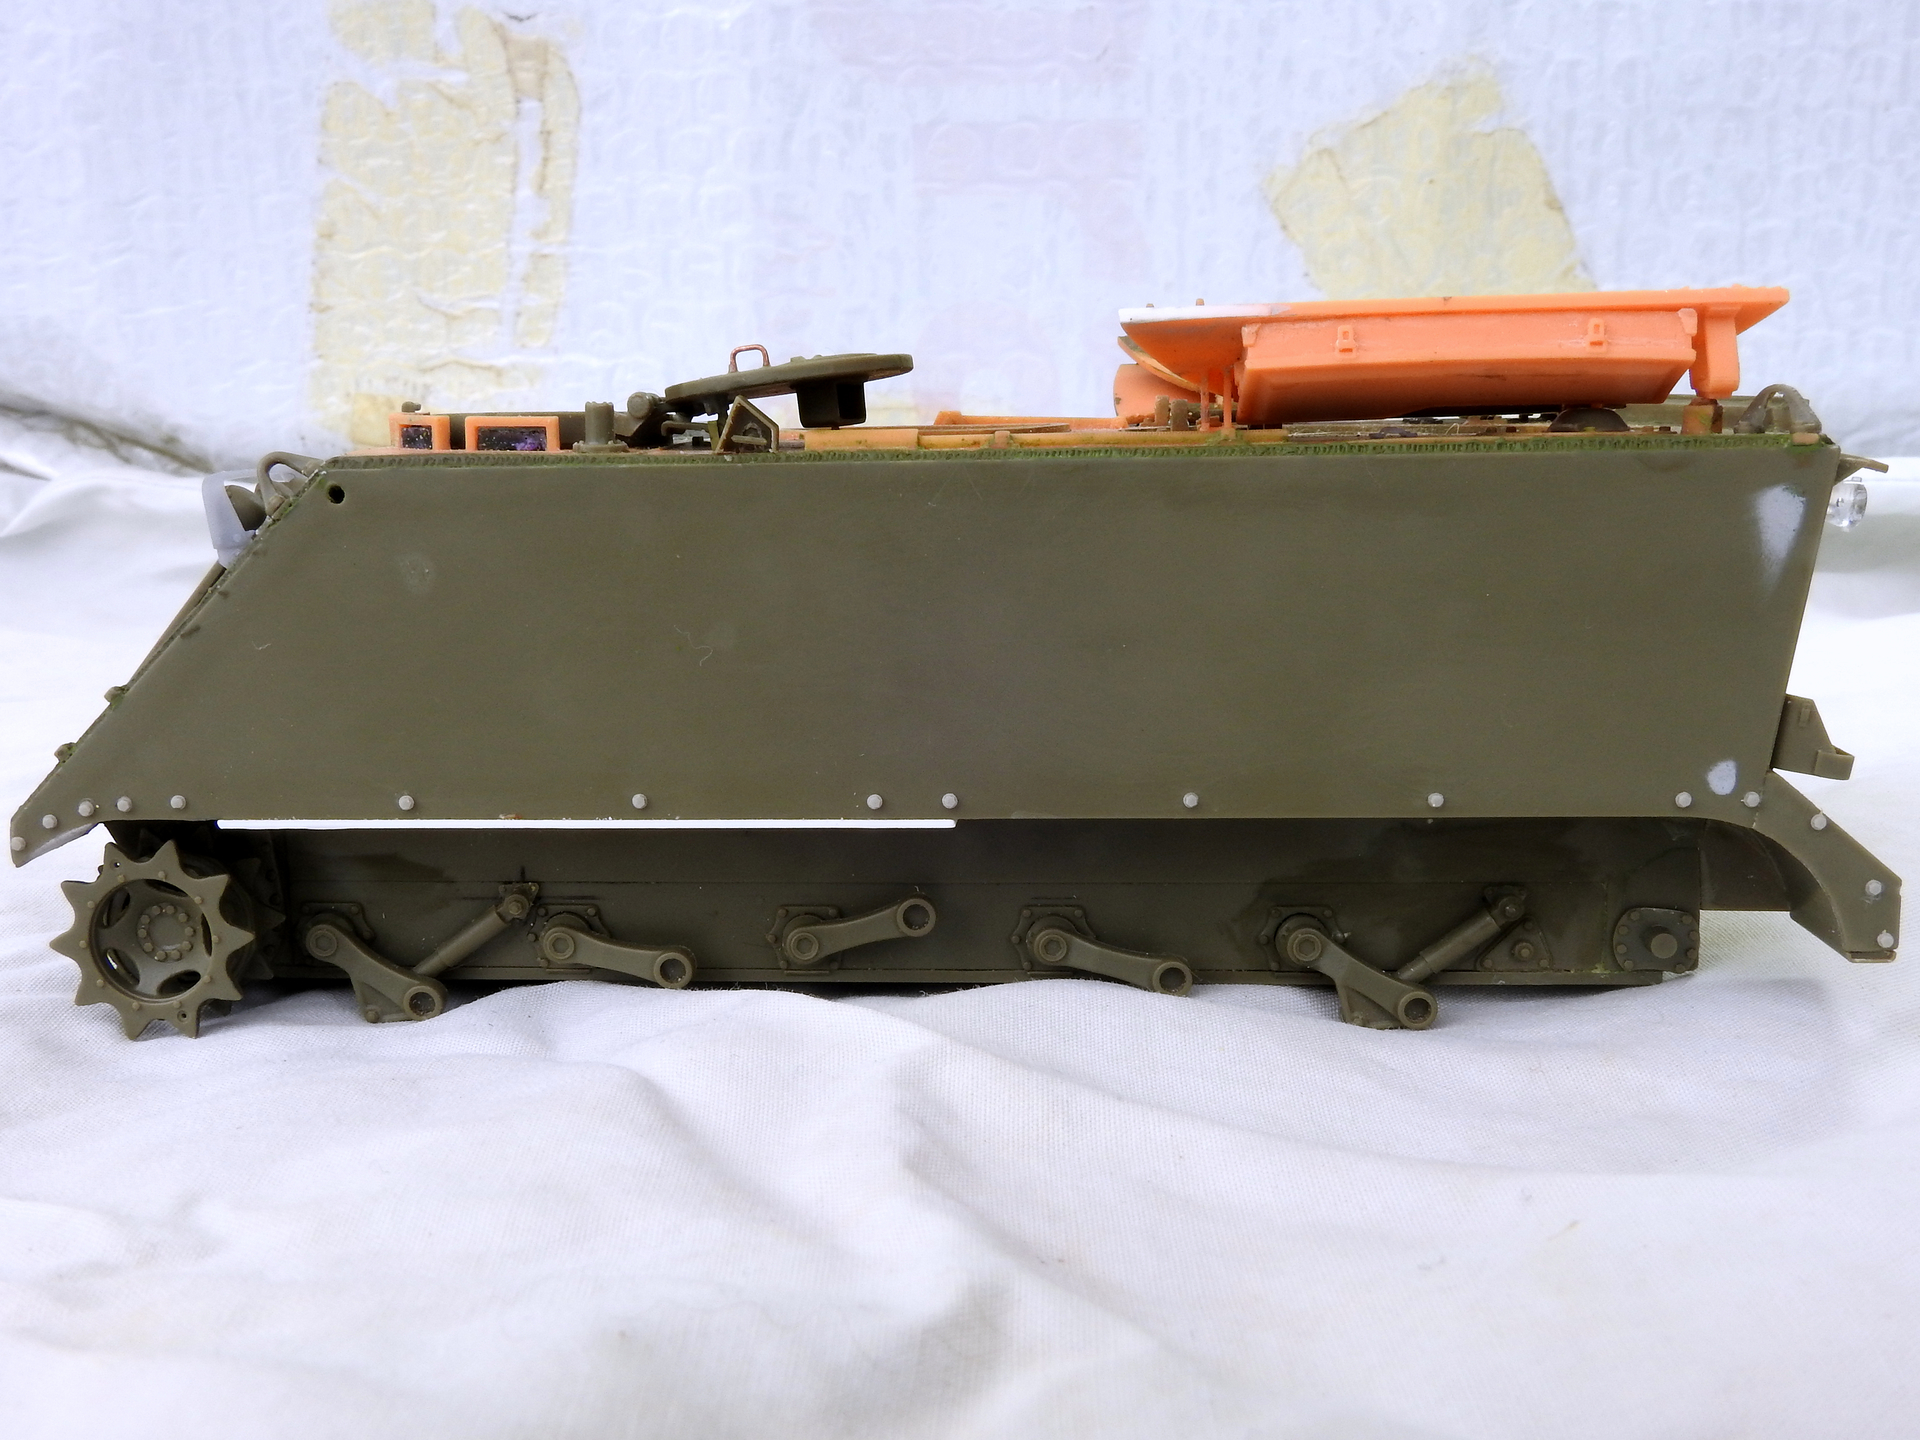
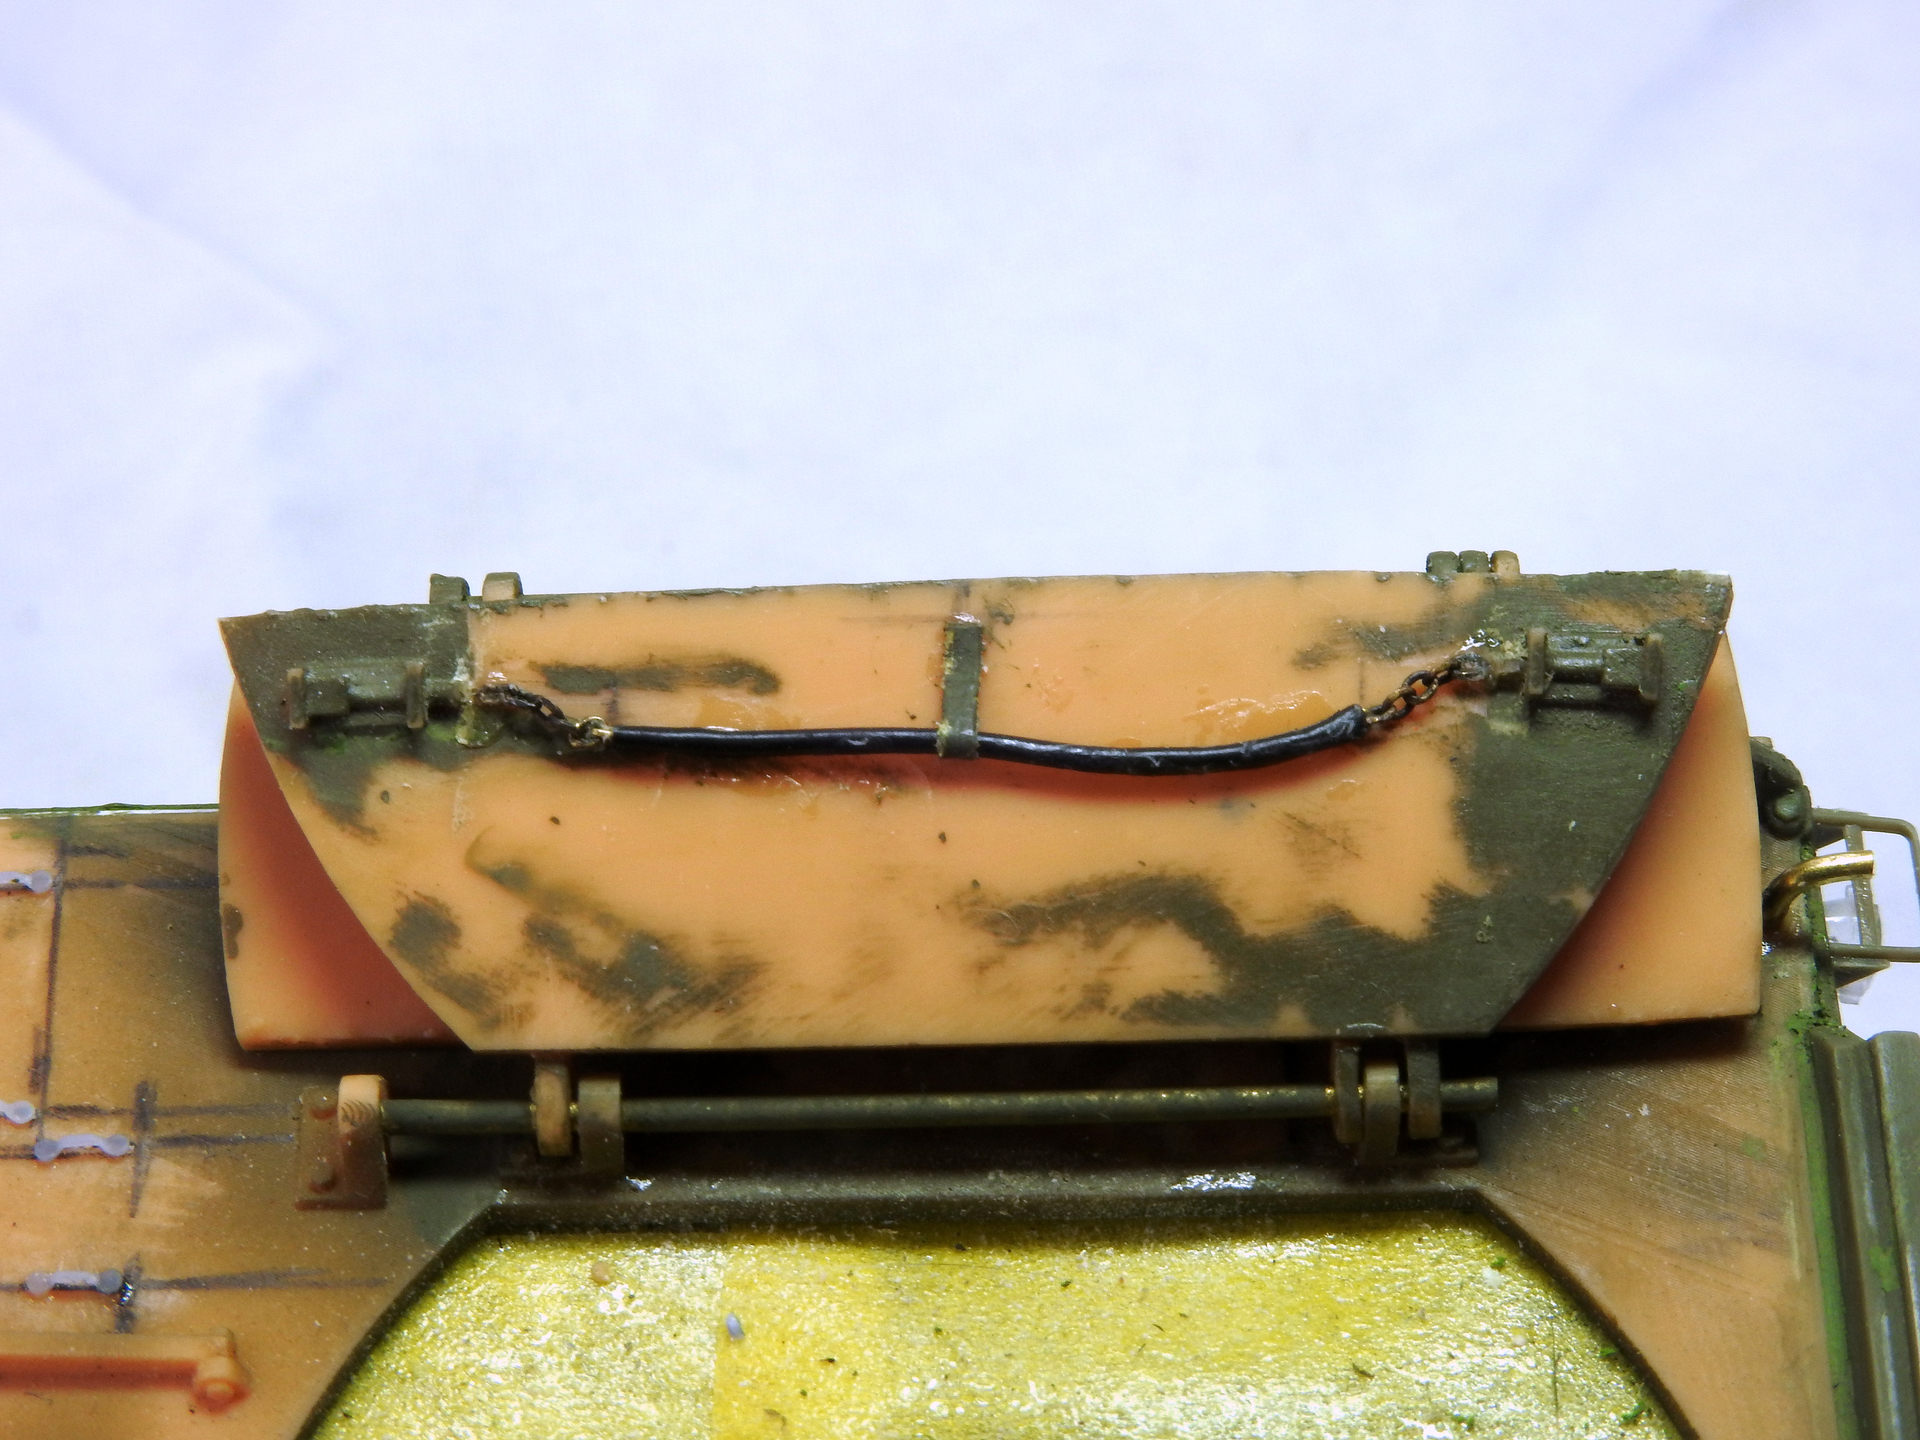
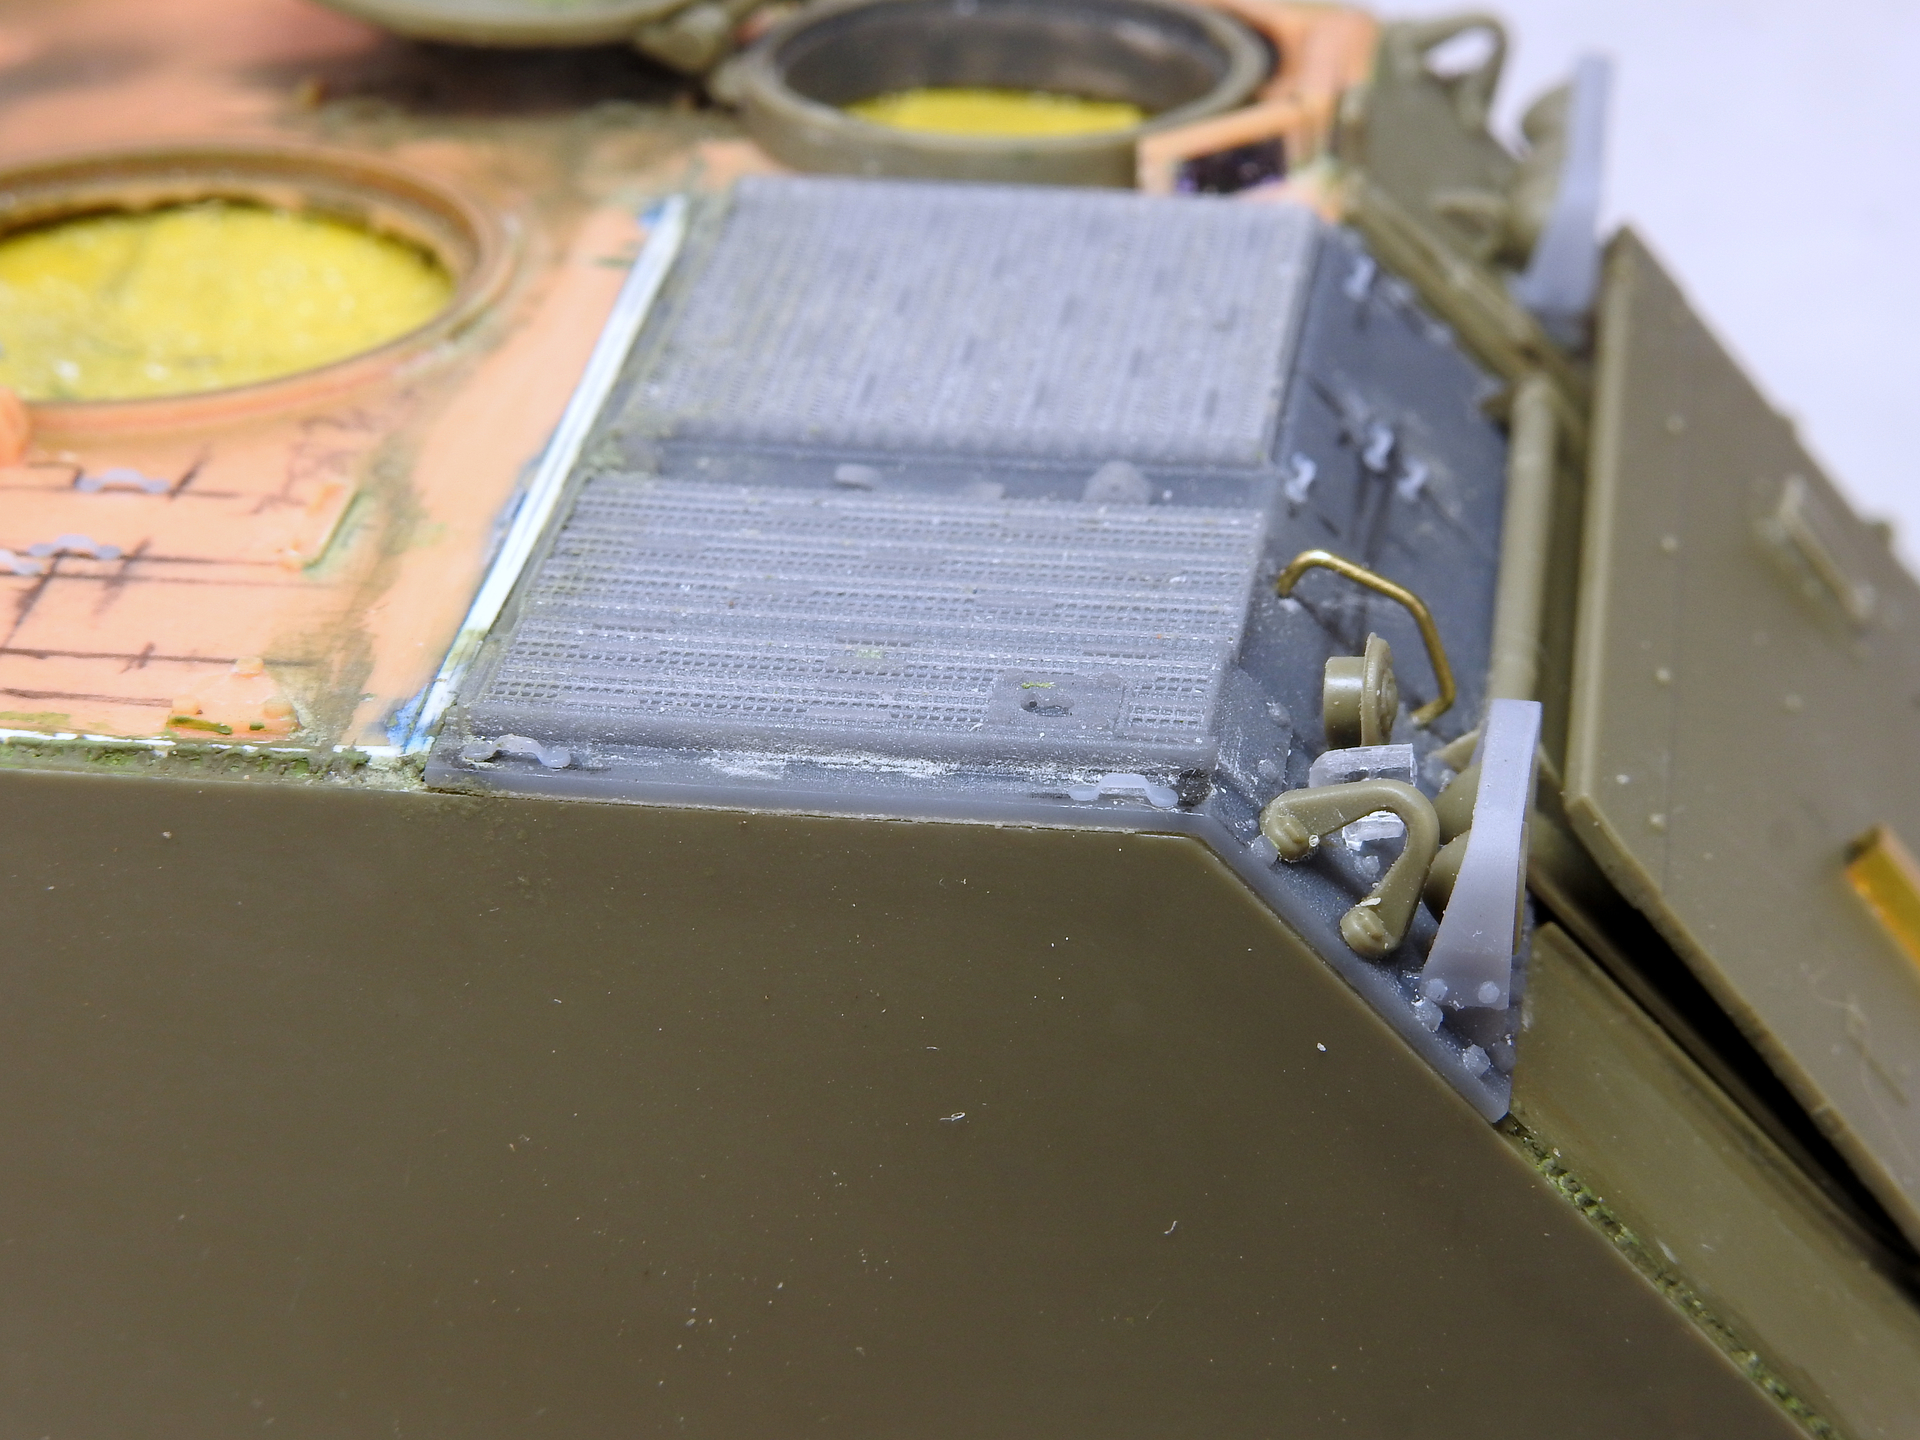
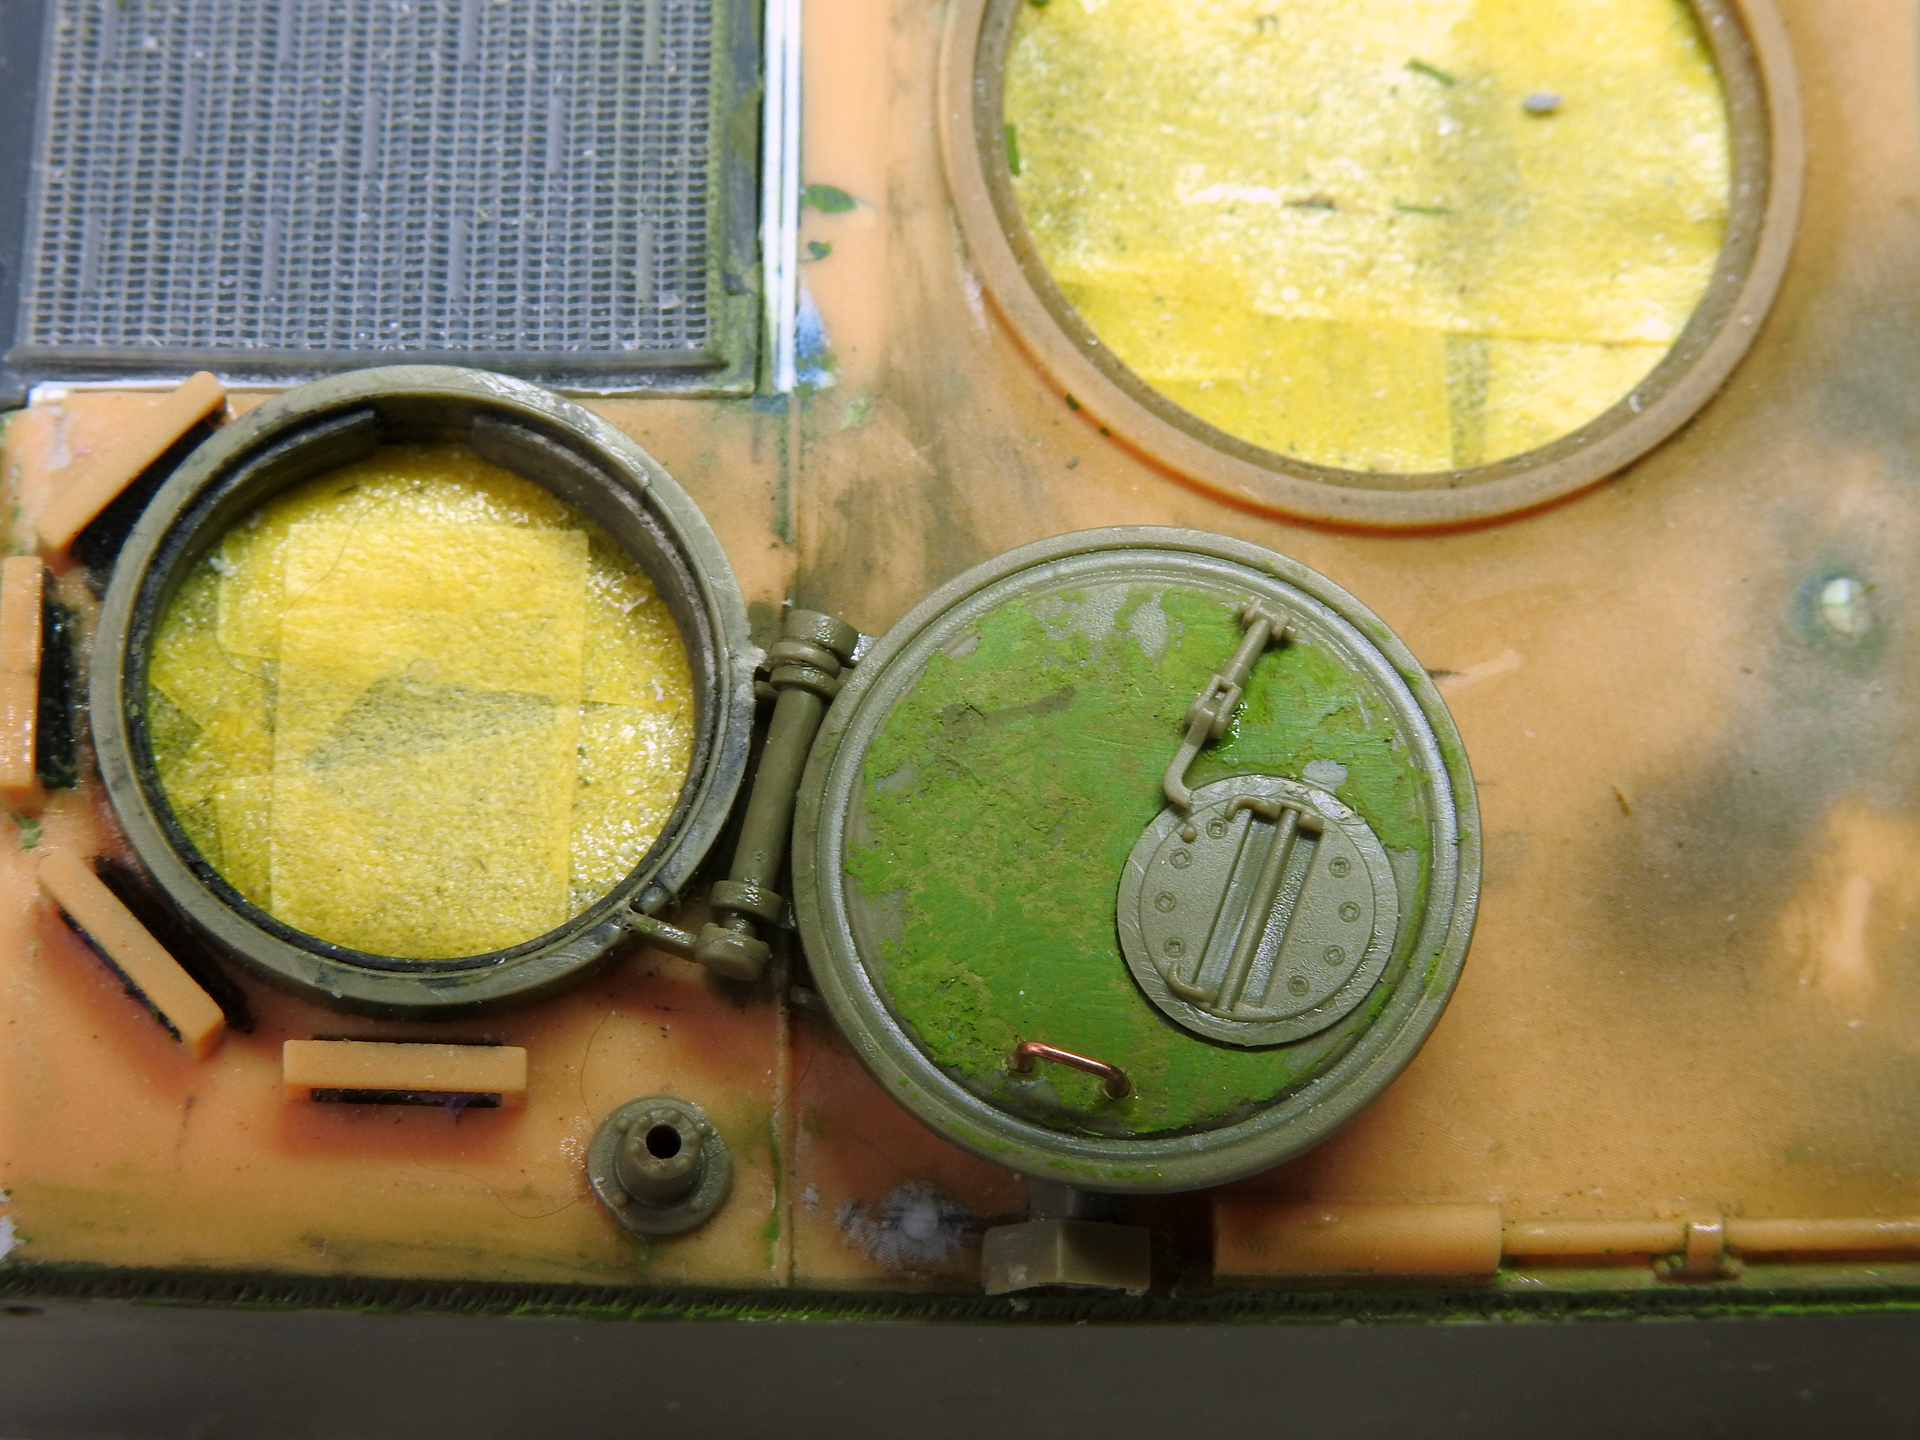
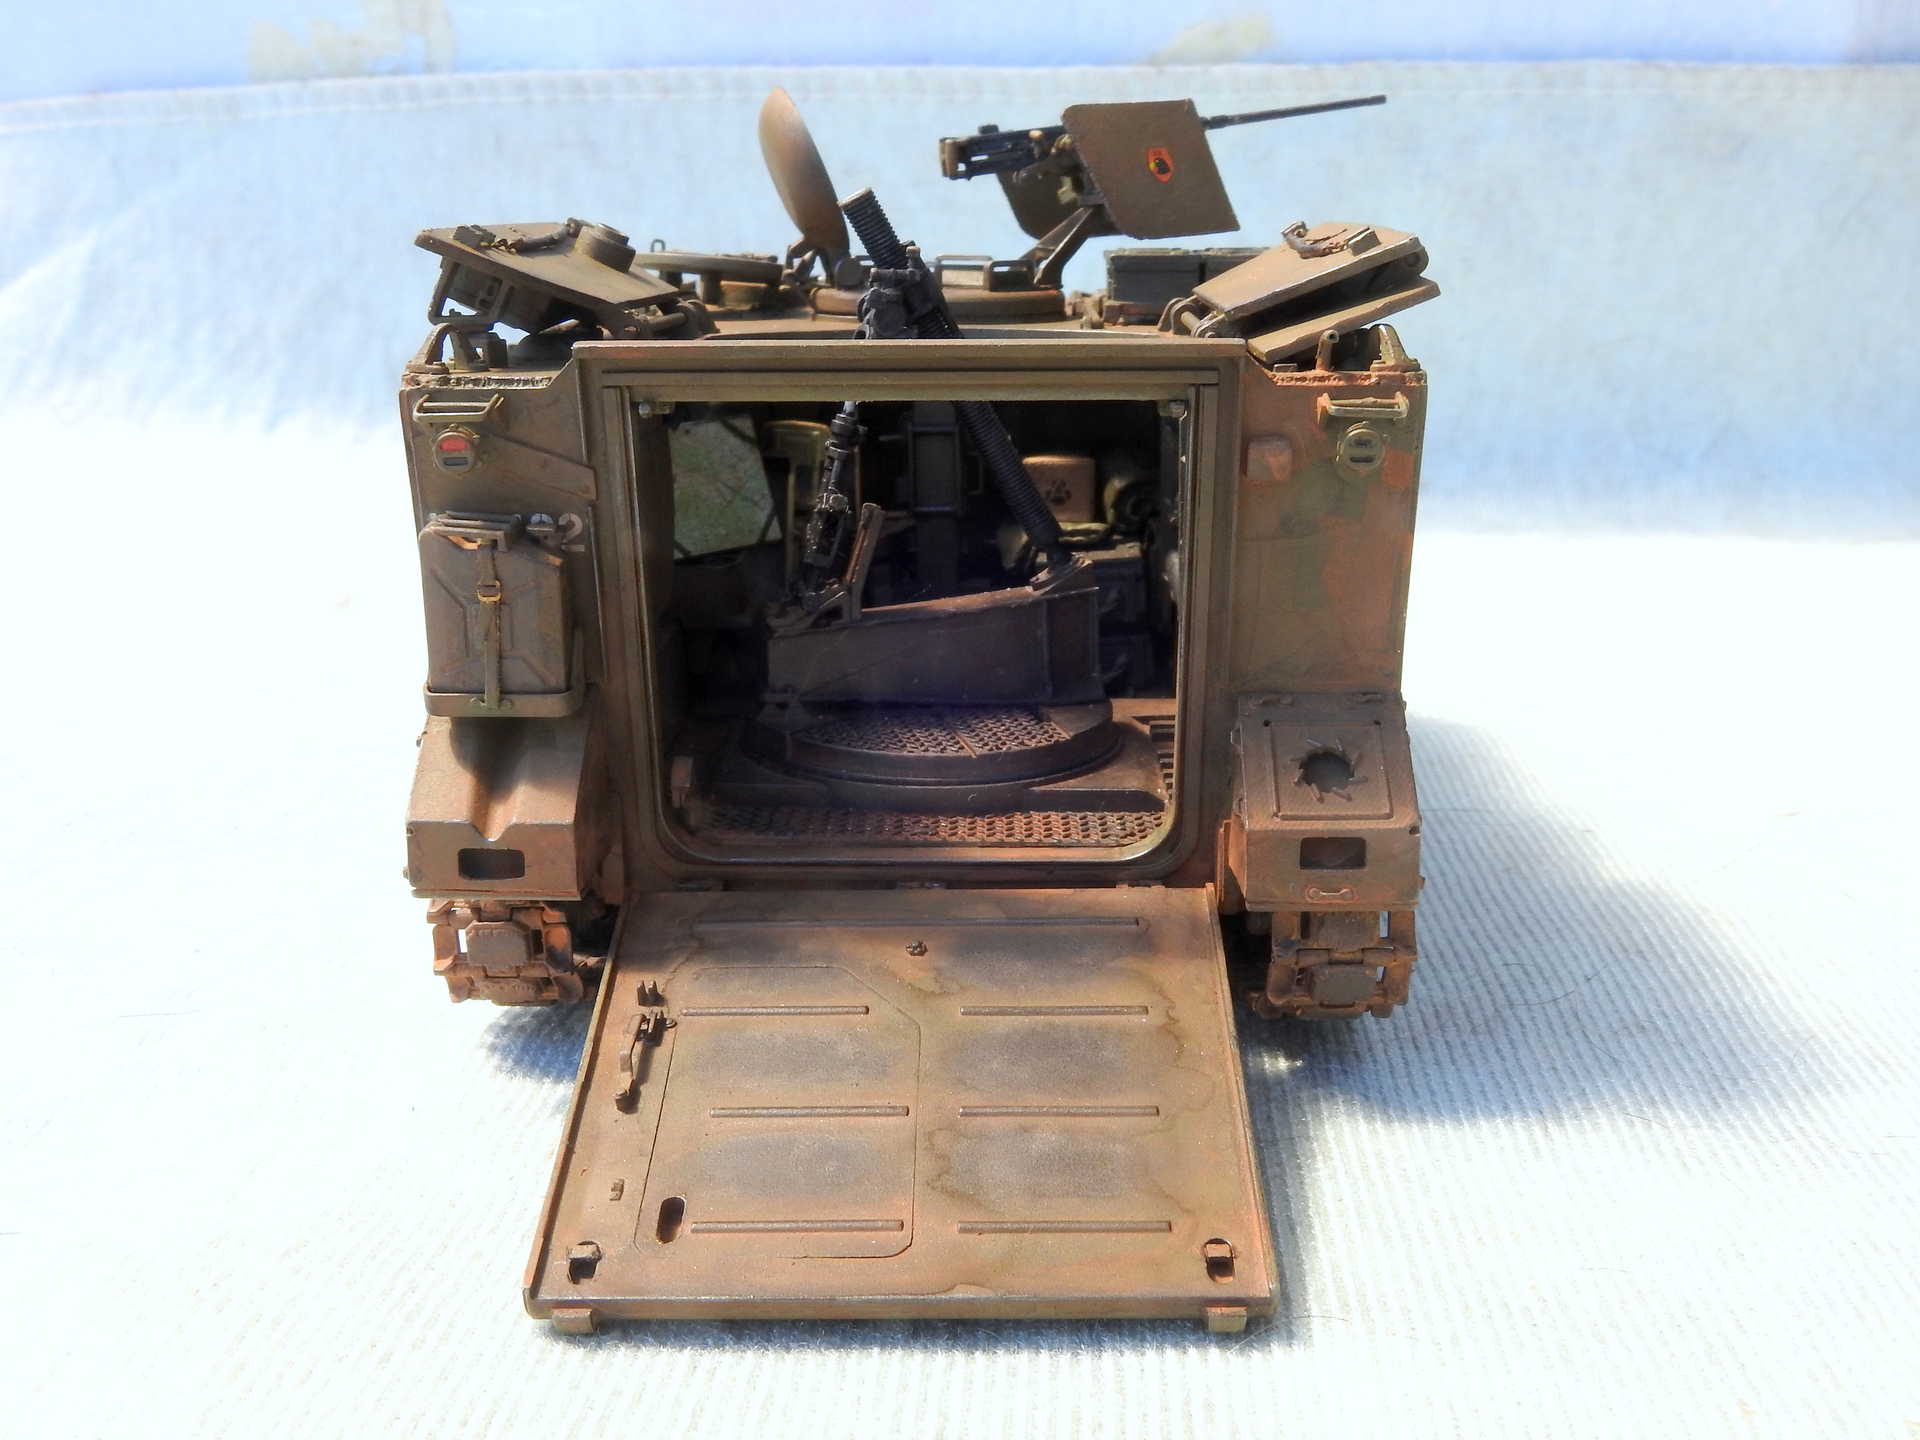
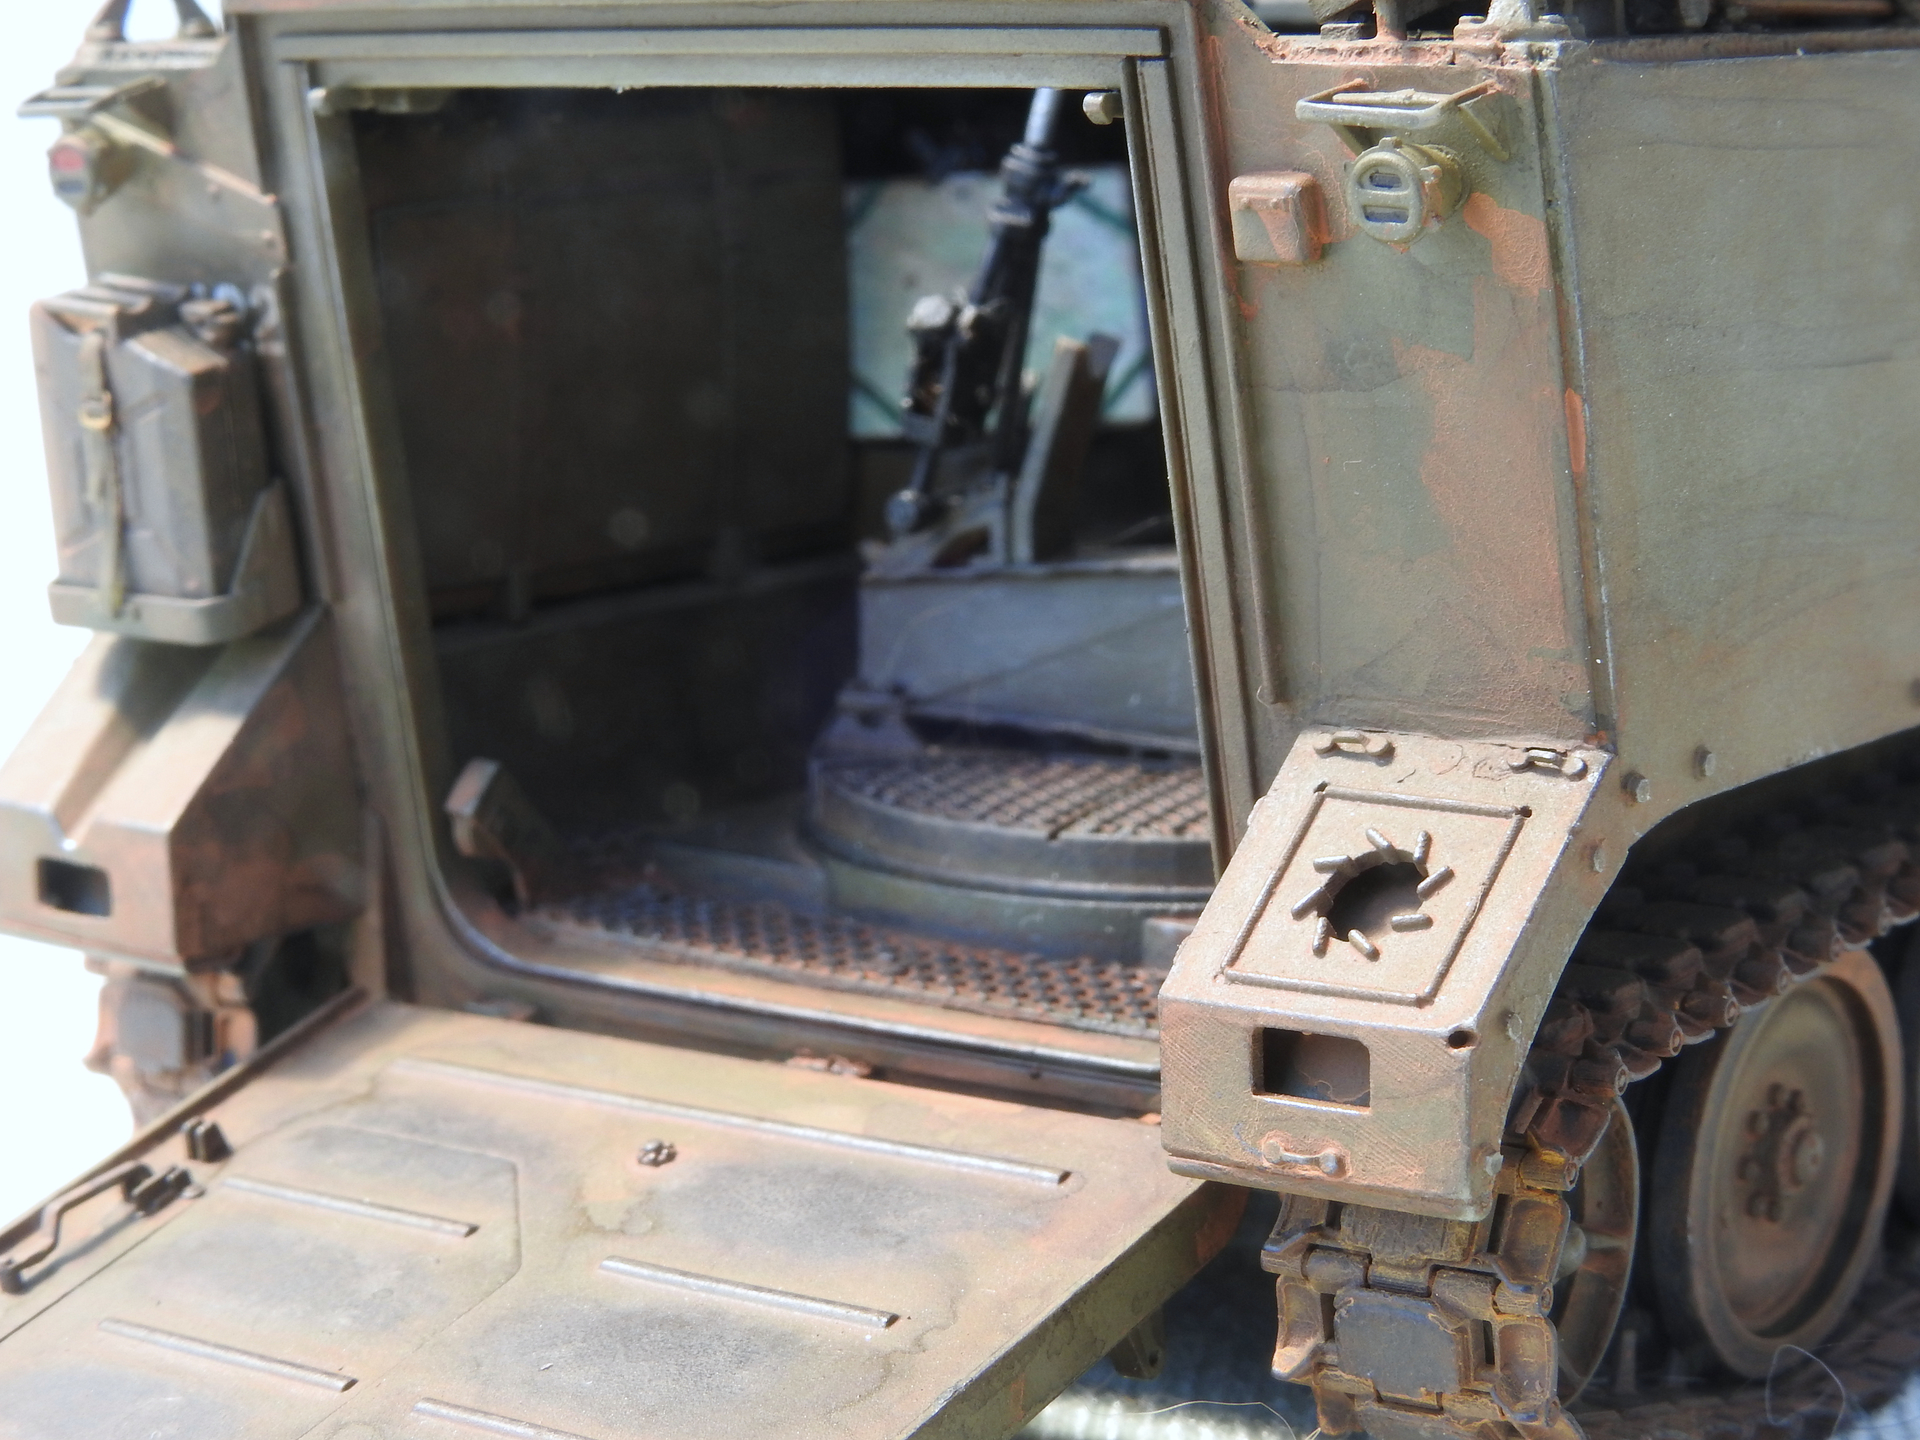
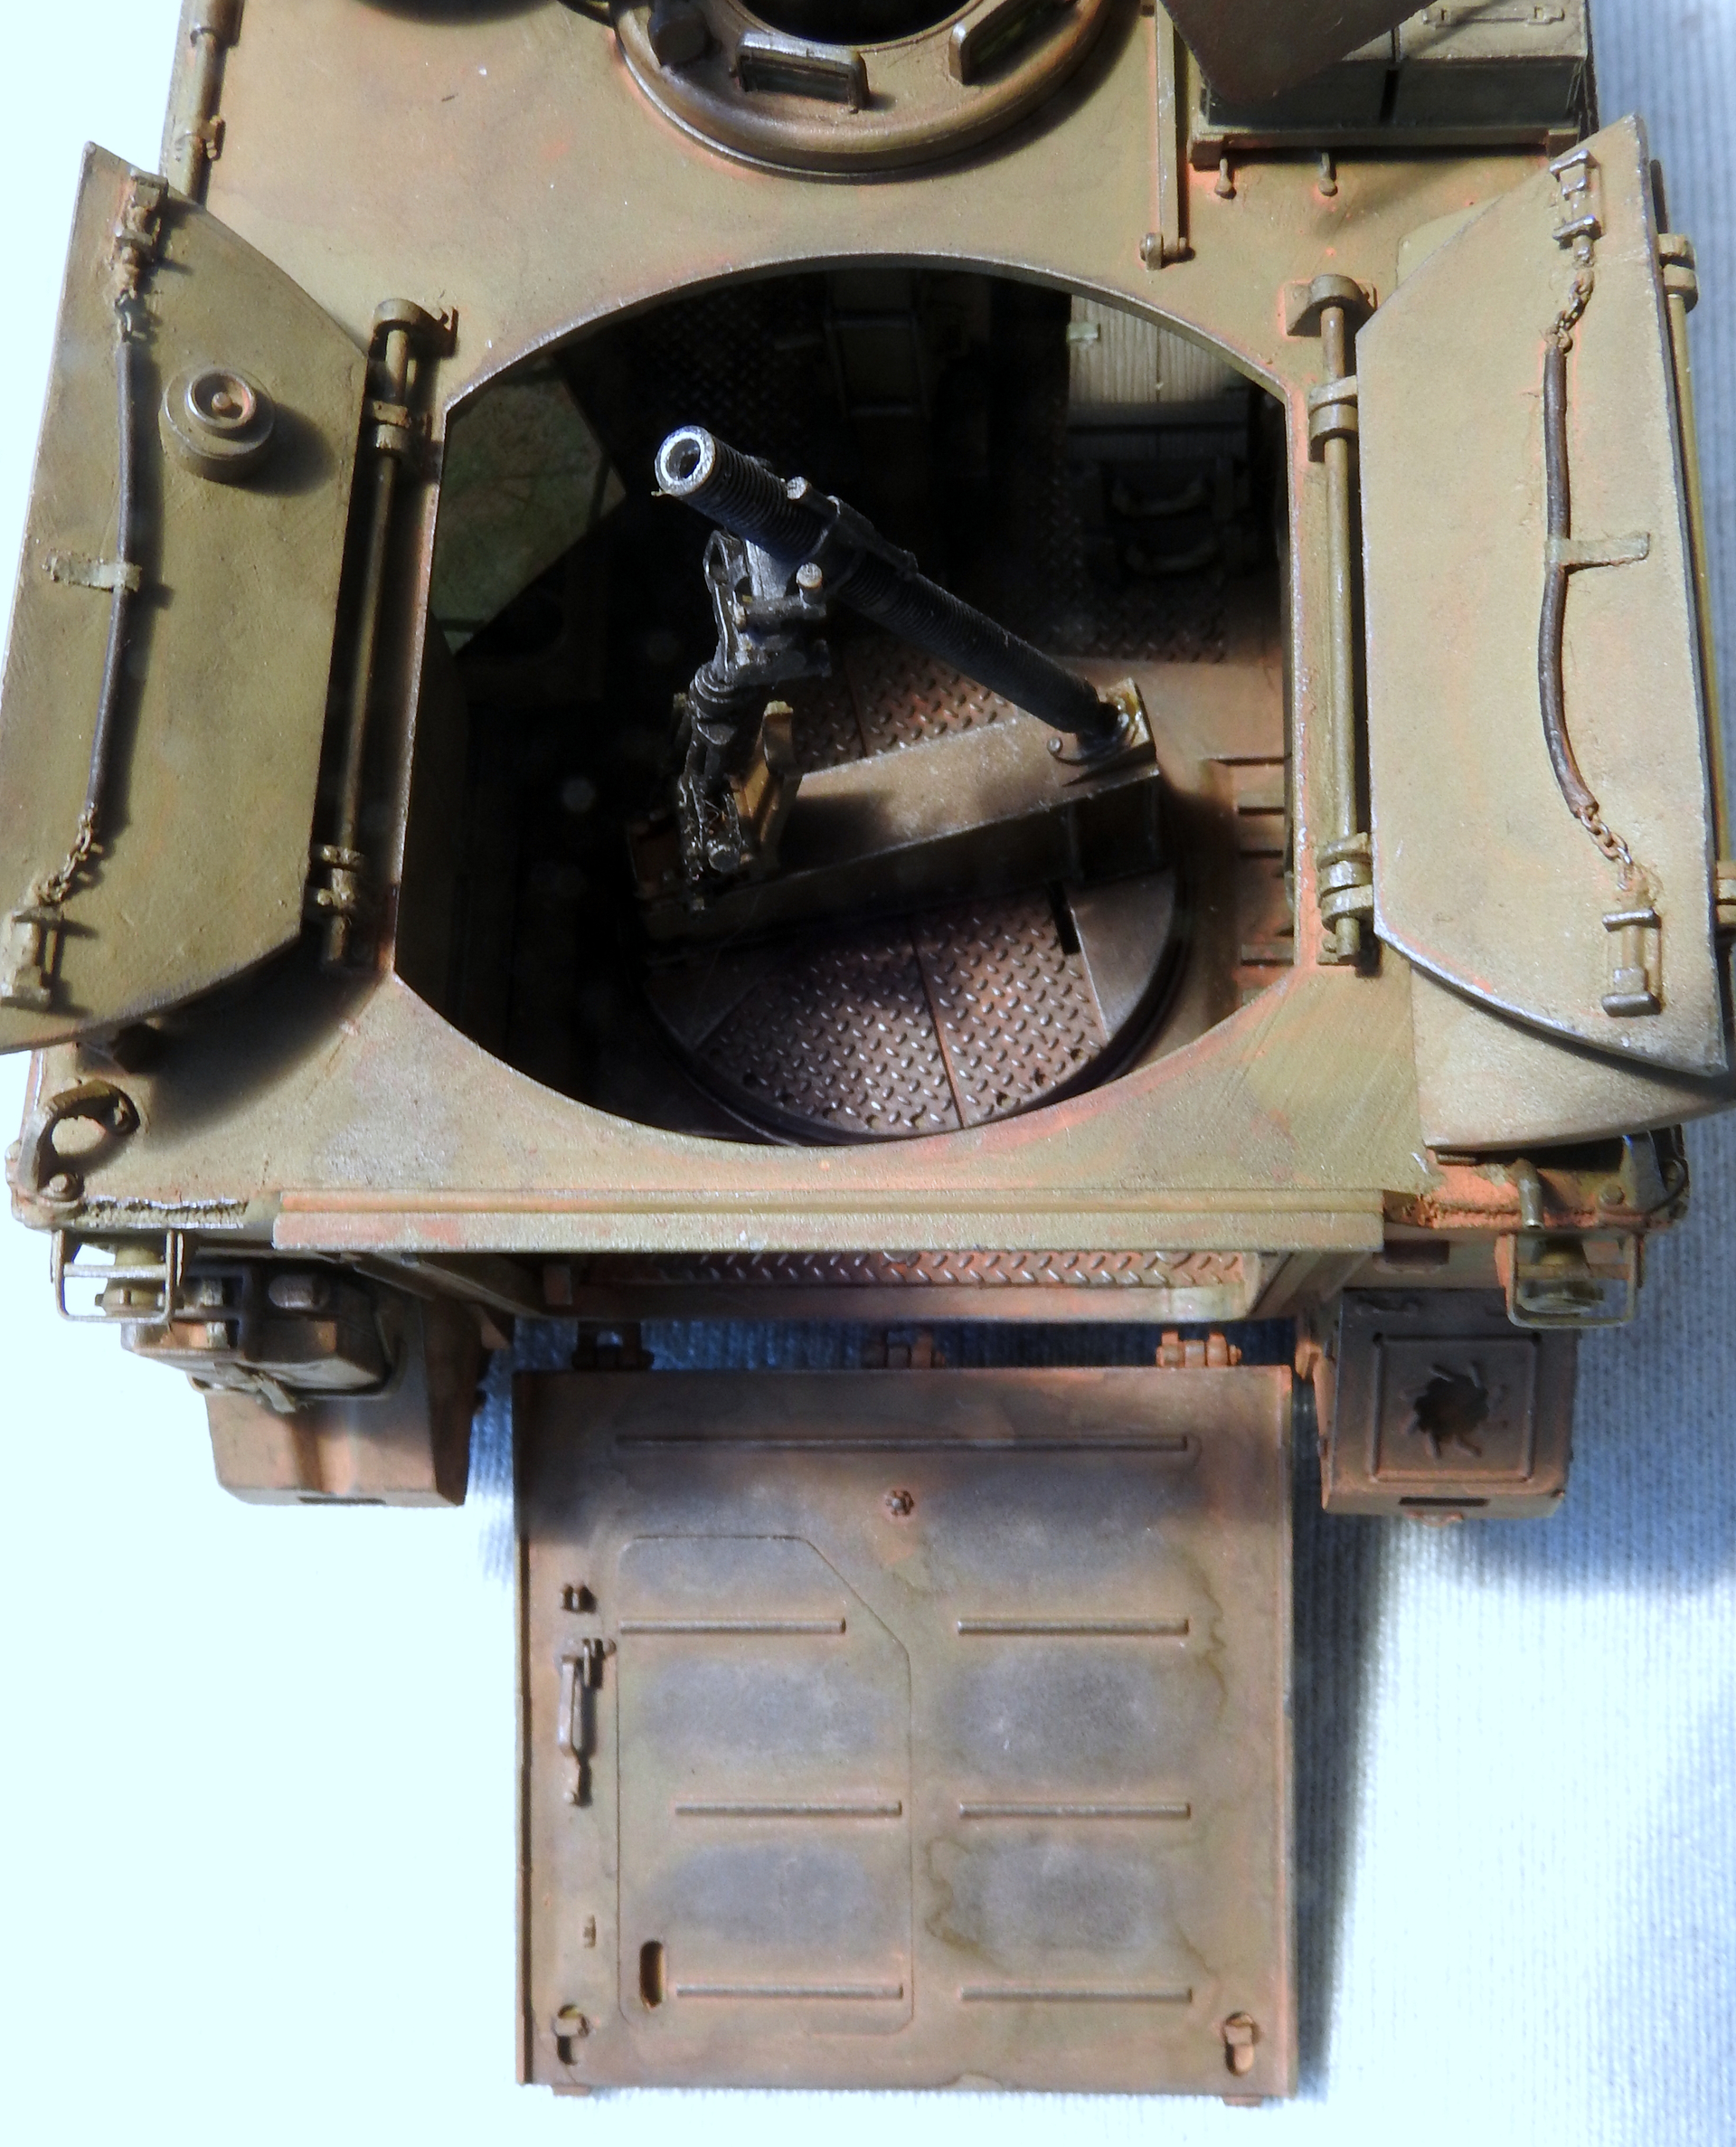
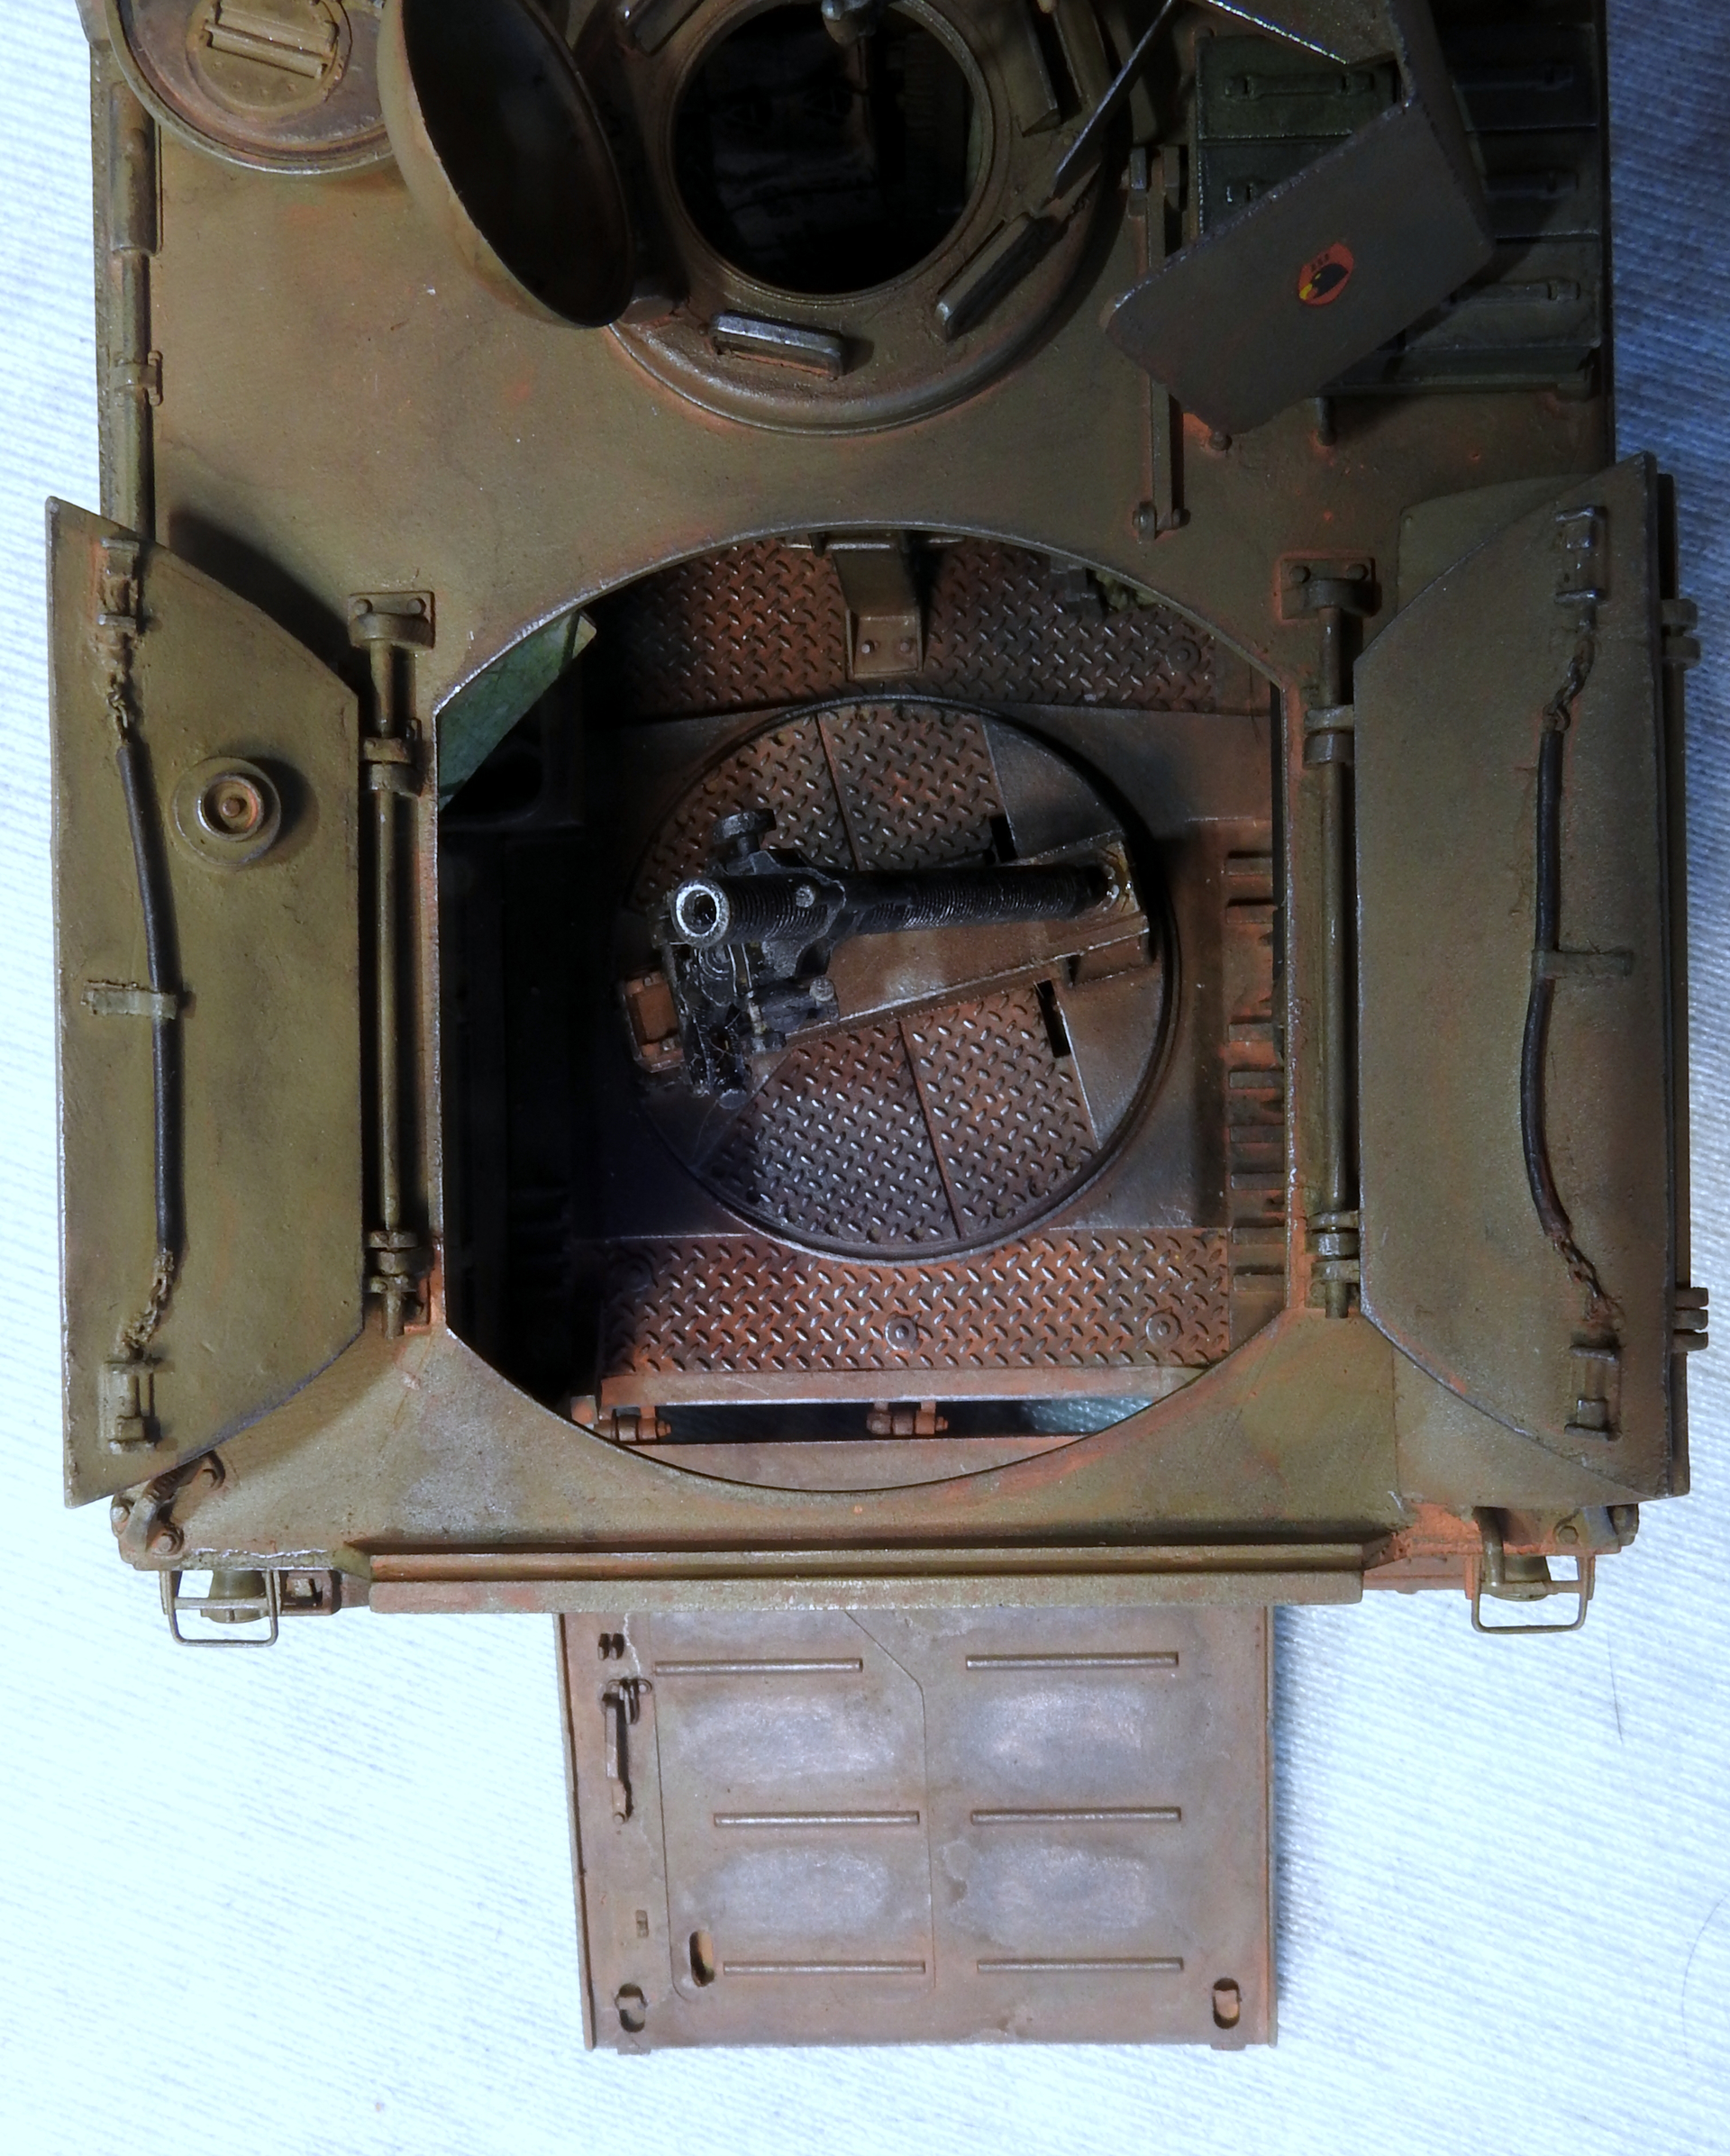
I have installed the last aspect of the kit prior to under coating with no concerns at all, everything went into place nicely. The front is OOB and while I plan on having the ramp down, I decided to try and replicate something that looks like the devices that hold in place when raised, not perfect but it will do. The over- head shot show all the part to be added prior to weathering.
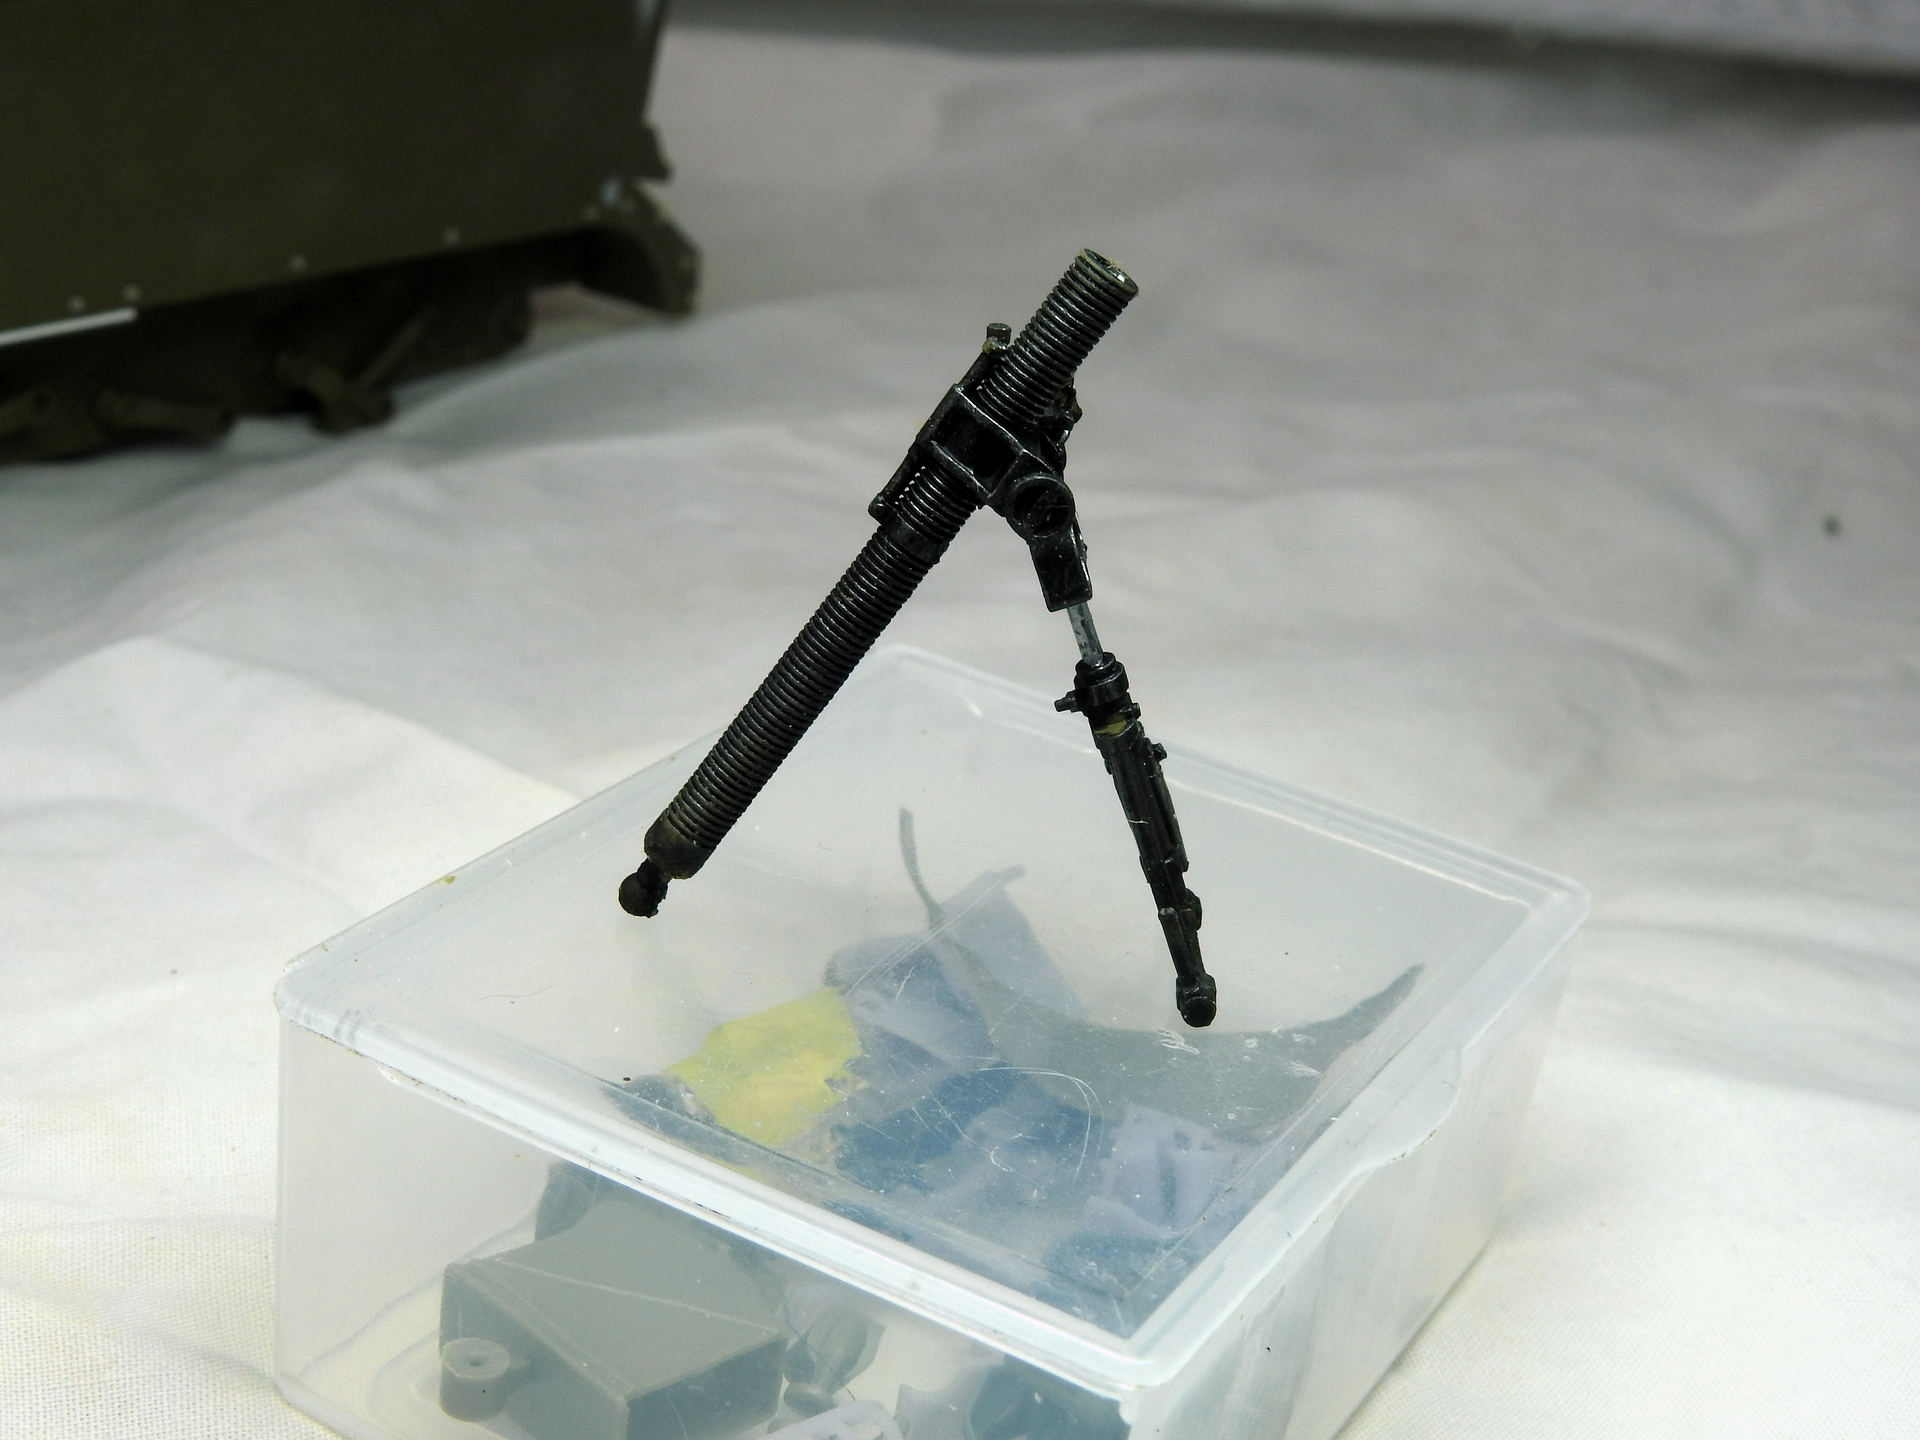
I ended up removing the printed hatch lock release cable and replaced them with electrical cable flex and fine chain (I shouldn’t look to hard at the photos as I spot things that the Mk.1 eyeball misses) and the engine deck from Arms Corp again looks great. I applied some putty to the diver’s hatch to give the impression of wear and lastly two photos are of the 81 mm mortar and Quick Wheels M113 Tracks (worn pads), Drive Sprockets, Idler Wheels, https://www.quickwheelstore.com/…/1-35-quicktracks-t… I am not using the sprocket as I damage one beyond repair but if you are yet to have tried these out they are very good and I had the two run completed in about 45 minutes.
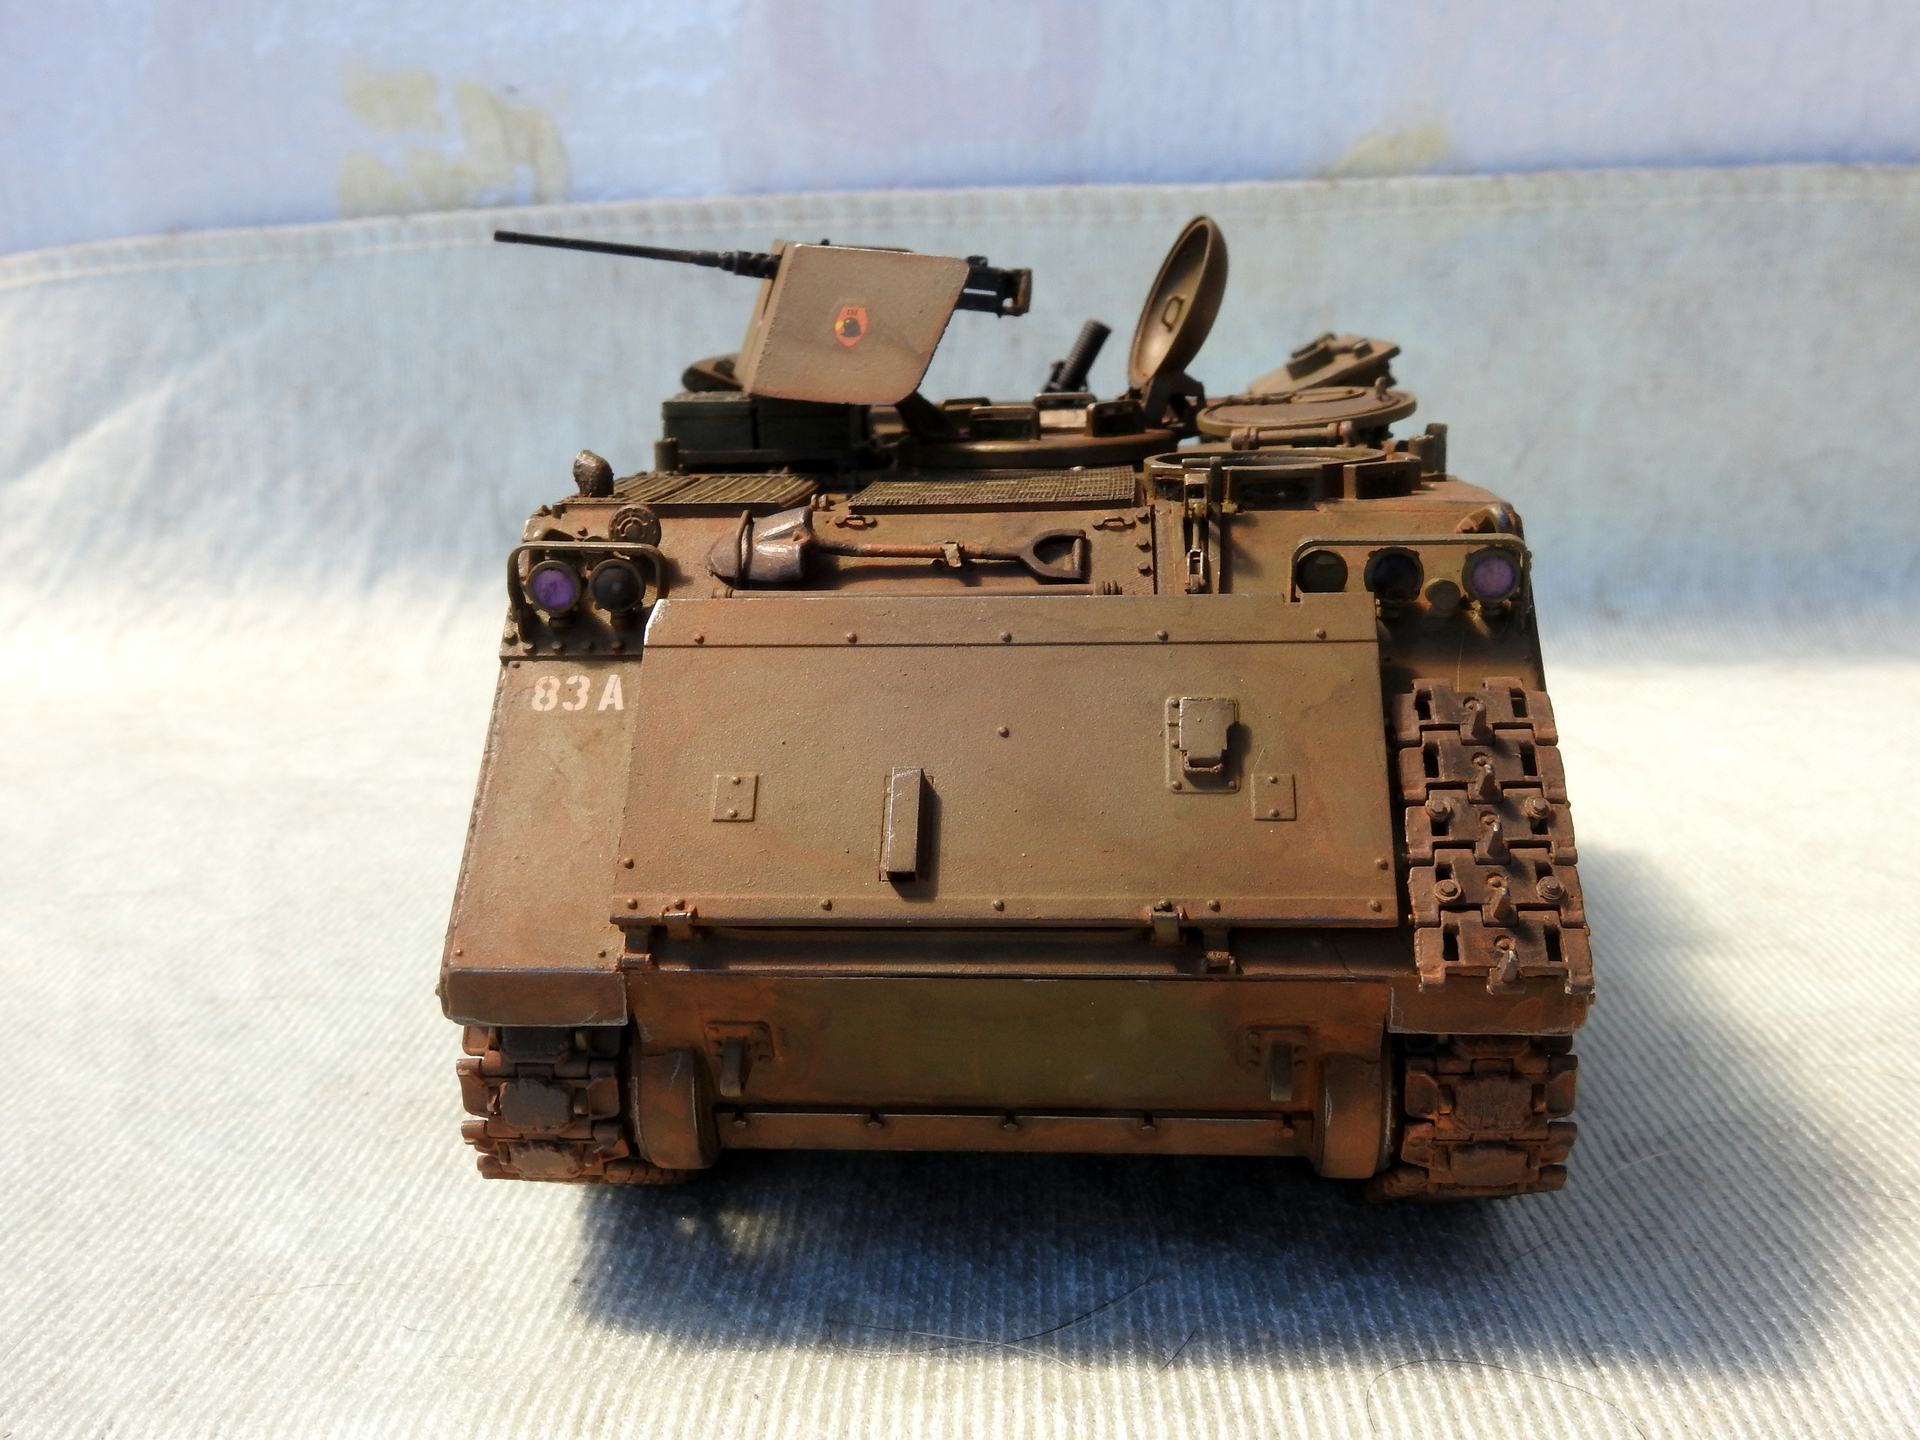
As of the time of writing I have already undercoated and painted the kit using Model Master Enamel 1711 Olive Drab FS34087, so it is time to do the detail work and then coat with Pledge One Go (or whatever the current name for it is) before I apply the decals.
Thanks for your time.


11 Likes
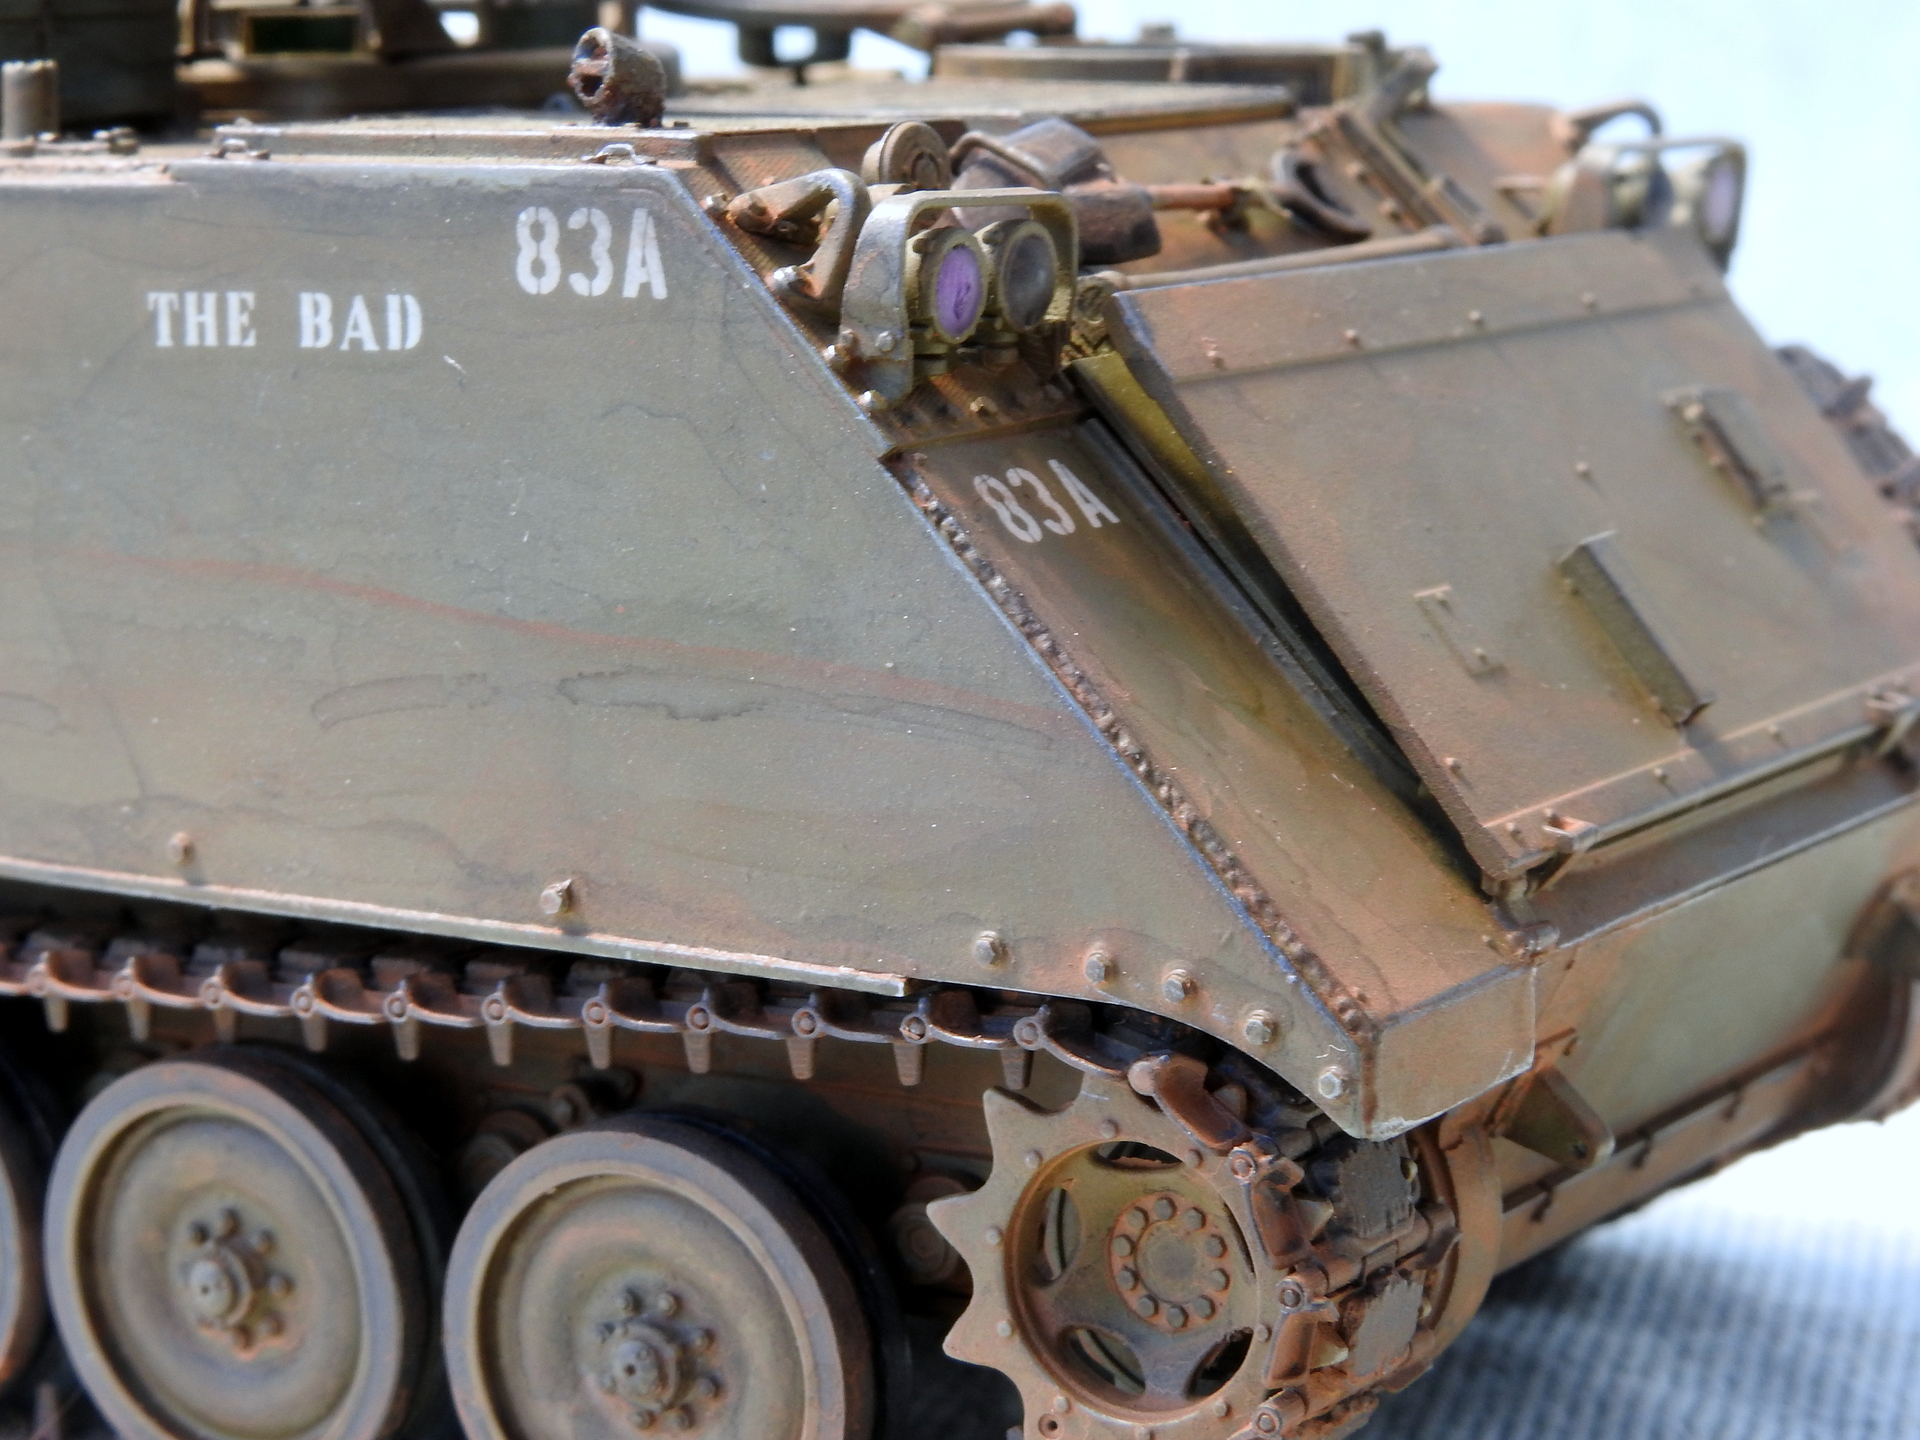
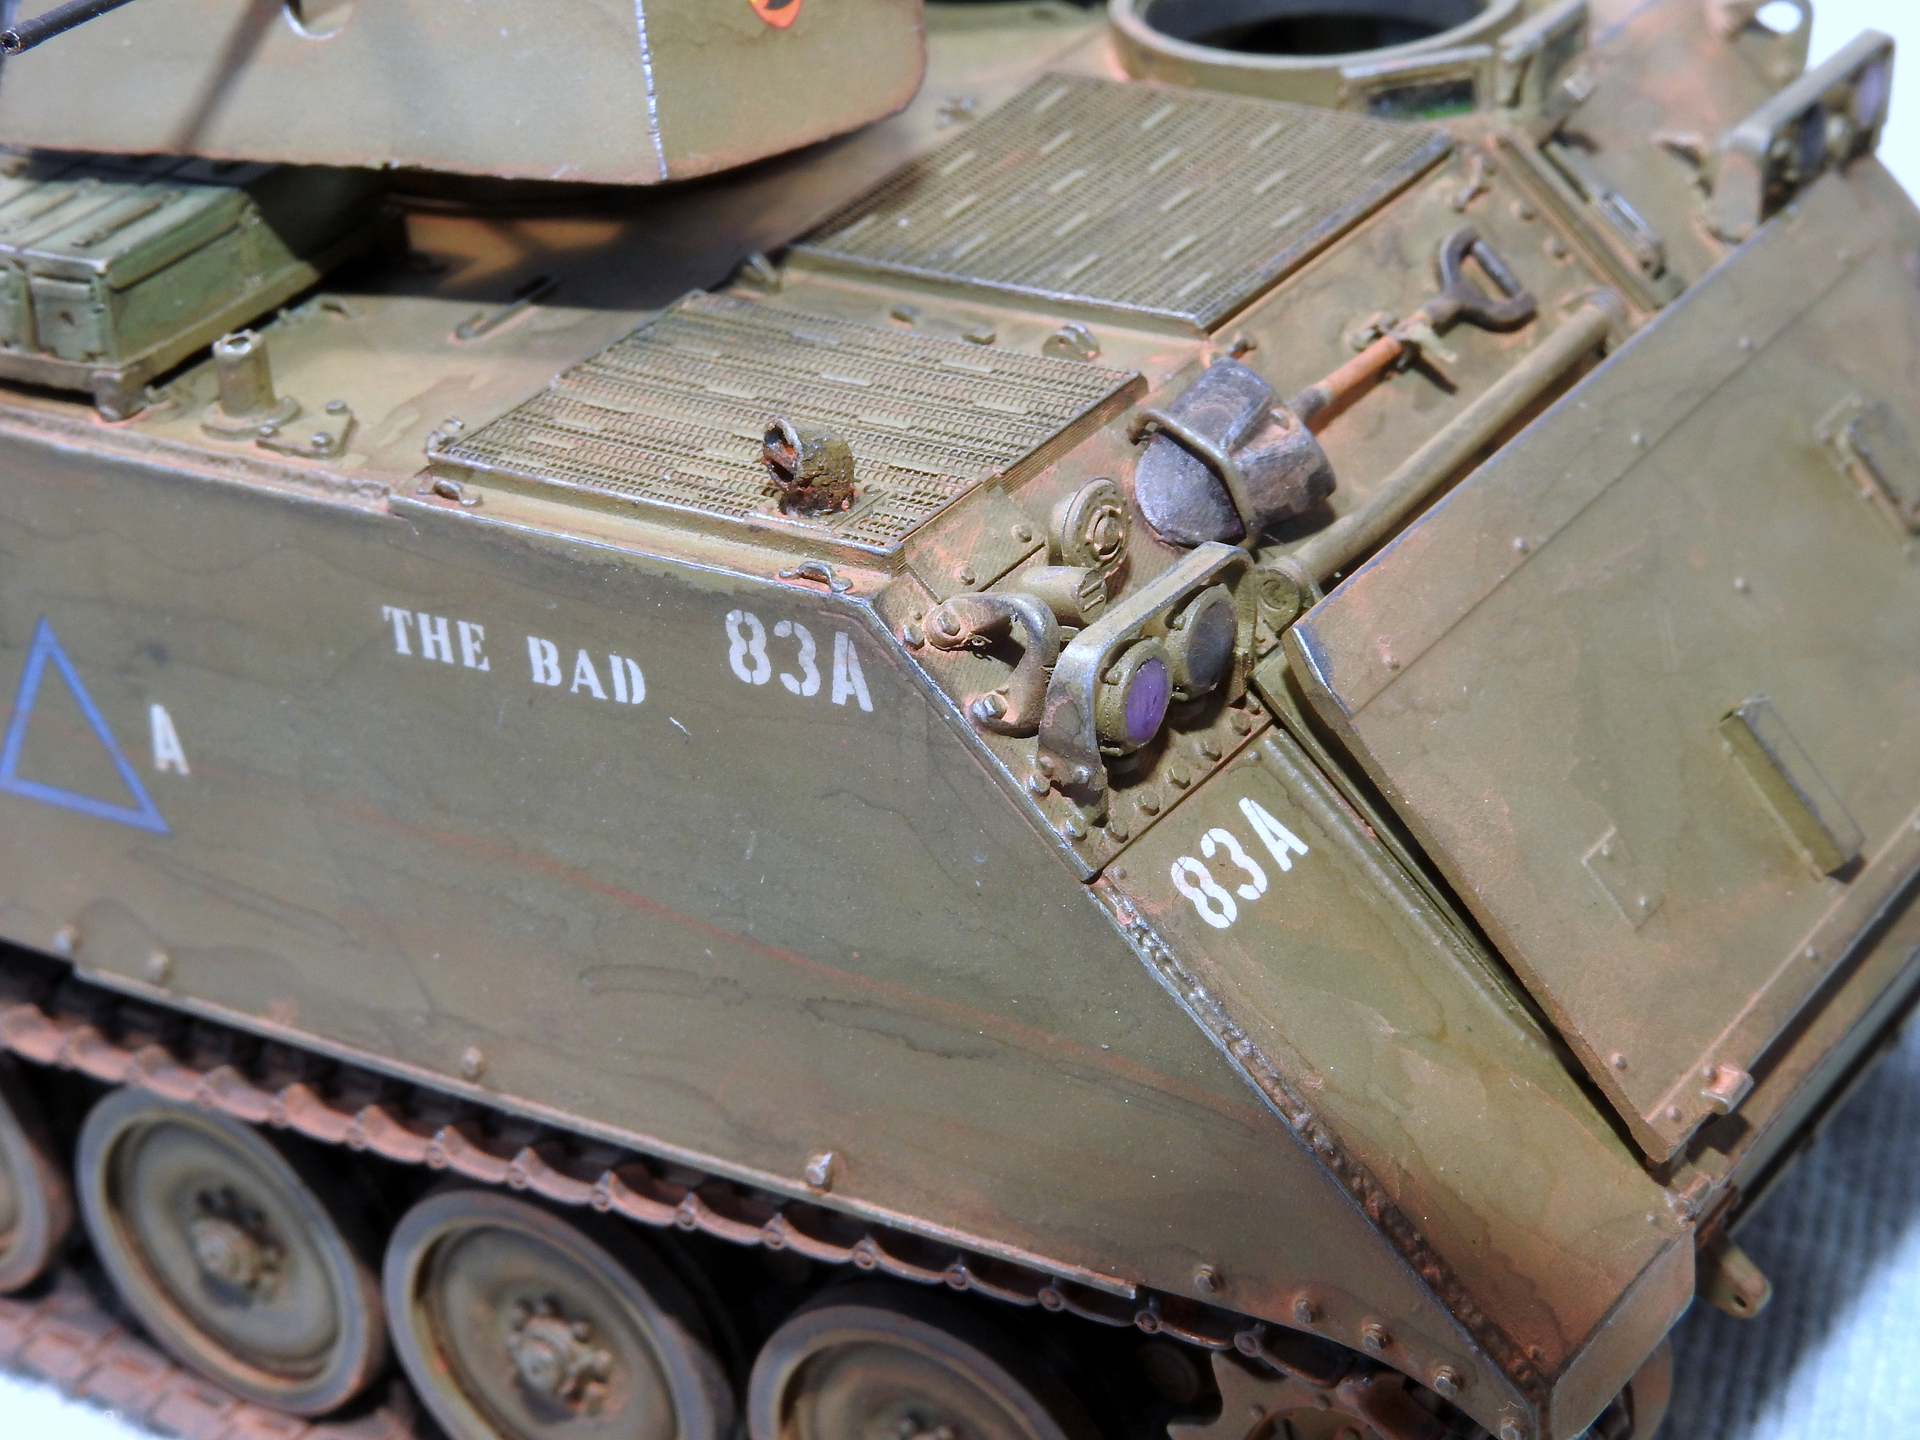
Painted and weather and all that is left to do is a base and the three figures I plan on have it at rest with 2 figures reading letters on the ramp and a third the as a padre standing by have for it but, this will be done when I return to Australia.
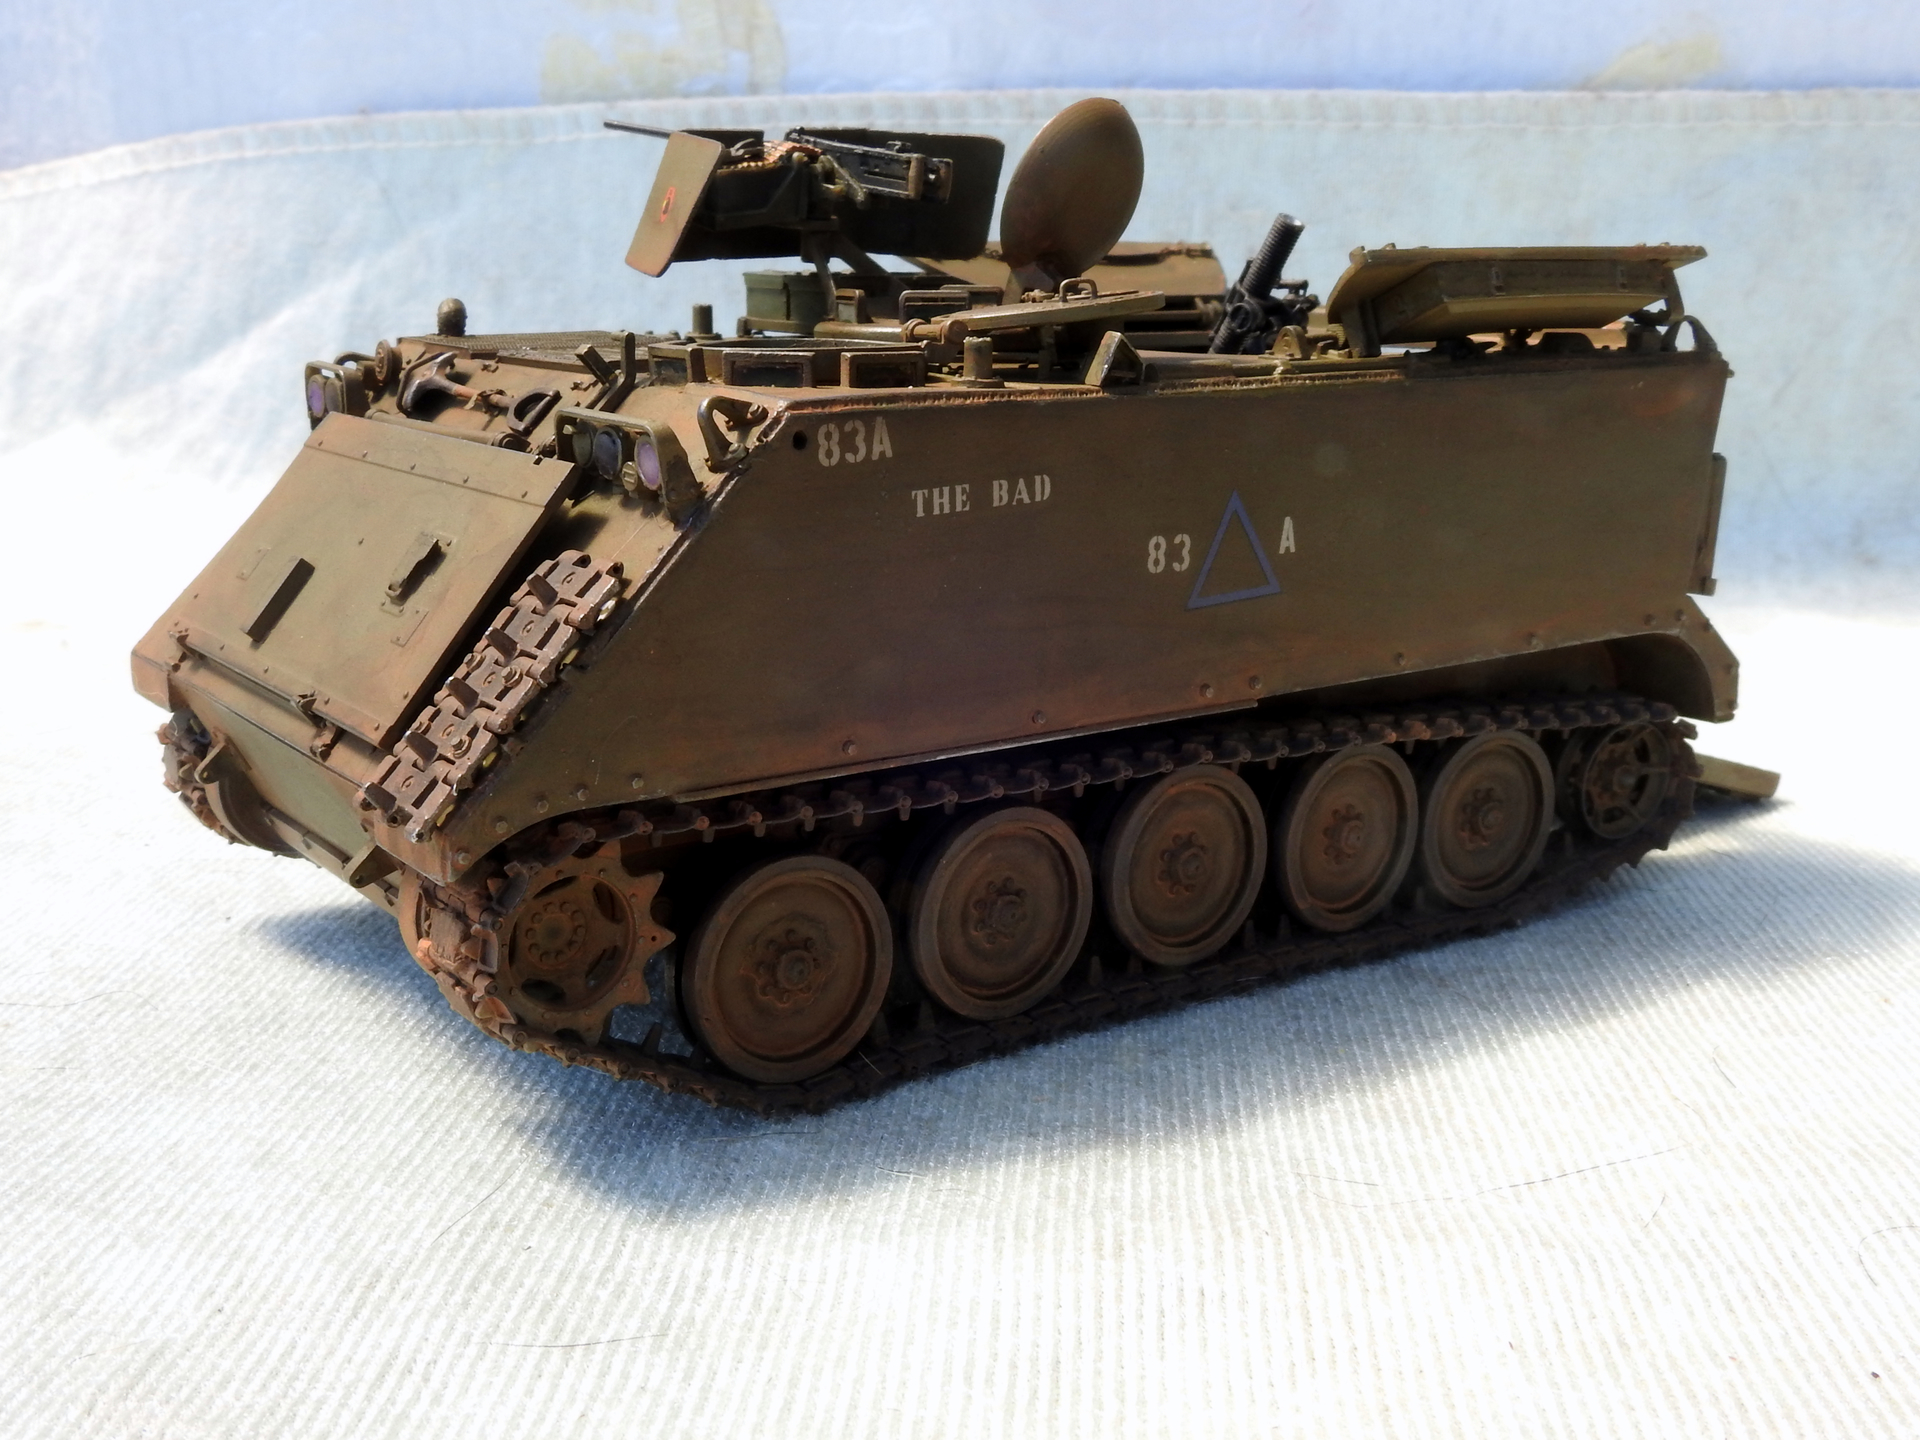
After applying the decals and re-coating them with Pledge I sprayed Wattyl Matt estapol in a 50:50 mix with white spirt and allowed this to for a couple of days, I then started weathering, again using dilute black and sepia inks and Vietnam dust and my own powder mix, to give the impression of wear I applied some graphite powder (left over from my ADF days) to the ramp and pencil to edges and some raised parts.
The headlight masks have been removed and a cable has been installed for the ramp
Overall, the base kit while it does have shortcomings to me is the best M113 around at the moment, the Hobby Link set is good, I just don’t like the resin but does scrub up well, the Gas Patch .50 cal is a lovely piece of work but brittle, I had t replace the handles and cocking handle with the kit parts and Arms Corp engine deck still looks good.
I plan on finally starting my FWD Type B ammo truck next as mentioned on my last post on the FSV build that it was next but got put on hold as I wanted to replace the tilt tie down rings, now my 1.5mm chisel has arrived and I figured out how to replicate them it will be on the go.
Again, thanks for stopping by and to all those that thumbs upped or commented it is appreciated.


13 Likes
This has become a wonderful model! I imagine you don’t want to do anything else to it any more after all the work that’s gone into it (I’m sure I wouldn’t!) - but please allow a tiny nitpick: A short piece of black sewing thread would make a perfect ramp raising cable …
Sorry I couldn’t keep it to myself,
Peter
2 Likes
As mentioned in the text, I have already done this as well as removal of the headlight masks
2 Likes