Hi Pete, I believe the narrow-track issue is an Academy speciality, seen on all their M4-based kits including M10, Achilles, and M36.
1 Like
Thanks Tom. I knew I had read about an issue somewhere.
Nice modifications. I have no idea what the pin is for. I presume that something goes in the socket and the pin holds it - maybe the winch chain? Push the pin through the chain loop perhaps.
Another question:
As mentioned above, I’ve cemented “roller tracks” to the inside of the MG ring. I thought that was necessary because I’d seen them in photos of MG rings on trucks and in TM illustrations of those items. But now I’ve discovered that in the few photos that show the inside of the manhole on the HST there are none of these tracks. See here:
https://www.wk1963.at/m4_hst and here:

True, both are of museum pieces, but still - tracks or no tracks?
Peter
1 Like


Seems like Eduard’s instructions made me do unnecessary work on the MG ring…
The I-beam could be sanded into channels w/o too much trouble. I ground the positioning ribs down to look more like weld beads and puttied up the positioning depressions for the shelf boards, as I don’t see how their front half would sit at a different height than the rear one.
Meanwhile, back in the cabin:
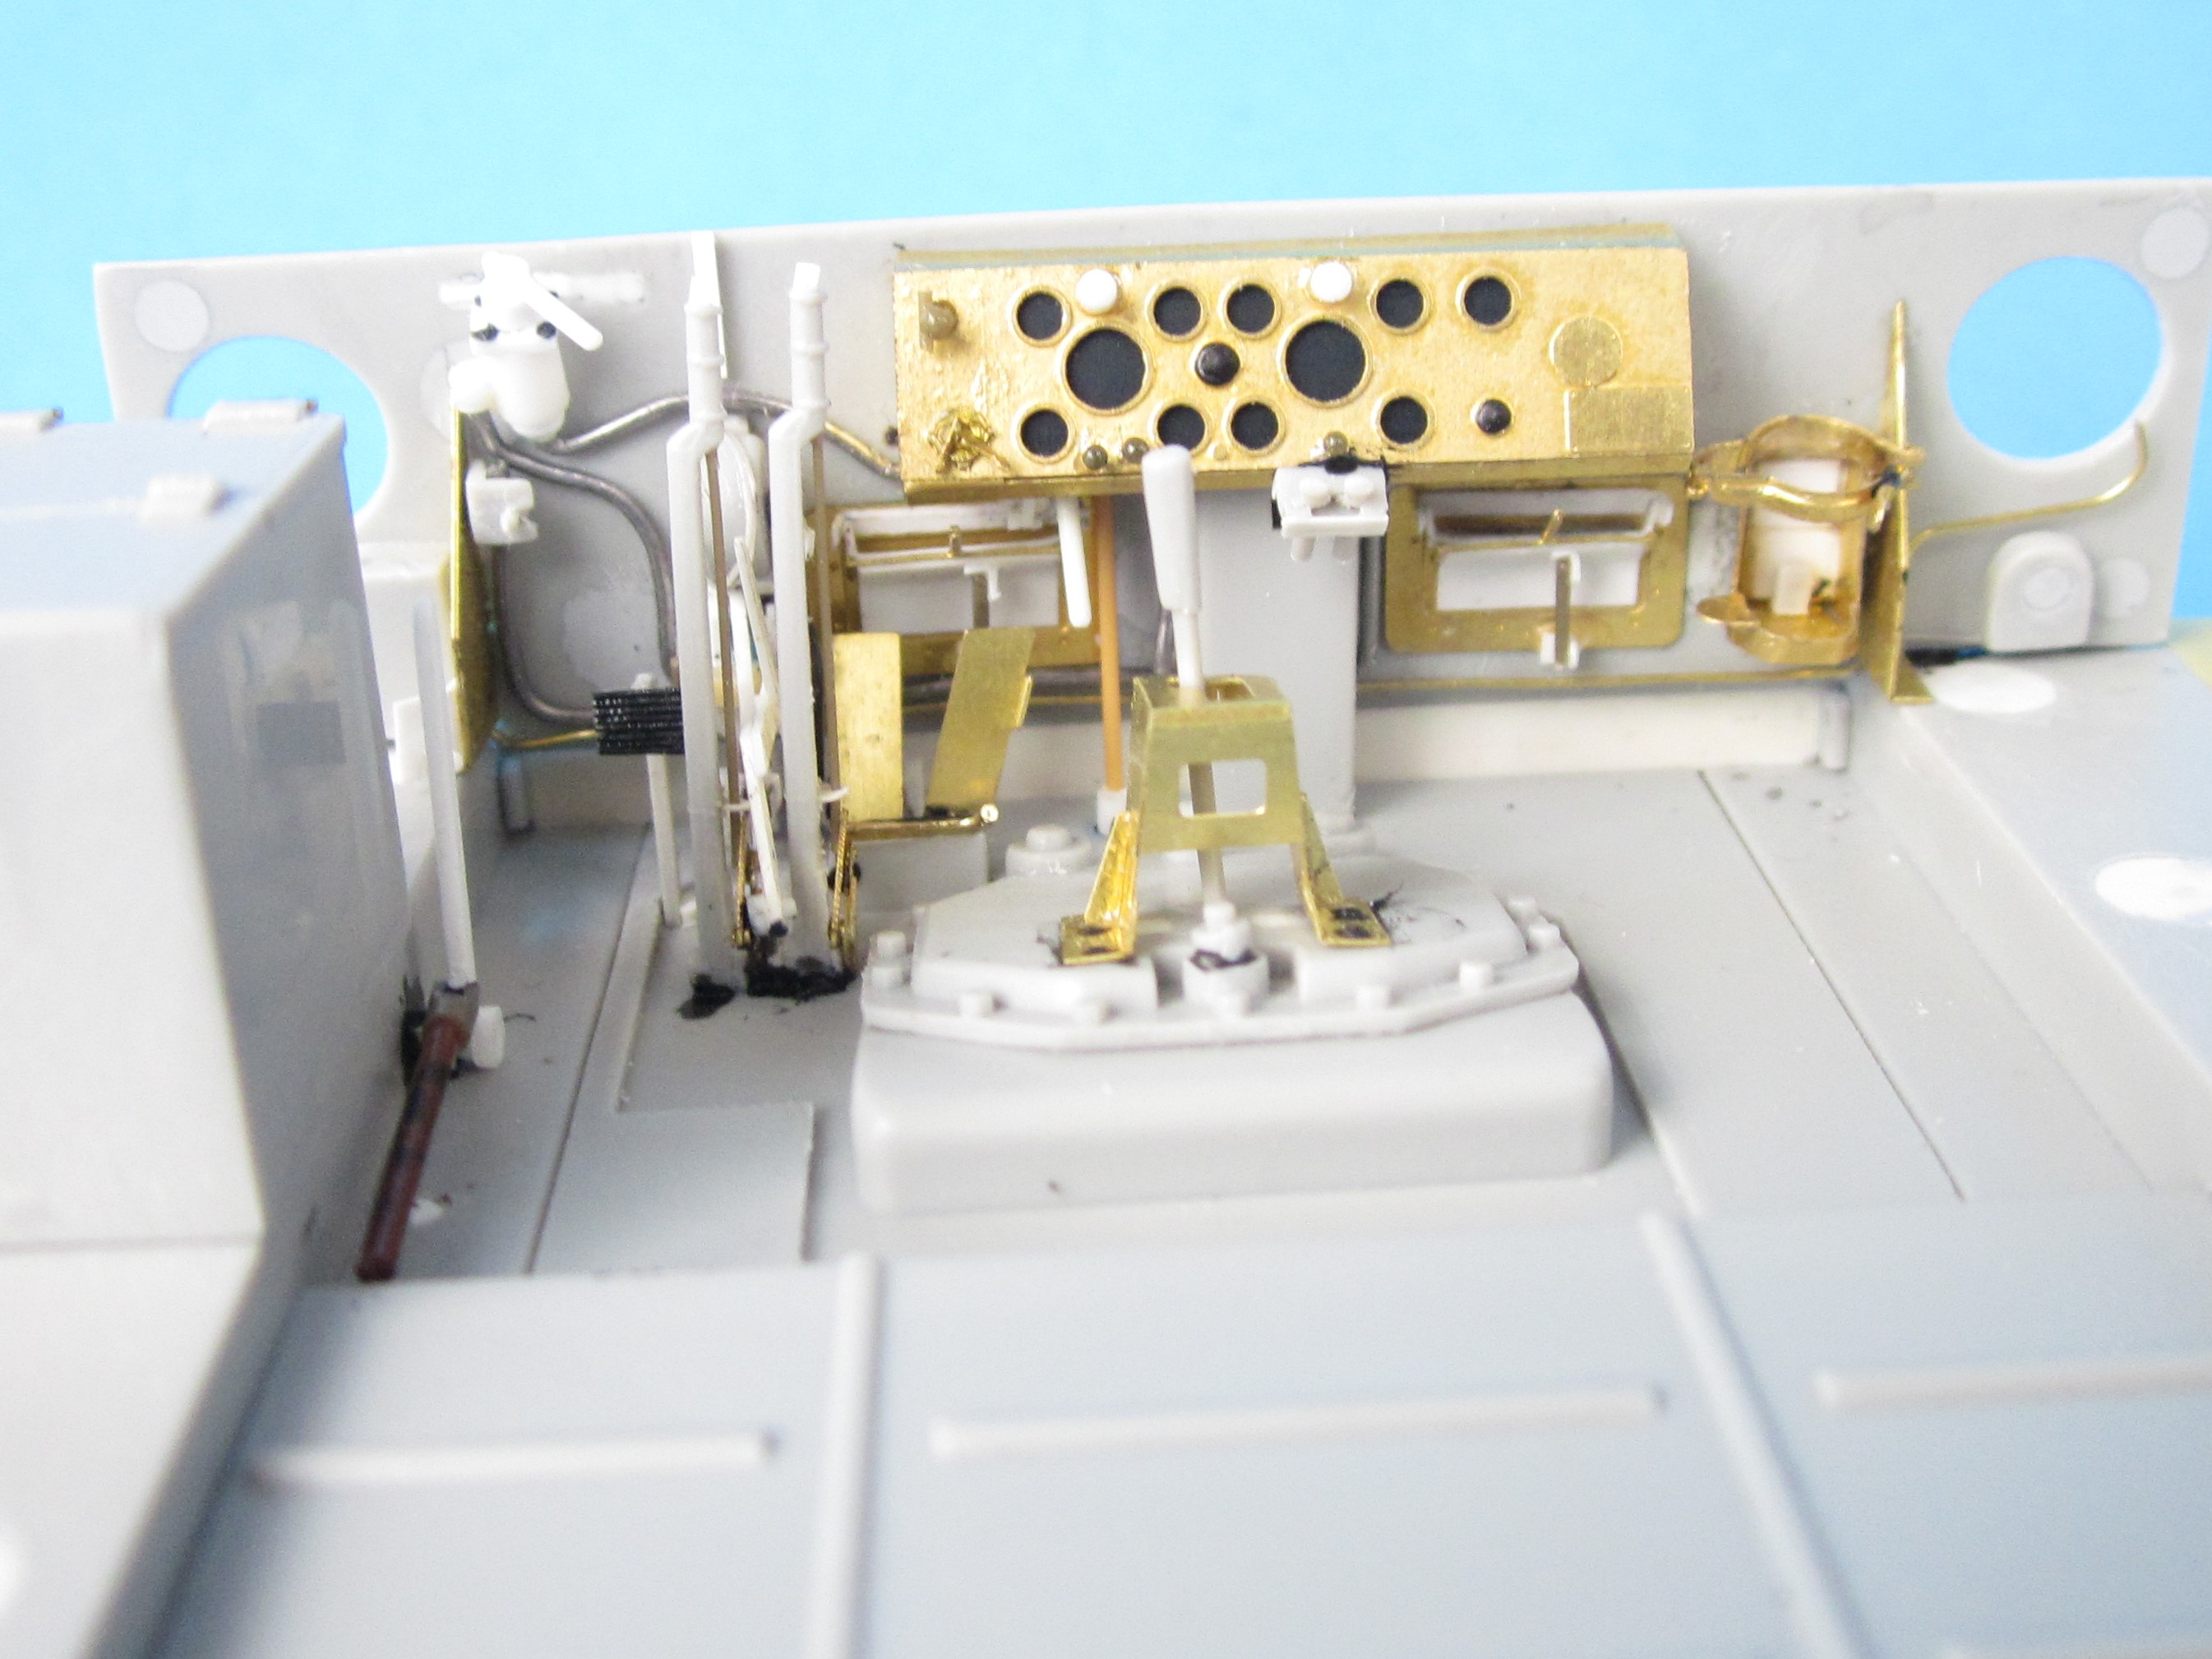
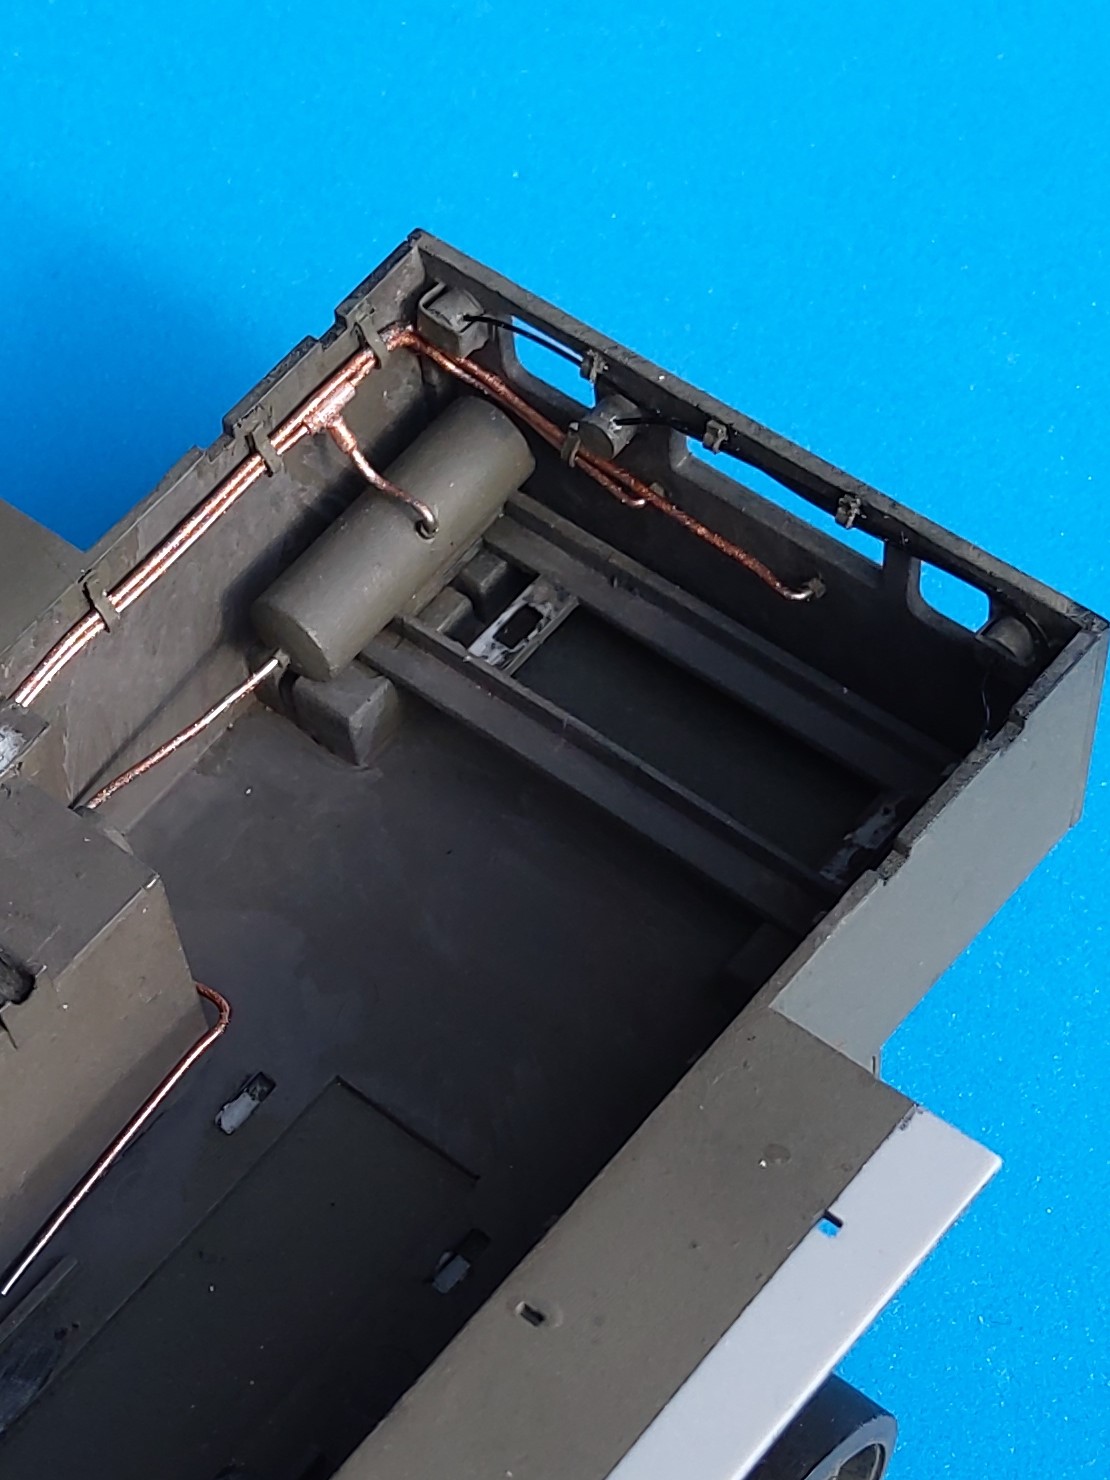
The thing at the front left is the “Winch Clutch Lever”, most of the brass is from PART - their fire extinguisher holder of five parts has an operable clamp. Electric lines are stretched sprue, brass wire and 0.57mm solder wire. More details to be constructed.
Peter
5 Likes
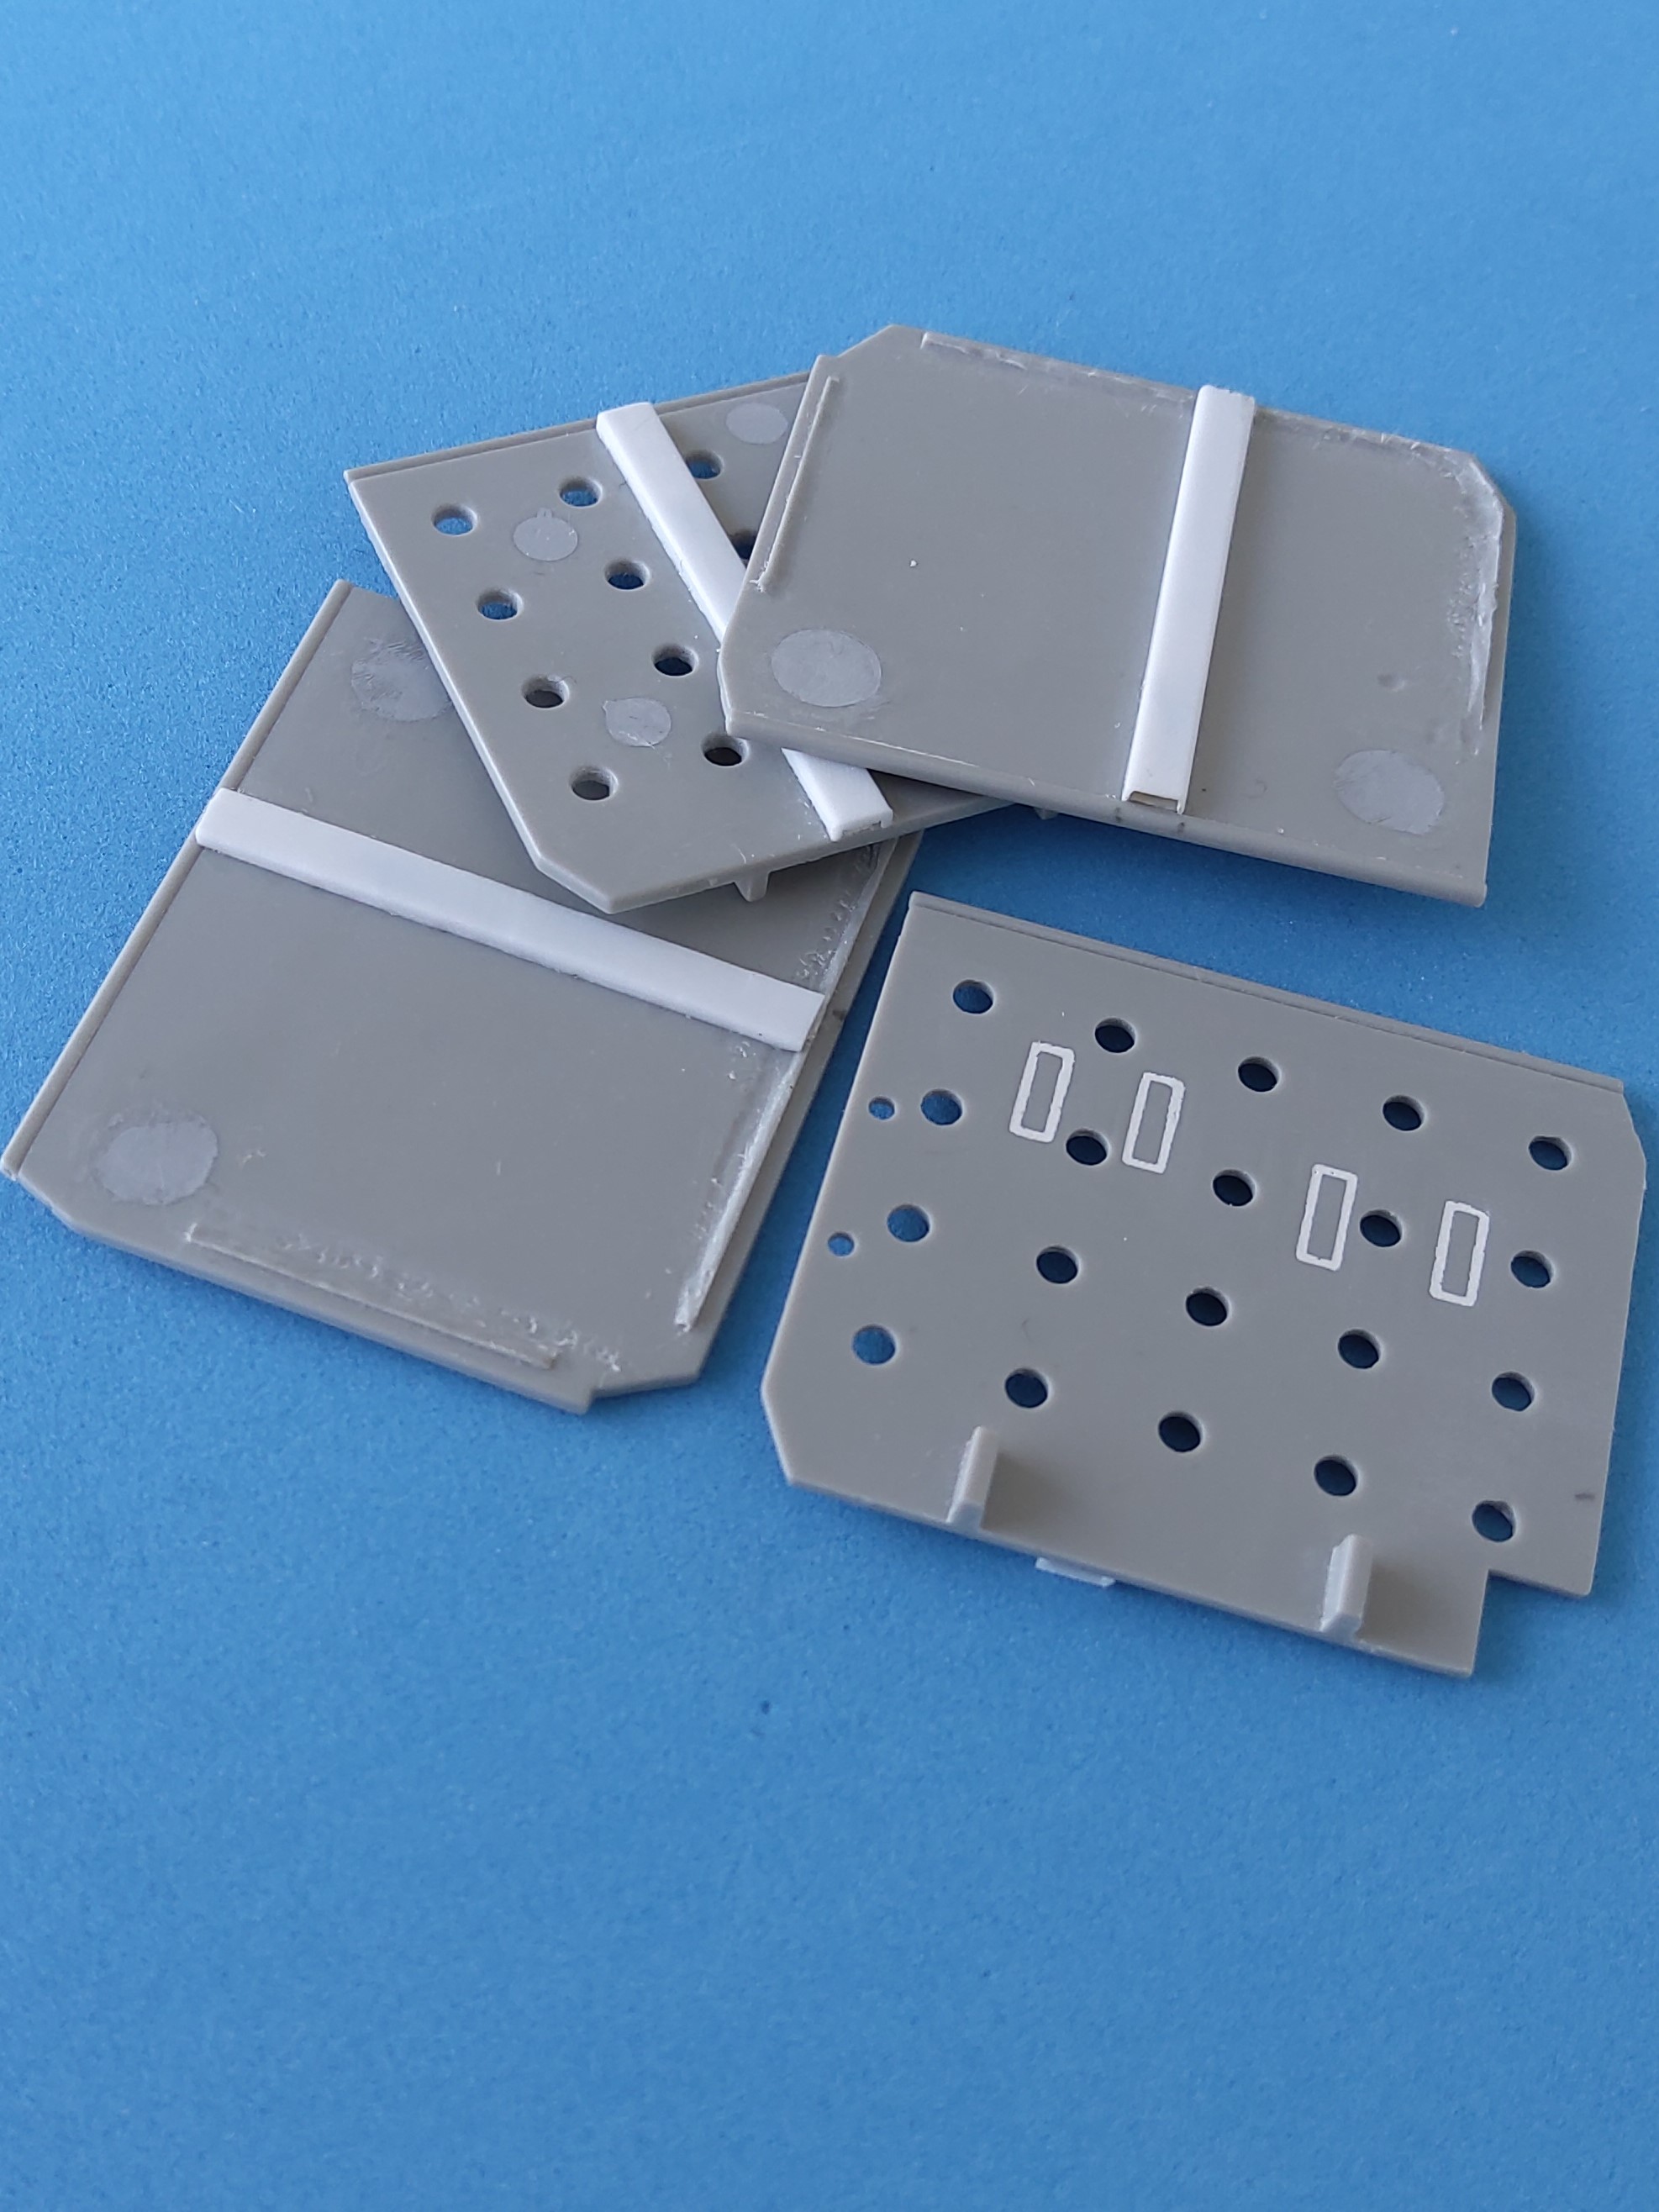
Contrary to my normal unsystematic building style, I’ve stuck to the ammo box: After I had installed the channels, it dawned on me that they would draw attention to the non-existing inside vent representations, or that, to prevent this, I’d have to make a tarpaulin that would make the channels invisible - duh. So I decided to carve off the outer vent moldings, seeing that ever so many “late” vehicles had “early” ammo boxes w/o them.
Note the faint scar of the removed ridge at the lower end of the front wall. My tiedowns are all made from stretched sprue.
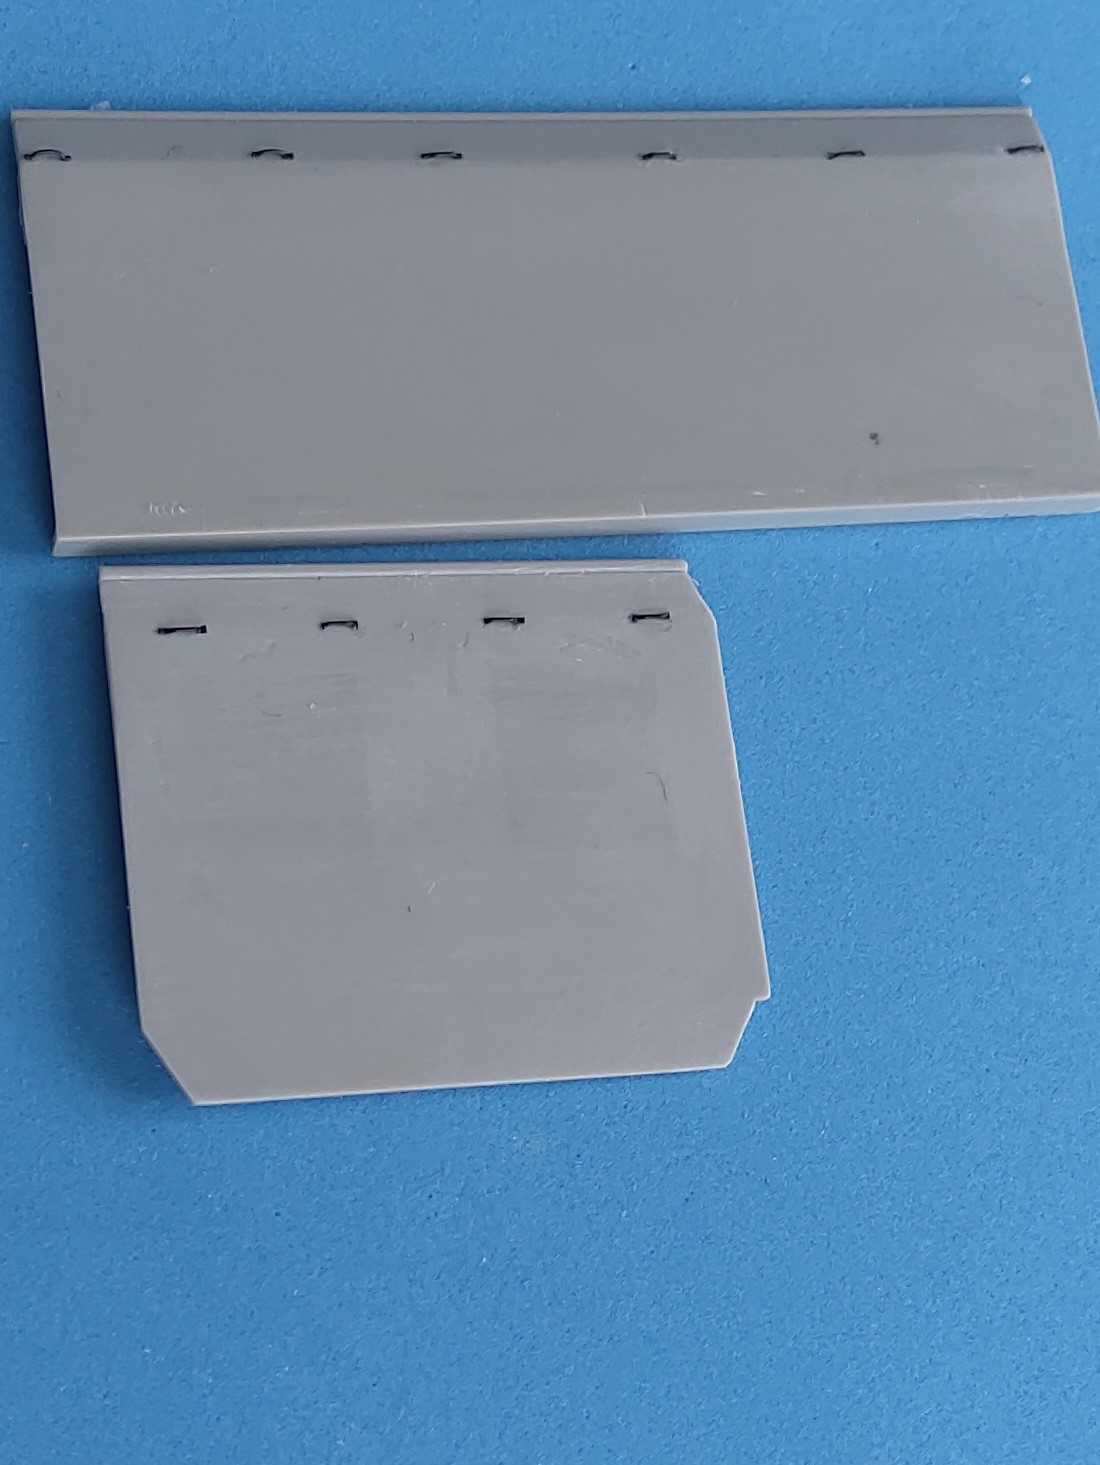
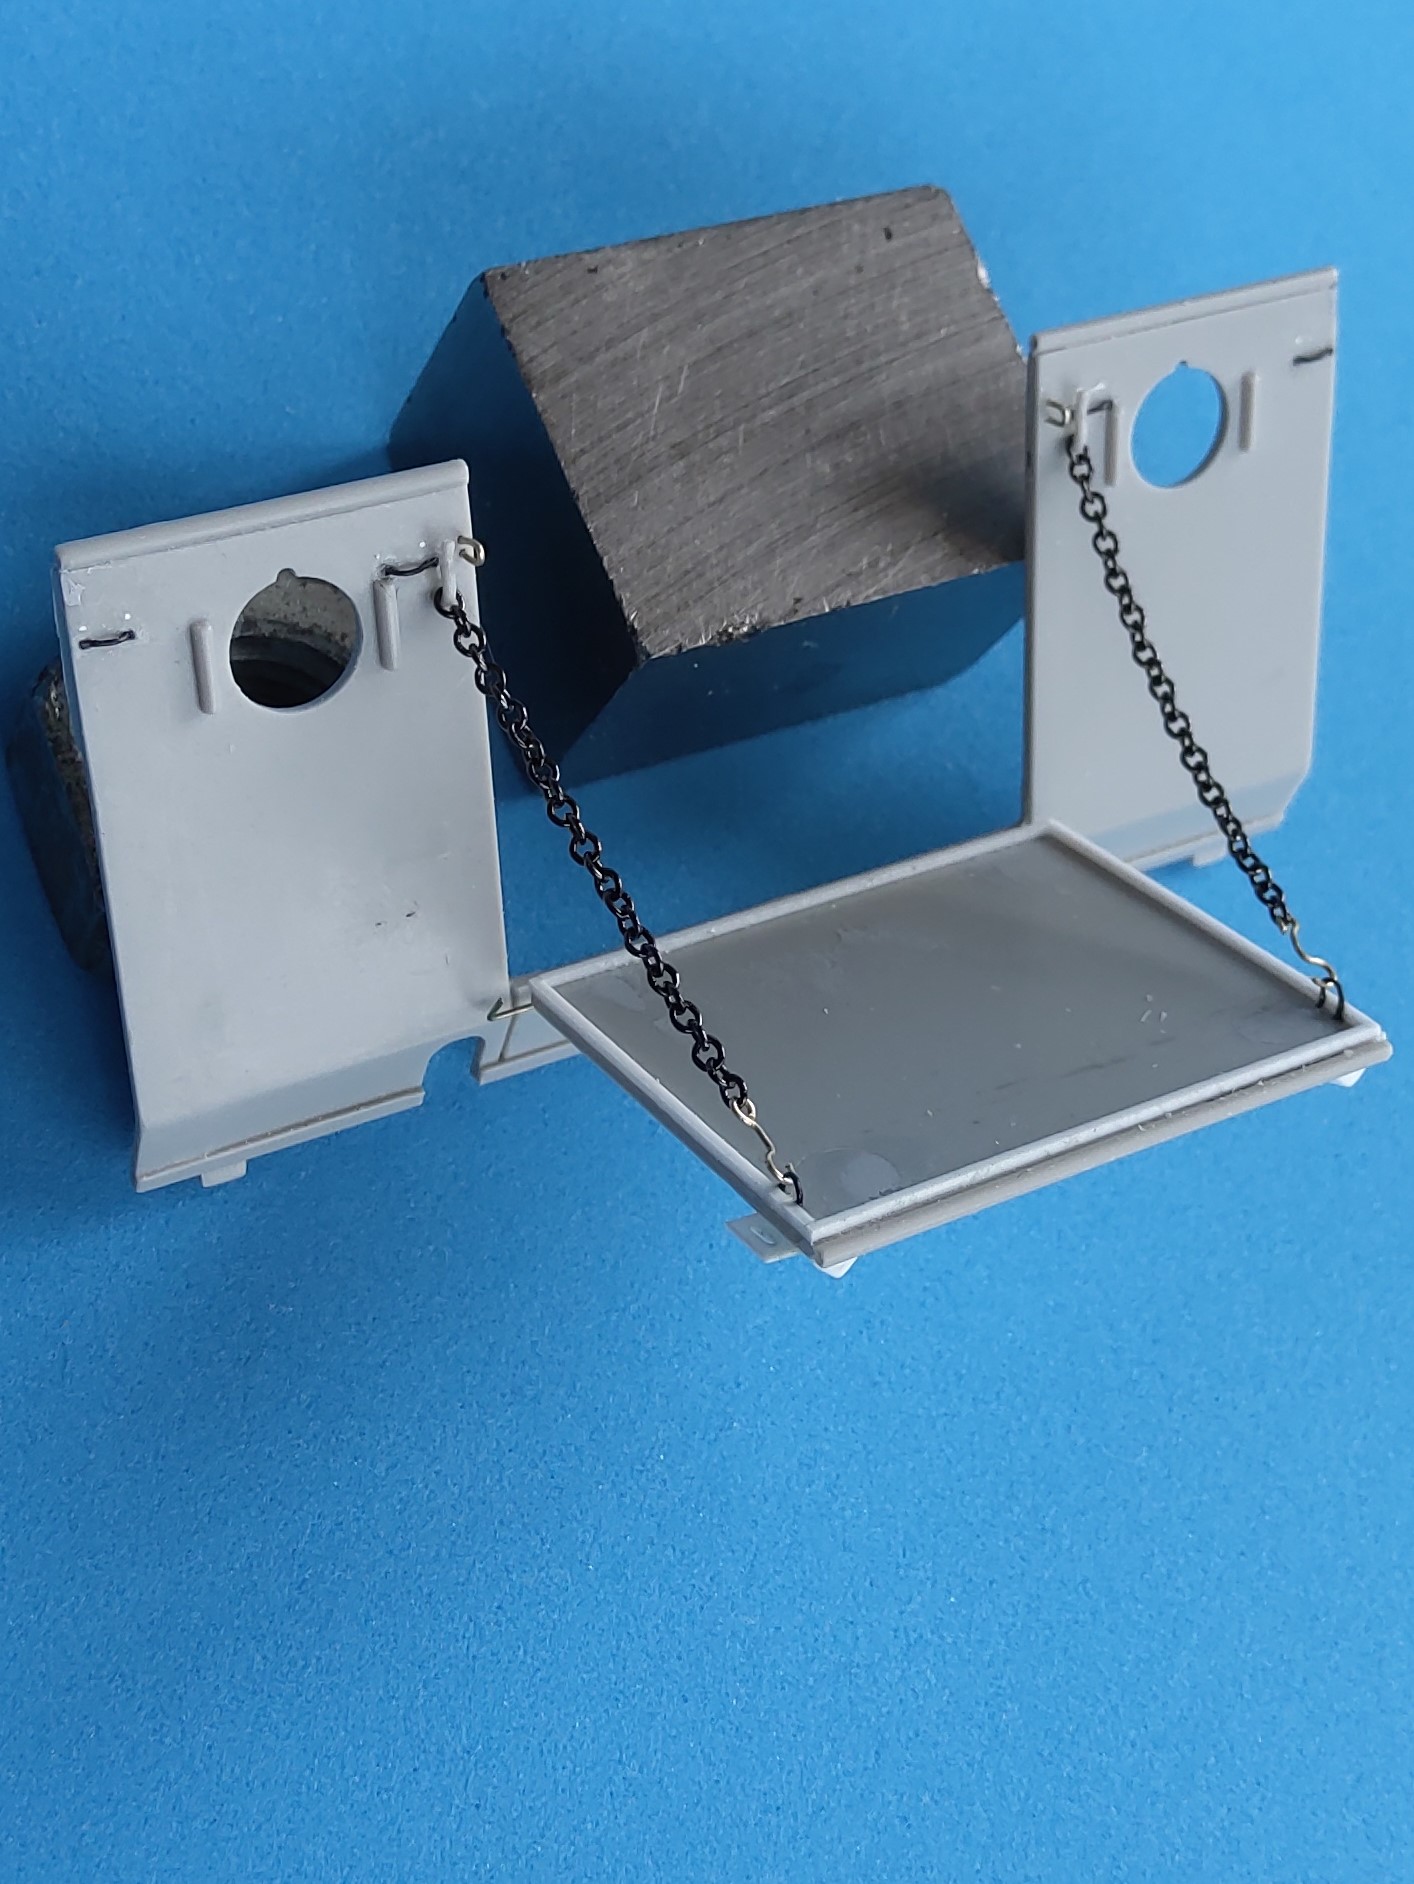
The hatch received a “rim” from0.5 x 0.5mm strip on the inside and two stretched sprue eyes for the chains that I substituted as the flattened stuff from the kit doesn’t look correct. The hooks and the eyes that go through the hatch’s “ears” were bent from 0.3mm brass wire.

Comments, also regarding my mental health, welcome.
Peter
3 Likes
That rear door mechanism is choice!
As far as your mental health… Here, put this robe on.![]()
![]() …
…
—mike
Let he that is without issues cast the first stone…
1 Like
Agreeing with Mike… that is a quite righteous working replication of a back door.
So far as your mental health goes, as long as you aren’t trying to figure out why the engine won’t start, you should be ok at your current pace.
(This from a perfectionist professional procrastinator with ADD and episodes of “WTH is that? I want one!!”  )
)
1 Like
Thanks for not telling me I’m totally gaga!
The frame around the hatch turned out to be annoying as it proved that the opening in the rear wall isn’t really centered: one perforated separator (and the rib on the bottom it cements to) is a quarter mm away from the opening, and the other would be hit by the frame.

Will have to add a 0.25mm spacer to the bottom rib, as already tested in the pic.
Next detail problem: I drilled through the crane pole tube, so I can show it in both stowed and working positions. Trouble now is, I don’t know how to secure it when it’s up - there must be some gizmo that holds it there, but I can’t find an illustration of it. Anybody have more information or an idea to cobble up something?
While turning the parts over and scratching my head, I discovered another little detail that demands correction: The “tubes” on top of the box walls meet with 45 degree bevels in the four corners, not with one overlaying the end of the other as the kit gives them. I had already drilled them out on and next to the hatch, but the rest will have to be cut and filled, respectively.
And now, for a beer,
Peter
3 Likes
This crane! Still no idea how to fix it erect while its chain hoist got me sidetracked (see separate post), but at least in that area I’m coming close and will show the results shortly.
Peter
As you may have seen in the other post, the chain hoist has been declared finished:
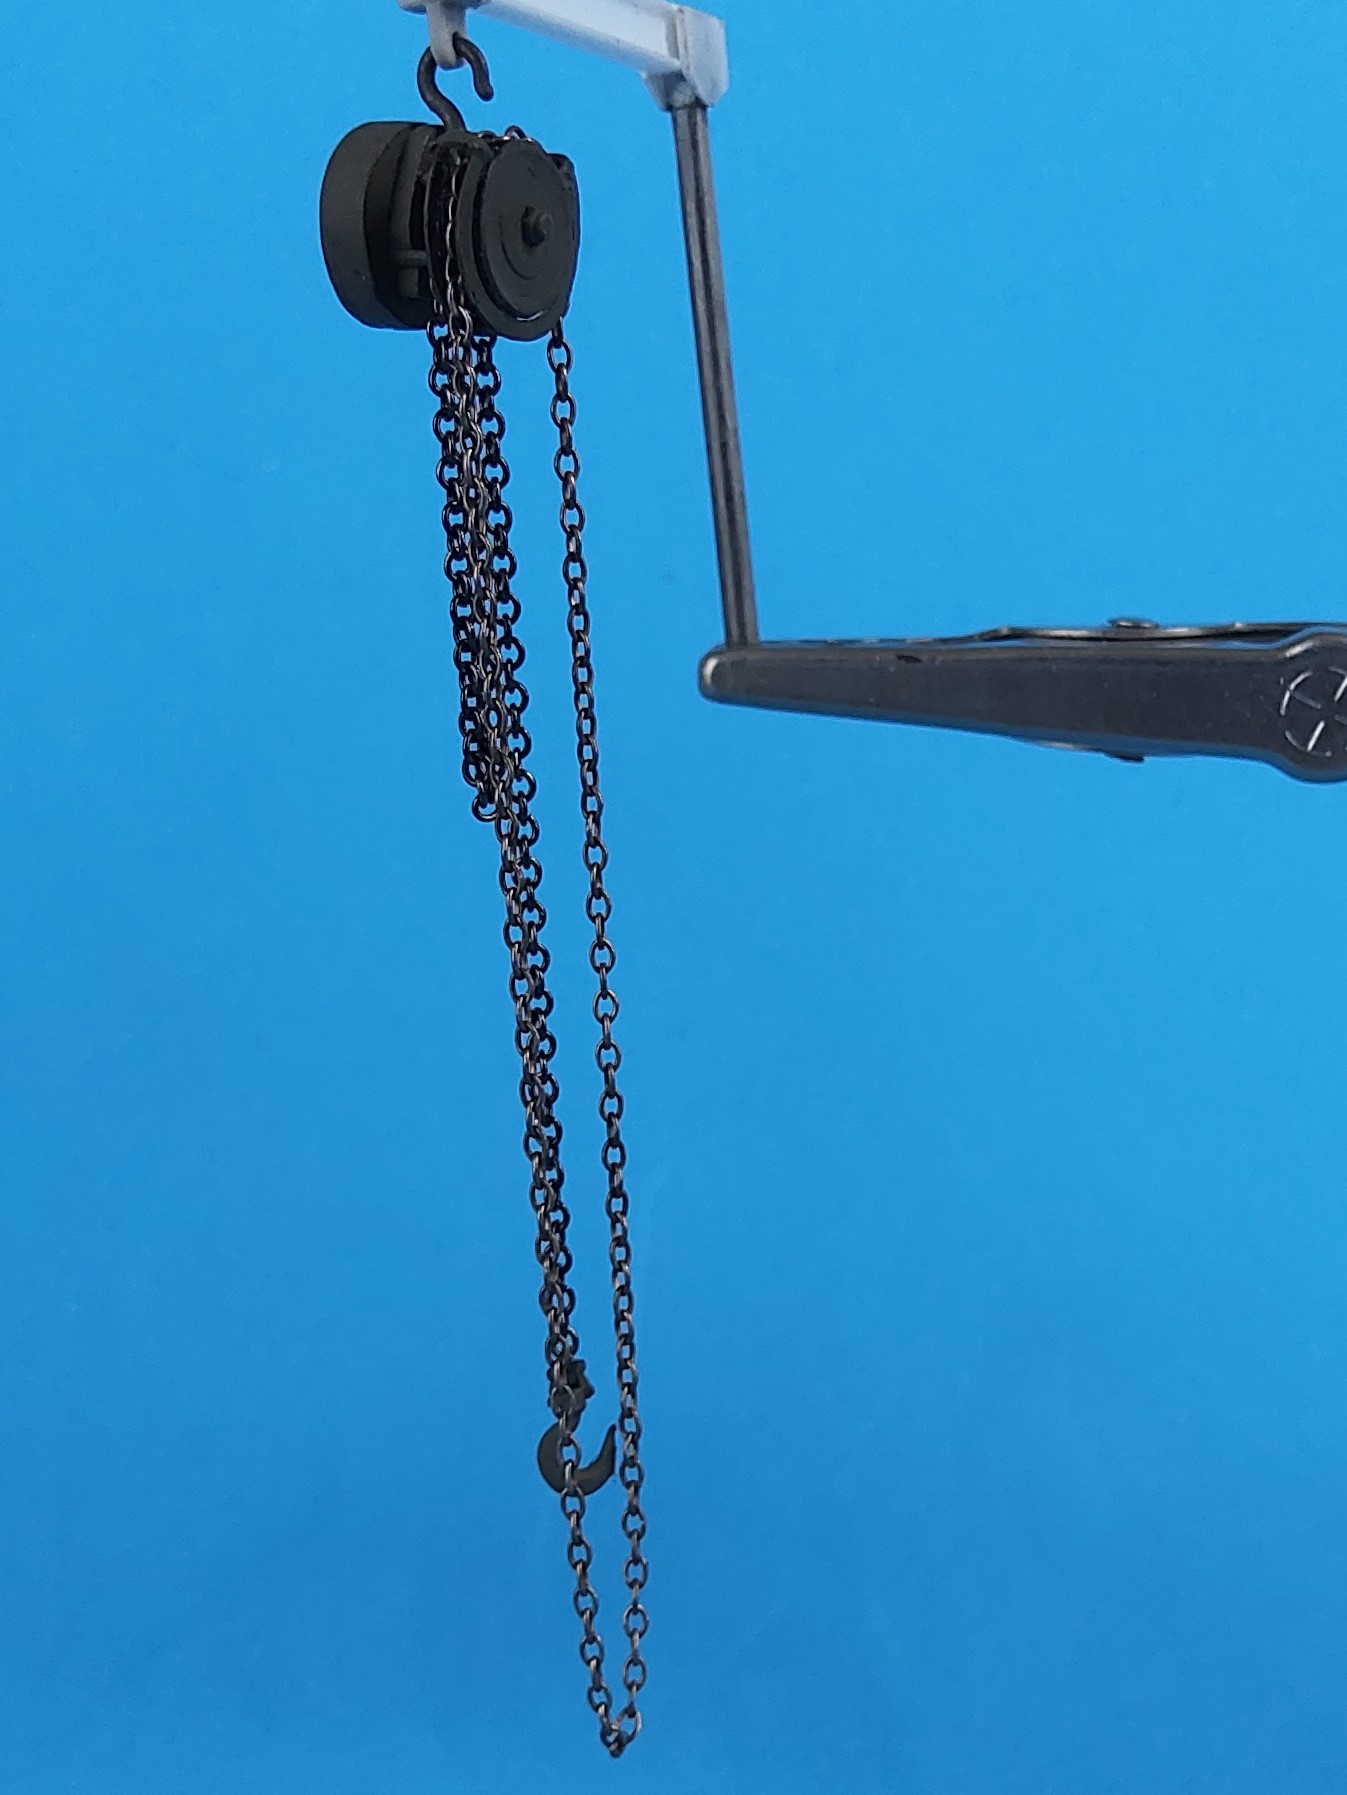
The chains come from my stocks, with the closed loop even being silver from a necklace.
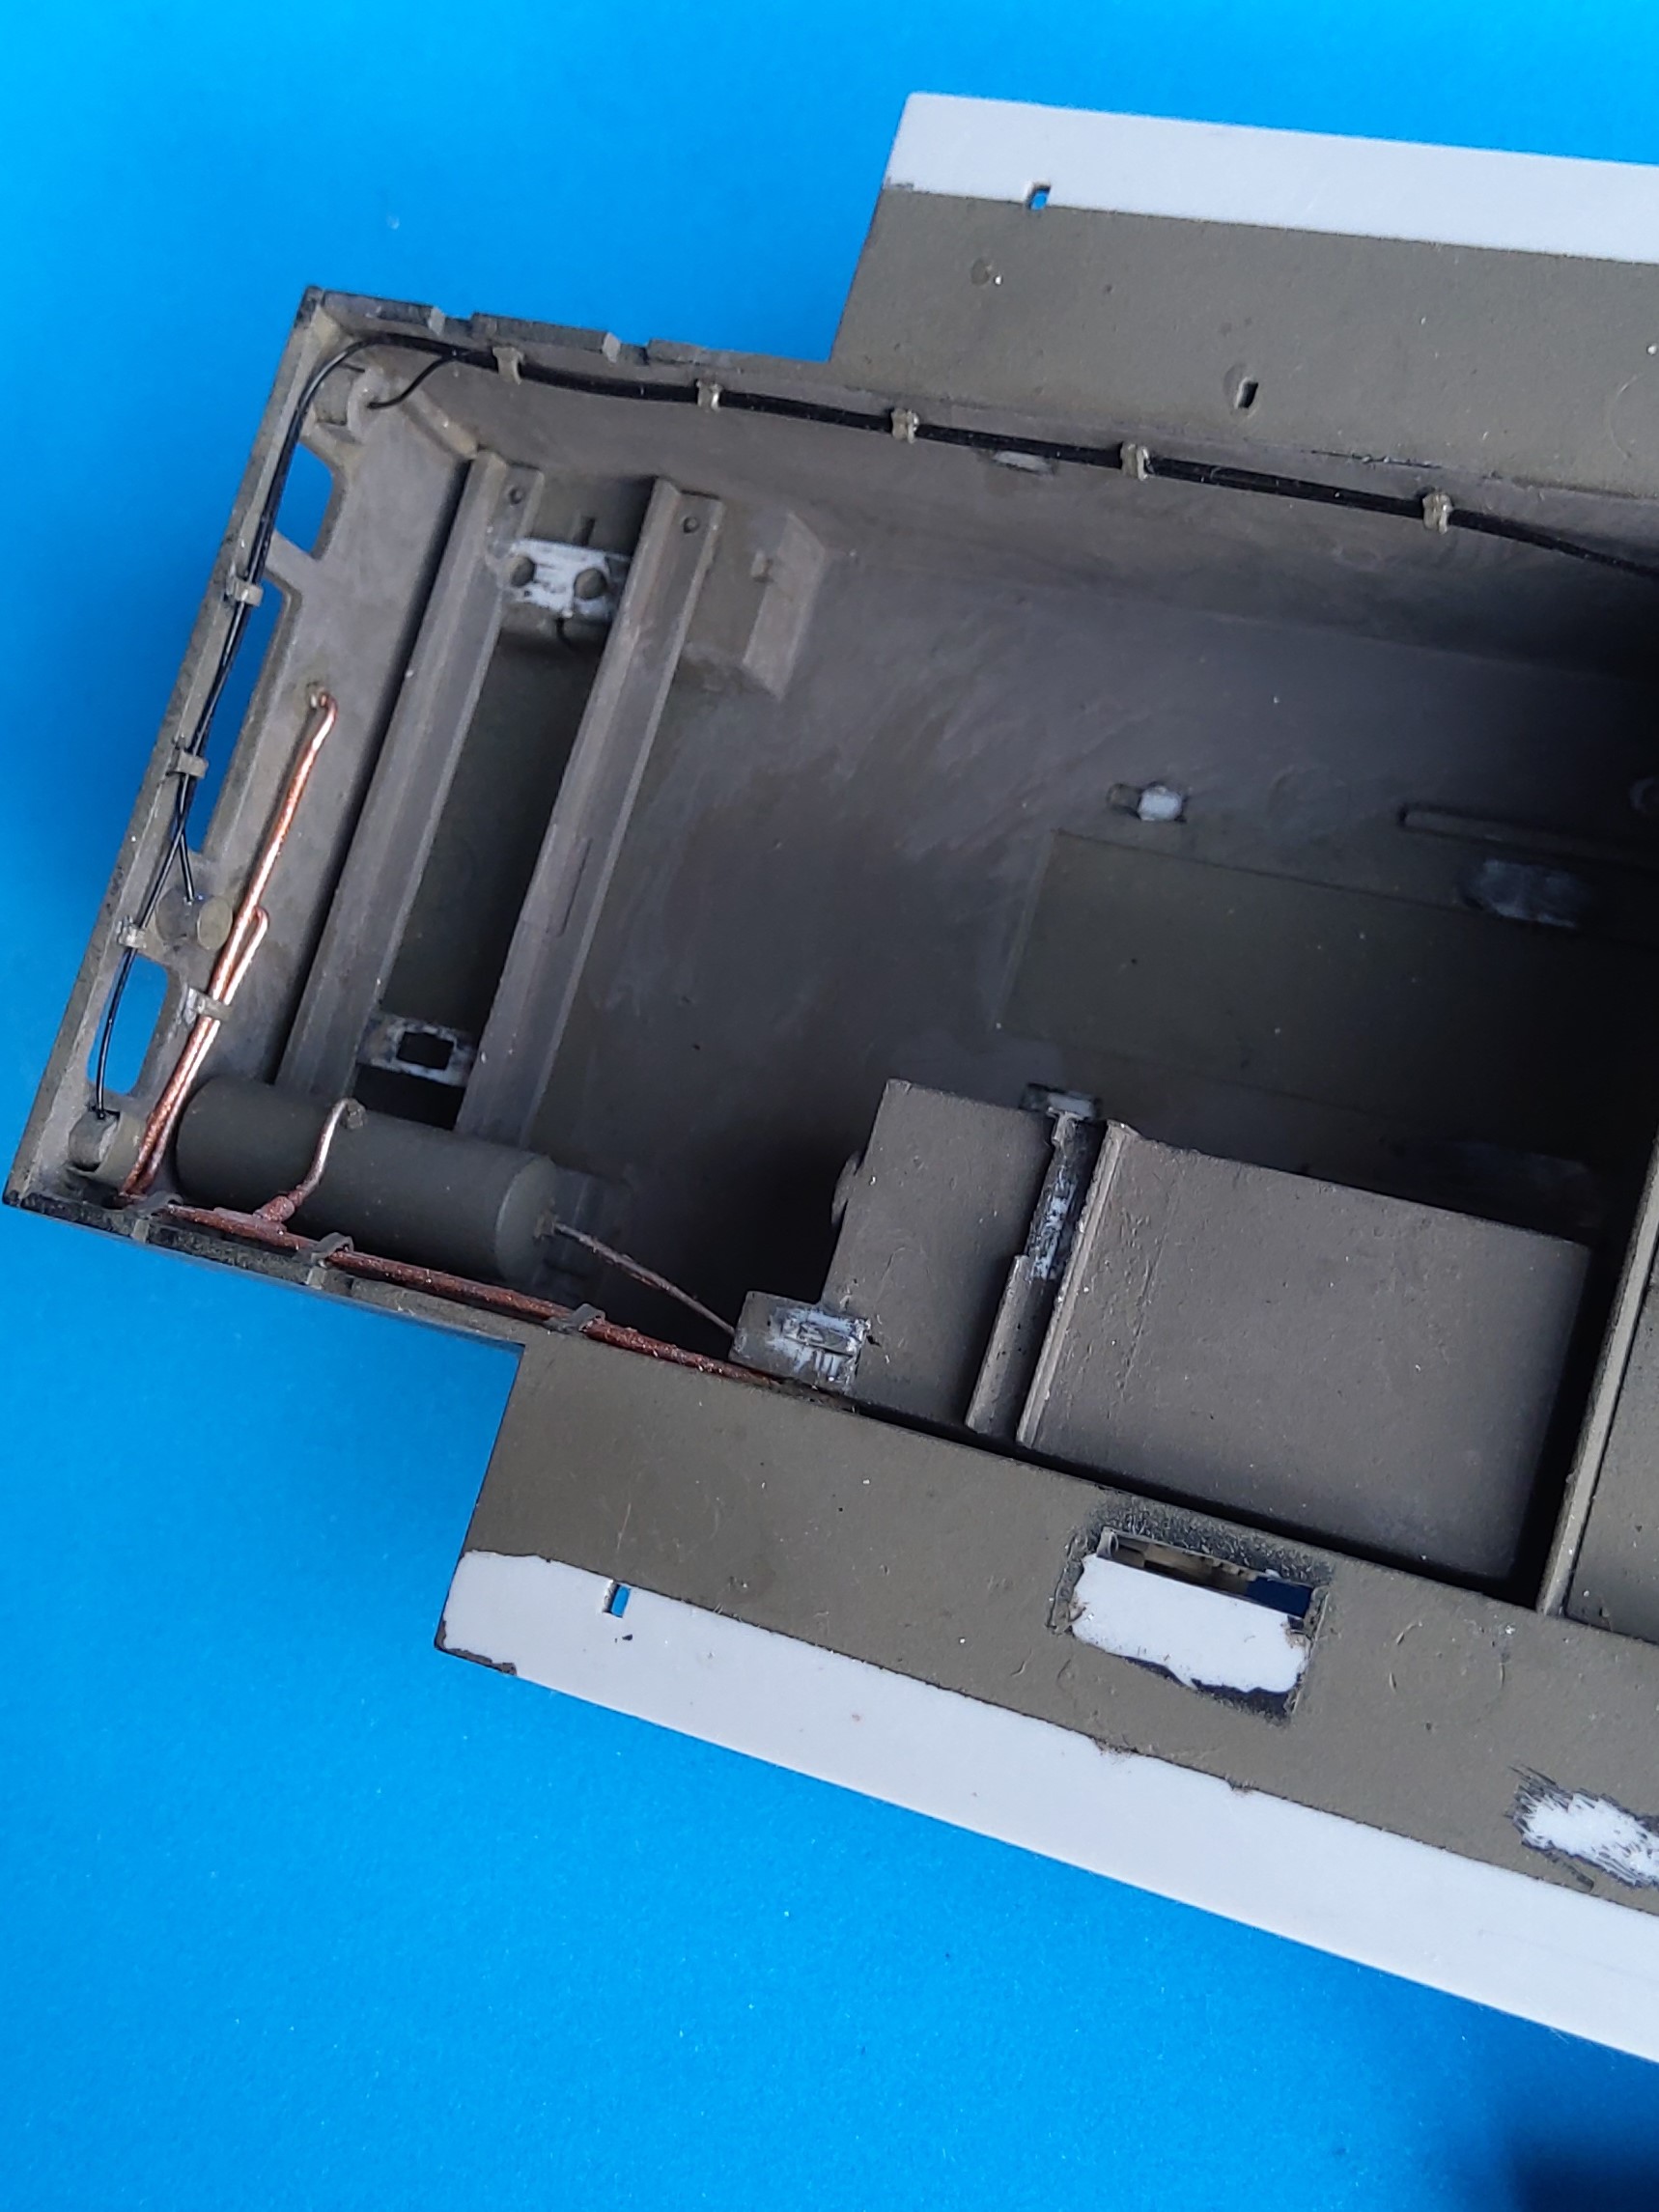
And in the engine room, I’ve added some electrical and compressed air lines from stretched vinyl sprue (gotta love vinyl tracks for this alone) and solder wire primed with copper paint.
Peter
5 Likes
In case you didn’t read my post “US Army chain hoist problem”, here’s how the “Crane Lock” turned out and how it works, temporarily installed:

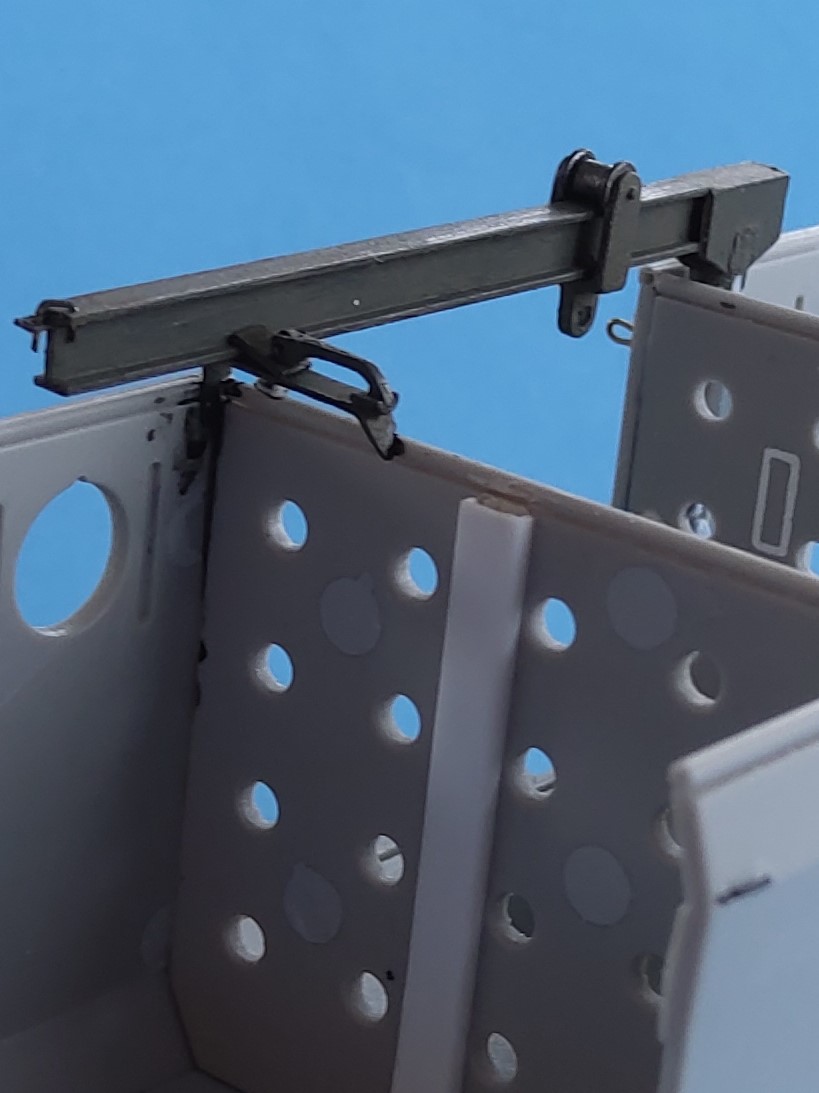
On the crane,note the weld beads that result from a new crane pillar of 2.5mm diameter and the brass wire “Roller Stop Pin” at the boom’s end.
Peter
5 Likes
In a different thread in this forum I’ve already stated that I’m a builder and definitely not a painter. Actually, the very thought of painting scares me sh-, er, senseless, as this episode shows: Having to thin some Tamiya acrylic paint, I unscrewed that light-colored bottle top, took out some 25 drops of colorless liquid in a pipette and transferred them. And it wasn’t until I put the lid back on that I realized I had just mixed in Humbrol “Liquid Poly” cement!
Arrrgh. This traumatic experience (for a paintophobic) will ruin my fun of modeling for several weeks, so please forgive me for not posting any progress on the HST - procrastination’s the word.
Peter
Isn’t the Liquid Poly almost pure lacquer thinner?
Yeah, that’s why it’s so good for Tamiya acrylics.
Wow. Some awesome attention to detail here. I might even try to incorporate some of these modifications to my HST when I get round to it. They probably won’t quite as pretty though.
Does anyone make a nice M101 for it to tow?
*edit
seems AFV do one. Yay!
Armo and Italeri do a M101 too.
Although those guns are more likely to have been towed by a truck than a HST. HST were for the heavier guns like 155mm M1 Howitzer and the 8 Inch M1/ M115 8 inch.
I have often pondered building it like this one:

2 Likes
Oh! Nifty. I remember building the Airfix/max/peerless? 155 kit back in the late seventies. Springs and metal parts that wouldn’t glue with my britfix tube cement. Made a complete mess of it. Good times.
Does anyone make a nice M101 for it to tow?"
That’s the circa 1960 designation for a 105mm howitzer. As mentioned, that was generally towed by a truck. The M4 was created to tow 90mm AA guns, 155mm guns, and 8-inch howitzers.
The best 105mm howitzer kits in 1/35 are those from Dragon and AFV Club.
KL