Starting this new project: an abandoned N360 slowly rusting in a yard, inspired by the picture at the bottom (of a Fiat 600 i think). The vignette will be quite small.
I love Arii’s kits. Sure, they’re getting old and are overly simple, but the fit remains good, and they’re dirt cheap, which is great to test new things. The originality of the topics is a big plus for me as well.
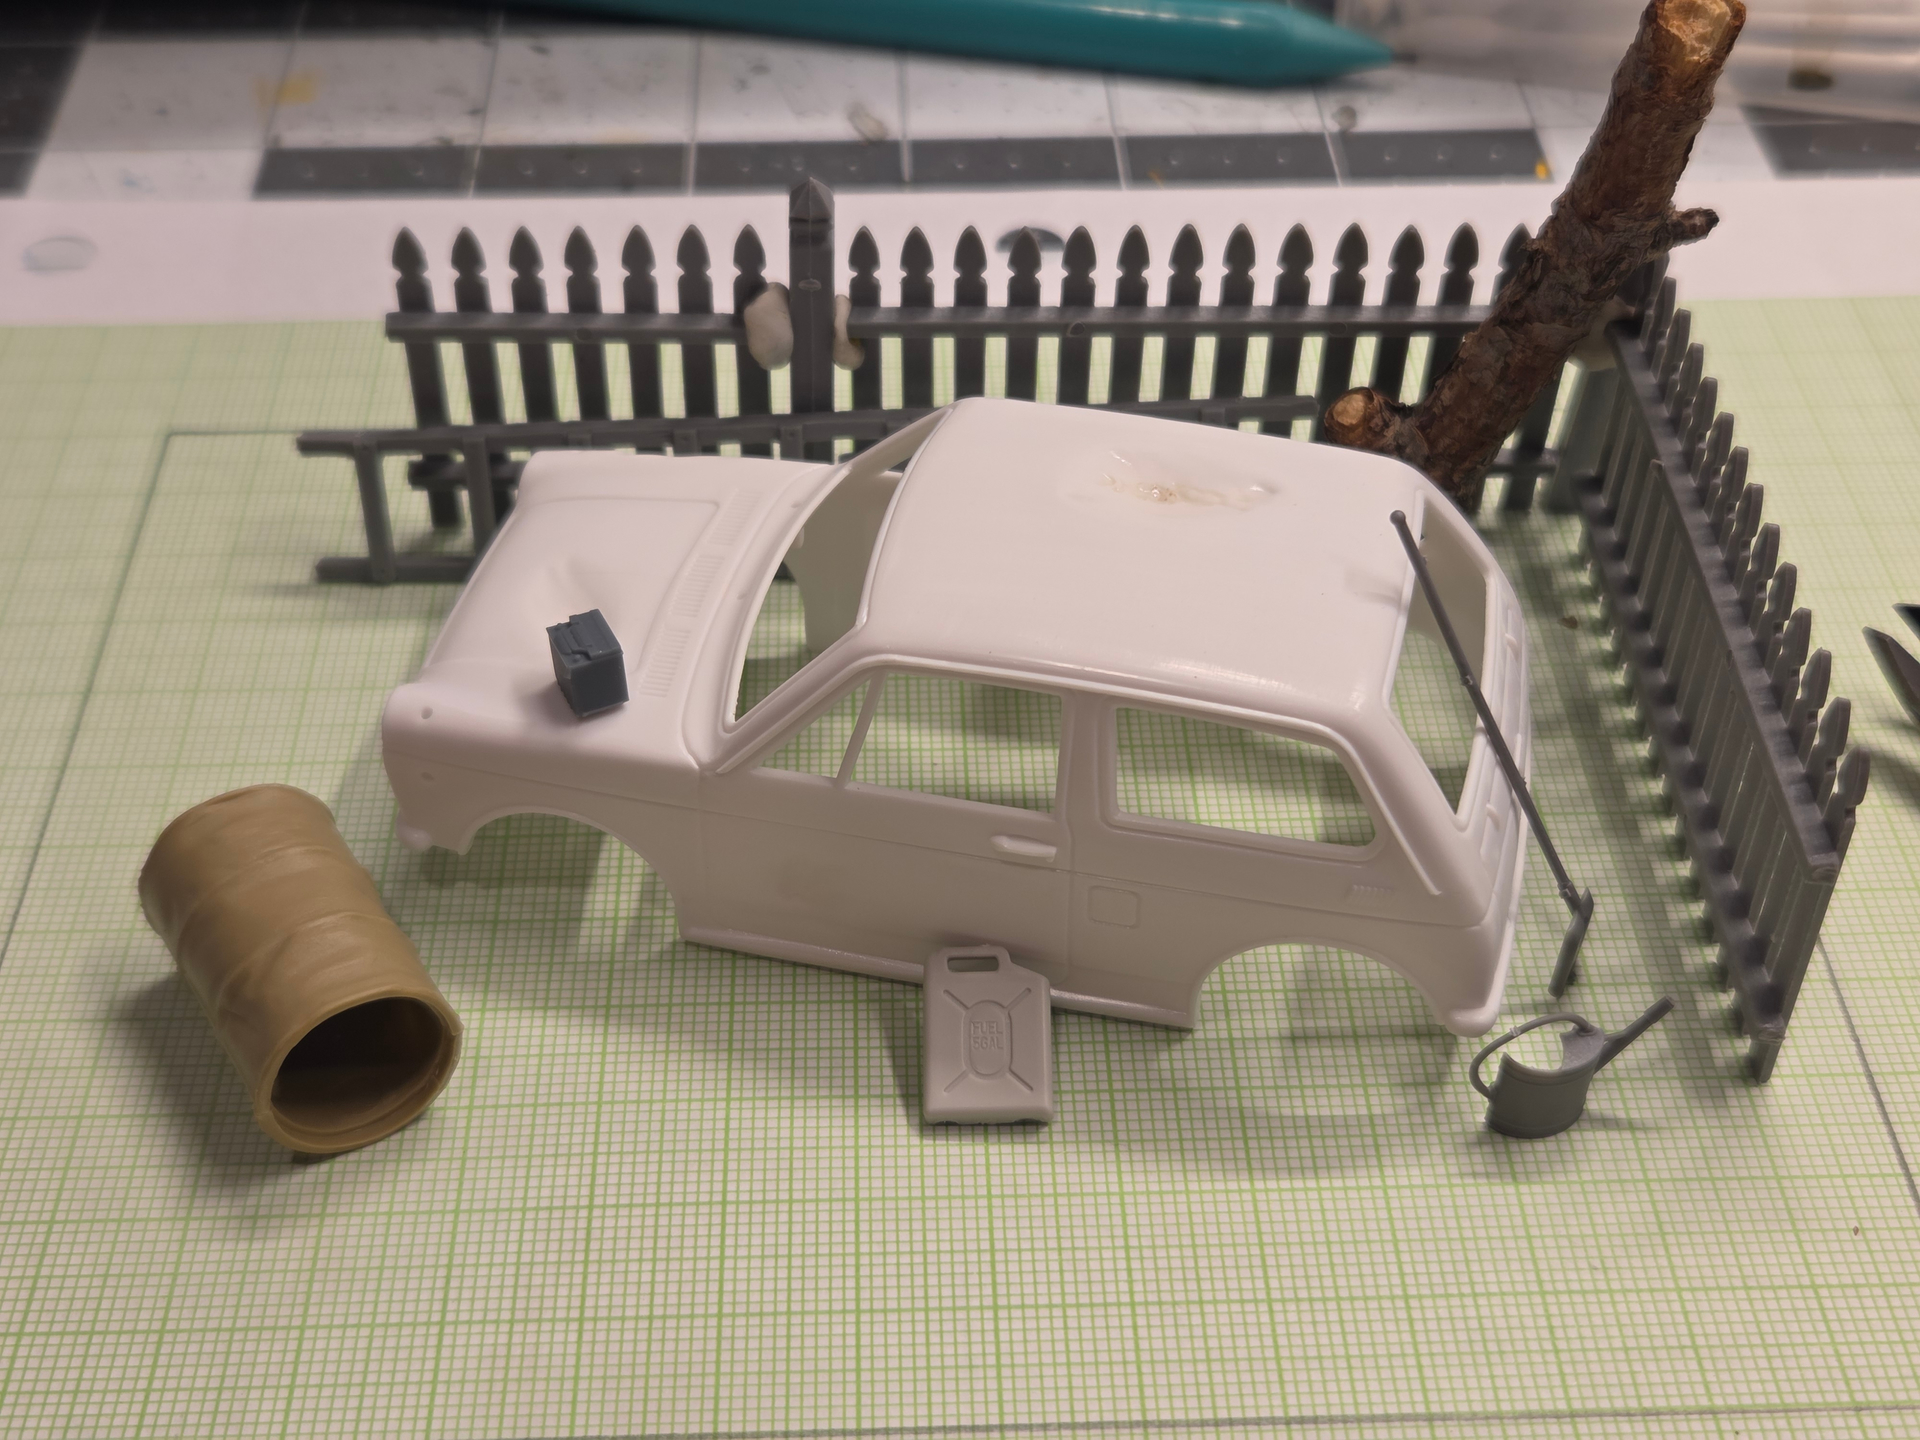
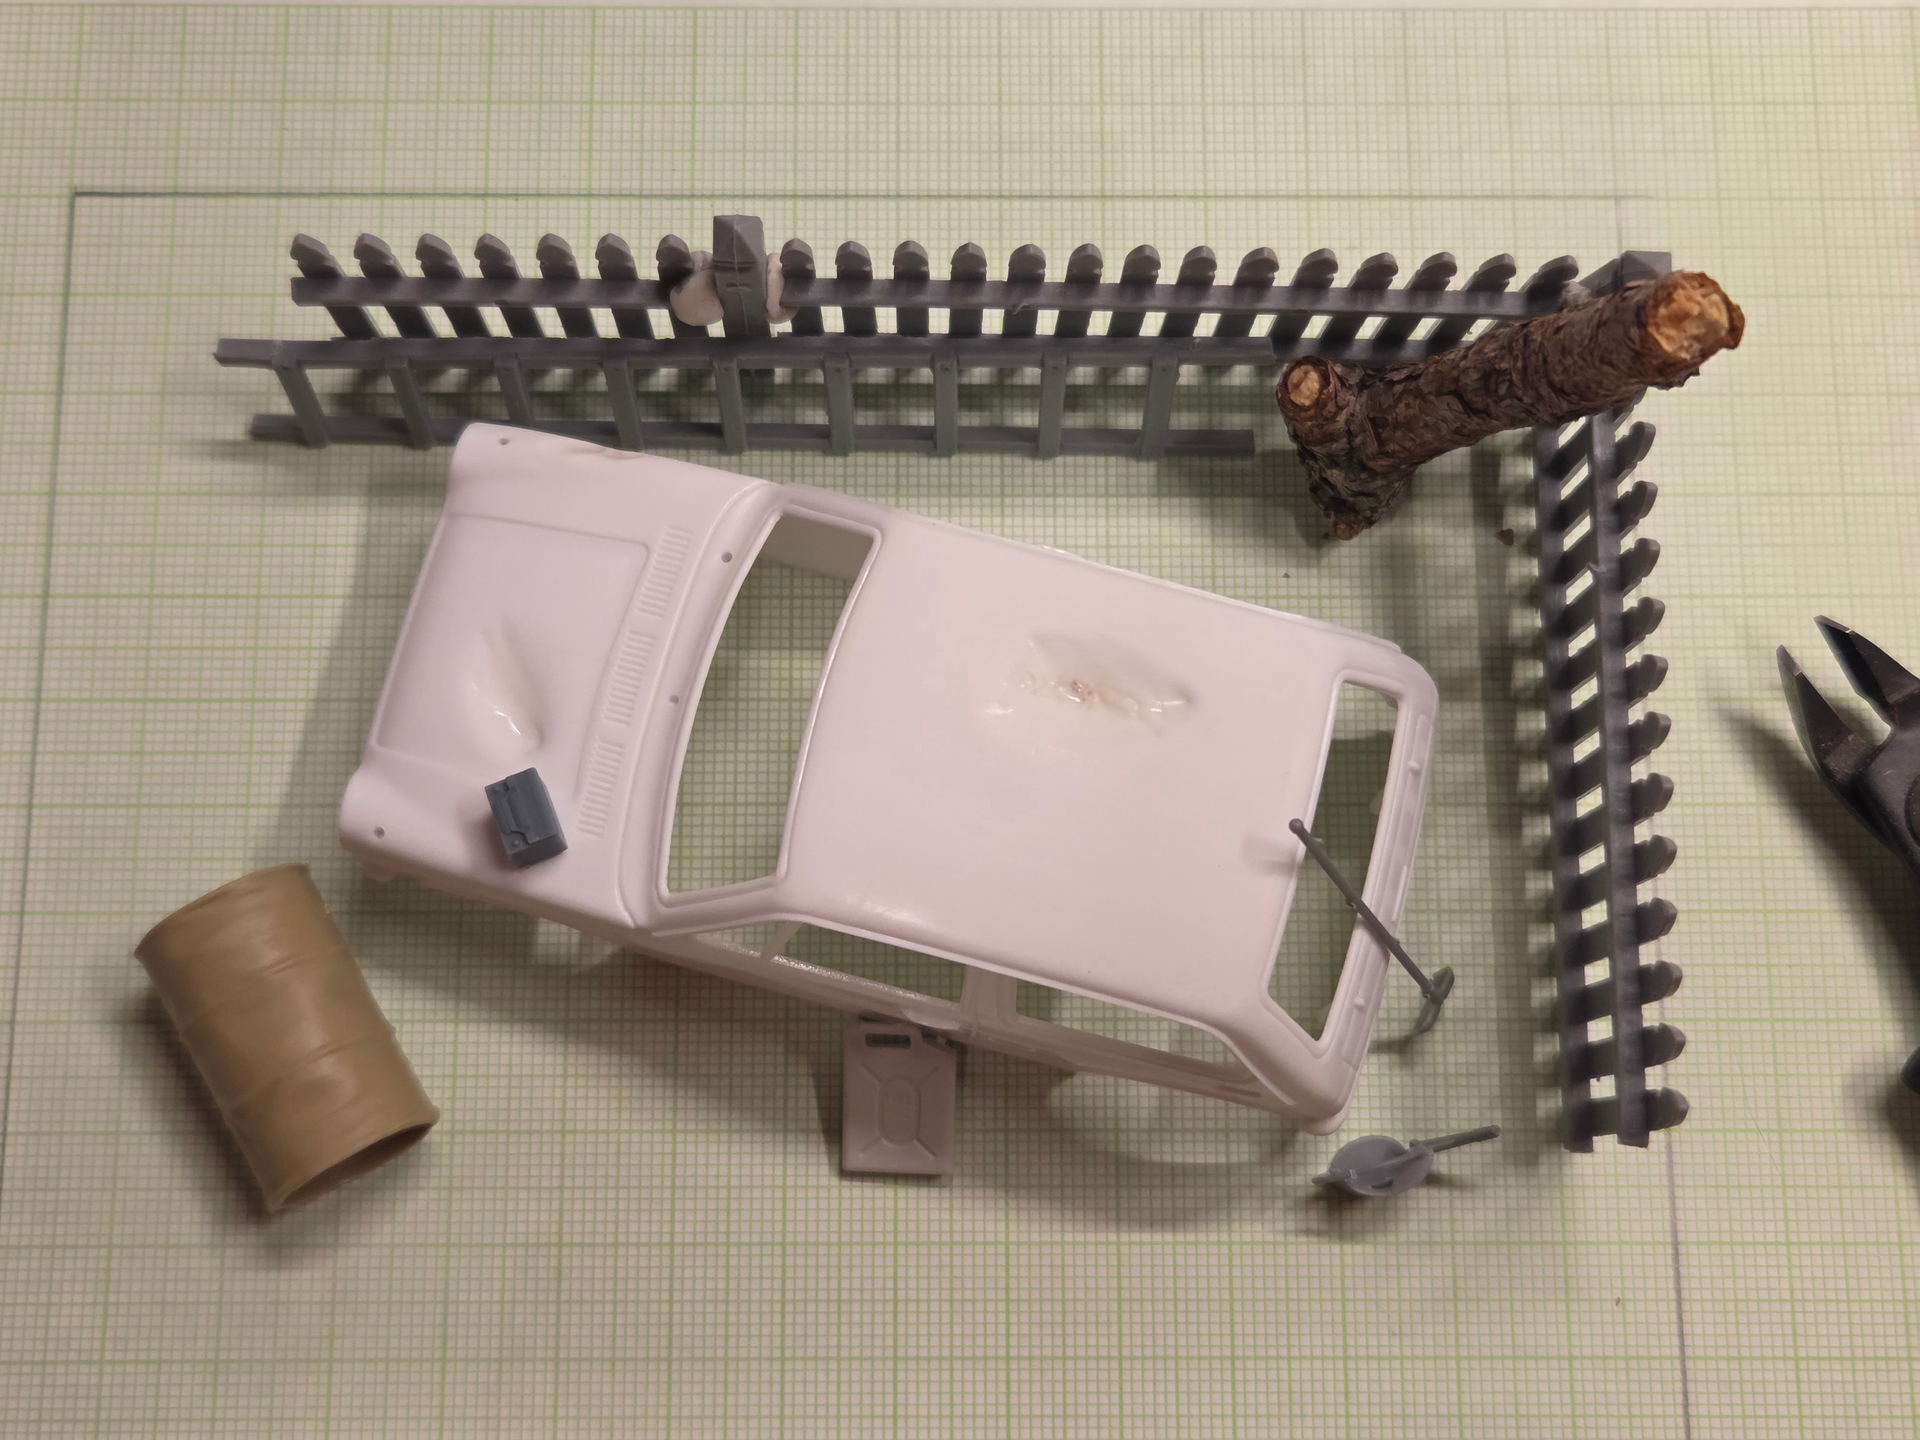
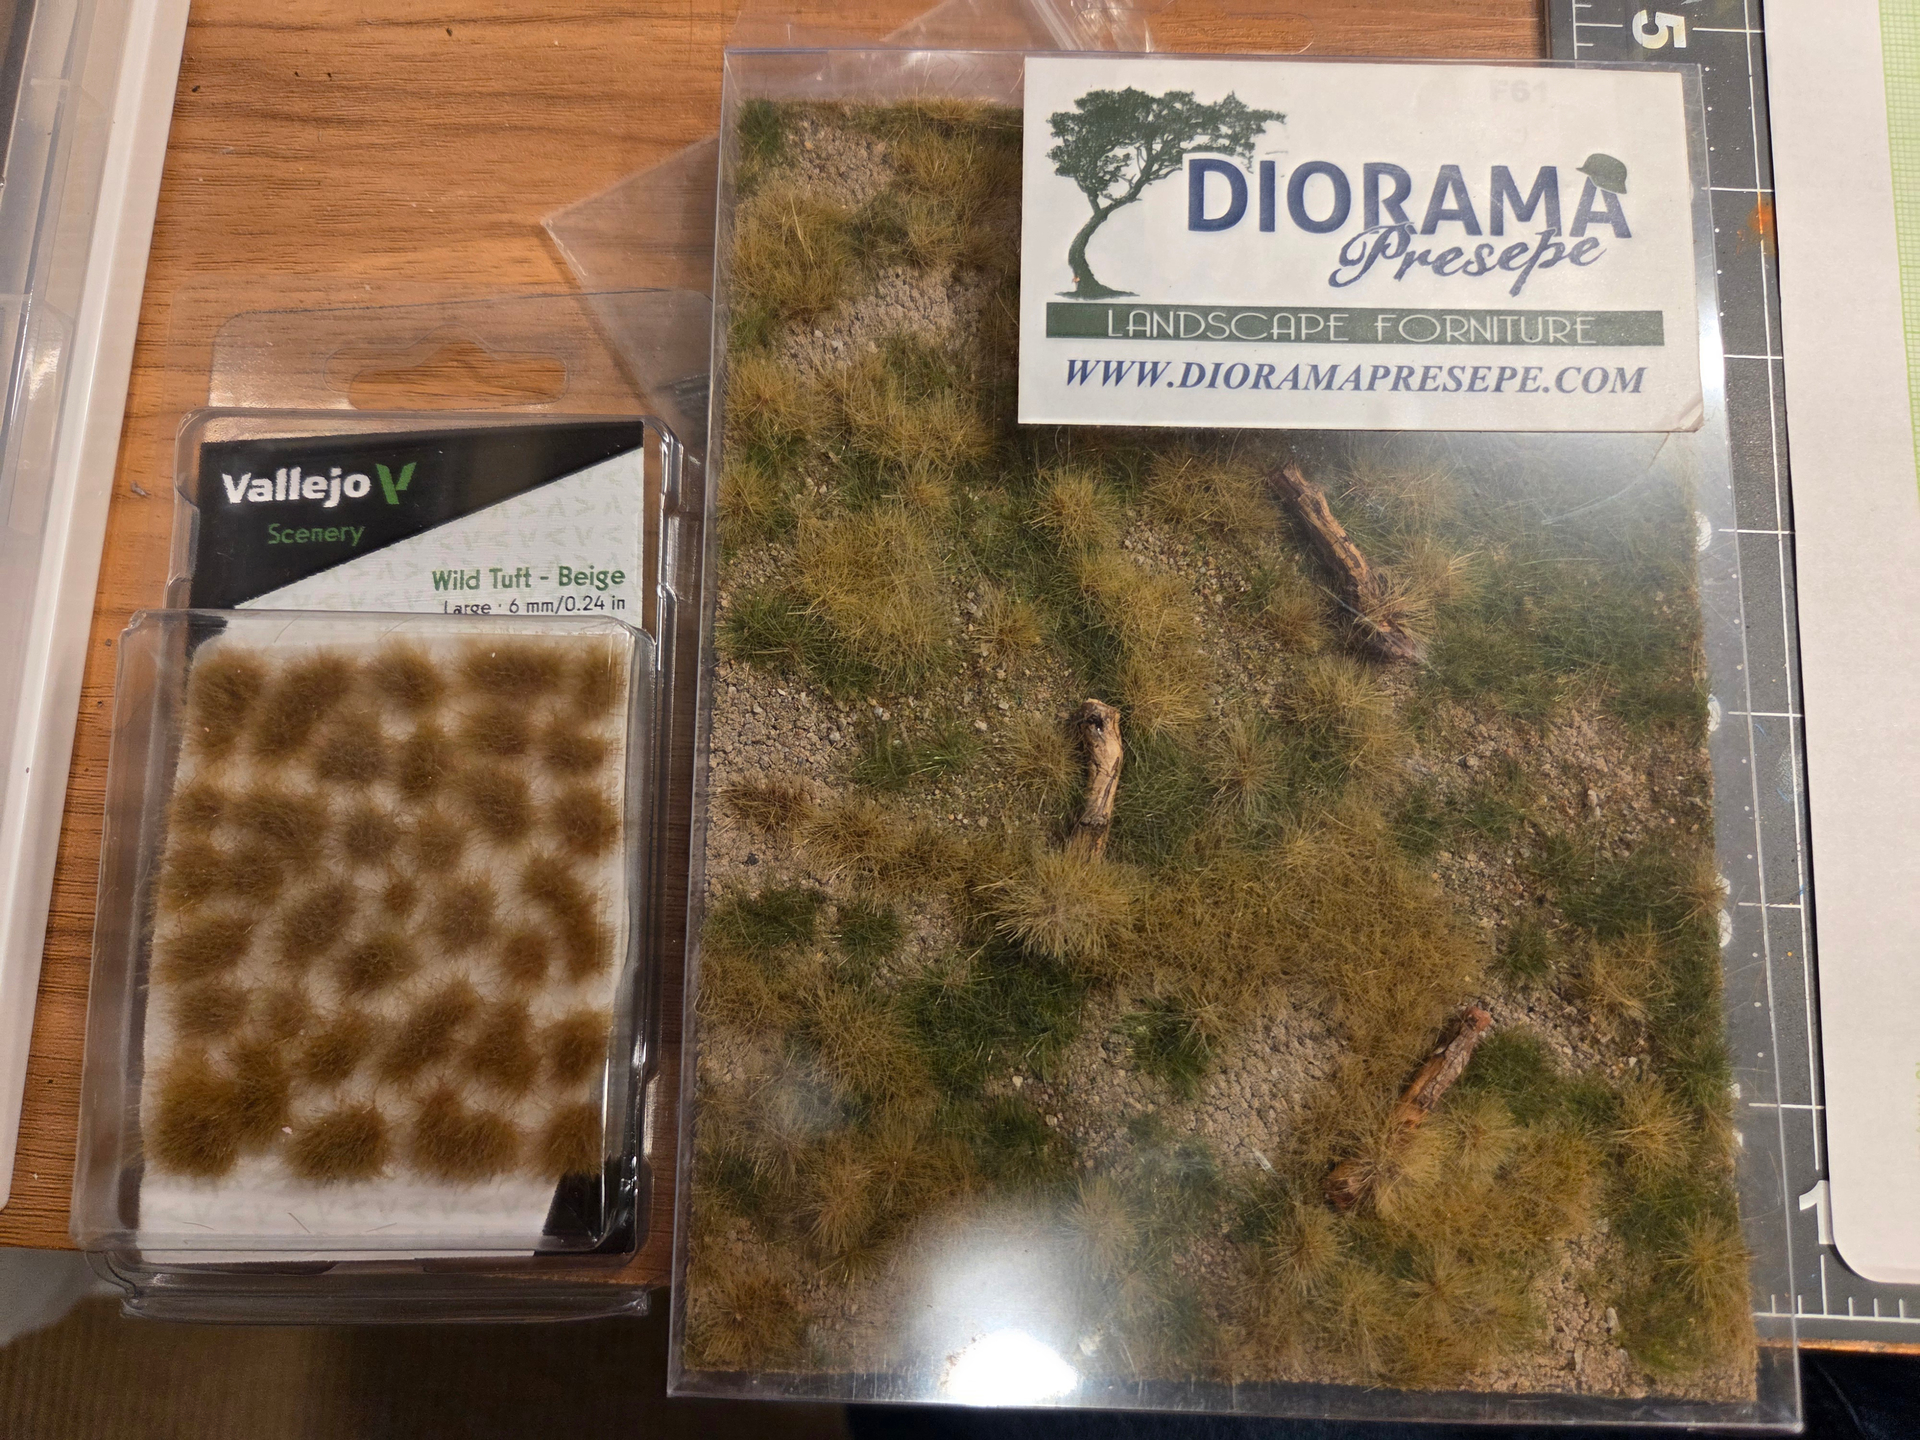
I started to work on the vignette; very much the inception stage, but here it’s how it looks! I’m aiming for something abandoned. I have a Diorama Presepe product that should provide the perfect ground!
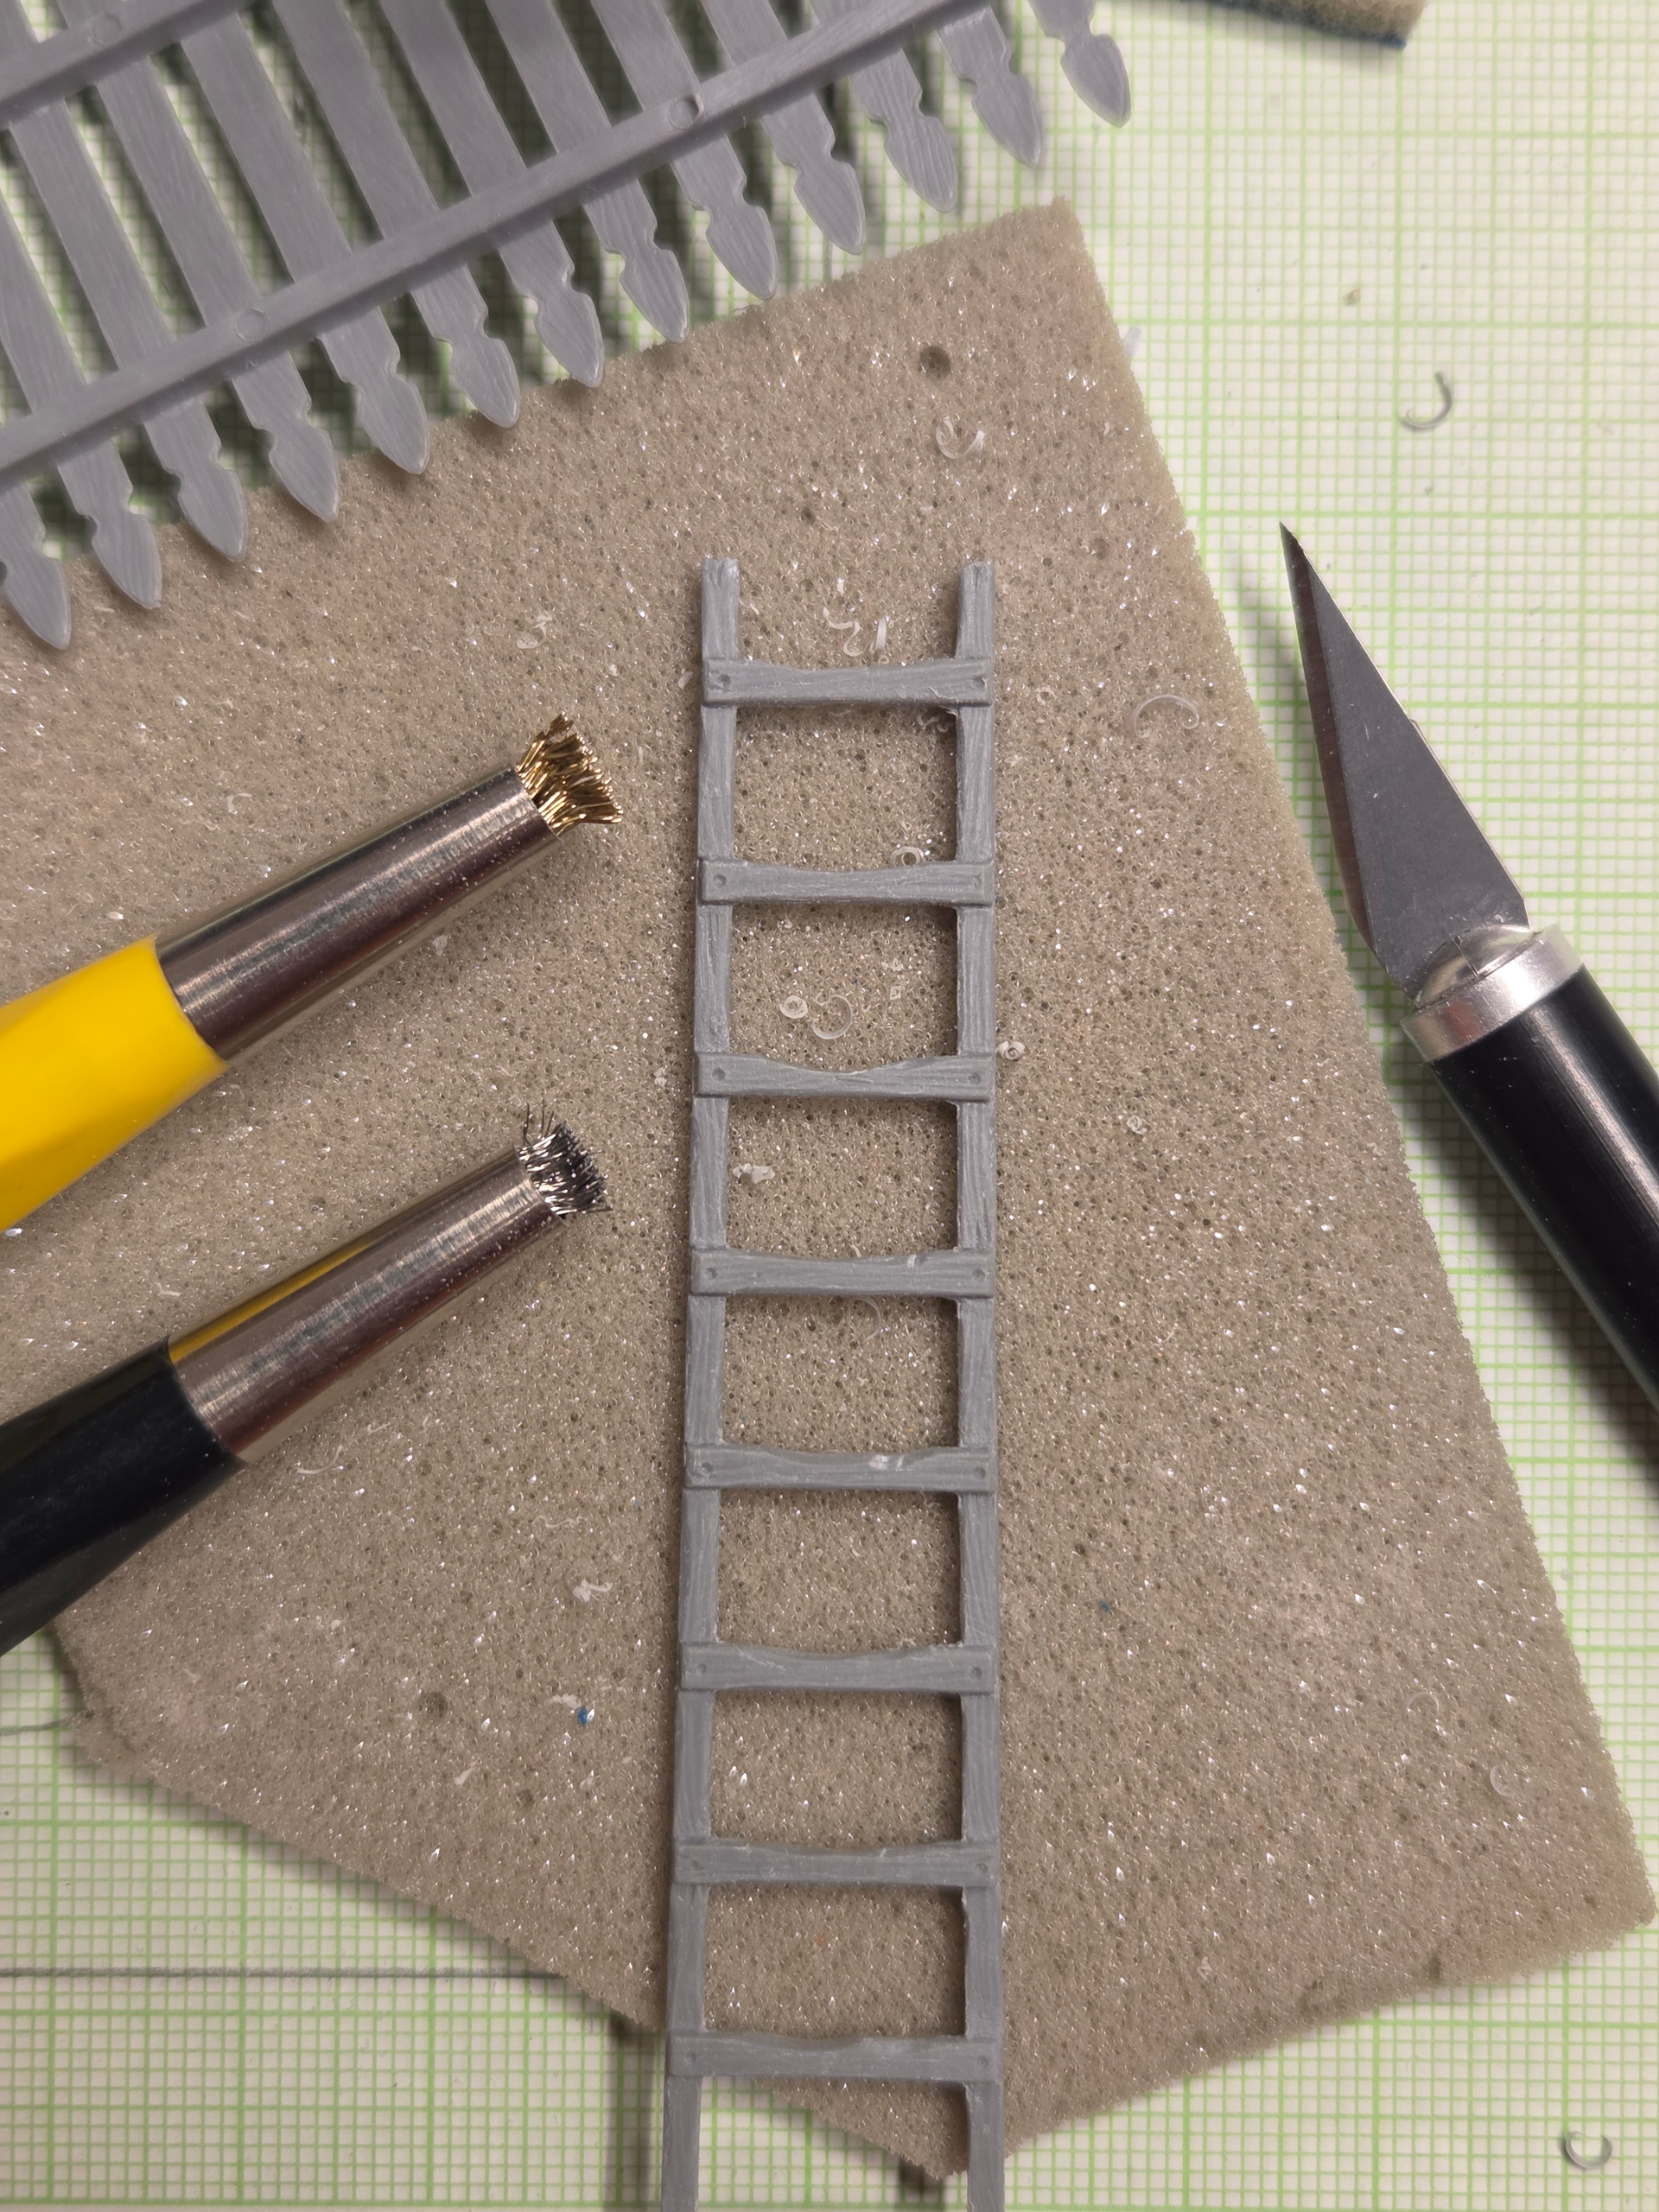
The ladder is from MiniArt. Great product, but too clean. I used my x-acto knife and those metallic brushes to soften every angle and mimic the slow wear of the steps.
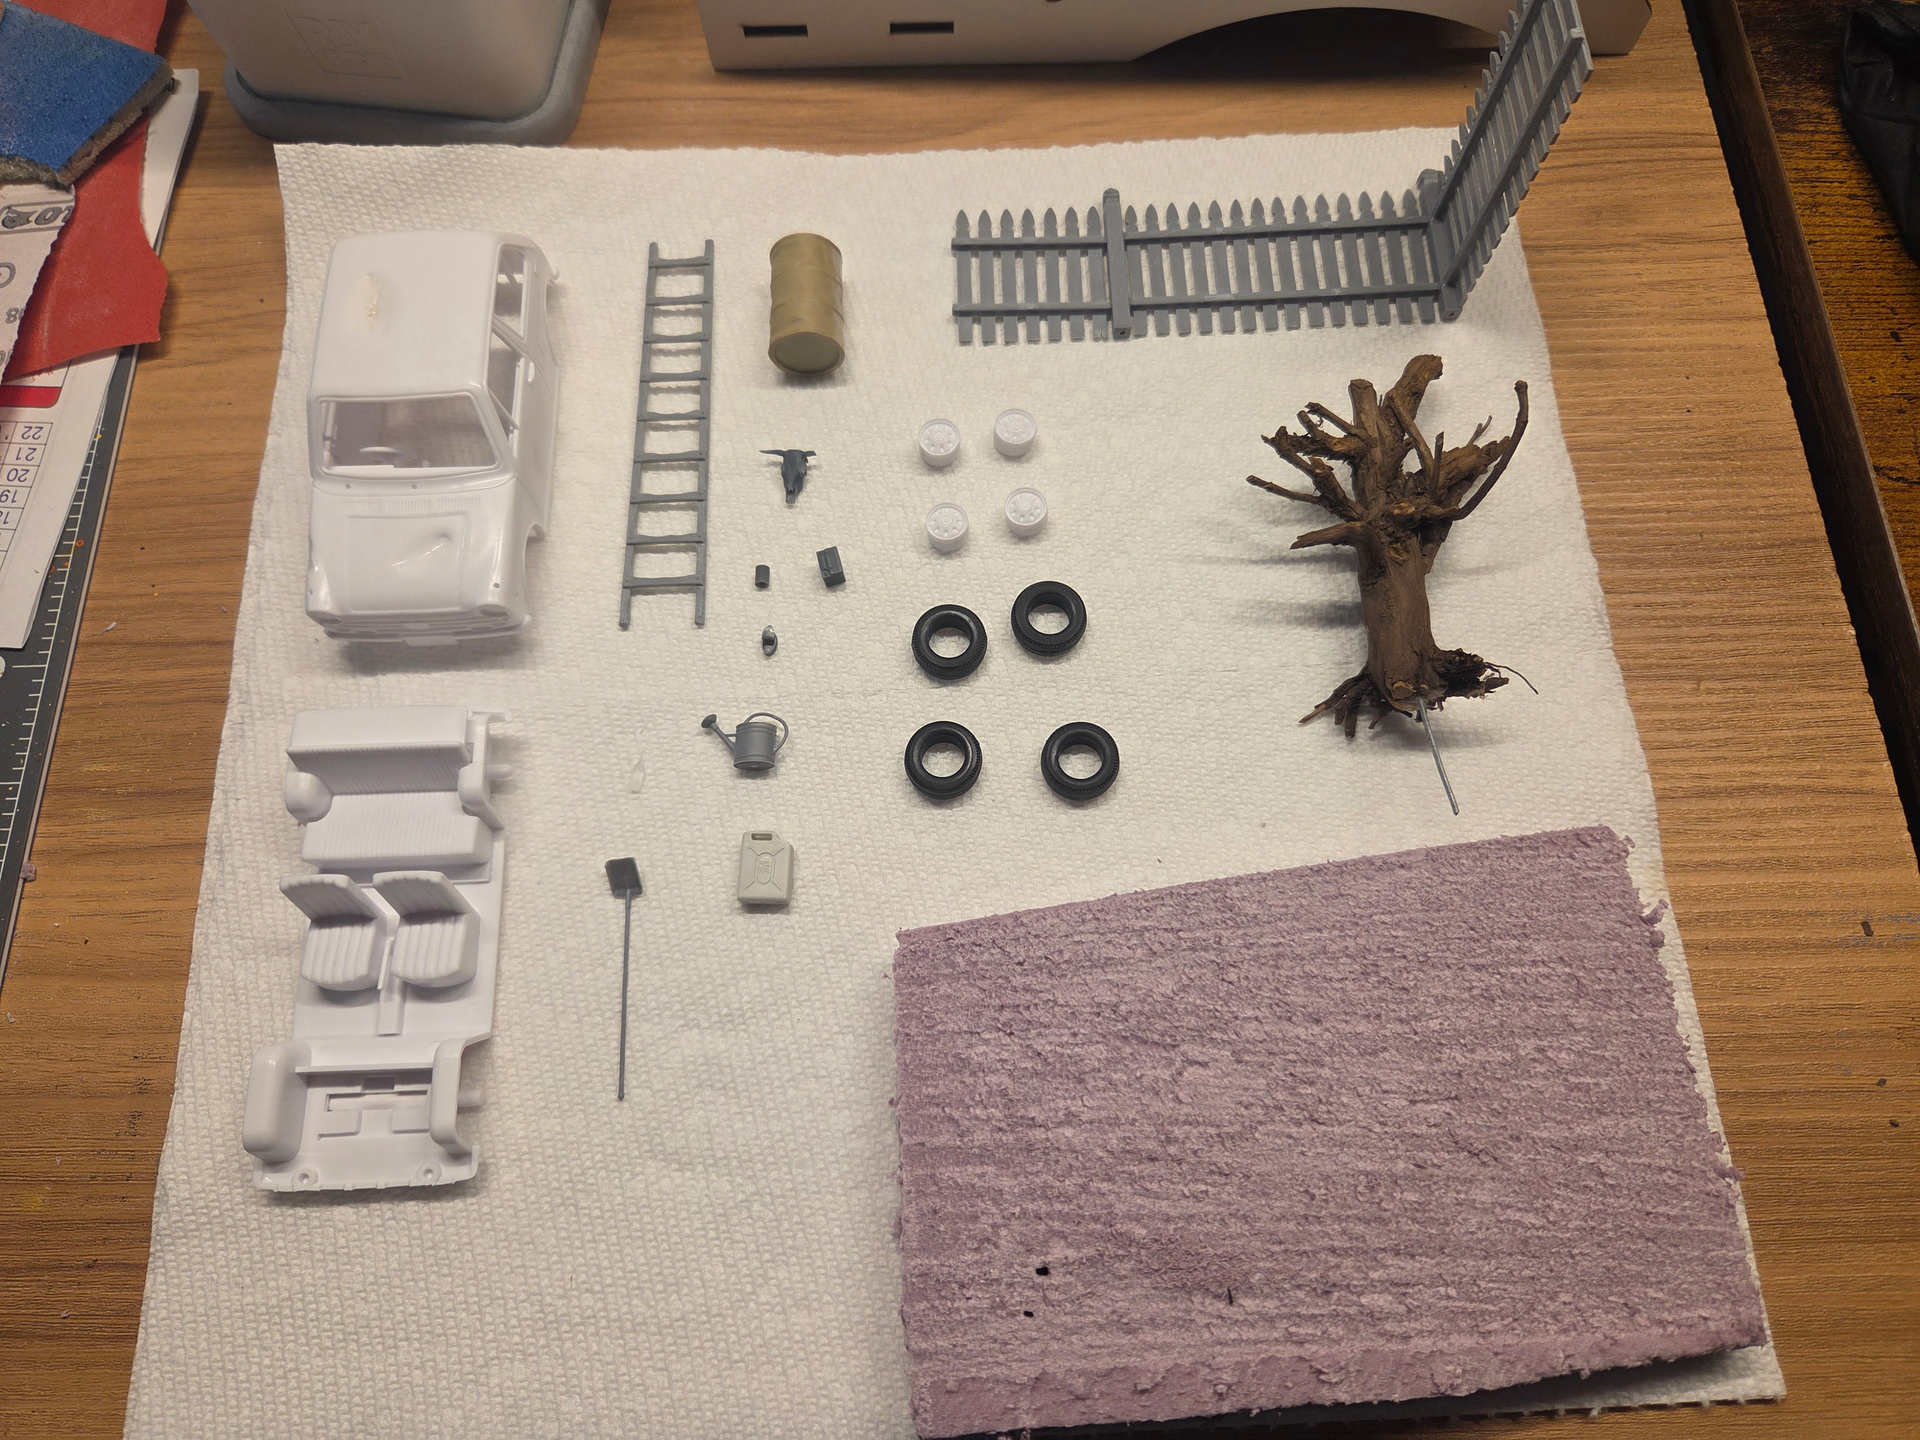
Alright, everything is ready to move forward with priming this humble amount of parts and accessories, as well as working on the base.
I’m gonna have to wait a few more days to spray the primer outside or in my garage, because the weather is too cold (#$%& snow) and I’m afraid it will mess with the paint.
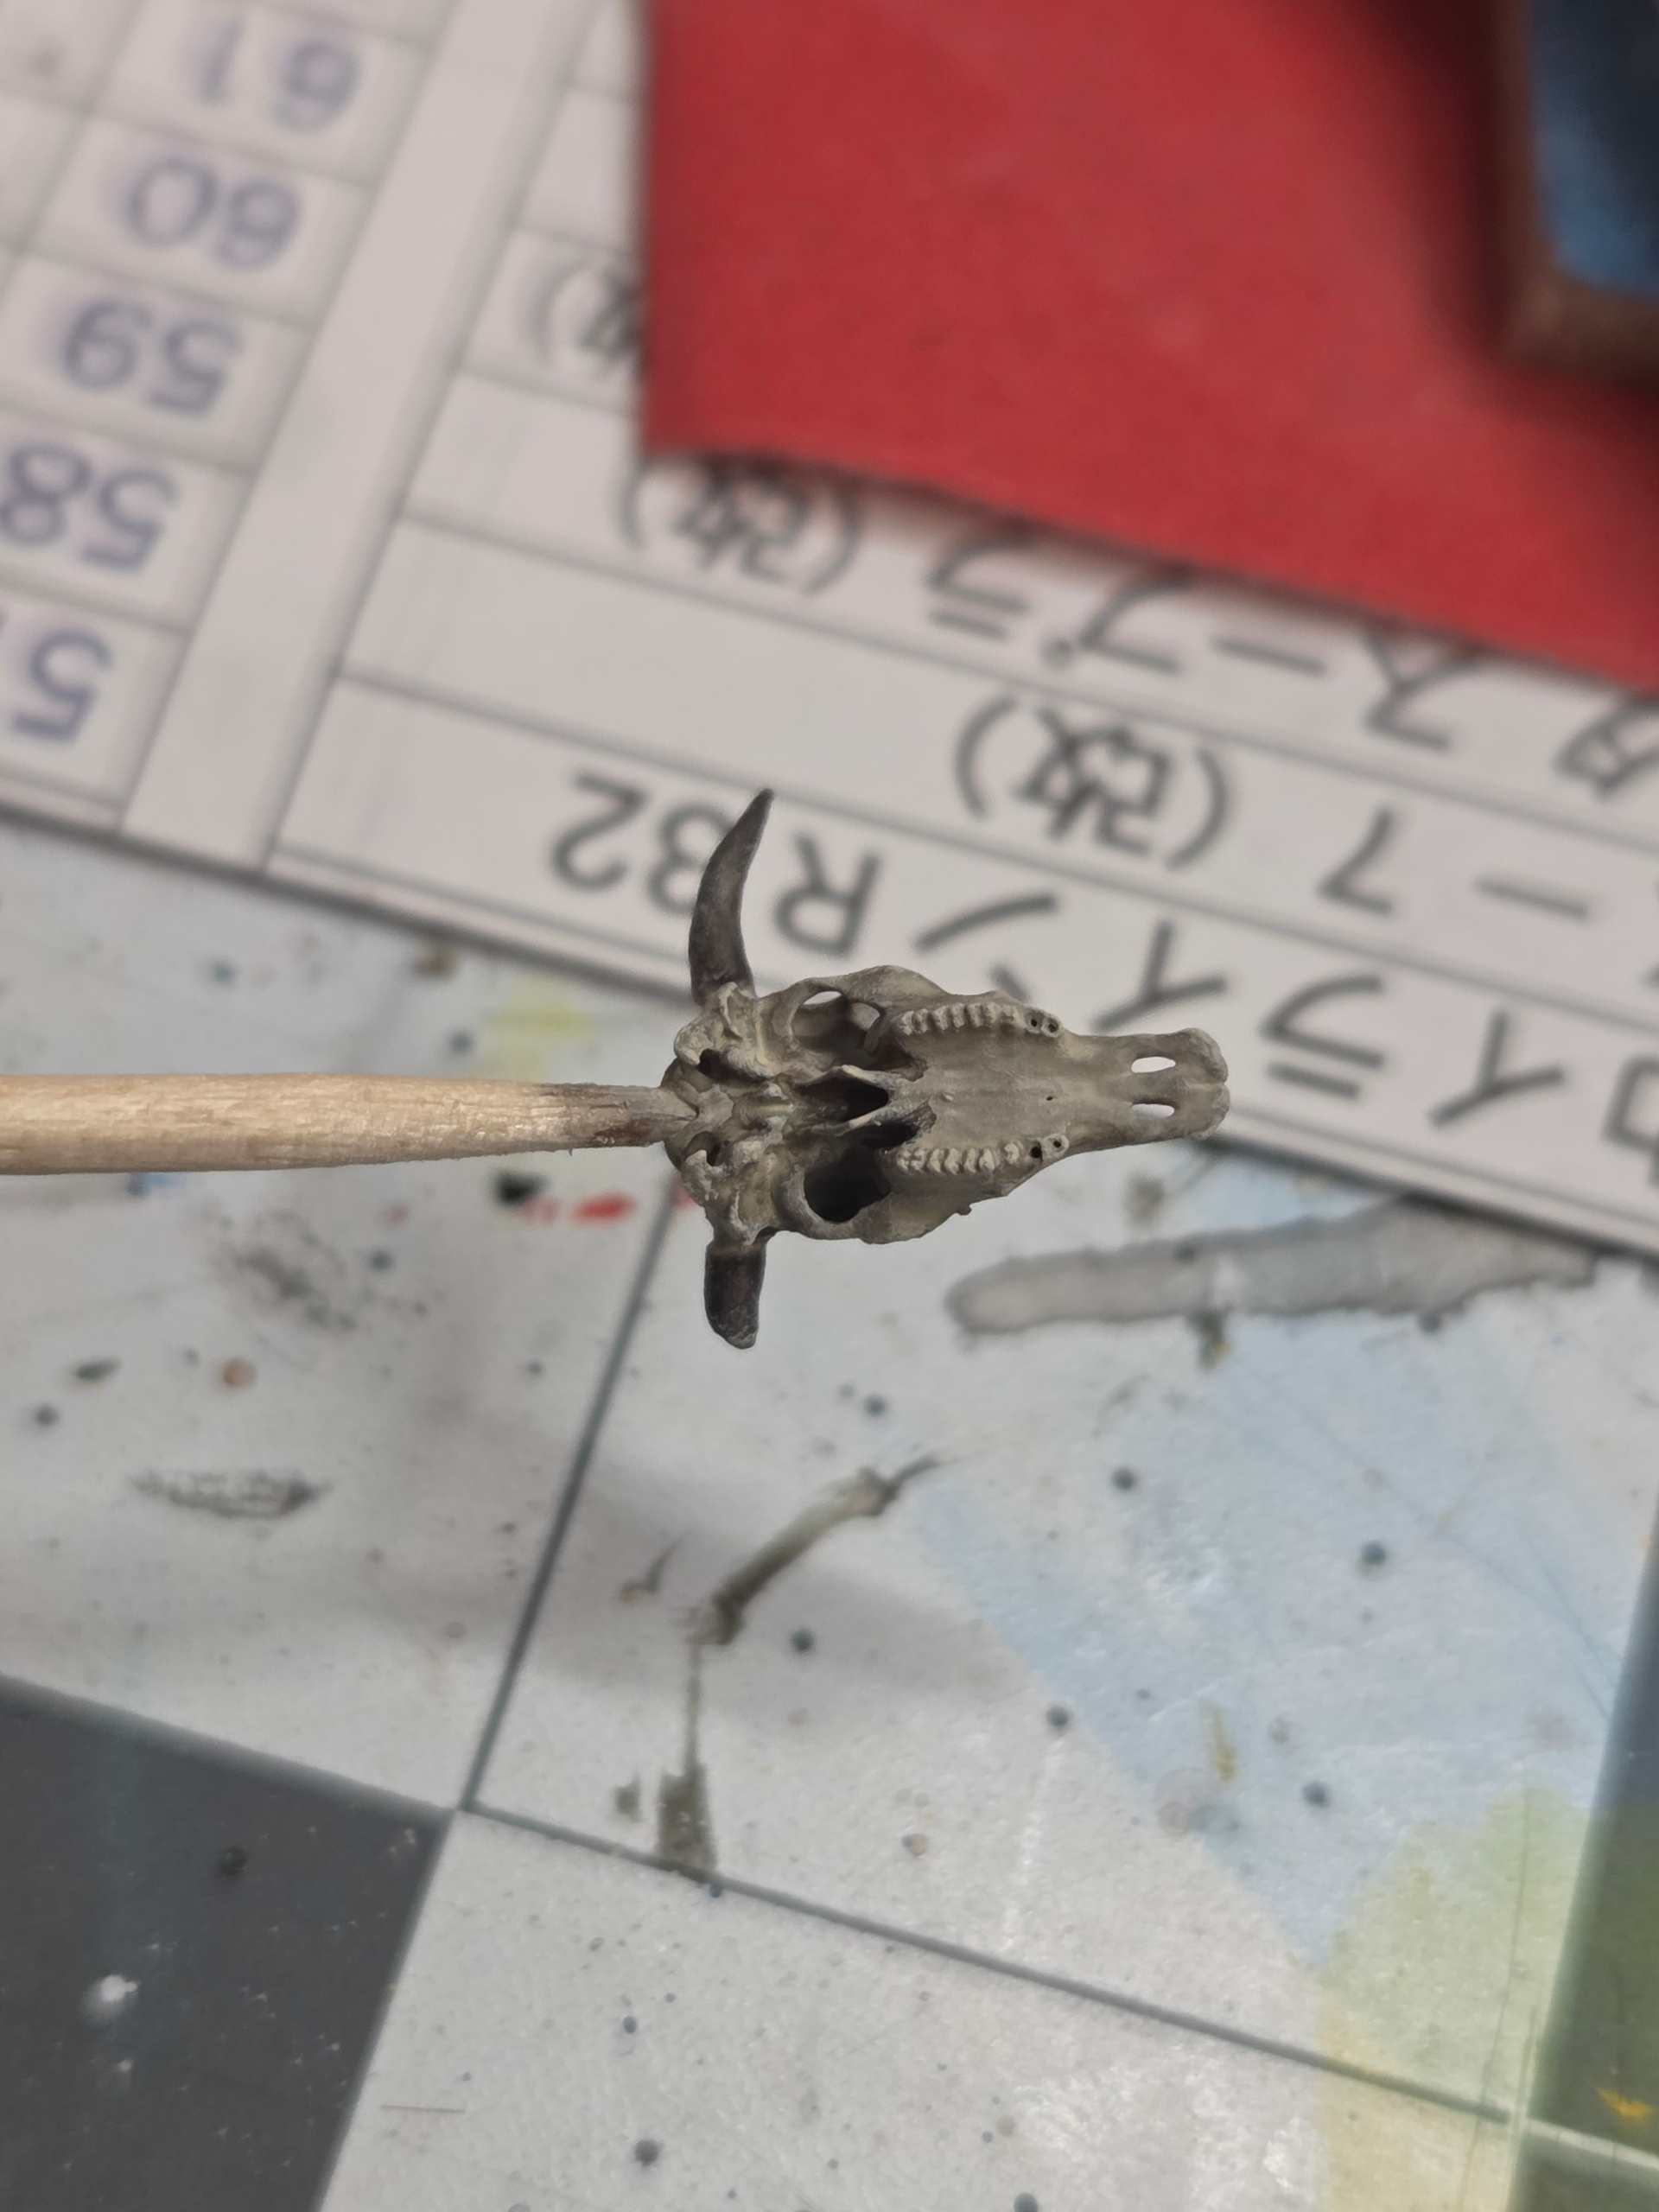
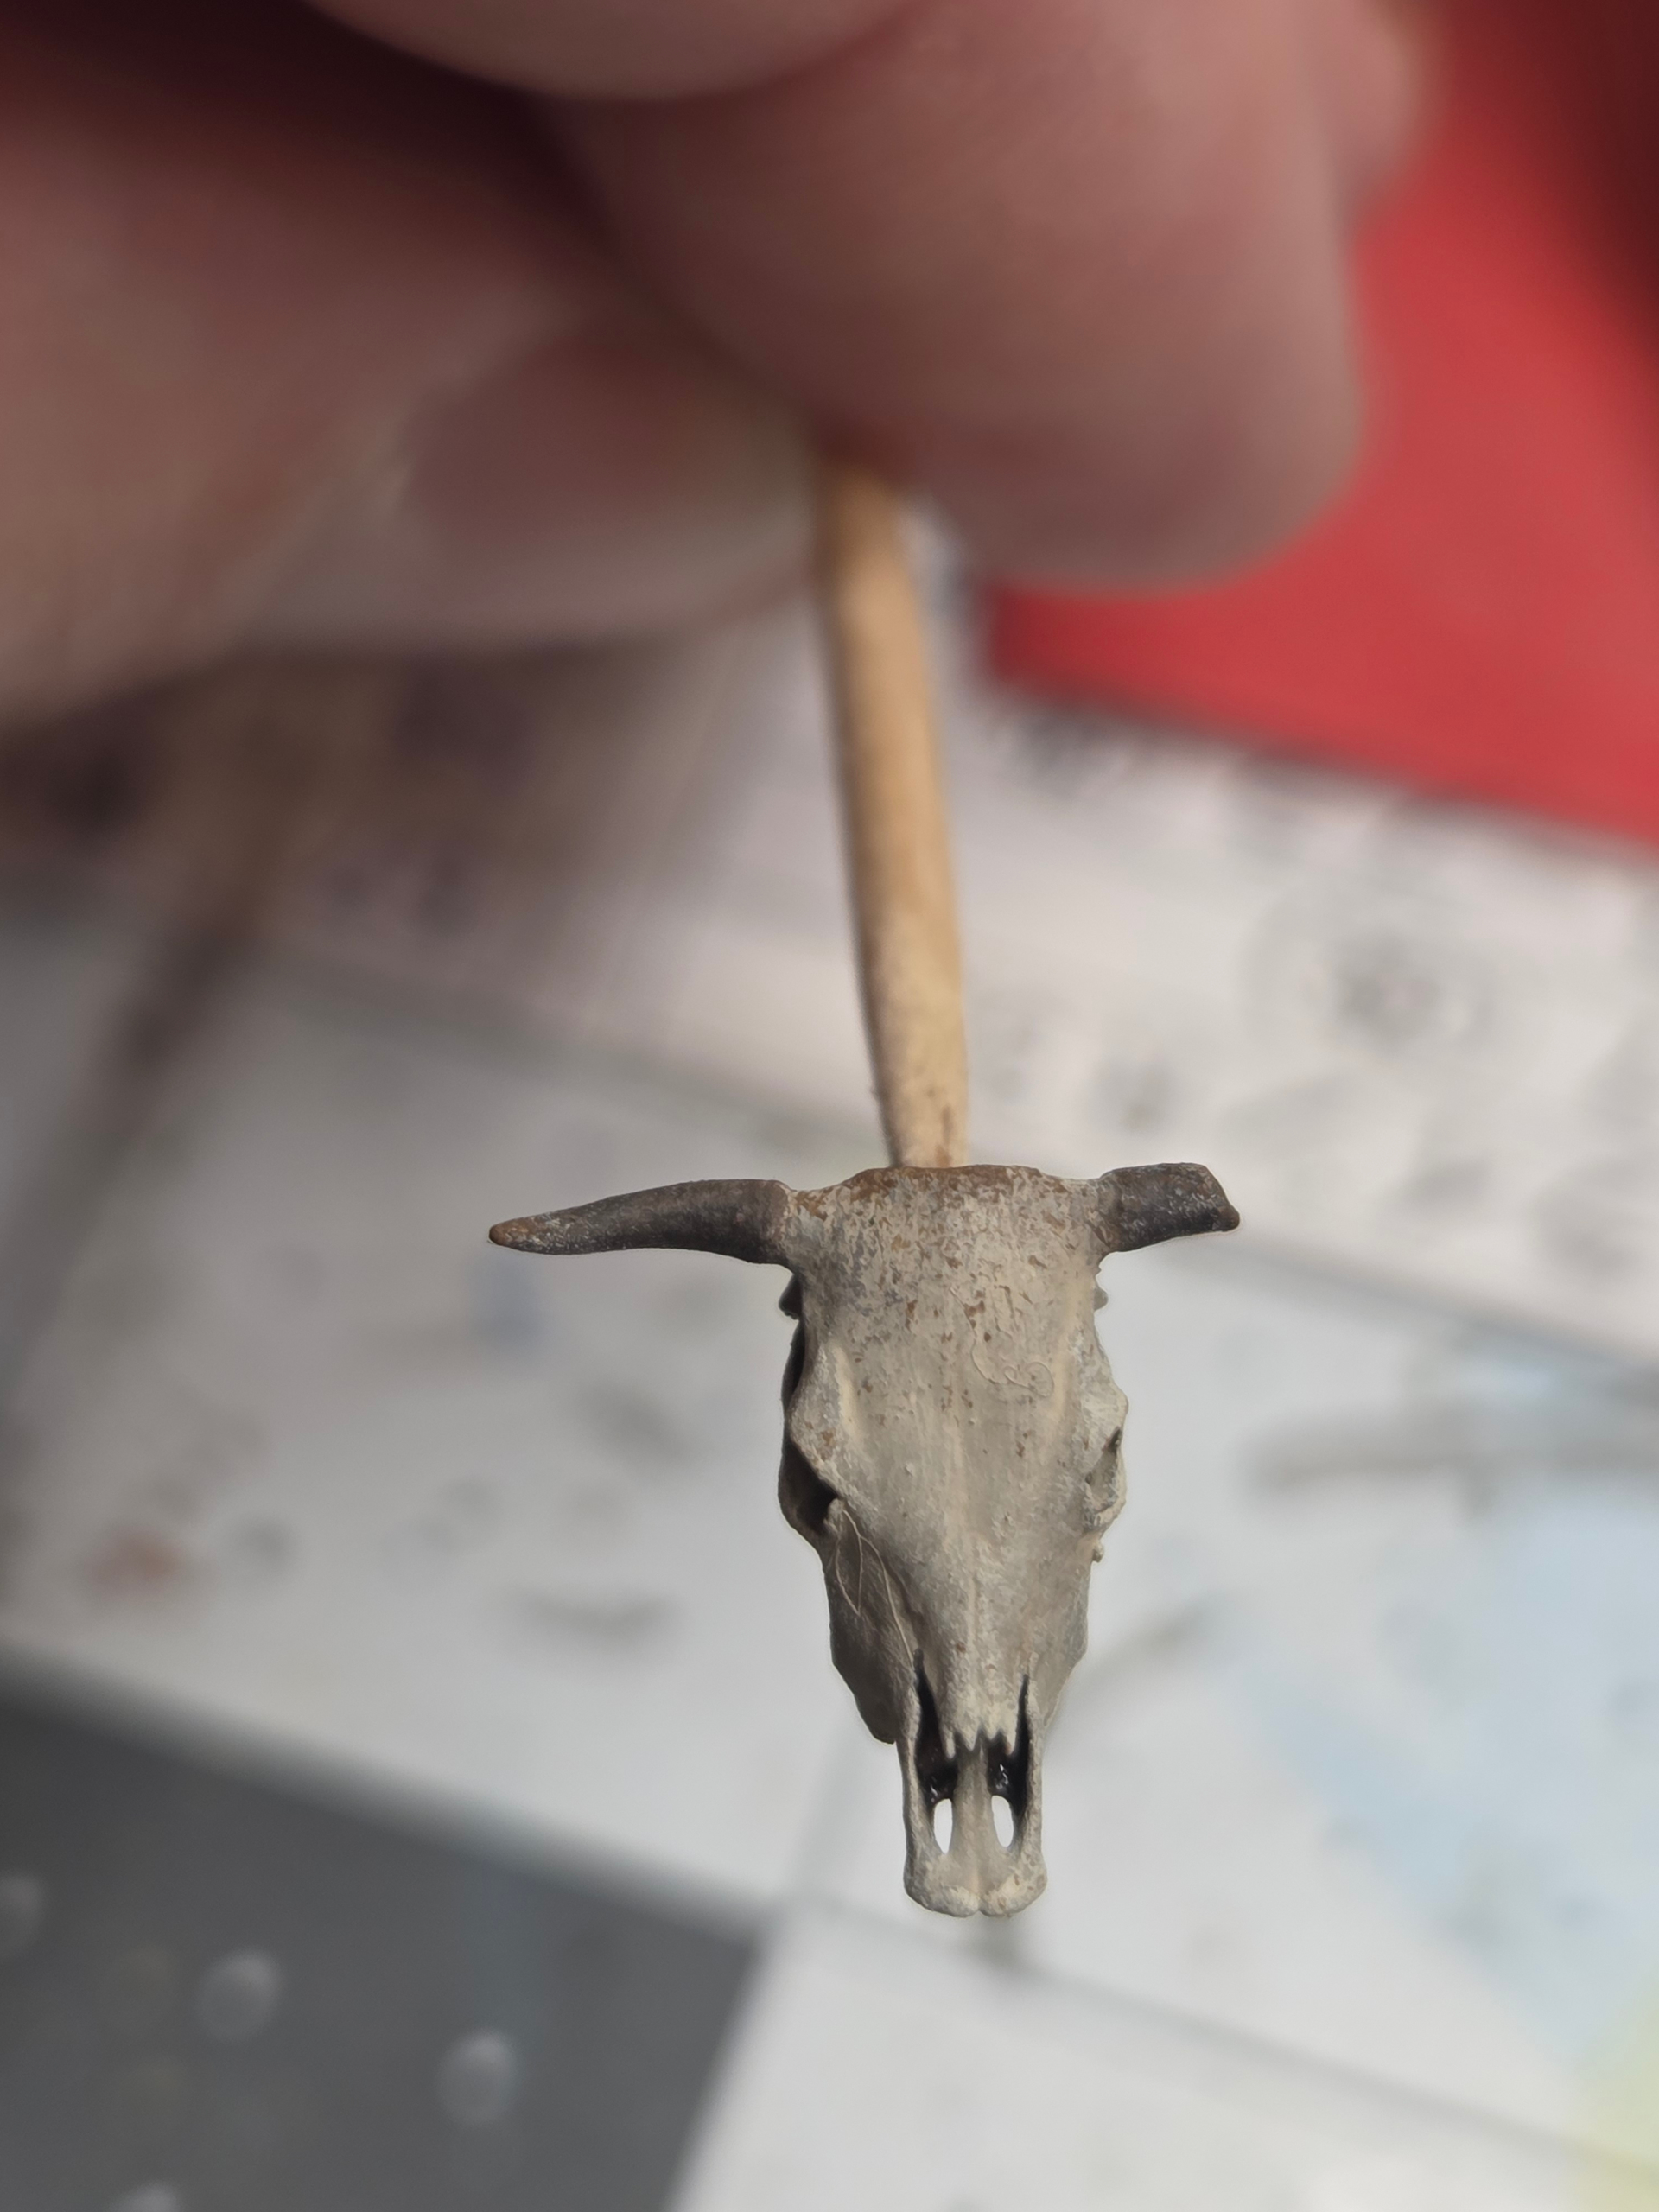
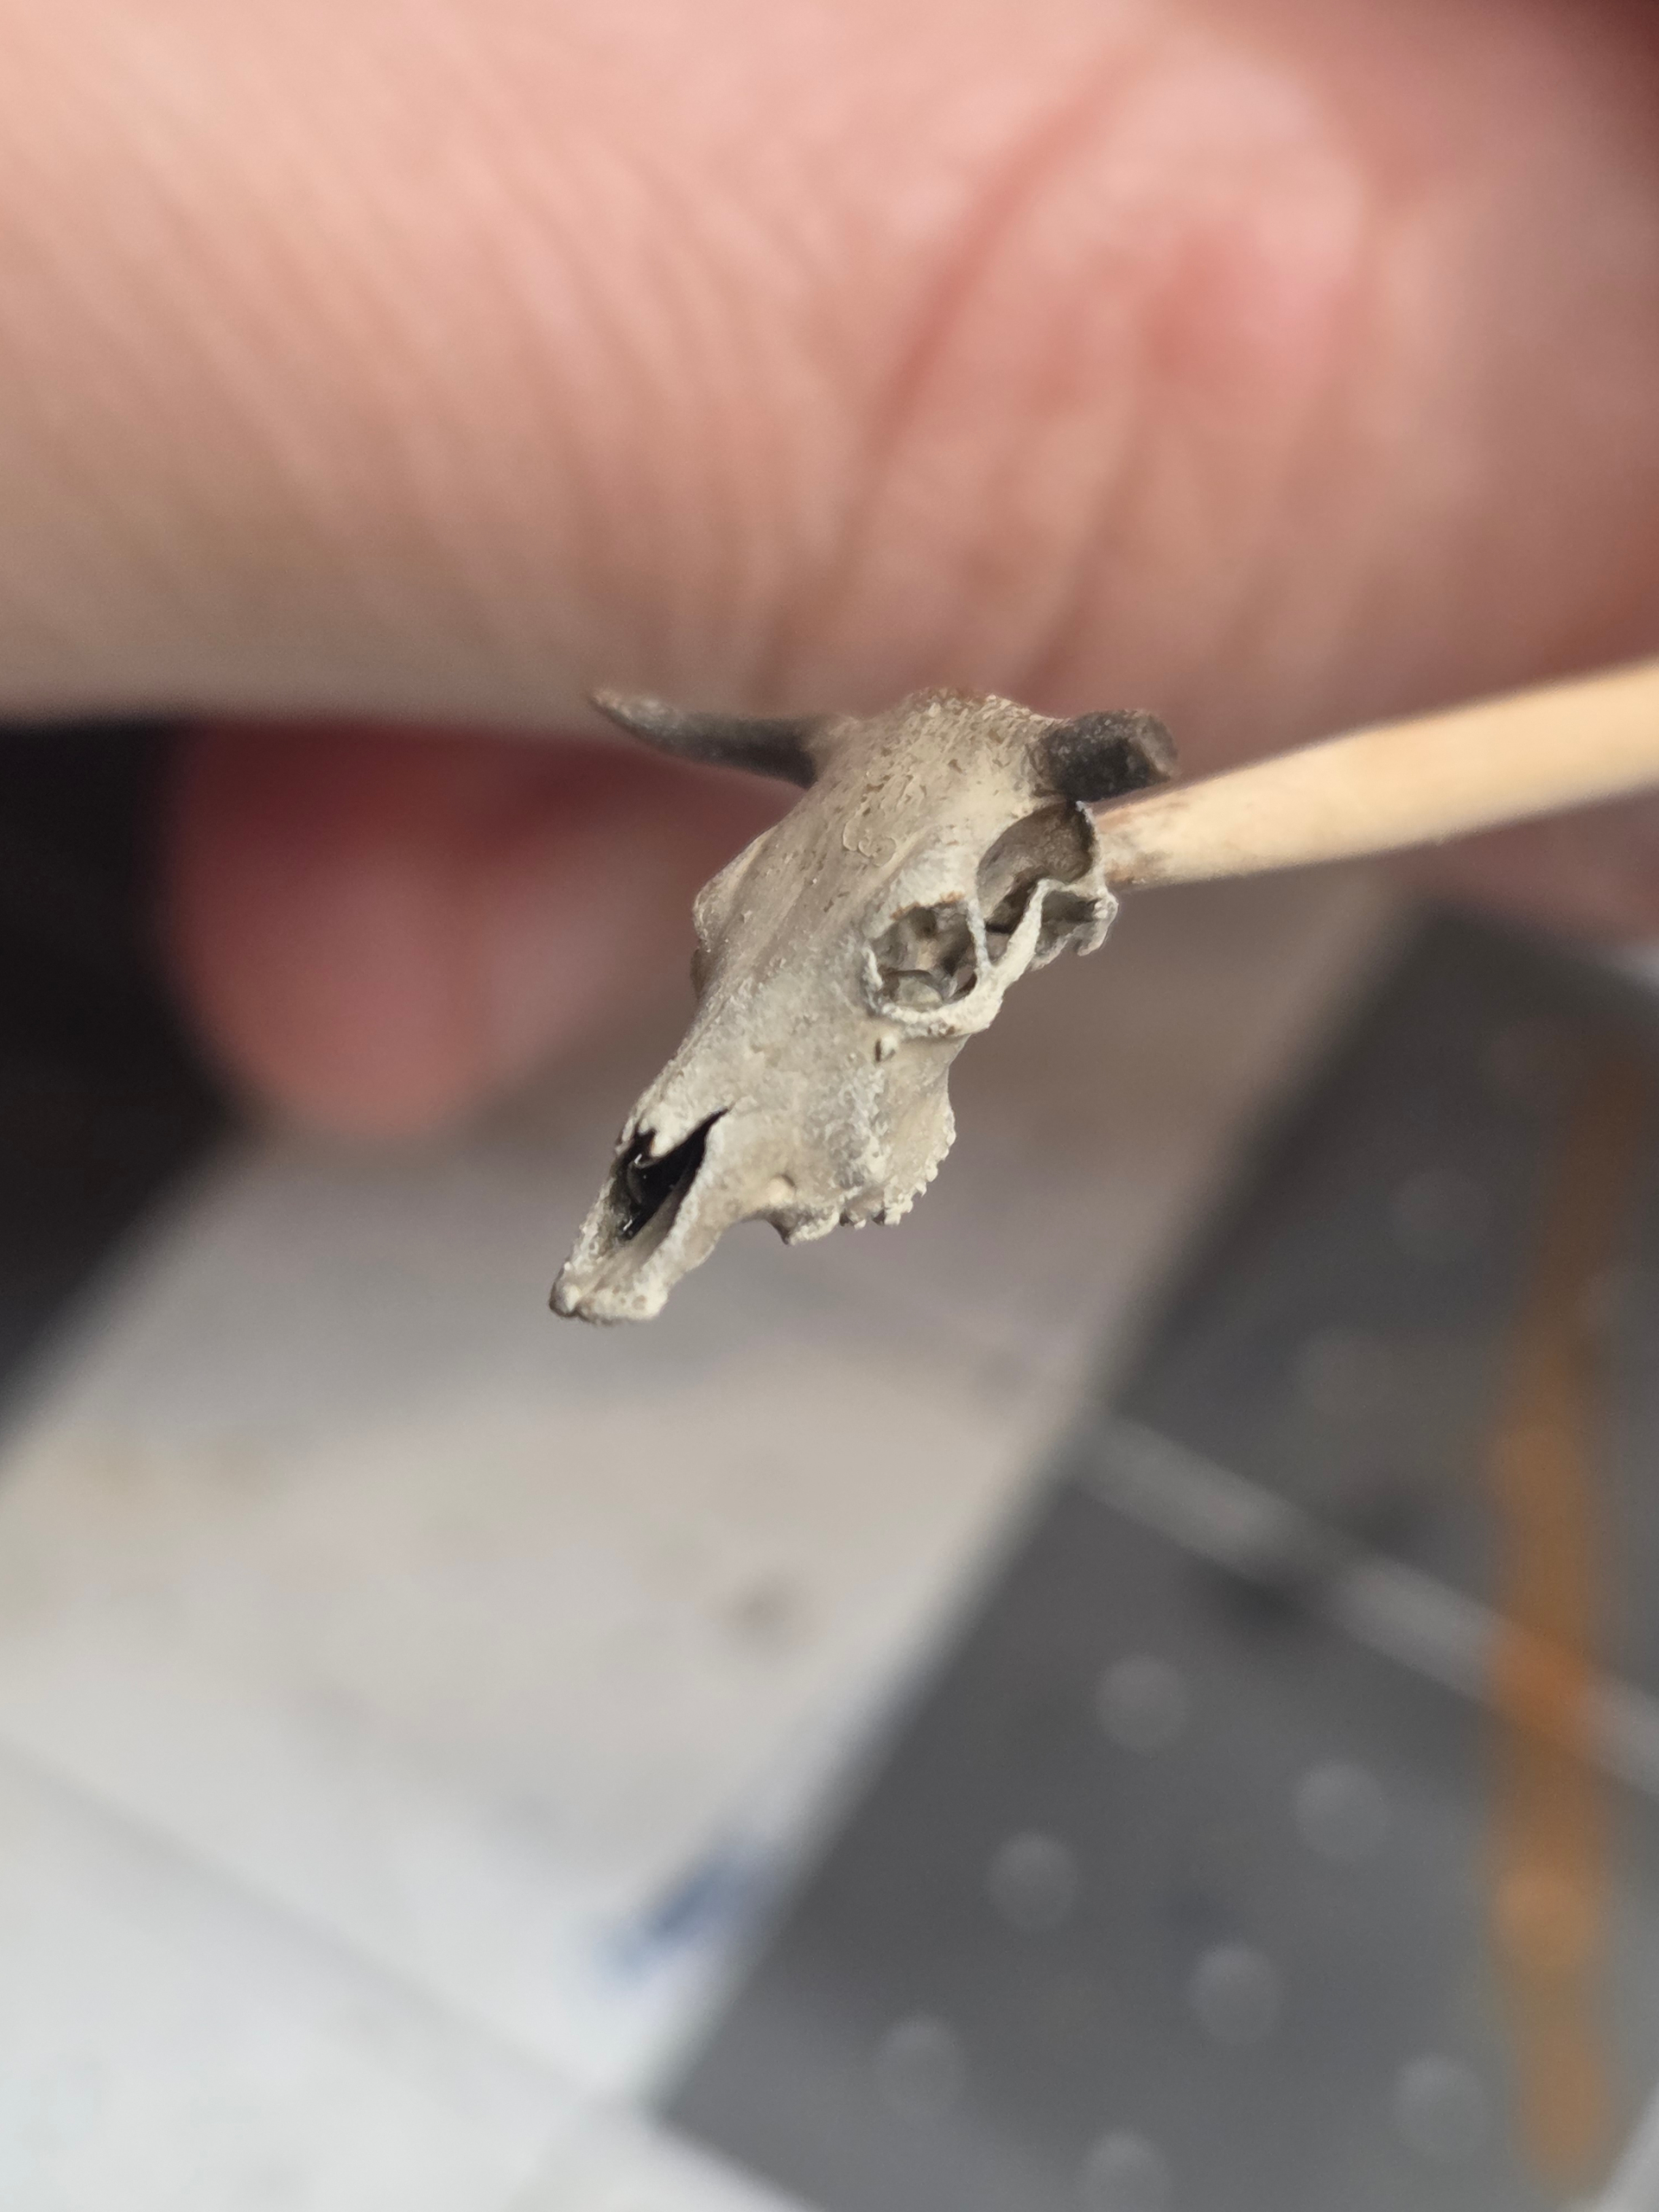
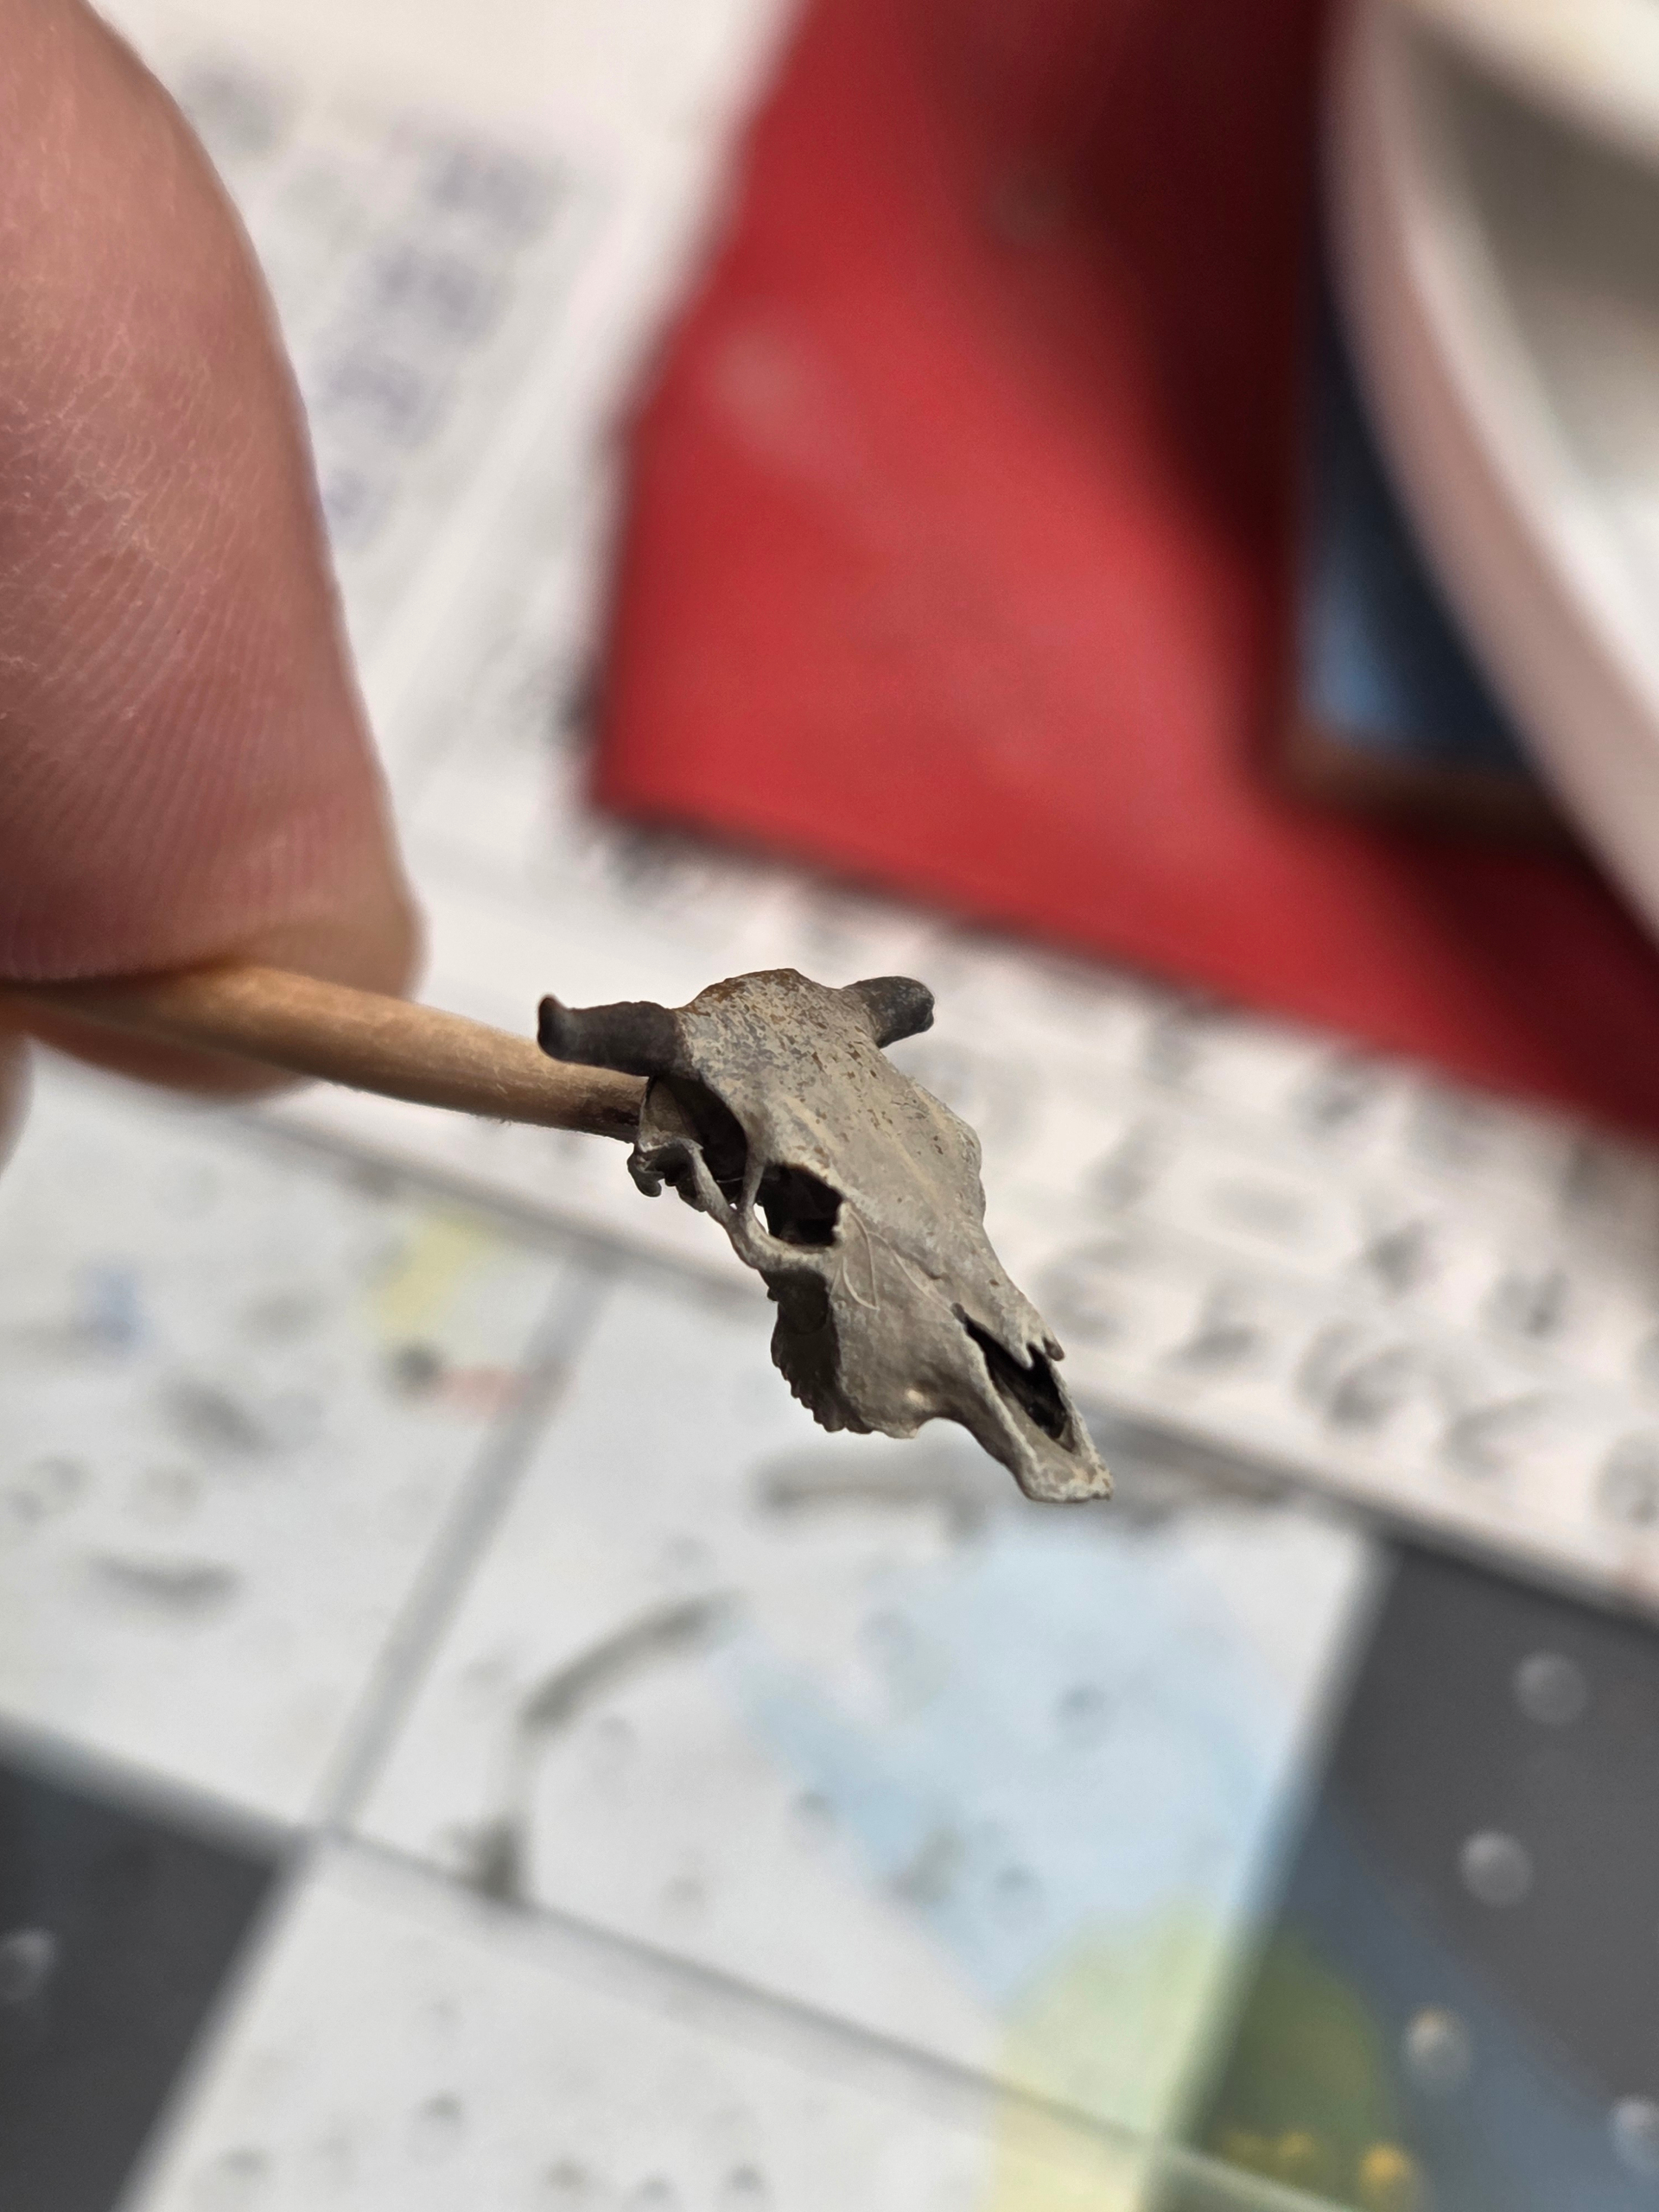
I’ll put this cow skull on the dead tree behind the car. This skull is from Spalah, and the finesse of the details is quite incredible. I wish my painting skills could do it more justice, but I’m happy with the result.
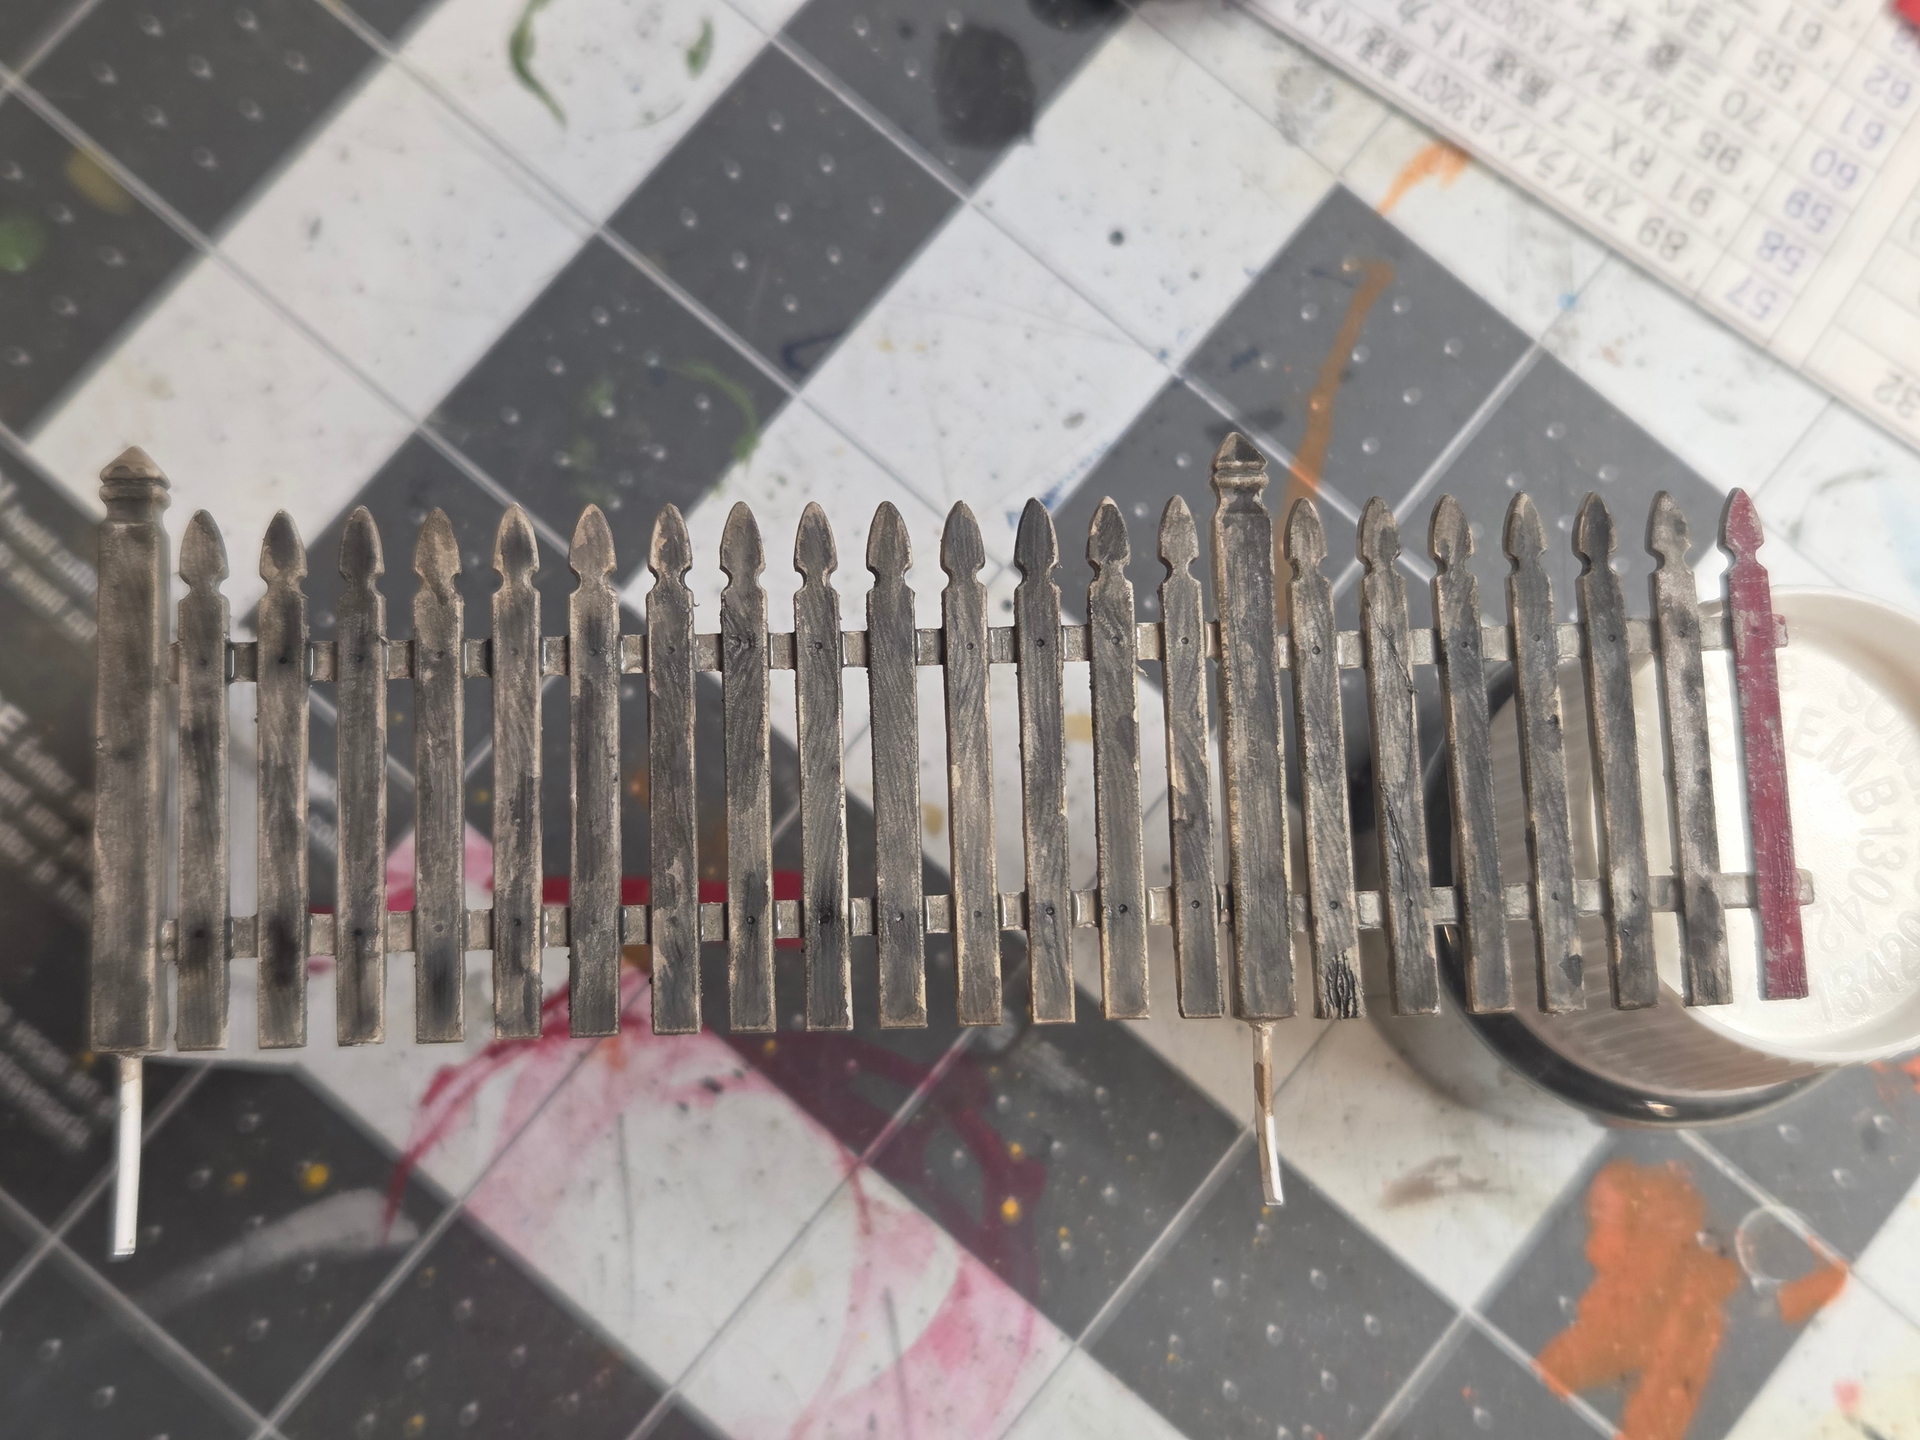
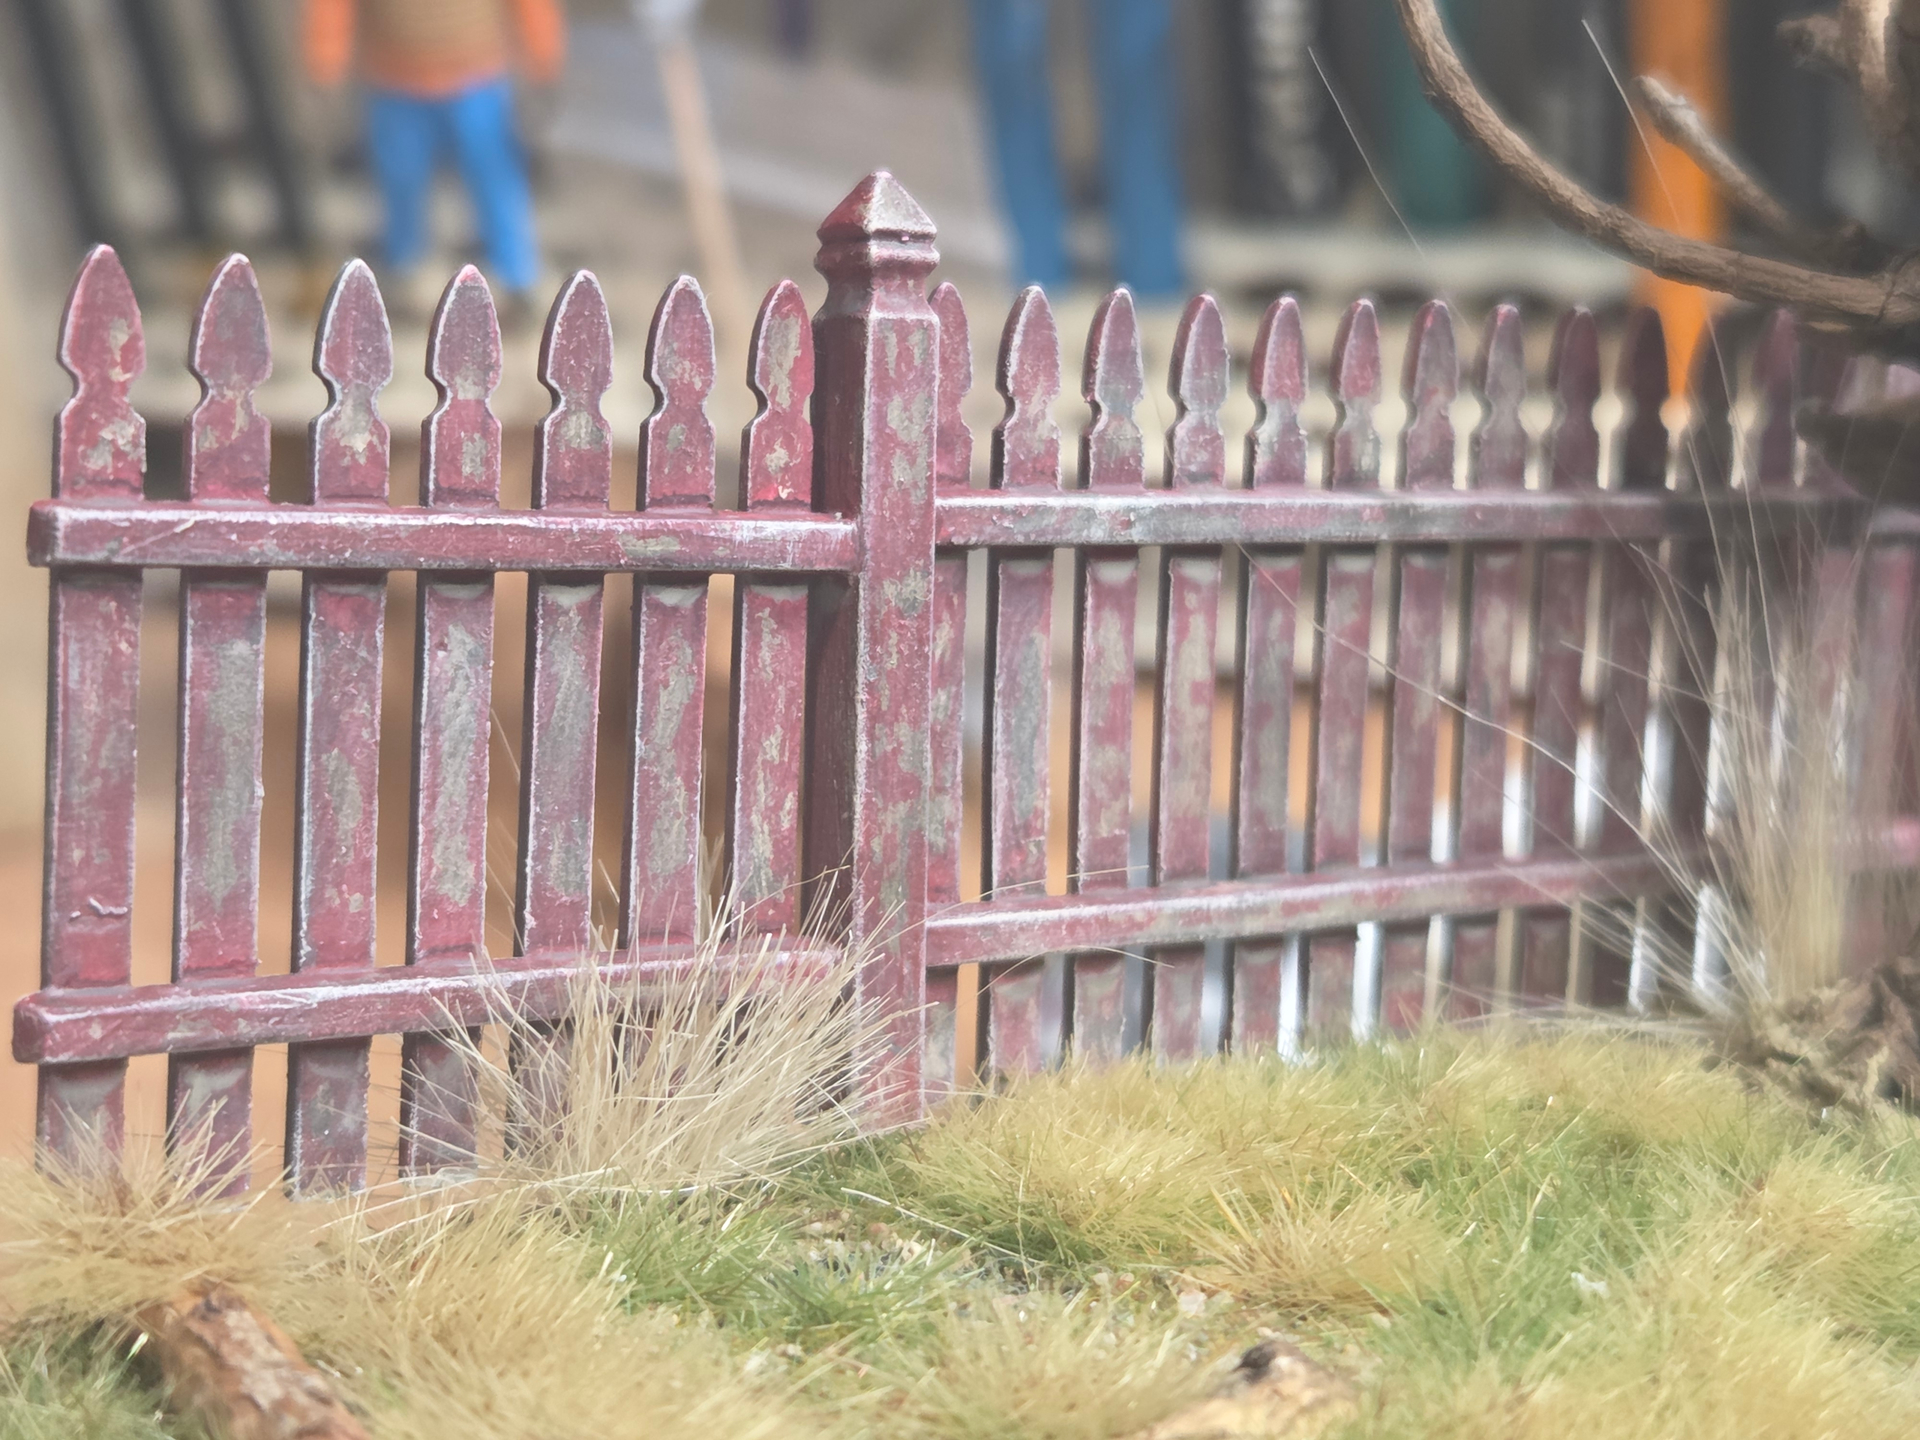
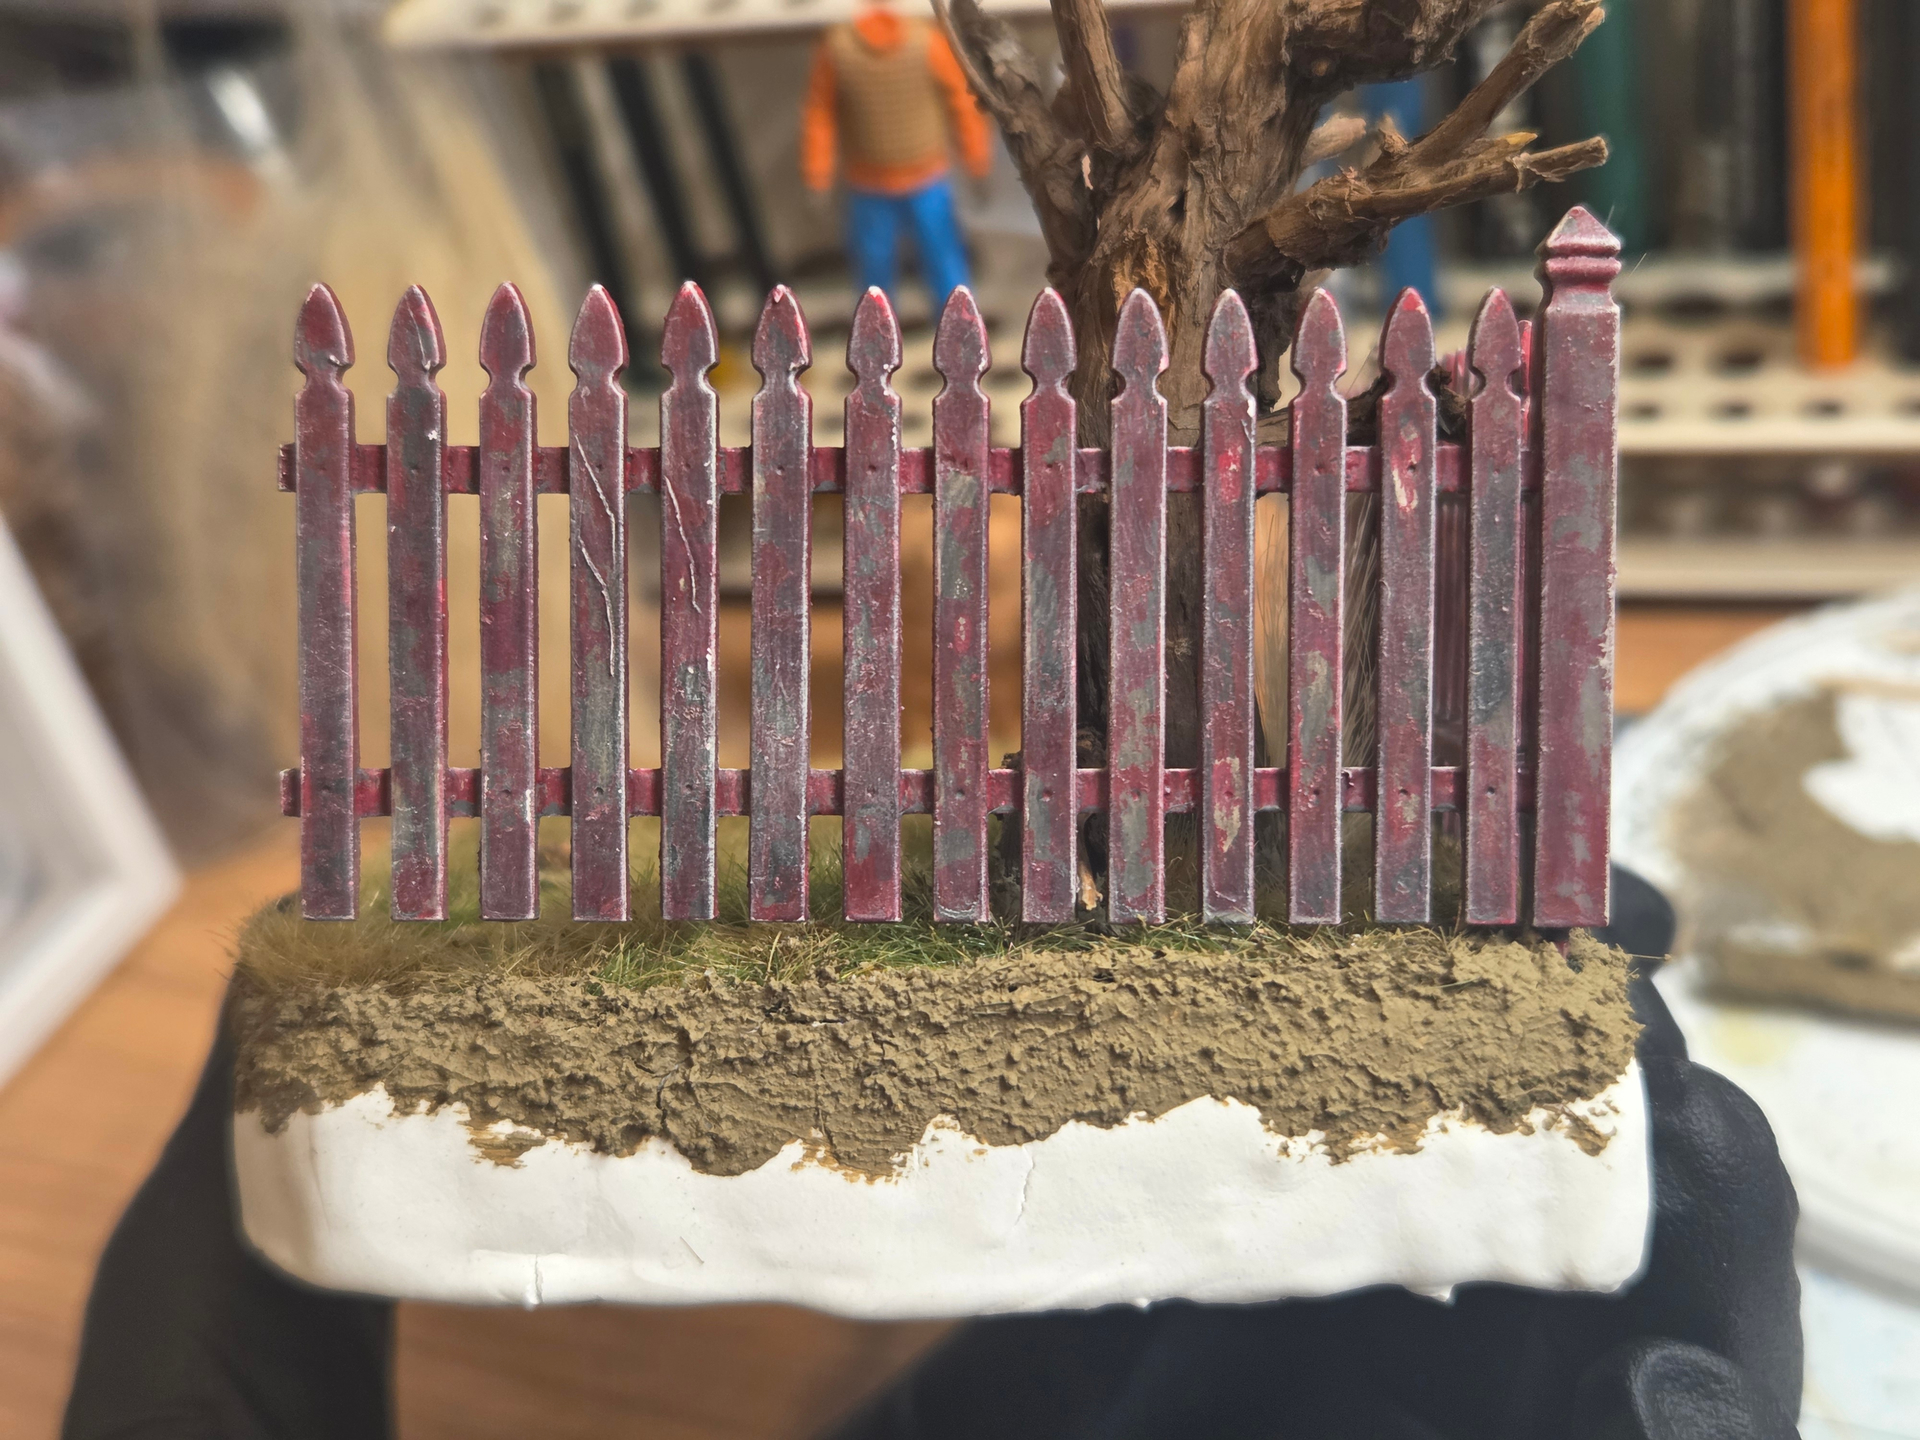
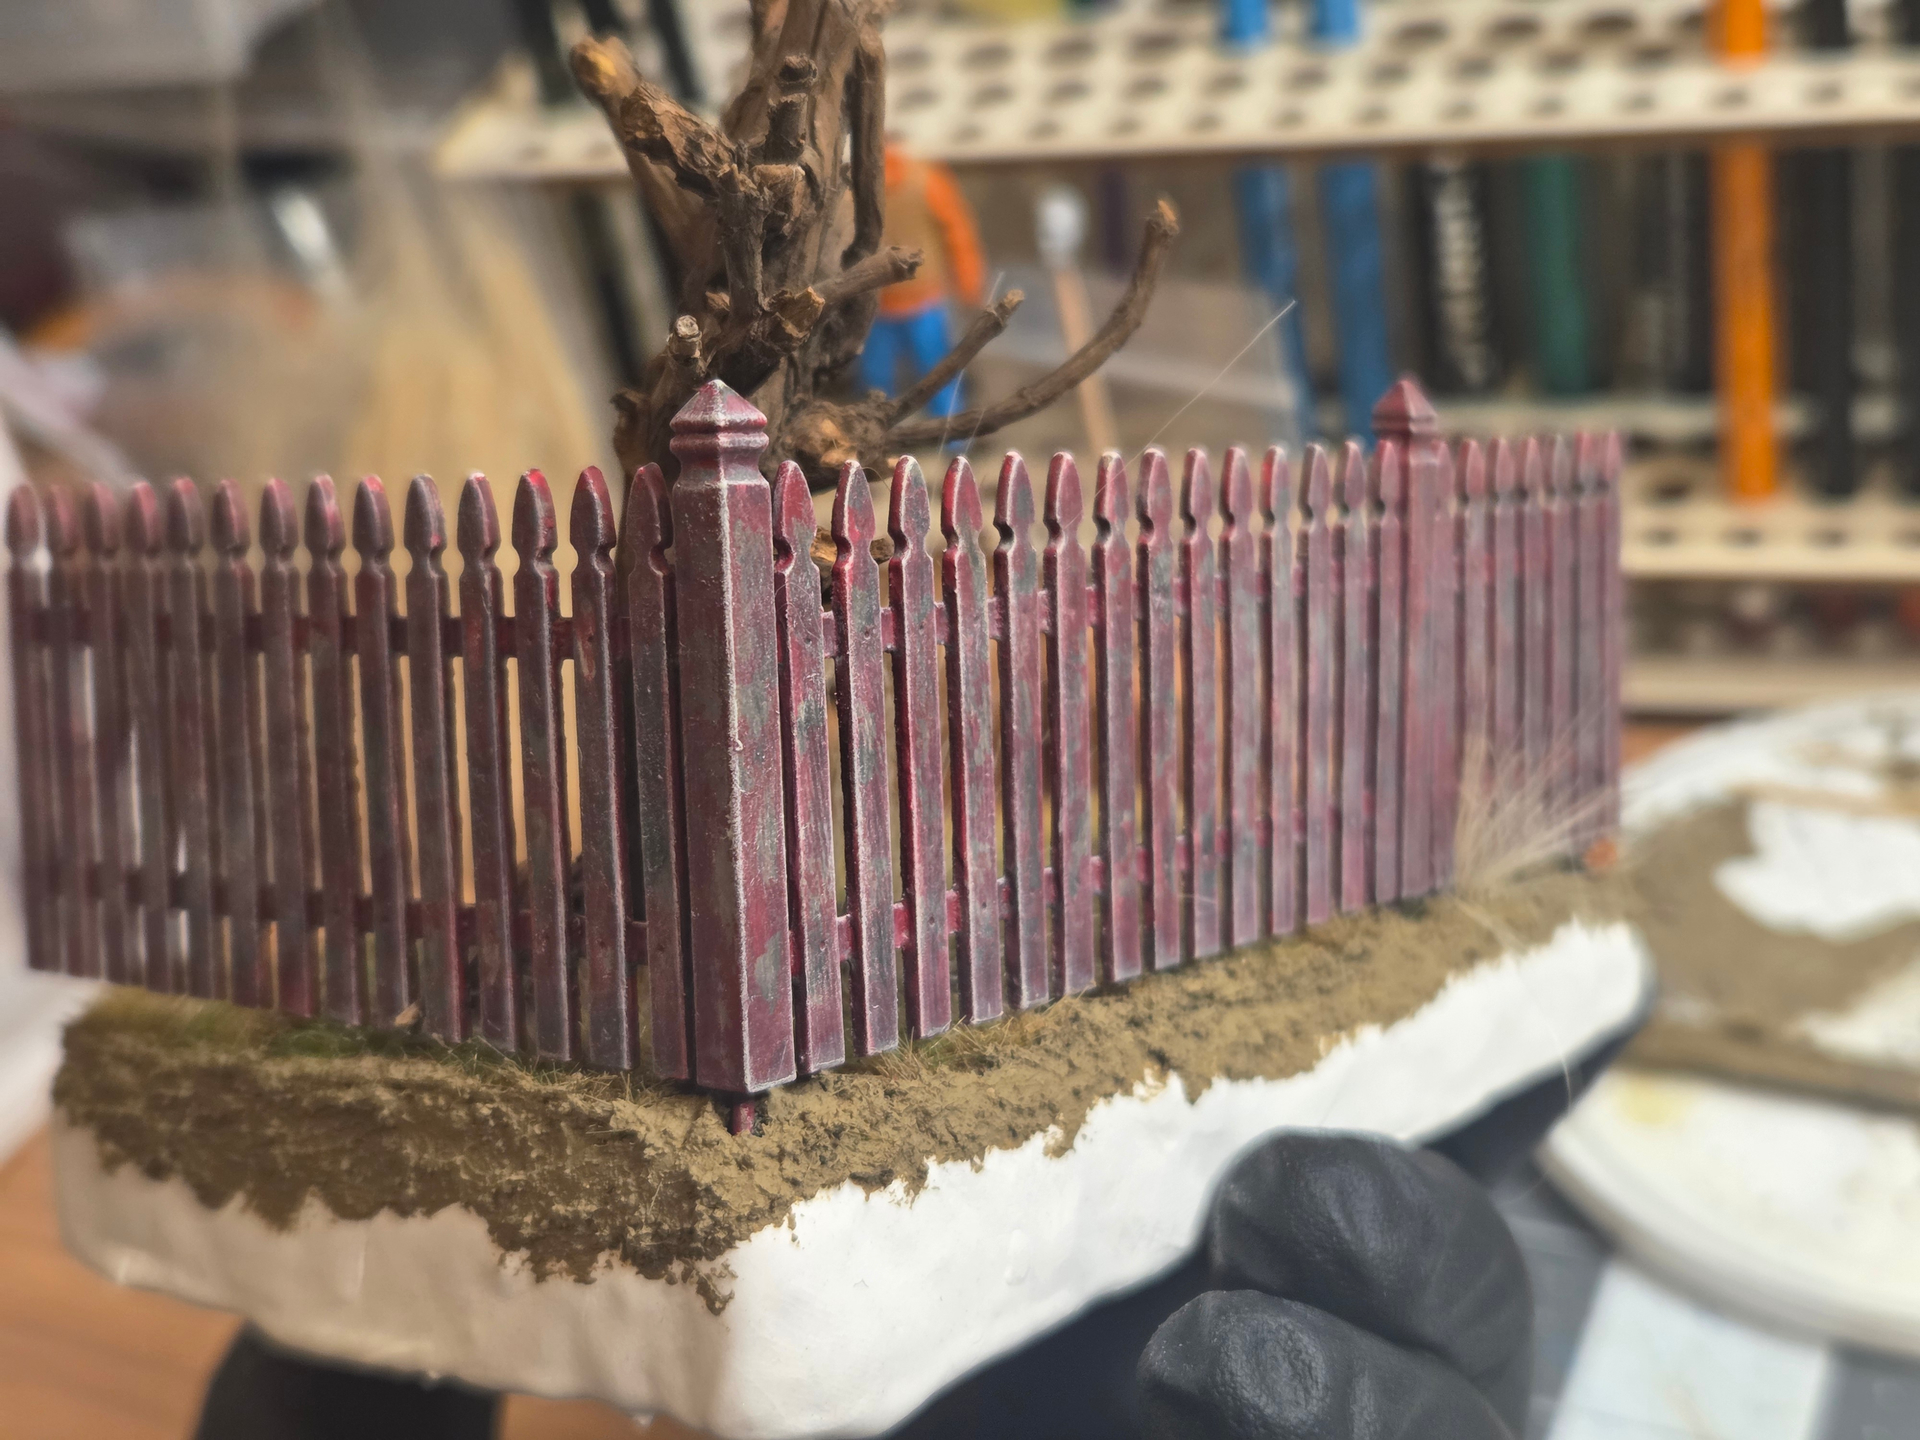
I’m also making progress on the base, especially the fence. I wanted to show a faded, worn out red paint. I started with a white base, then beige, and then with the beige still wet, I randomly applied various tones of highly diluted gray, letting the standing water mix the stains together in smooth transitions.
Then, I used a sponge to apply chipping fluid. Once dry, I applied an uniform layer of carmine red from Vallejo. After it dried, I used a brush to reactivate the fluid in a downward motion, removing the red paint randomly. Then, ash grey wash, and, finally, I dry-brushed everything with deck tan.
I feel I could have gone for a thicker layer of red, but I’m generally satisfied with the effect.
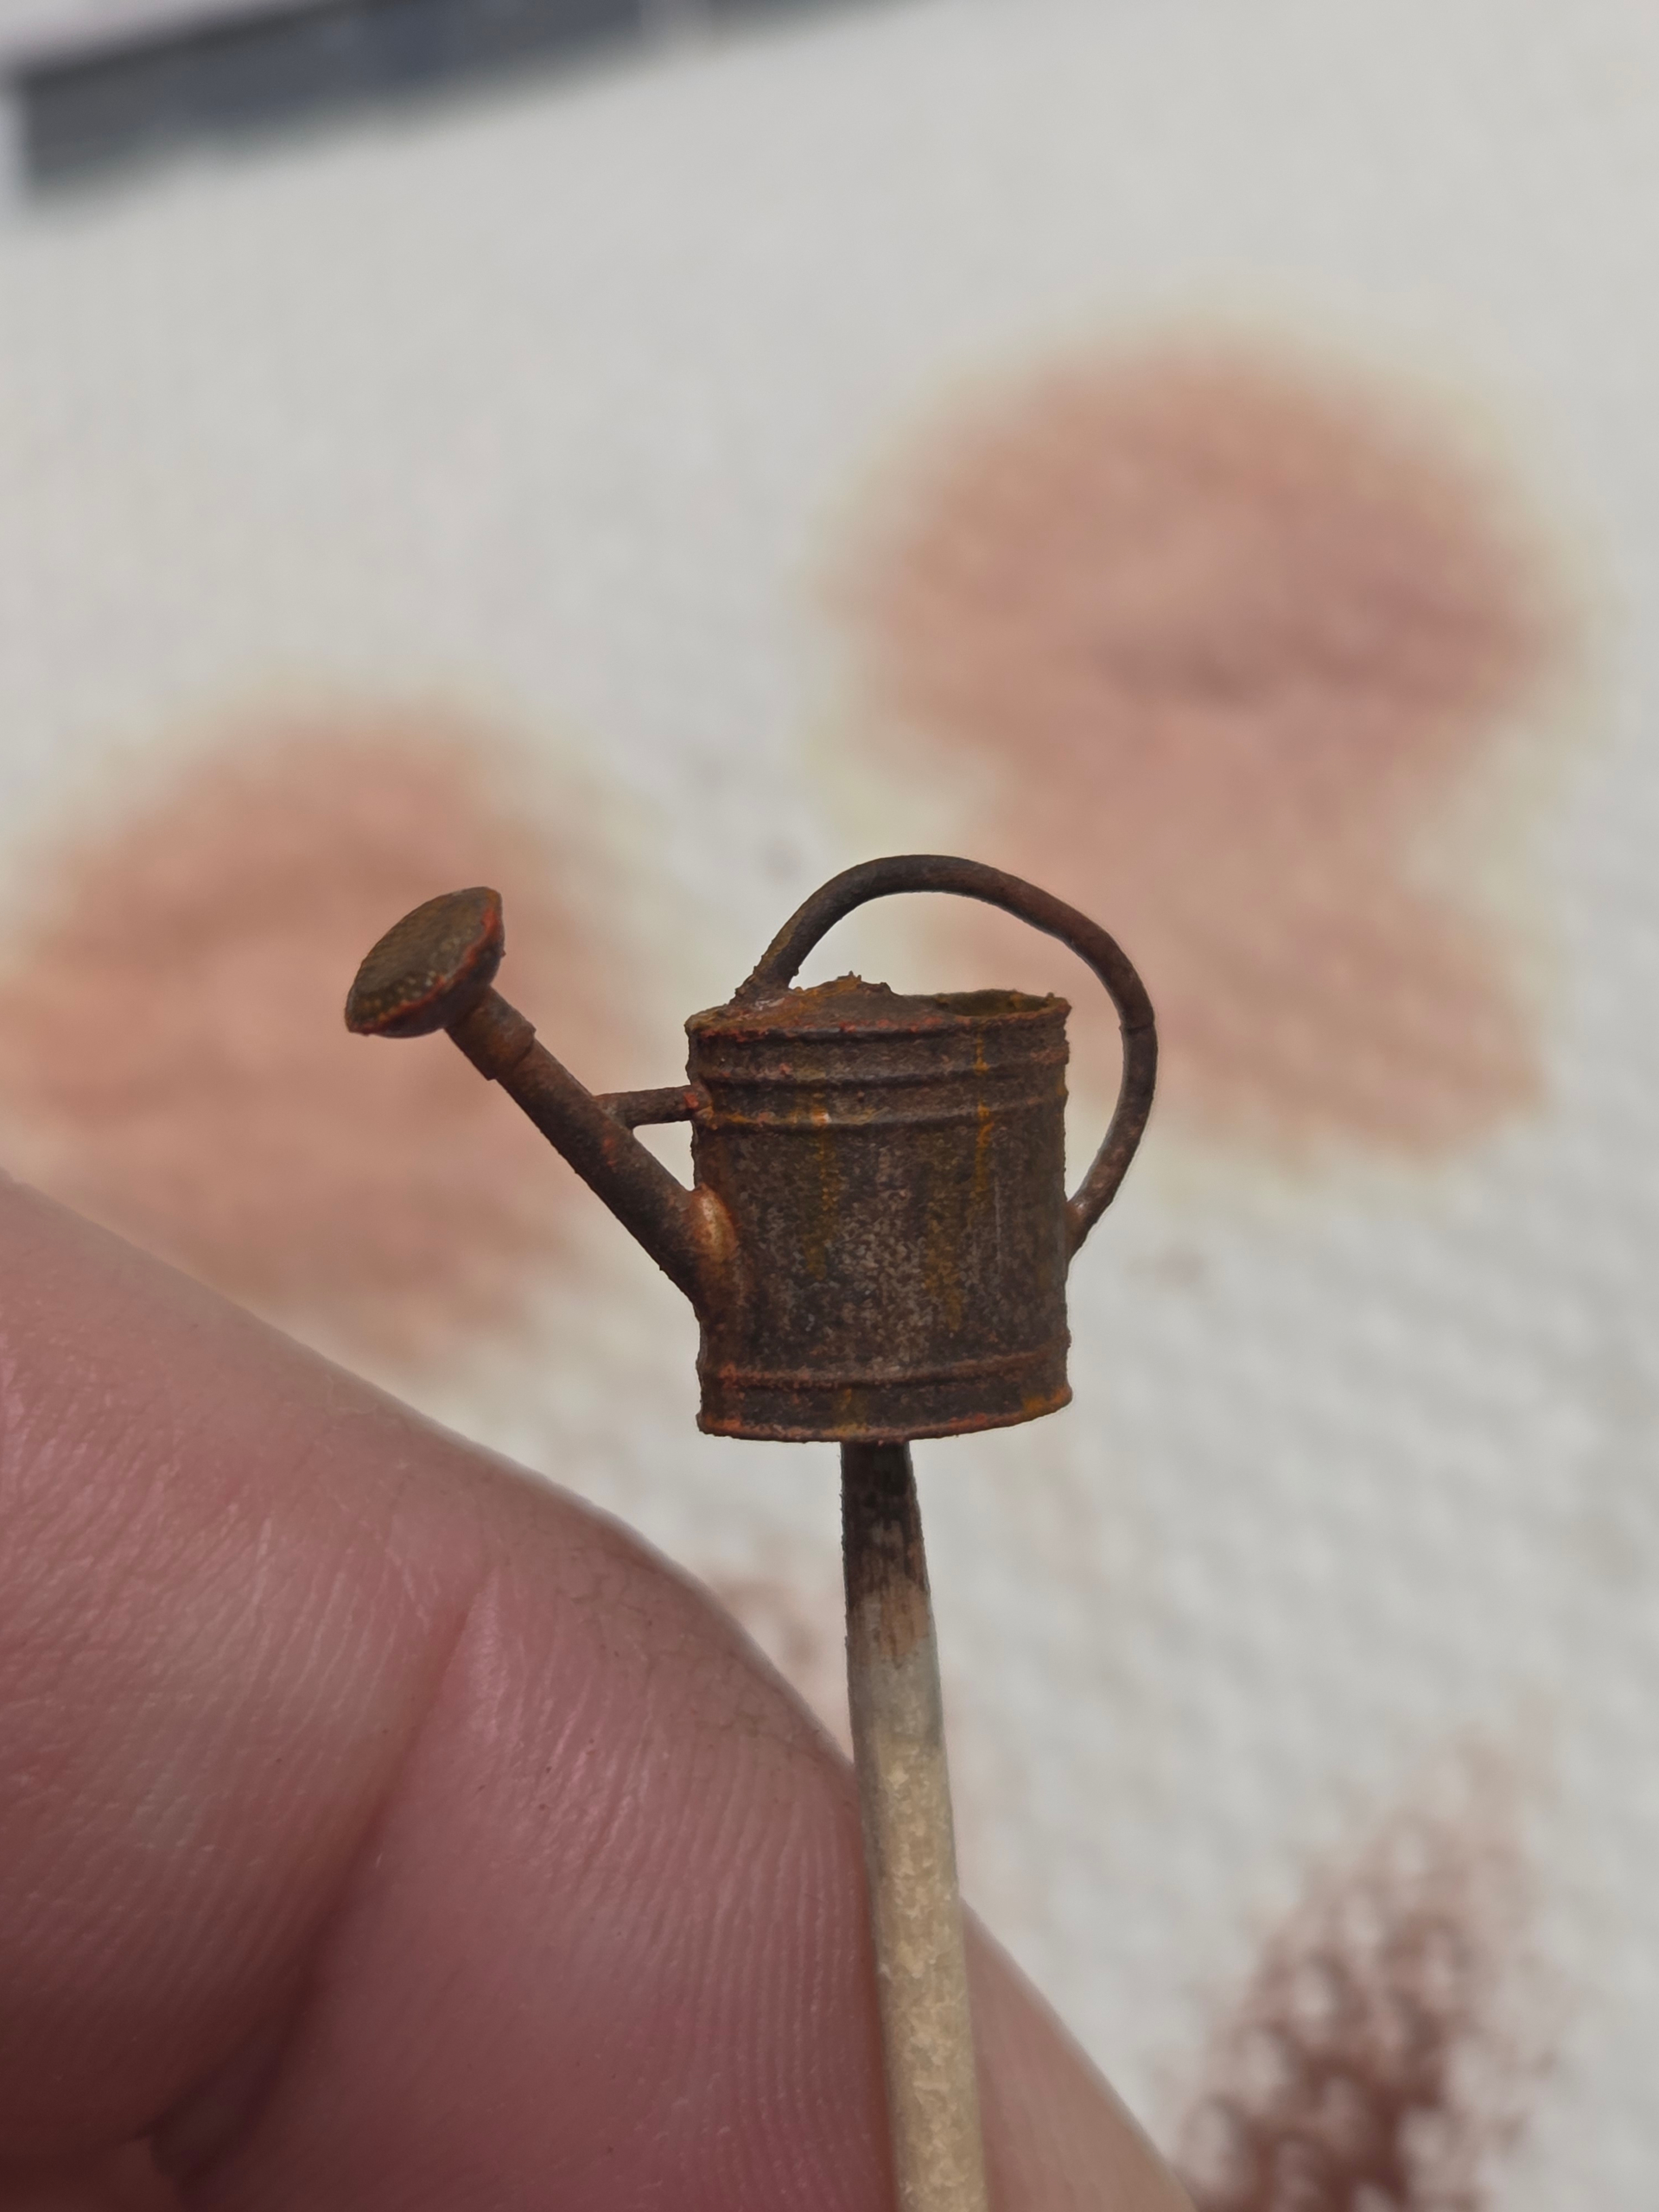
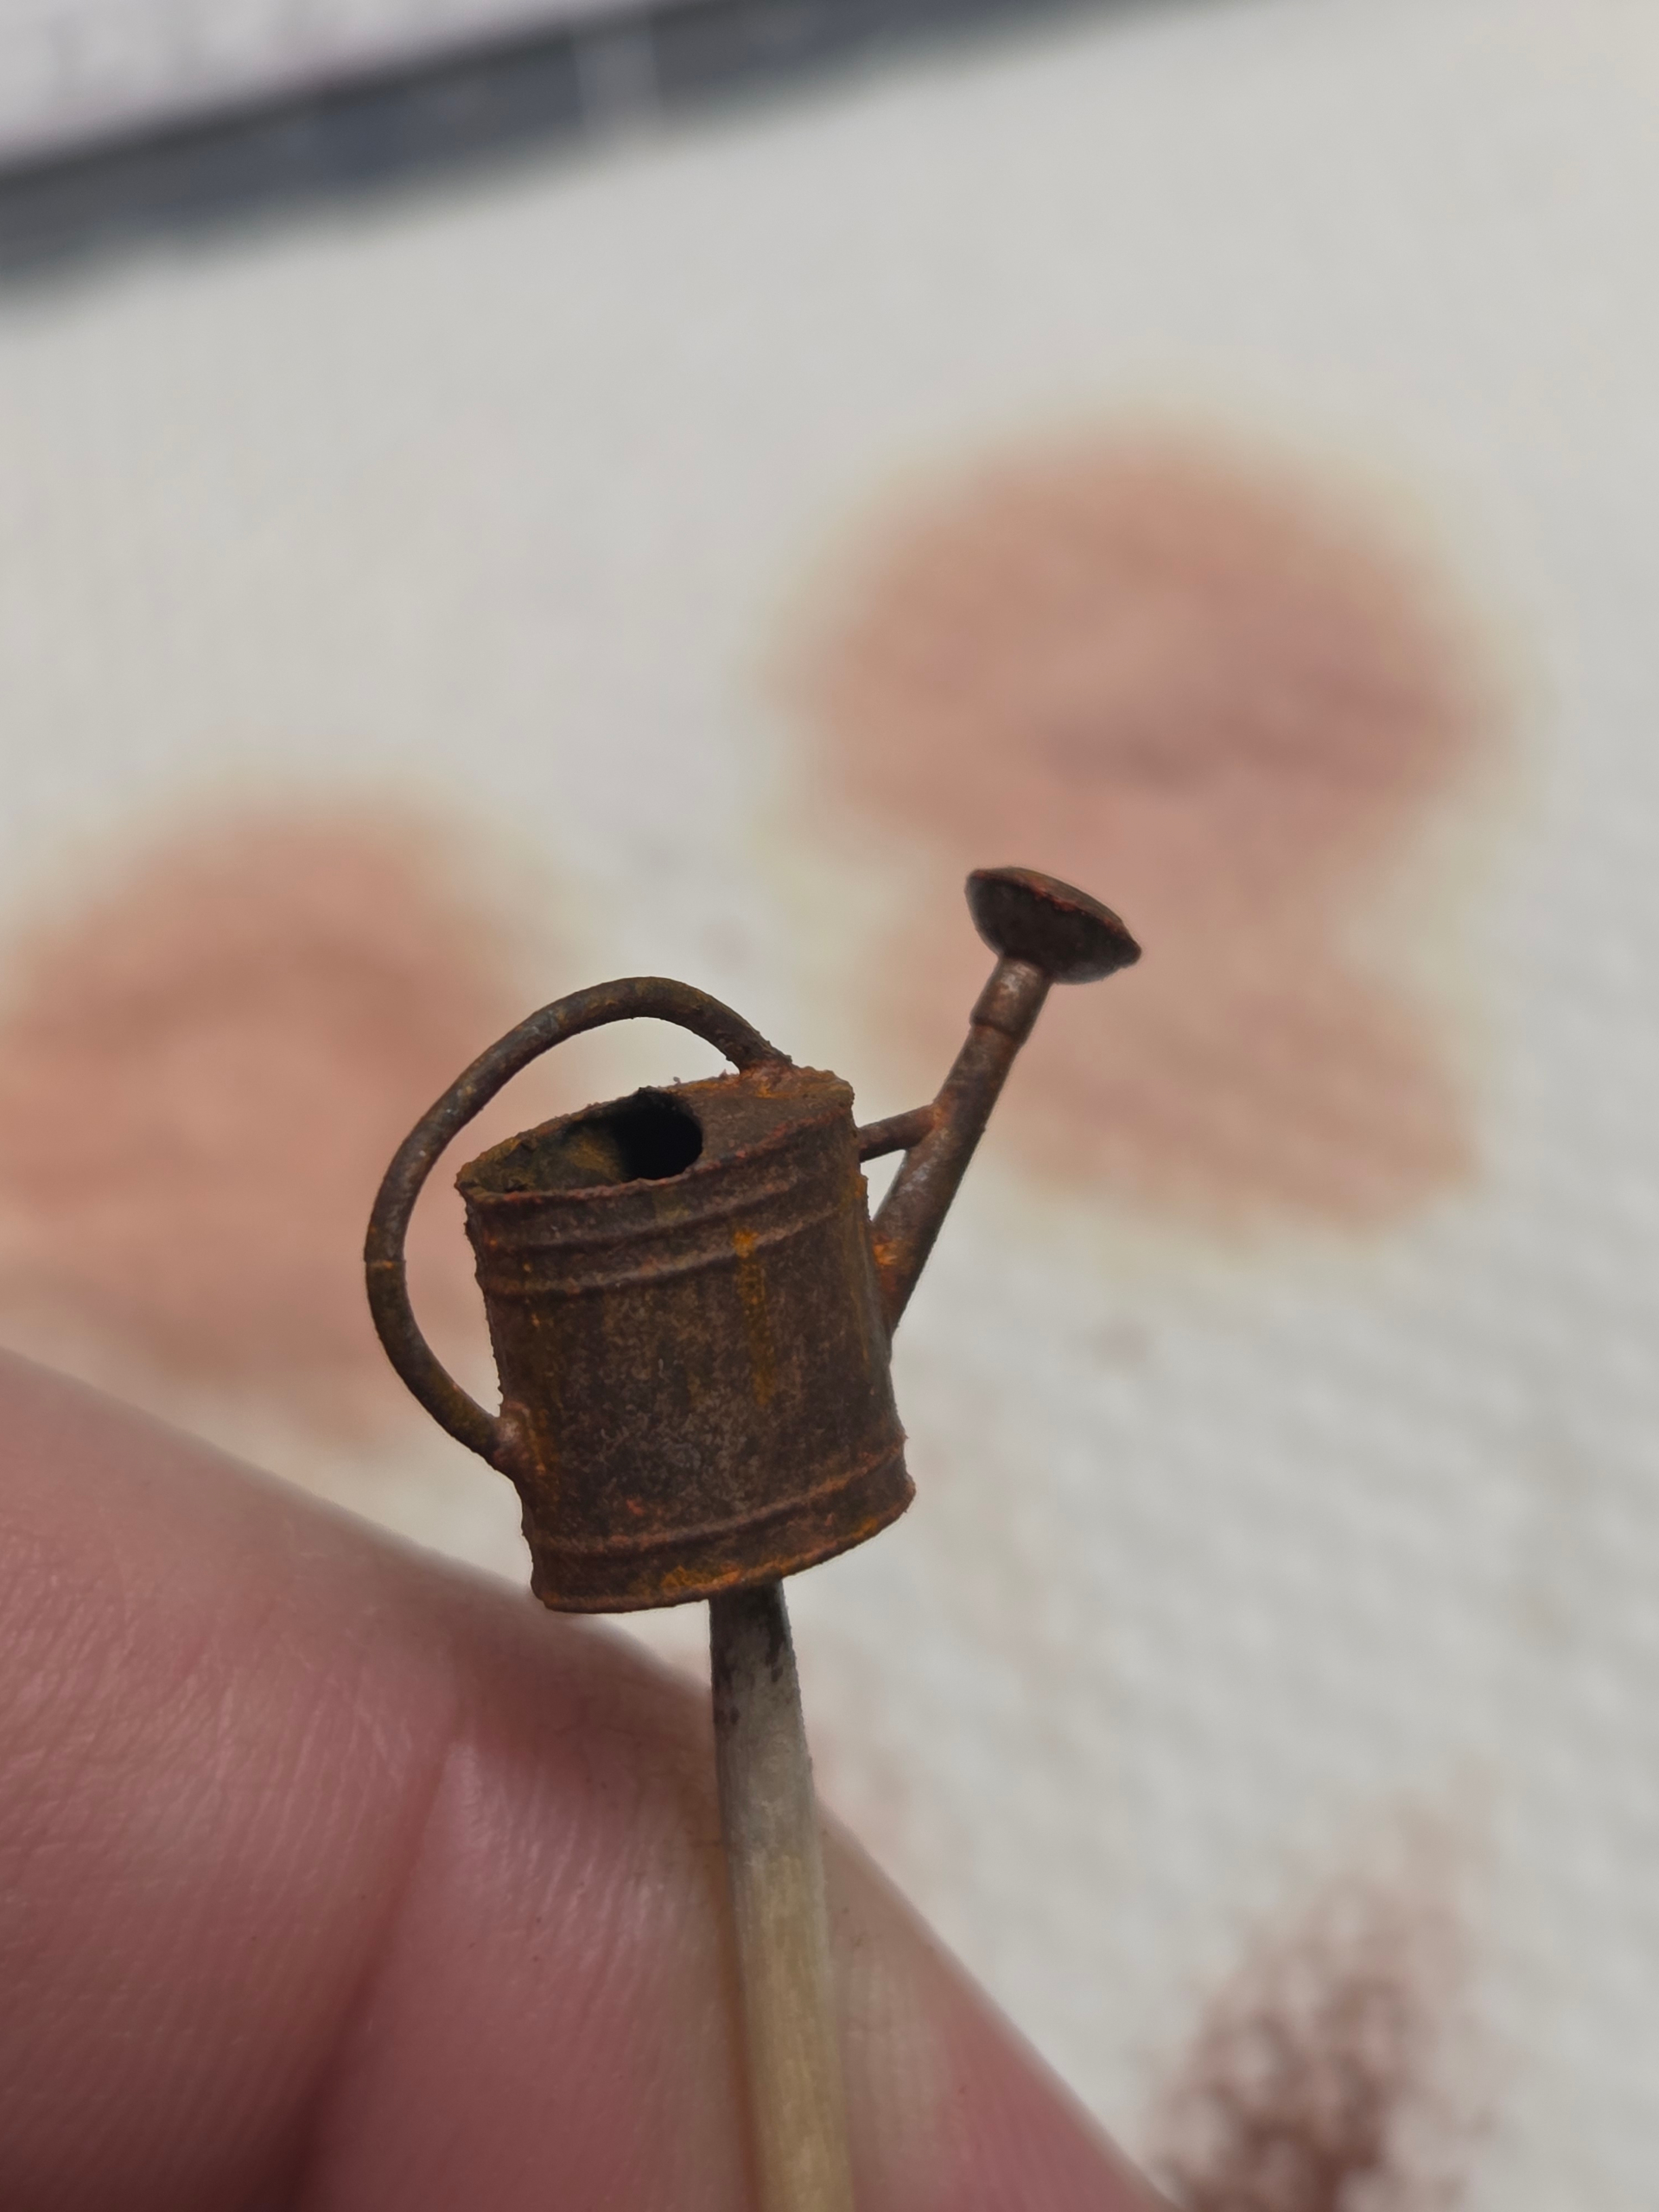
Slowly moving forward with the accessories; here is a watering can! Sponge technique and brushes with acrylics and watercolor pencils. Now it needs a matte coat before I can add the final touch: some dirt and a flower growing in the hole.
Loving the fence! Appling chipping fluid with a sponge… ….Why have I never thought to do that? And oooh ya, those MiniArt ladders are way to clean and orderly; nice job working it in. The skull, the watering can: great painting.
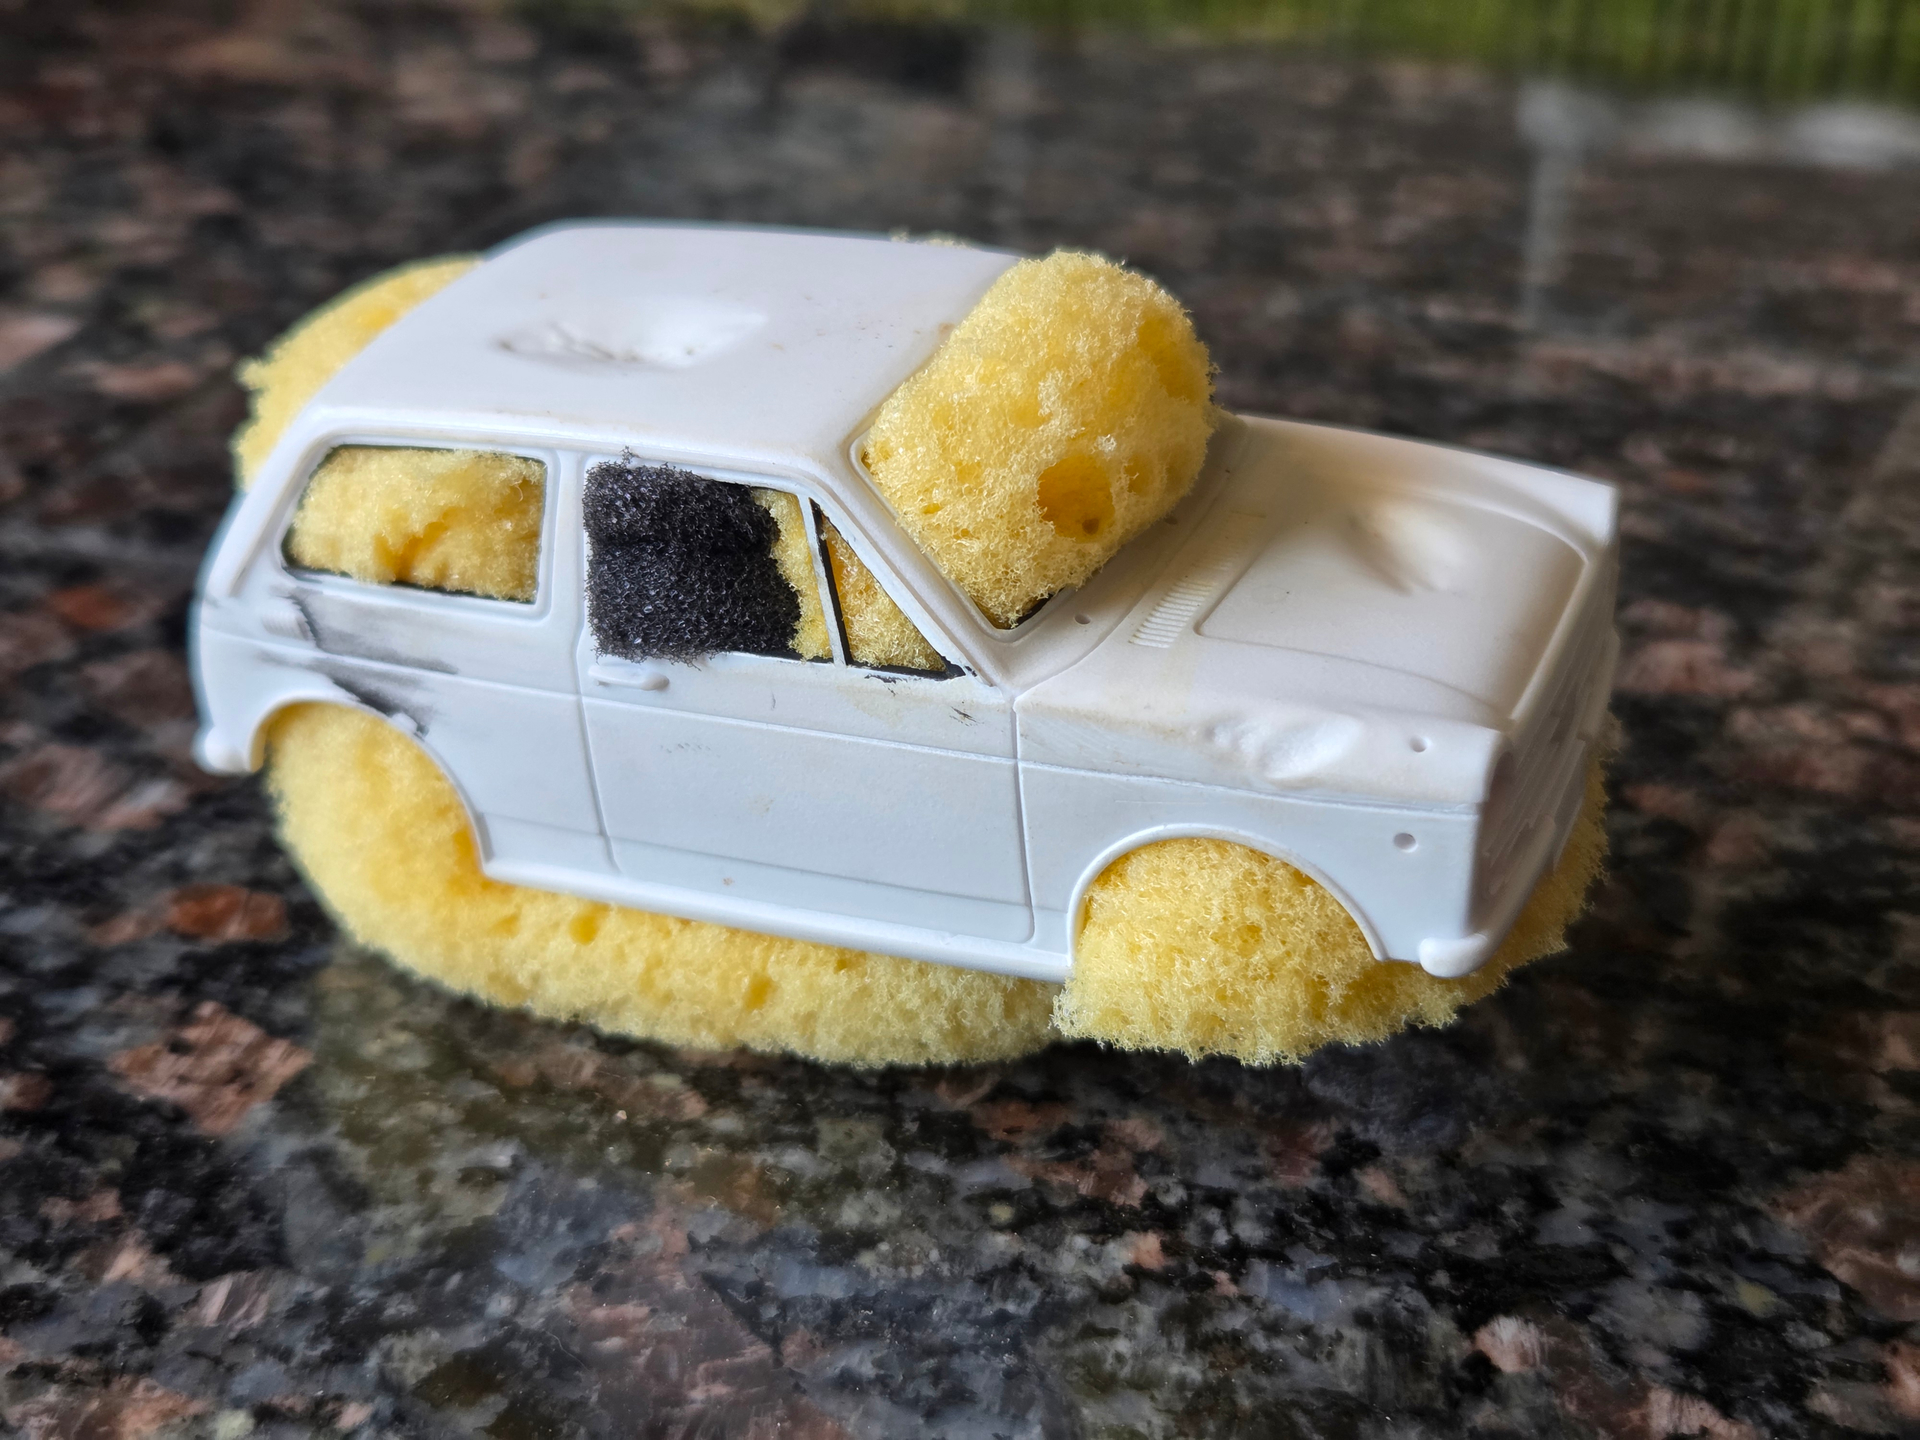
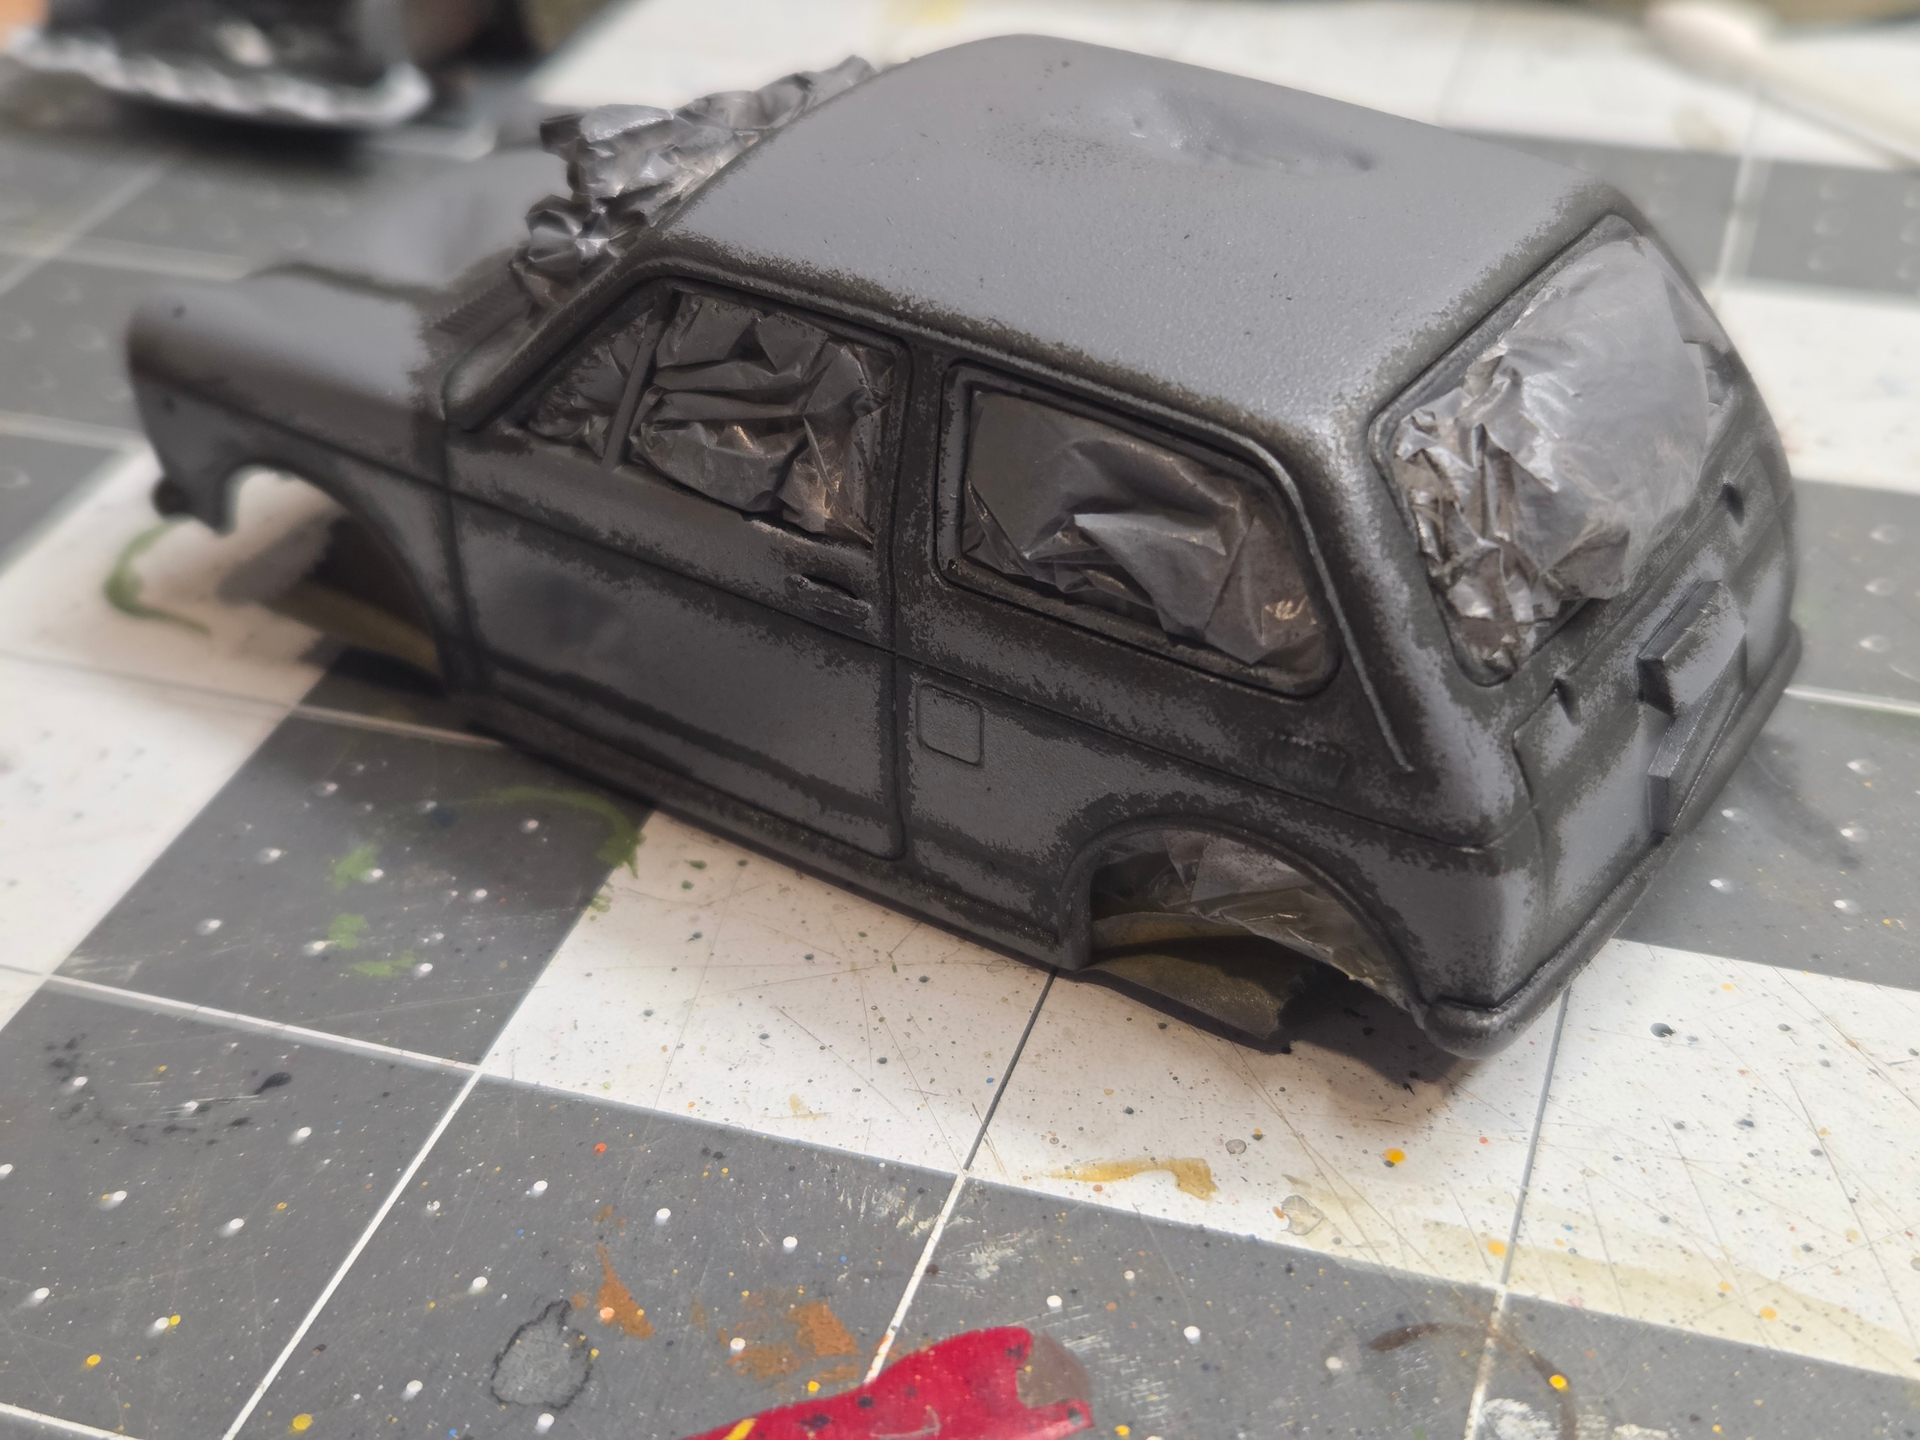
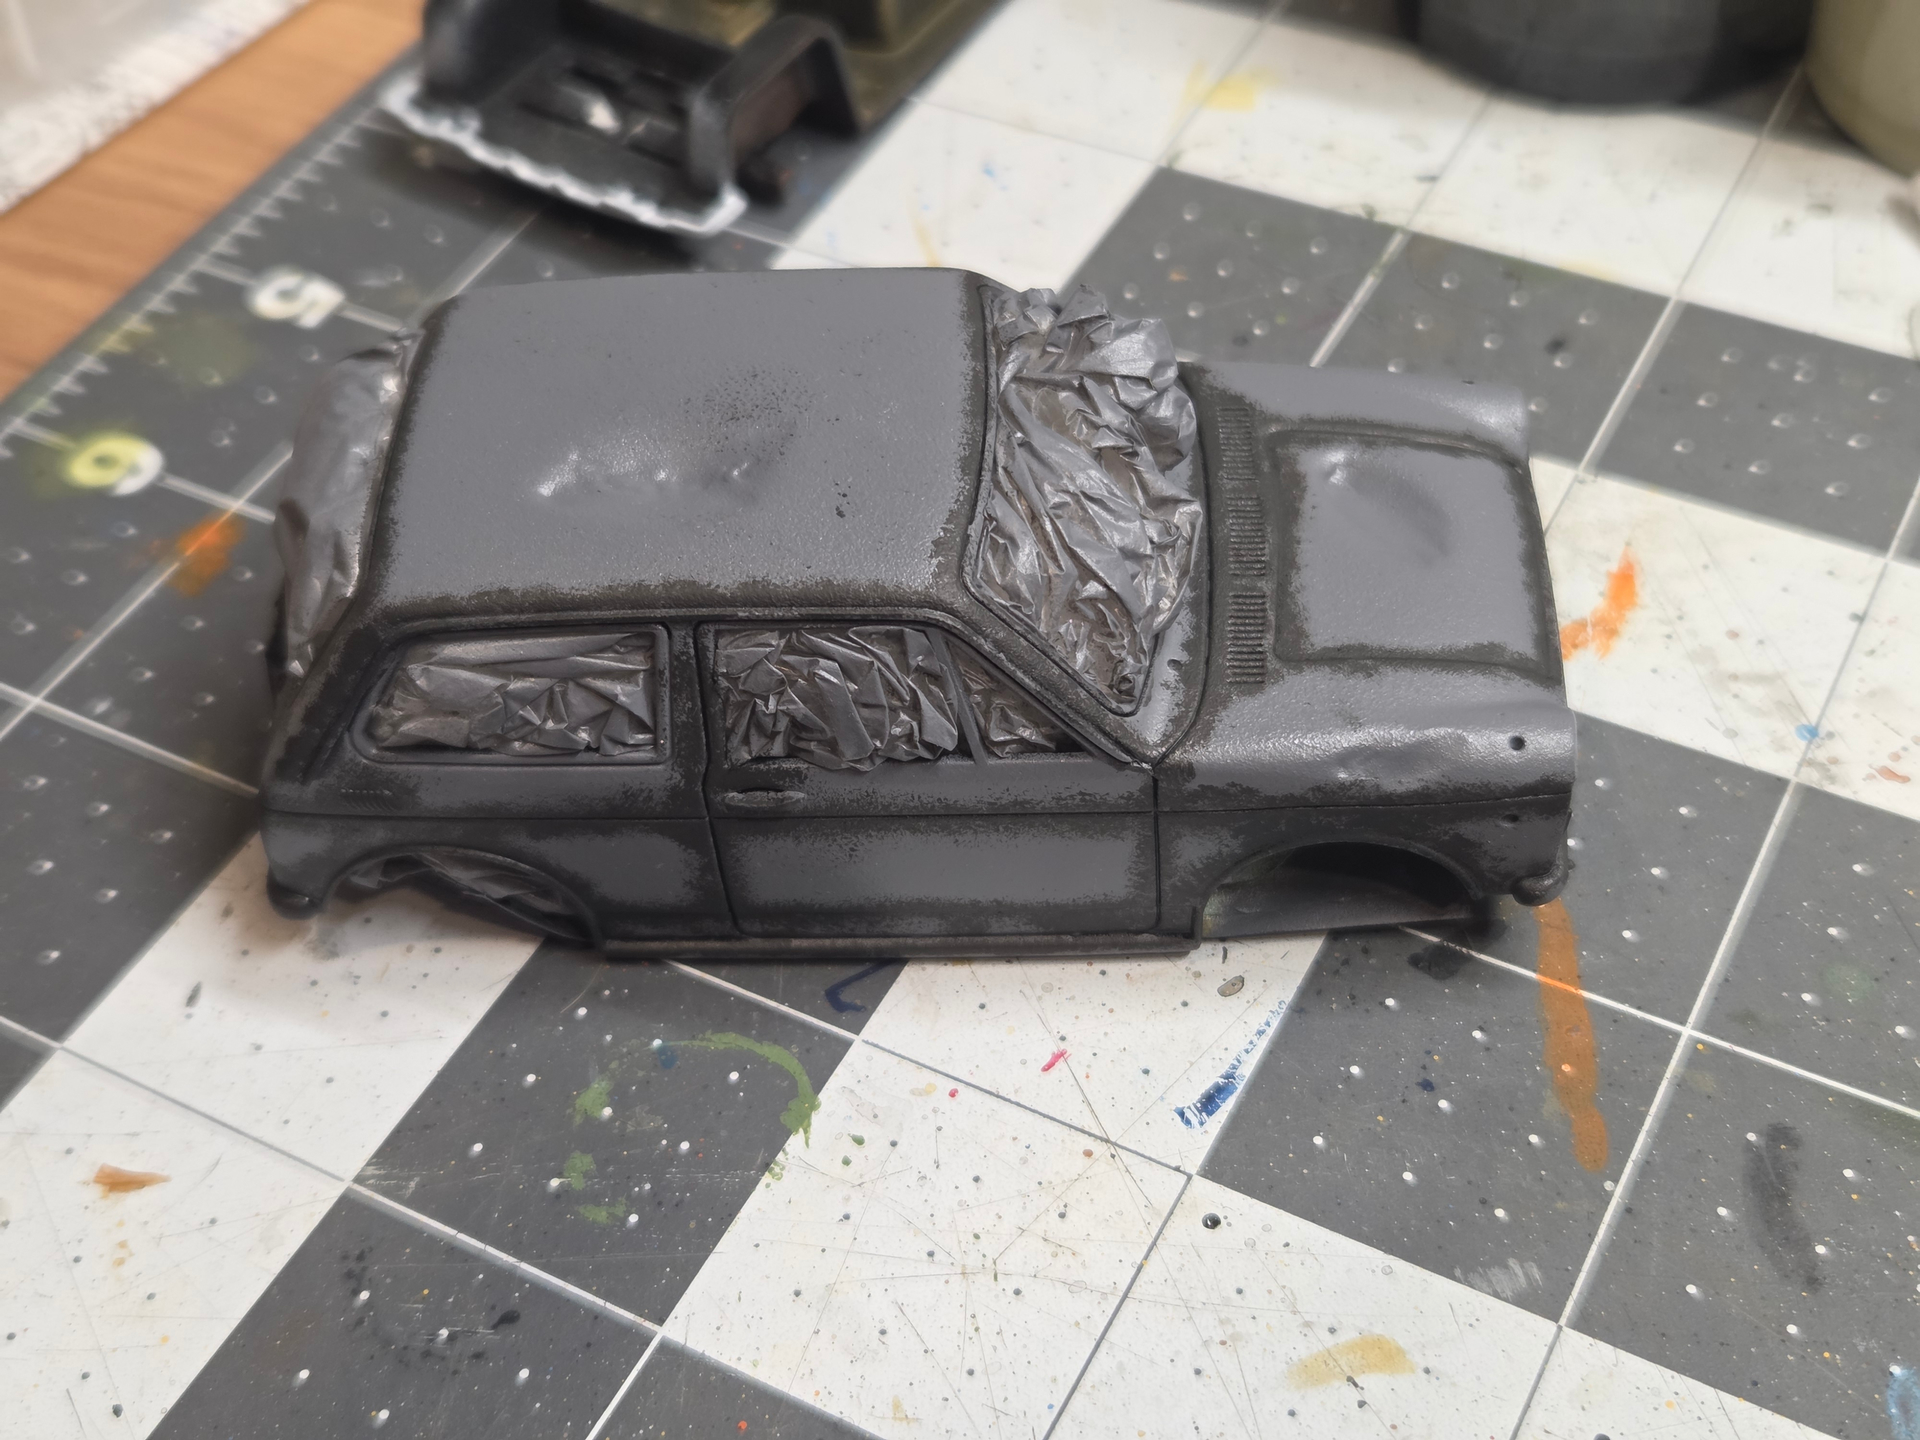
Gray primer is on (I switched to a thin plastic bag instead of the sponges to protect the interior; very handy). I wanted to pre-shade but i don’t have an airbrush, so I first applied black panel liner and then used a small piece of sponge and inverted-action tweezers to apply rubber black in and over recesses. I think it looks good. We’ll see this weekend when I paint over the white if this works.
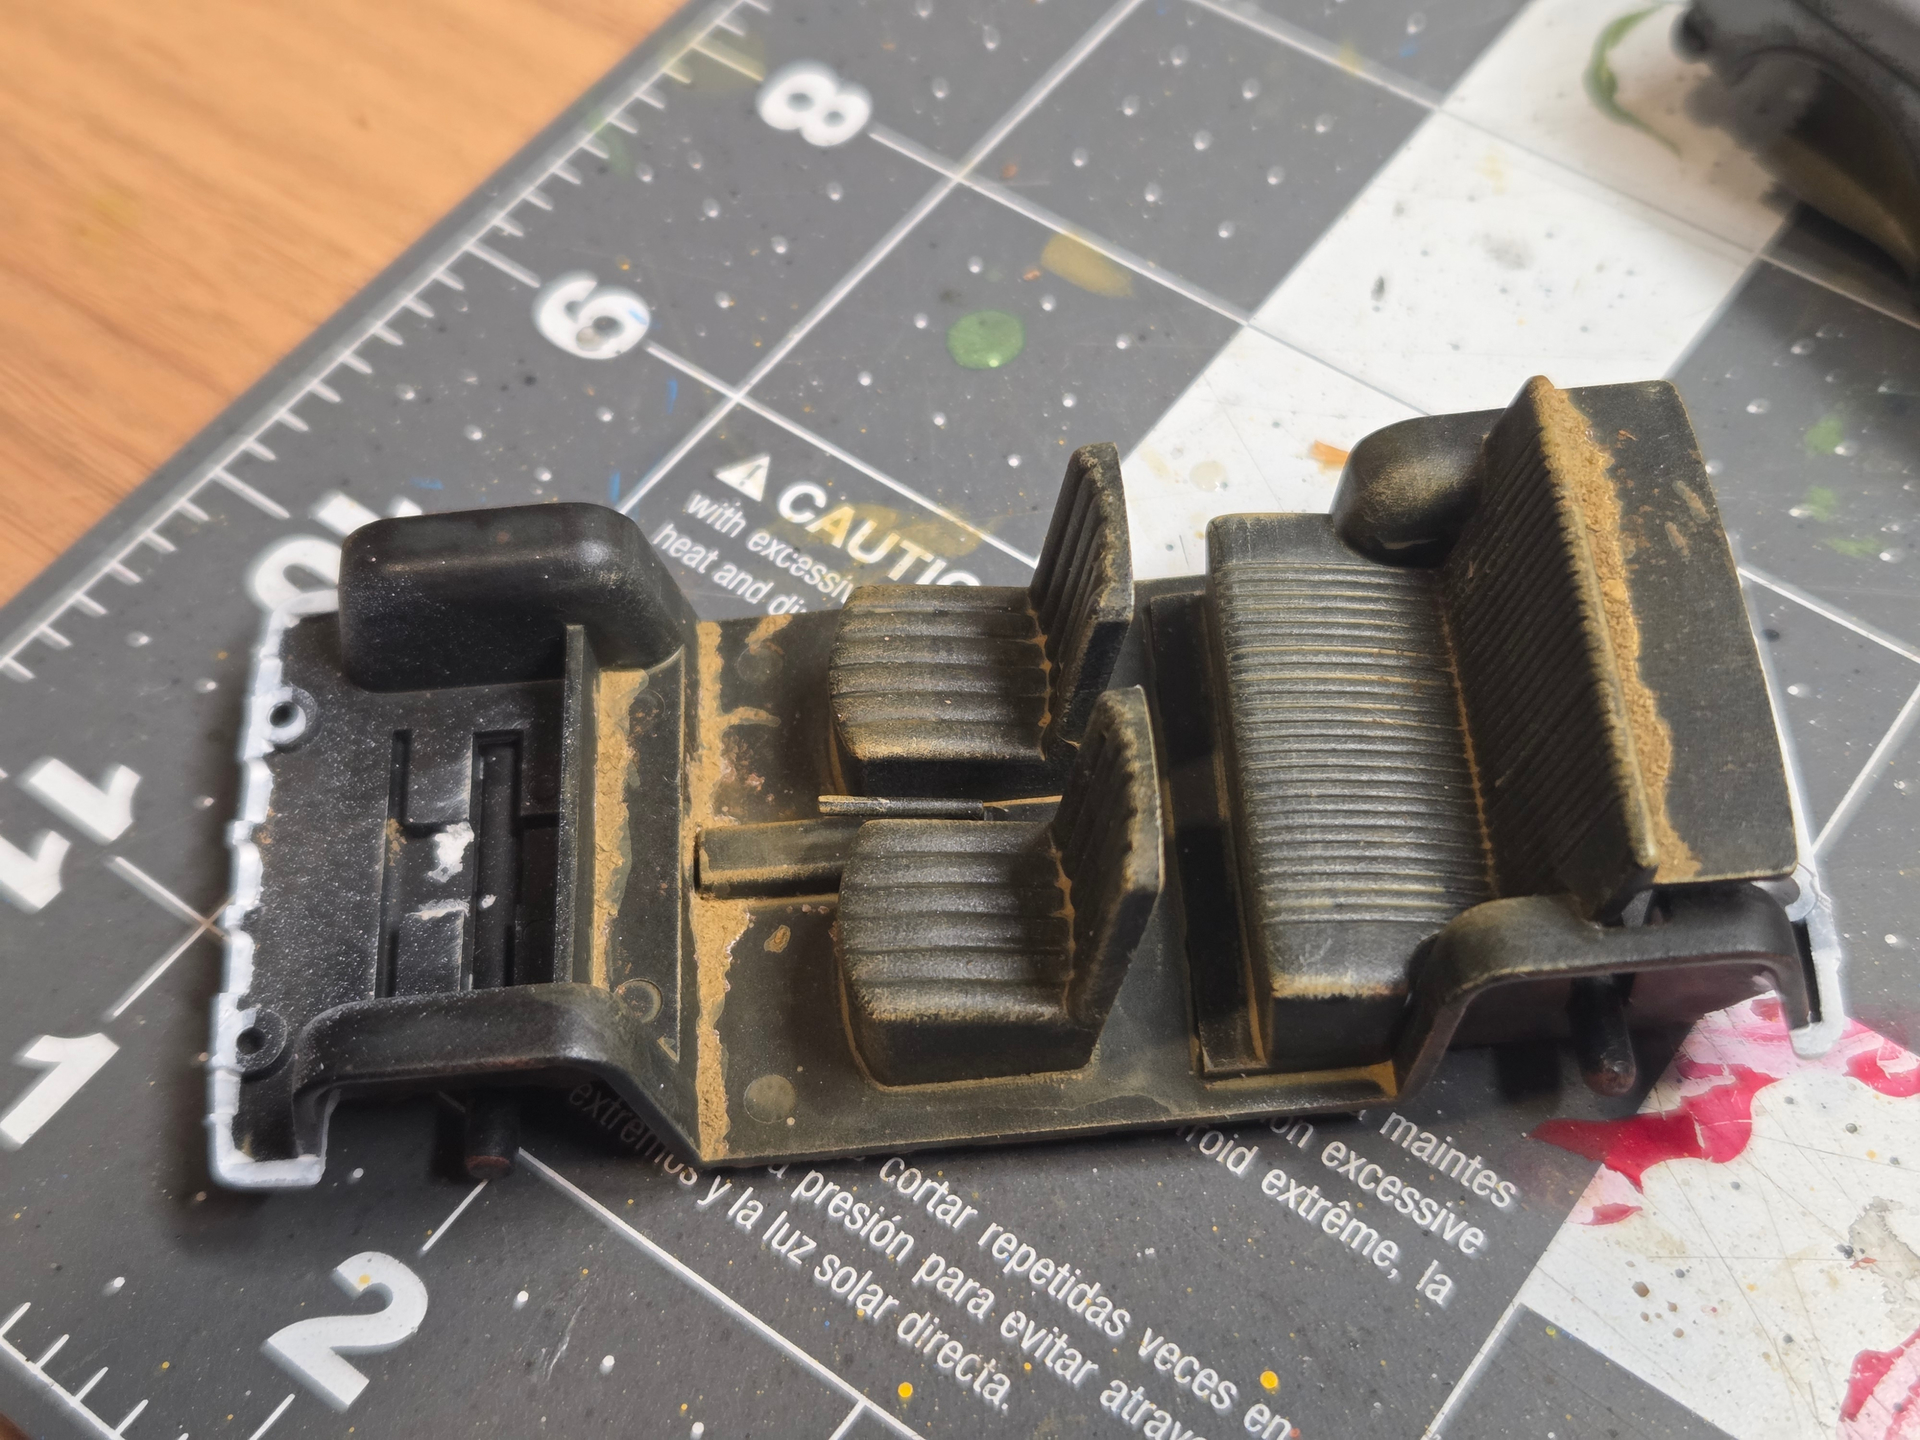
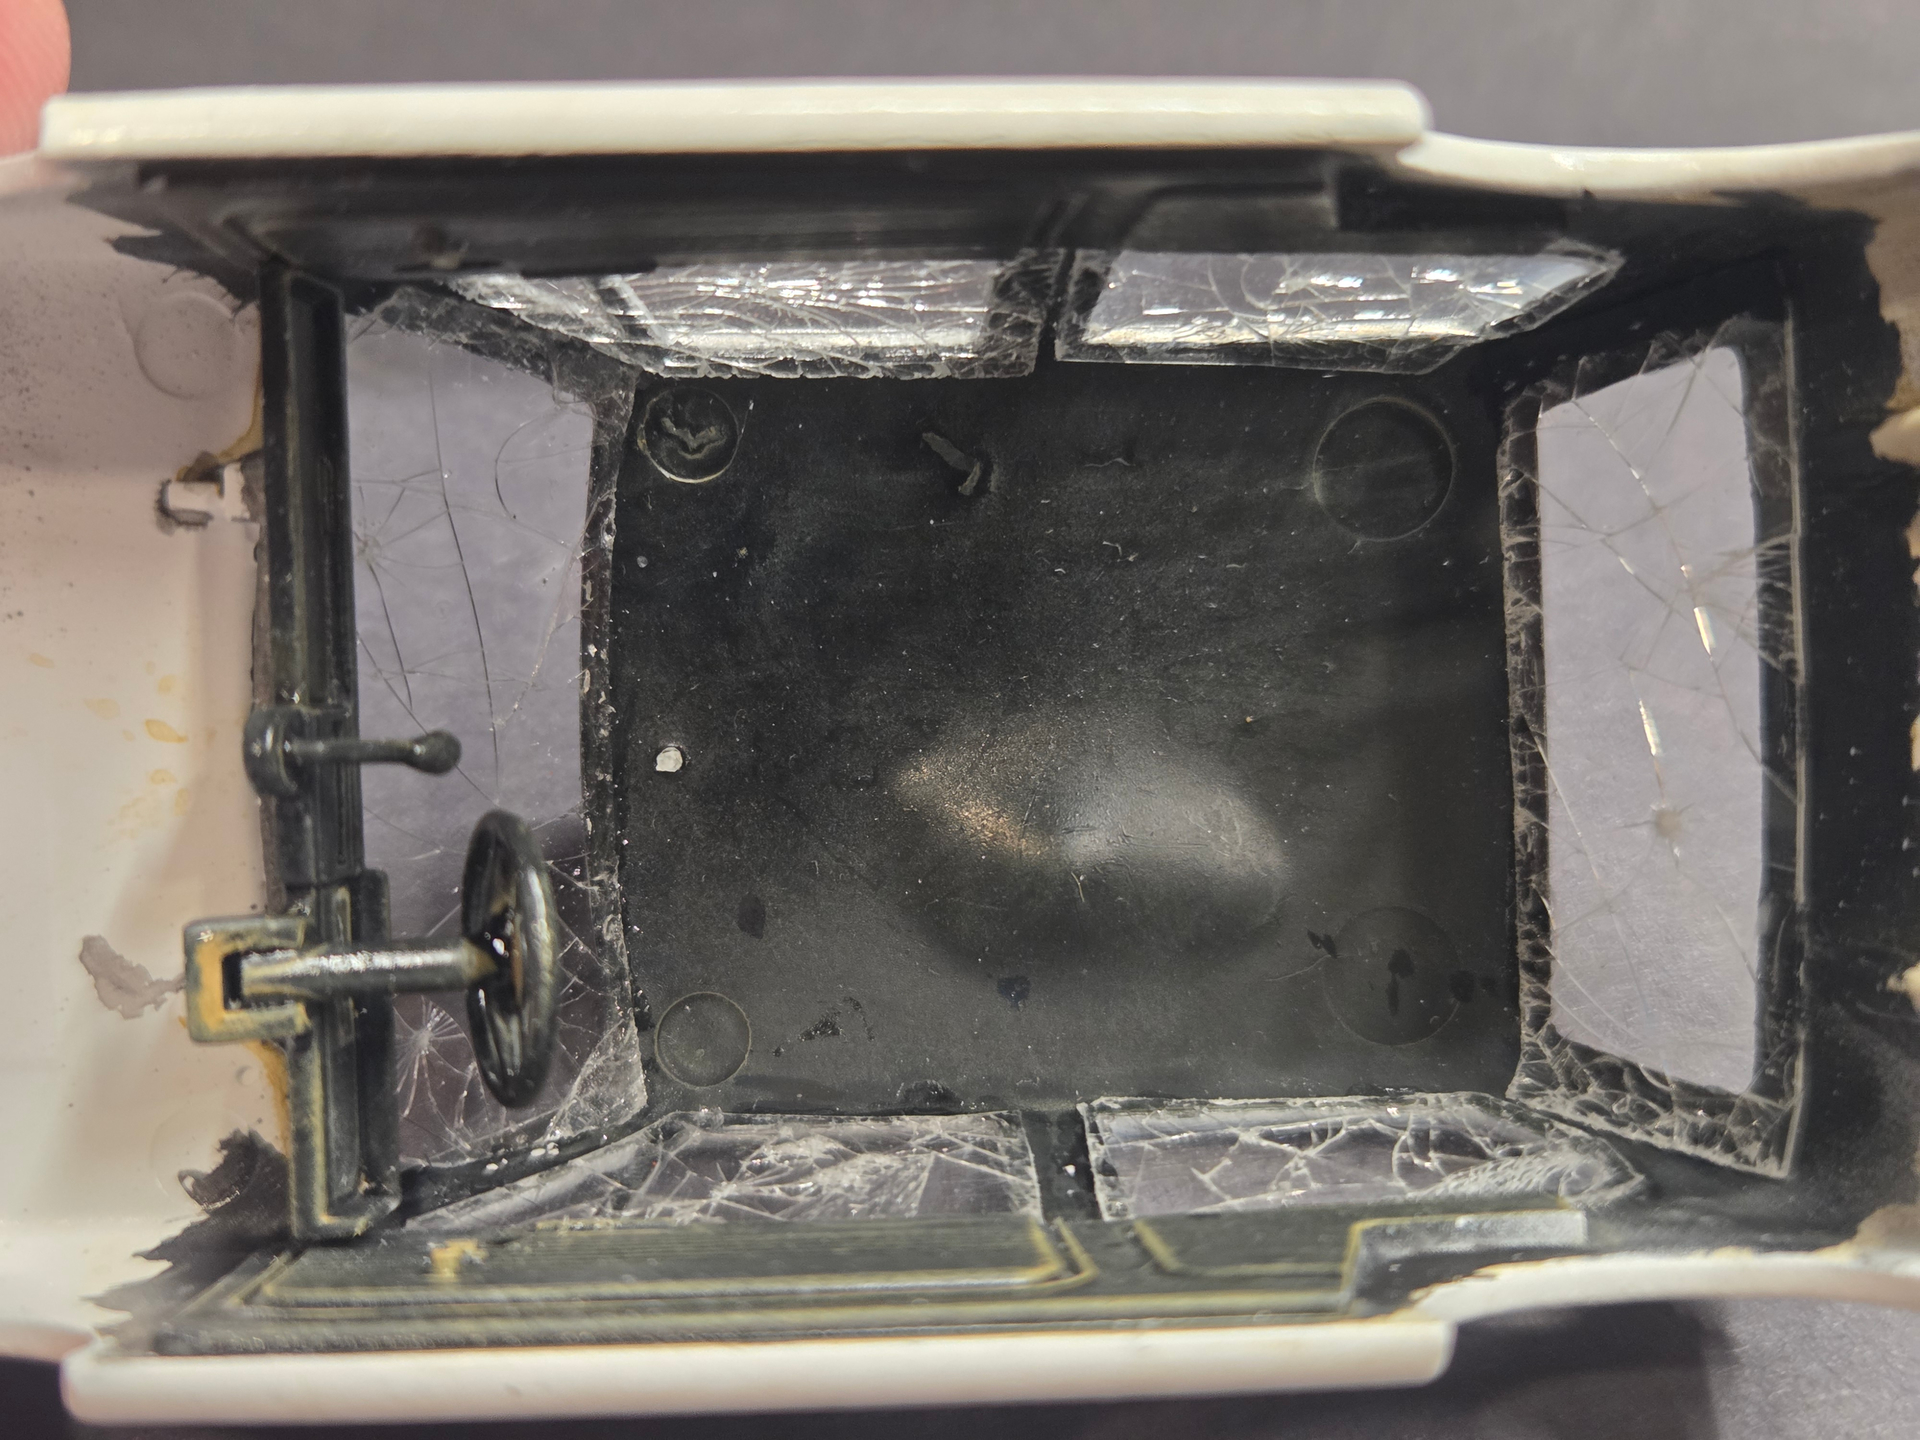
Also, a picture of the interior attached to the chassis: since it’s poorly detailed, I painted it all black to reduce visibility, applied an ocre wash and an ocre dry brushing, and added some pigments here and there to simulate dust accumulation. Same treatment for the interior within the cab (the pre-shaded piece).
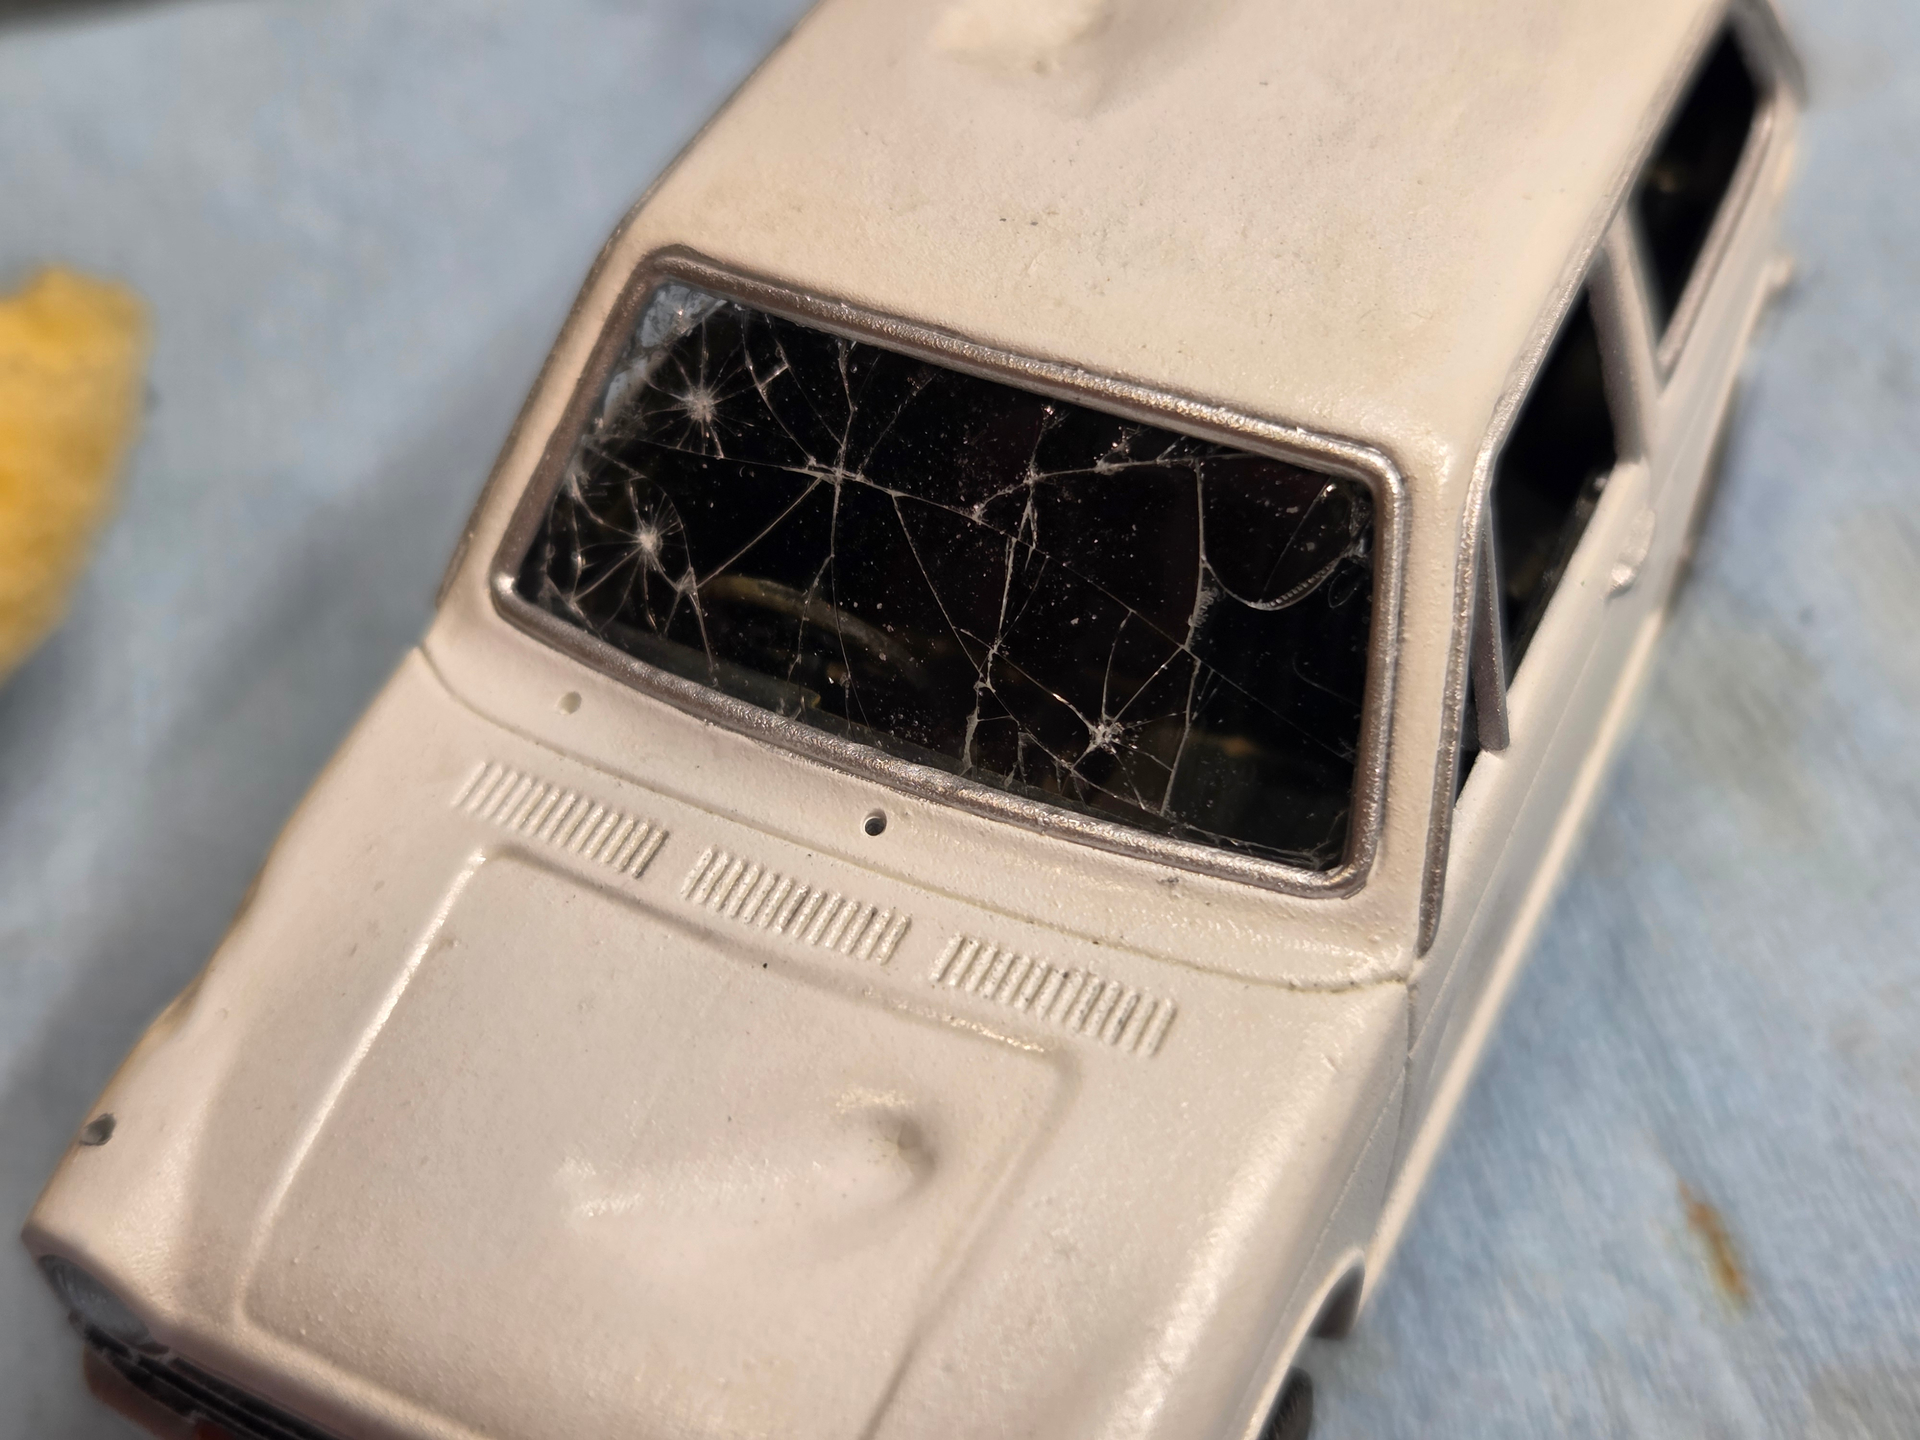
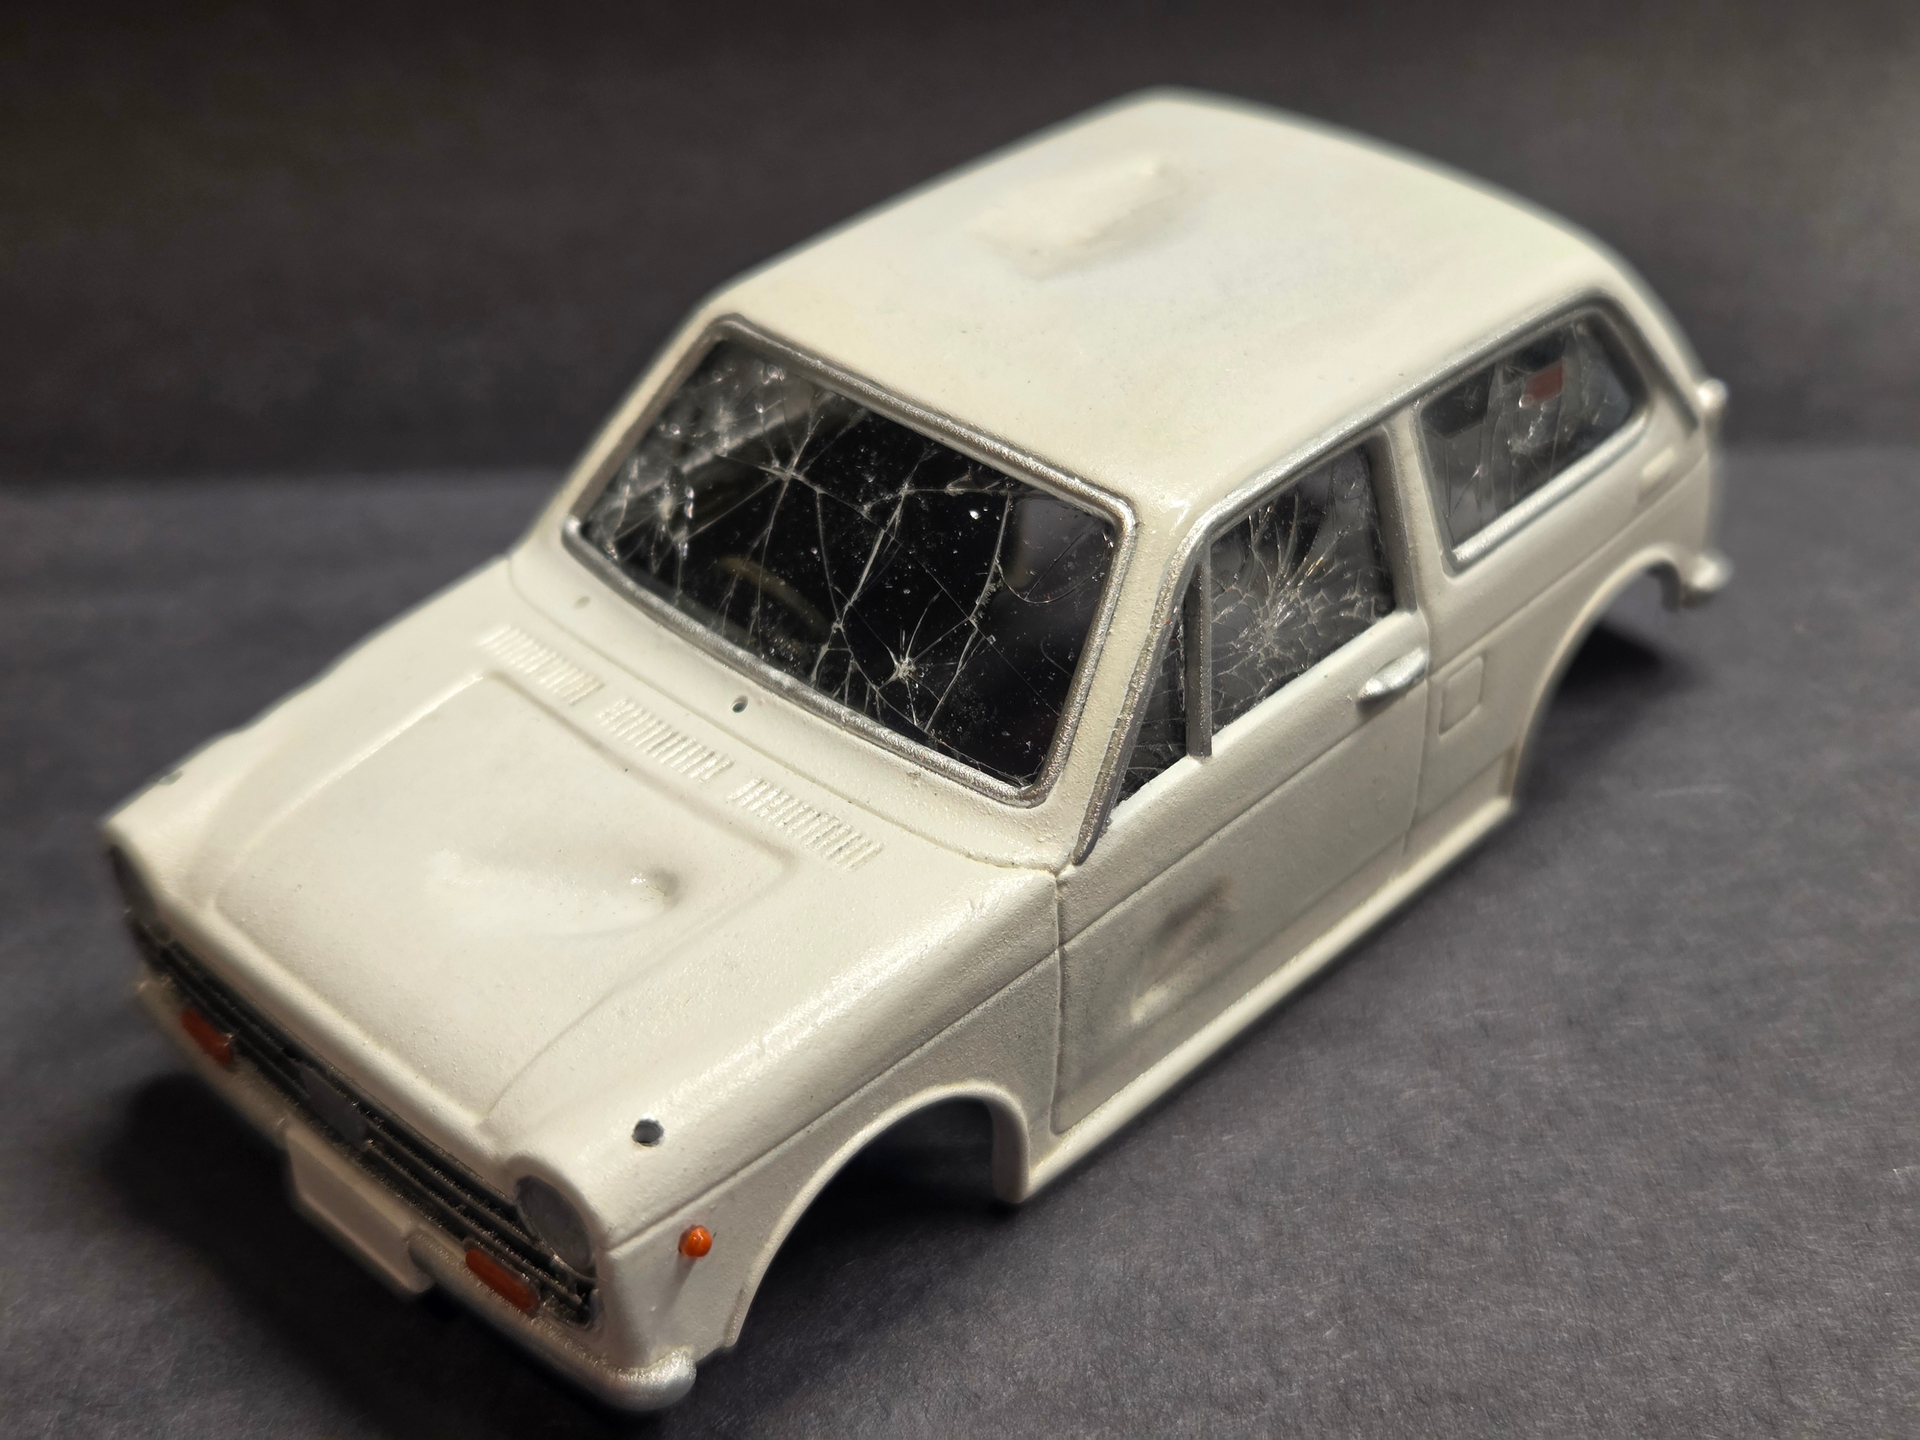
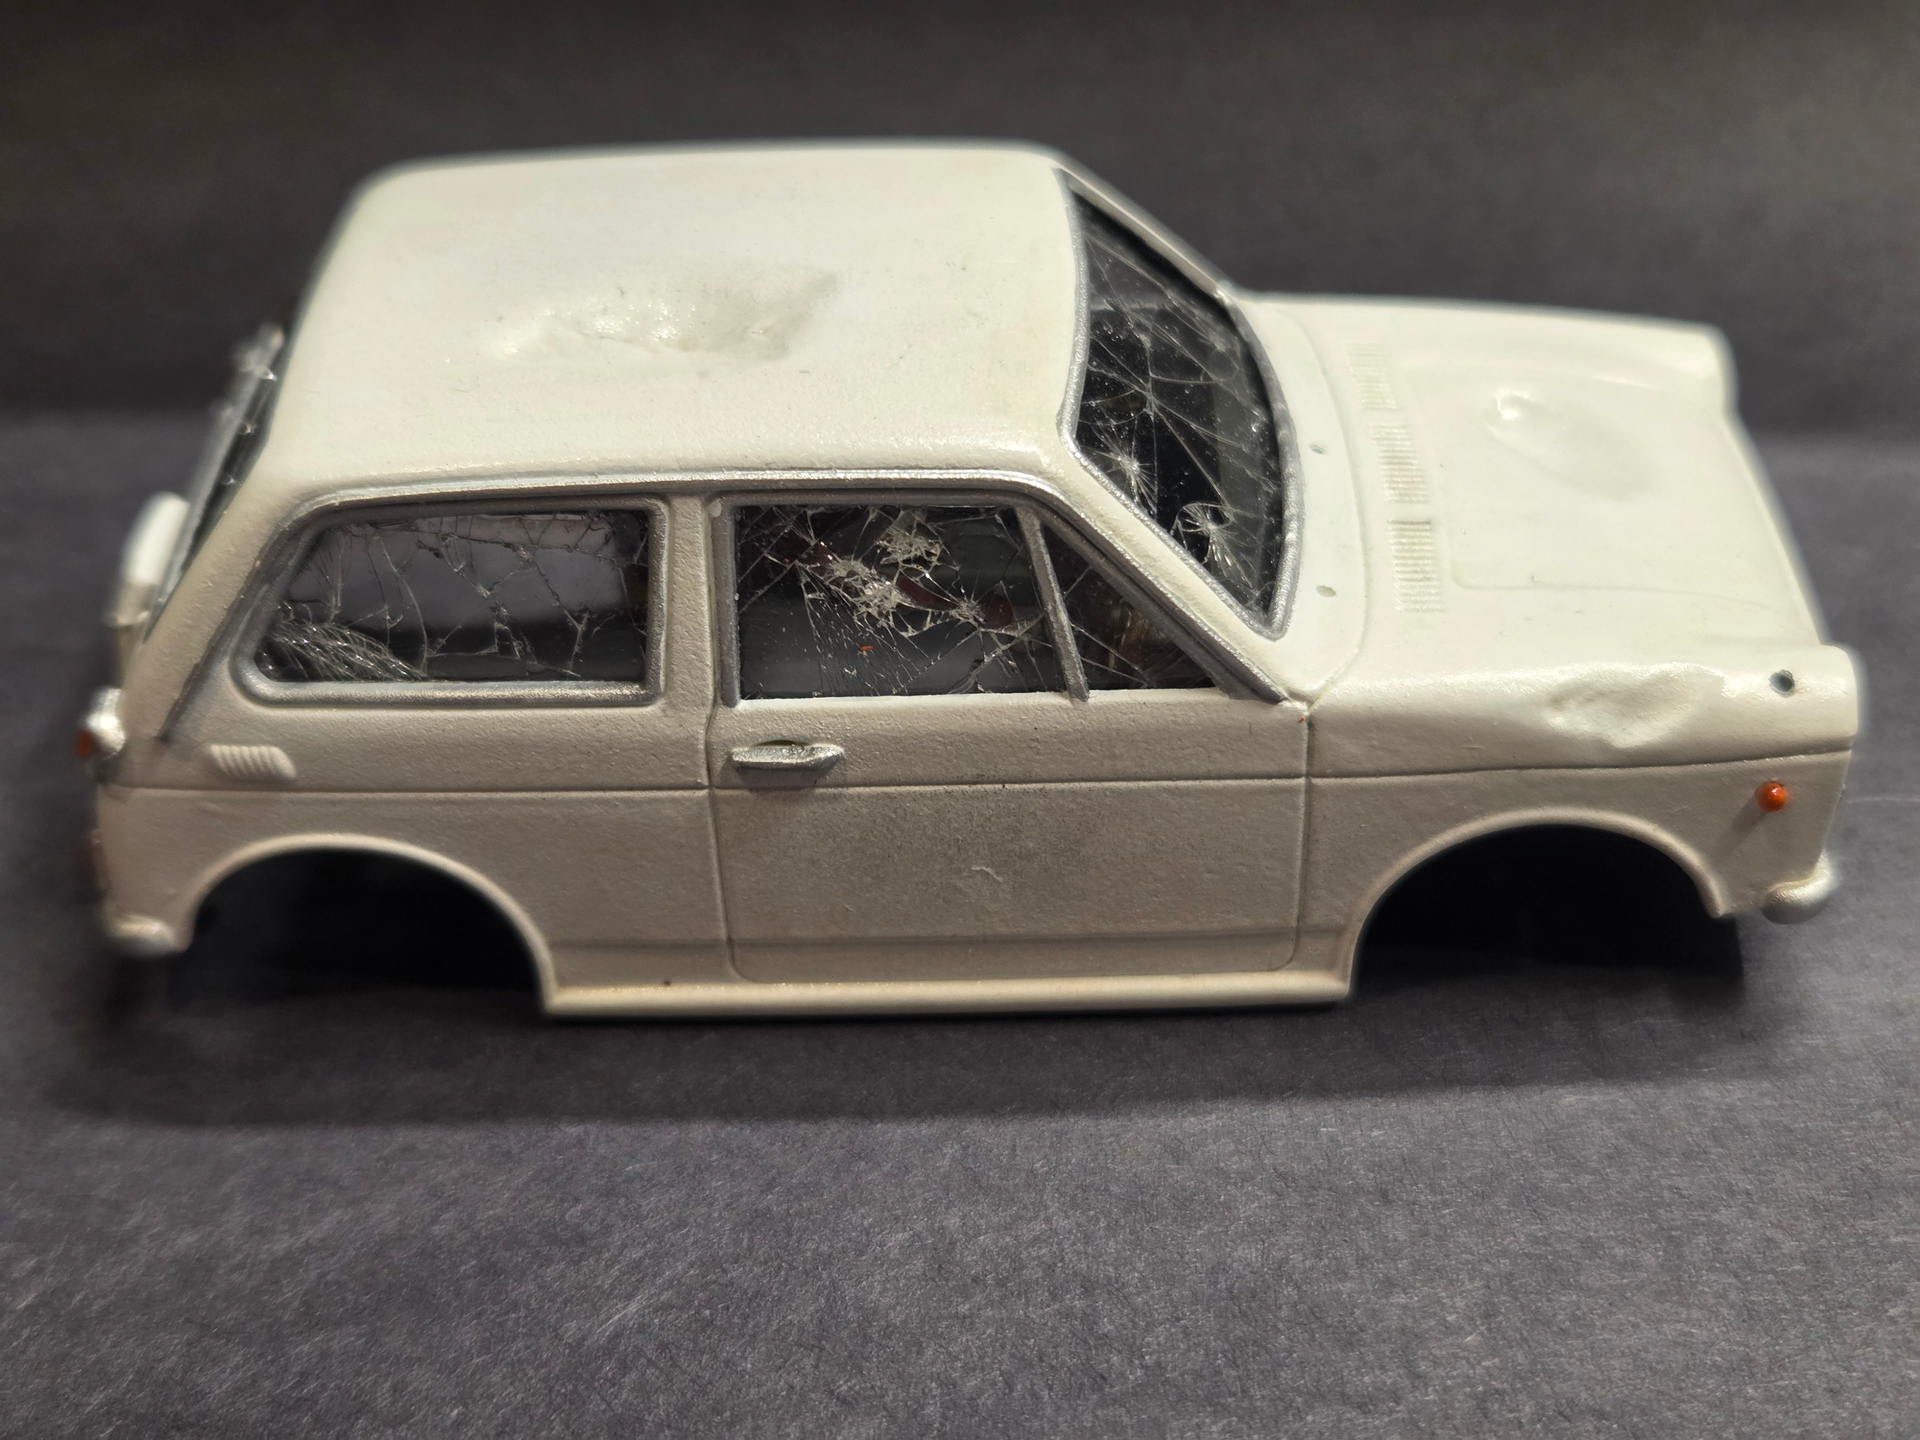
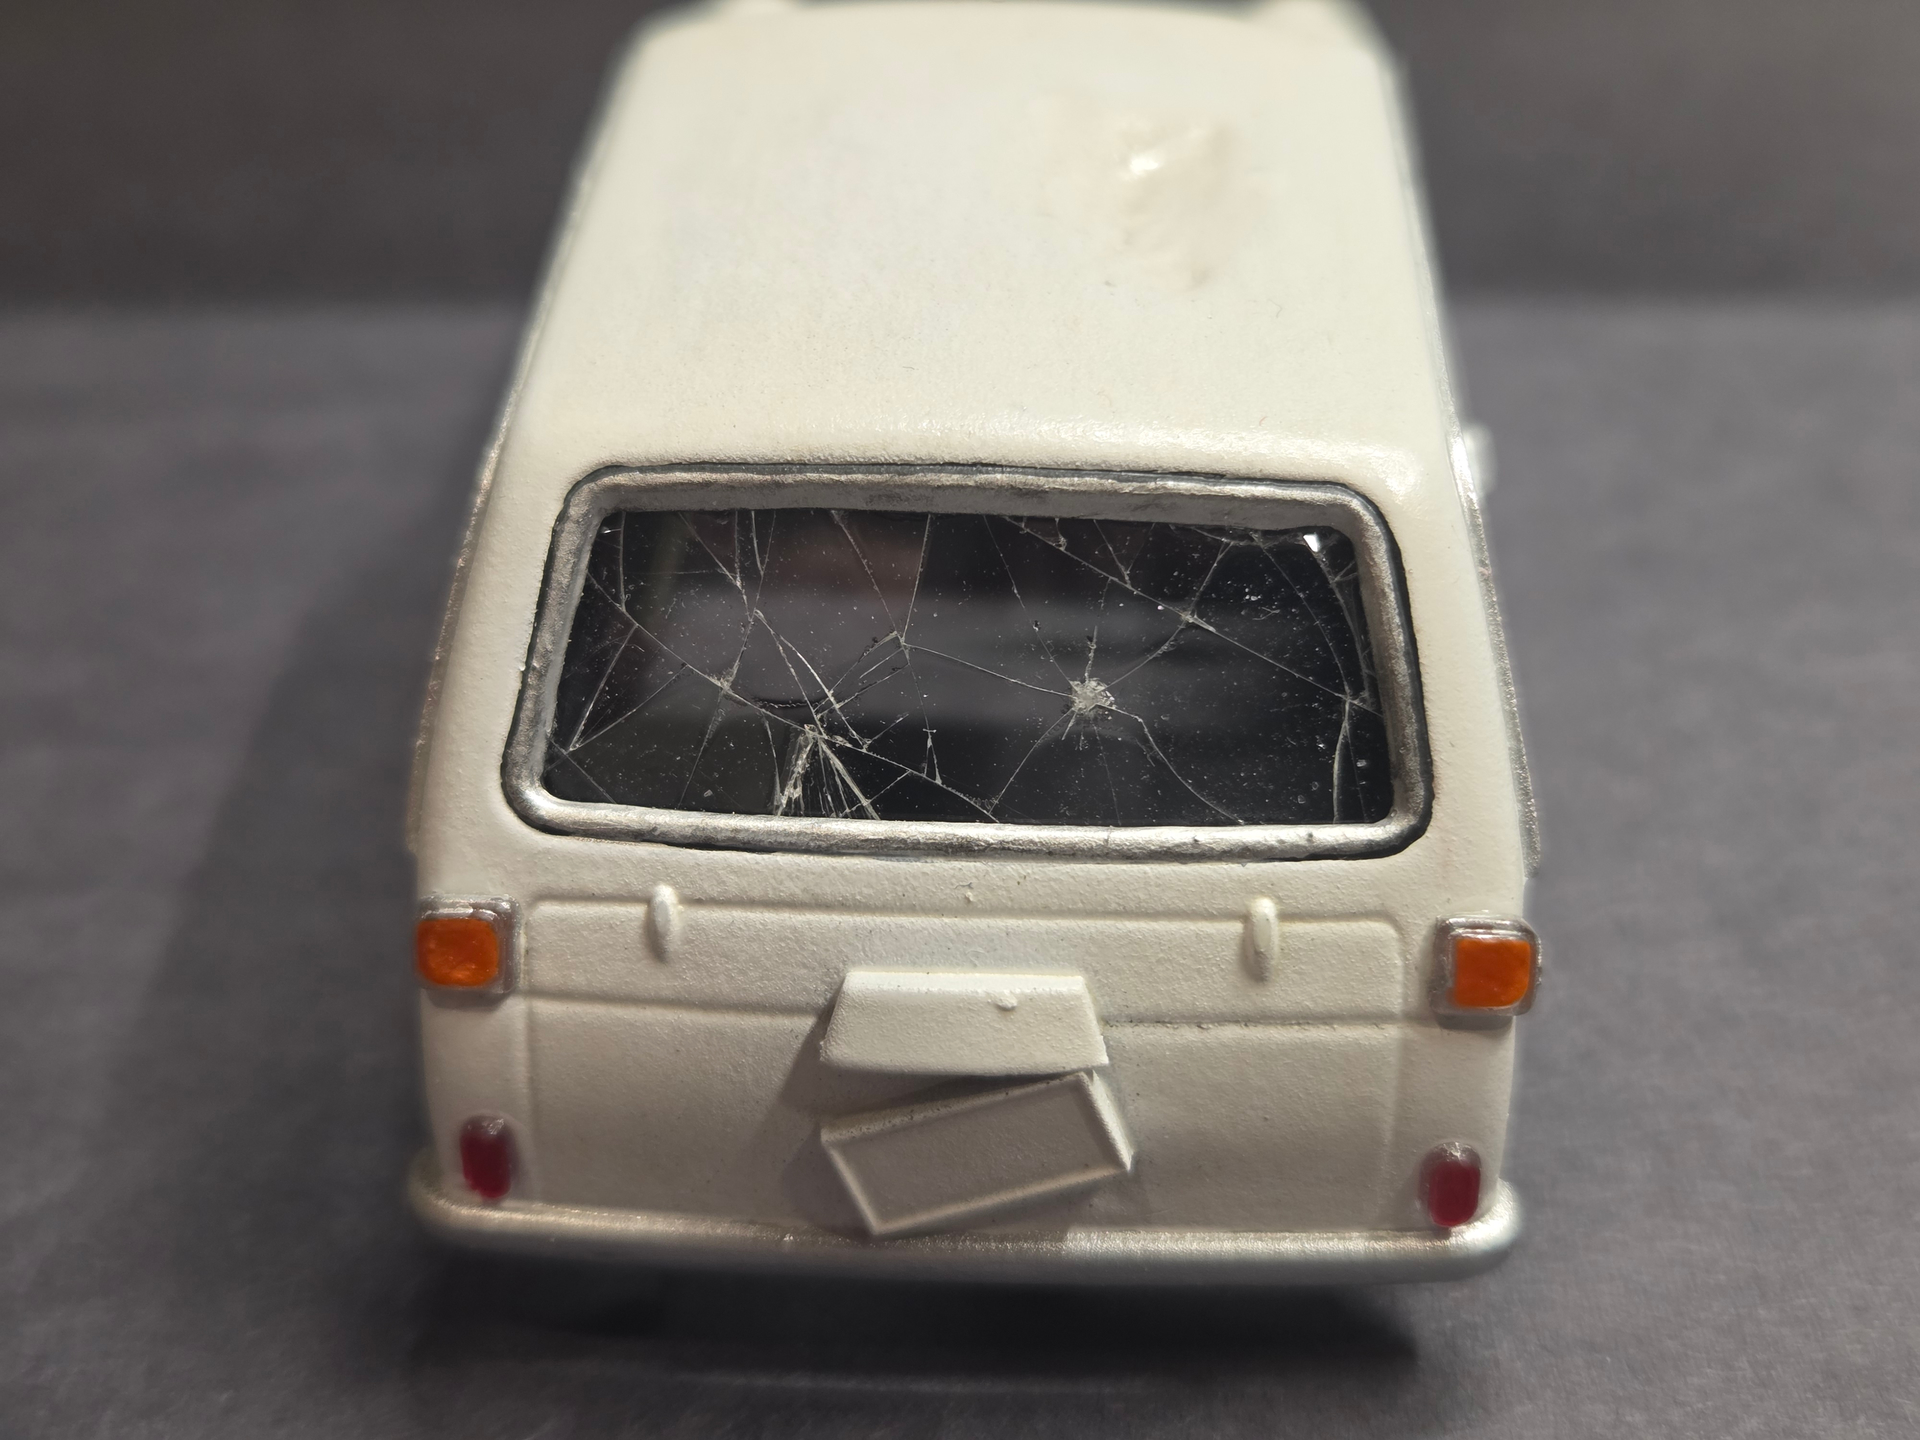
Progress has been made! The body was painted in white, received a light gray filter to desaturate it, and all the details were painted too. Now, I’m working with tempered glass from a screen protector to mimic damaged windshields and side windows; a bit tricky to glue, but very convincing in my opinion.
Done doing all the broken windows. Perhaps that’s a bit too much, but, heck, why not!
The process leaves leaves a crapy result inside the body of the car, but nothing that black paint cannot fix. The interior is not important for this project anyways, which is why it’s all painted black.






 ….Why have I never thought to do that? And oooh ya, those MiniArt ladders are way to clean and orderly; nice job working it in. The skull, the watering can: great painting.

 ; much more practical than tape!