Group Build Description: This is the 2023 version of the popular Hot Out of the Molds group build. It is open to all modeling genres and scales. Model must be from a kit released in 2022 or 2023. Upgrades and aftermarket allowed. Tell us about your new kit, how it looks in the box, how it goes together, how happy you are with it!
Event Details: (Remember to click “Going” if you want to join the build!) 2023-01-15T23:00:00Z→2023-12-30T23:00:00Z
Completion Award: I will ensure medals for all finishers of the campaign.
A Note about Awards: The following text is a reminder that in order for people participating and finishing their projects to receive a badge on their forum profile, they will need to provide their account username to the group build leader by the completion date of the build. The leader will then provide this list to the site admin who will bulk award the badges to those users who have finished the group build. If you don’t provide your username or finish the project on the timetable the leader has setup you will not be able to receive an award.
Personal opinion, I would think with 3D prints it is not when printed, it’s when it was designed would fit into this intended framework of the campaign but that is Jesper’s call.
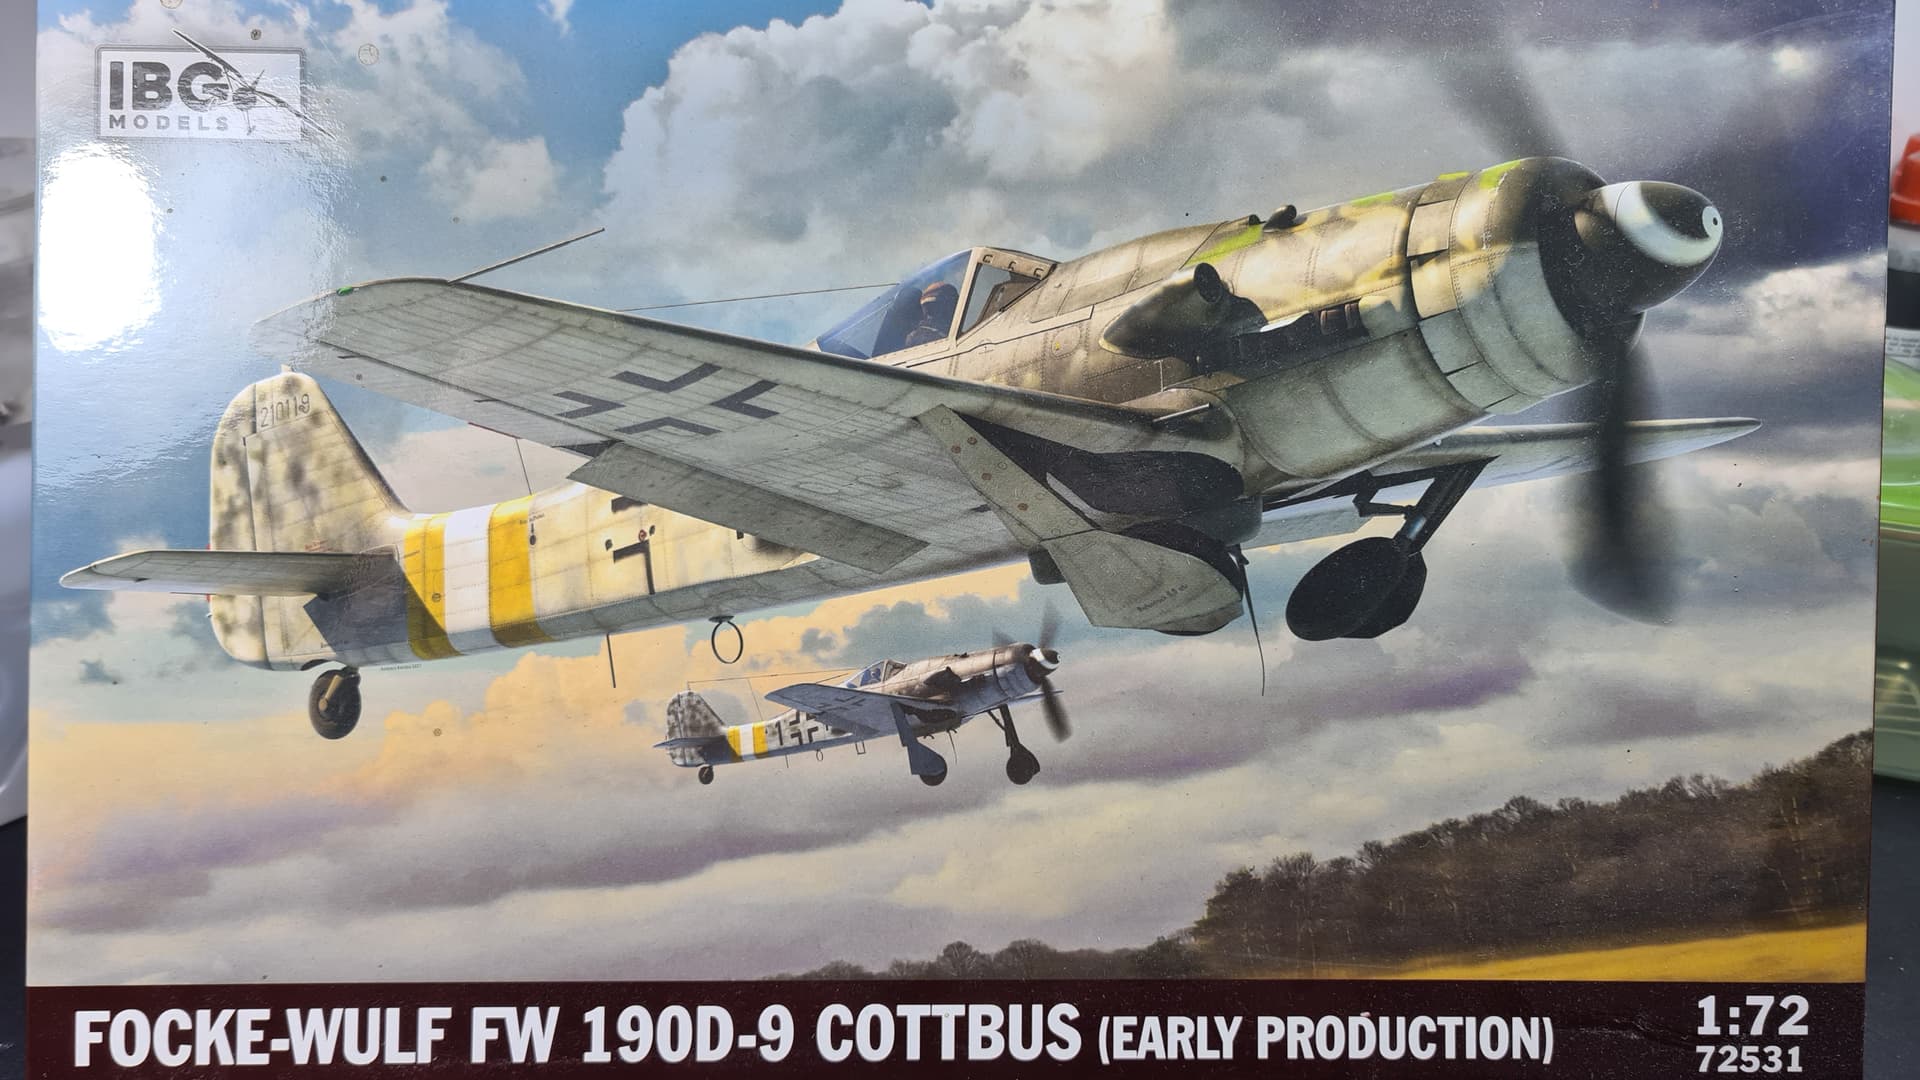
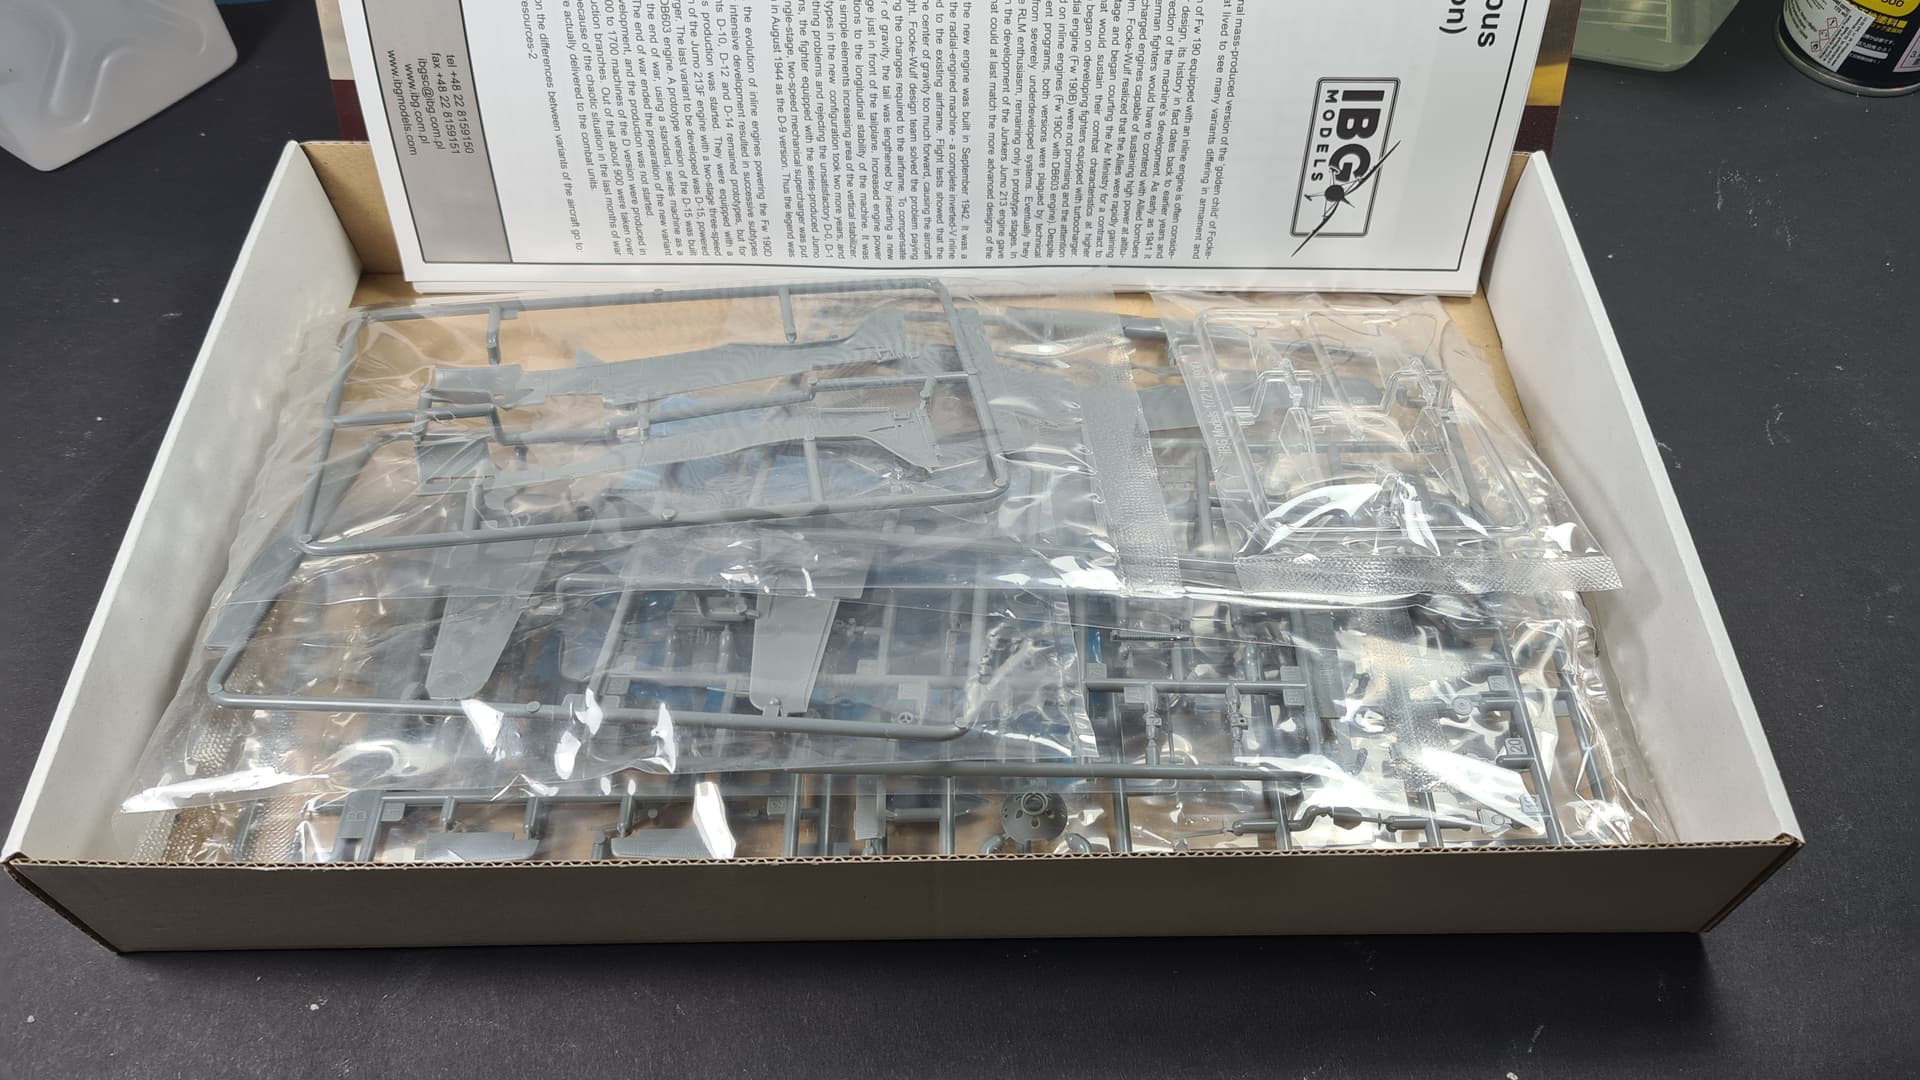
Here’s my pick for this year’s edition of HOTM - a IBG Models FW-190D in 1/72 scale. Barely made it to the round as it hit the stores in January 2022, but I really didn’t want to start another Arma Hobby kit ( P-39 Airacobra was an alternative).
Kit’s in unspoiled condition and I haven’t picked up a paint scheme I wanted to use, so some decissions still ahead of me (box art one is on the lead currently). So here are the “ignition” photos
I will follow your build, Radek, as I have this one in my stash, too. I intend to build it this year, not necessarily for this campaign. Good luck!
Peter
Thank you Peter, I’m curious how good engineering of IBG is - especially I also have their other kits, including FW190D-15 (a torpedo/bomber?). We’ll see it in a bit, planning to get started this weekend.
Cheers,
Radek
Looking forward to see more, Radek. I have their limited editions Pz. II and 7TP in my stash so will be interesting to hear how the fit is. It looks like very good kits.
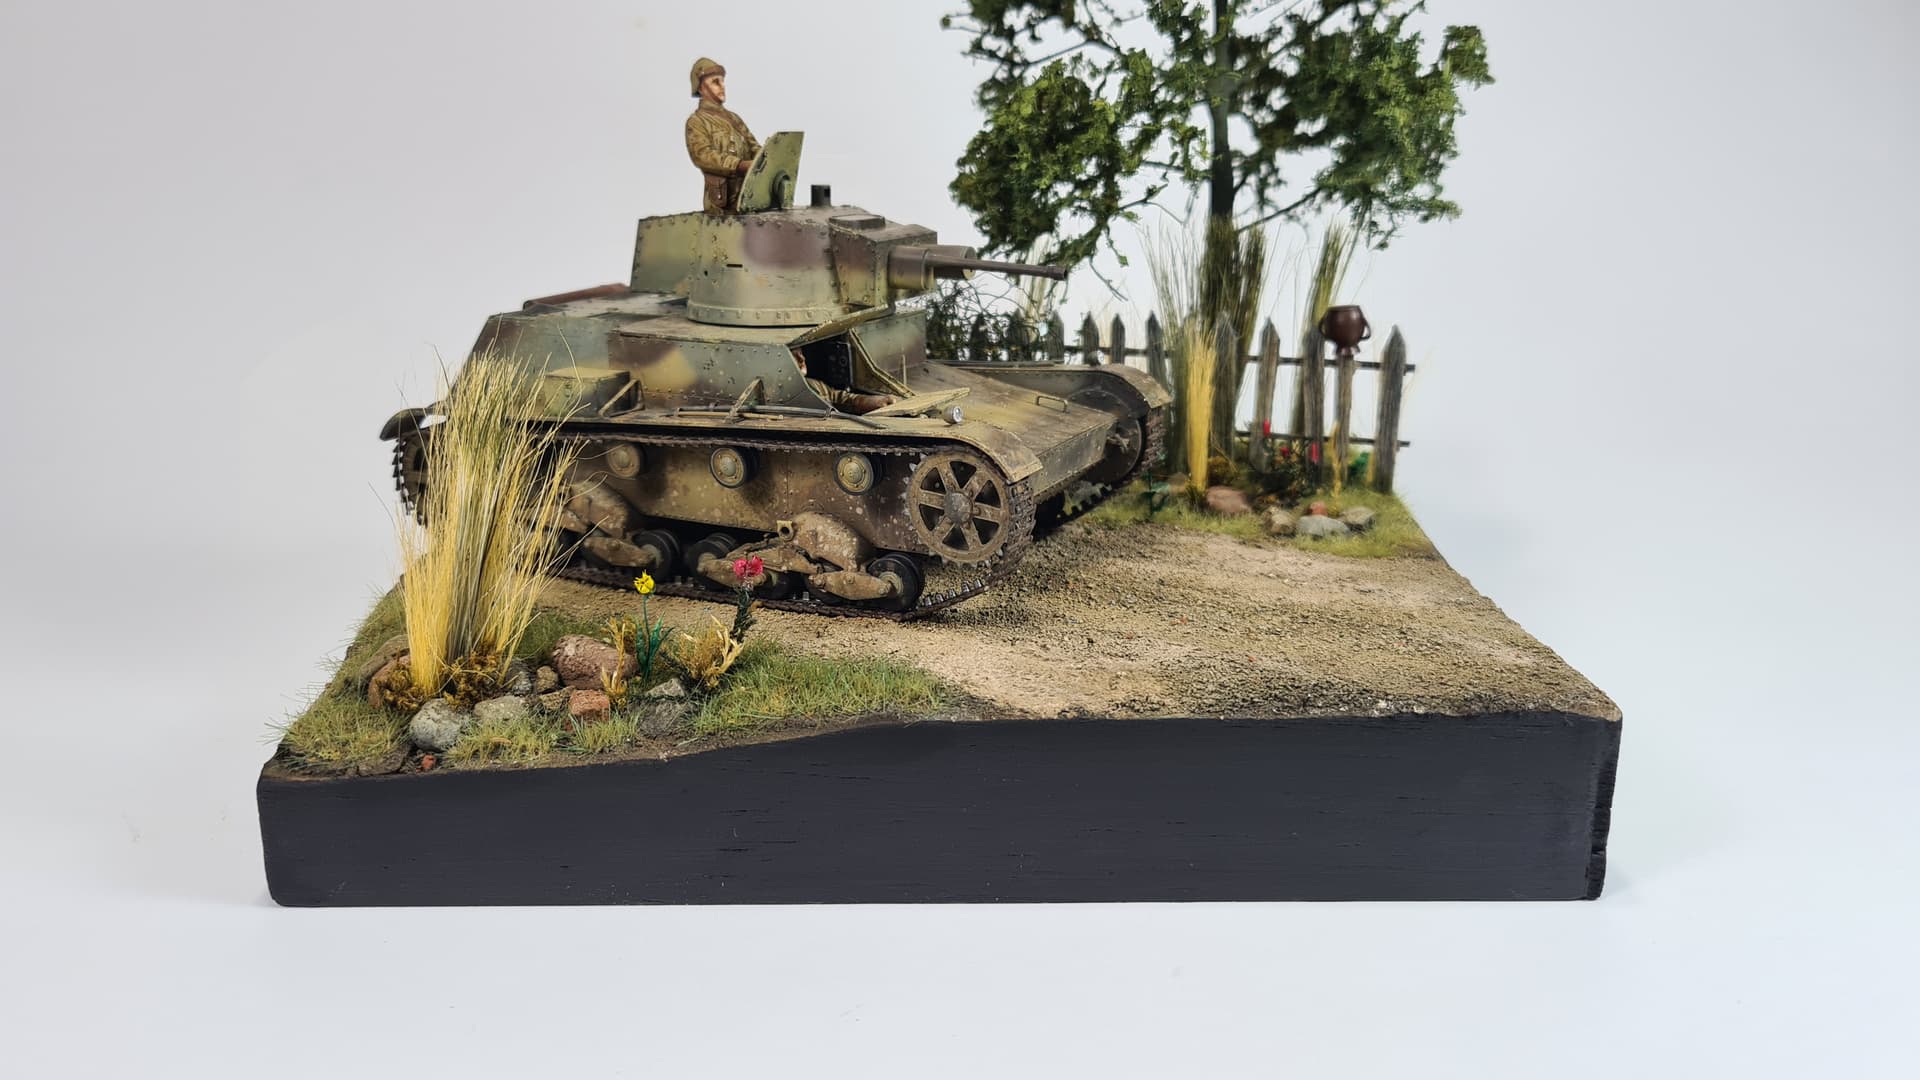
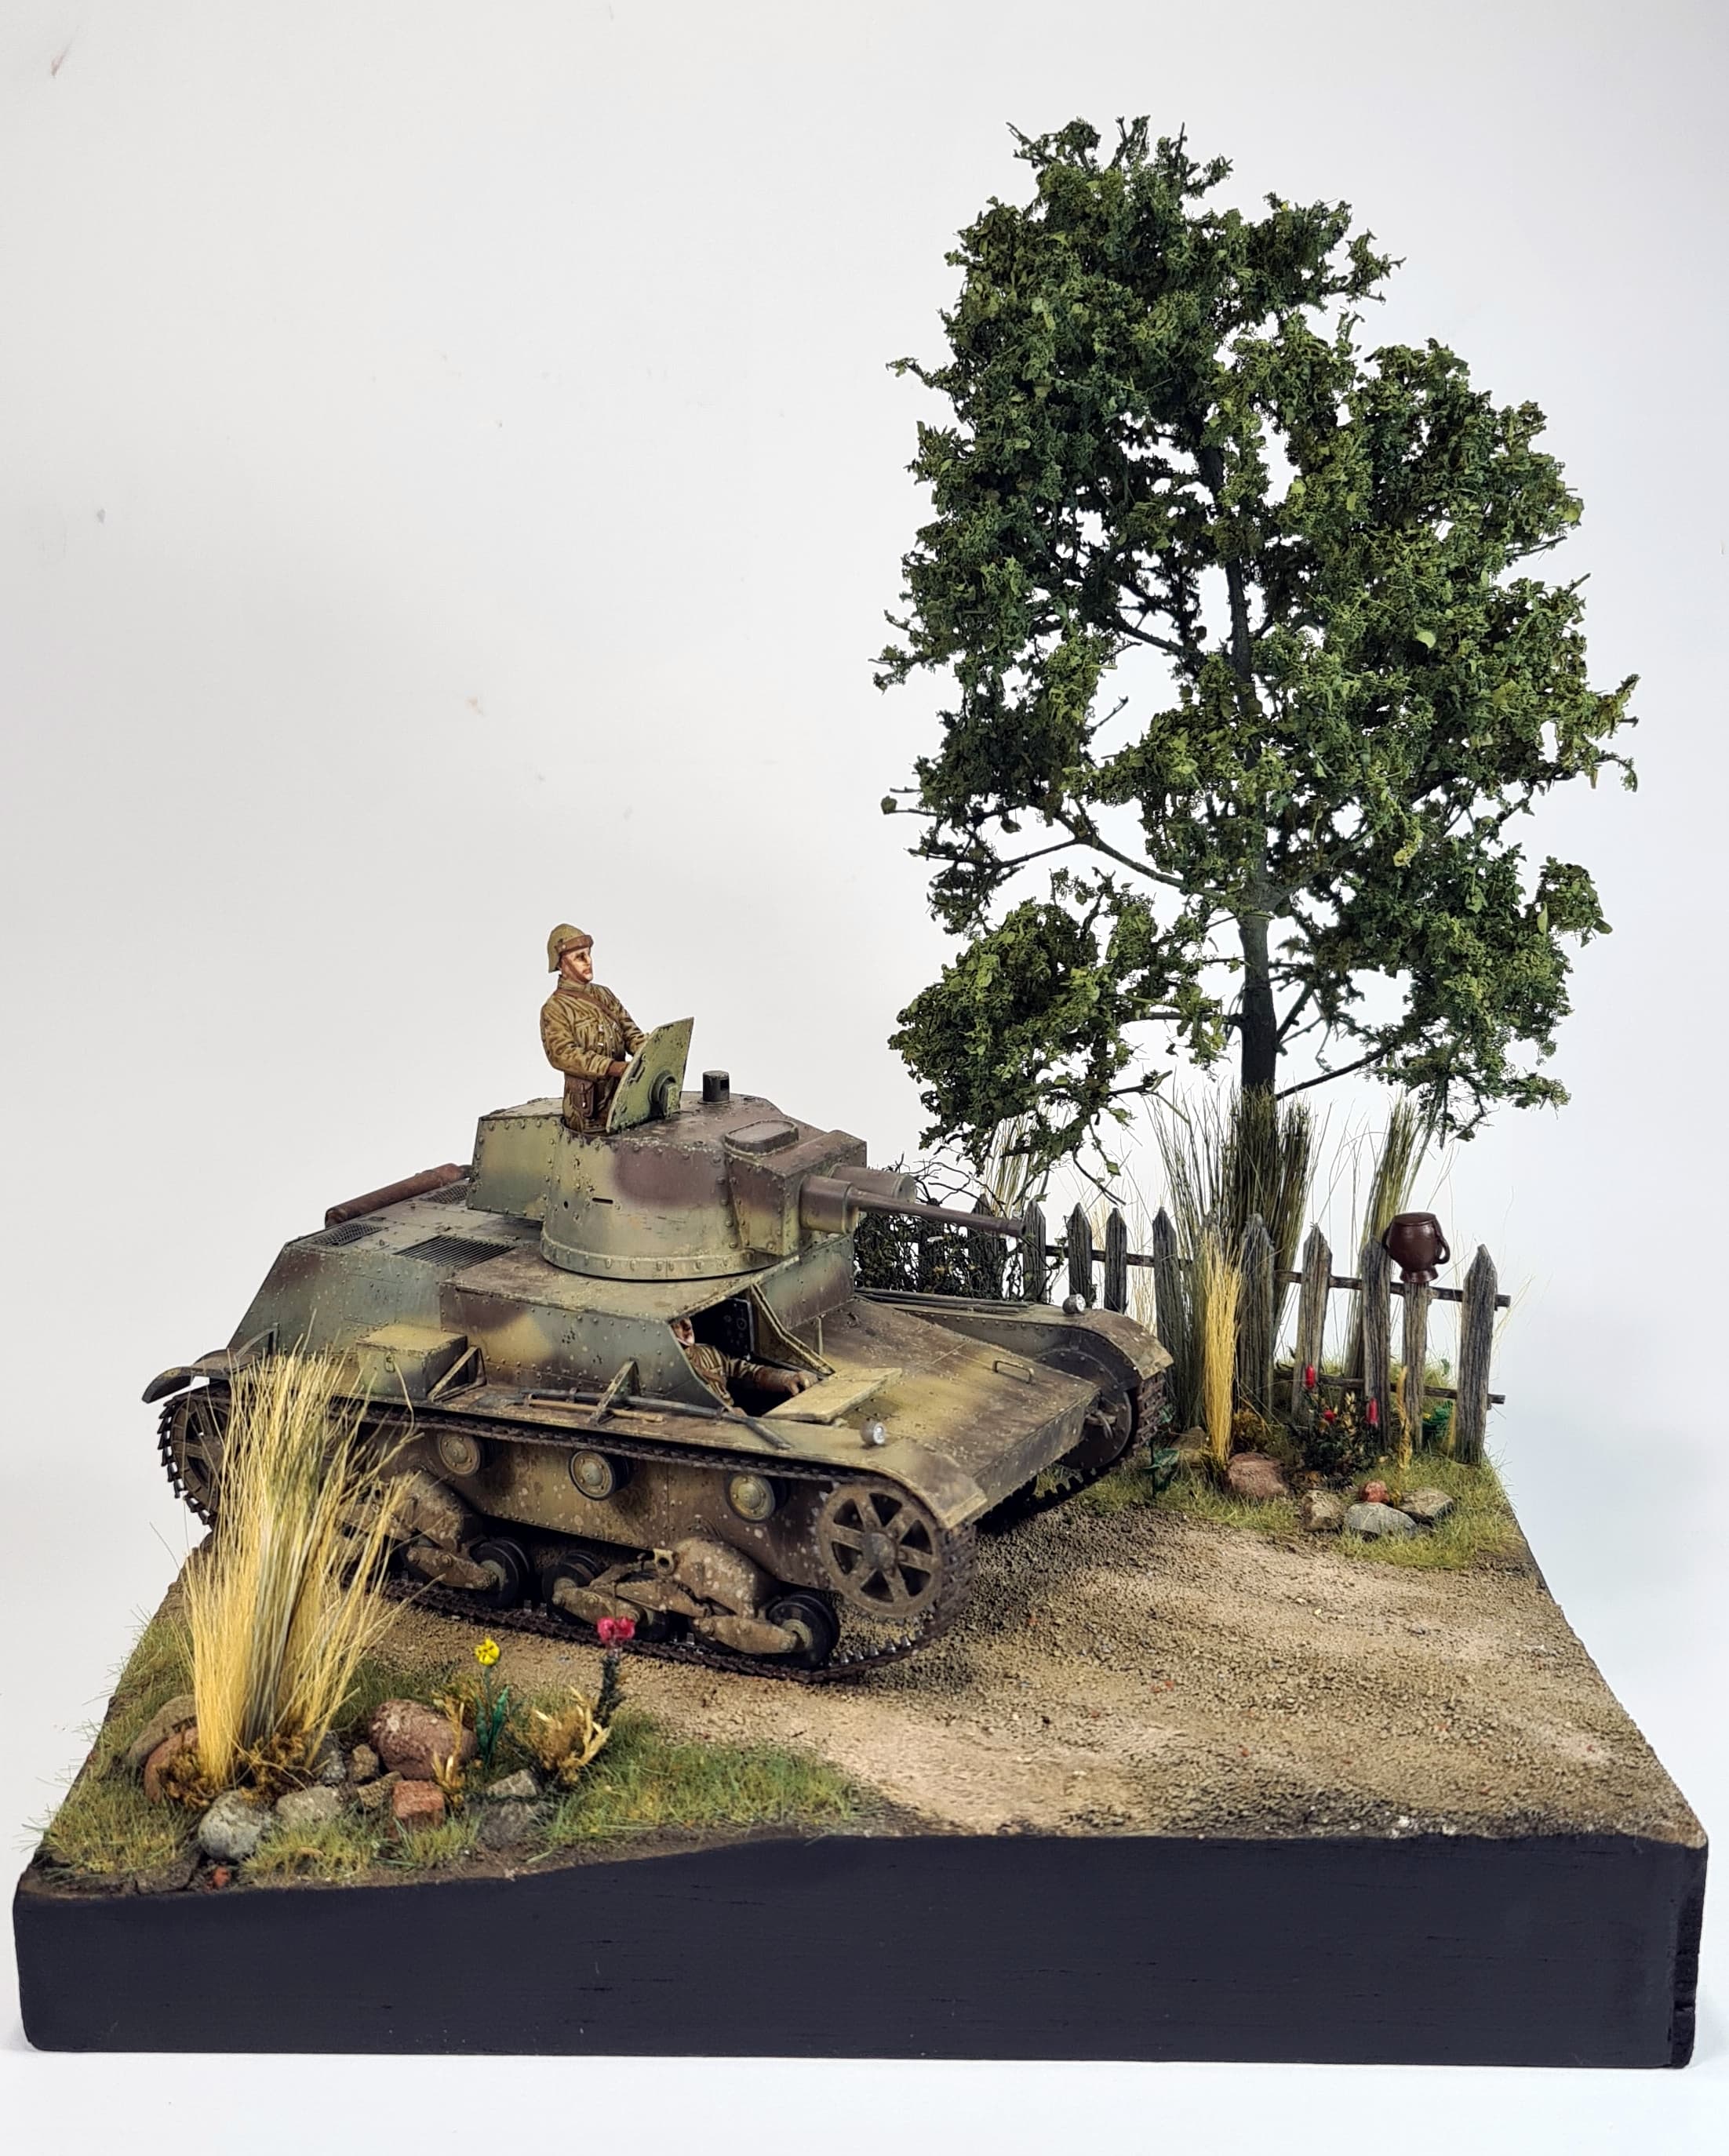
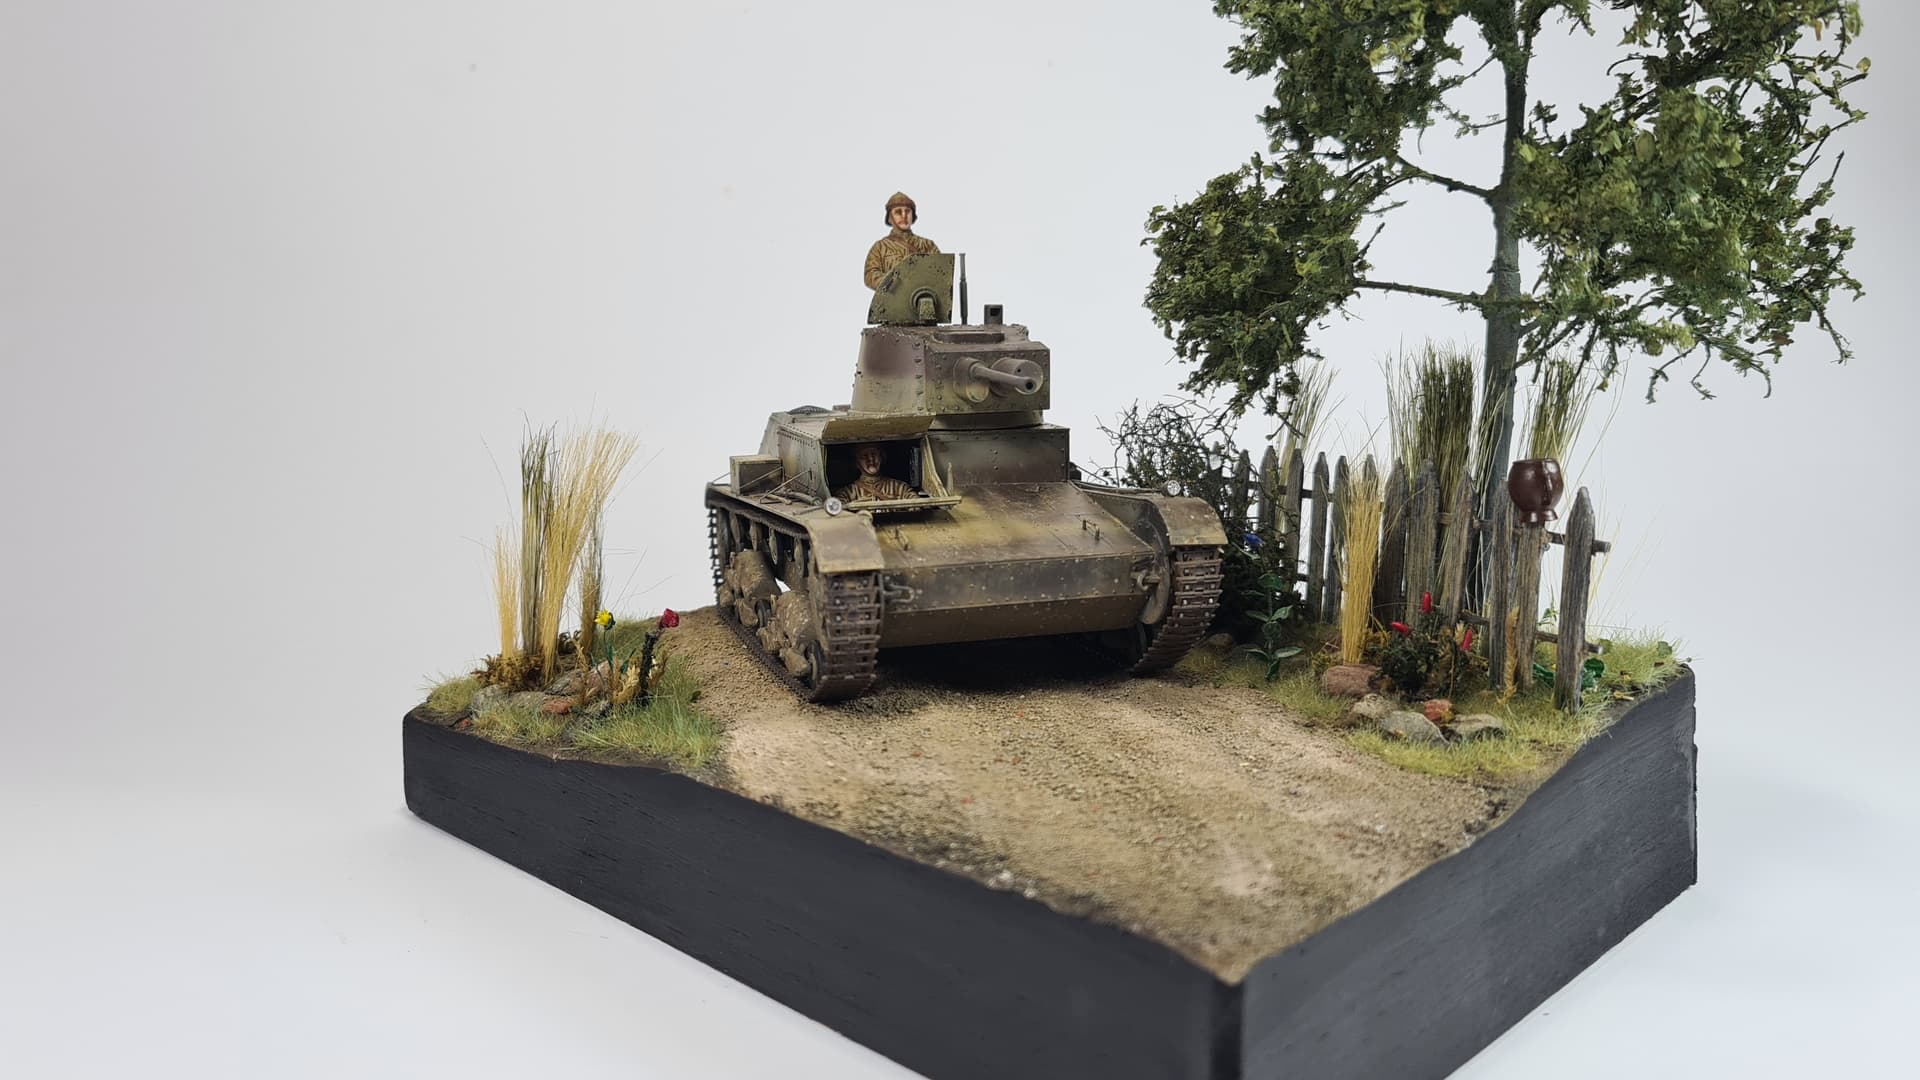
I’ve got them too. In matter of fact I got 7TP finished last year - it was fun build, it wasn’t definitely a bad kit, it really great moments, but it requires attention. Be careful because driving wheel parts don’t align properly, so you need to cut guiding pins or … leave it un-corrected just as I did
Limited edition ads some look and feel, but the figures from MiniArt, especially commander’s figure doesn’t fit. Driver figure also is too big and you won’t be able to close the top plate (I had to cut his head in half. Here are some pics of what I managed to do with this kit.
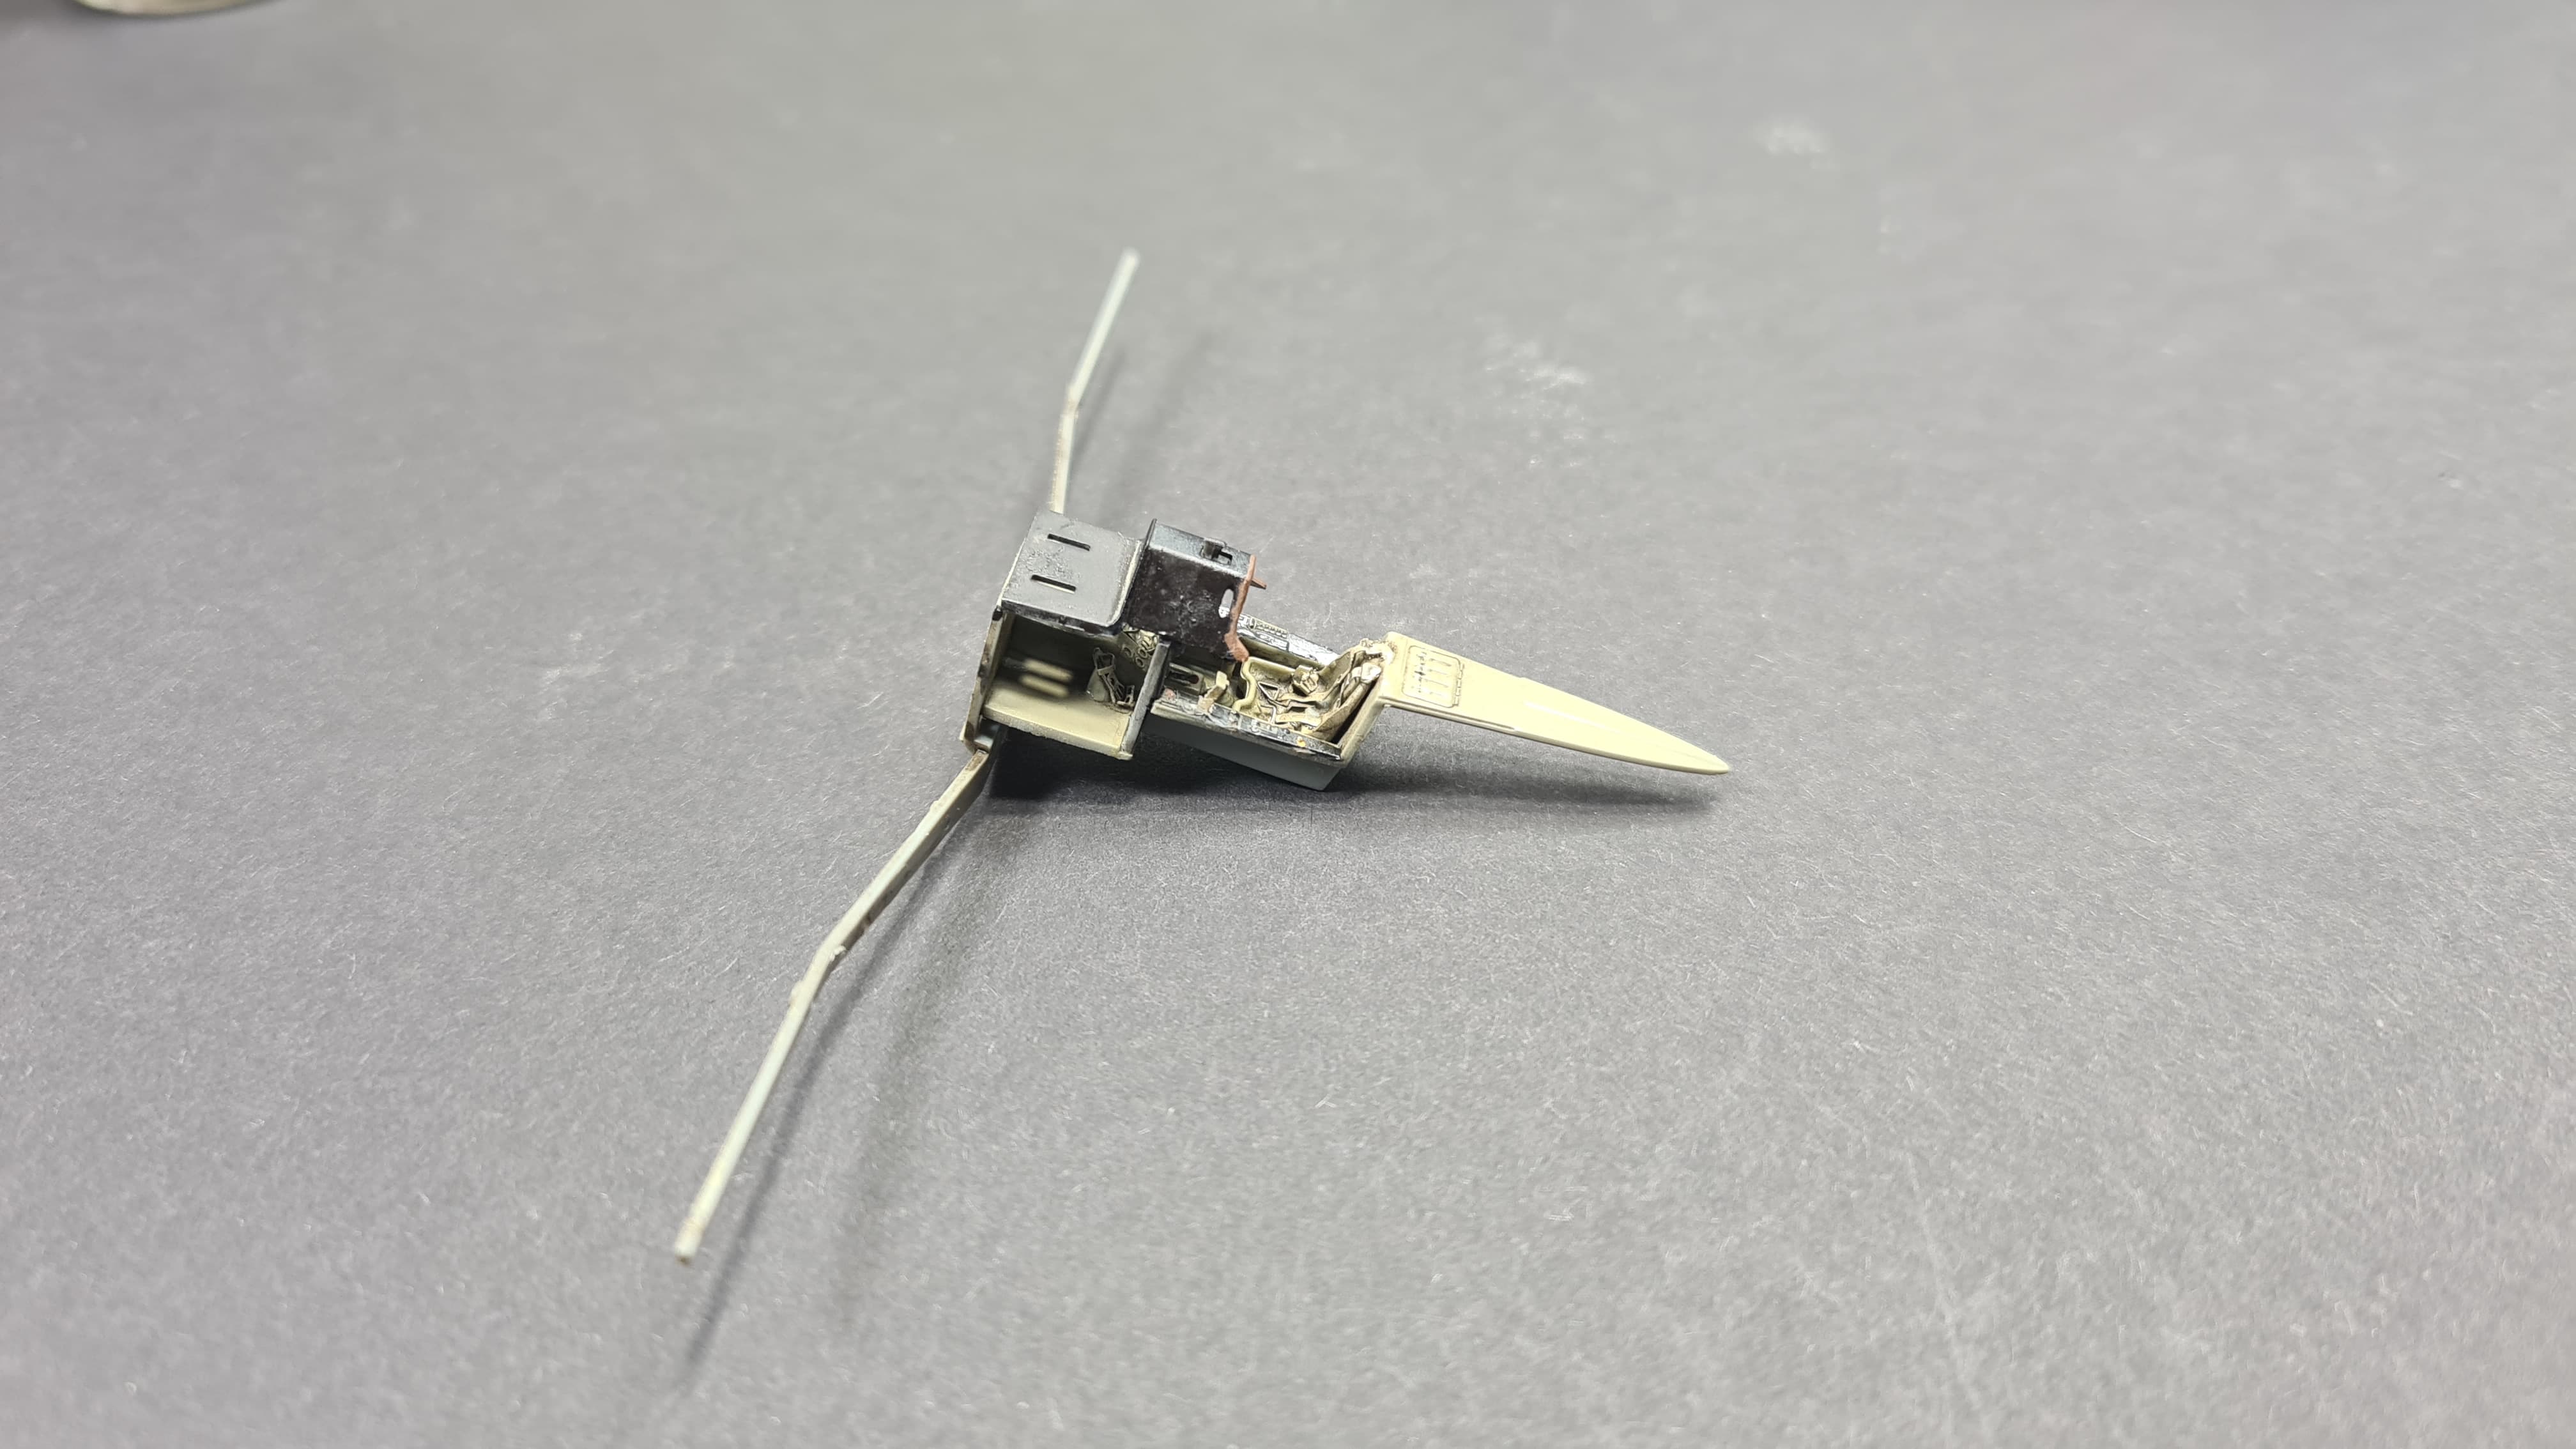
But enough of off-topic, it was a quite busy weekend on the bench and had some advances in almost all my “projects”, including Fw190 . Managed to finish cockpit section and close the fuselage.
Some advice from my own experience so far, @B-17-peter maybe you will find them helpful.
Instructions start with engine build, but apparently there’s an error in instructions mismatching parts for exhausts. It’s easy to make a big mistake here. Instructions in general, although big are sometimes unclear.
Although it looks like builing all engine section is necessary - you can skip it and just glue exhaust parts (Z8 & Z9) directly to fuselage. Mounting whole engine caused me a lot of trouble with aligning fuselage halves together.
In cockpit section instruction suggests to glue PE parts (handles) to side panel and front panel first. Avoid that, because later you have to put decals on that and … it won’t work unless you cut decal with some sharp blade.
This kit has a very fragile, thin parts and not too much space for alignment, also there are almost no alignment parts (like pins or sth), so it took me almost 30 minutes to aligh cockpit to fuselage, both fuselage parts together and all. I had to catch some parts with drop of CA glue first and then continue with “regular” cement. It is really a struggle.
Speaking of PE - when glueing seatbelts - it is better to glue seat to cockipt base first. It sits very tight and if you glue seatbelts first (as I did) you might end up using debonder and a little mess here and there.
Interior was painted with RLM02 from Hataka Orange series and some acrylics here and there. Mild weathering with Modellers World random ready-to-use washes.
I am just finishing Trumpeters TOS-1A and it will be interesting to compare how the 2 hulls go together. One thing that I know is the box is definitely full!