yeah i thought that might be the case and i appreciate your insight.
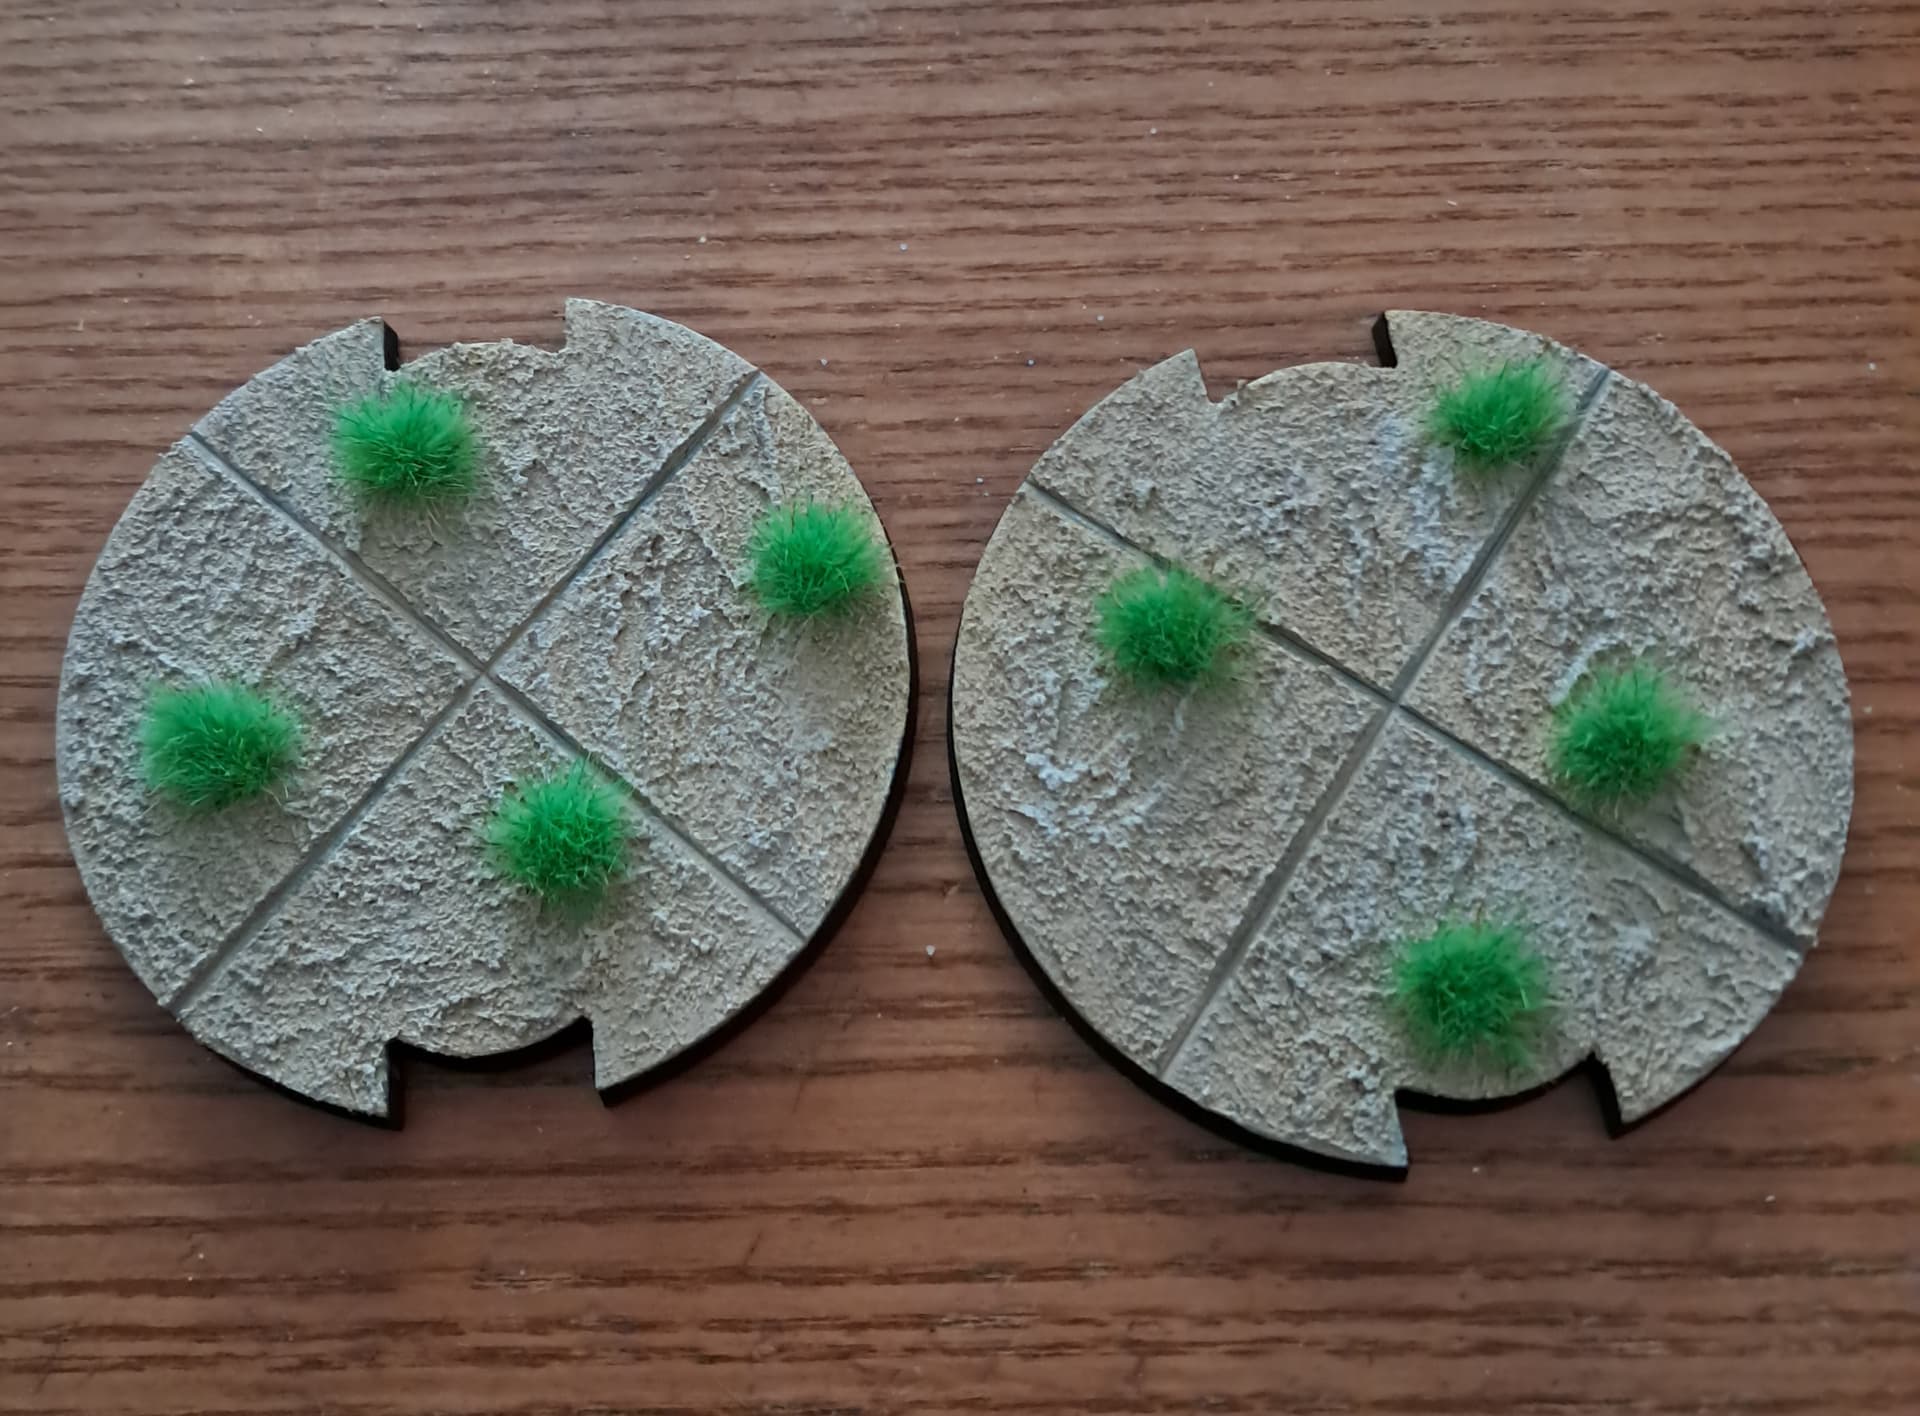
in the mean time i have painted and decorated their bases
yeah i thought that might be the case and i appreciate your insight.
in the mean time i have painted and decorated their bases
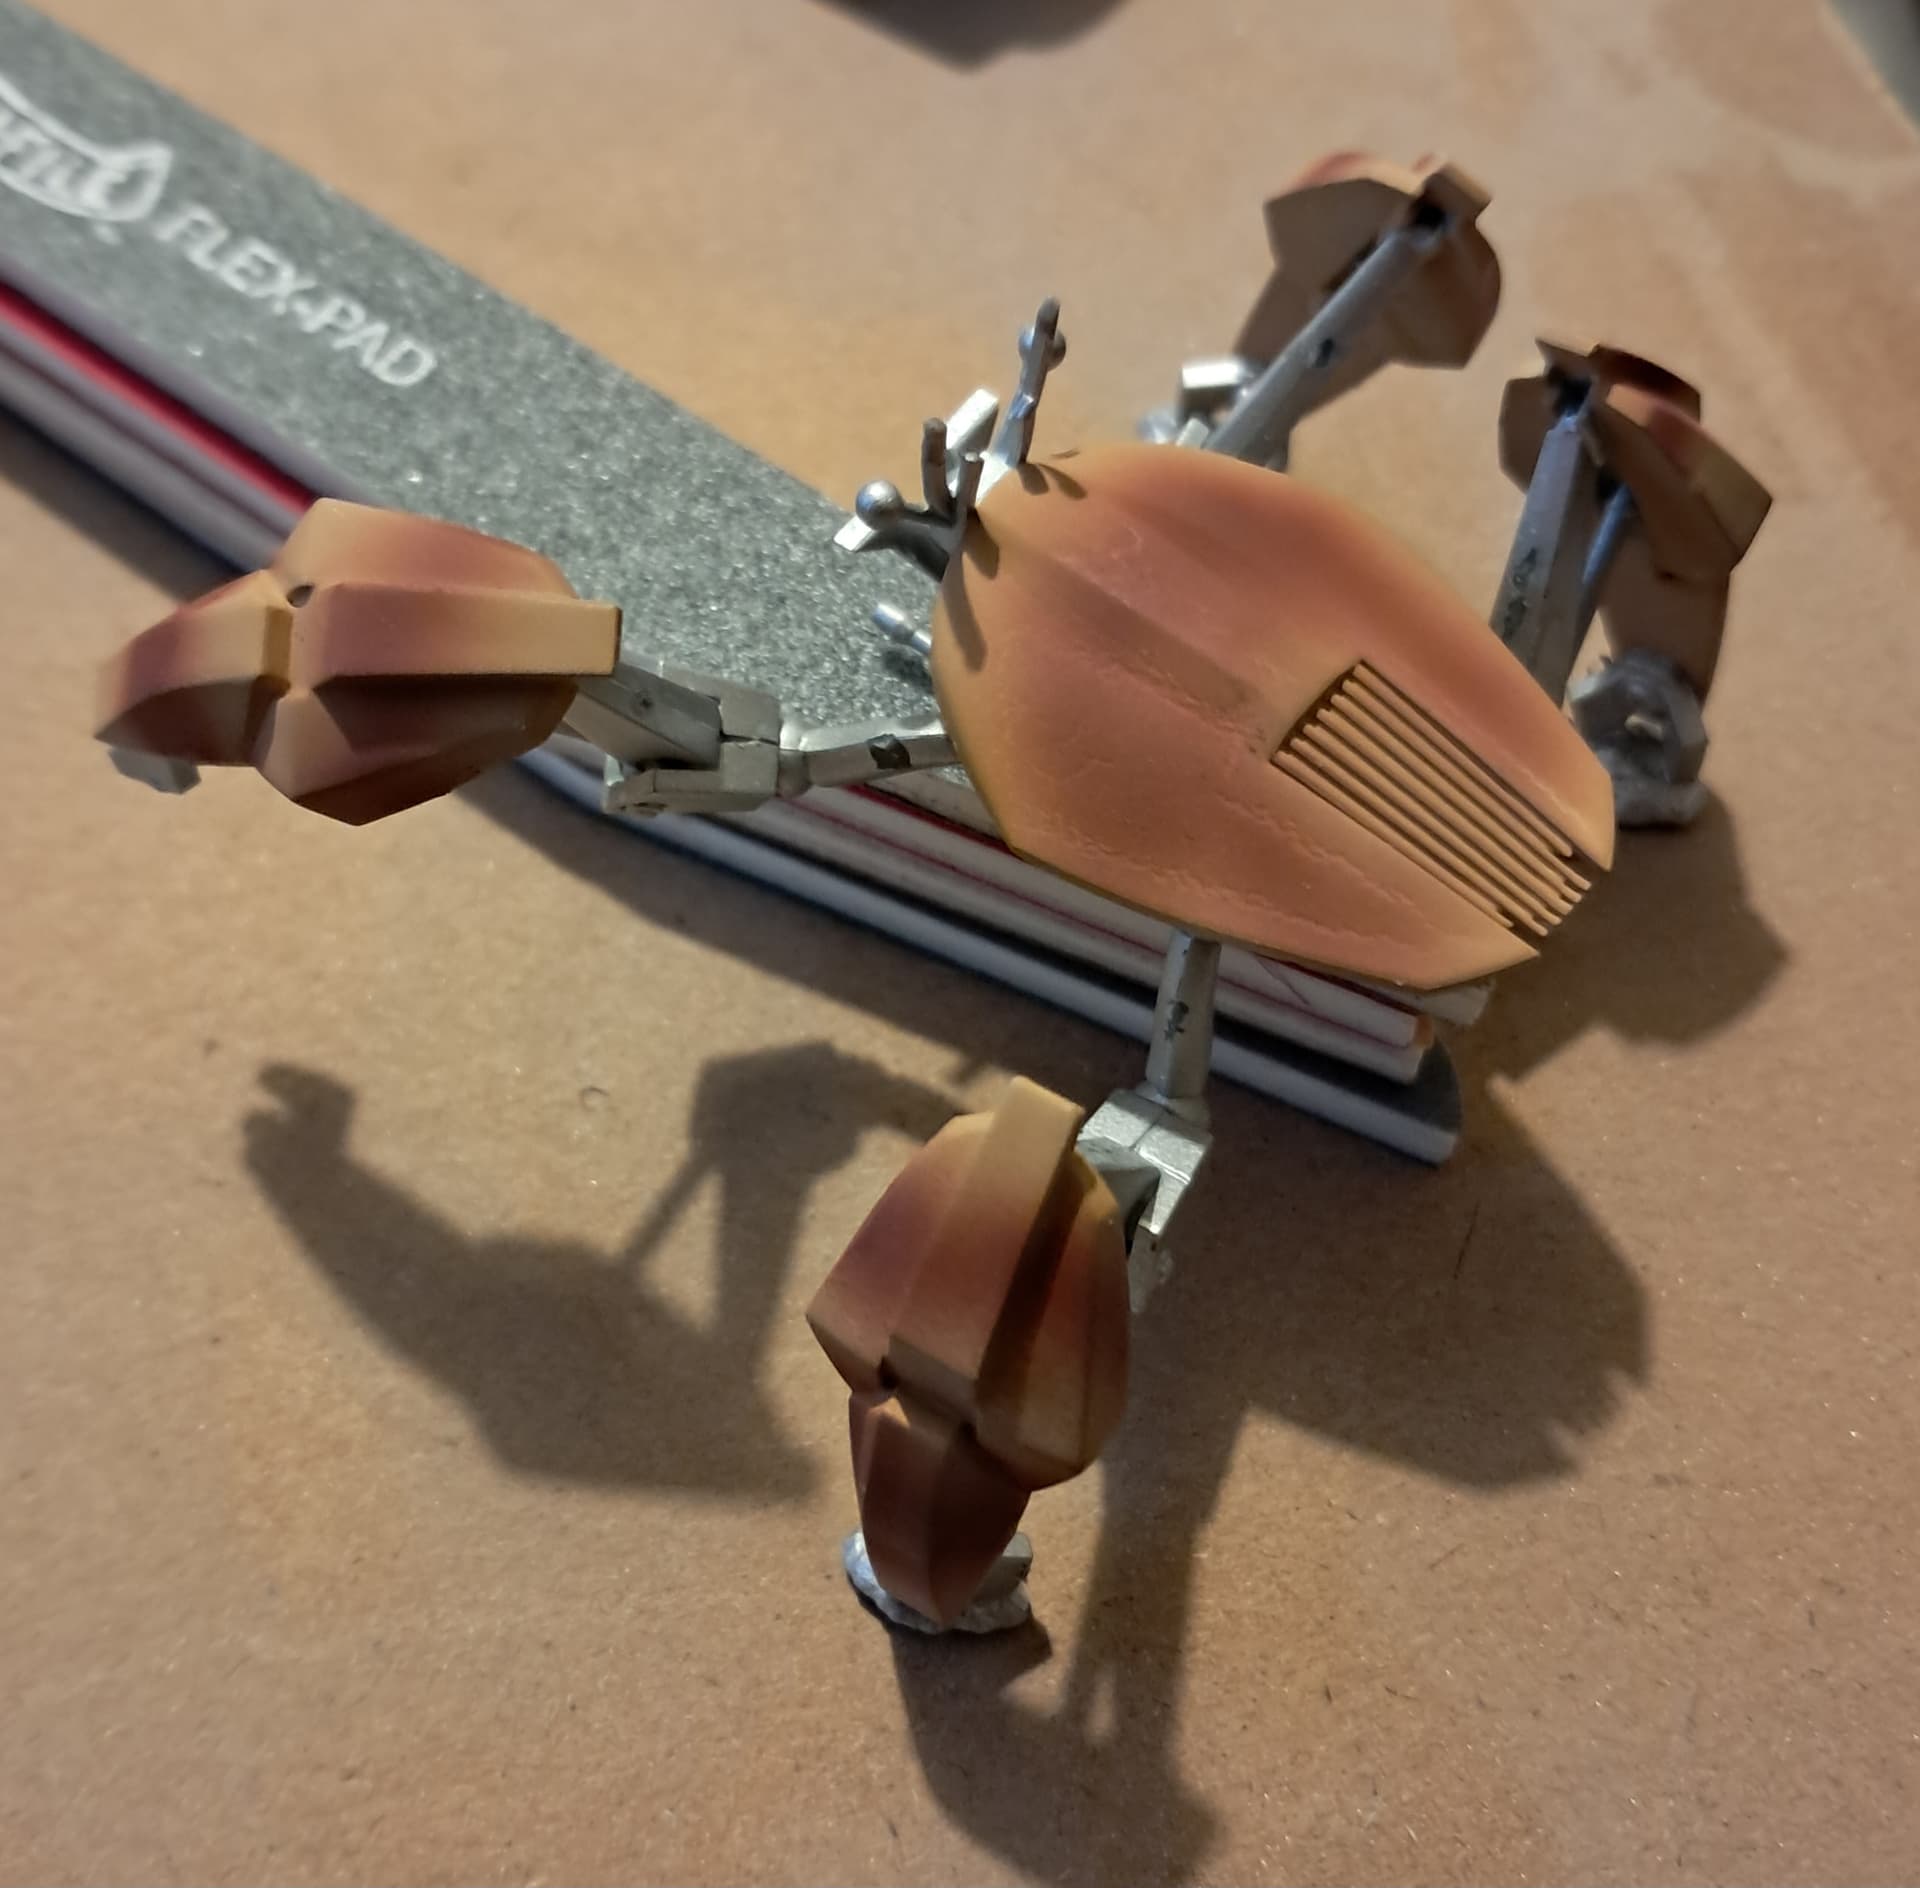
in the home stretch here, the two models have been assembled all i need to is attach them to their bases and do some paint touch ups and weathering.
Interior is done. Started thinking about carving out the mesh seat backs but after a few attempts I’m unhappy with the result. Just going to leave it as is since the Eduard kit is more than the total cost of the kit.
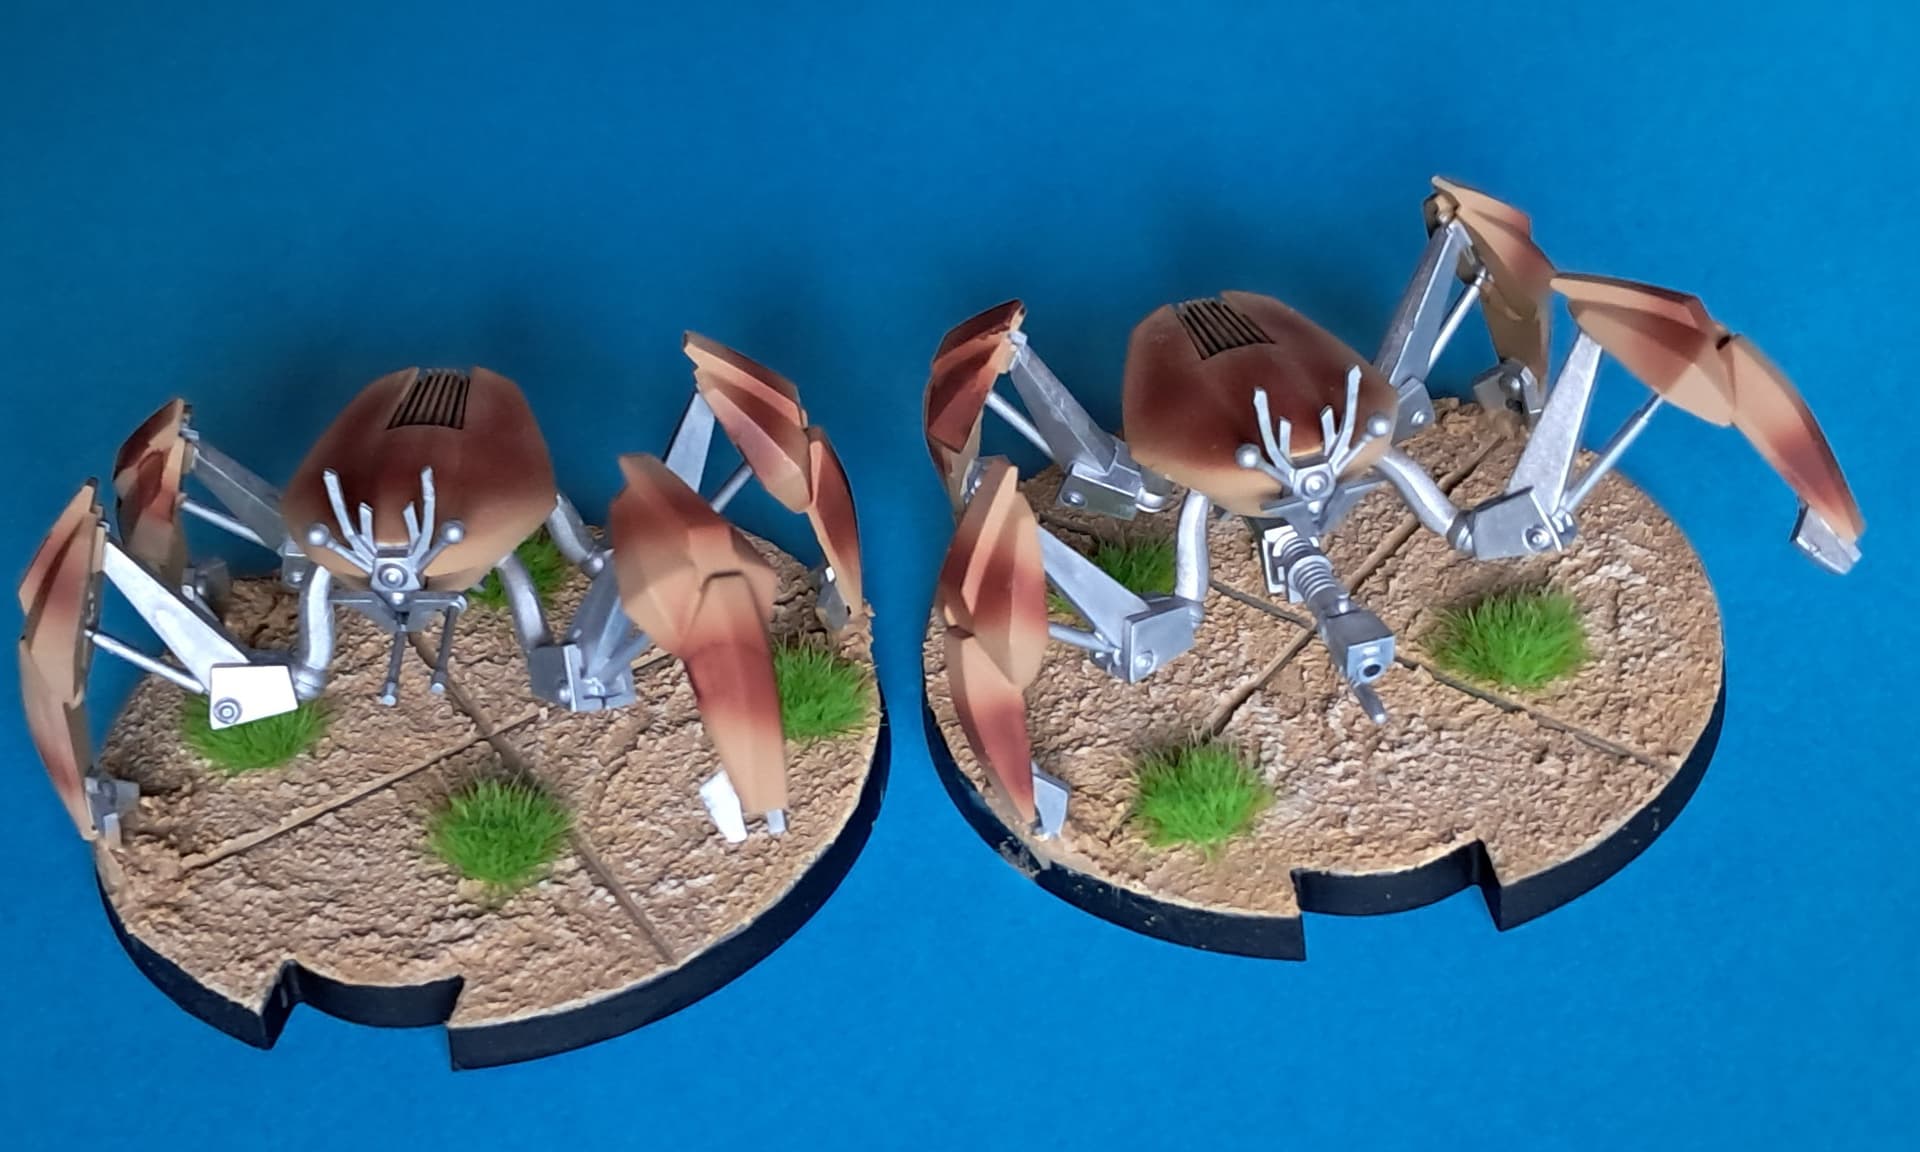
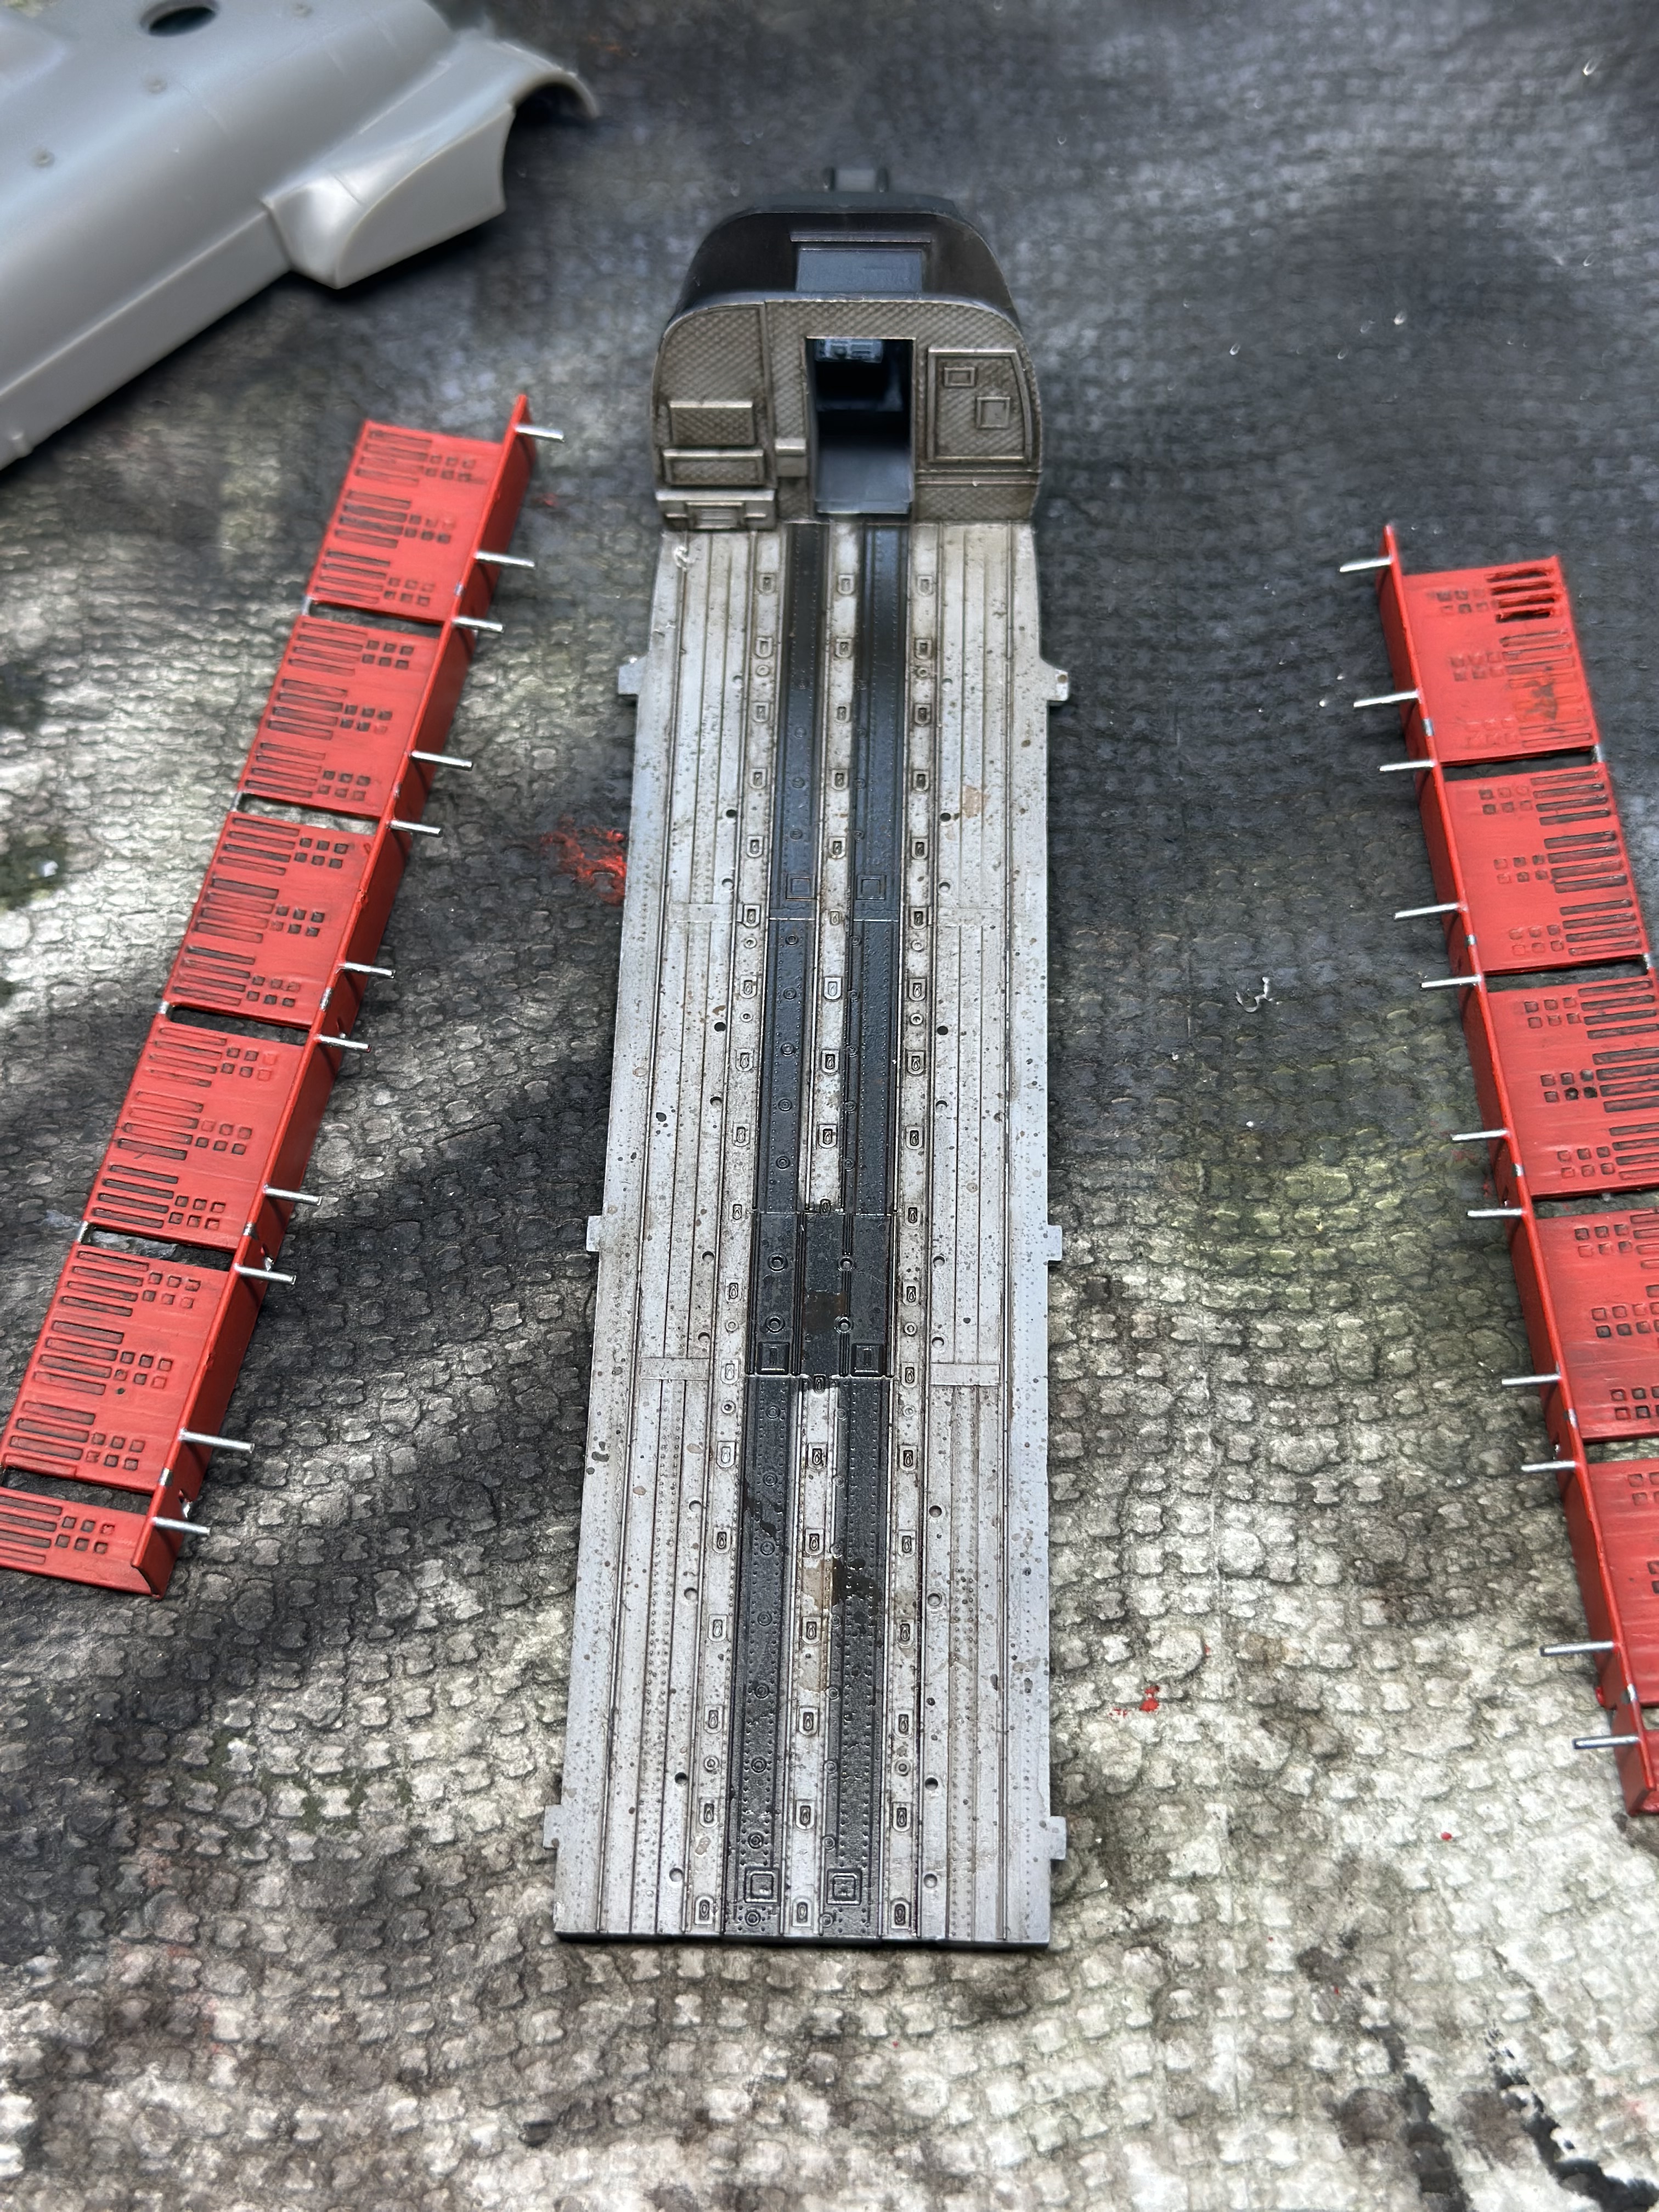
ok, i know most people haven’t started properly yet but I’m calling this one finished. so present to you all 2 Star Wars Legion CIS Crab Droids.
hopefully i can get back to completing my ARVN figures for the Vietnam war campaign.
looking forward to seeing this chinook progress soon
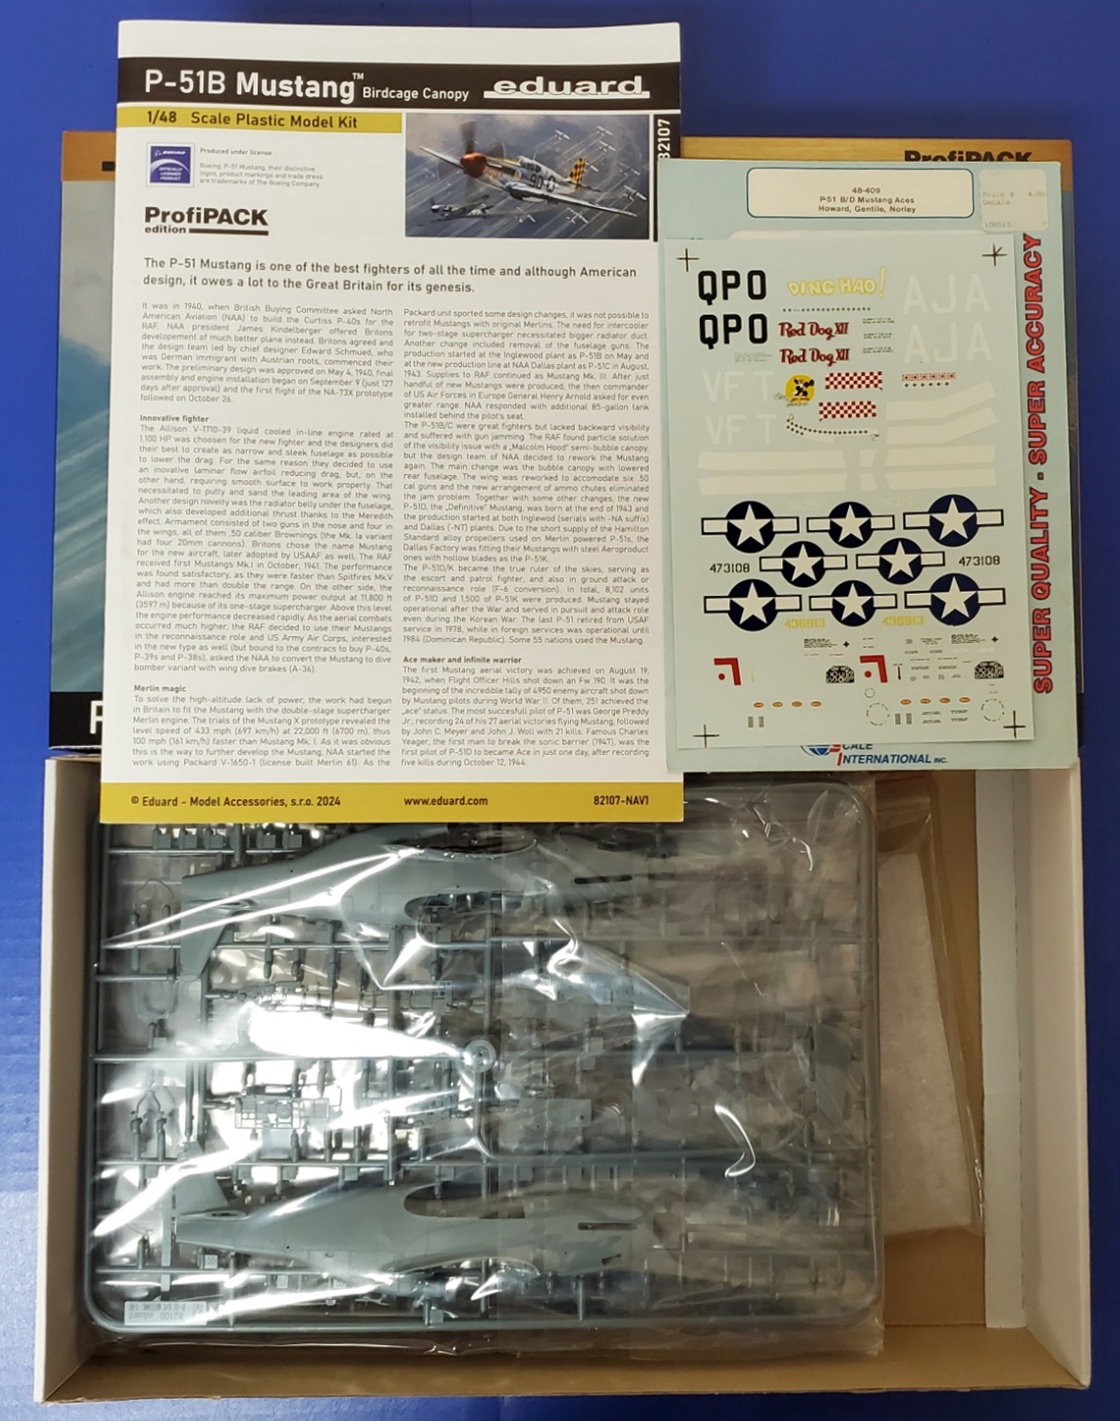
Start pics:
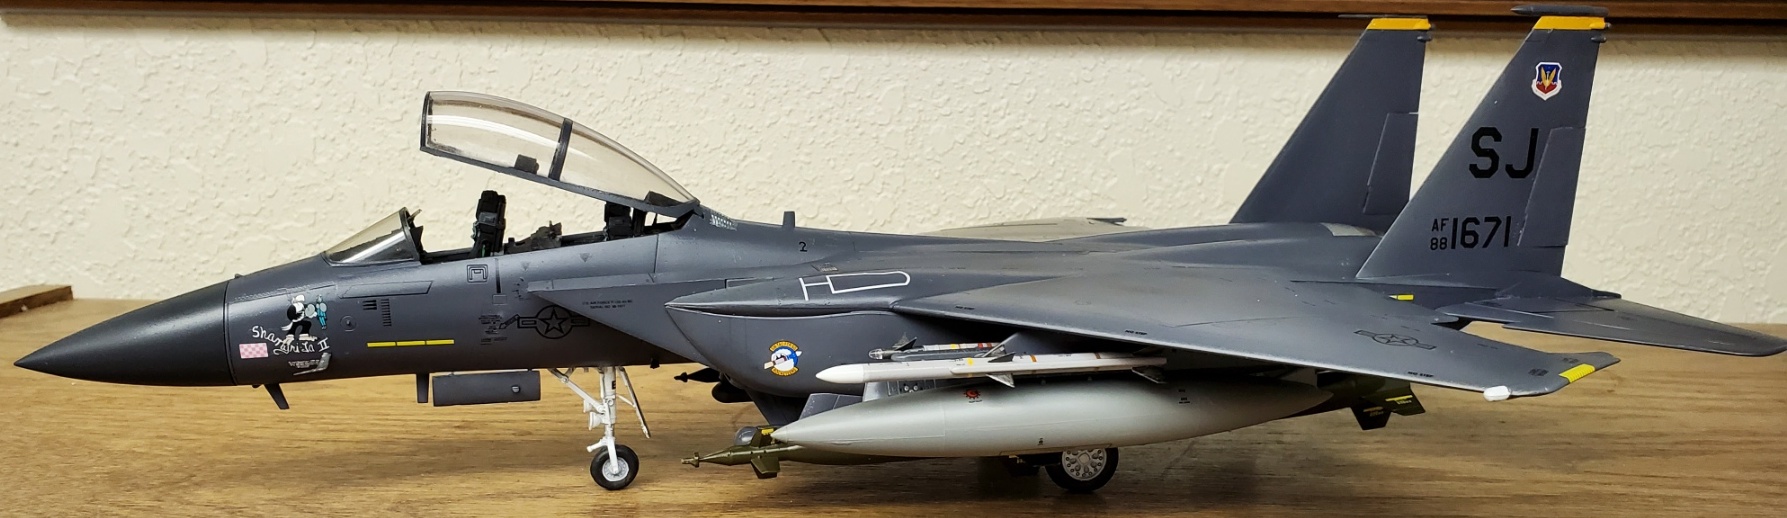
The plan is to use the SuperScale decals to do Don Gentile’s Shangri La. Why that one? Because I recently finished this:
So how could I pass it up?
Michael ![]()
![]()
Really cool, Mike! ![]()
![]()
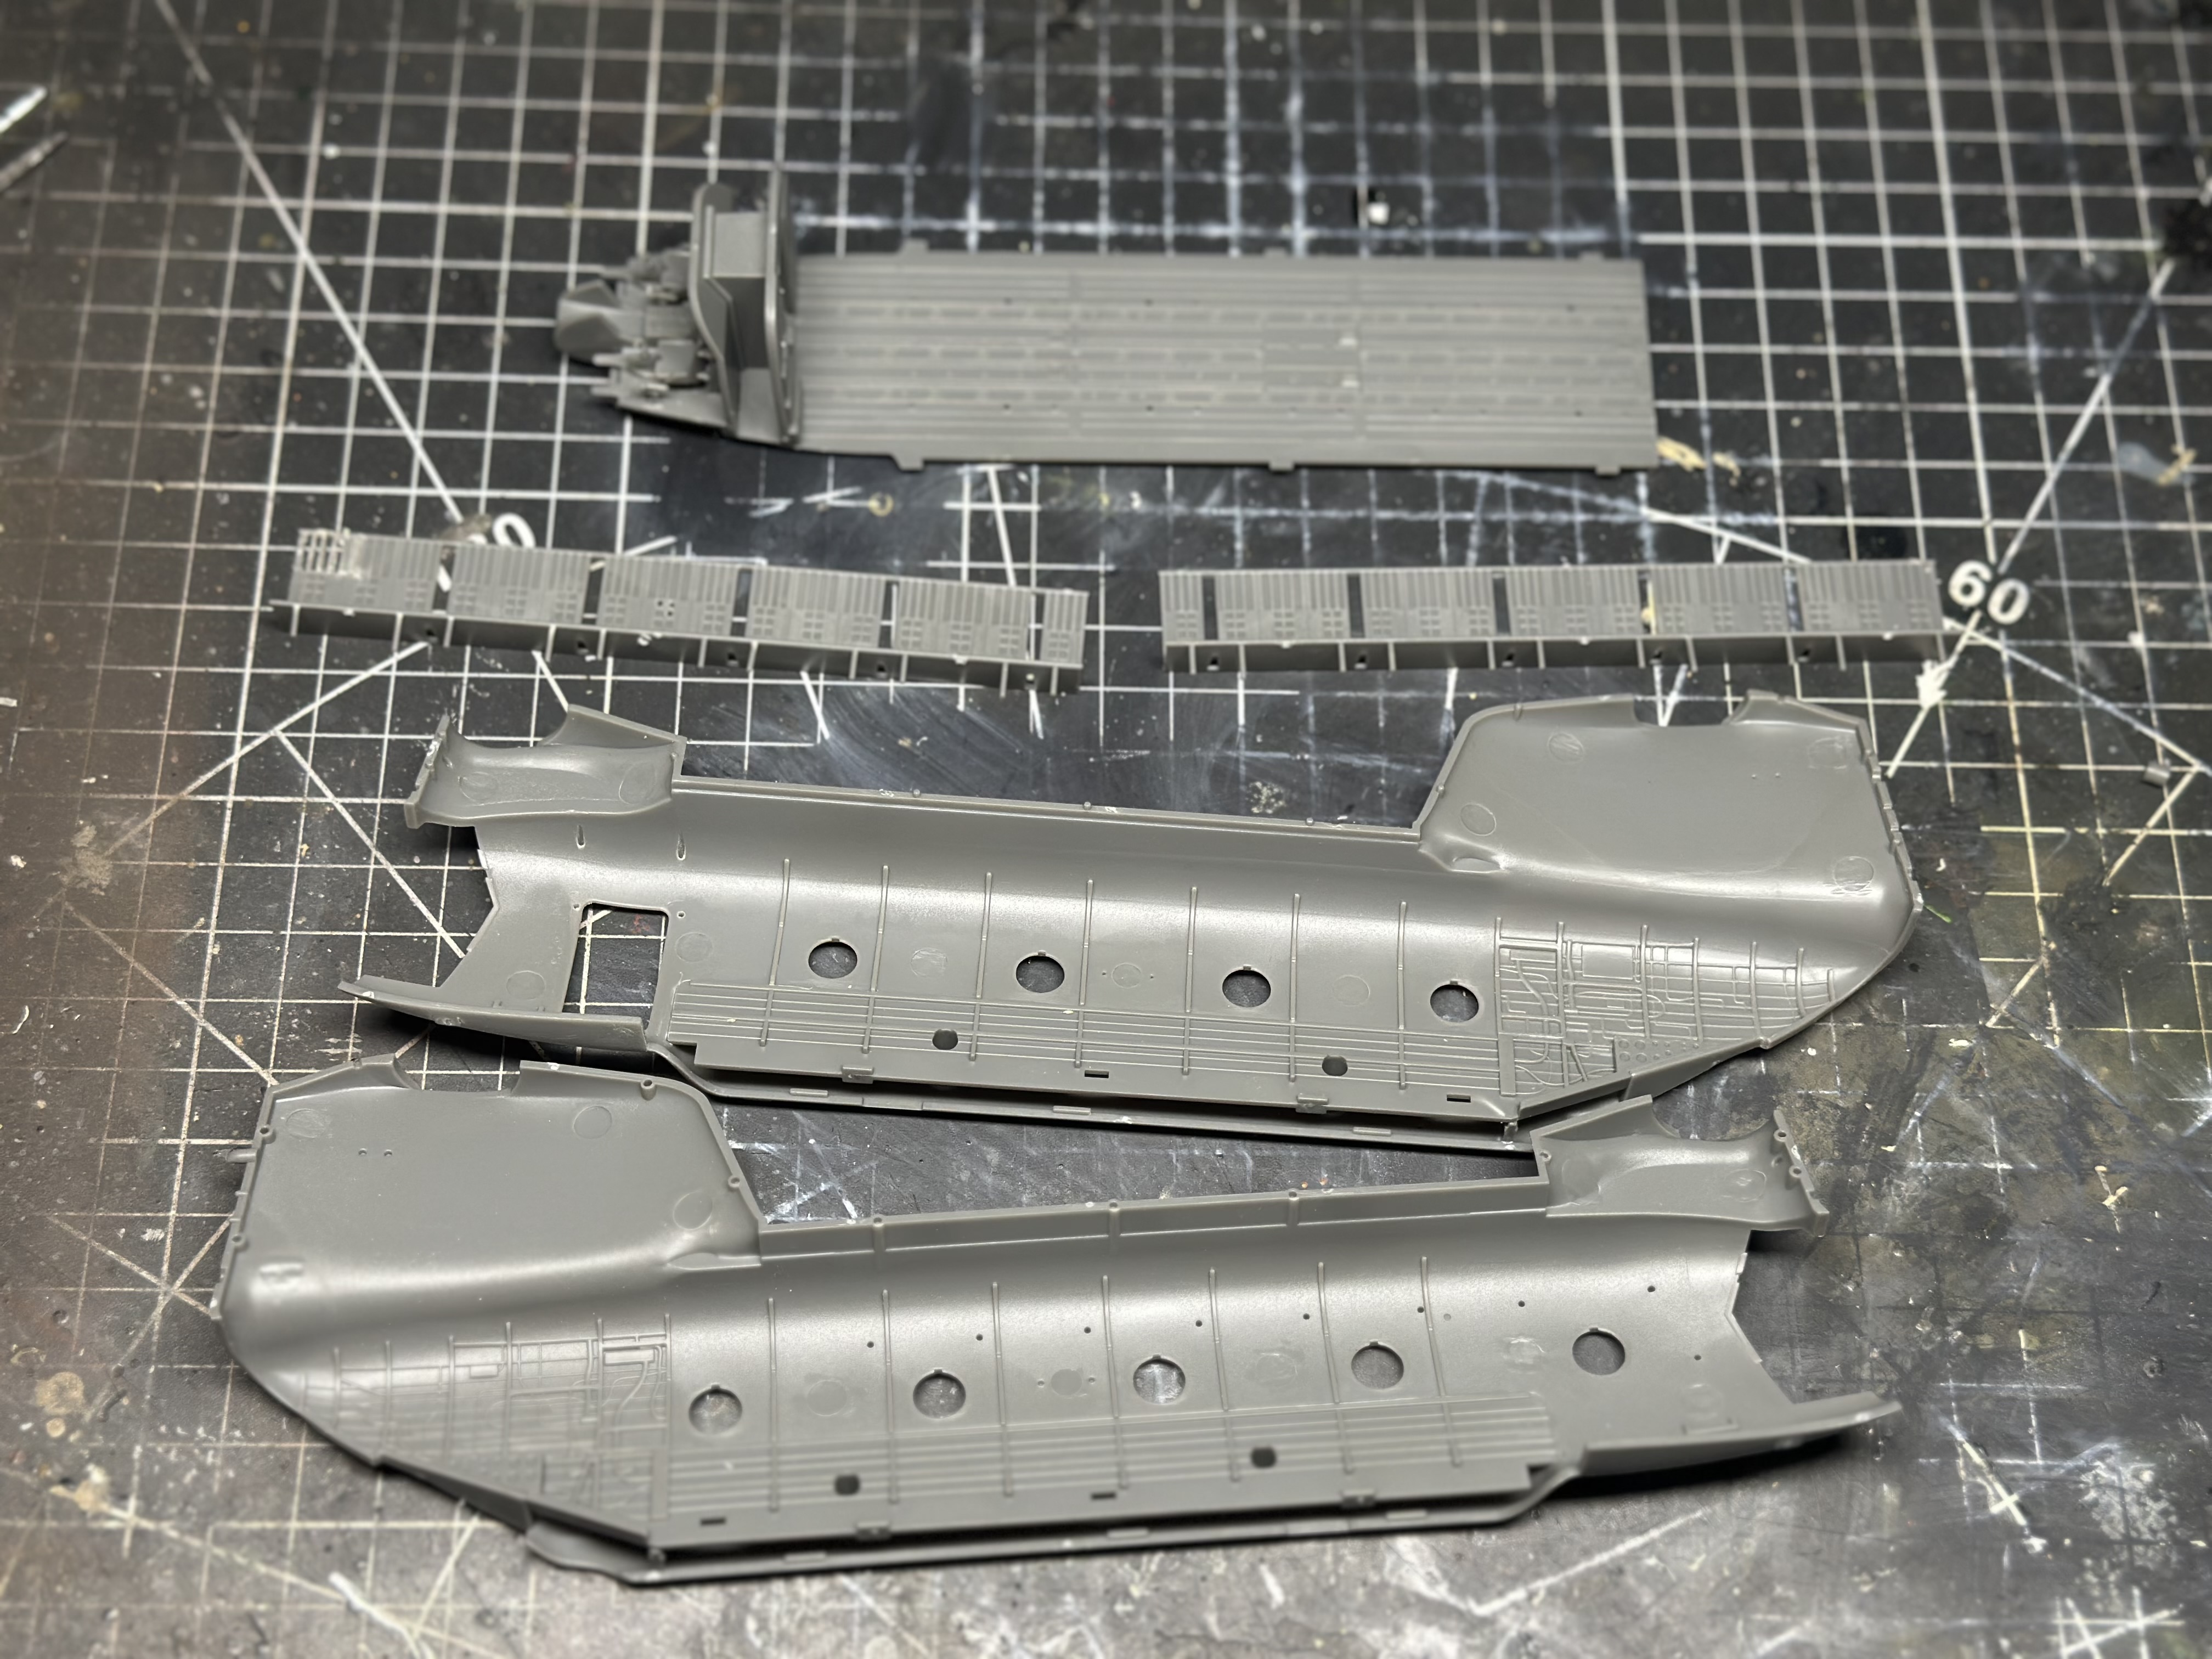
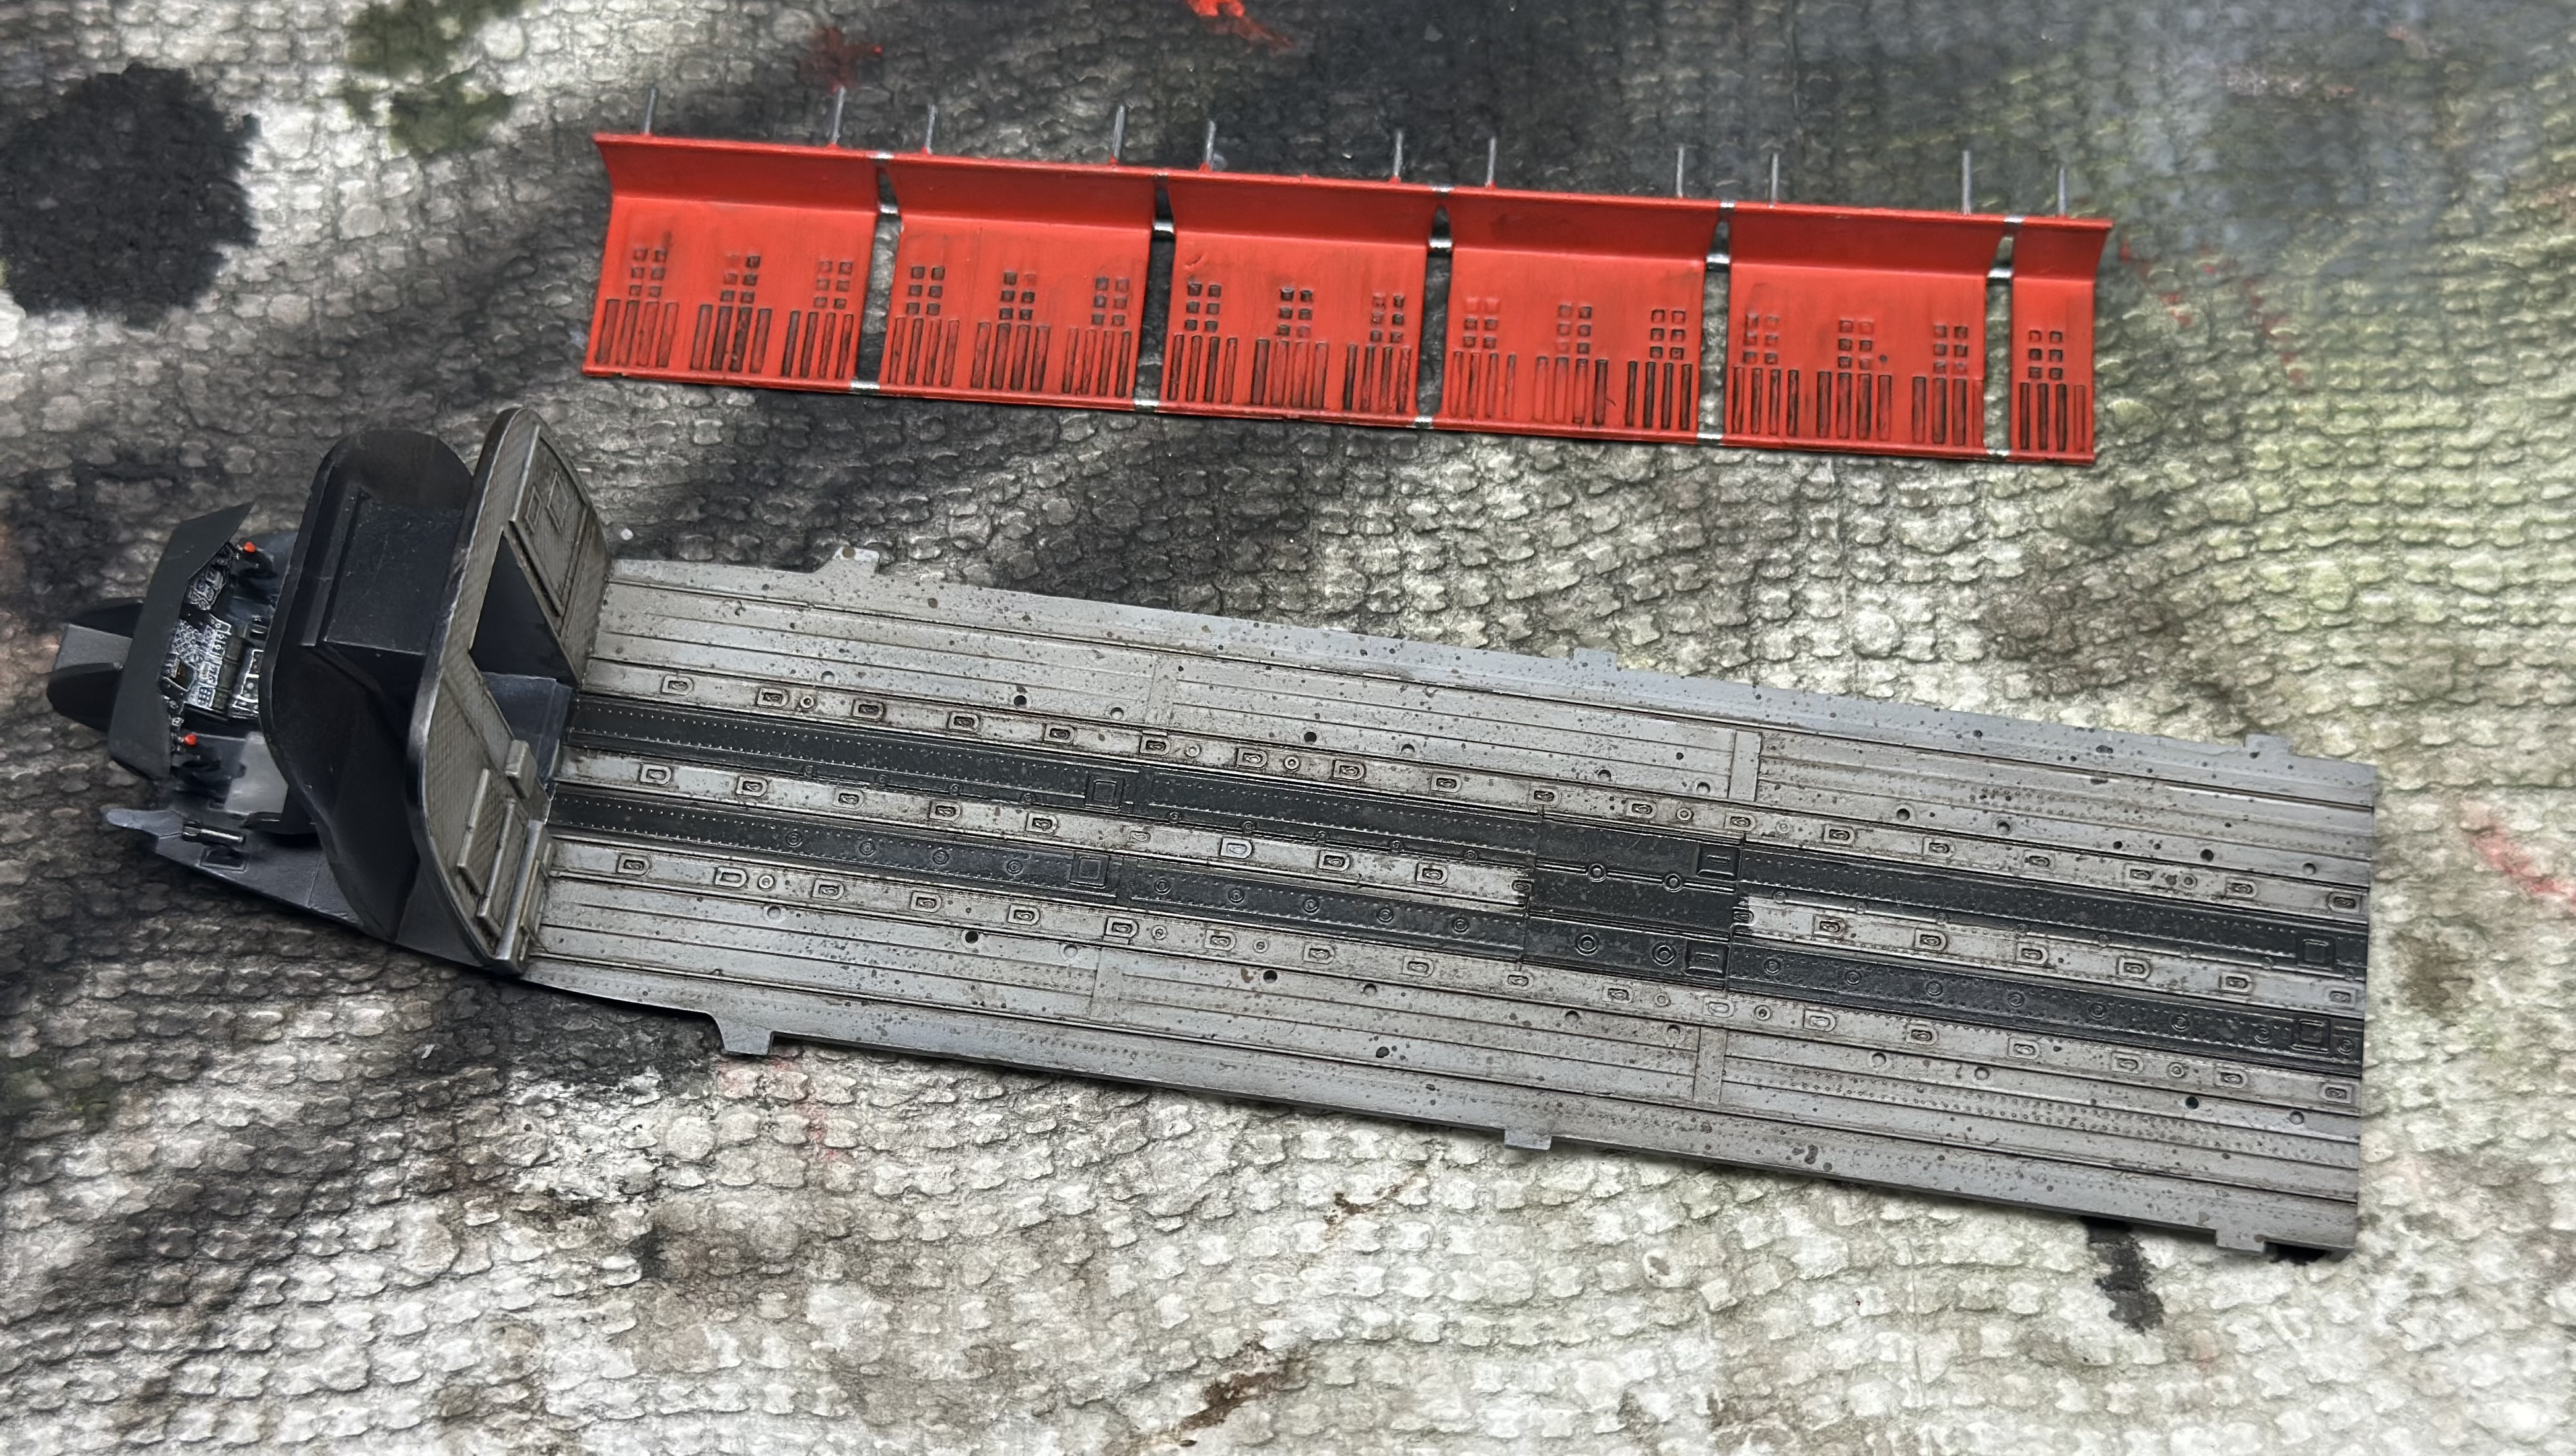
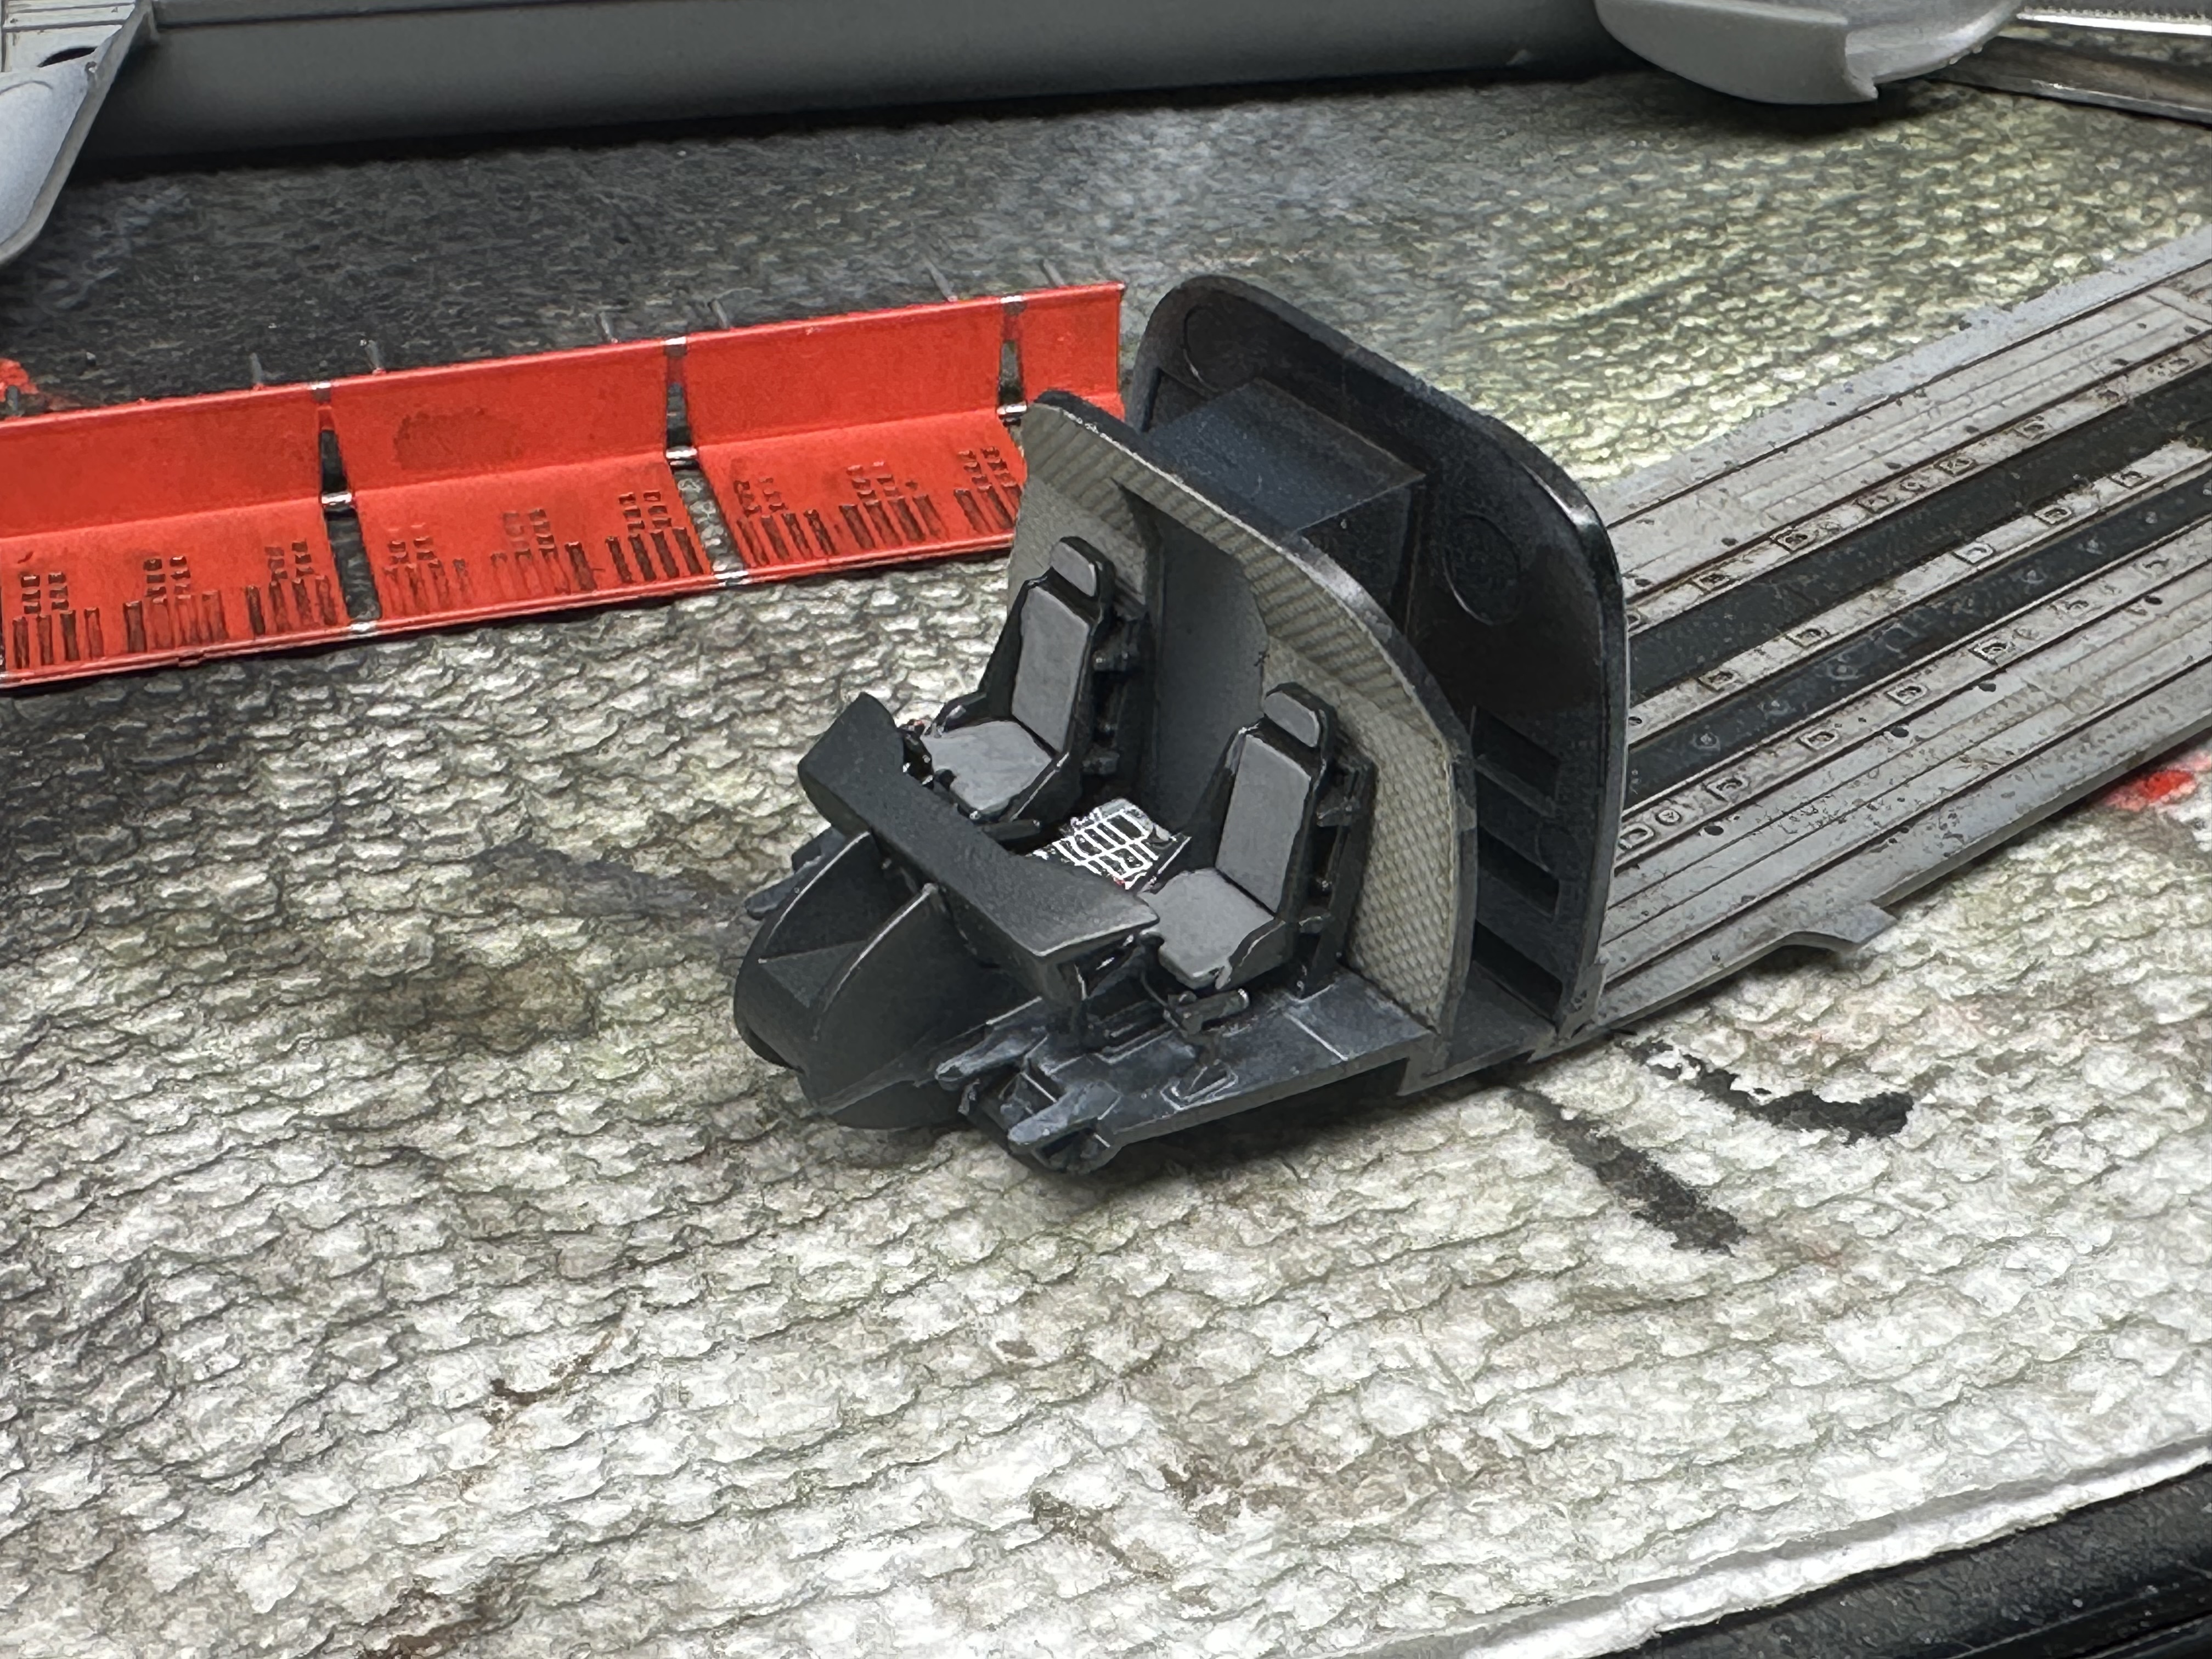
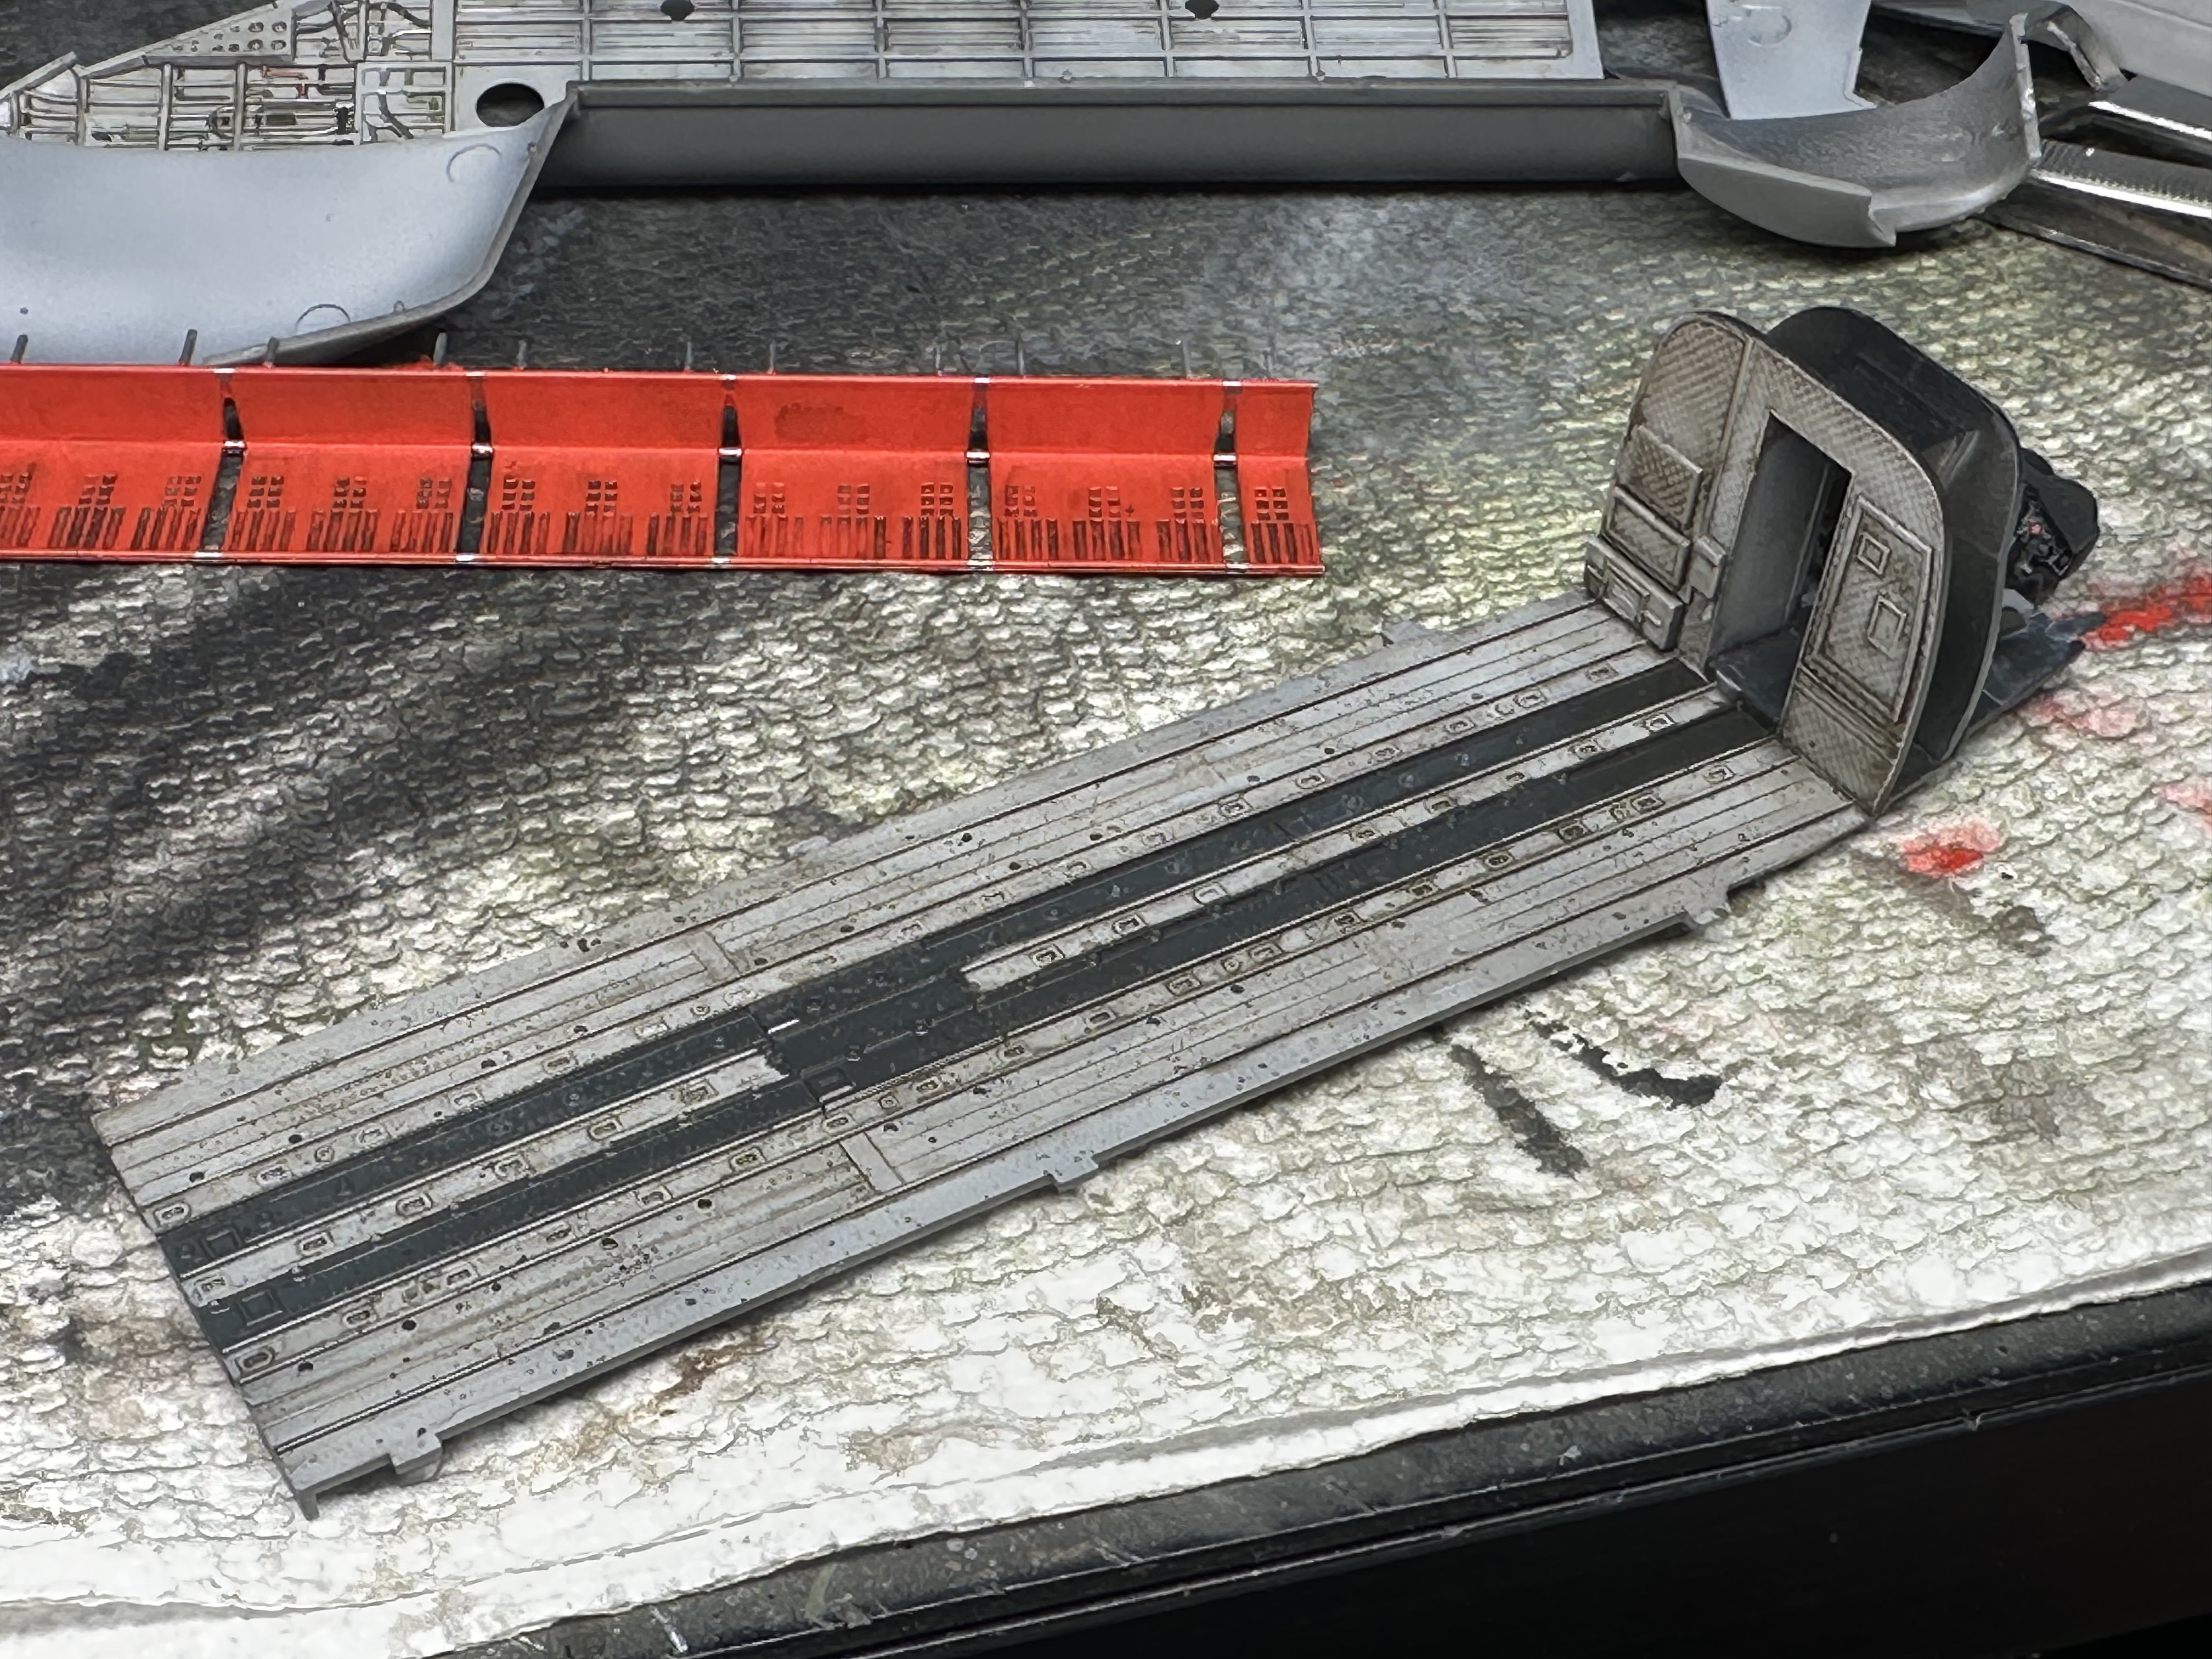
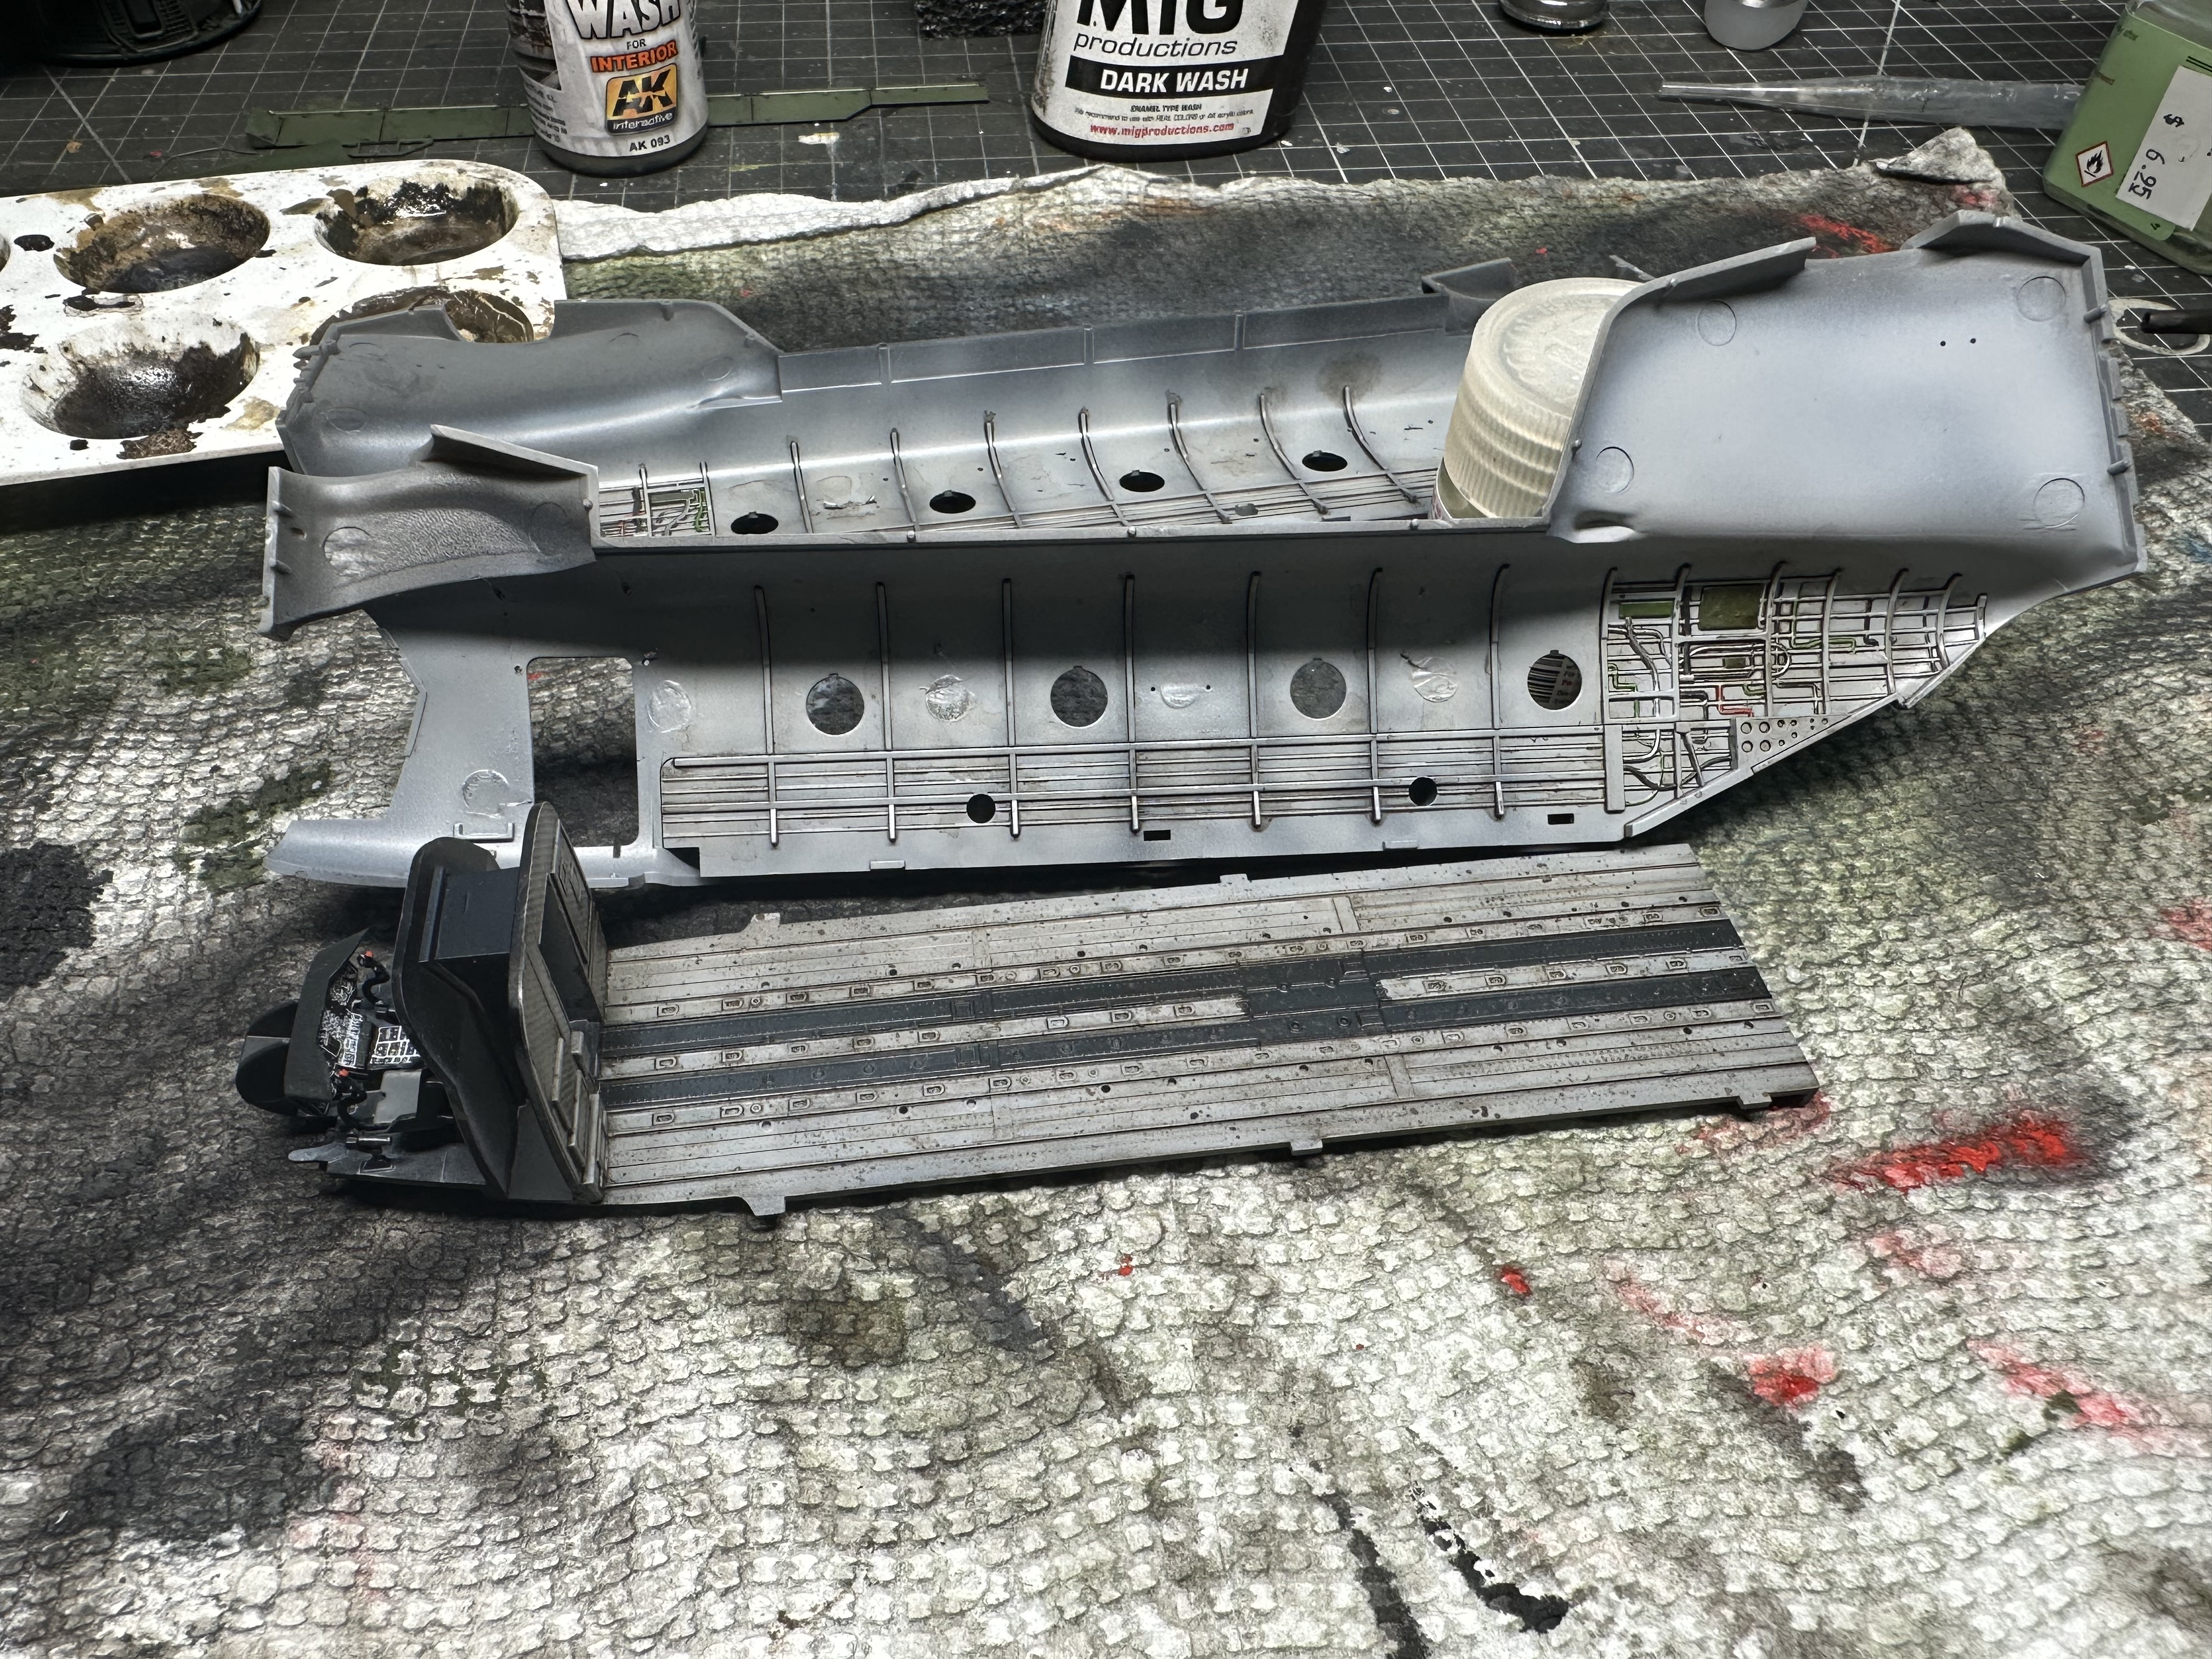
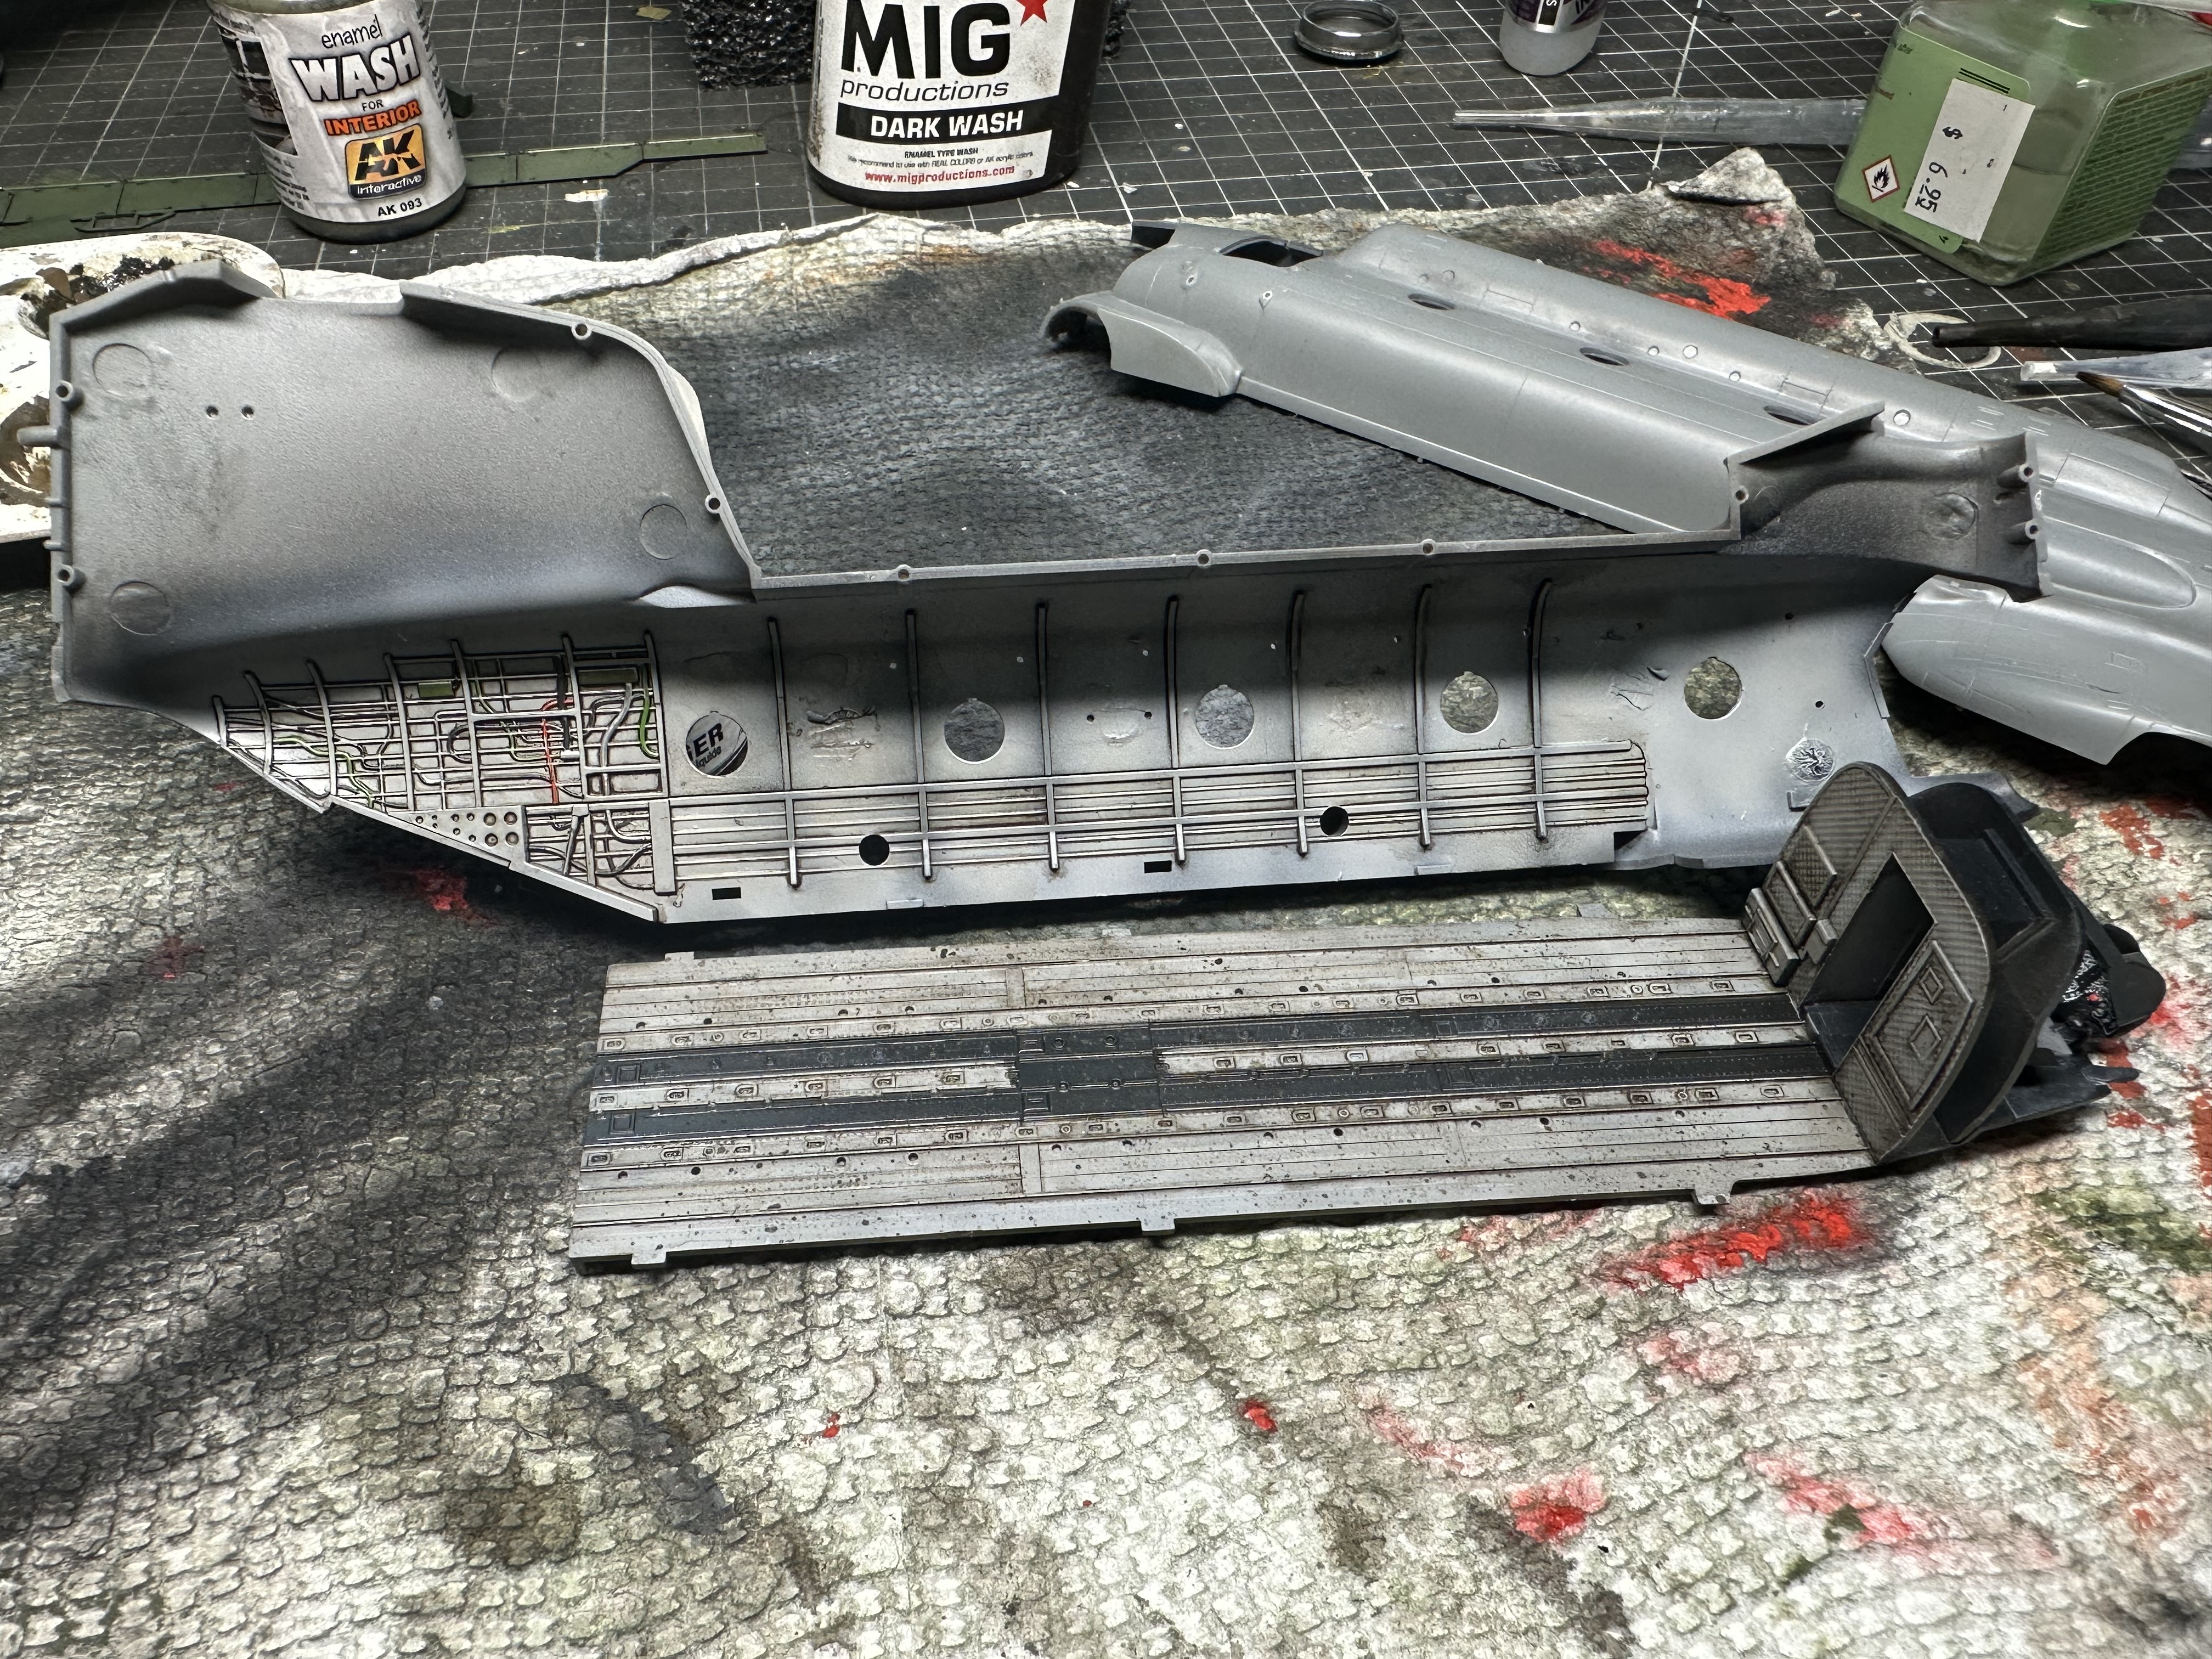
Chinook interior ready to be buttoned up. Just simple weathering to give the effect of dirt and oil build up
Before you button it up, don’t forget to take some Tamiya Clear Red and put hydraulic fluid leaks everywhere. All the Chinooks I rode on got about 100 miles to the quart.
Great progress on the Chinook! Nice interior!
Very nice crabs, Andy! Quick finish!
Used AK fuel stains to try and replicate hydraulic leaks. It leaves a glossy red stain. Not sure how visible it is in photos but it’s there
Nice (and fast!) work going on here!
My progress on the Eduard P-51B:
The fuselage has since been closed up. A little tricky getting things lined up in a couple of places, and placement instructions not always real clear, but by taking my time it’s going together nicely.
Michael ![]()
![]()
Hello Gals and Lads,
it’s been, I think, over the year since I last smelled styrene glue. Unfortunately last 12 months were very hard to me with very stressfull family matters, incl. moving my workshop (and other staff) to new location and health issues. I lost many fantastic campaigns I wanted to join in 2024…
But it seems all is a little bit settling down, my working area is 95% reconstructed, so I can start over again with what we all like - inhaling styrene ![]() .
.
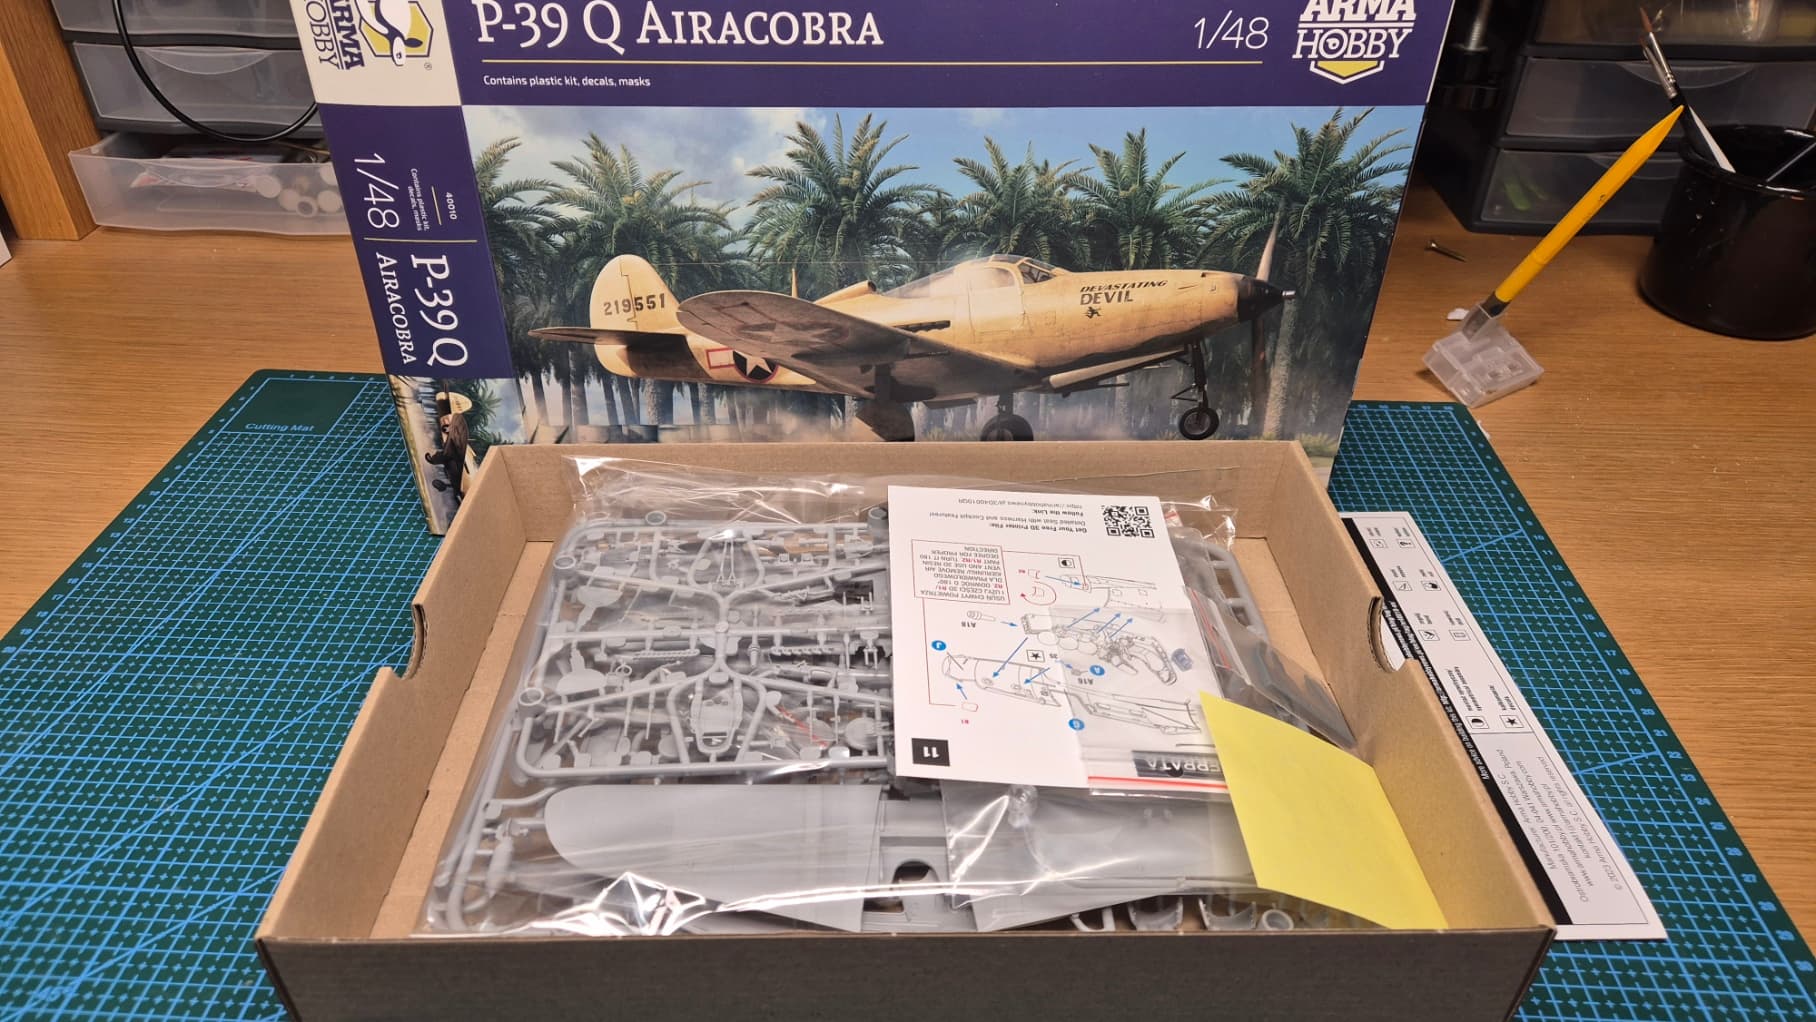
As a “warmup” I will try to finish Arma Hobby (OFC!! ![]()
![]() ) P-39Q Airacobra in 1:48th scale, kit reelased in 2024.
) P-39Q Airacobra in 1:48th scale, kit reelased in 2024.
Here’s a picture of kit in unspoiled condition:
Cheers,
Radek
Welcome back from reality Radek.
Welcome back, Radek! Happy to hear that all seem to have worked out. Is the ARMA kit a reboxing or an original kit? Seems to have both resin and masking included?
@brekinapez should build up into an unusual little kit. looking forward to see more ![]()
Hi Jesper,
Thank you ![]()
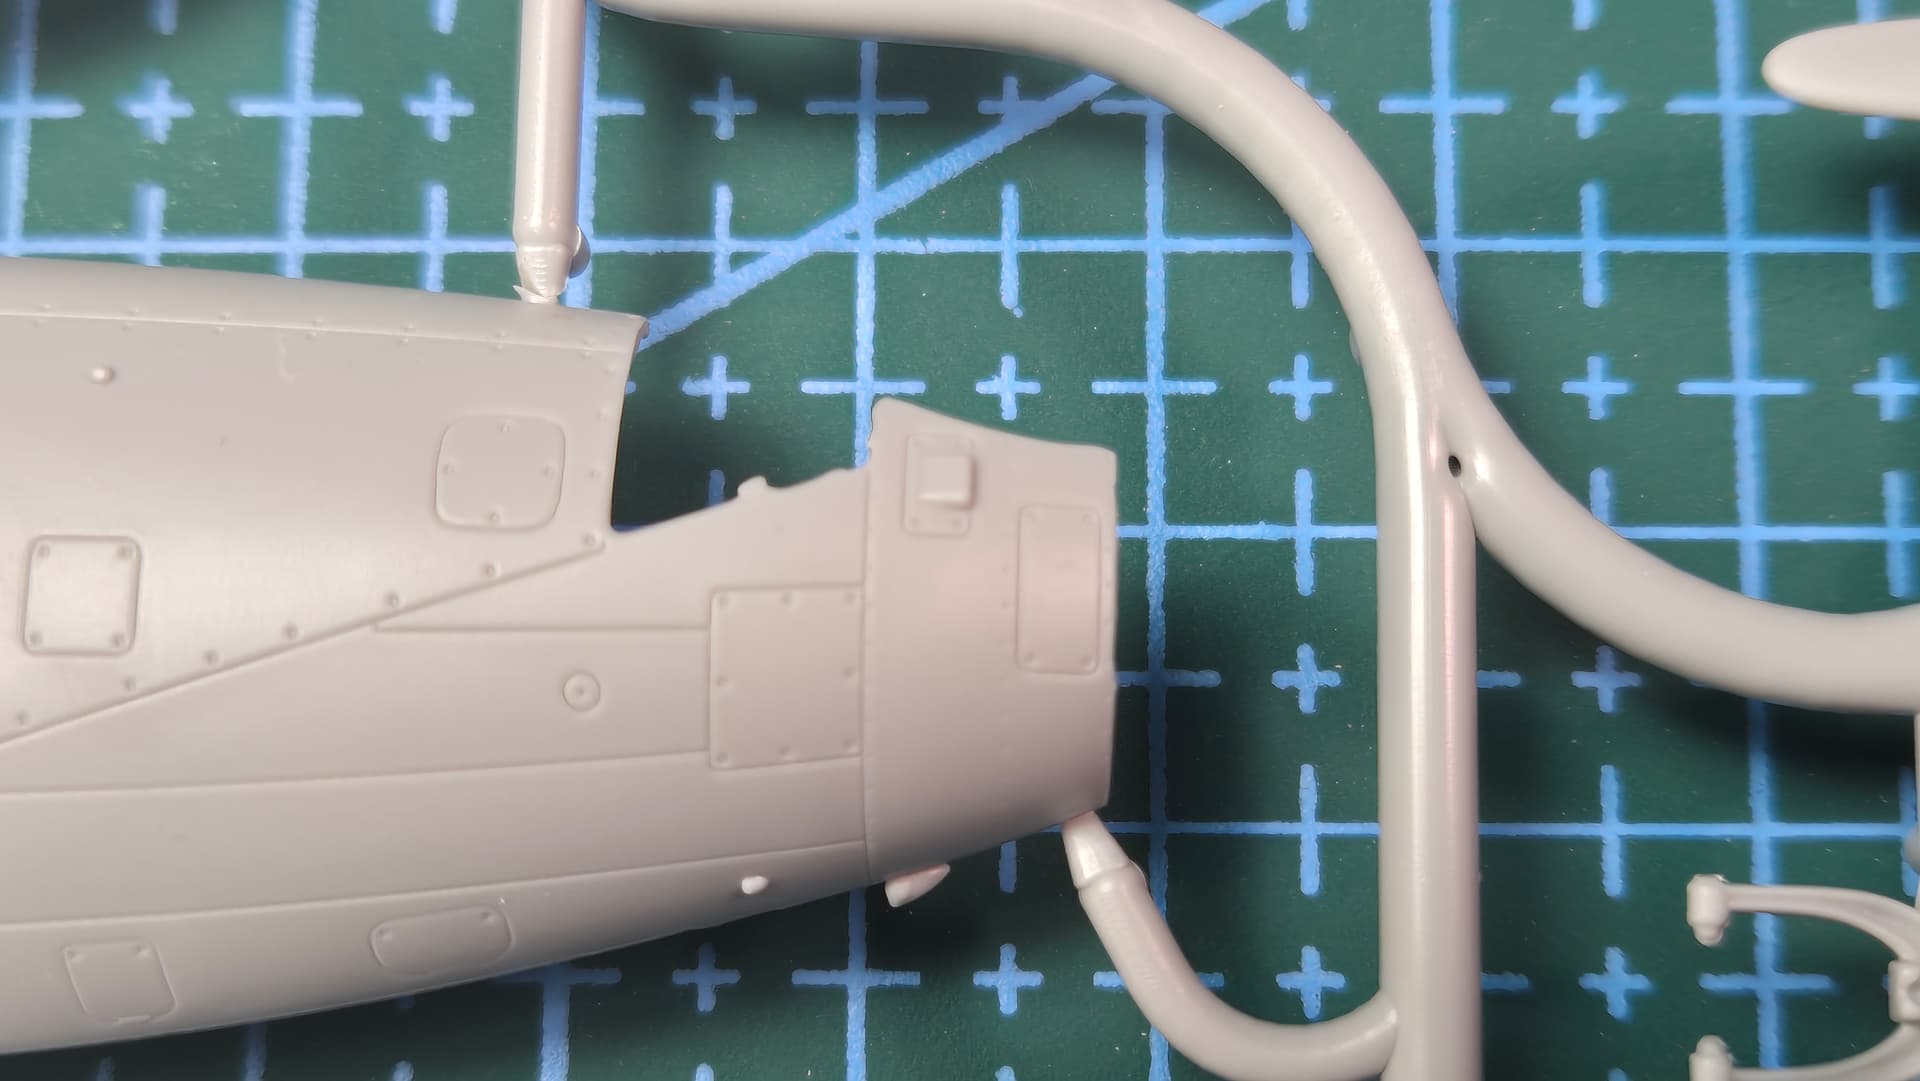
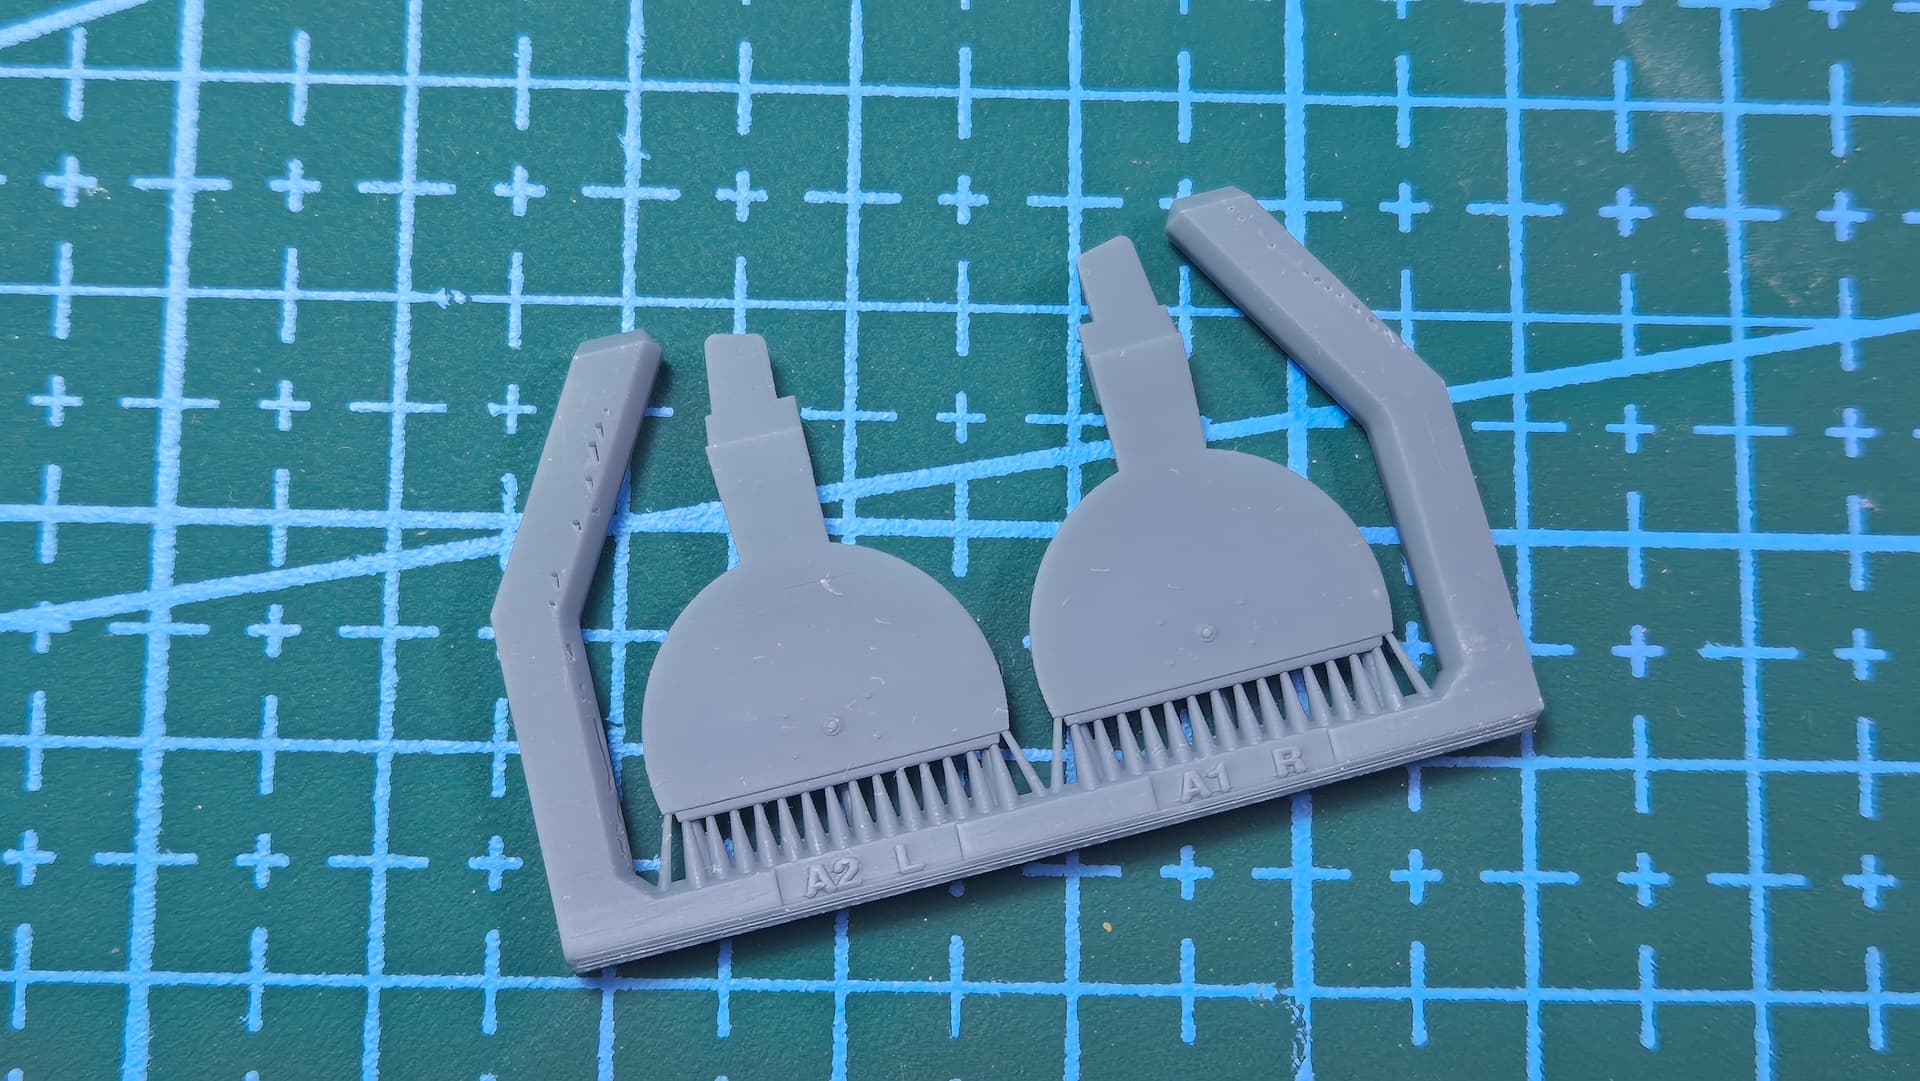
this is original kit from Arma (they did it in 1/72 & 1/48). For this set they provided corection to air vents on the nose (they mistakenly molded them backwards):
They also provided wheel covers for some reason:
You also get steel balls to counter tail sitting
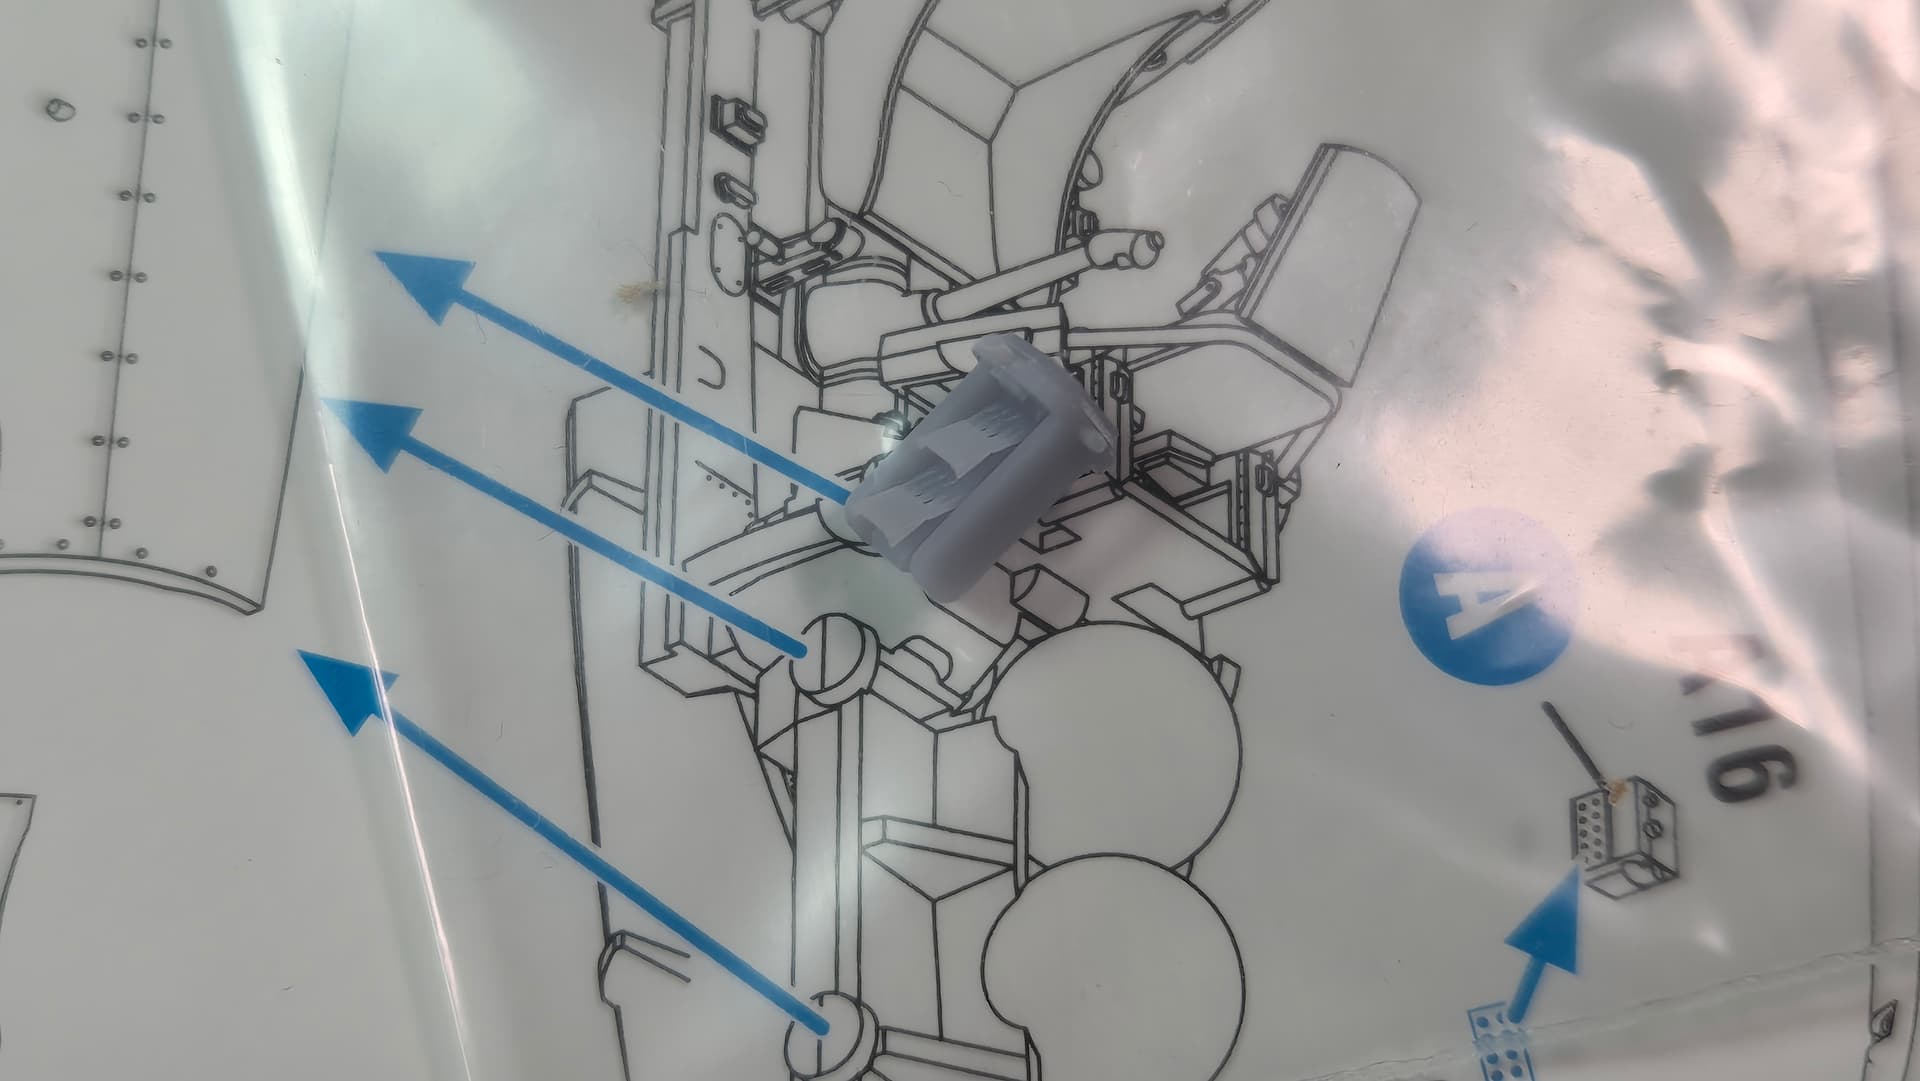
Unfortunately they didn’t provide any PE sets , e.g. with seatbelts, so I bought 3d decals from Kits World.
They also didn’t provide some nice sets of 3d prints for seat and other details (but you can download files from their website and print by yourself… not much useful for me tho)
Cheers,
Radek
Looks good, Radek. Nice touch to add custom weights to the design.
Looking forward to see more ![]()