I often find myself accidentally using more glue overflow etc on my models, and then accidentally leaving a finger print, so how do I go about cleaning that off without damaging the model surface?
1 Like
Depends on which glue are you using. If it was plastic modelling glue like Revell or Tamiya, it is a solvent that melts the plastic so there is no way to remove it.
You can only wait until it dries and then carefully sand the finger prints.
For CA there are debonders which seem to work fine.
5 Likes
The trick is to recognise there’s an issue, and let the glue dry before attempting a fix! Plastic glue melts the surface, so if you try to wipe it off it’s going to do horrible things. After it dries you can sand and scrape it flat again, and if there are any divots or finger-marks you can add some filler putty and then sand it smooth. Happens to us all - the secret is getting experienced enough to know how to fix it…
2 Likes
Yep and true evolution is not making the mistakes in the first place. I think the hardest part is not touching the glue when it does happen.
2 Likes
Everything mentioned above, applies etc…
Dennis, if using liquid cement which one?
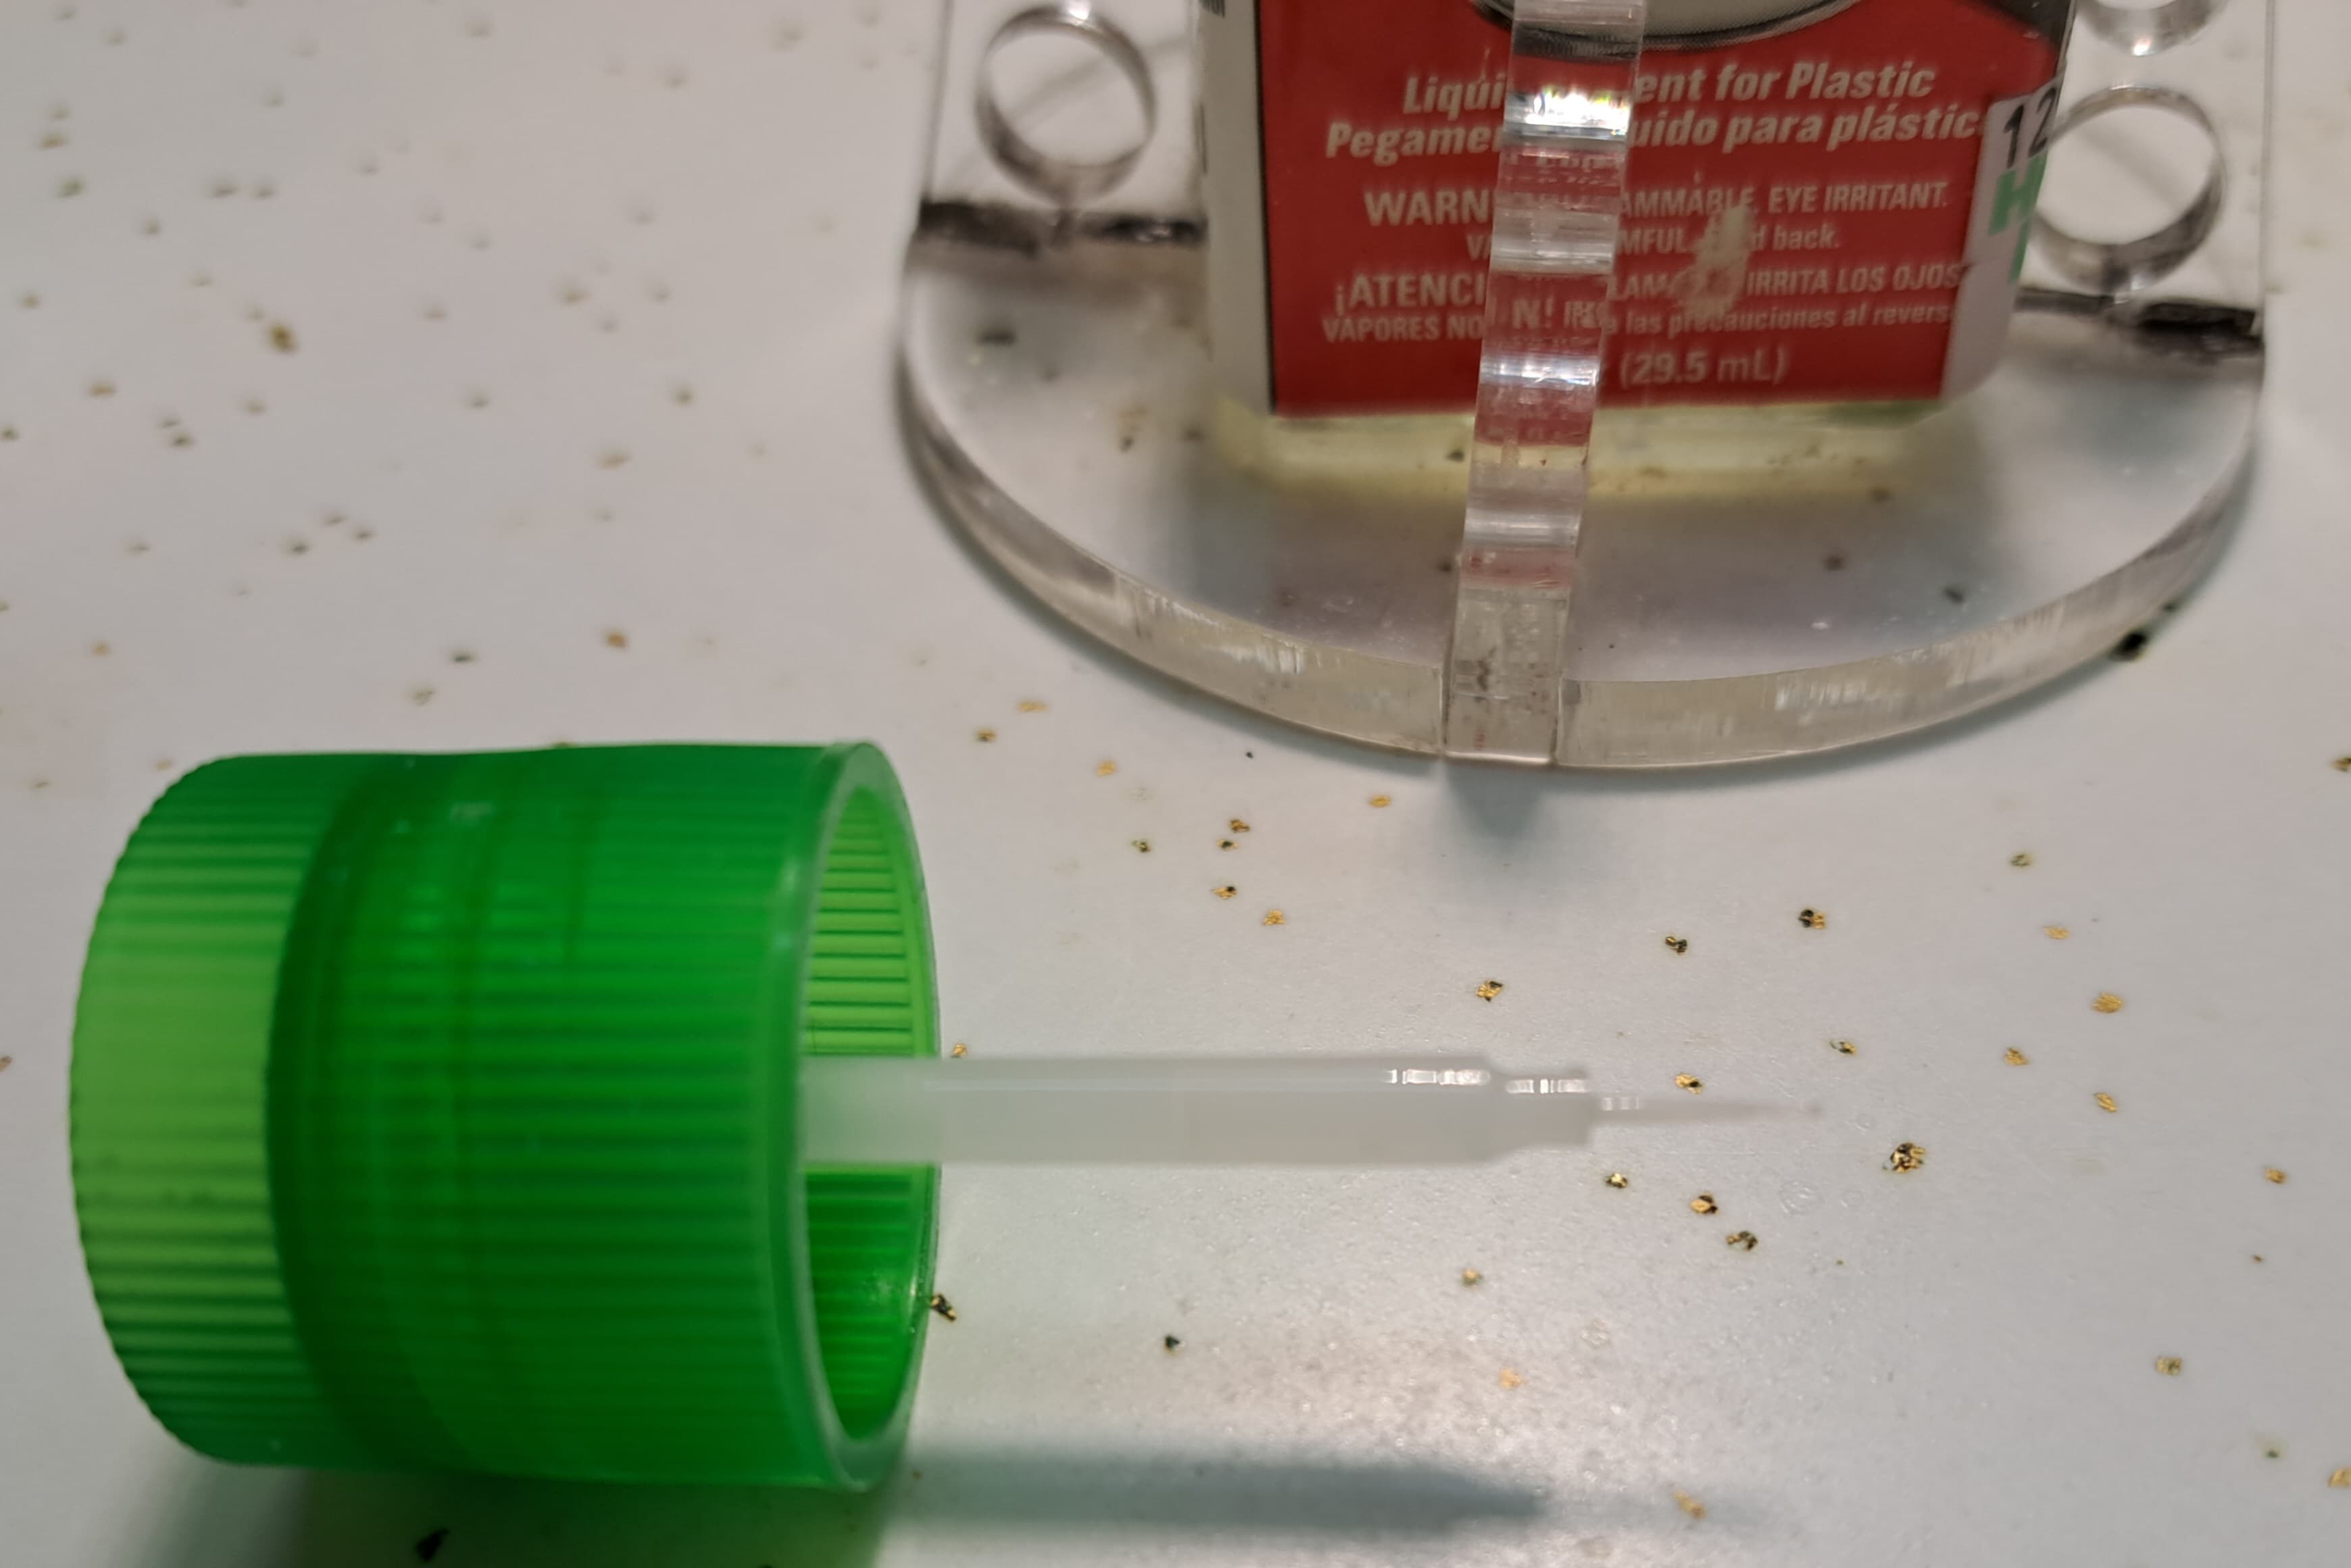
In my experience, the Tamiya Extra Thin has a small pointed excellent applicator brush in the cap. However, it holds a lot of LC. Some of the other brands have bigger brushes that hold even more. Testor’s LC’s brush is so massive and chunky it’s worthless.
So I touch the Tamiya brush against the inside bottle neck to wick away the excess just before gluing parts together. Much like touching a paint brush to bottle neck, palette or paper to wick away the excess before painting. Having better control by loading the brush up with less LC makes it easier to apply only to desired spots.
My experience, Tamiya Extra Thin maybe to be a little hot ![]()
![]() for some of the kits made with very soft plastic. TET is fantastic but the slower LC’s still have an important place on occasion.
for some of the kits made with very soft plastic. TET is fantastic but the slower LC’s still have an important place on occasion.
My pet favorite LC is the older slightly slower working milder Testor’s Liquid Cement in a relabeled Tamiya bottle with Tamiya’s excellent cap brush. It allows me better positioning of smaller parts being slower LC. For delicate work, I have a dedicated small 00 high quality paint brush that’s used on occasion. It’s possible to be very accurate with placing LC with the small pointed 00 paint brush.
If LC mars the plastic or gets finger printed, sand the plastic as mentioned above. It that slightly shiny trace of LC on the surface of plastic is an issue, I’ll very lightly scrape the offending surface with a #15 scapel blade. It’s possible to not damage plastic and remove all traces of LC with a little practice.
Happy modeling
5 Likes
Thanks Guys. I’m using Tamiya Thin, so Yeah. I try not to make that mistake. But unfortunately I’m still doing it ( occasionally) so thanks for the information.
2 Likes
Thank you Sir. I’m using a couple of different versions of the Tamiya TET. cement and and I do, drain off the excess before application.
2 Likes
You could try holding the two parts, that are to be glued, together, and just apply a minimal amount of glue along the joint line. The glue is so thin it will be sucked right into the joint (capillary action), and little, or none, will remain on the surface.
![]()
![]()
1 Like
When I evolve into a three-handed cyborg all modeling will become easier. ![]()
![]()
![]()
![]()
Until then, I am all thumbs. ![]()
![]()
![]()
![]()
![]()
![]()
![]()
![]()
![]()
![]()
![]()
—mike …![]()
3 Likes
If working with airplane builds I go with gloves for this reason and future prints left behind that planes force you to handle differently than armor.
Easier to grab edges on armor, but with planes the wing flaps get delicate.
1 Like
Thanks. What sort of gloves, and where do you buy them From ?
harbor freight. loose ones I reuse many many times. Meaning go larger. When bouncing between colors airbrushing easier to pull off and get back on after the sweat builds up in them. and I take them off during cleaning of airbrush in water as not to possibly contaminate next touch with a hidden undried water droplet.
And using the small mil thickness is fine.
1 Like
I like these: Great Value Nitrile Disposable Gloves. They’re readily available at my local Walmart. I have another brand as well, but they’re very thin and tear too easily. HTH
—mike
1 Like
Can you hold two pieces together between the thumb and forefinger of the same hand?
![]()
![]()
@Armor_Buff, Wade since you use fine tip brush for precision application, which I have read few others do, but then how do you clean the glue off your brush? I would imagine once the glue is dry it will also bond together the brush hairs.
1 Like
If the “glue” is a pure solvent (which I most definitely recommend using) the solvent just evaporates.
Sometimes liquefied styrene can get sucked into the brush if the application requires a lot of solvent and rubbing it in with the brush.
If it happens the brush will go soft again the next time it is dipped in the solvent.
Glues which are not pure solvent is another matter …
1 Like
@Stryker45 Mike, the Testors Liquid Cement & Tamiya Extra Thin are both solvent LC’s. Cleaning the small brush isn’t necessary when using Testor’s or Tamiya LC’s. If used with thinned putty then the brush will need cleaned.
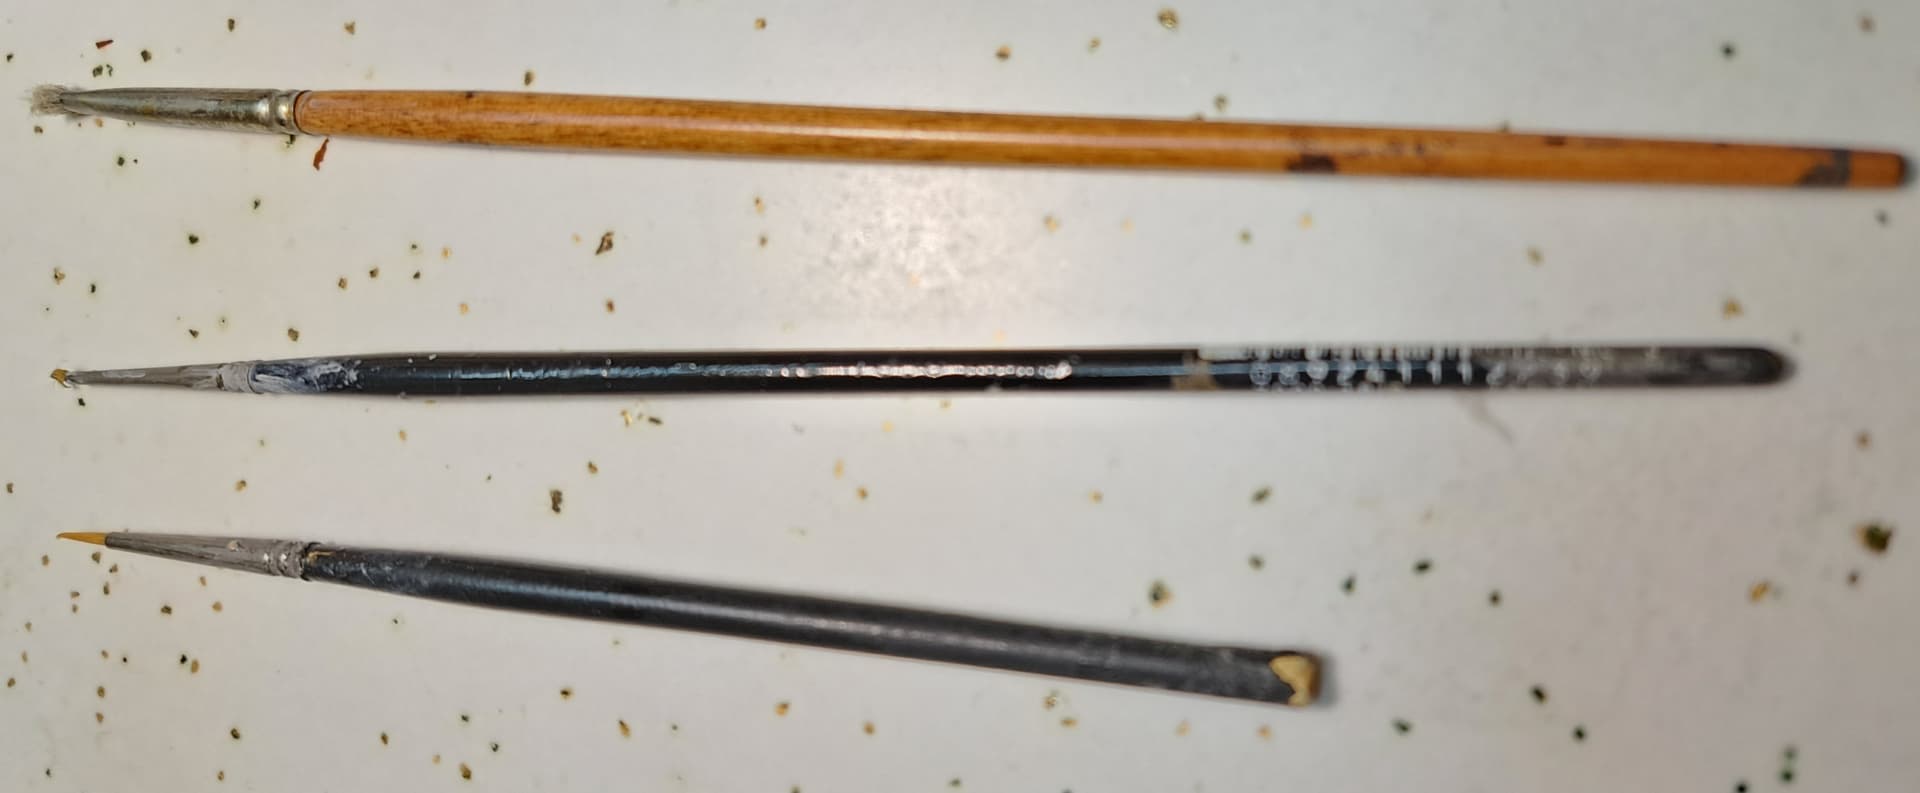
Left current small LC brush used since 2012, middle original LC brush used since 1988. It’s worn out now and used to stipple & texture cast armor on small parts now, right worn out brush used to texture large surfaces with LC & putty mix for cast texture

Chopped handle because being clumsy, I flipped one too many bottles of LC ruining model project etc
Testors work’s overtime very hard finding ways sabotage their own products and fail, in my opinion. Narrow base bottles, easy to tip over plus massive useless blunt cap brush.
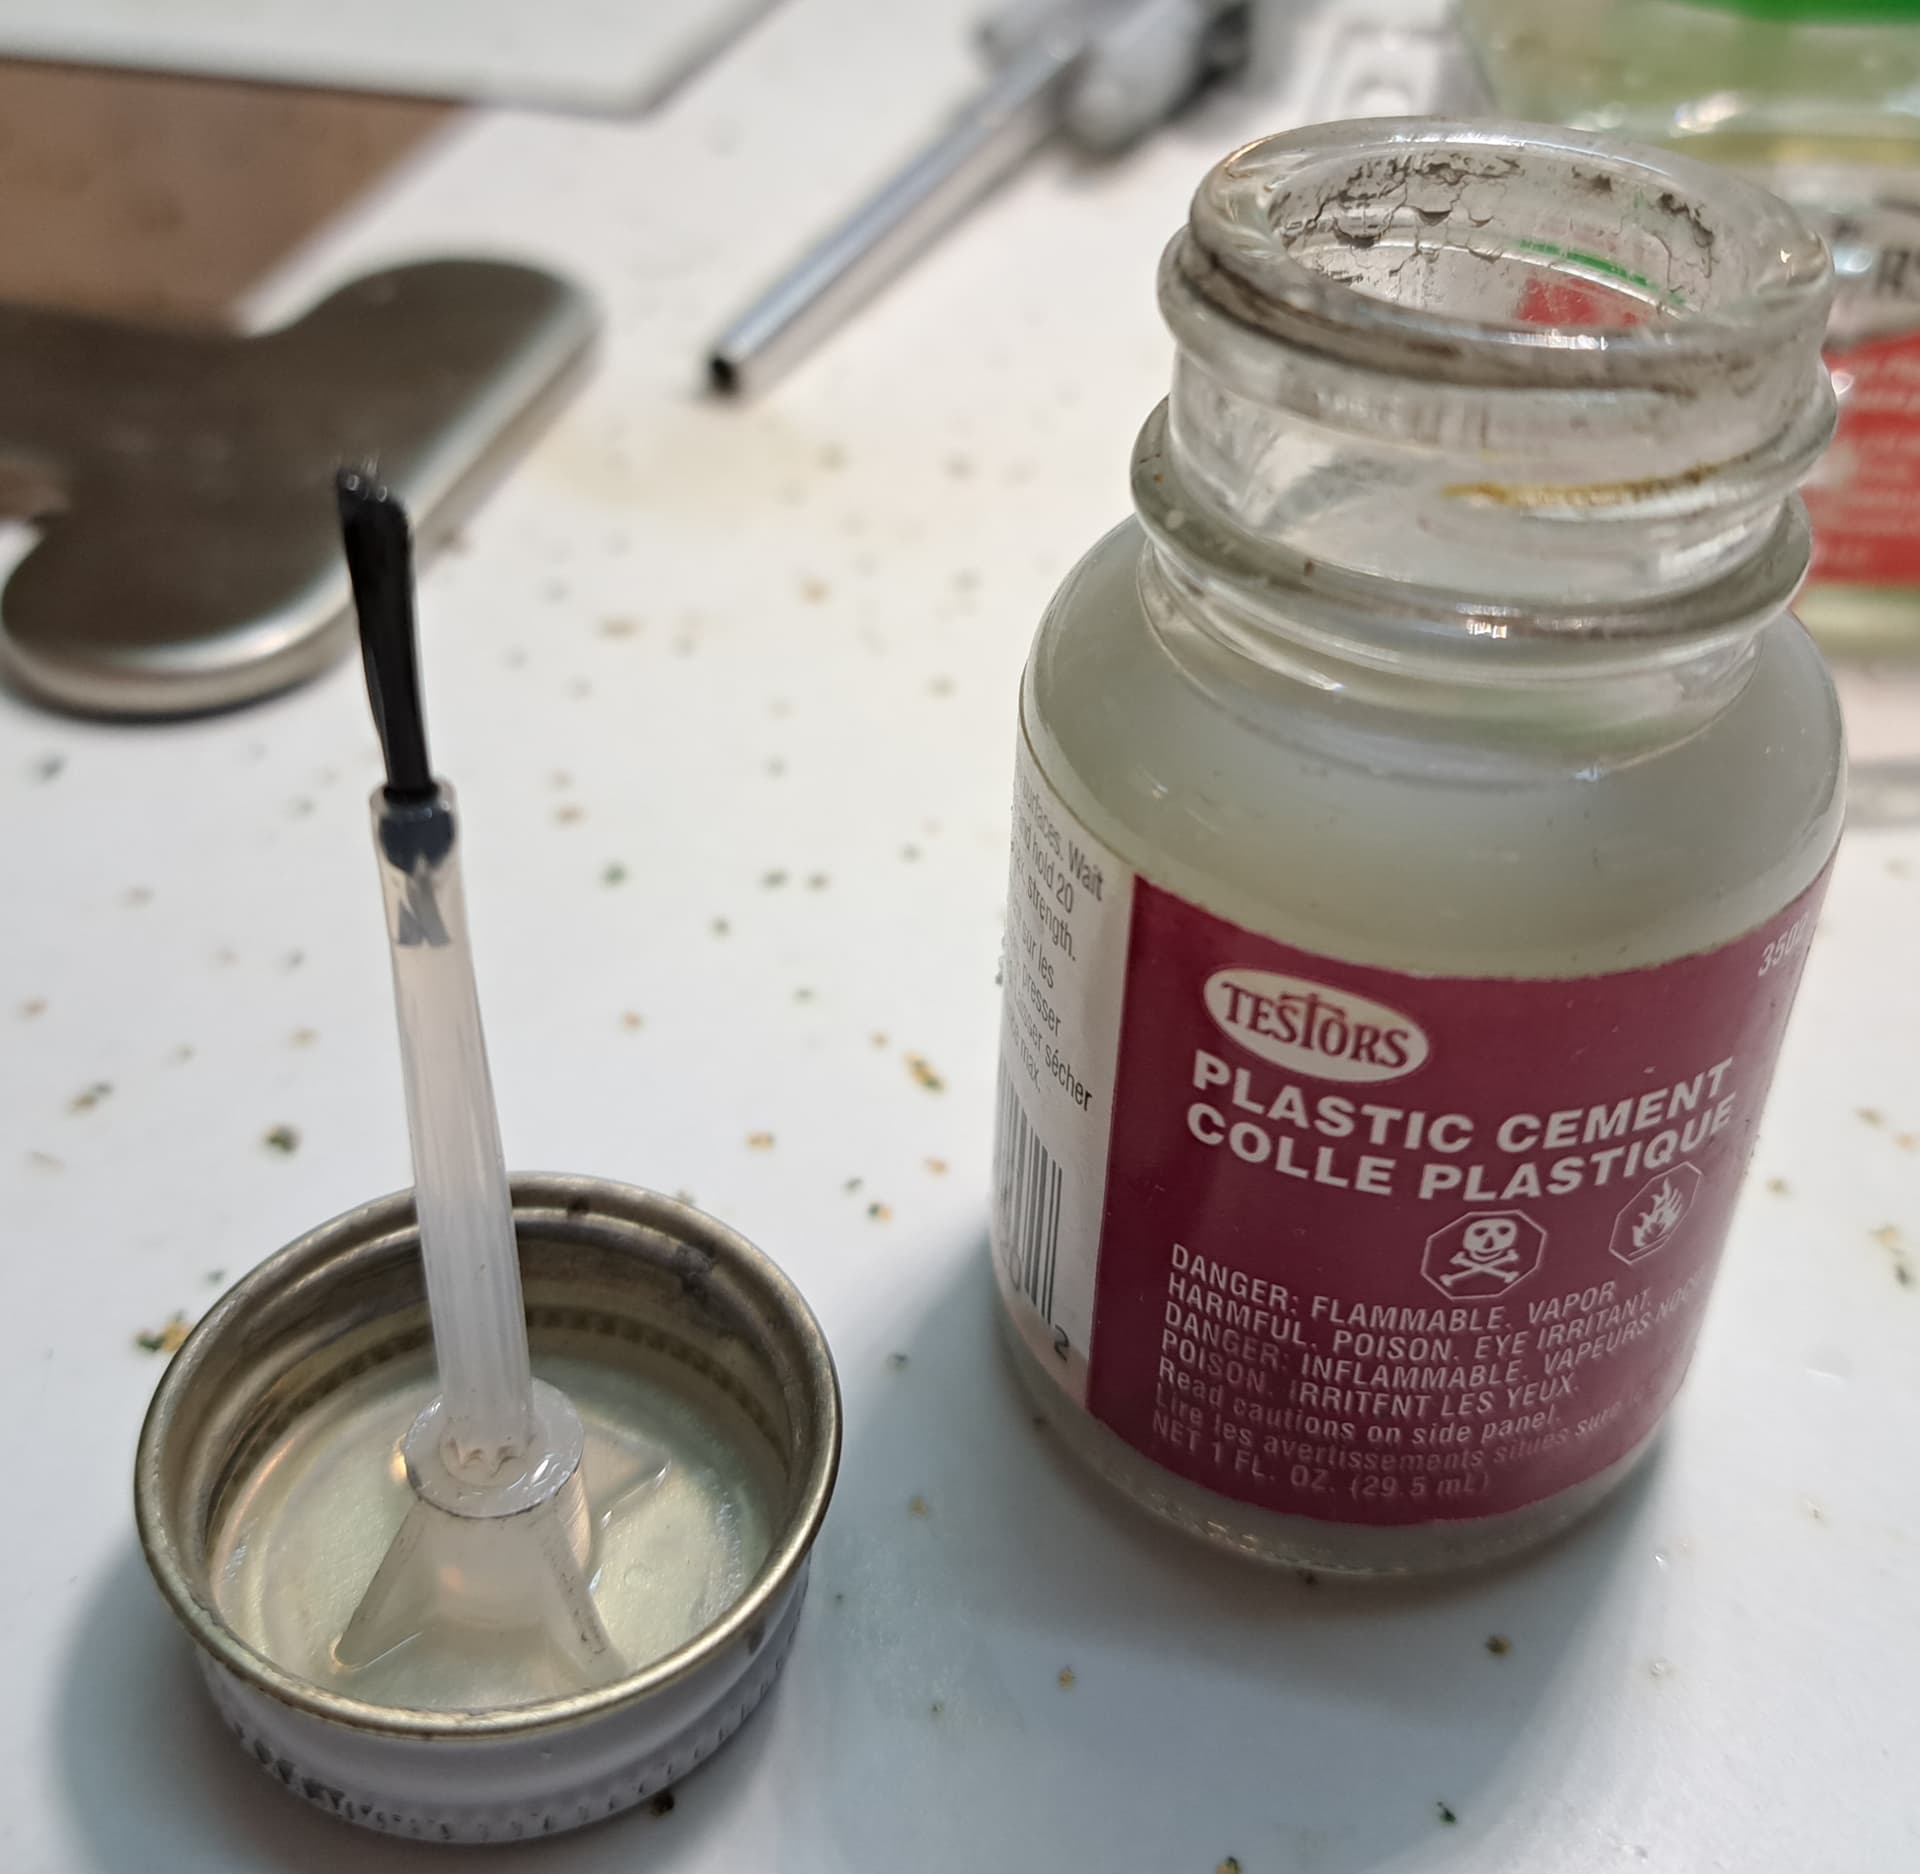
It’s cloudy because I used this bottle of LC for thinning putty.
I relable and rebottle Testor’s in an empty Tamiya bottle.
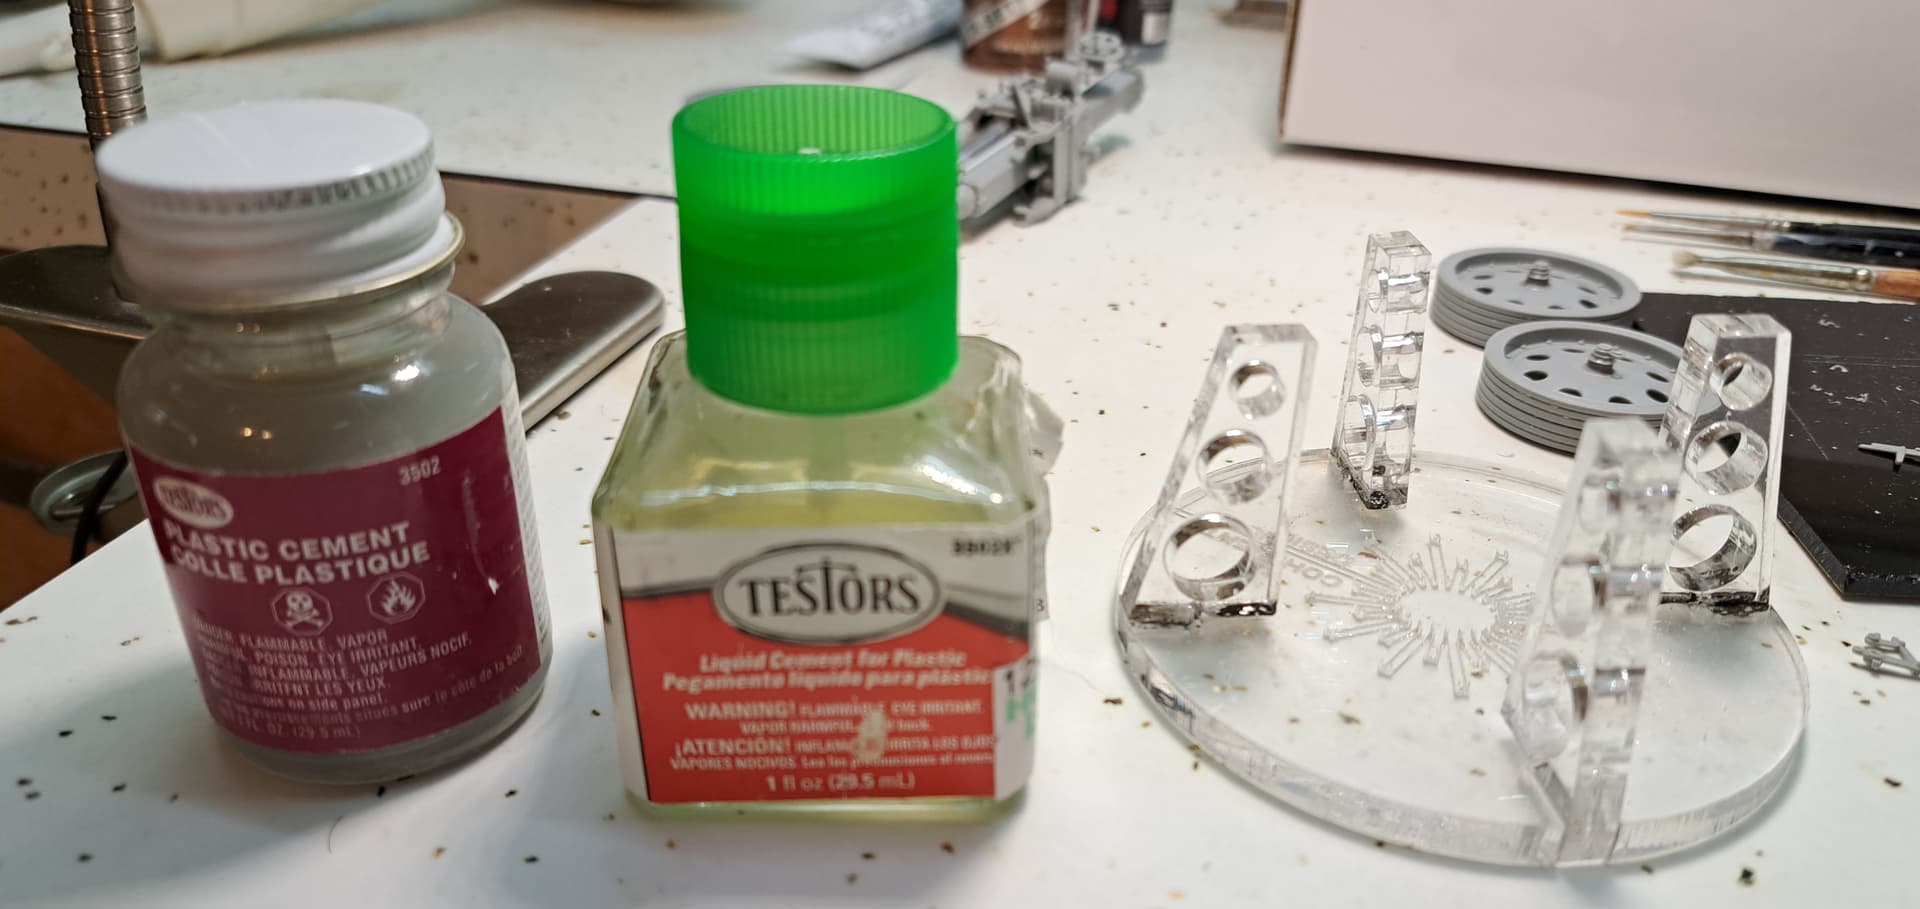
I also use Tamiya if needed for a fast bond. If lightning ![]() fast is needed, I get the pure MEK bottle out on very rare occasions.
fast is needed, I get the pure MEK bottle out on very rare occasions.
4 Likes
@Uncle-Heavy Robin and @Armor_Buff Wade, thank you both for your insight. It’s good to know that solvent base glues will not damage paint brushes as evidence by Wads 35 years old brush (1988). I do use Tamiya green cap bottle glue mostly but once I did tipped over a Testor bottle on my bench and ended up destroying a 1/32 TA-4J that was almost ready for paining. That was fun…![]()
![]()
Wade, are you thinning your putty with glue to create anti slip texture or just for filling small gaps?
1 Like
Lecture mode on.
“Solvent based glues” is a slight misnomer. The stuff I use is a pure solvent (ethyl acetate, just as fast as MEK on styrene, less useful for ABS), when the solvent has evaporated there is absolutely nothing left behind.
It can NOT be used like a traditional glues (apply to joint surfaces and then press together). The solvent evaporates too fast for this. Does. Not. Work.
The work process is as follows:
- Dry fit the parts, adjust as needed to get a good fit, make sure the parts will fit all the way around (fuselage halves, hull halves, hull to deck, upper and lower chassis et.c.). If it does NOT fit do NOT plan on using putty to fix it afterwards. Use thin styrene strips (buy for $$ or cut from vac-formed food packaging, test packaging with solvent to check that it “glues” together, after a while you can feel the difference between styrene and all the other stuff, ABS can be trickier to sort from styrene).
- When the parts fit, possibly adjusted with shims to add plastic or filed and sanded to remove plastic, hold them together with tape, rubber bands, clamps, extra hands or whatever works for you in that situation. Make sure that none of these tools/methods touches a joint where solvent seepage could create problems. The solvent just loves capillary action …
- Use small brush to apply small amounts of solvent, preferably where it can’t be seen or at least where there is few or no details to damage later. The solvent will get sucked into the joint by capillary action, if you look closely you can see it flashing along the joint. Apply a little more further along the joint if the first little drop didn’t go all the way.
- Let it dry, takes a minute or a few minutes depending on the size of the parts. The joint will hold together after a minute or two if it isn’t under stress (crooked parts that needed force to mate). Full strength after an hour or two.
The solvent loosens the bonds between the polymer chains which then re-bonds to each other when the solvent has evaporated. One side effect of this is that the styrene can become a little less dense than before so even if the solvent evaporates completely there can be small marks that may need to be polished to remove the swelling.
It was huge game changer for me when I swithced to pure solvents.
In my humble opinion ‘gap filling glue’ is a poor excuse for sloppy preparation work. If a joint needs filling it is easier to fix it before “glueing” the parts together. Sink marks are also easier to fill by “glueing” bits of styrene sprue or sheet styrene in/on the sinkmark. Adding a bit more solvent softens the styrene so that the filler piece can be pressed in and the styrene that oozes out fills the joint.
Using bits of sprue from the same kit ensures that the filling and the surrounding area has the same hardness which makes it easier to sand a smooth surface (a too hard putty can easily cause a bump, a too soft filling causes a depression which can be really depressing since the hole needs to be filled again).
Lecture mode off.
5 Likes
@Stryker45 Mike,
I haven’t tried making anti slip texture yet. My modeling is mostly focused on WW2 to early Cold War. Only built a few out of the box modern AFV’s. Thinning Molak Stucco Putty w/Testor’s for small gaps, hairlines, zimmerit and improve cast armor texture works very well. I think it might work for anti-slip. Worth testing and experimenting on a junk model for sure.
I also use Tamiya Basic Gray also but I like Molak Stucco Putty way better. Typical cast/rough rolled armor texture…

3 Likes