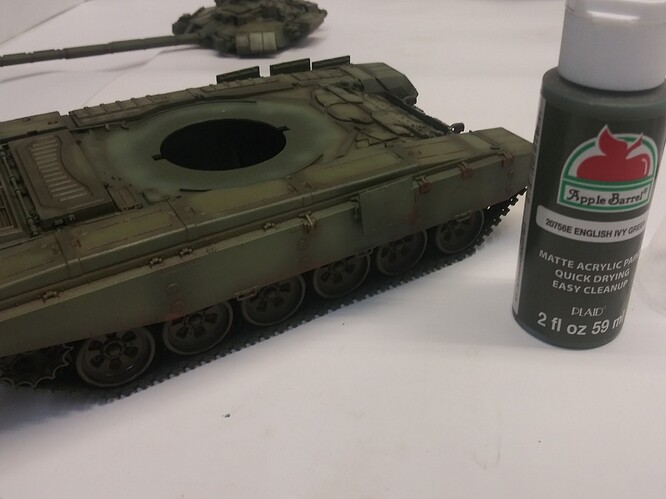
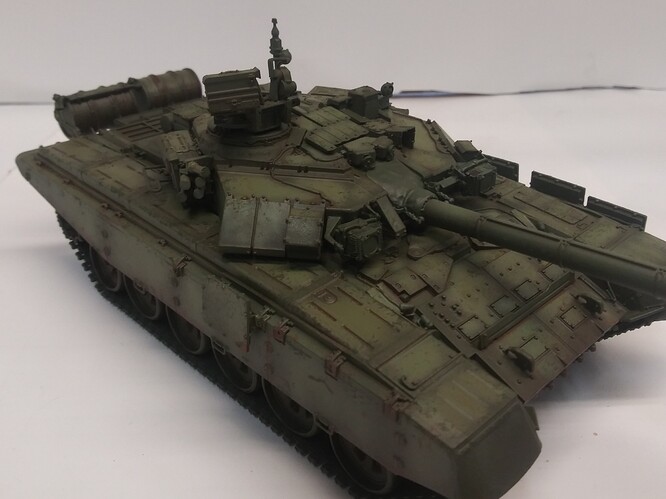
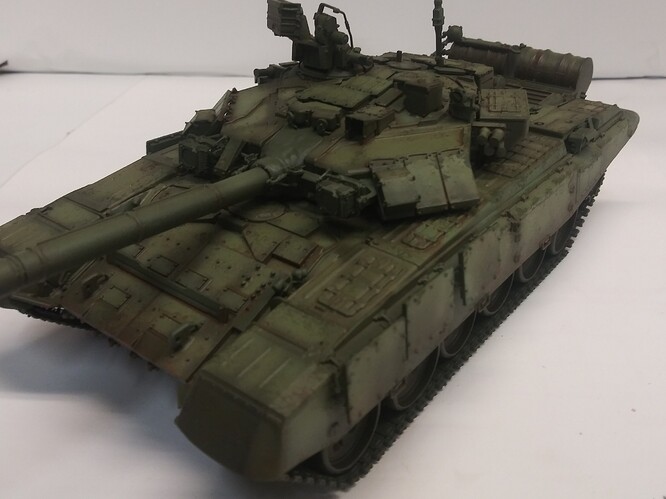
@Canmedic Don & @Chris_Bryan Chris, this is an excellent thread! Thank you for the kind comments.
I’m definitely enjoying following along and seeing another way of thinking about the weathering process. Chris, you’re providing an excellent step by step plus thoughts on the process  A++
A++
The real beauty of seeing various methods allows us to tweak and tune our own process. Plus it’s always fun if one build two of the same sort of model to finish them in different with different methods:)
Back to the regular scheduled programming 
2 Likes
Weren’t most of the T-90’s in a camouflage scheme?
1 Like
Yes most were in a camo , im doing this in green for the purpose of the sbs.
Here are several in green , so it is normal .


1 Like
@Armor_Buff / Wade. I am glad you saw the humor im that. Believe me I analyse your builds and see things I can do different or add to the bag of tricks… Just a thought as a future s.b.s. what about a joint effort where we show both techniques.
2 Likes
@Nightgaunt . Thank you for the kind words . Hang around and we will help you get where you want to be with models … Ideally you will learn this and see something that we dont and then you teach us
Also feel free to ask any questions. Post your work and tag me and wade . We can help you my friend.
Great tutorial Chis!
I will be following this like the bible when I weather my STRV-103!
Exra its not done yet . this is just the paint part
Sorry Chris, this may seem like a stupid question but did you apply the filter before painting any external details needing a different color?
1 Like
Ezra there are no stupid questions. Yes the filter is applied before any detail paint .
The next steps will be chips , scratches etc . Followed by streaks and stains. Select pin washes. Then on to primary detail paint , pigment weathering . Secondary detail paint if necessary.
Sometimes this order will varie a bit. So basically those are the next steps.
2 Likes
Thanks Chris! I just applied the filter on the S-tank, it looks awesome!
Thank you for this great play by play. 
1 Like
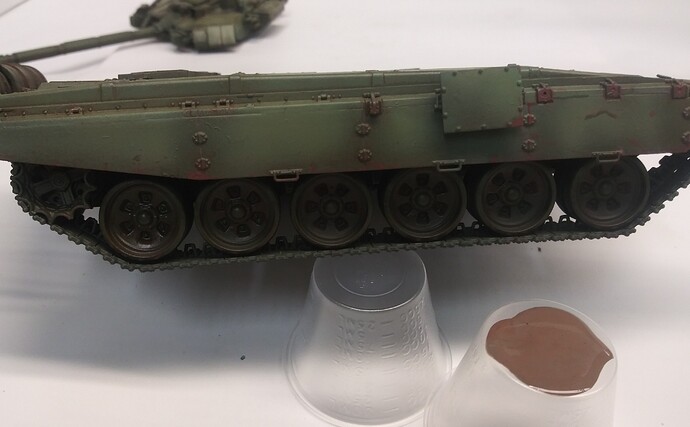
This is awesome. Modeling aircrafts I have used similar technique to apply wash to bring out panel lines, similar to what you are showing with filter, but the excess is wiped clean and it’s always, well most of the time, applied on gloss coat that protects the main paint job. So, it’s easier to whip off. From what you are showing in your filter prep sequence pics that cup, looks like 3oz clear cup, is half full of thinner with only dap on paint. So, basically it’s like a colored thinner?
Btw, applying your filter on flat coat paint…would n’t that make it hard to clean up and hard marks/stains on the paint even after cleaned? I figured that out by making a mistake of doing such on a bottom of an A-10 wing where I forgot to seal the main color and the wash left hard stains. In the end I just had to repaint that area and start over.
Anyway, great bit of information. Keep of the good work.
Mike
1 Like
@Stryker45 . Thank you. The color cup is actually a 1oz medicine cup . I buy them 250 at a time on amazon. Yes it is a small day of paint with about a 1/2 0z of thinner. On lighter colors it will definitely look more like a stain and in that case a satin clear would be used for the pin wash stage. Prior to that the filter used would be almost translucent and can be applied in multiple layers… Hope that clears it up a bit.
1 Like
Id love to see that. Glad its helping
Also in the event the filter is too heavy in a area . Simply flood it with clean naptha . That will thin and force the thinner to the edge of that area. Also touch a cotton bud to the area to remove excess .
1 Like
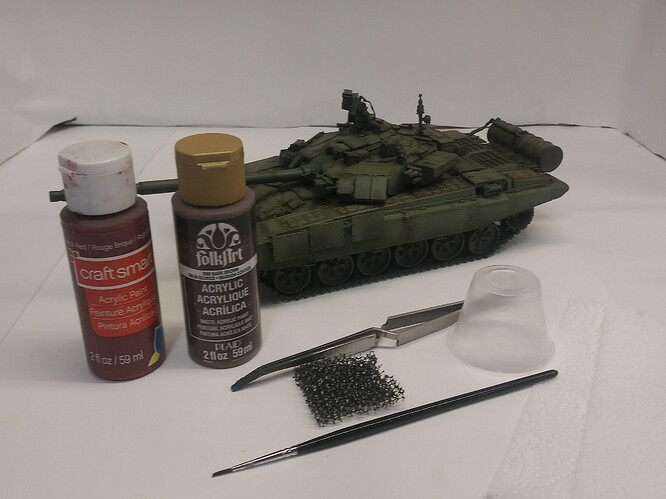
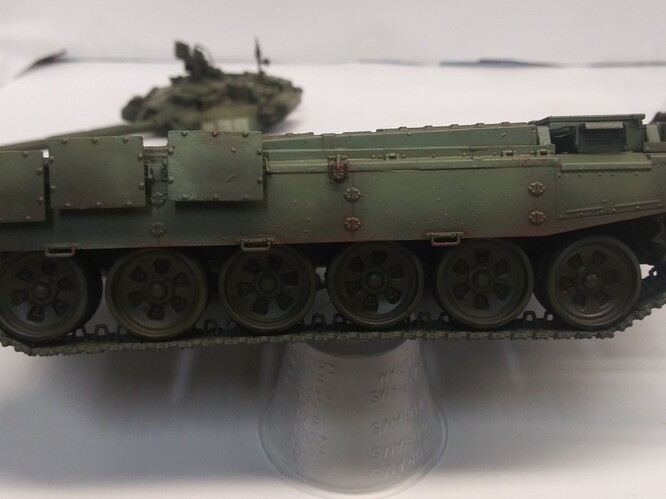
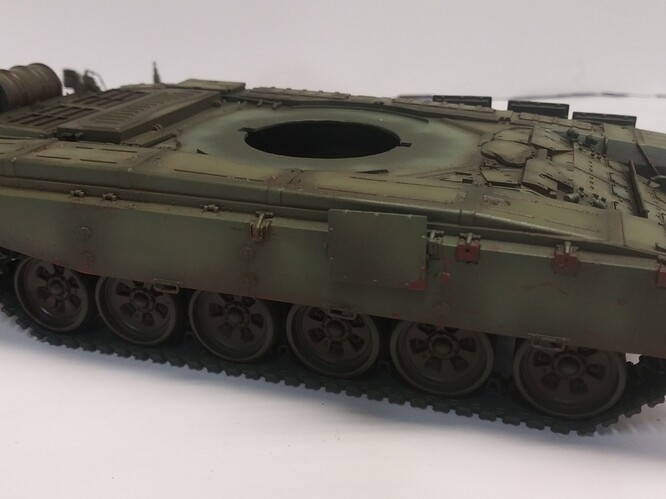
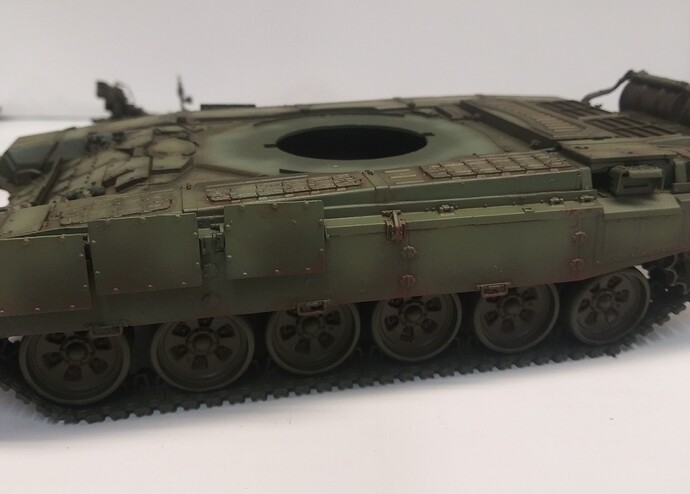
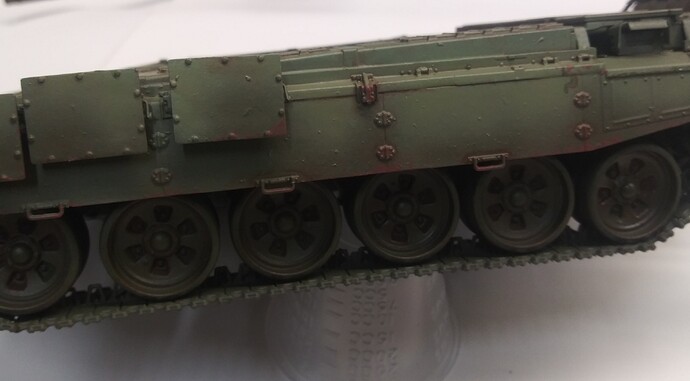
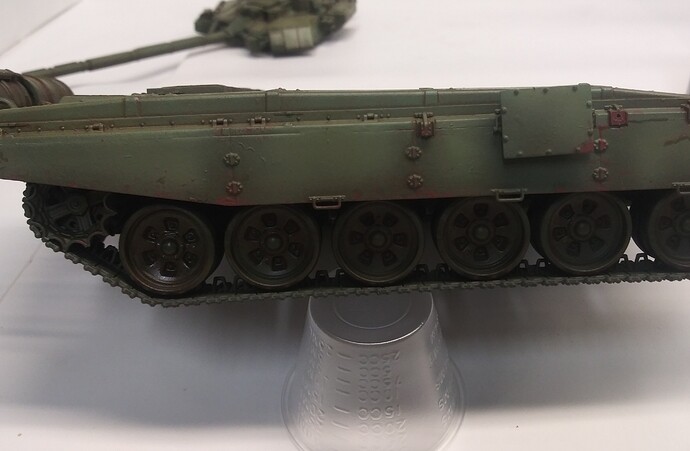
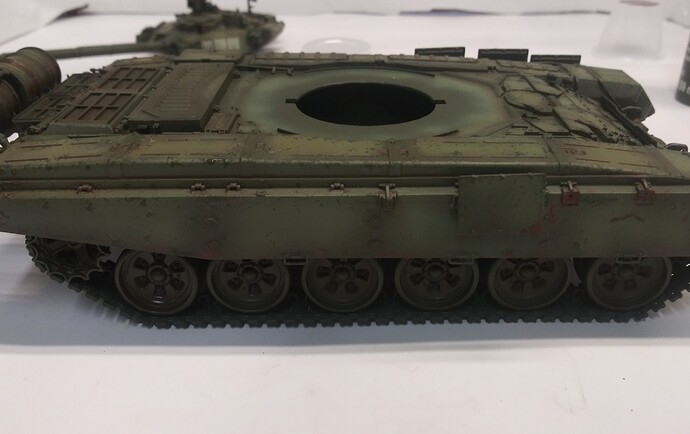
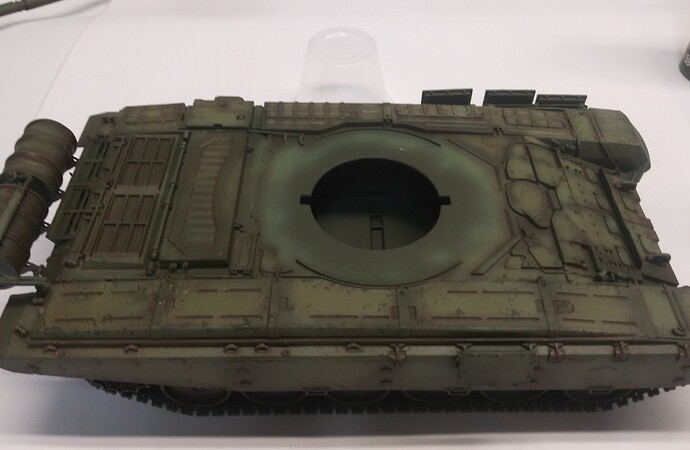
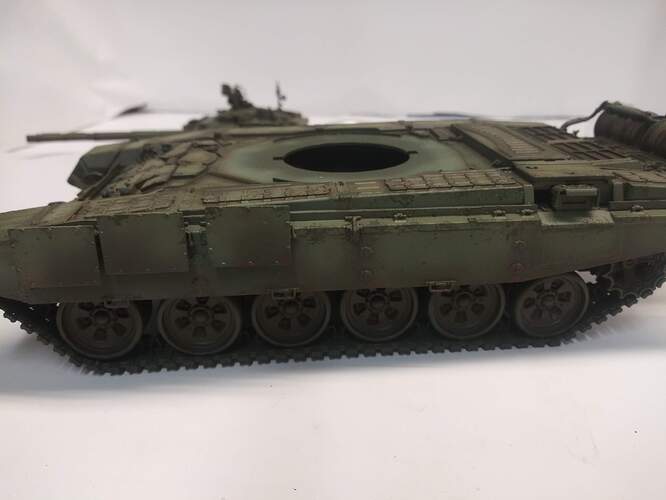
Chips and scratches . How much is too much? That is a subjective question , we have all heard people say " oh that is too much chipping". The answer depends on the environment, service life, type of factory paint. Finally it depends on what you think looks good on your model on your shelf.
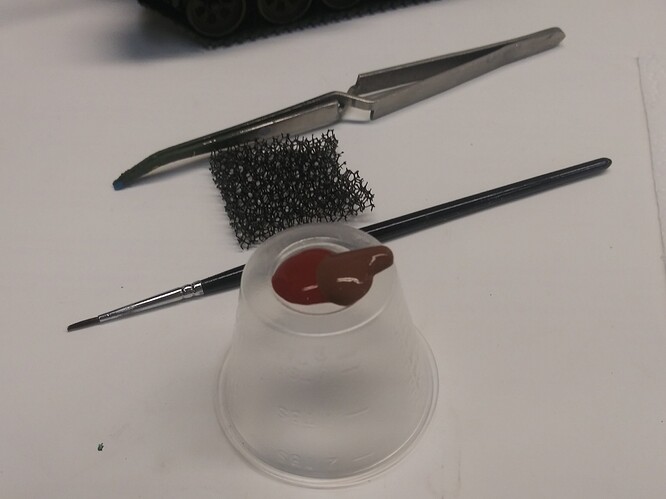
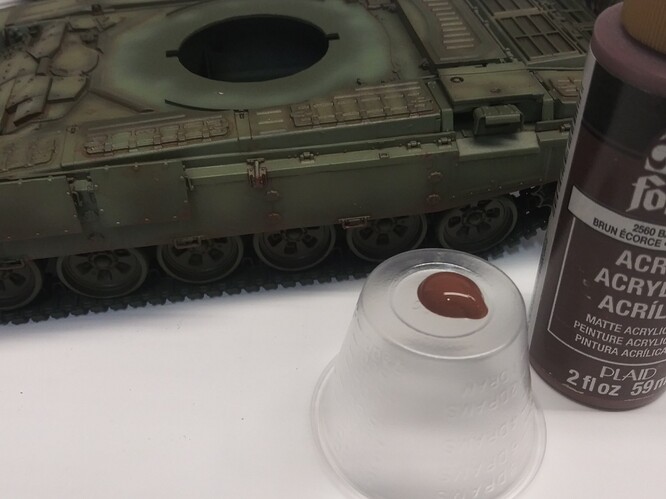
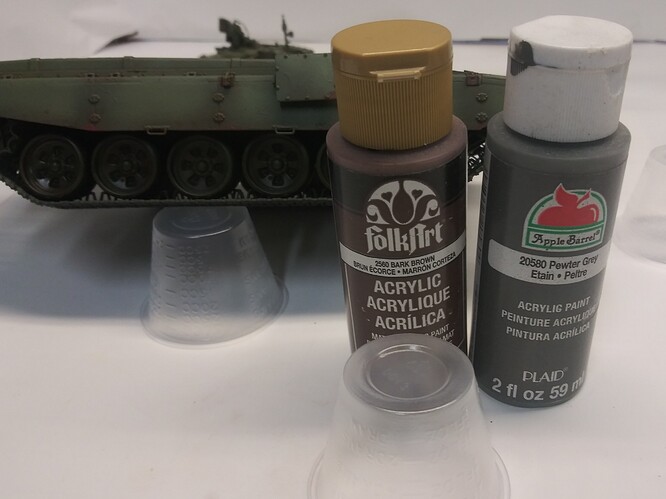
To start the chipping process , I mix a brick red and a dark brown to get the red brown tone of deep chips that have penetrated past the top color.
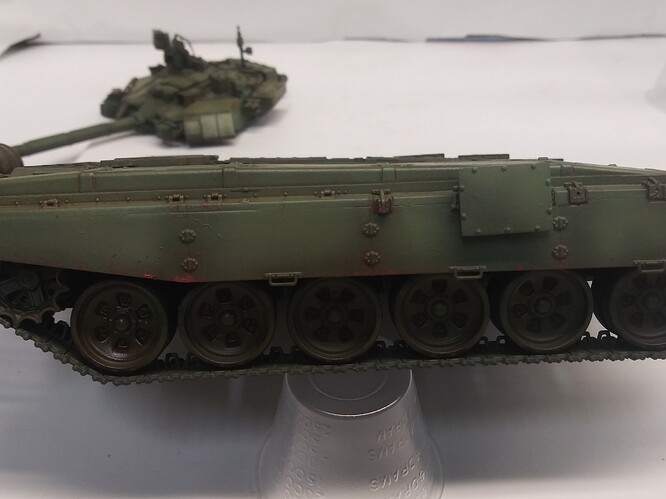
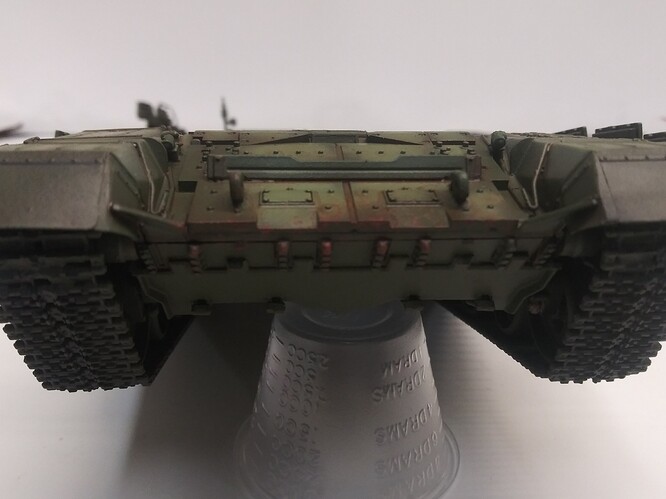
- Apply red brown chips sparingly along rhe bottom edge and small raised areas.
- Using a fine point brush connect some of the chips in a dot to dot manner.
- Using the same small brush gently outline some of the larger chips in brown and some of the smaller dots.
Now that the basic side chipping is done . Mix a grey brown color.
- With the grey brown color and the fine point brush outline a few more chips .
- Add grey grown to some of the raised detail and fine lines that are recessed.
Now we come back to the original base color of green .
- Using a small sponge and remove the excess paint on a paper towel , dab along the edges in a random pattern.
- Now we move to the upper surfaces dabbing the base green in high traffic areas. Also along edges paying attention not to be too heavy.
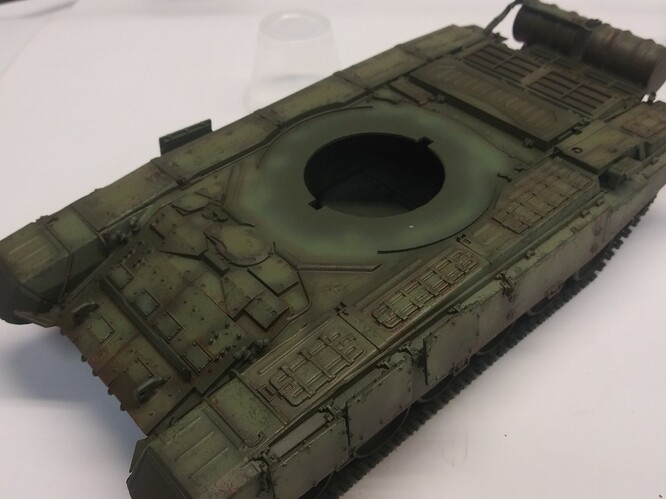
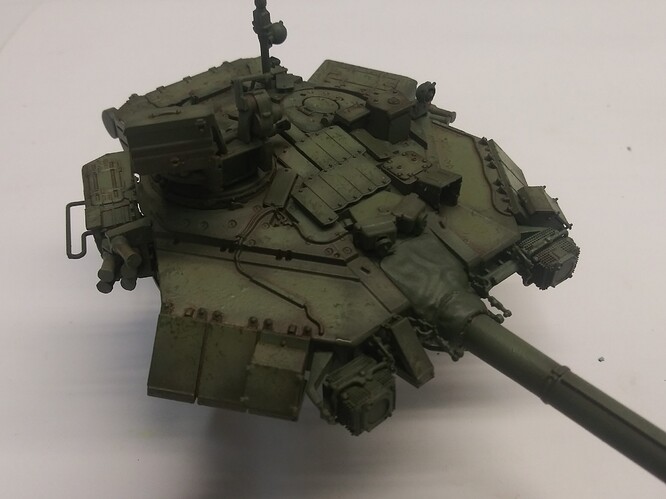
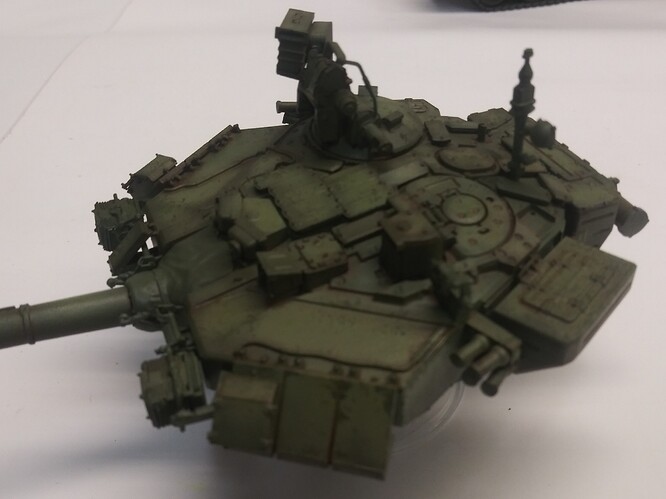
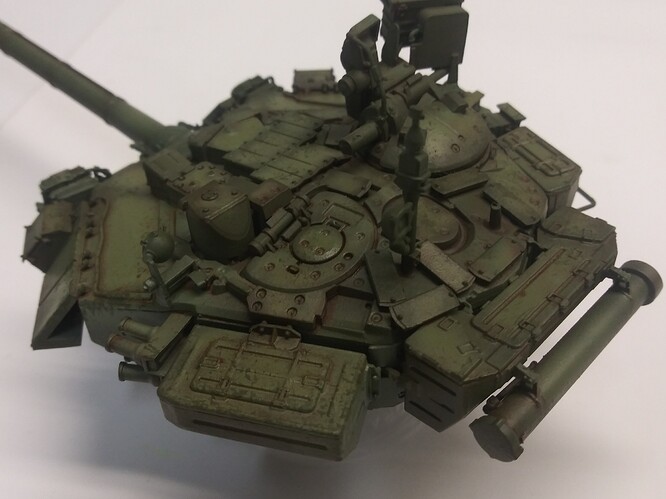
Next is the turret. Here we want to really pay attention to continuity… Meaning that we want to carry the chips up in a natural progression .
- Lightly apply chipping to the entire turret with thw base green.
- Using the base green sponge chip along edges a bit more heavily and along stowage boxes.
Next stage is pigment weathering…
4 Likes
Really liking this, I’ve always found it hard to find step by step weathering guides.
The most amazing thing about your work to me is that you use cheap craft paints, and if you didn’t show the paints you used I would have assumed you were using high quality model paints. Having worked with those crafts paints and knowing they aren’t super easy to use; I applaud you for the look you get with them
2 Likes
Thank you for the support and kind words . The trick to the paint is the thinner and shooting at a higher pressure . The primer states to shoot it at a higher pressure so it stood to reason that the paint would also
1 Like
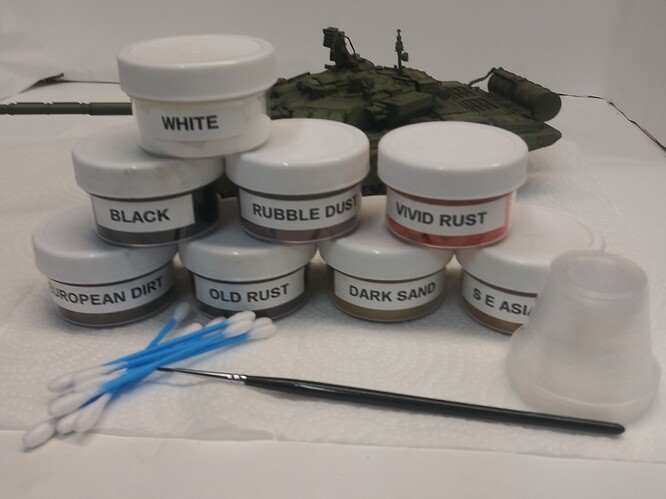
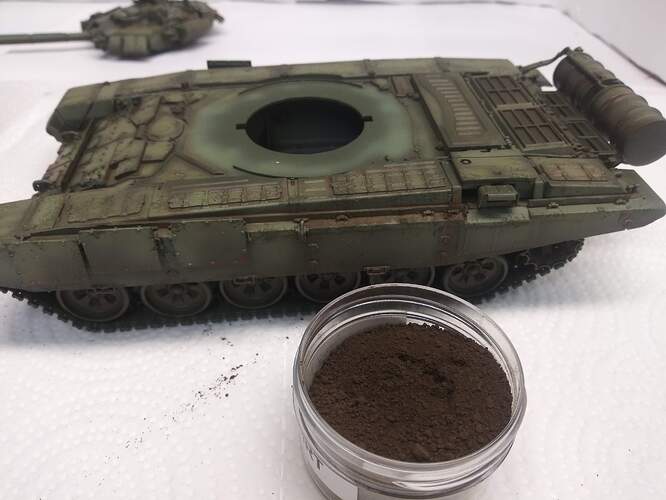
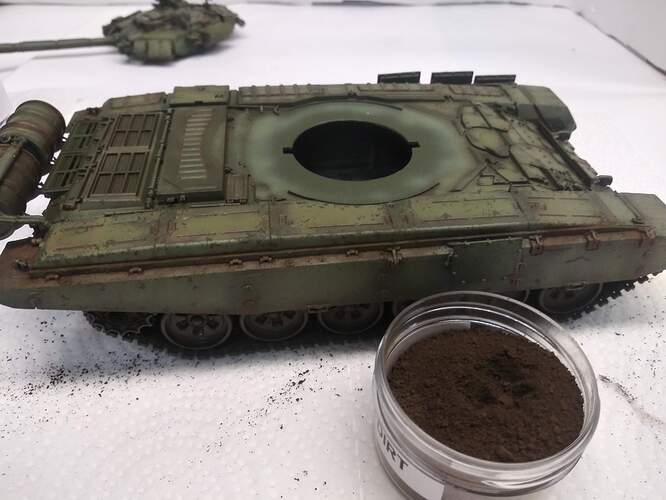
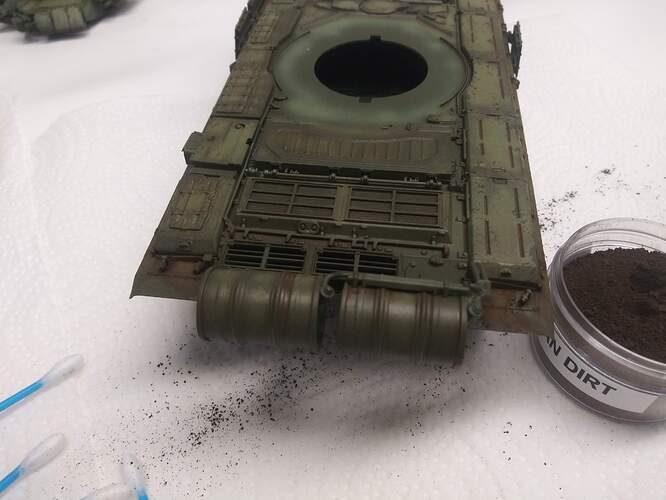
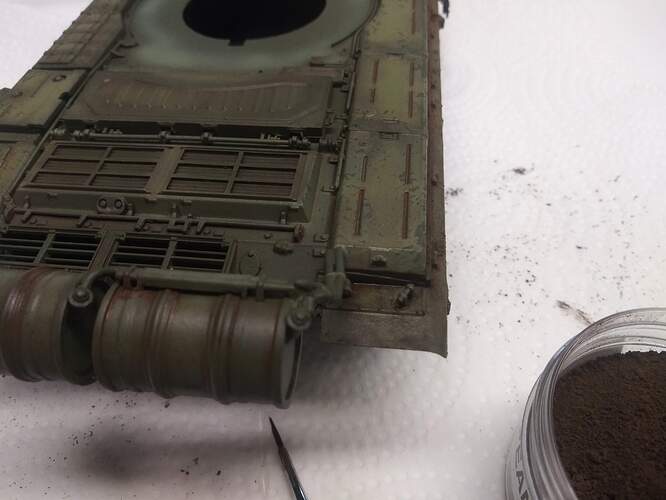
Just so everybody can get a feel for the process .
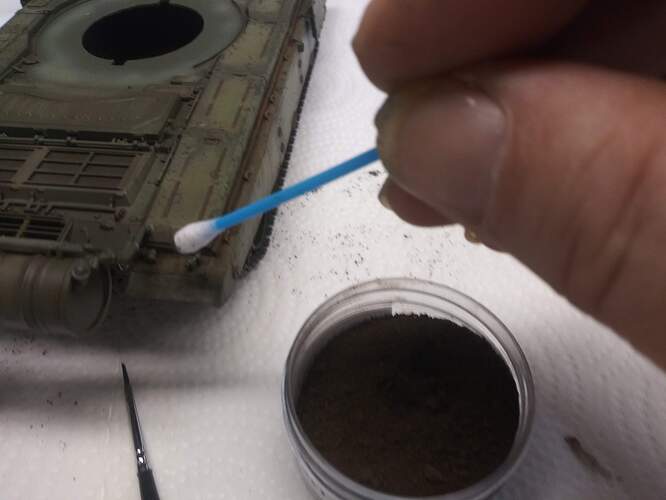
- I have started with a European Dirt color and lightly added it to the upper raised area of rhe skirts , some powder will fall to the lower area and that is lightly stipple into the surface and the excess brushed away.
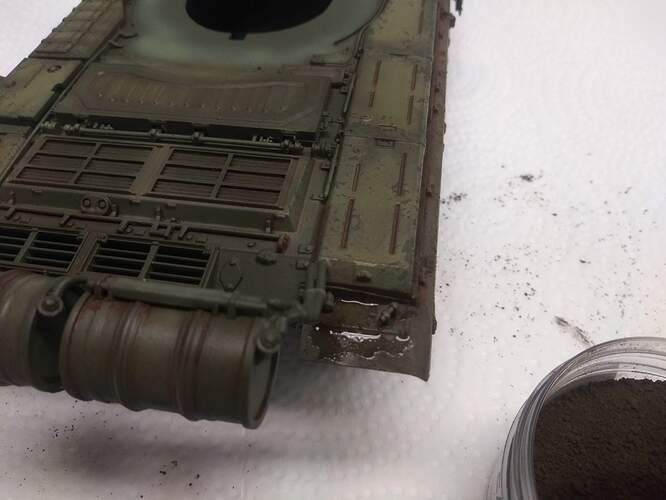
- The rear fender tops have a liberal amount of pigment added and this is followed by a small amount of water.
- The ater is then removed using a dabbing motion . This does 2 things it blends the pigment im and changes the texture slightly while adding a mapping effect.
3 Likes
 A++
A++
