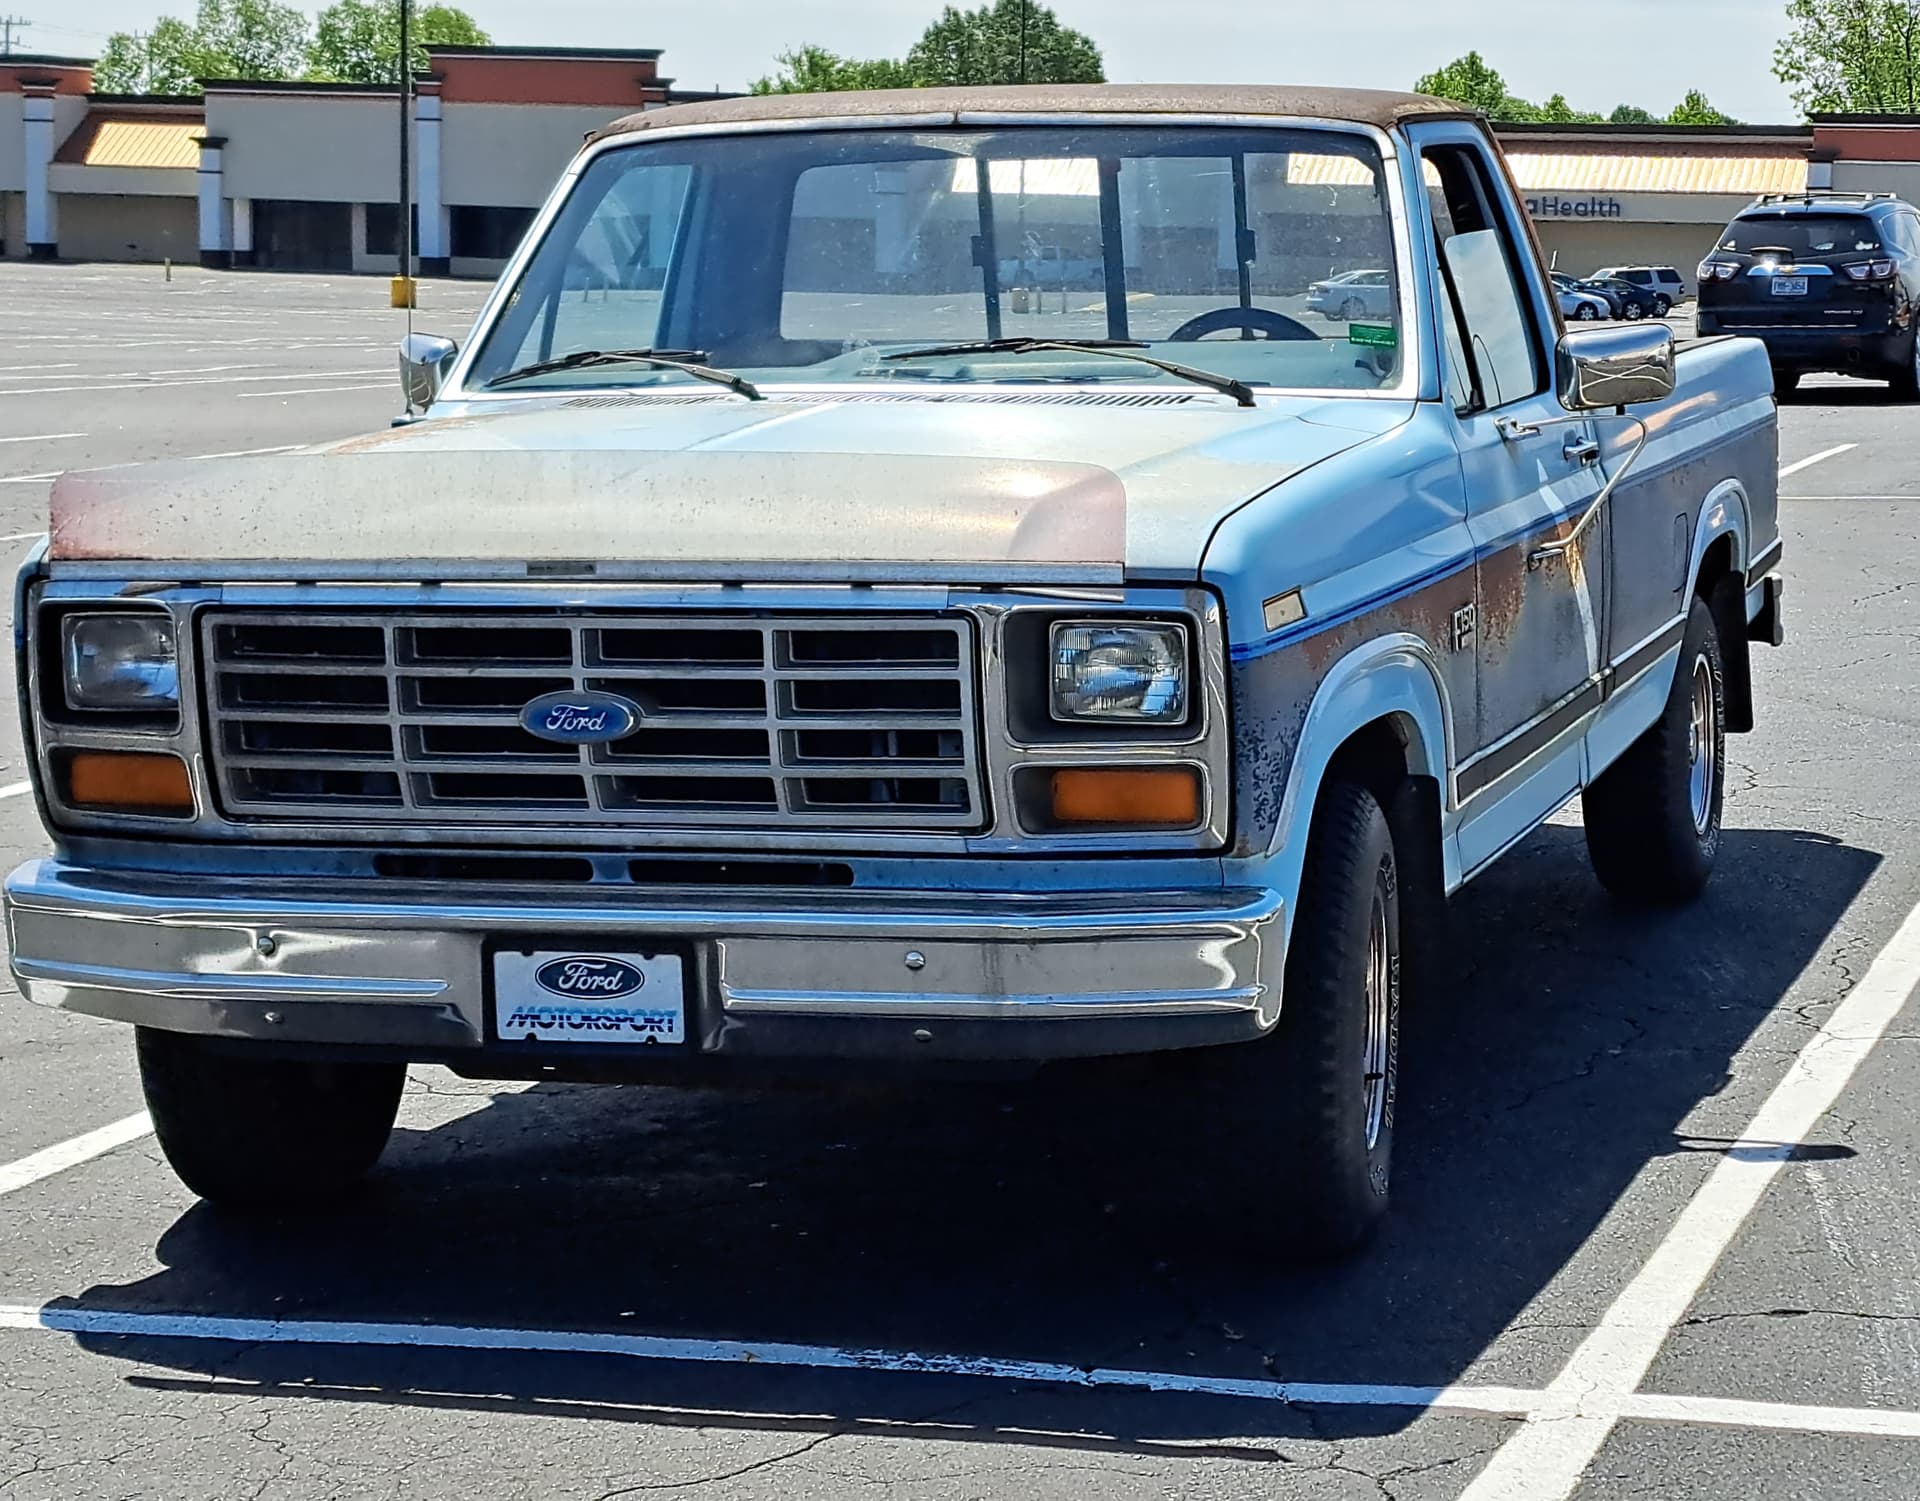
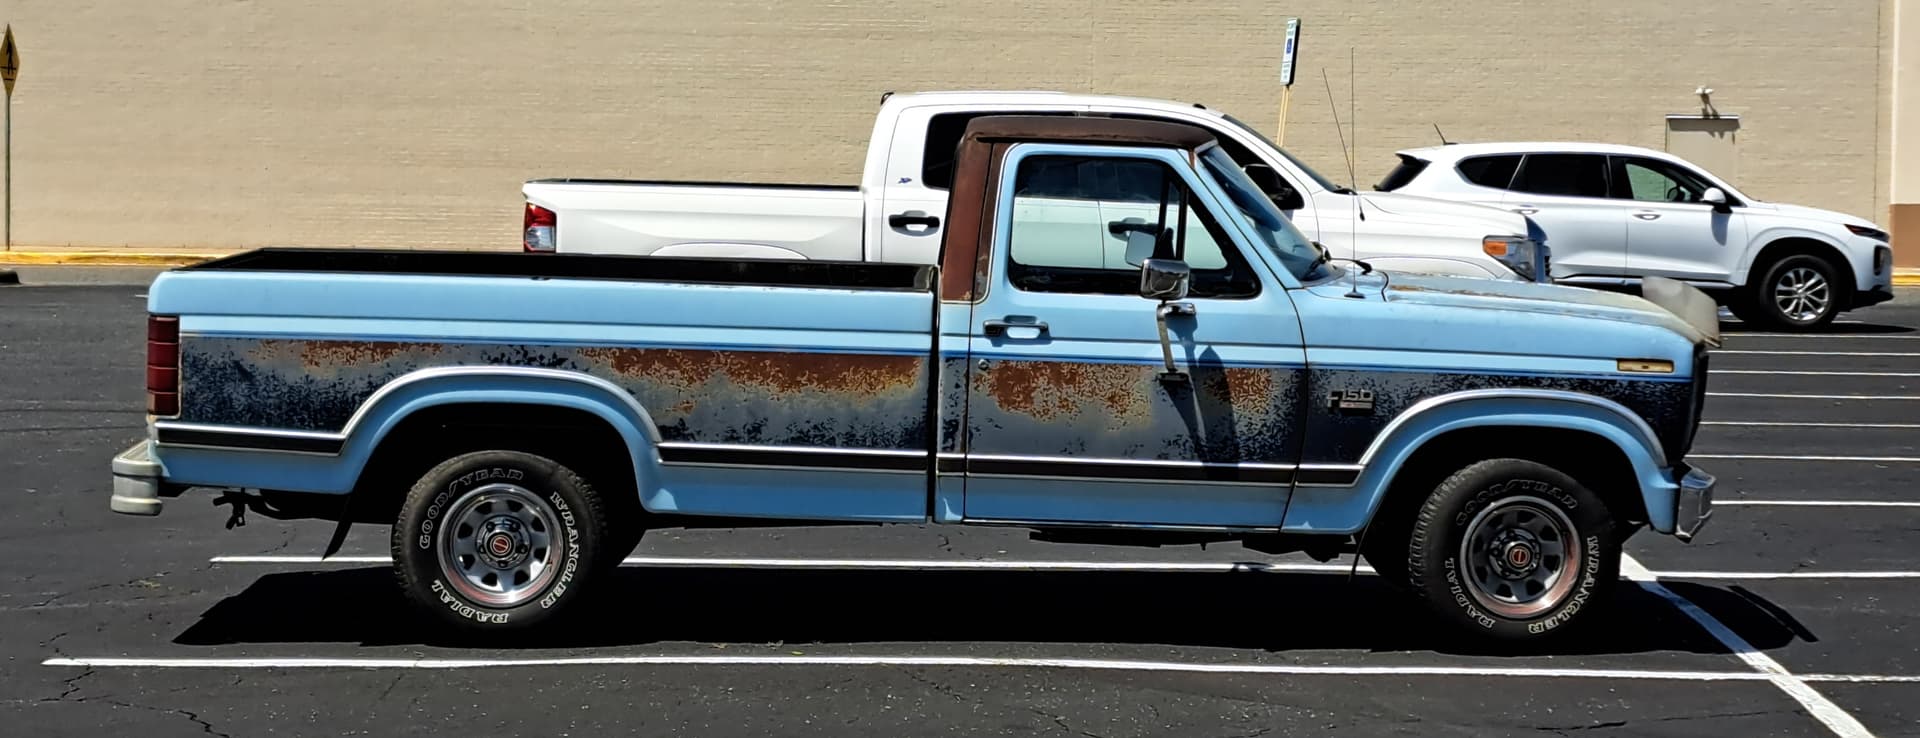
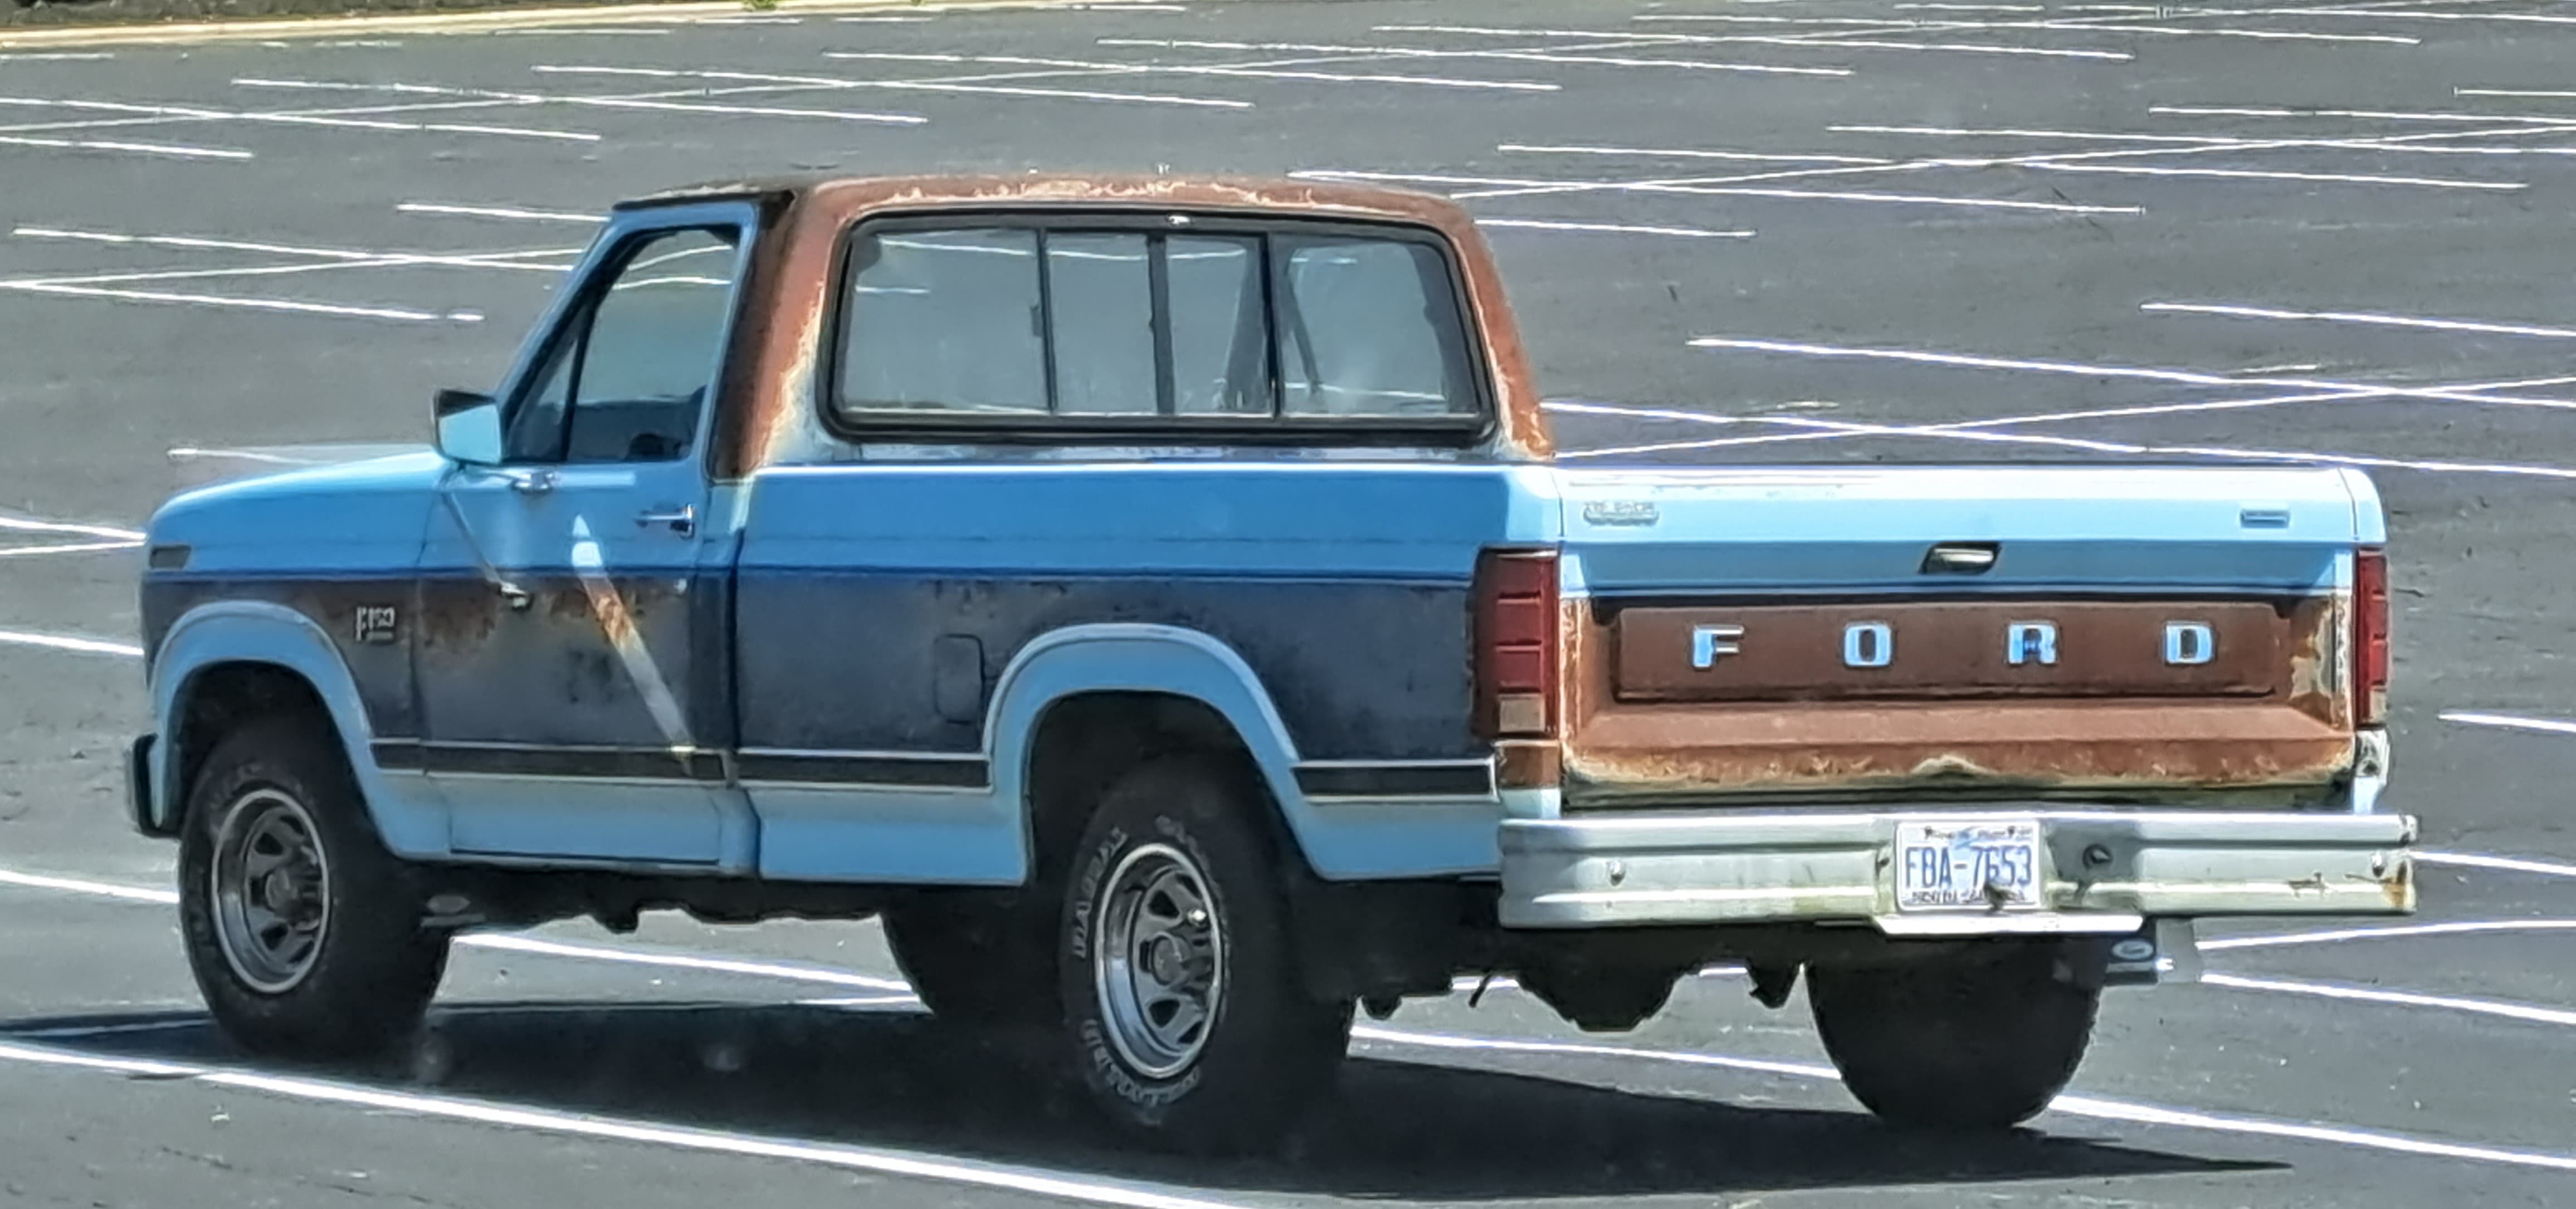
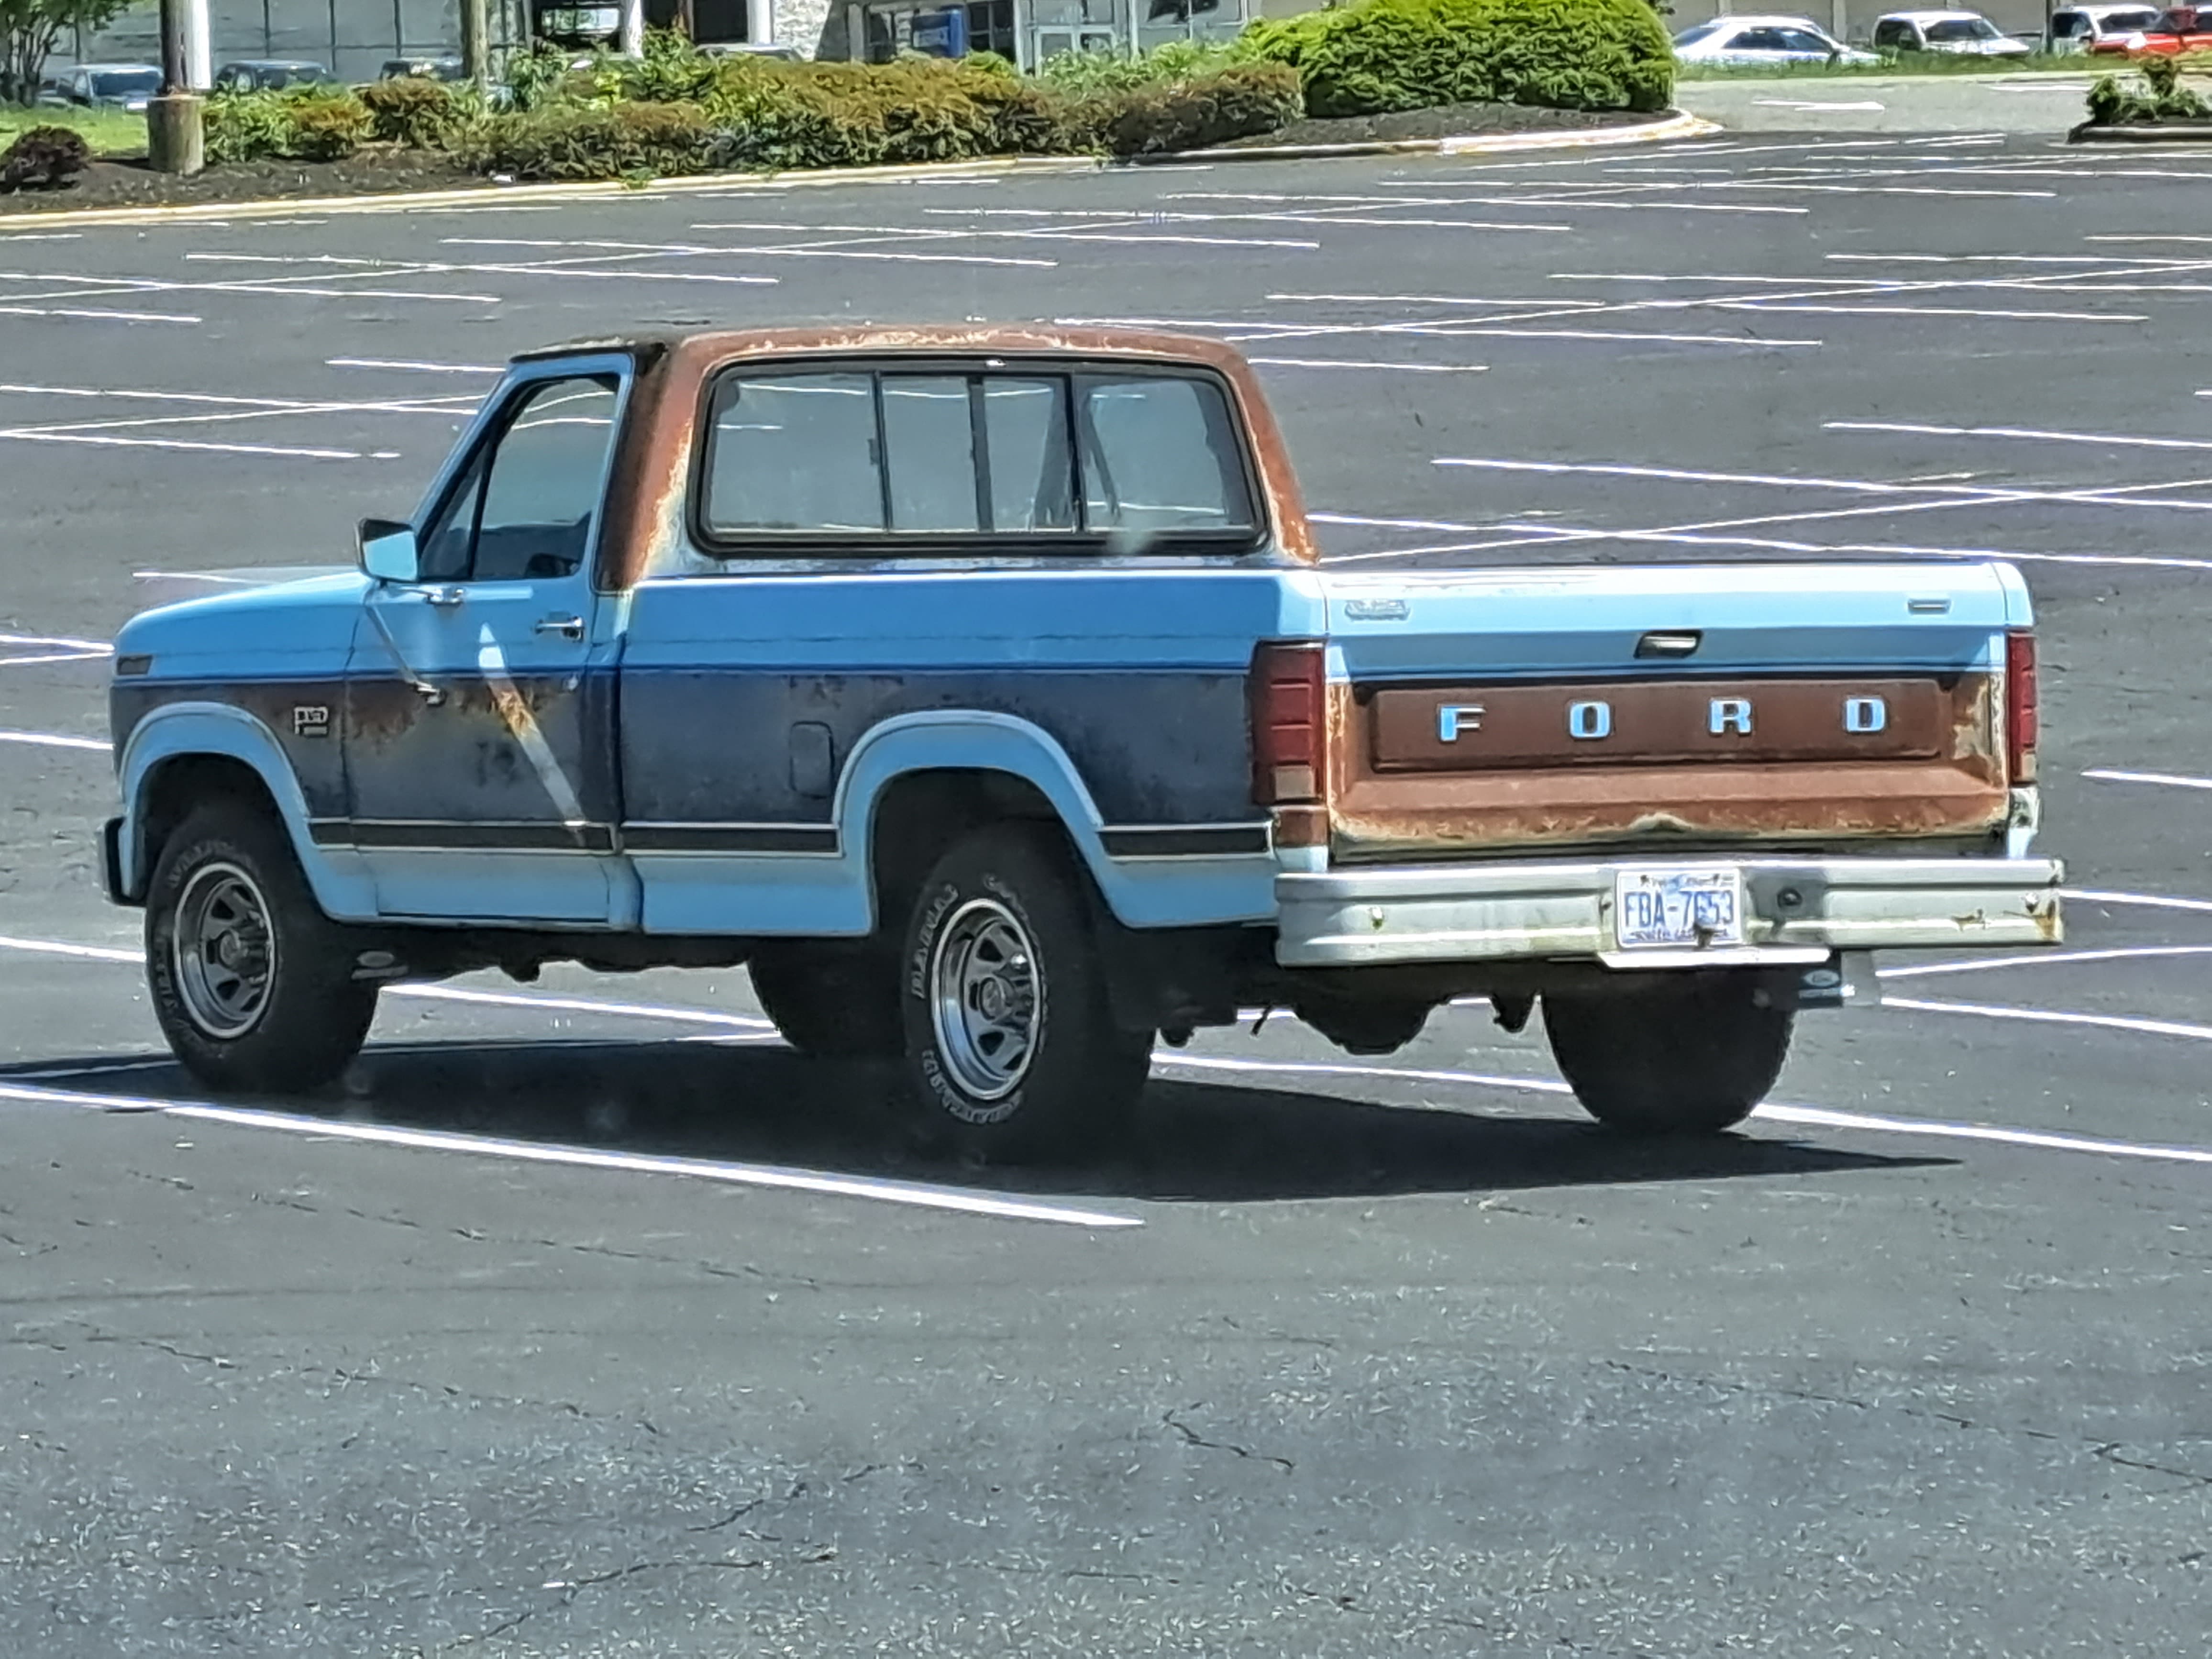
Saw this F150 a few weeks ago and thought the weathering and patina looked very interesting.
How would you model the finish on this Ford F150 truck?
(Note moderaters if this is wrong section please move as needed.)

Thank you.
Saw this F150 a few weeks ago and thought the weathering and patina looked very interesting.
How would you model the finish on this Ford F150 truck?
(Note moderaters if this is wrong section please move as needed.)
Thank you.
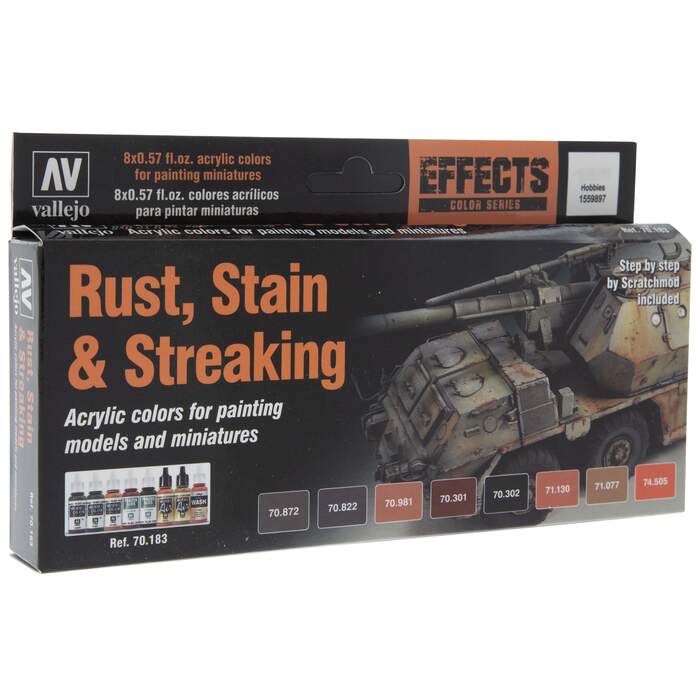
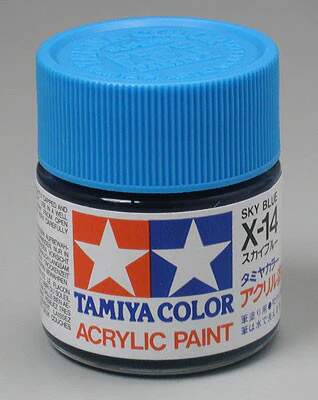
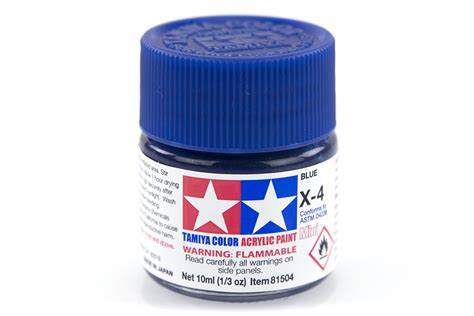
You could use Tamiya X14 Sky Blue and X4 Blue as base, maybe mix it with flat base to get the fading, then use Vallejo for the rust modulation.
So I have a different approach.
For the overall body
Spray rust color, hairspray, white, chip, clear coat, hairspray, body color, chip around other chipped area.
For the two tone strip
Spray rust color, hairspray, dark blue, chip, clear coat, hairspray, light blue and chip around other chipped areas, clear coat, hairspray, white and chip around other chipped areas.
In between the chip and clear coat fleck some paint paint for additional random chips of different shapes.
This has been my plan for construction equipment and multi color wearing. Haven’t tested it yet.
Best of luck, looks like an interesting project.
Reynier & Ryan, thank you very much for ideas and comments.
I happen to see that F150 outside of Hobby Lobby last month and was fascinated with the patina. Not even sure what year the truck is probably late 80’s or early 90’s.
Think this kit might be close enough? Leaving off the light bar of course.
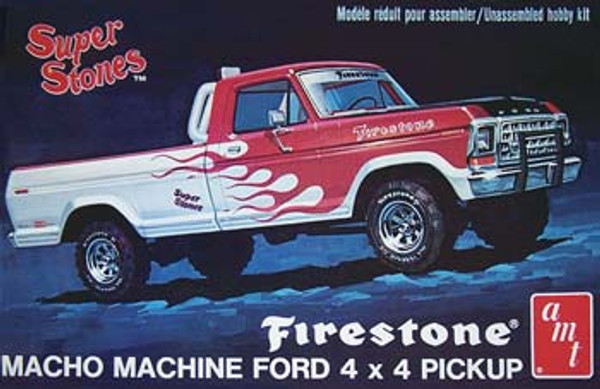
Looks like a 1980-81 F-150 Long Bed.
Just a thought.
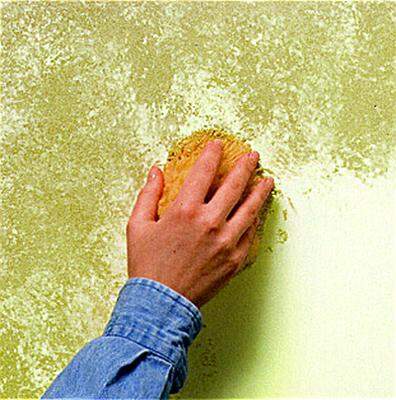
Instead of the hairspray chipping, maybe use a coarse sponge to dab on the two blue colours on top of a rust coloured base. Airbrush the solid coloured areas and use the sponge to get the speckled pattern.
Use enamels for the rust base, acrylic for the blues, possibly with a sealing clear coat on the light blue. Using acrylics on top of enamels allows washing off the acrylics.
Hello @Armor_Buff,
Nice old Ford, and I like the pattern too. I found a method I like for weathering, that is additive, and does not include scraping/chipping:
All of the colors are Vallejo Model Air.
First step, apply Anthracite Grey with a brush over the base/color coat in the area that I want to rust and let dr. Then apply a dirty rust colored mix - which includes white, orange, anthracite, and burnt umber. The mix is applied first like you would with normal paint (with a brush), in prominent places, both brushing on and dabbing on, then as a wash over the same area - it’s ok if it streaks over the larger area.
Then the whole rig sets several washes of LifeColor Dust I or Dust II. I’ve found the Life Color wash does a good job of tying the overall look together, so it doesn’t look like a model with various colors “on top of it”.
As for the unique white colored pattern/texture on the sides, I’d try using a really stiff artists brush - maybe 1/8" to 3/16" diameter (I can picture the one I’d grab - It has a natural wood handle and white colored bristles/brush from Blick’s Art supply) and stipple on a pattern over the rust color, blending outward toward the base color. I’d ty using Vallejo Model Air Ivory, and let is dry. Once it’s dry go over it with the Life Color wash.
Looking forward to seeing how you handle this!
Cheers
Nick
Scalemates has this kit and a few others in the Ford F-Series (1973-1979). I think your prototype at the top is more F-150 (1982-1985) based on the grille, headlight bezels, and badging on the front quarter panels.
There are a number of processes that can be used.
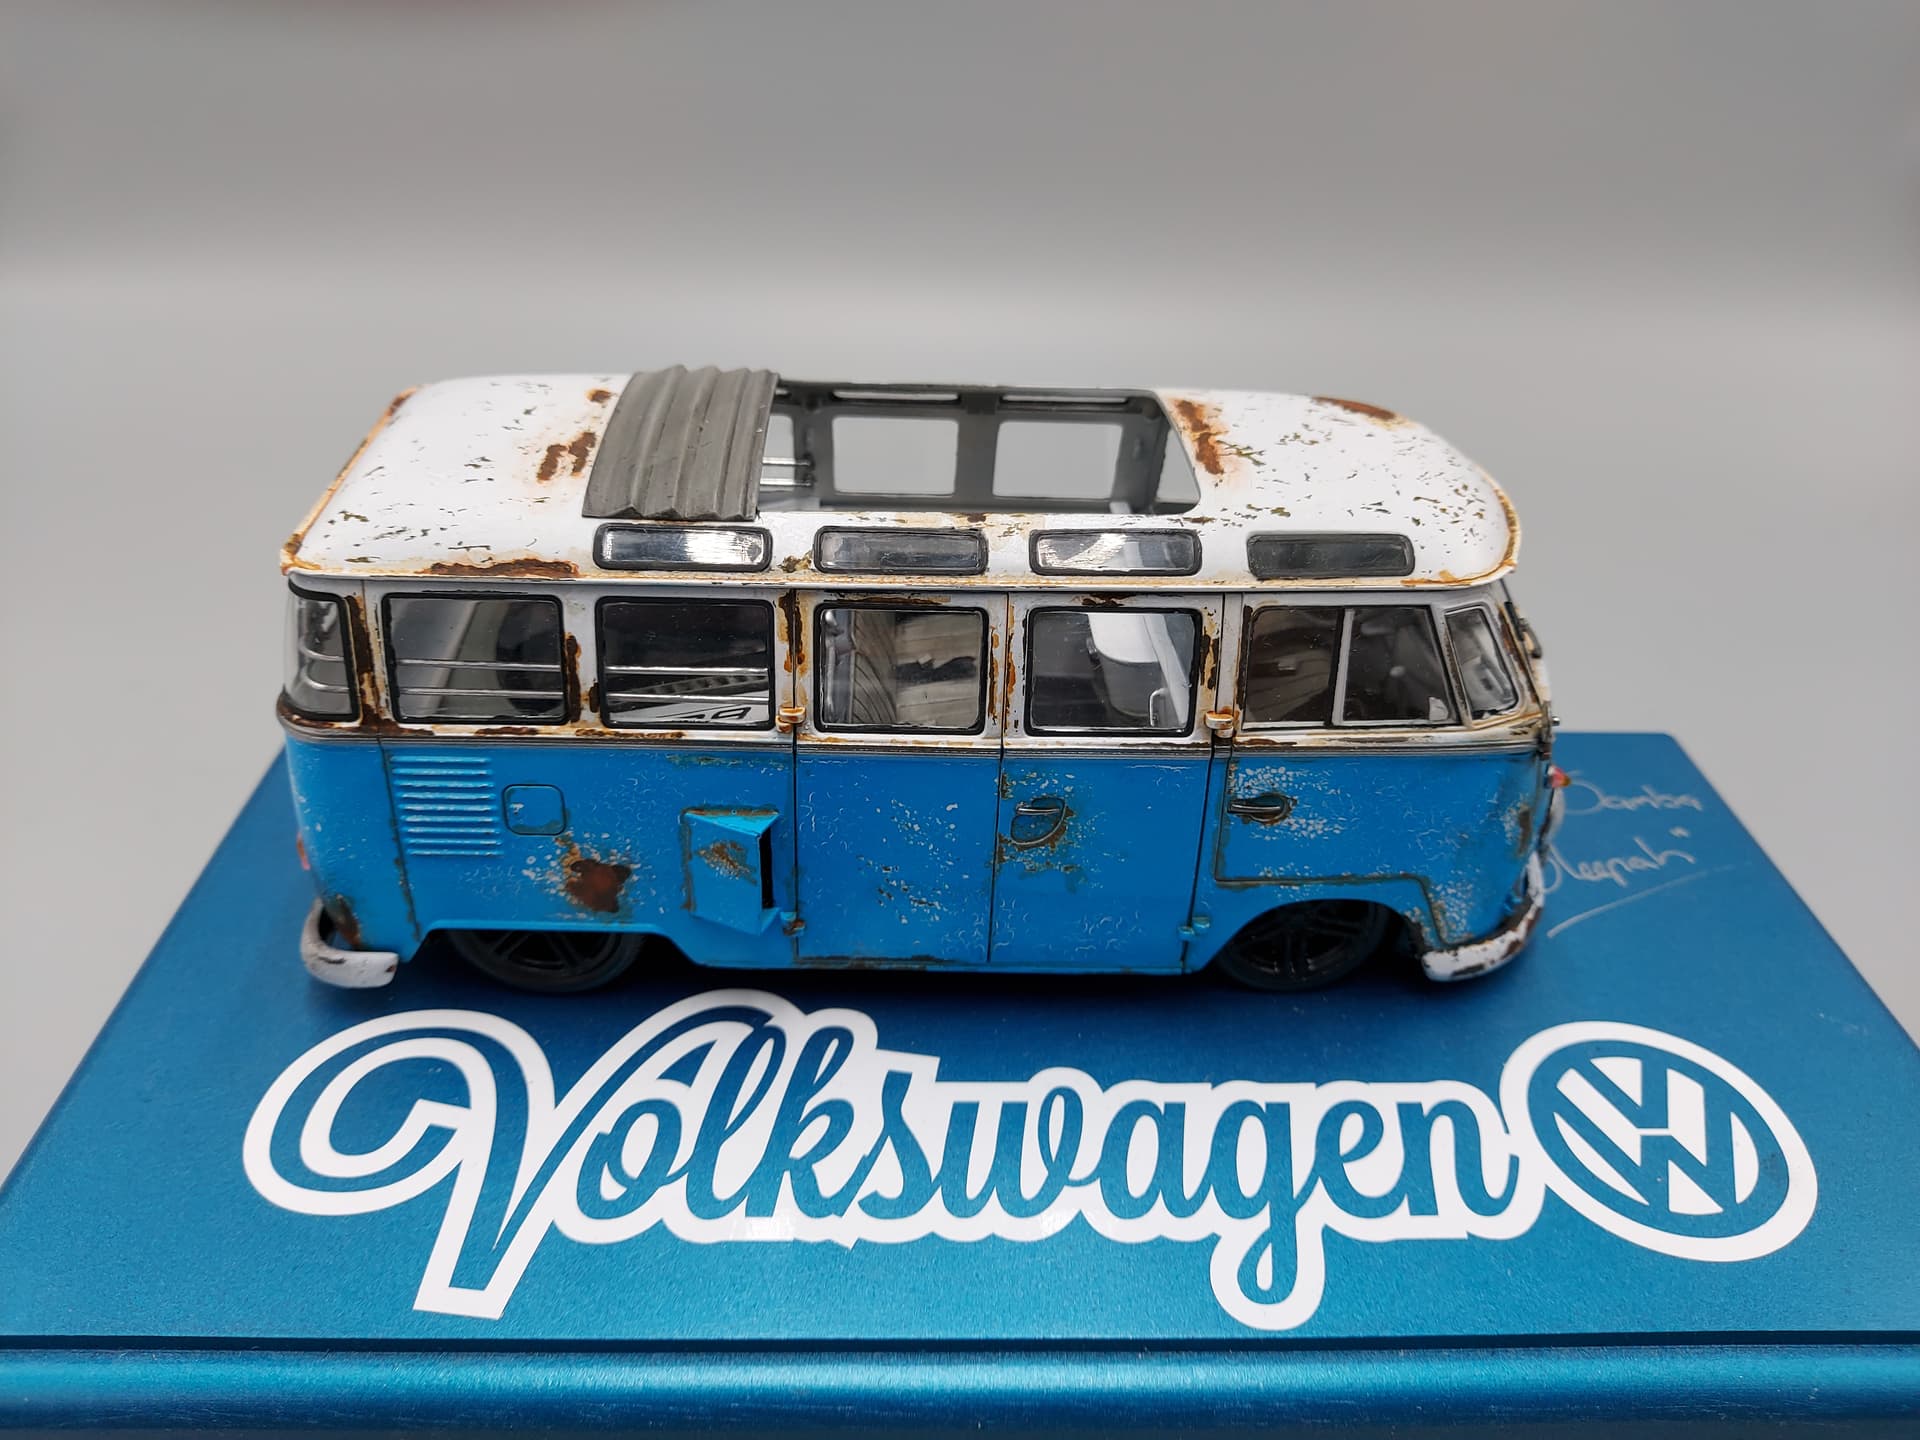
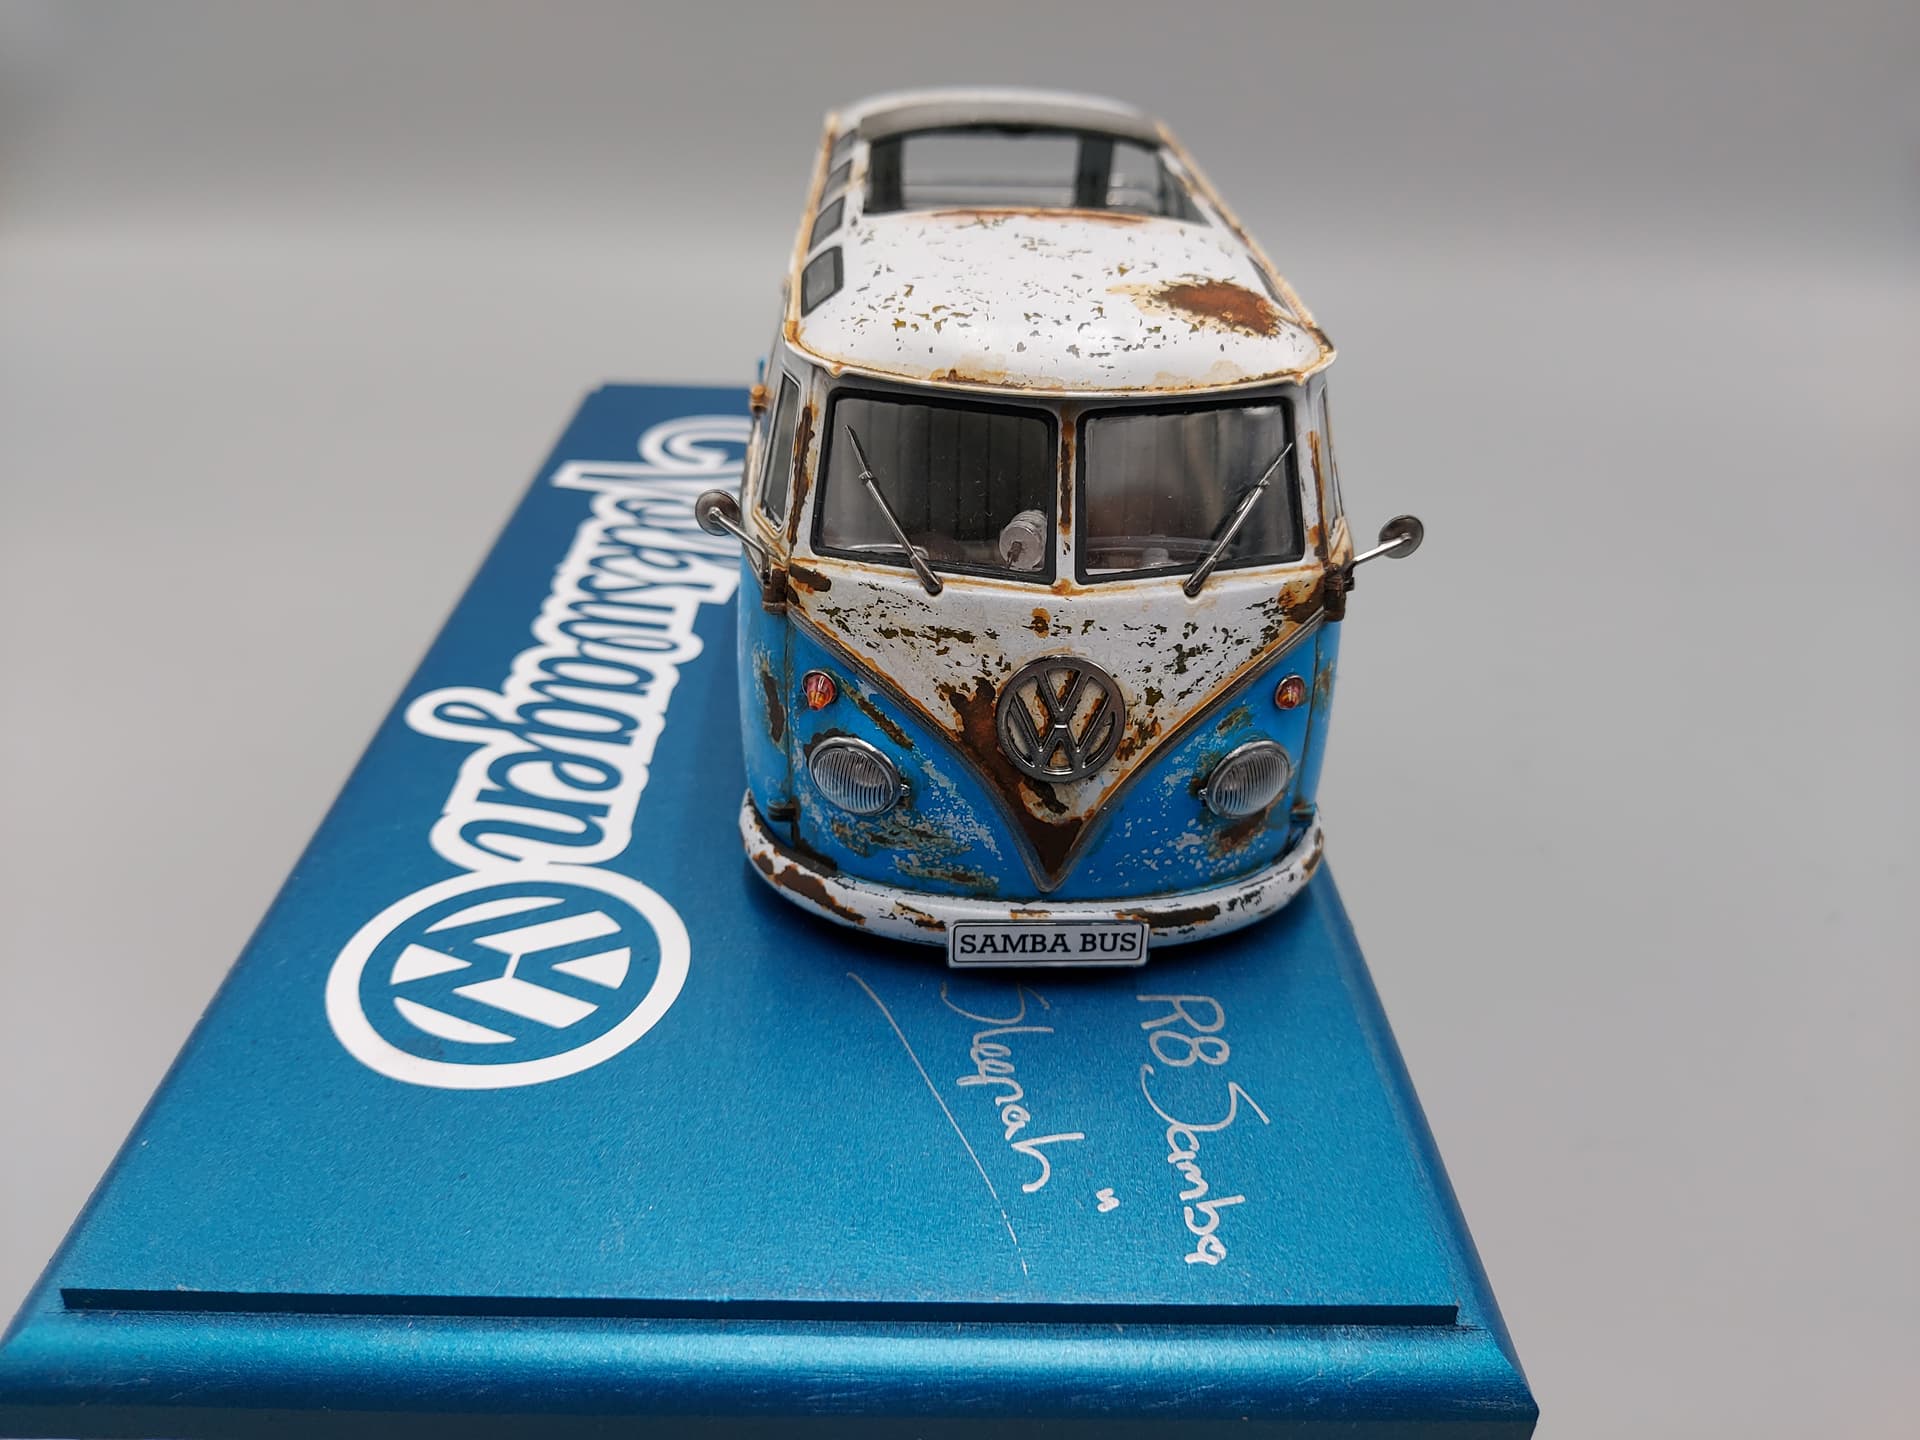
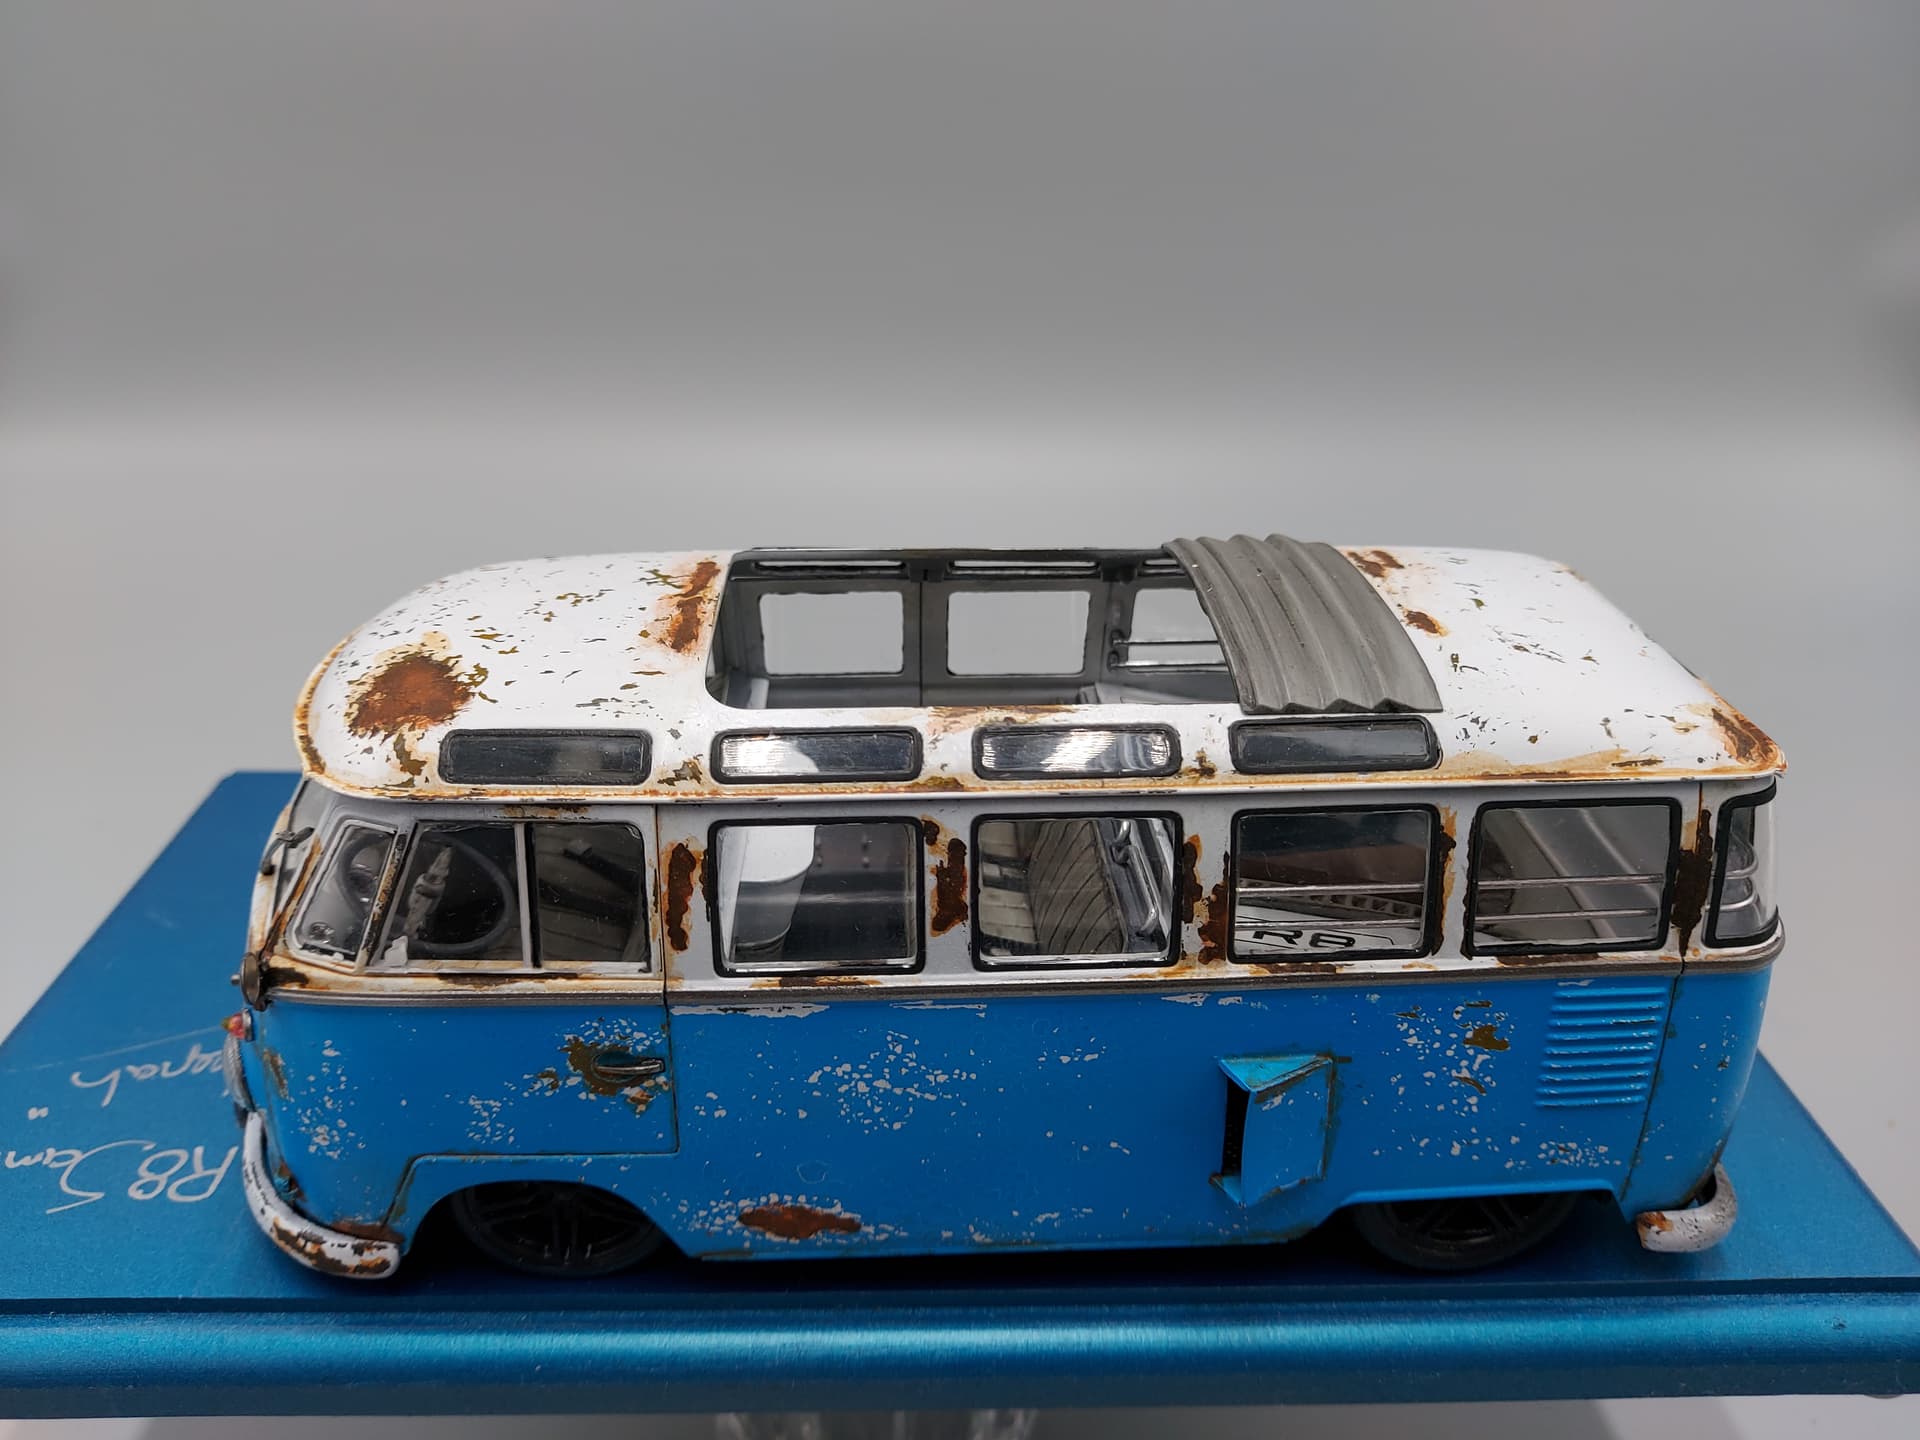
The salt method is probably the most widely used. I used heavy chipping medium with multiple paint colour layers on my Samba Sleepah.
The options are open to your interpretation and application.
Whichever method you choose,
try it out on some scrap plastic first.
Edit: and what TopSmith says 3 posts further down.
@Uncle-Heavy, agree techniques would need testing
@The_Snowman, that’s a fantastic looking VW bus! Appreciate the pictures and the explanation of the process very much.
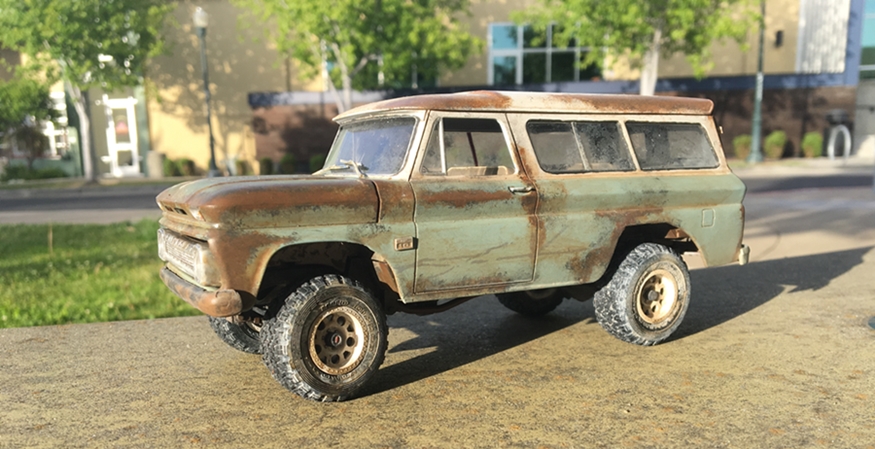
@Stickframe, wow! Your truck rocks! That’s a fantastic result. I like the idea of working with an Anthracite Grey to do rust tones. I do something similar with armor models on occasion.
@KoSprueone, I think your right about the model year. As long as the model is close like late 70’s or early 80’s, that’s good enough for me.
I appreciate the excellent comments, information and shared pictures!
Yeah, for sure. Especially if you already have that kit in the stasharoo. Go for it!
This project falls on the complex side of painting. This is where practicing and testing will lead to what you are looking for. I would try each of the techniques mentioned. See what works for you and practice till you are comfortable. I would not just go full steam ahead unless you expect to toss it all in the trash. it is all about the final product and the journey to get there.
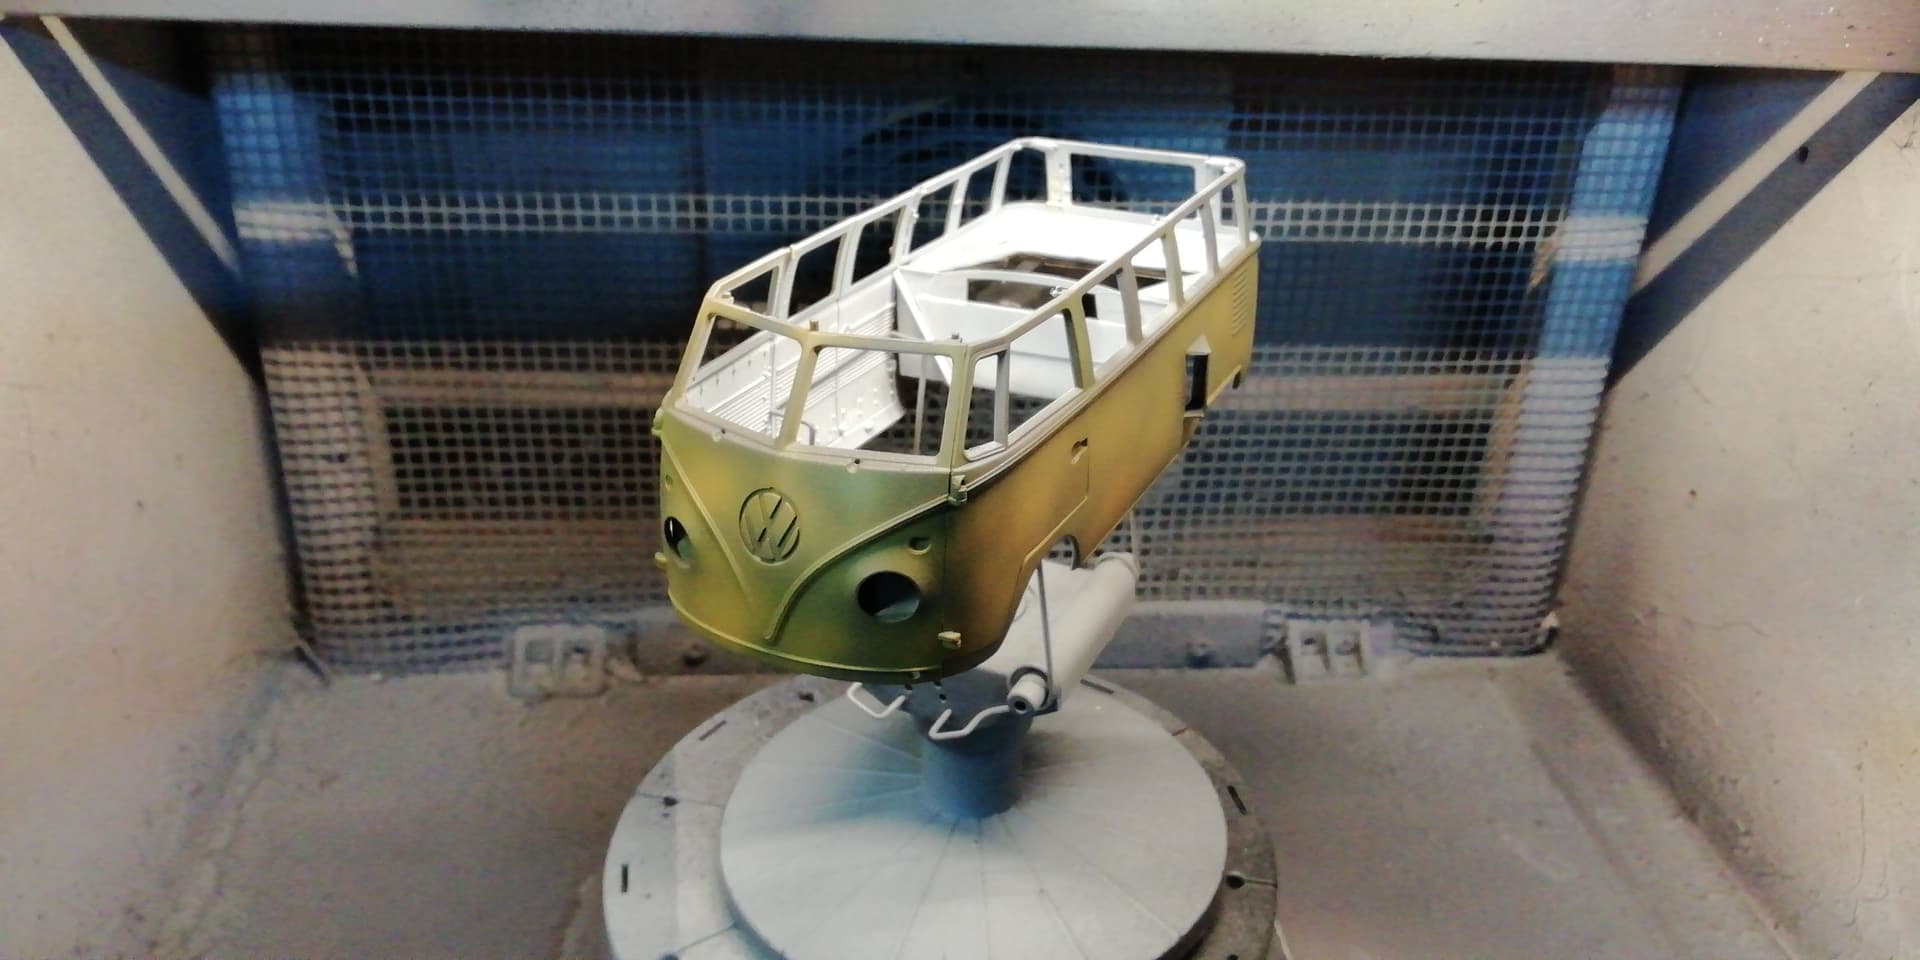
I think you need to also consider the base coat, which in my case I resorted to a motley combination of primarily dark iron with a patchy dusting of orange and yellow.
Then start rubbing…
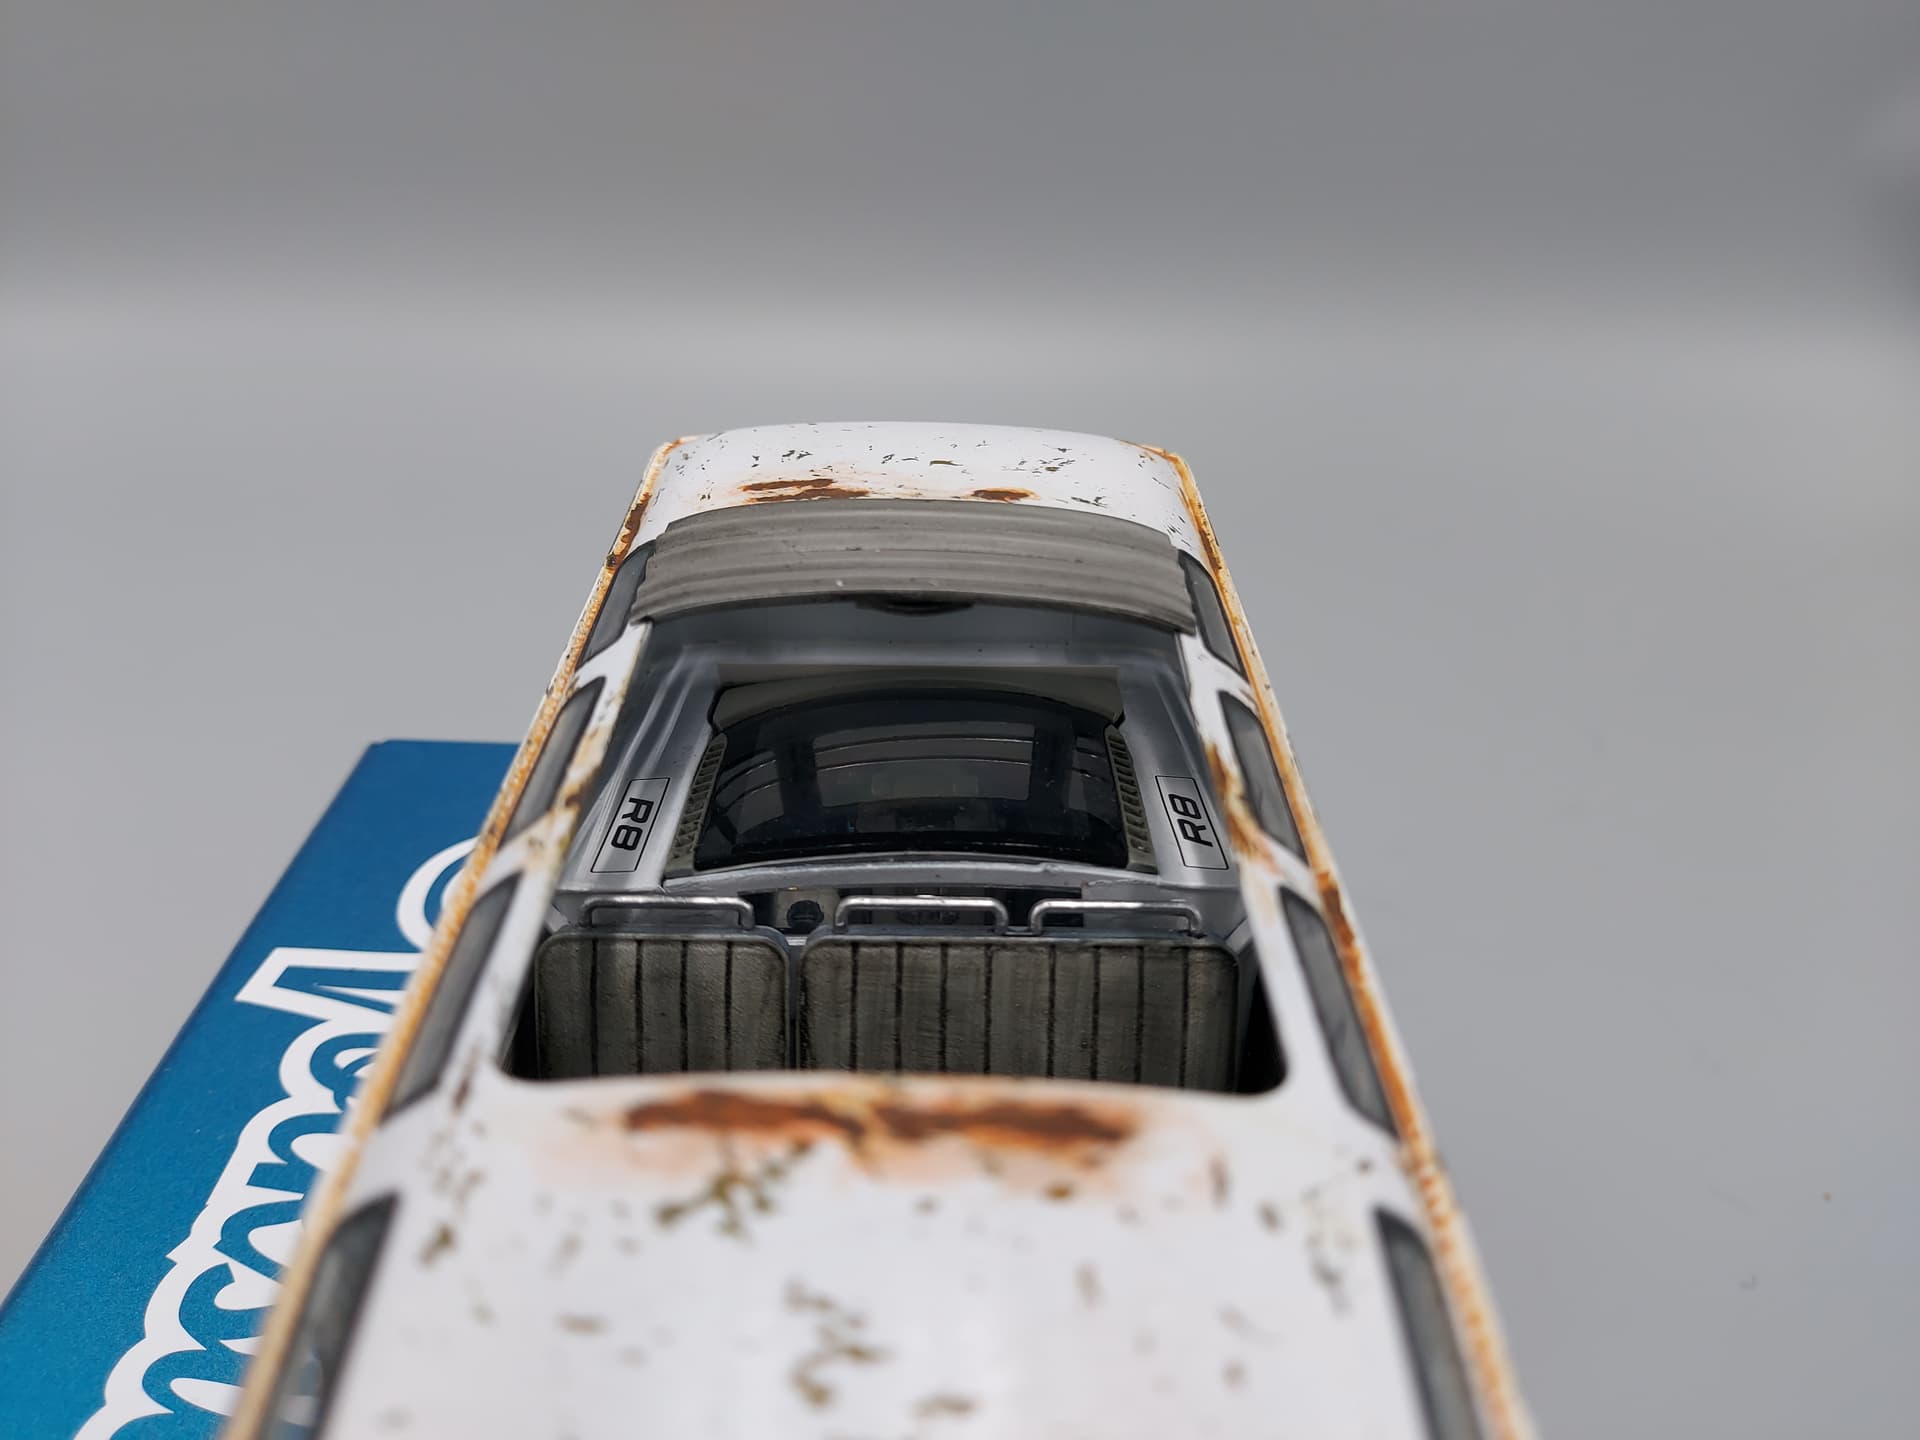
The nicest piece of weathering in my opinion was around the passanger door handle and the side door handle, they look the most natural.
I didn’t practice, I just did it, but if you are more comfortable familiarising yourself with the process before taking the leap, stick to what works for you.
Best of luck with your build.