Over the years WW II Japanese tanks have become a specialty of mine and I have built a half dozen, and have about 15 more in the stash. One of the most interesting things about IJA tanks is the early 1937 - 1942 color scheme that was composed of Cha - Iro tea brown, Tochi - Iro earth, and Midori - Iro green in a cloud pattern, and a Yamabuki - Iro yellow sharp edged cruciform covering the entire tank. This is a fun but often difficult camouflage scheme to paint. Here I will detail how to do it accurately and easily.
Today I will be using the Hataka Orange Line WW II IJA AFV lacquer paint set. Hataka also makes this set in acrylics, their Red Line. The set is very comprehensive, with all the correct colors to paint early, mid, and late war AFVs. The colors are very accurate according to all of my references.
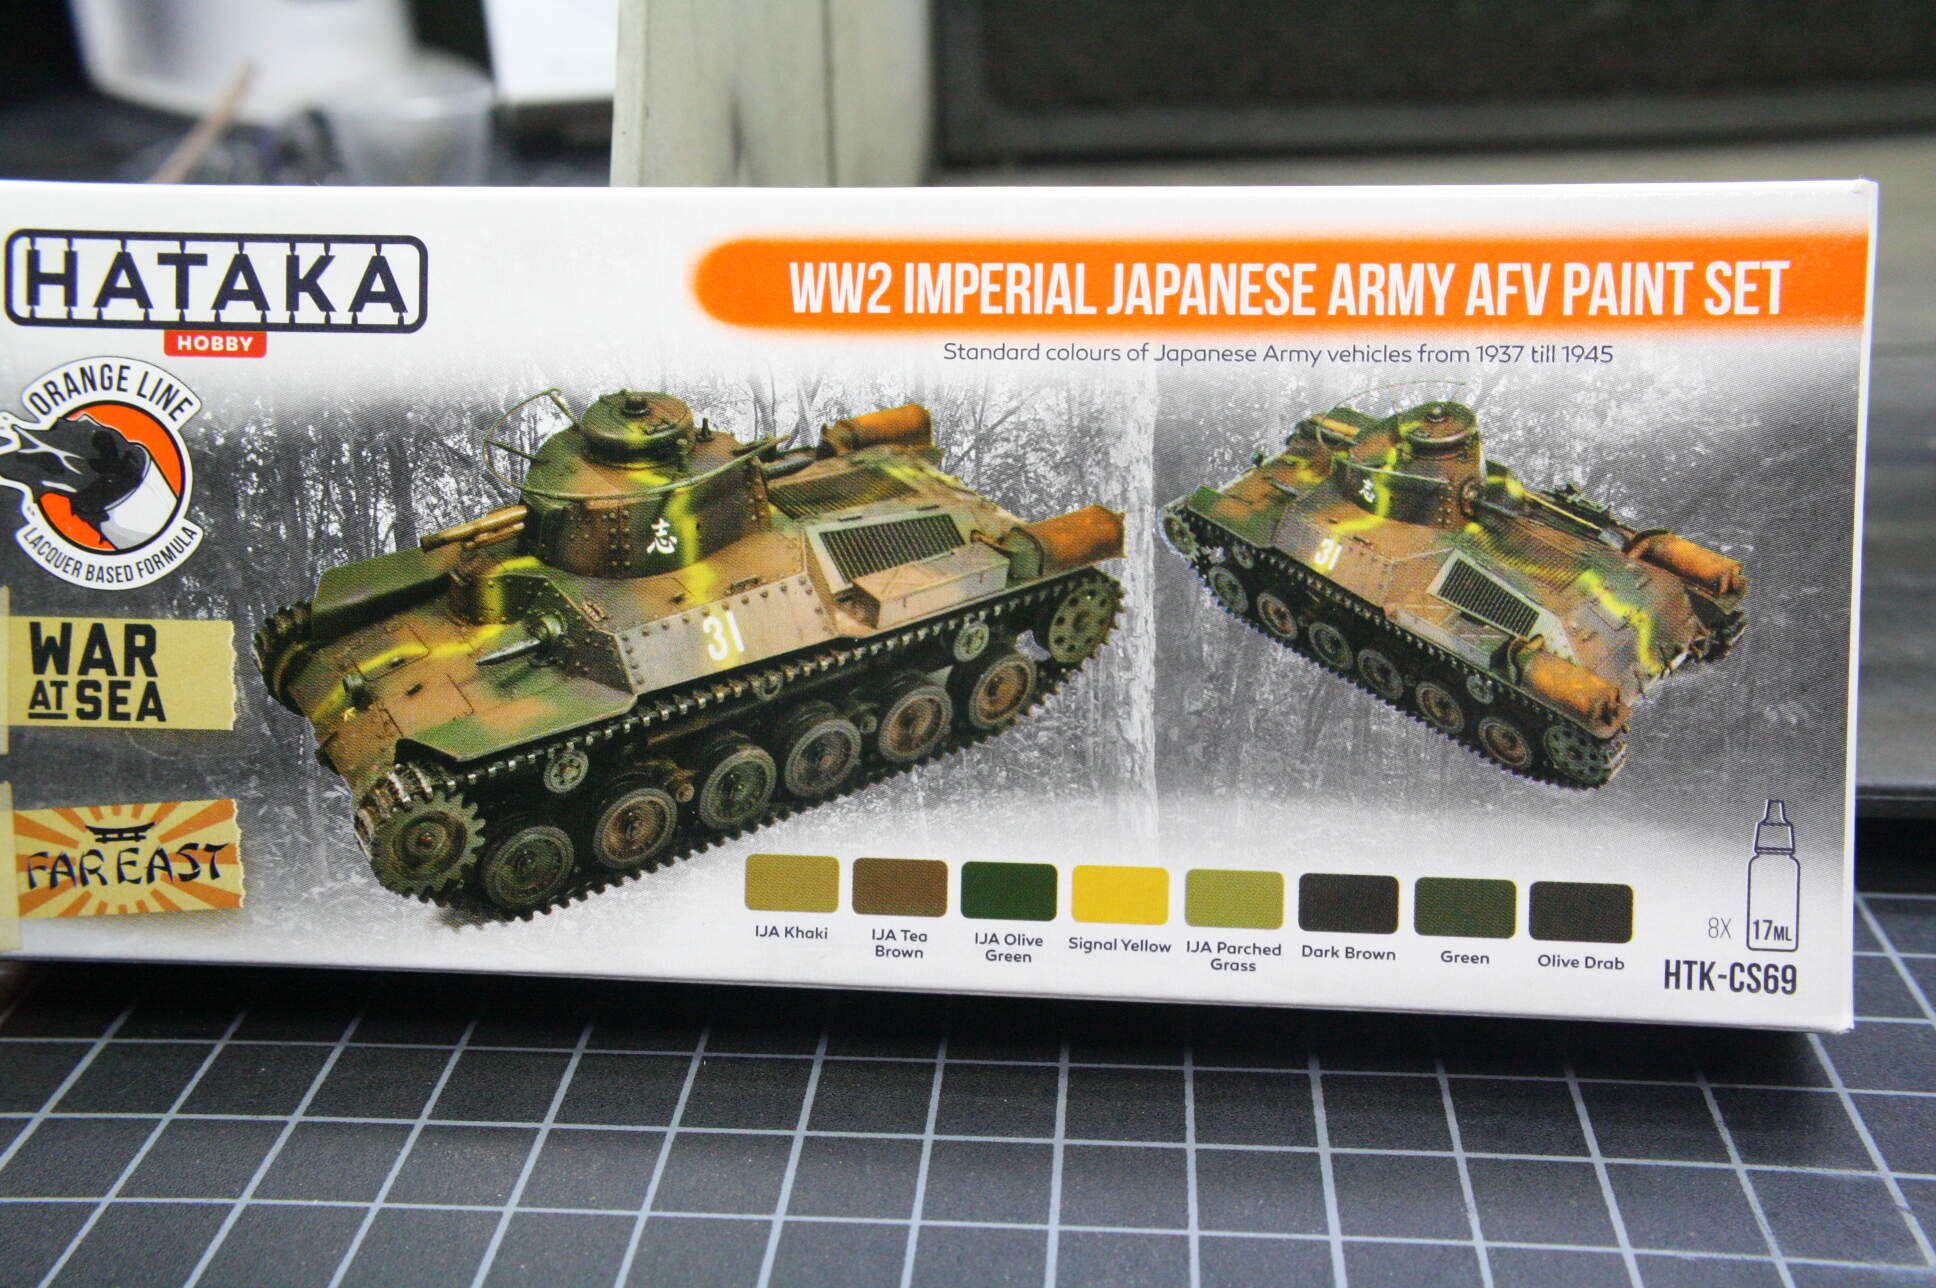
As to the paint itself, the bottle says “Optimized for airbrush”, so I tried it that way. The paint shot superbly right out of the bottle at 12 PSI with no thinning. I had no clogs, spatters, or runs at all with any of the colors and coverage was excellent. The paint performed perfectly throughout the entire painting session. One could even thin these paints to stretch them further. These are outstanding paints and performance is incredible.
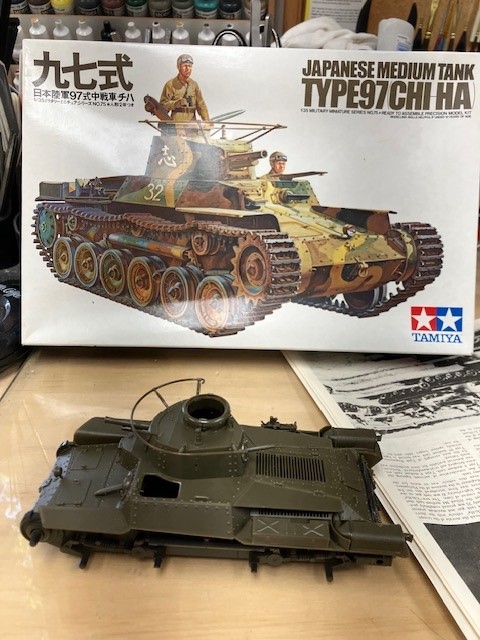
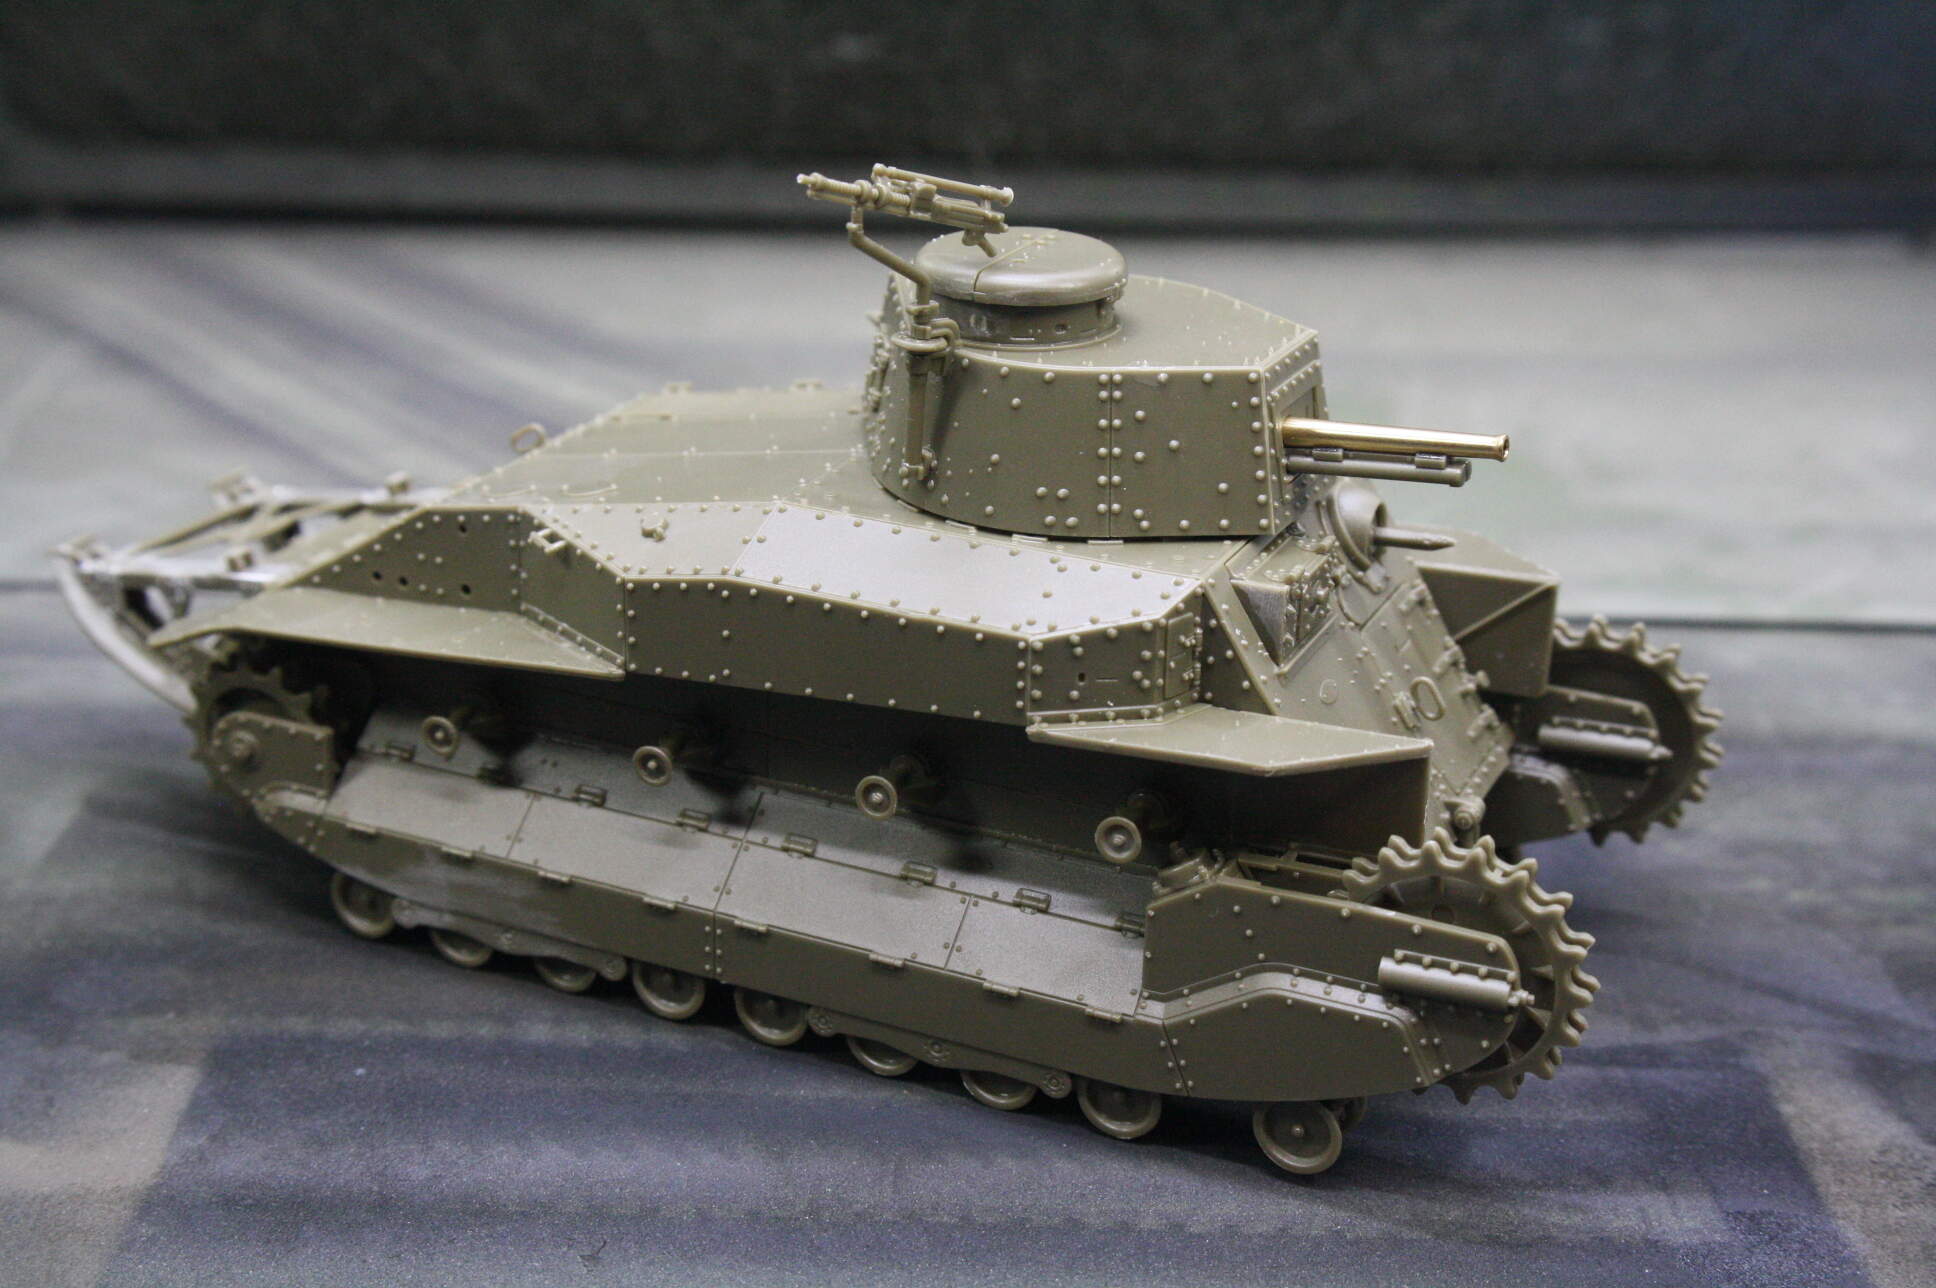
We start with the Fine Molds kit of the Type 89 tank. This was the first domestically produced Japanese tank and saw extensive service in China. This is an excellent kit and fit and engineering are fantastic.

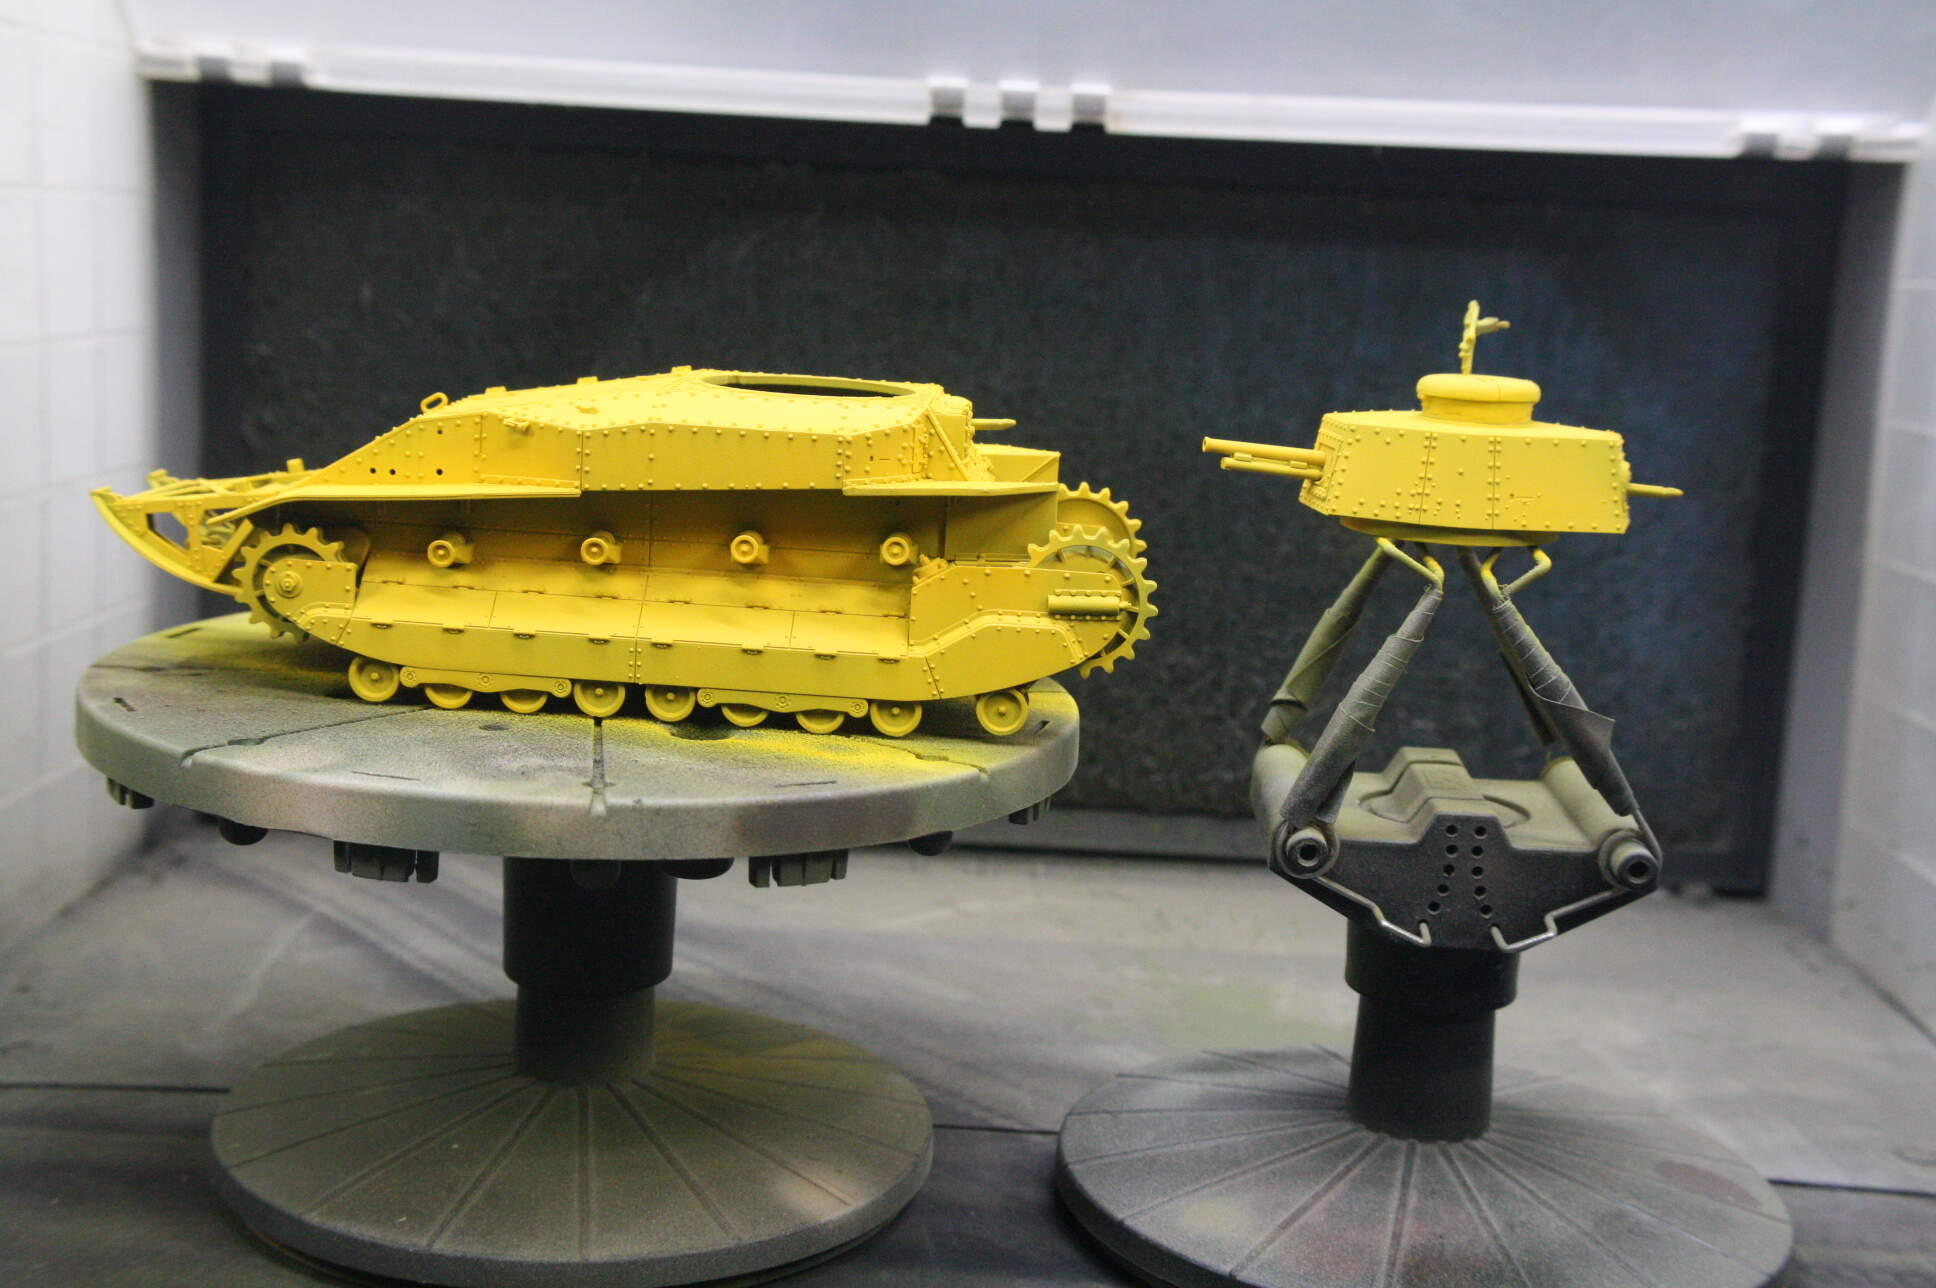
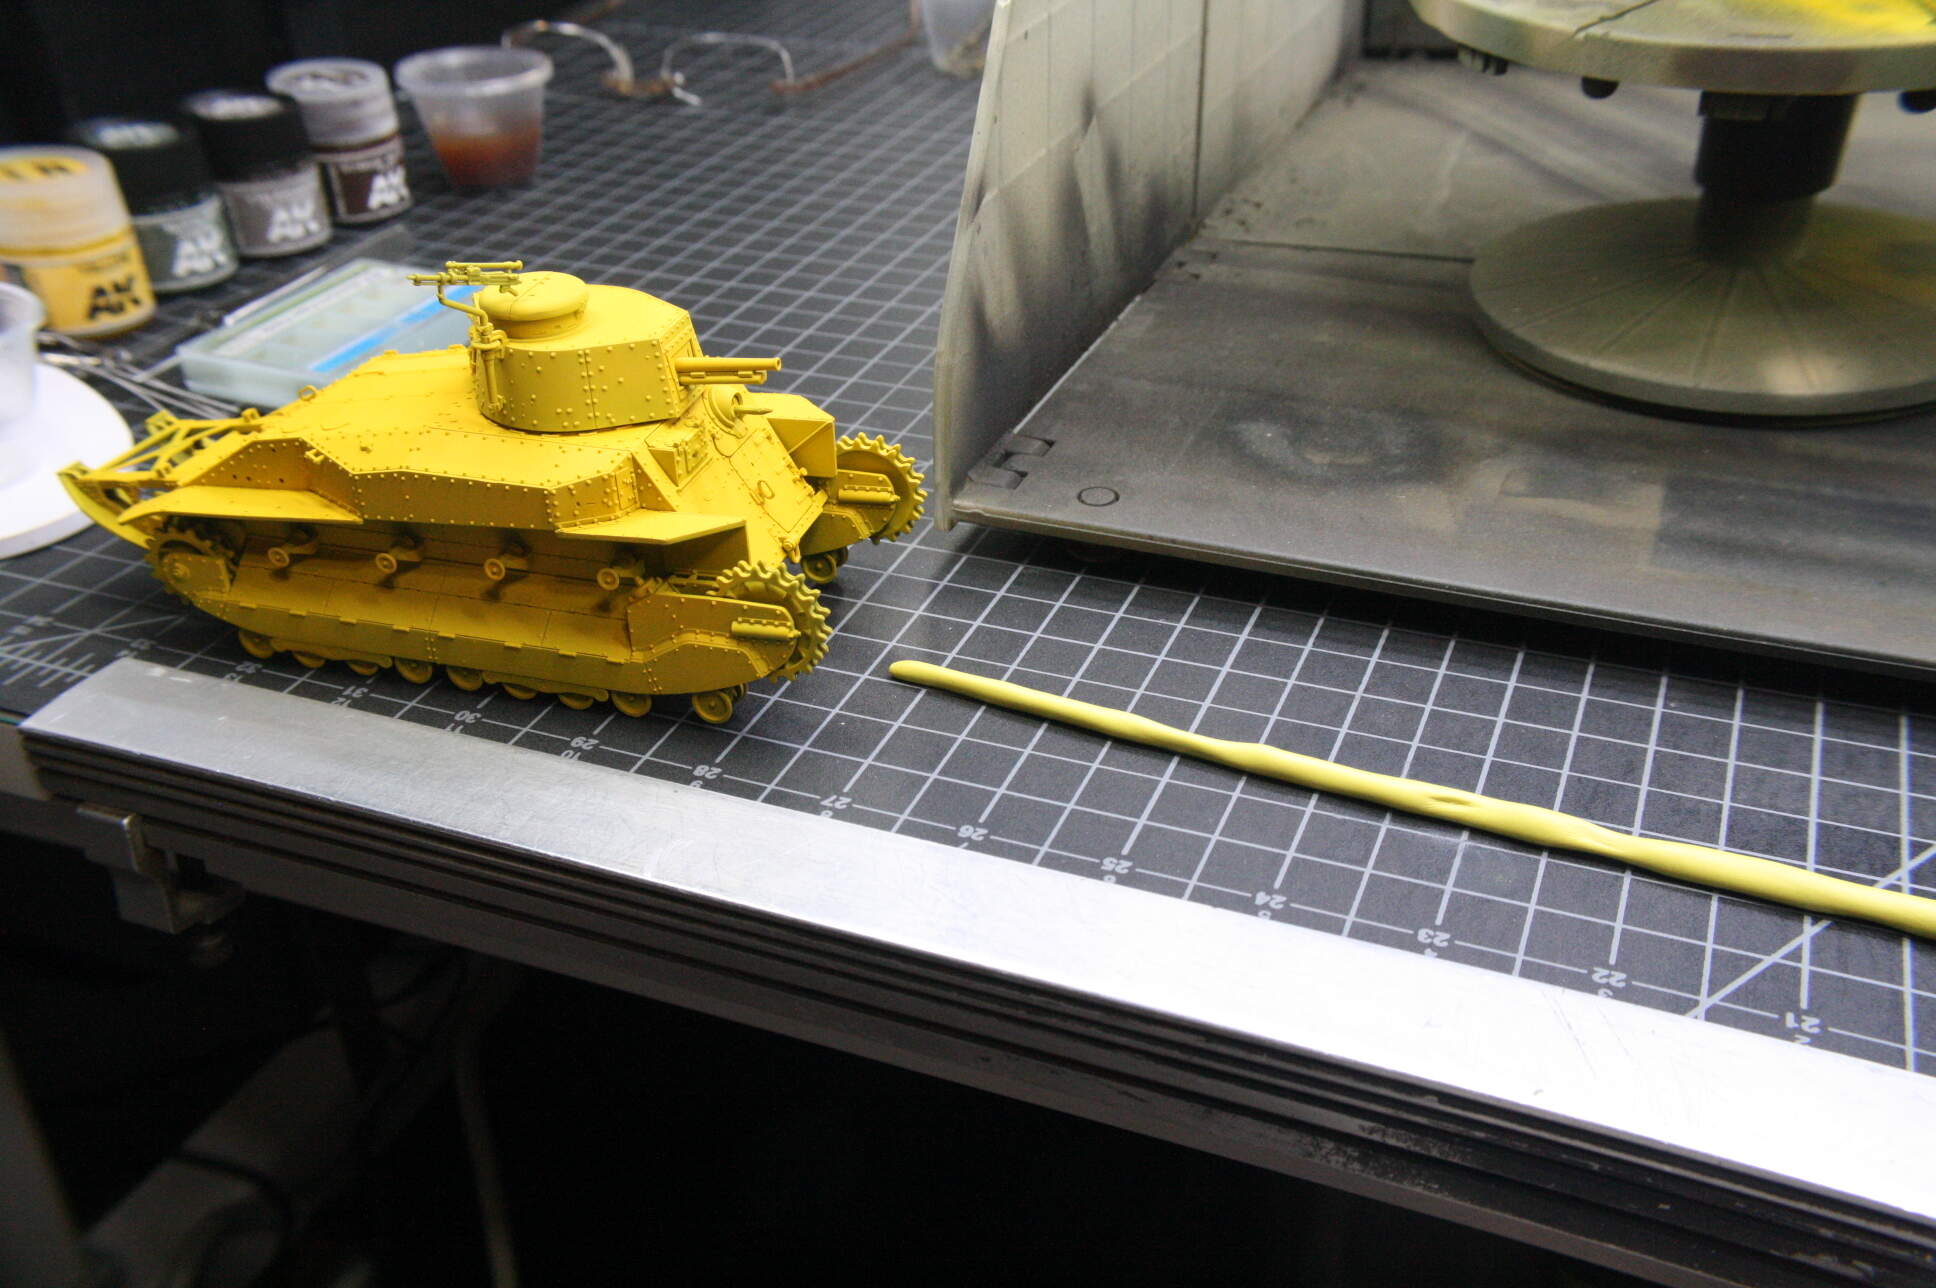
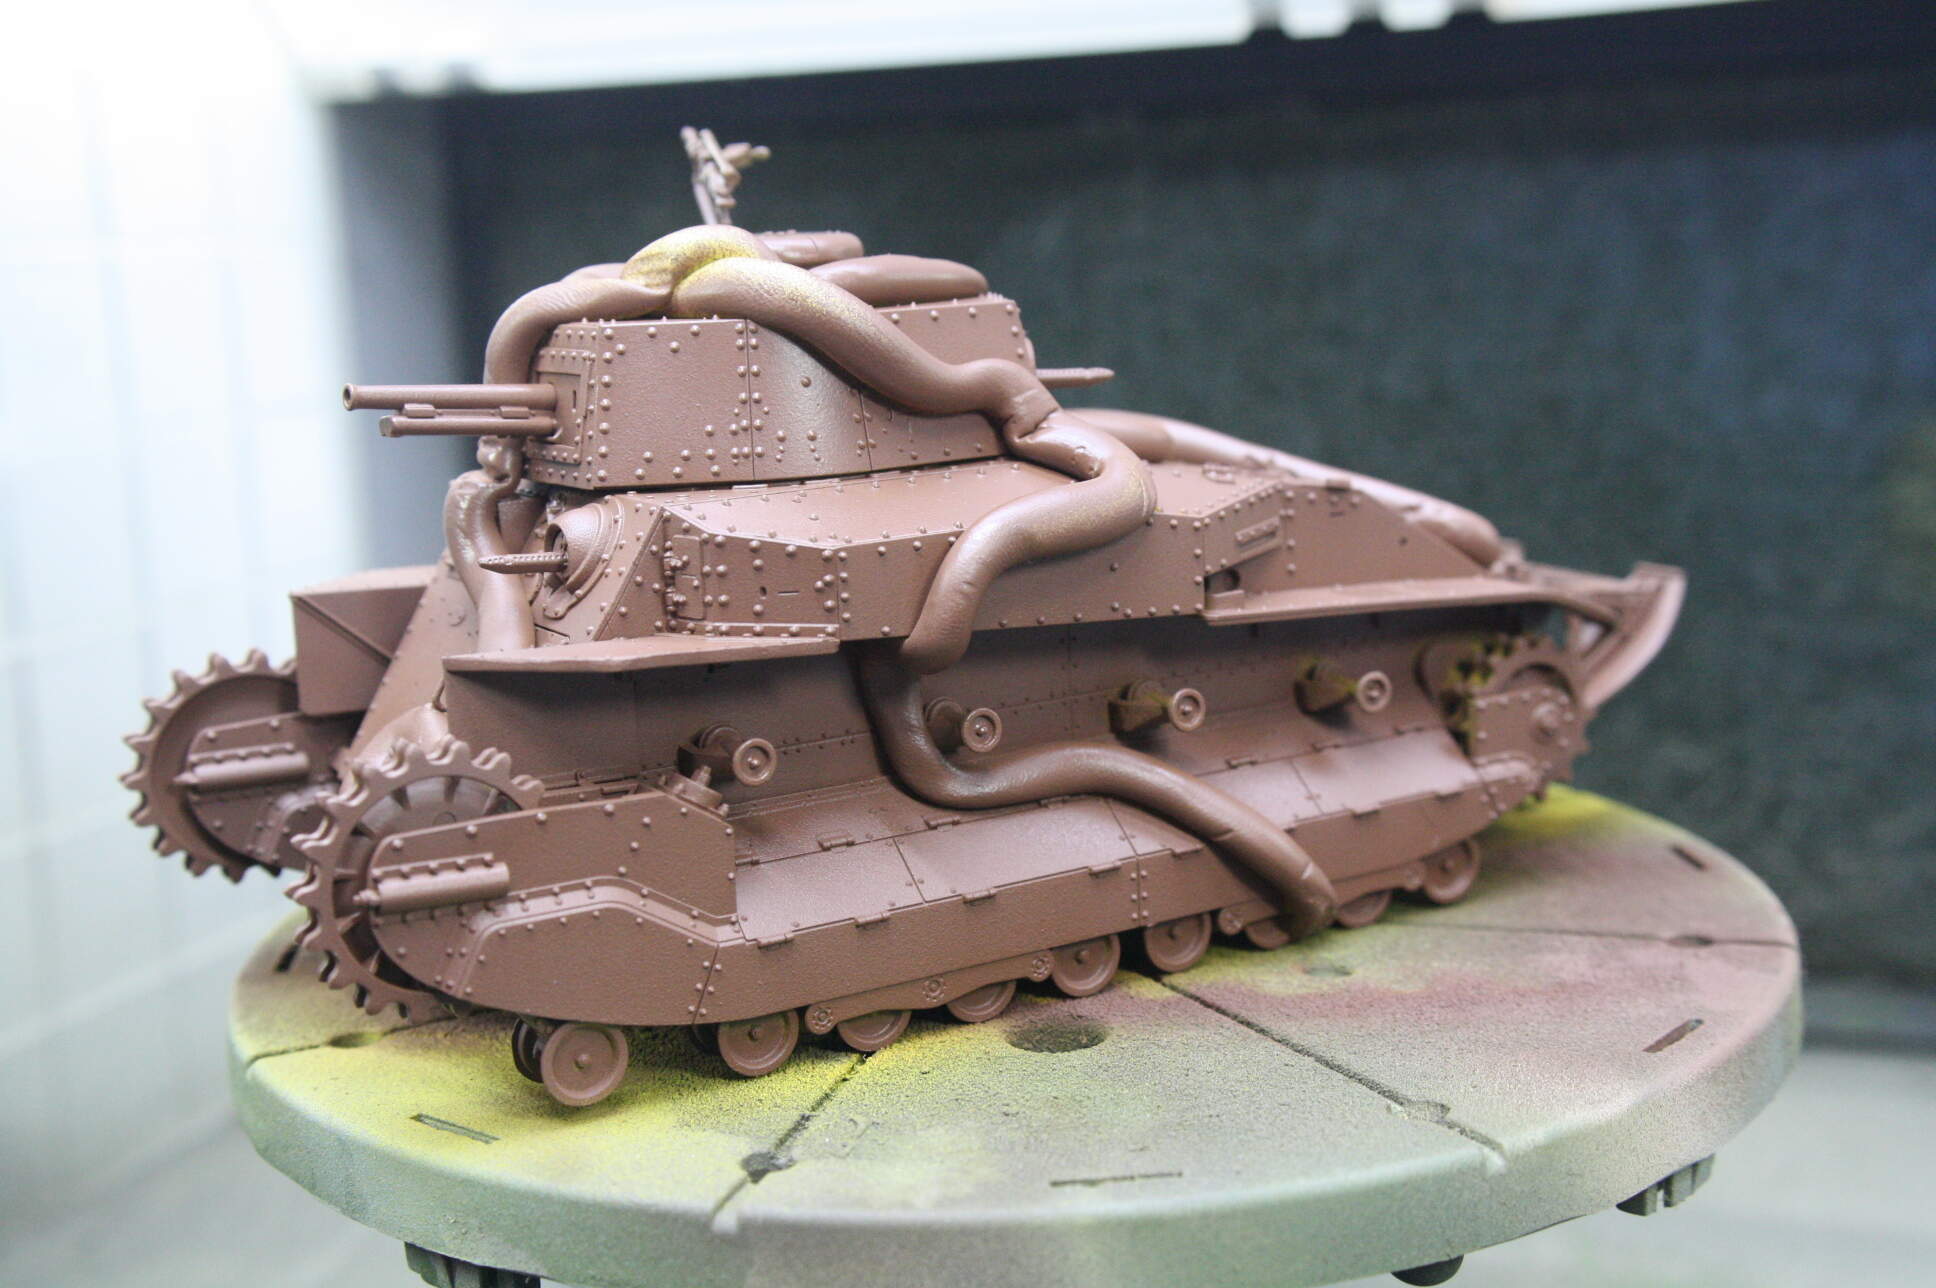
So, to paint the early war 4 color cruciform scheme we will employ subtractive masking. This is where you paint first, then mask off where you want the paint to stay, rather than masking off where you want the paint not to go. Therefore, we take a drastic first step - we paint the entire tank Yamabuki Iro bright yellow.
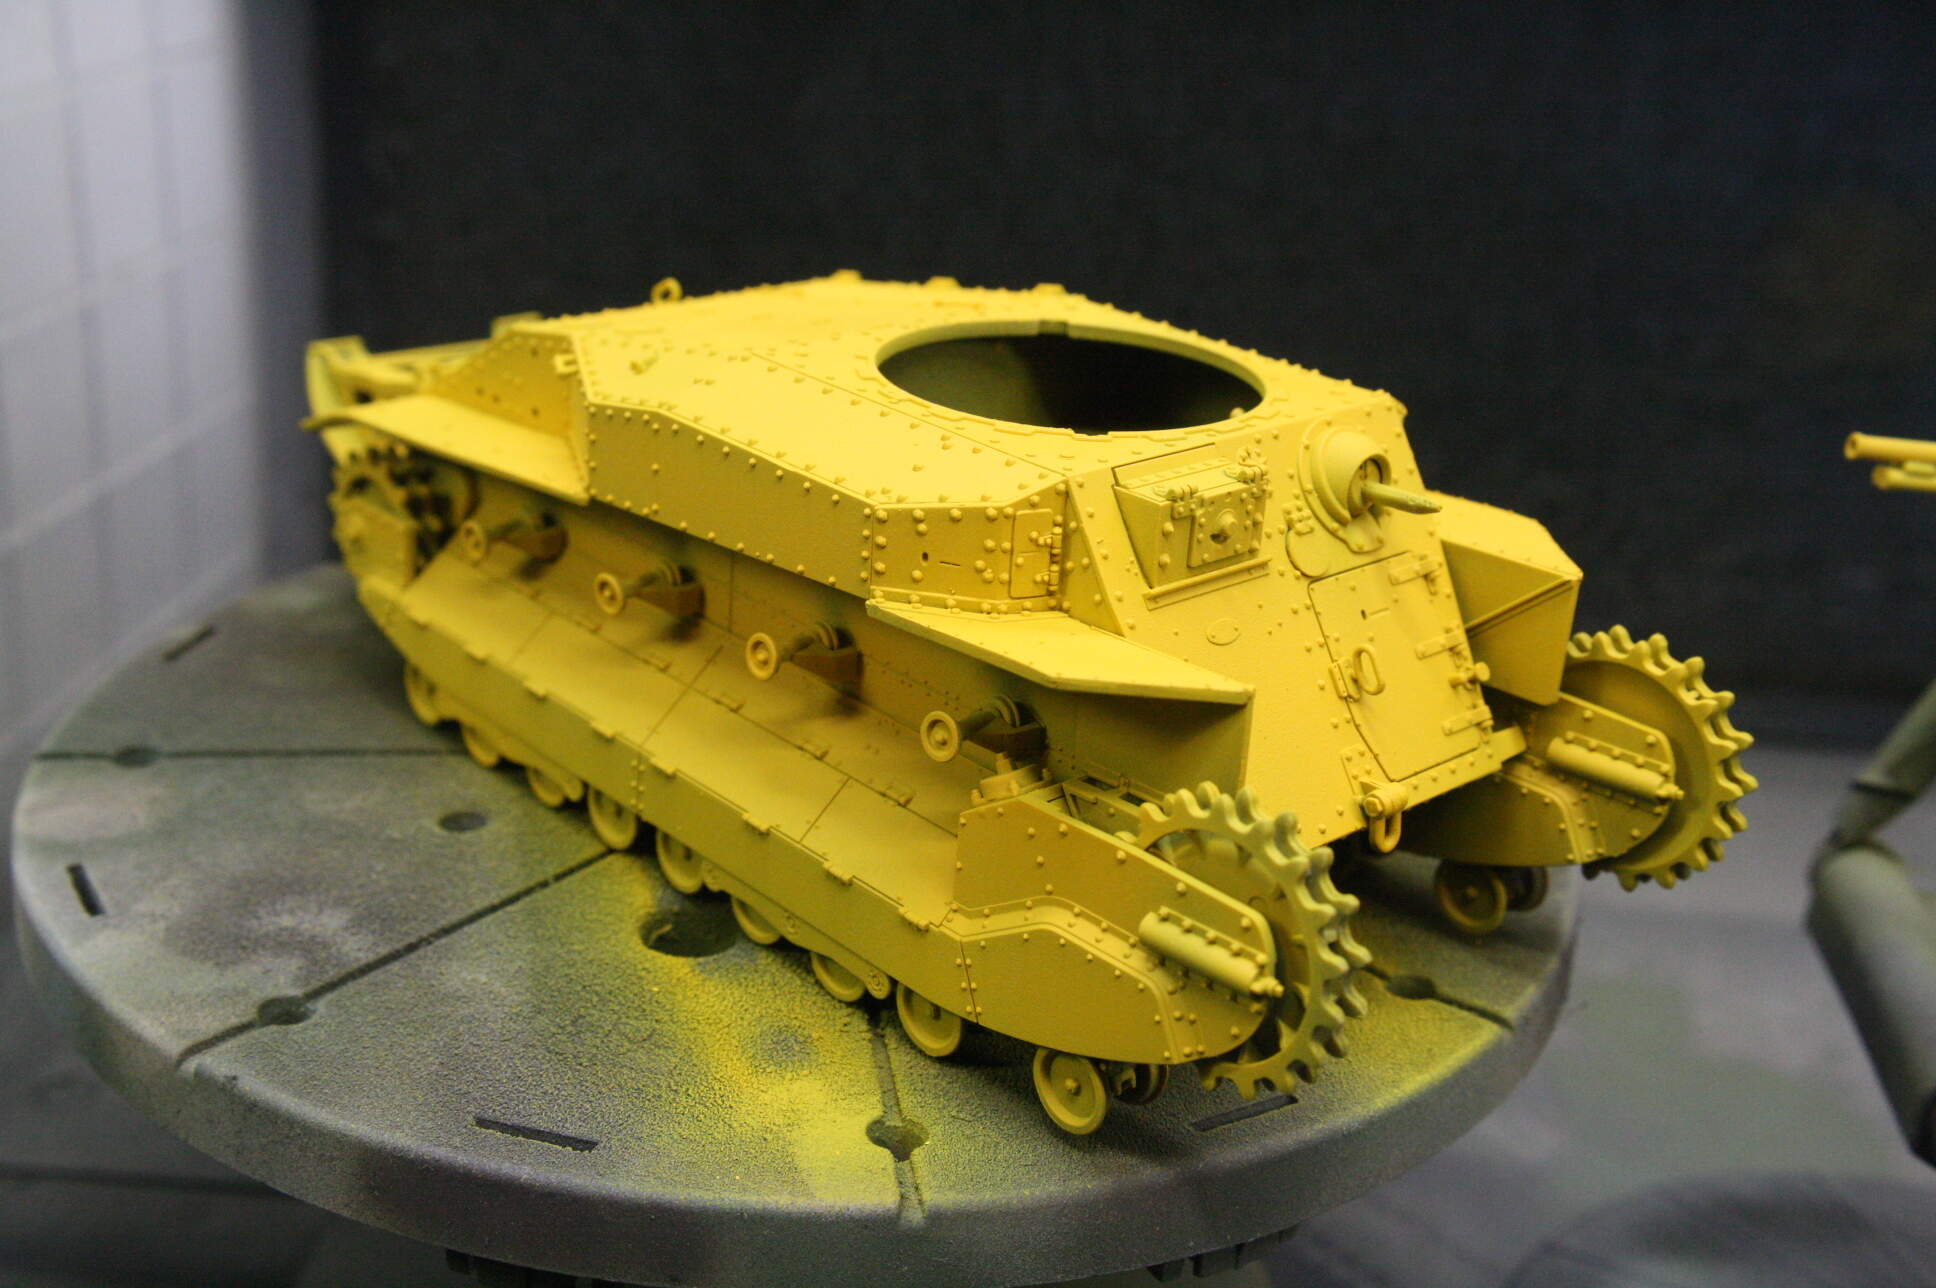
We could leave it like this and enter it in “Girls Und Panzer”, but we have better things to do. Now, we employ poster putty. Also known as Blu - Tac. You don’t have to buy the expensive 3M brand, go to the dollar store and it’s there for the asking. Buy a bunch because you will find many masking uses for it, and it’s really cheap.
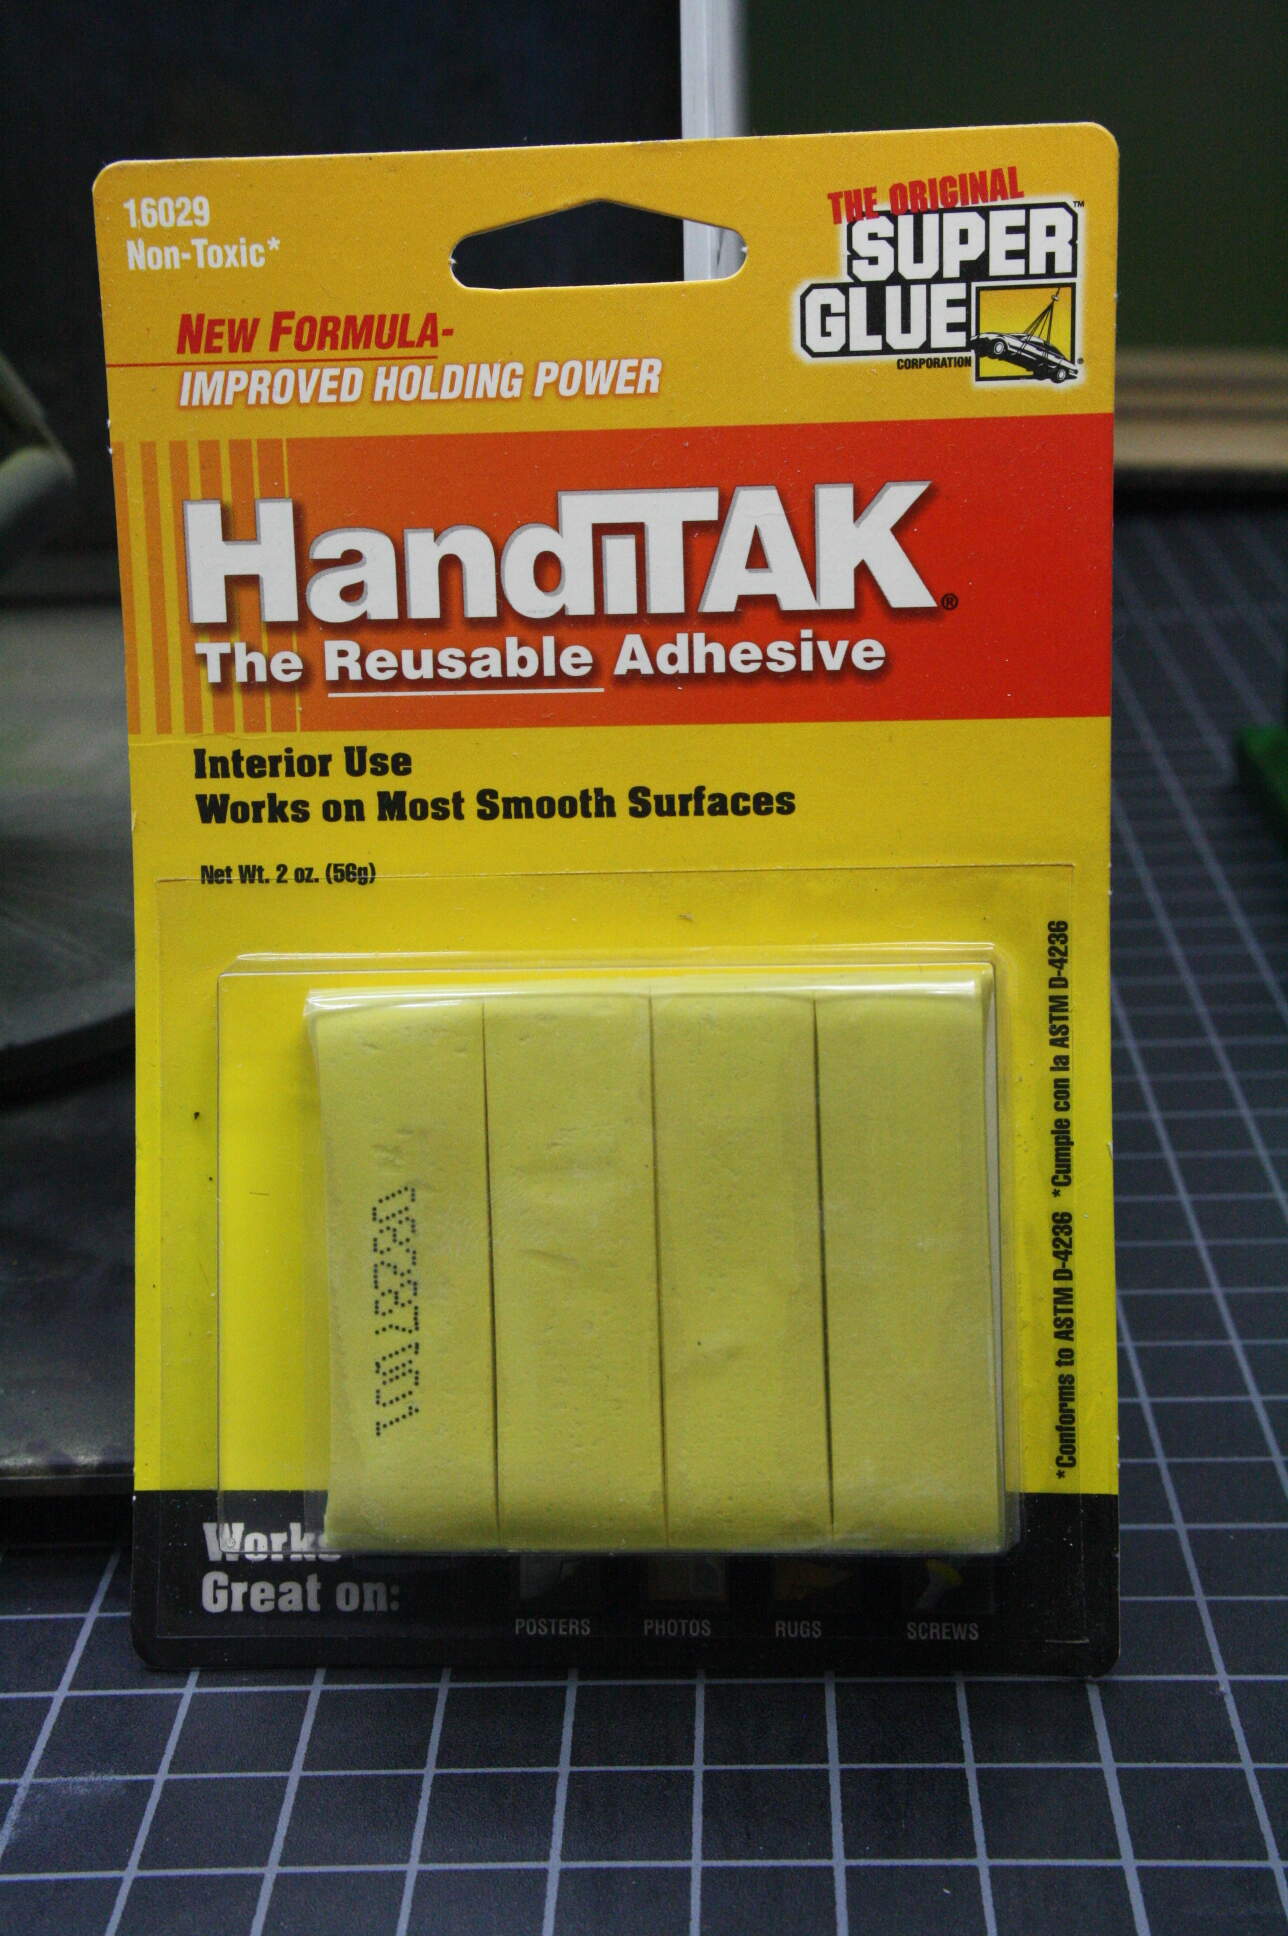
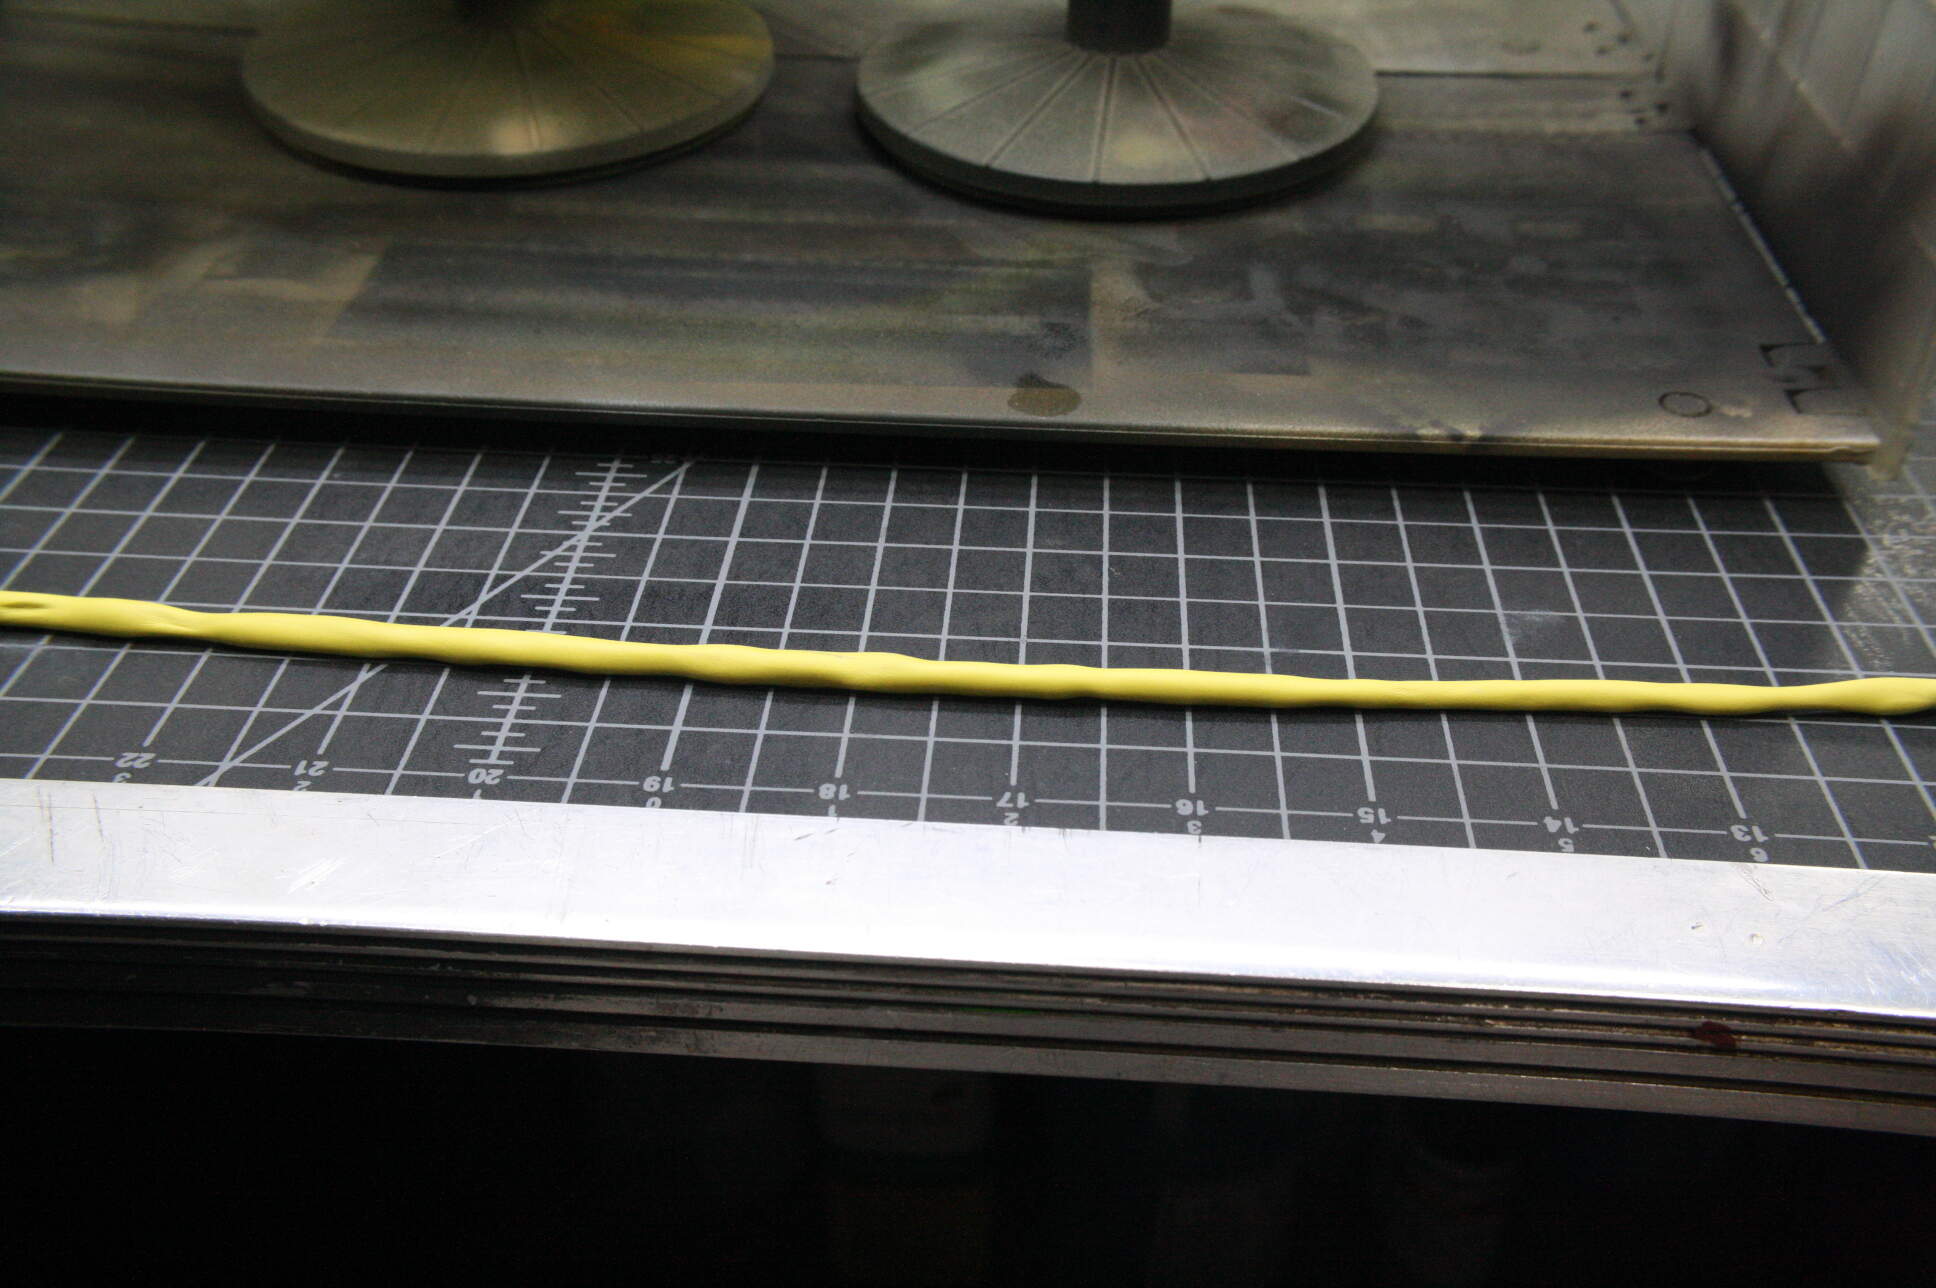
DON’T use Panzer Putty in the round tin or any of the equivalents from AK or Mig. You know, the black miracle masking stuff. That stuff changes shape once you place it on the model and will move with gravity, crawling slowly across your model. Disaster. That’s not what we want for this application. You need to now take the poster putty and stretch it, rolling it into ropes about 3 -5 mm wide and 30 cm long. This is easy to do and the poster putty will retain it’s shape, unlike Panzer Putty, which will flatten out if you try to do this.
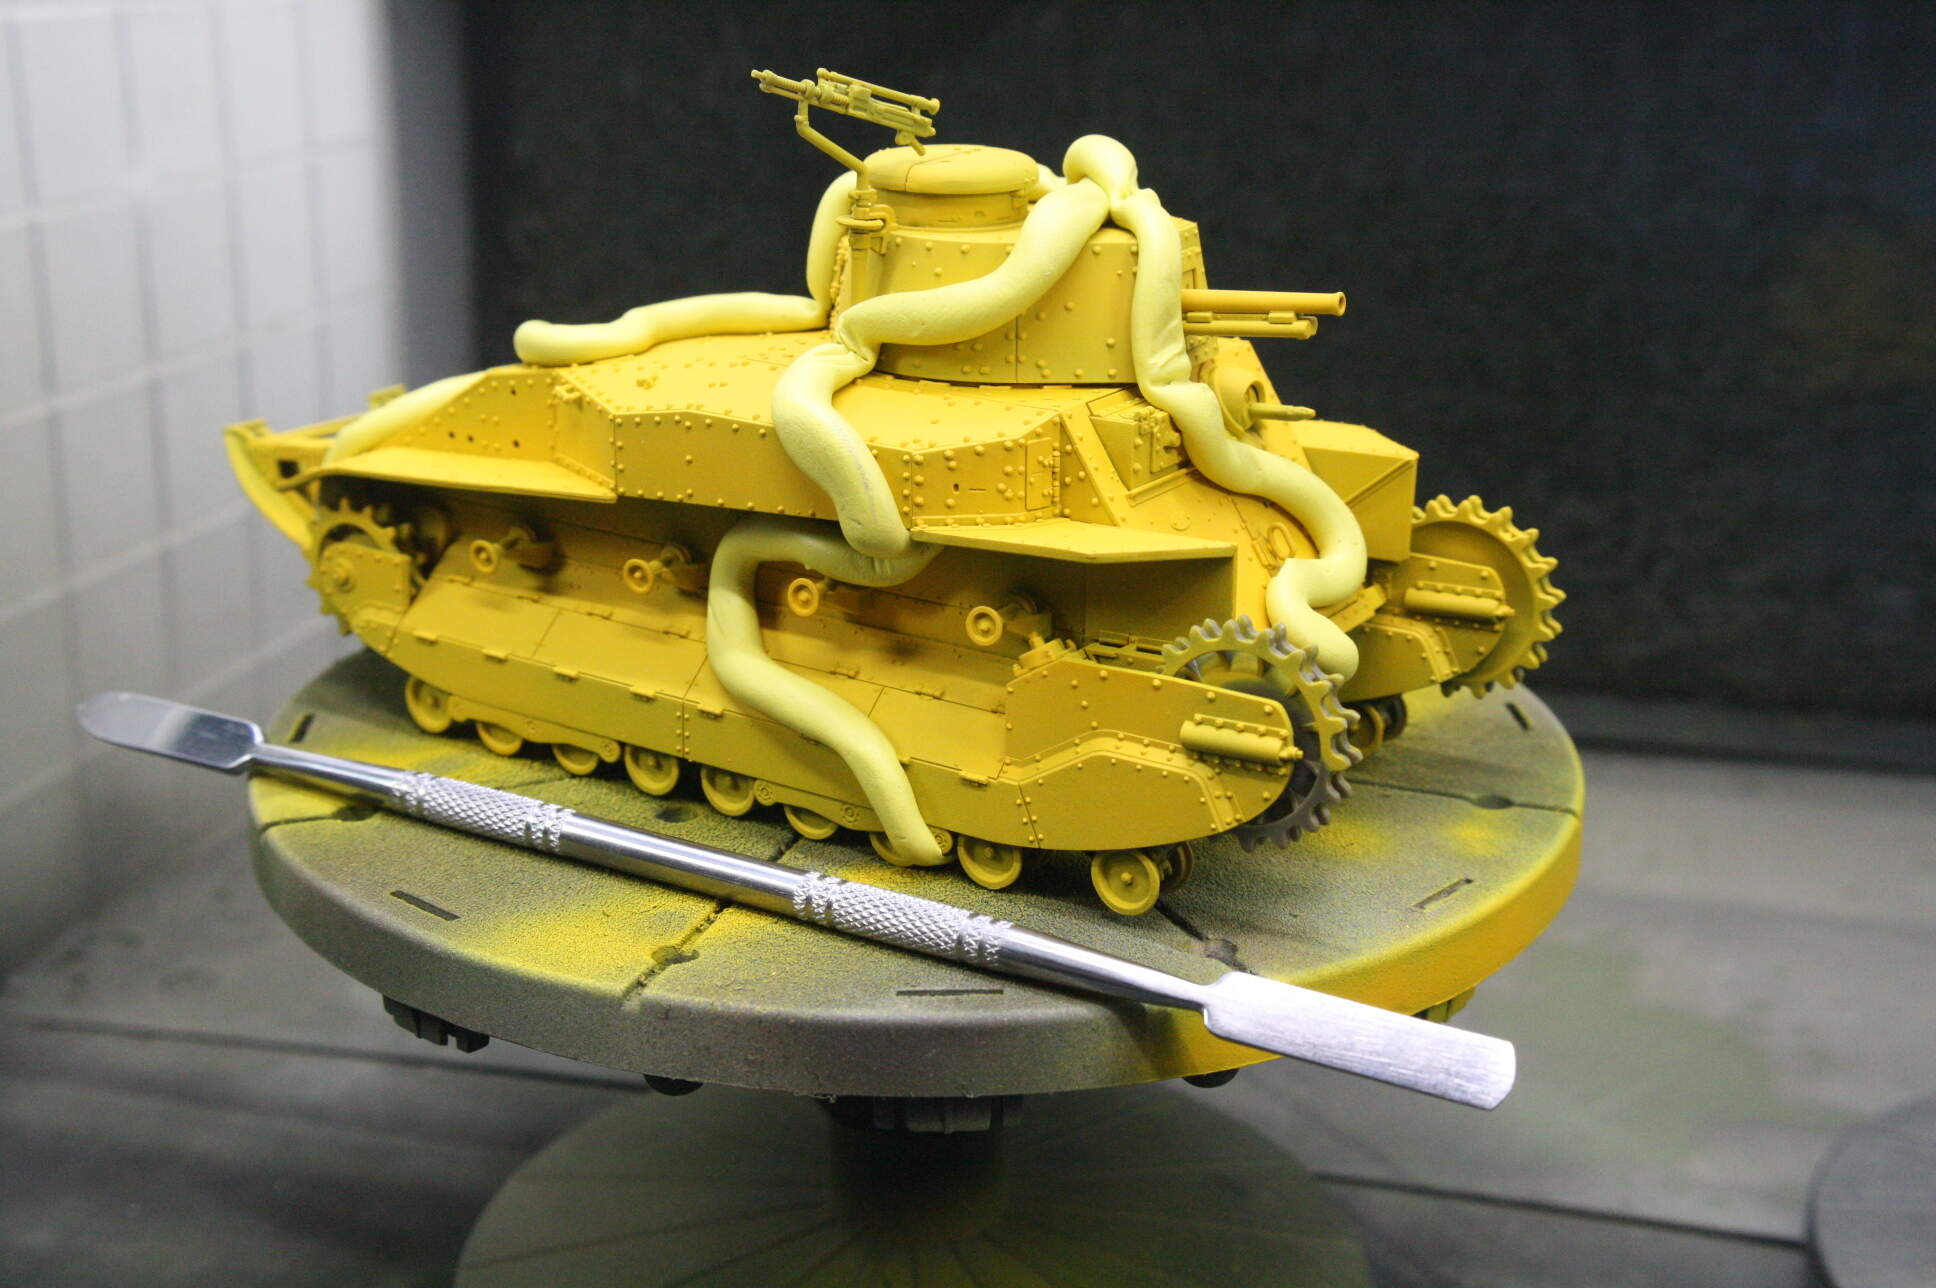
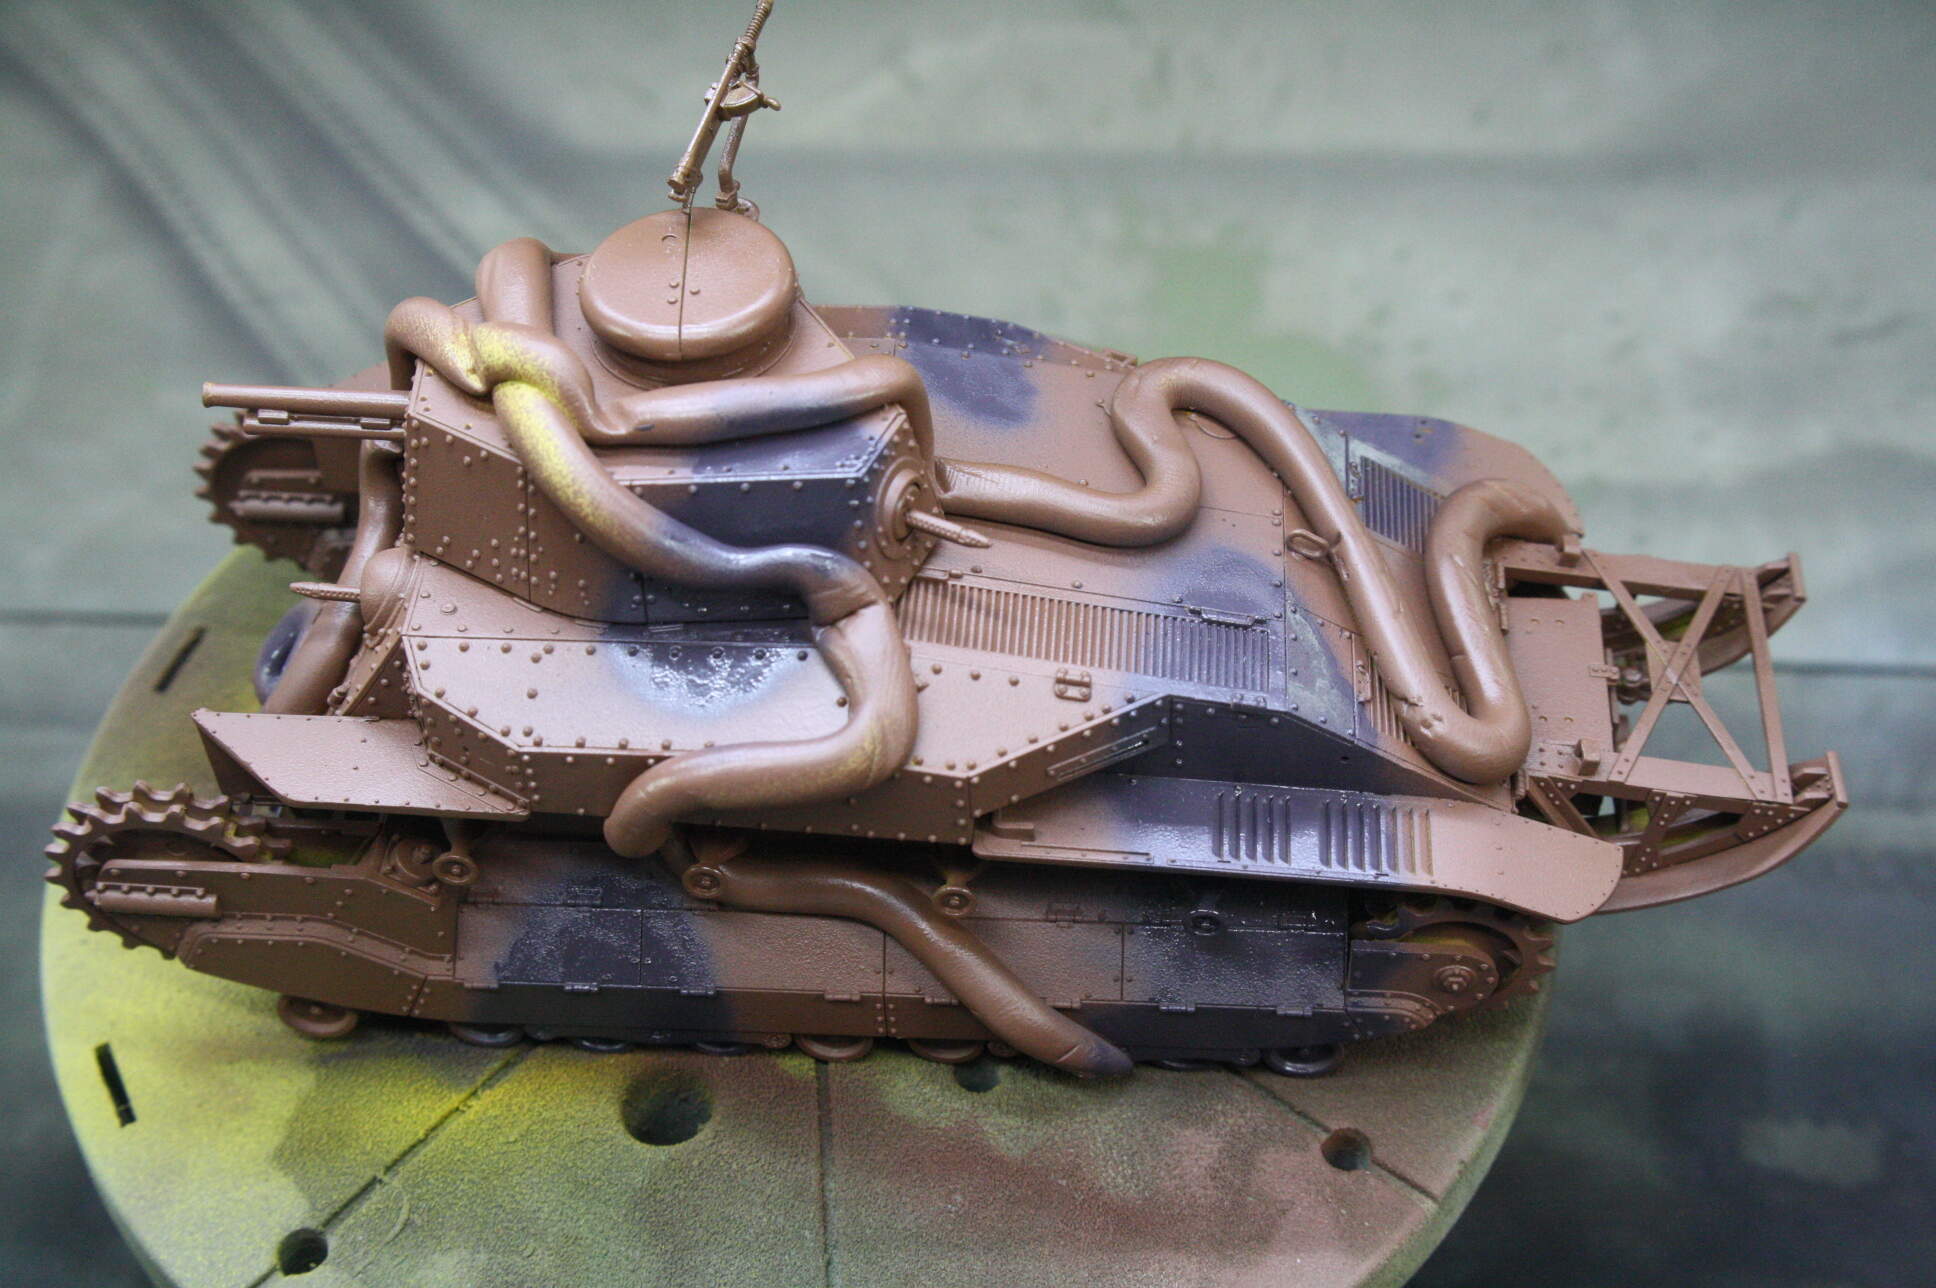
Now, place the poster putty ropes (make 2 of them) on the model, Starting with the middle of the rope on the top of the turret, and wind it down across the front, sides, and rear of the tank in a winding, snake - like fashion. Press as you go to get good adhesion. When you get to an inside corner, use a putty knife or similar spatula to press the putty into the corner for a good tight fit. You should continue the ropes all the way to the bottom of the tank.

Now we are ready to shoot the other 3 colors of the cloud pattern freehand. I start with my .05 Iwata Revolution CR for the first color overall, Cha - Iro tea brown.
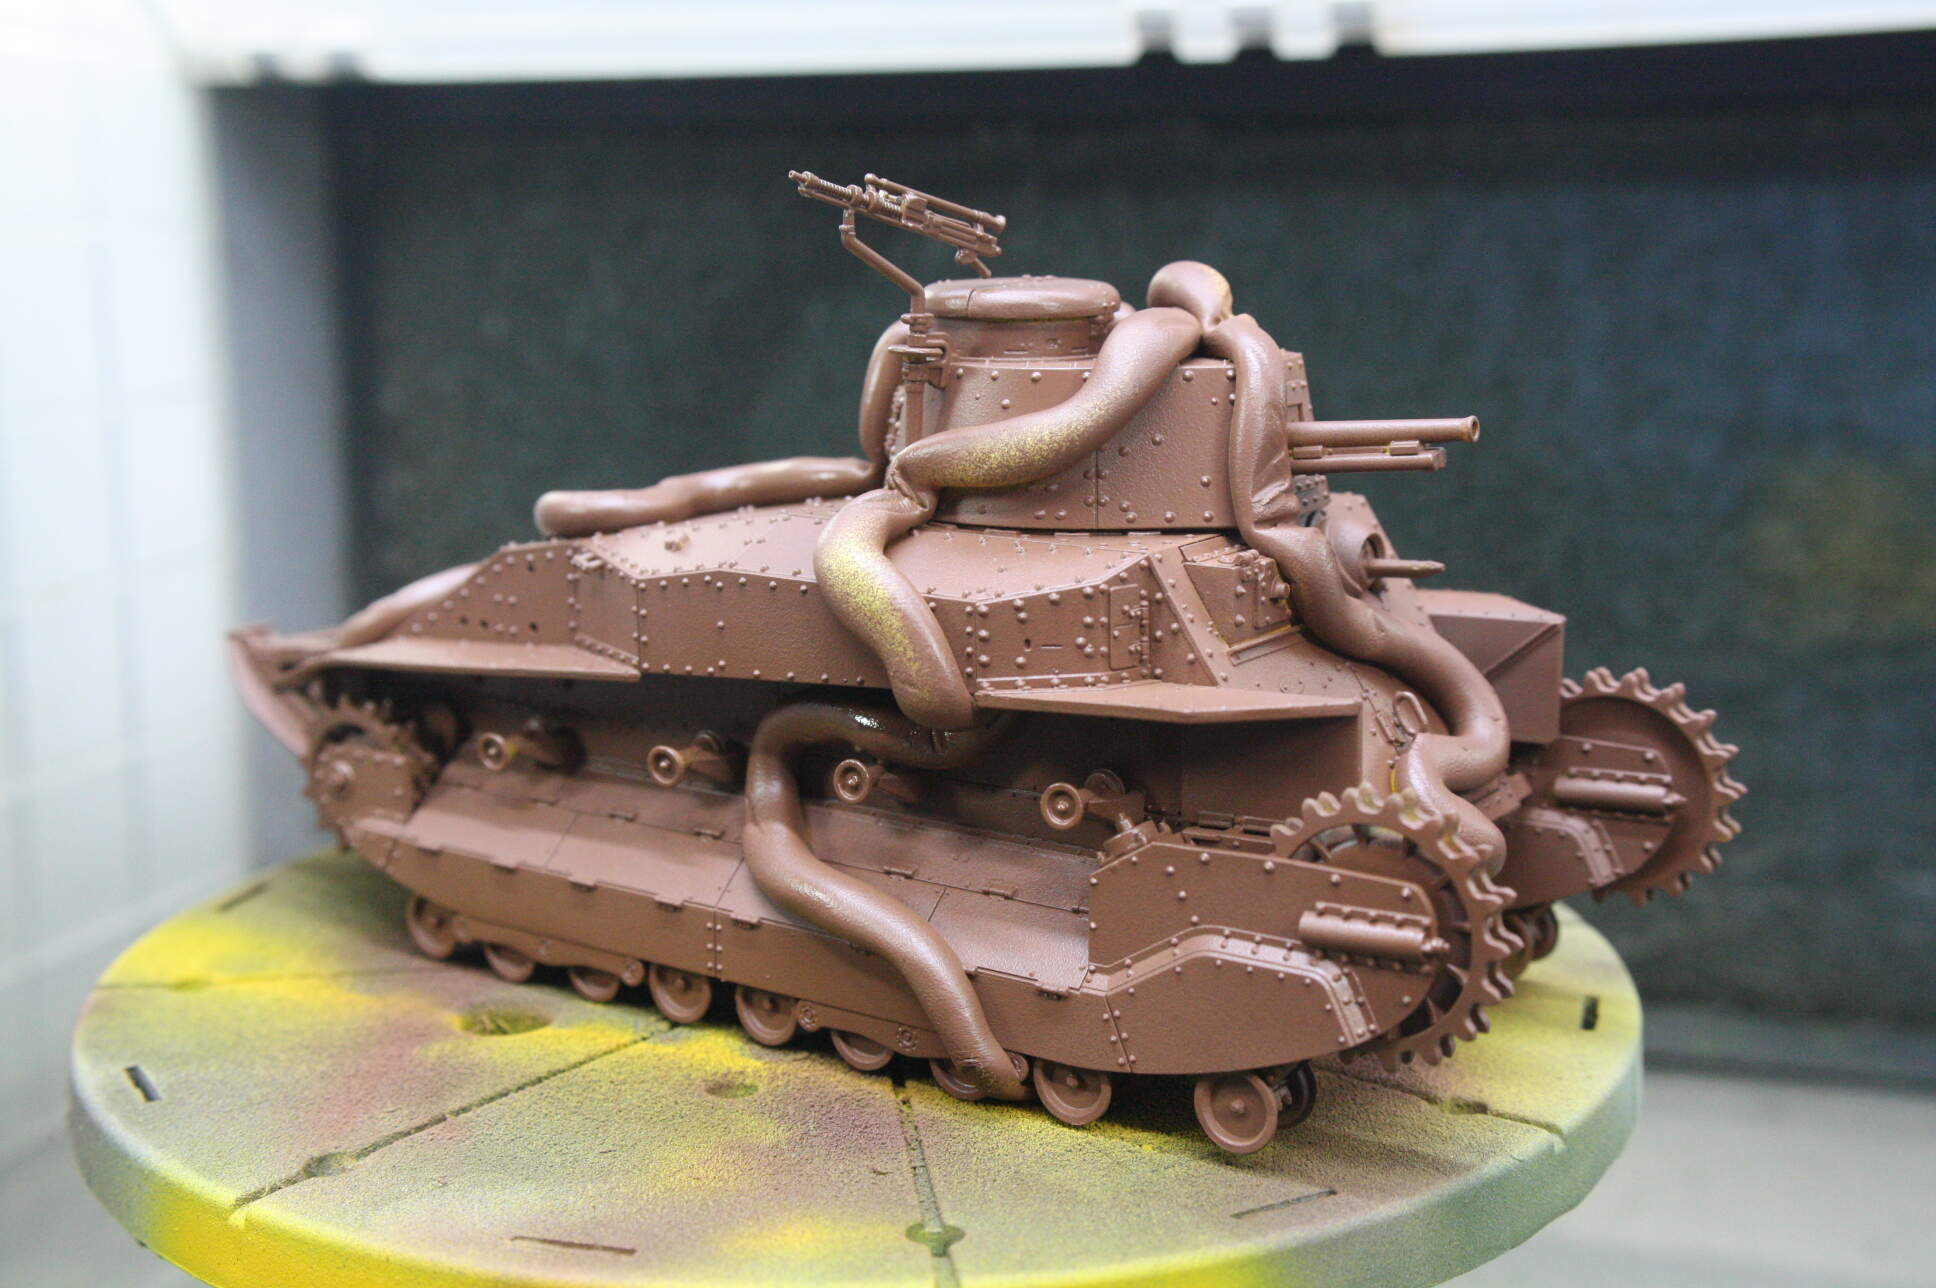

Now I switch to my .03 Iwata HP - C+ for the other 2 colors. We need to get soft edged but fine lines here. I shoot close to the model. First the Tochi - Iro earth covering approximately 1/3 of the surface area.
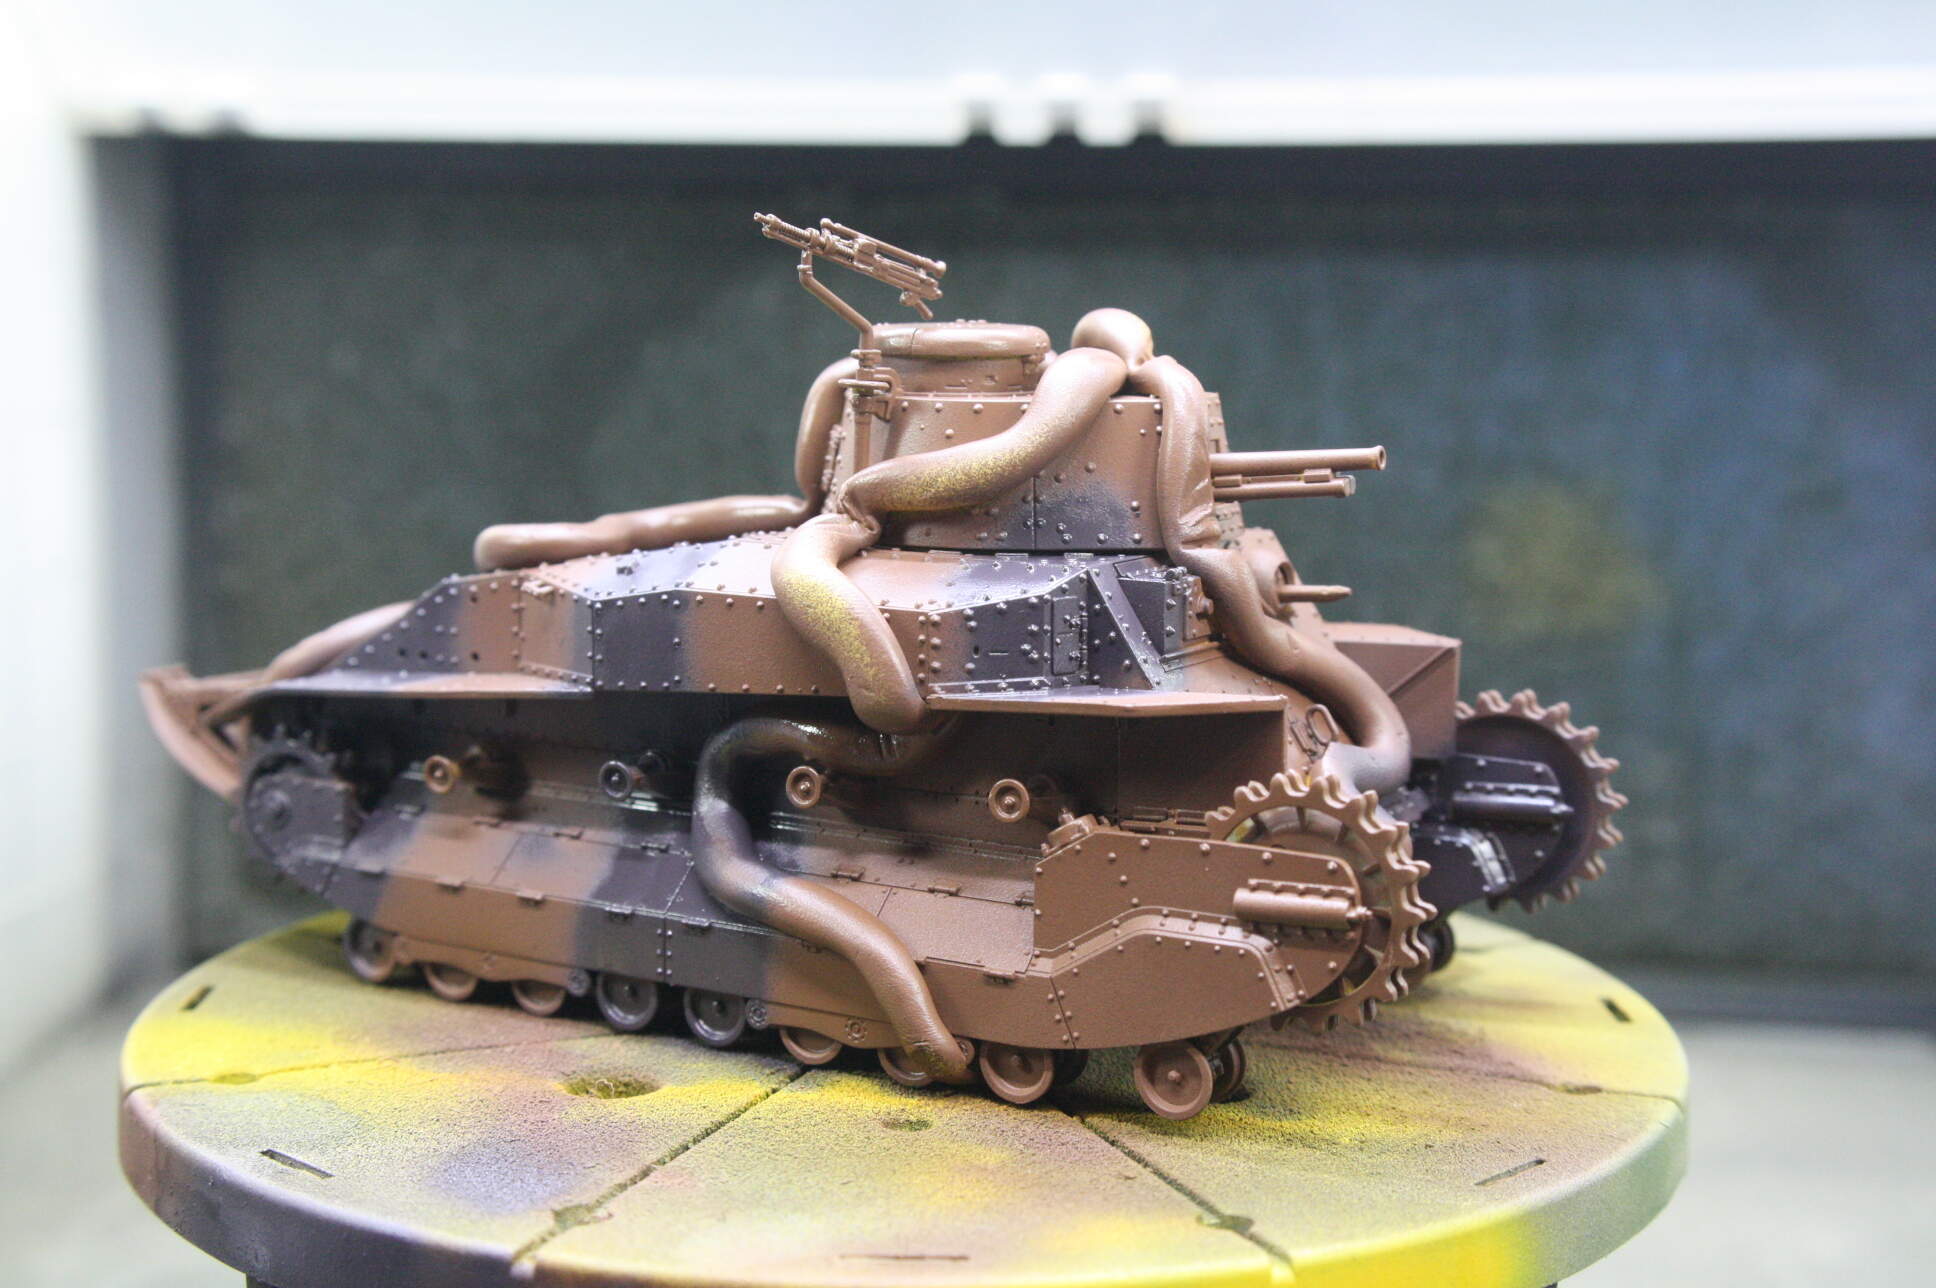
The paint is drying glossy. Most likely because I didn’t shake the bottle enough. Hataka paint is provided in 17ml dropper bottles with rattle balls inside, so it’s all my fault for not shaking them enough. That’s okay. It’s all going to get a gloss coat and a flat coat anyway!
Now the Midori - Iro green. Again, aiming for 1/3 of the area.
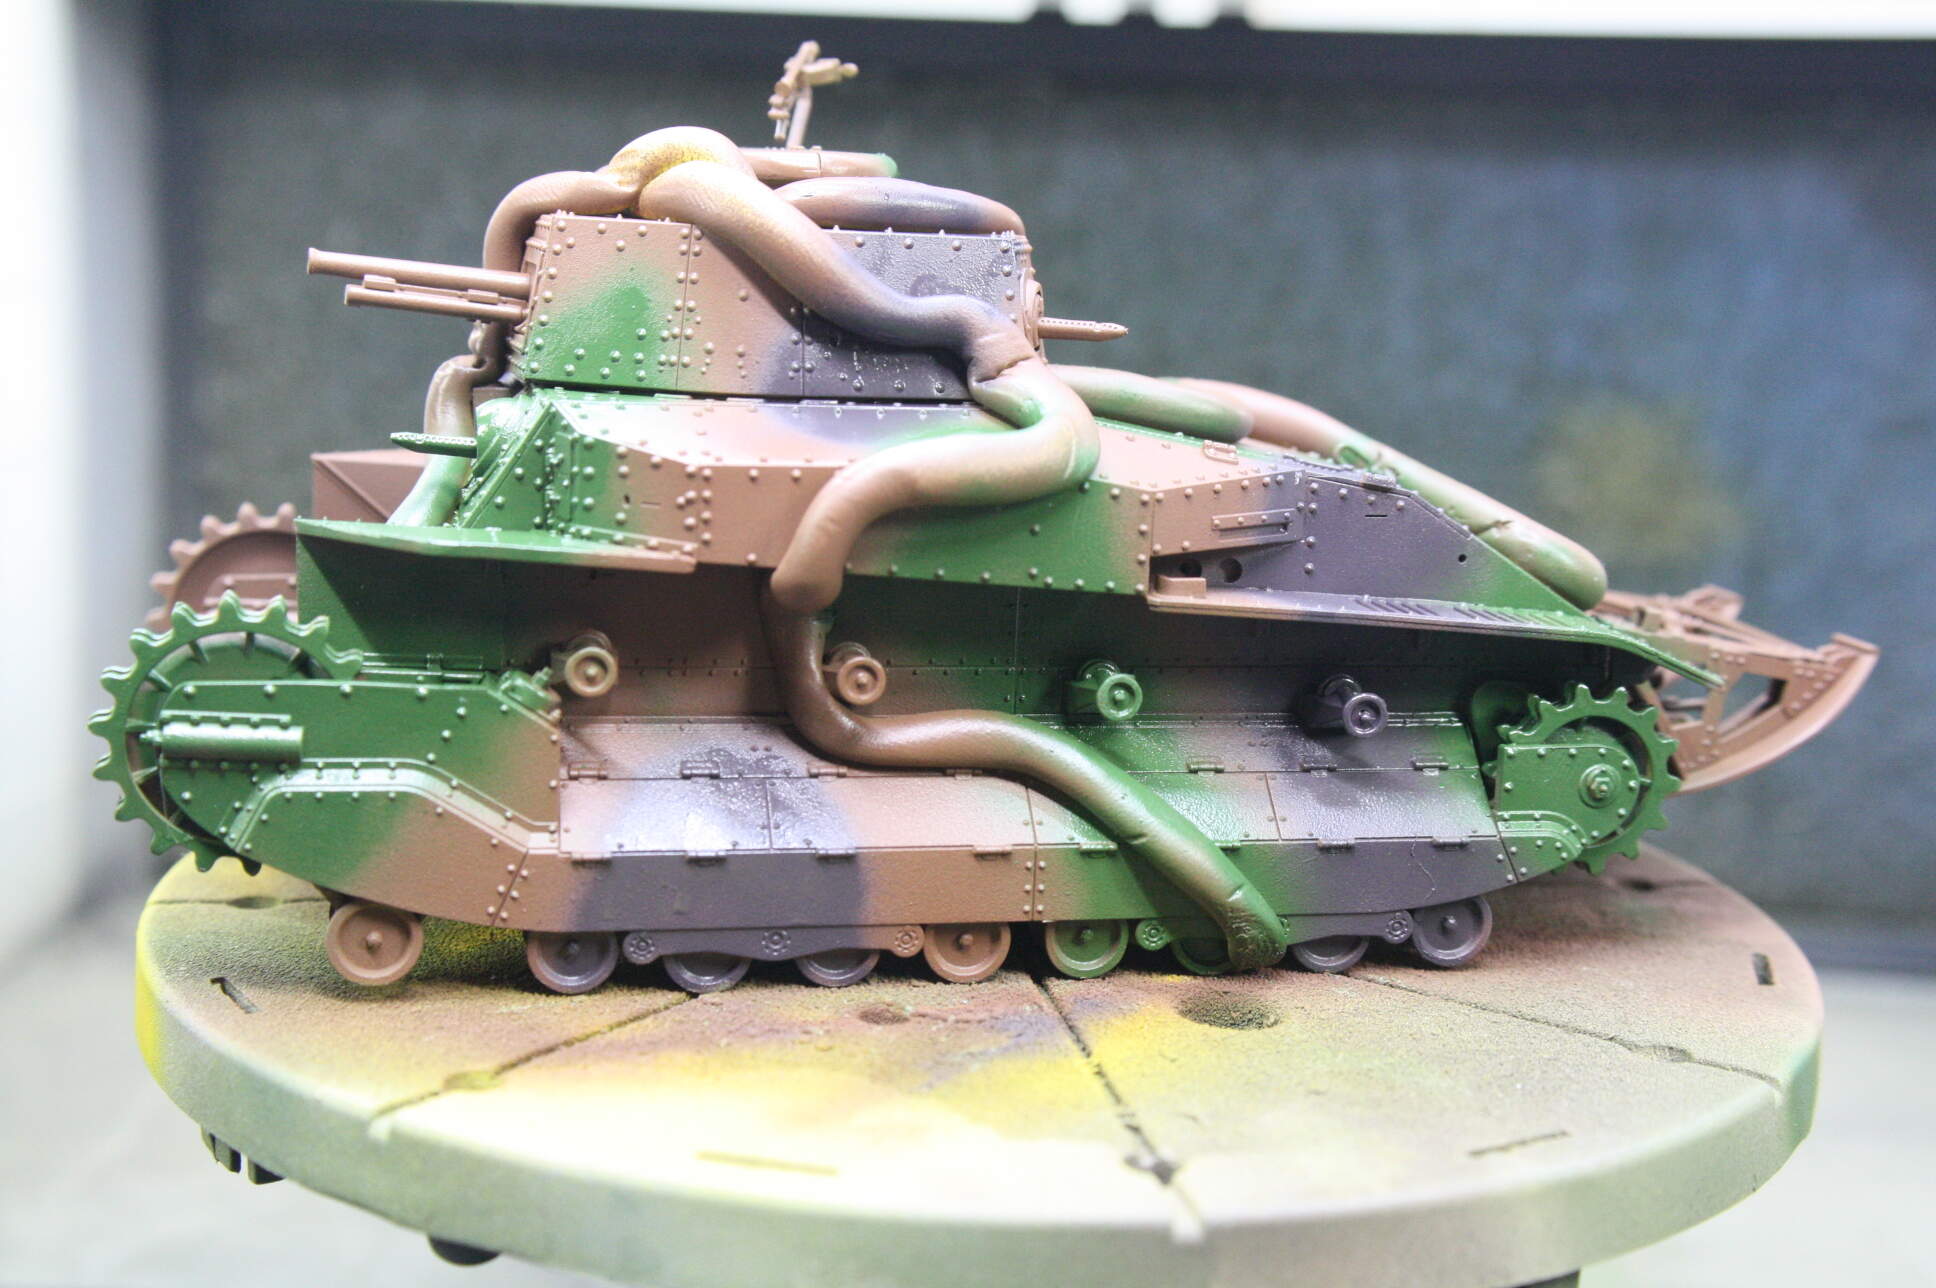
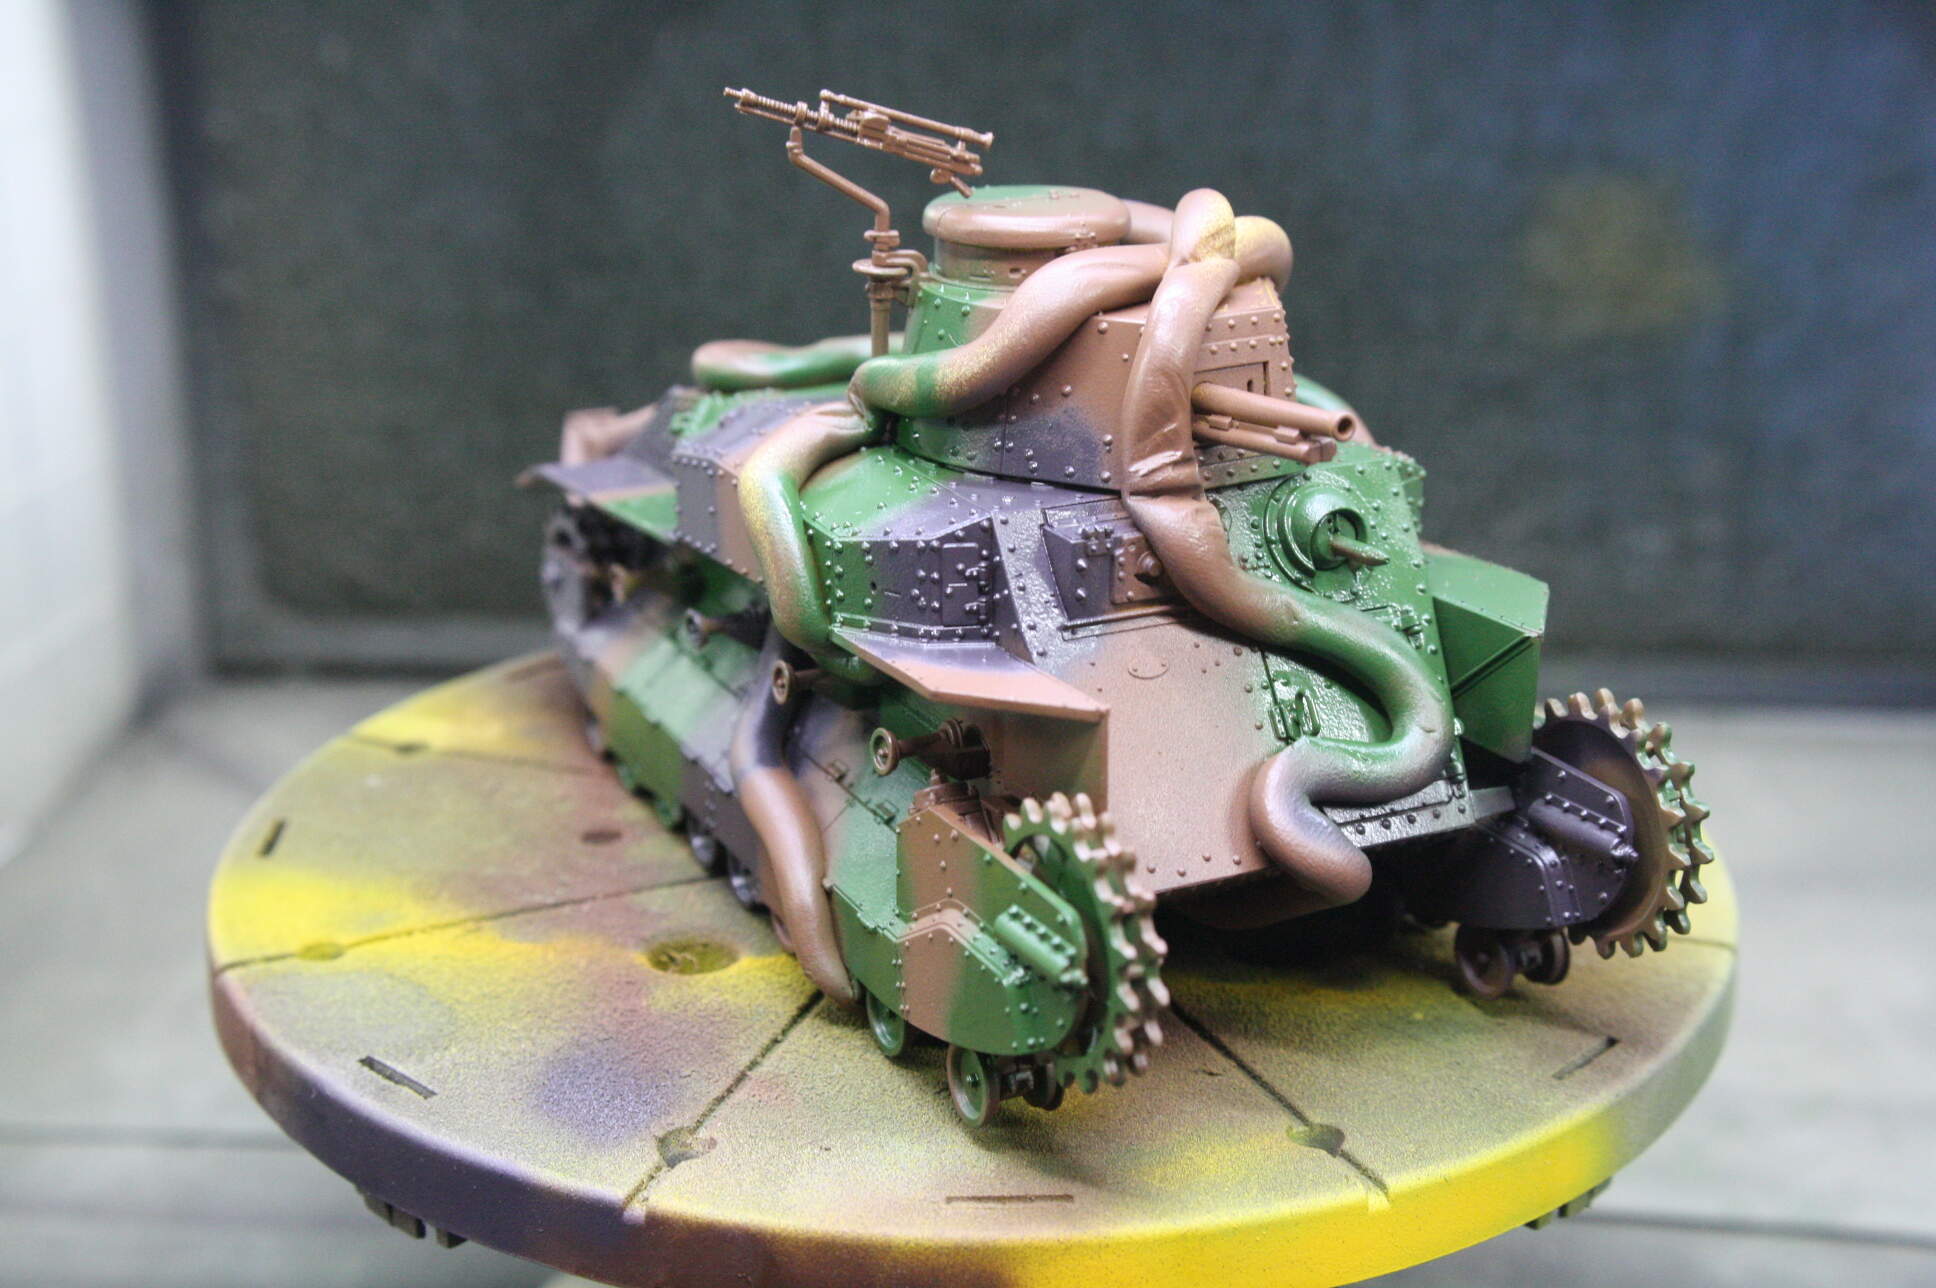
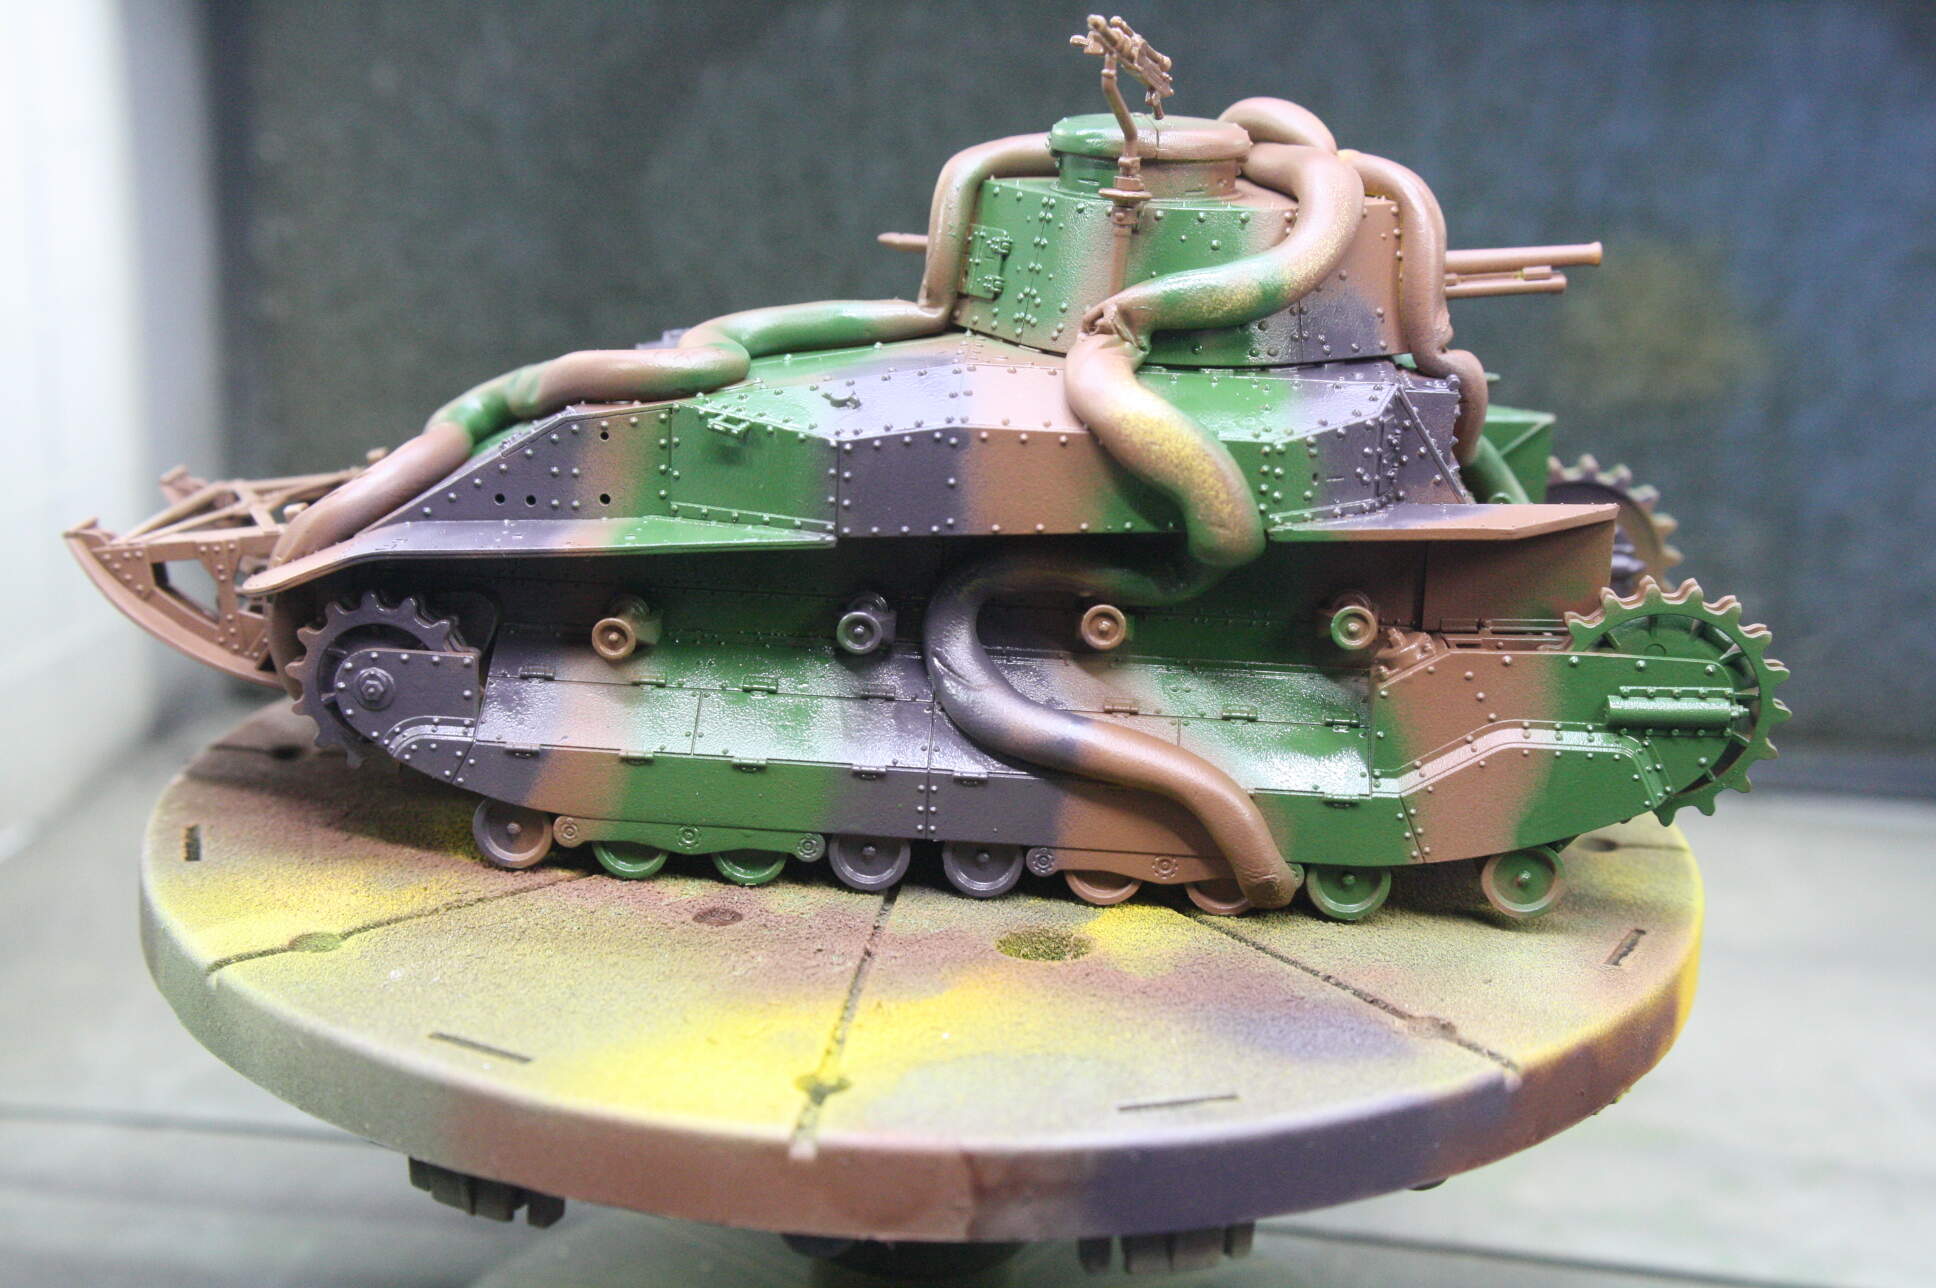
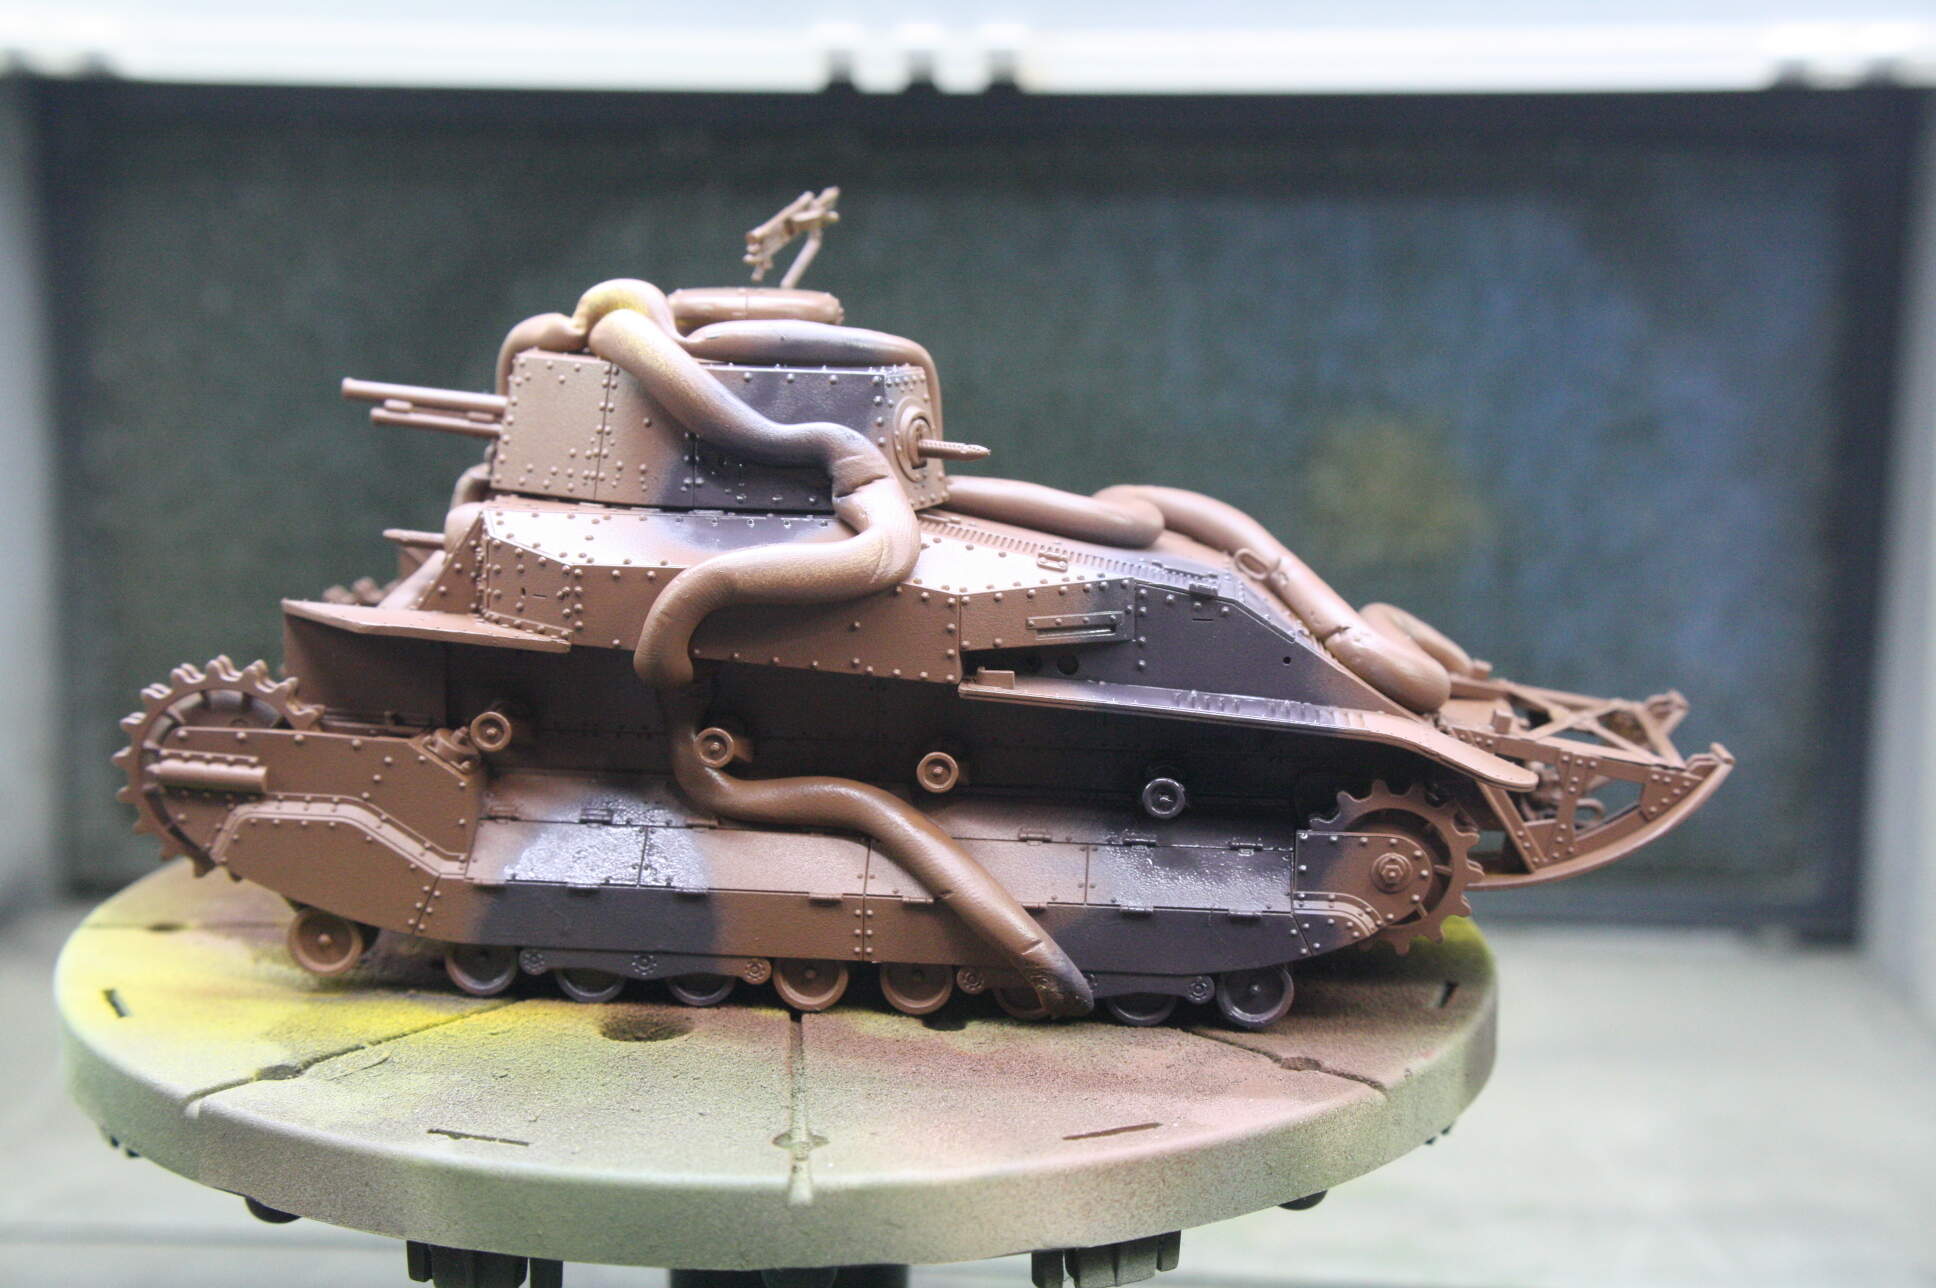
Now our 4 colors are all done and dry, this entire process only took about 2 hours, and we are ready for the big reveal - we remove the poster putty ropes and -
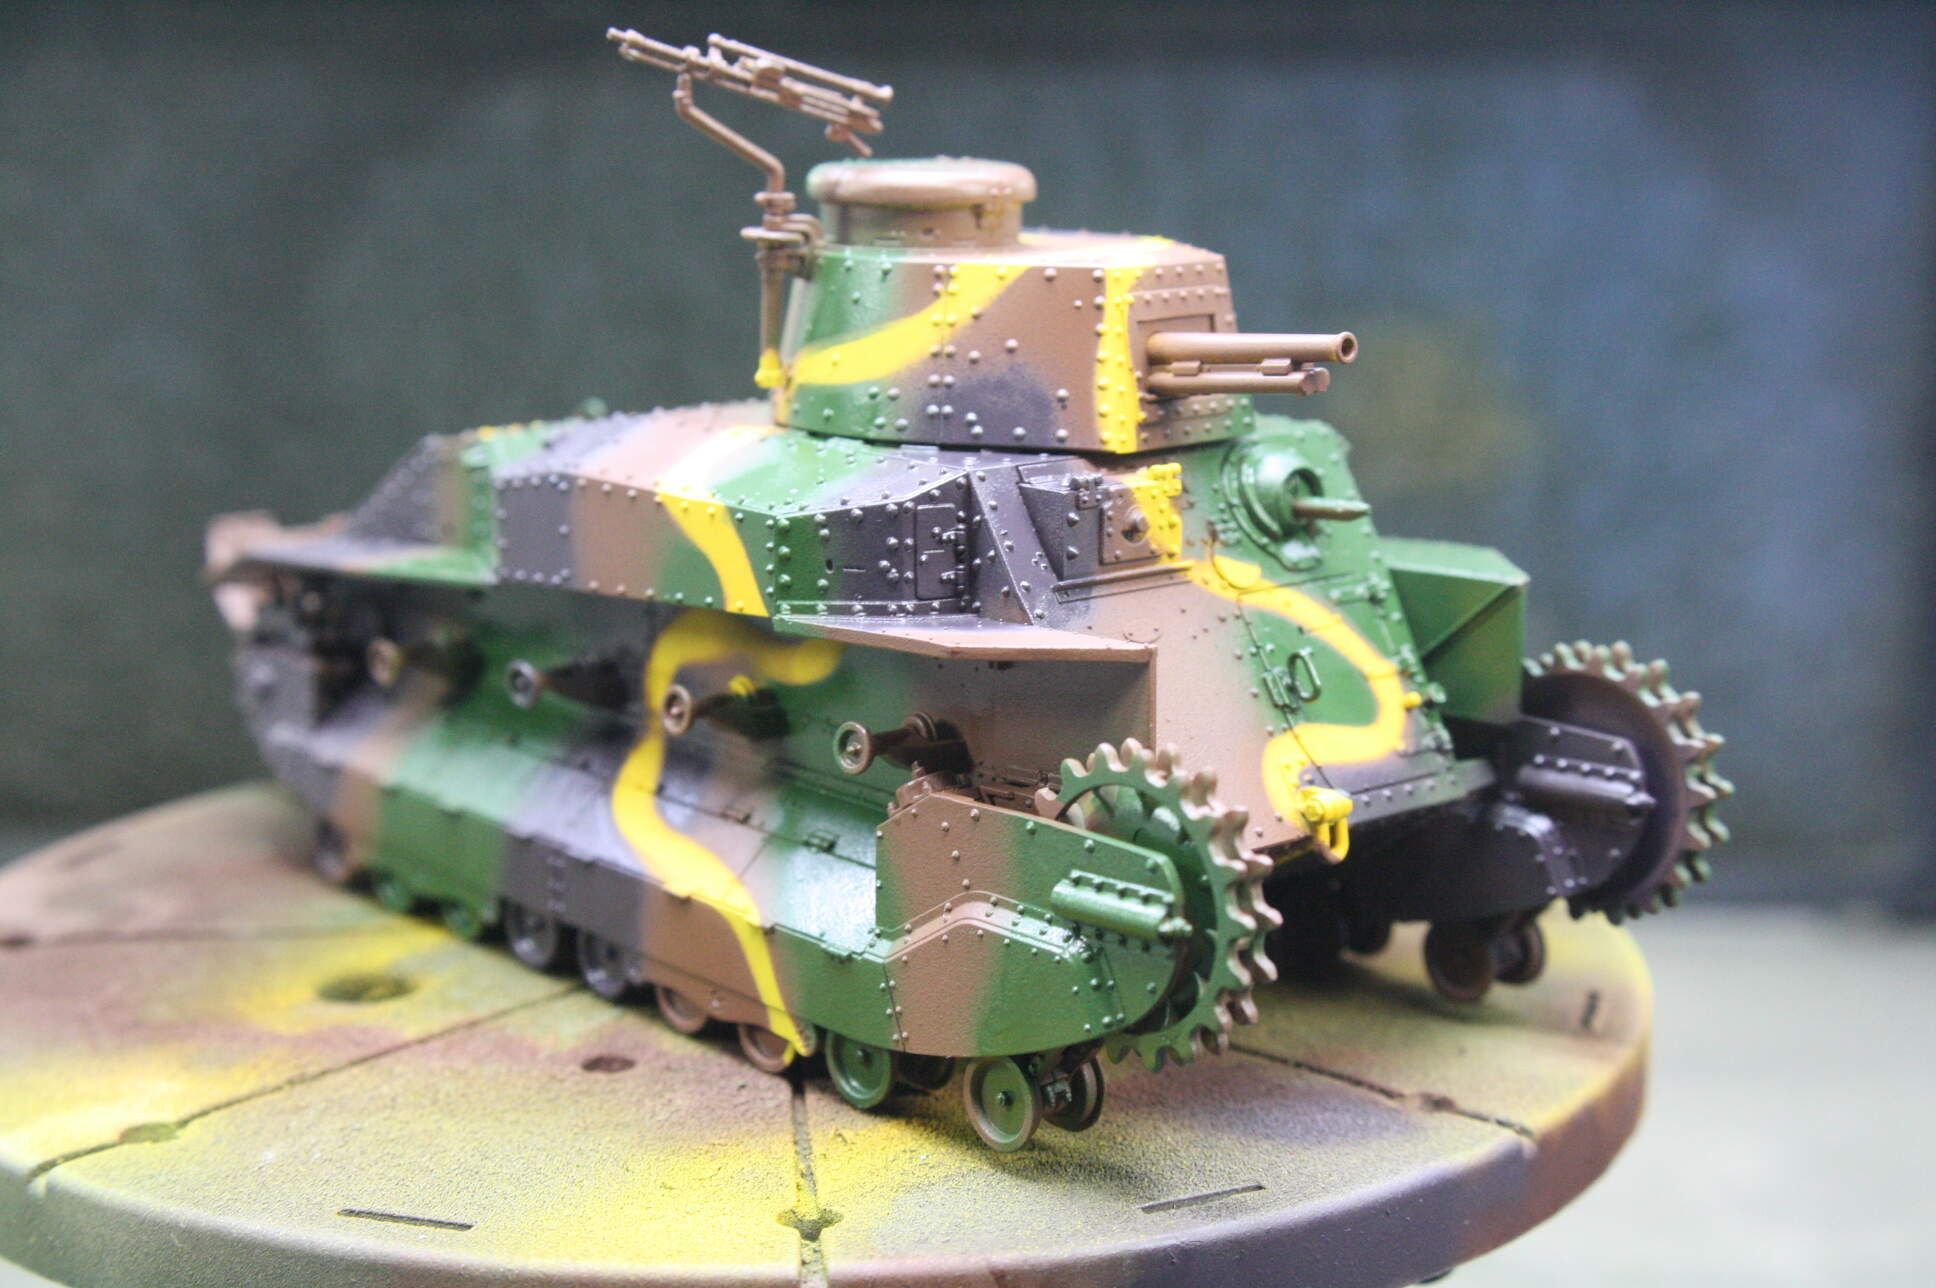
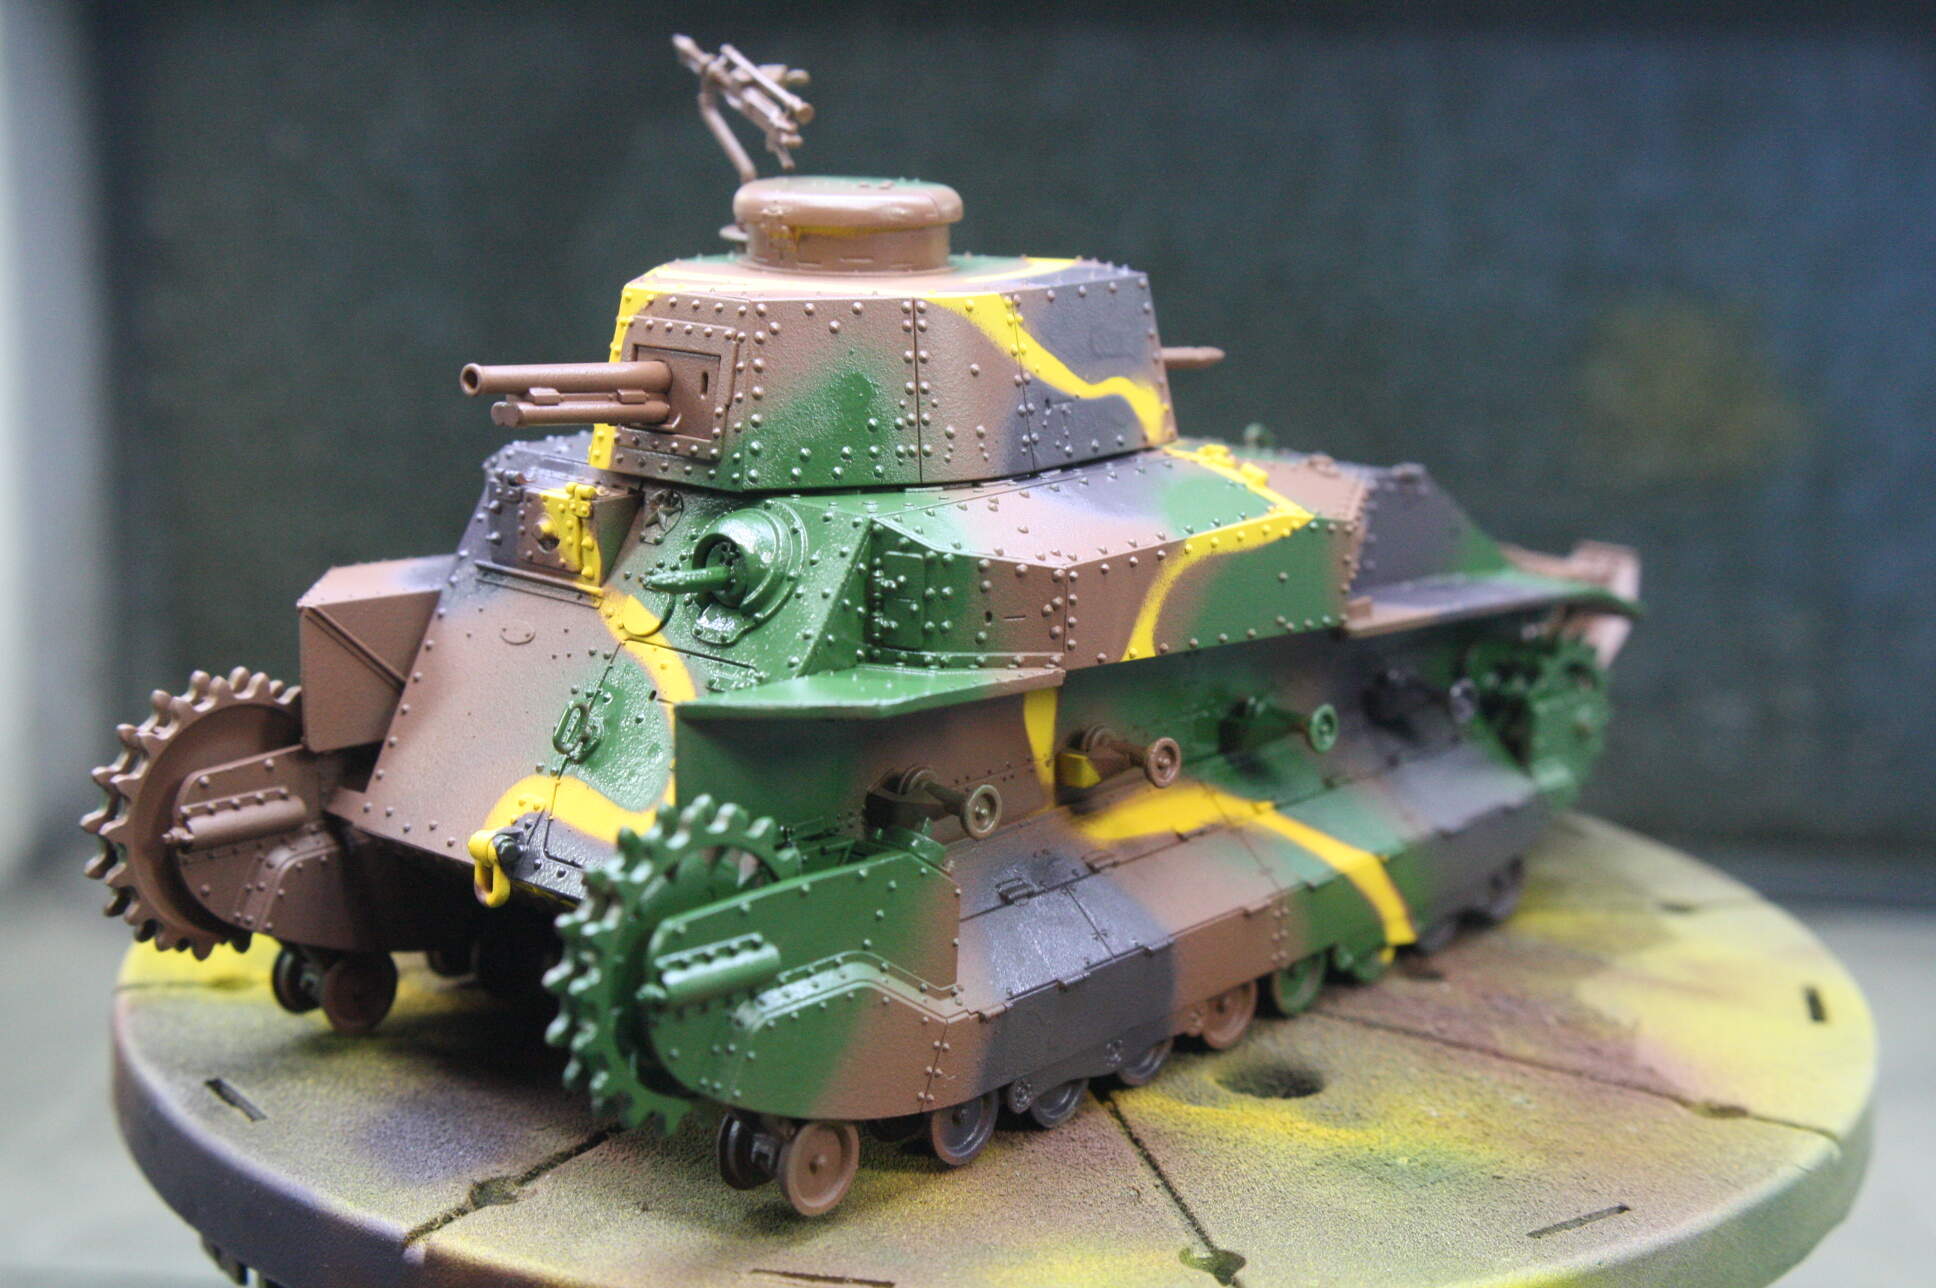
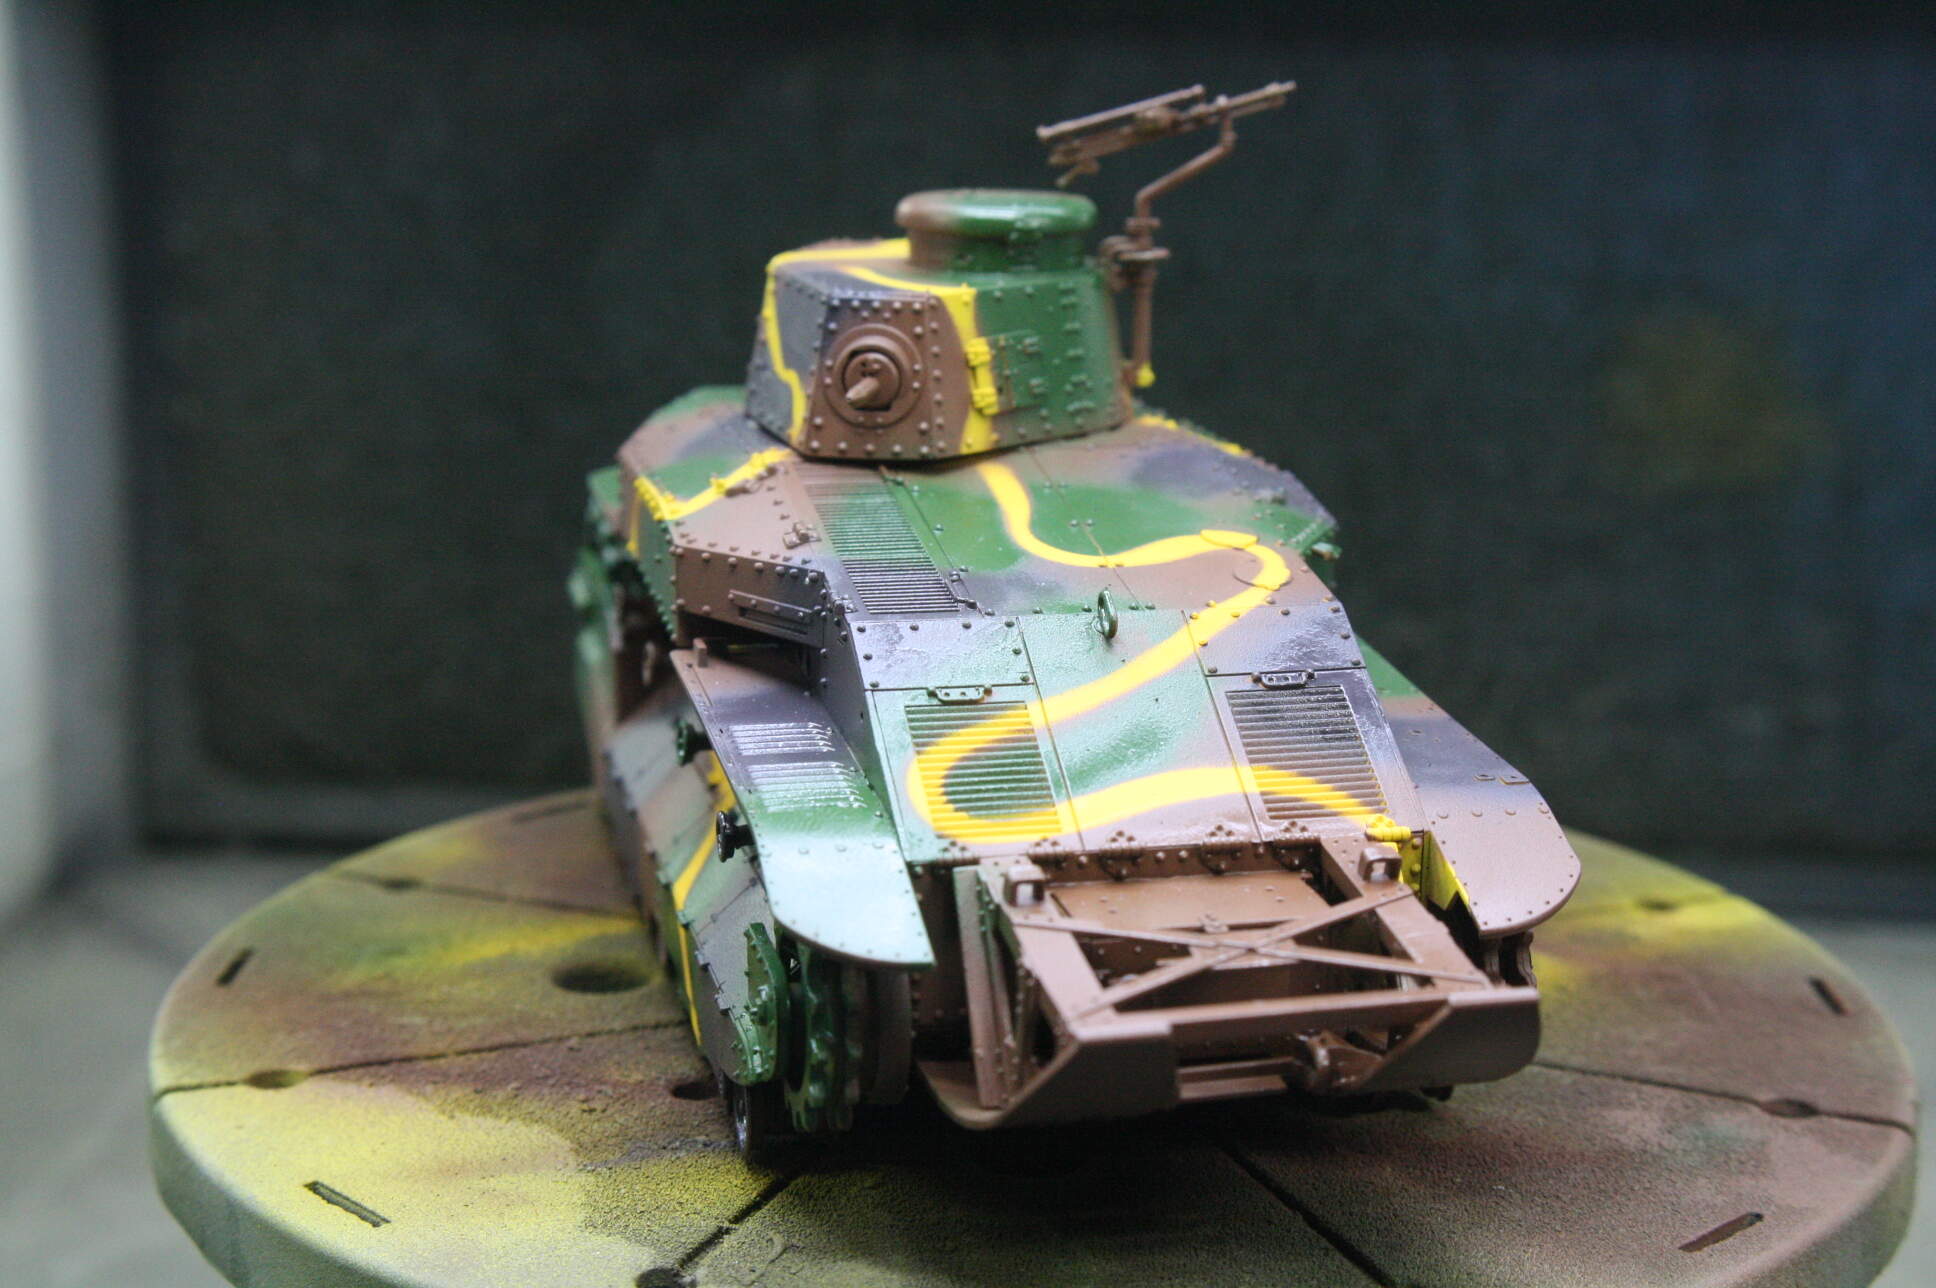
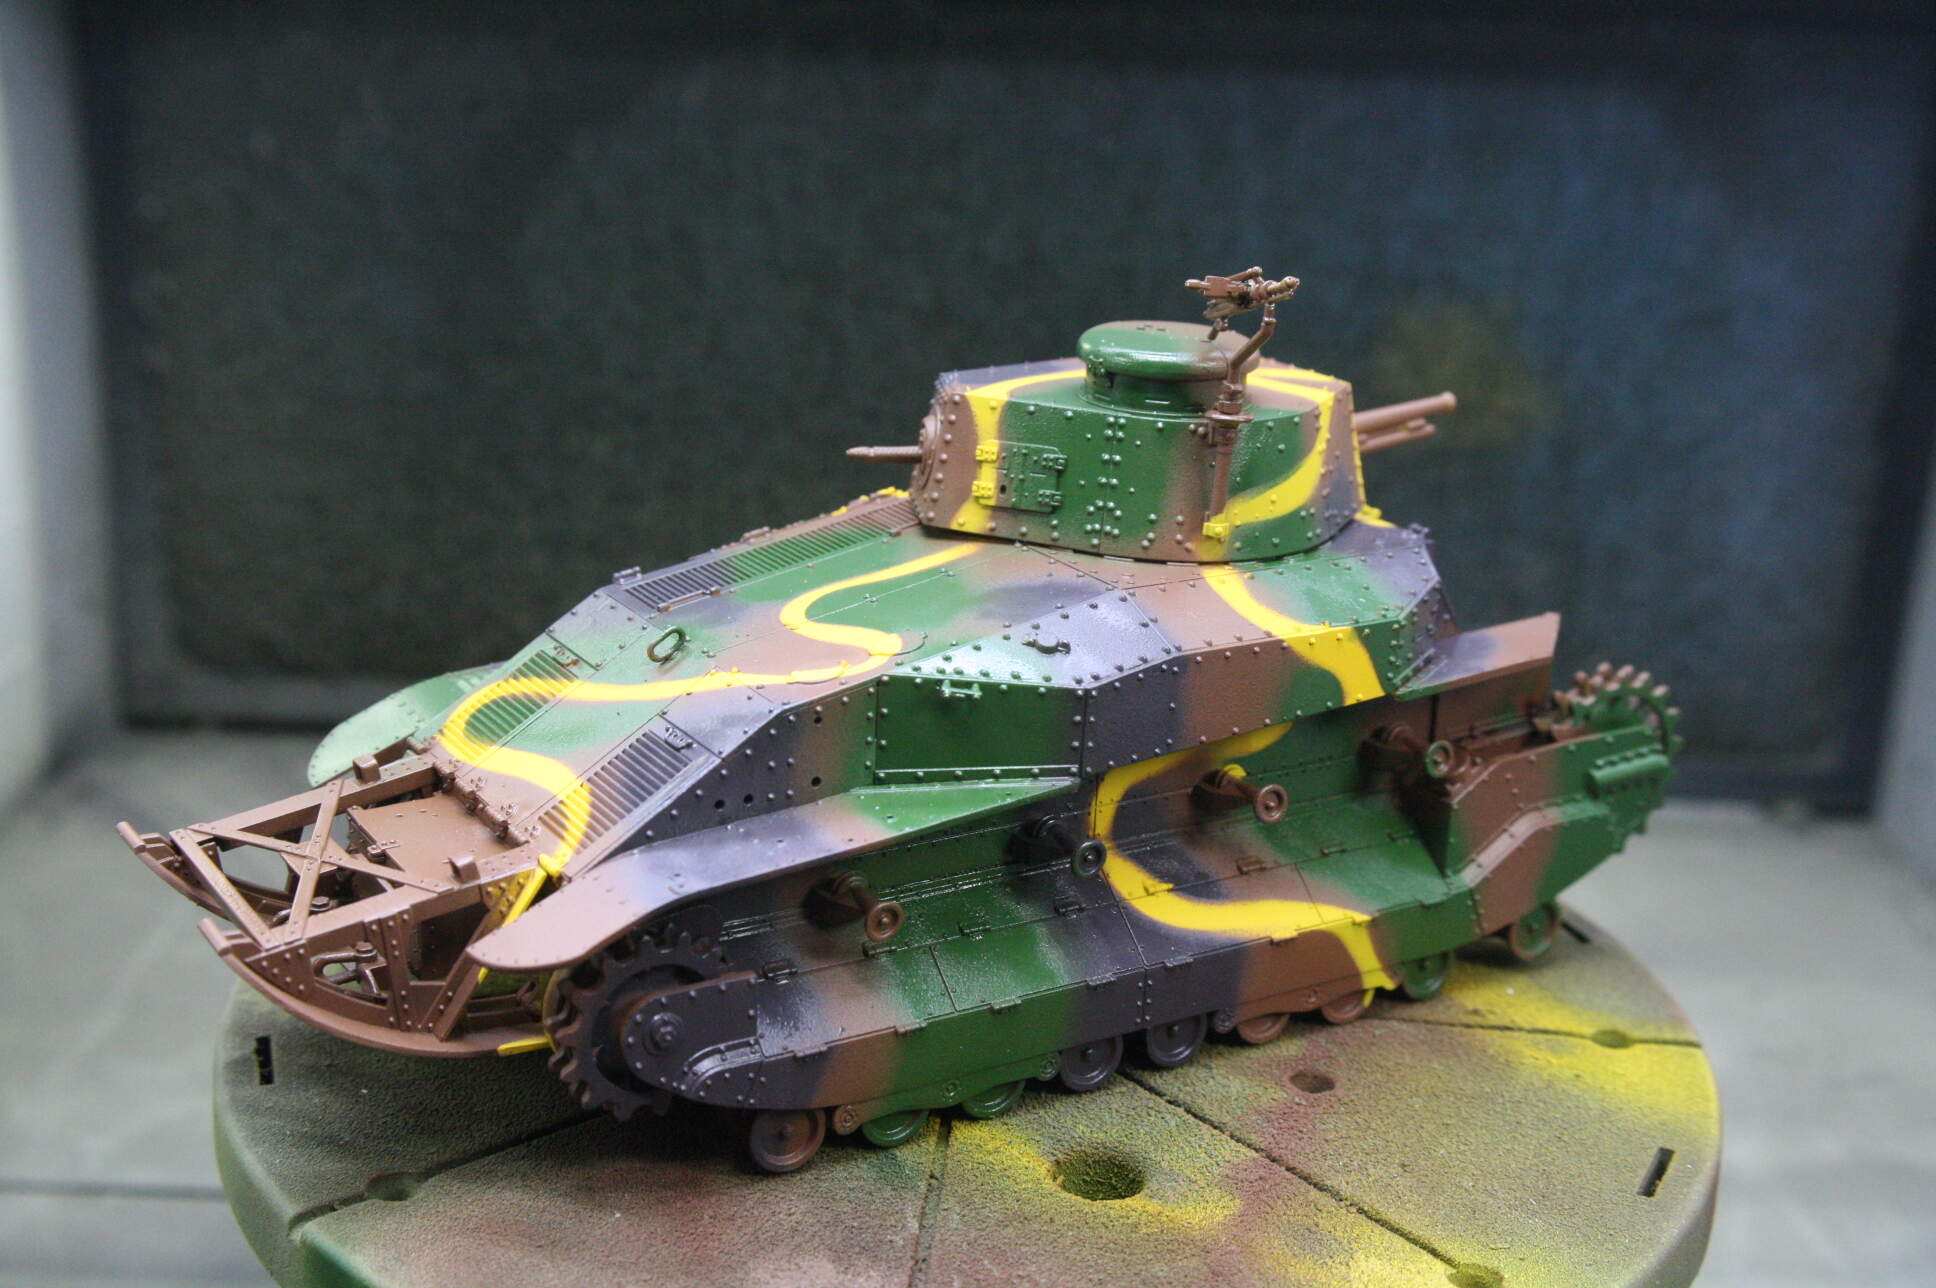
There we have it. A perfectly painted Imperial Japanese Army tank with an impressive paint job done in an incredibly easy manner. Ready for clear coats and weathering. I hope this has been fun and informative for everyone and you can employ this on your next IJA tank, or use subtractive masking on another project. My references for correct colors and schemes were: Japanese Tanks 1939 - 45 by Steven J. Zaloga, Japanese Armor Colors: A Primer by Nick Millman, and Japanese Armor Camouflage & Markings 1931 - 45 by Wawrzyniec Markowski and Andrzej Tomczyk.
Thanks for reading!