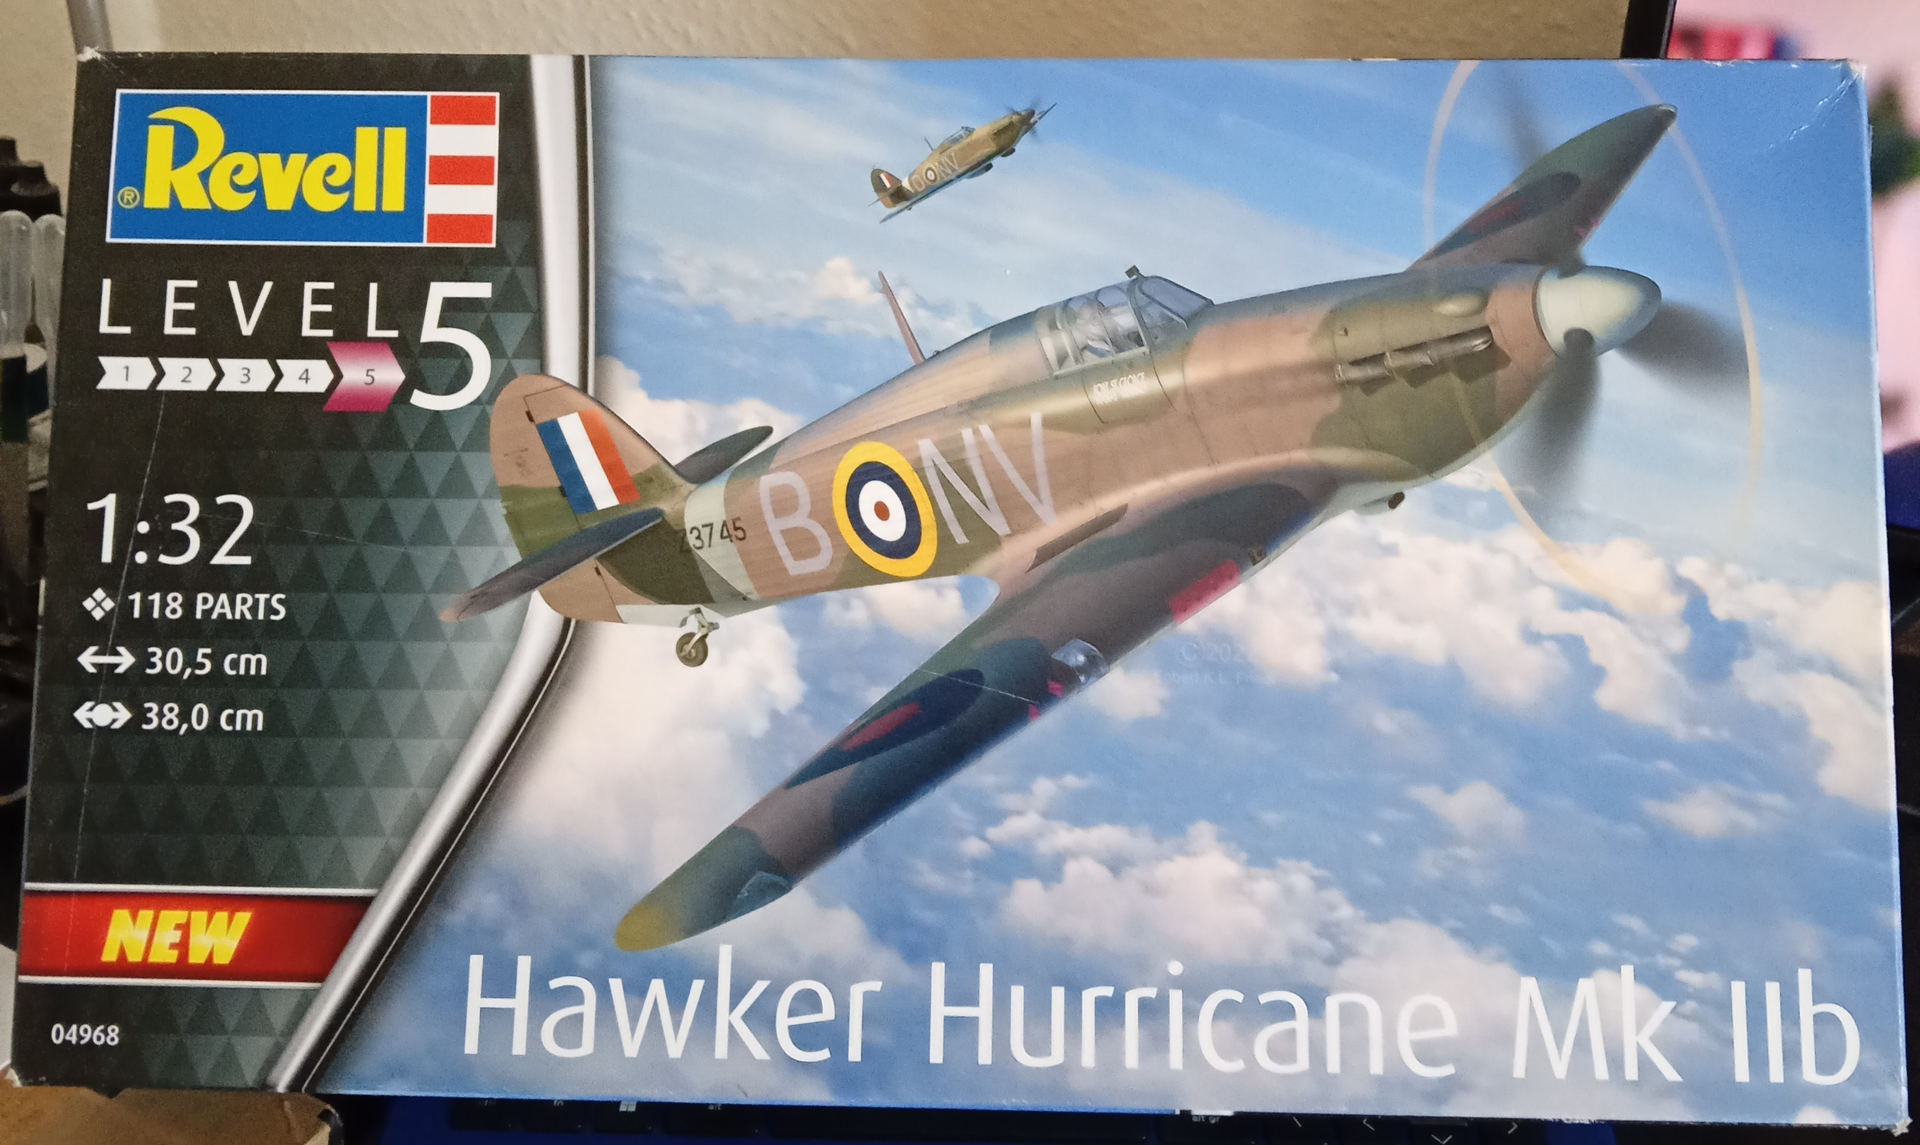
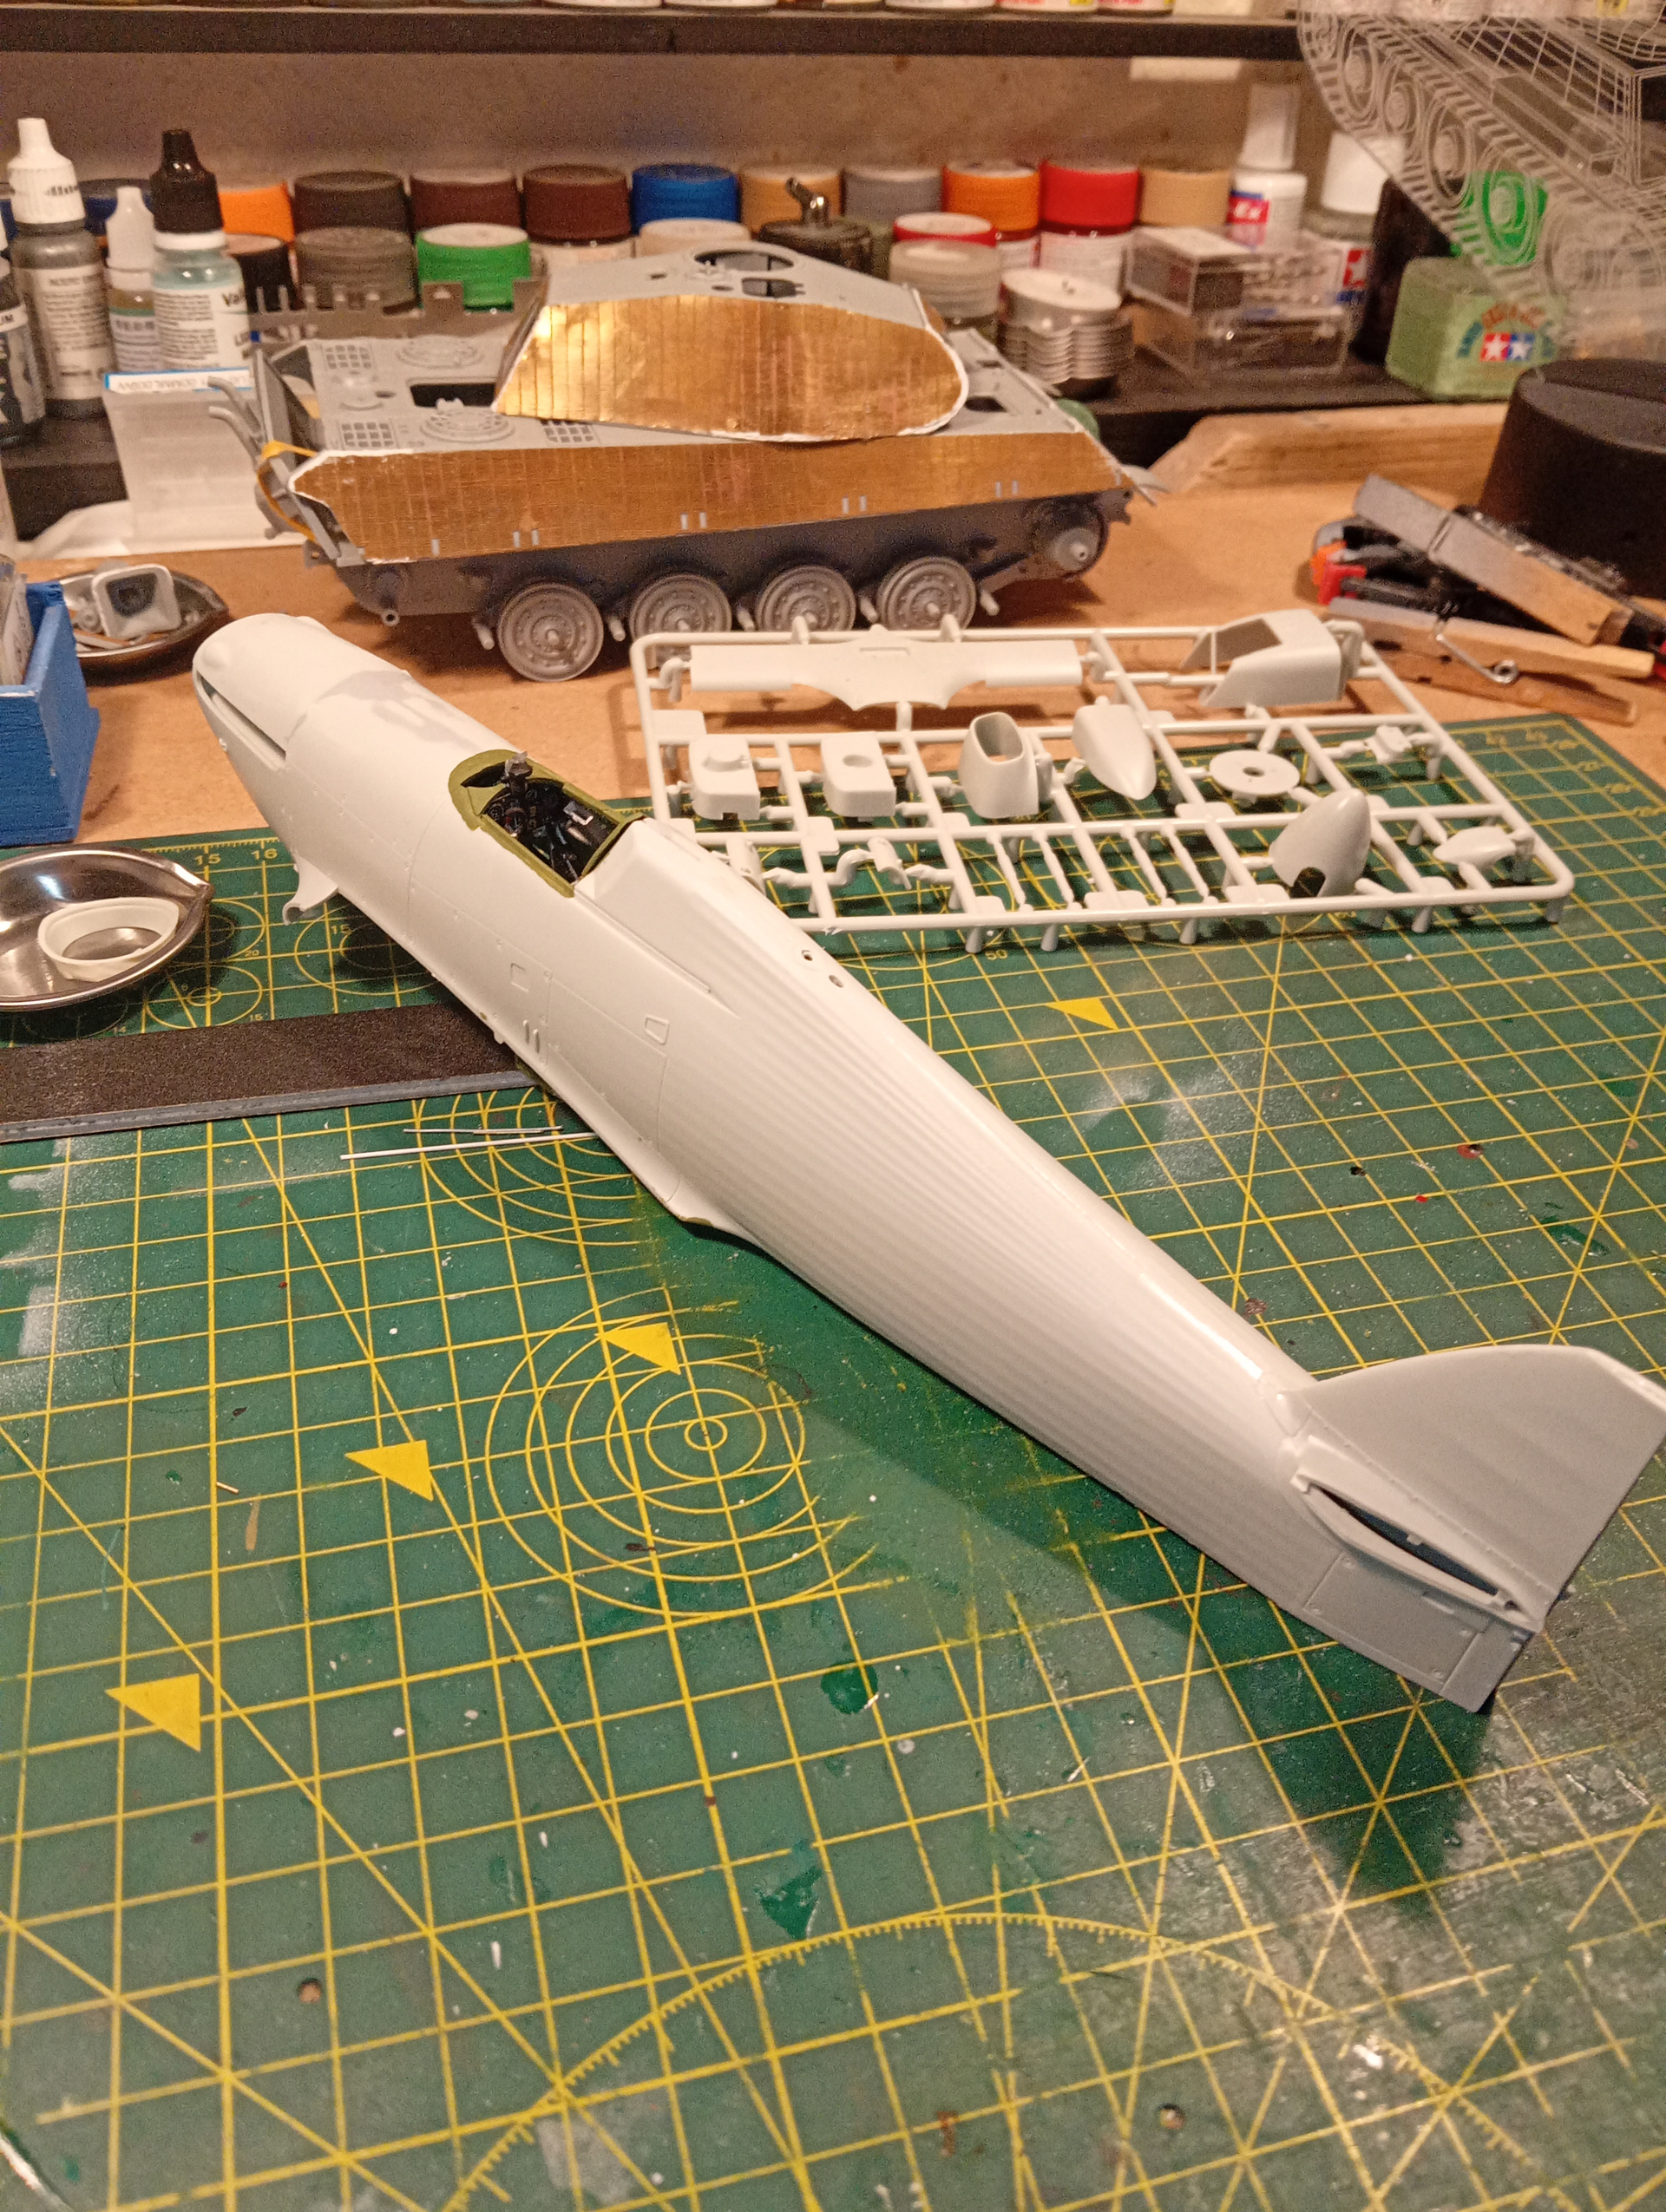
So, this is the next topic… Part of a double bench build …the Revell 1/32 Hurricane IIb.
It will be pretty much out the box, apart from seat harness and mask set which I’ve ordered.
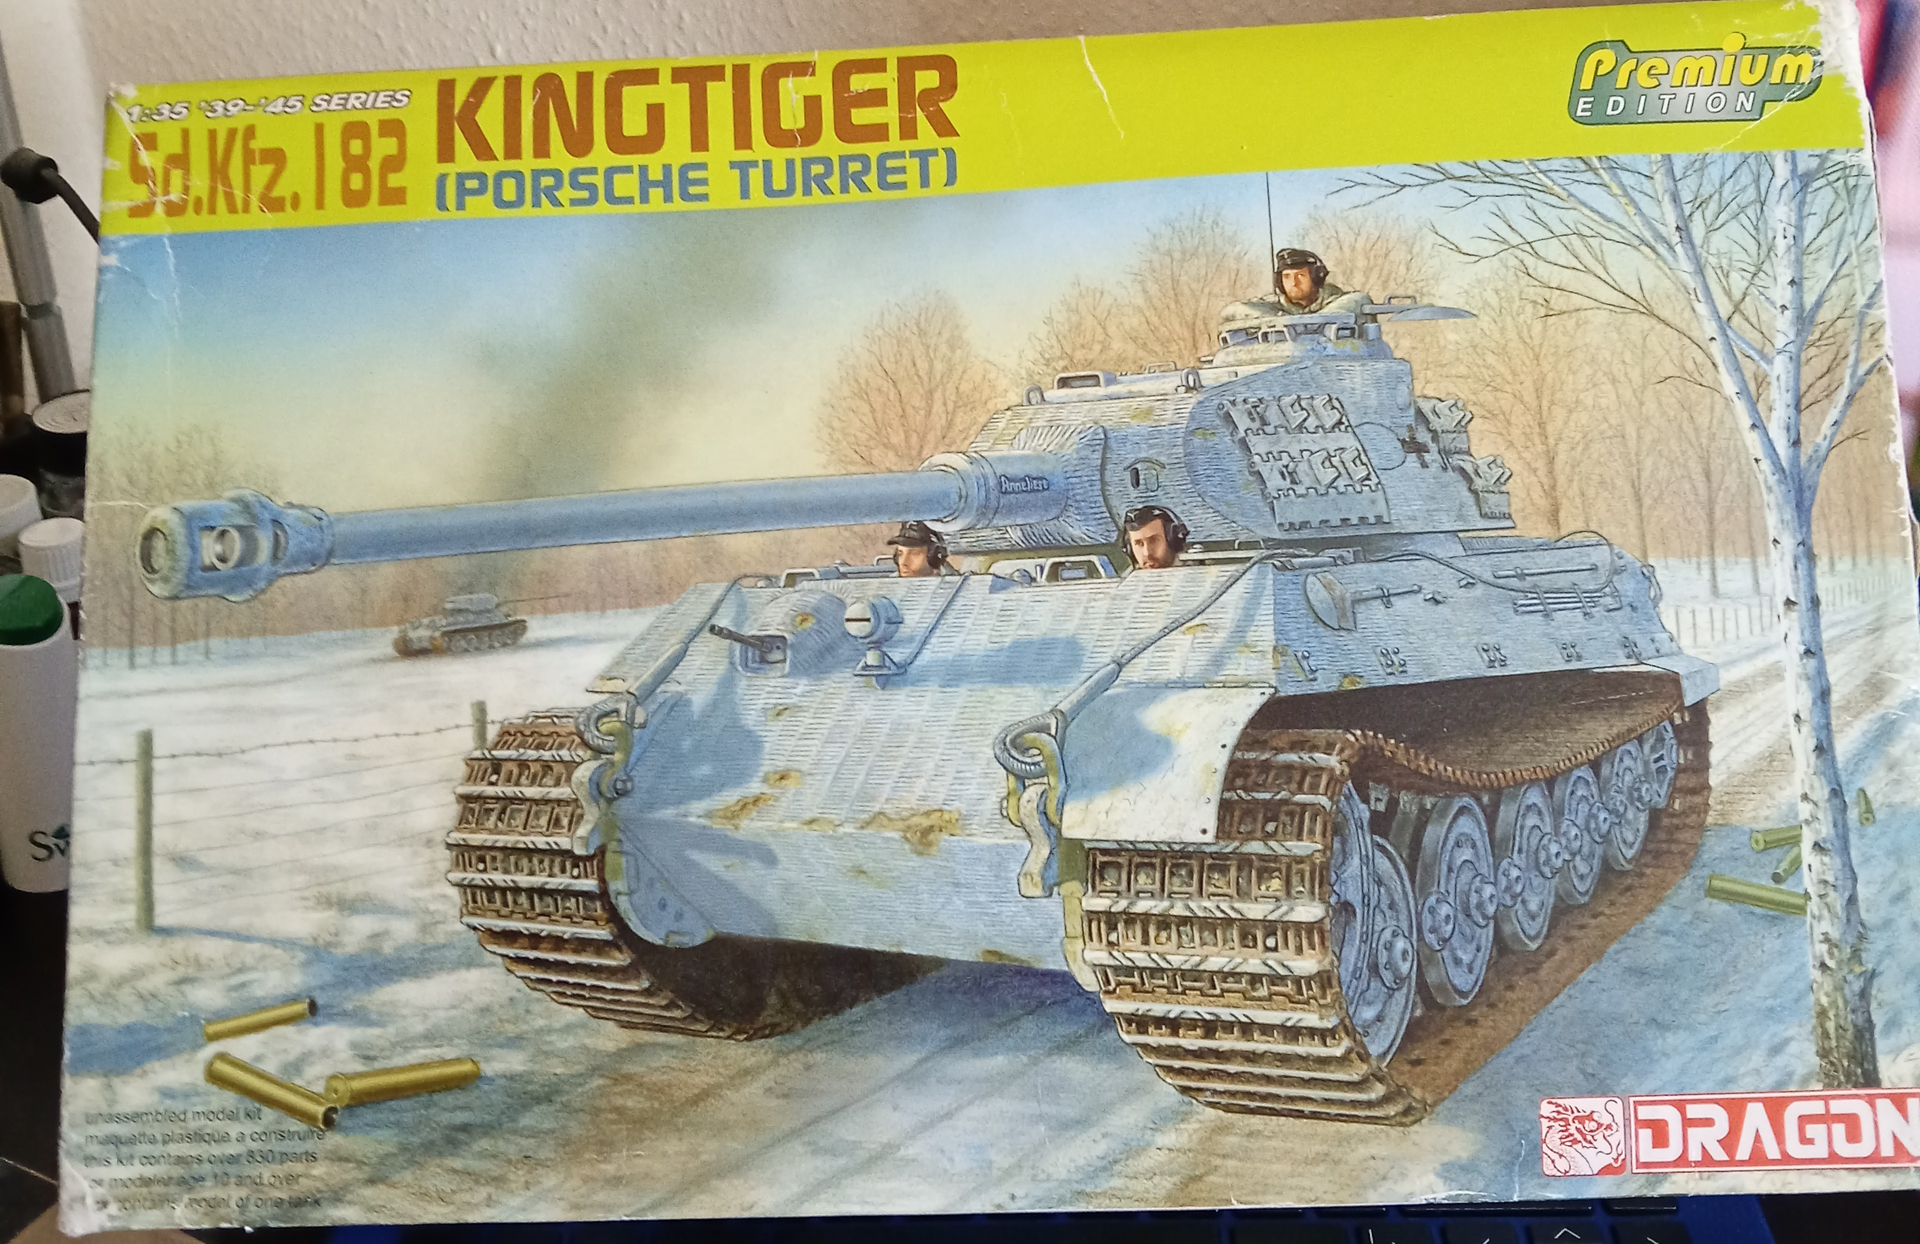
Along side this, I will also be building this
Just add to the chaos on the bench lol…
9 Likes
I have 3 builds on my bench right now, John. Good luck with your Hurri! Will follow. So far I’ve built 3 Hurricanes, all in different markings.
Happy modelling!
Torsten

2 Likes
I’m going to be doing the black night fighter finish 
1 Like
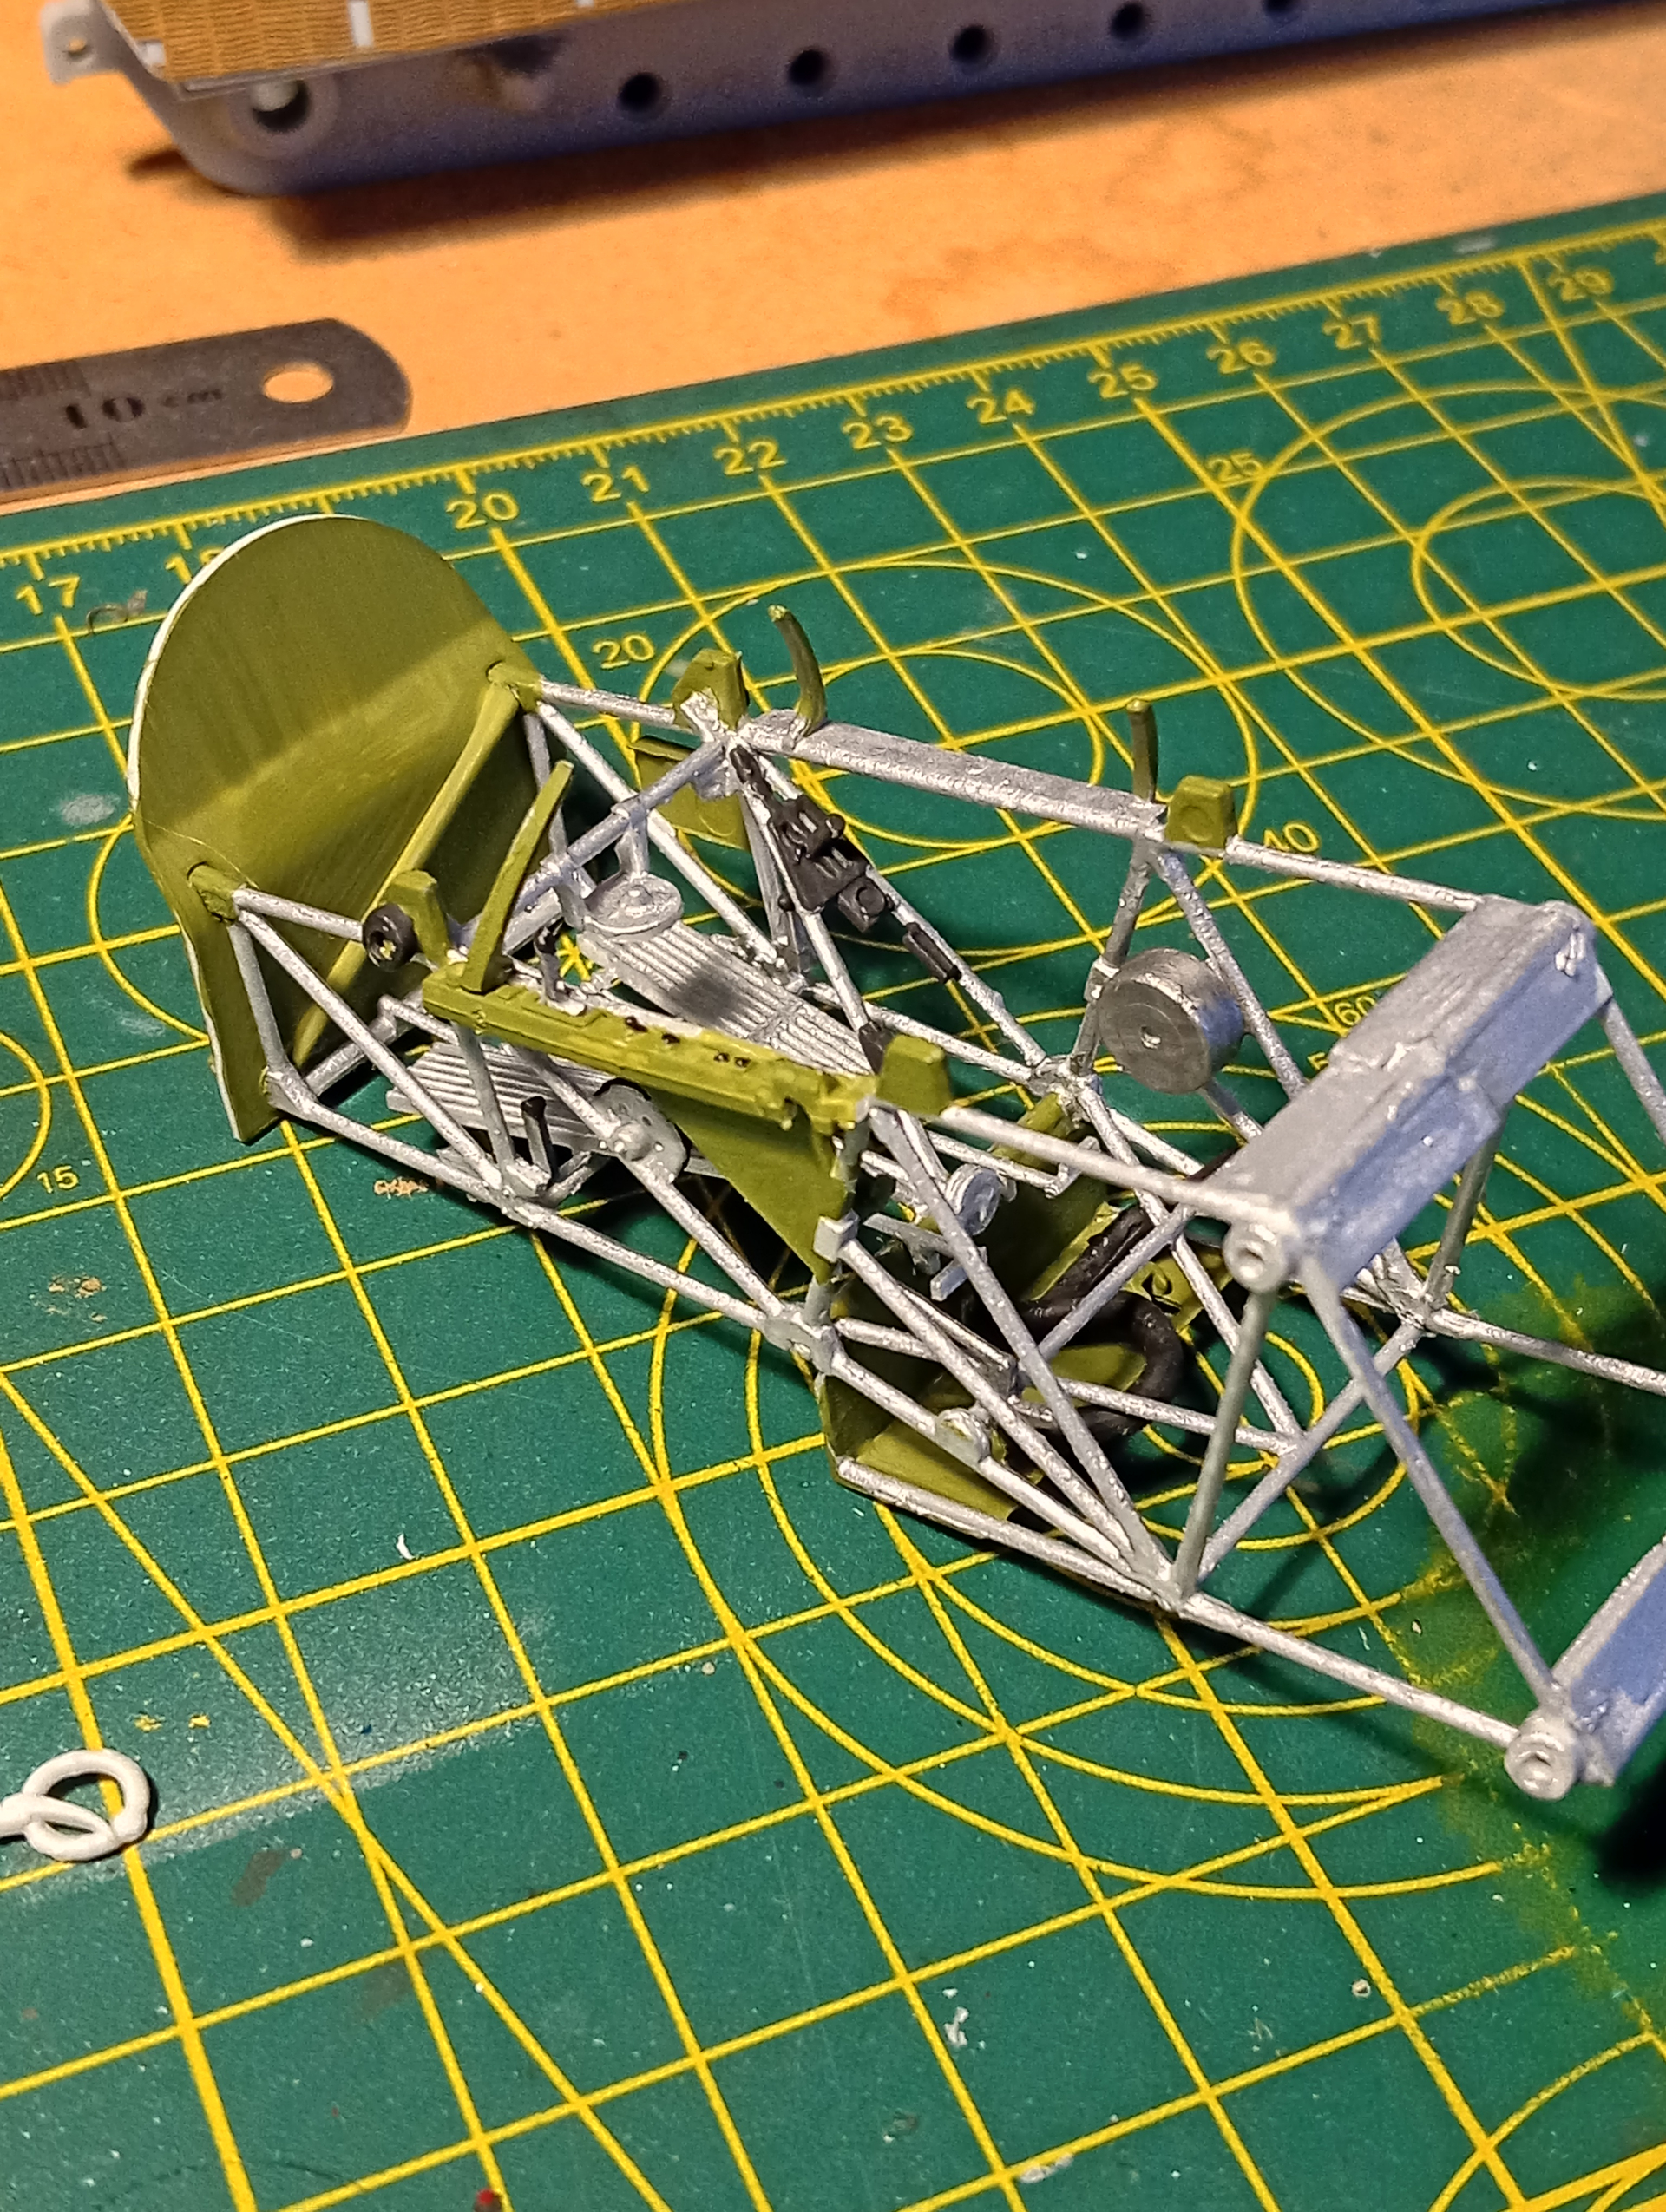
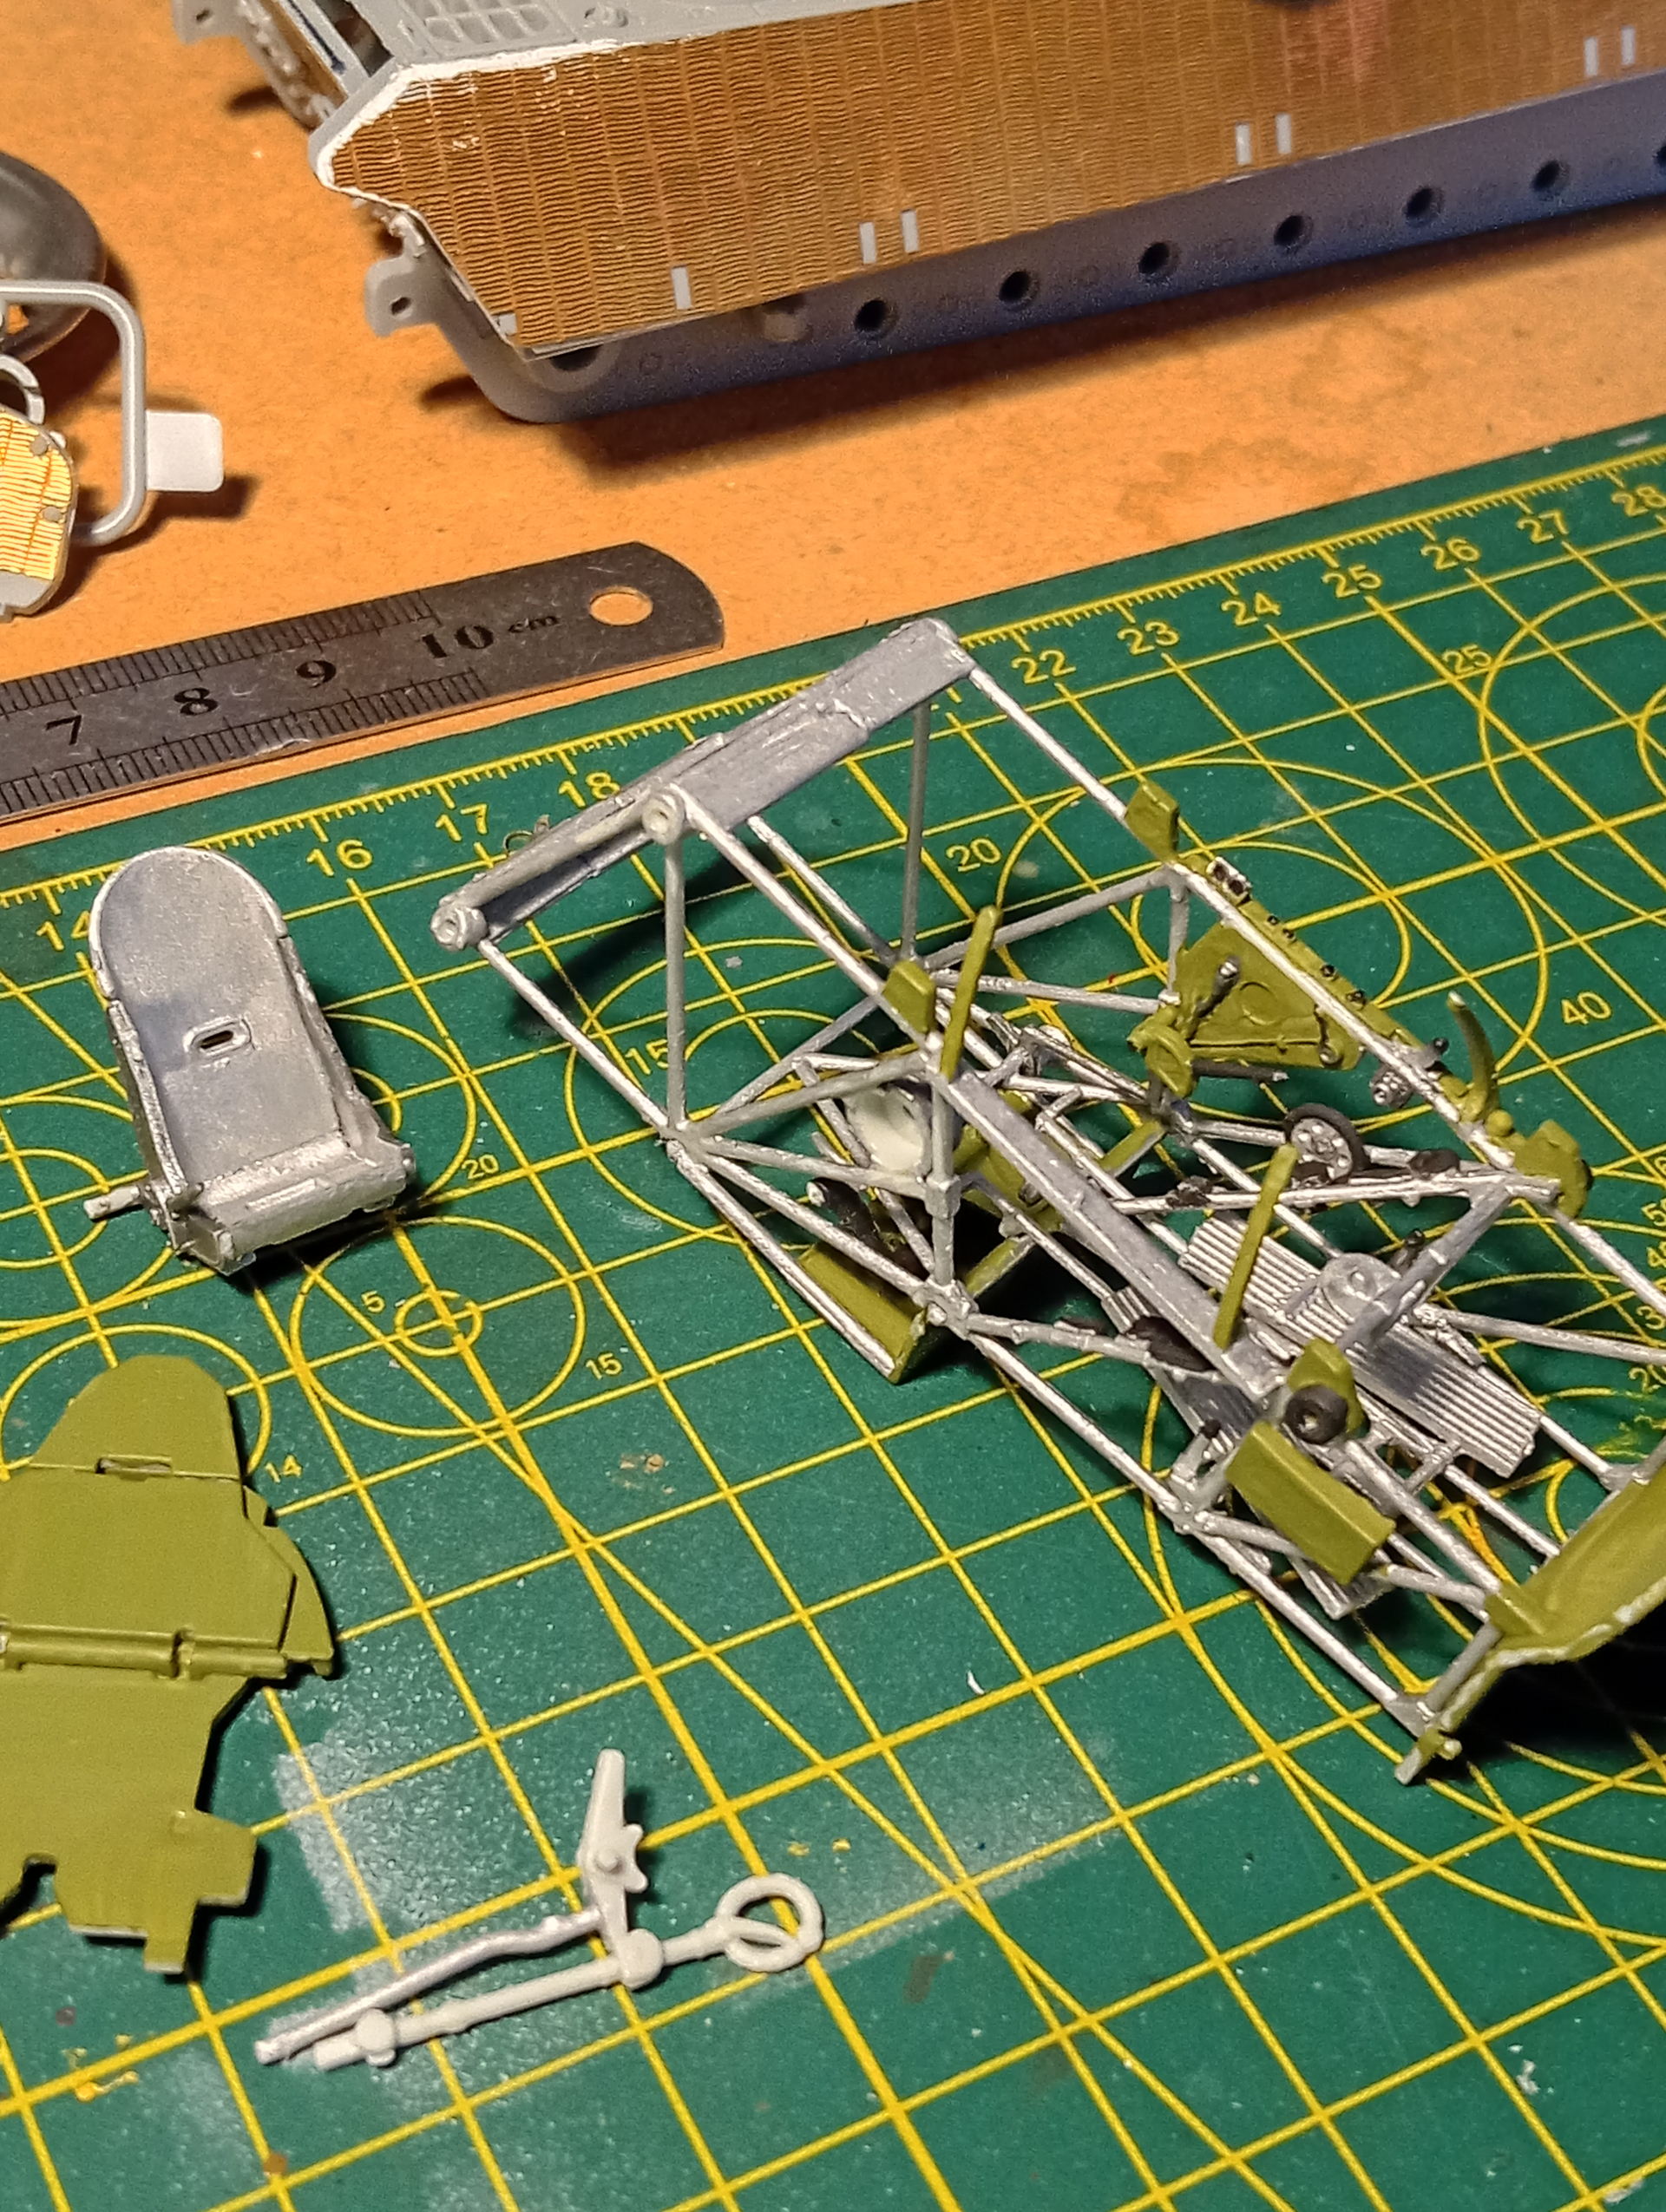
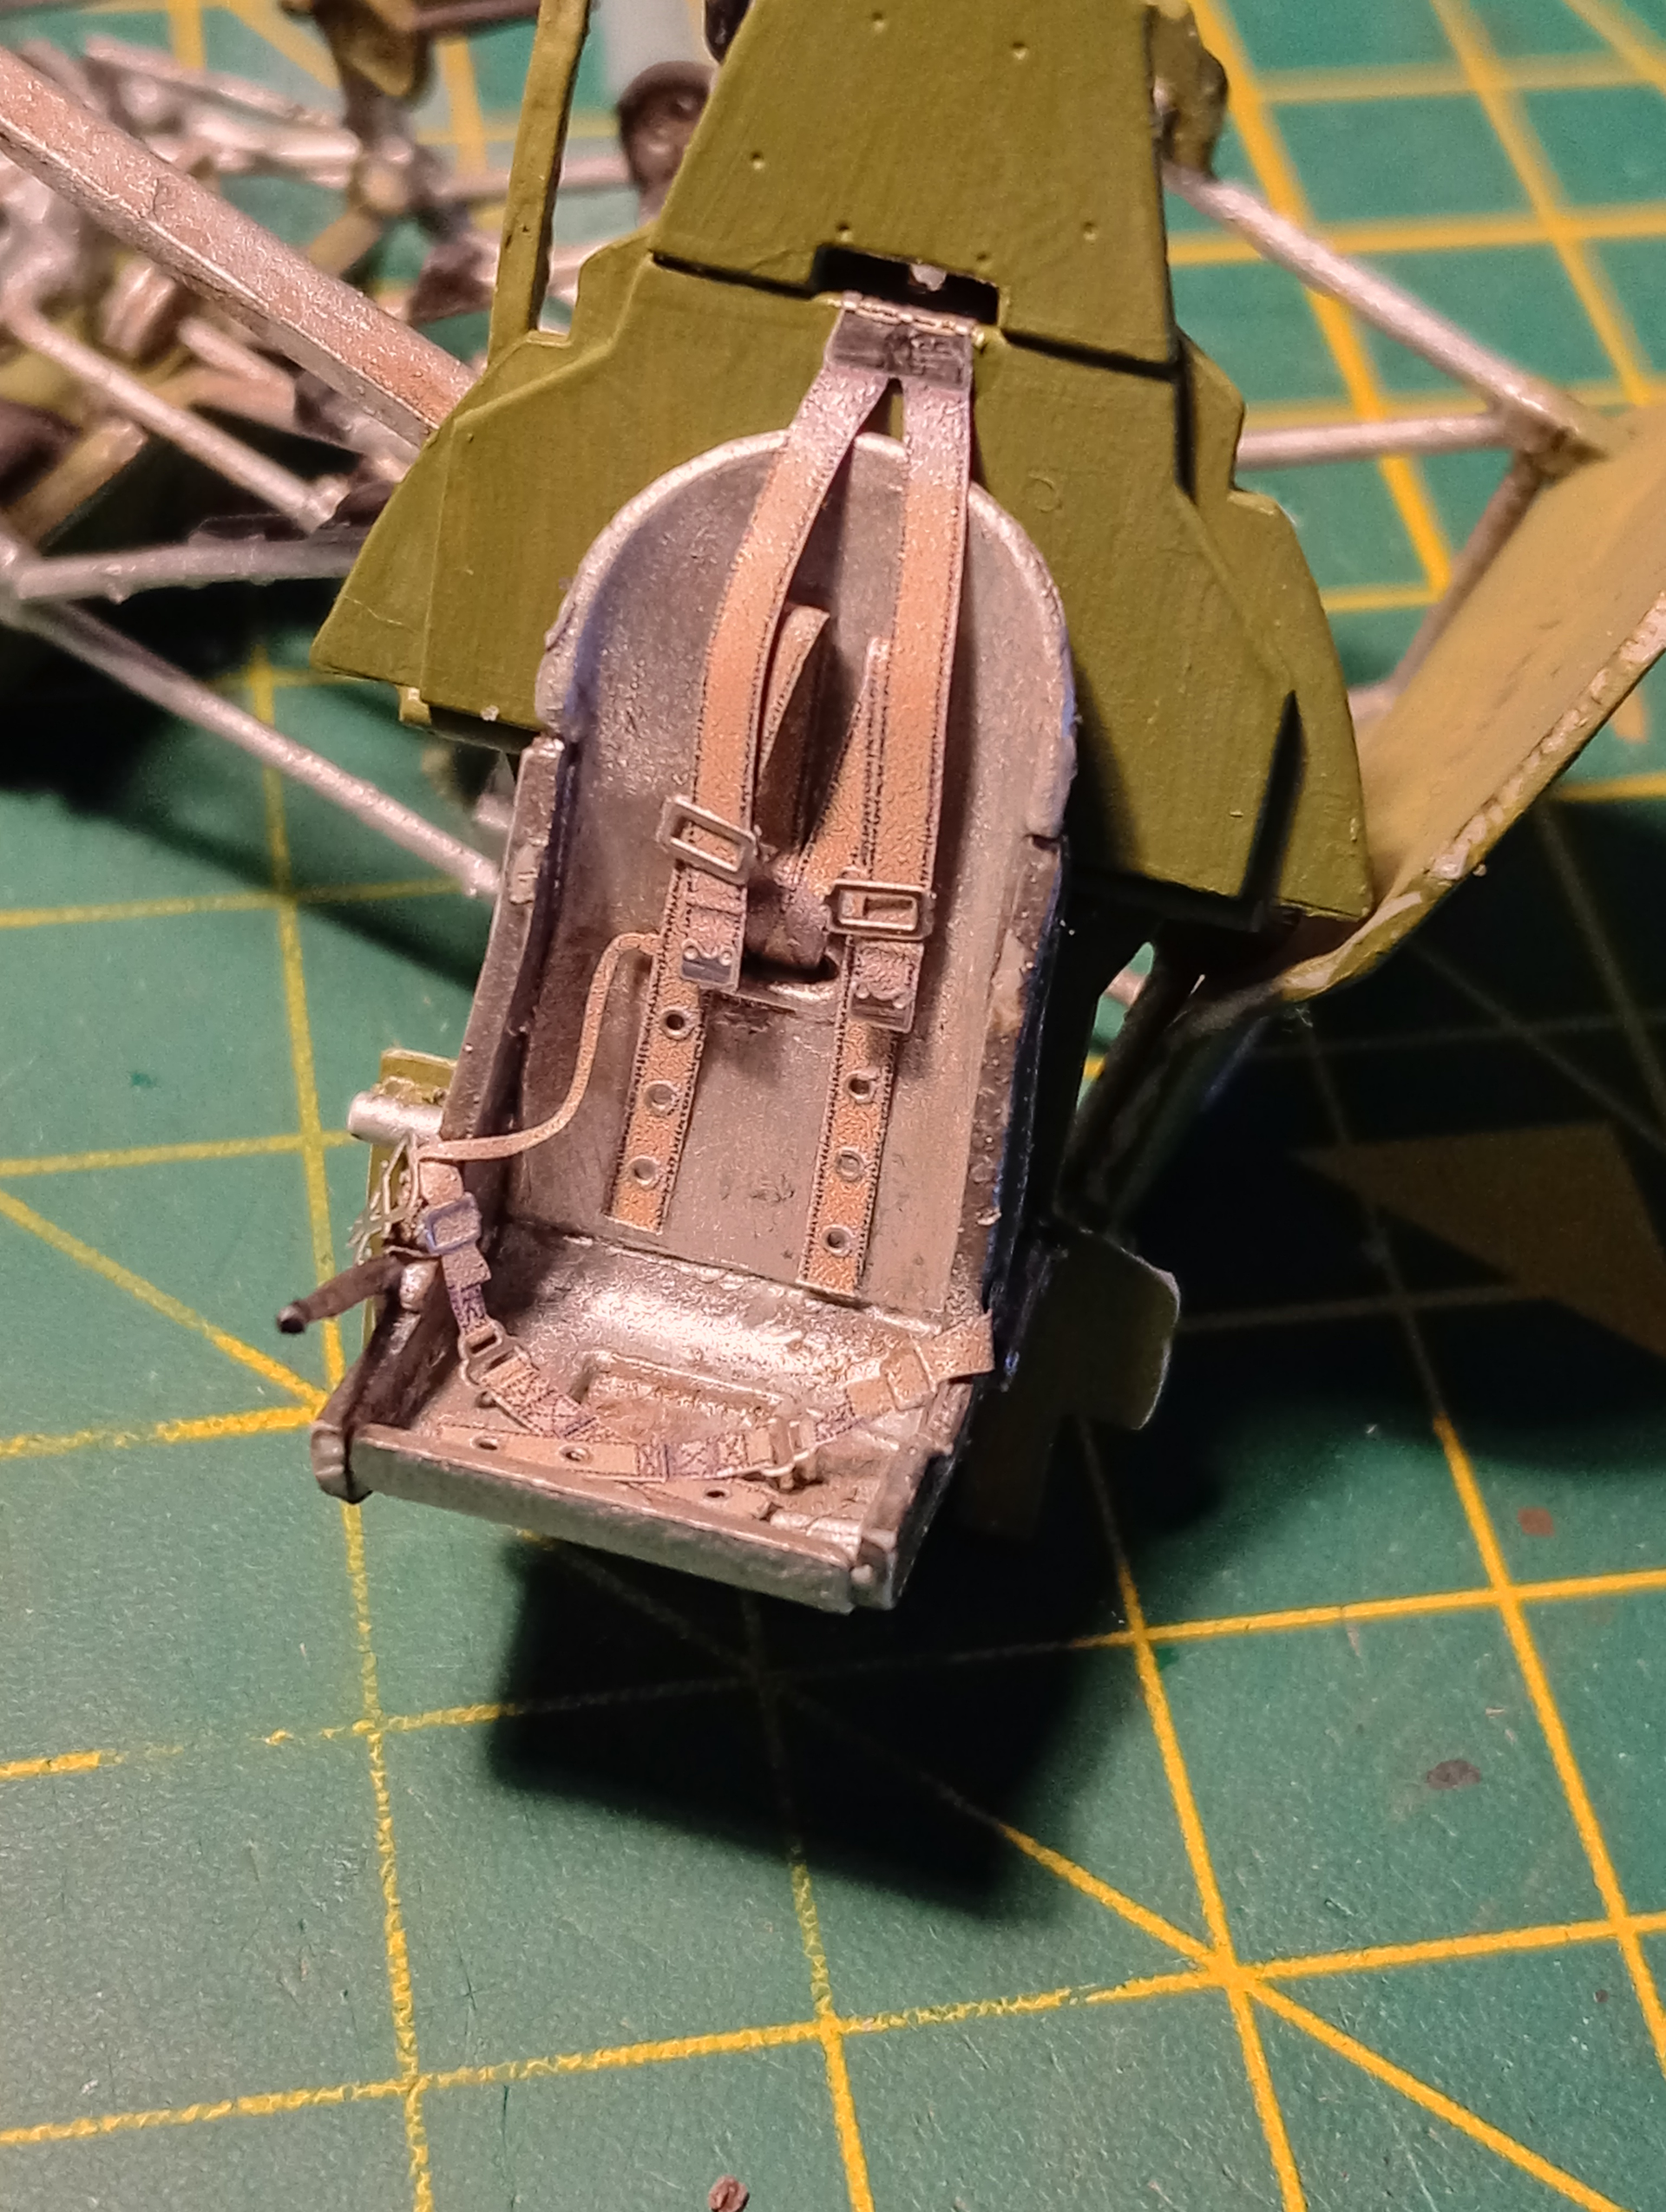
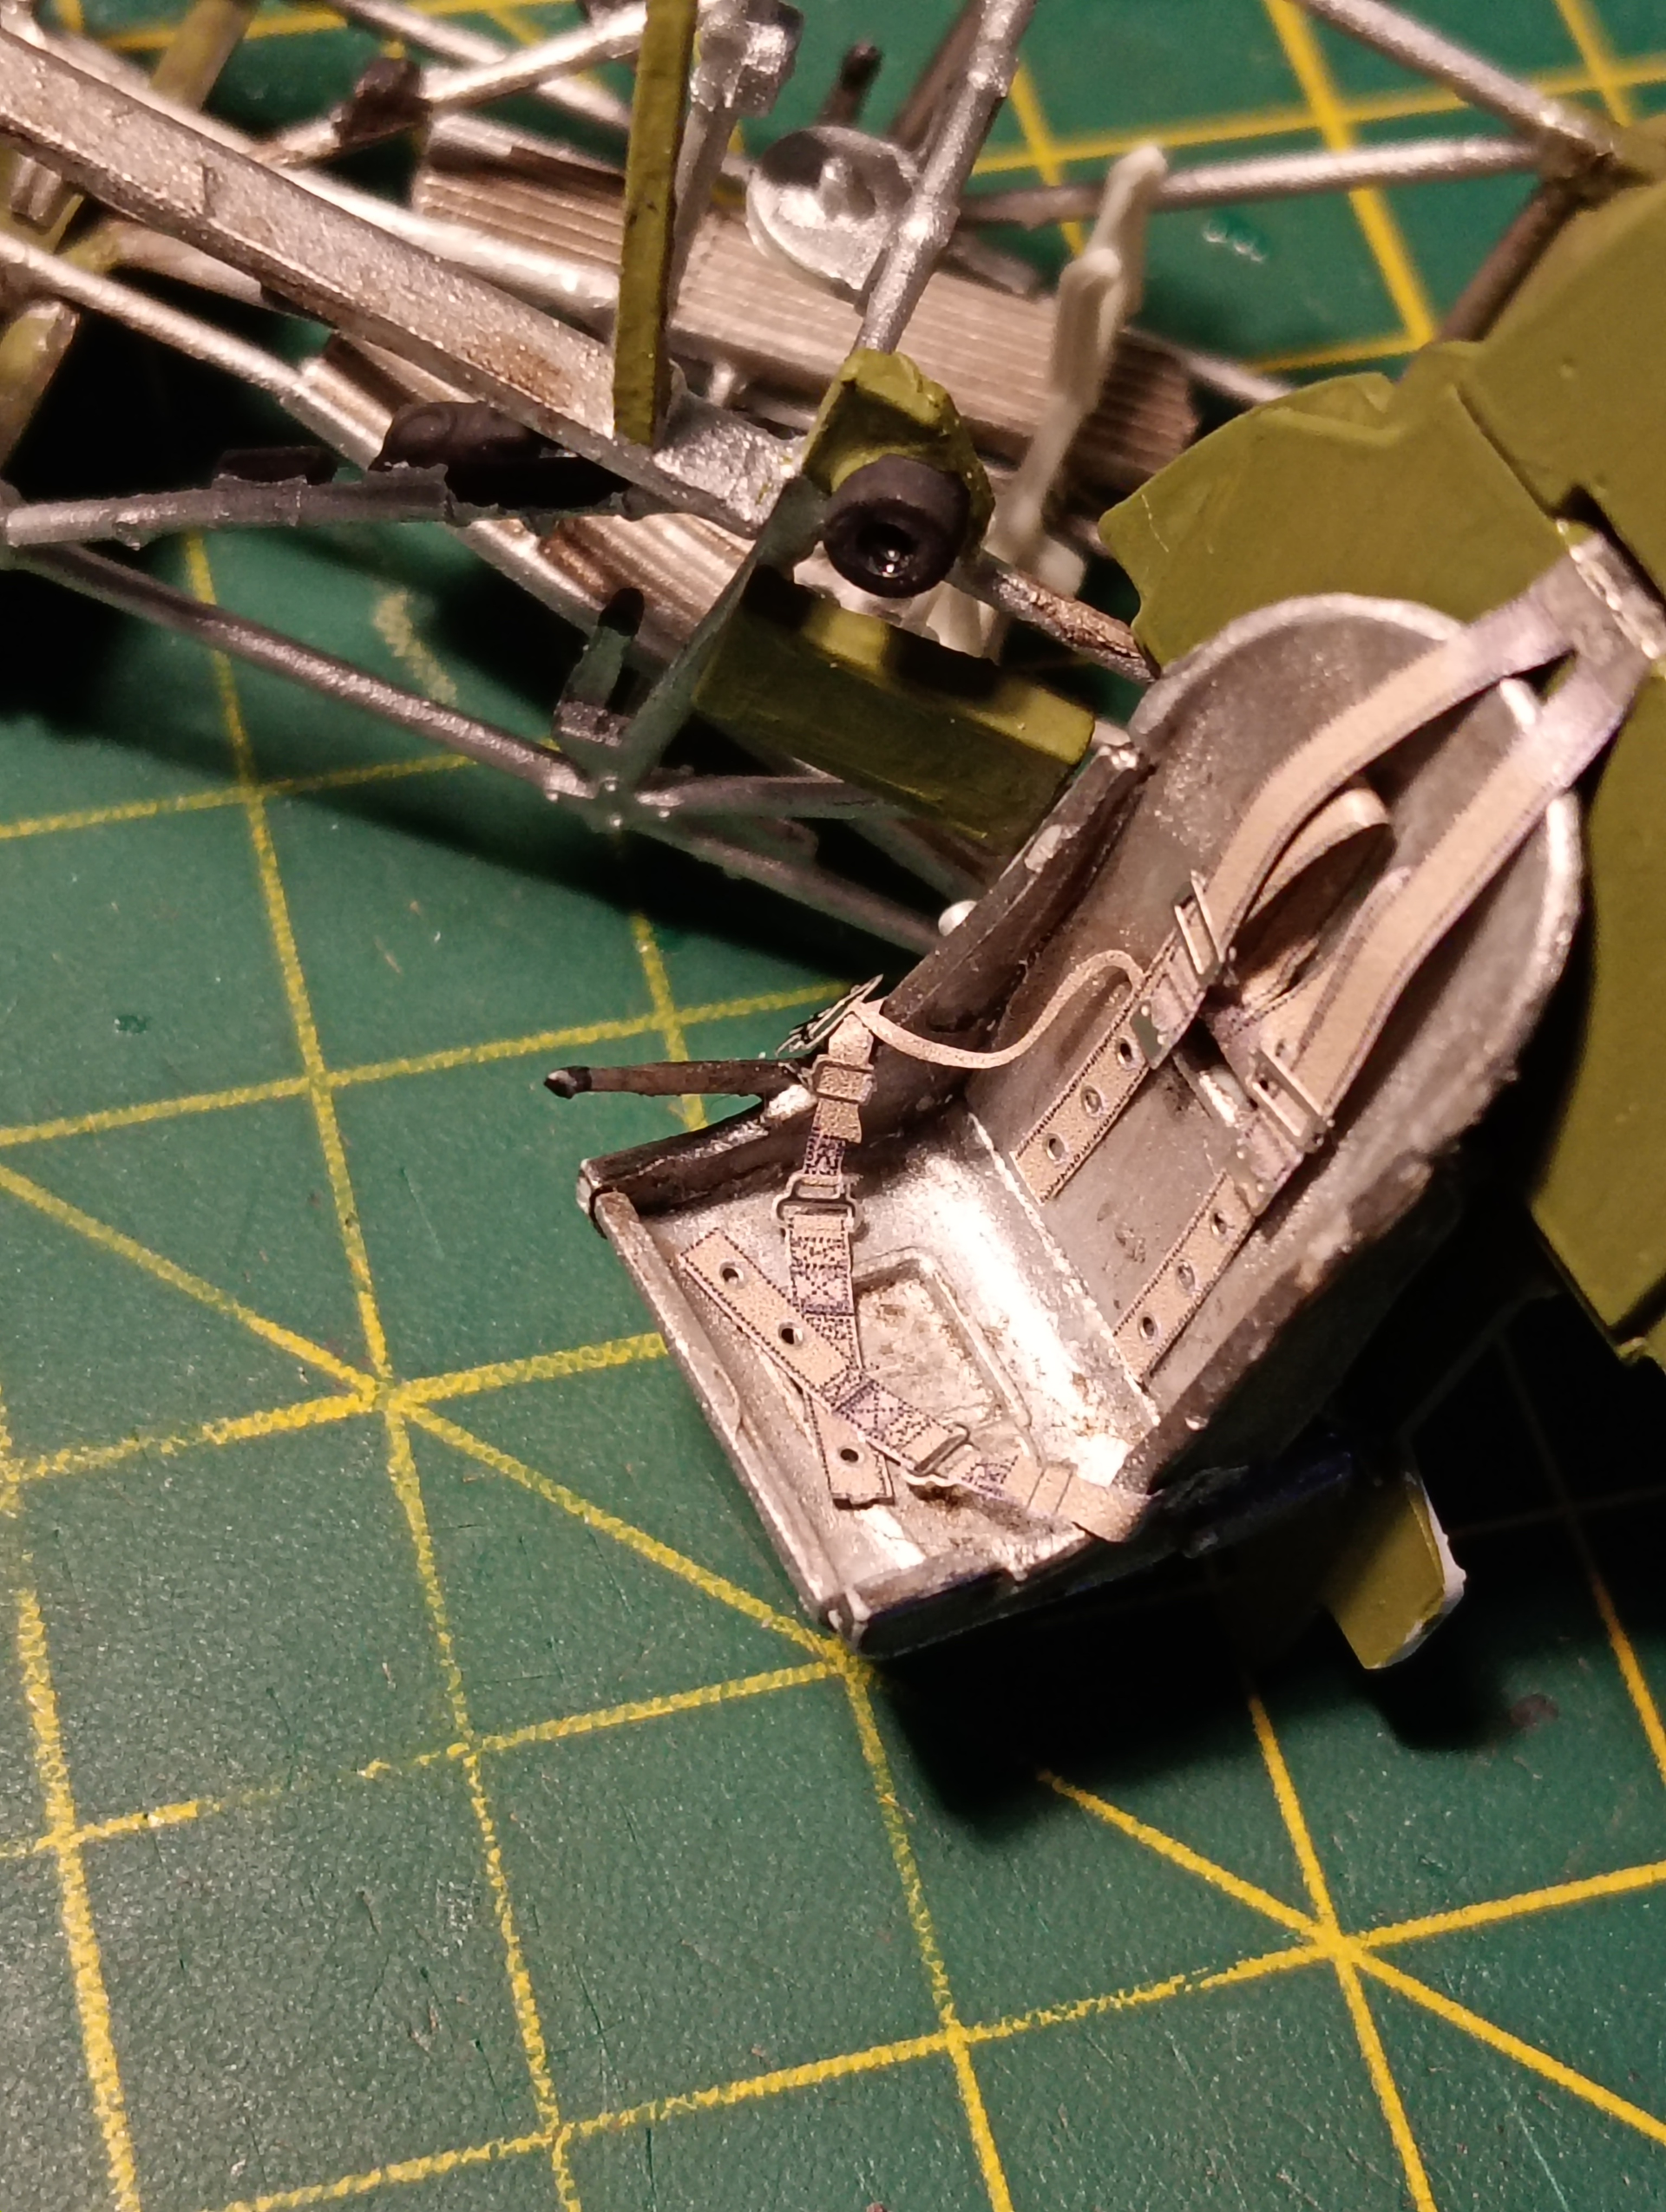
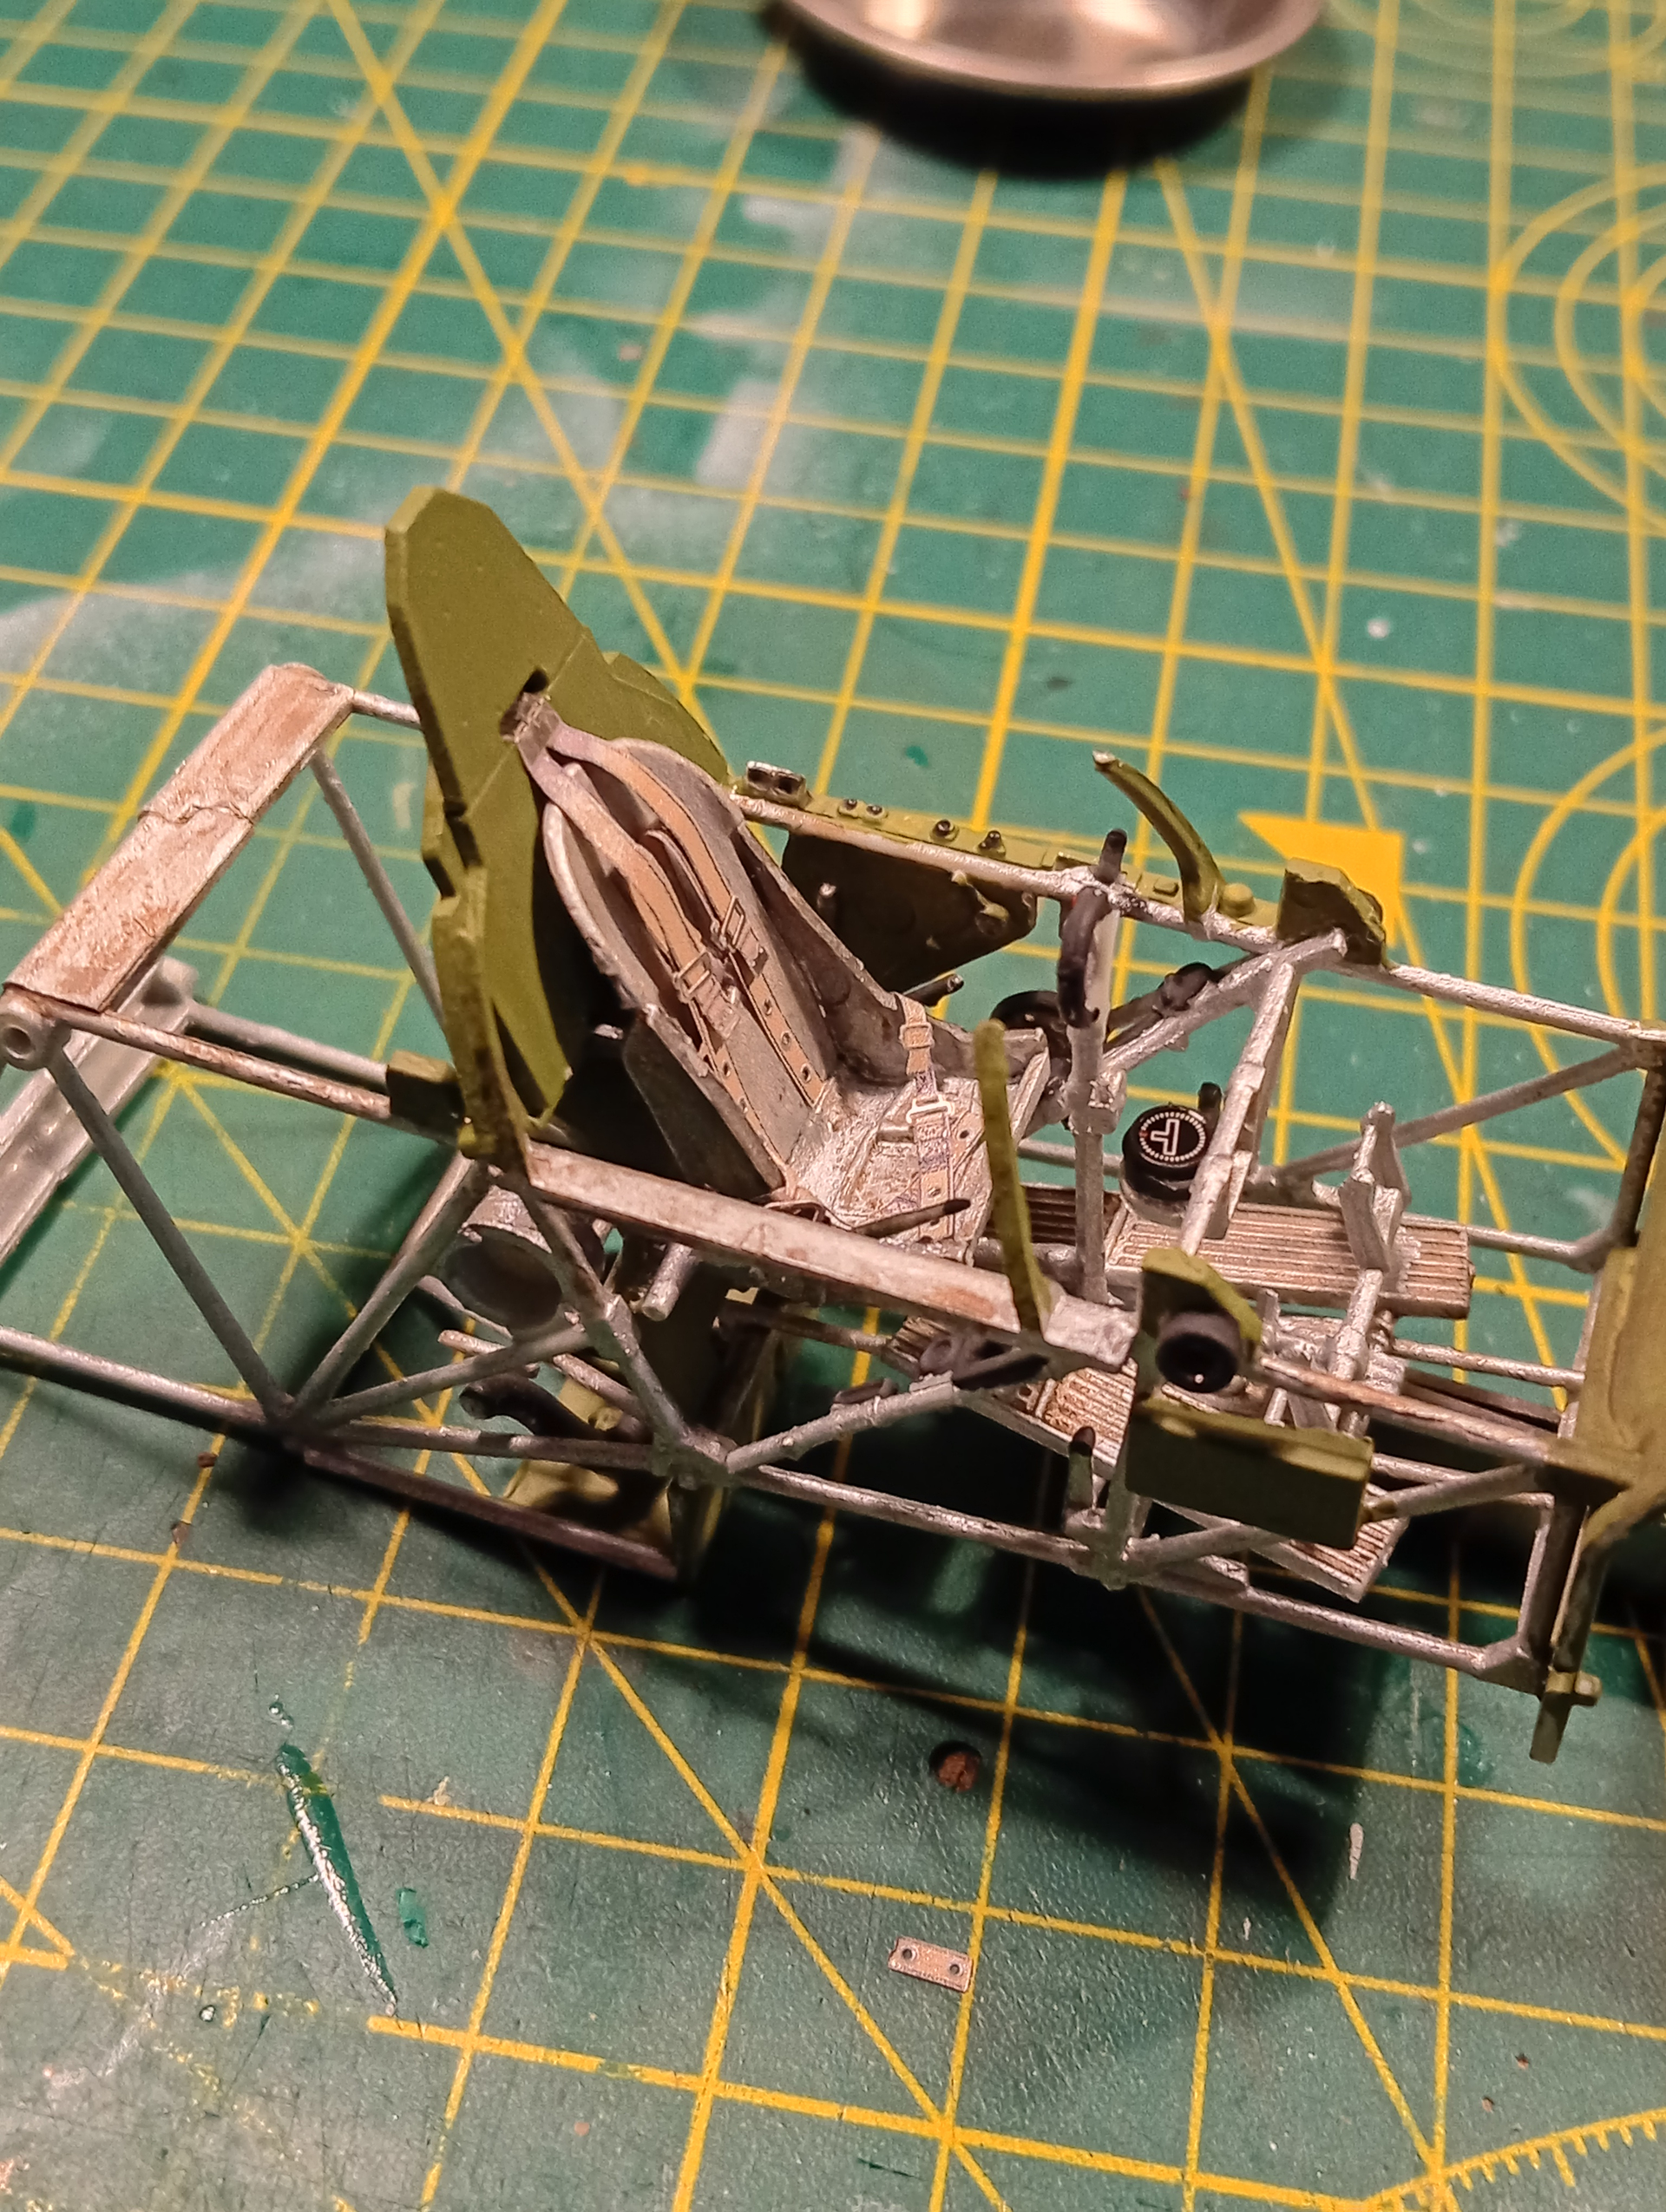
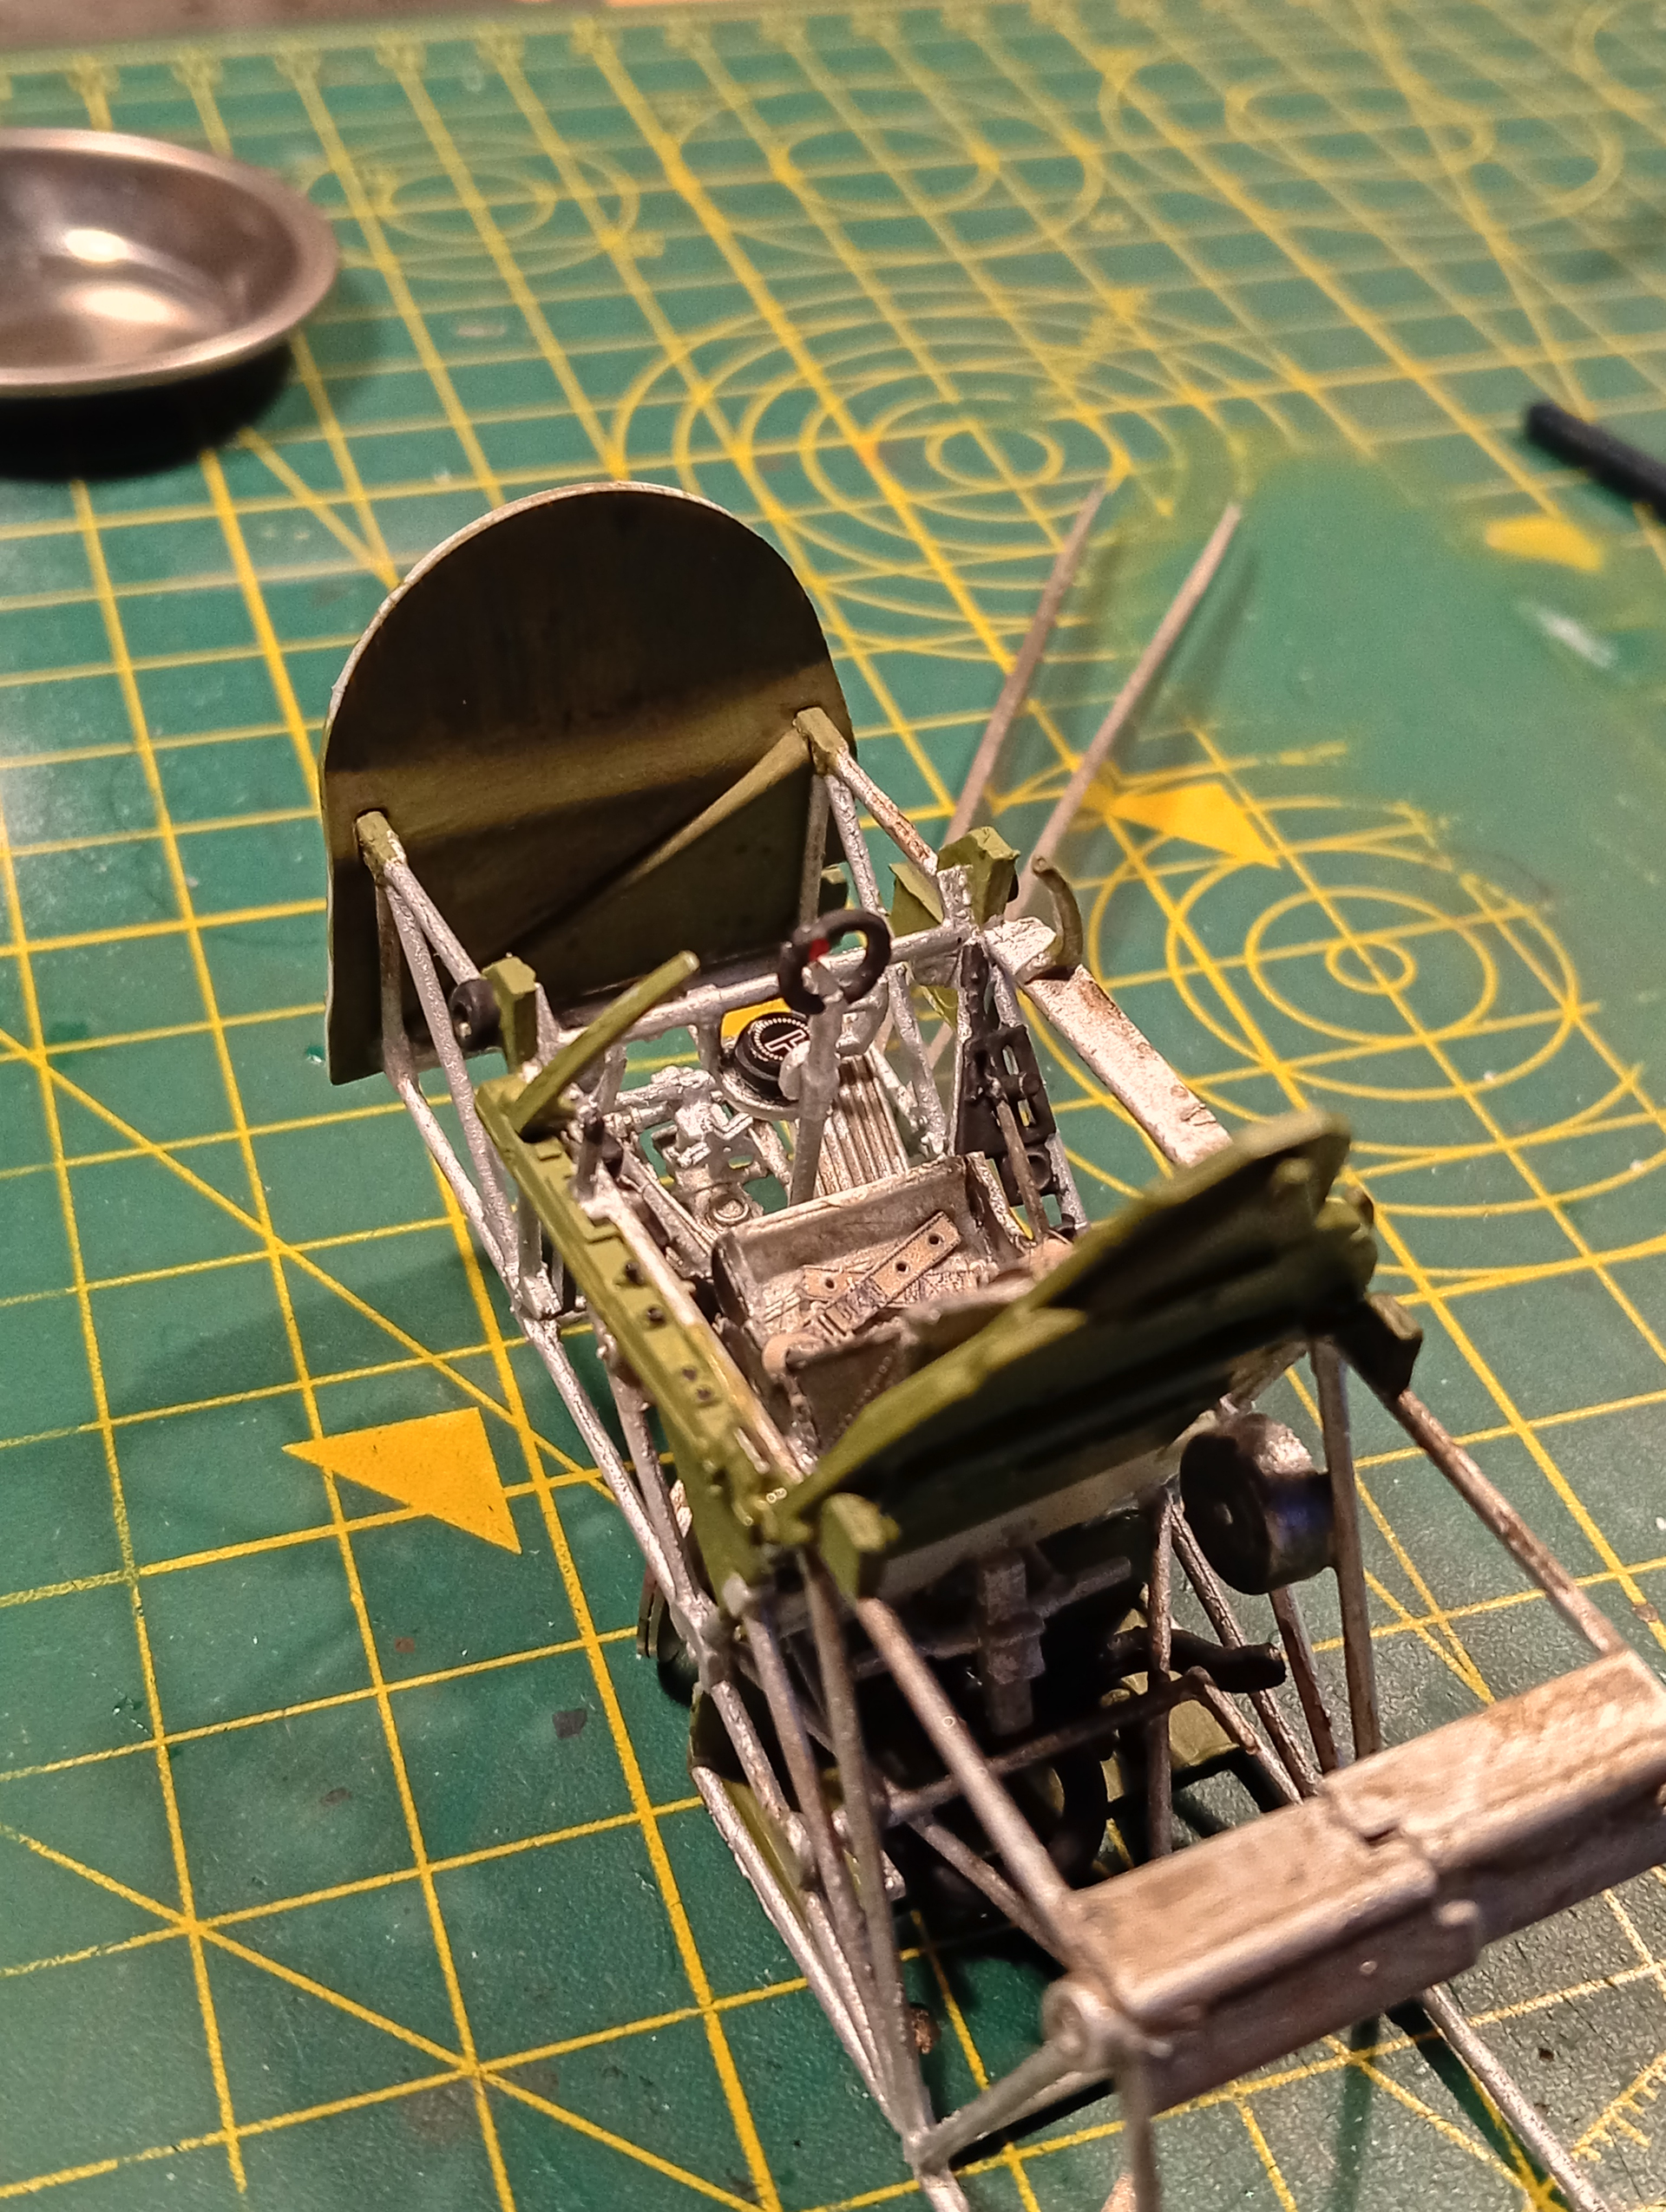
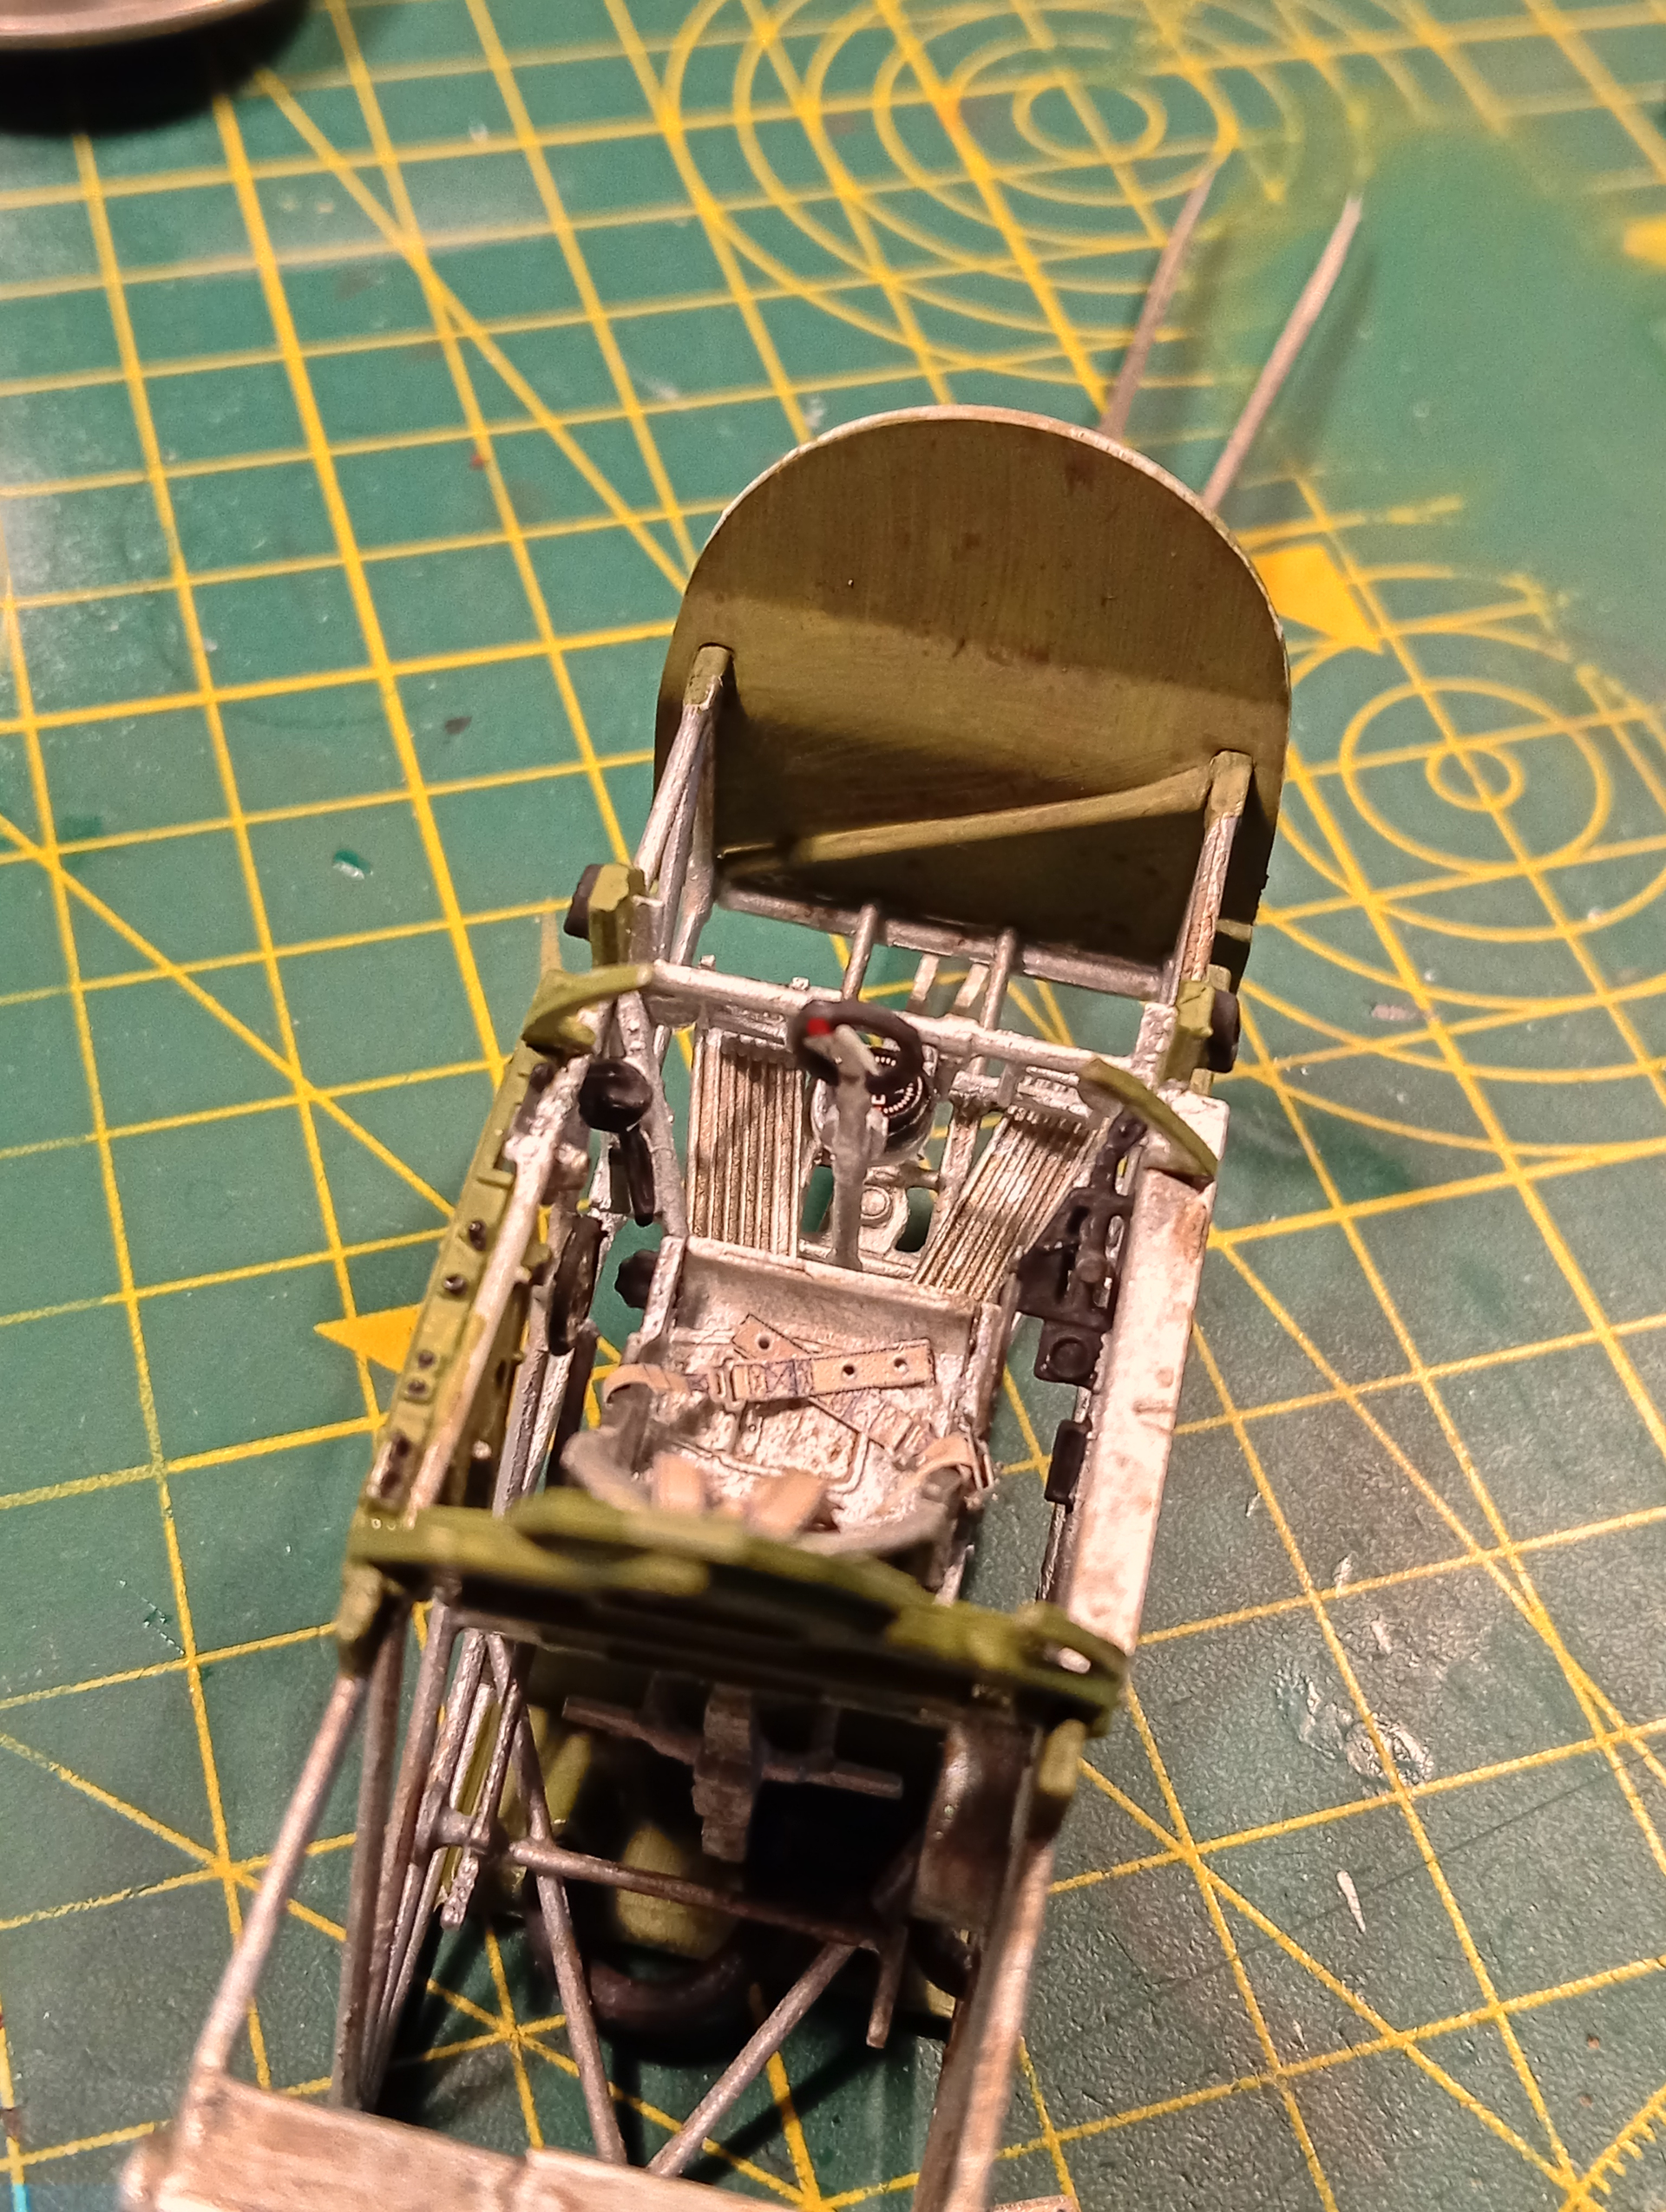
Started on a few parts as per instructions.. basically the cockpit seat frame work..
Although the frame looks quite fragile, the plastic is pretty robust and has a good amount of give in it.
Did the basic colours, and will add some detail painting and touchups where needed. Will add the seat belt harness and see if there’s any obvious cables that can be added to the frame area or parts on it.
7 Likes
Seat harness is fitted. In my opinion, details like this just complete the look and I don’t get why firms don’t add something, even if it’s basic.
Really like this harness. I think it was about 8 quid maybe 9 but worth it.
And seat fitted in the frame.
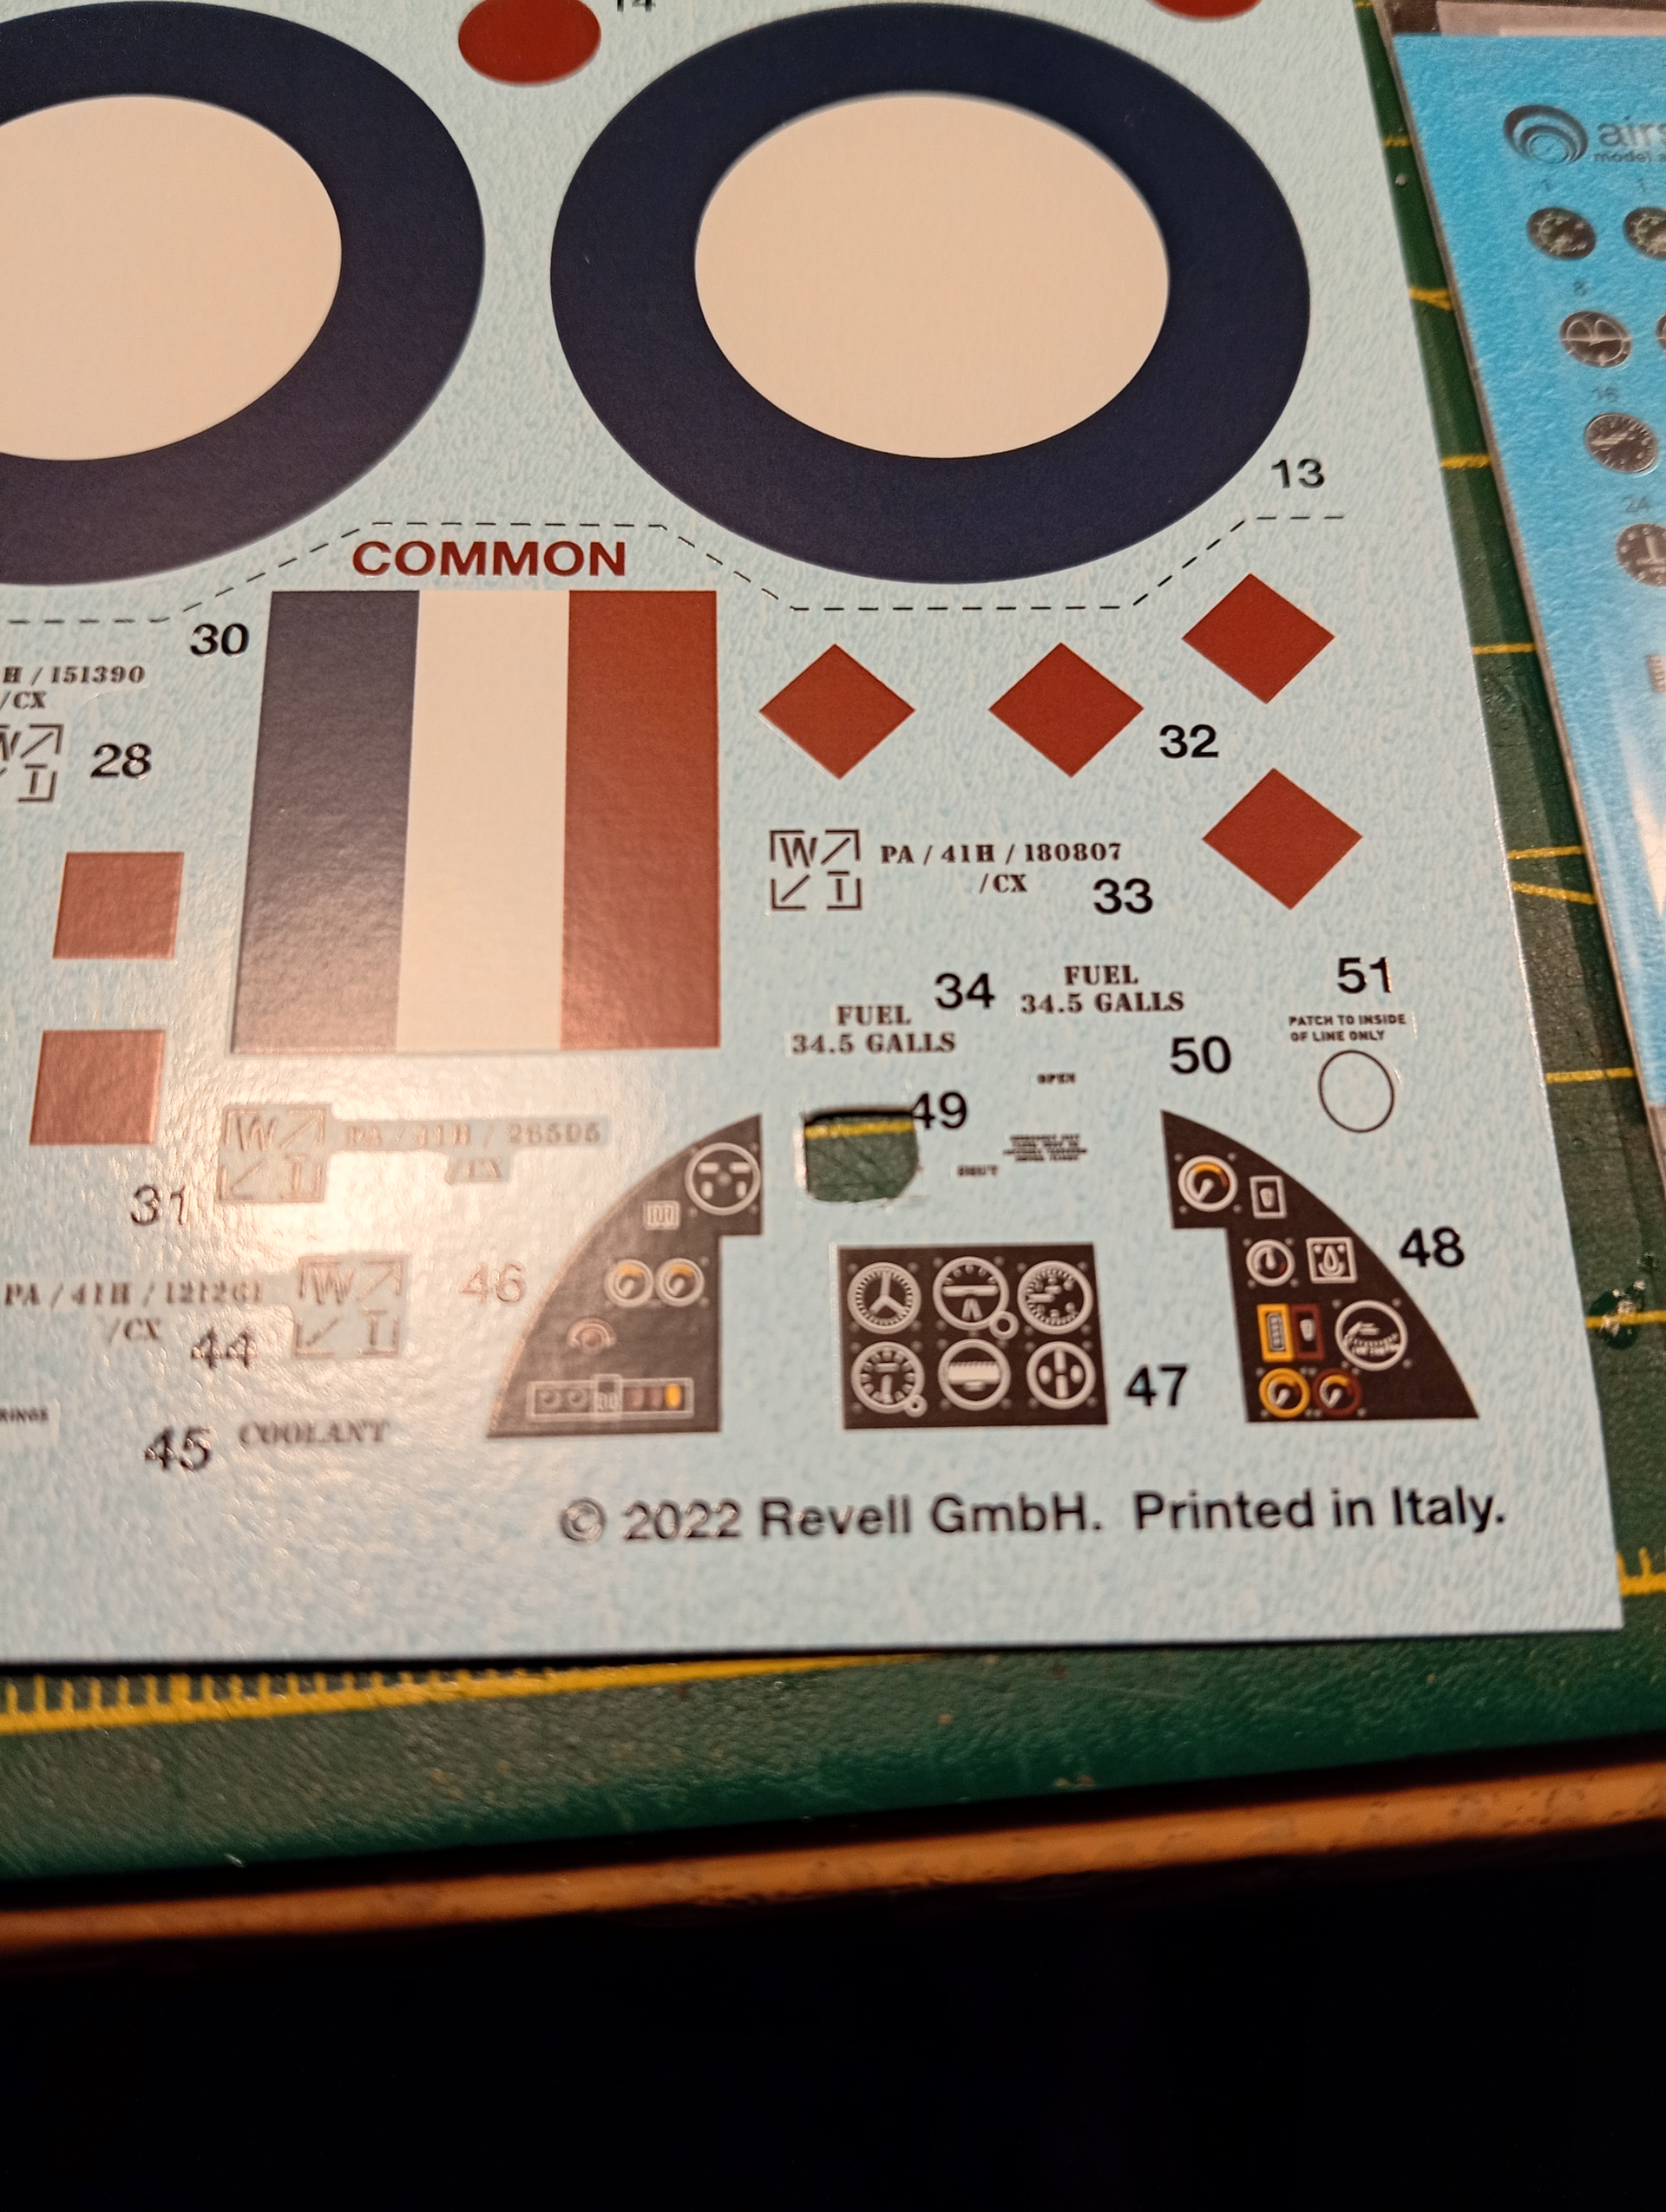
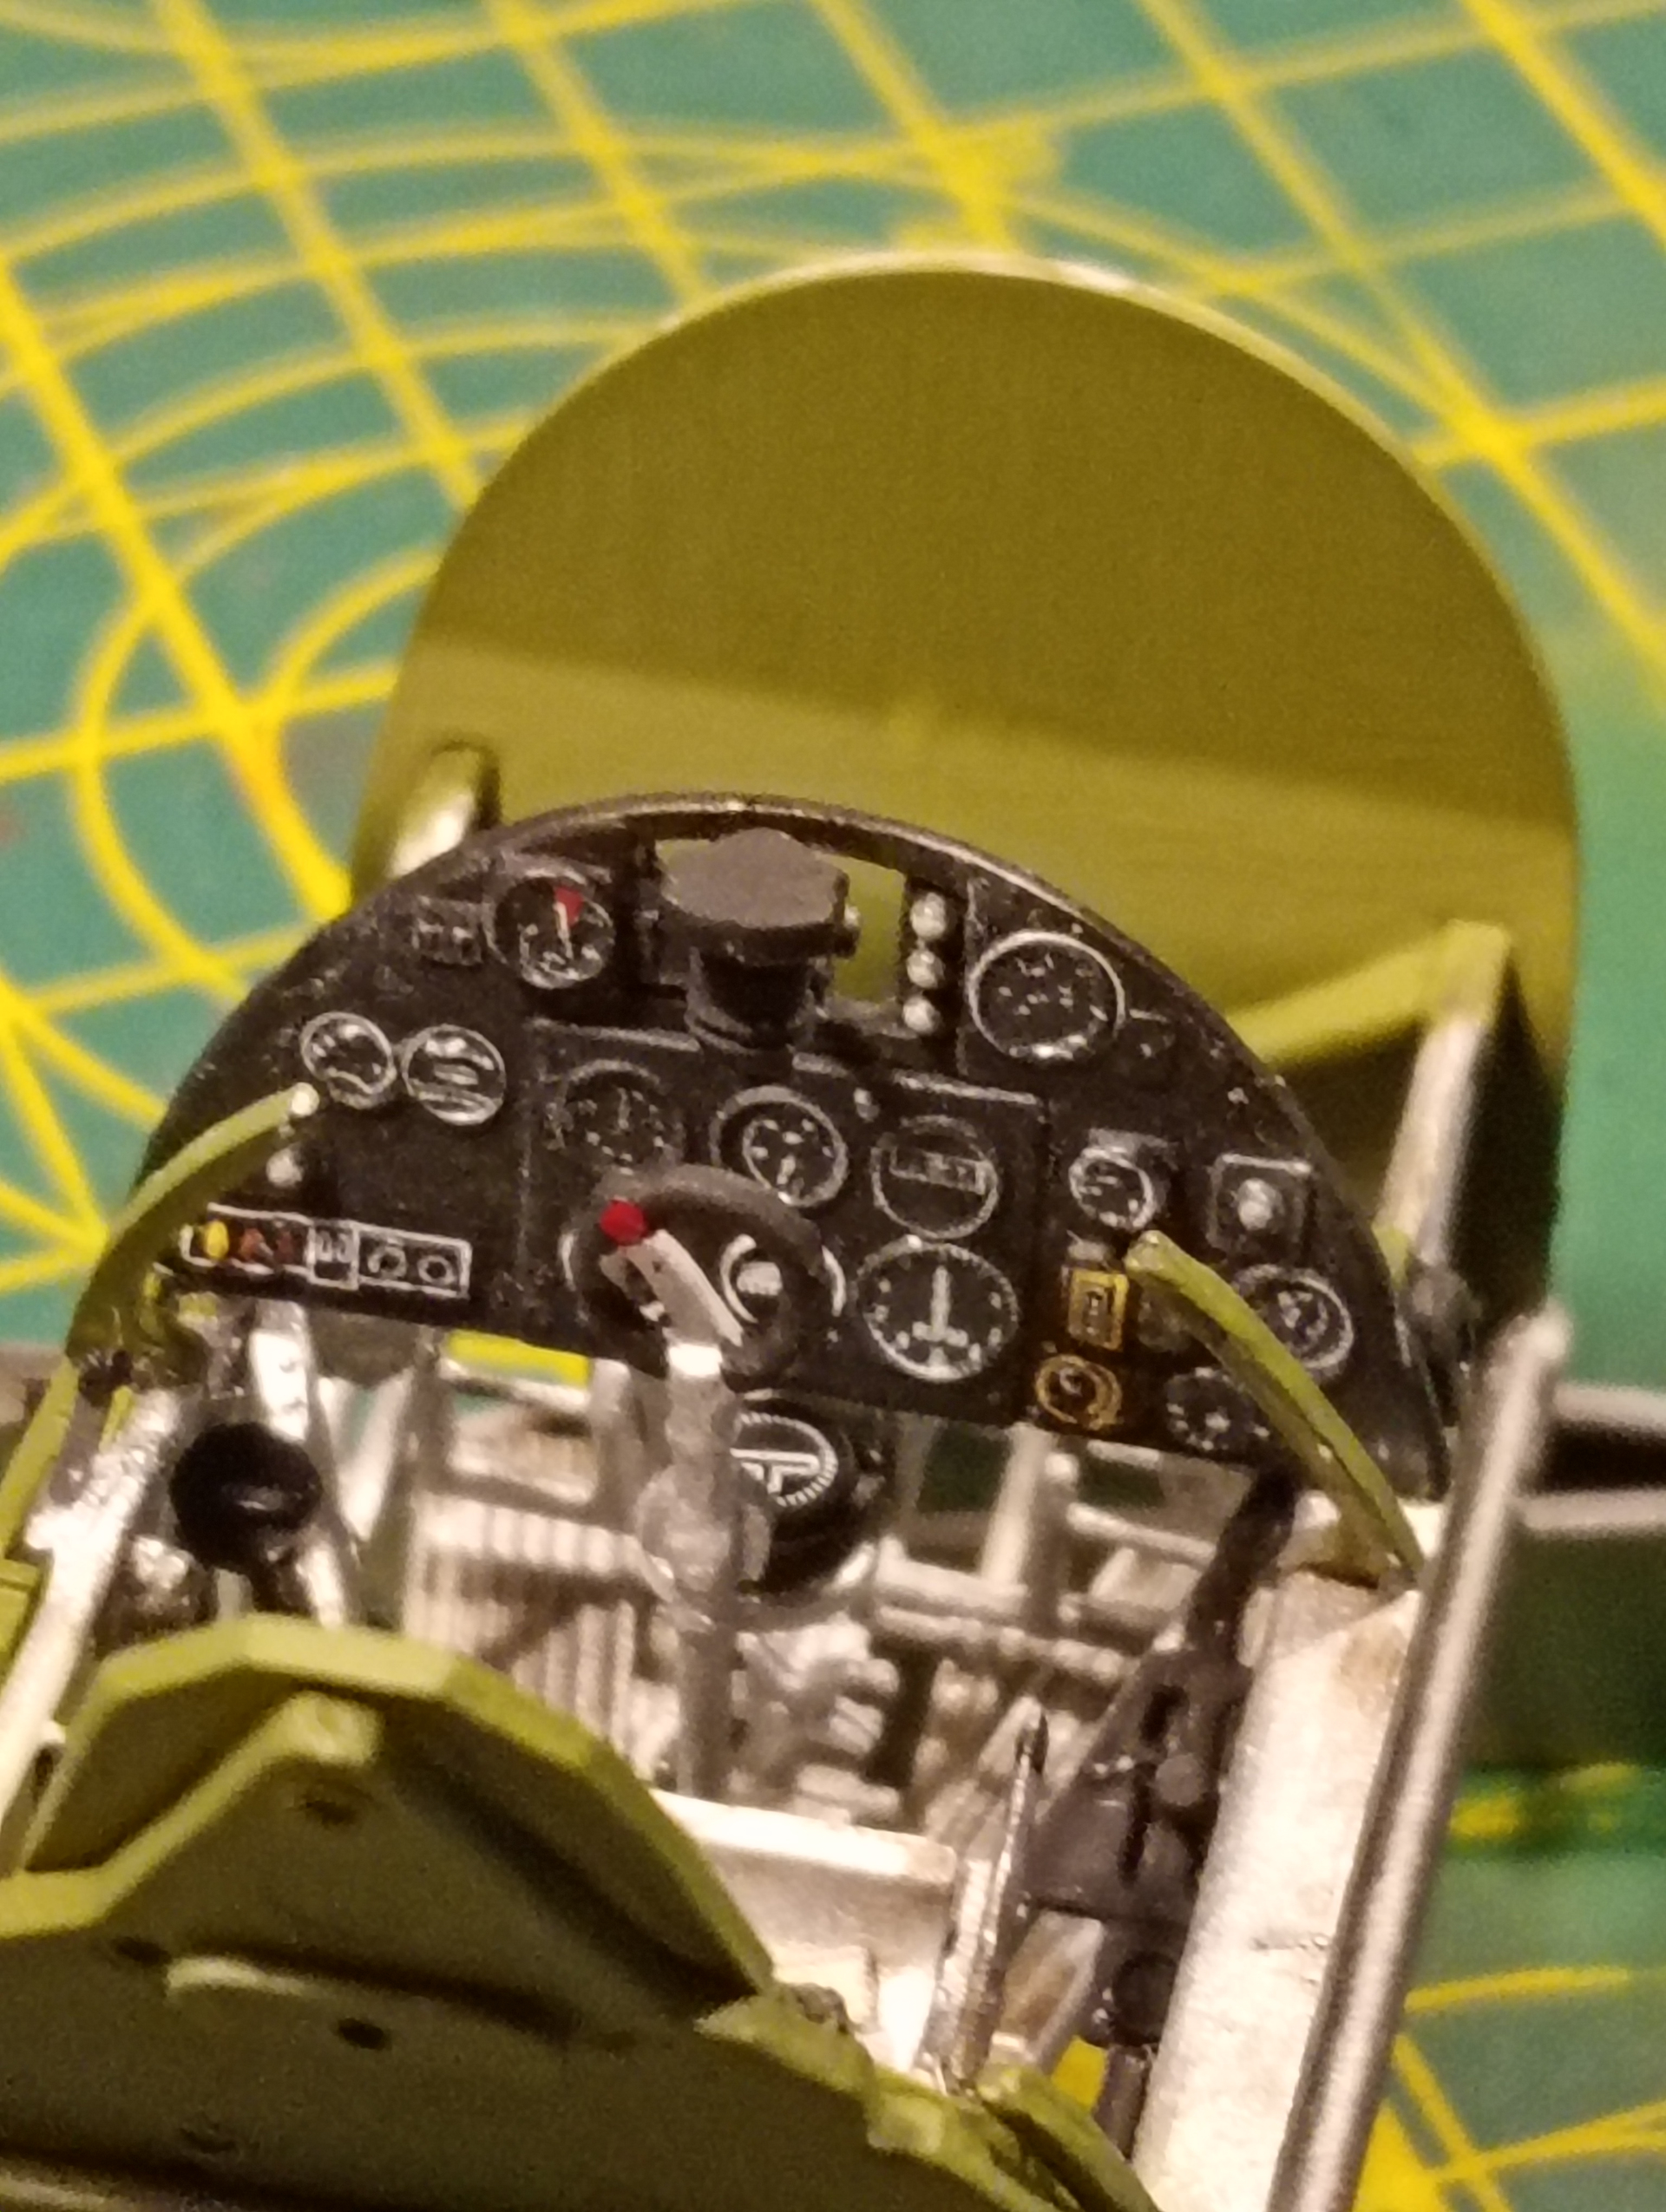
Now, the kit decals for the instrument panel and would easily be ok,
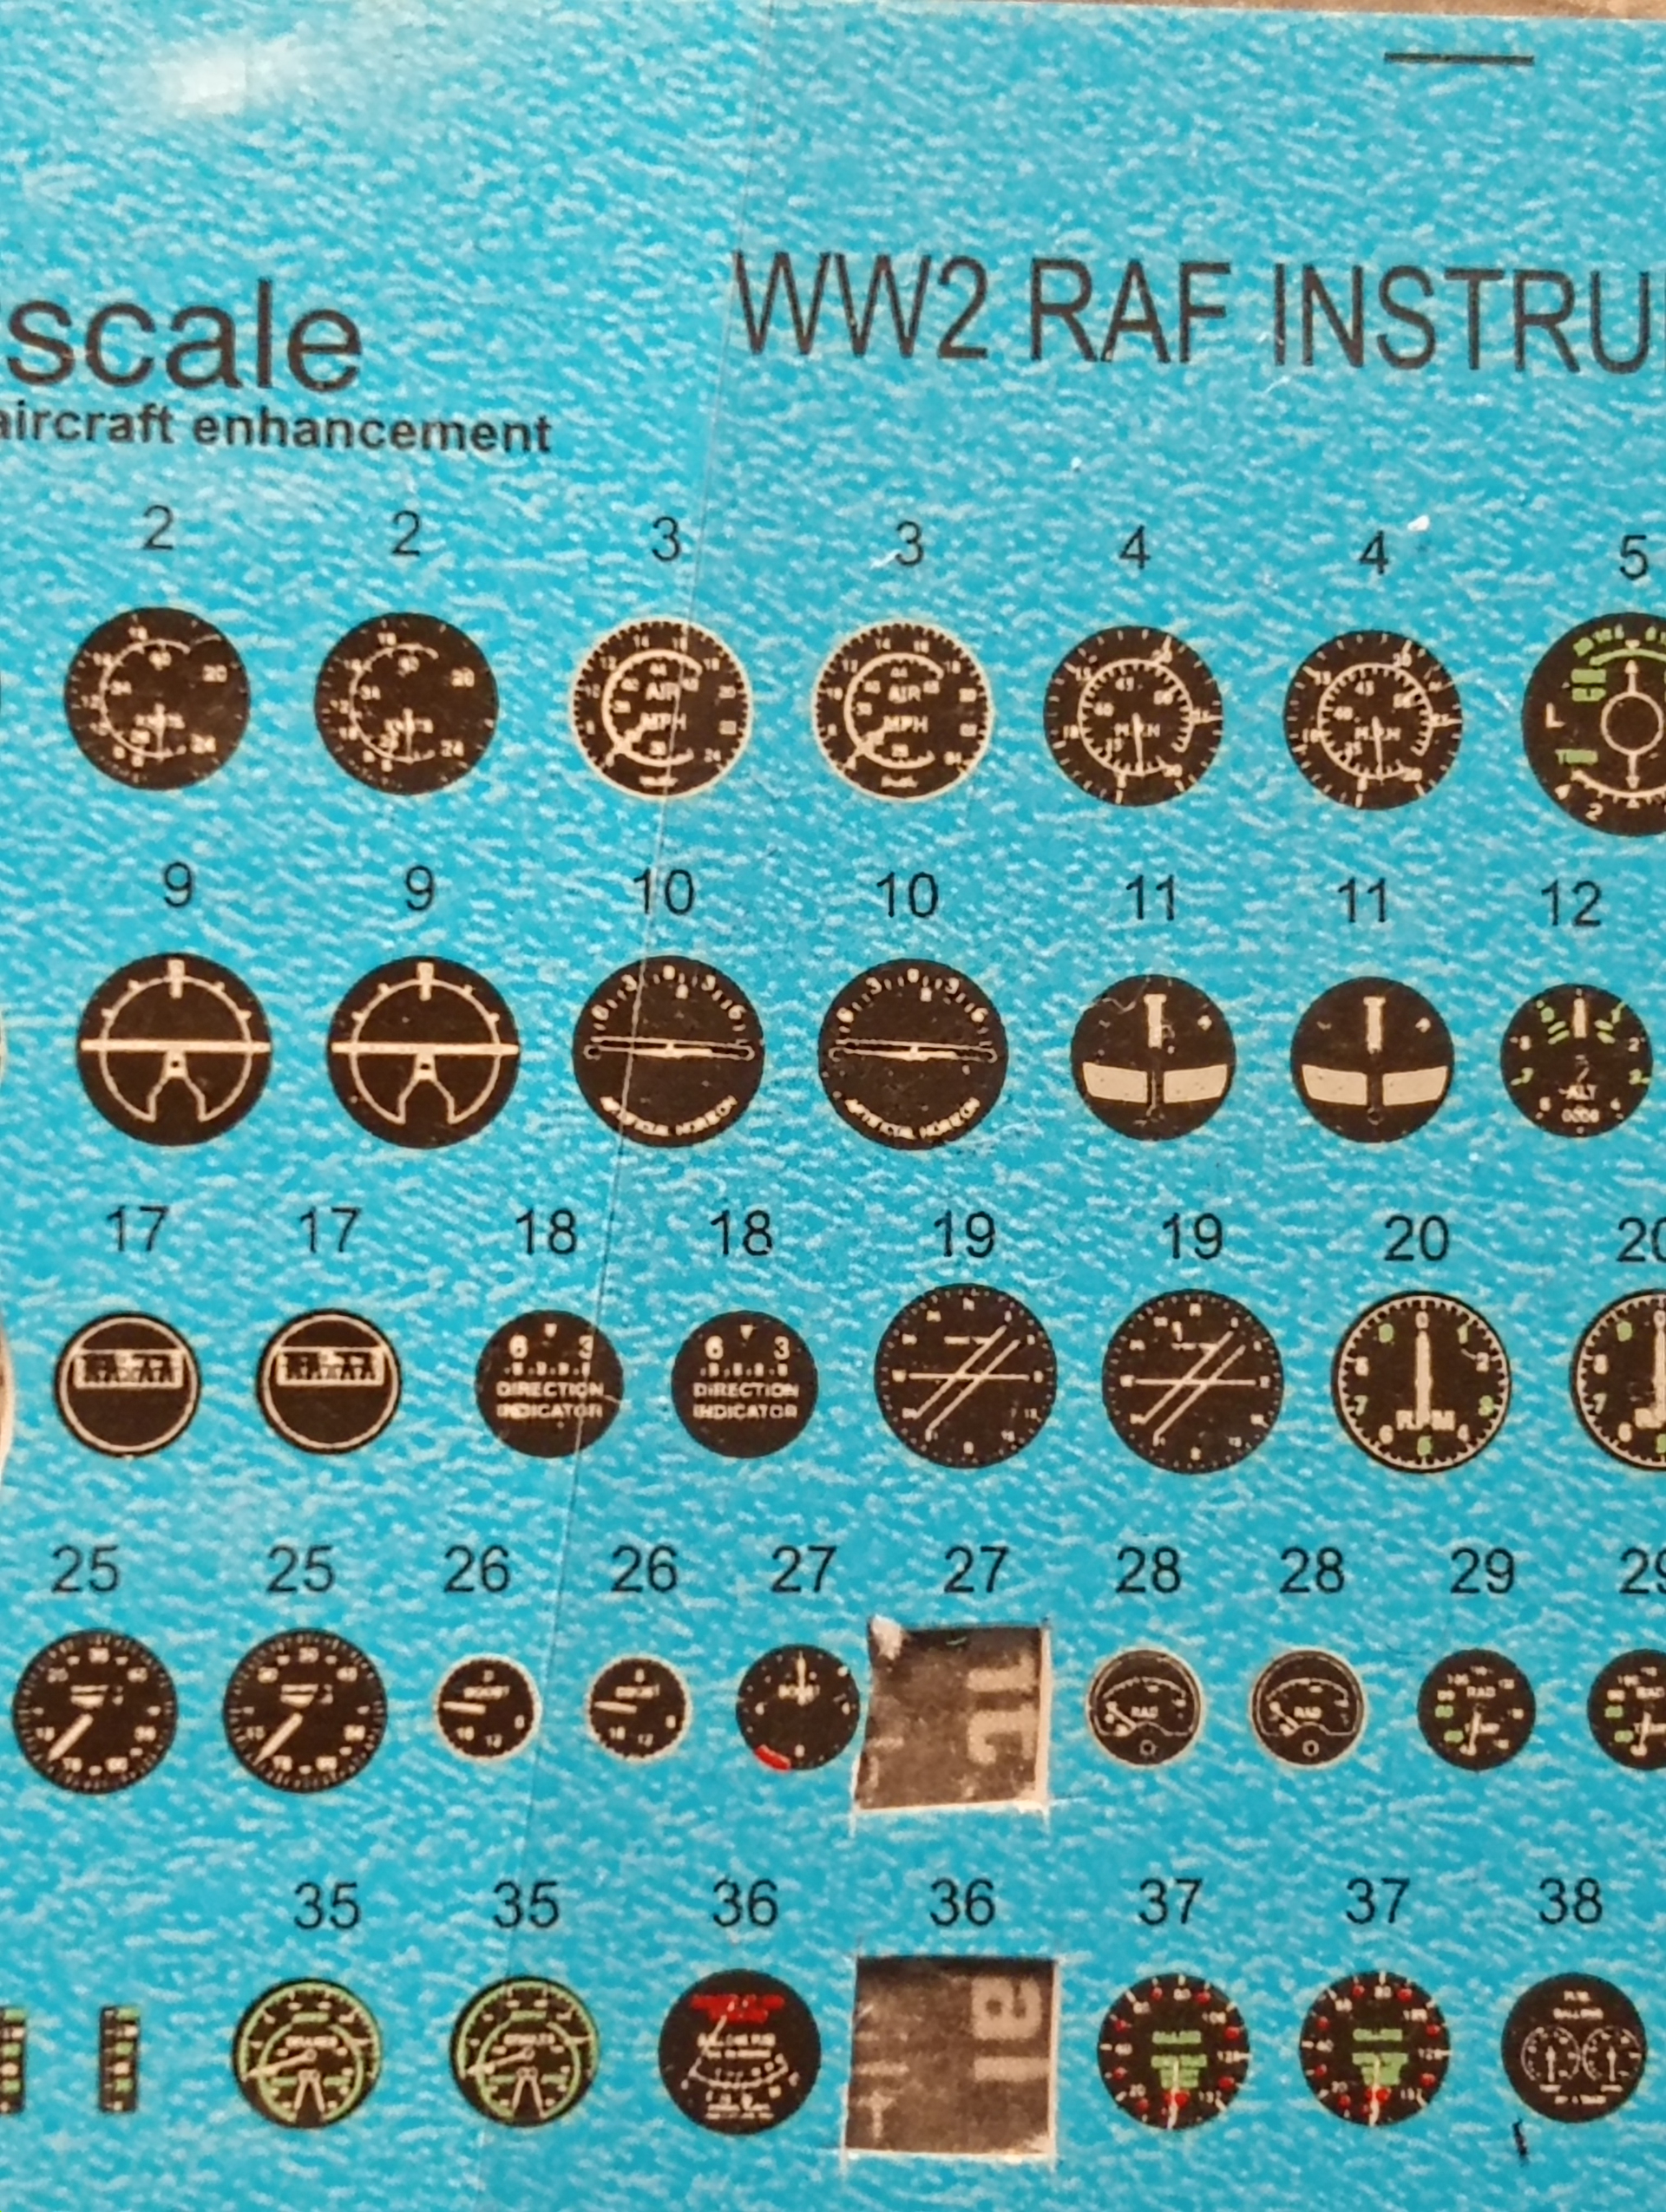
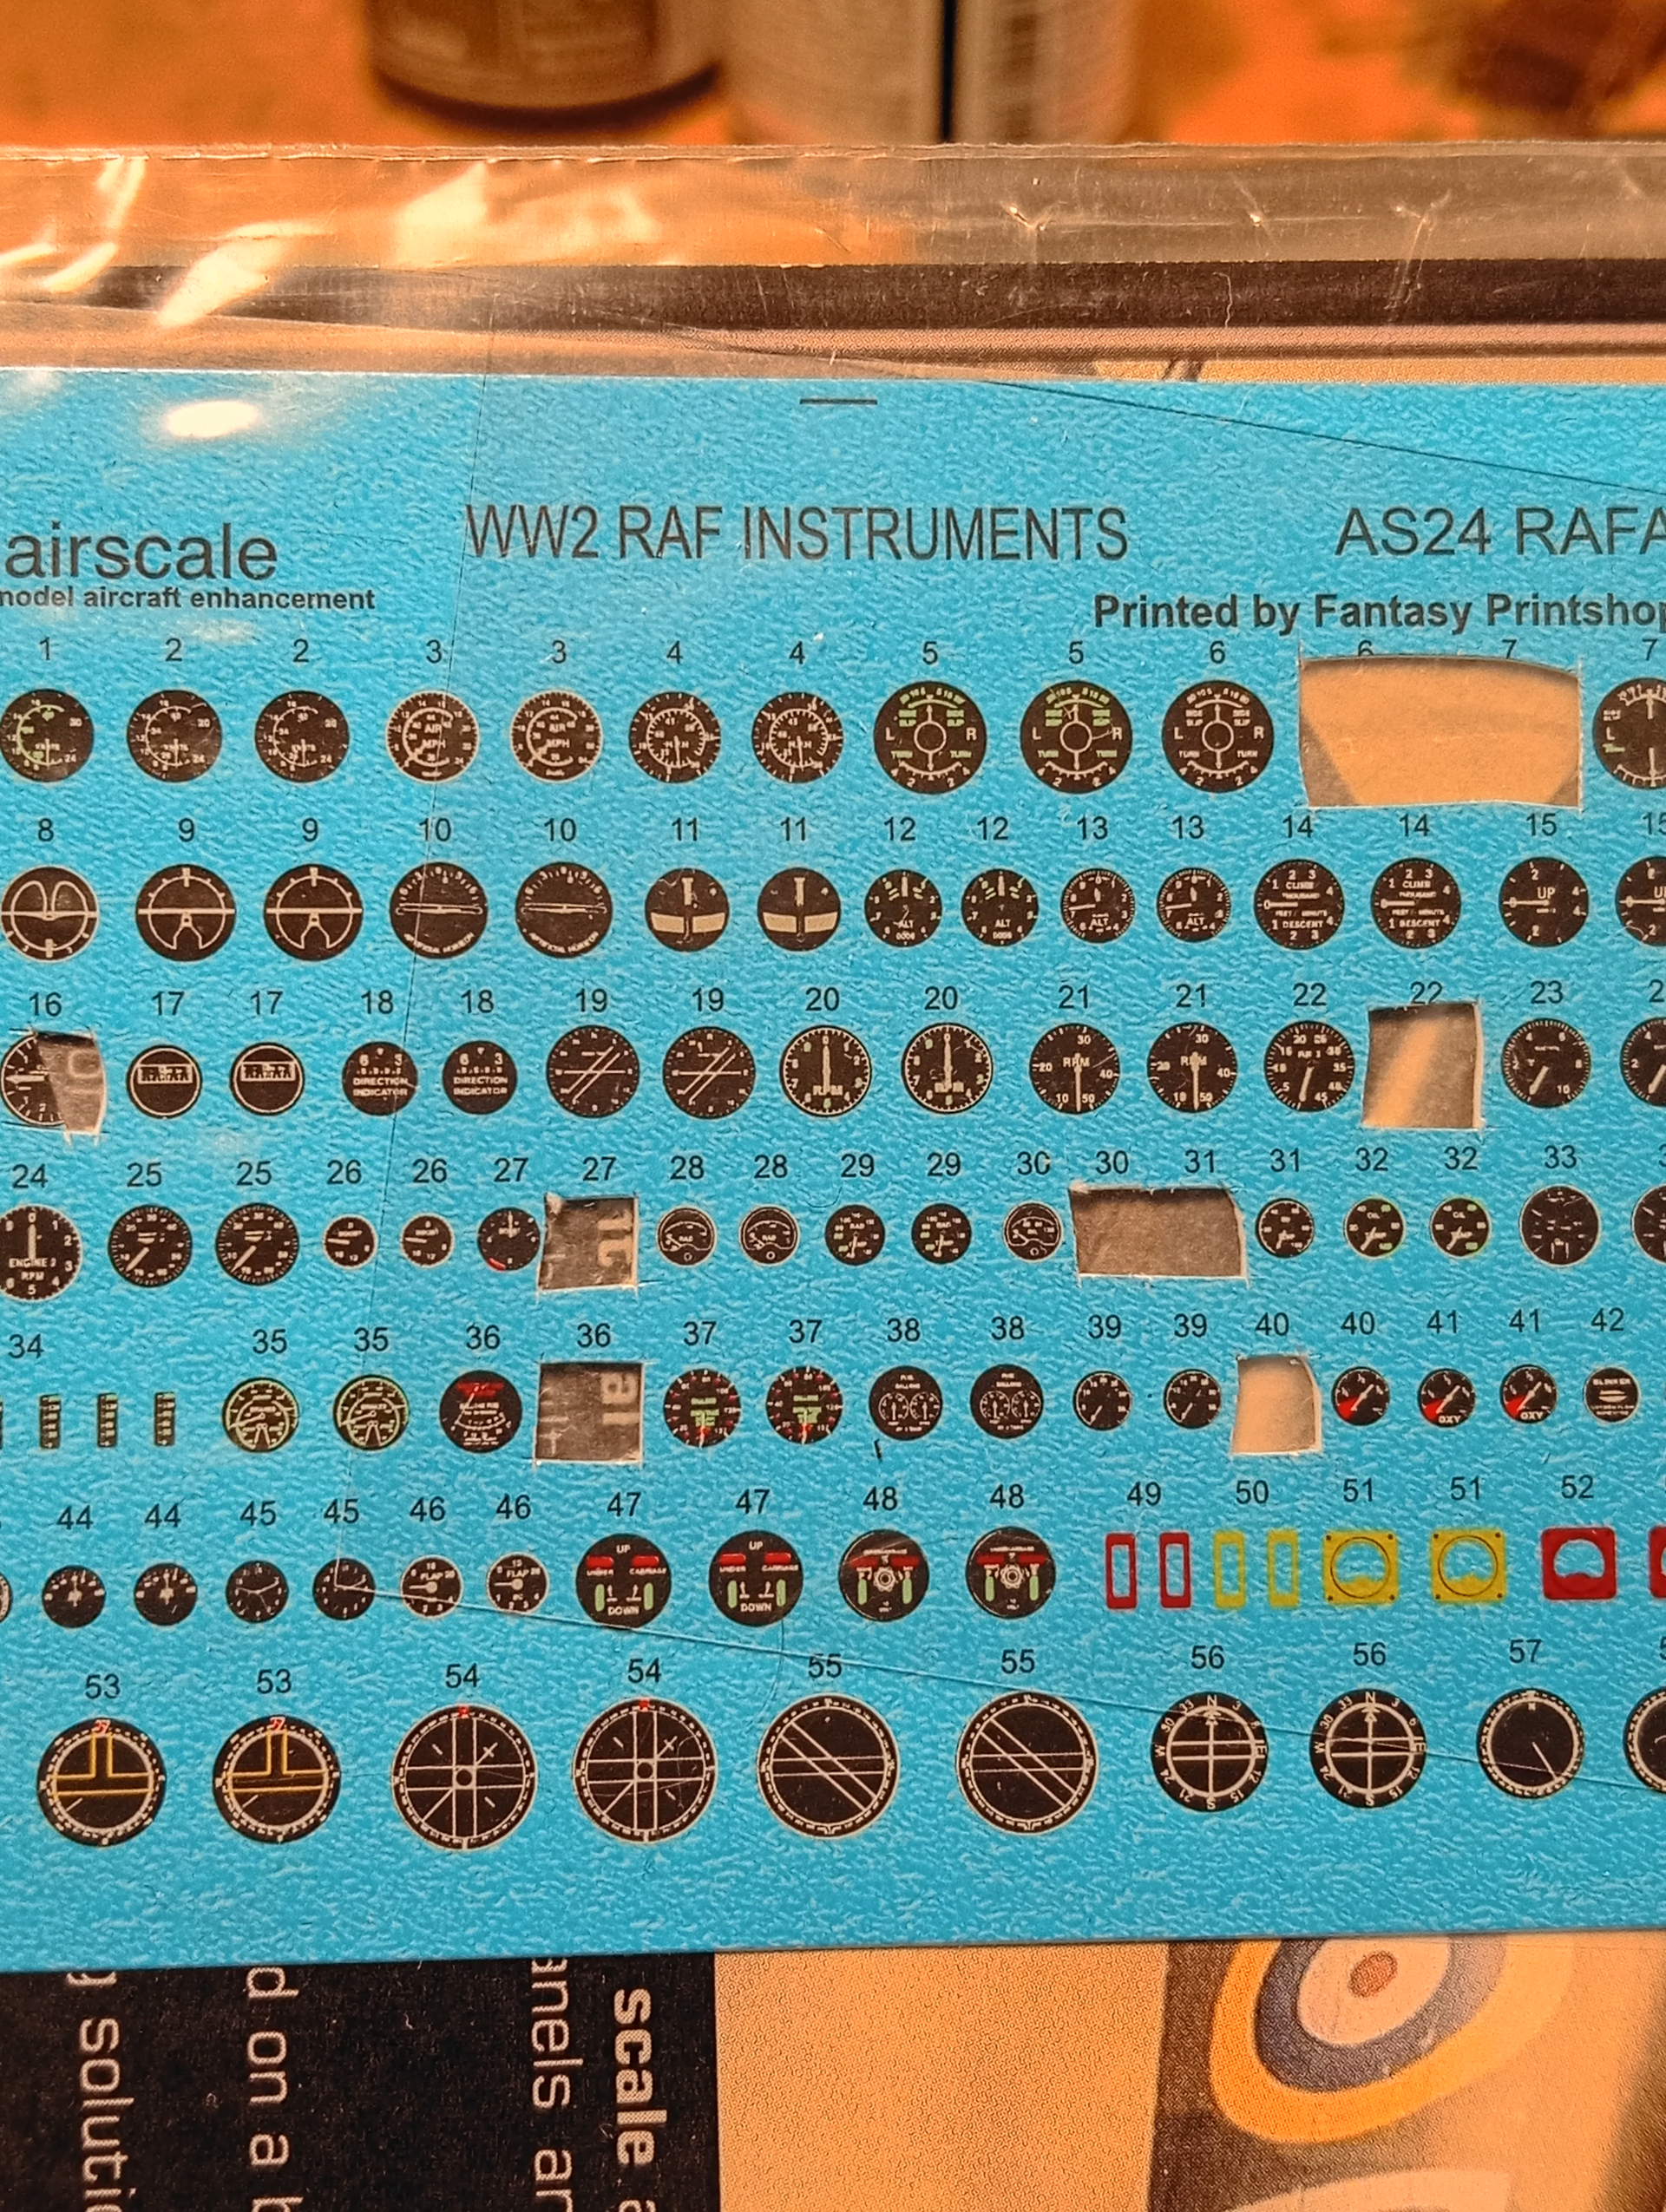
but I’m going add some individual ones from the 1/24 RAF set I got which should fit in some dials and just have that extra detail…
Anyway … Instrument panel next.
10 Likes
Indeed. Very nice harness. Besides, who doesn’t love old school 1/32 Revell kits?
1 Like
I totally agree, it is a great looking harness set and the whole cockpit piece. I noticed the almost pinkish/brown look to the harness which reminded me of new leather on some items I purchase new. Is that intentional or just lighting or what? Is the harness supposed to be new leather that tans with the sun or something else. Just asking for clarification. I bought a German leather briefcase in Toronto 40 years ago and it looked that color and since has tanned to a comfy tan.
1 Like
Thanks Jack, the actual colour is a very light tan hue in real terms, the light does give it a slight pink hint. I have yet to add a very light wash over it which will probably give it a bit more depth though … It was well worth the money.
1 Like
Thanks Johnny, that answers my question fully, and thanks for taking the time to answer. It’ is always much appreciated.
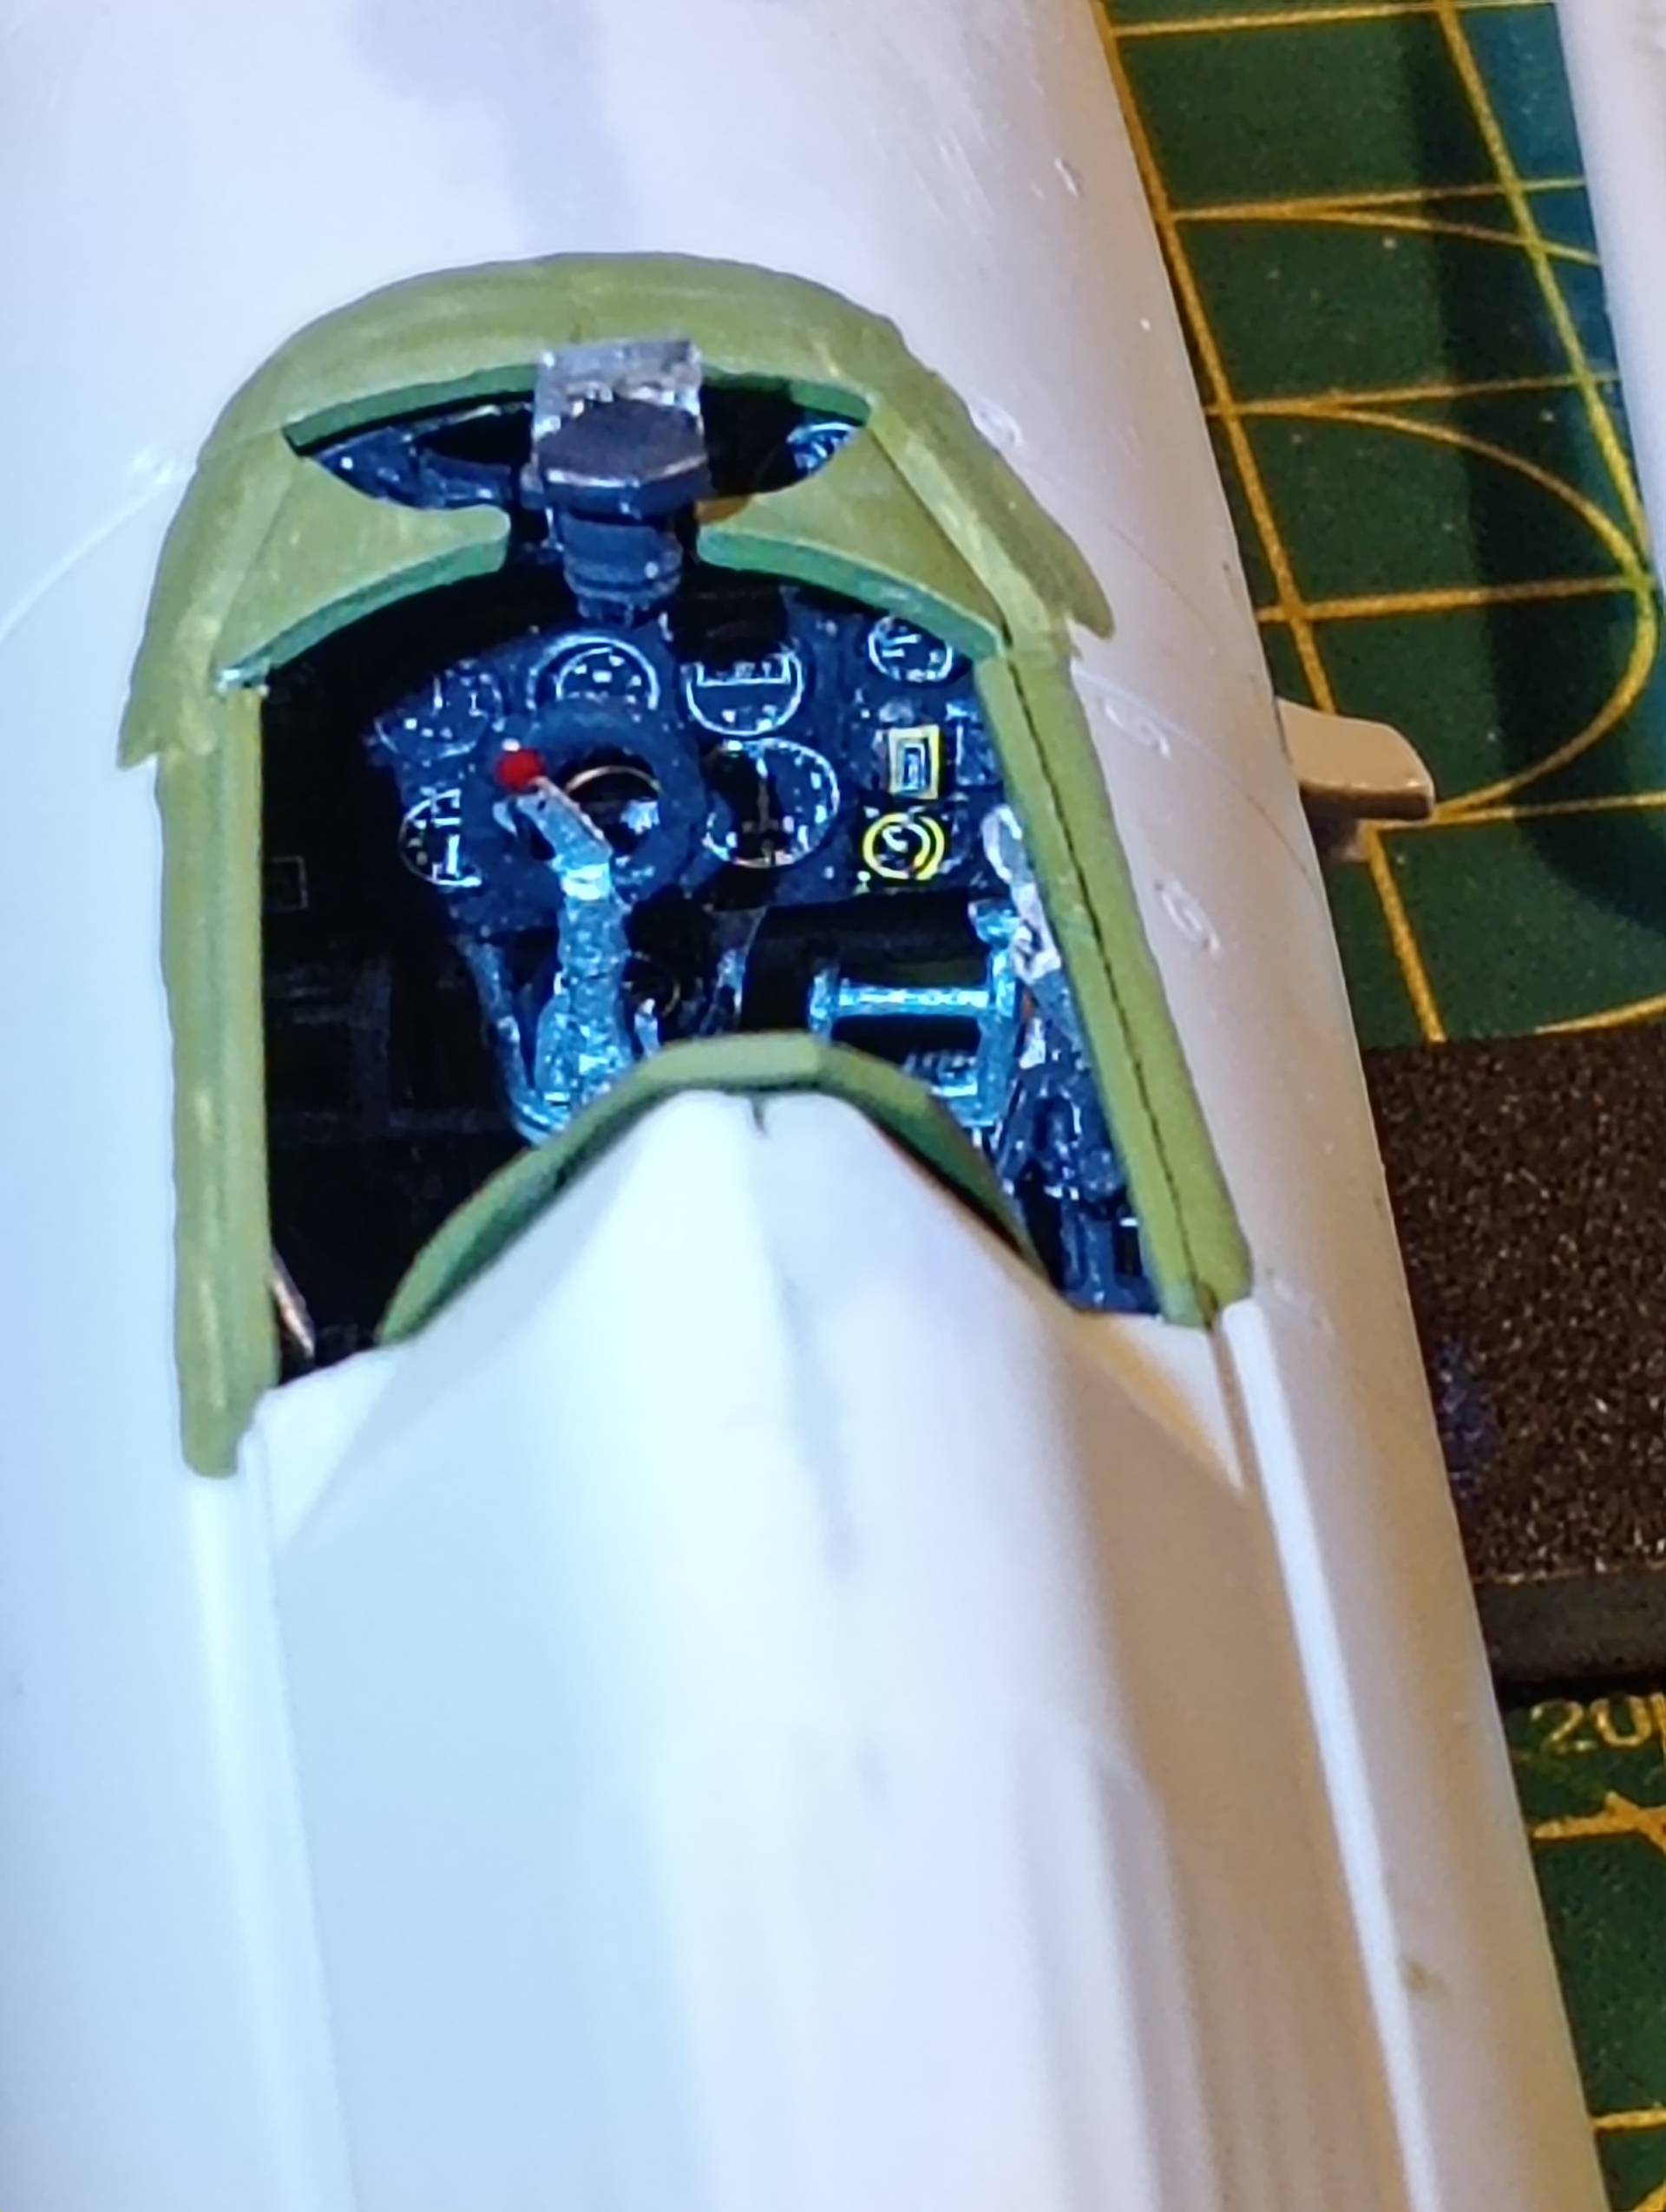
Instrument panel fitted.
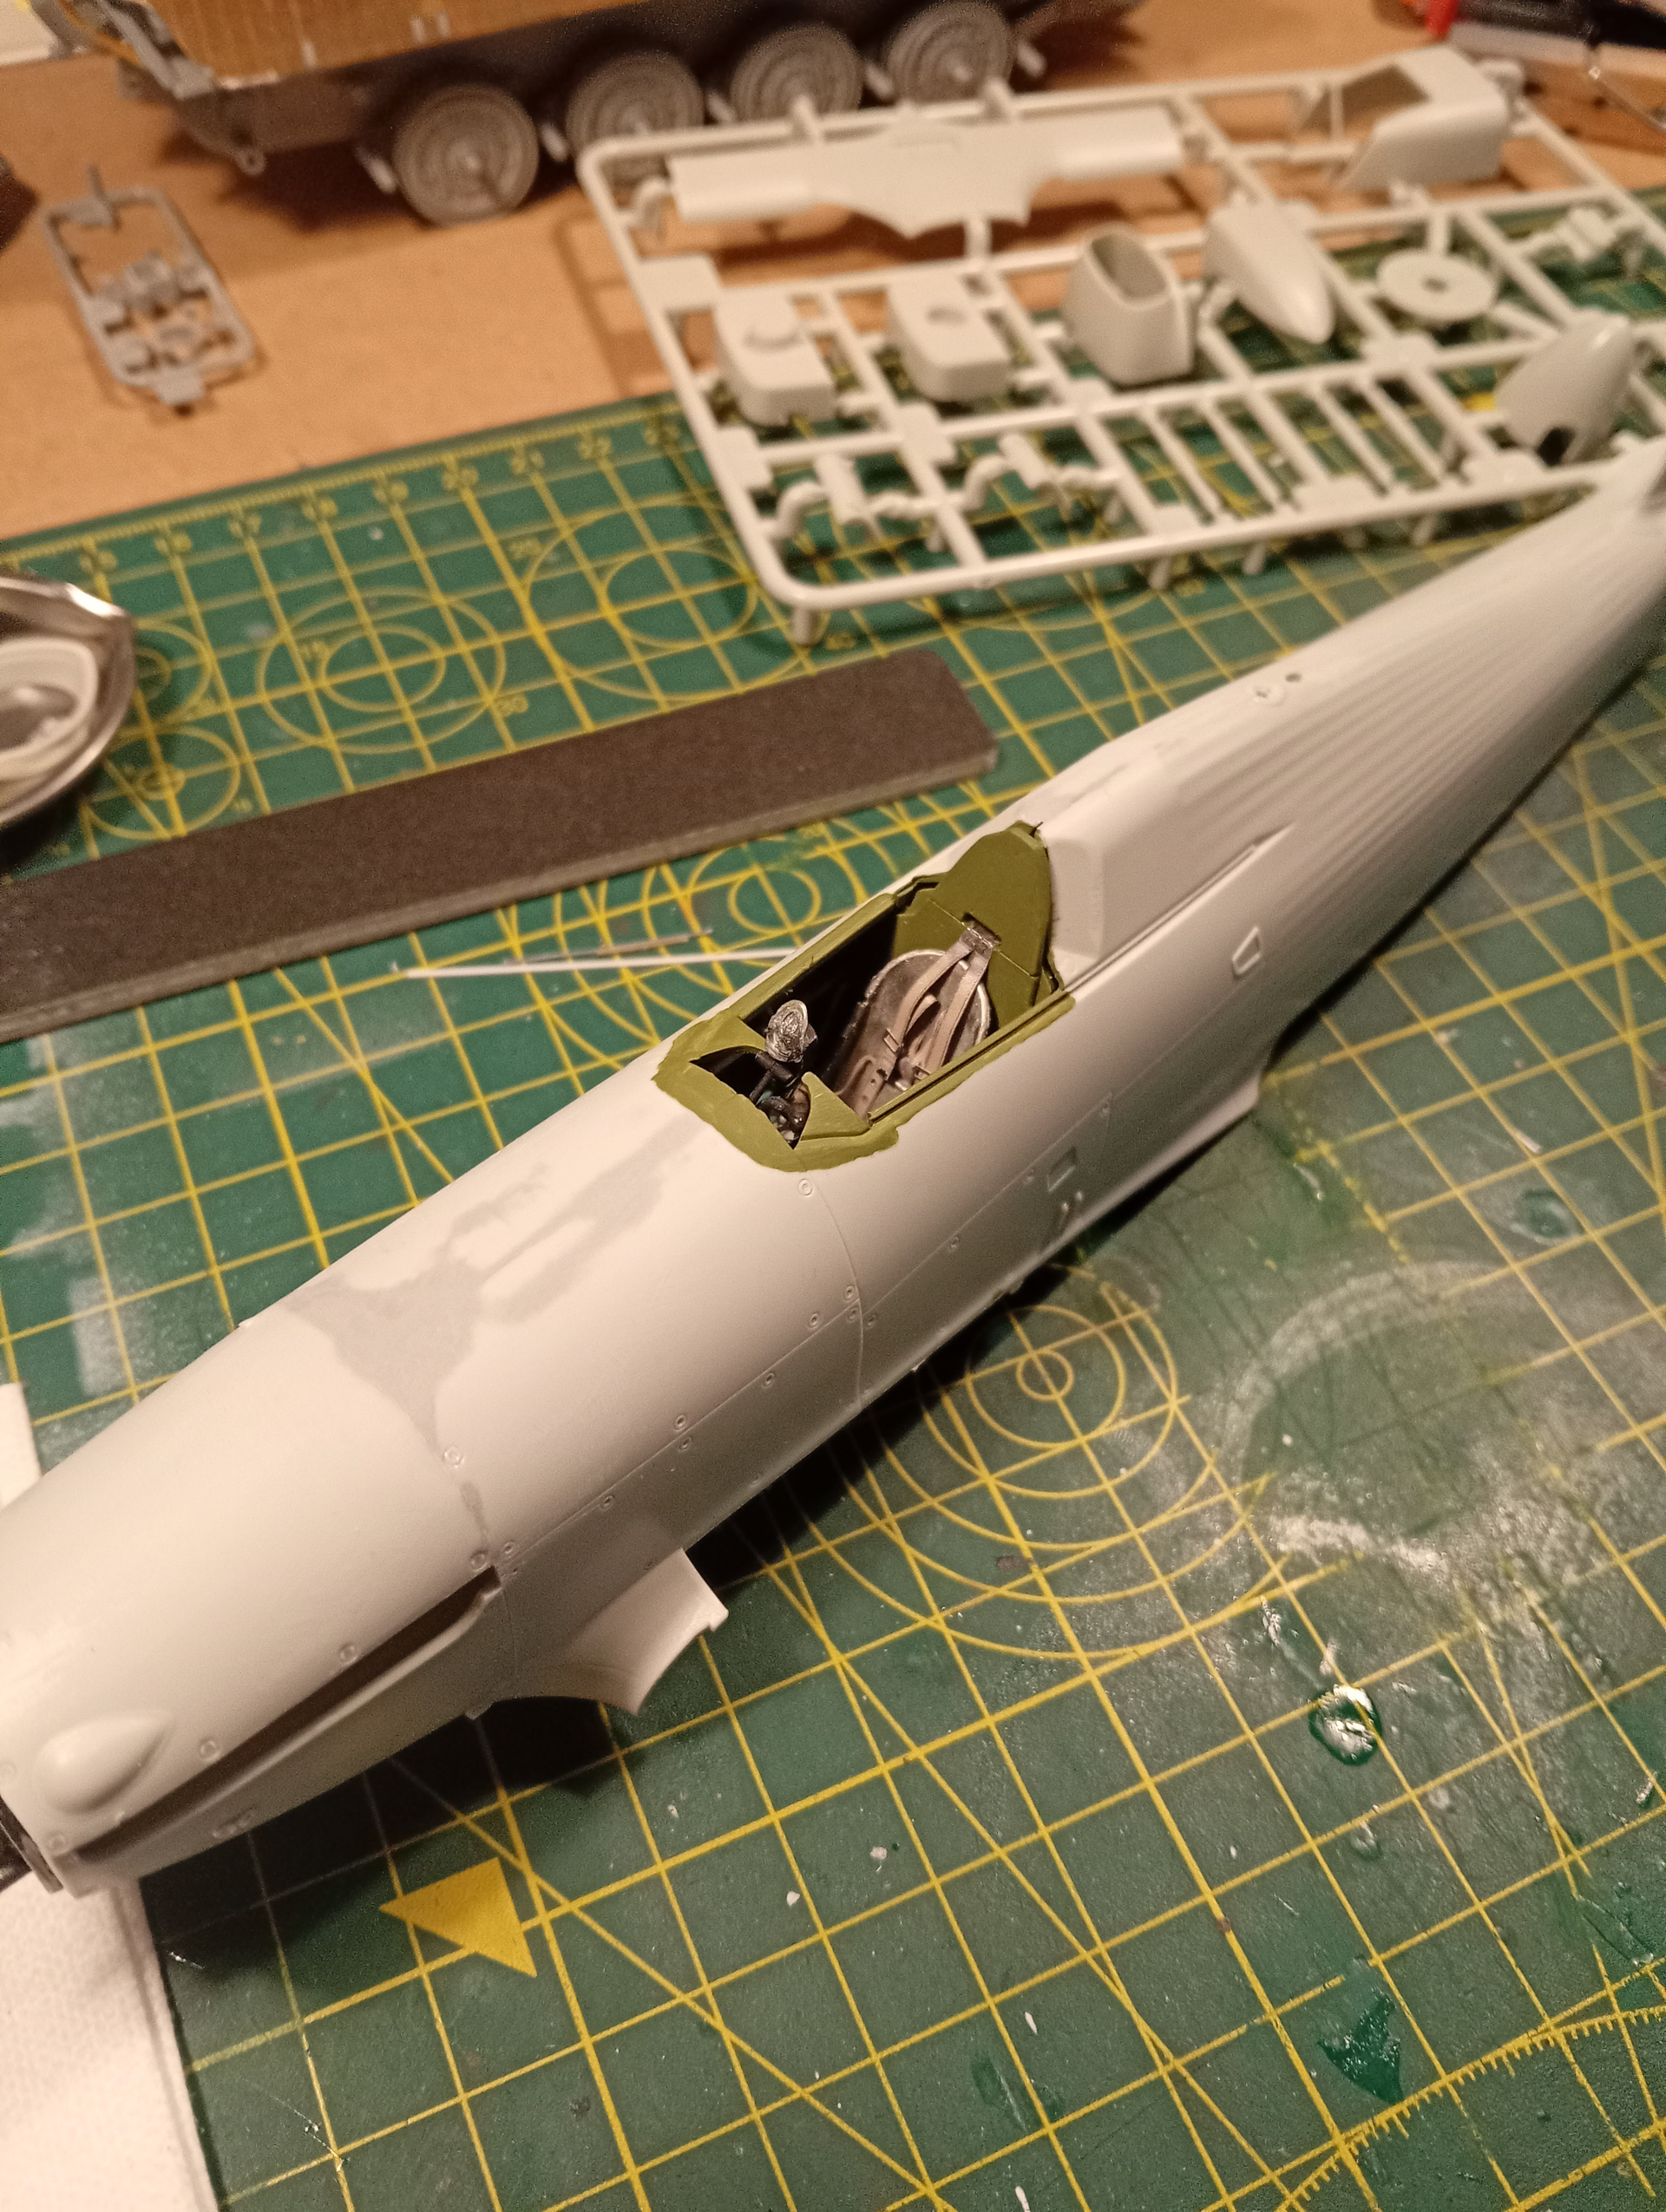
And the fuselage together.
Annoyingly, and it was maybe my fault but I did check everything prior, the area over the panels behind the prop should be level, but once it was all together, the front panel was sitting slightly higher than the one behind it. I managed to pretty much sorted but will recheck it once it’s primed. Other than that, it goes together nicely.
Sadly, once together, you can barely see inside the cockpit tub.
And made a start on the wings.
6 Likes
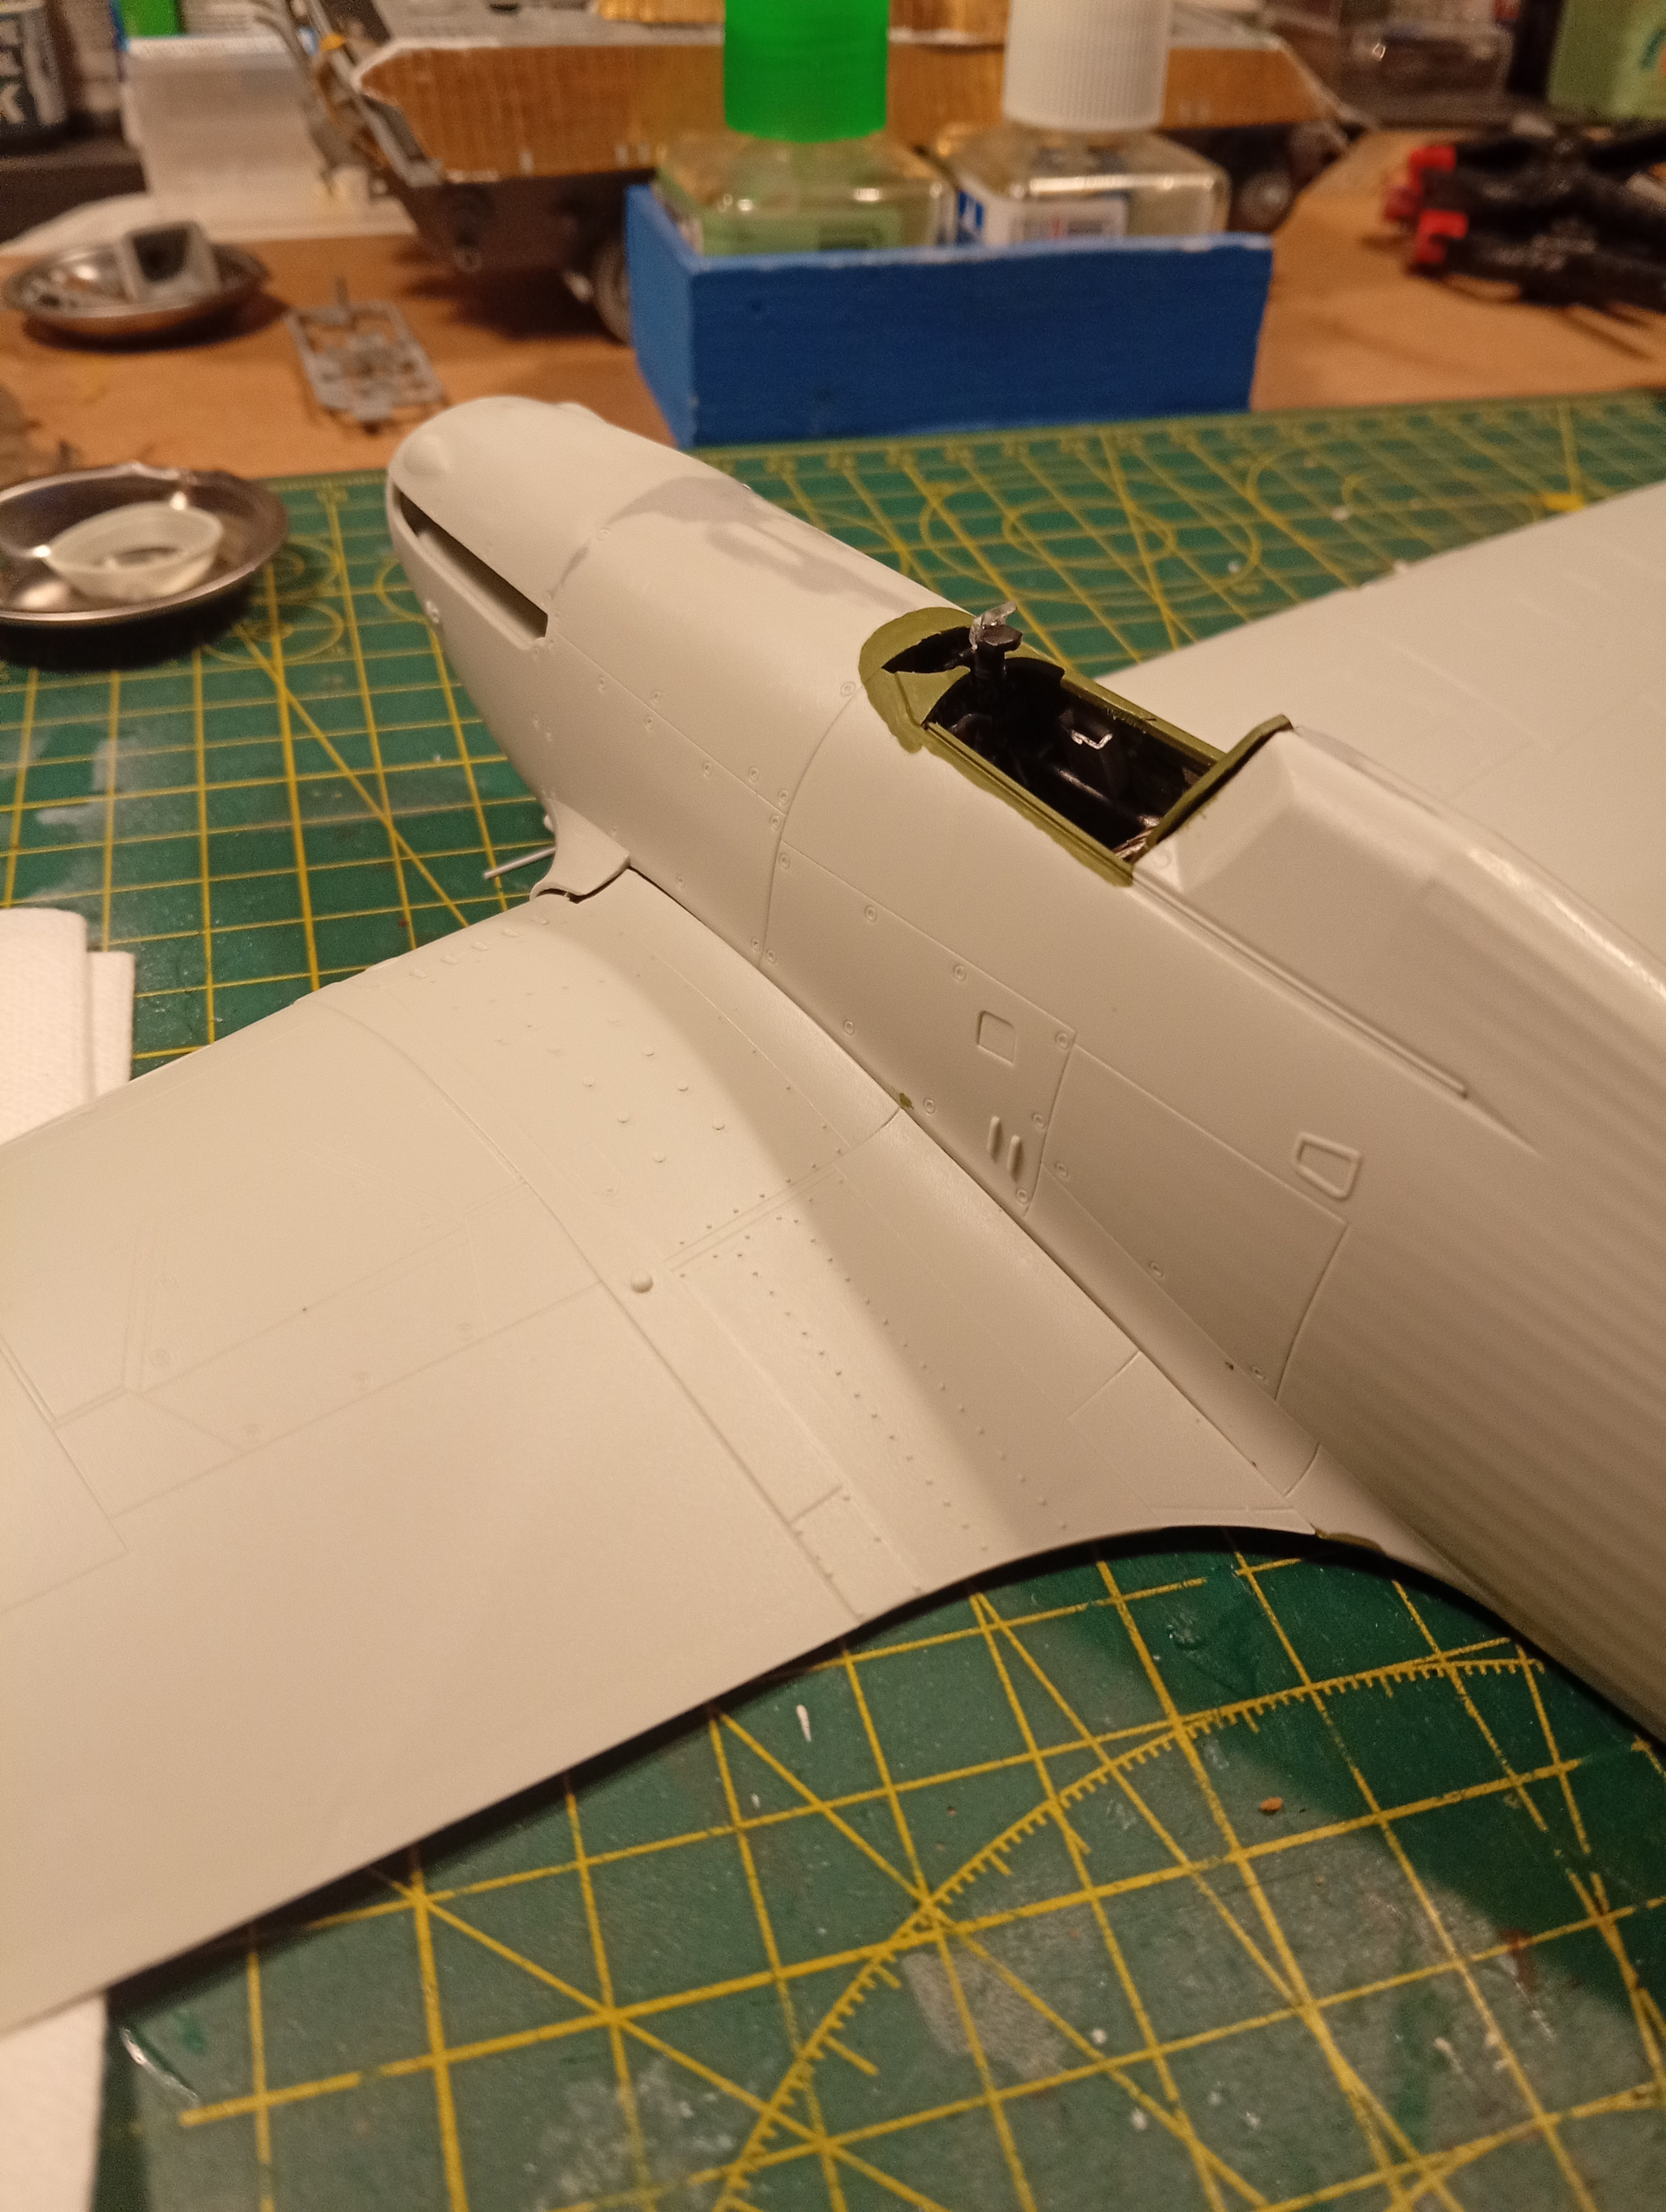
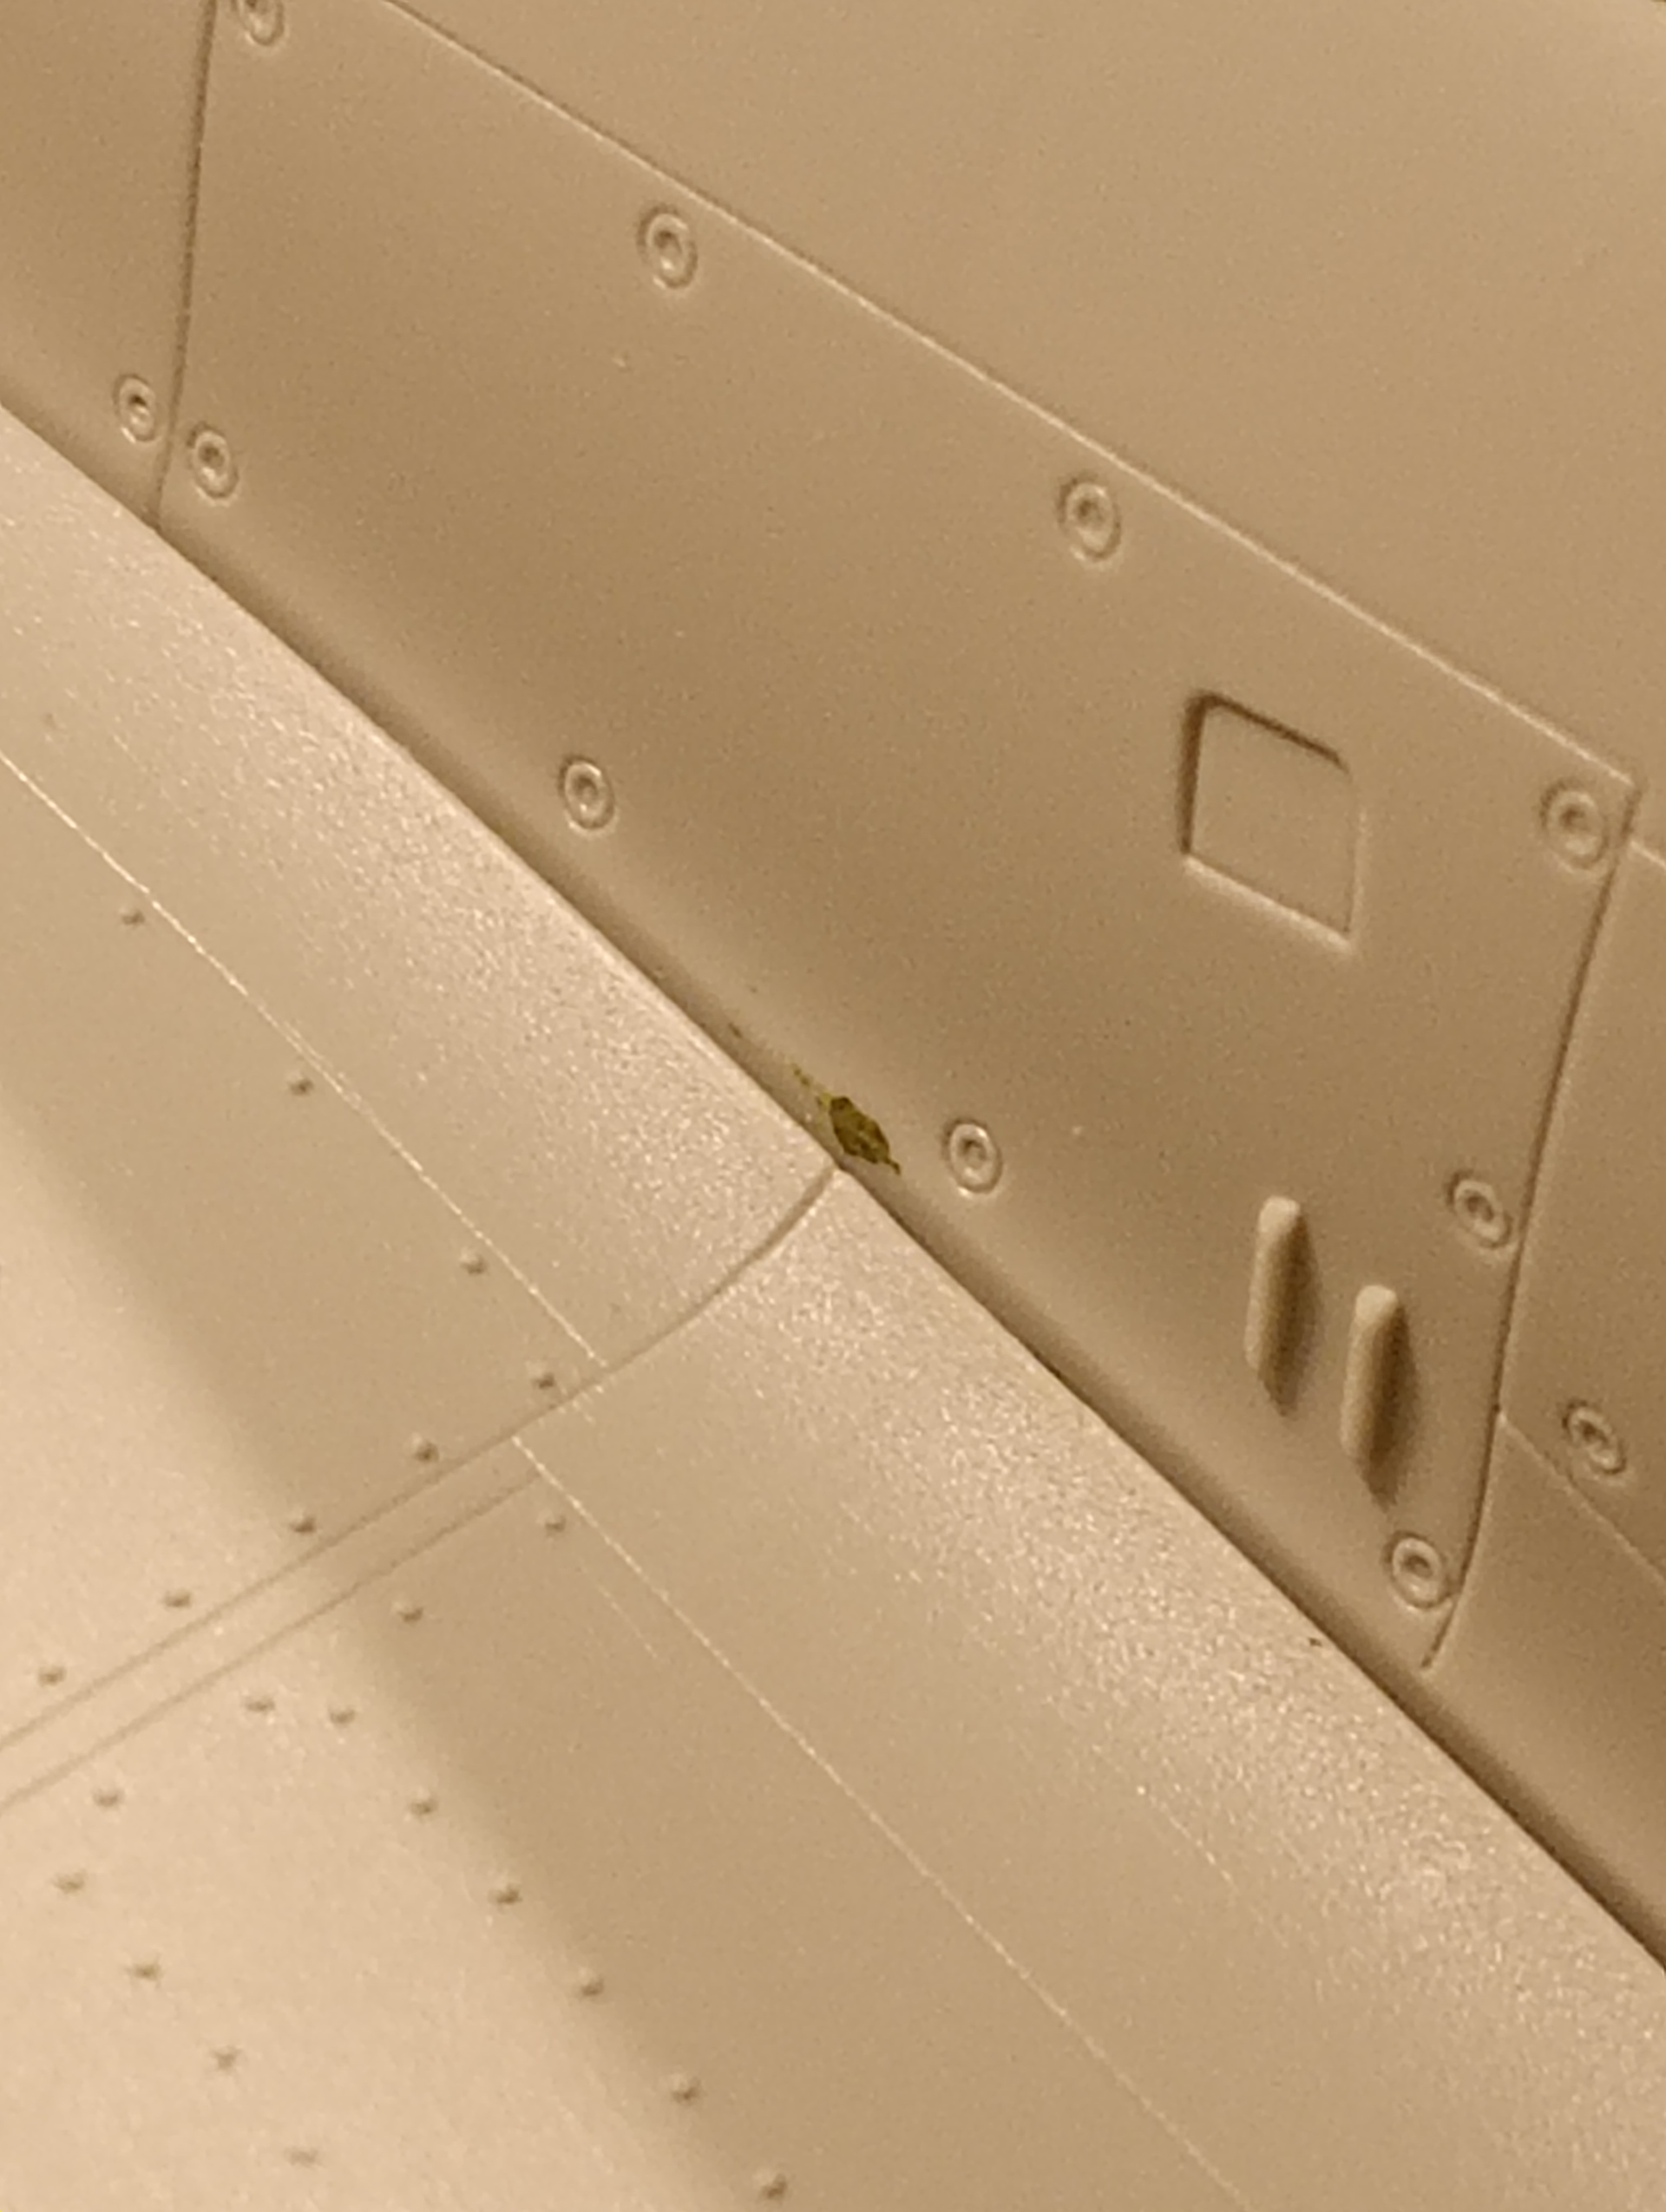
Well, I hit the first hurdle. The wings were built up as a separate assembly as per the instructions… But they won’t fit into the fuselage…
Where you see the green dot, that should sit below the edge of the wing. But that’s it’s limit.
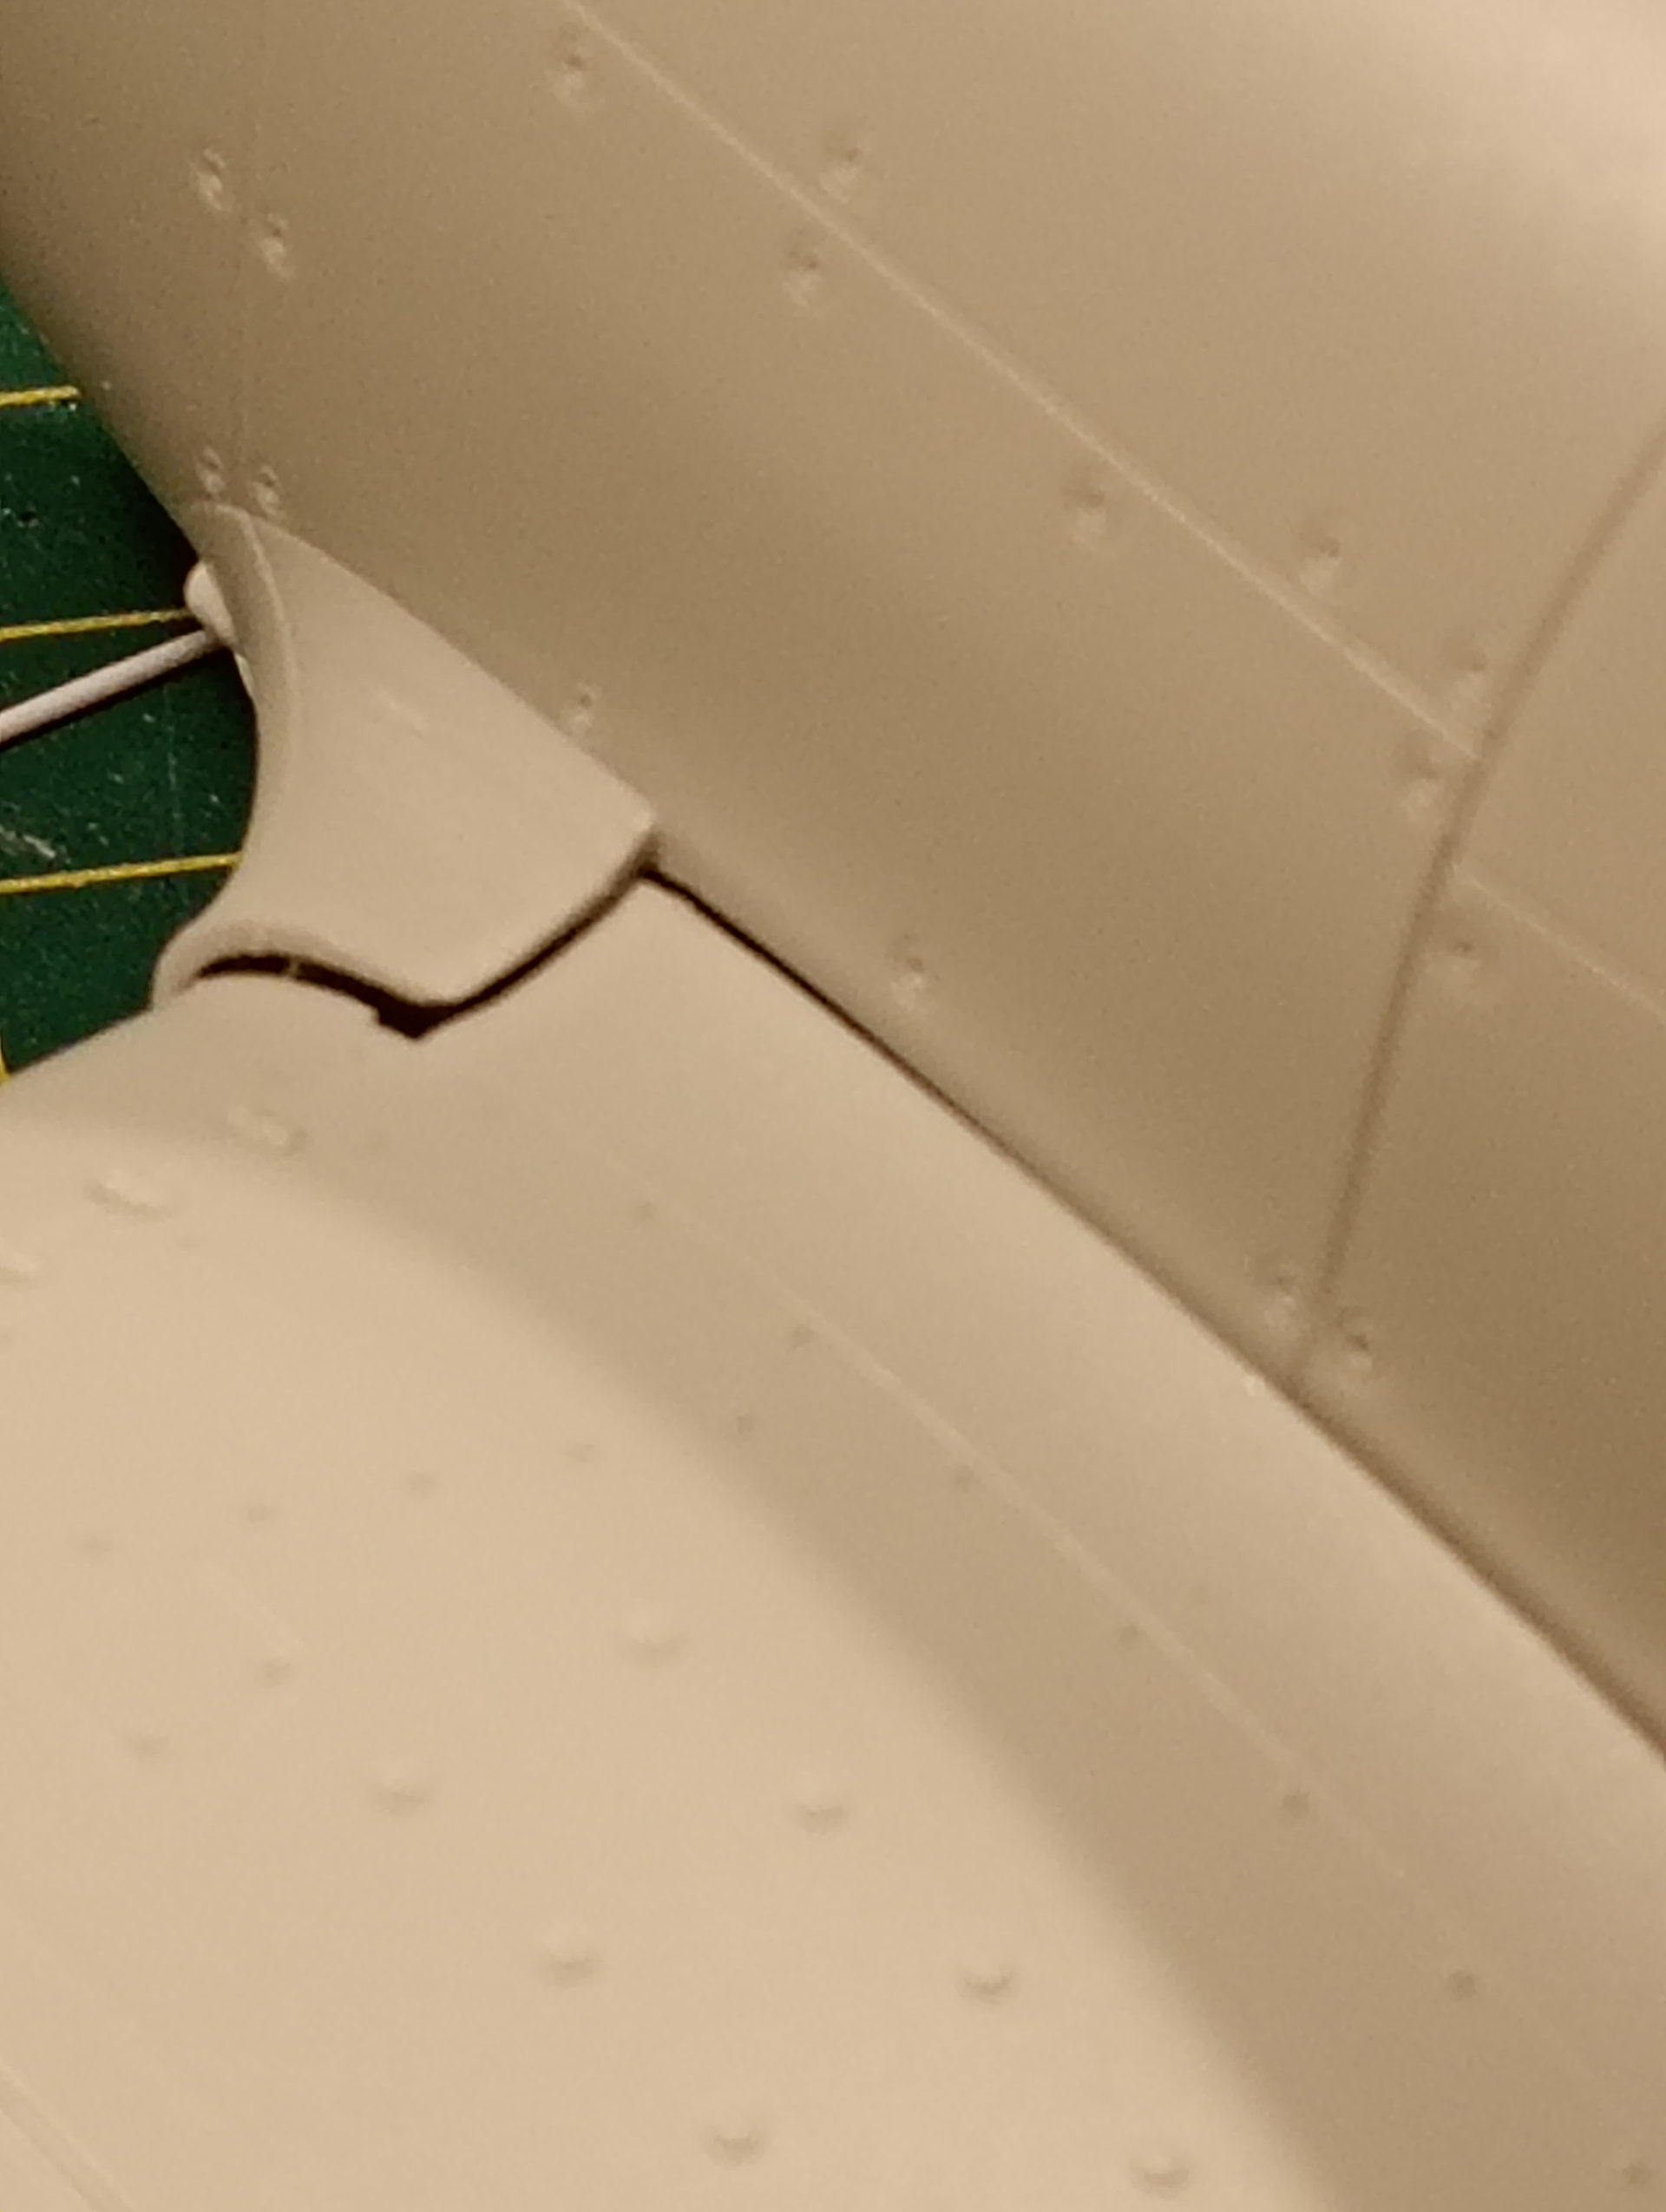
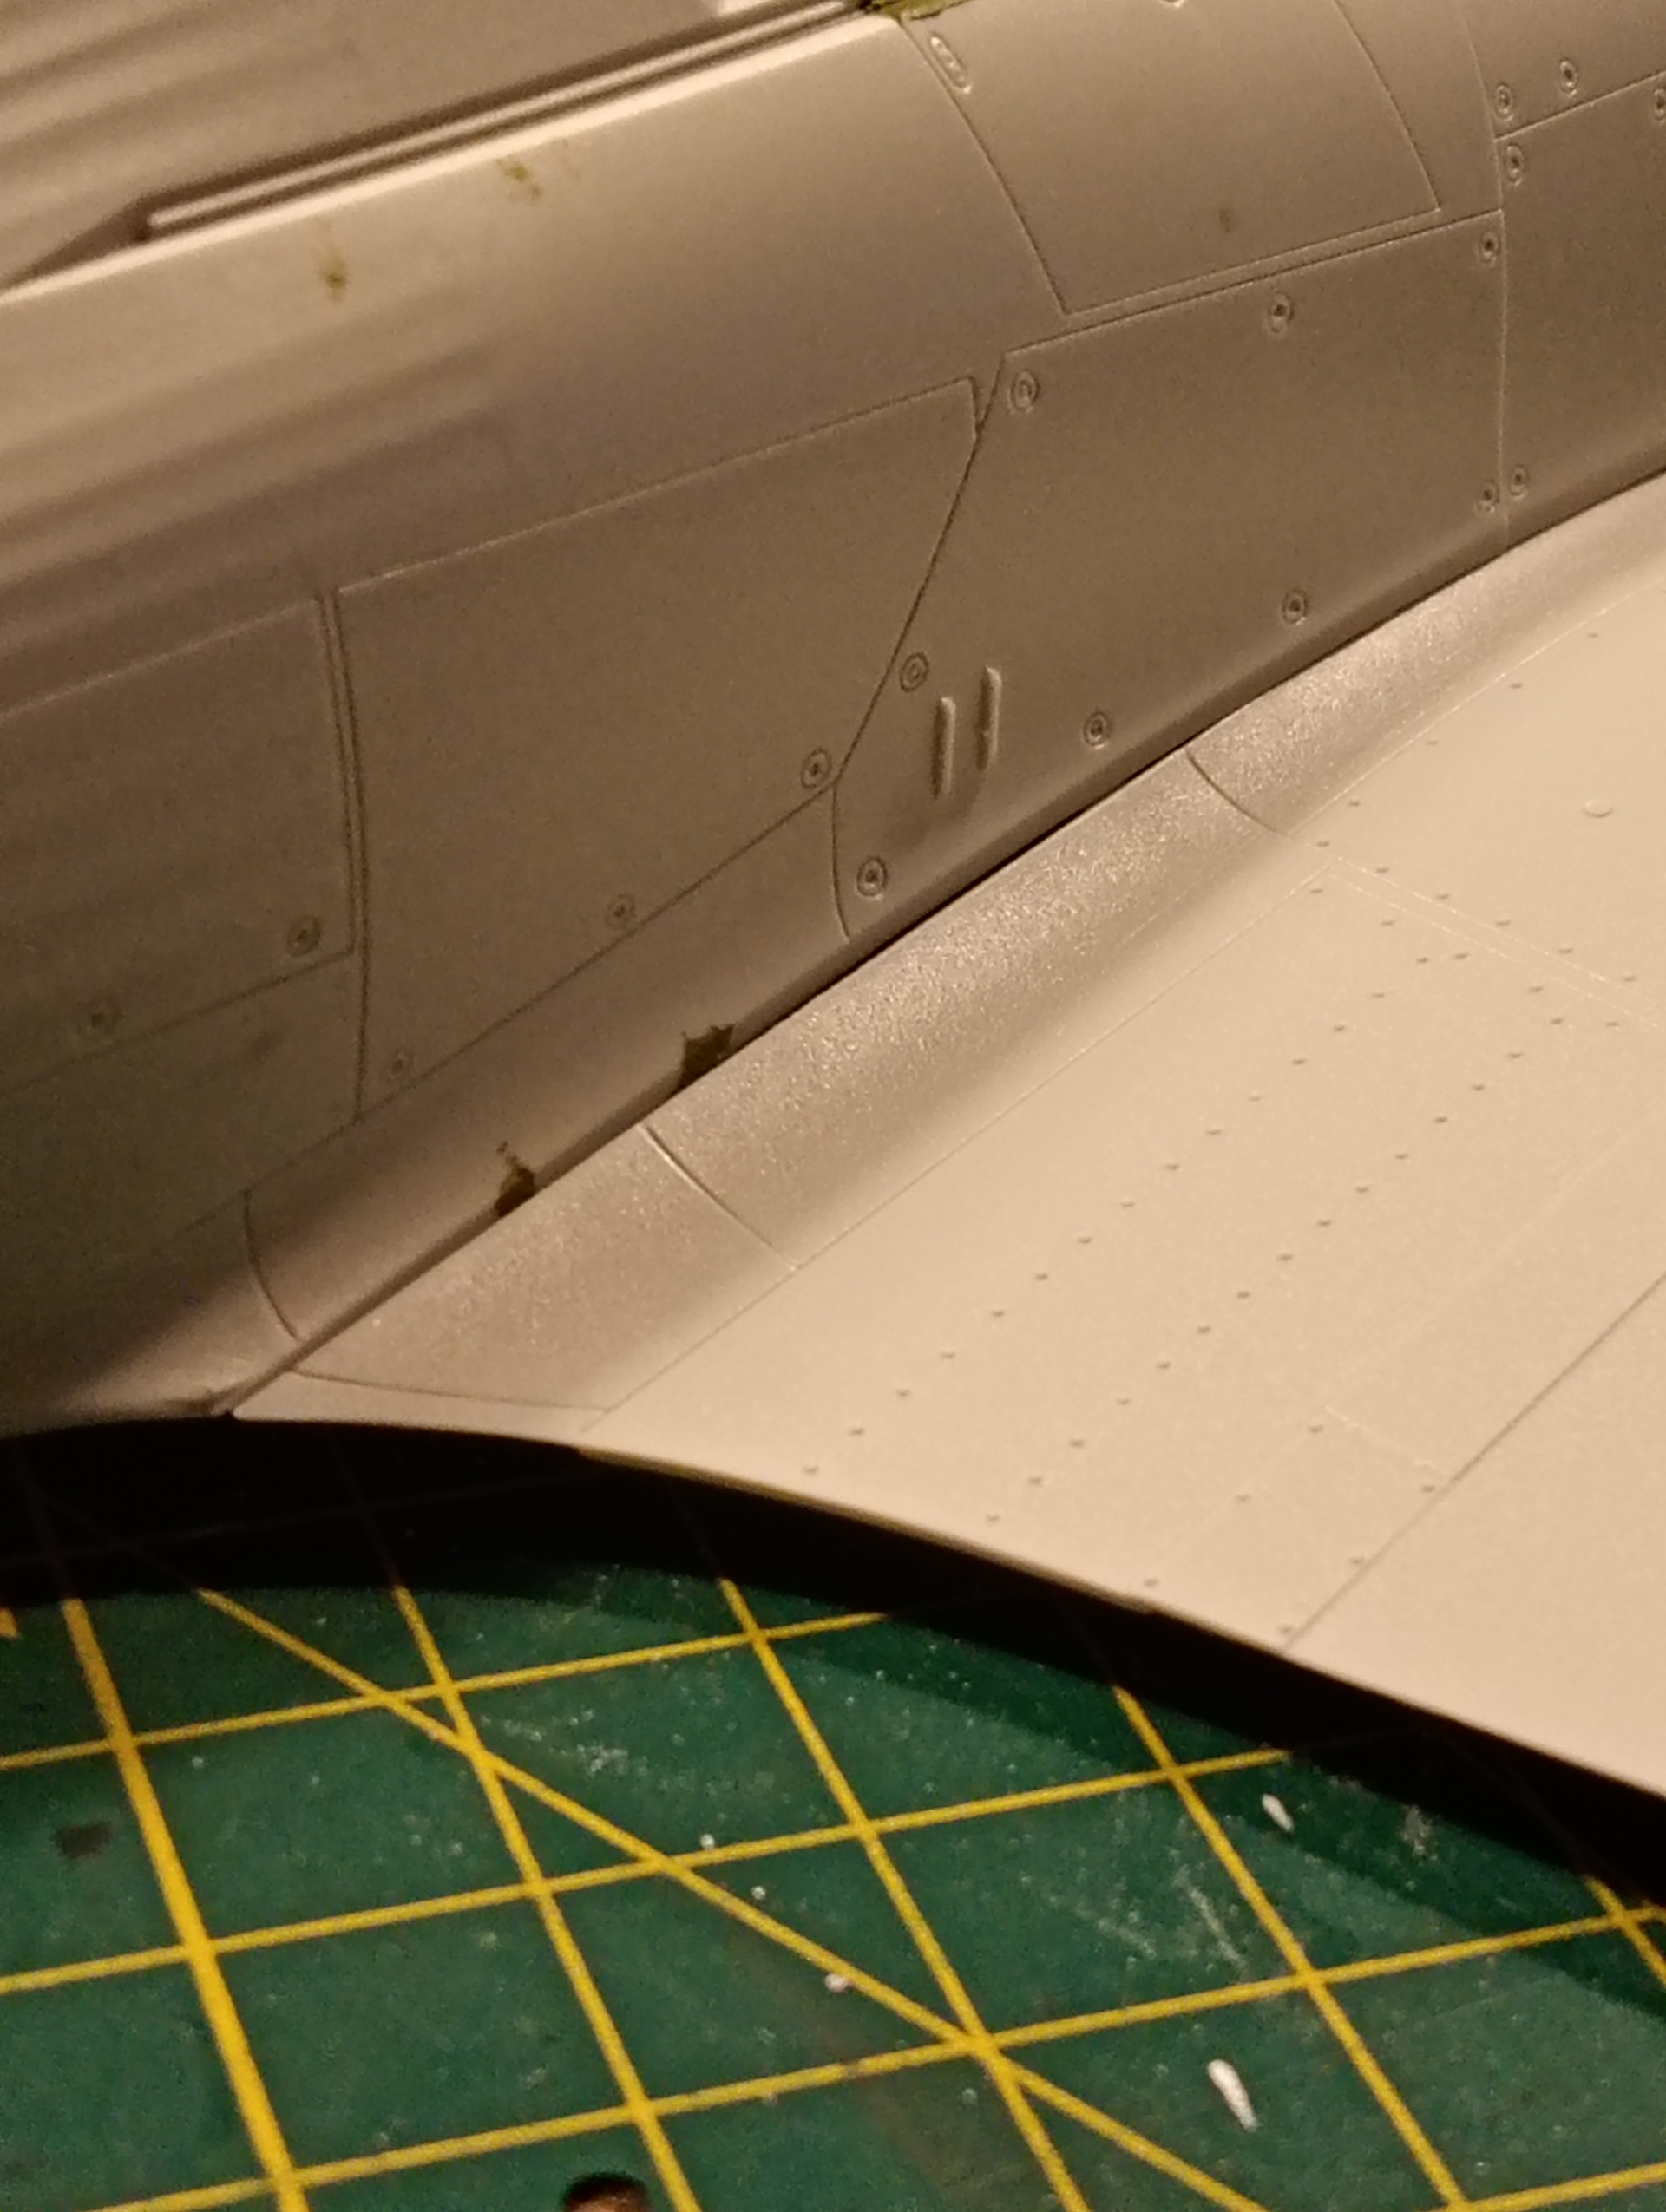
Issues carry on to the front curved area and although this is slightly more pronounced as it’s not glued and it does go a tad, but no where near enough so there is a big gap along all surfaces and the curved section from fuselage sits a lot higher.
Same issues on the other side… I think this will require some inner surgery and the filling and sanding…
Oh, and assembly of fuselage and wings was fine and everything was matched up and as it should have been.
7 Likes
This kinda crap is what makes building airplane models so frustrating, especially after finishing such a nice cockpit.
Will filling the gap affect the dihedral of the wing? Good luck making this work.
Cajun 
1 Like
Can you stick some sprue gates inside to spread the fuselage out to help with the gaps?
1 Like
No, the fuselage seems ok and the correct width. It’s the wing section that appears to be the fit issue. I am going to explore either sanding back along the wing roots and or removing some of the hidden unseen cockpit tub assembly
2 Likes
That’s quite an annoyance I know just too well as I mostly build aircraft. Is there a part of the lower cockpit that gets in the way of perfect fitting? Especially at the leading edge?
If you need to fill and sand the gap, don’t forget to use clear tape alongside the gap not to destroy the panels. This is how I do it, here at an Eduard Bf 109 F …
Good luck with your repairs!
Torsten
6 Likes
Thanks Torsten, I have seen yours and other using the tape to protect the panel lines, so I will definitely be doing that.
1 Like
It does seem like something inside is fouling something, I’d check areas between the cockpit parts and the wheel well it may just need a bit shaving back somewhere, I’m interested to find out what as I just ordered the MNF Hurricane IIb myself (which is basically this kit with a few 3D printed parts.
Keith
1 Like
Yeah that was my initial thought so I looked at it from as many angles as possible, and also putting a thin layer of play doh over the lower section and then marrying up the fuselage, but still couldn’t see any telltale marks where it was fouling.
So, I carefully removed some small areas that may have been causing issues then fitted the parts together and decided to glue individual sections at a time and let them set before doing the next section.
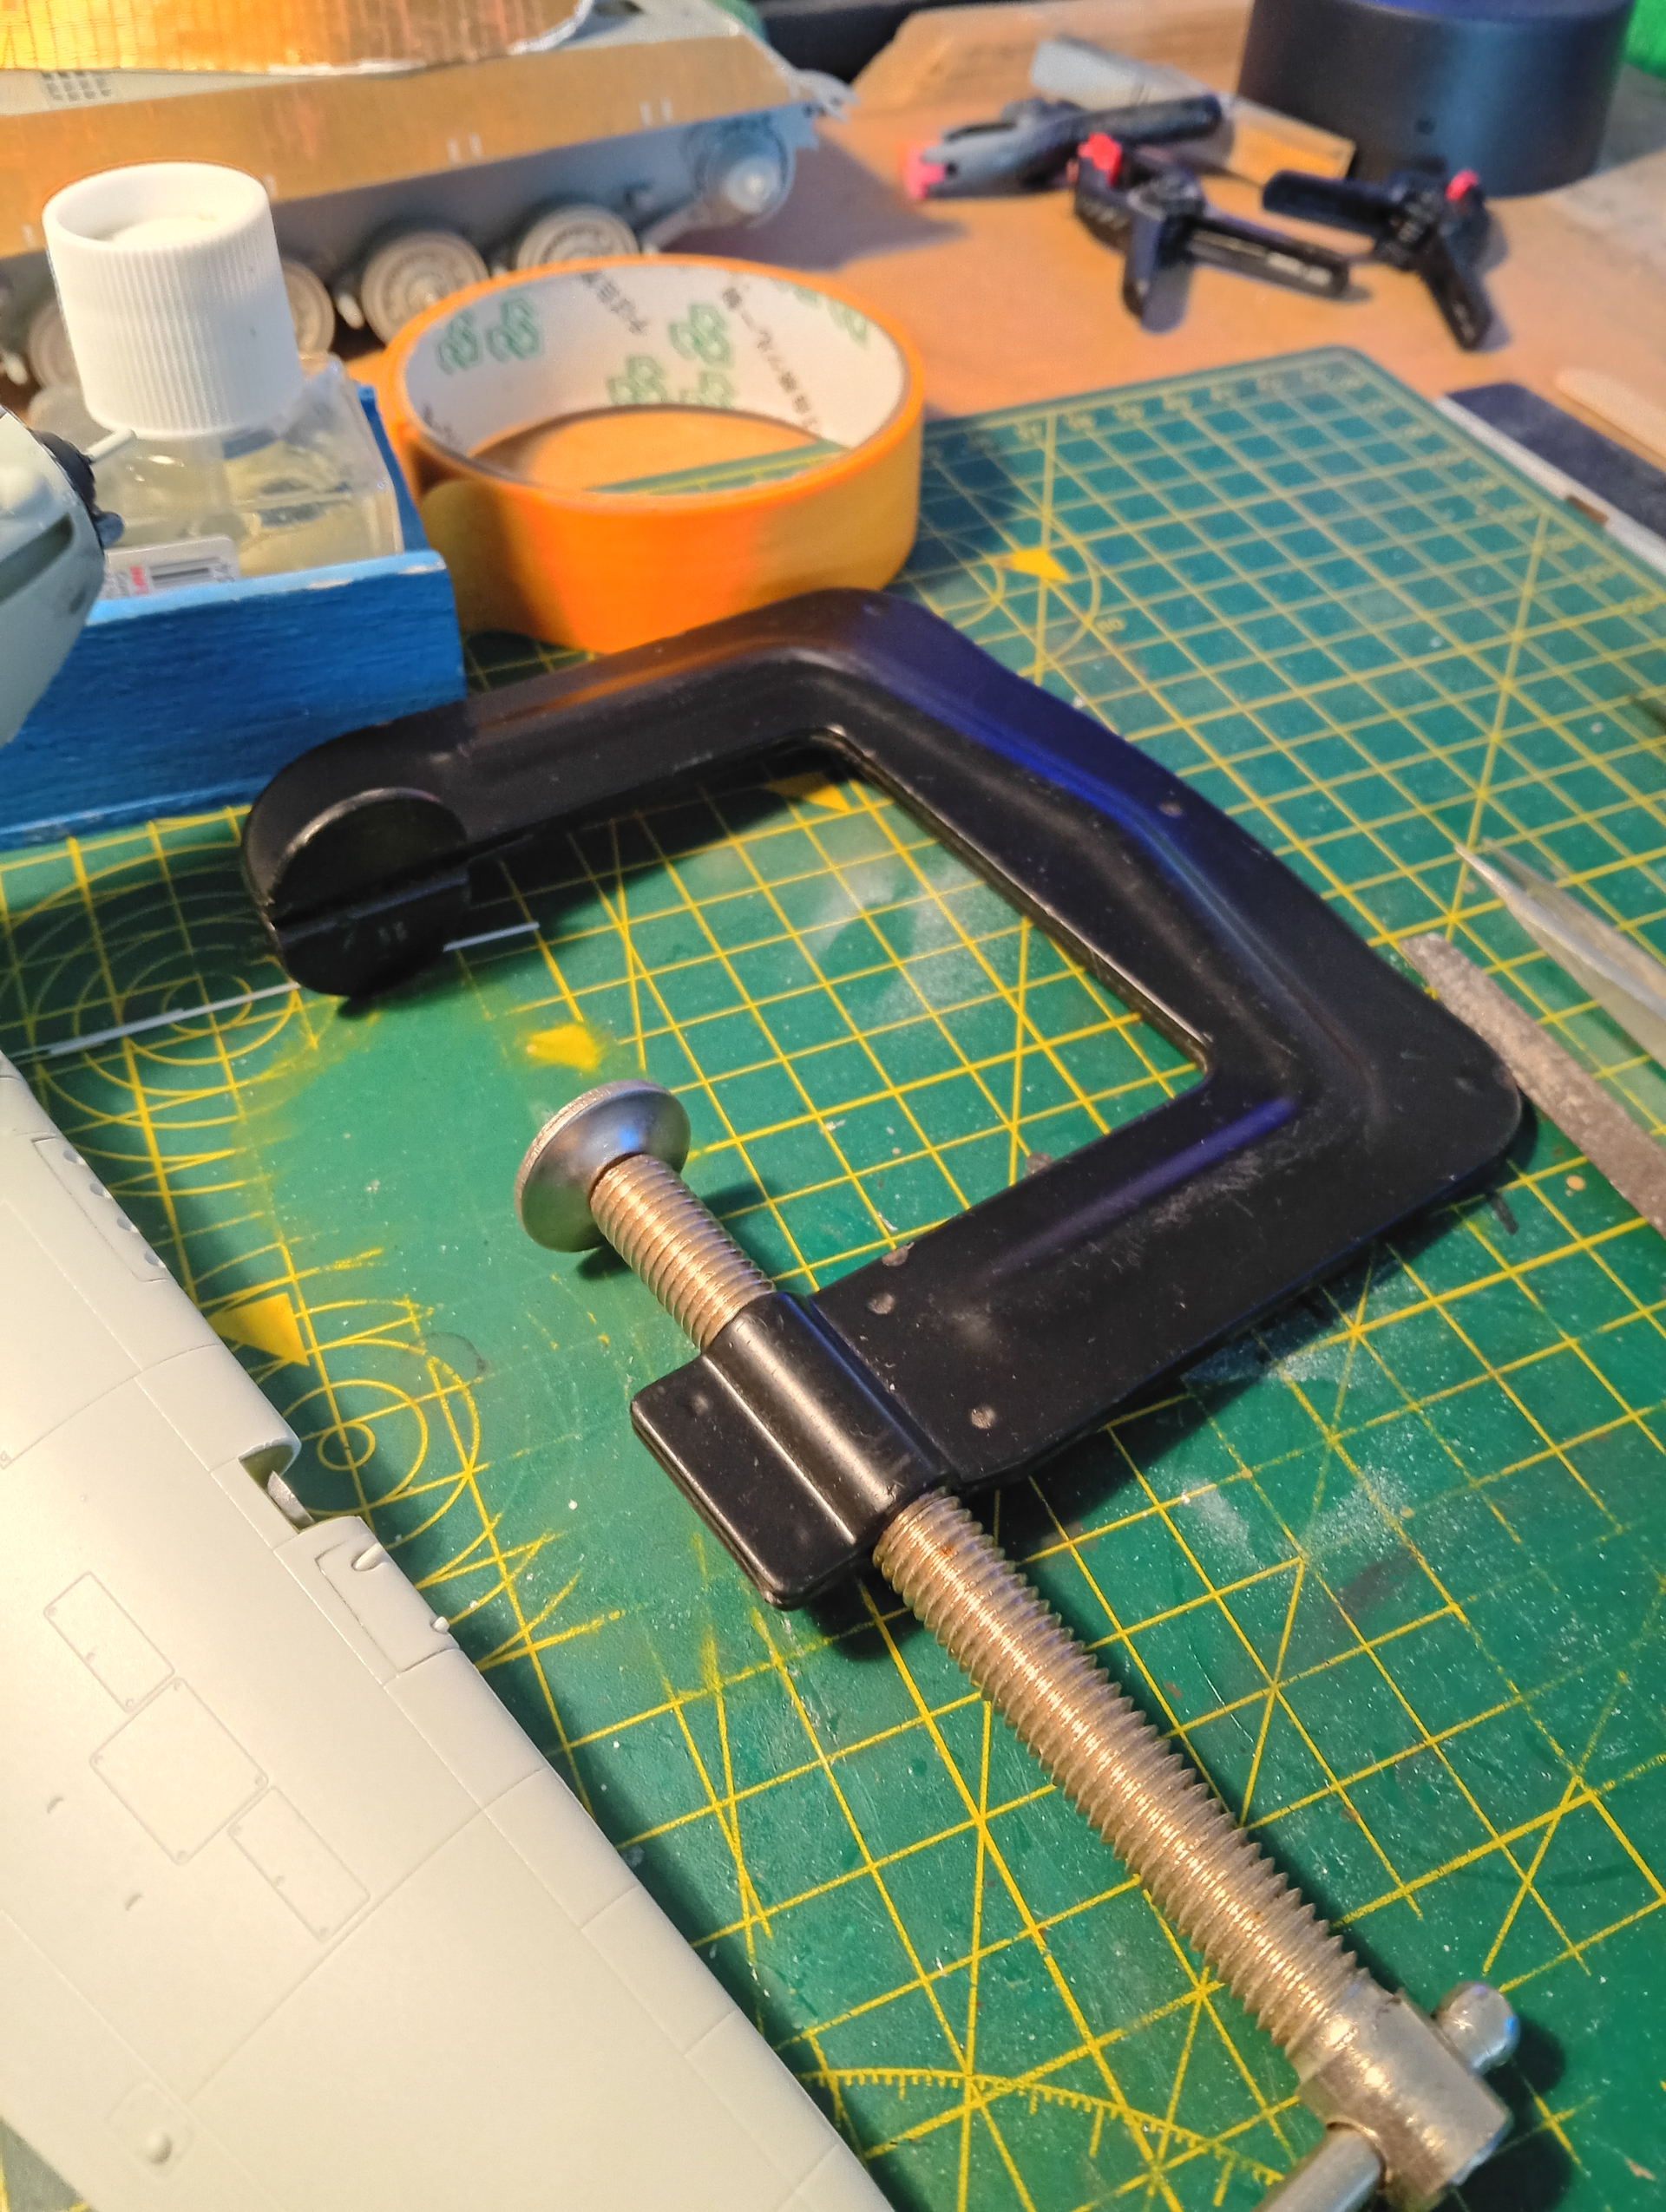
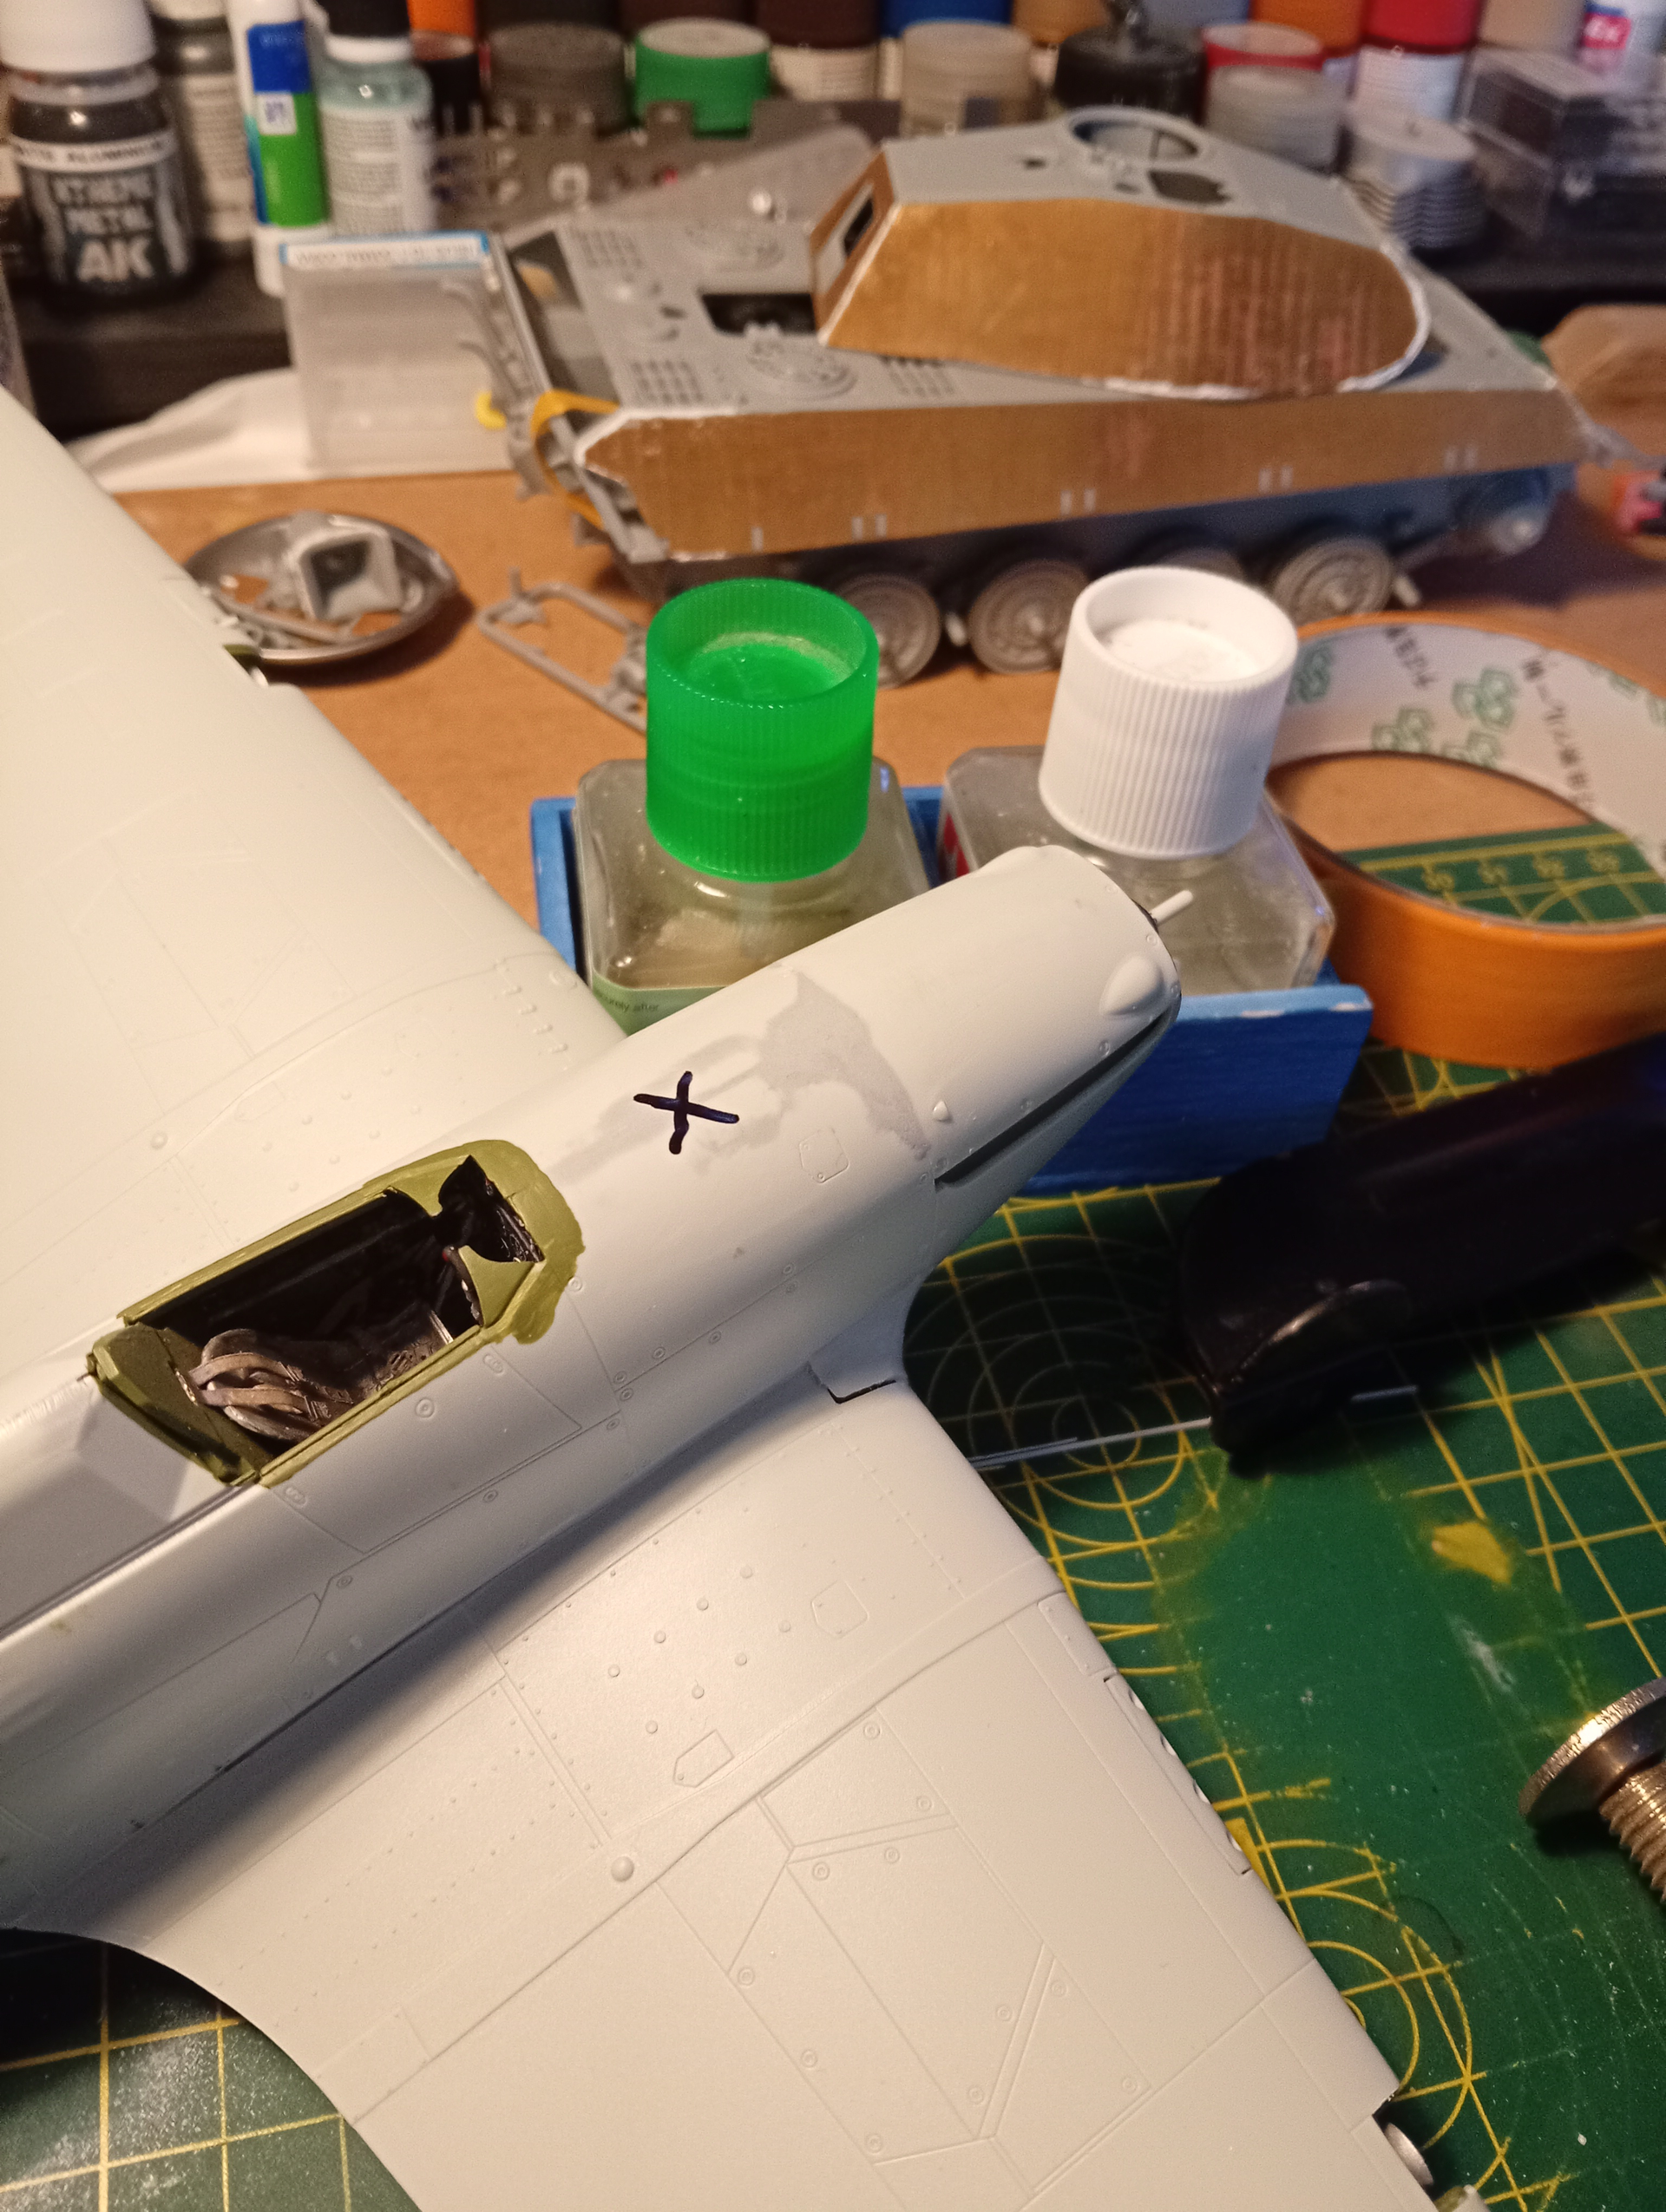
I used a g clamp from the garage and secured the front section as best as possible, although it still leaves a lot of filling and sanding, mostly on the starboard side on the front curve on the wing root.
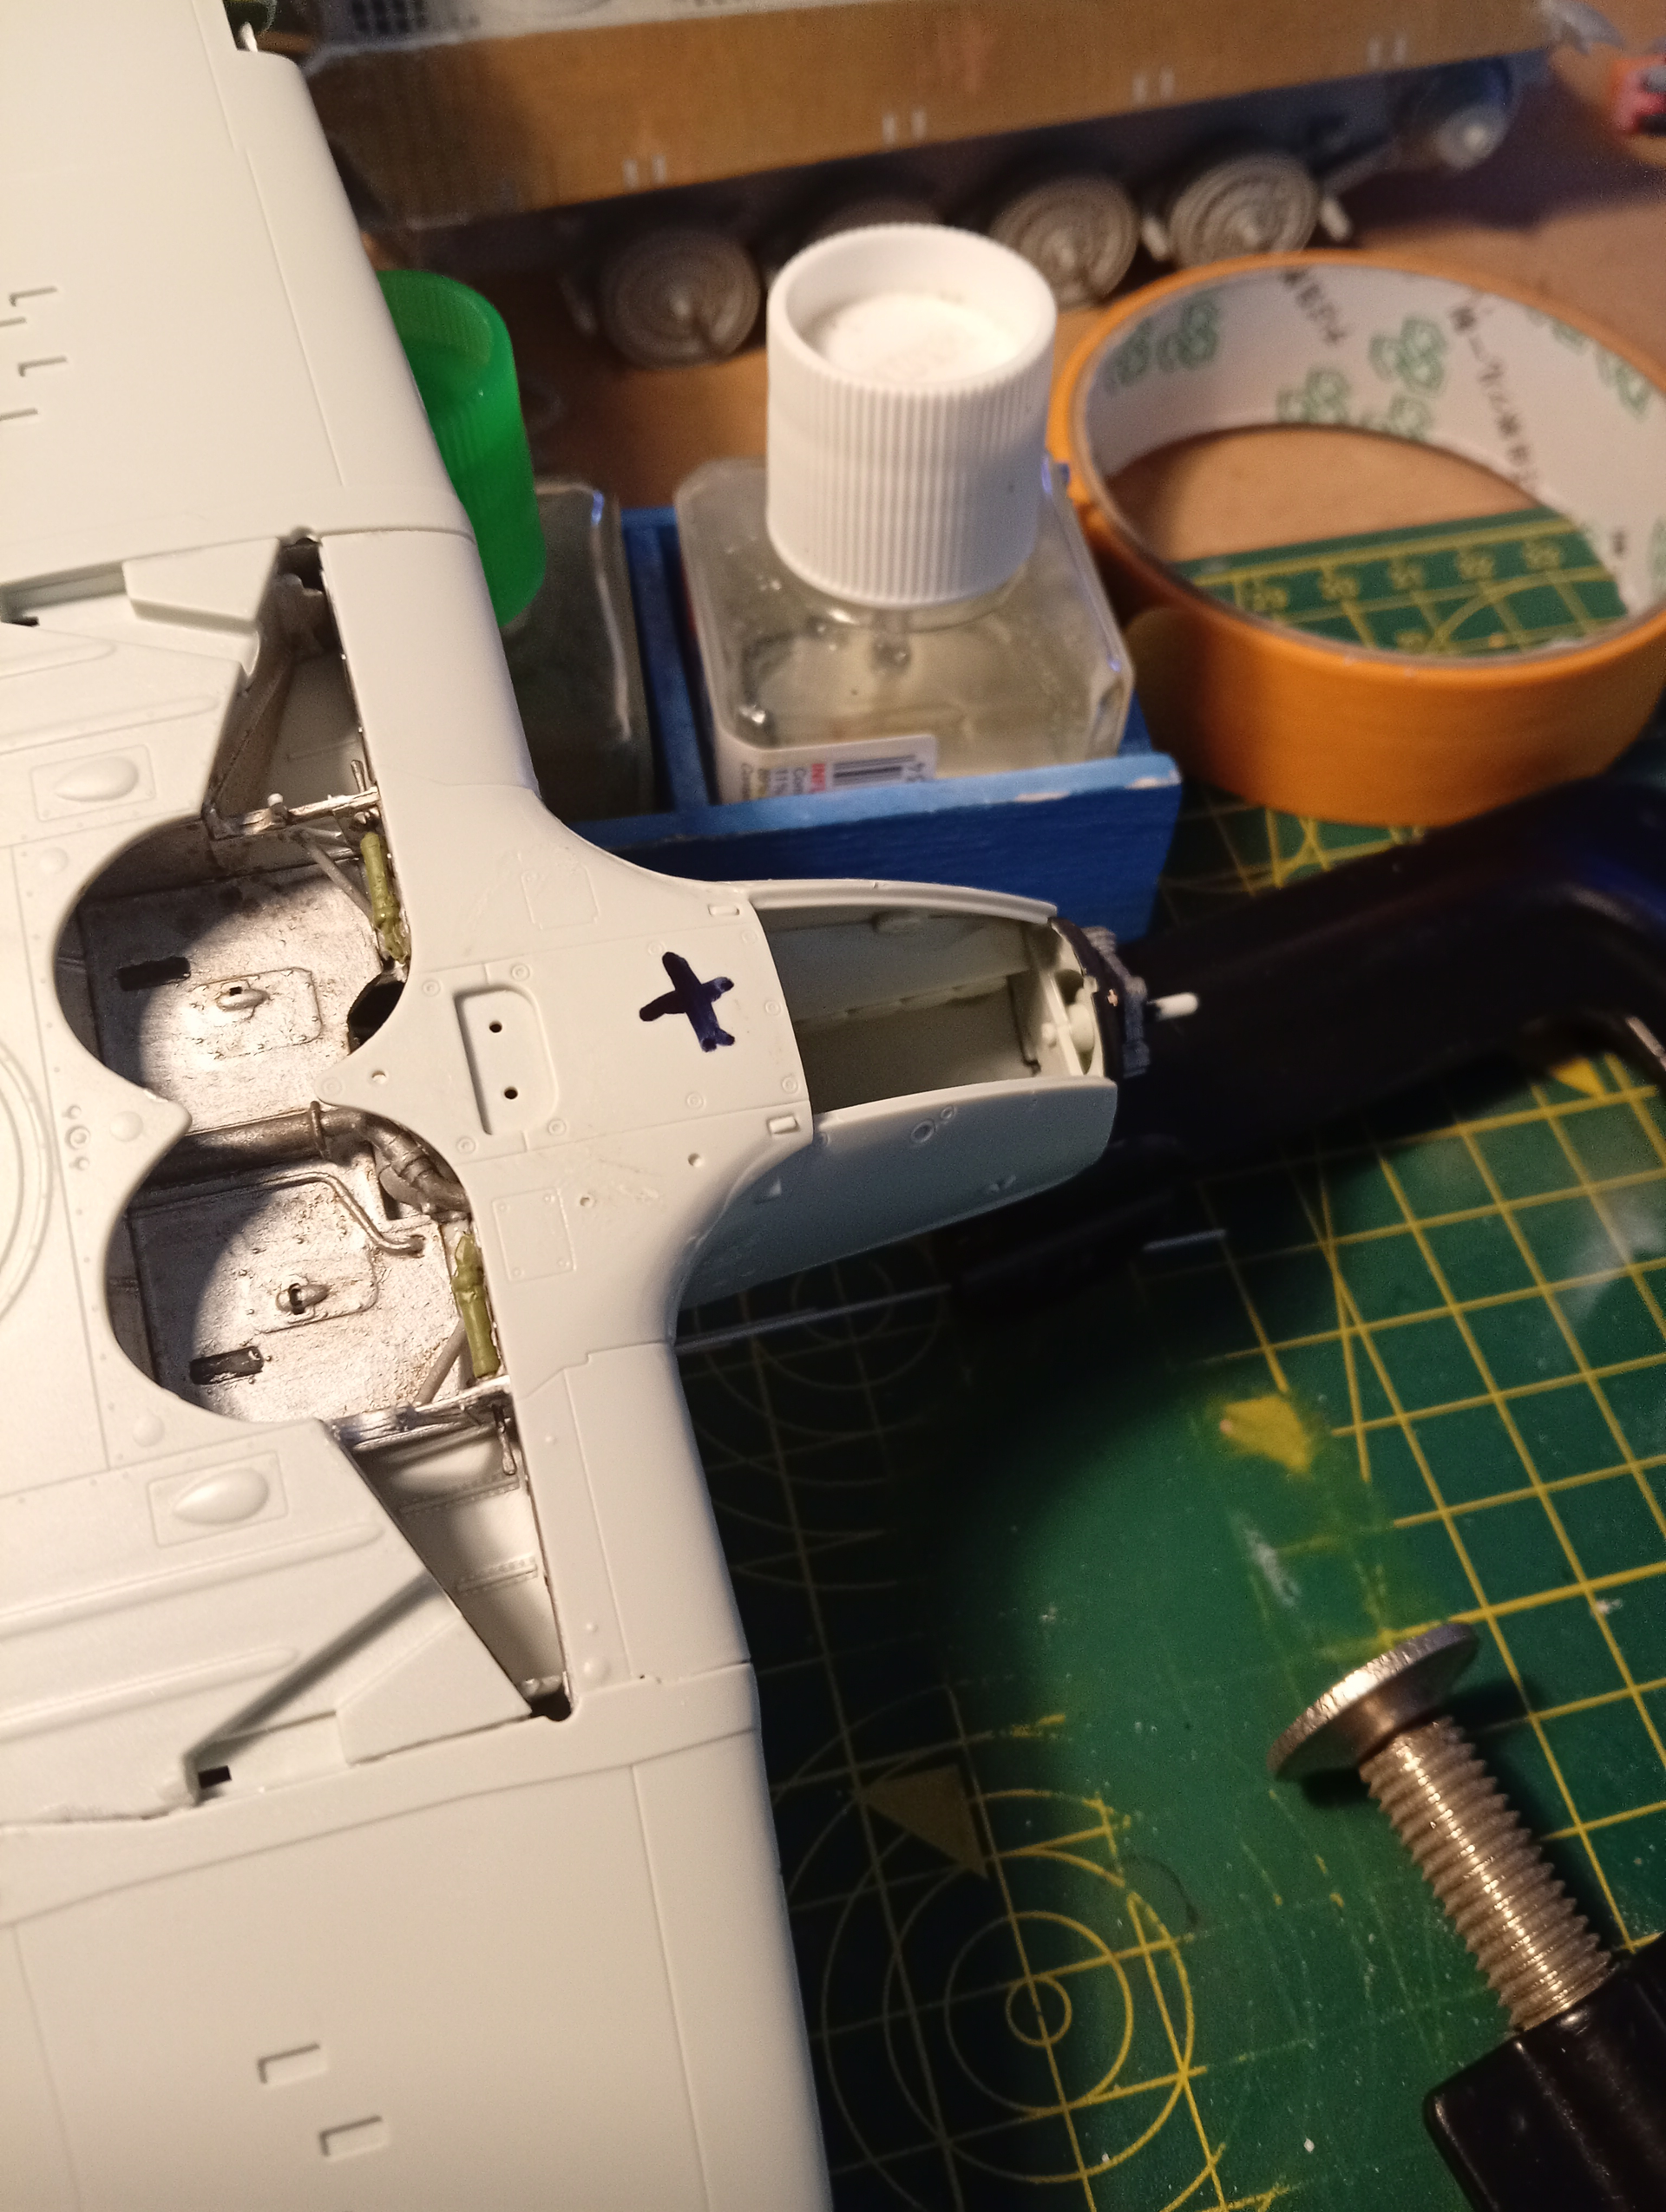
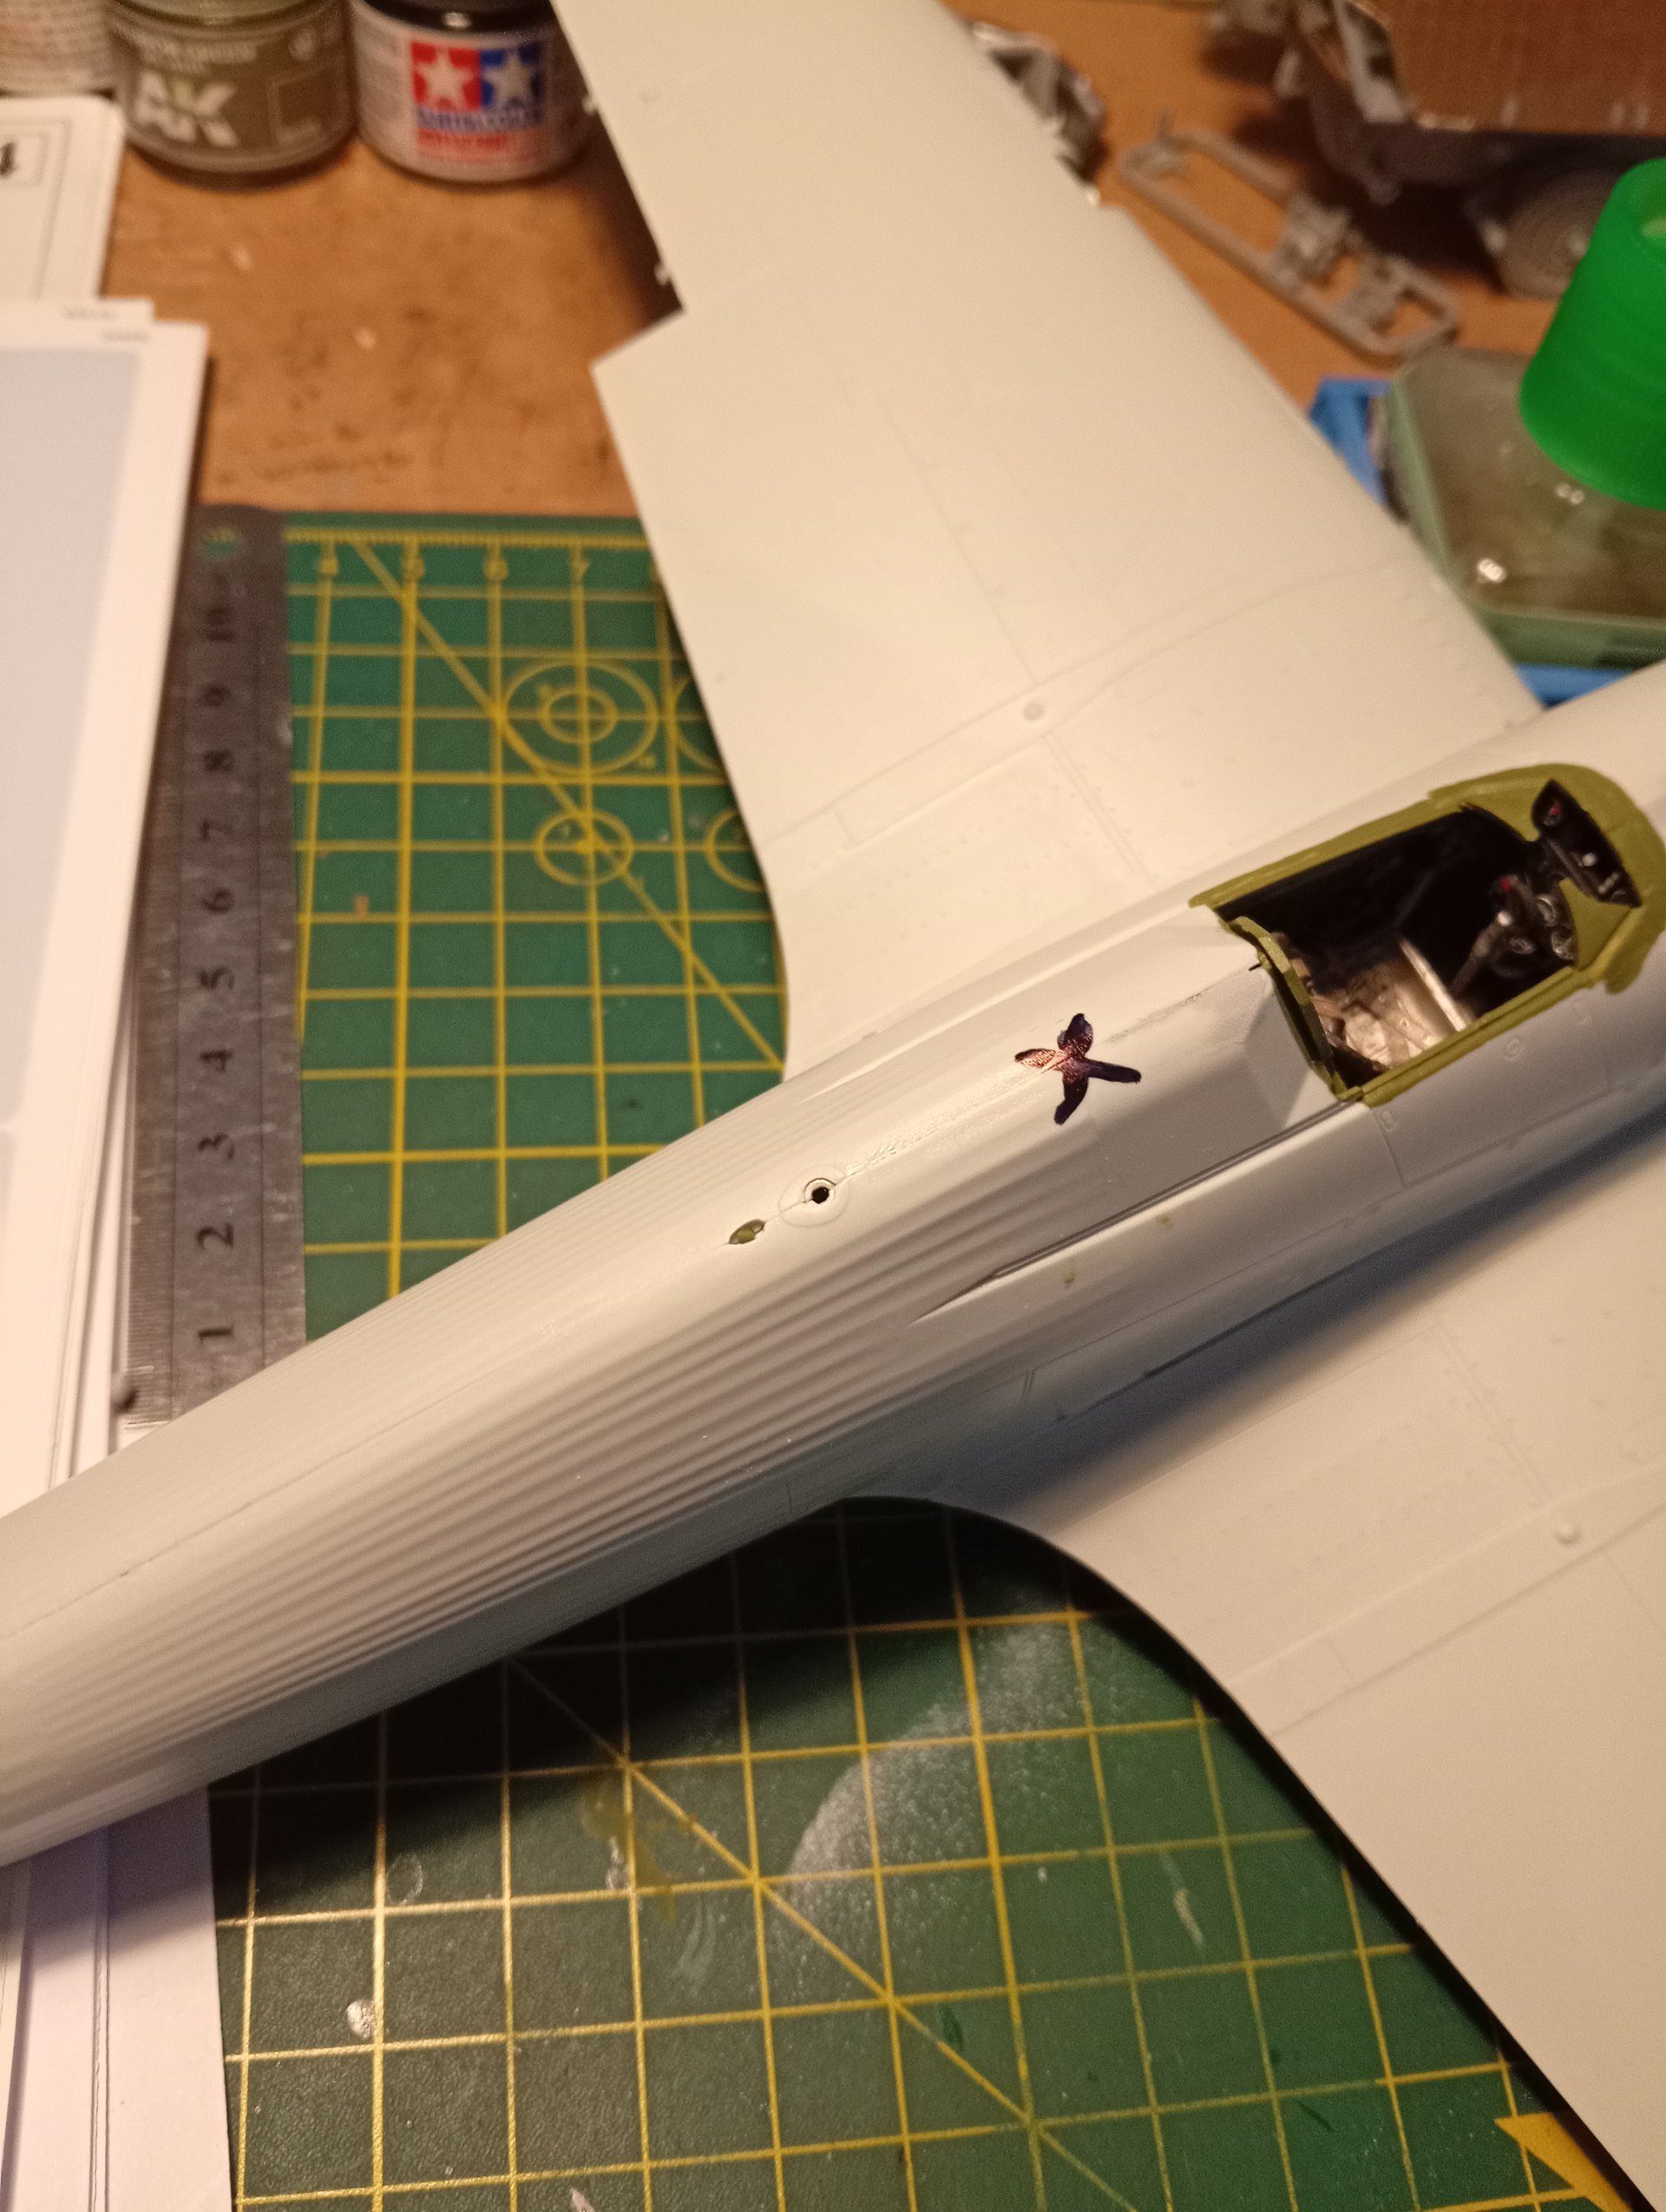
The X is where the g clamp went on the front, then after that set, on the rear which actually fitted with no issues.
Front clamp points.
And rear points.
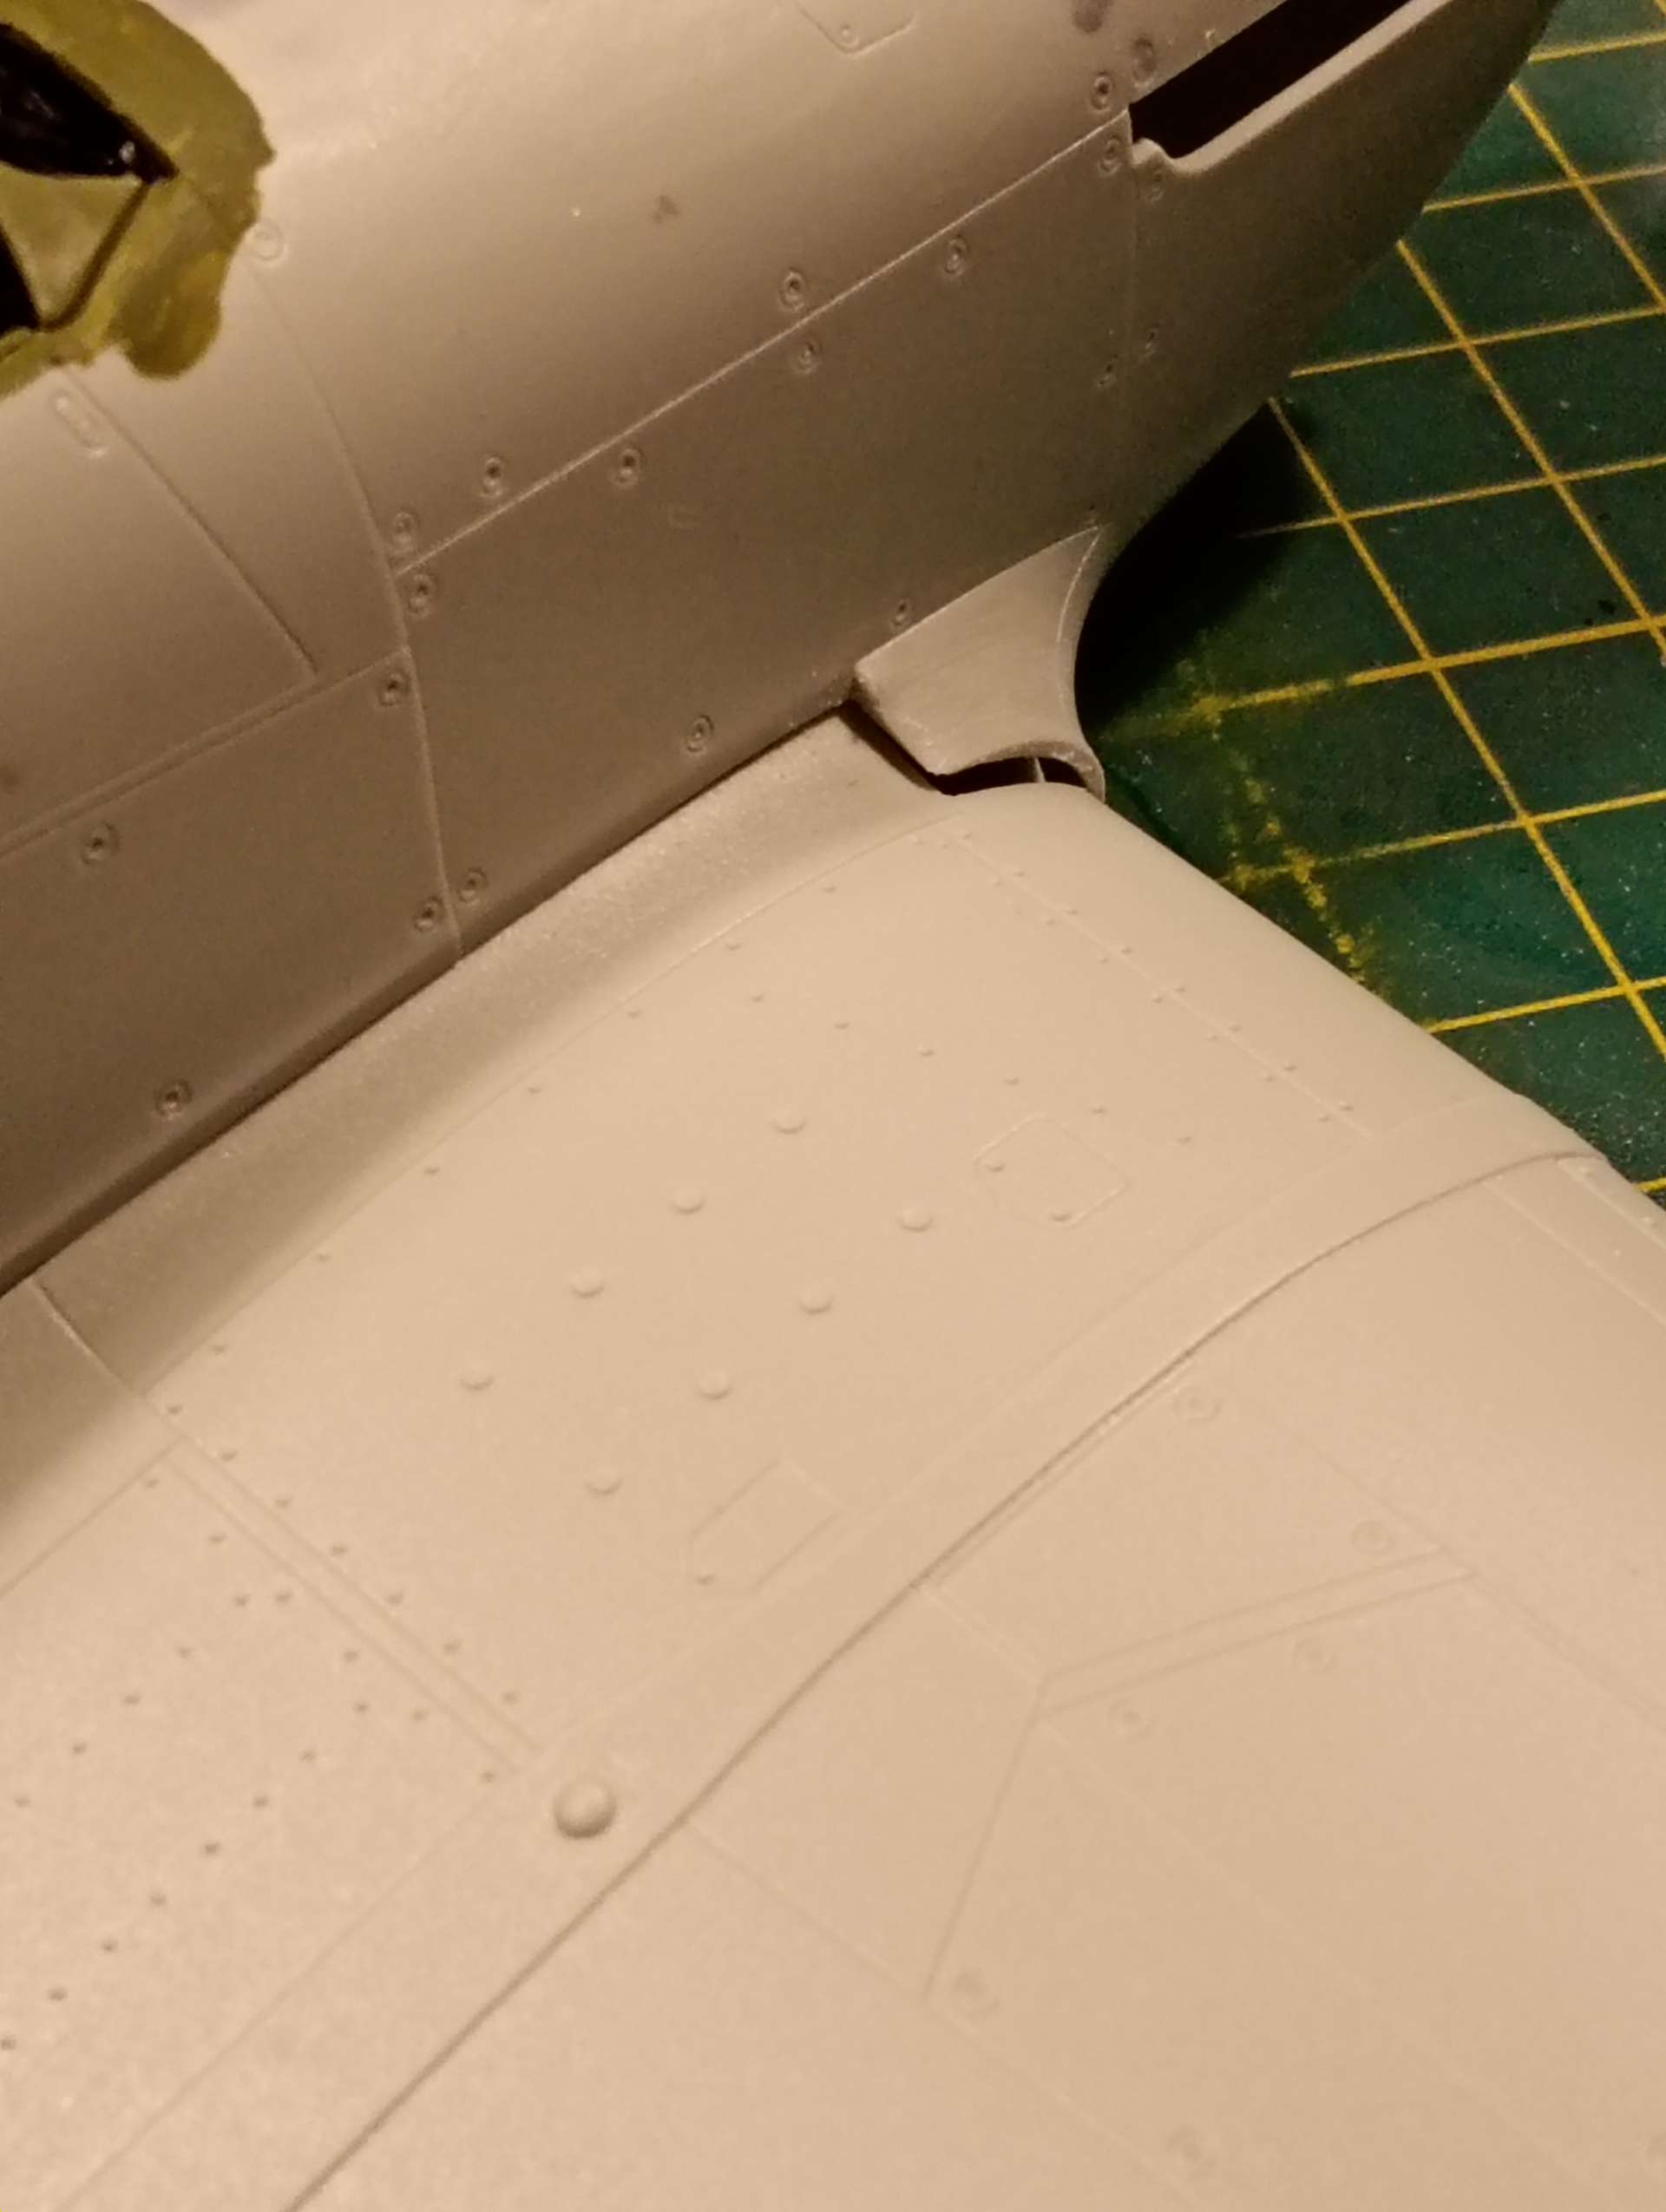
And the areas of concern after it’s all set.
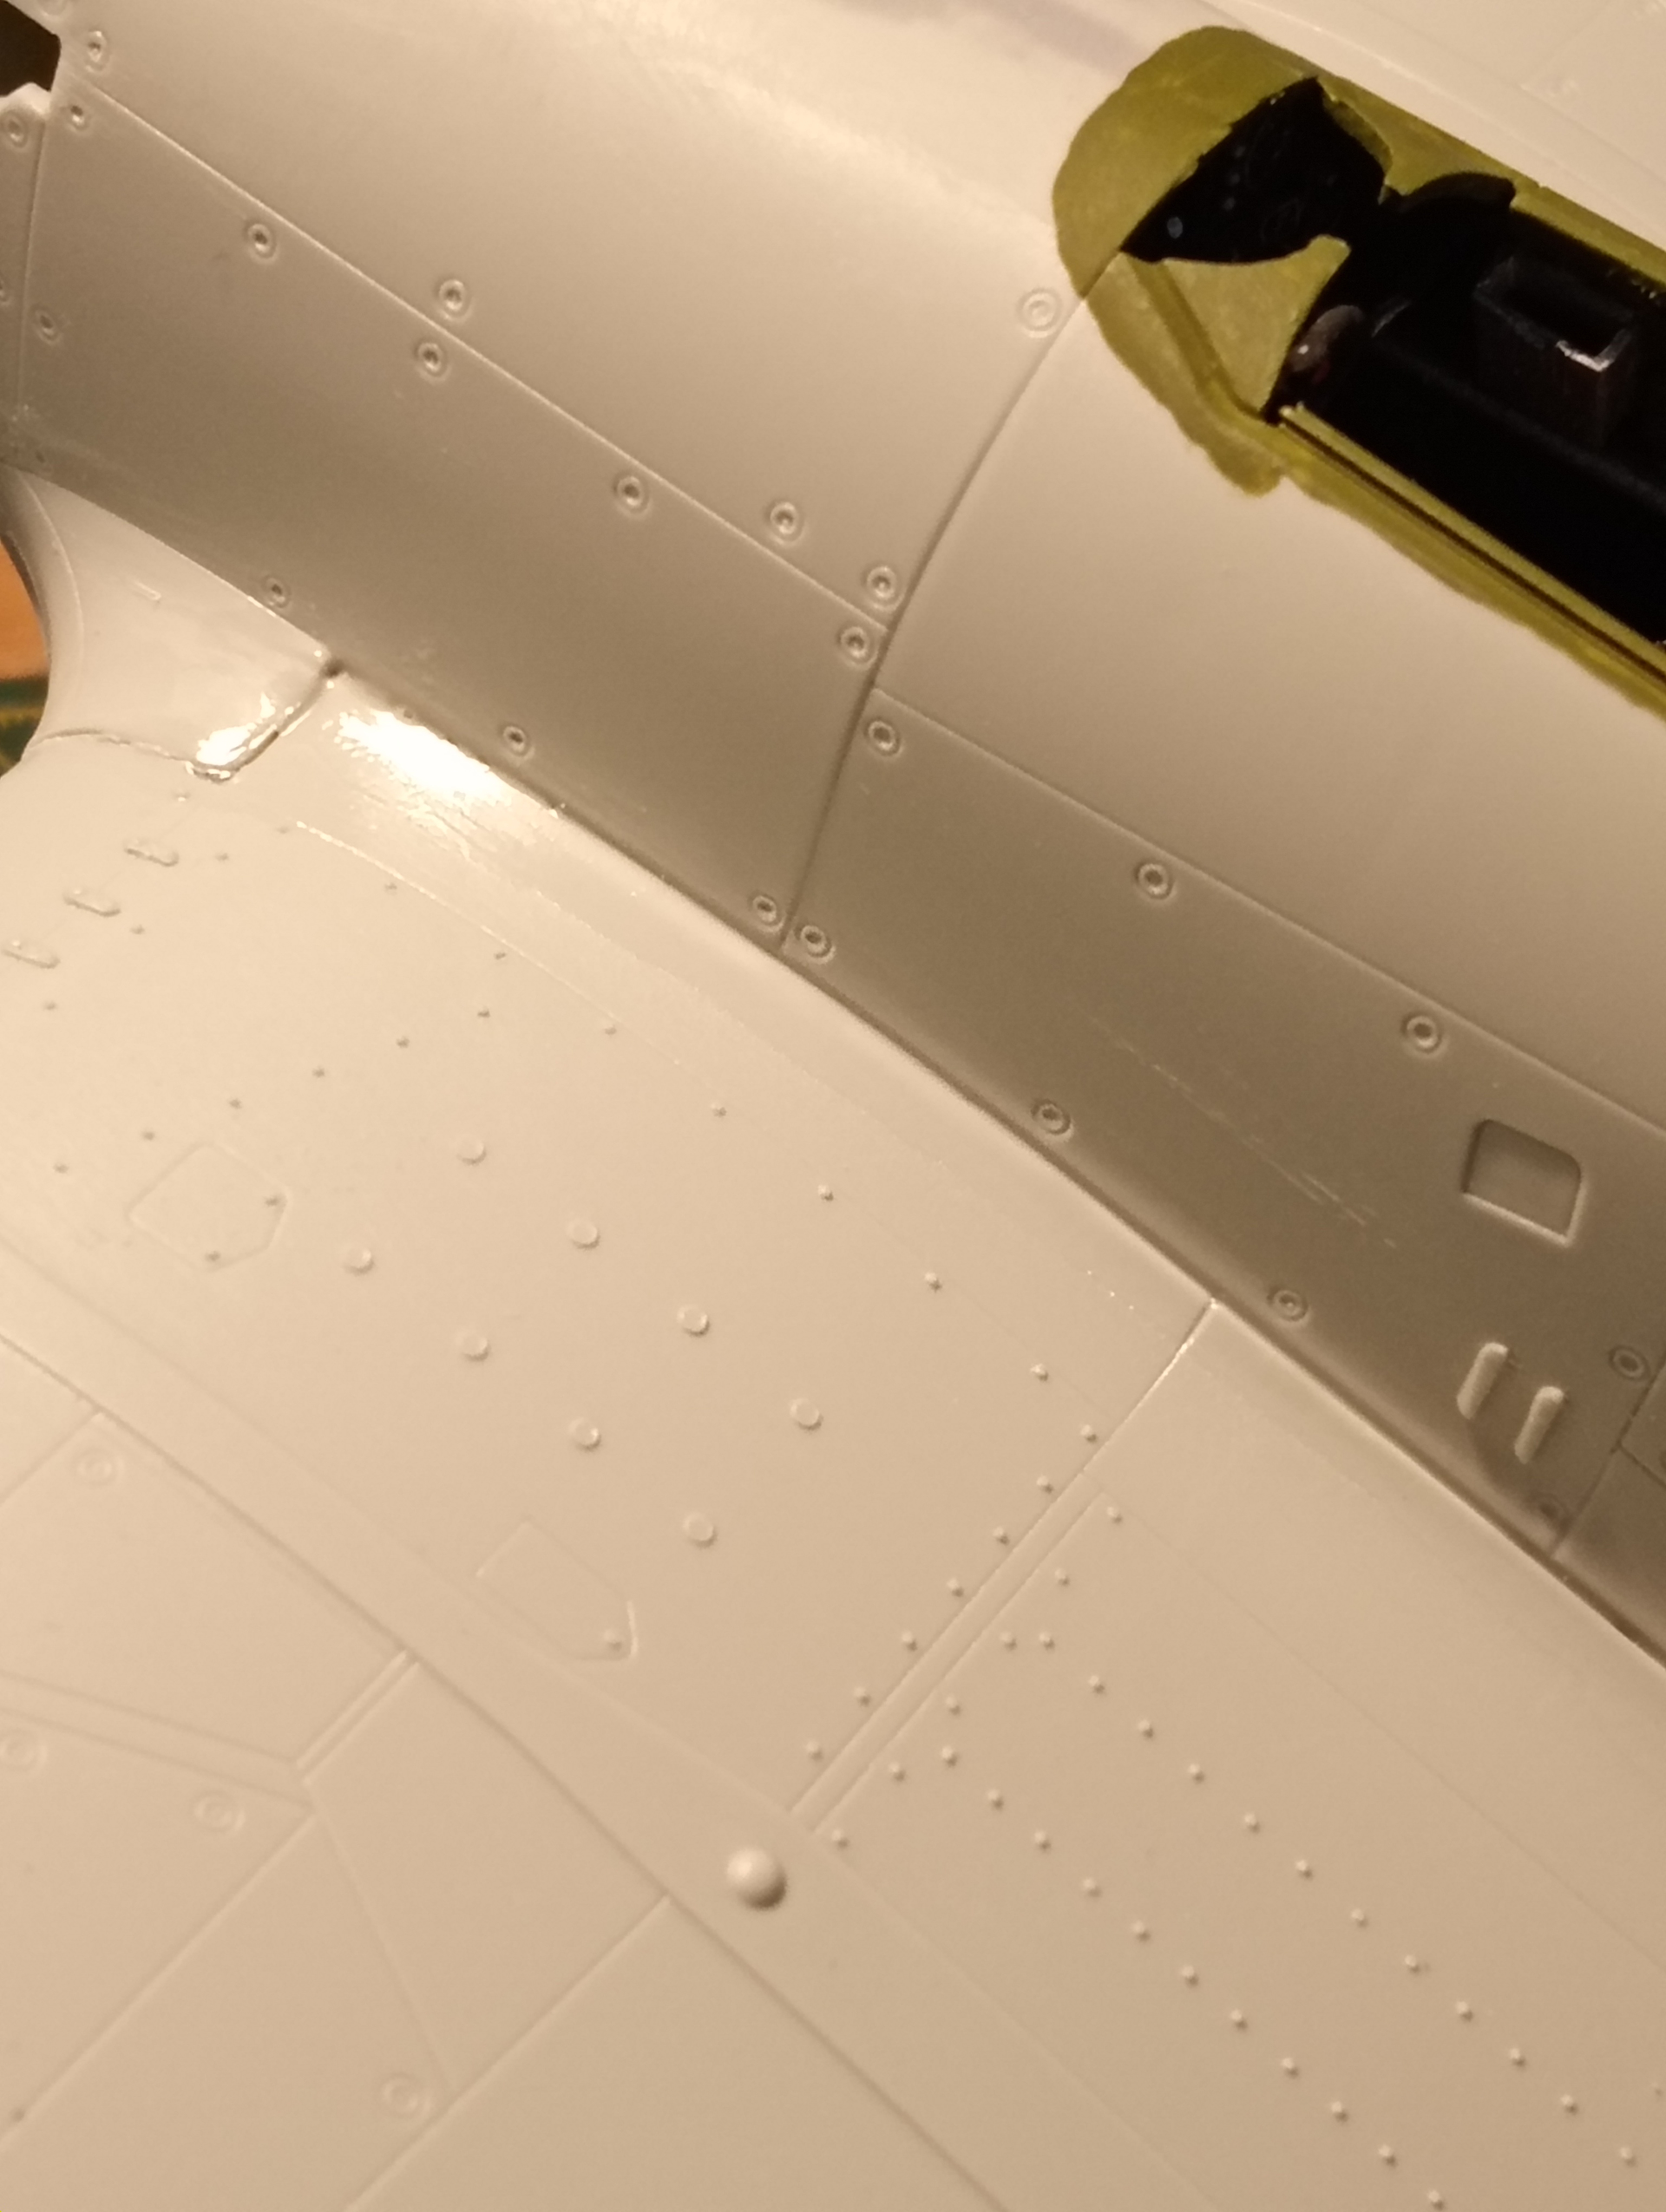
Starboard side requires the most work from most of the wing root to fuselage wall needs building up by about 1.5mm and the front curved with gaps and filling and then sanding back.
Also, some work is required around the gun ports to smooth those out.
The Port side of the wing root requires less work …
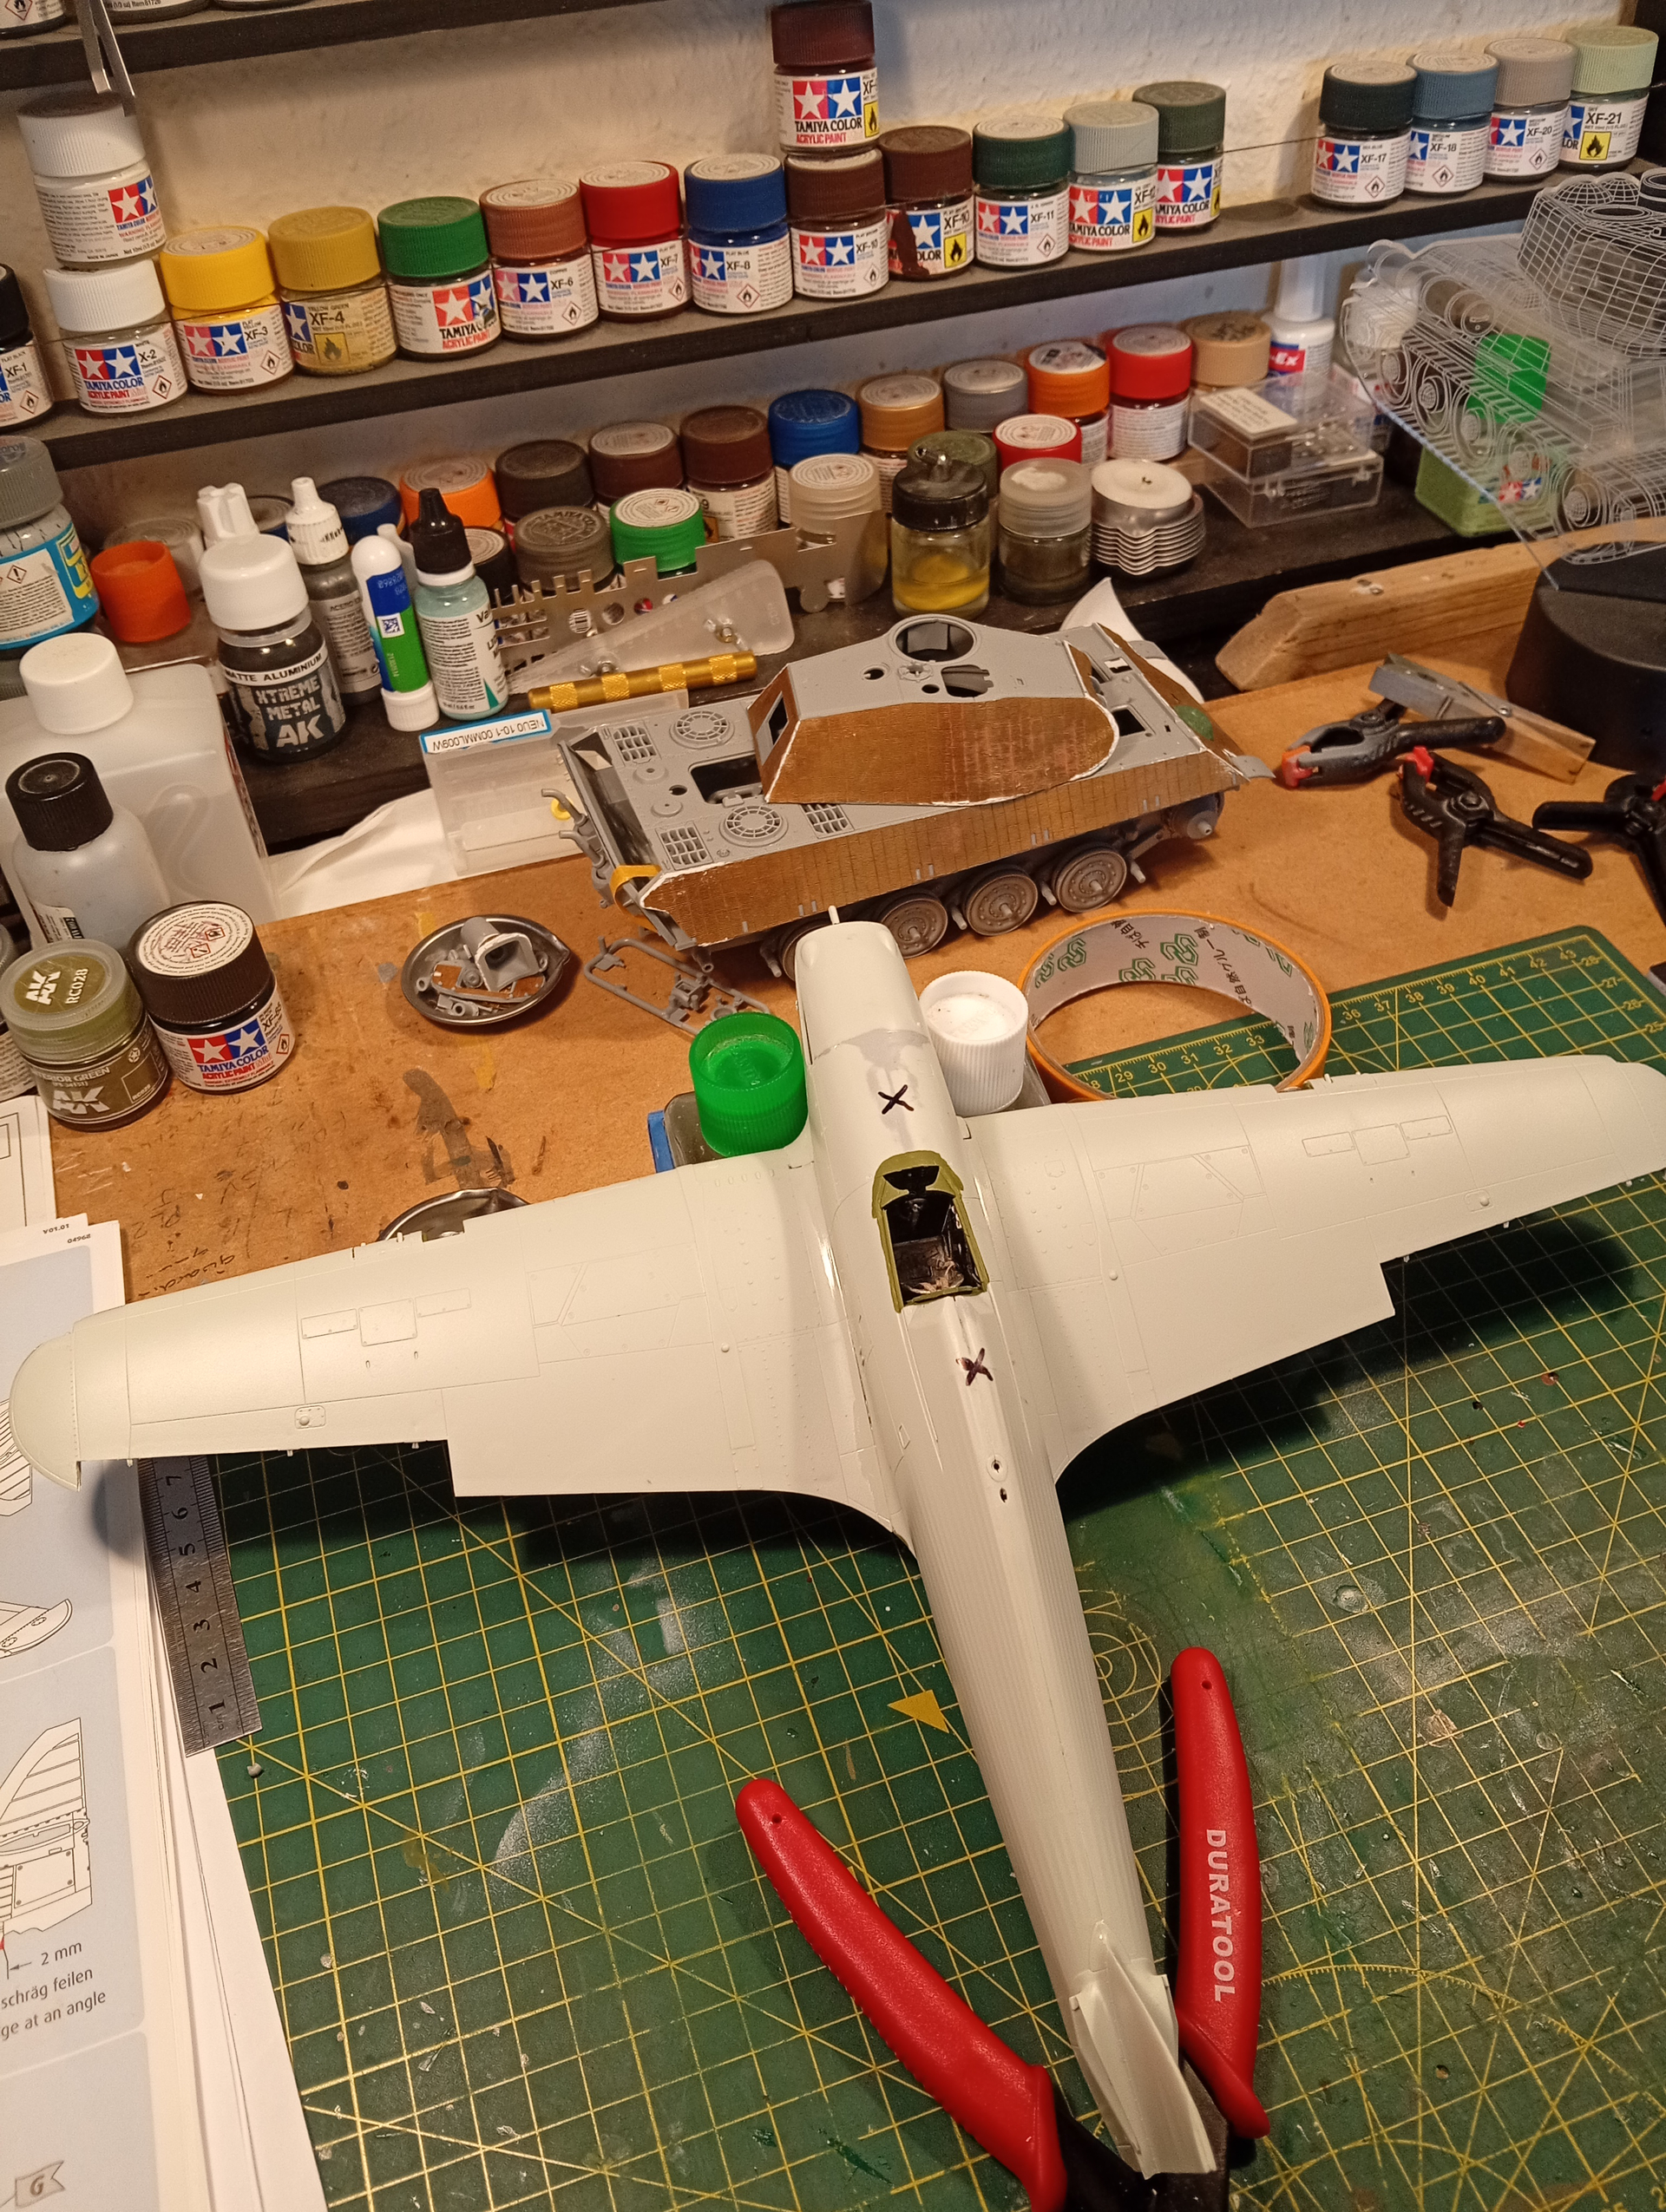
And where we are now …
Compare the 1/32 Hurricane to the 1/35 KT to the rear.
5 Likes
Johnny… Getting the big boys out!
Judging by that I think the first thing I’ll do is clean up and dry fit all the main components and go from there. Thanks for the warning
1 Like