I bought these kits on Holliday

I bought these kits on Holliday:


My first thought when buying these kits was, I want to replace the rubber and flexible tracks that are included in the box with after market tracks. My first thought was to buy Friul Model metal tracks. But I’m not planning on doing weathering on them. So might it be a better idea to buy other after market track sets?

I also thought, I have never worked with these brands and manufacturers in my life. So this offers me new learning opportunities to improve my scale modeling skills. But, what products would I need to buy in order to be able to make these projects succesful and actually learn the stuff that is necessary to complete the kits nicely?

I’m planning on using the experiences that I have gathered building my Sd. Kfz. 9 Famo from Tamiya as well.
But this project is still not done, because of airbrush problems you can find in a variety of my topics I posted here. And I probably getting this problem sorted only this week. If I manage to get to the shop to buy the necessary airbrush products such as spray gun to complete the project that is currently on hold.

The last and final point to note. With the Academy Tiger I’m getting introduced to applying Zimmerit coating on my model. With a tool that is provided by Academy. But I have never ever actually done this before. And I’m thinking I can use all the help I can get to actually bring this new technique usement to a good end.

I’m hoping you can help me with these new things. I’m seeing these projects as learning opportunities to improve my scale modeling skills. But I’m in need of help in order to achieve this. Thanks in advance.

6 Likes

I would definitely avoid the AFV club kit for now. They are great kits but can be a tad complex and fiddly to build. I would start with one the other two.

I would decide what you want out of your builds. A set of aftermarket tracks will likely run $20-40 which is the cost of a new kit. If you are trying to learn new skills and don’t care for a perfect build the tracks might not be worth it right now.

I am no expert at applying zimmerit, I’ve only done it once but I think it turned out okay. I would recommend doing it as the first step. Cut out all the pieces that need zimmerit and apply it before adding detail. It will be much harder to apply if you have to do it around tools and such. Remember to mask off anywhere large parts will be placed or they might not fit after.

I do my Zimmerit by mixing wall spackle for dry wall with white latex paint till I get a smooth paste. The paint thins the spackle allowing it to spread easier and adds lots of strength to the mix. Without the latex in the paint the zimmerit is very brittle.

Here is a Stug I did homemade zimmerit on. My next project with zimmerit will be an Elephant.


Nice haul

6 Likes

Nice Haul! Several interesting kits to build.

As @Mead93 mentioned, I favor the simpler kit to build first and save the AFV Club kit for later.

What type of tracks come with the JagdPanther?

Lots of ways to do Zimmerit for the Tiger that will be a topic to research and test techniques on before committing. A few of my pet favorite zimmerit methods are:

  1. thinned Molak Stucco Putty or thinned Tamiya Basic Putty and application pattern with Tamiya’s Zimmerit tools.

  2. Milliput Superfine rolled thin and textured with small screwdriver

  3. The resin Zimmerit sheets like ATAK & Calvalier’s are also outstanding if one doesn’t want to make the Zimmerit.

5 Likes

I’m well jealous of the Sdkfz11; I’ve made this kit and it’s really a good representation. I wouldn’t mind making another some time! Mead93 is right though, AFV Club kits are for the more experienced modeller. Having said that, they do their own indy links for the tracks on this vehicle, they are the same for the Sdkfz251. I’m in the UK, so would probably get them from Hannants. Having said that, IMHO the rubber tracks on AFV Club models are probably the best on the market, so I wouldn’t be rushing to replace them.

1 Like

I like the resin Zimmerit - Cavalier and ATAK.
Ken

I will probably regret this but if your not planning on weathering the tracks then why not just use the kits tracks? To me it would seems like a waste to spend money on extras if your going to take advantage of the upgrade. Not saying you have to go whole hog with mud and whatnot but any track will have some type of weathering. Using kit tracks to practice weathering is seems like a good first step. Once happy with that then you can upgrade to aftermarket tracks with your new skill set. The good news with tracks is you can replace with aftermarket later if you want when your skill is to the level you want.

I agree with all the above and have one other suggestion for the Zimm, This should be easier then making your own or dealing with resin…

For the Tiger

And for the JadePanther

Good Luck and keep asking them questions!
:v: :nerd_face:

1 Like

Has anyone used these zimmerit decals? I’m curious how they are. I would be worried about losing the texture with paint

@Armored_Sprue Eric, that looks very promising. What’s the Zimmerit texture like? I can’t really make it out on my smartphone.

I have used the Monroe Purdue Zimmerit on my 1/48 King Tiger and loved it. It is laser etched paper with really good texture. I figure the 1/35 stuff should be just as good.
Ken

@tankerken Ken, thank you I will check them out.

I didn’t really like the texture of the Tamiya printed sticker Zimmerit. It works but definitely isn’t a first choice in my opinion.

Thanks so far for the replies.

@Mead93 First of all thanks for your reply. And thank you for your advice on which kit to start building first. I will take this bit of advice very gladly. So I will probably start on the Italery Jagdpanther kit first. And for regarding the tracks, you might indeed be right. It may not be worth it, because I’m wanting to learn from these builds. And it would probably be better to just start experimenting on included tracks, rather then spending a lot of money on expensive tracks if I don’t even master the technique required to get the most result out of the tracks. Regarding the Zimmerit application, I got some questions. First of all, if I’m cutting out all of the parts first to apply the Zimmerit on, how do I know which part belongs to which part number? And secondly, I have seen in the instructions that the Zimmerit paste should be half a milimeter thick or something. Will provide images of the instructions later to make sure I’m not making any mistakes. Since I’m wanting to do this right. Last but not least, I’m wanting to thank you for sharing your photo’s of your Sturmgeschütz to which you applied home made Zimmerit paste. Our of curiousity, which Elephant model are you going to build? I have build a Elephant from Revell 1/35 scale. But I’m not satisfied with the paint job I did a while back. Although I’m planning on doing some rebuilding project at some point in the future. But I don’t know exactly when.
Thanks again for replying. Much appreciated.

@Armor_Buff With the Jagdpanther come Rubber tracks that are gluable together, according to Italeri saying it on the box. To be honest, I’m not knowing what is the correct method of applying these tracks and putting them together in the right way. That is, to not damage the rest of the kit. I remember with the Tiger II which I have still in my display cabinet and my T-34 76 mm it was a awfull experience to put those tracks together and apply them correctly on the model. With the Tiger II, I believe even some parts did get damaged or broke when attached the tracks. Because of the stress that got applied by applying the tracks to the kit. But if you have any tips for me to improve on this, you’re welcome to give them. :grin:
And thanks for sharing some photo’s of the methods of applying Zimmerit to your models. How am I best going to research Zimmerit and the appliance of it? I’m thinking I’m needing a little more help with this subject, since I’m not knowing a lot of this or what the best method is to take on this subject and the study to it. Also help with this is much appreciated. :innocent:
Thanks again for your reply and your sharing of photo’s and techniques.

@Hohenstaufen What does IMHO mean?

@Tank_1812 Thanks for replying. One reason why I wanted to replace the tracks that are included in the box, is that I have really bad experiences with the rubber and flexible tracks that are included in the kits. You can read some of the story in the reply I provided to @Armor_Buff. And you are right, it is probably better to first work with the tracks that are coming with the kit instead of immediatly replacing the ones that are included in the box if I’m not yet mastering the required techniques to get the most out of them.
Thank you for your contribution. :hugs:

@Armored_Sprue Thanks for your contribution. But would these products not be a little to simple and easy to put on? Because, I’m also thinking I’m wanting a little bit of a challenge to apply the Zimmerit. Otherwise, what would be the fun of it all? And where would the satisfaction be coming from?

Thanks to all that have replied so far to my topic. Have a nice day. :wave:

@modelbouwnederland, regarding JagdPanther tracks. I think the 1990’s Tamiya are better and easier to work with than the Italeri ones. I probably have a spare set of the good 1990’s era Tamiya glueable one piece tracks. I will check later today. If I have spare Tamiya tracks they are yours if you you’d like them.

The best way to research Zimmerit methods is to ask and try techniques on scrap plastic. However, for a first Zimmerit project the Monroe Purdue Zimmerit looks very promising.

With Zimmerit methods, thinner is generally better in my opinion. I measured the Zimmerit thickness on the old Aberdeen Brummbar back in the mid 1990’s and if I recall correctly it was about 6mm thick on the raised ridge. That’s about .17mm in 1/35 scale which is pretty thin.

Happy to share my tidbits of information :blush:

You have two options there. Idea one is to have a piece of paper. Write the part numbers on the paper and place each part near its part number. Once you are done handling a part, put it back on its place on the paper.

It shouldn’t be hard though. You’ll mostly be putting zimmerit on the lower hull and possibly upper hull/turret depending on the vehicle so you’ll likely only need about 6-10 parts cut out for zimmerit application and they will all be big obvious parts. For example on the Stug I had cut out the hull tub, upper superstructure and rear plates.

The Elefant I have in my stash is the Tamiya Elefant. It’s nice but a tad basic in some areas. I’m considering buying aftermarket tracks or it and PE.

I don’t know how thick my zimmerit it but I used the Tamiya tool to do it

One tip for zimmerit. Do not make it perfect. You’ll see on my stug there are areas where it is thinner and areas where it almost appears chipped. I didn’t do any of this intentionally, it’s part of the process. But in the end if you look at real vehicle photos the zimmerit is far from perfect

1 Like

Sorry, IMHO stands for “In My Humble Opinion”, that is I think so, there are other opinions available…

1 Like

@Armor_Buff Thanks for your reply, really appreciated. I’m also really appreciating your offer, but I’m living in the Netherlands. So it would probably to much hassle to get it to me. But thanks for the offer anyway. Also thank you for providing all the tips and advice. And I may give the purdue zimmer a go. One final question, where do I get scrap plastic from to test on?
I may have other additional questions, but I will get back to them later when I have those questions. :sweat_smile: It was a long day today, so a bit tired now. But wanted to give at least a reply back.
Thanks for replying and have a nice day :+1:

@Mead93 Thanks again for your tips and advices.
I’m thinking that the method with using a piece of paper is not very practical, since I don’t have a seperate room that I’m doing my hobby in.
But I’m not really reading method two.
Maybe I can just get the right parts numbers by just carefully looking at the pictures in the instruction manual of building the actual kit.
Thank you for the tip on working with the Zimmerit, to not make it perfect.
I’m most of the time recognizing I’m probably some kind of a perfectionist. So I will pay attention to that.
I’m looking forward to your Elefant project, how yours will be turning out.
It probably will be better than mine, when I didn’t had airbrush availlable to me yet.
And my skill level was lower as it was now. And I also knew a lot less then I do now.
Here are some photo’s of my Elefant from Revell I have build:


Good luck with your future project and have a wonderful day. :hugs:

What I am trying to say is don’t worry about part numbers. You’ll only be applying zimmerit to a few very large parts. It will be nearly impossible to misidentify them or lose them. For example in Tamiyas Elefant kit I will only be applying zimmerit to these rather large and impossible to confuse parts, plus the front plate and rear plate

Option 3: write the part number on the parts in a location what won’t get zimmerit

@modelbouwnederland, I’d be quite happy to send the tracks to you. I’ll start my JagdPanther soon and will be using Sector35 tracks.

Shipping to Netherlands isn’t an issue. I’ve shipped to Italy & Germany etc. Received from UK, Hong Kong, Ukraine, Italy & China etc. I’d like to find the tracks a good home so they don’t sit in the spares box for twenty years :wink:

On Zimmerit stickers/decals, I usually work on one area at a time like lower hull left side and only remove one sticker or decal at a time as needed.That worked well with the Tamiya stickers on the Panzer IV H.

As for scrap plastic, I usually get a sheet of Evergreen sheet styrene to practice on.

350Wx350H-1884477-0919-px

2 Likes

How are the stickers for texture? I’m considering getting them for my Elefant as I think the patern is more complicated and going around the boot heads a little more challenging than the stug was

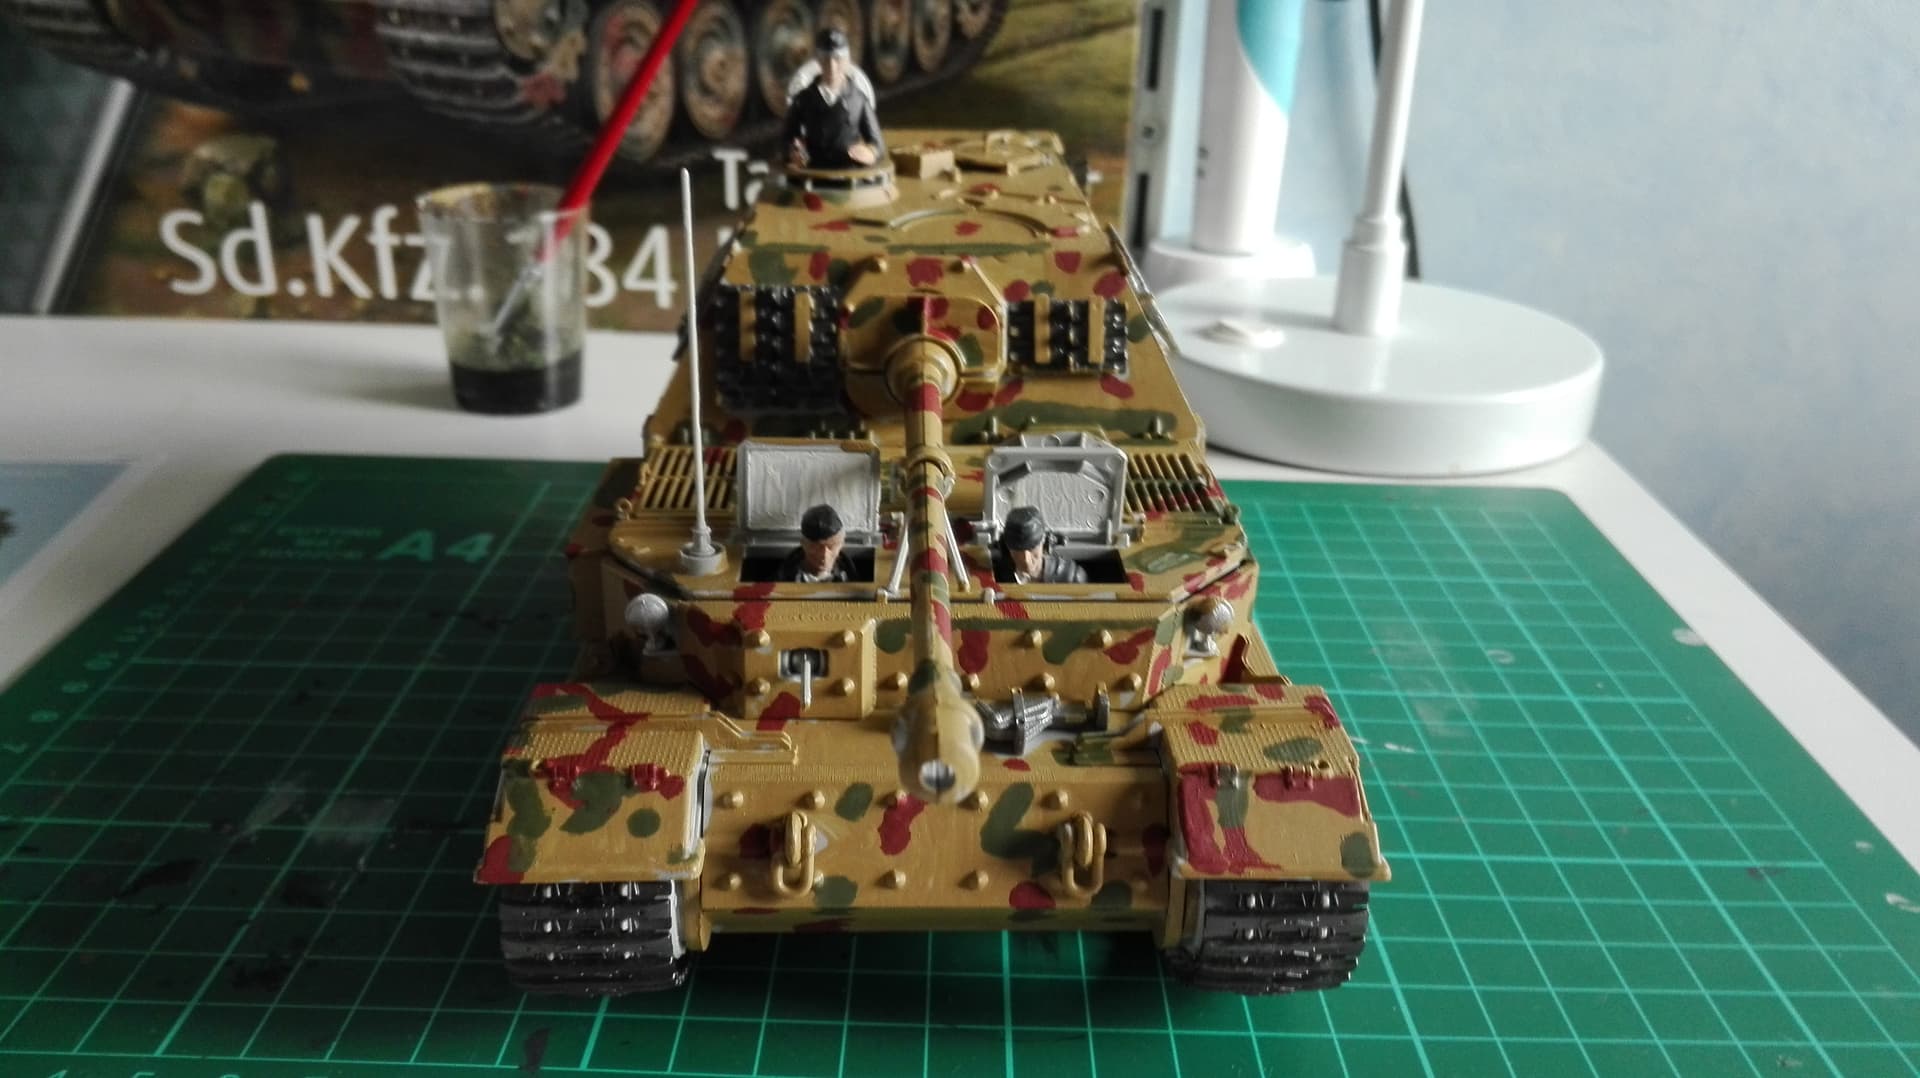
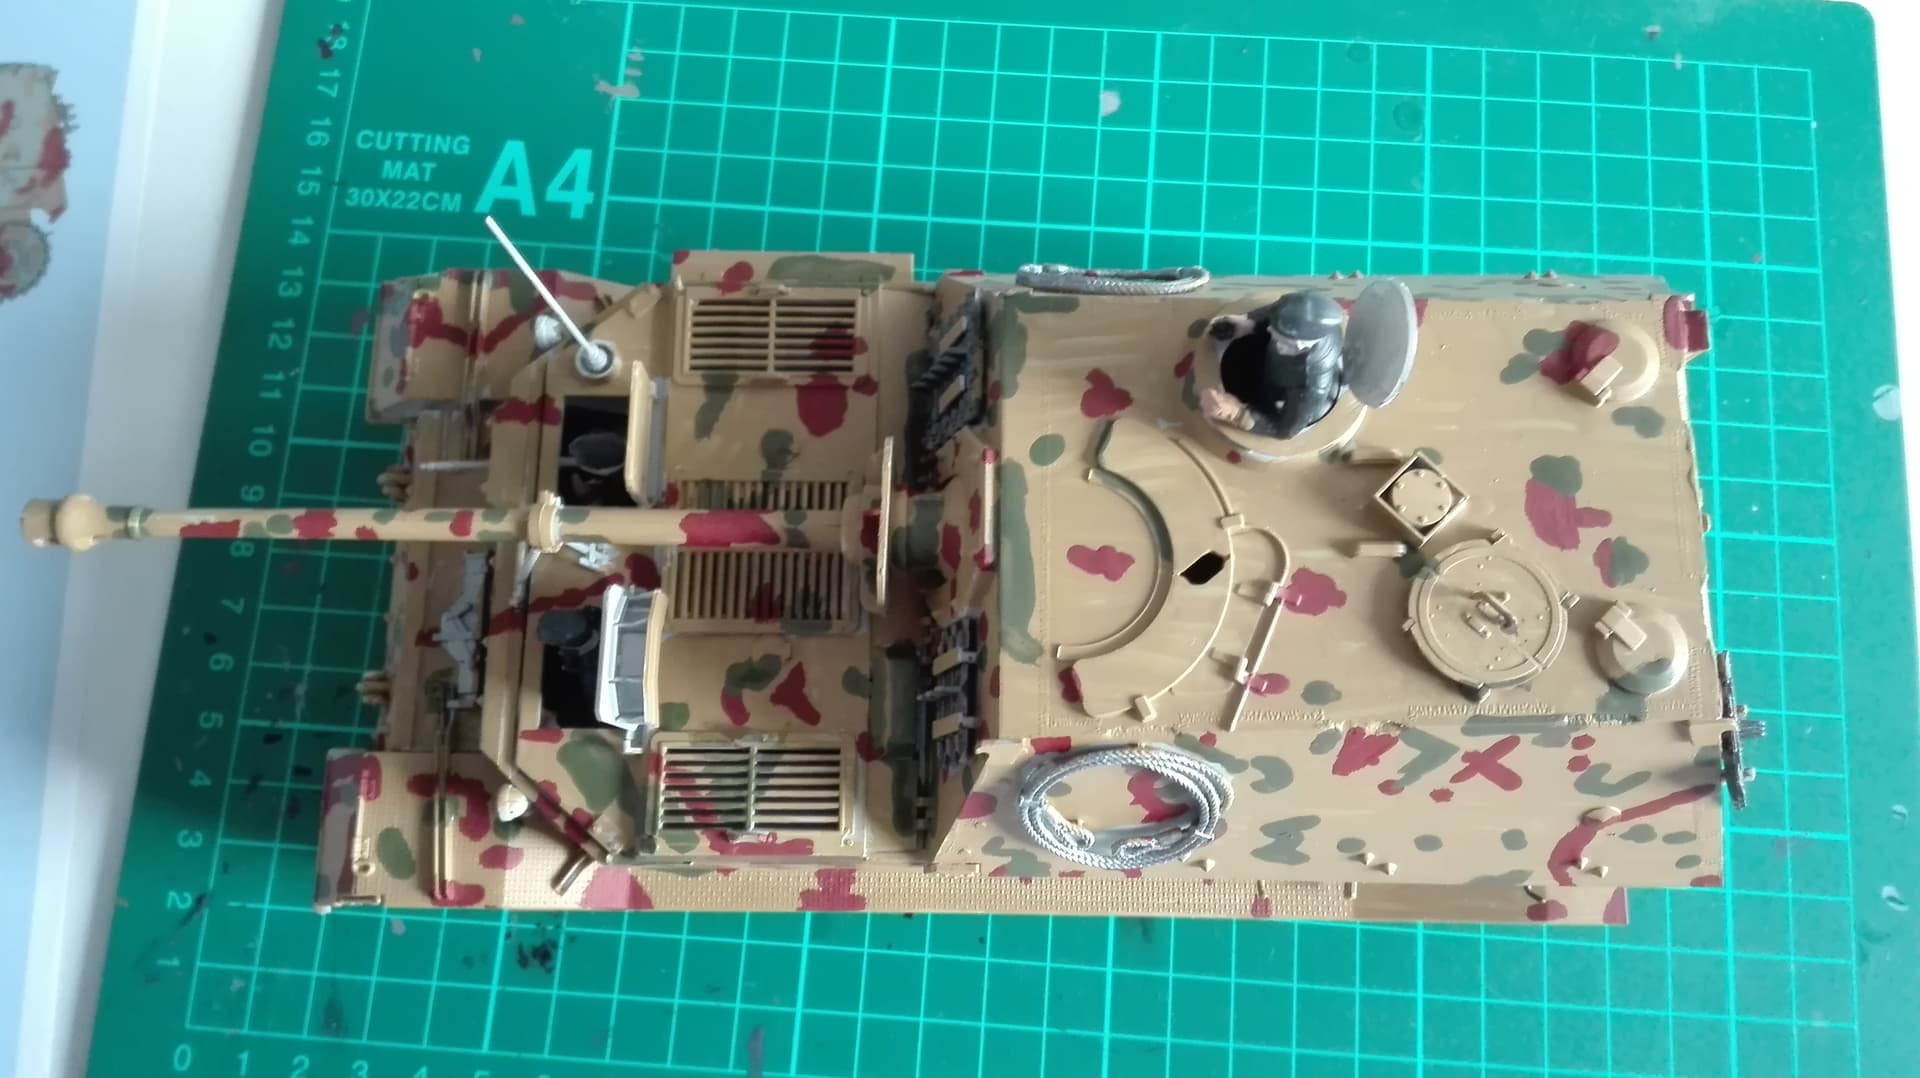
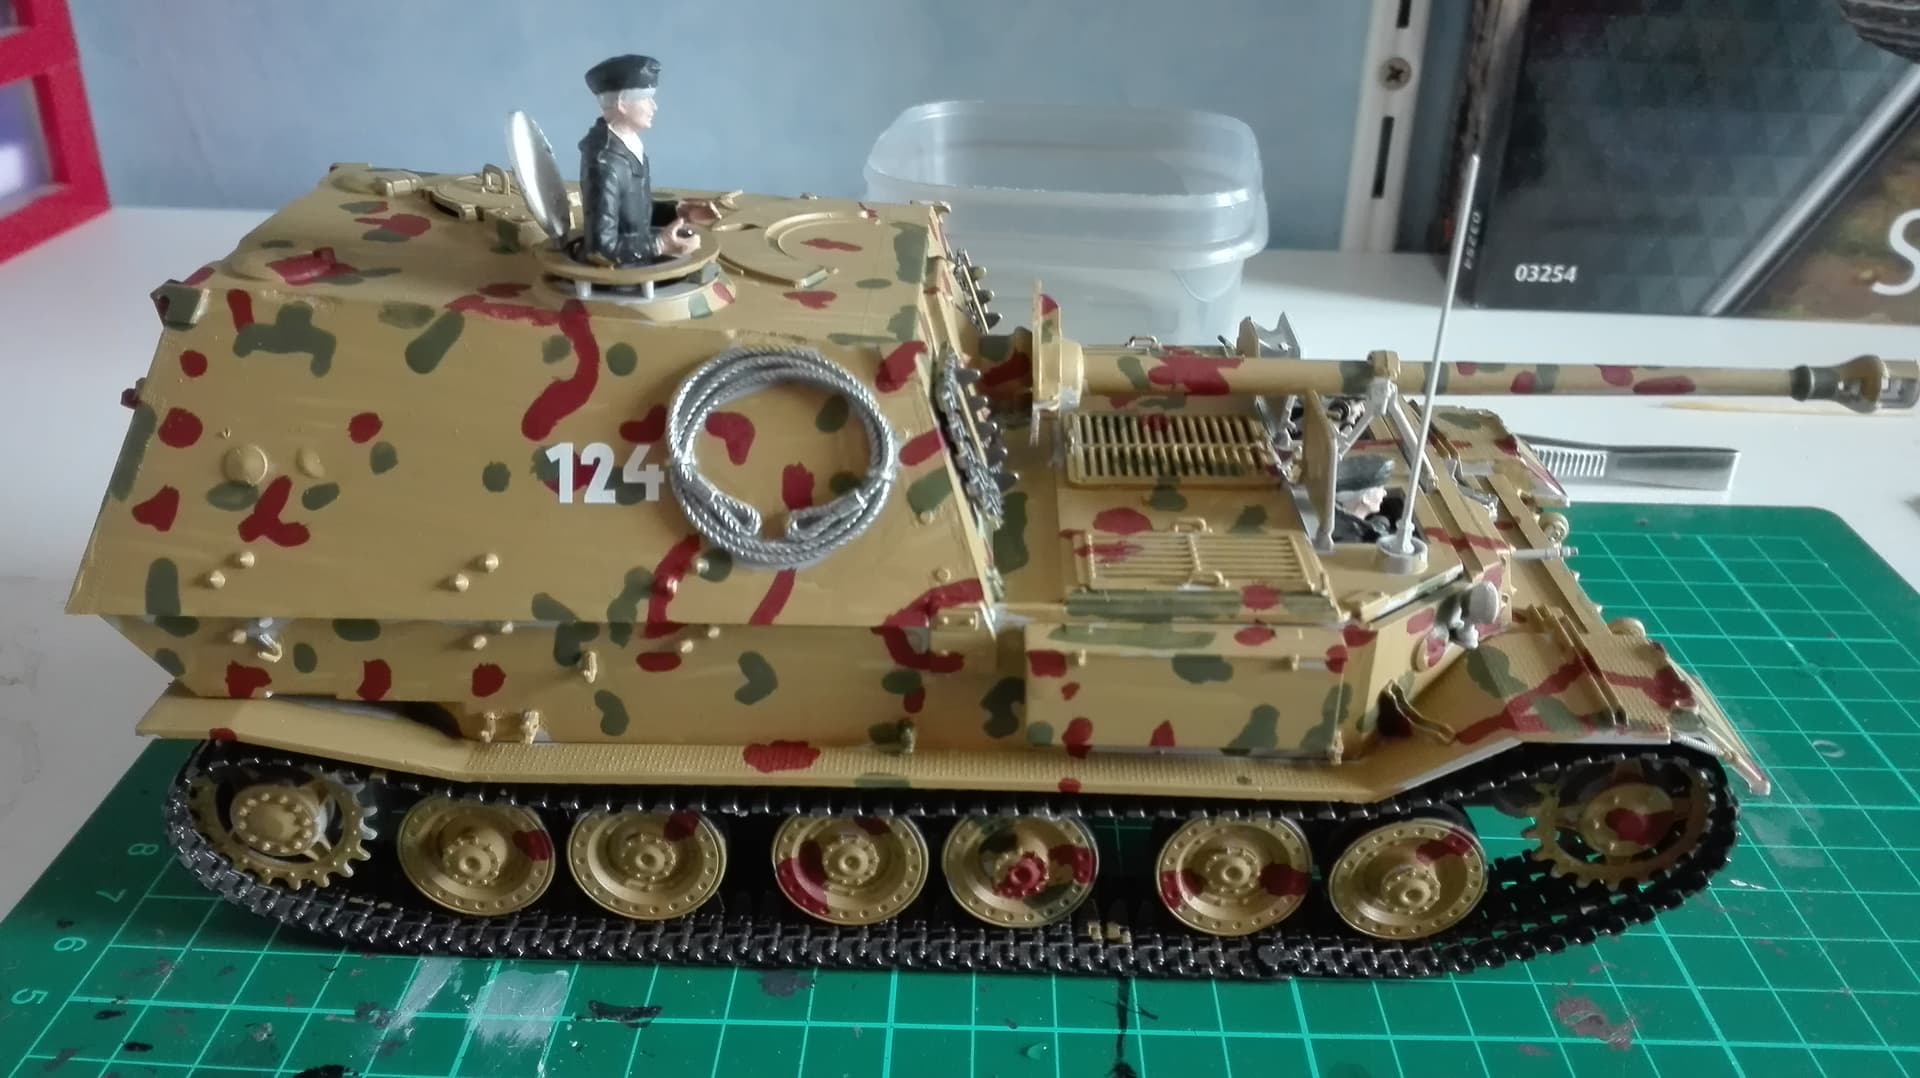
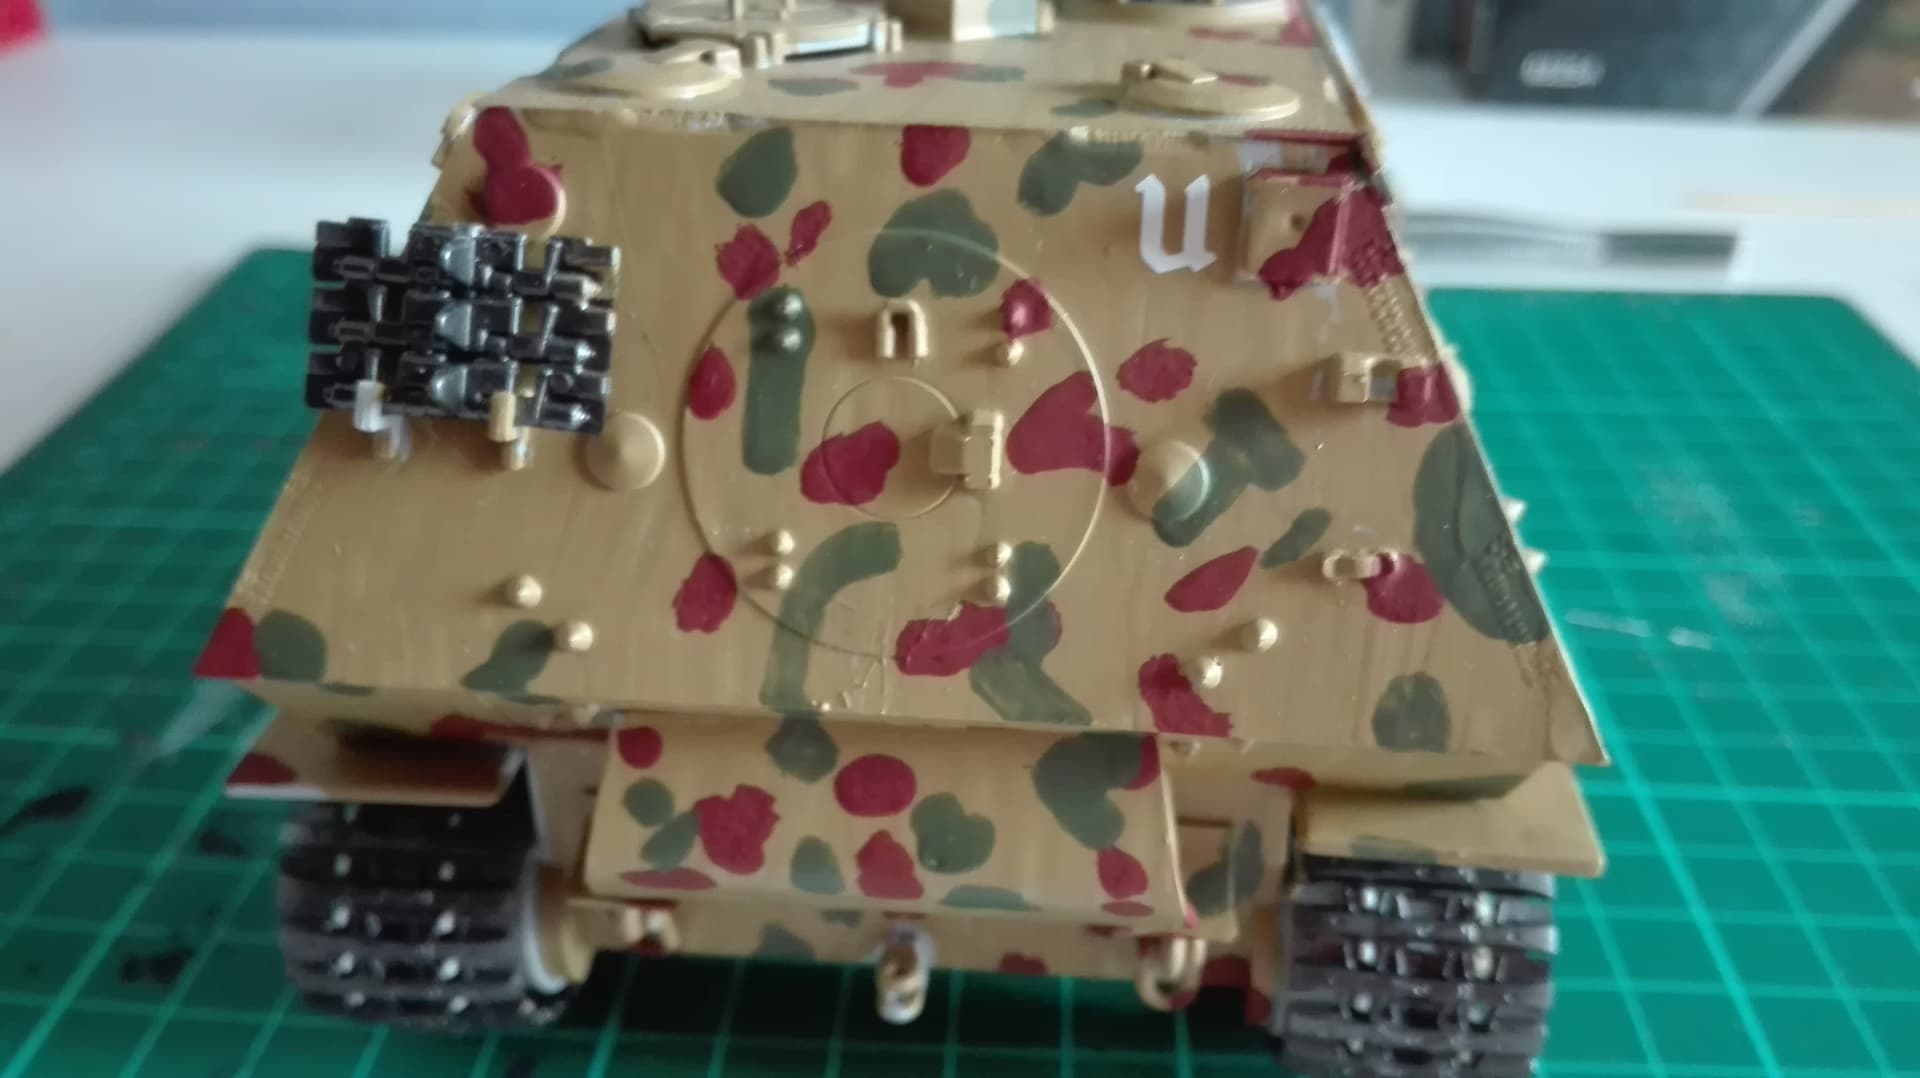
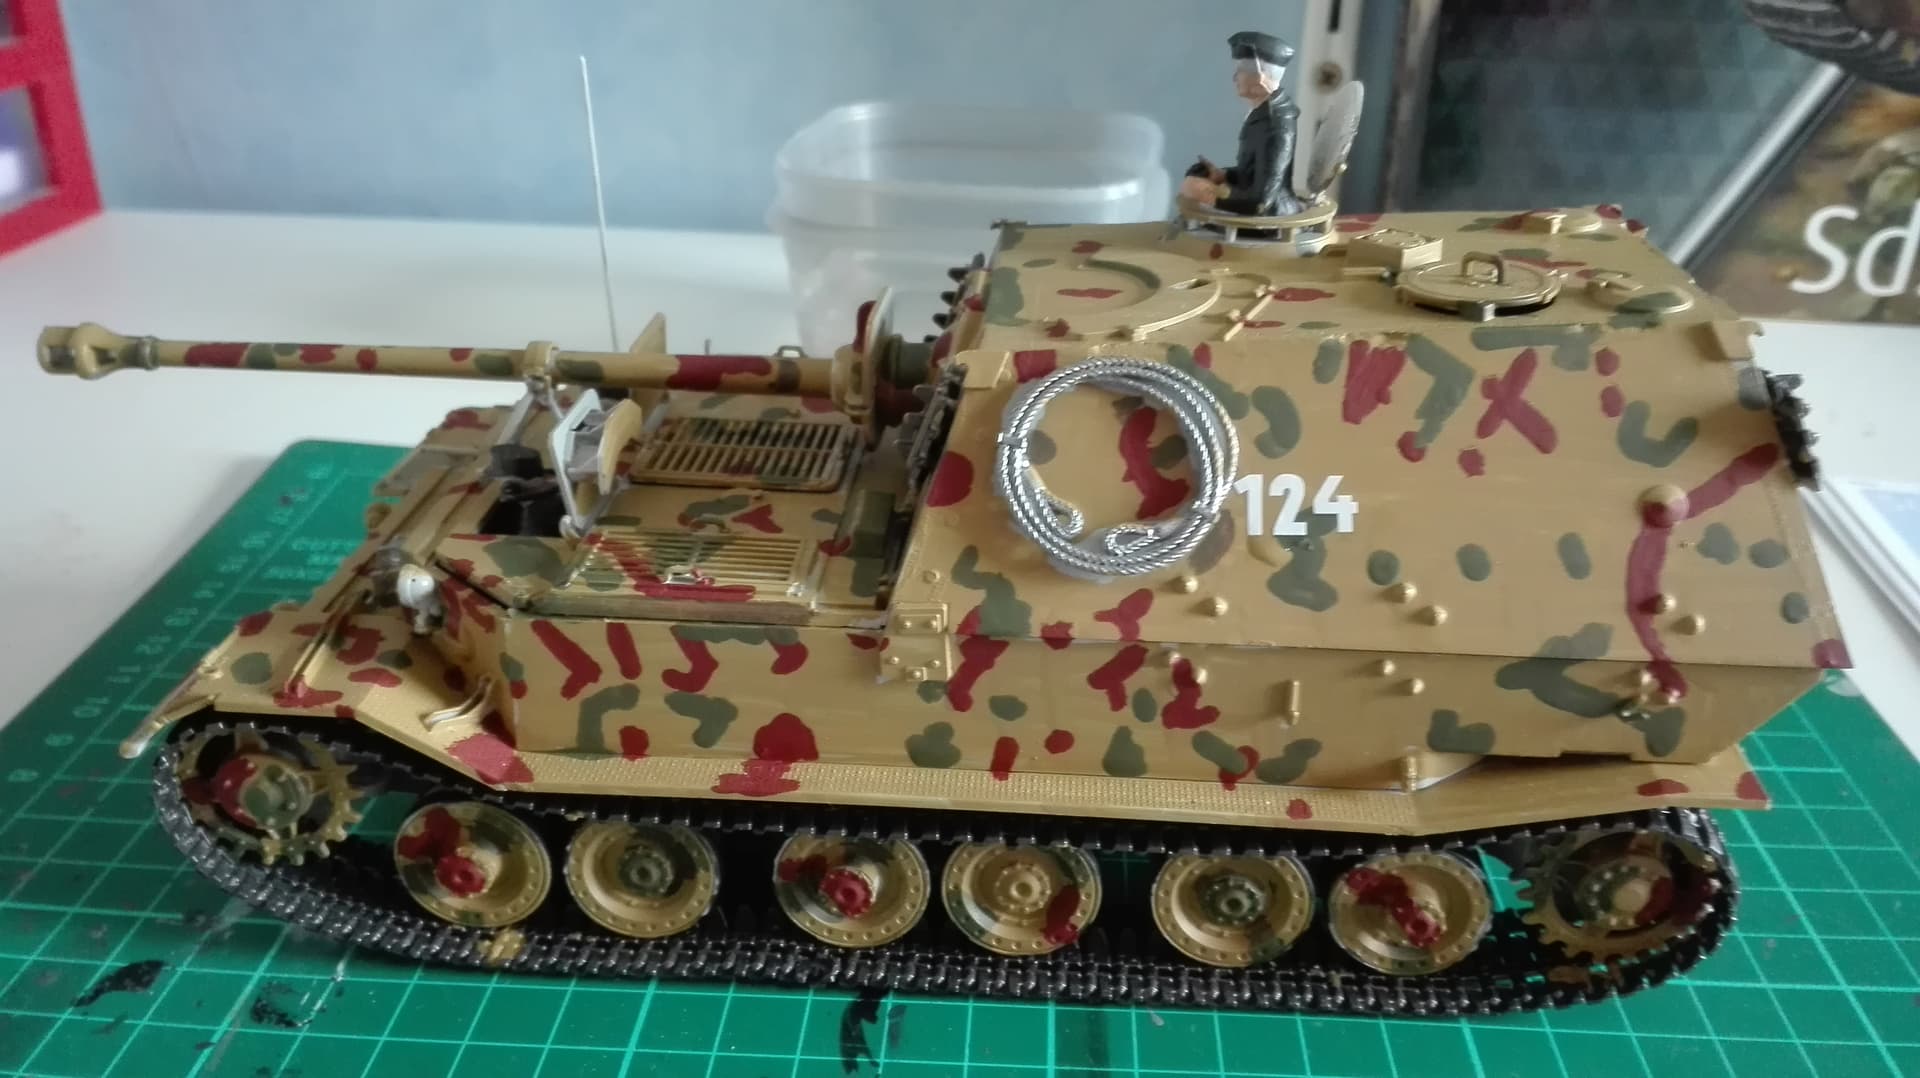
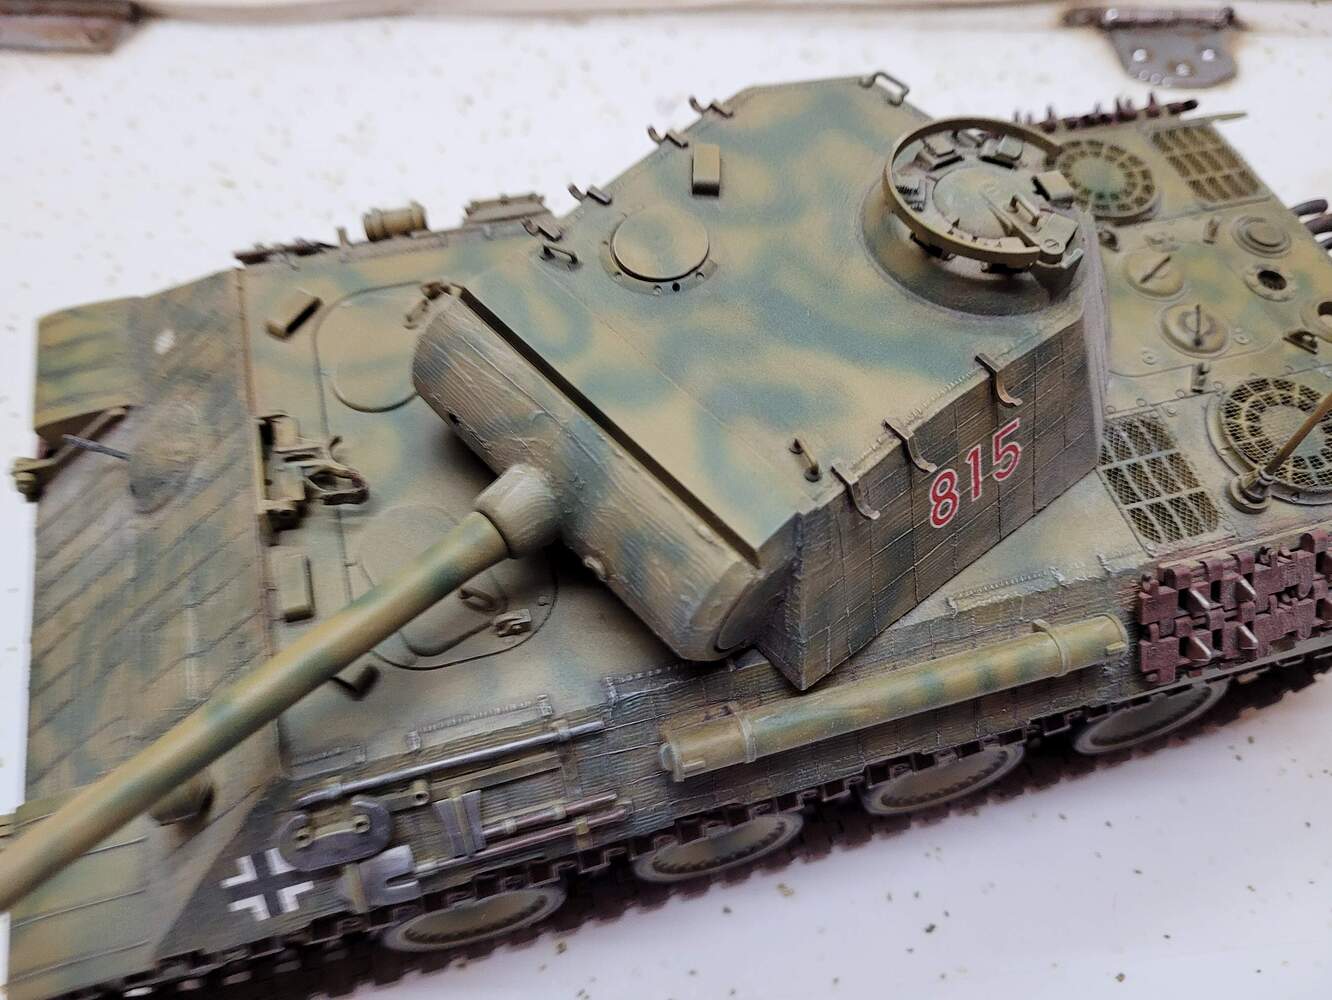
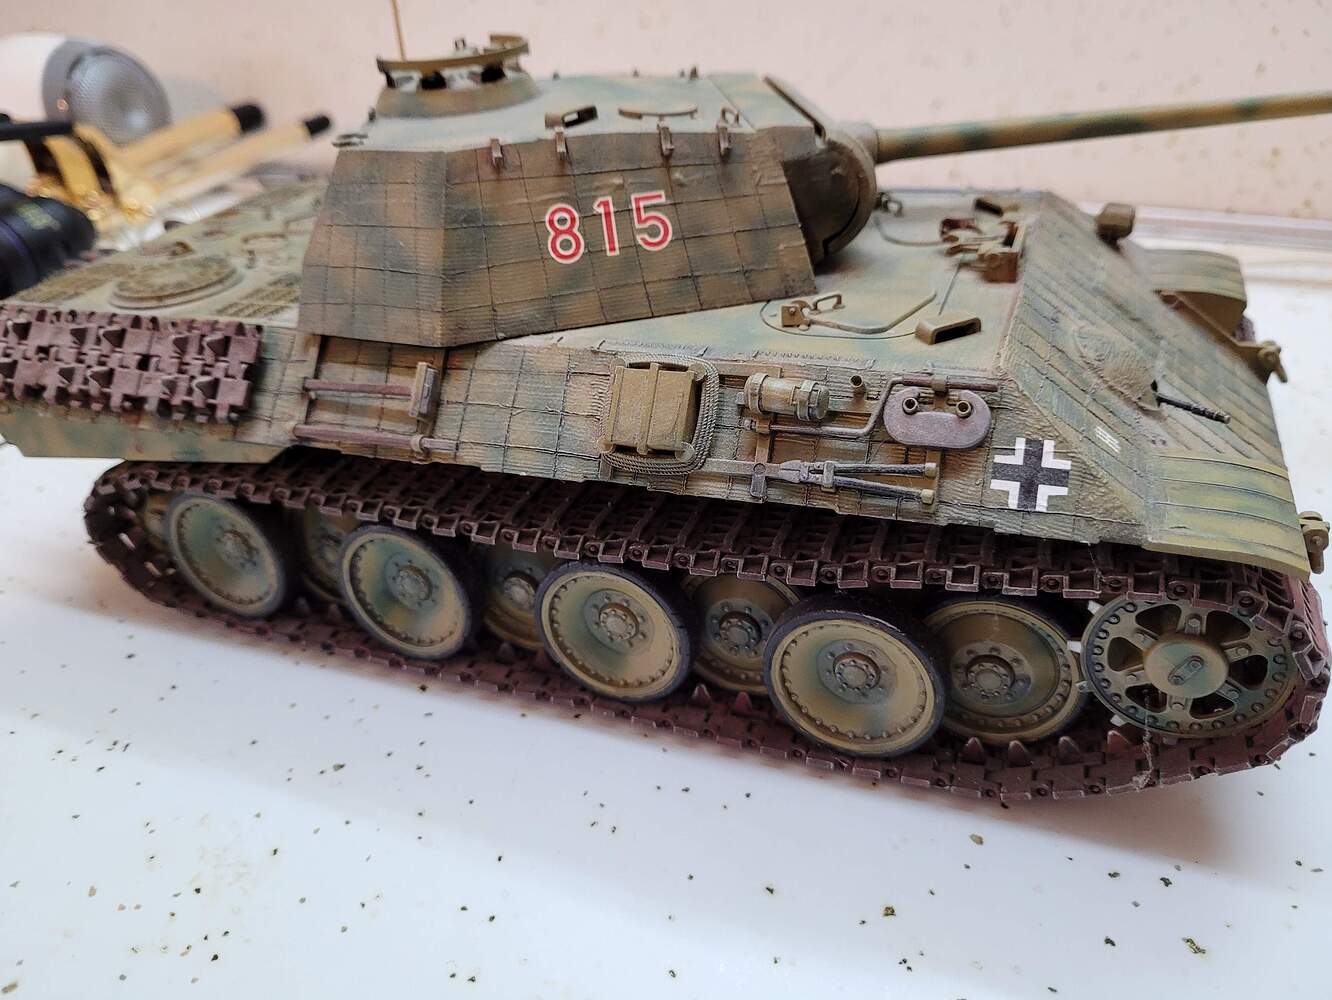
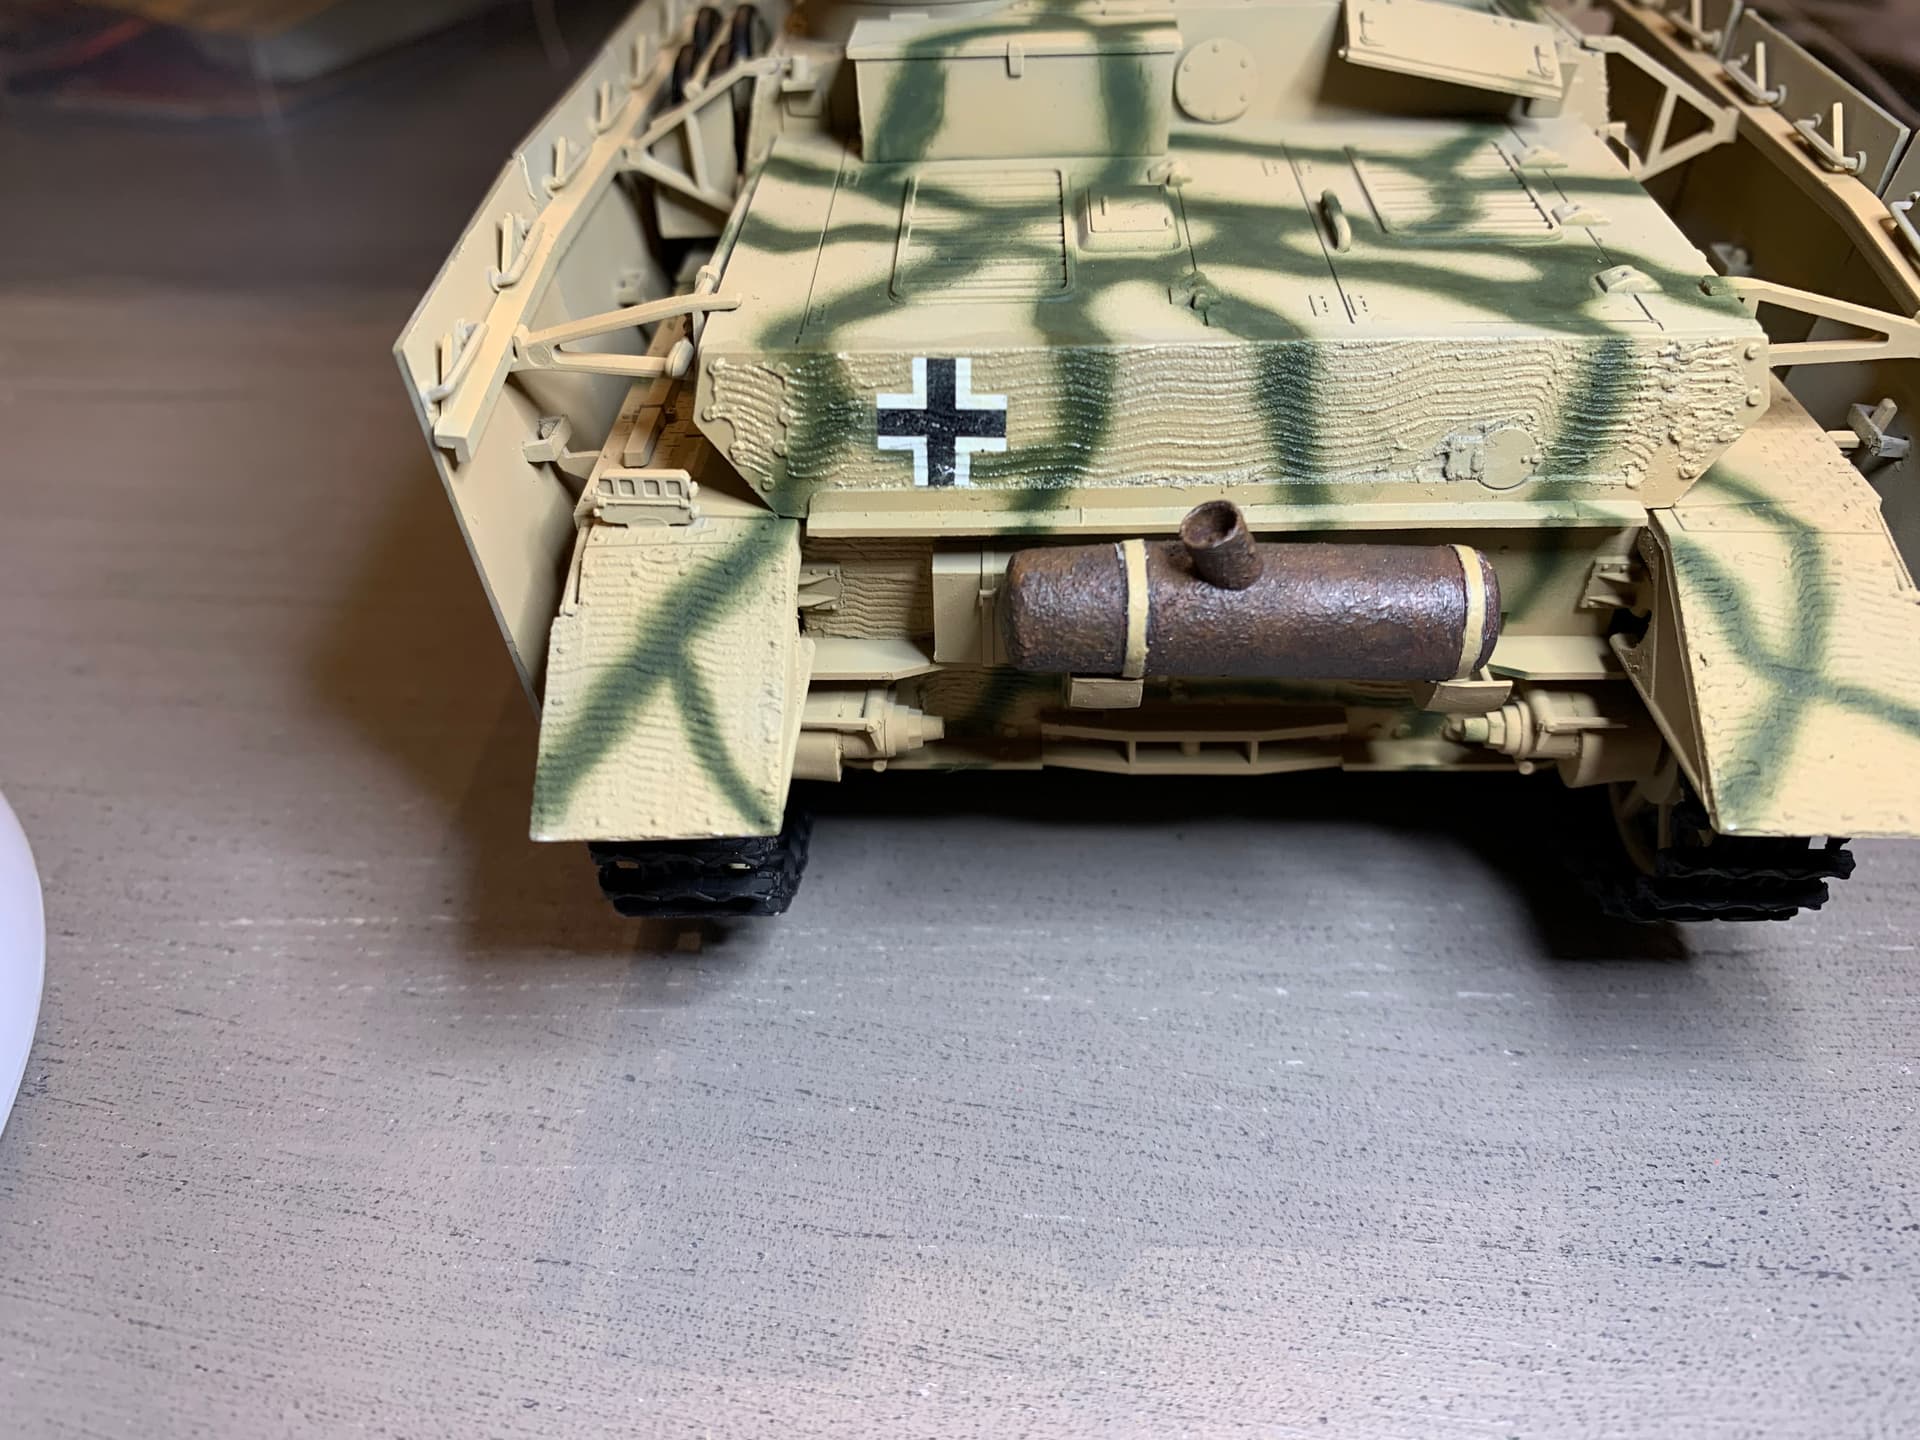
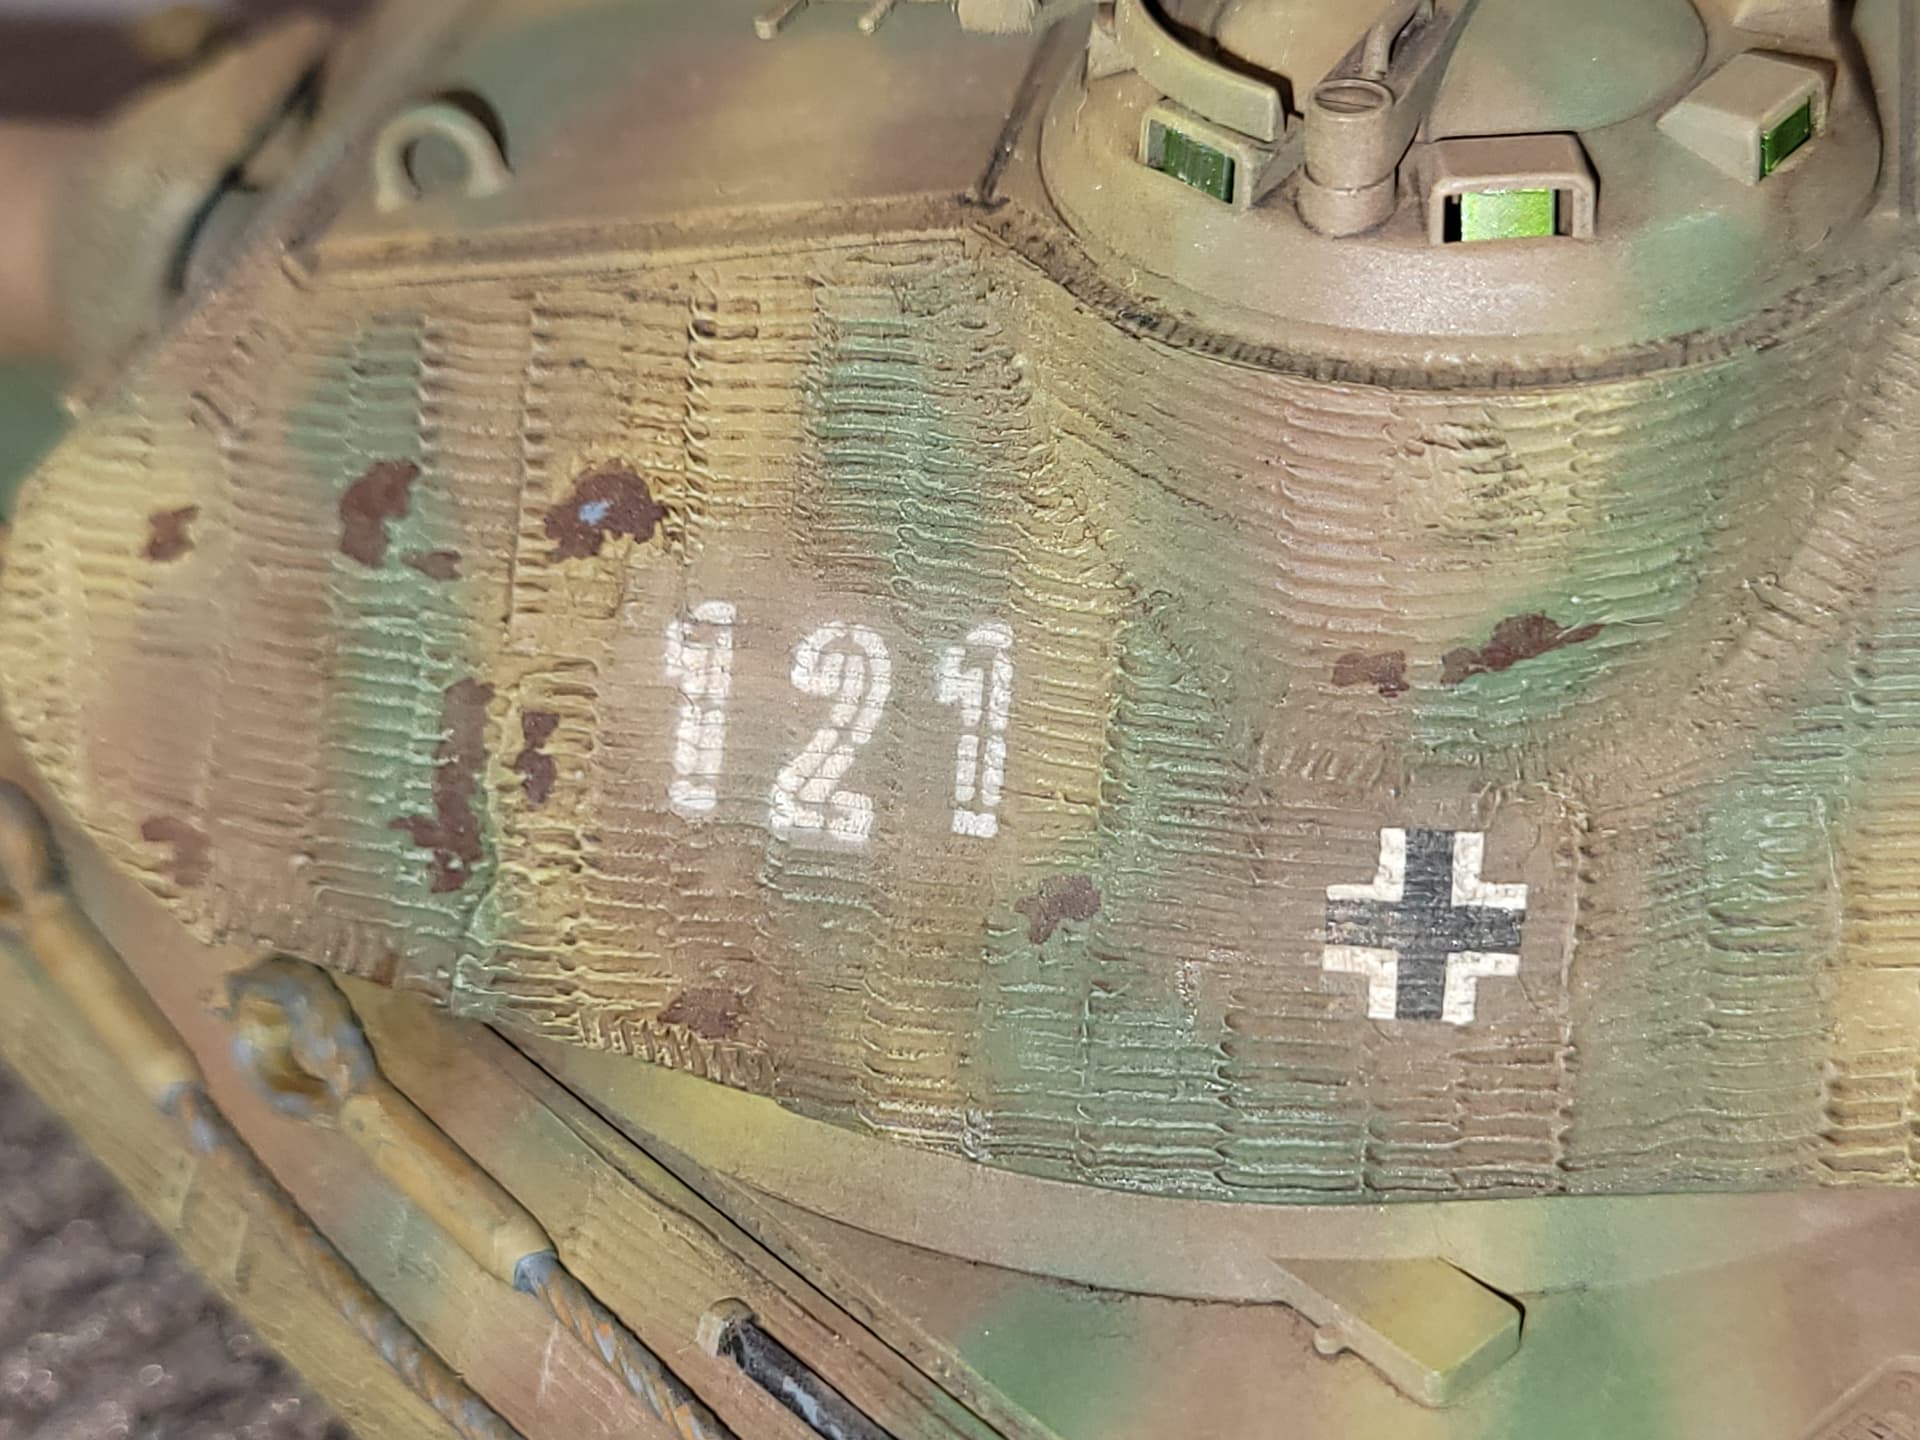
The Tamiya stickers are OK, I’d rate them a 6 out of 10. They fit well and are precise overall. Out of the dozen methods I’ve used, they are middle of the group. Pattern is just too uniform and the carrier film is a little thick. I think they are better than Eduard’s lame photo-etched Zimmerit.

In my experience…other will feel differently of course.

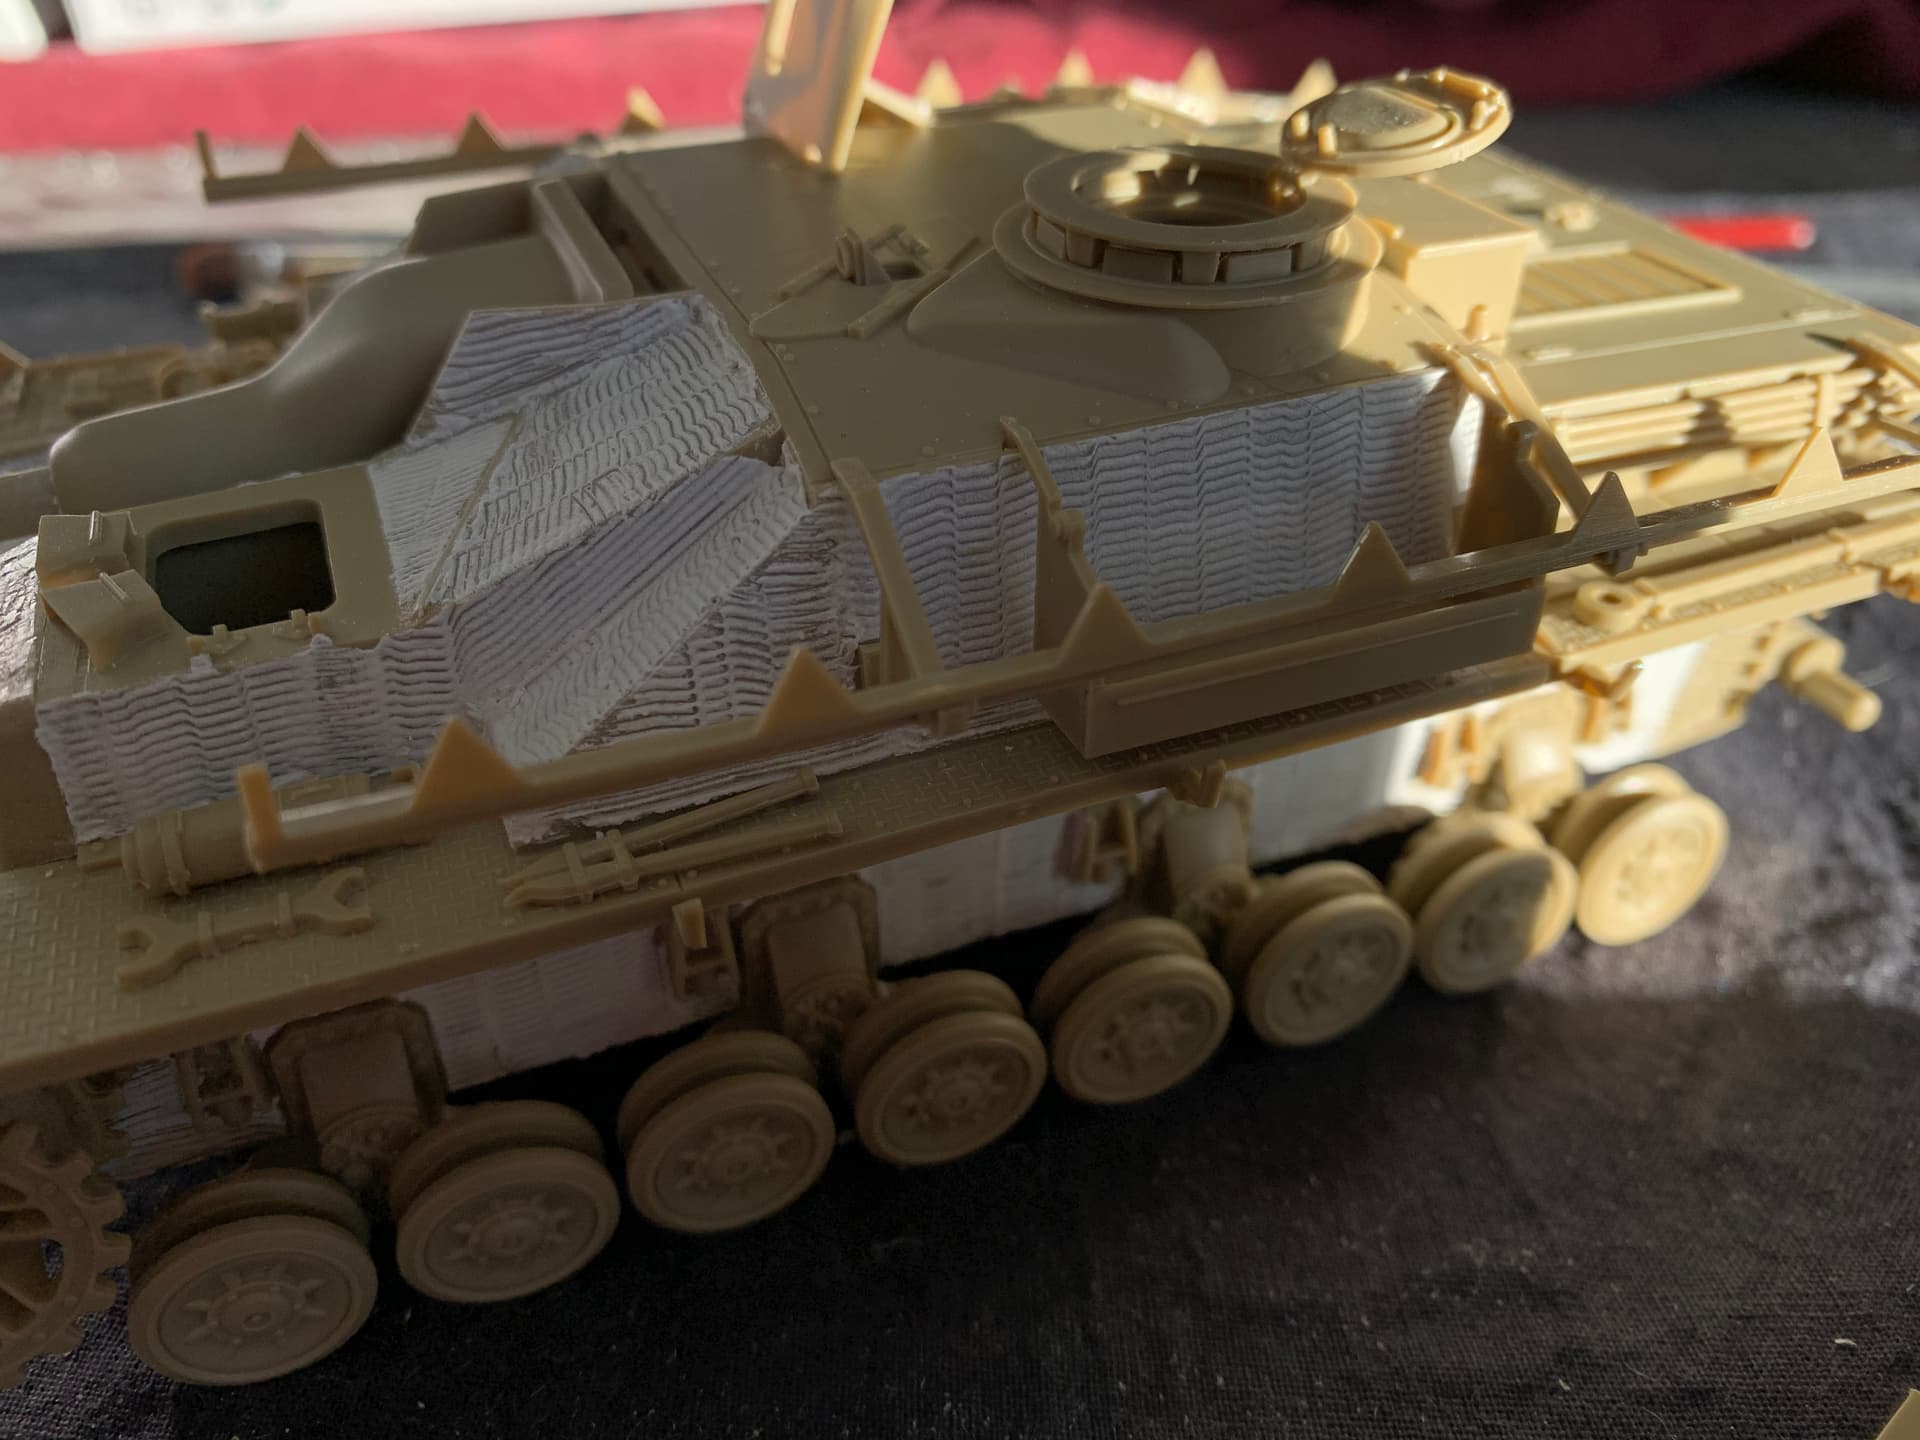
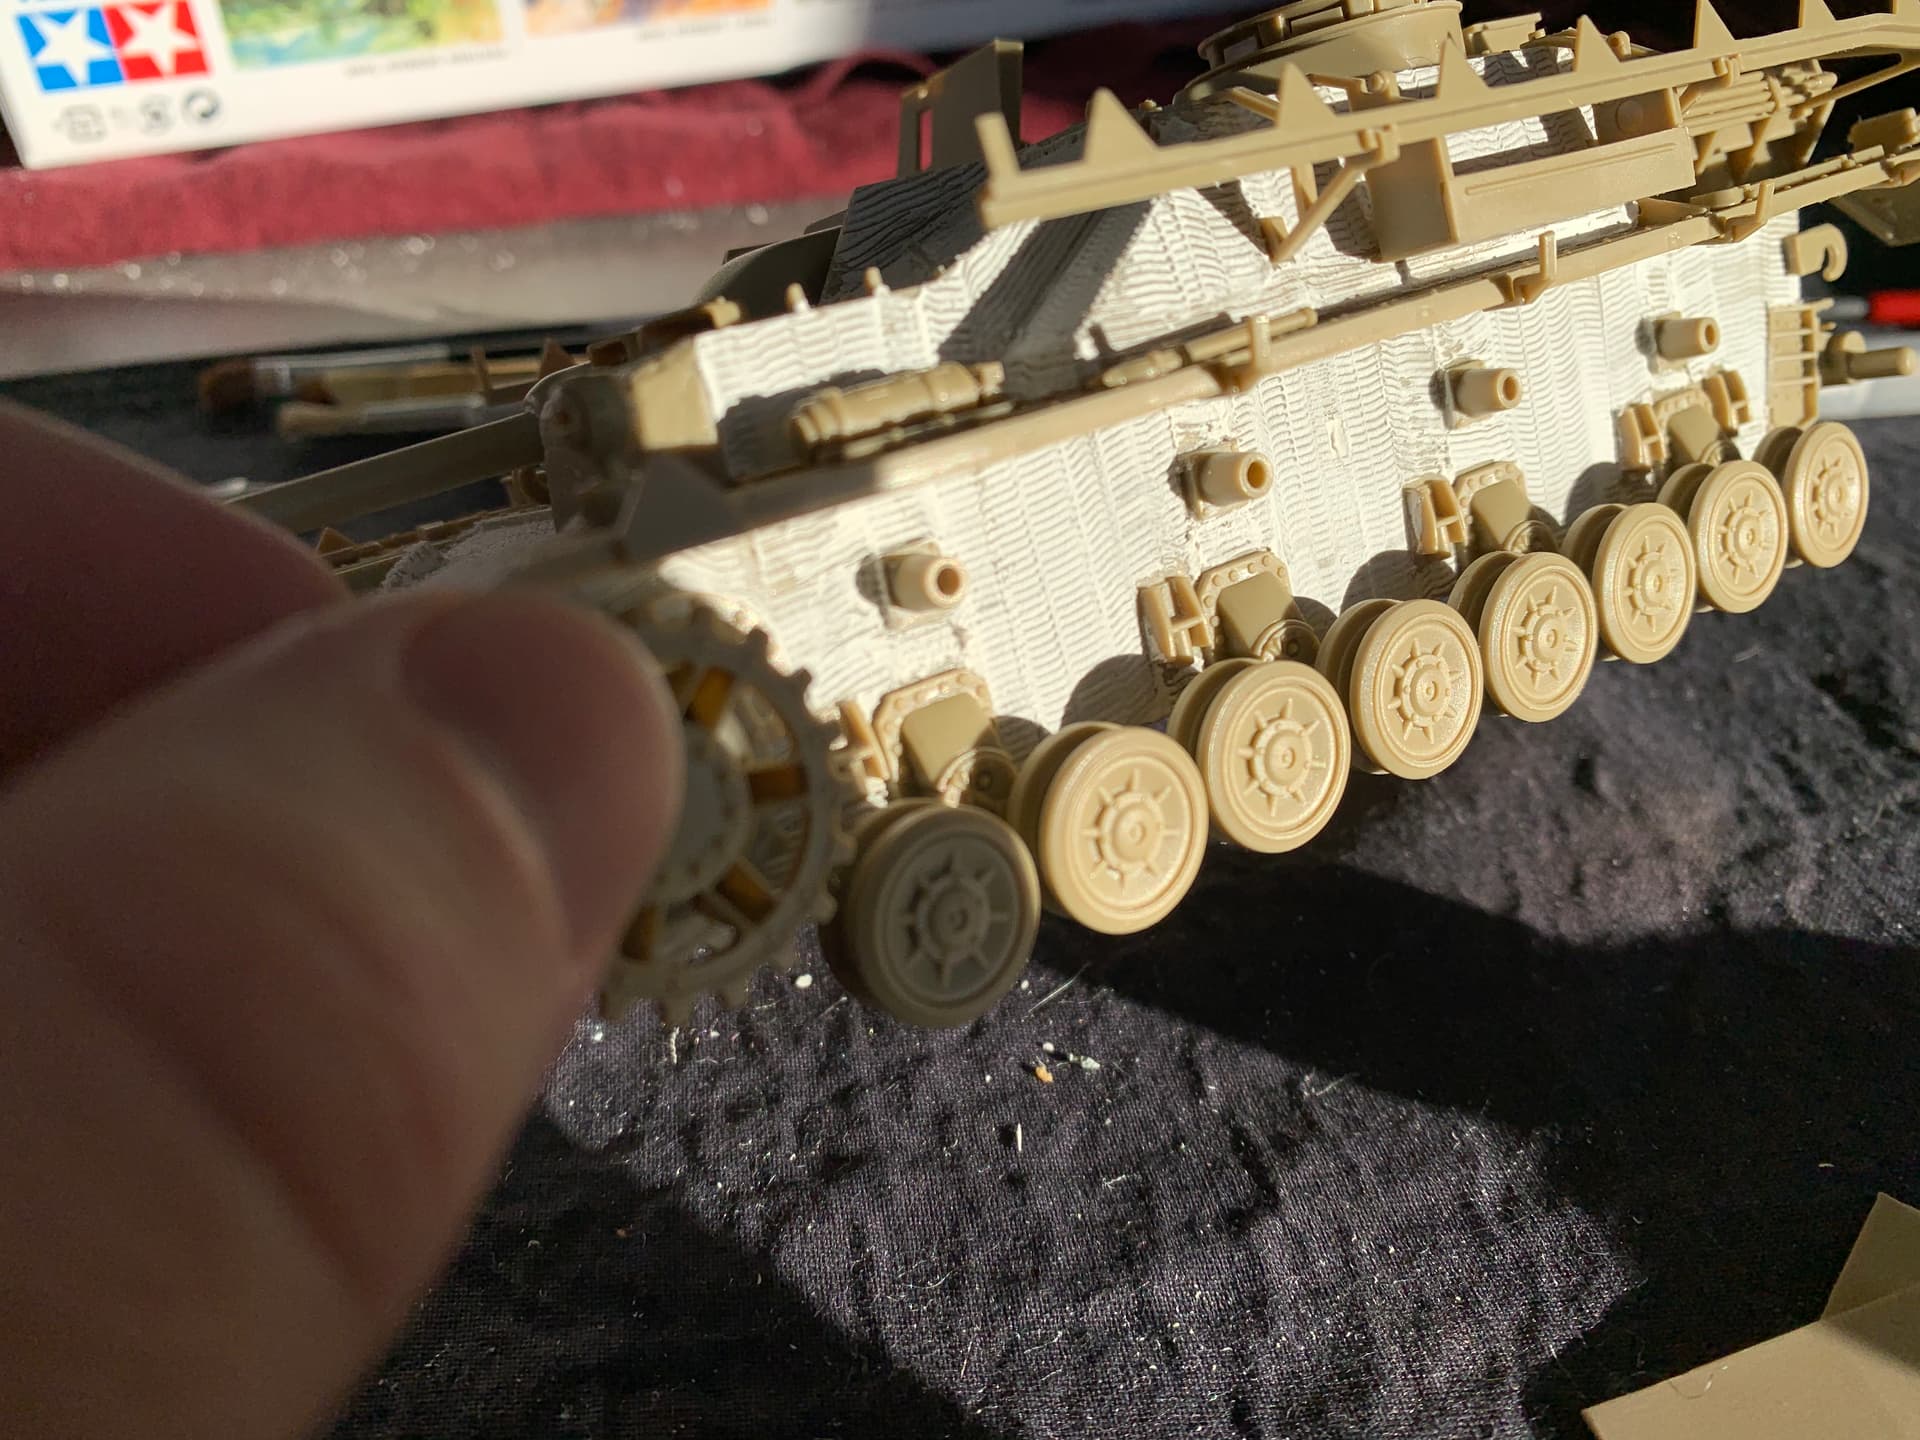
1) Milliput Super Fine 2 part Epoxy putty. Roll & work thin using talc & bit of water. Texture with small screwdriver blade. Press items into Zimmerit before it dries. Very slow and time consuming.

2) Molak Stucco Putty thinned with Testor’s Liquid Cement using Tamiya’s Zimmerit Set. Can be applied thin as paint. Smells very bad. Outstanding ventilation required. Slow.

3) Tamiya Basic Putty thinned with Testor’s Liquid Cement using Tamiya’s Zimmerit Set. Can be applied thin as paint. Smells very bad. Outstanding ventilation required. Slow.

4) Milliput Super Fine 2 part Epoxy putty. Roll & work thin using talc & bit of water. Texture with razor saw blade or Tamiya Zimmerit tool. Press items into Zimmerit before it dries. Slow, time consuming and always sets off my Carpal Tunnel for some reason. I like this method but it doesn’t like me.

5) ATAK resin Zimmerit kit. Very sweet. Downside resin dust. Looks Cookie Cutter same unless tweaked by modeler. Occasionally an edge my need a little TLC to make disappear.

5) Calvalier resin Zimmerit kit. Very sweet. Downside resin dust. Looks Cookie Cutter same unless tweaked by modeler. Occasionally an edge my need a little TLC to make disappear. Out of production. Has some sets for older models like Italeri Panther A etc.

Others may have a pet favorite between Calvalier & ATAK etc.

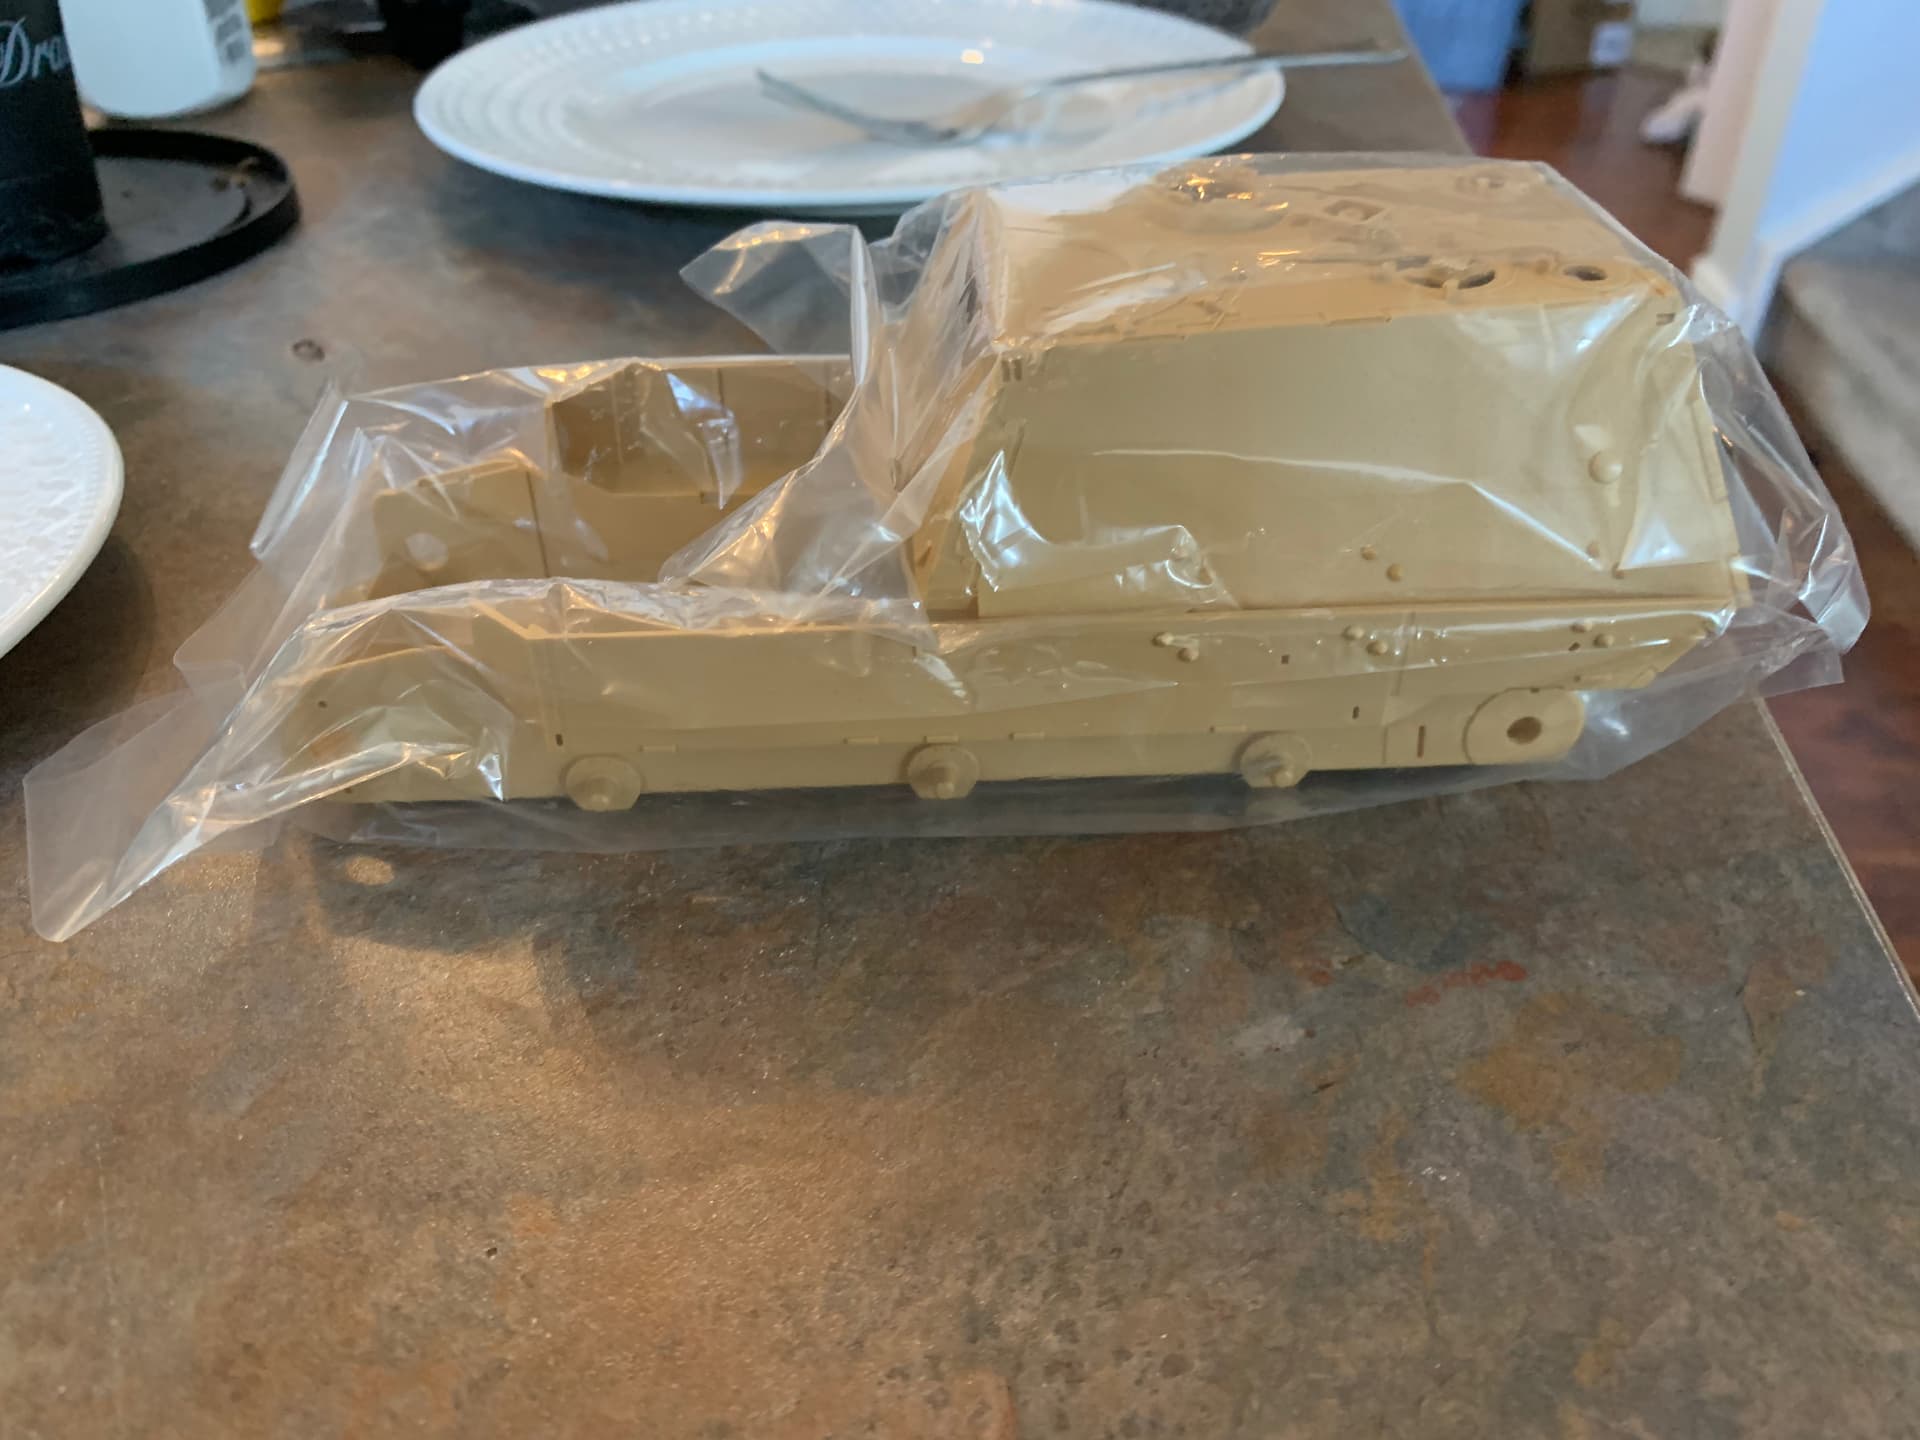
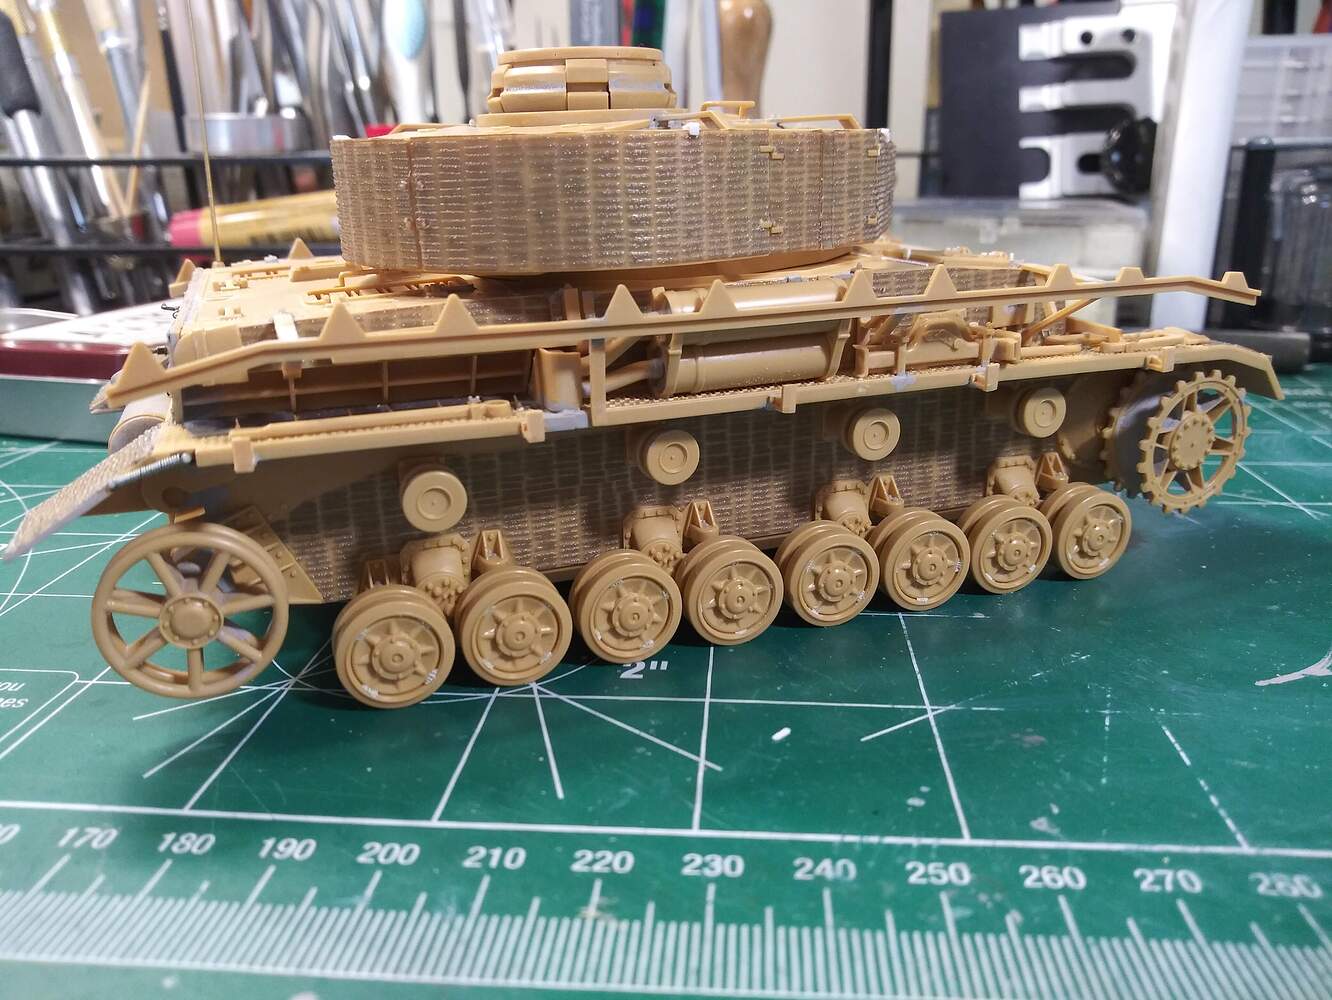
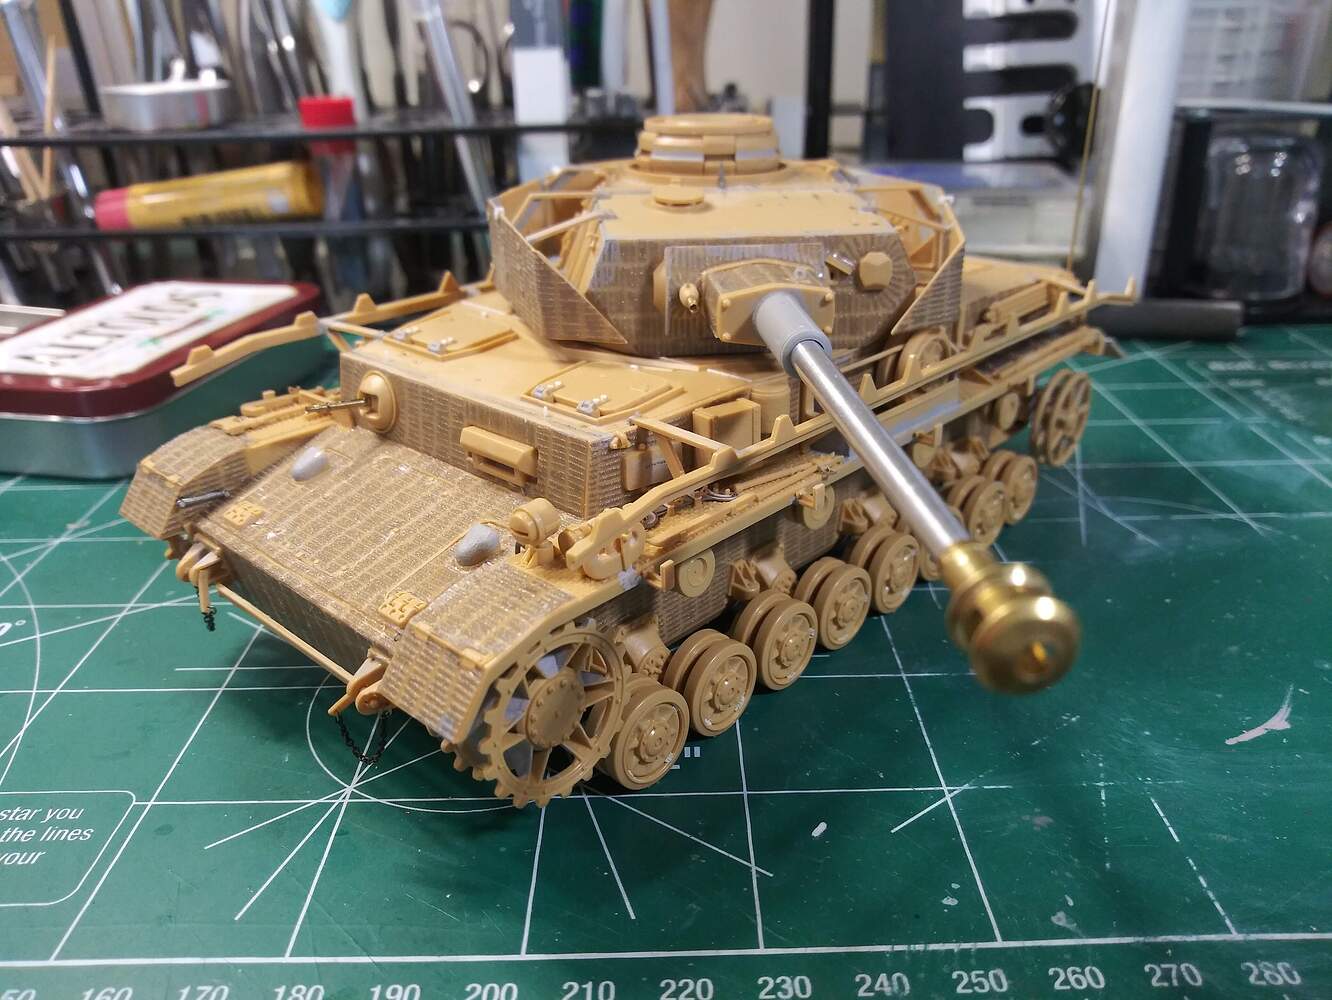
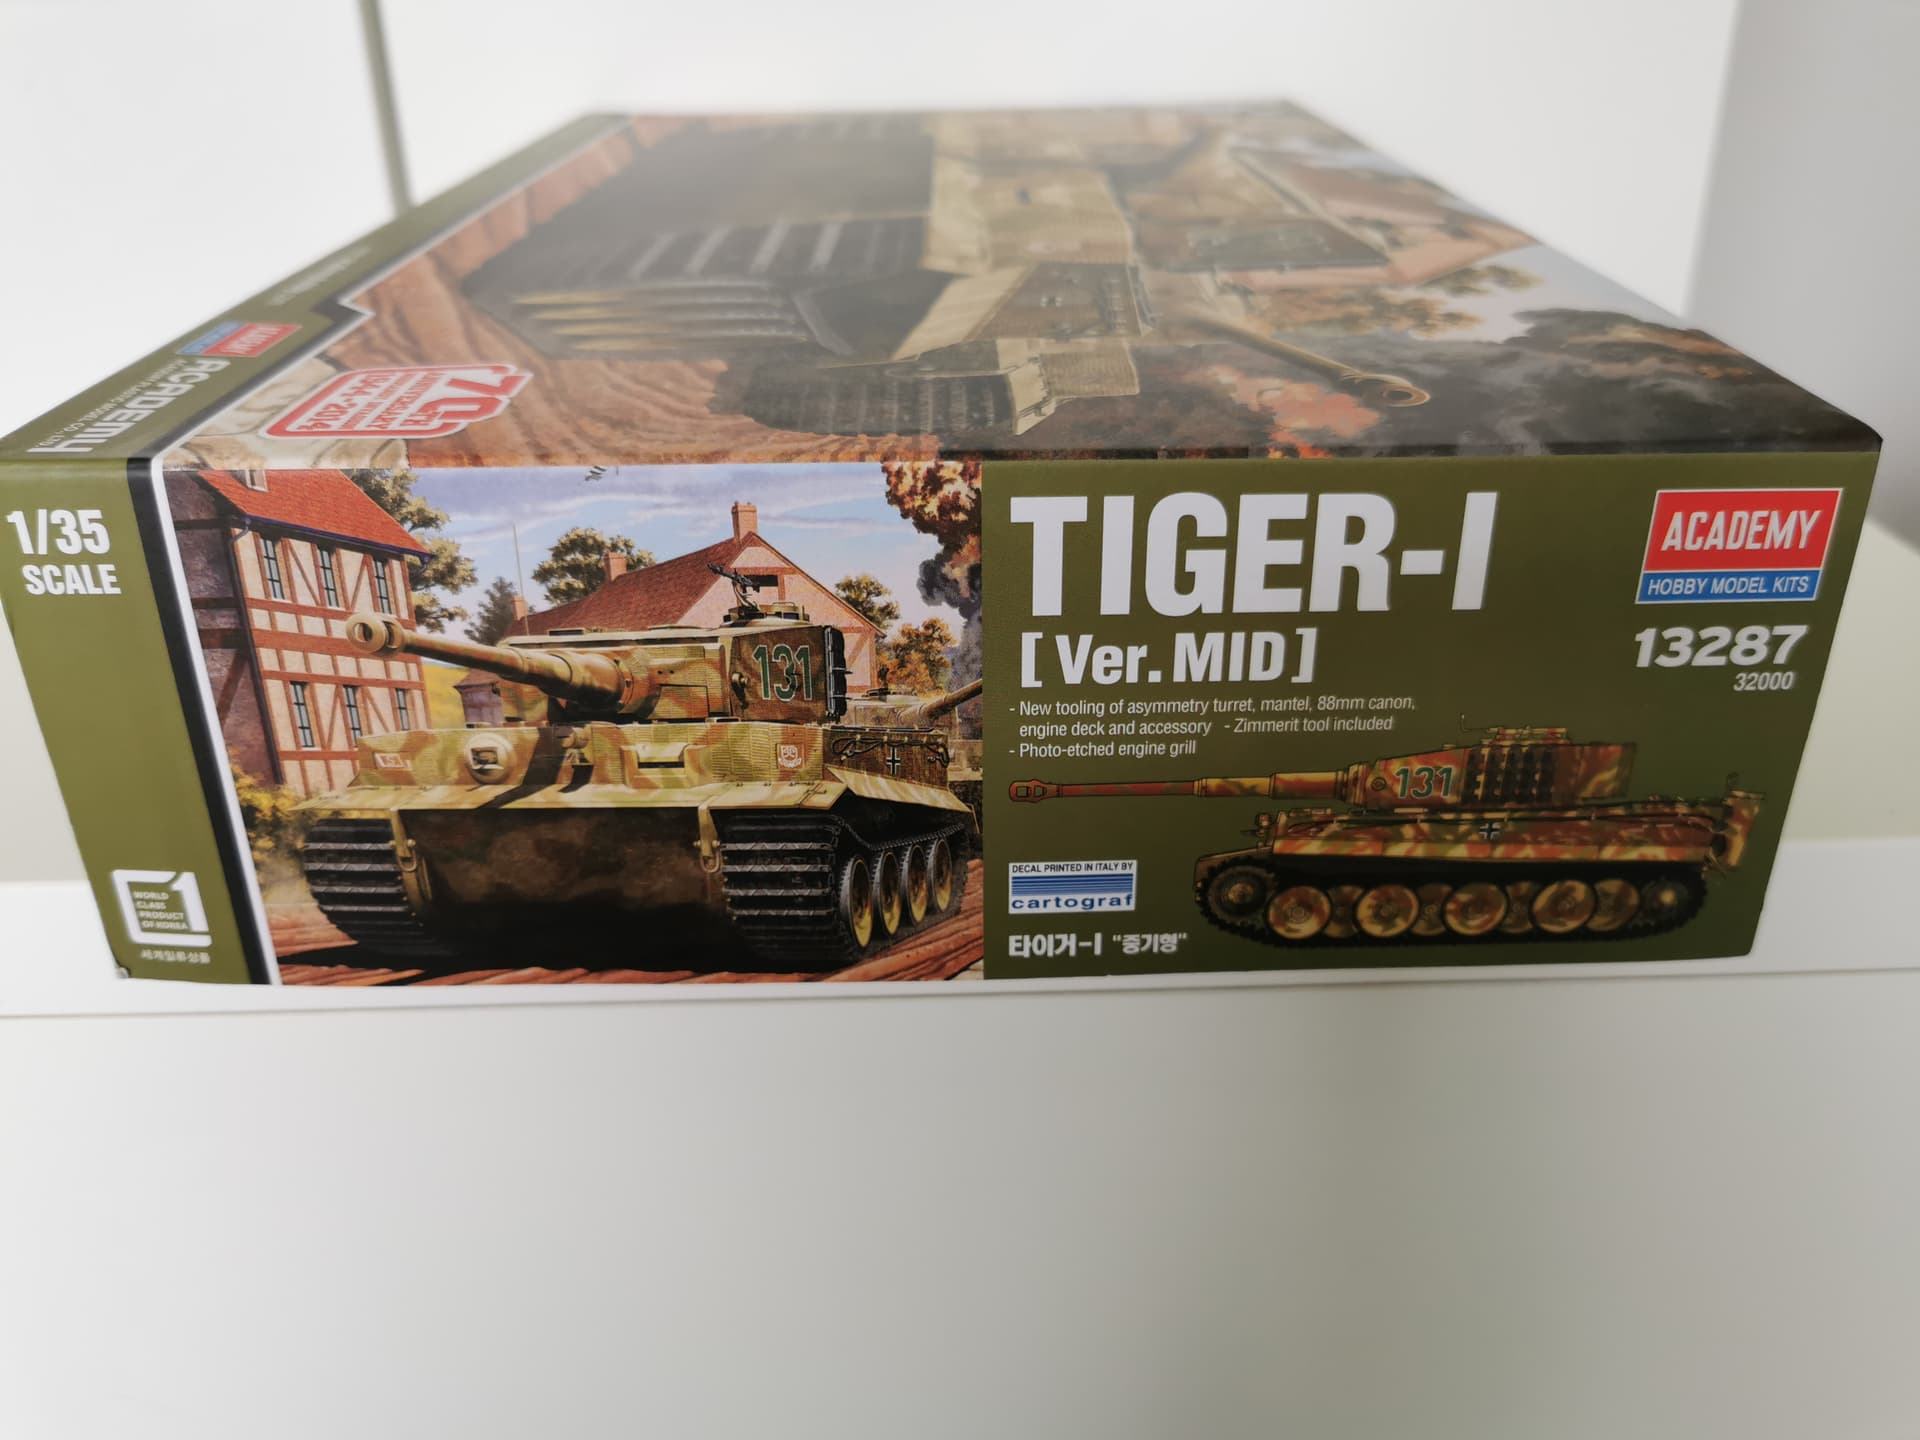
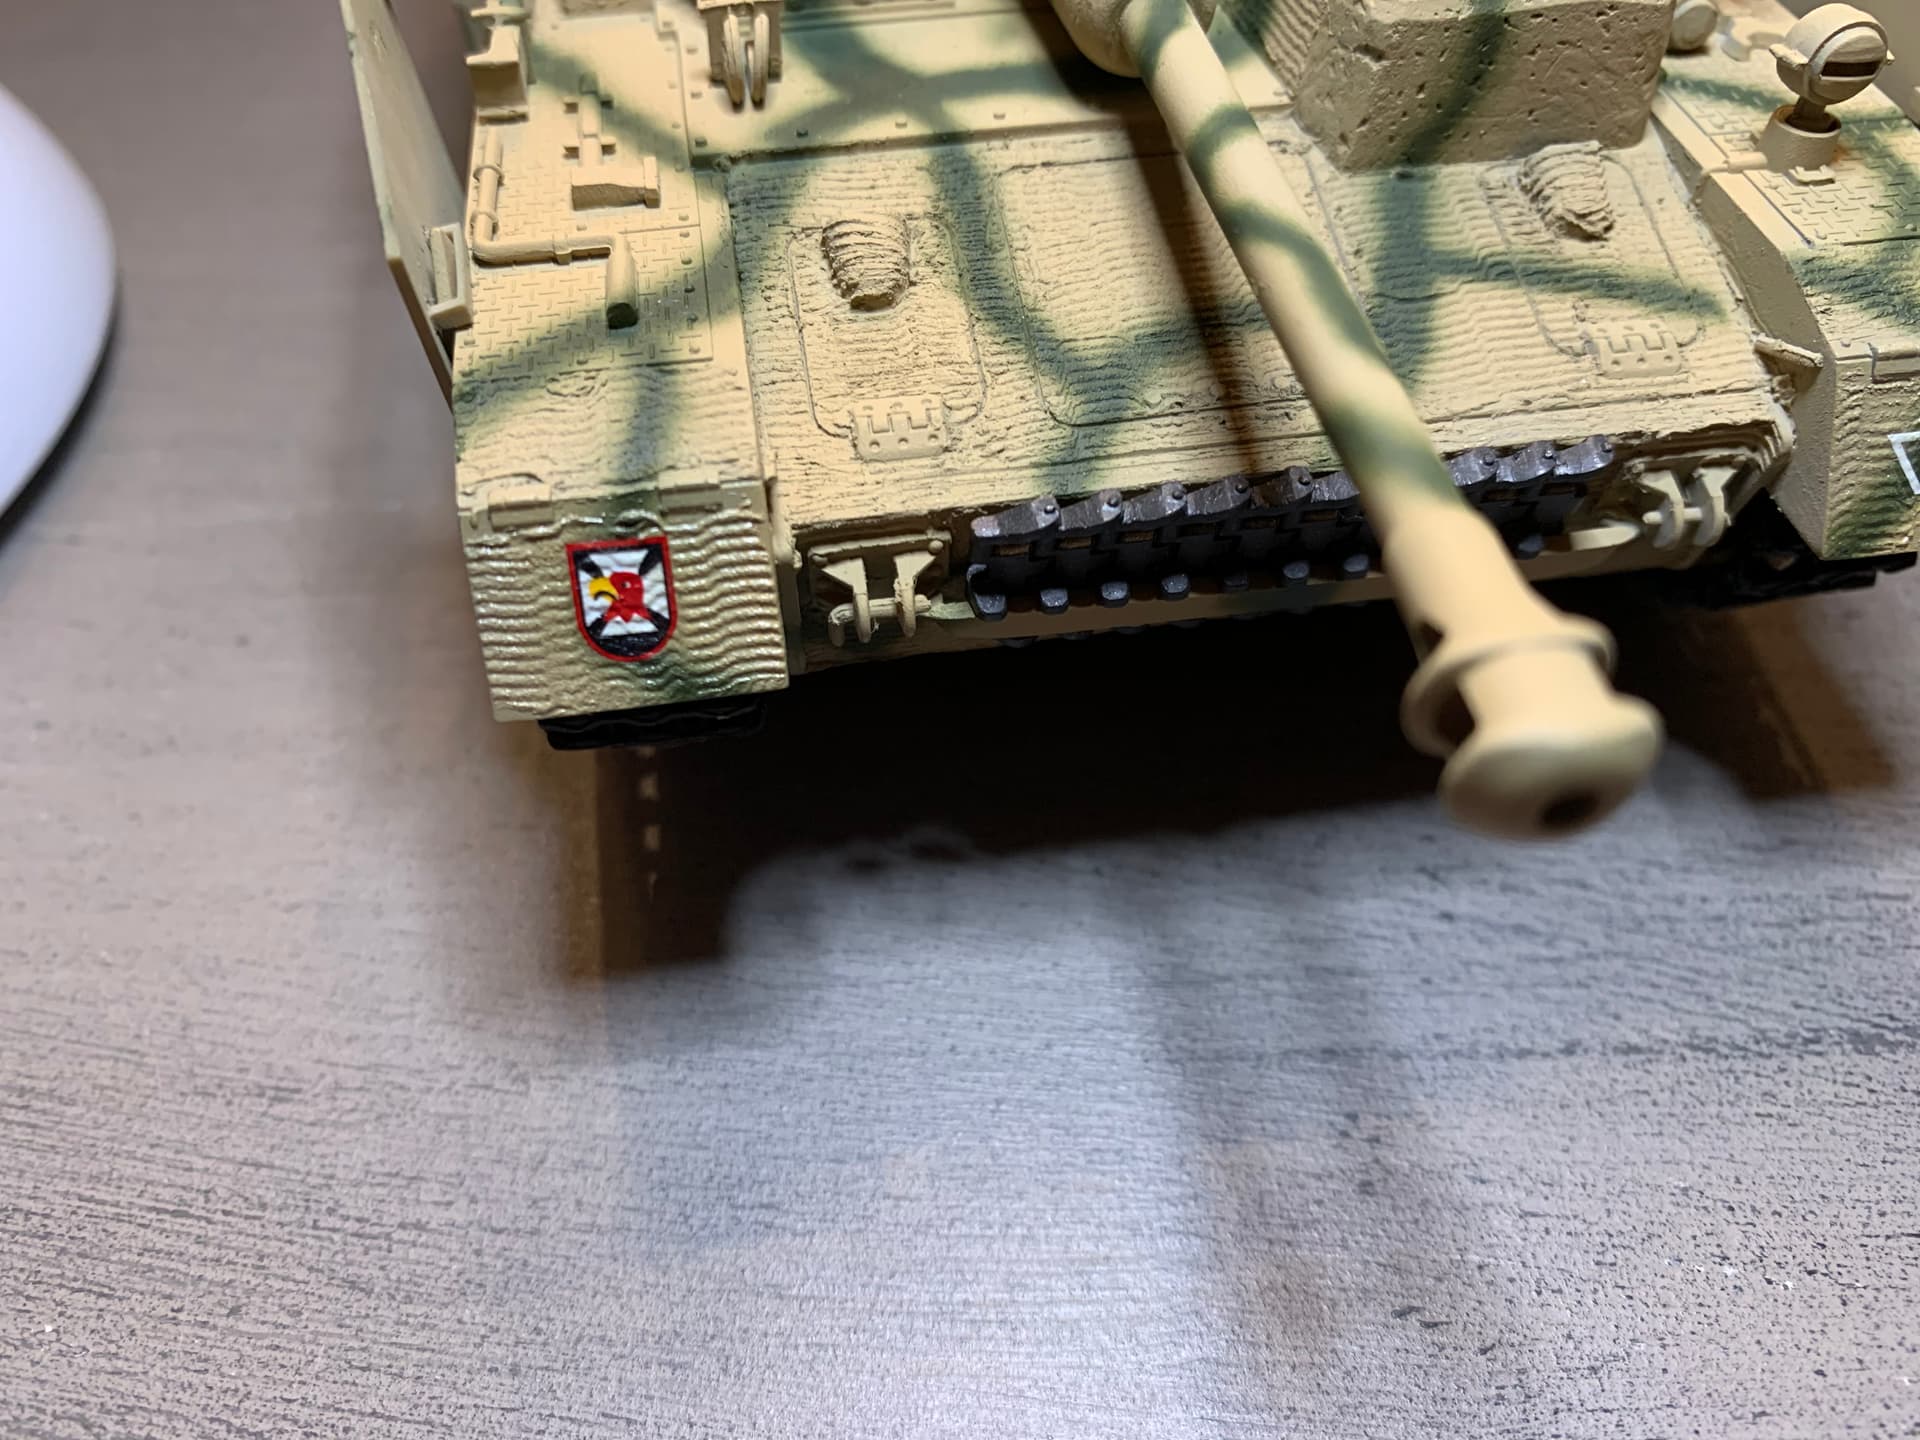
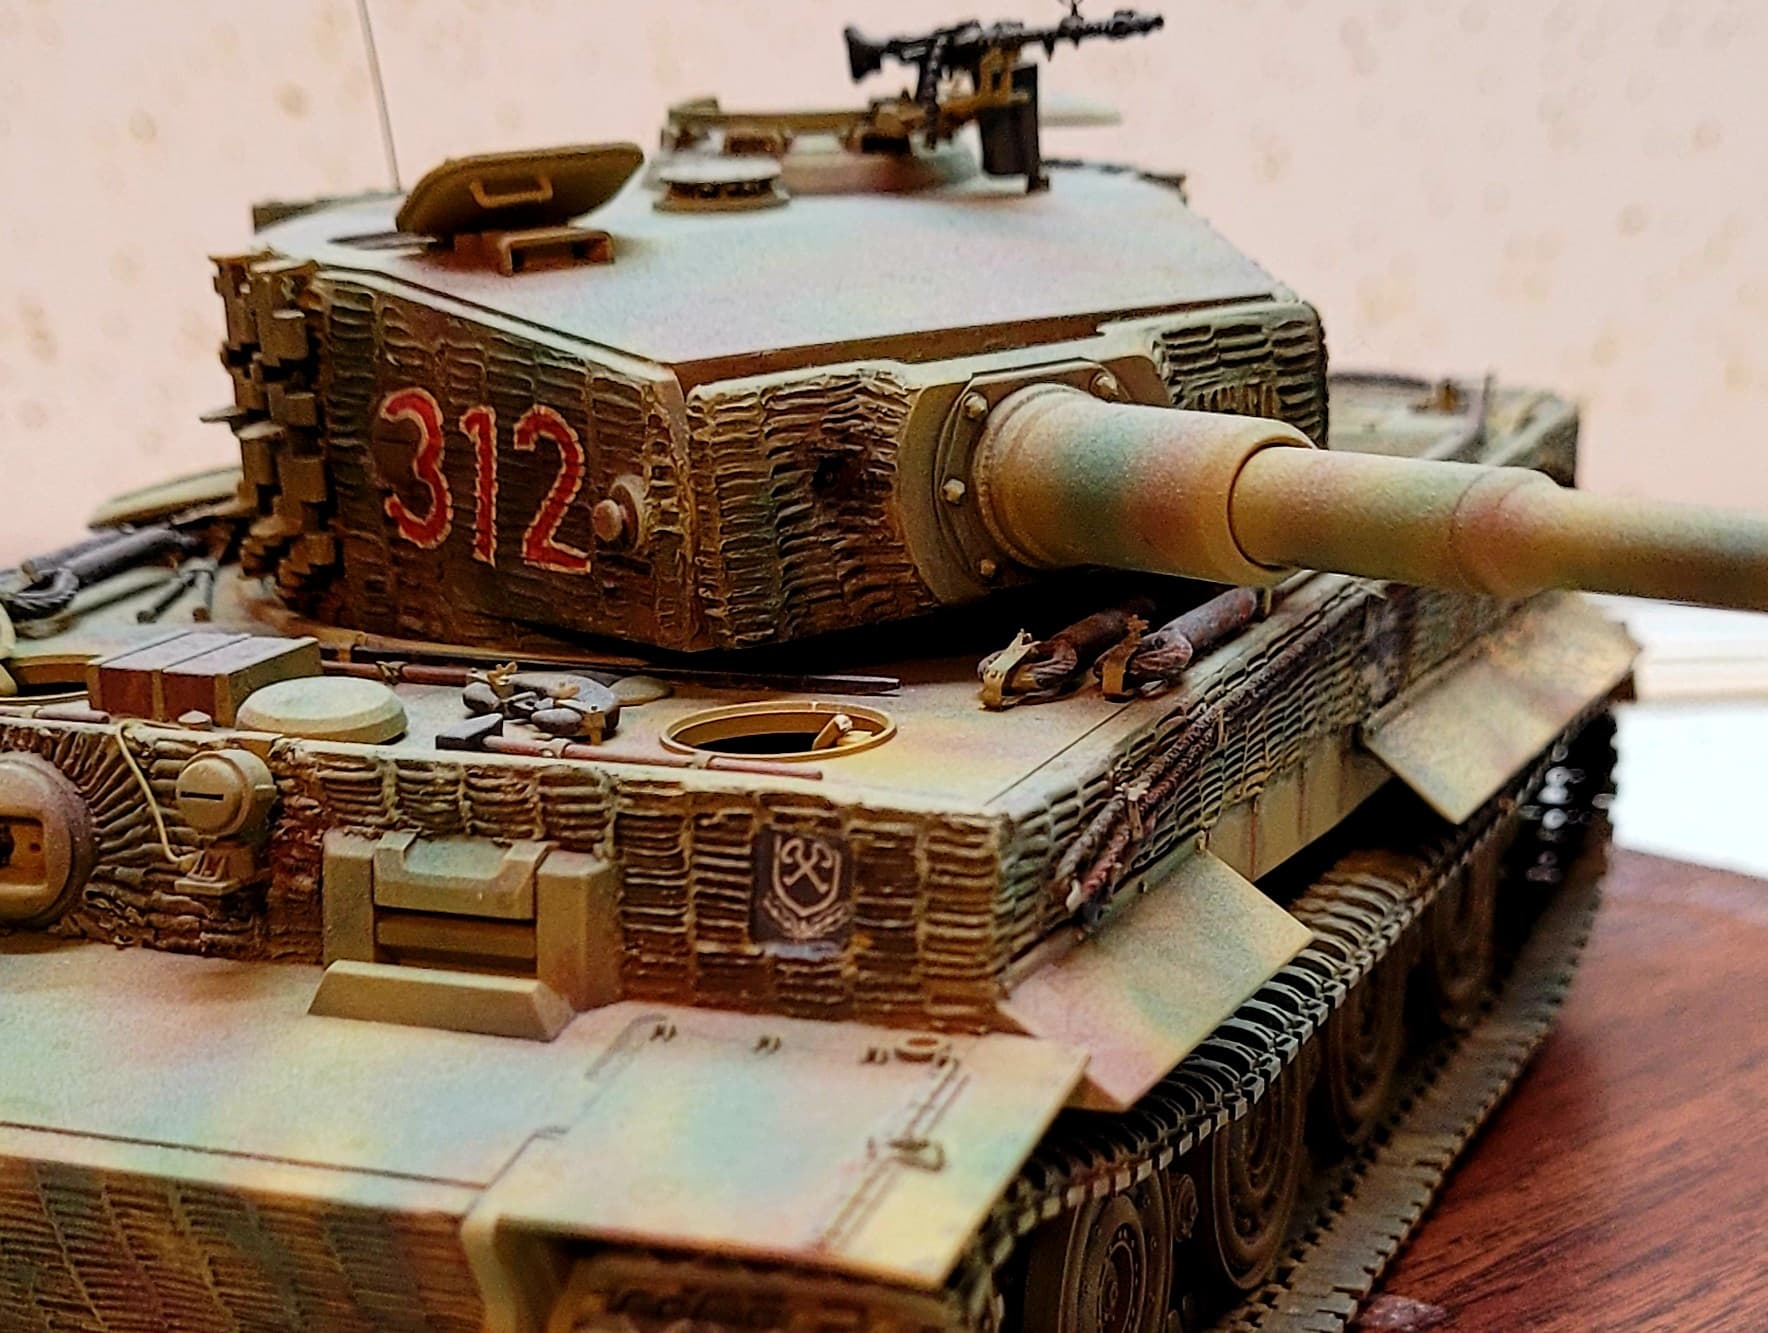
7) Tamiya Sticker Zimmerit it’s planned out, has options and instructions. Easy to apply. Looks decent. Bit too Cookie Cutter. I dislike texture.

8) Milliput Standard Yellow-Gray 2 part Epoxy putty. Roll & work thin using talc & bit of water. Texture with small screwdriver blade. Press items into Zimmerit before it dries. Very slow and time consuming. Always harder for me to work with than Milliput Superfine and a bit more texture etc.

9) Squadron Green Putty thinned with Lacquer Thinner Smells absolutely horrible. Outside ventilation required. Applied with old razor saw. Can be applied thin. Tricky to get amount of Lacquer thinner exactly right. Dries very fast. Applies very fast. Crumbles and easy to chip.

10) Zimmerit Rollers - I have a hard time getting the consistency of the material to roll correct regardless of what’s being used.

11) Zimmerit Stamps - I have a hard time getting the consistency of the material to roll correct regardless of what’s being used. My stamp clogs or pulls away material.

12) Spackle Paste for Wood applied with old razor saw blade. Tricky for me to get paste at that ideal tacky point to work with razor saw blade. Slow to cure and easy to smear but wiped off with a damp tissue. Application was a little to fragile for a ham handed modeler like myself.

And

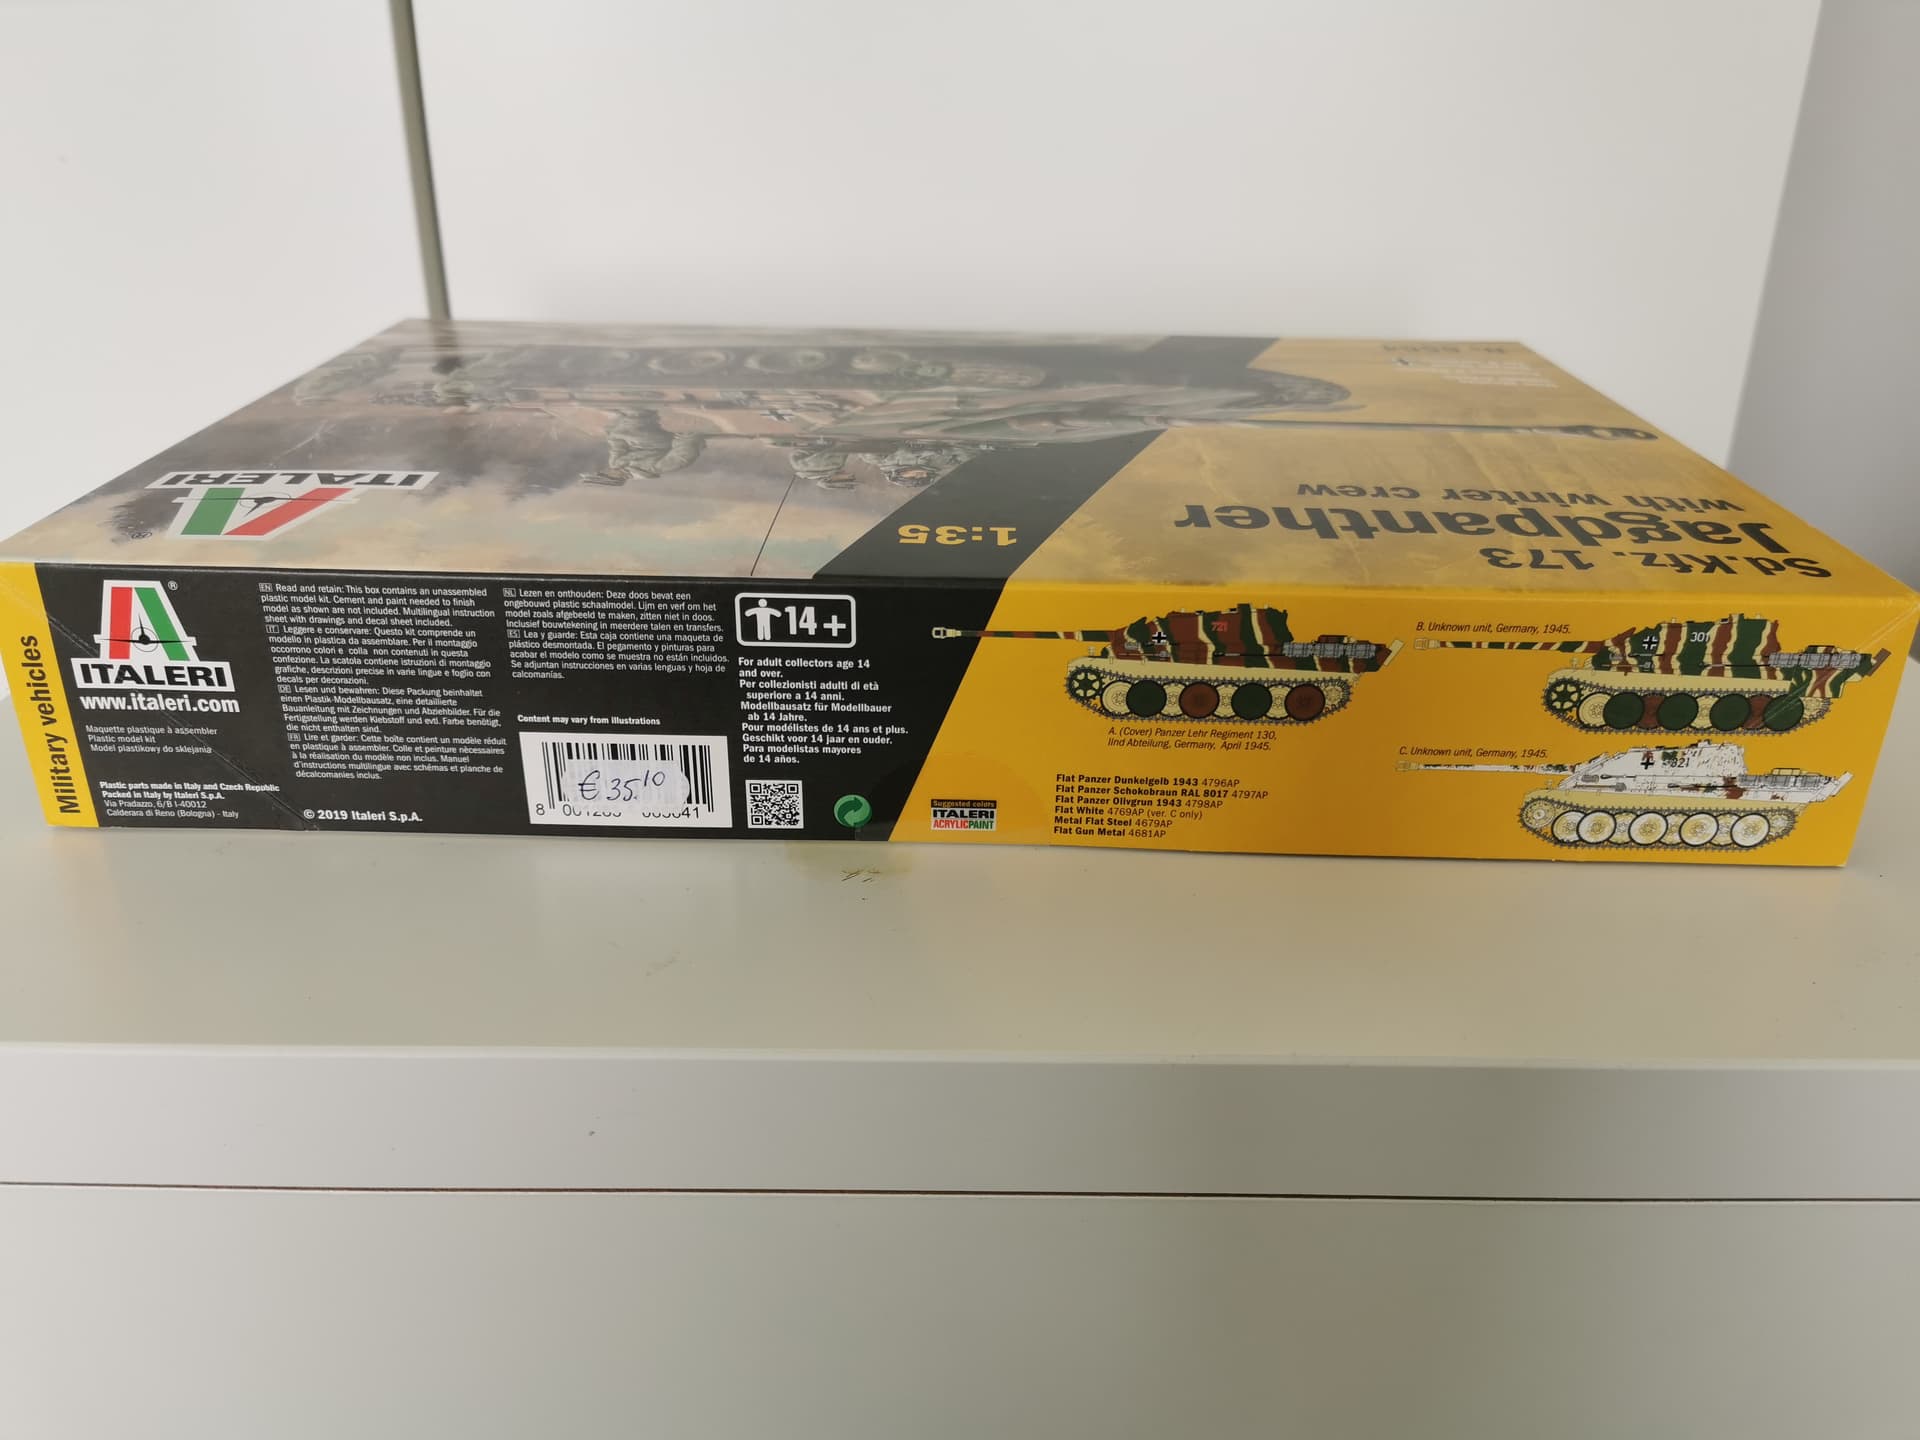
13 Italeri Kit Molded Zimmerit Very worse looking Zimmerit ever or close to it. Try something else. Too thick. Too wrong. Too ugly.

I used to have a model for each of those but over the years several found new homes in the local landfill. Some of the above 30 something year old models should also go to the landfill too :slight_smile:

2 Likes