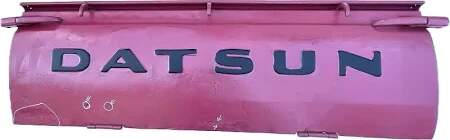
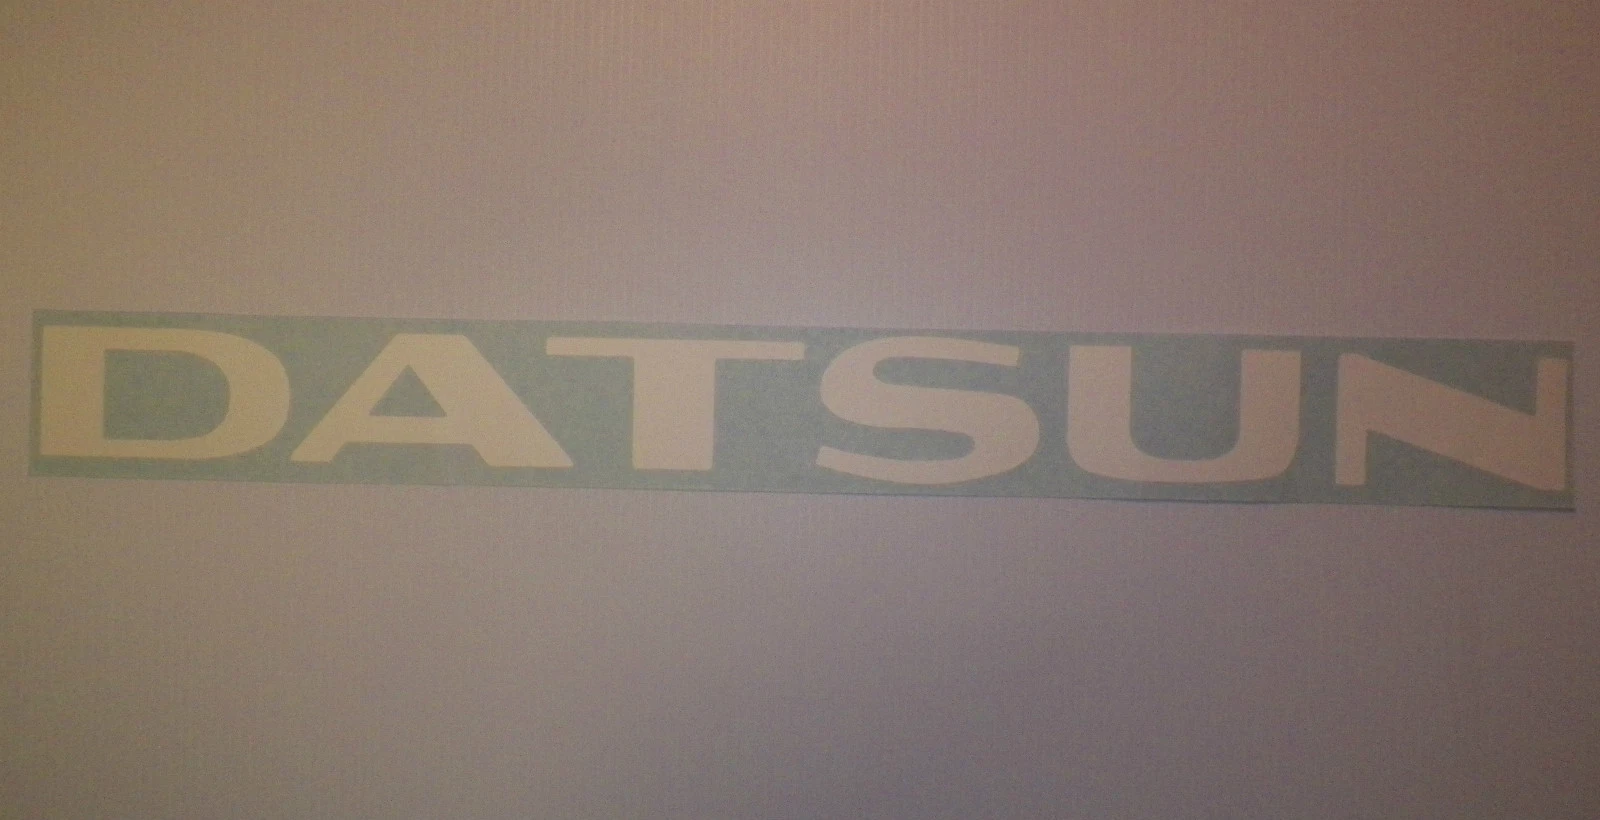
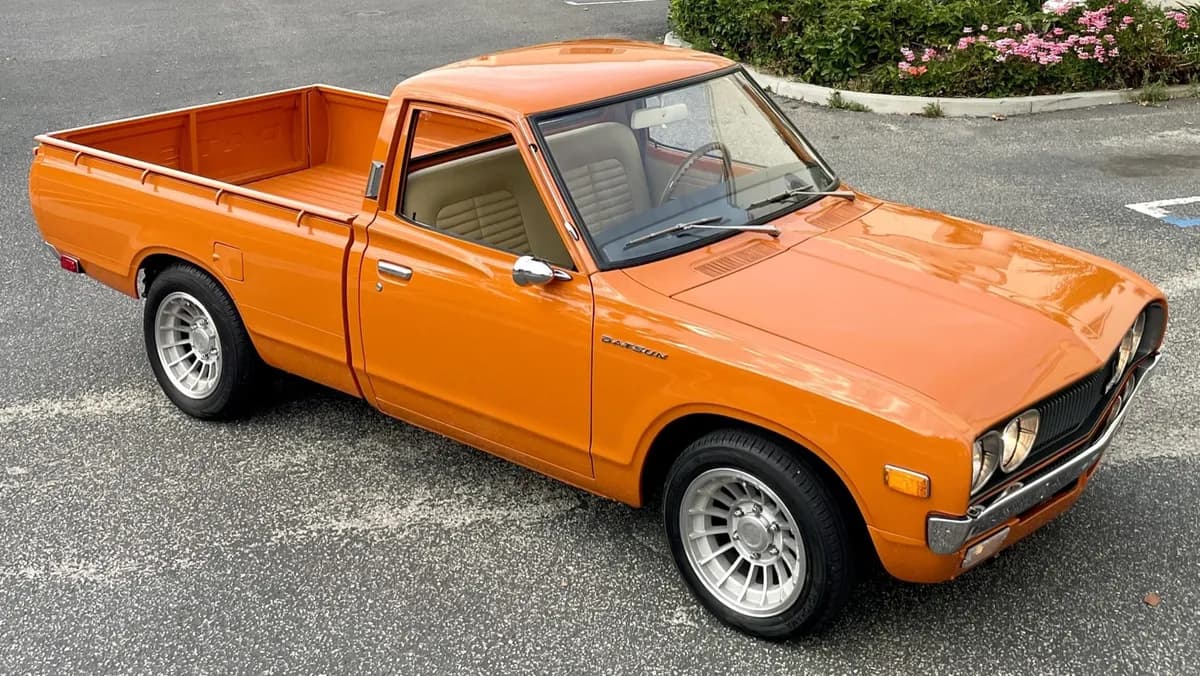
I want to isolate DATSUN from the image - essentially eliminating the purple and replacing it with white. I used to know how to do this on Paint and am completely drawing a blank. I’ve looked up tutorials on it and all they explain is how to “bucket fill” shapes that you create, not replace existing colors. As I said, I know it’s possible because I’ve done it. Anyone have any pointers?
Using a free software app called PhotoScape X. It has a cutout tool, that works fine for an amateur at graphics like me.
They give you three options - something called “magic erase” where any area you touch with the cursor gets erased, “lasso” where using your cursor, you trace around the shape (which I use a lot on photos of models/dioramas), and “brush”, where you drag your cursor with various digital tips - like a brush. There’s also PhotoScape (no x) which I use for quick resizing etc.
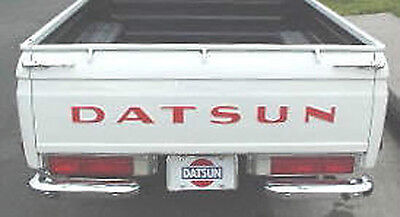
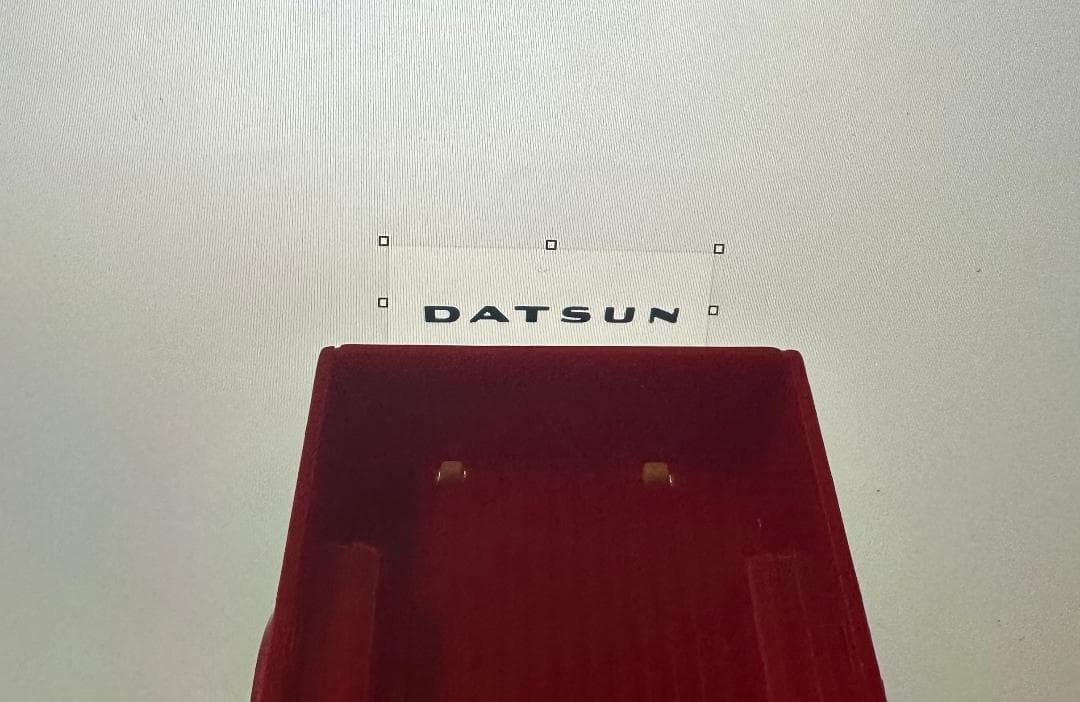
Thanks to both of you. I had been trying the “remove background” icon on Paint. I needed to isolate it more, which I snipped from Robin’s image (which did not show up when I did a search, weirdly enough) It appears correct for a '76 620.
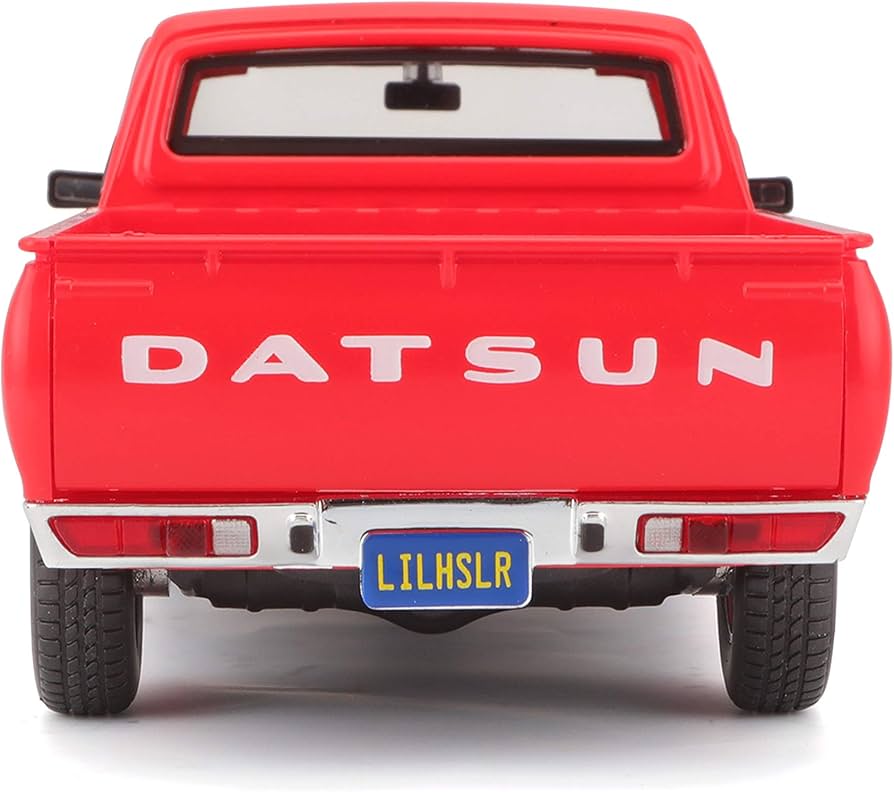
I’ve gotten this far - I can erase the rest.
Now I’m tempted to just use an X-Acto and cut a frisket mask. If I use a filling primer it’ll give the lettering depth.
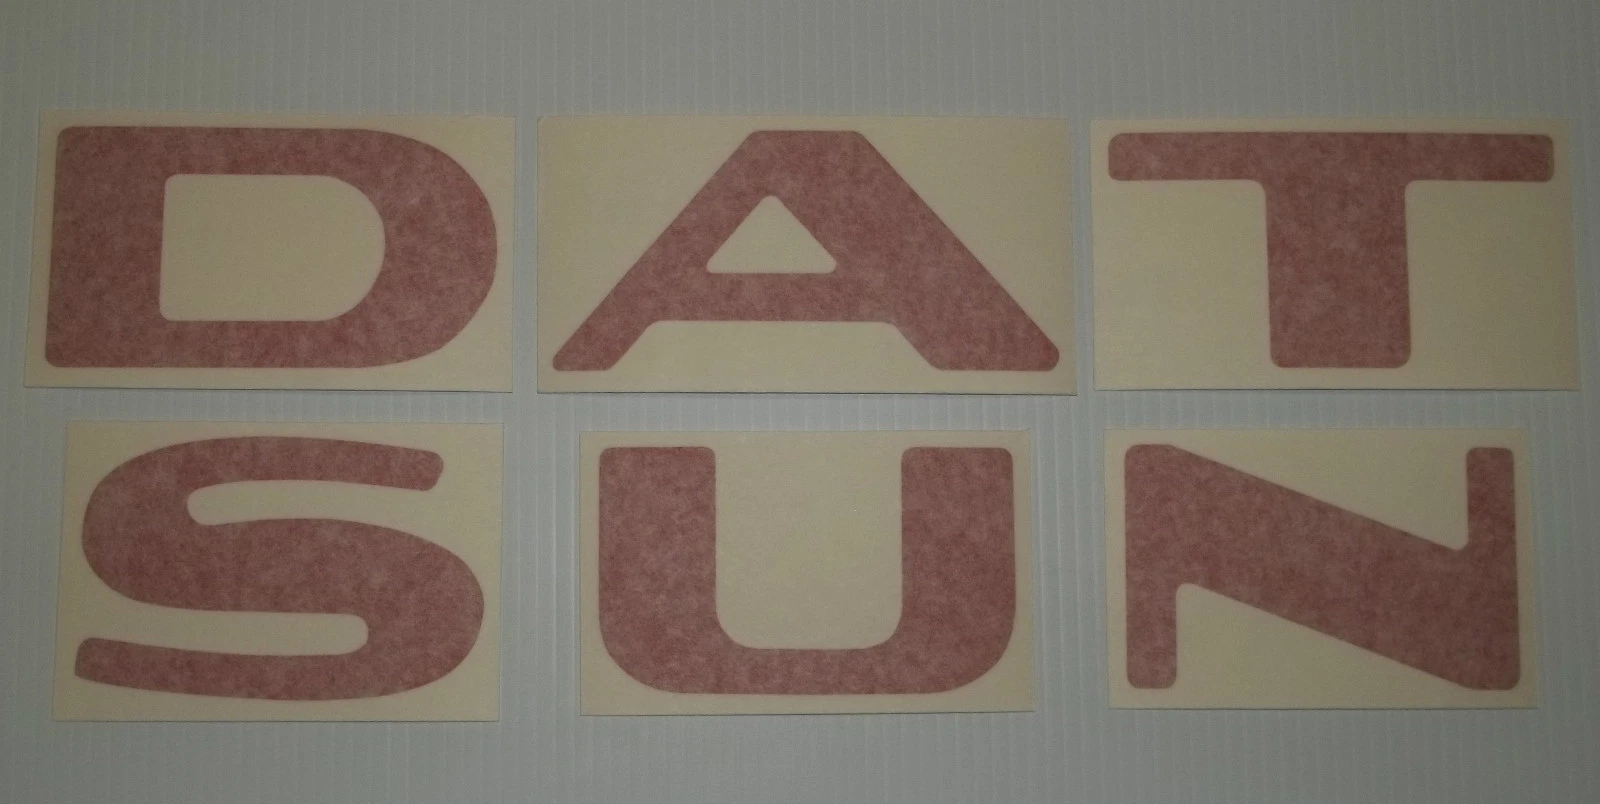
This is the best I can do without ruining the integrity of the logo. I used Photoshop Elements with the paint bucket tool to change the background color and then cleaned up the residual pixels with the eraser tool.
For what its worth, I’d start with a .jpg or .png of the logo (ripped off the interweb) and convert it into a .svg. The import the .svg into my CAD program. The .svg file will act like a 3D .stl in that you’ll be able to adjust the x, y and z dimensions, but it will retain its general form and geometry.
However, I’m still at the crayon and finger-painting level when it comes to CAD since I use TinkerCAD. I have done this, though, very successfully with a lot of different logos and designs that were impractical to redraw in TC. I just scab the .svg onto the CAD design and then save and export the .stl for printing.
Again, after reducing to proper size, the images are fine. The question now is whether or not I can print them to scale thickness, .014 in, with a smooth enough surface. I think the thinner parts of the letters could pose a problem. Thick black primer paint is still an option…
From my (very limited) fusion360 & 3D printing, i would go with
A: replicate the entire tailgate then raising the letters would be simpler.
B: once you have the letter file, find someone with a cricut or similar to cut the letters…
C: either in 10thou plastic, easier to glue to plastic tailgate.
D: or as a spray template in frisket or kabuchi (spelling) tape.
E: if the materiel chosen is smooth enough & adhesive, use the letters, and seal with clear coat.
It’s sometimes thinking out of the box to get a lateral view of a different type of solution.
Old school, I’ve used kitchen alu foil rubbings of logos from another kit to replicate them on another vehicle with moderate sucess
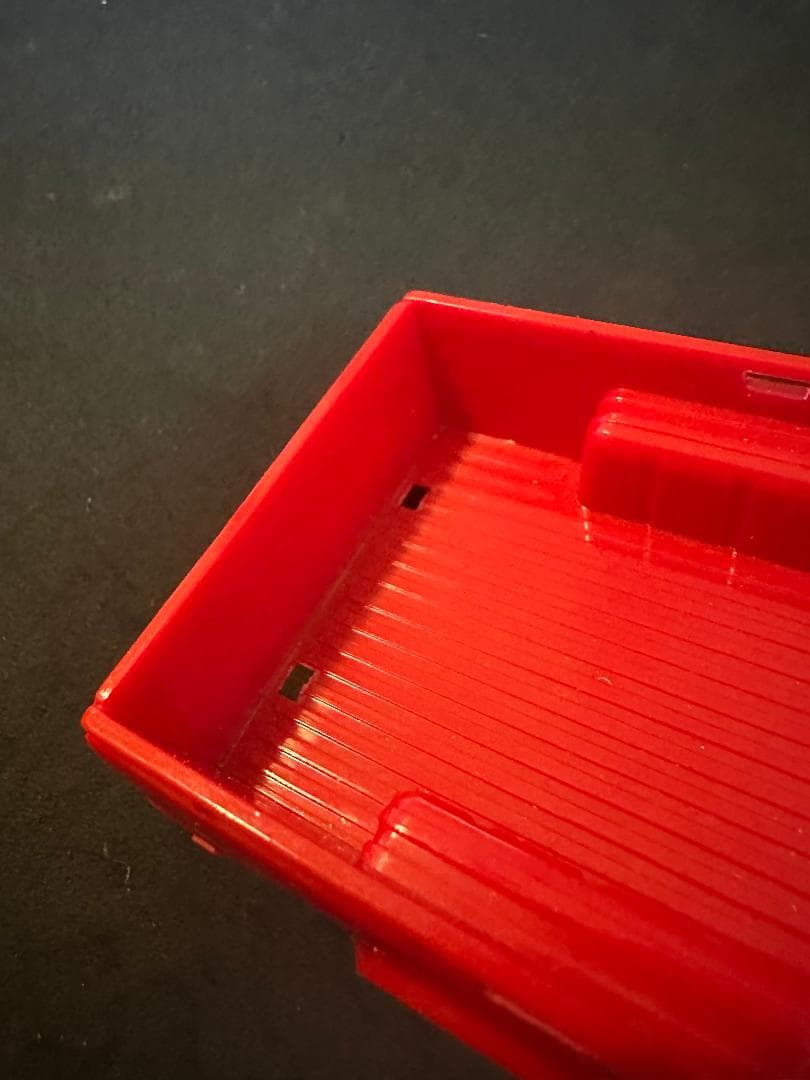
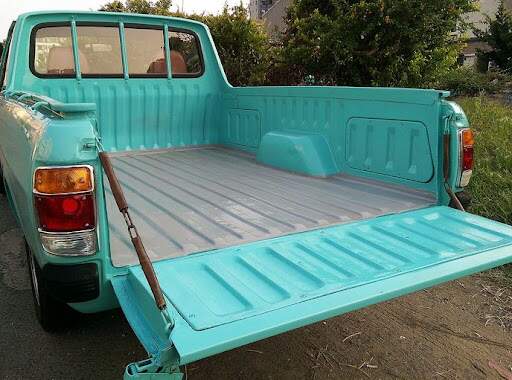
I don’t quite have the skills yet. If I did, that would be my first choice. The inside of the tailgate has detail that can’t be replicated on the model without a lot of cutting.
The kit does come with an inner and outer wall on the tailgate:
Or I could use the oldest modeling trick in the book - hide it with a pile of stuff.
Am strongly considering getting the Cricut at Joann’s, since they’re going out of business.
Another reason to go the Cricut option - I can do it on .010 plastic, and it would be easier to glue than a 3D print - there’s be a little time to readjust. And there would be no gaps.
Also mentioned above, as a template. “Filling” primer might give it just enough thickness.
I have time to figure it out, not that I have a workable image. I have actually cut out tiny 1/35 Chevy logos from .010 plastic before. Not that I plan on doing that here, although the “S” is really the only real challenge.