Wow, just wow. Amazing detail work.
1 Like
Thank you! Won’t be long before you see more.
Thanks a lot man!
Hi Guys and Gals,
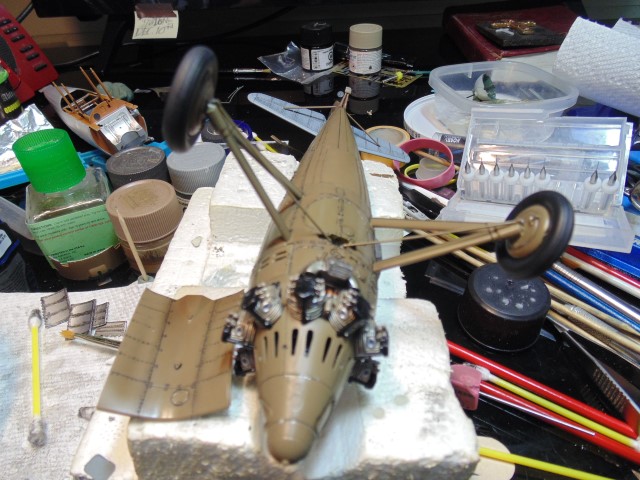
For your viewing enjoyment.

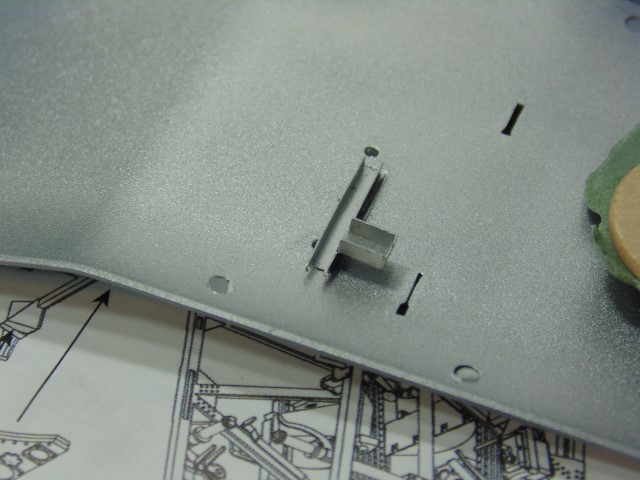
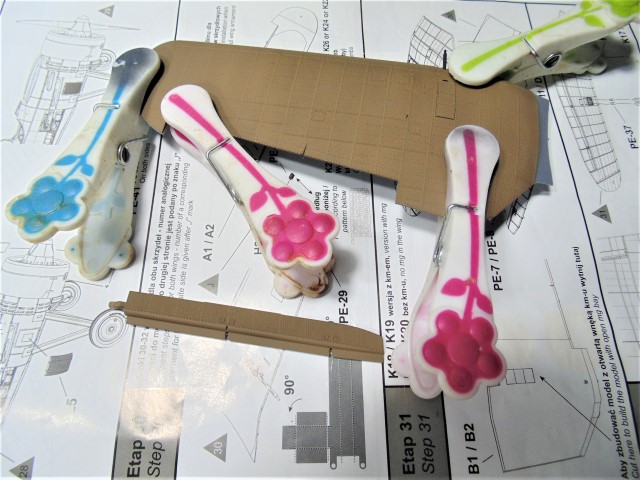
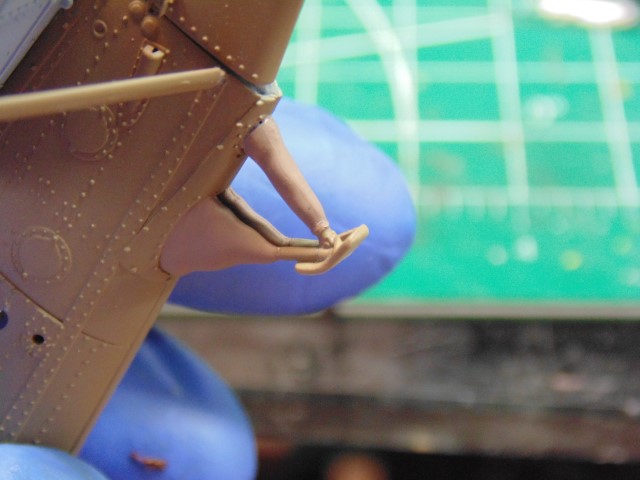
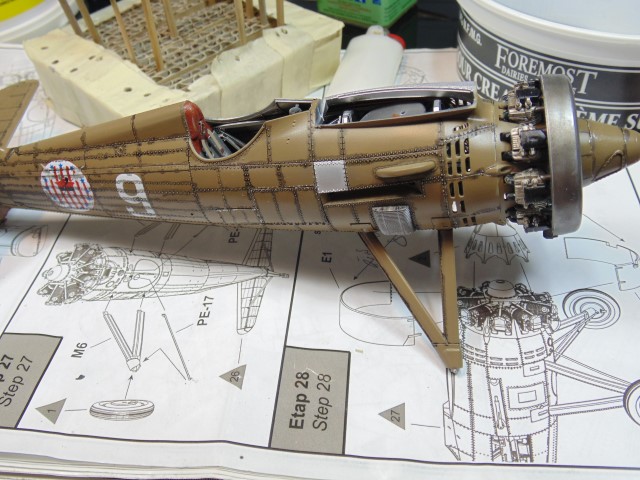
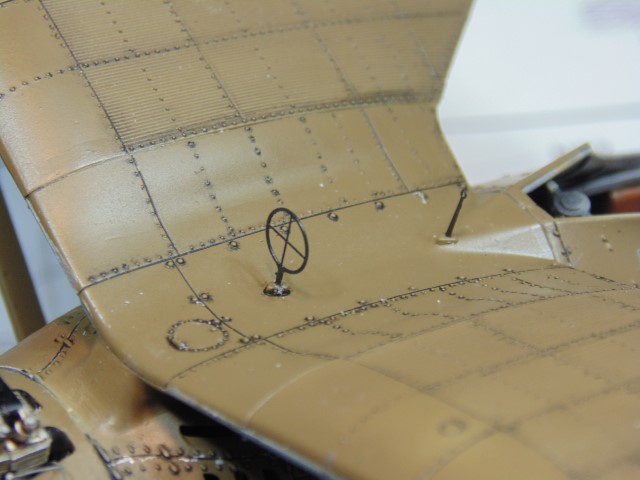
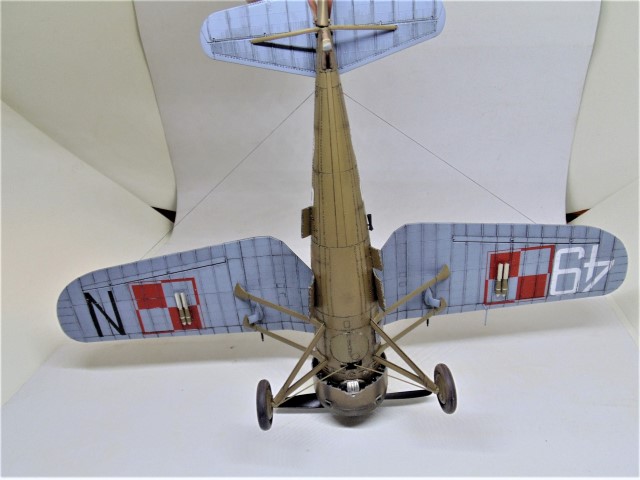
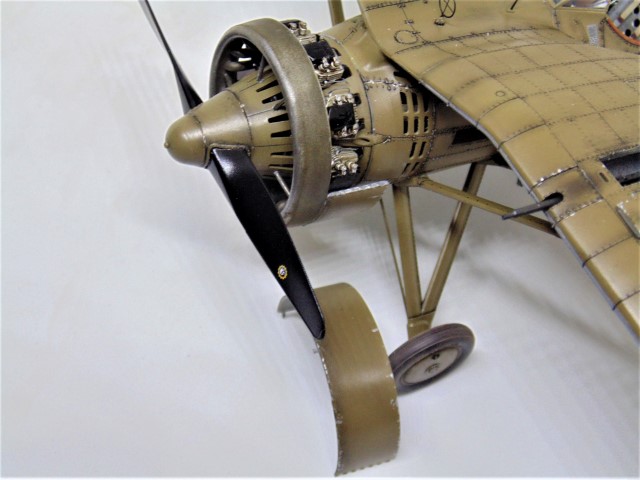
As mentioned at the beginning of the blog, the wheel connection point to the struts is this tiny rectangle in the center. The kit supplies PE for the bars which are connected to shocks in front of the fuel tank. This arrangement was too weak in my view, thus I set out to figure a way to beef it up.
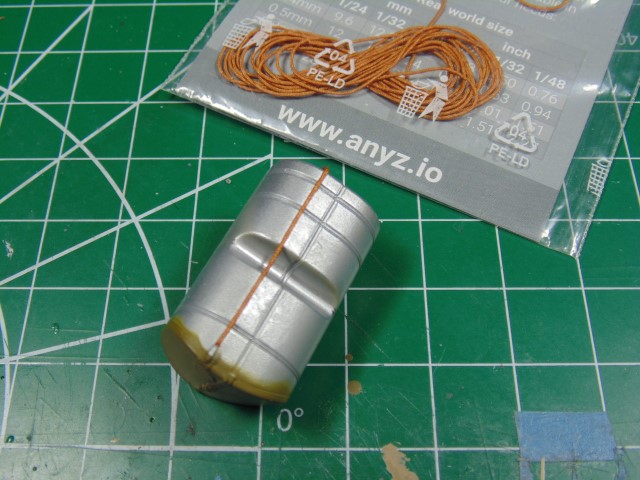
Next, added a braided 0.5 mm fuel line.
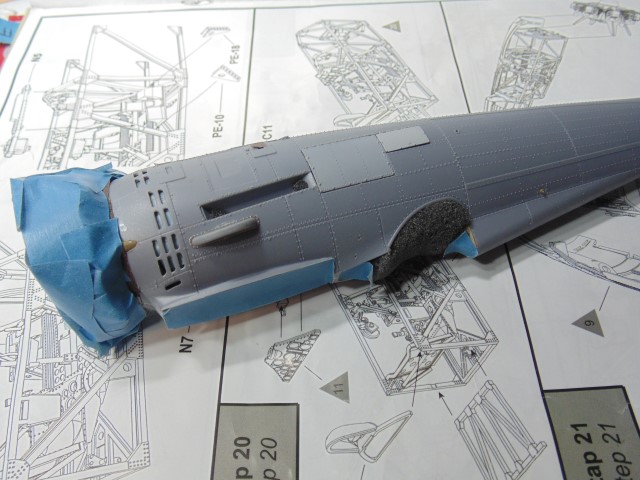
Masked for Mr. Primer 1000.
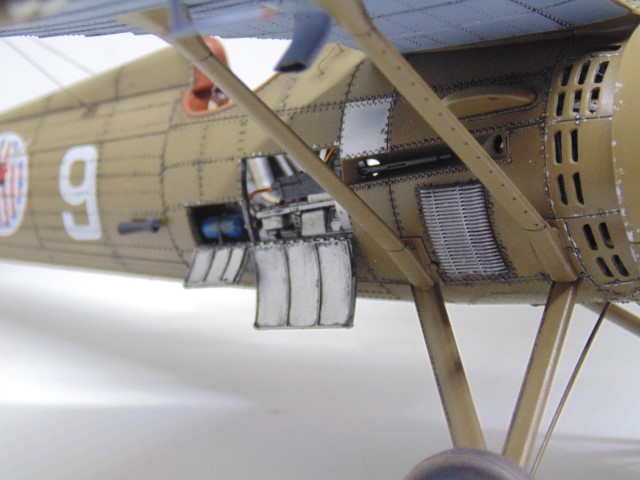
Adding some parts like the shell case shoot.
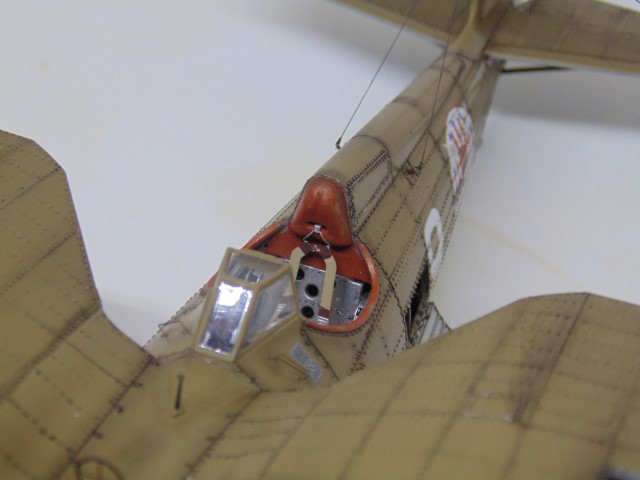
These have to be built in order to have something for the MG’s to rest in.
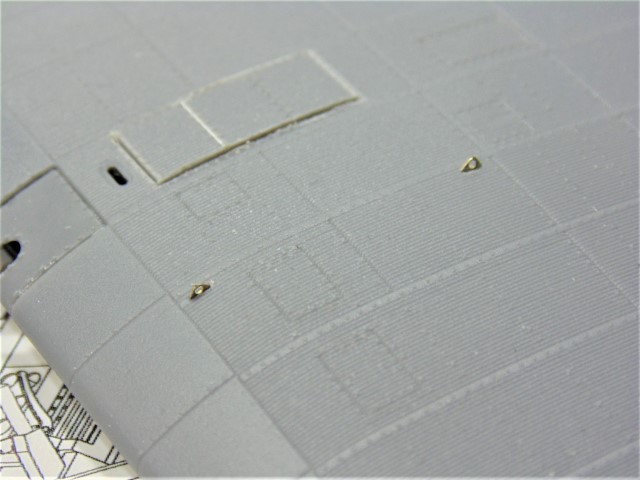
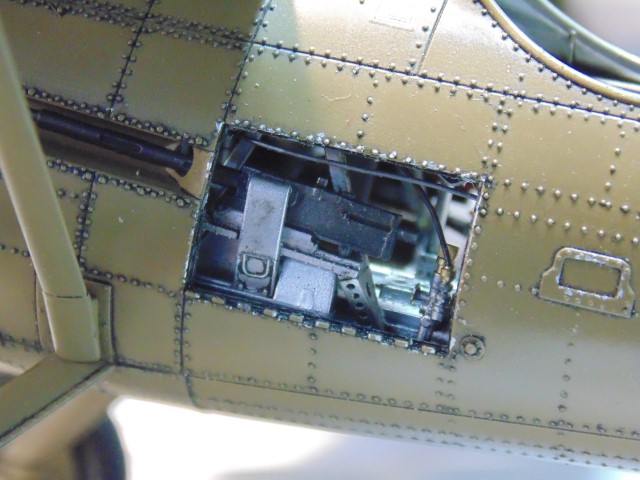
The interior detail is woefully lacking and the plastic is really thick. I had to perforate it with my Tamiya 0.1 mm razor saw then slowly proceed. I decided not to expose the other side due to the lack of detail and how much time was involved sawing.
The tail wing braces are 1 mm too short so some material needs to be removed.
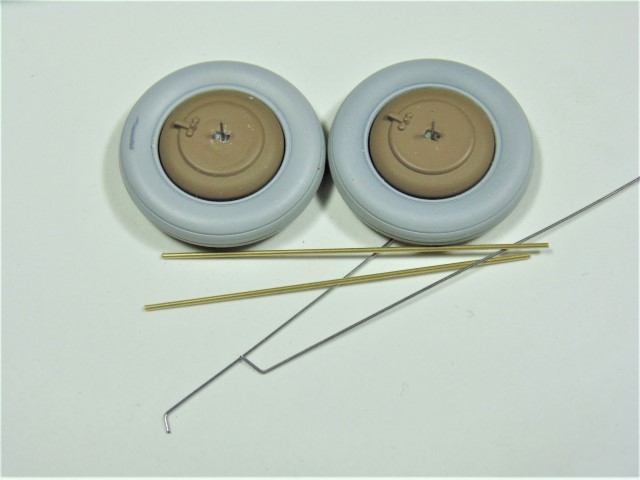
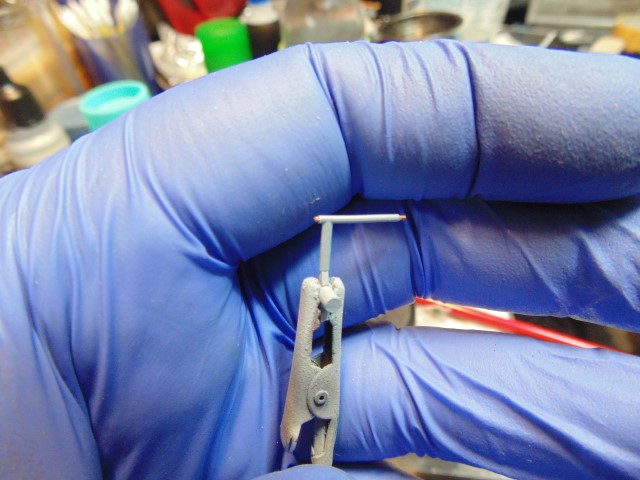
Use the photo etch parts to get the length you’ll need for the brass tubes,
Drill some holes in the shock linkage and add rods to your tubes, Now it’s super sturdy and looks way better.
Our appreciation go out to IBG Models for allowing us to bring the kit alive. Another huge thanks to Sunward Hobbies for the paint and materials. Please consider looking into both for Christmas purchases.
Thanks Everyone.
2 Likes
Some would argue the statement that you are “not a highly talented builder” …
1 Like
Hi Modelling Friends,
Thought you might like an update.
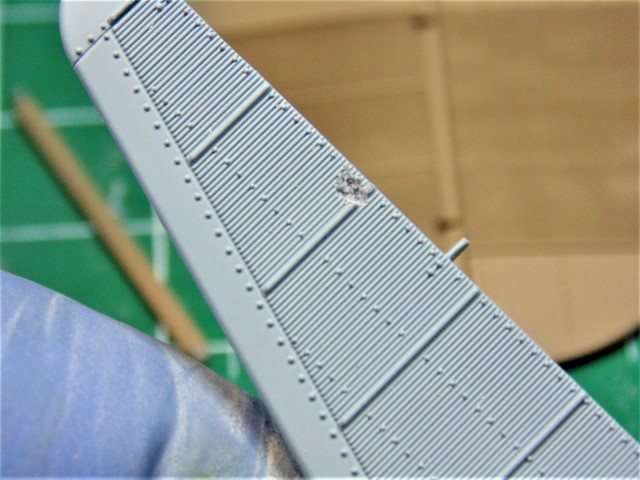
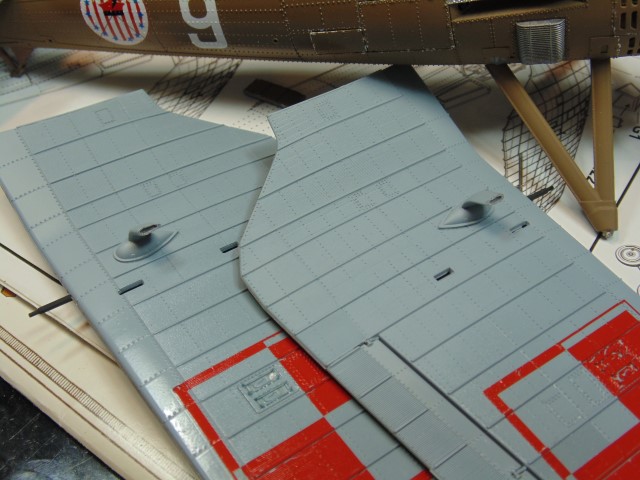
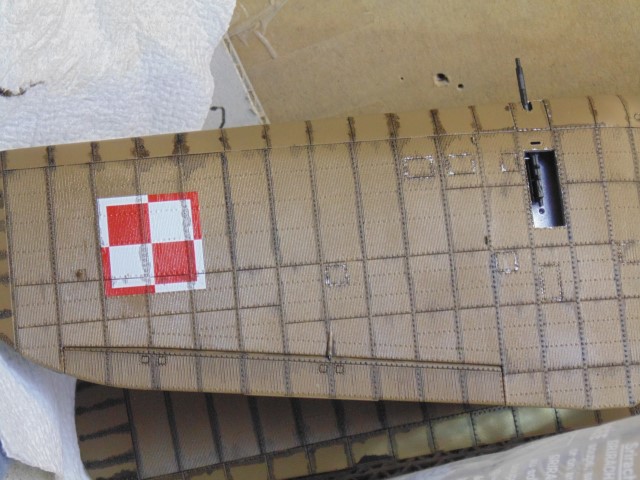
The connecting pins on this kit were too tall. After correcting that some material had to be shaved from the ends of the ailerons or they will bend.
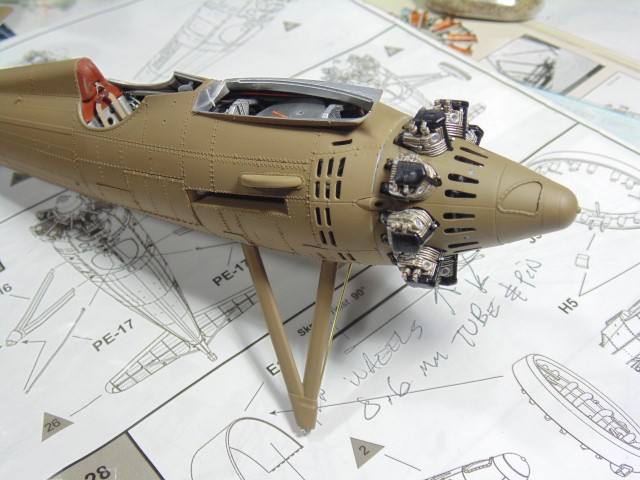
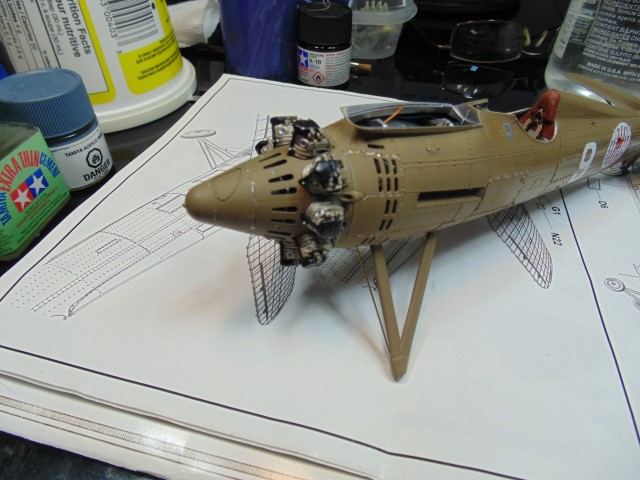
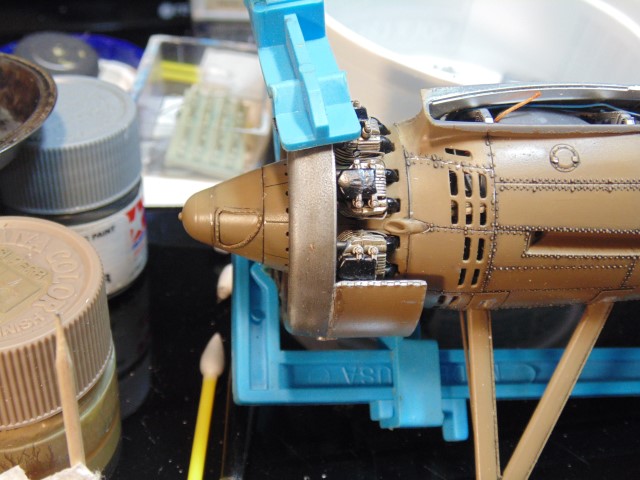
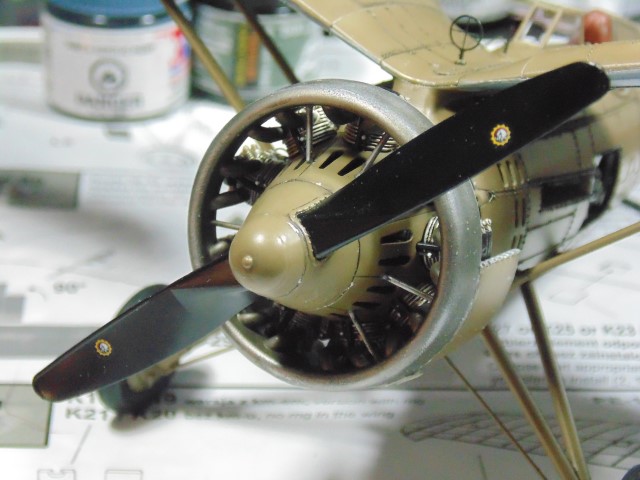
Next, the spinner and engine comb. Don’t worry you can still see the goodness inside.
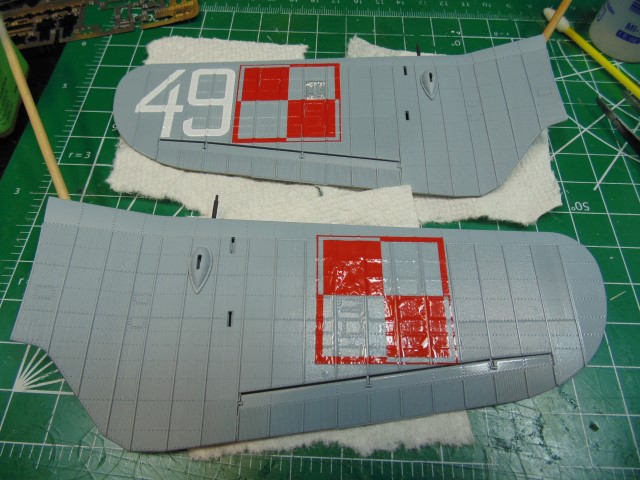
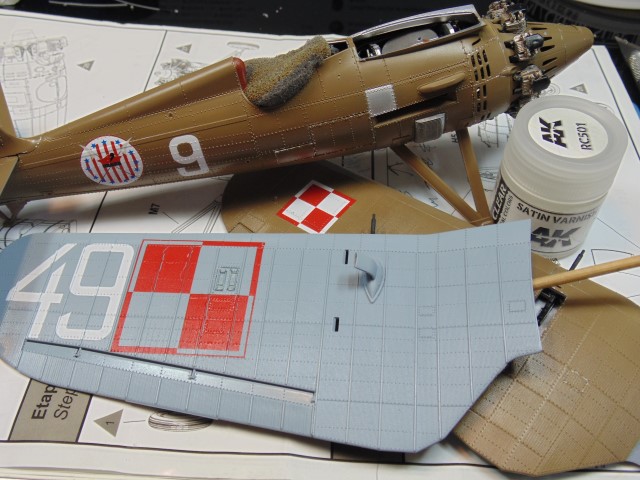
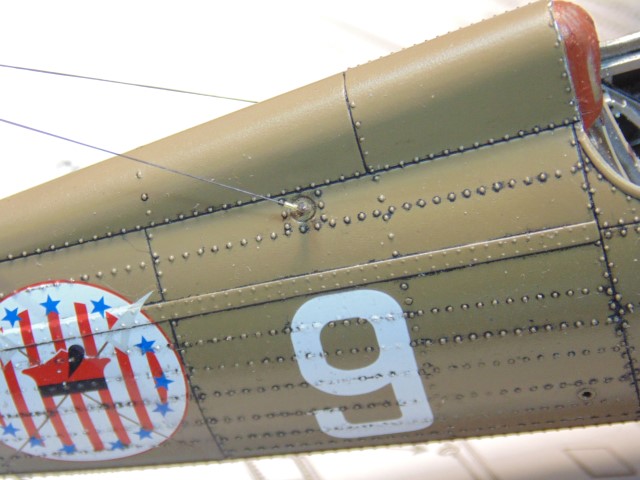
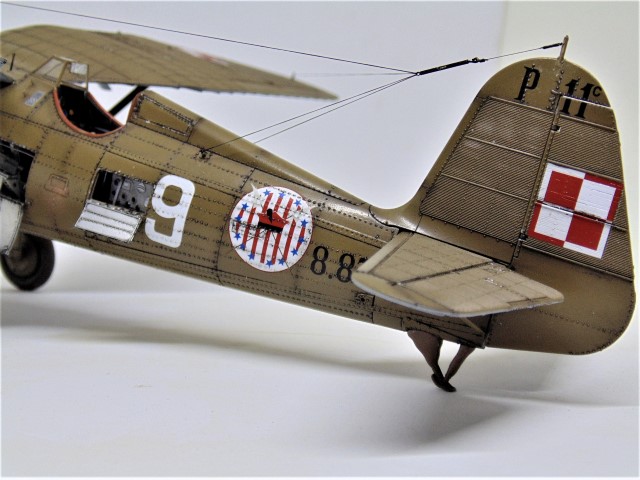
TECHMOD make good decals and I can only imagine the time it took to work out getting them to work out on the detail of this kit. Quite a mental work out. Ok, I suck at comedy. What isn’t funny was the steps to get them in place. They were dipped in warm water for 20 seconds then applied to a gloss finish that had droplets of Micro Set in that area.
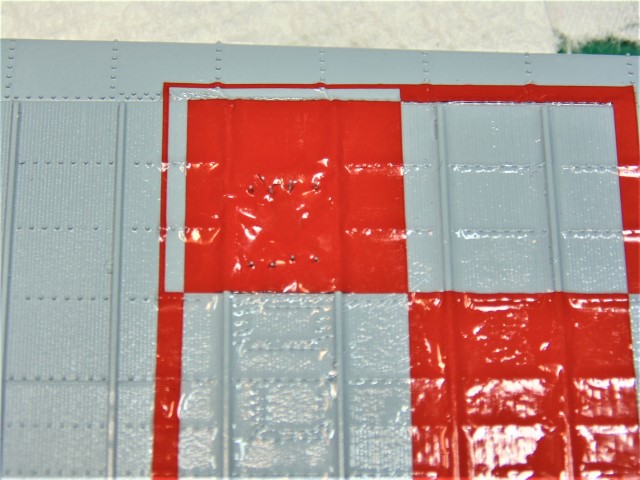
Be extremely careful and precise when putting them down the first time. They’re brutal to lift and move around due to the raised rivets.
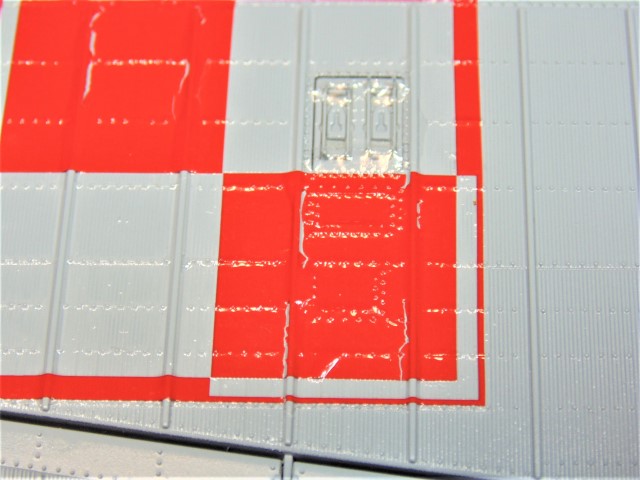
Many coats of Microscale’s Micro Set later and still they needed to have air bubbles burst and cracked anyway. If I had to do over I’d attempt making masks, but for IBG I’d recommend breaking these up into 4 parts. The wash will conceal most of these cracks… luckily.
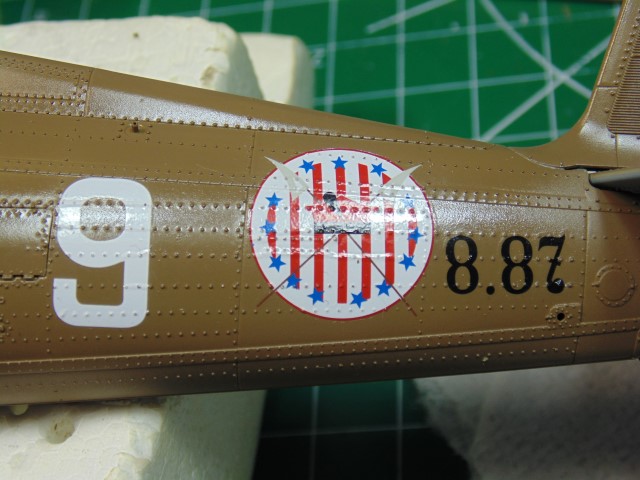
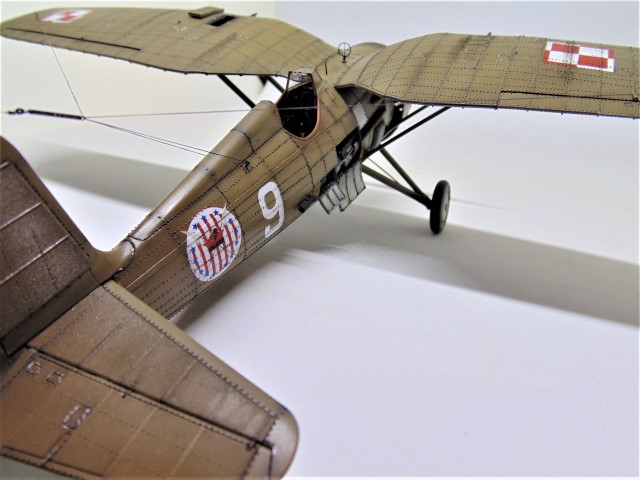
I wanted something unique and settled on a reference picture that would work with the decals. So, 6 became 9 and 8.78 became 8.87. Also, I love the red, white and blue.

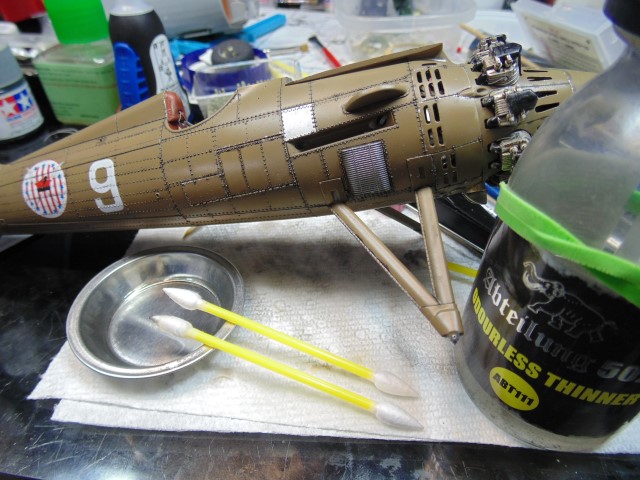
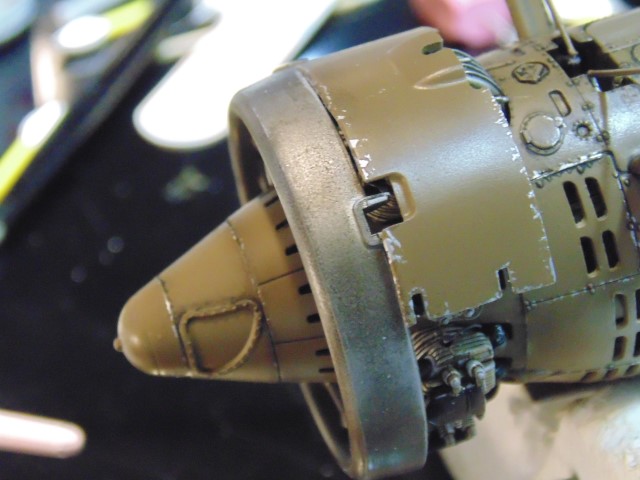
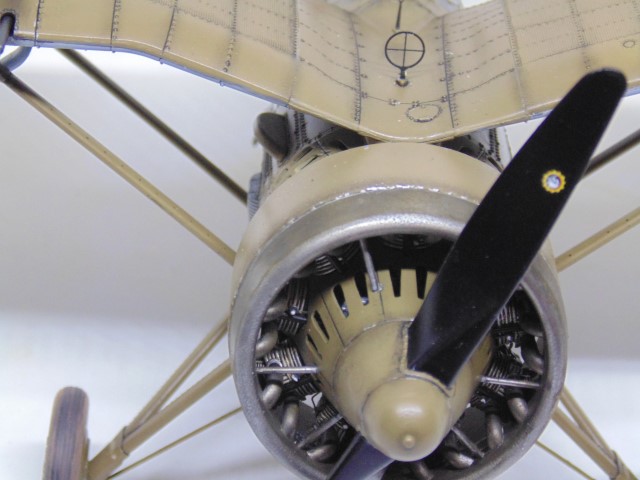
Next challenge was to make the exhaust ring look burnt. Thankfully, Tamiya make a weathering/makeup set that when blended over steel looks passable.
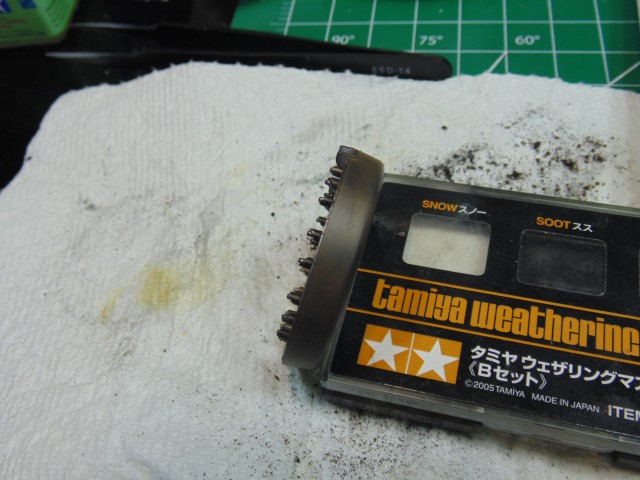
First I rubbed the soot at the contact points where the pipes meet the ring to show a higher heat. This camera sucks at showing but it really stands out even after being lightly covered with blended rust, white and soot.
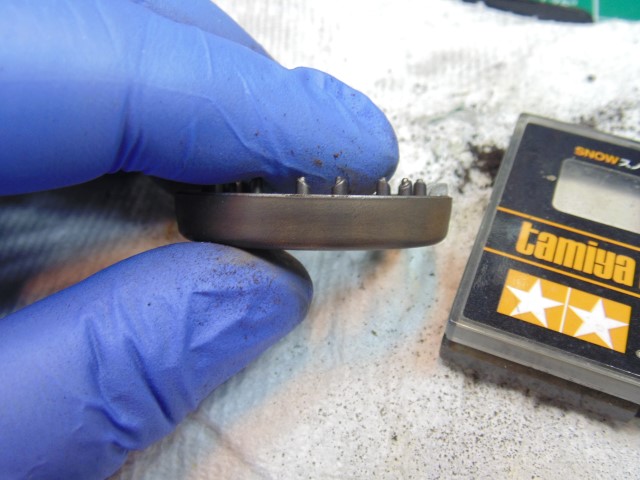
I’ll lighten this some more after the oil in the pigment dries and then dust with 7 to 3 ratio of rust and white. Just look up Bristol Mercury engines and you’ll find aircraft with this effect for you to go by.
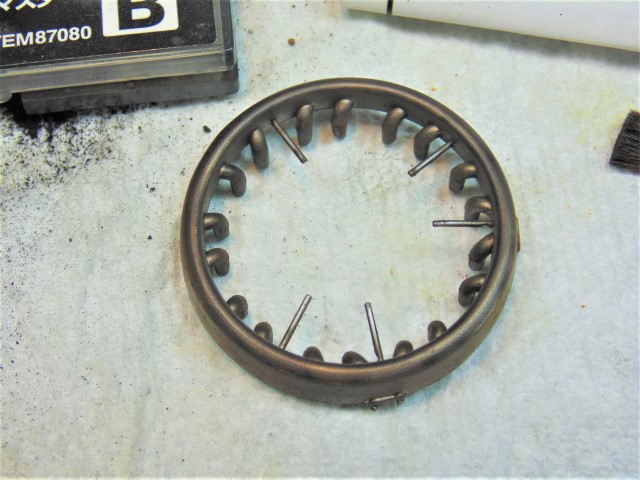
This is a part that should be broken up into a few pieces. It was frustrating to get in between the pipes and the support rods, as you can see one broke. Besides the front bezel is often much lighter than the outer ring anyway. Absent of that, the front of the bezel will be lightened to almost bare metal.
Fondest thanks to the good people at IBG Models for supplying the kit for review and to Sunward Hobbies for supplying the paint and some materials for the build.
Please leave a comment if you have any thoughts. All the best Everyone
5 Likes
Beautiful details - looks outstanding so far!
Looking forward to see more 
1 Like
Hi,
Thanks for the kind words. What you’ll see soon is really nice with the wash.
Hi All,
Moving quickly through this one as cement dries on another much larger project. Still a ways to go here, but some nice progress in a short amount of time. That’s due to the kit’s excellent design and not my skill… well maybe a little.
Tail skid is a terrific bit of engineering and the fit is perfect. Later some cable will connect up the stabilizer.
Just some light chipping.
Spent shell shoots, say that fast a few times HA HA, hollowed out and attached.
Clear coat in satin so more of the oil wash sticks and feathers.
Abteilung 502 smoke was used.
Once the wash has been left alone for a day it feathers and shades really well and the excess is easy to remove.
Use swirling movements very lightly over the place you’re working. This helps keep the filth around the rivets.
Finally, the wheels went on super easy because of the pins. Huge thanks to IBG Models for sending the kit for me to work on and to Sunward Hobbies for supplying the paint and materials for the build.
Be safe Everyone!
6 Likes
Beautiful build! Looking forward to more!
1 Like
Thank you! More very soon.
Hi Everyone,
More good stuff… well I hope HA HA.
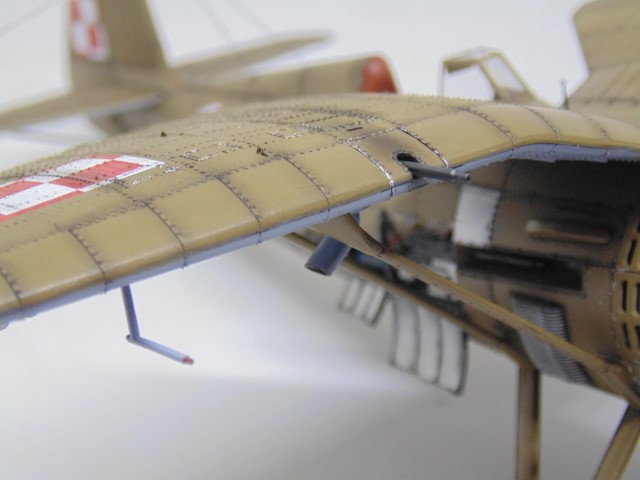
Pitot tube sprayed with AK Xtreme Metal copper then dipped in masking fluid and sprayed the Tamiya LP-36 Dark Ghost Grey.

Prepping for the wings and the exhaust ring by removing some paint layers to get to bare plastic.
The cowl cementing needs to be walked around and the air intake bulge has to be thinned quite a bit.
“F” clamps may be needed.
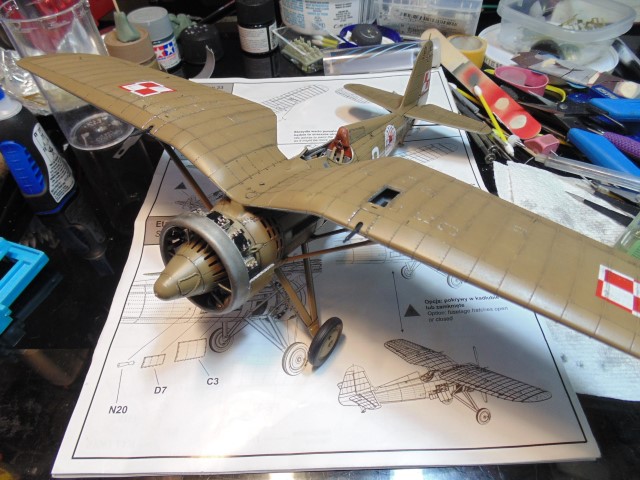
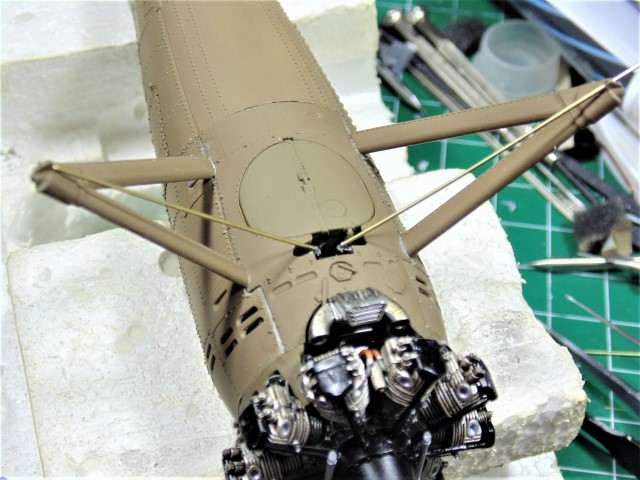
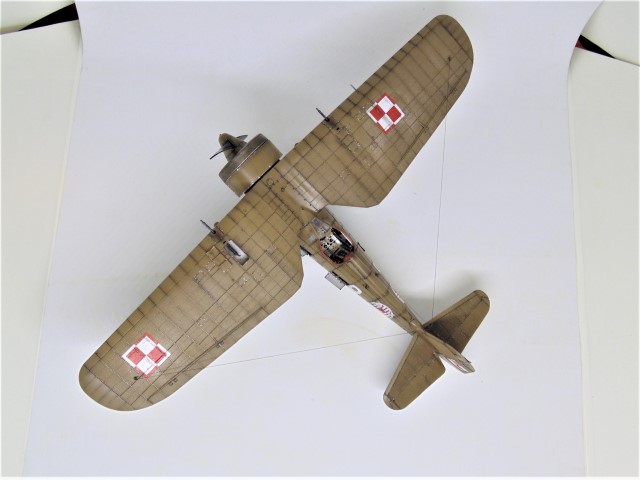
Finally, the wings and supports go on. I had to be quick here because after test fitting saw the gap on the right side where the support meets the body. Before the cement sets you can move things around to look symmetrical. Next up… the details!
Huge thanks to IBG Models for the sample to review and to Sunward Hobbies for supplying the paint and some of the materials for the build.
Thanks for stopping by Guys and Gals.
4 Likes
Hi All,
Still can’t get over how fast this model went together. Here’s some more details which finishes the build.
These guns need to be twisted into place. Some material at the bottom of the gun needs to be removed for a perfect fit and even then you’ll have to adjust the angle to shoot straight.
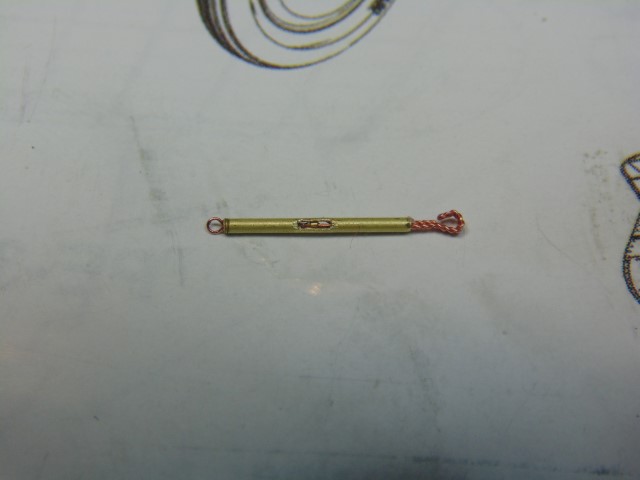
Antenna tensioner WIP. The gap gets cleaned up and the hook made into a single wire and not twisted. Note the tiny turn buckle inside. I used a rotary tool to grind the walls down.
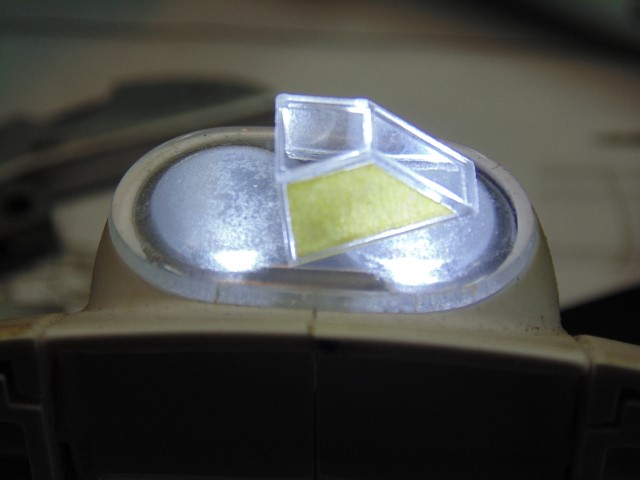
Masks made easier to cut with a backlight.
Use the metal sprue gate as longer pin and drill into the plastic to make a better join. Still needs the adjuster wheel.
Props on with a stretched sprue as a pin for a stronger bond.
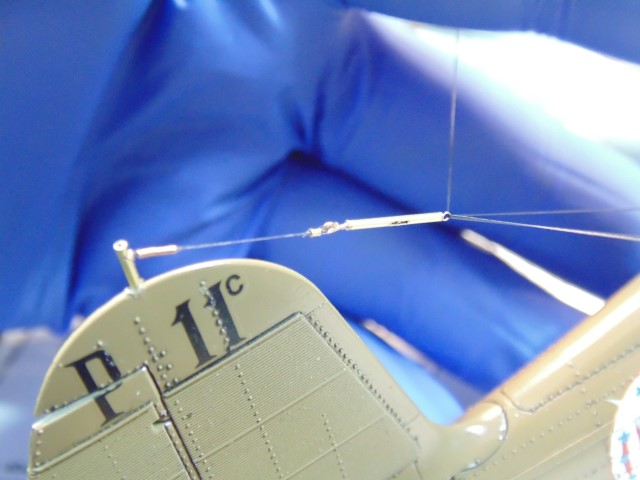
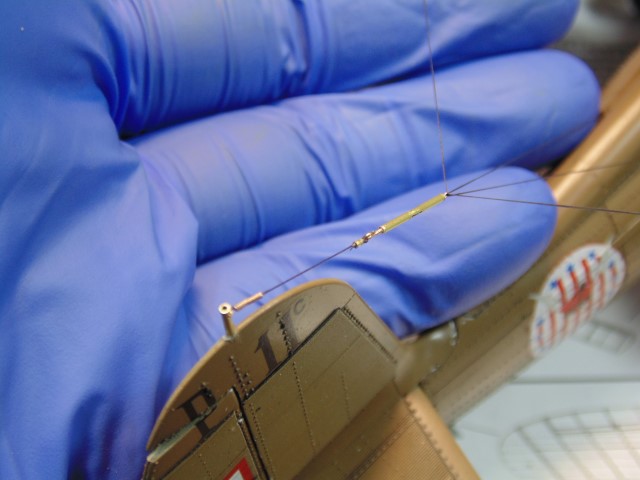
Coil spring at the antenna post, which is a 0.8mm tube. This will be capped later. The coil is s stripped guitar string.
Metal pins in all the connection points then the line is looped and secured with a 0.4mm tube.
Huge thanks to IBG Models for sending the kit and to Sunward Hobbies for the paint and some material.
Next up… the final reveal… Exciting!
7 Likes
Really beautiful work! Makes me itch to build mine (though I know it won’t be as fine as yours), but first things first…
Michael 
1 Like
Oh Man… you had to go and do it didn’t you? Now I have to knock it out of the park just to stay even. That’s sooo much work… bahahahaha. Hope you got the humor.
Those are some nice words, but I’ve seen your work and… you’re probably right HA HA. Kidding again, seriously. SO… just for you I’ll release the final pictures in an hour or less.
Thanks again Michael.
1 Like
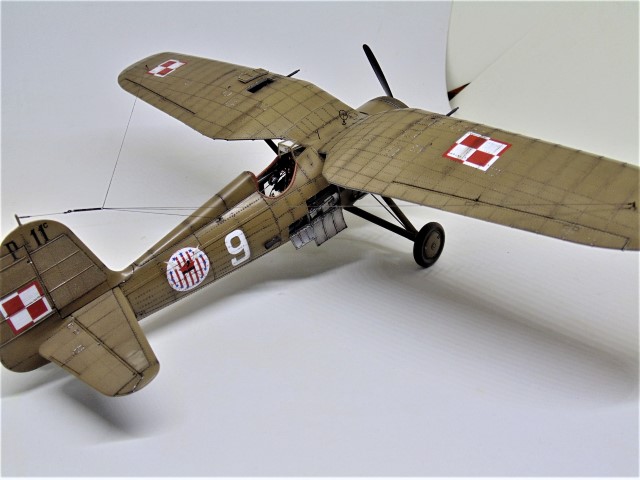
And here it is. I would like some help though. Please tell me if there are spots you would add some more weathering to. Also, do you think I should dull coat a few shinny places like the spinner and props. Any words are welcome, so leave a comment.

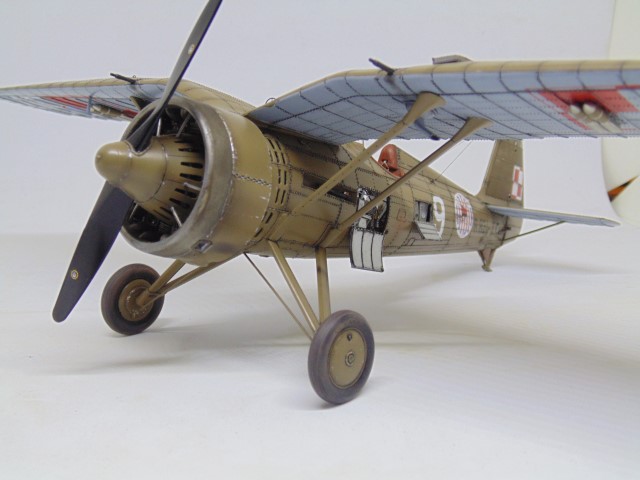
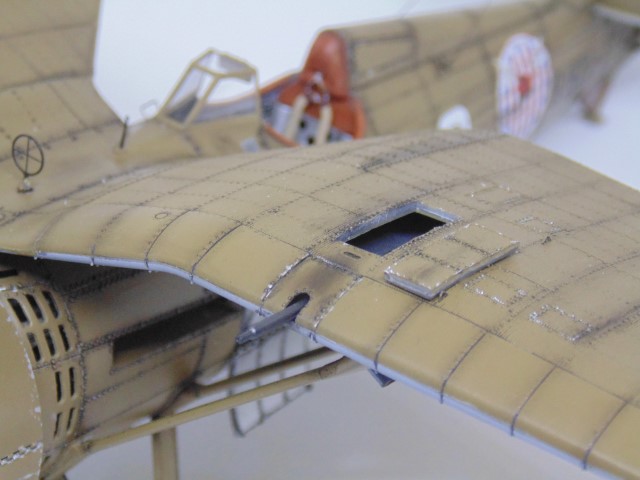
What do you think, thin this plastic to scale or just plug it back up since there’s very little detail in the gun.


Again, kindest thoughts to IBG Models for sending this kit. Definitely was a fun and relaxing project that went together very quickly. Some things I would suggest to them would be make the solid plate behind the engine so more interior scratch building can be done with open cowls. Next, add more detail in the wing gun bays, otherwise they look disappointingly bare. Most of all, please add larger or longer connection points, pins and holes.
I’d happily do a Romanian version (hint hint wink wink) of this model which is now in my top 10 overall favorite projects… one I’ll remember fondly.
Warm thanks to Sunward Hobbies for supplying the paint. Please visit their Canadian and USA websites at www.sunwardhobbies.ca and www.sunward1.com. Great prices, fast shipping and awesome customer service. It’s where I buy my supplies.
Sure hope You enjoyed the build and if you have any questions come over to the KitMaker Discord channel or plunk away here. Best of health Everyone and Merry Christmas.
10 Likes
Awesome work! No extra weathing as far as I am concerned. But please do plug in the MG cover. Both this and the wing where it came from are way too thick.
1 Like
Thank you! Yes I agree completely on the MG wing cover.
Excellent, HG! If I had one suggestion it might be to ding up the prop a bit, it looks very clean compared to the rest of the airframe.
Michael
1 Like
I was going to put this in a dio with men working on it, but your thought is better. Thank you.
1 Like