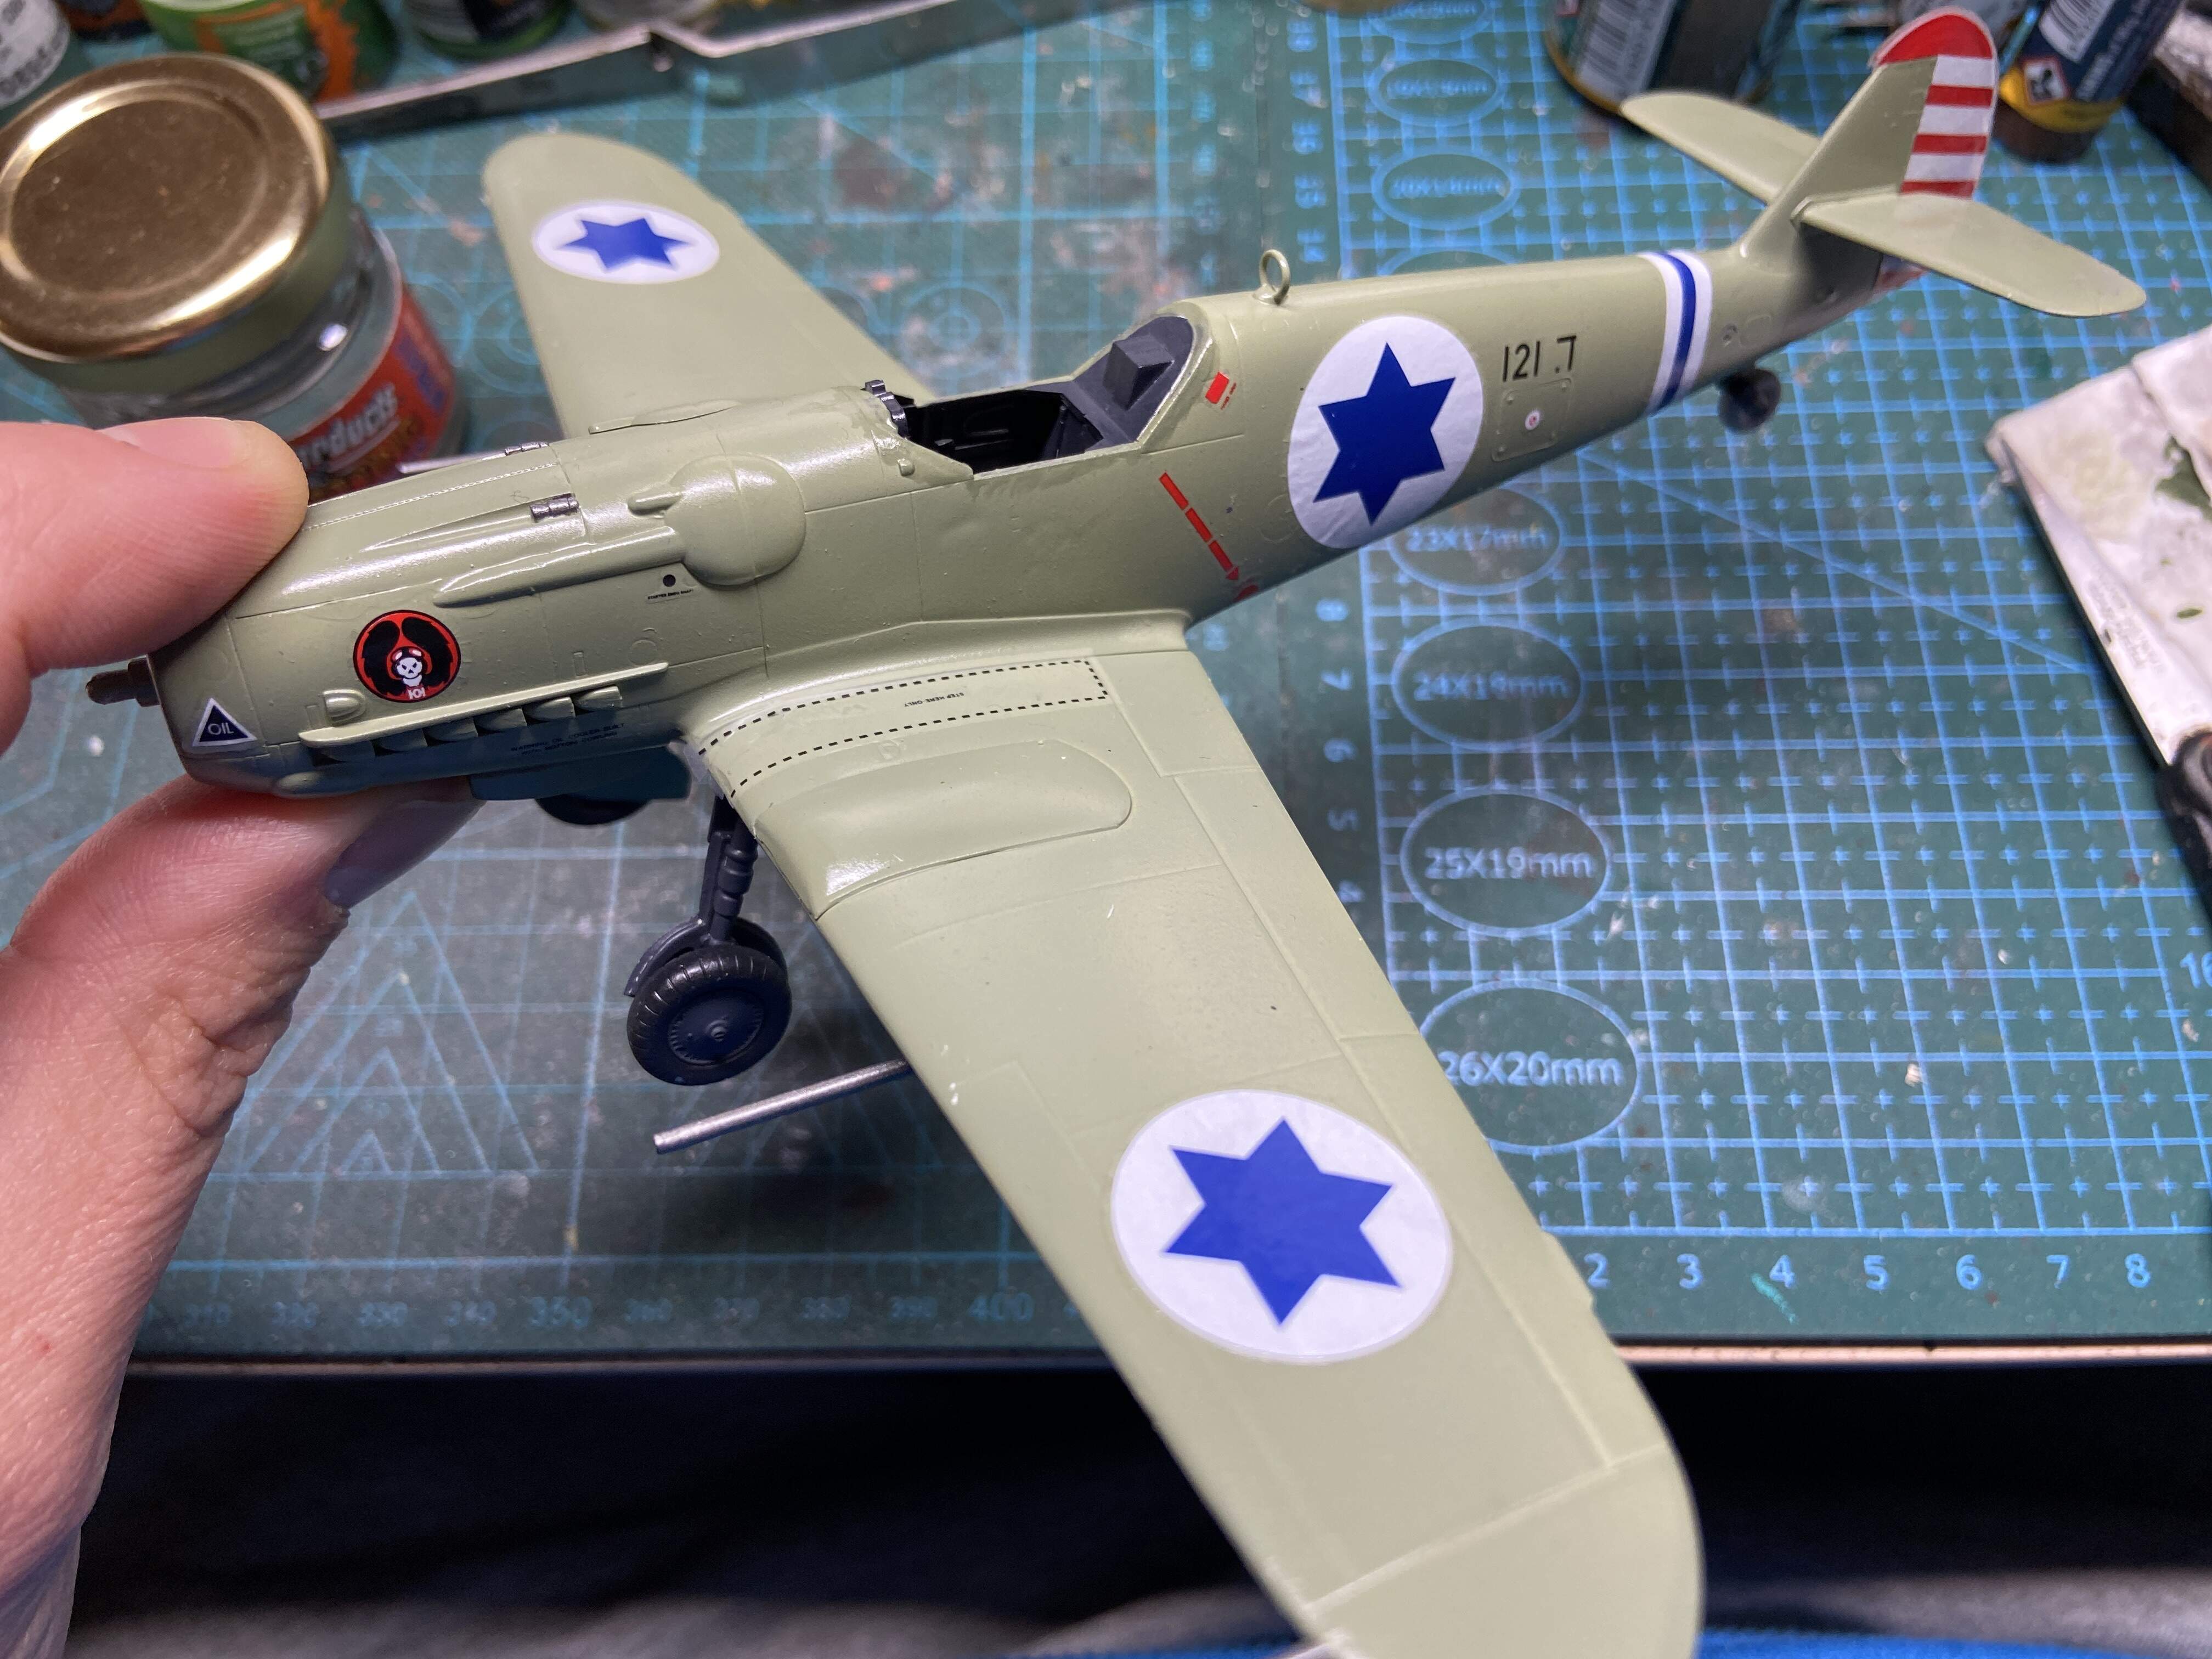
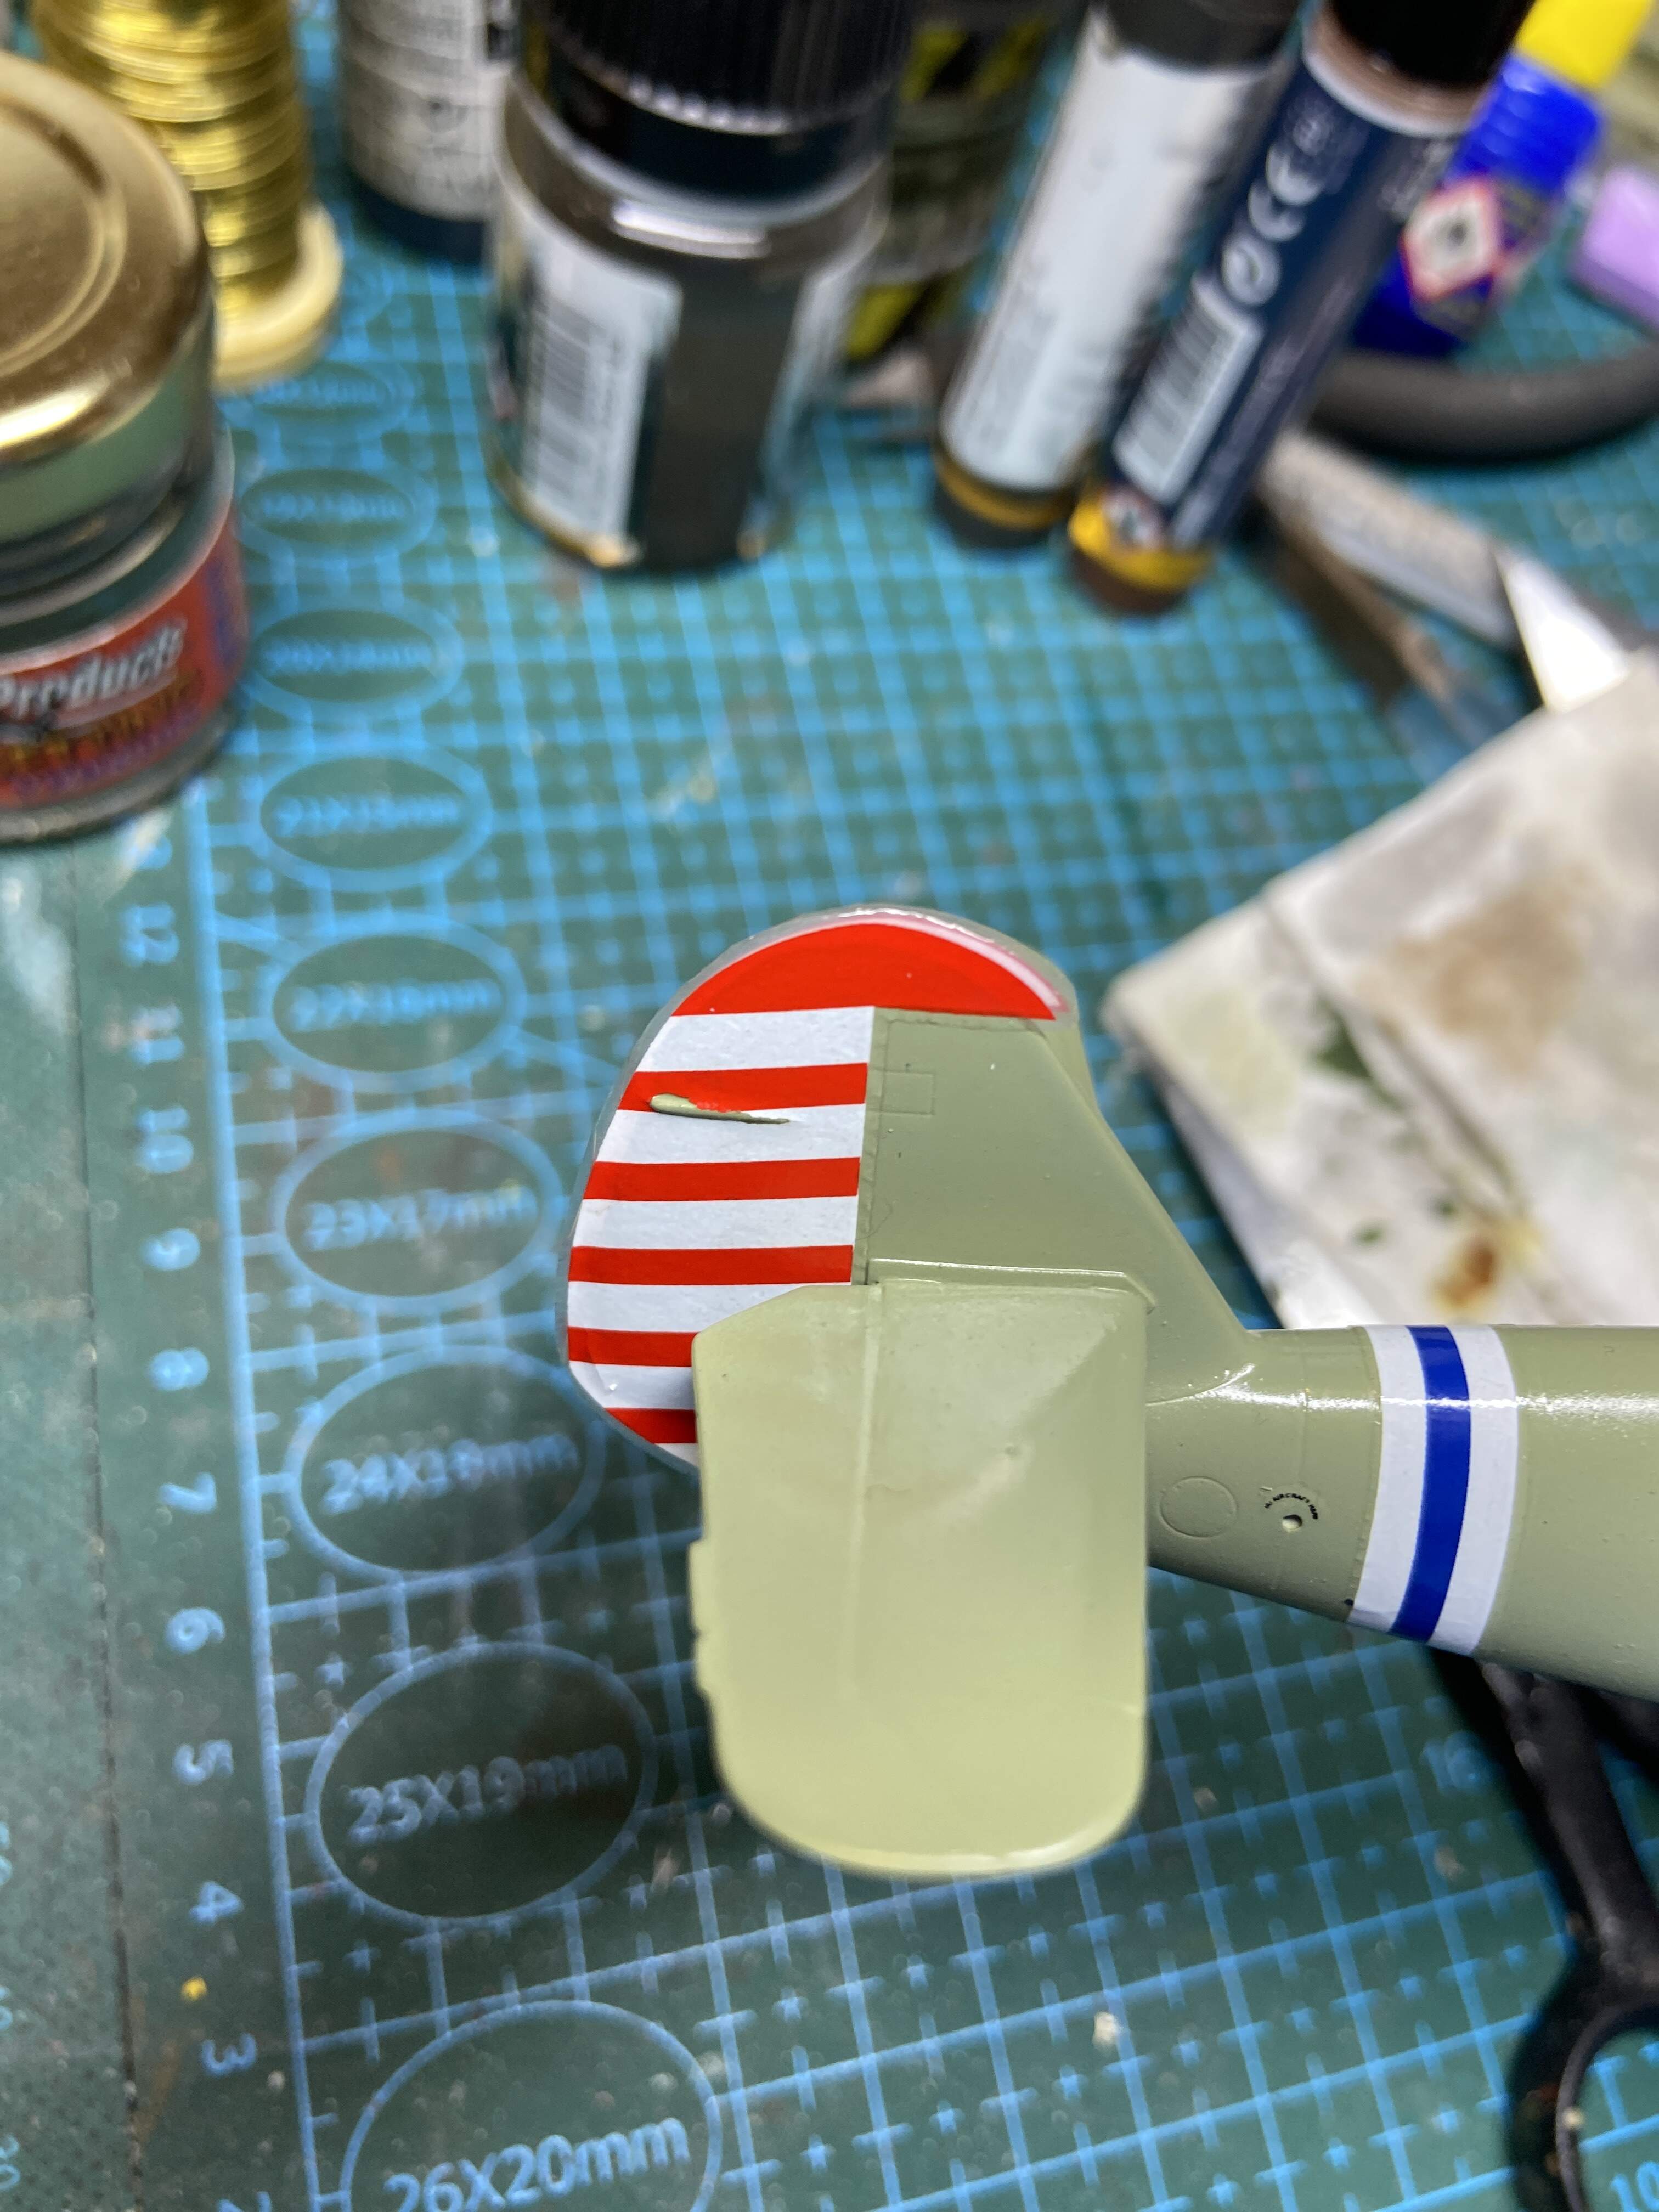
Decals are on. It is the old academy decals before they started using Cartograf. They are thin, but very rigid and resistant to decal setting products. Especially the tail will be a mess to get to settle ![]()
More to follow later ![]()
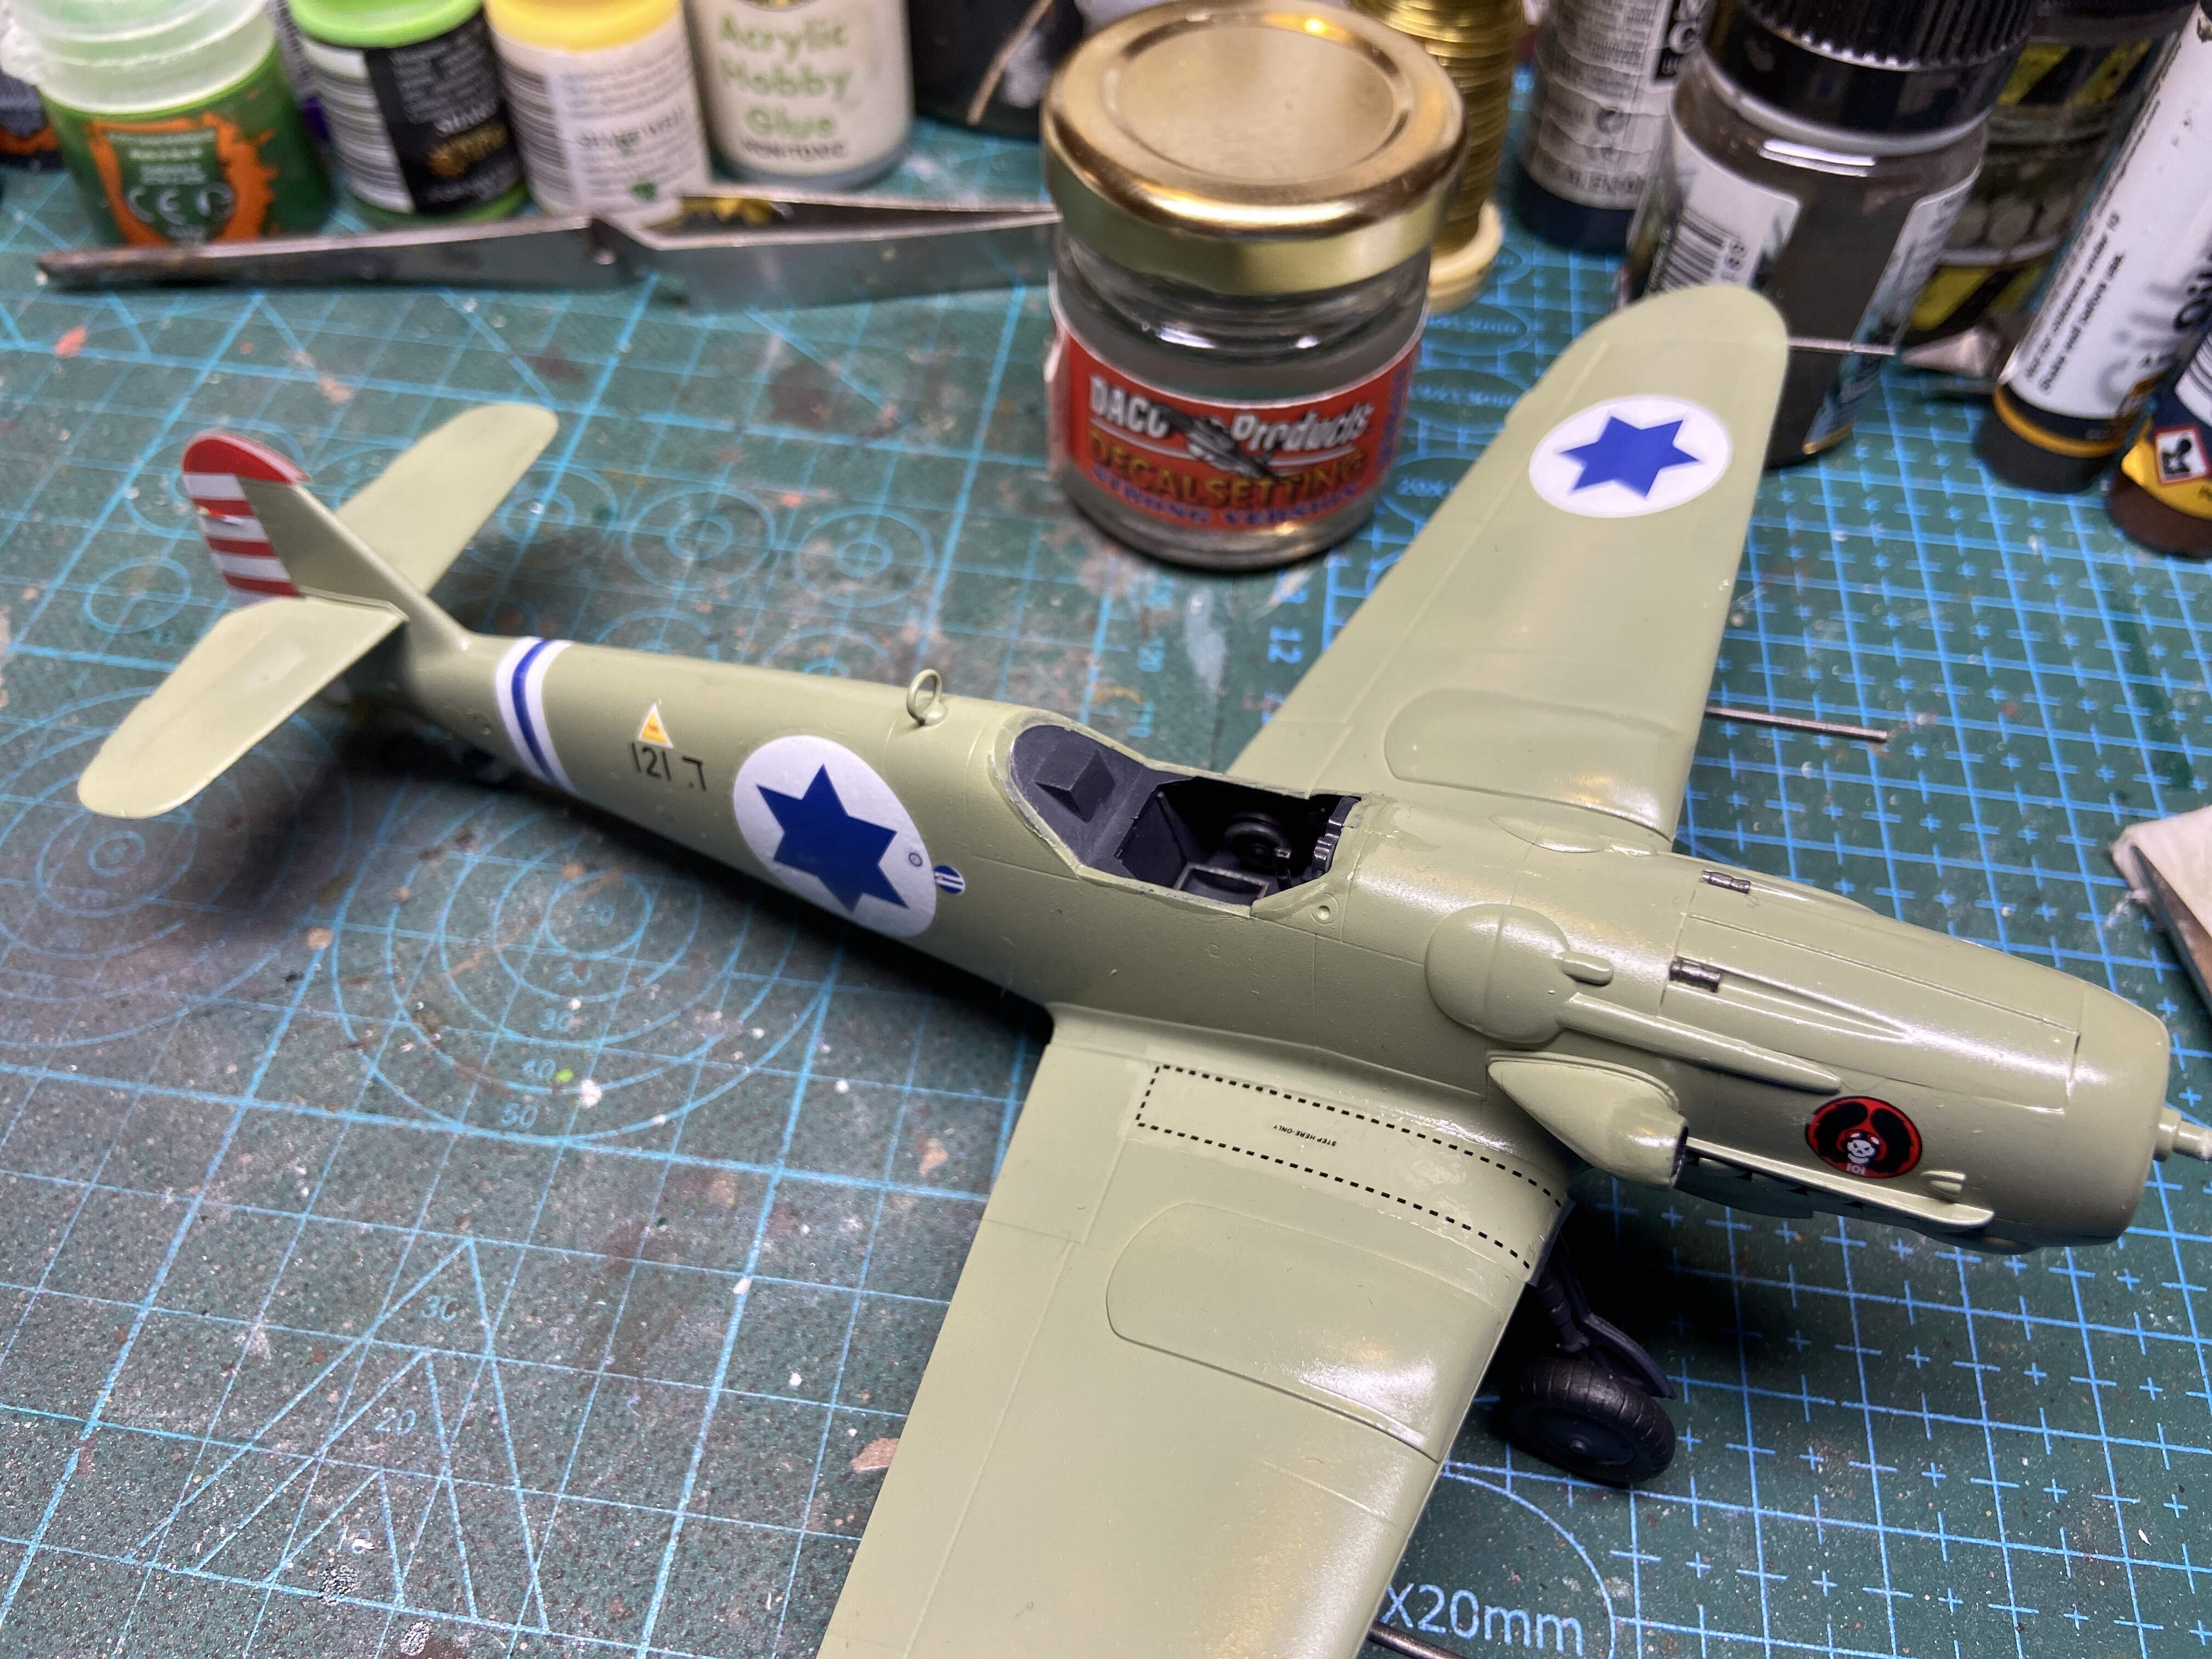
Decals are on. It is the old academy decals before they started using Cartograf. They are thin, but very rigid and resistant to decal setting products. Especially the tail will be a mess to get to settle ![]()
More to follow later ![]()
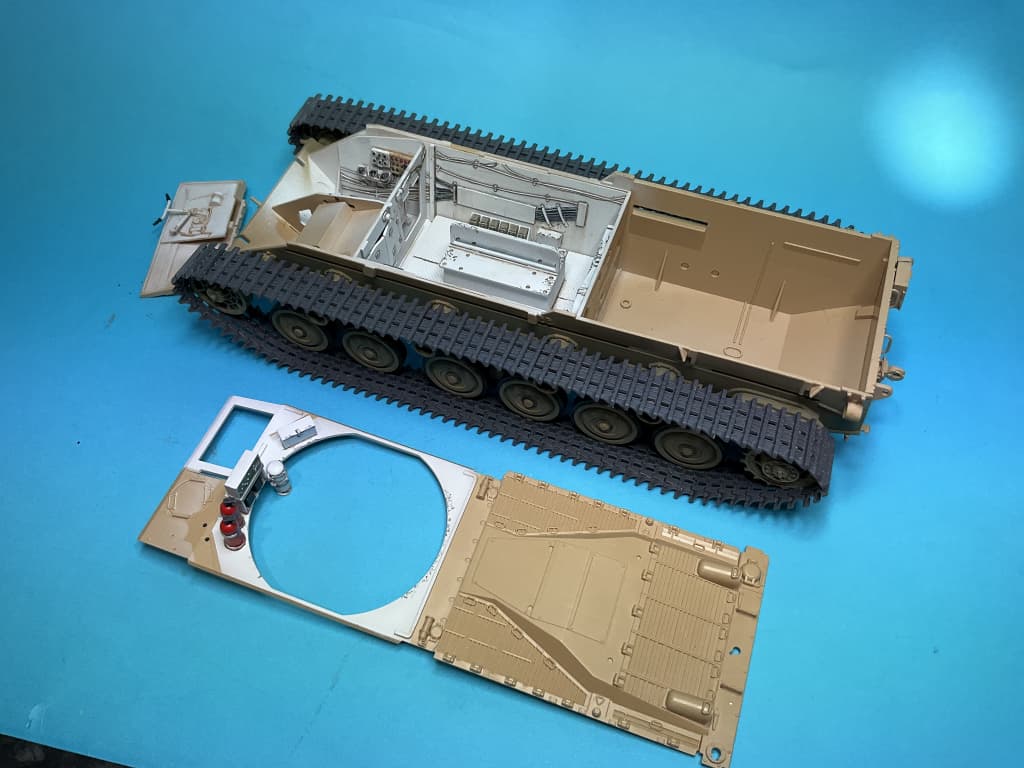
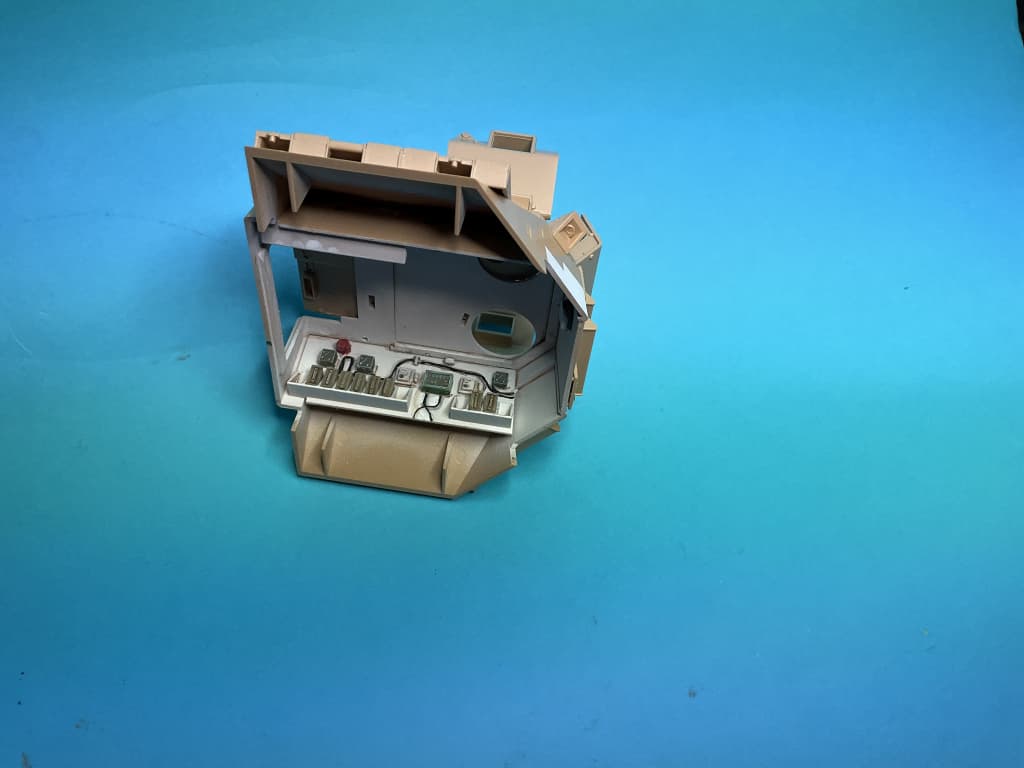
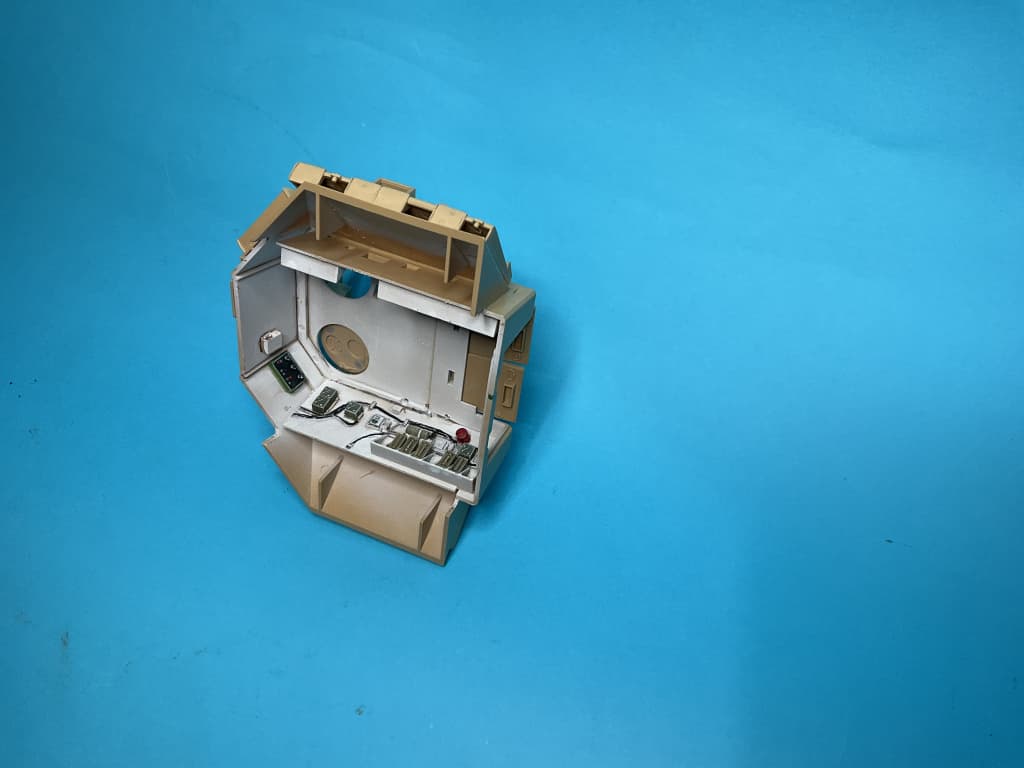
Detail painting the inside of the Nagmachon. Only reference I could find here, was Legend’s own promo paint job on their internal detail kit for the Horror Boss Version of the Nagmachon:
Tiger give you a handful of ammo cans, so I scratchbult more, about 2/3rds are scratchbuilt. I still have to add the securing strip for these, assuming the vertical strip was used to hold them!
Used some Archer decals for gauges. Meant for the Tamiya Krupp Protze, but perfect size here.
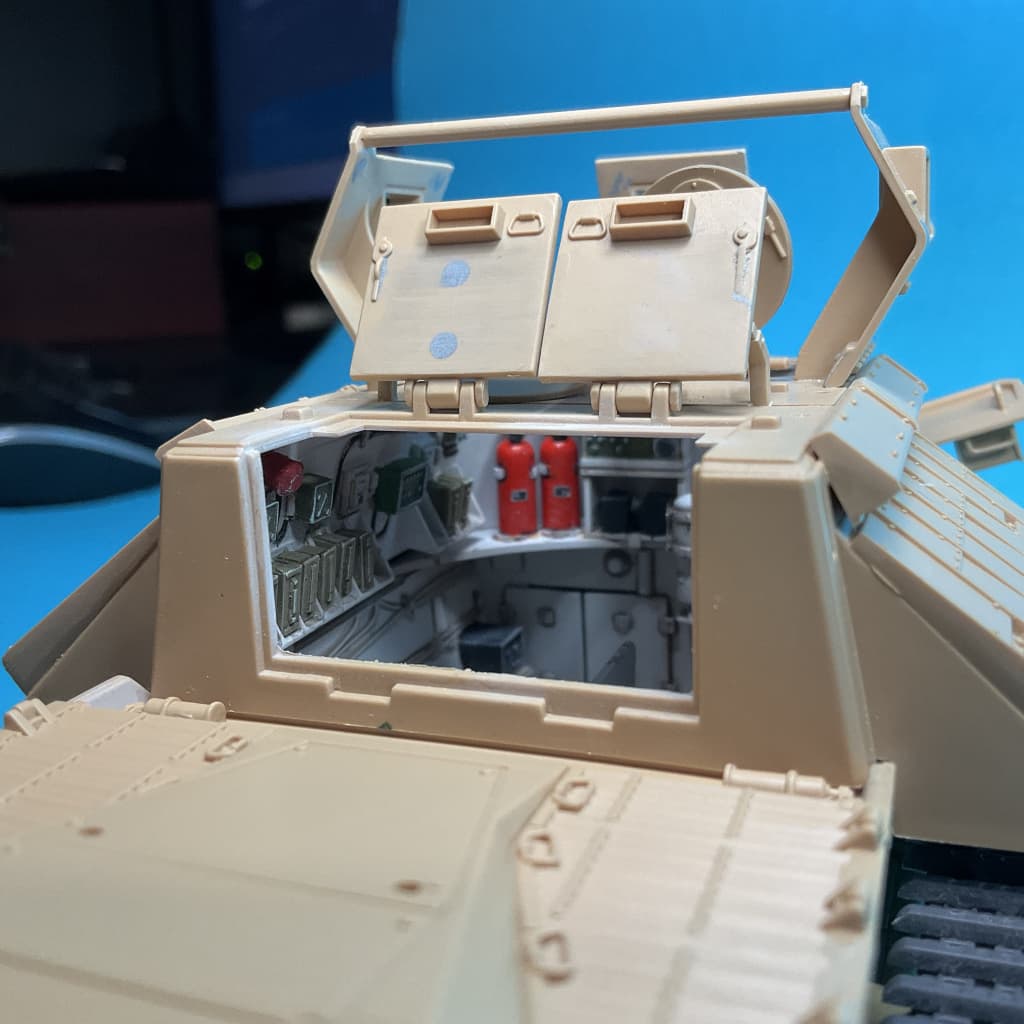
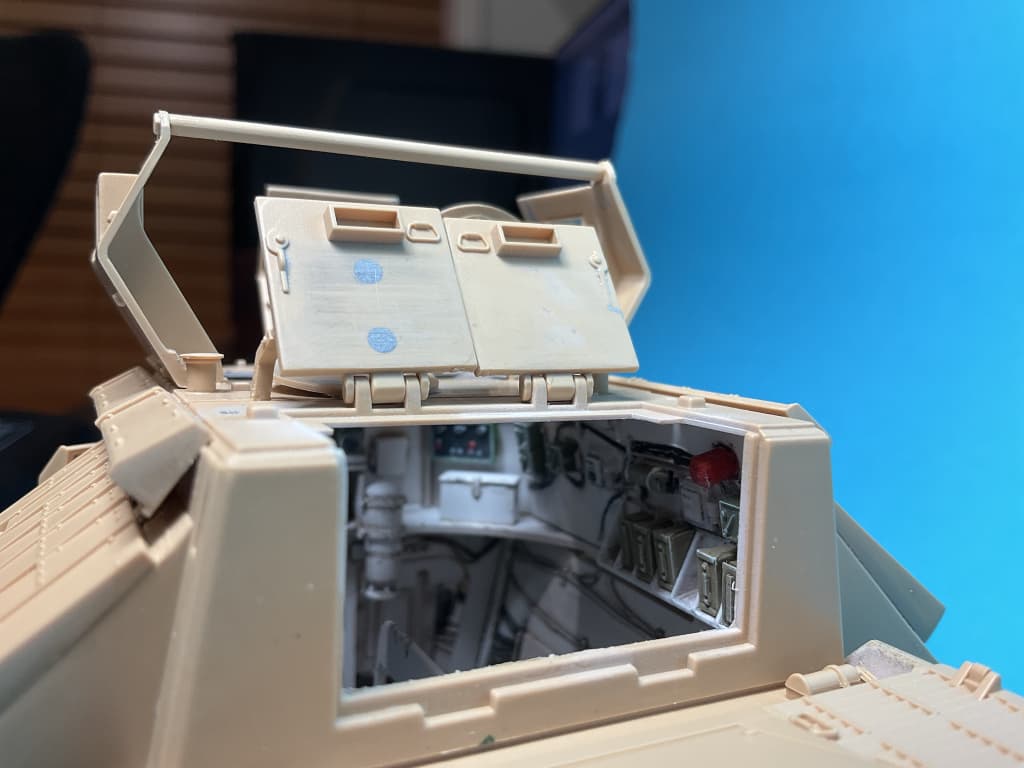
Dry Fit. I could not find any reference pics for the driver compartment, so this is all guess:
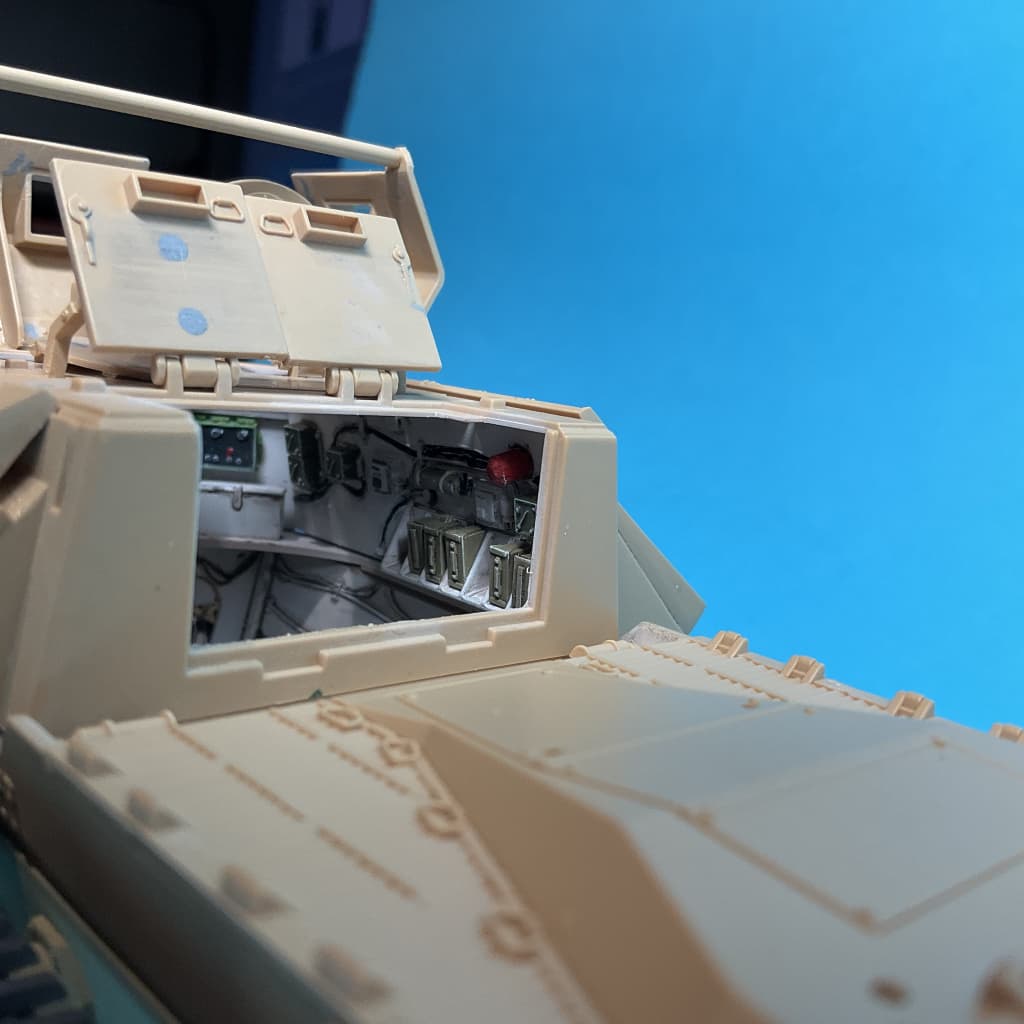
Tiger have a huge tab on the inside of the rear hatches. This is meant to secure the two together and keep them aligned as the hinge location has a lot of movement. Of course that needed to be removed as I am doing them open.
Question for the brains trust (Nikos and Israel) @gtdeath13 and @ReluctantRenegade. There is no platform or anything provided in the Tiger kit, for the gunners to stand on. It would seem ludicrous that they had to balance with one foot on the backrest of the crew bench. I know there is a platform in the dog house version.
Legend have a positionable seat in their kit, behind the driver position, which would seem to be common sense. Do you know if this is fact or fiction?
Do you know how the other forward gunner stood? One foot on the bench and one on the ‘Radio(?)’ would seem awkward.
That’s looking very good Peter. Love all the details that are going into this ![]()
Thanks John. I am actually enjoying this build more than I thought I would. The big open hatches just beg you to do the interior.
I feel really bad with your interior inquiries because since I do not build interiors or open hatches 99% of the time I do not save photos showing people riding or inside vehicles. I will try to find some photos showing more interior details. There is a chance that the double seat is a bit more to the rear and that there are actually two positionable seats, one each side.
The interior looks beautiful, Peter!
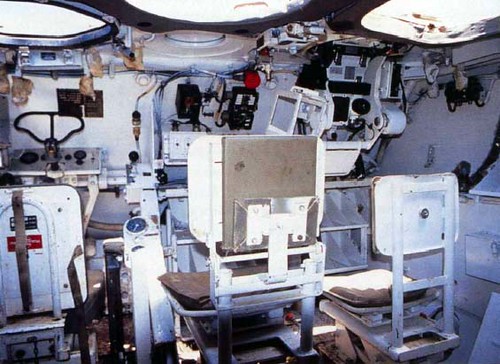
I don’t have any interior shots of the Nagmachon, but there must be some kind of platform there (probably a separate seat that the gunner can stand on).
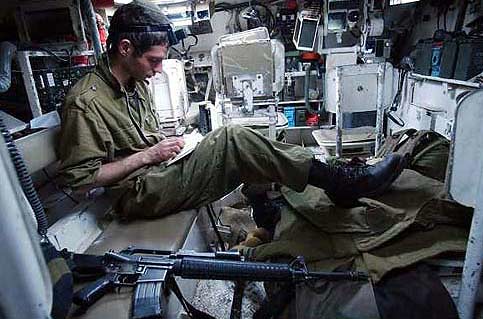
These are from an Achzarit, but you get the idea.
For what it’s worth, I have to agree with Israel and Nikos… They wouldn’t have an MG gunner just standing on something randomly and hoping for a good stable platform to fire from…
They would of had a seat like Israel shows, or a fixed firm platform solely for that purpose… I would hedge my bets on another height adjustable seat on that side …![]()
Thanks for the input guys. Finding interior pictures of Israeli vehicles is not easy, especially the older ones like the Nagmachon without the ‘doghouse’.
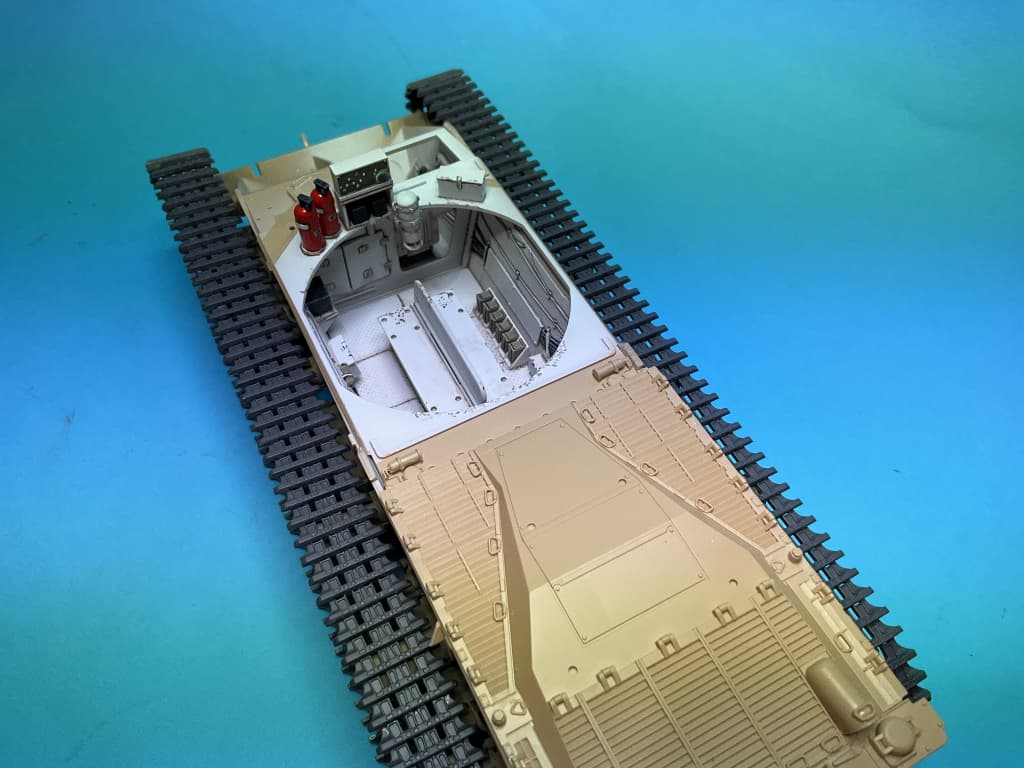
I don’t usually do interiors either. Mainly because I do not see value in doing something that eventually can’t be seen. However the large hatches at the rear and the two forward hatches allows a lot to be seen, so I went for it.
Nikos, please do not go to too much trouble. I thought you or Israel may have known off the top of your head. I appreciate the help you have already given.
Israel, the photo of the Achzarit certainly has that ‘lived in feel’.
Peter, try to Google “IDF Puma interior” and “Nakpadon interior”. You might find some of the photos useful. They’re both based on the same hull, after all.
Great idea
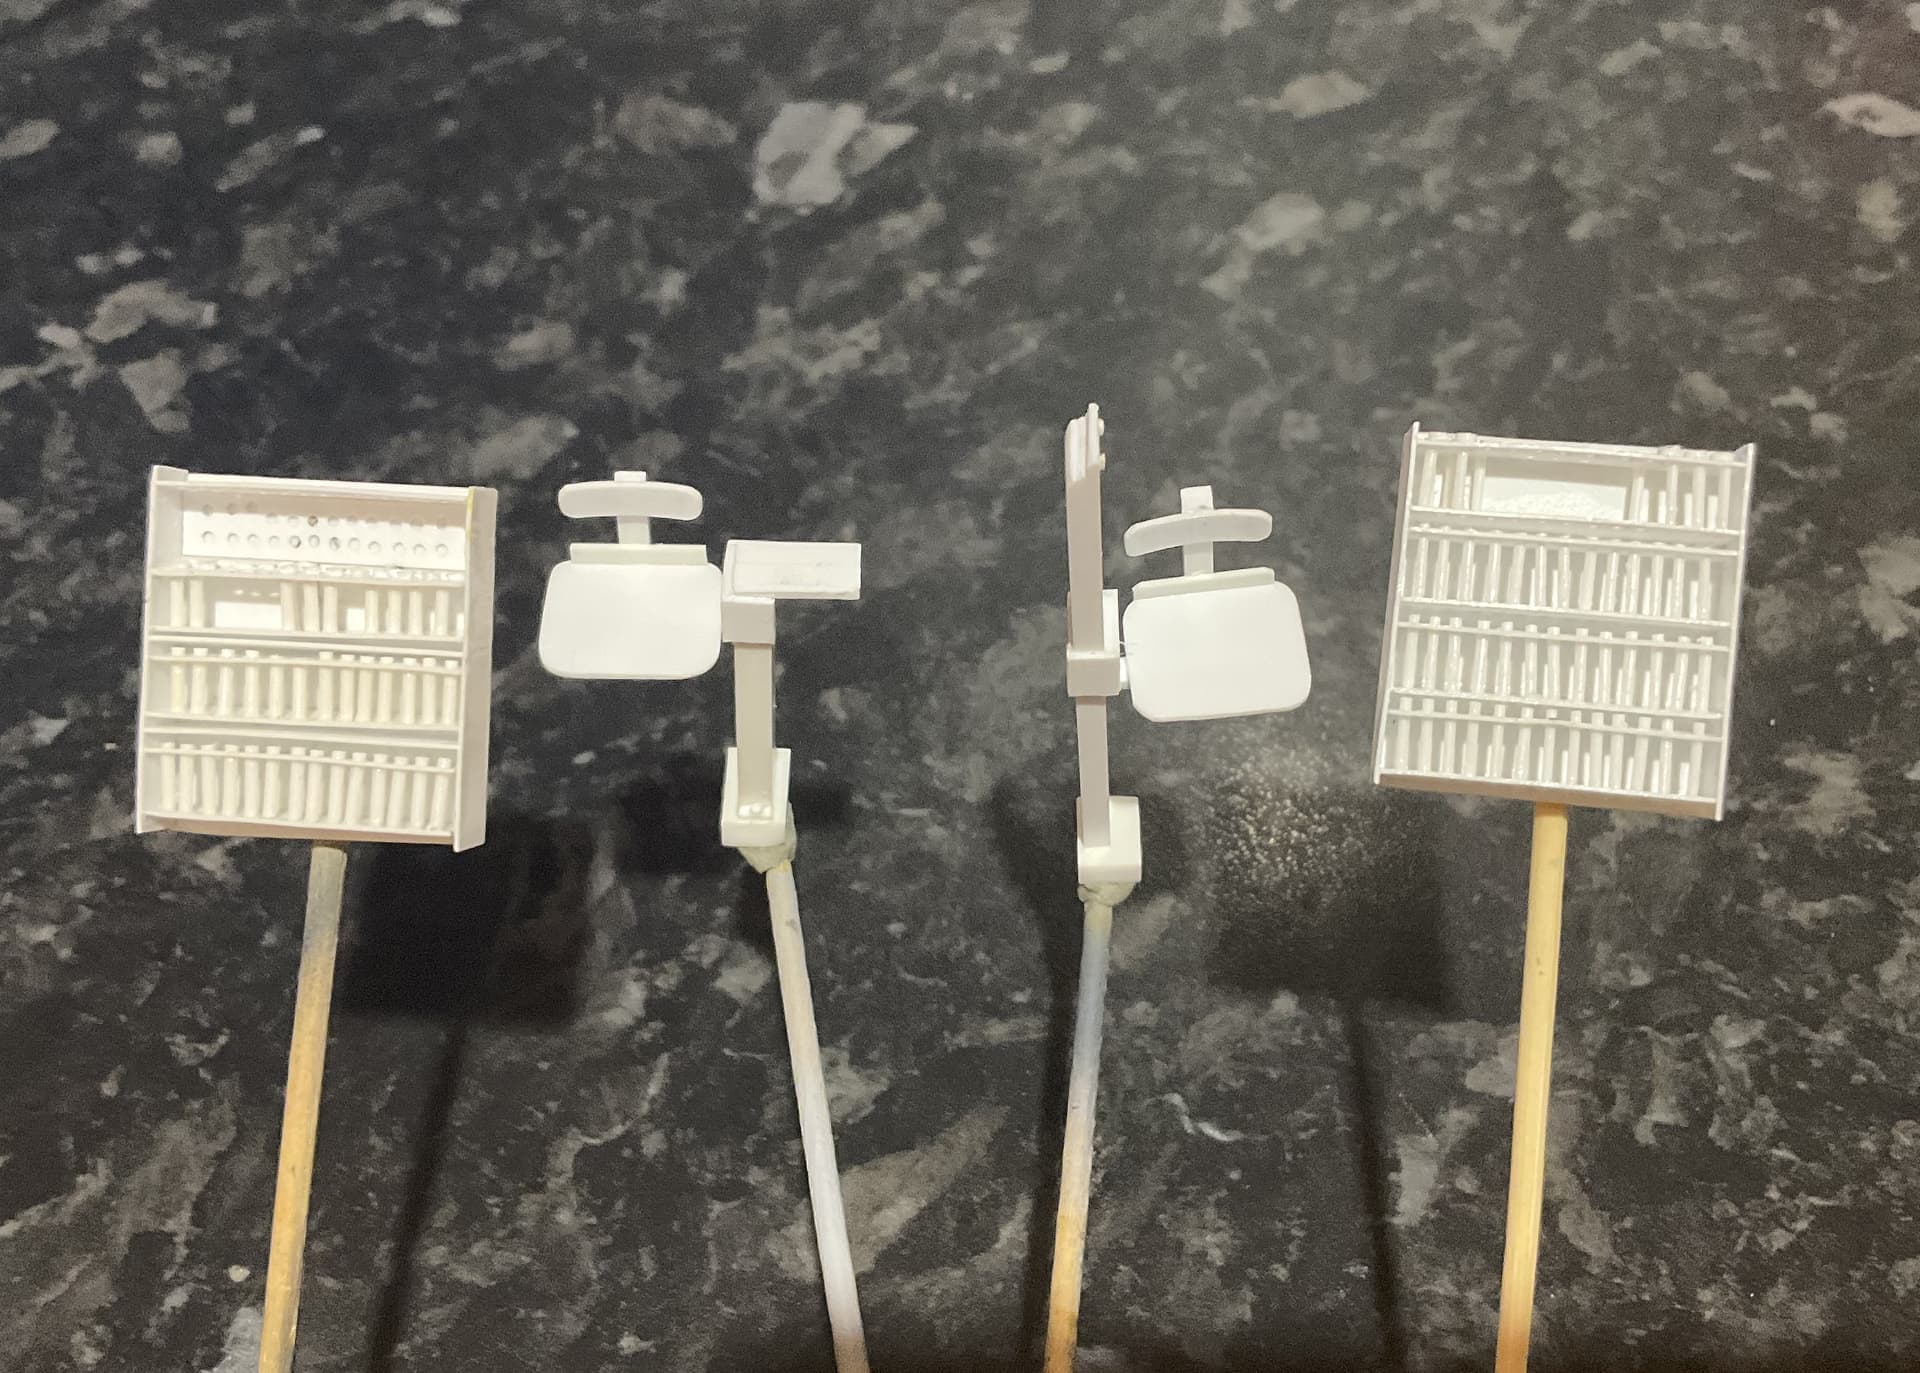
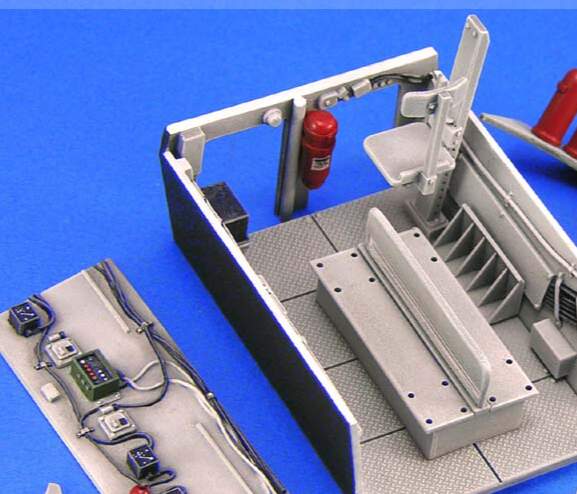
A bit of DIY for the Nagmachon (plus some Renault FT ammo racks). I based the seats/platforms on the Legend Interior one:
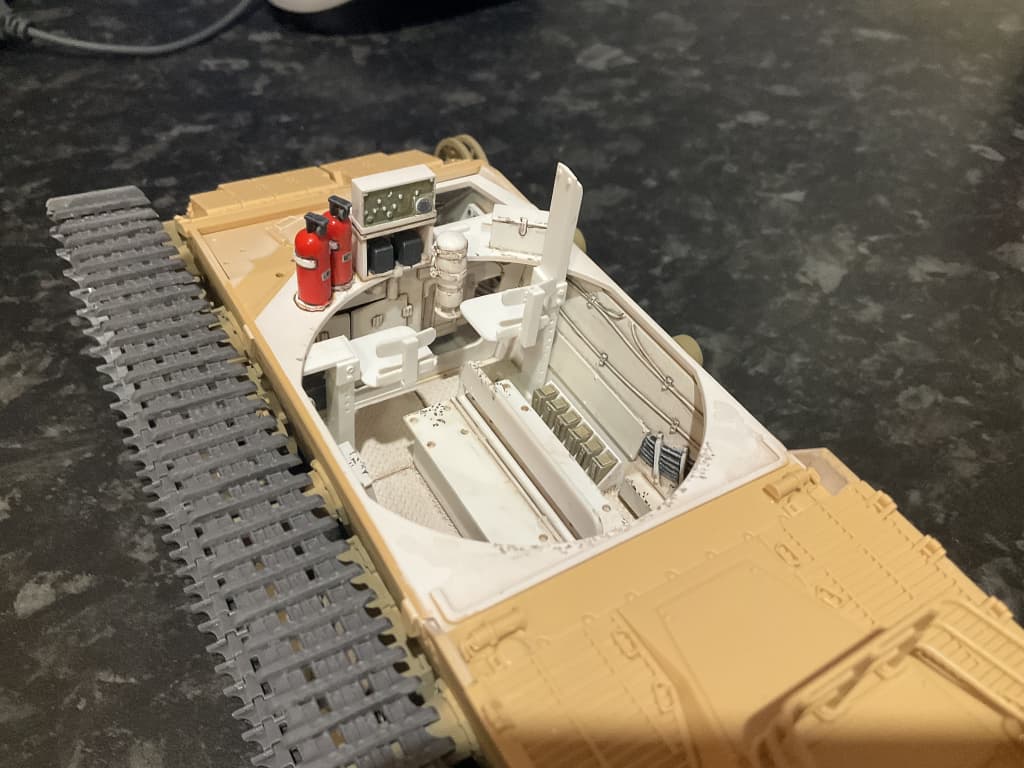
Test run in situ:
I figured that the Israelis would make these seats lift up sideways to allow access, and built them as if they moved that way. Just enough clearance for the backrest/leg brace on the left to remain as is, but the one on the right would need the back rest removed or tilted forward.
Brilliant job, Peter!
Thanks Israel
Nicely done Peter. That looks like the most sensible way they would of done it. Lovely scratch building. ![]()
So, I’ve been fighting with the Tirian 4. Lots of fiddly tiny PE bits with no plastic alternative. Several pieces launched and so small that I have been unable to recover them. Oh well. Two of the fuel lines also snapped while I was cleaning them up so I had to remake them out of wire. Should of just done them all and saved myself the aggravation of cleaning them up. No photos but I did manage to get it all together and put down a preshade of dark brown. Will try to get the wife’s phone to post pics tomorrow.
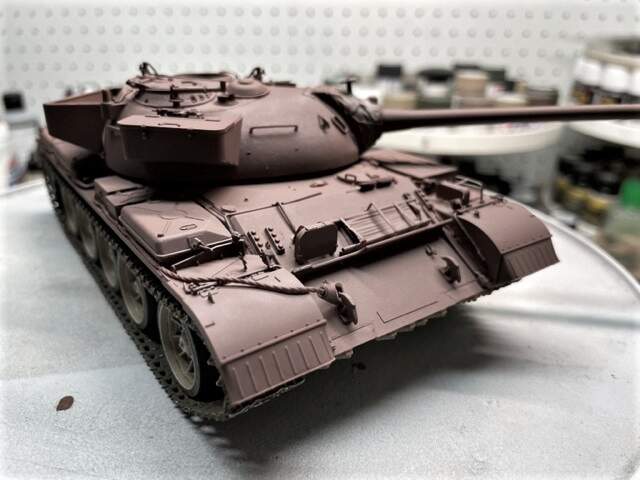
Some pictures of the Tirian 4. For some reason the brown preshade looks reddish on my computer rather than a dark brown. Trying to decide if I want to go with some white preshade or do a post shade. Pictures with wife’s phone so they’re not the greatest.
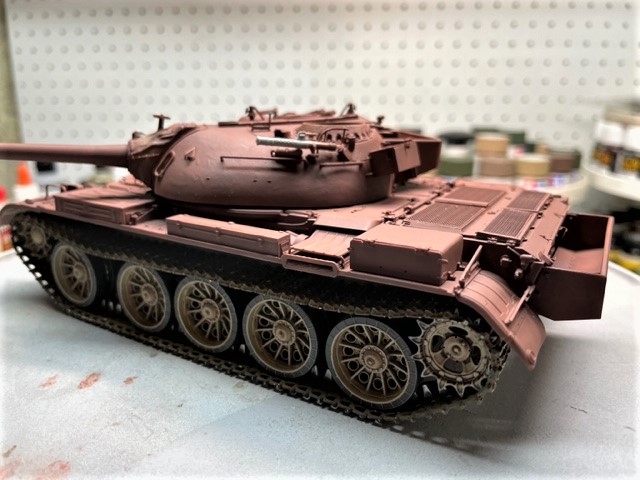
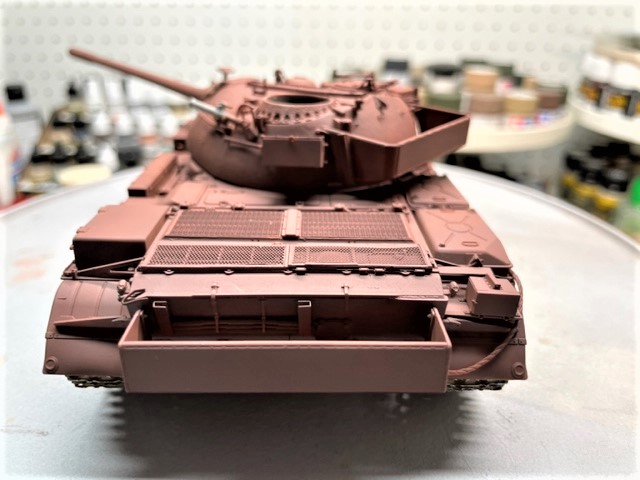
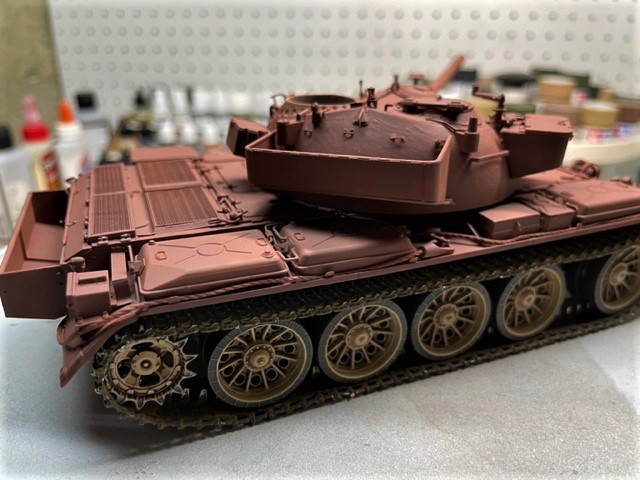

Dude. That’s not “reddish”. That sucker is pink.
But looking good!
Michael ![]()
![]()
Looks good. The base colour should tone it right back … nice job ![]()
Well… he did take it on the wife’s phone. ![]()
Gotcha covered Armorsmith:
That’s much closer to the color. Thanks.